sfeile
-
Posts
358 -
Joined
-
Last visited
Content Type
Profiles
Forums
Articles
Gallery
Downloads
Events
Everything posted by sfeile
-
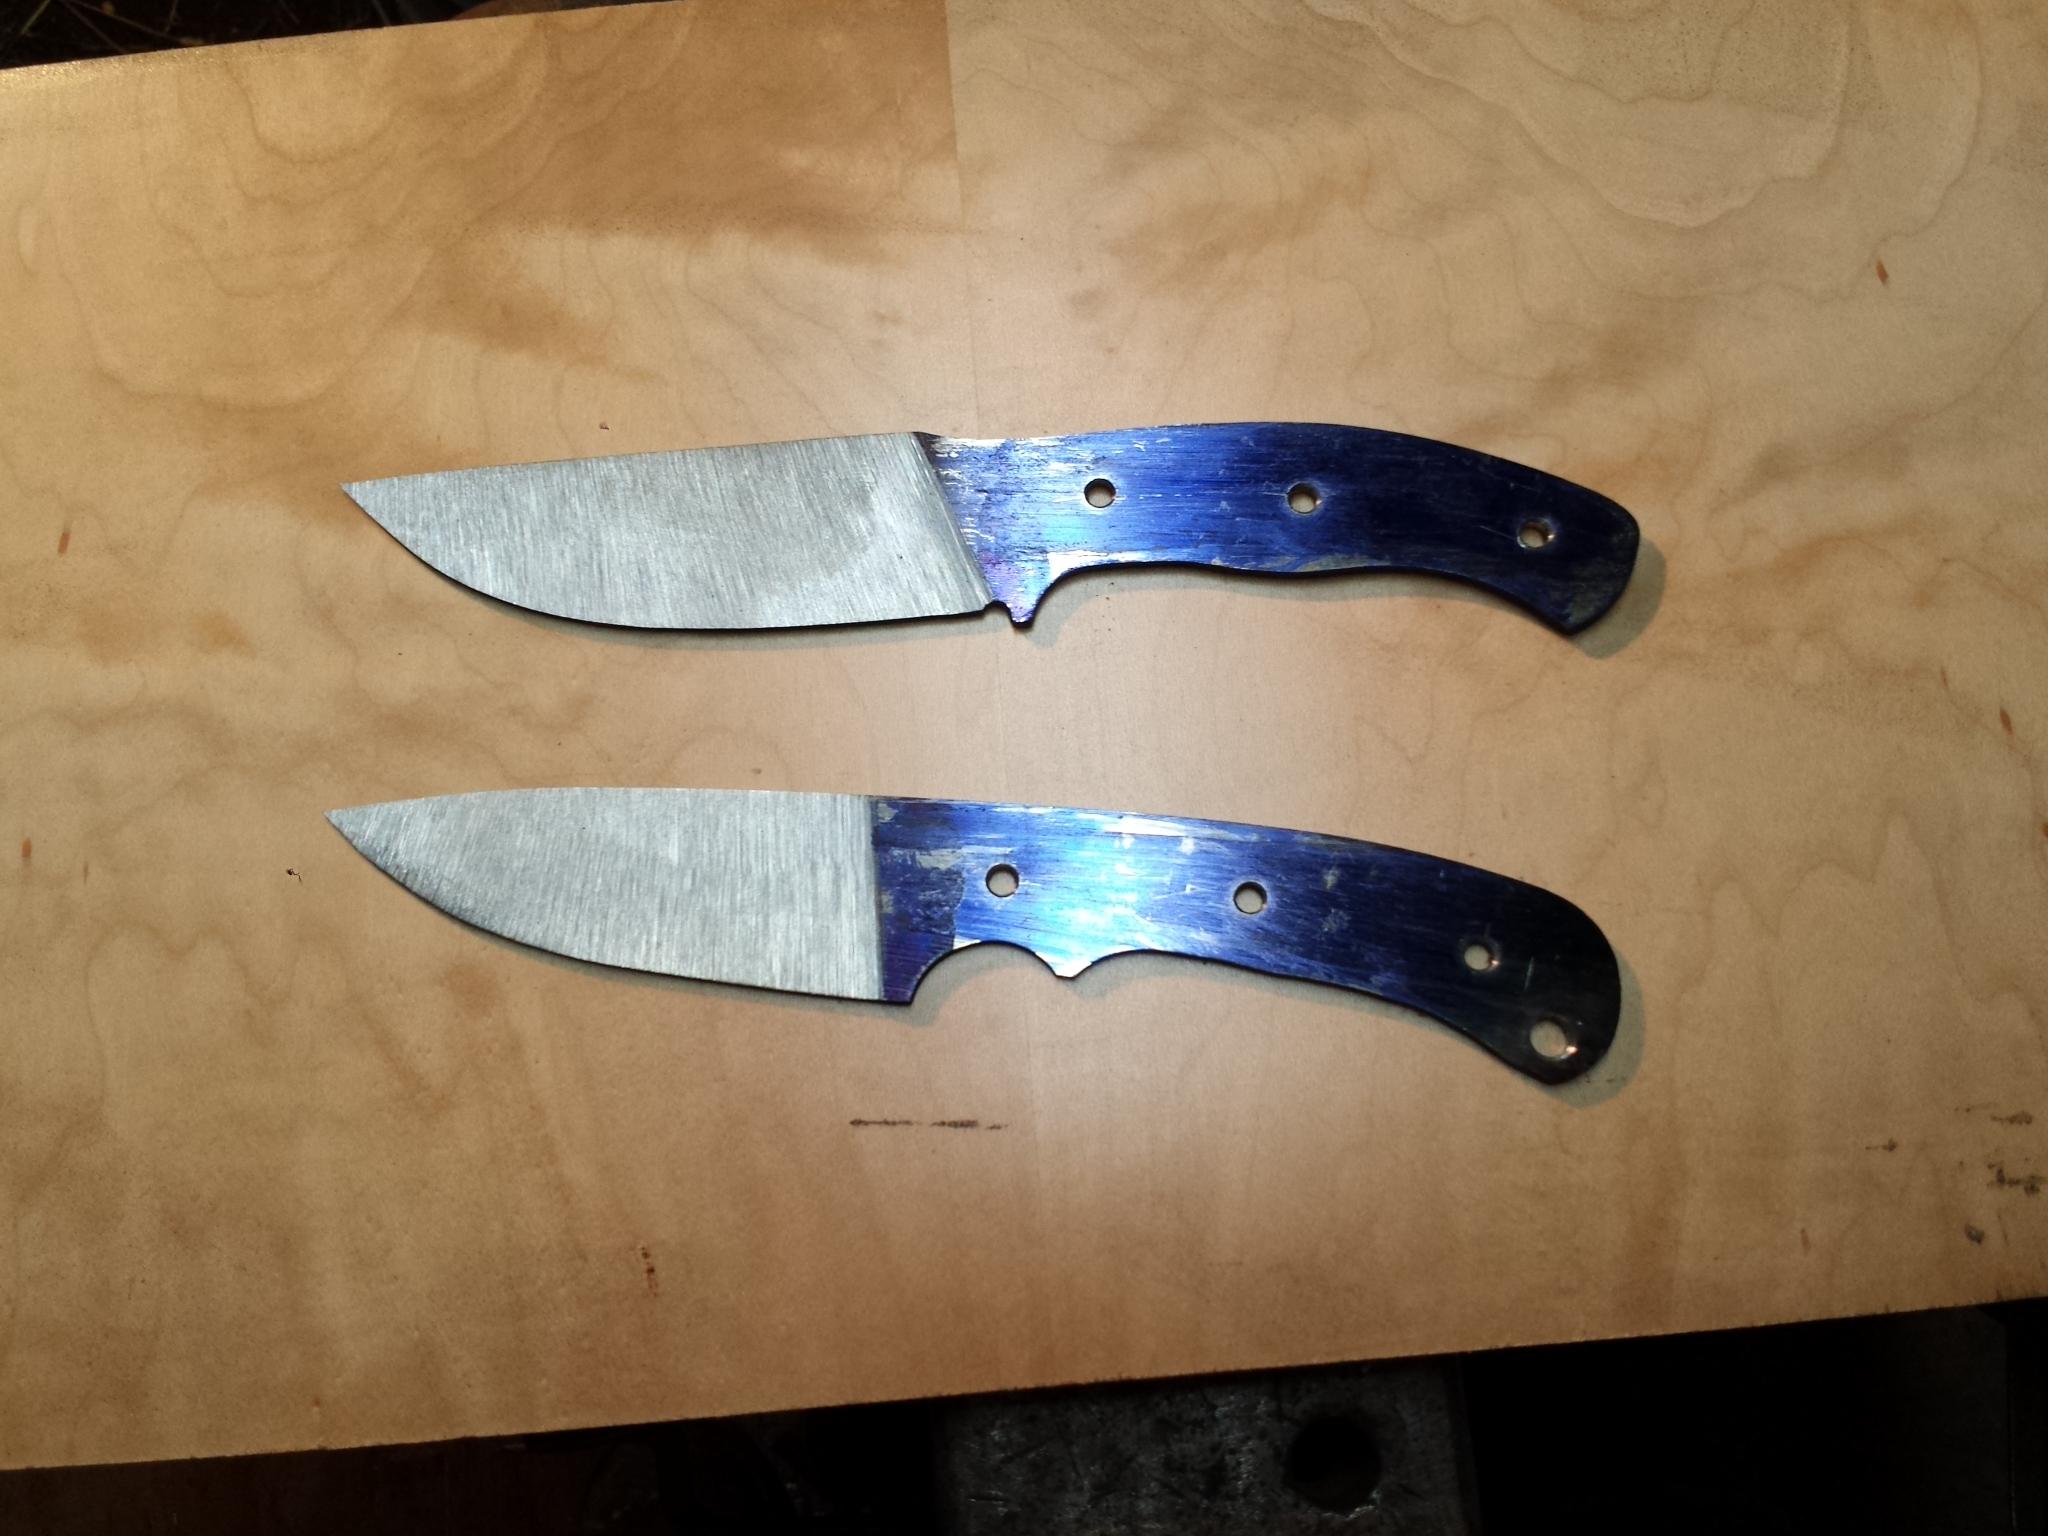
Nitpick issues are definitely welcome. It does on that side (I did get a little heavy on that grind) but is not really visible on the spine. I know what you are saying though and will make sure to watch that in the future. The other side is good and the other knife is good, so it is definitely something I need to watch on my consistency. It is. My thought was to blend it a little since it was a higher polish, but yes it does wash out the line. Not so much "blending" then. Got it. Actually I don't either. I agree with you about the stress point and I'm going to round it out when I put the edge on it today. I used a triangle file to mark it and just kind of left it. I do need to fix that. Thank you! And thank you for the critique as well. Keeps me on my toes and gives me things to work on. Thank you Cincinnatus! Edit: The pin placement... Yes I agree. I didn't realize it was that bad until I got the scales shaped. Definitely something to pay attention to.
-
Thanks for the tip Buzzkill! Thanks D.IVO! So far all the blades I have made have been from the same piece of steel (large truck leaf spring) and had the same normalizing/quench/tempering done to them. Although, I have to admit that I over-heated one before quenching but it broke before I ever got it to the finish grinding anyhow. This is the one that I carry all the time. I screwed up the grind on it a little so I decided to use it as my "abuser" just so I knew how they should be expected to hold up.
-
I said holding, not wearing!
-
I walked out into the living room holding what was left of the jeans and my wife said "why are you making daisy dukes?" I had to show her what I did then she thought it was pretty cool.
-
Thanks Mike! Now that you say that, I agree. It Does throw the aesthetics of a little with those lines being different doesn't it. As far as how the micarta was made, I made a "box" out of plywood. A bottom and 3 sides. Then I lined it with wax paper. I had 6x6 inch squares of old denim cut and I placed one in the box, then soaked it down with fiberglass resin. Add another piece and soak it. Kept repeating until I got just a bit thicker than my desired finished piece. I then put another piece of wax paper on the top, and another piece of plywood and snugly clamped it to hold it in place until the resin cured. After it cured, I trimmed the edges and cut it in half to make it into a pair.
-
Thank you! Personal preference critiques are definitely welcome as well! I know what I like, but it may not be the same as others tastes or even what fits the way they might use them. If someone has better ideas or even can explain to me a reason why something works better or worse for them, I can learn from that and improve on my next projects.
-
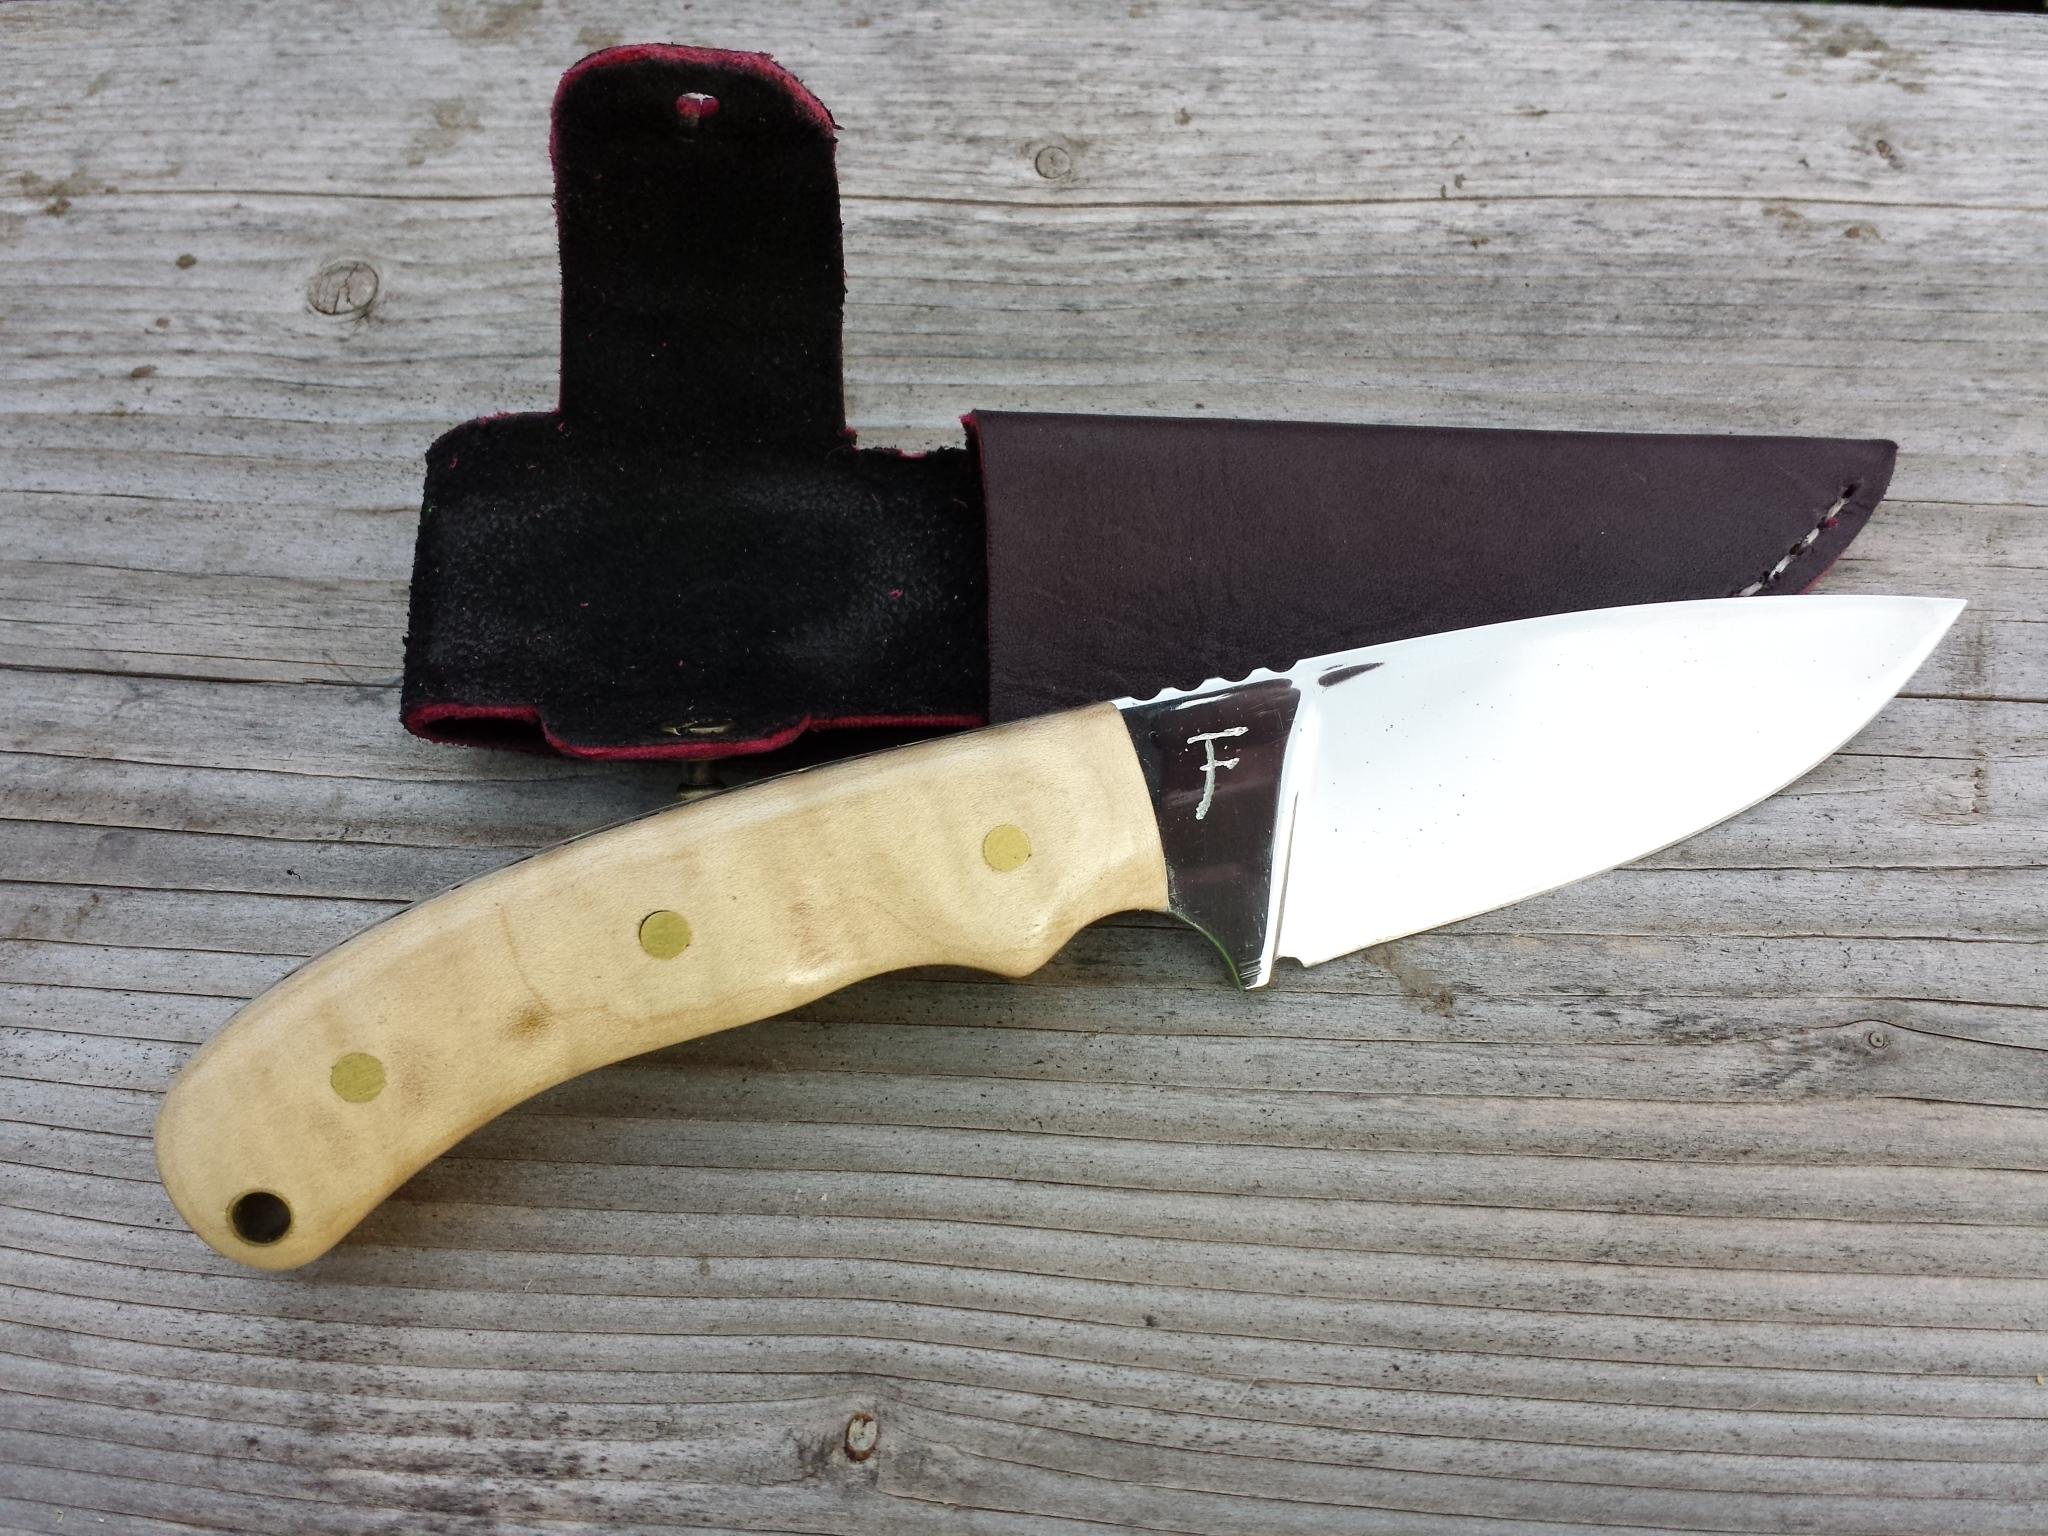
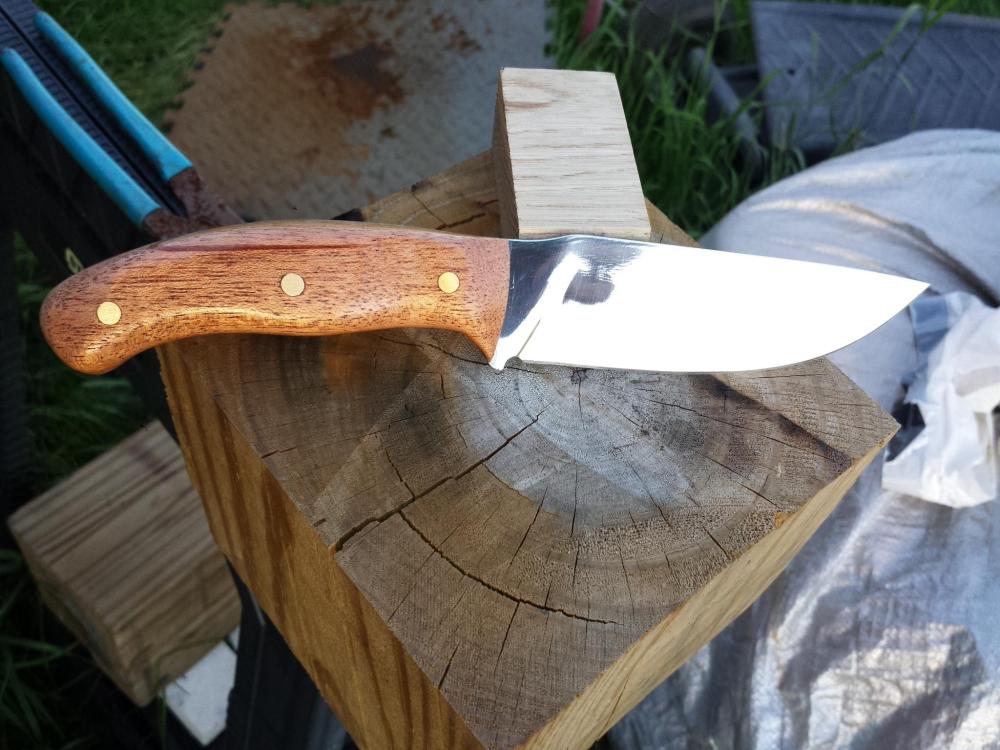
Thank you Dave! Thank you Lou. Yes, I need to work on my finishing. No arguments there at all. The second one is just a scotchbrite belt finish after a 220 belt. I still ended up with a few random oddball scratches though. The first one doesn't actually have a guard, it is just the plunge line. They are both full tang and "V" ground.
-
I've been commenting and critiquing others, so I figured it was only fair to post some of my own work for you guys to have a go at. I'm still less than 20 knives at this point in time and actually less than a year with a forge. These are the latest ones, I actually just finished both of them. Well... The one with the micarta (my first ever attempt at making micarta) needs a final finish on the scales and sharpened, but here they are for you guys to pick apart and tell me what I can do better.

-
Beautiful trio Theo. Great work and a great story behind them.
-
I think the blade looks great, the handle material is beautiful (I love curly maple) and the sheath is very well done. My only critique (and I am definitely not a master bladesmith, this is only my opinion) would be on the handle. The overall shape looks quite good, but the corners seem a little boxy still and the raised pin both look like they will dig into your hand over extended use periods with such a large knife. However, those are both things that could be tweaked with it as is. Overall it is a fine looking Bowie sir!
-

What did you do in the shop today?
sfeile replied to Mark Ling's topic in Blacksmithing, General Discussion
Thank you Mudman! It was my first attempt, so I wasn't expecting awesomeness, but I was hoping for useable. -
What did you do in the shop today?
sfeile replied to Mark Ling's topic in Blacksmithing, General Discussion
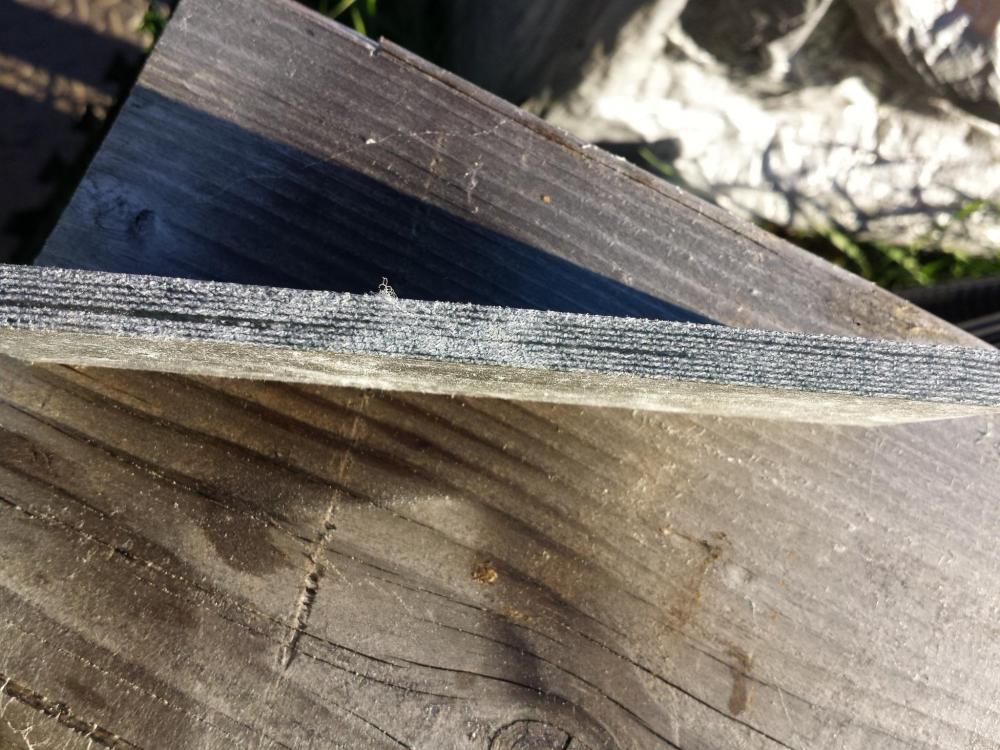
Made some micarta today. It's not fancy or pretty, and a 90 degree shop wastes a lot of resin because it sets way too fast in that heat, but I managed to get enough for one set of scales. Hopefully I got enough resin to soak in and I won't have dry pockets in it when I shape it.....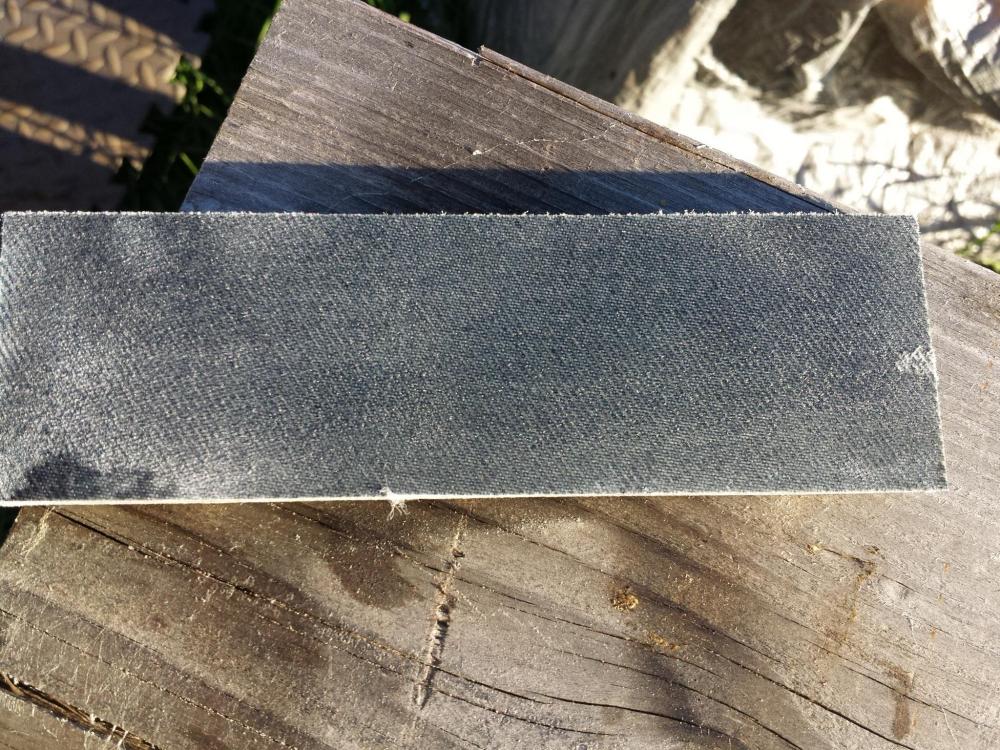
-
Very nice! I like the wood choices, the copper accents, the shape of the handle, just the right amount of hammer marks left to make it look rustic yet clean, great shape on the blade, looks like it should be nicely balanced.... There is one problem that I see with it though... I'm left handed.
-
He did realize he slipped up and put it in the third post Thomas. He was thinking trout knife.
-
What did you do in the shop today?
sfeile replied to Mark Ling's topic in Blacksmithing, General Discussion
Thanks Mike! Yes they are. -
What did you do in the shop today?
sfeile replied to Mark Ling's topic in Blacksmithing, General Discussion
Thanks Das! -
From what I'm looking at in the photo if you try and do too much correction from the top you are either going to make the tang too narrow, or leave an awkward angle in it. If you do too much re-profiling to the edge side to correct it, you will lose a lot of the length in an already short blade. (Not that that is a bad size, but too small to make a major correction without losing a lot of it.) The only real option I see (and in all fairness, I am not a master bladesmith by any means) would be to put the tang back in the fire and take it over your anvil horn. Give it a little bit of a downward sweep helping to align it that way. That would also help to put a bit of finger swell in it. A few hits with the horn in front of each pin hole would give you a profile similar to this one. (You wouldn't have the finger groove, but the sweep would be similar.) If you misshape the holes, you can always re-drill them or go right beside and put a new one. The way you have them drilled you should have plenty of room.

-
This is all just my personal opinion but I would do a couple things a little differently. As Das mentioned, I prefer a full grind also. If it is a camp or potentially hard use knife and no guard on it, I prefer to bring the ricasso all the way down then put a sharpening choil in to give you some protection for your fingers yet still have a definitive end to your edge to keep it flat when re-sharpening. I would also contour the finger side of the tang a bit to make it easier to hold onto and more comfortable under harder use. With that narrow of a tang I think I would use a slightly smaller pin as well for strength. Not so much in the tang itself, but in the scales since you are using wood. The point looks like it may drop just a little too much to be comfortable in a thrust cut. You want it a little more in line with the center of your spine. Overall however, it looks pretty decent for your first knife. If your intent for it is a fishing knife, I would definitely go full flat grind. It will reduce your bevel angle allowing it to cut effortlessly with very little drag behind it.
-
What did you do in the shop today?
sfeile replied to Mark Ling's topic in Blacksmithing, General Discussion
I did some grinding today and got a couple things ready for quench and tempering tomorrow.
-
Making a knife next week then? That's actually coming along nicely Mike. Can't wait to see it up and running.
-
What did you do in the shop today?
sfeile replied to Mark Ling's topic in Blacksmithing, General Discussion
JLP that is very clean and looks amazing! 58er I don't sail, but you've got me wanting one now. Looking very good! -
I would agree with using it first, then modify if needed. If you are going to flatten it, I would say just do one face and leave the other rounded to leave you options.
-
You aren't kidding about expensive. When I was an ironworker I had a set of beryllium spud wrenches and a sleever bar. Somebody decided they needed them more than I did and relieved me of them one day. I was not impressed. The last place I worked they did hydrocarbon testing and had a full set of large wrenches, an 8 pound sledge, a few pry bars, pipe wrenches, and some other assorted tools. Not a cheap setup at all.
-
Thank you Wayne. I'll be getting ahold of you soon.
-
Hopefully this doesn't sound too stupid, but how far will a pint go inside a forge? I am getting ready to order some Plistix to coat my brick forge with. The inside of the forge is 4.5 x 2.5 x 9 inches. Would one pint be enough to coat it, or should I order a second? I see all kinds of things with recommendations for lining materials, but have been unsuccessful in finding out how much to get.