Jasent
-
Posts
954 -
Joined
-
Last visited
Content Type
Profiles
Forums
Articles
Gallery
Downloads
Events
Everything posted by Jasent
-
Look what I came home too

-
Please update us on the build
-
What are you trying?
-
Are you lighting it out side the forge? If so try putting it in the forge then light it. I didn't use a flare and it would not work well out side the forge but inside it works very well
-
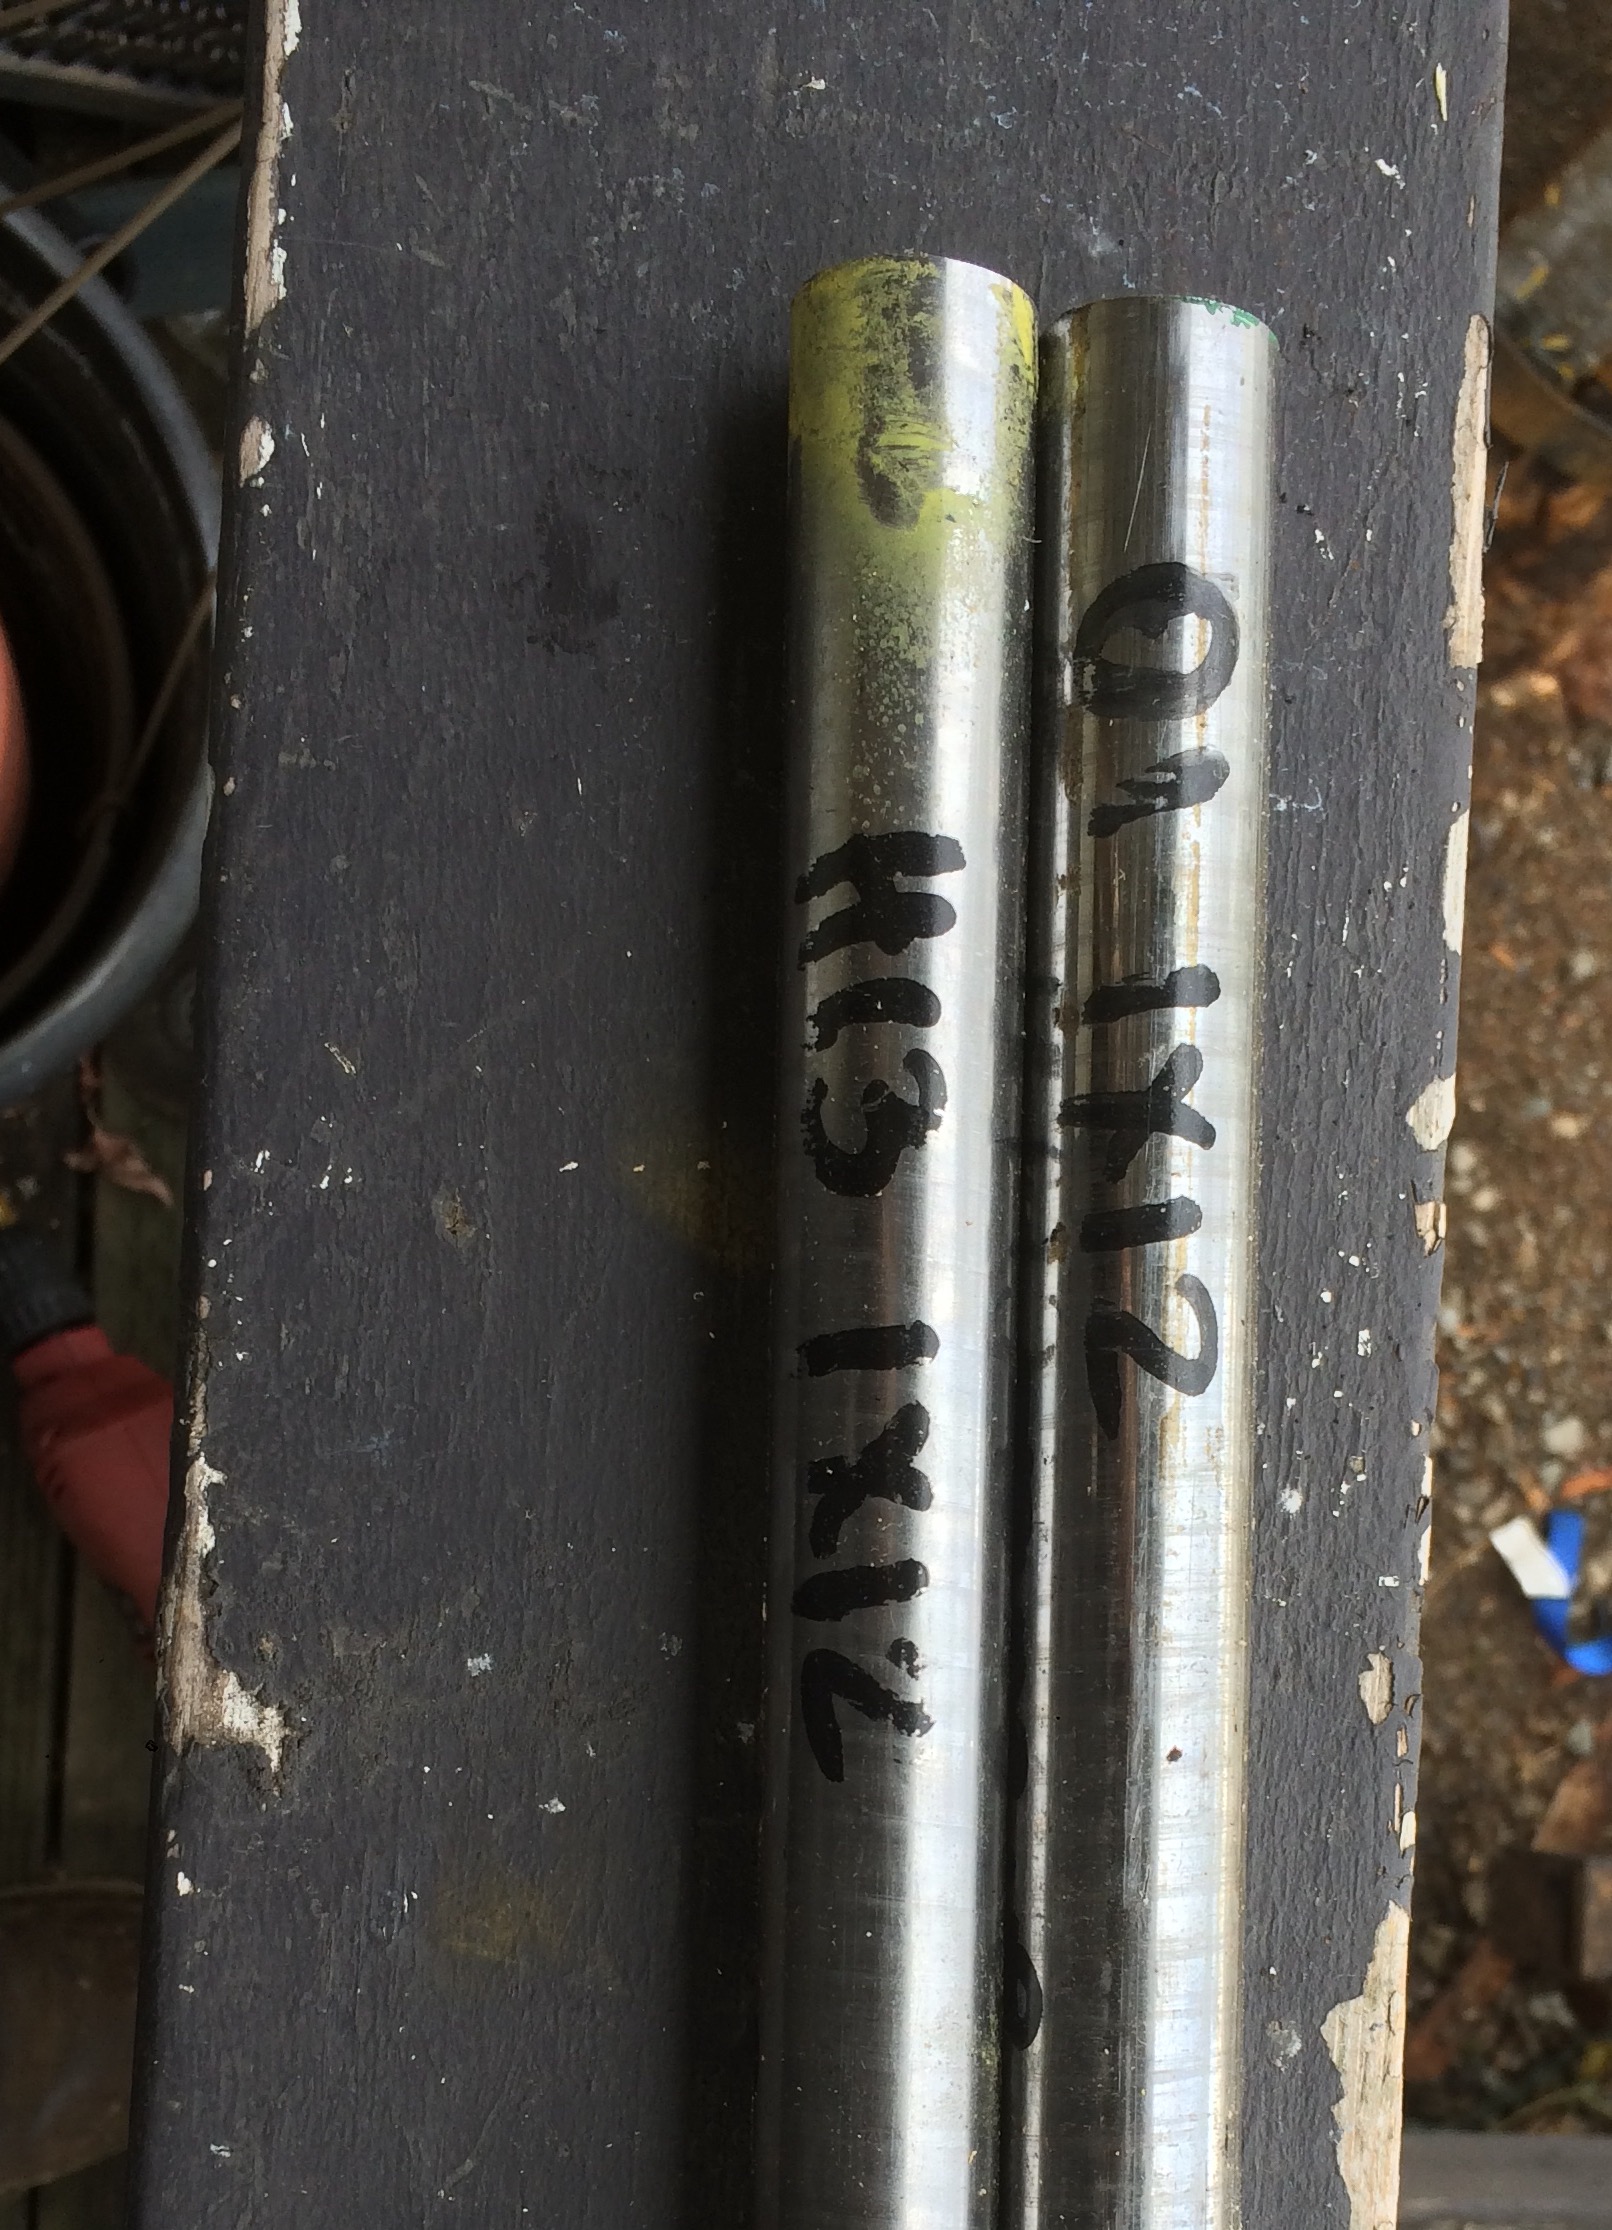
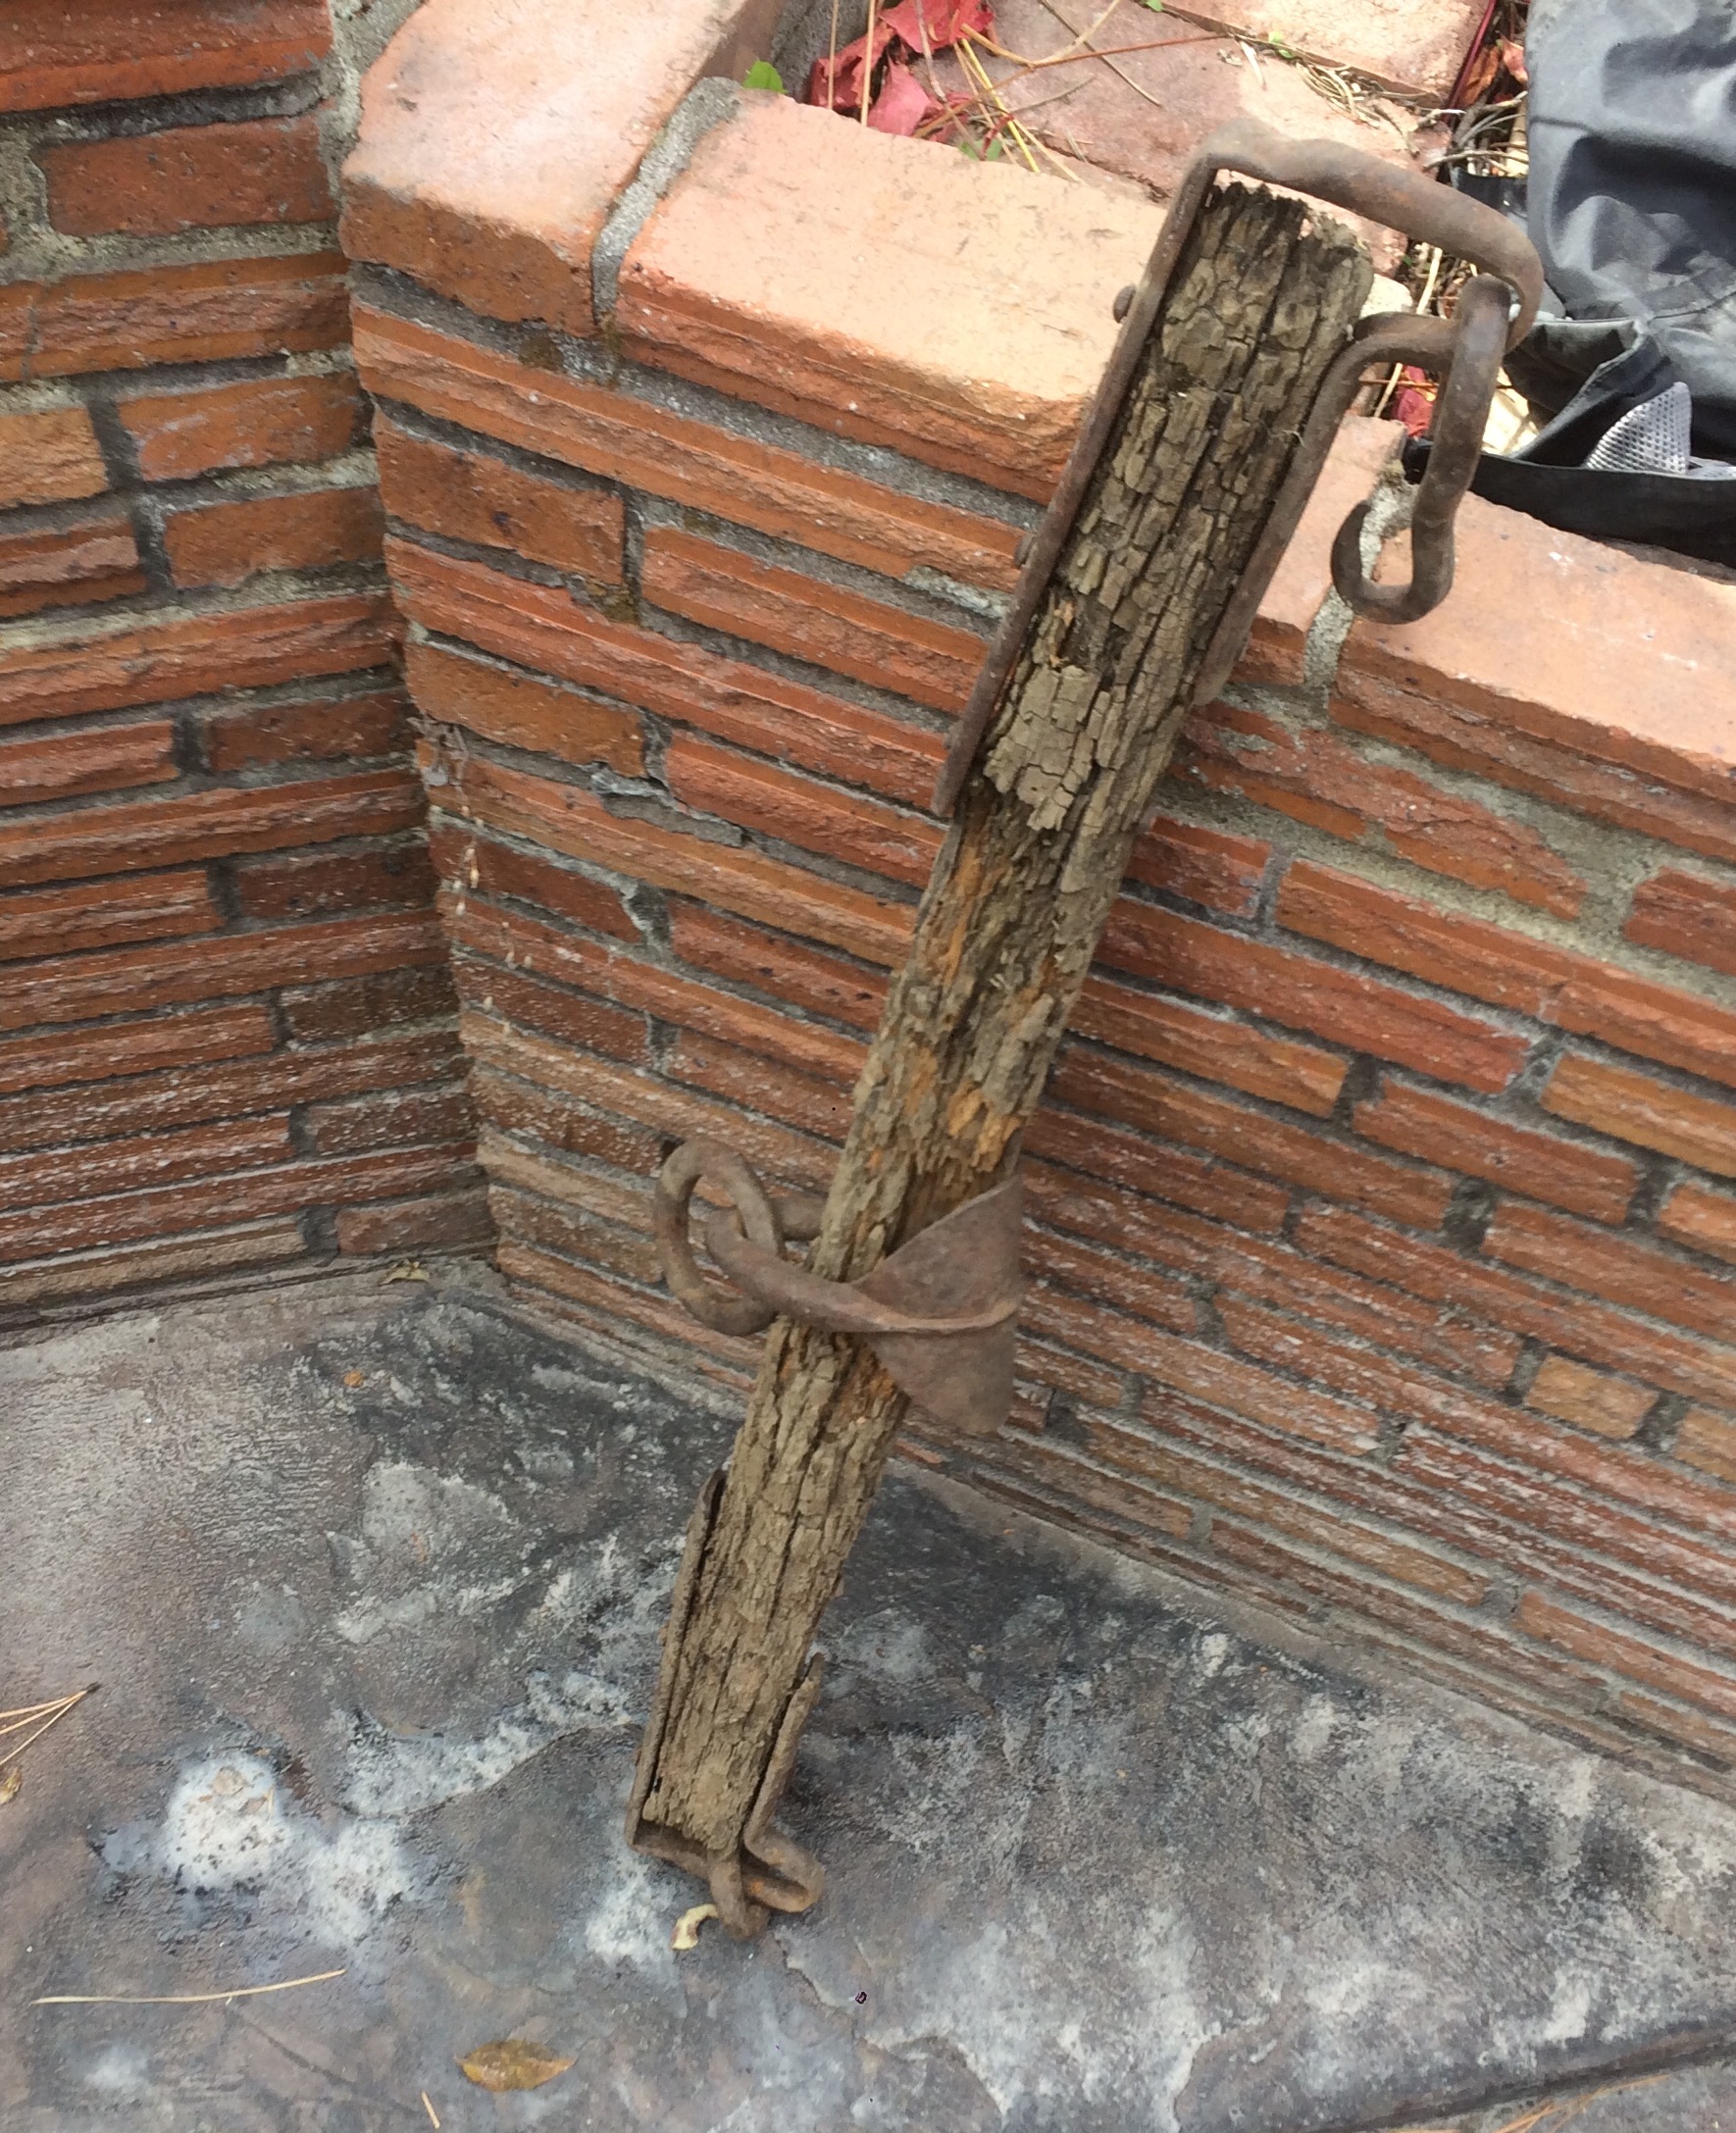
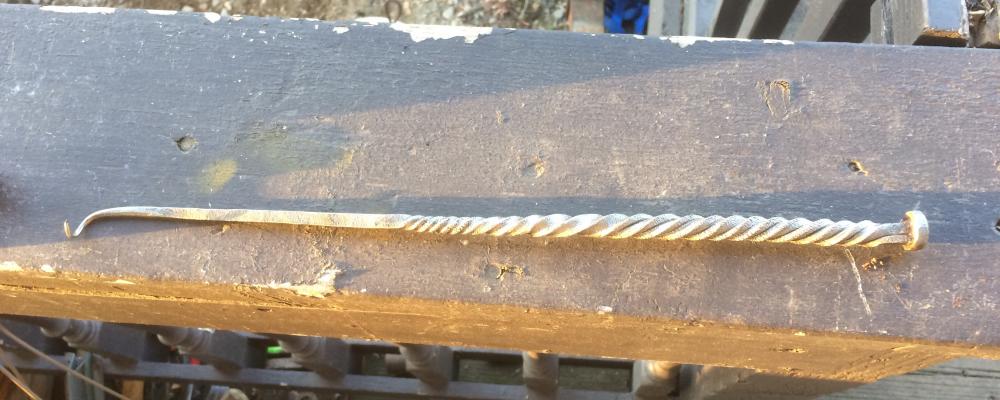
dug this up on the job site yesterday. Was hoping for some wi but no go on the hook I checked

-
Laminated striking anvil
Jasent replied to Michael Cochran's topic in Anvils, Swage Blocks, and Mandrels
Do you not have any scrap yards to pick threw or any steel fab shops in your area? Many things can be a striking anvil
-
I'm no pro but I can tell you what worked for me. After I sprayed the last layer I let it sit for a hour or so. Then took my burner and held it just in side the front of the forge and moved the flame over the whole inside till it started steaming. Then left it alone for a few min. Then I put the burner in its hole and fired it up. At first the steam keeps putting it out. Every time it did I let it breath a few min then lit it up again till the steam stopped putting out the flame. Then I let it come up forging temps for min or so then shut it down and let it cool
-
Added to the list.
-
It's much easier to apply the refactory after the rididizer is cured. My heat gun gets up to around 800f. I don't think that's hot enough to melt the silica. Why not use the burner?
-
Not at all . It just happened to be the right size width. first I was going to just clamp it in the vice but it fit my hardy so I folded it up to square.
-
Got my stump banded and made a bending fork for straighting coil spring. Haven't had time to make the striking anvil stand.
-
One more thing. You mentioned you had gotten a 3/4" T. Hope you ment a 1"T with 3/4" chase?
-
You can use and equivelant of a 1/8"mpt X 1/8" fpt elbow. I've run in to the same issue here in the USA. Some of the parts I found where to big of an inside bore. I was going to use the elbow till I found the right ones that had a smaller inside bore.
-
Progress is good
-
What did you do in the shop today?
Jasent replied to Mark Ling's topic in Blacksmithing, General Discussion
Yeah that^^^ very nice work! Lbs Is that stump anvil for Ryan? -
A collection of improvised anvils
Jasent replied to Charles R. Stevens's topic in Anvils, Swage Blocks, and Mandrels
There is if it's the wrong height and you keep heeling the hammer. Also I found it more difficult to control full force blows -
A collection of improvised anvils
Jasent replied to Charles R. Stevens's topic in Anvils, Swage Blocks, and Mandrels
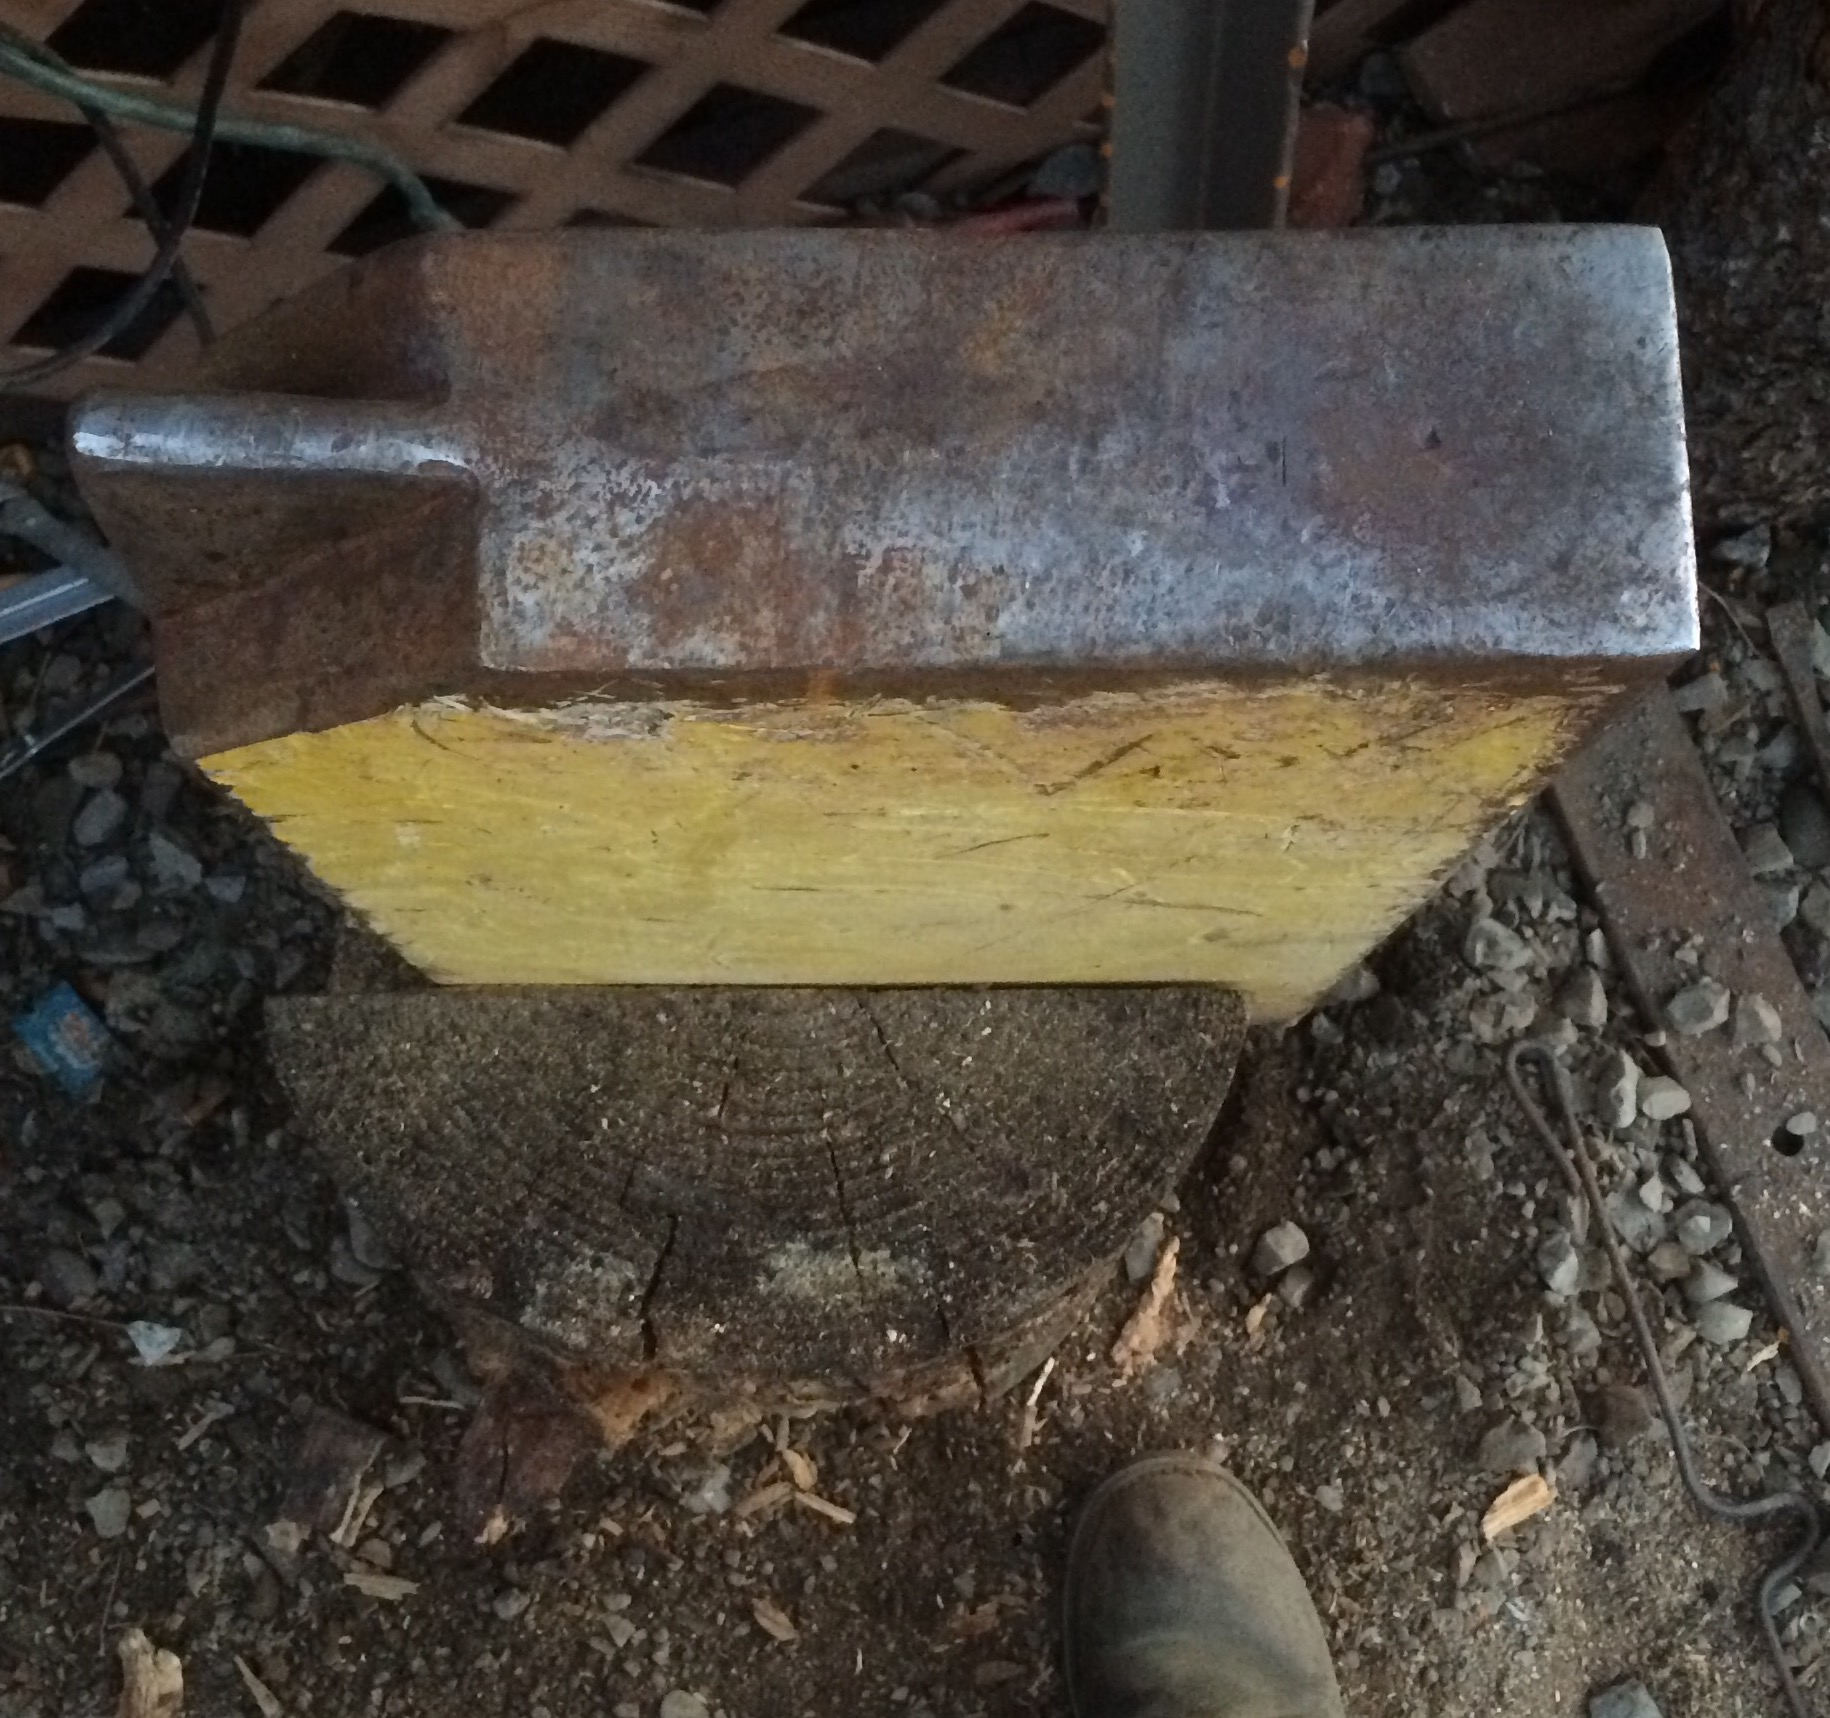
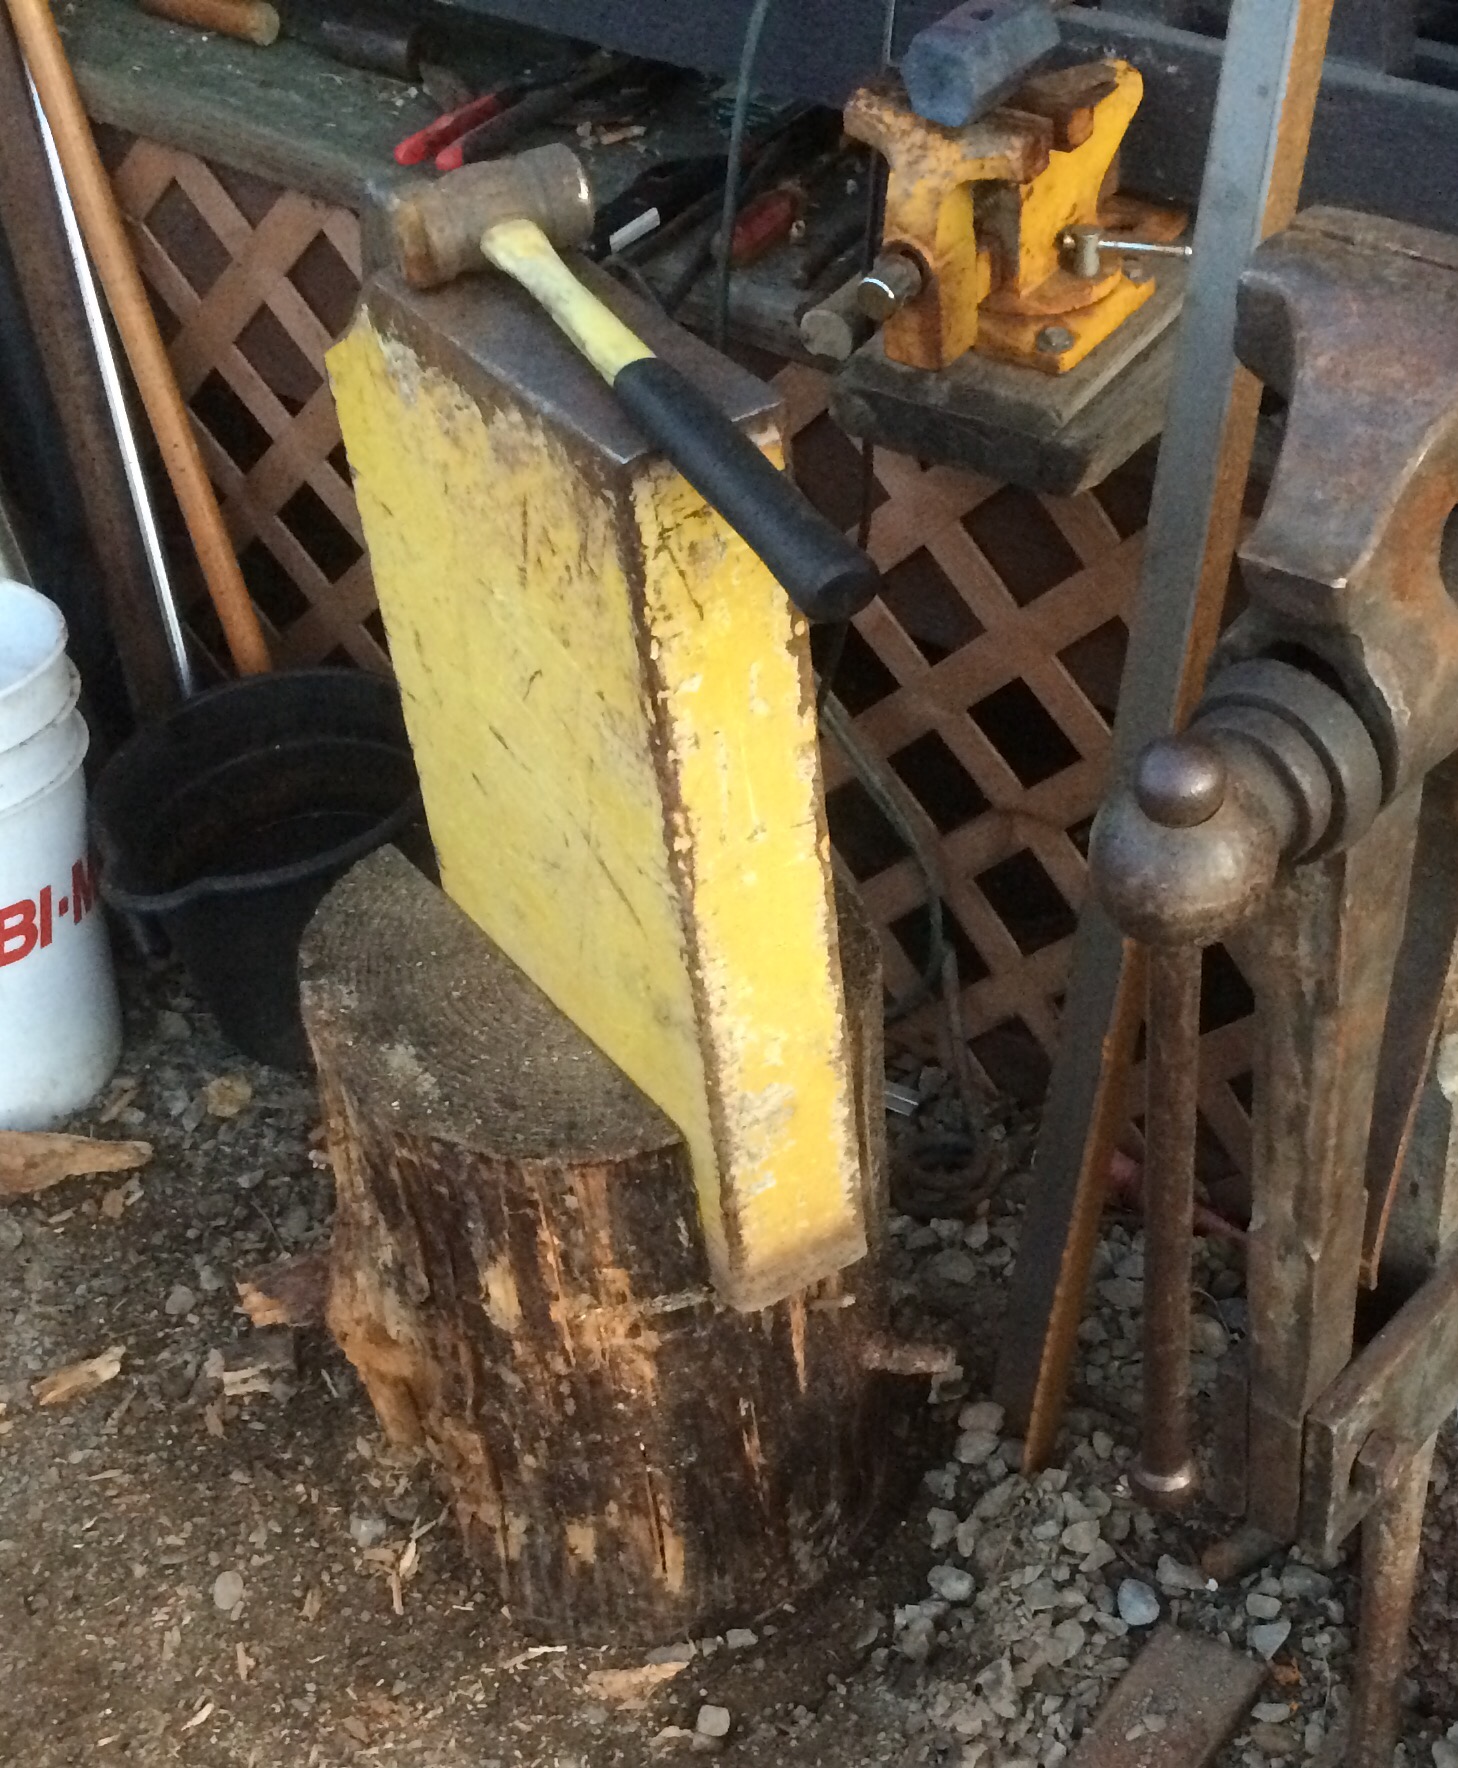
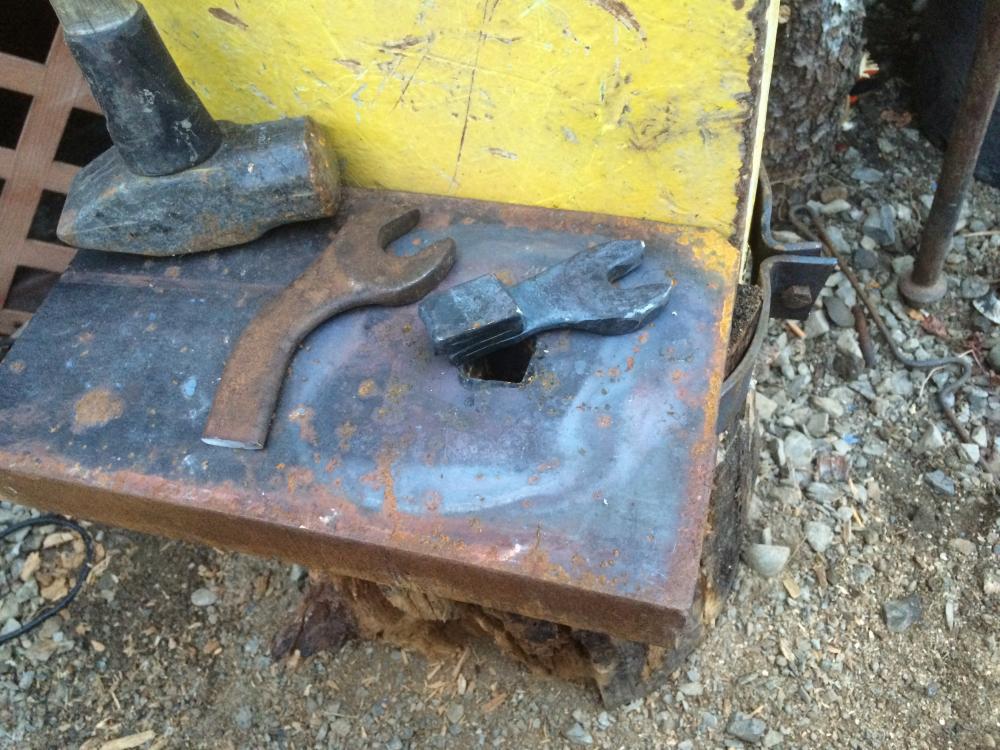
got mine mounted on a stump today. No more forging sitting down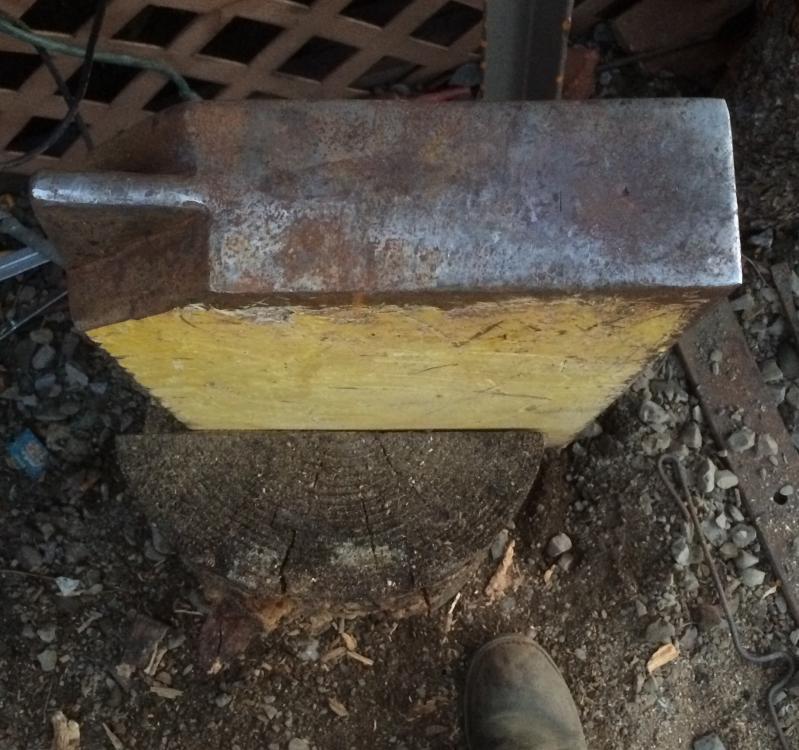
-
Well I finially got my "anvil" mounted on a stump. No more forging sitting down. Much better than before! I was not sitting at the right height and getting a heel hit instead of a flat hit. I'll band it before I work it but it took a lot to just lift it on to the ponderosa pine stump. This thing weighs as much as I do(260lbs). Should be much better working it this way! Got the supply's for my striking anvil stand. Just need to cut and take it out to the farm to weld it up


-
Open the valve very slowly. Or simply get a larger tank. In my area anything larger than 5gal dosent need the safety valve. I use a 7 gal at the moment also I don't see a needle valve on your set up. You'll def want to adjust flow as well as preasure
-
Thank you. I rather enjoyed it myself
-
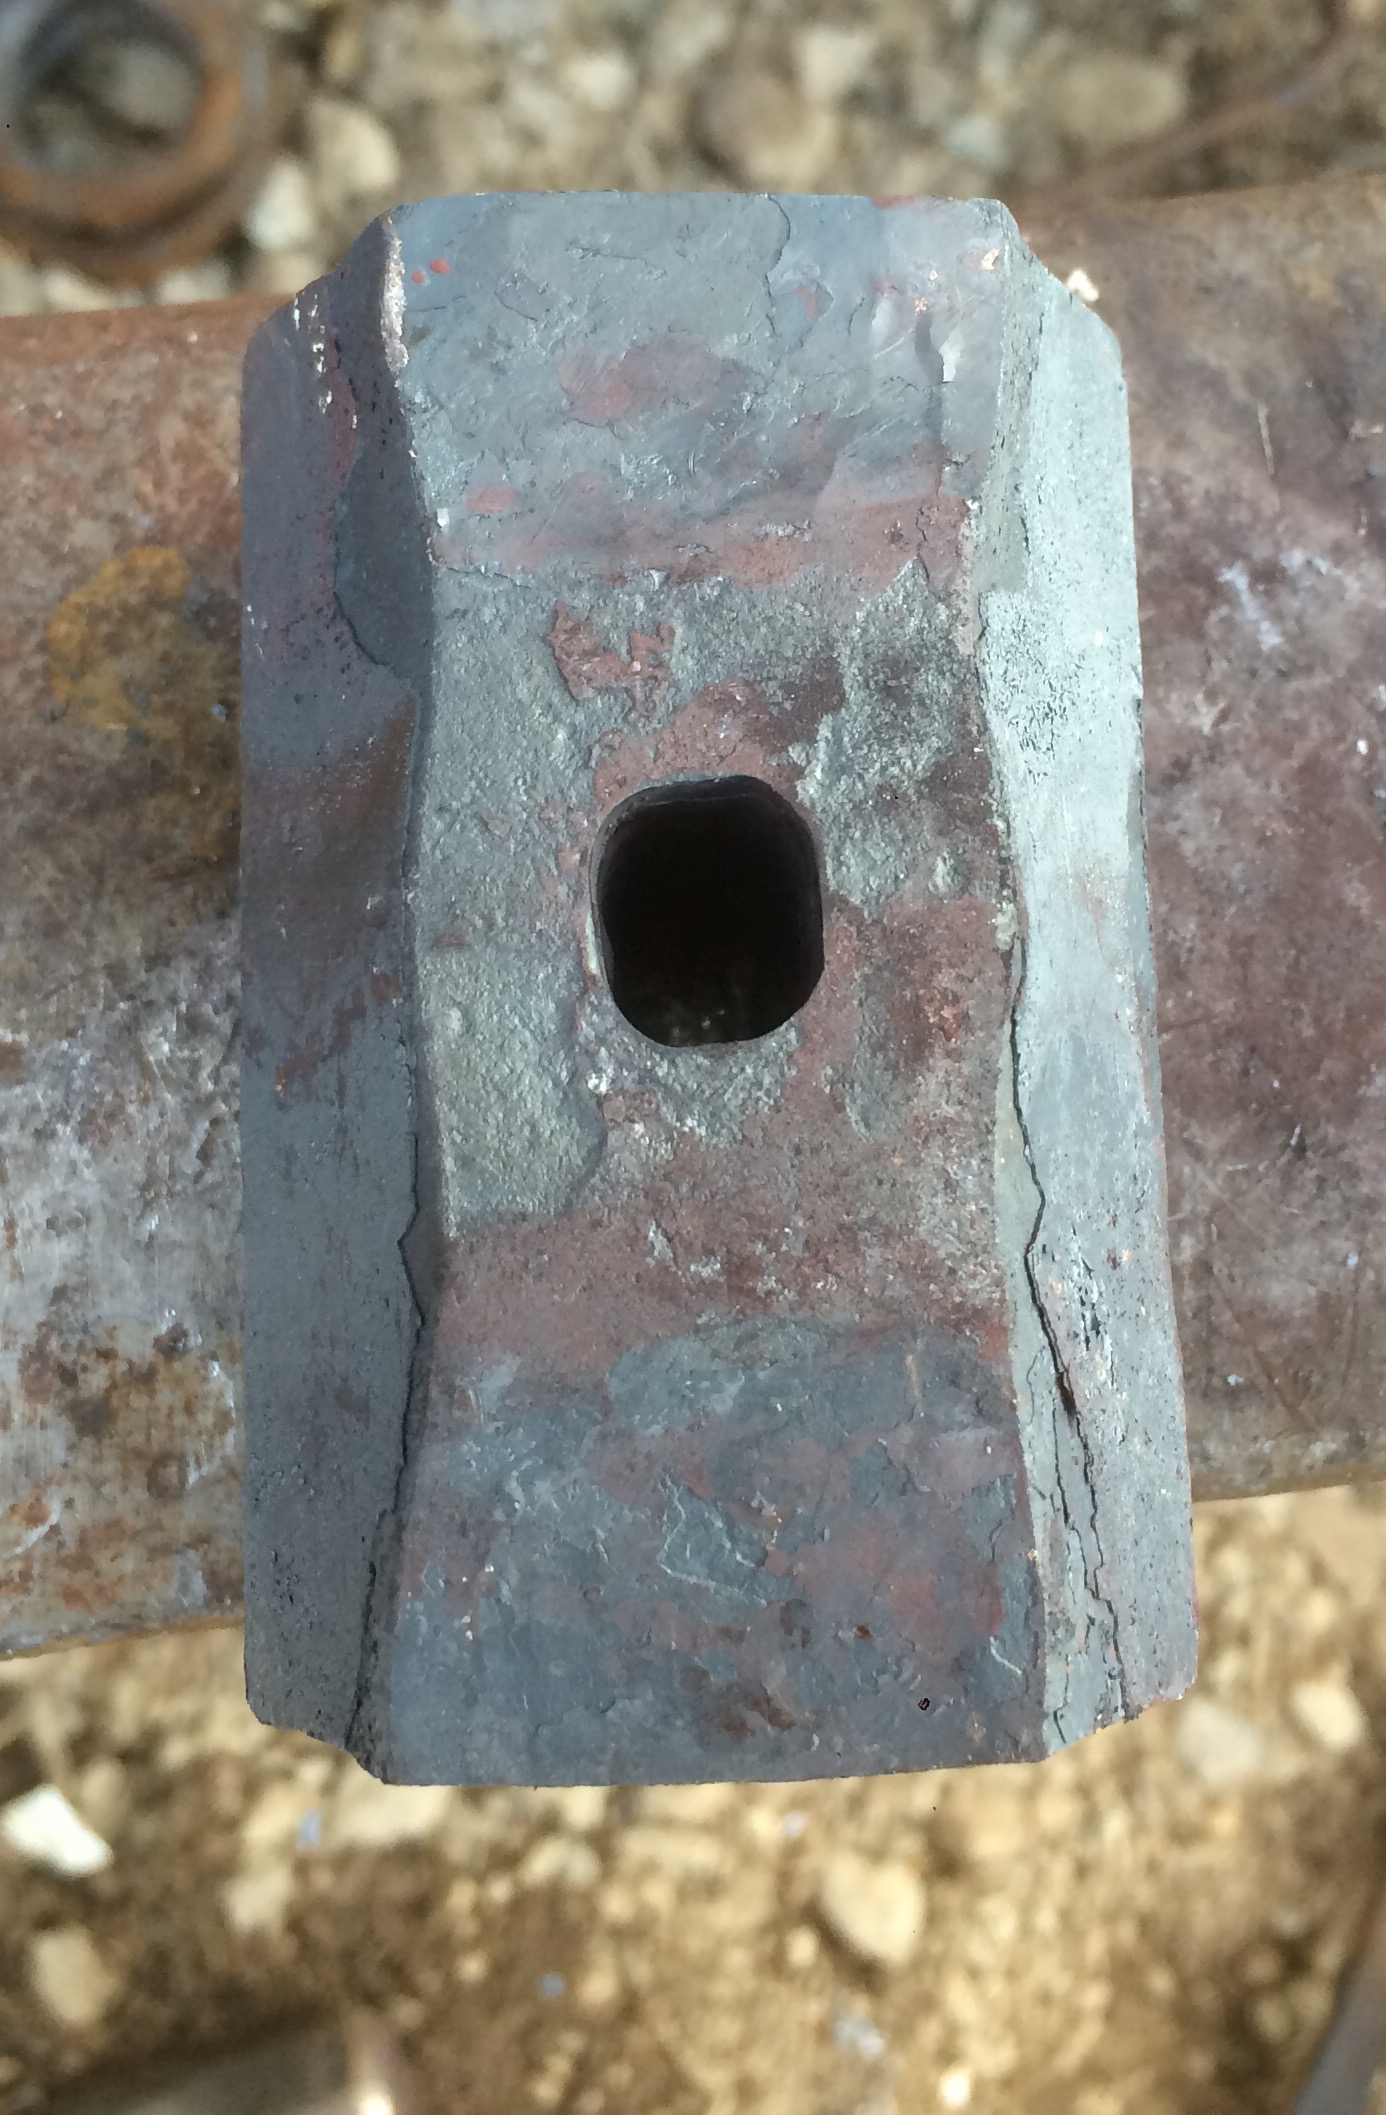
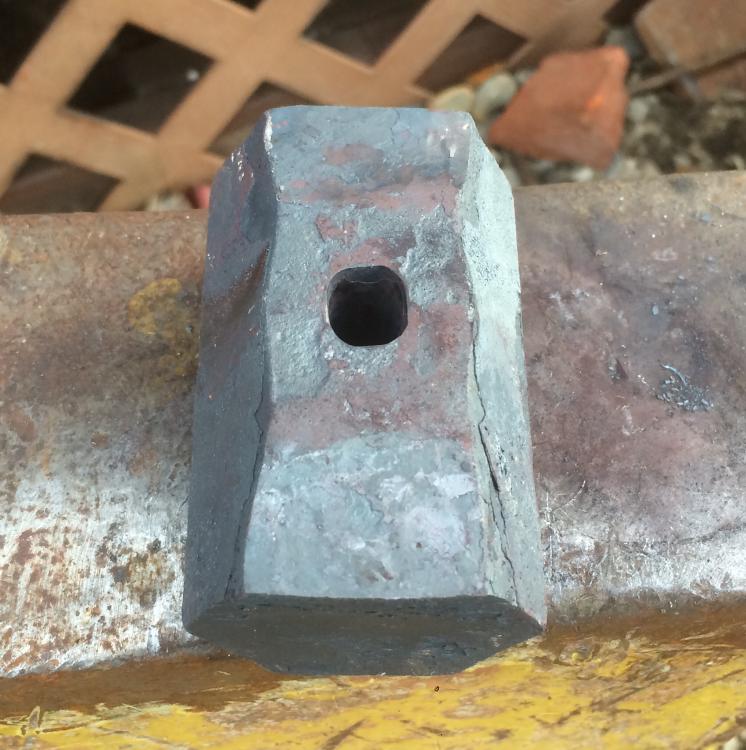
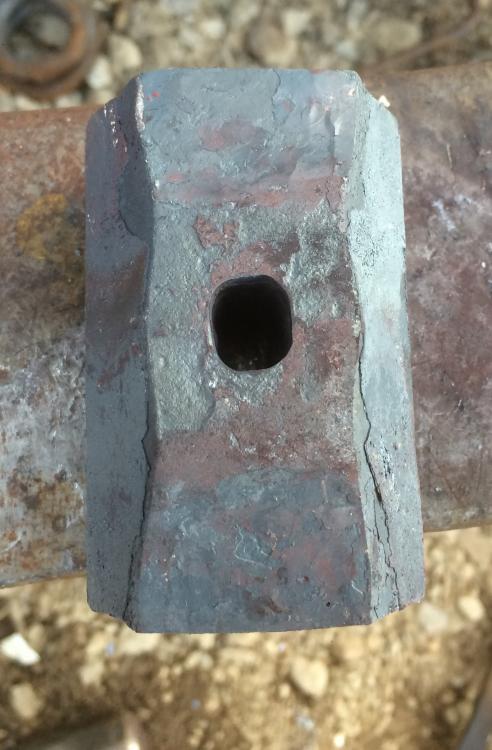
Went to the hammer in at Morgan-Jade iron works this morning. Then stopped by the scrap yard and got some materials for the anvil stands and then came home and punched a hammer head. It's not perfect but I'm happy with it. I learned a lot on this one. Keeping my punch cool helps it come out much easier. hit, quench, spin 180, hit ,quench, spin 180, hit ,quench, spin. Will be making my drift when the O1 shows up. This is an unknown steel and will be my "soft" hammer for striking hardened steel when I need to
-
Welcome aboard Tom
-
It looks nice. Good save
-
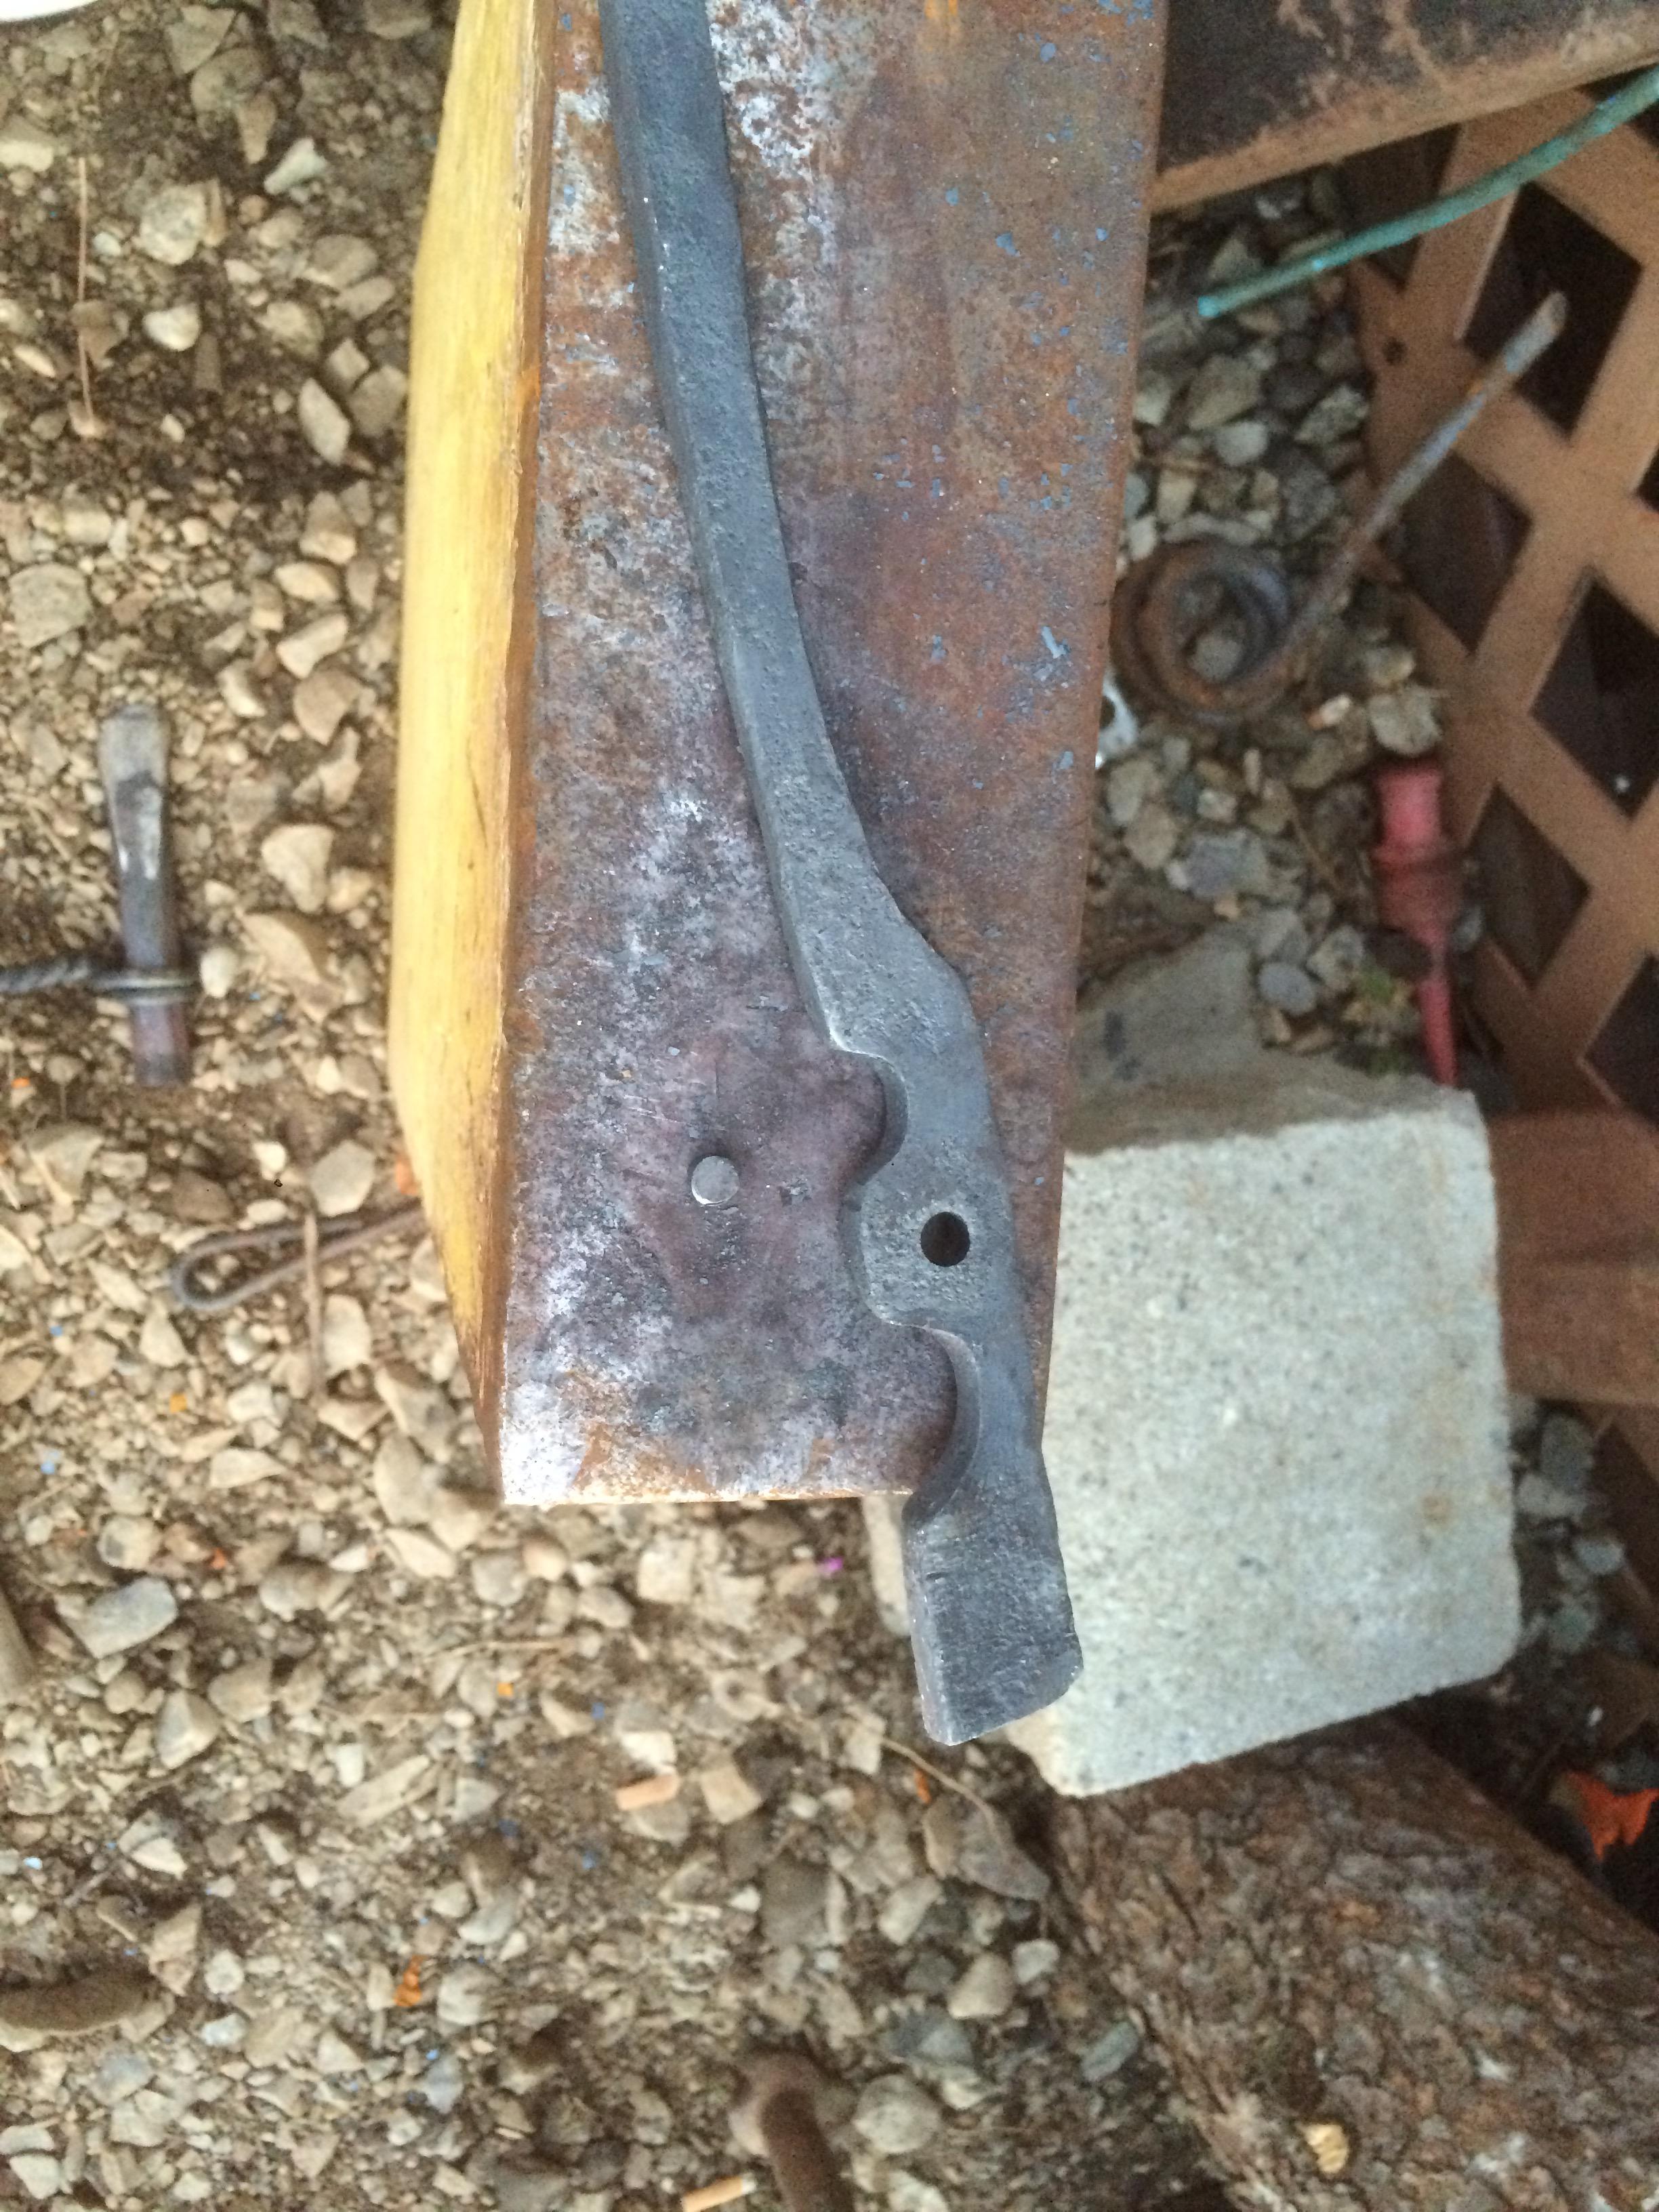
Slitter works great. I may still fuller a groove for my Handel wrap but it works very well. Started another set of tongs. Cleaned up my steak flipper and realized I burnt it. Didn't think my forge was getting that hot but apparently it is.

-
Thank you and thank you for your service. You gotta be a little crazy to work with horses