Jasent
-
Posts
954 -
Joined
-
Last visited
Content Type
Profiles
Forums
Articles
Gallery
Downloads
Events
Everything posted by Jasent
-
Why no more wrought/forged anvils?
Jasent replied to Cavpilot2k's topic in Anvils, Swage Blocks, and Mandrels
Take rhino anvils for example. They are cast steel (similar to rock crusher plates) and the hardness/toughness is the same all the way to the core. If the deck is badly damaged you can mill it down to flat again and still have the same hardness as it started with -
Cold setting 300 series stainless rivits
Jasent replied to Charles R. Stevens's topic in Problem Solving
I have cold set 300 series rivets for a set of tongs. 3/8". Worked well. It will work harden some. But I had no troubles with that -
Great news is right. Keeping every one in my prayers
-
What I need is a small shed. still getting that figured out with the land lord. For now the driveway is working ok. Would love a wind break and a roof over my head
-
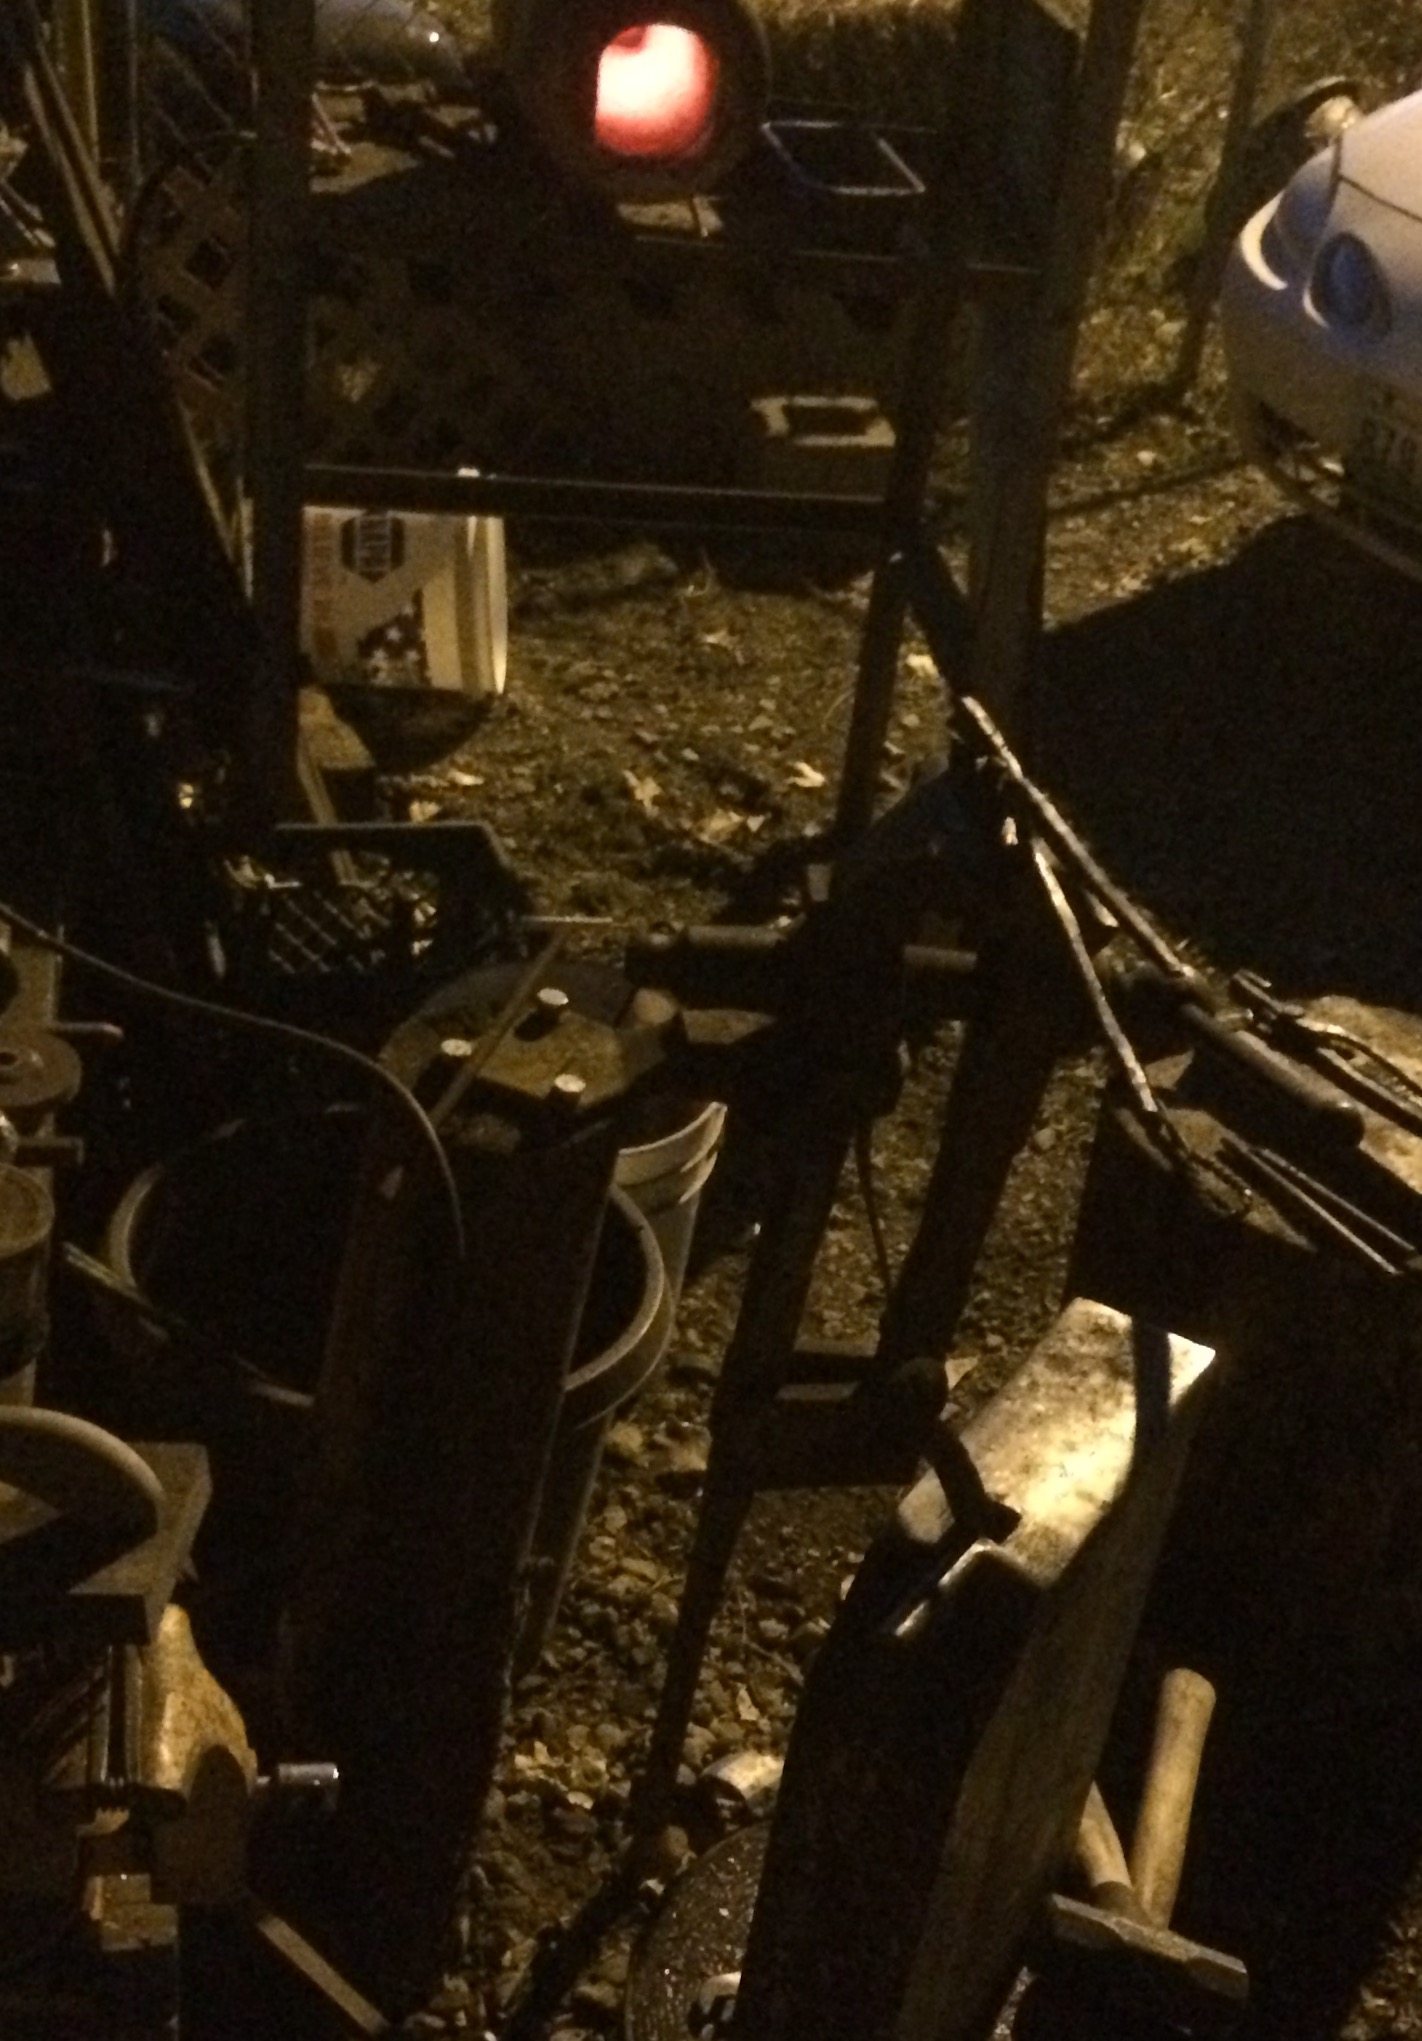
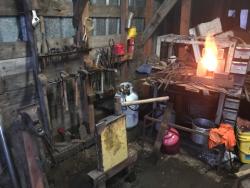
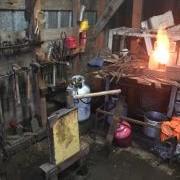
I just liked the pic. With the forge glowing in the back ground. Was too dark to take pic of the progress, so I took a pic of my setup. The tongs are on the vice. When you can no longer see where you set the hammer it's time to call it a night.
-
Every mig tip is going to be slightly different. I have 2 T burners that are identical in parts and build but both work very differently! Funny part is the one that's the most imperfect works the best in my forge. The other is as close to concentric as I can measure ( 0.0015") but dosent work as well as the crooked one. Changing tips in the crooked one made it burn very poorly. That same tip that messed up that one made the centered burner improve. All where the same size and from the same package. Remember these tips were made to feed wire to a welder. Not as gas nozzles. Just my experiences and thoughts the leak theory sounds plausible. Either run the higher preasure or try all the tips you have
-
V notch tongs are about finished. Putting the smithy to bed

-
Much nicer than my first hook. Welcome to the addiction
-
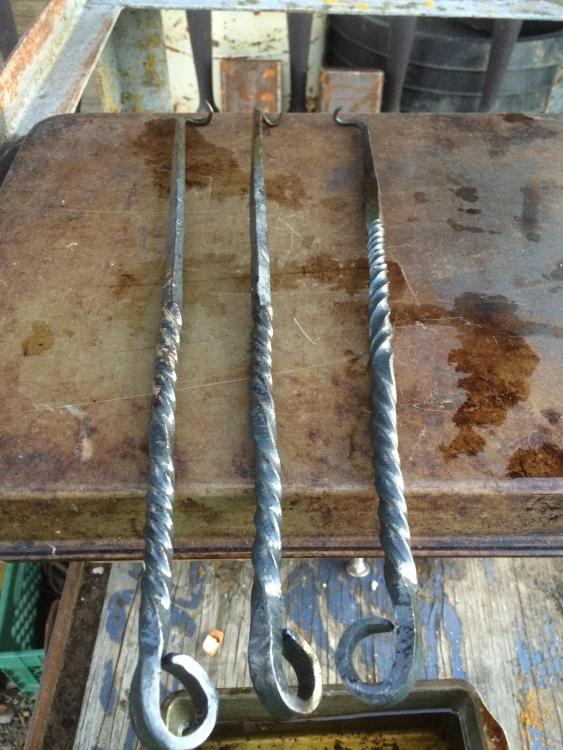
Thank you again everyone. Giving the V notch tongs a go again. Starting with 3/8" X 1". Slitter is working awesome. Loving this method.
-
Thanks for the tips today! Push broom handle and plum

-
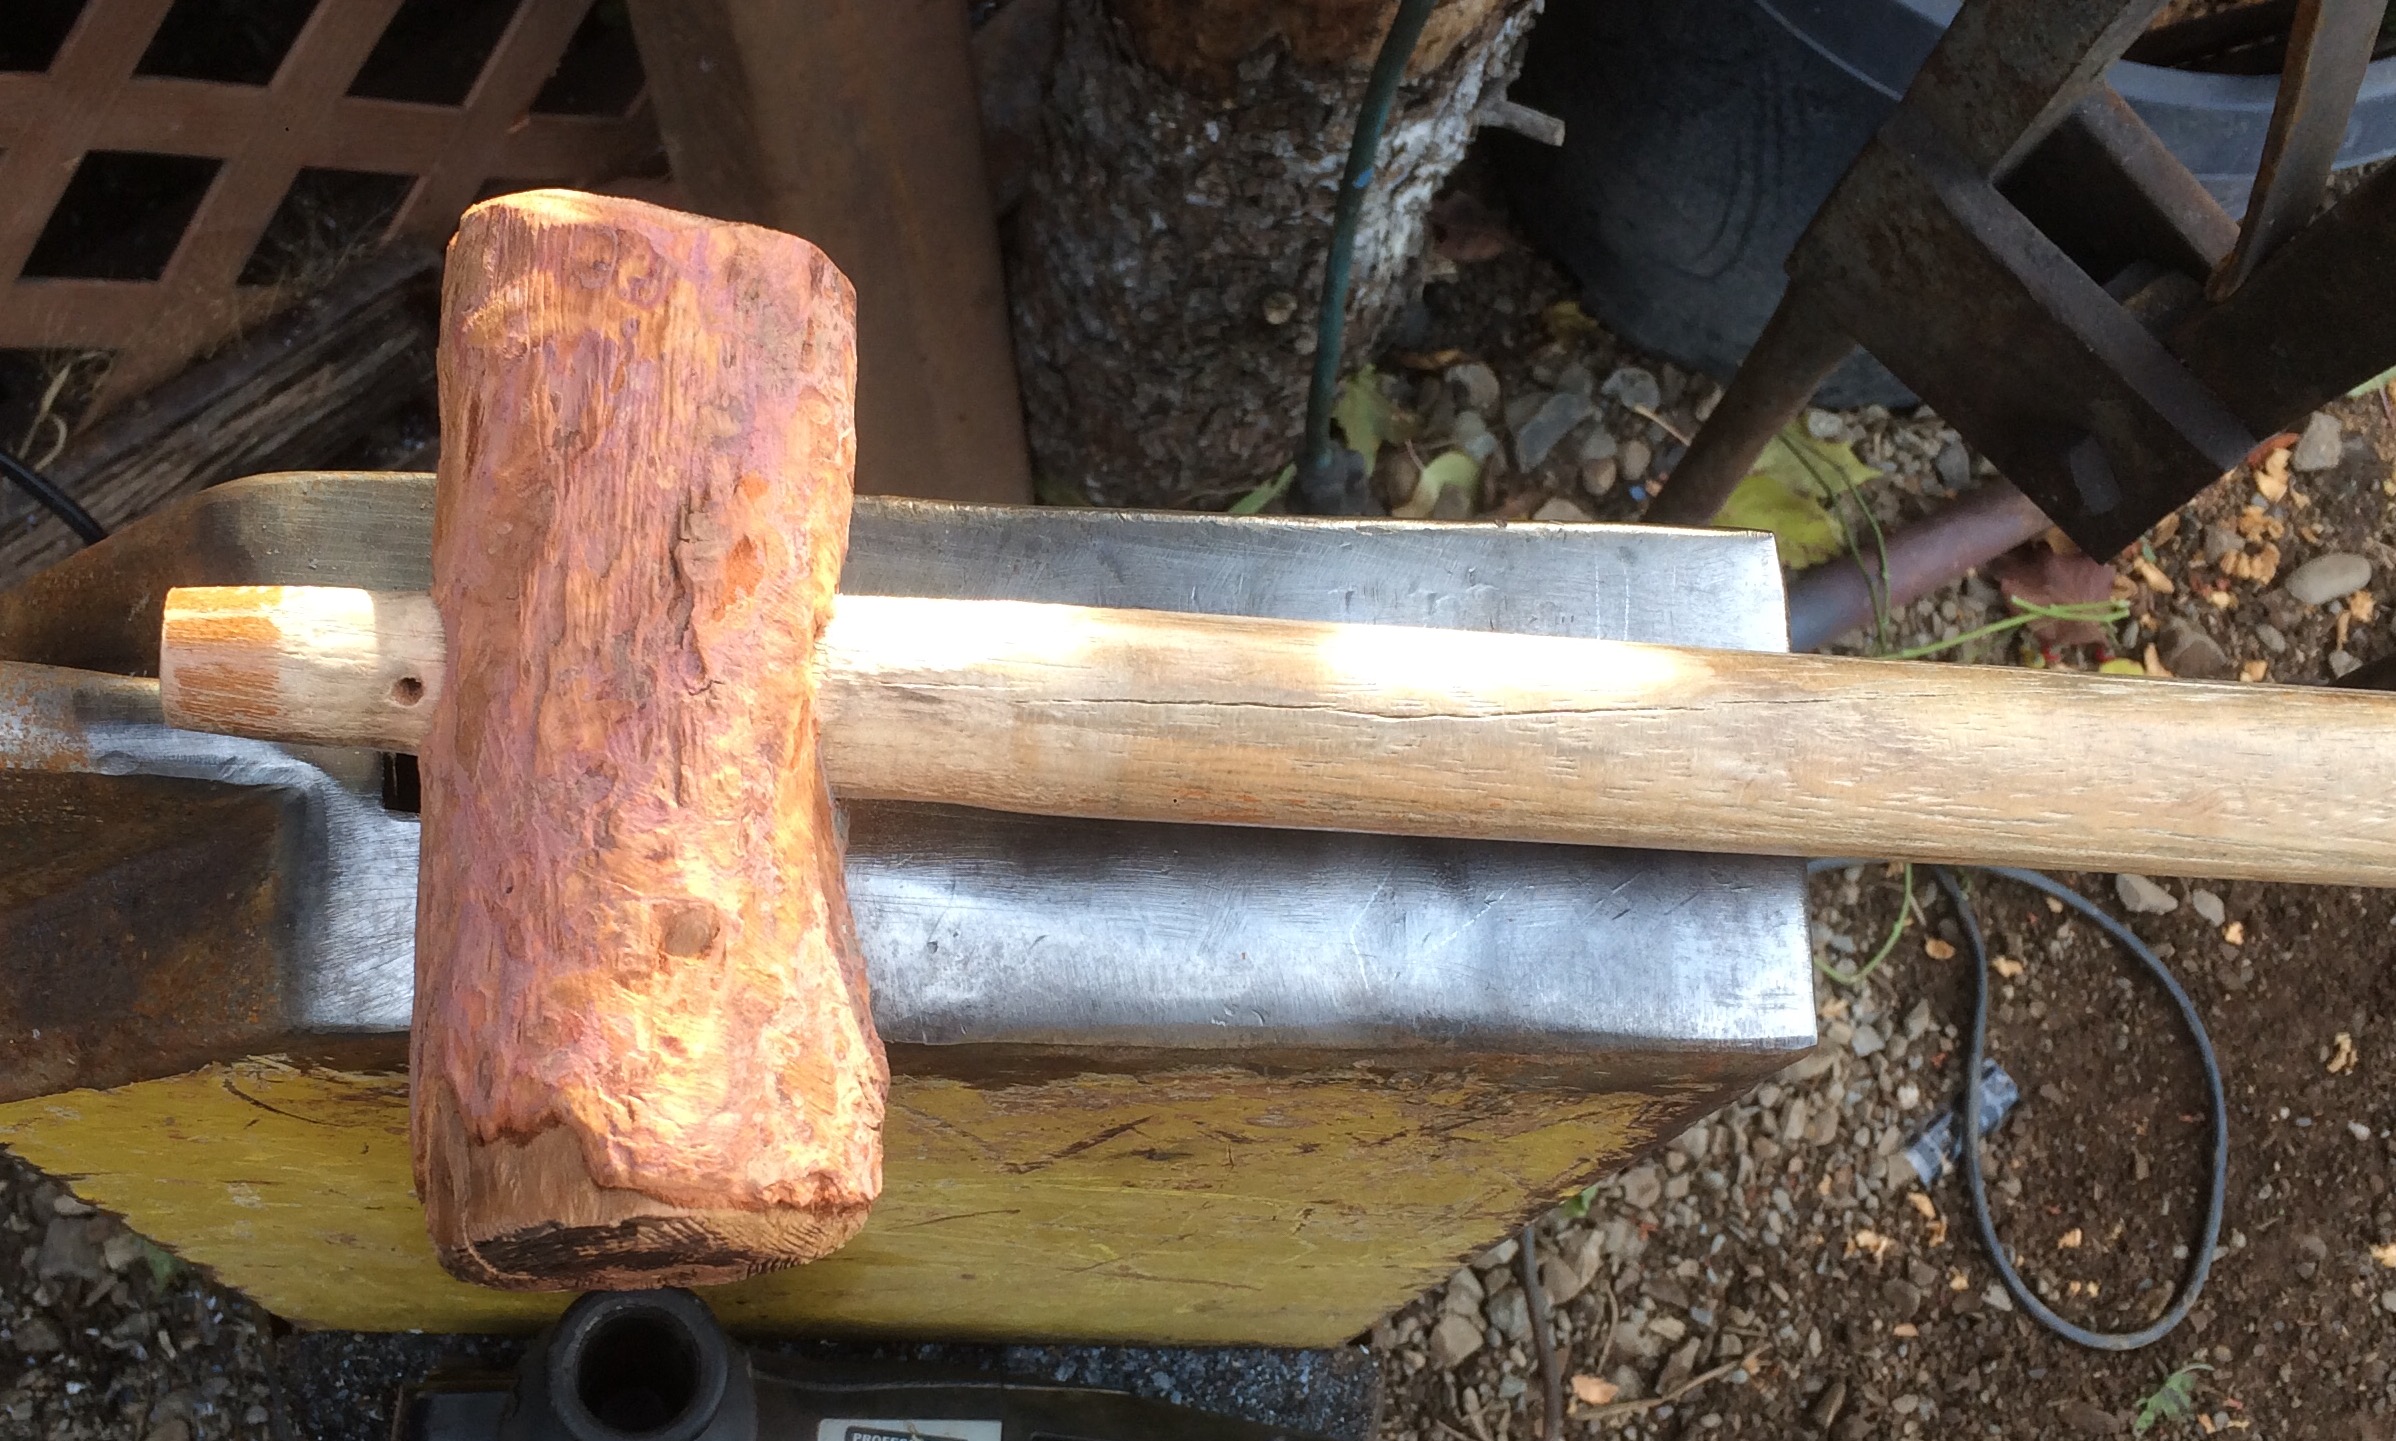
Wow that thing is a beast! I have a broken shop broom handle and a block of wood. Will have to make one up today.
-
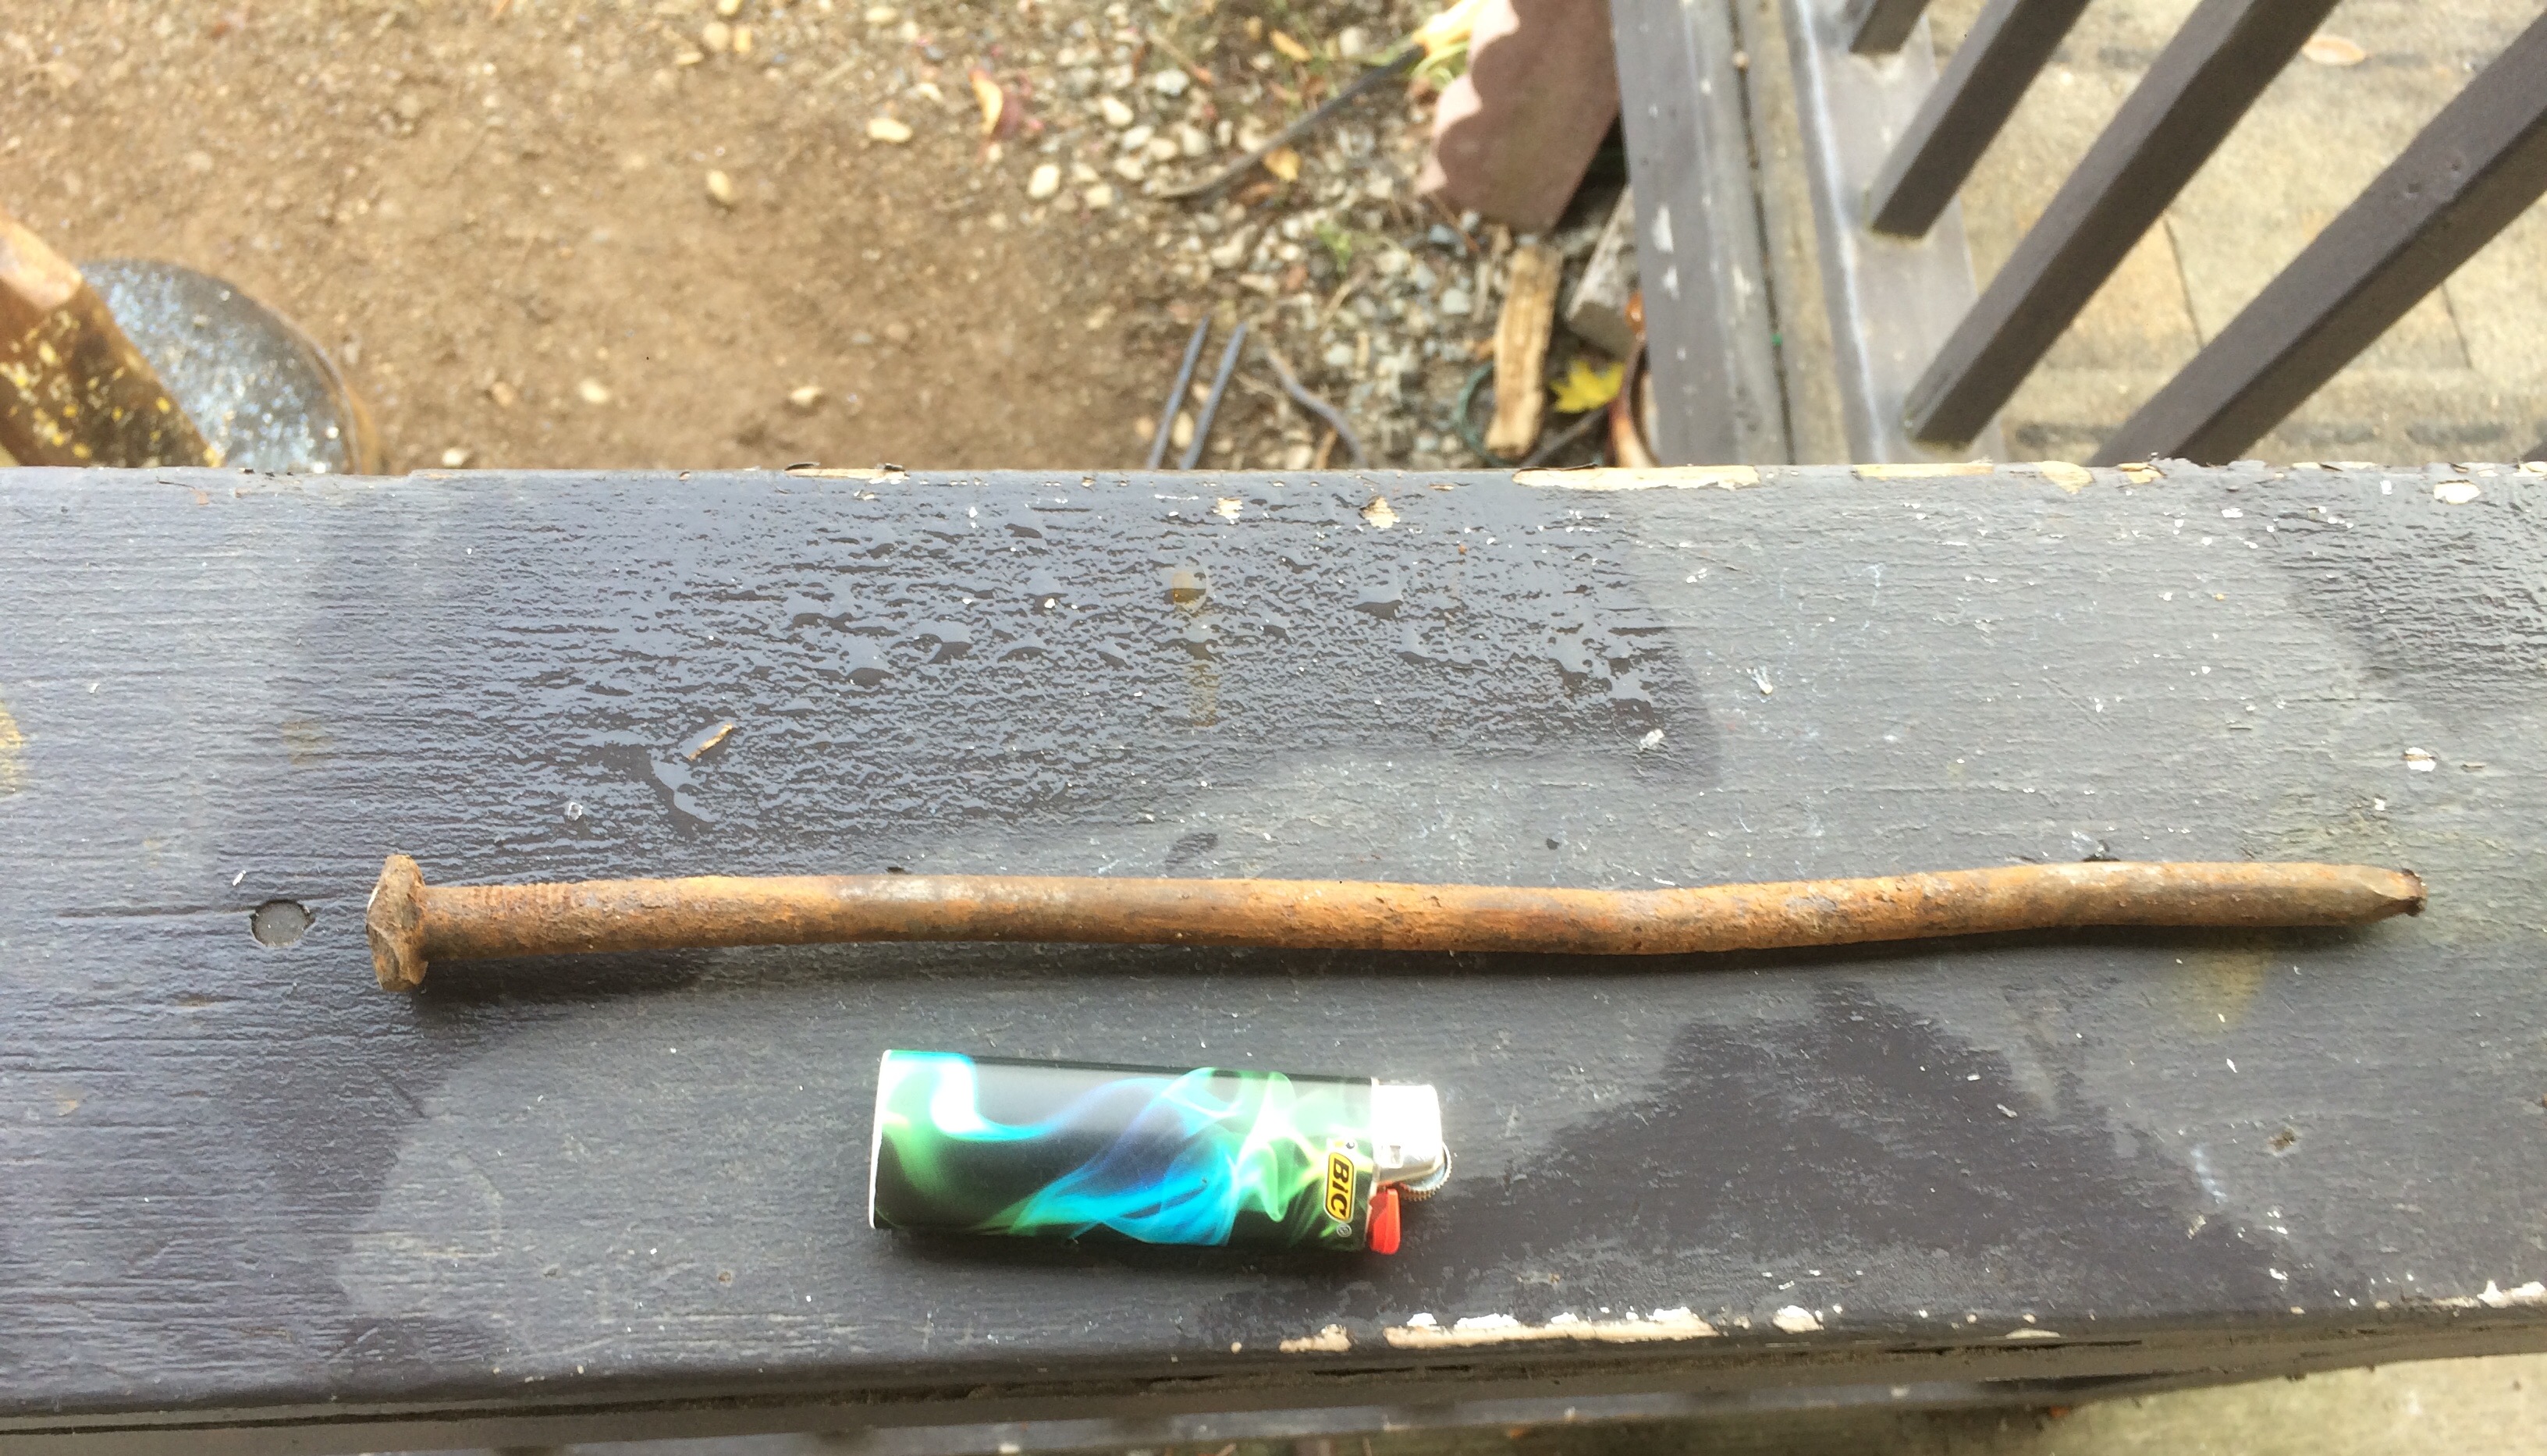
I did straighten the last one on a stump some as I remember TP talking about doing that. But I don't have a wood hammer yet. I'll try using a hunk of wood like you said. I have used my vice to straighten before but it sucks the heat out fast on this little stock. All the steak flippers started life as a nail salvaged from a rail tie wall we tore out at work. I think part of the bending problem is I'm twisting with a crescent wrench. I need to weld a handle on it to use 2 hands. Maybe I just need to forge some twisting wrenches.

-
Your pun foo is strong I think my twisting is improving. The steak flippers go in order left to right from the 2nd one to the 4th. May do some twisting practice today before I make anymore flippers
-
Thank you. I wondered about that
-
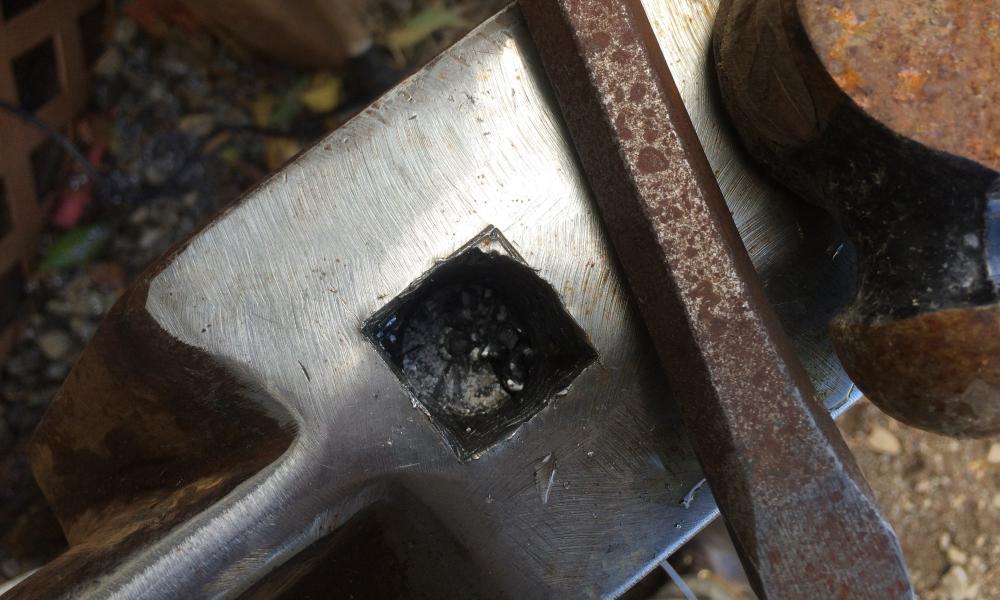
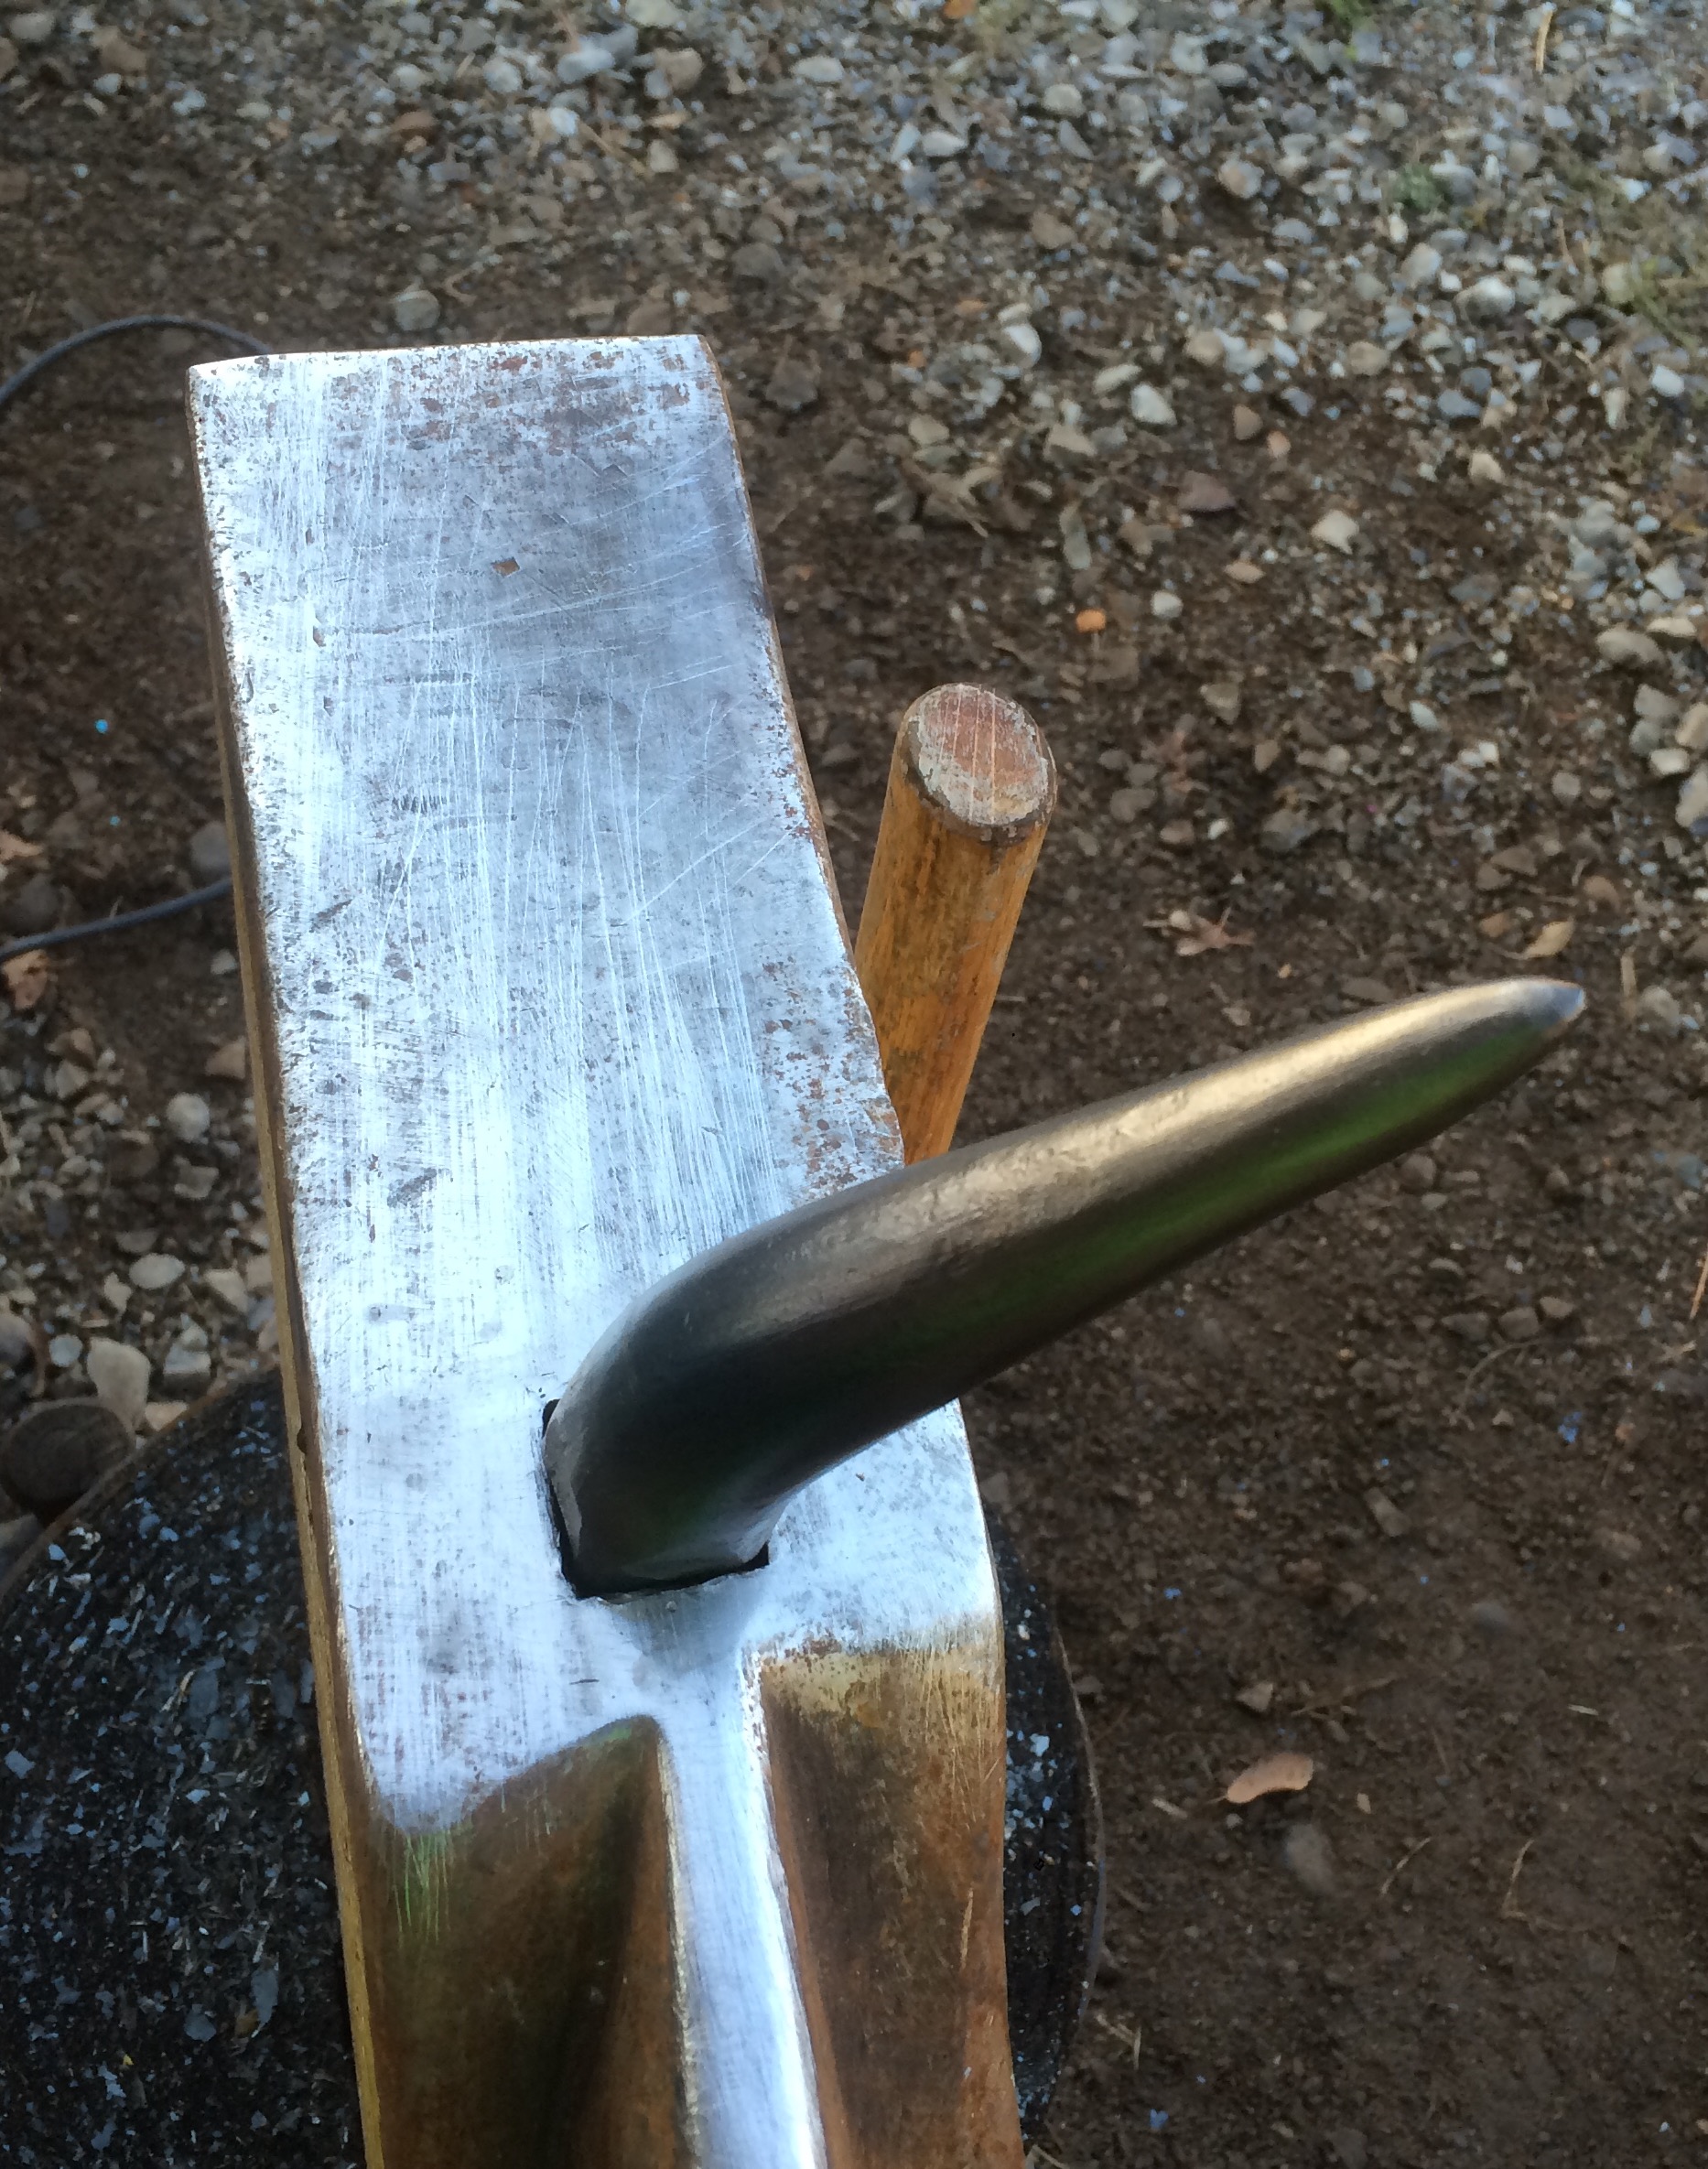
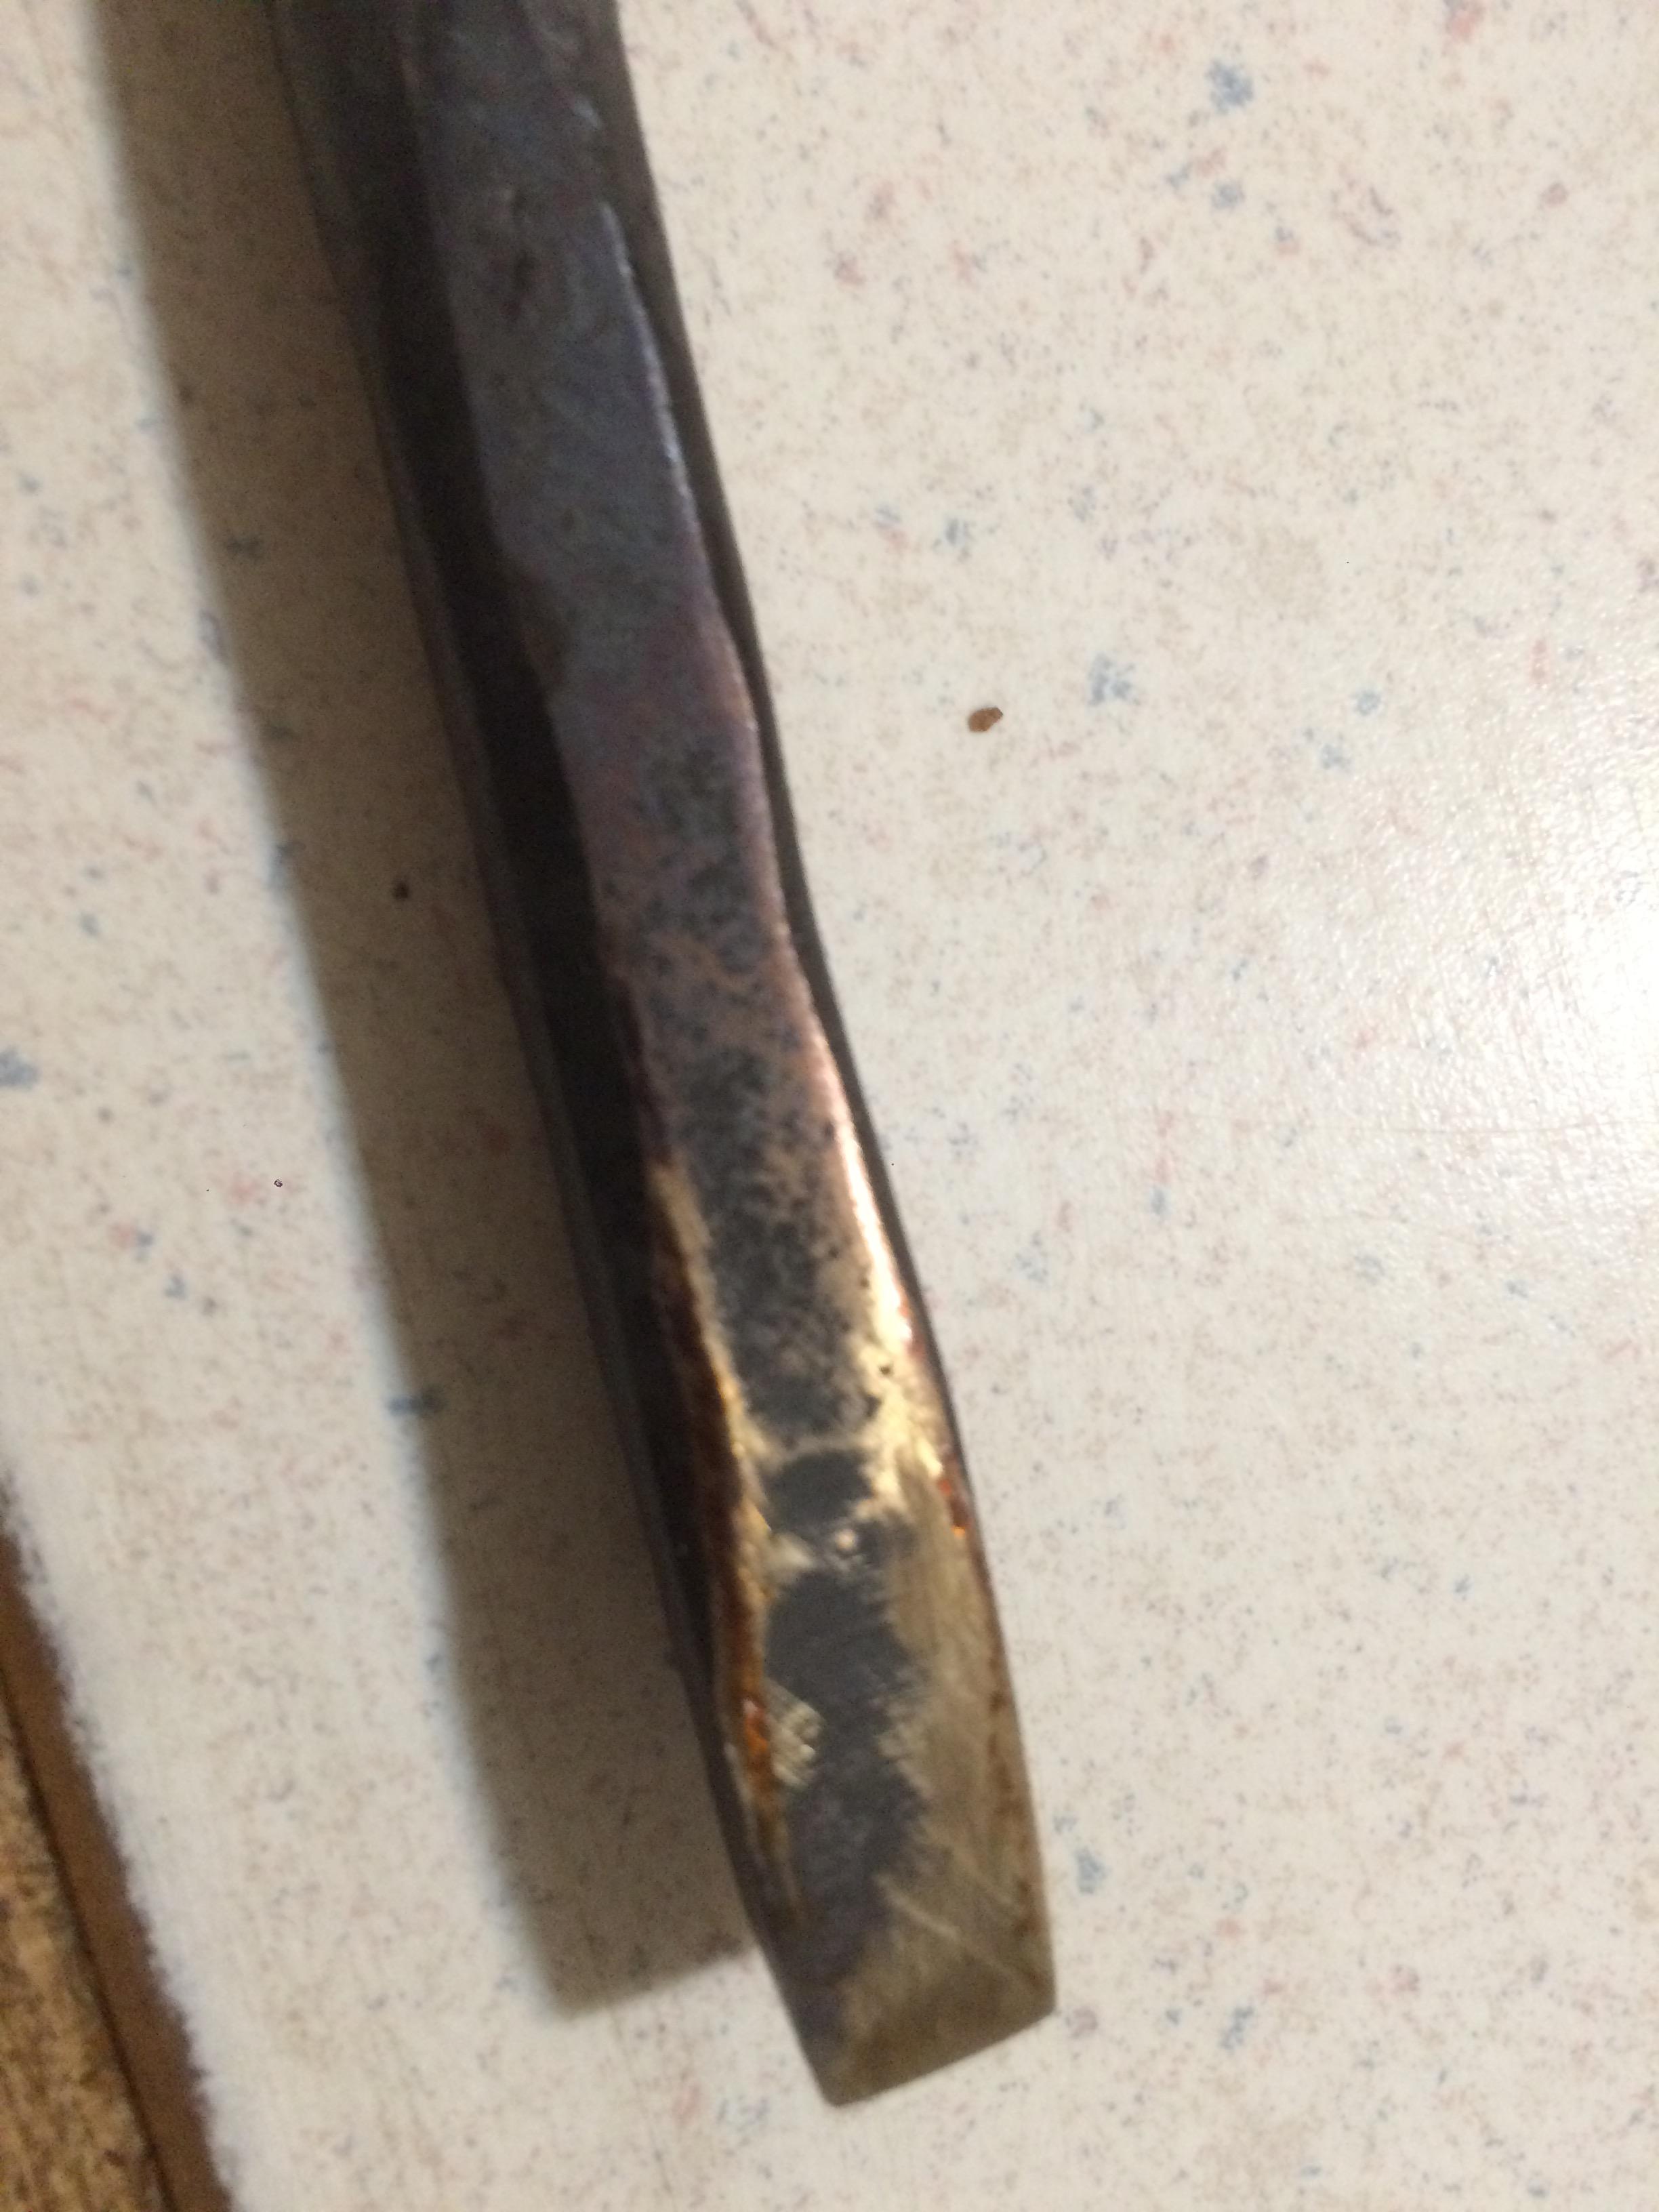
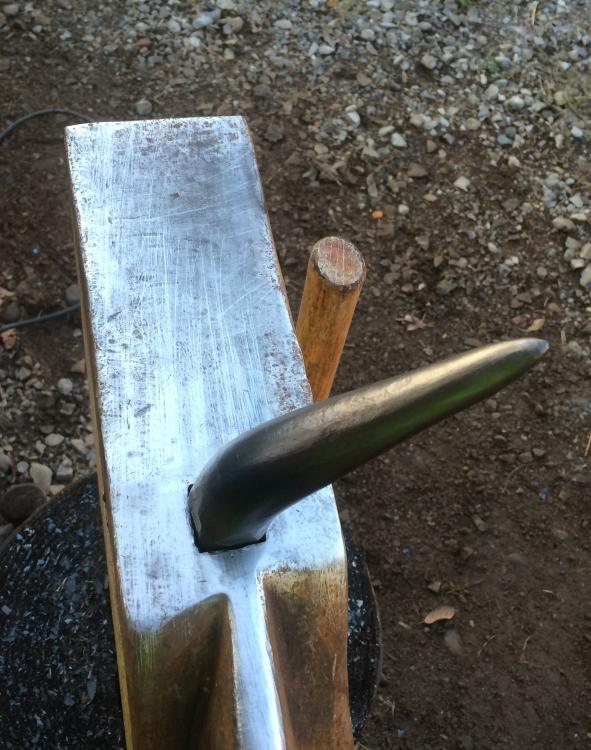
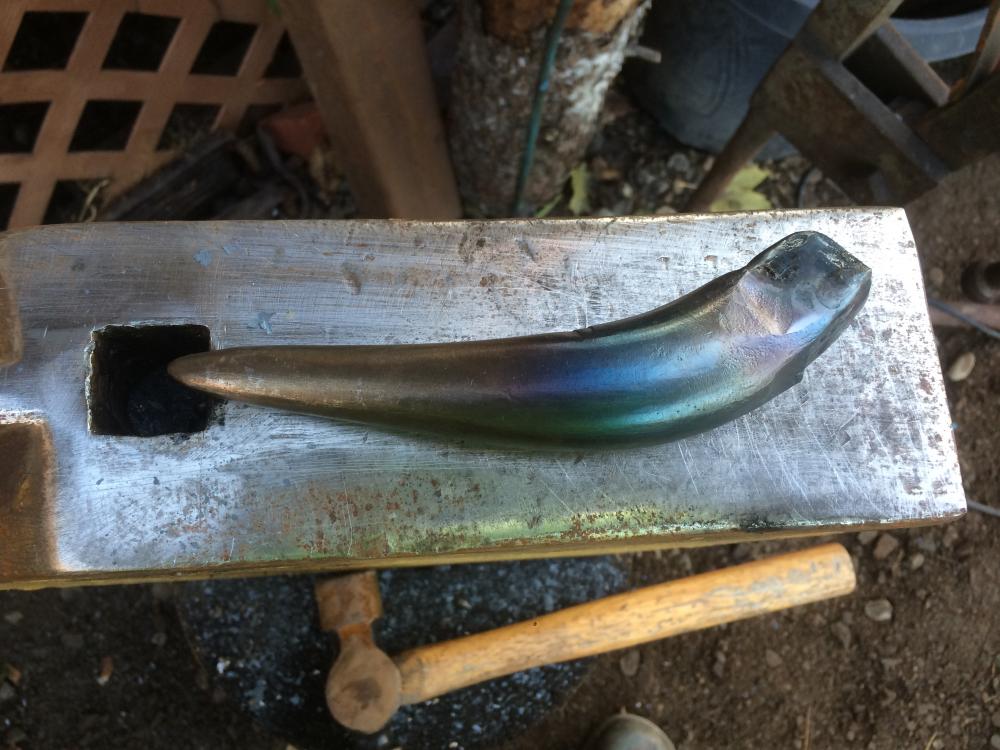
Did some heavy hammering today. Got my hardy cut 1 3/4" deep to square. Then made a hardy horn(?) from 1 3/8" axel 5" long. Then had some time left so I did few more steak flippers

-
Awesome. I may have to build one of these
-
If it gets too hot set it aside and let it cool while you work on something else
-
Welcome. You've come to the right place to learn. Any pictures of the new addition? We love pics
-
What did you do in the shop today?
Jasent replied to Mark Ling's topic in Blacksmithing, General Discussion
I've been thinking about doing similar with some leaf spring I have. -
I've let my anvil and hammer rust
Jasent replied to Donniev's topic in Blacksmithing, General Discussion
Remember in rust we trust -
I think with a little work your set up is going to work well. Need to see it in a forge
-
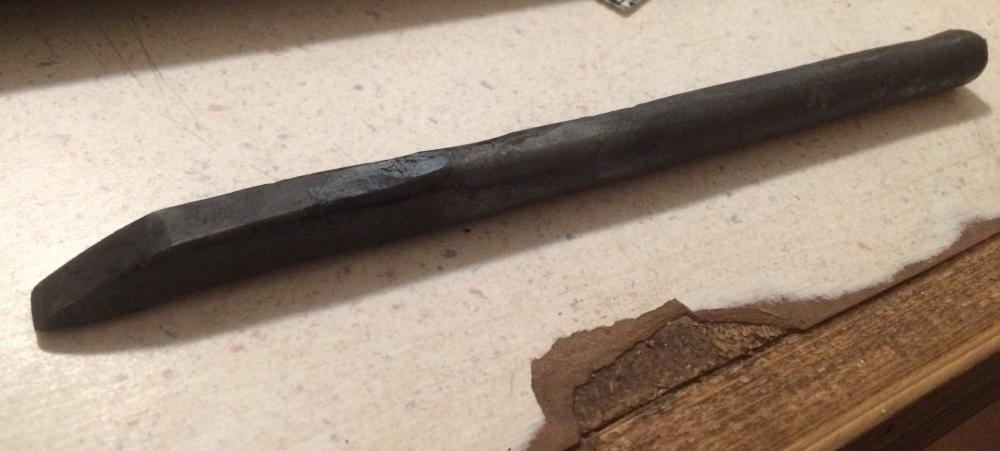
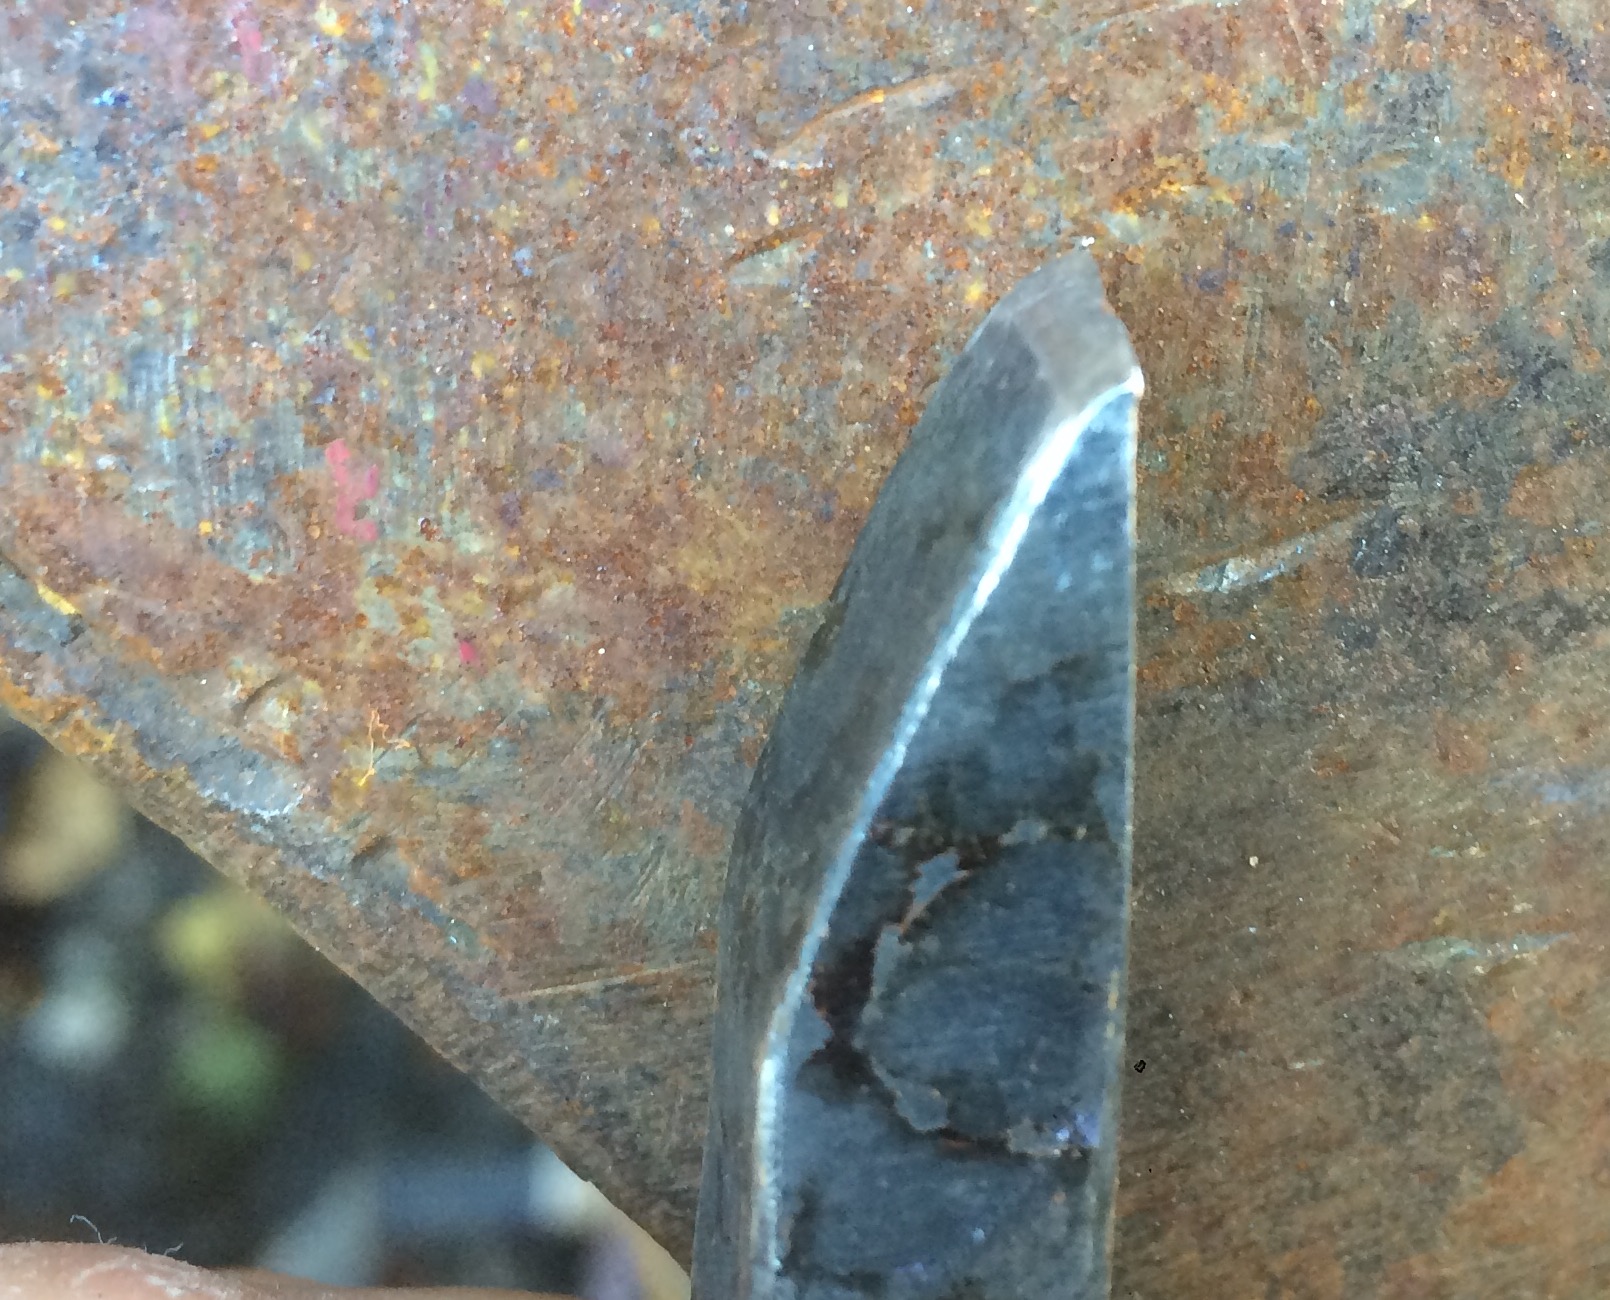
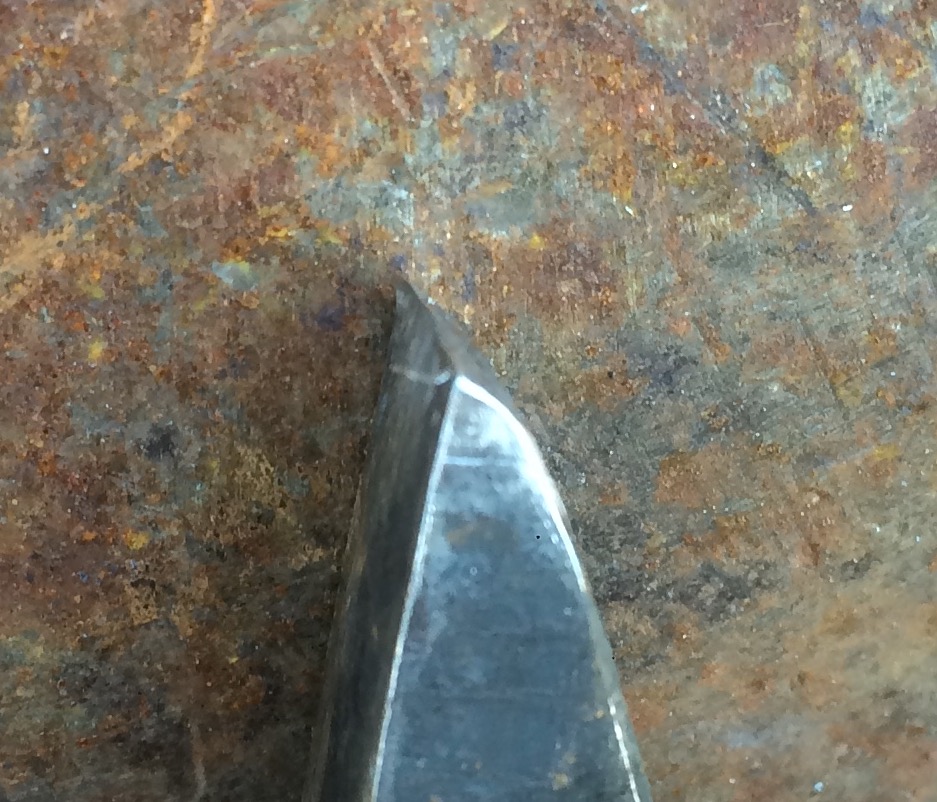
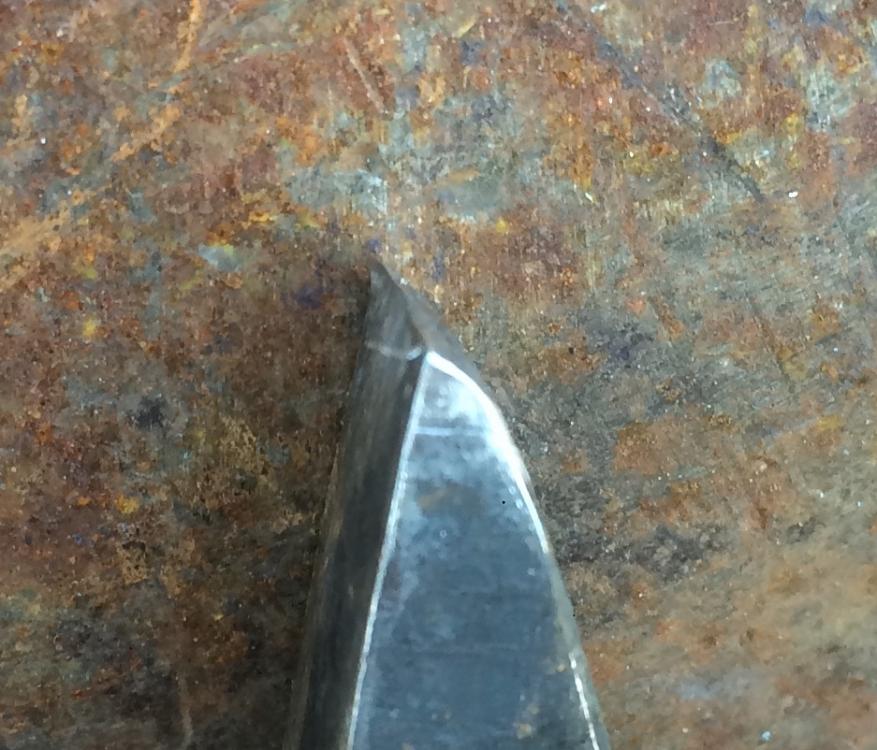
Well the chisel worked very well. Even with a 40 degree cutting edge it held up just as well as my factory cold chisel did
-
I wanna see it fired up
-
Thanks. Your right it's what I had. I didn't think spring steel could be water quenched. I'll give it a try if this one doesn't work out
-
Made my first chisel from the coil spring to finish off my hardy a bit deeper . After normalizing 3x Brought it back up to critical and Quenched in peanut oil then cleaned up one side real quick with a file and watched the colors run slowly