

Tommytaptap
-
Posts
103 -
Joined
-
Last visited
Content Type
Profiles
Forums
Articles
Gallery
Downloads
Events
Everything posted by Tommytaptap
-
large fireplace screen
Tommytaptap replied to Kevin Olson's topic in Blacksmithing, General Discussion
WOW! Now THAT IS a fireplace! Maybe a JCB to put the logs on? And-we're gonna need bigger tongs! Thanks for posting Kevin. I wonder how many hours went into the making of that superb screen? It looks like it is a working fireplace-the chimney must be a massive stack too. -
They're not vises, they're works of real art! A few people on here could very easily make them into something really special. Reminds me of two people getting married-ie. at the altar. Tom.
-
gave the trenton a vinegar bath
Tommytaptap replied to fireball's topic in Anvils, Swage Blocks, and Mandrels
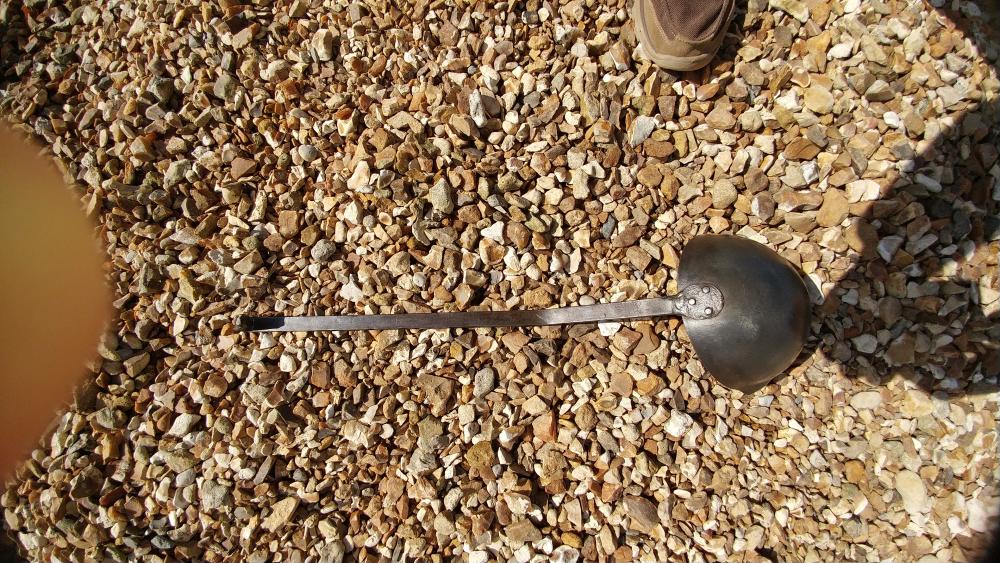
In my experience, I have found that the most superior and long lasting finish for a cleaned anvil i.e. showing no rust- is to rub it all over with a bar/bars of beeswax and then gently heat that with a gas blow lamp flame until the wax melts and fills all the voids.(apart from the face which I just wipe with an oily rag.) Once its cooled and dried for a few days,it's a great finish. I did several pieces with it over a year ago and still no signs of oxidisation and the parts are not at all sticky to the touch. Here is a mild steel ladle that had the treatment last spring.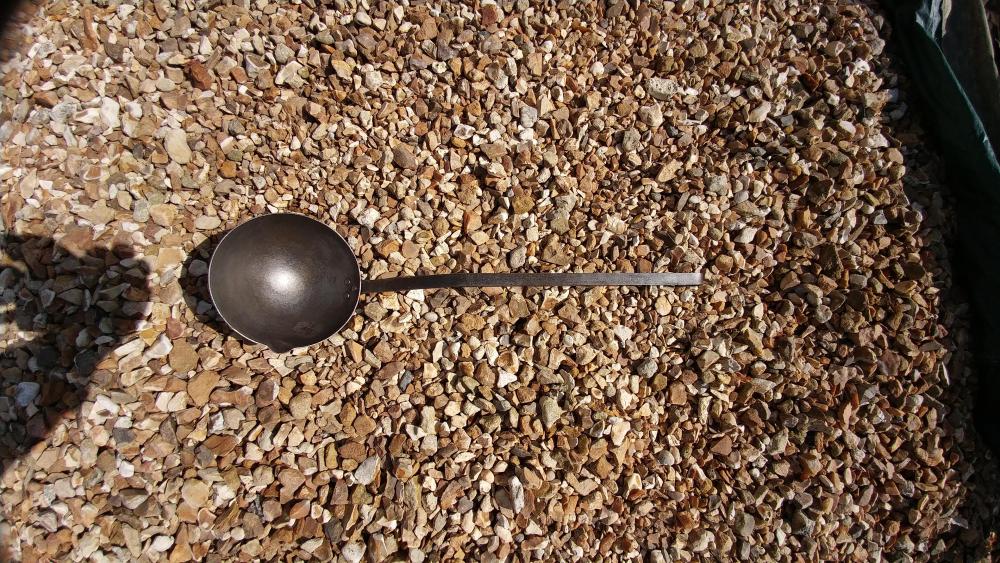
-
Thanks, Thomas. I stand corrected on the weight markings-it being an American made anvil. It'll be interesting to see how old she is too.
-
The name stamped into it looks like Hay Budden, made in Brooklyn New York. They stopped making anvils in 1920's so its an old girl. I think the weight markings show its should be around 226lb. The figure (1) = 112ib(or one hundredweight) (4) = 112lbs(or four quarters) and (2) = 2lbs. It will be slightly lighter no doubt, due to its age, losing some metal in oxidisation and general use along its travels. Just use this fine old tool as it is-do not attempt any repairs-it will be ruined. Others will chirp in too on this.
-
Sometimes, re-engaging brain when carrying out a repetitive hand action is beyond us. Peening over the end of a mild steel rivet onto the body of a padlock with an engineering hammer whilst the spare hands' index finger is still examining previous attempts brings an extreme instantaneous pain to remind you but by then, its far too late! The upside was there are only so many stitches you can fit onto an index finger-throb throb!!
-
Its rebar Jim but not as we know it! A genuine rustic, period, handcrafted, piece of history-hand forged, worked and finished. A fine addition to the blacksmiths formidable arsenal, maintaining the greatest tradition in crafting tools. Well done missourikid-keep on forging.
-
Forge Destroyed by Fire
Tommytaptap replied to Al Stephens's topic in The Business Side of Blacksmithing
Hi. Very sad to read this terrible bad news. Hope the firefighter is okay and that nobody else was injured. Looks like he will bounce back from this though-hopefully. Me, I prefer coke to propane every time. Good luck Steve. -
Finally managed to get an Anvil
Tommytaptap replied to Northumbrian's topic in Anvils, Swage Blocks, and Mandrels
Nice anvil Nthn. I have a similar one of around the same age but weighs somewhat more(around 190lb.). Mine has a depression along and across the sweetest/strongest part of around 1/16th inch. I marked its rough limits across the face with a silver streak welders marking pencil and renew the mark periodically to remind me where not to try to hit my work too much. I am hoping in this way that I won't make it any deeper(I know it won't level it out- I dont have 100 years left in me he he!) I tend to do lighter work on the swayed area and heavier work(not too heavy) outside that area. Works fine for me. My advice would be to do some good research on stands. Wood is good but metal is better. Some go for 4 legs, others swear by 3. Mine came with a quality made 4 leg and suits me fine. They do say a 3 is best for steadiness i.e. non wobbling but, if it is knocked sideways by something heavy it can tip over-not good! The base of my anvil is around 12" by 10" but the feet of the stand are at 27" by 25"-steady as a rock from all angles. All your anvil needs is a good old wire wheeling on drill or grinder around the whole body apart from the face. Just give the face a good hand wire brushing, some light 240 grit hand sanding, another brush and plenty of oil on it all over everywhere-wire brush it in to it. From then on just an oily cloth wipeover weekly and leave the cloth over the face when not in use is all you'll need. -
Put three hands on it and call it a tick tock!
-
Hi- I would fill in the gaps between all the side pieces with more wood. I would add four more pieces, two top, two bottom; to the side braces. I think that would add a tad more stability at the base in particular(and be handy for the odd tool hanger) and lastly, I would add some sort of banding around the exterior sides, top and bottom, on the side support line again to help keep everything together and tight. As for the anvil, I would fasten it to the stand by your preferred mechanical connection. I suppose you could treat the wood with borax solution(there are threads on here about it) which will help make it more fireproof but not completely. Filling with sand is good, get the sand dry. (1) you will get more in. (2) It wont wet/ rot the wood from inside. Good work. Tom.
-
Vaughan T- excellent tutorial. Am watching with great interest for the next exciting episodes! thanks Tom.
-
How about a nicely stacked pile of coke in the forge with a couple of bright red electric light bulbs just showing through-when lit would look like the forge was lit and slowly burning.
-
Thanks for all your input guys. I am going to go with the tiles but I take your point Thomas. I will incorporate a movable stand made of suitable sheet metal for directly behind the forge. As for sound issues, I will be wearing ear ppe when working there and as I am not given to fits of pique in frustration at some thing going wrong, I think any 'parts' are just going to hit the concrete floor. Grouting the tiles will be done flush so there wont be any ledge there for detritus to accumulate. No problem to drill through tiles for anything that needs mounting on a wall there. thanks again folks Tom.
-
I think any repair would be the same as any other tiled wall, obviously the chances of that happening are somewhat higher than if it were a bathroom or kitchen-dig out the broken one/s and replace. The fixing adhesive and grout will be the same as for around log burners and kitchen ranges i.e. heatproof to around 750F which is available at most stores. The grout will contain silicon and be quite flexible to allow for heat expansion..and contraction. If my coal forge throws out anywhere near that to a wall a foot away(it will have a sidesucker chimney in front of the firepot as well) I will be most surprised. Nearest thing to a tiled part of the wall will be the coal forge, whereas the anvil and post vice will be further away-around 5/6 feet. I think overall there should be less heat than from a log burner so I don't think overheating the wall will be a problem-unless anyone knows different that is!
-
Hi all. Anyone tiled their forge area walls? I'm considering doing mine with large fairly utility wall tiles with a glazed finish to keep the area clean and tidy. Wooden walls already have fireproof boards fitted which will make a good backing for them. Tom.
-
Thanks gote, excellent idea. My wife is just getting into pottery and will be soon given and old electric kiln. Sounds like it may have found its home(now and again!)
-
Indeed. I do have a redundant deep oil fryer for smaller parts, its around 12" x 6" x 5" with a good working element that tops out at 190c on a thermostat. The other is an 'oil bath' 24" x 12" x 8" steel box with lid but I haven't a way yet to heat the oil I may put in it.
-
Hi all Recently picked this up at a car boot sale for £1. An American made Bacharach thermometer for testing combustion efficiency of boilers/furnaces. Accurate temp range between 200 and 1000f which is between around 93 and 537 deg Celsius. The steel hollow open ended sensor pipe on the back is 5 1/2" long. I think I have a couple of uses for it but would like to hear from members as to usefulness.

-
Newly acquired Anvil and stand
Tommytaptap replied to Tommytaptap's topic in Stands for Anvils, Swage Blocks, etc
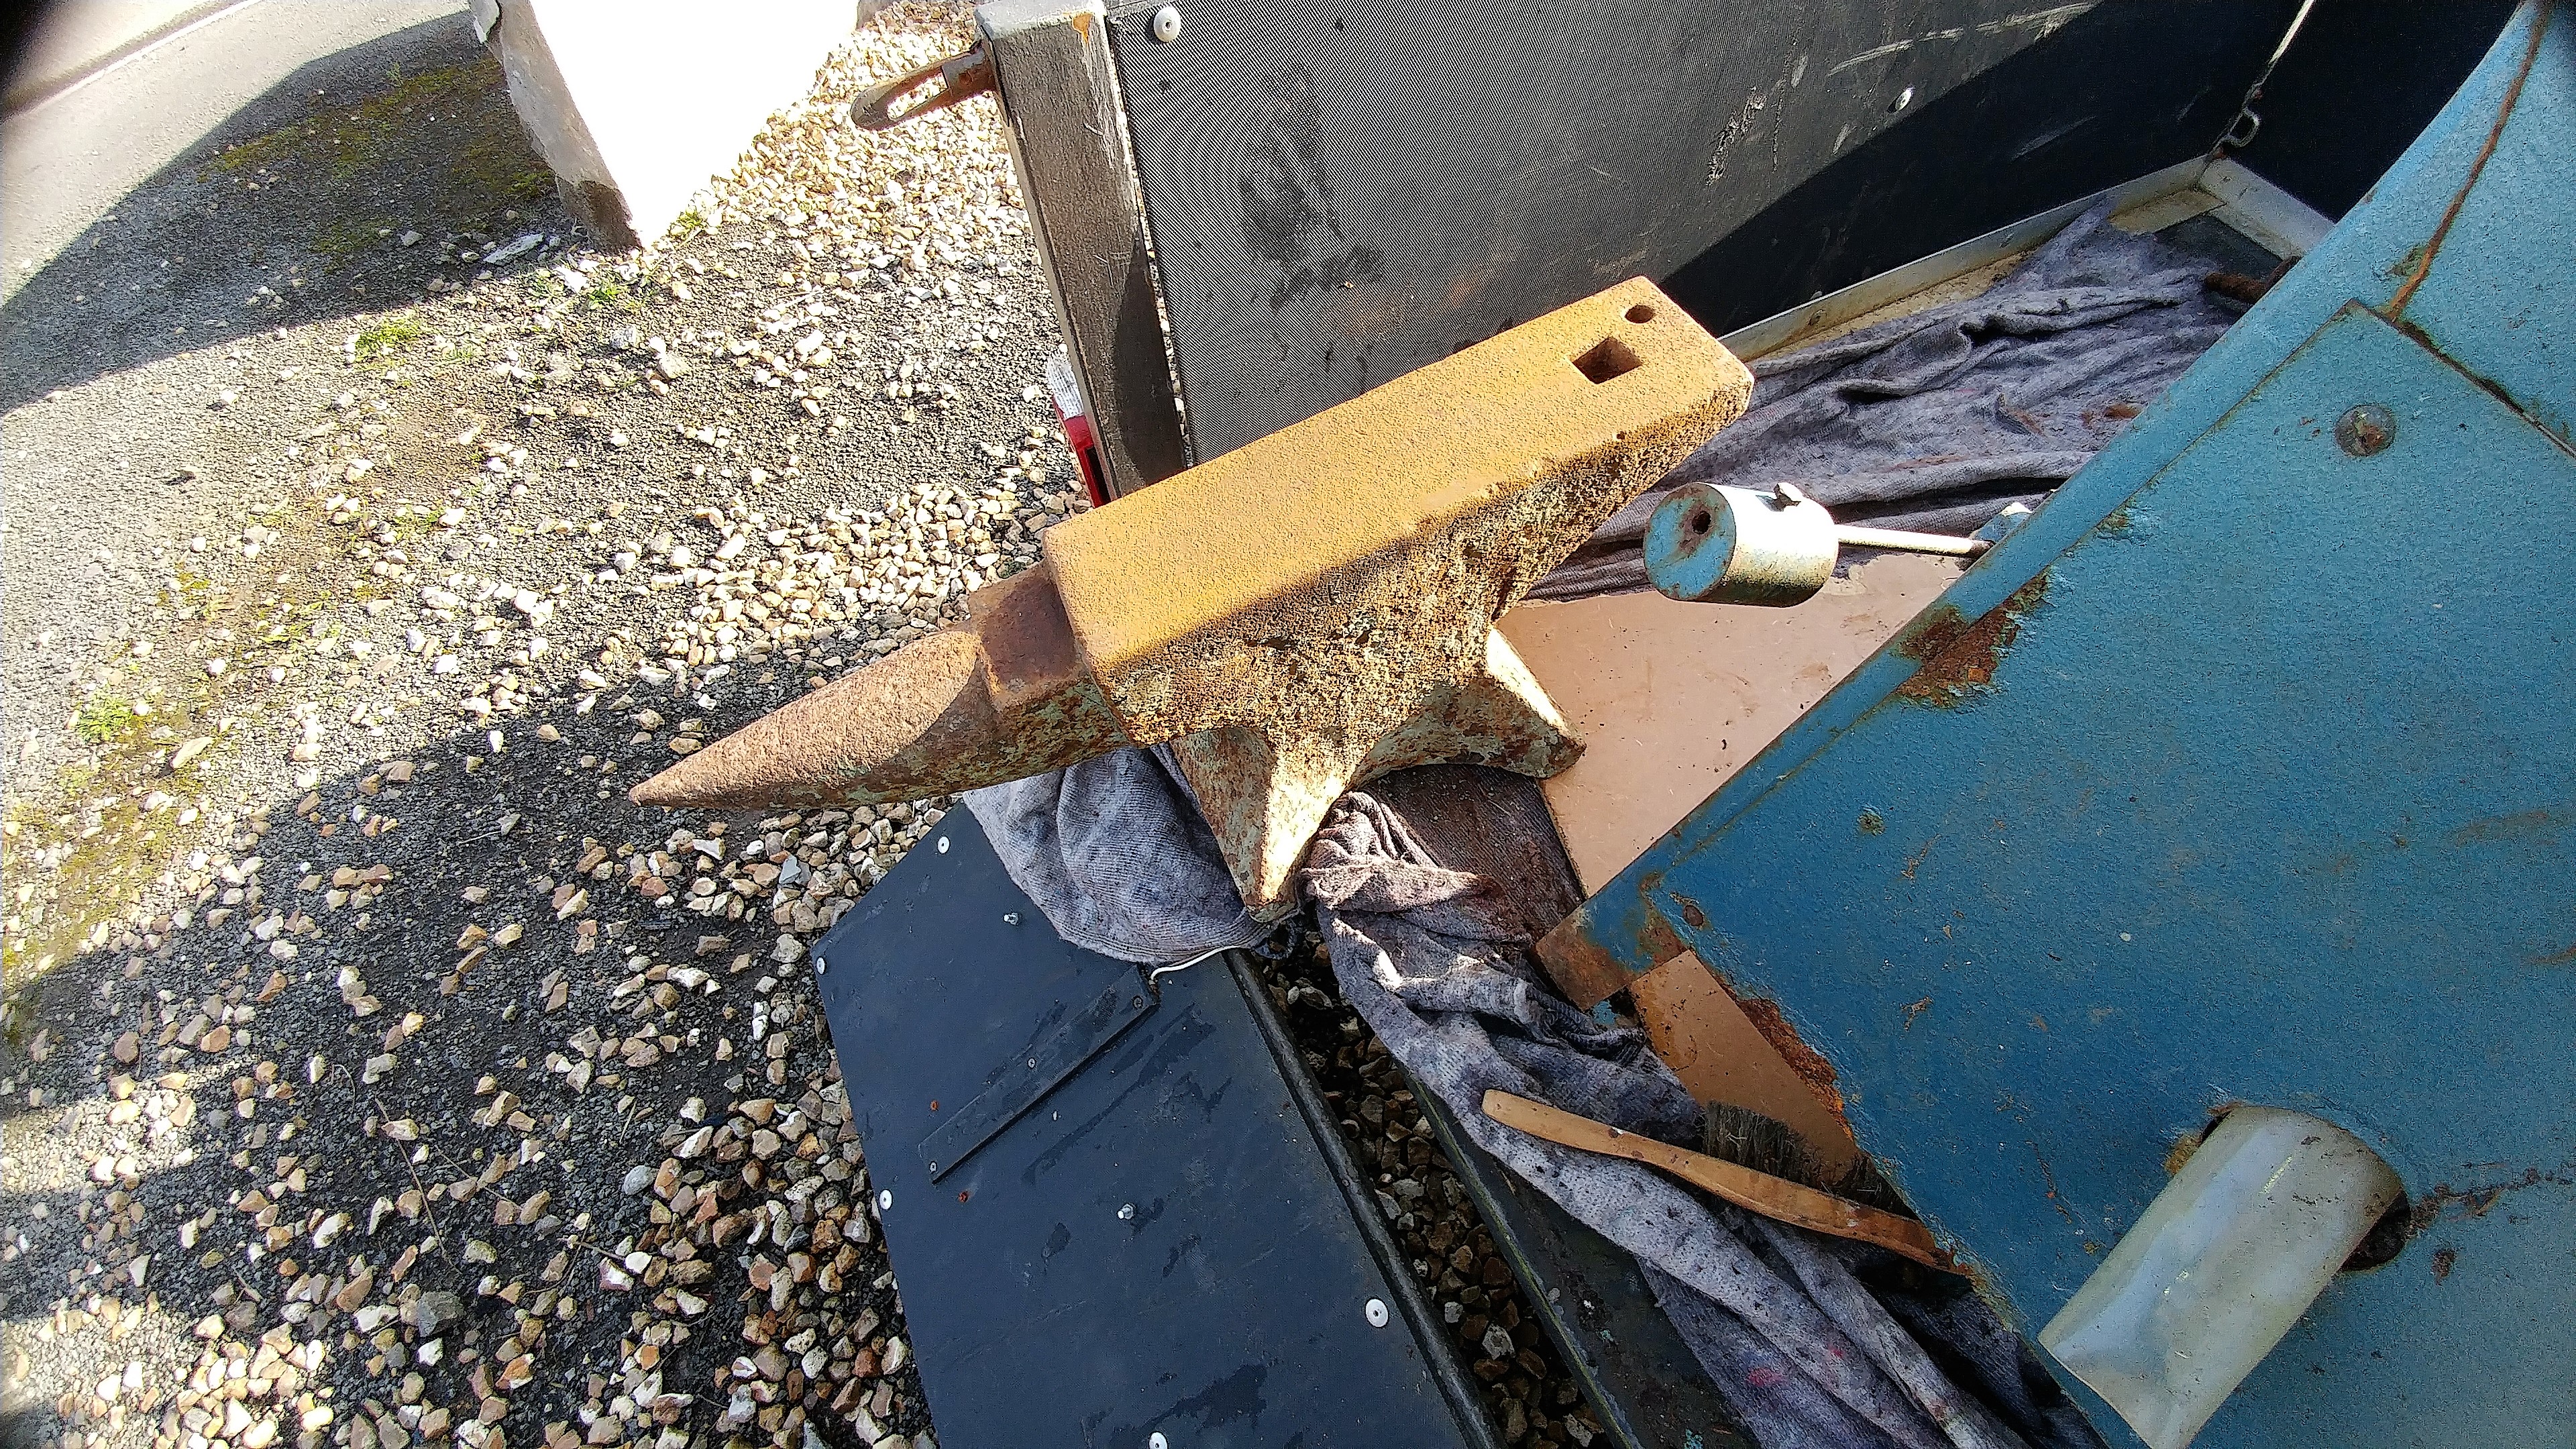
It was gifted to me by an old friend. He will be well rewarded for it though. Managed to lightly hand wire the face plate and do a ball bearing test. Wow! almost 100% rebound. Will carry on when this almost incessant rain stops. -
Hi all Just brought this home the other day and looking forward to wiring off the paint and rust to see what it is. I would say the weight is around 180lb. Any suggestions? Tom.
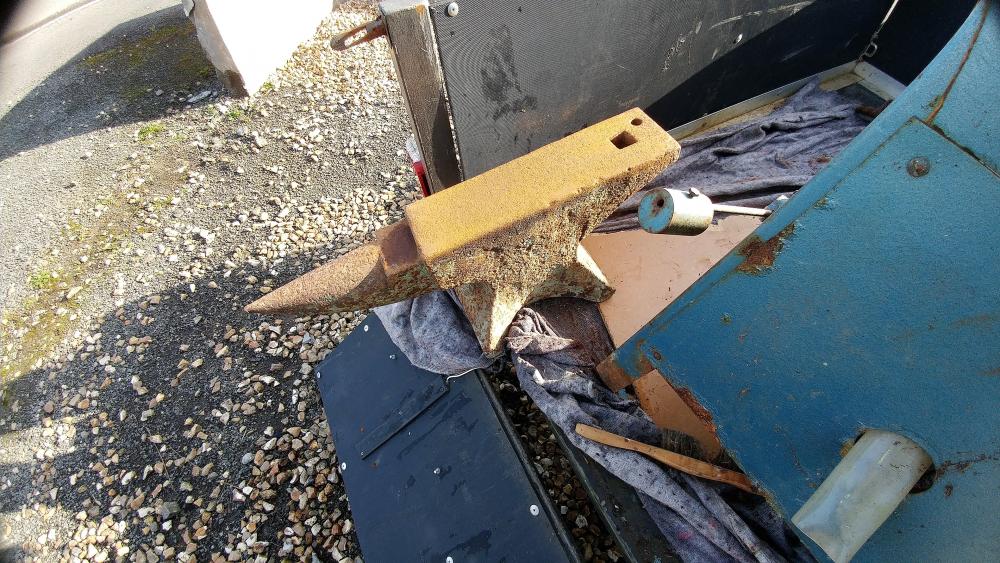
.thumb.jpg.562ca43d6f360e93ebcf4d478863ba36.jpg)
-
What did you do in the shop today?
Tommytaptap replied to Mark Ling's topic in Blacksmithing, General Discussion
That looks suspiciously like Gorilla spit! On the hammer handle that is. -
I find that hydraulic tool oil works for me.
-
Most likely he'd been sacked if working for him-or a home alone teenage rebel i'd say. Steel sacrilege whatever the reason.
-
Very well done and nicely understated too.


.jpg.9e072836accee1aaee660c76245600a8.jpg)