stockmaker
-
Posts
140 -
Joined
-
Last visited
Content Type
Profiles
Forums
Articles
Gallery
Downloads
Events
Everything posted by stockmaker
-
Forced Air Forge (NG) - Pipe Size, how small can I go?
stockmaker replied to Andy98's topic in Gas Forges
Andy98, I only have one comment and it is about the proposed new fan. First of all I would like to say I am impressed with your work. I know you have done a great deal of research on this, and I am not going to debate you on your findings, because I can not. But I am concerned that the PC fan you are planing to purchase will not have near enough power for your needs, they are just little guys that run quietly for years in a a box full of electronics. Double check your numbers before buying, and be sure you have a decent DC power supply to power it, and best of luck. -
Just wanted to say I enjoyed looking at your progress pictures and looking around your shop. That hammer is BIG! And nice tongs too,
-
Good Morning Neil. Where in the world are you if it is morning there? Thanks so much for the help. You take care. Bill
-
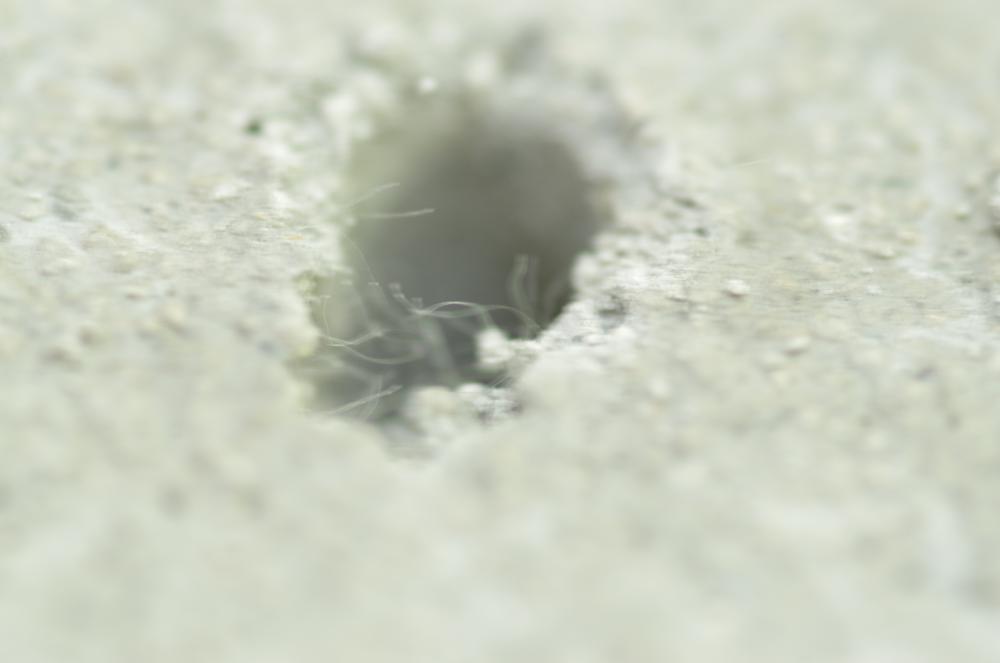
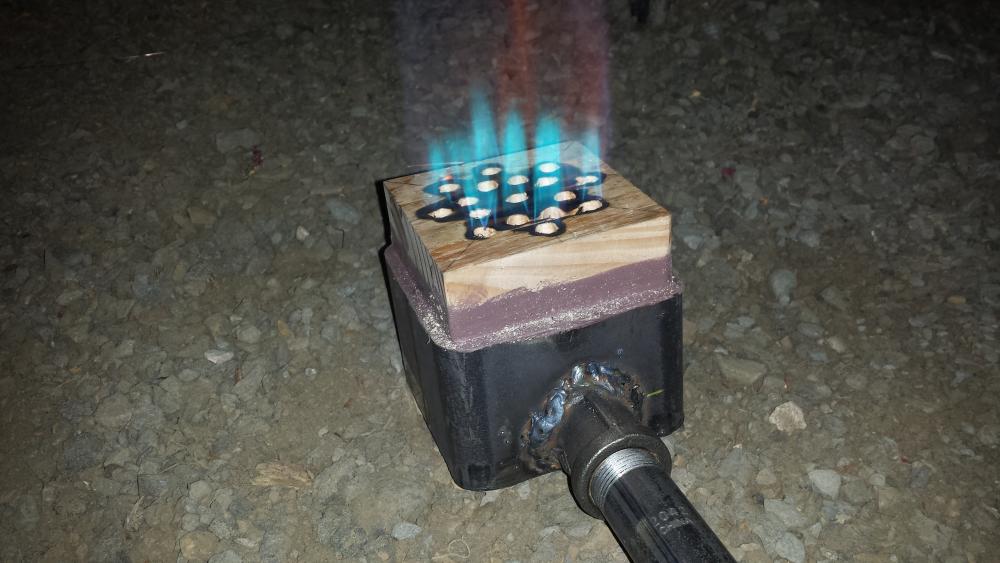
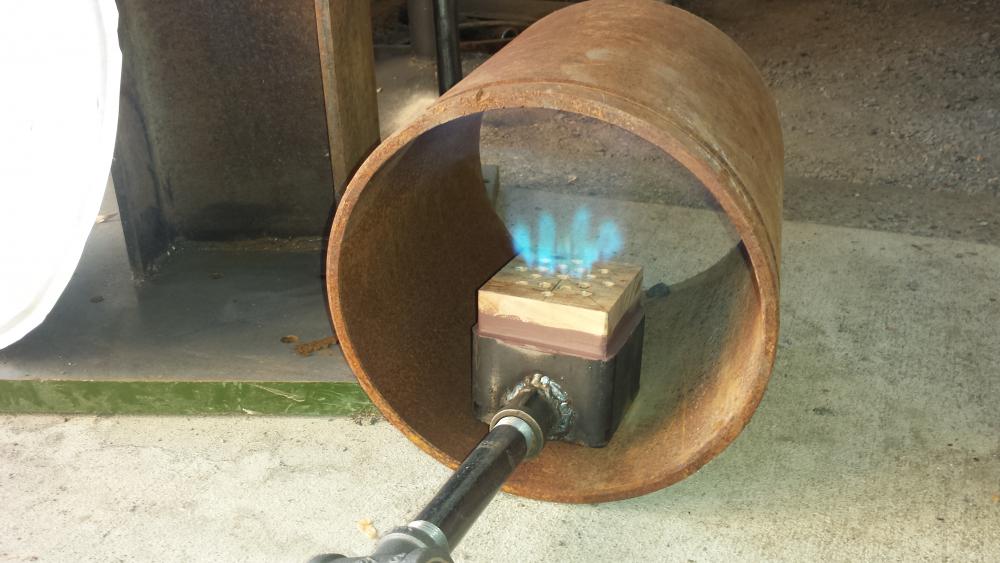
OK the screw idea is not going to work out, but no exactly what we thought. The bolts came out of the test refractory block fine and a 1/4" twist drill bit in a drill cleaned up the remains of the treads in the holes quickly, although the risk of breaking the block is high doing this. But the big reason I am not going forward with this idea is because the refractory has ceramic fiber in it, when the refractory is disturbed the fibers stick out, so the two holes I drilled are now filed with a fine fuzz from top to bottom. I Used kast o lite 3000. I too like the straw idea for casting the refractory burners, thank you Neil. I still think I will use screws to position and hold the straws vertical. I assume the straws just burn out? I will cross that bridge when I get there. In regards to the flame jumping off the burner block. Frosty I did another test of the mock up burner, the one with a wooden block. I drilled out the 1/4" holes to 5/16", still keep the count at 17, and o boy was that better. See picture, pressure at 3lb. I could not experiment with pressures as the block was starting to burn. Thank you for those eagle eyes of yours.
-
Hi Frosty. On the ports, yes I am going to make them with internal threads, but hope to file them out a little, we will see.. A hour ago I cast a test block with two 1/4" X 28 bolts installed. Tomorrow, or when the castable looks almost dry I am going to try to remove the bolts, if that is successful I will than try to ream out the threads with a file or a hand held 1/4" straight reamer. If none of this works I will probably go with crayons. I don't recall reading how the lag screw idea for casting burner ports turned out. Thank you for the tip on the flames jumping off the burner block, I will address that.
-
Let us know how this turns out. I noted that the checkering file you linked to is for doing lines in metal, cost is about $40, the cost of a ready made joiner is about that same price. My joiner has lasted 25 years without being sharpened. But with the file, in addition to making your own joiner you may be able to sharpen the Dem Bart and Gunline cutters, which would be big as they ware out fast.
-
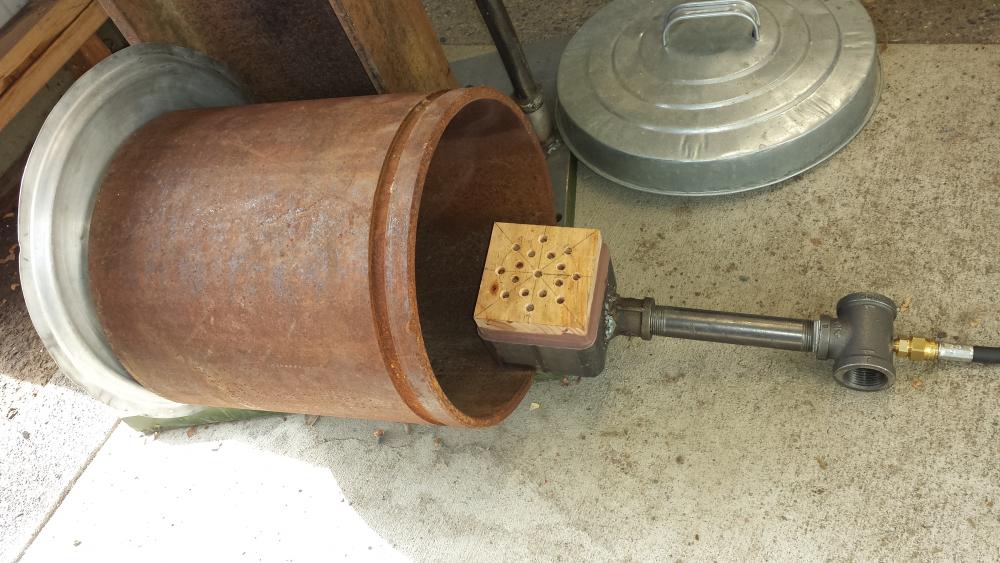
I am finally getting started on my new forge and wanted to share with you my progress on the burners. This forge will employ None Aspirated Ribbon Burner (NARB) burners, (2). I based the design on Frosty's burner but change the dimensions from the 2X2X7 to 4X4X2.5. I am using the same number of ports (17), but reduced the size from crayons (3/8") to 1/4" as I will use machine threaded bolts in place of the crayons.. Today I ran a test of the burner using a wood insert to take the place of refractory. It fired off nicely, sounds good, and the flame looks ok but I have not turned the MIG tip in the burner yet, I will do that once it is installed into a forge. I ran the pressure from 3lb to 6lb, the flame did not vary, after about 45 seconds I shut it down. The pipe casing you see in the pictures is not the forge body as I do not have the little part yet. Tomorrow I will do a test of the burner refractory with a couple of my machine bolts installed. One with release agent, one without. If anyone has comments or concerns I would like to hear them.
-
I do a lot of checkering, more than I want! Do you need to see a close up of a joiner tool, I can take one for you. You could modify the right file for this propose, but remember the checkering groves are typically done with a 90 degree V cutter, so your joiner should match that profile for the best results. I don't know what pillar files are, sorry.
-
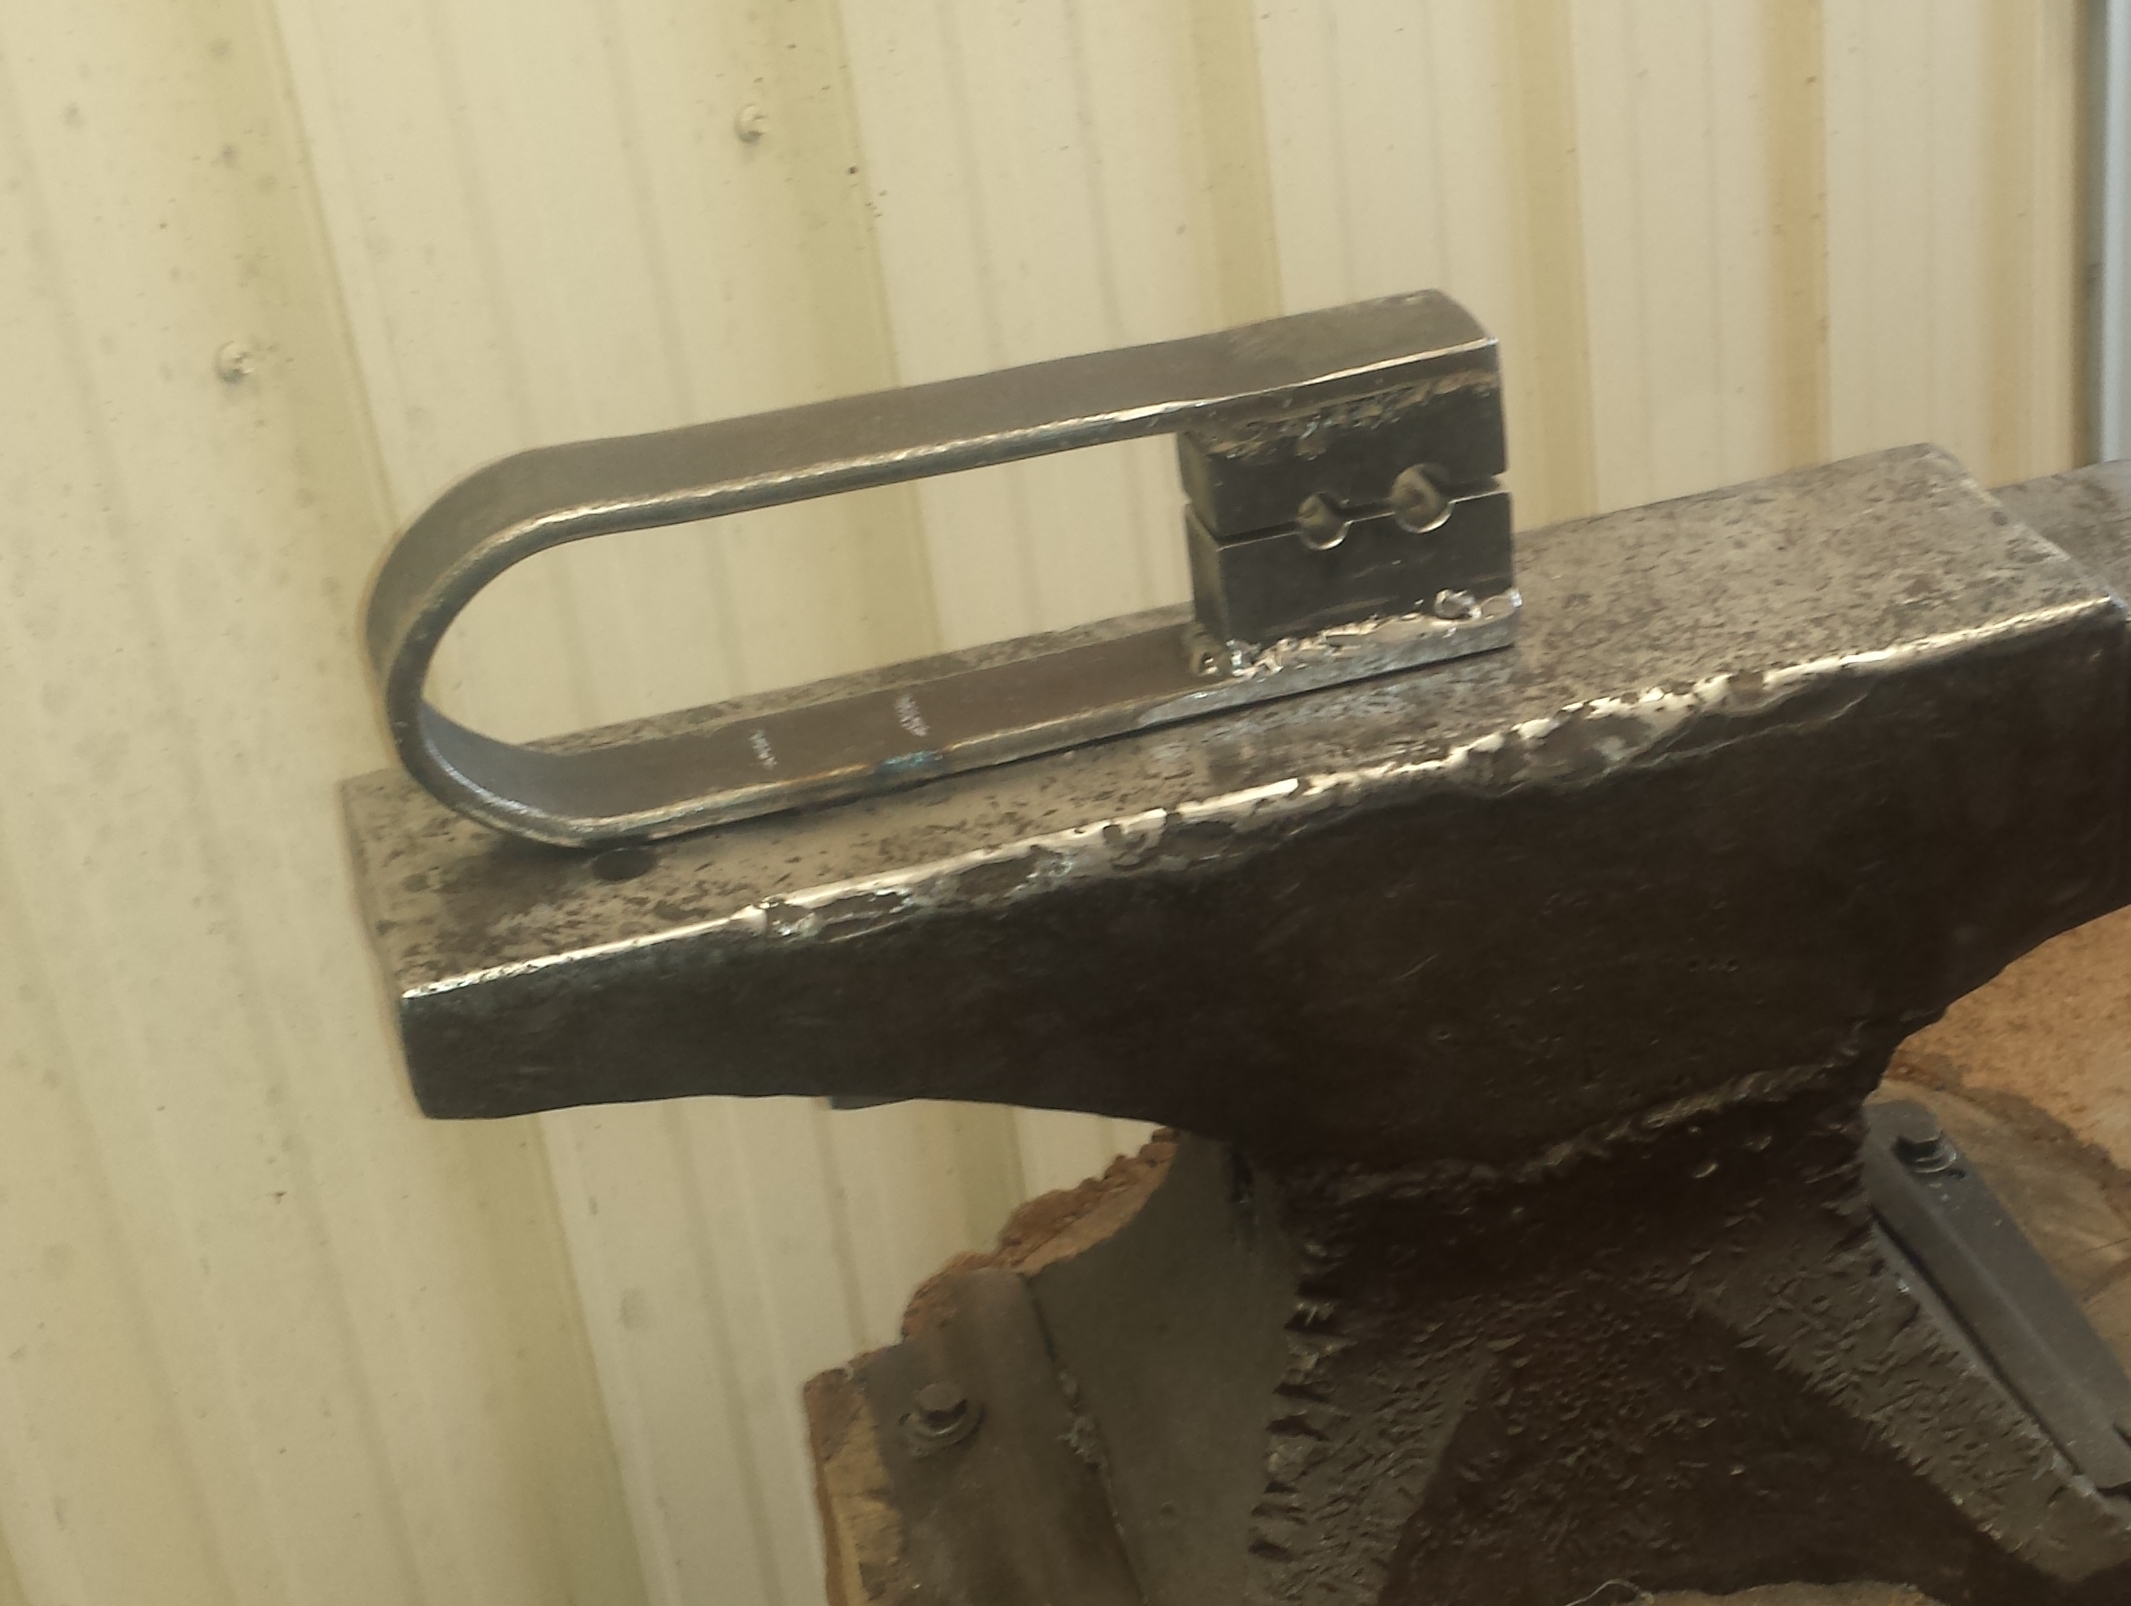
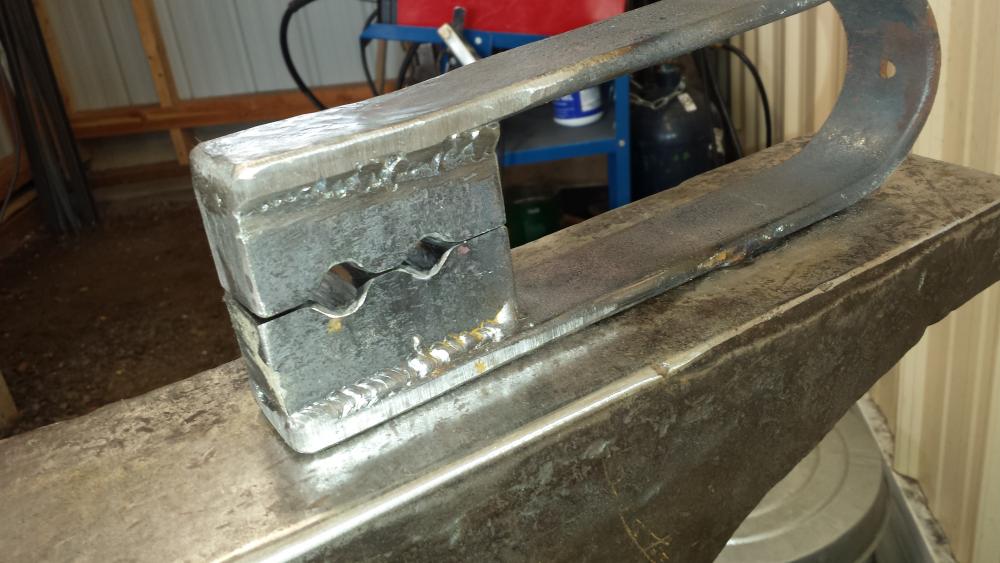
Today I modified my spring swage. I broke down and put it back into the gas forge, I should have done that days ago! Than ground the edges of the die holes with an angle grinder. I have not tested it yet, but will tomorrow. I want to thank you all for the advise, thank you so much, Alan Evans, Junior Member (joke) your advise on welding is externally helpful, I too have trouble seeing and I have an electronic mask, but it's darkness is not adjustable.
-
Thanks Neil, will do. Bill
-
Yep you are right. I don't know why I have to learn things the hard way. I knew a radius was needed on the sides but I decided mine did not have to be as radical as the ones I see in the books. So I put just a little radius on the edges when it was in the mill. Now I am slowly filing them by hand and those die's are tool steel. I don't want to bend the spring yet because lining it up was tricky, but I may resort to that.
-
I appreciate your work having recently done this spring fuller. I too have a small MIG so far the welds have held. The holes are 3/8" and 1/2". I normalized before forging so I could cut it but did not harden/temper when finished that includes the die's, I have been watching them, so far so good, it does spring enough for a fuller, I wish I had drawn out the center too because it was a horse to move into shape, lots of trial and error getting it aligned. I am going to make one like yours some, I have a coil spring 5/8" that is standing by.

-
Thanks Frank, it is very enjoyable looking through this stuff.
-
I concur, you have a very functional anvil there, if I ever run across rock crusher parts at the scrap yard I am all in on this idea.
-
Thanks for the inspiration. I use In-Channel gouges in my work, mostly Buck Brothers Off Set gouges, I have had a hard time finding decent used 3/8" off set gouges in various sweeps. So looking at your post I just had an ah ha moment.... I'm a blacksmith (sort of), I can make this stuff. I now have something else to add to the list, and 1080 does not scare me ether.
-
Yes this is the part that will allow you to connect a standard propane hose to your burner. Best of luck
-
No Mitch this is not the right part. The male thread at the top of the adapter is correct, it will fit into the T fitting after you drill and tap it for 1/8" pipe thread. The other end of the adapter may or may not be right depending on how you want to connect propane to the Burner. Frosty used 1/4" copper pipe his adapter (the one above) therefore was a 1/4" flare, that means it is a male thread, it fit his copper pipe nut. If you are going to use a rubber propane hose the bottom part of the adapter should be a 3/8" flare. And by flare I mean it should look like a male thread with a bull nose ending.
-
Slag try going to the page TAB located on the upper left and right click and select RELOAD TAB It has been working for me.
-
What did you do in the shop today?
stockmaker replied to Mark Ling's topic in Blacksmithing, General Discussion
Allen, thanks for the link. I think I am going to like going through this. Oopps, Alan, I got your name wrong, sorry. -
What did you do in the shop today?
stockmaker replied to Mark Ling's topic in Blacksmithing, General Discussion
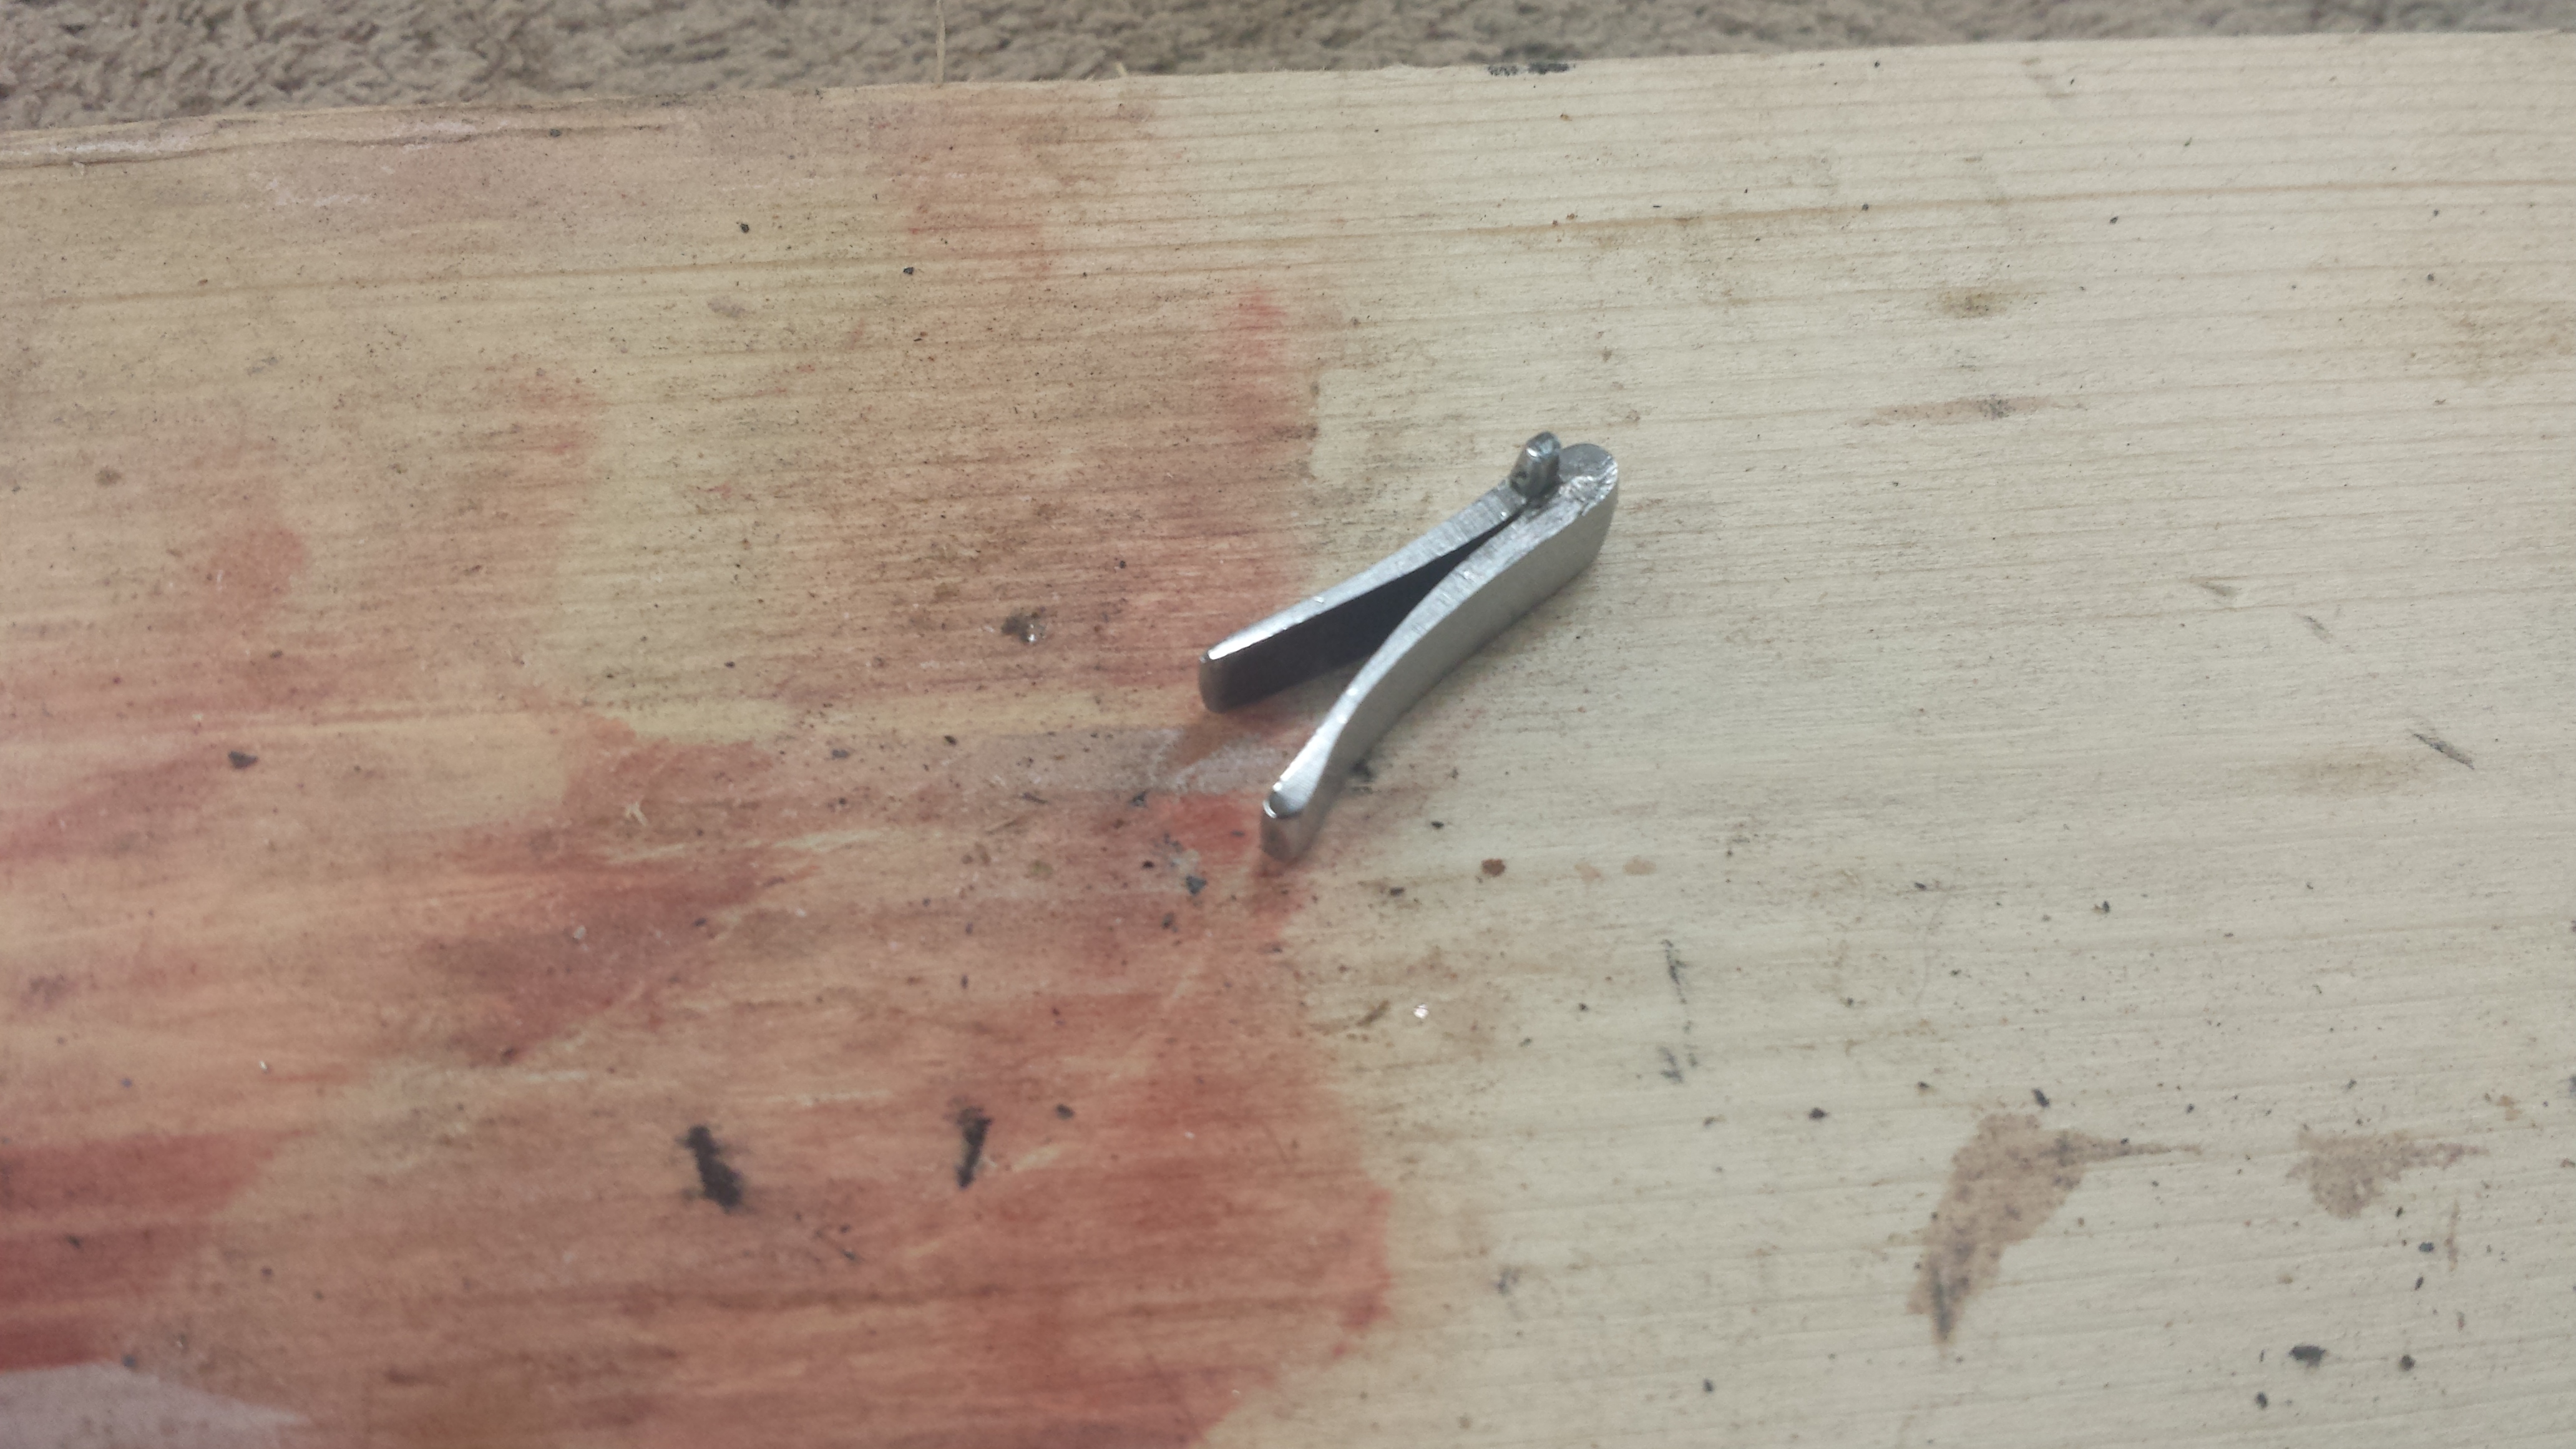
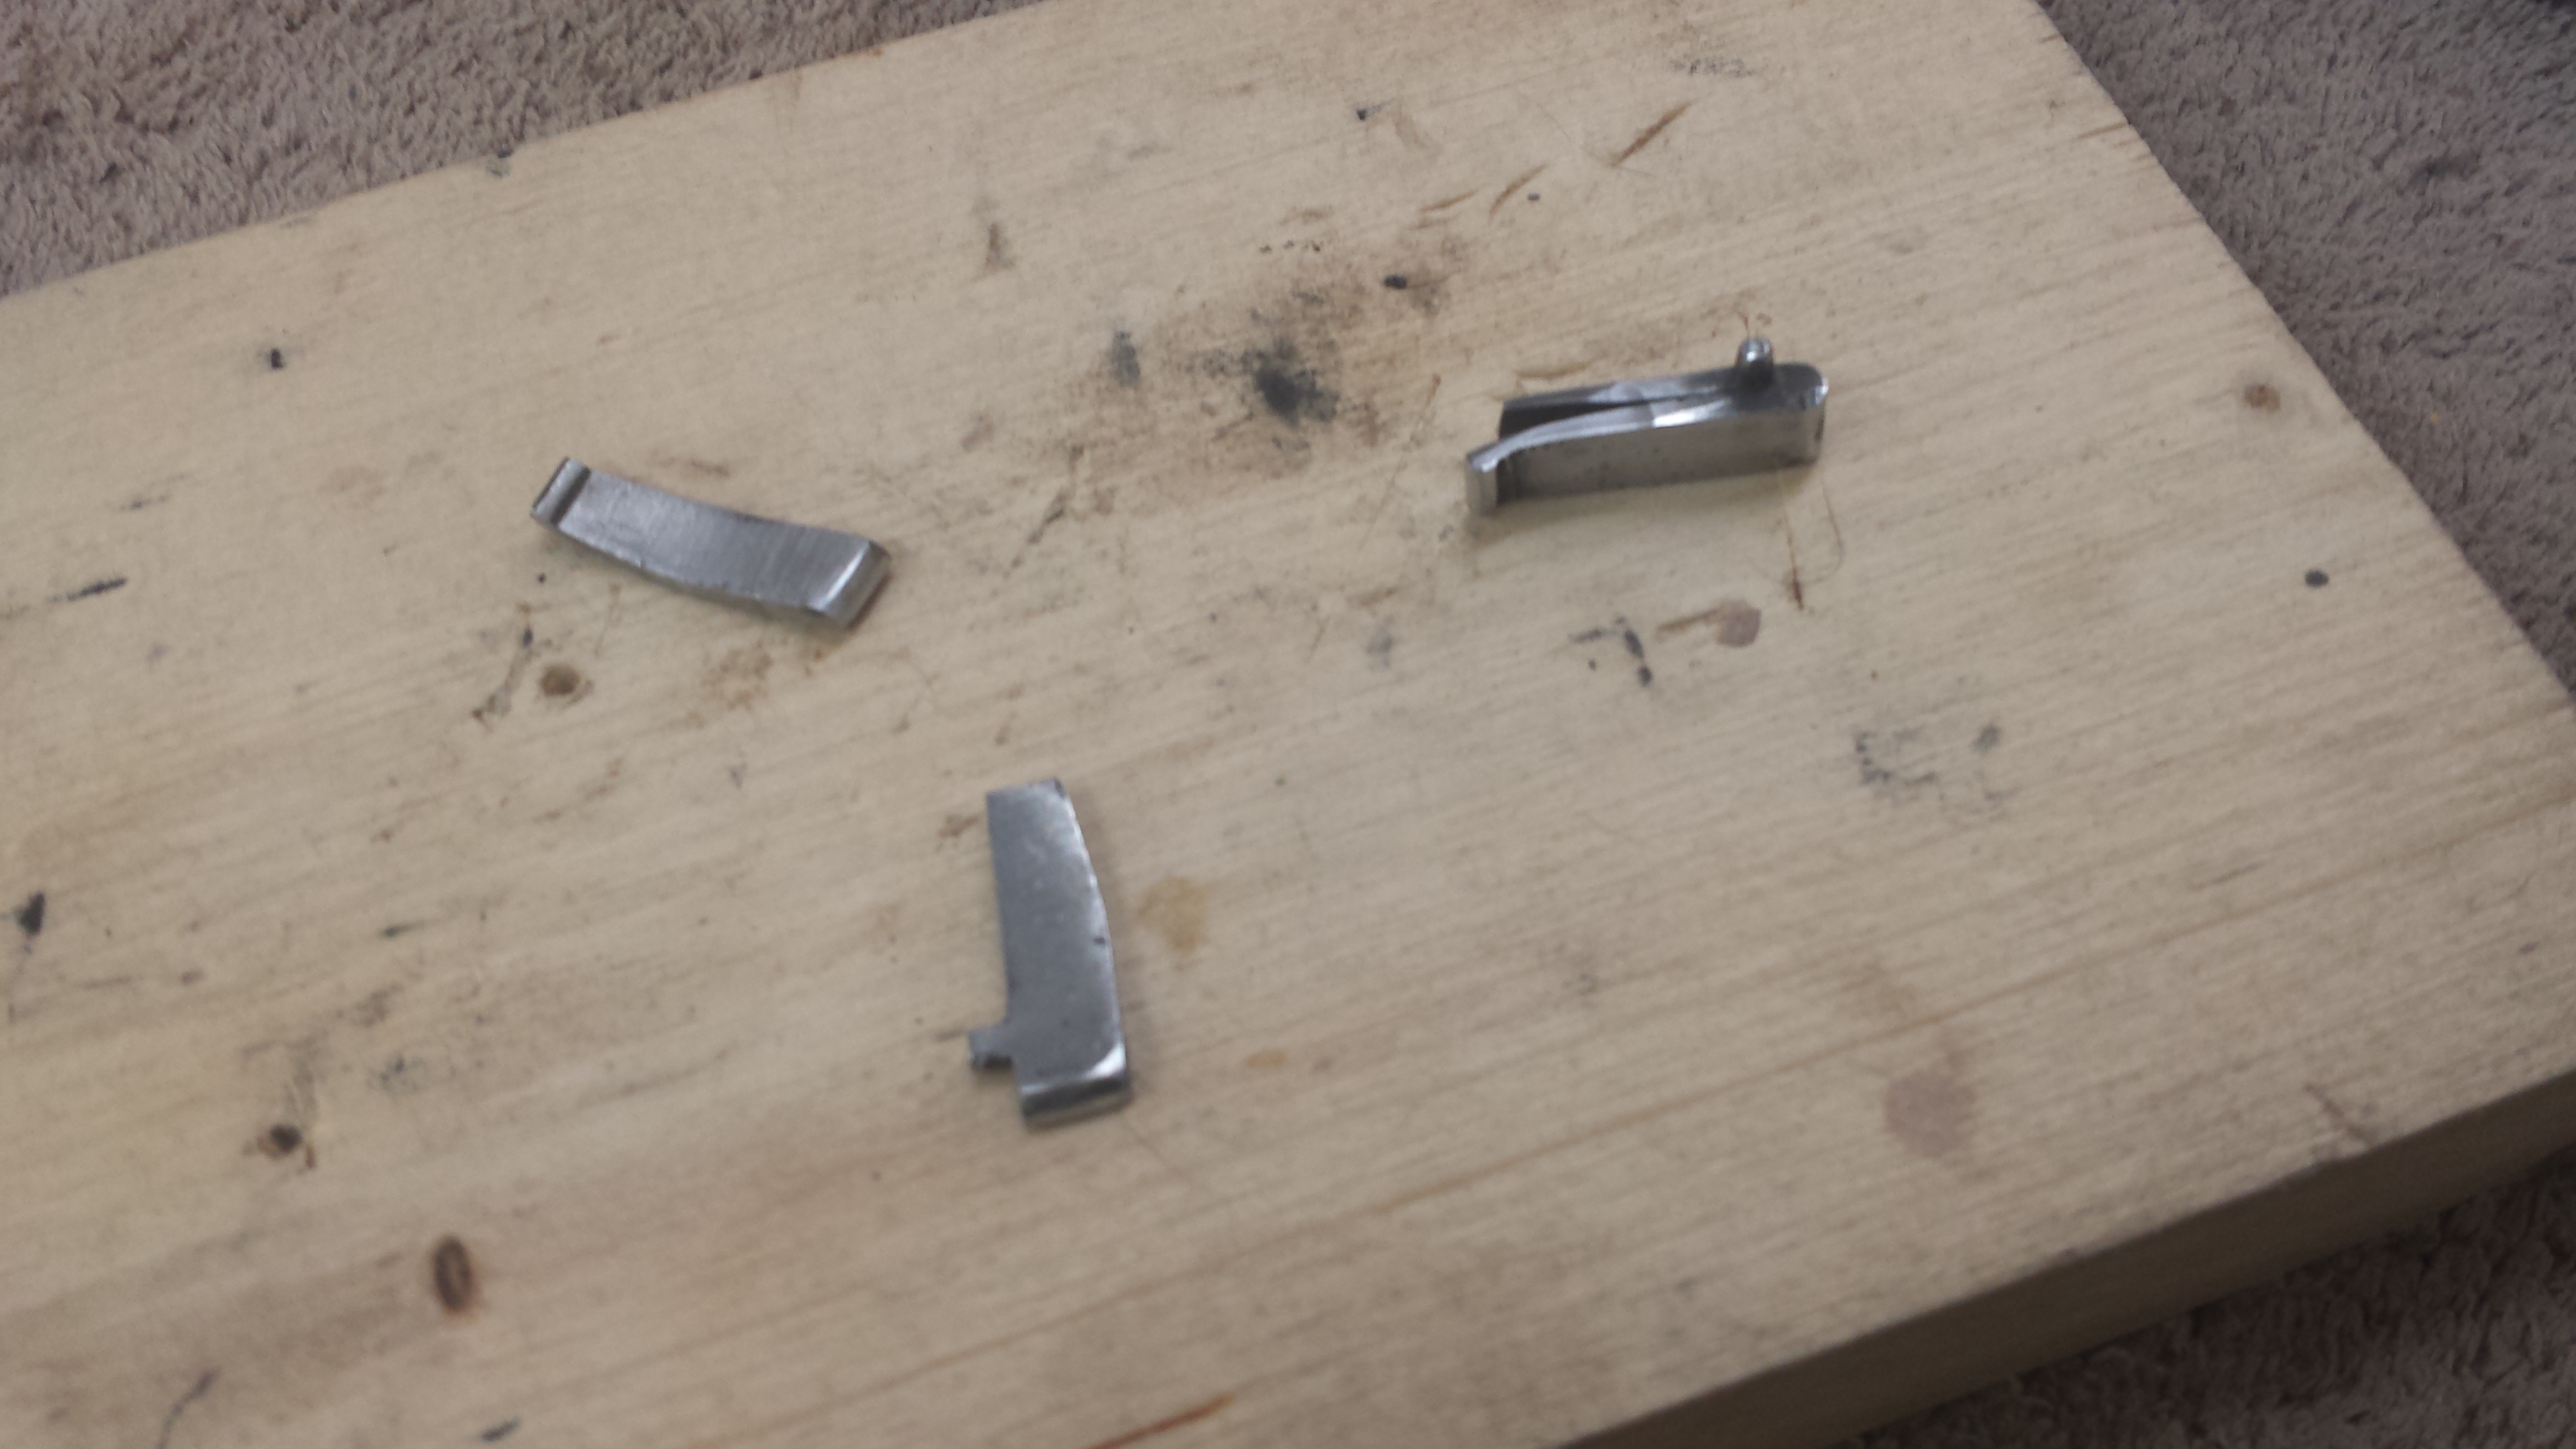
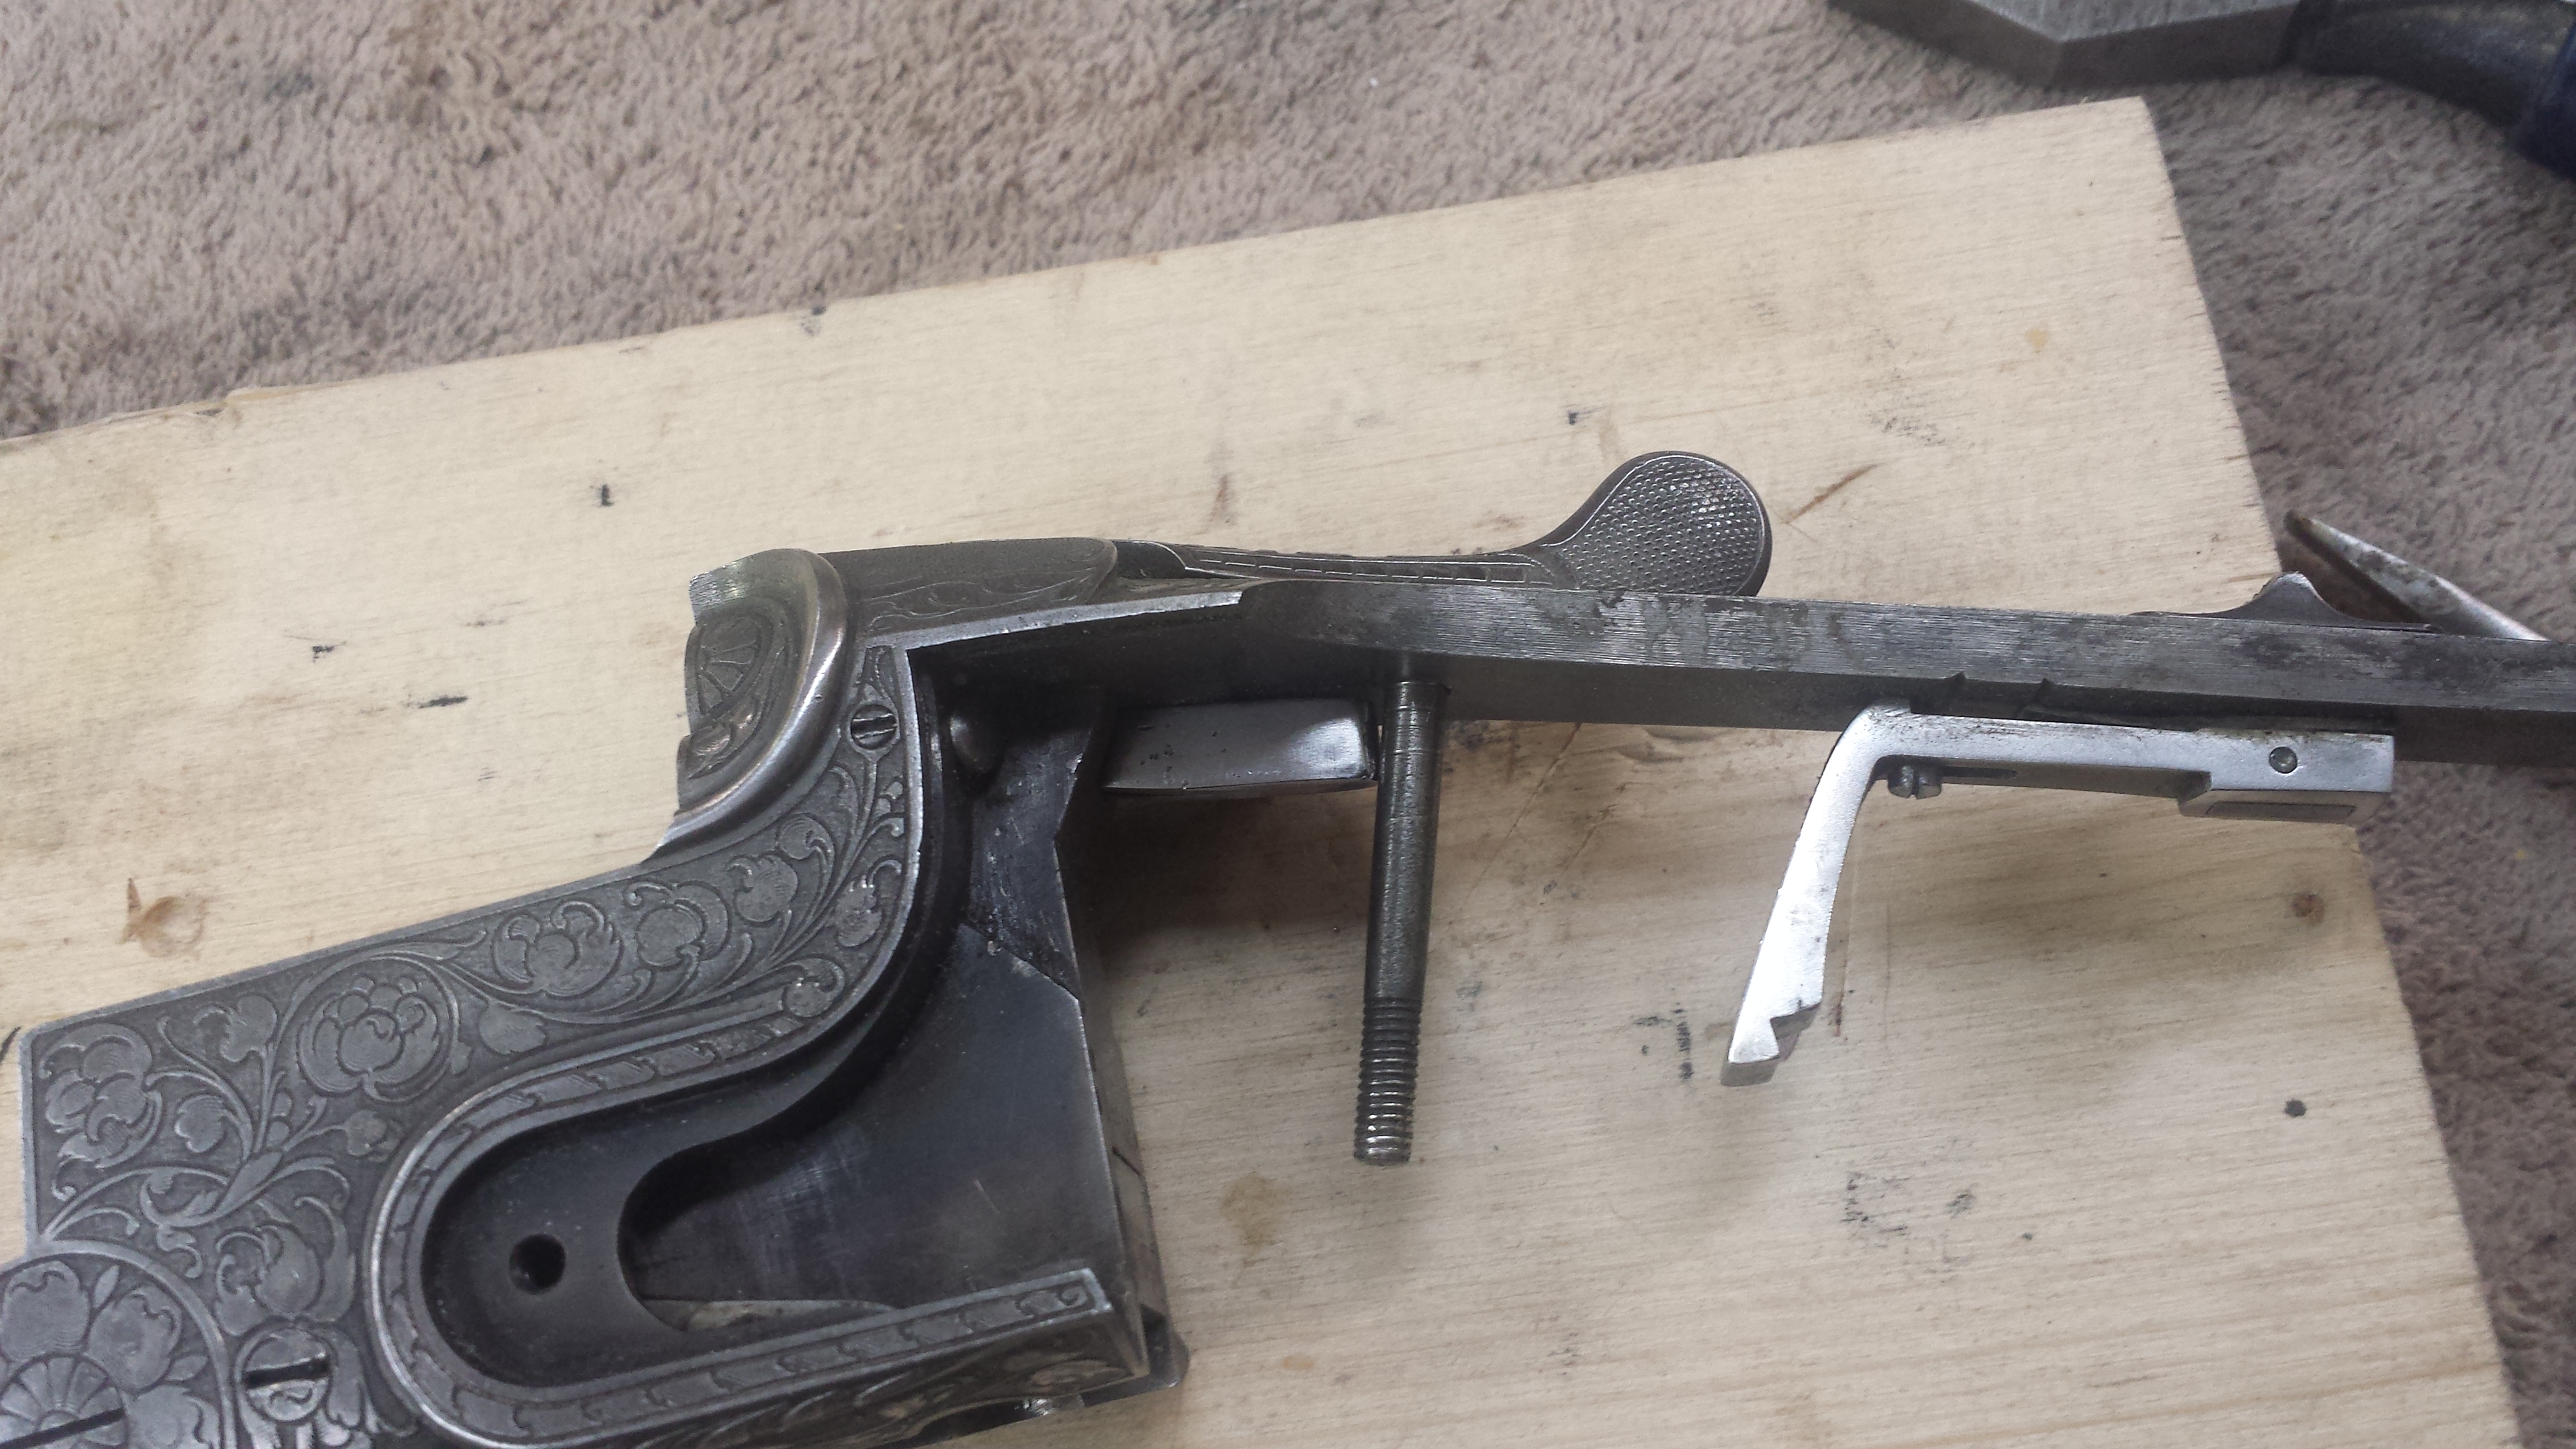
I thought I would share this with the group. I sometimes have to make a spring for a firearm, pictured is a flat V spring for a German made double rifle. I broke the original while disassembling the gun, the German's are very good at making things fit together tight, this time things were a little too tight, the original spring gouged into the main bolt stopping it from being removed. The metal is 1075 which is a very forgiving alloy for spring making, easy to forge, quench and to temper.


-
You need to call this anvil Lee Marvin. Note the silver nose! Well, there was an image of THATS HOT's anvil here when I wrote the above post. See his anvil picture above for a great looking anvil and stand and a little bit of humor.
-
My Journey Through The Online EVO curriculum!
stockmaker replied to EJRailRoadTrack's topic in Tools, general discussion
Thanks for sharing, nice hammer. -
Forced Air Forge (NG) - Pipe Size, how small can I go?
stockmaker replied to Andy98's topic in Gas Forges
I noticed these fans are DC, 8V - 12V rated. I am not 100% sure about this, but I would expect the fan to change speed somewhat as the voltage was reduced or increased. You may have variable speed when coupled to a variable DC power supply. -
Naturally Aspirated Ribbon Burner. Photo heavy.
stockmaker replied to Frosty's topic in Ribbon Burners
Frosty thanks for bring this subject up again as I am ready to make one of these NARB forges. I have been slowly gathering parts and pieces for some time. I am ordering refractory from Wayne tomorrow. In my case, being a hobbyist blacksmith I doubt I will ever run mine for 3 hours straight on any day, so I don't see the overheating problem as a major issue right now. When I get finished with it in a month or so I will post pictures. -
Hi Nate, Welcome. I have been through Conrad on several occasions, nice town. Do you have any specific questions? Having an anvil is a leg up on most beginners, you are going to need some tongs, and do you have a source of scrape metal? A forge of course is needed, are you thinking solid fuel, or gas? Either way don't go big, think small for now. The best thing I can tell you right now is to look around this forum and read it, the one thing about this forum that is unique to forums is there is little to no misinformation and half truths,