MrDarkNebulah
-
Posts
243 -
Joined
-
Last visited
Content Type
Profiles
Forums
Articles
Gallery
Downloads
Events
Everything posted by MrDarkNebulah
-

Setting up your shop on the cheap (real time)
MrDarkNebulah replied to Crazy Ivan's topic in Building, Designing a Shop
Man i had no idea the forum had this many subcategories. This is an awesome thread and i can't wait to see more. -
Finally got to forge again.
MrDarkNebulah replied to MrDarkNebulah's topic in Blacksmithing, General Discussion
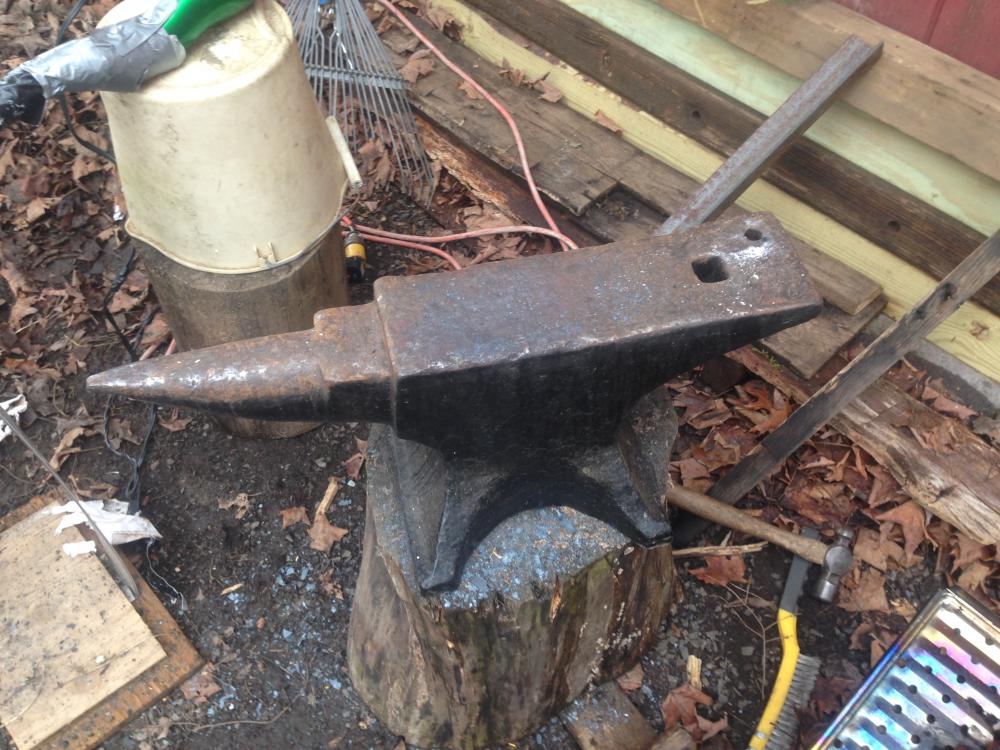
Thanks for the tips guys. I've been meaning to add some more supports to the table, it is very flimsy. I just wanted to get it working. And the tee is the next addition as well, but the hardware store didn't have one yet. What do you recommend to clean up the anvil face, a wire brush wheel, or a flap disk or something? -
I actually saw some water melting up here! it was fantastic forging weather, mid 30's, so not too uncomfortaby cold, but not to hot once the forge is started.
-
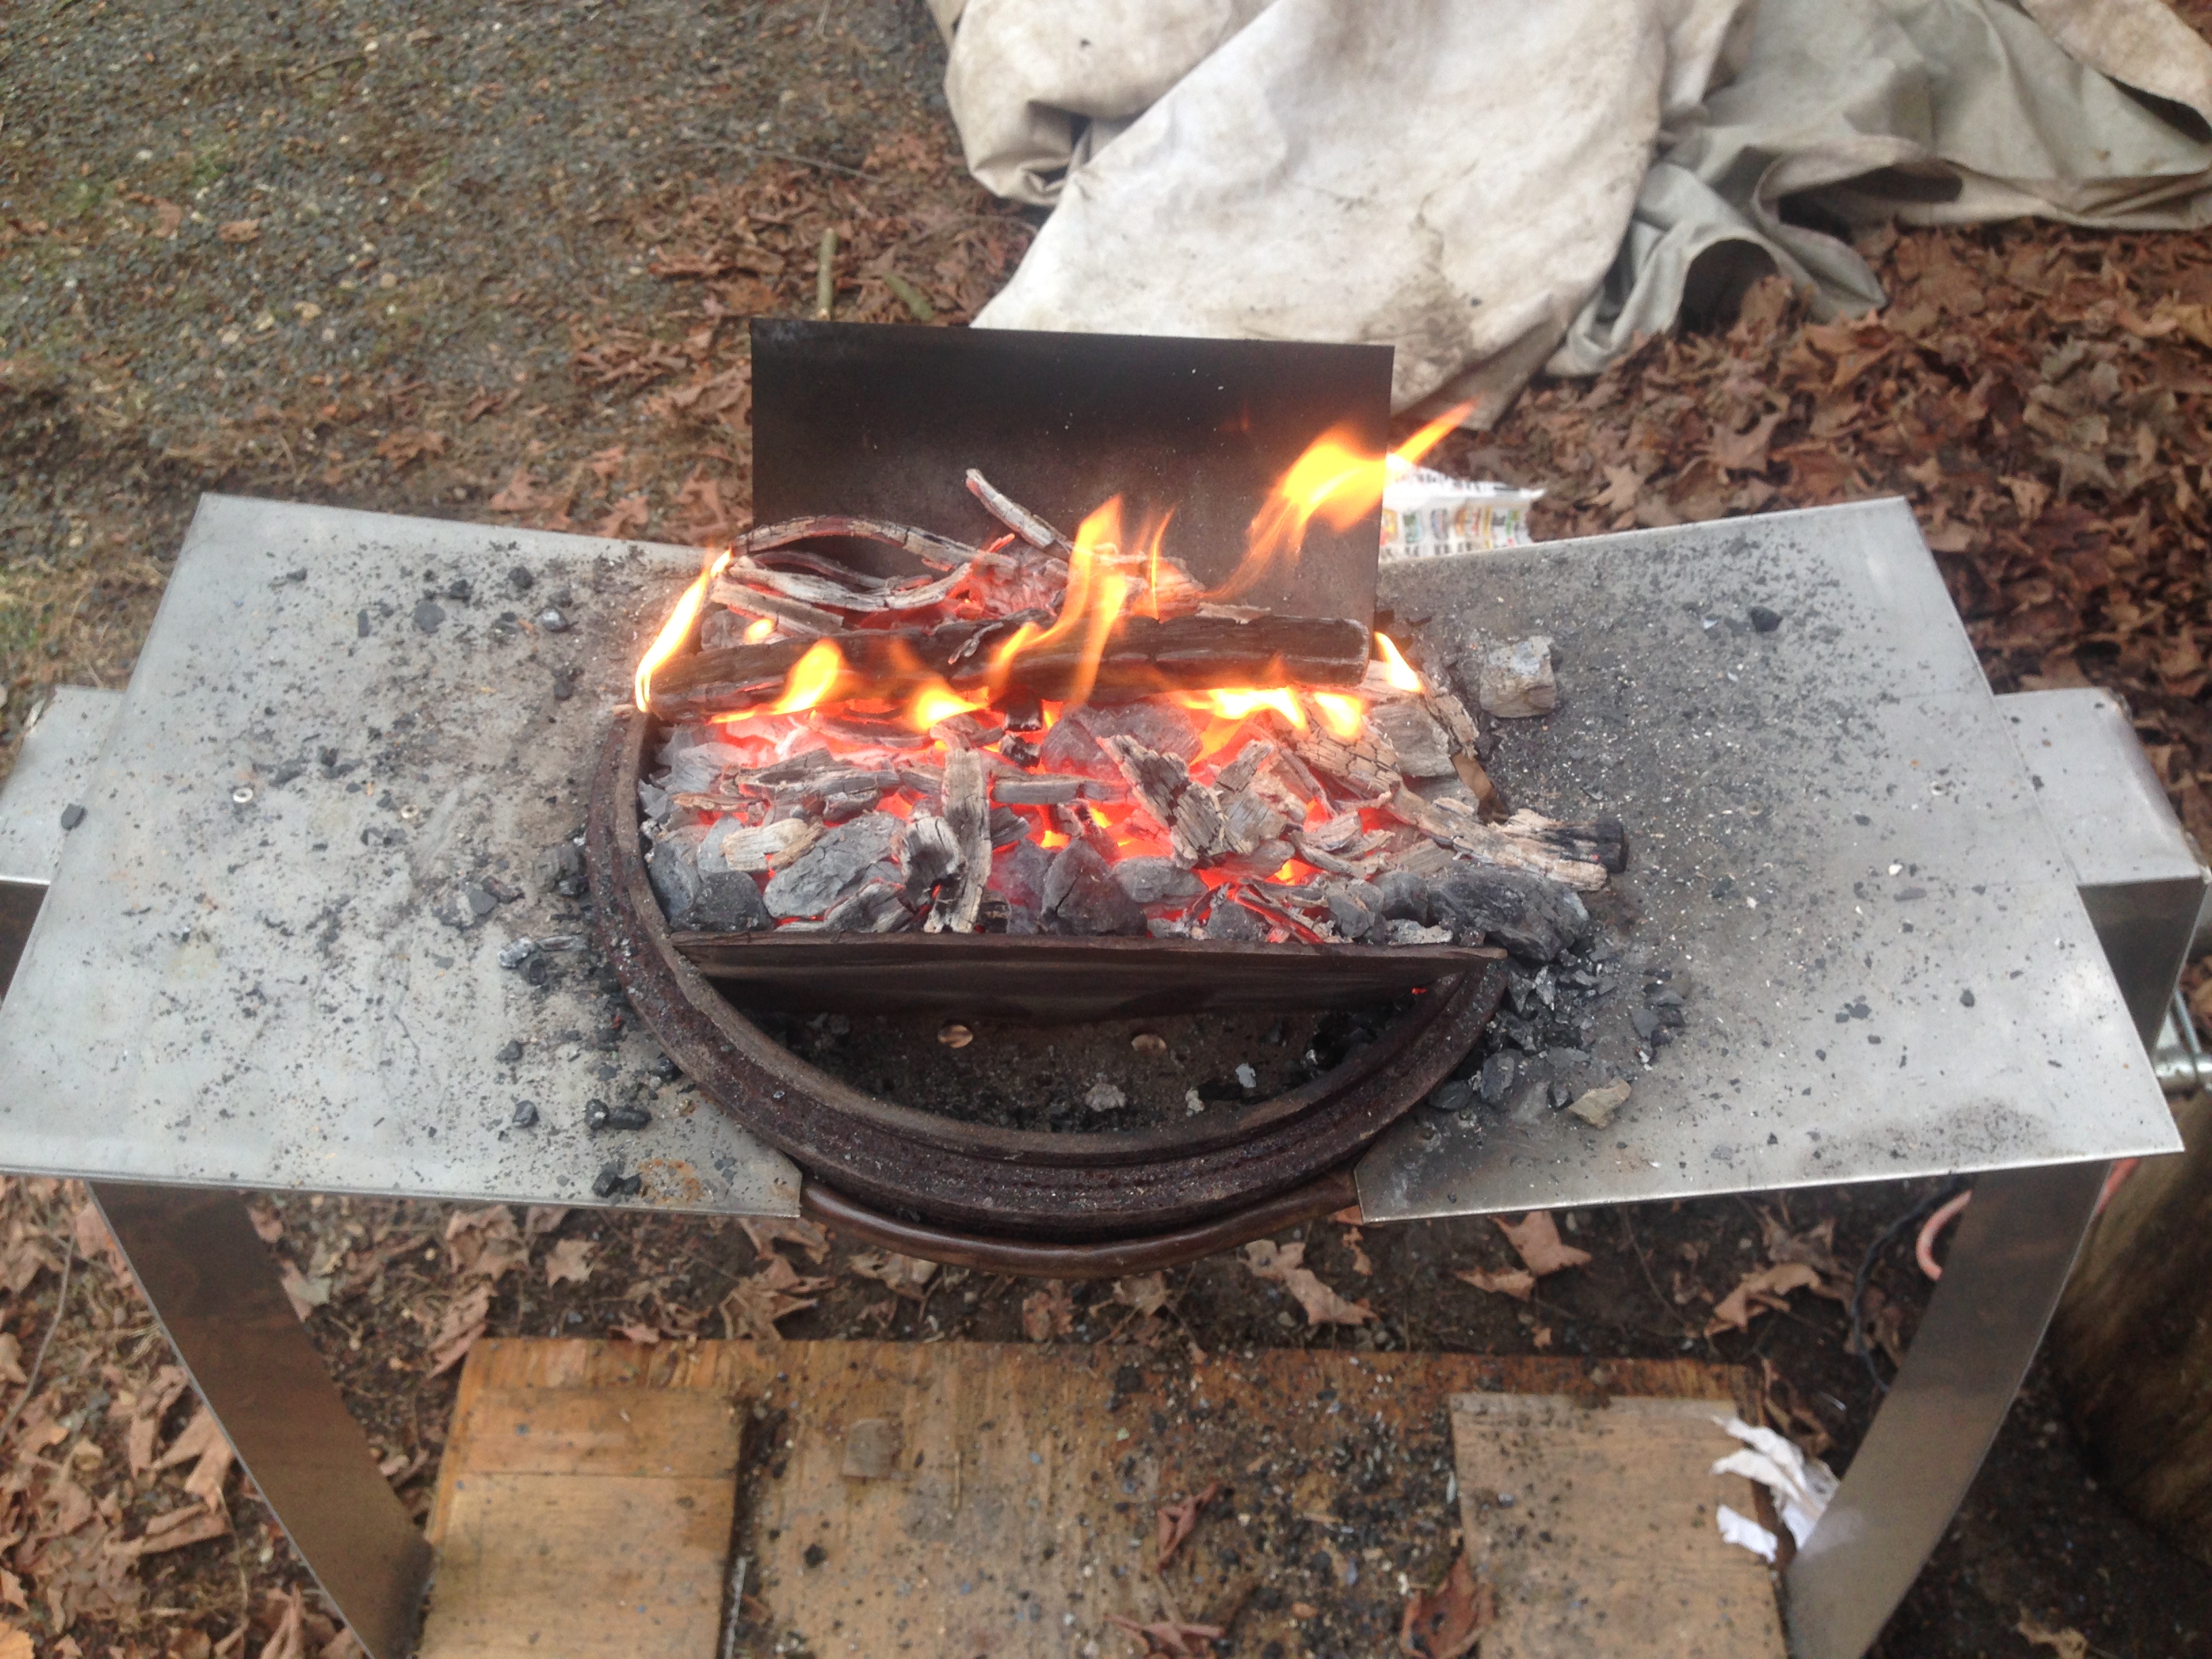
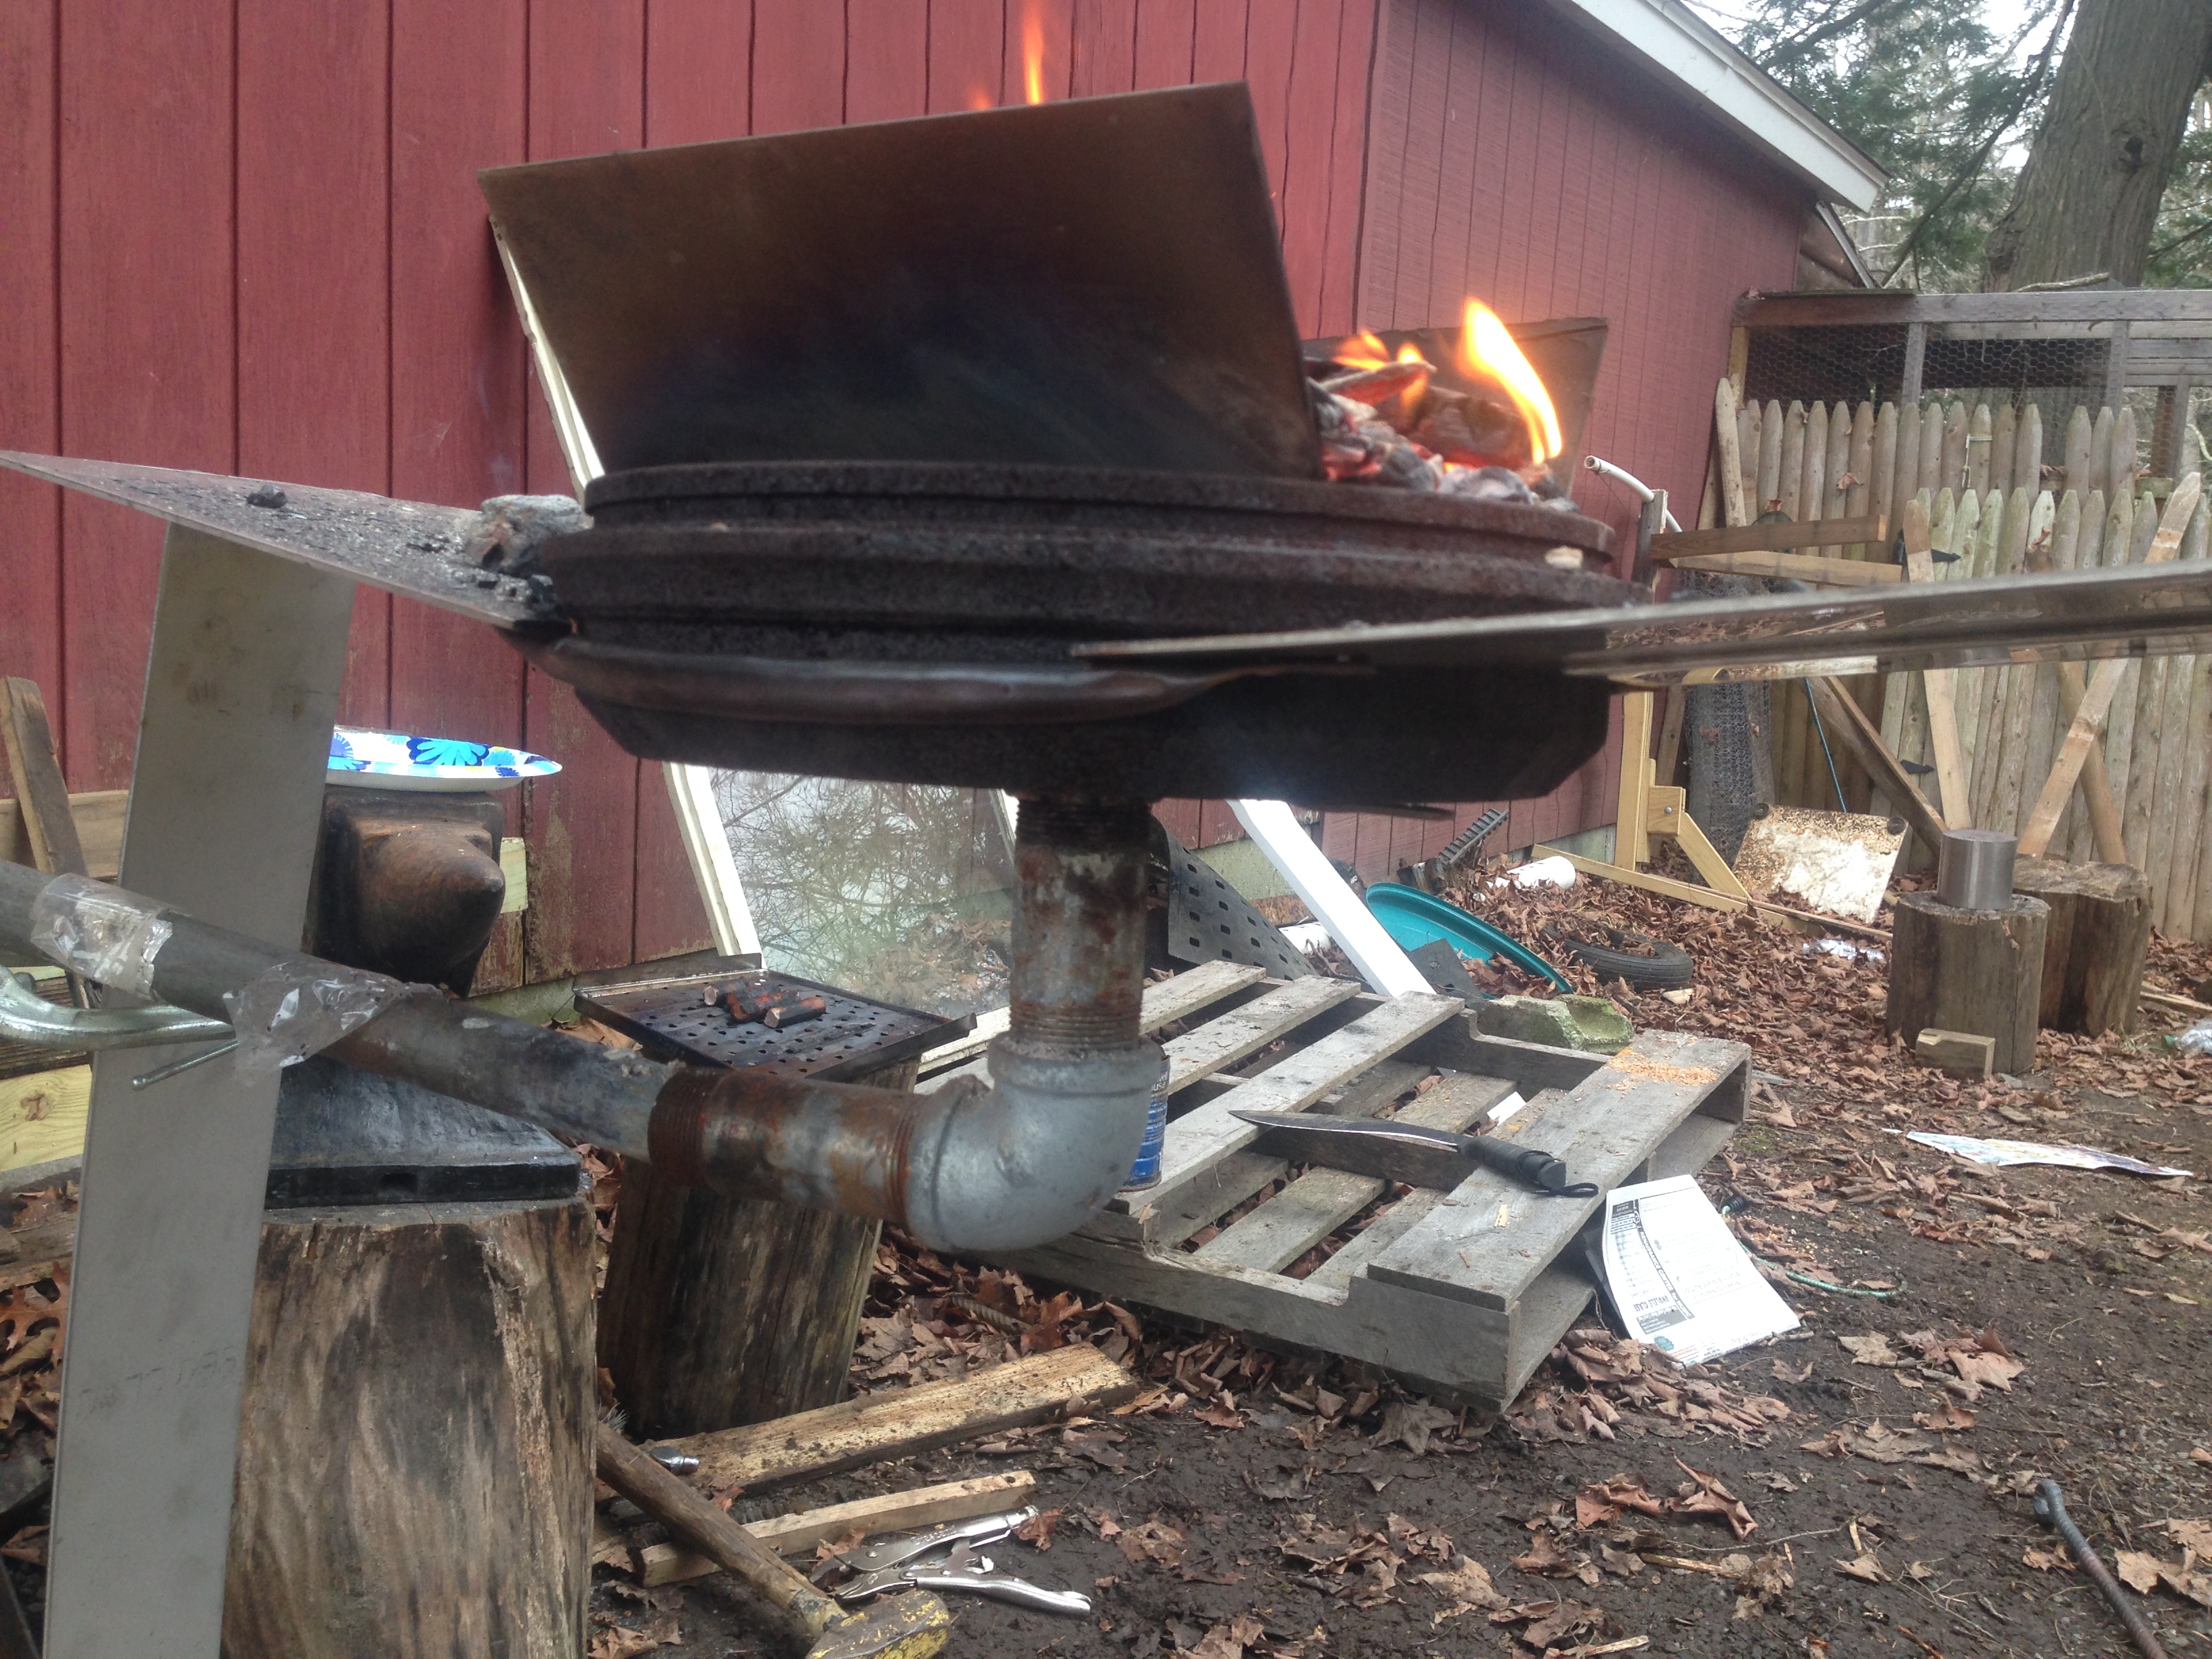
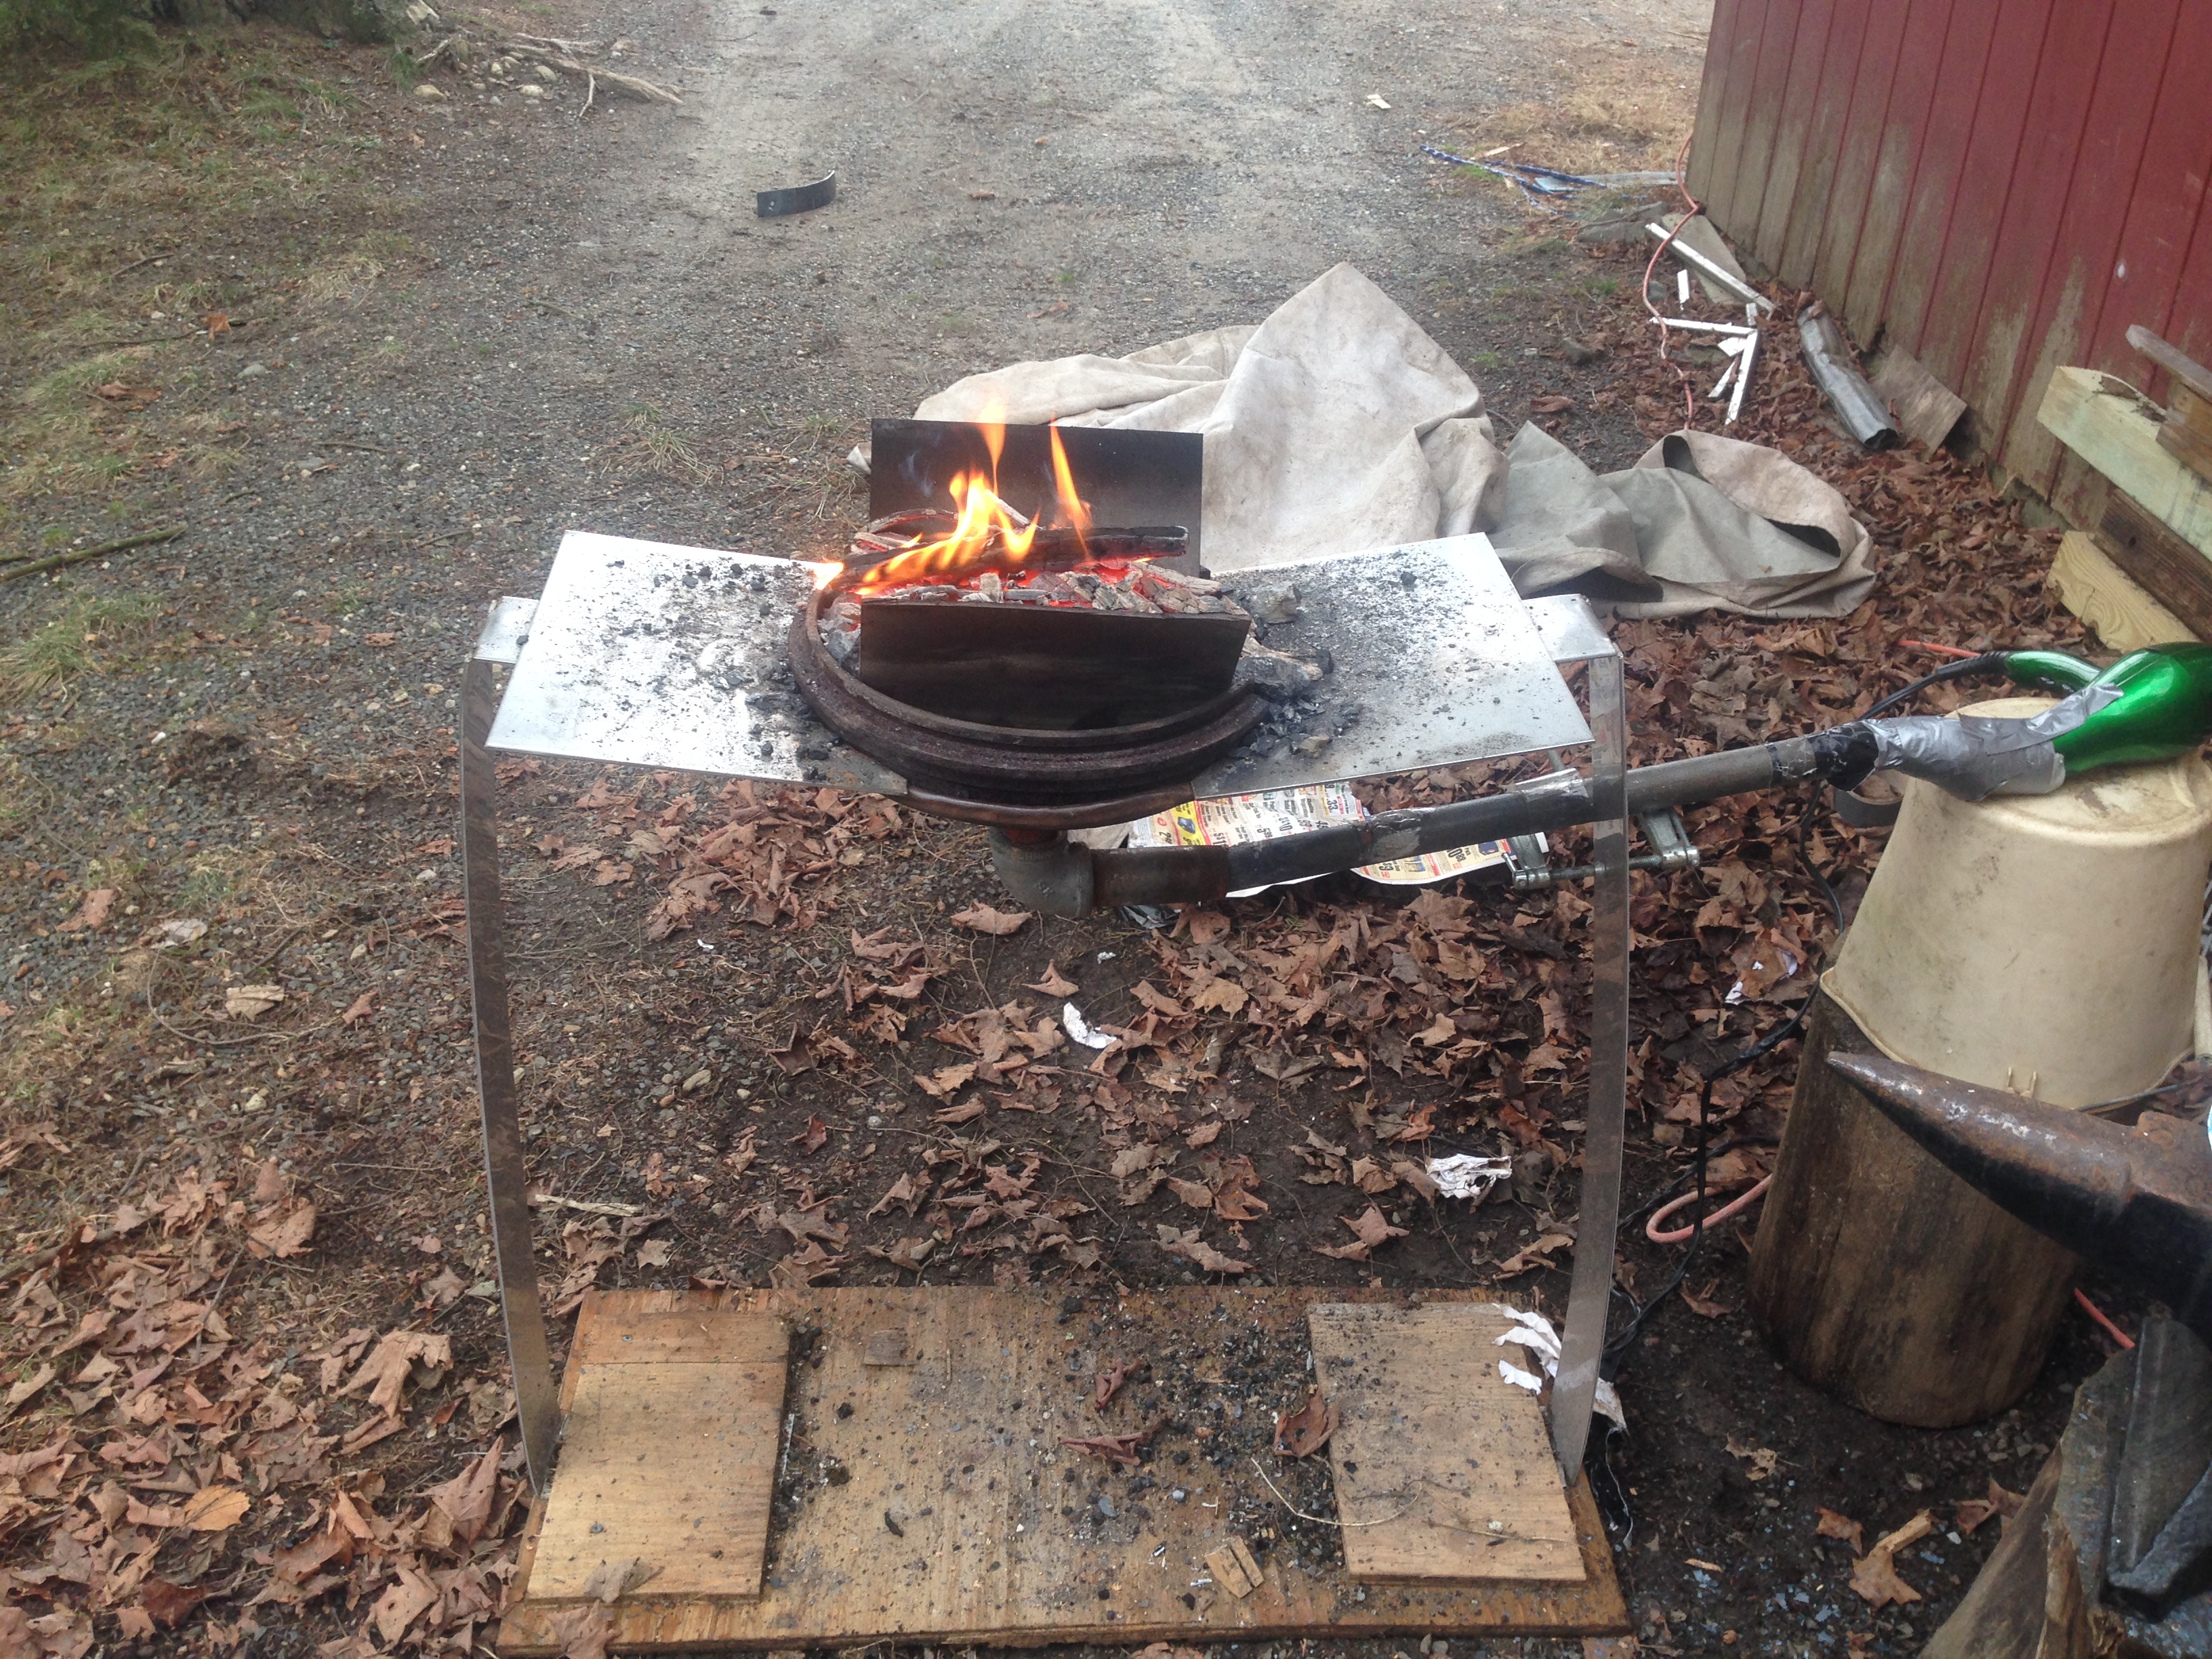
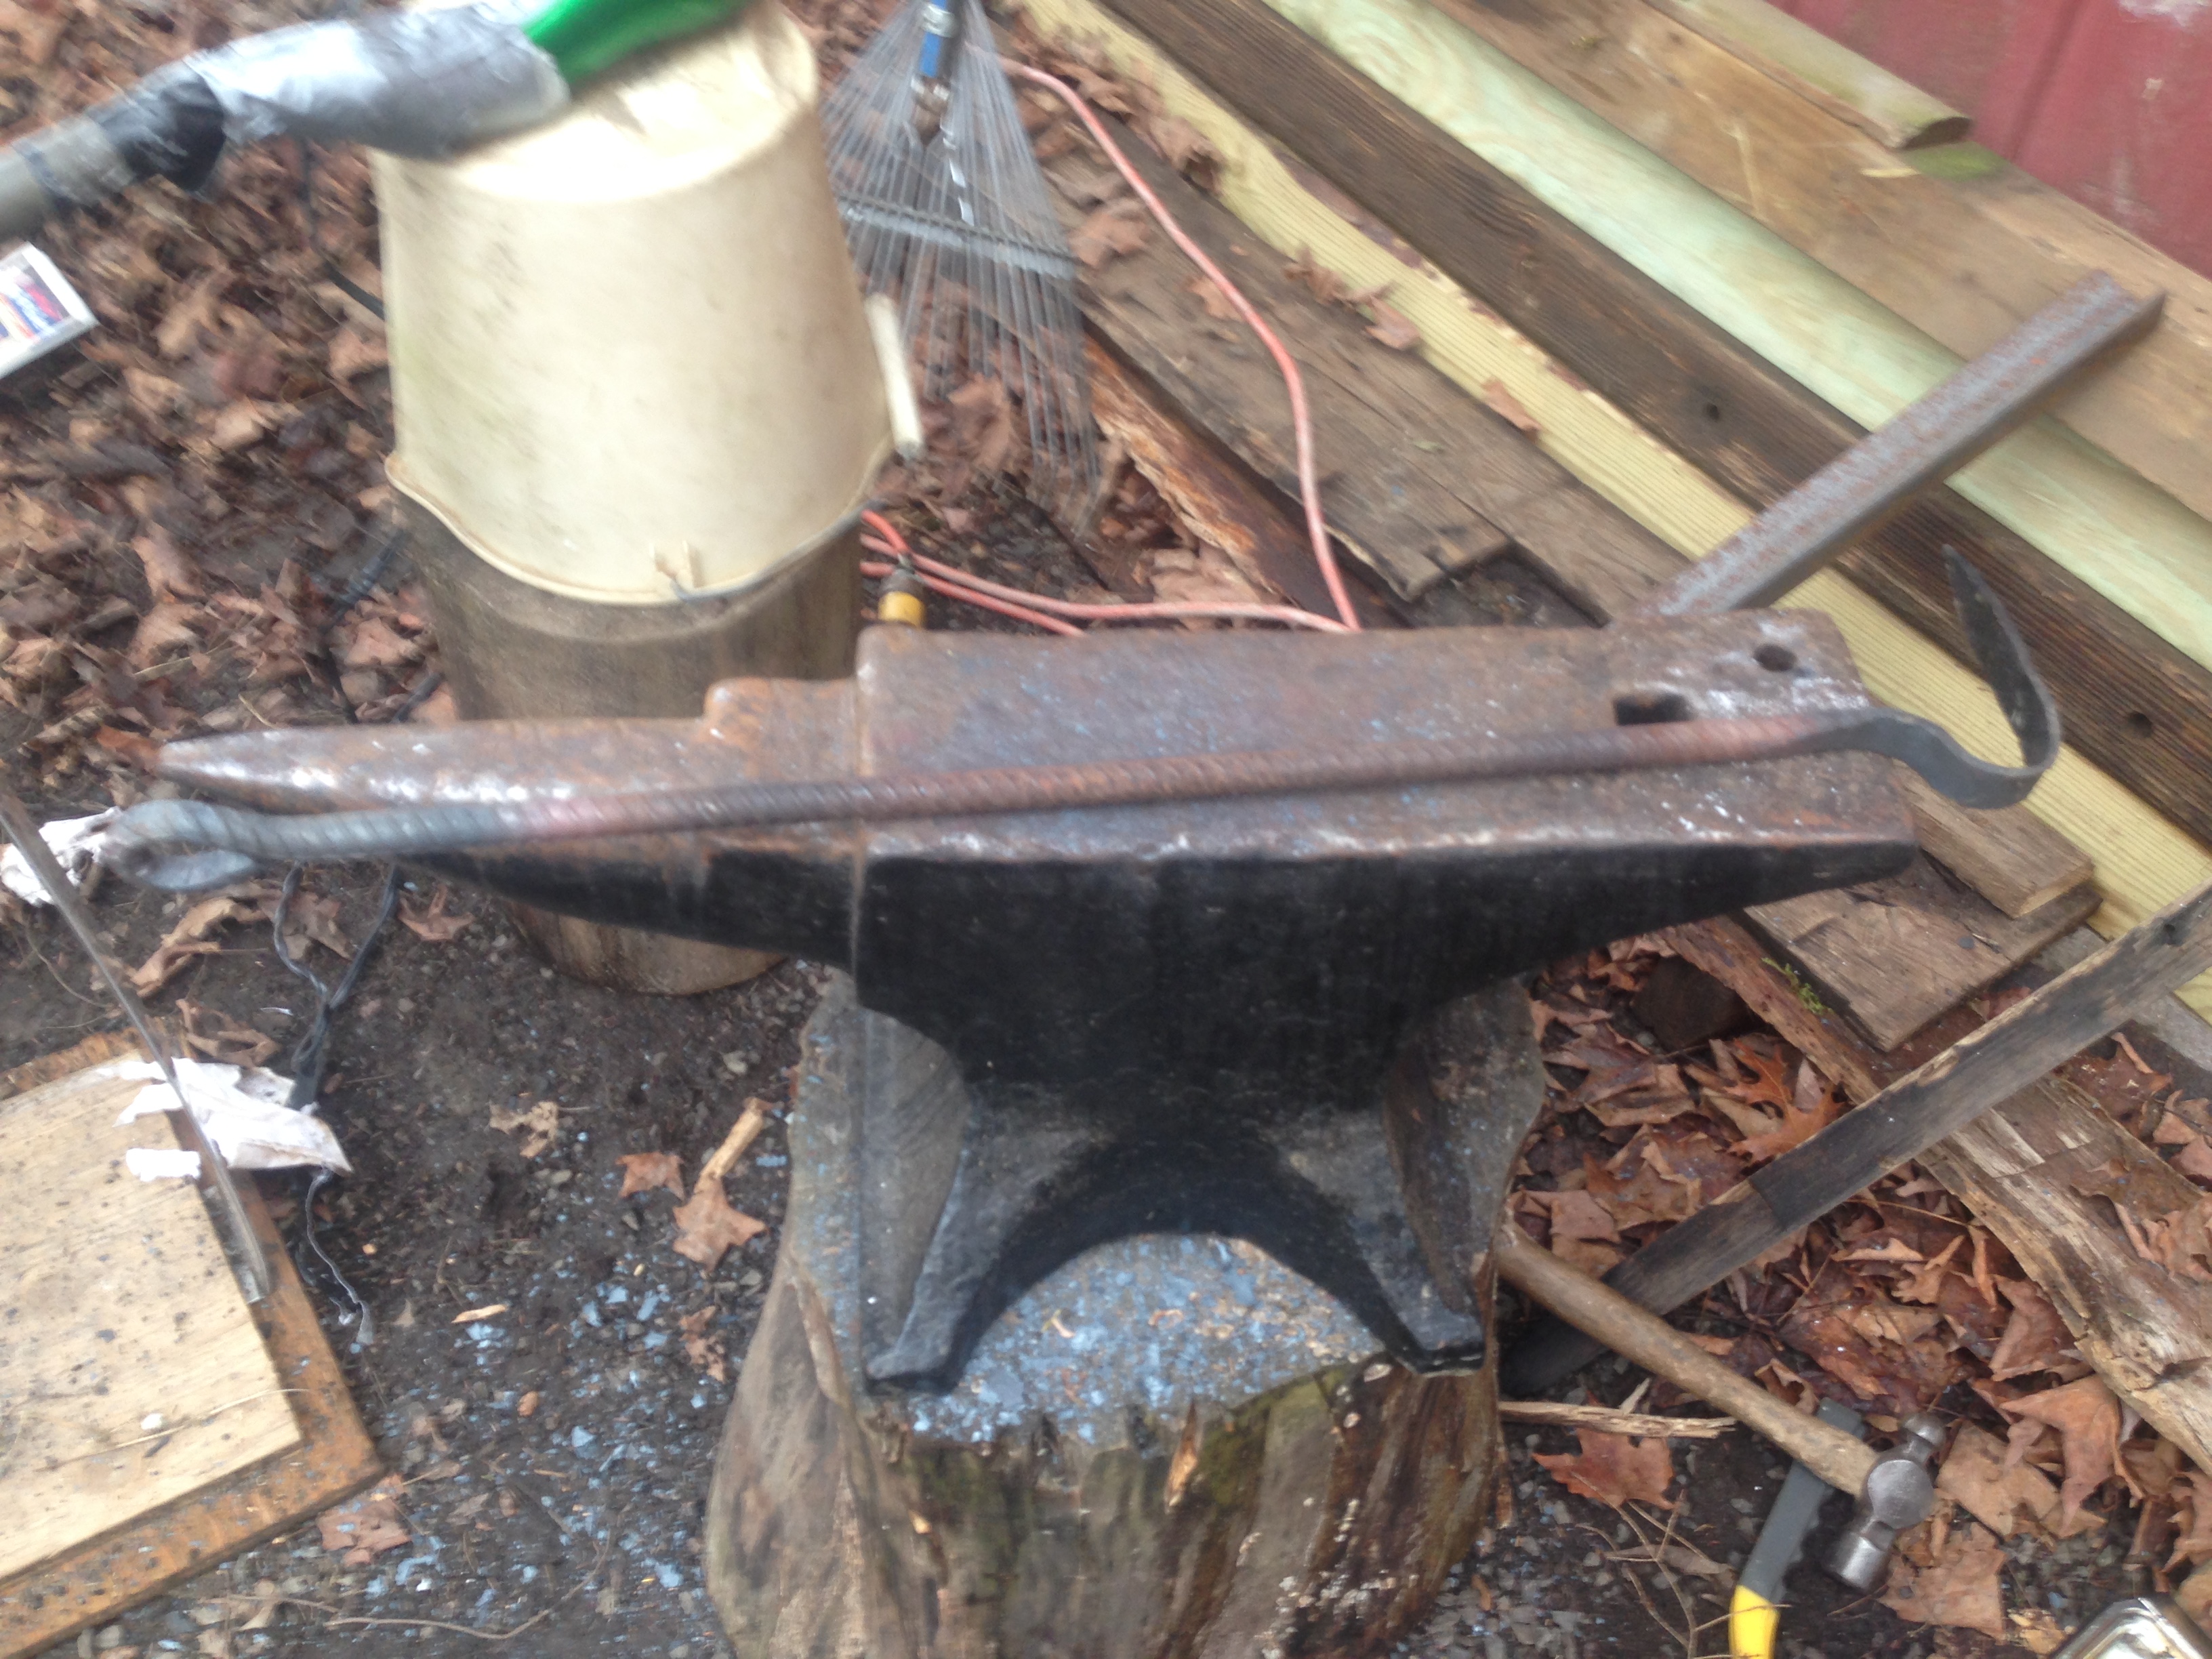
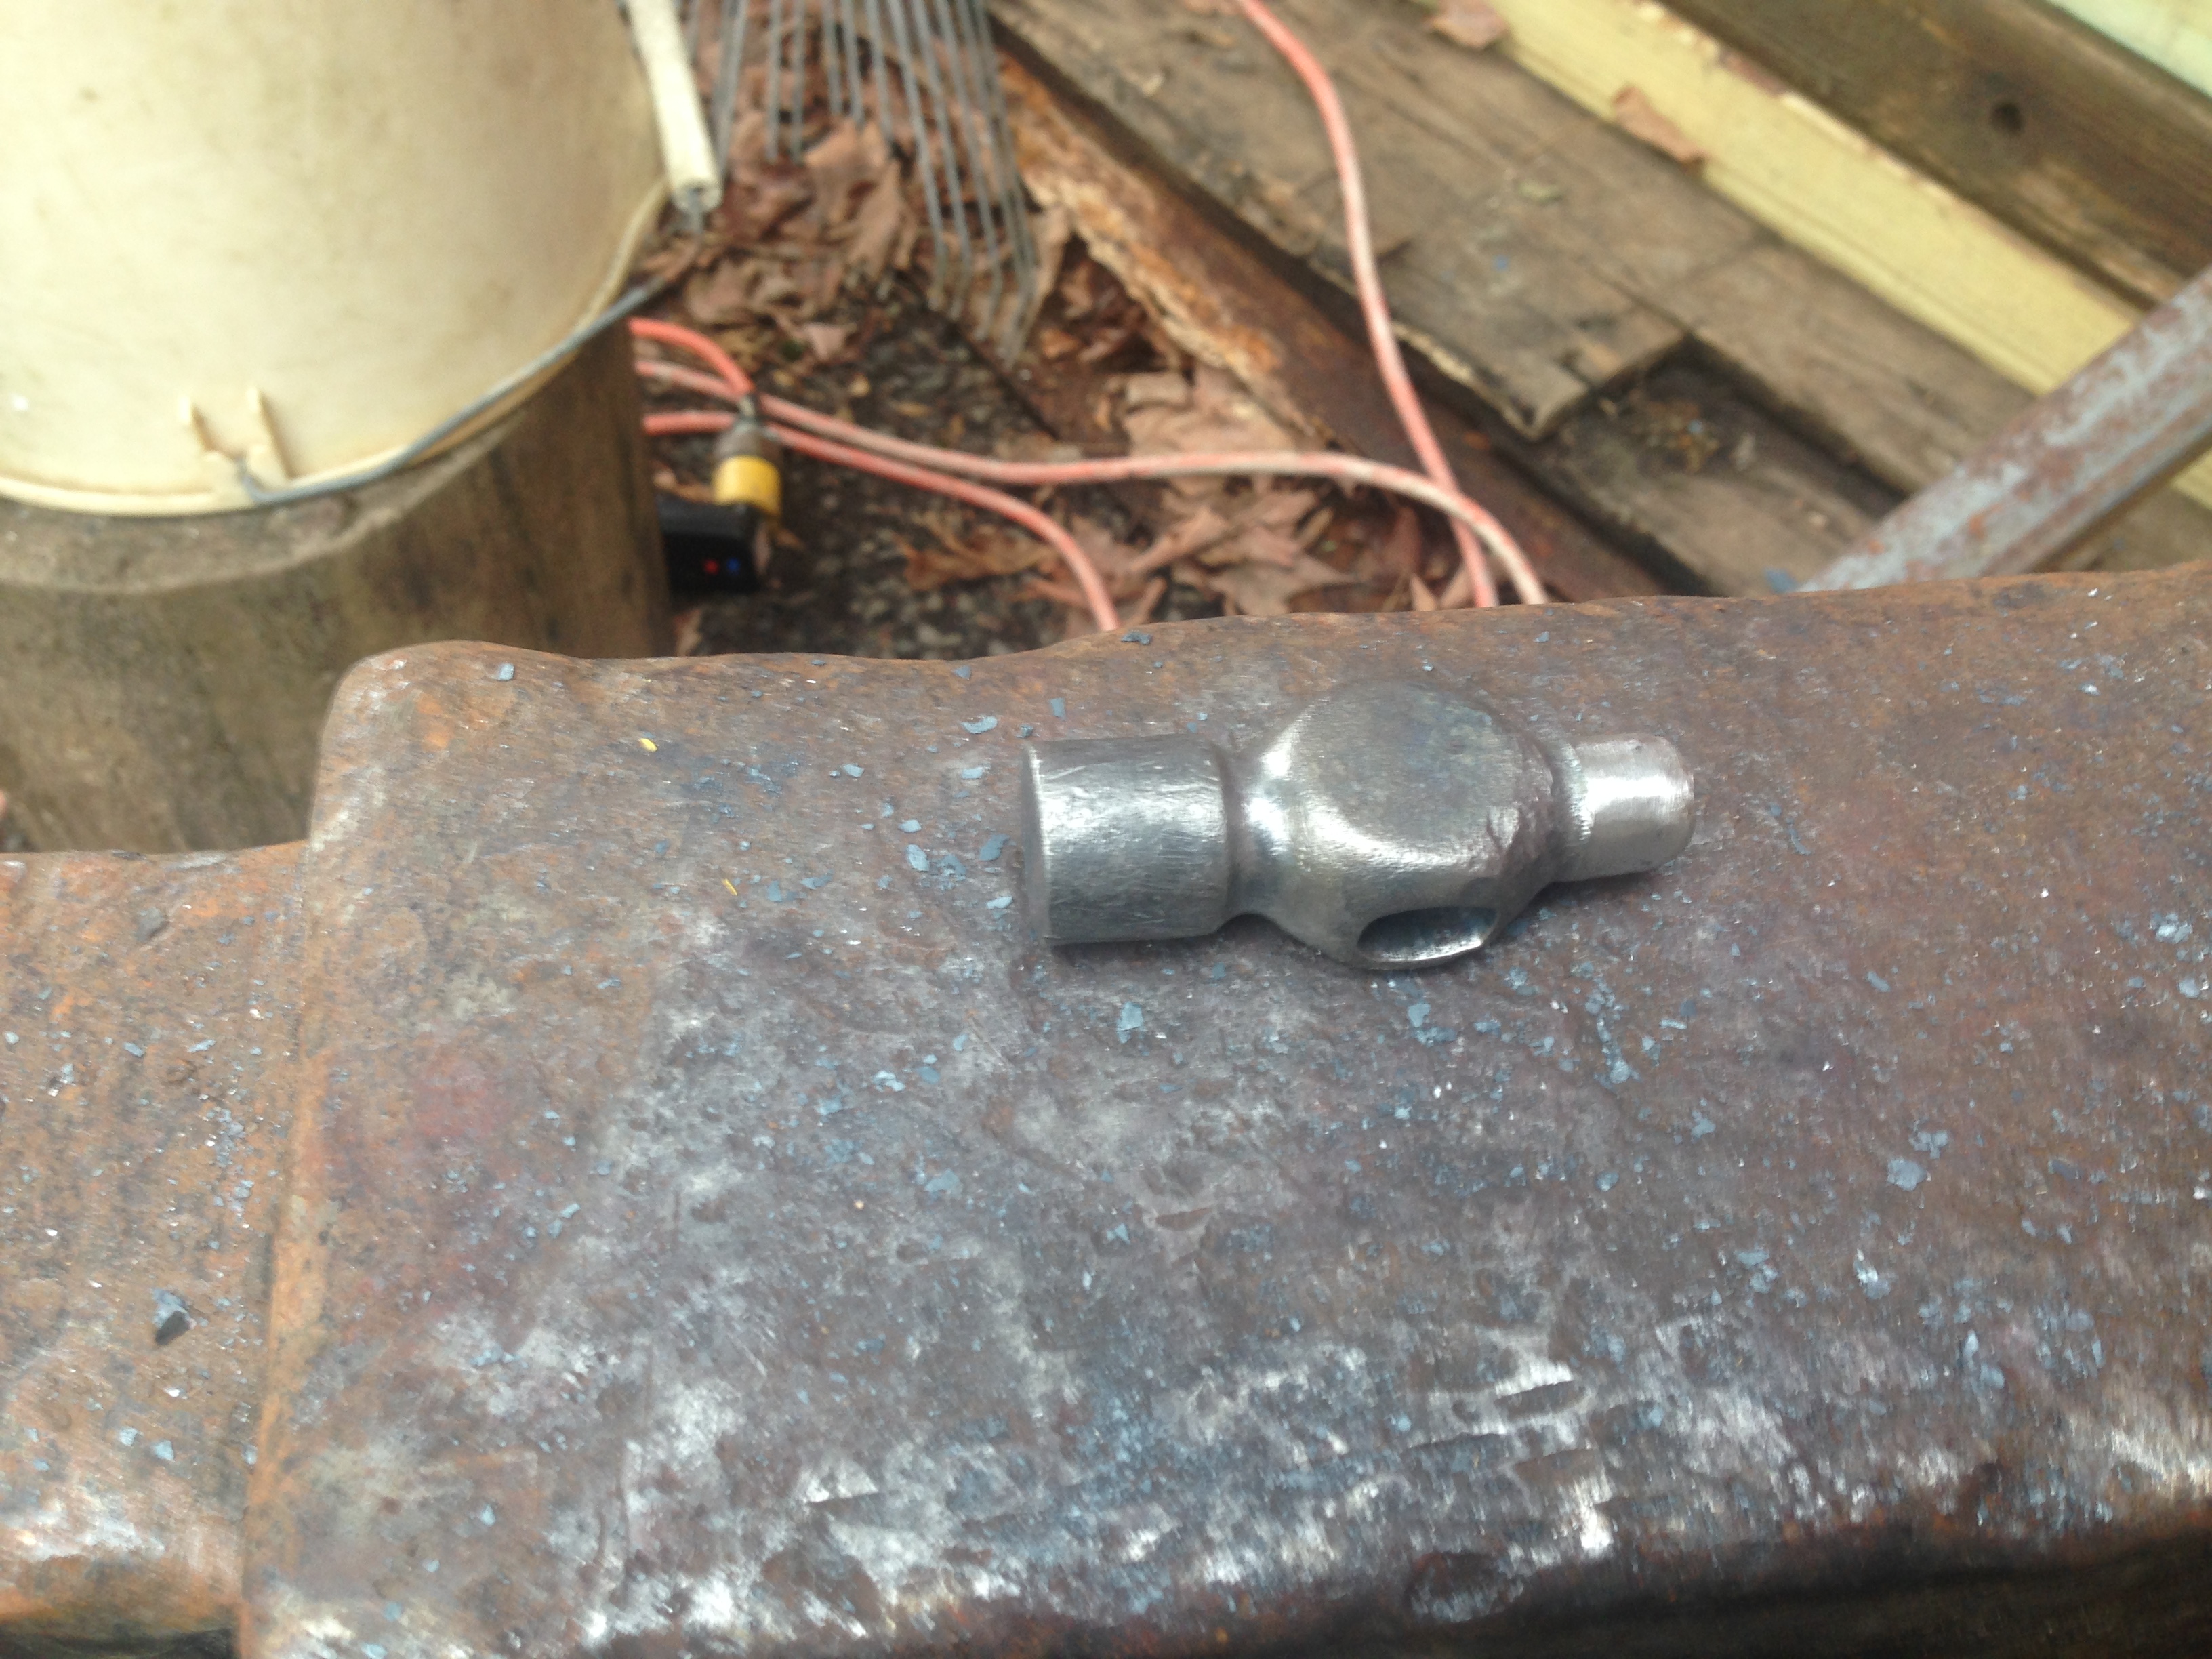
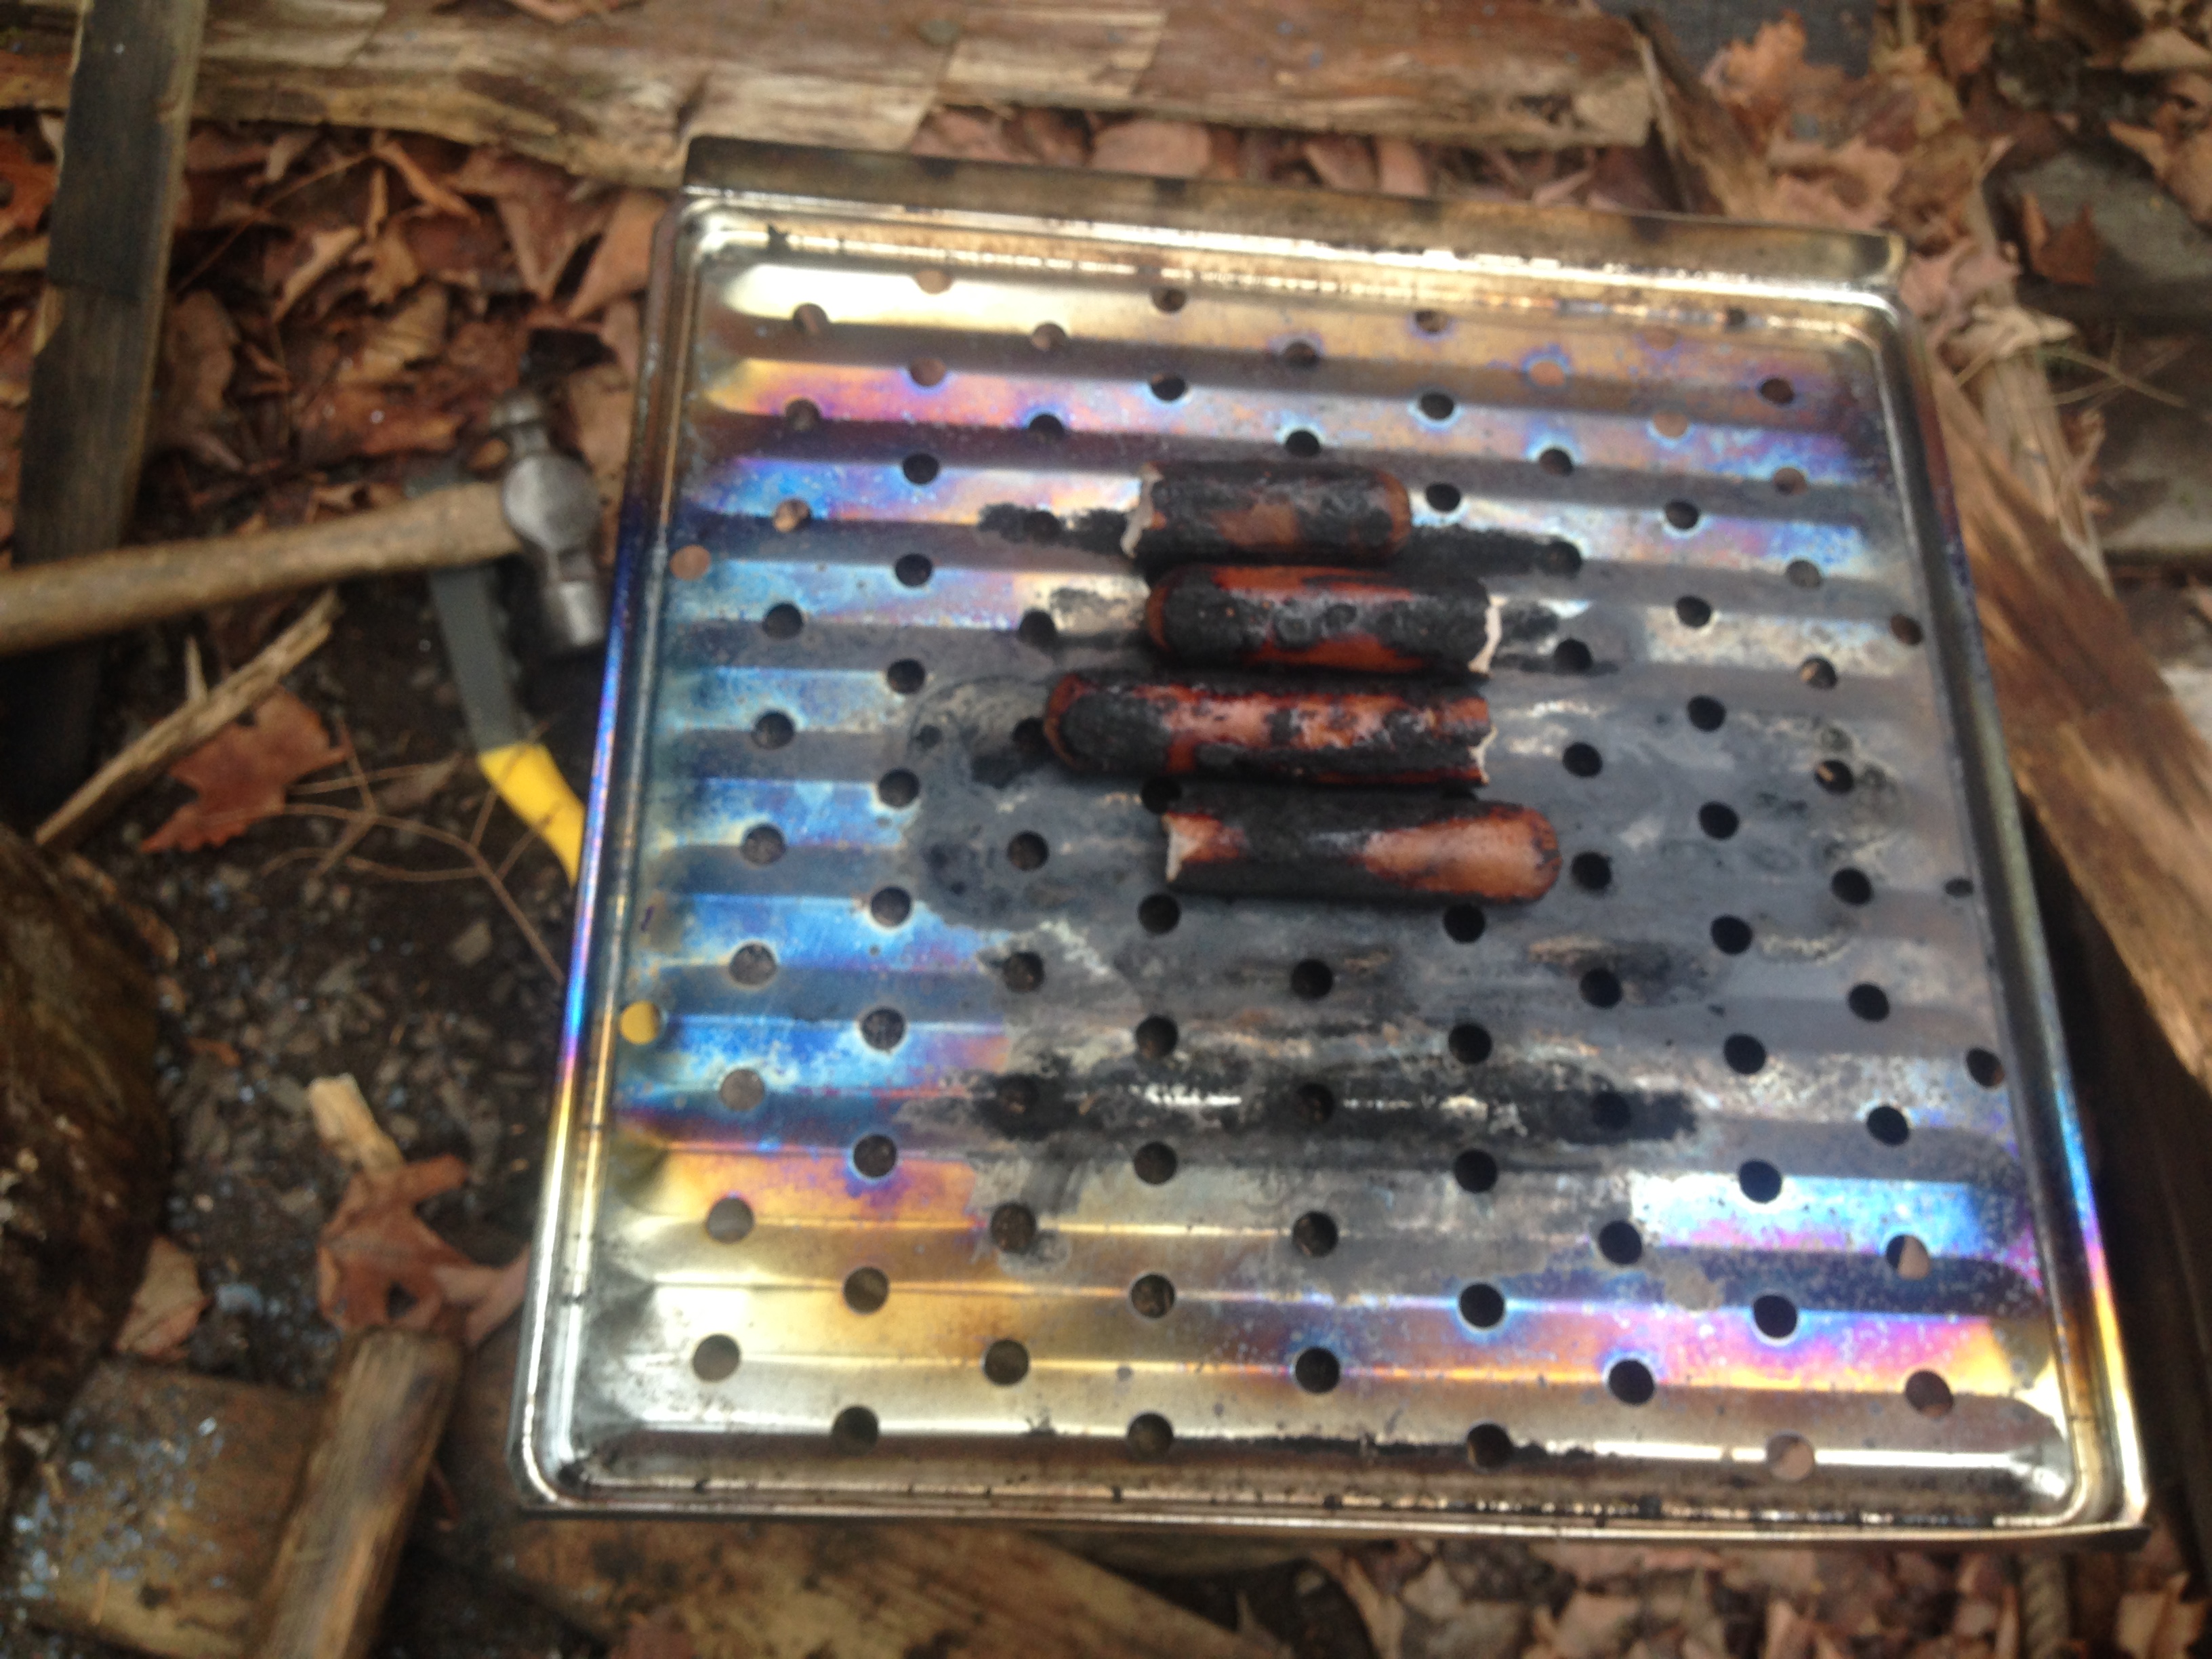
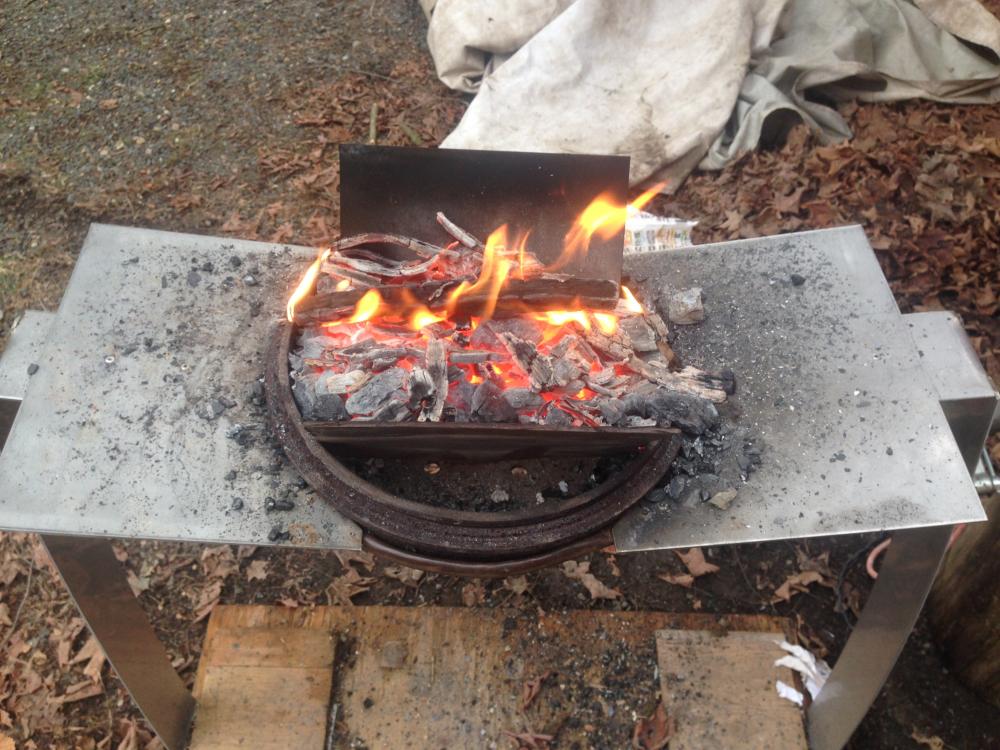
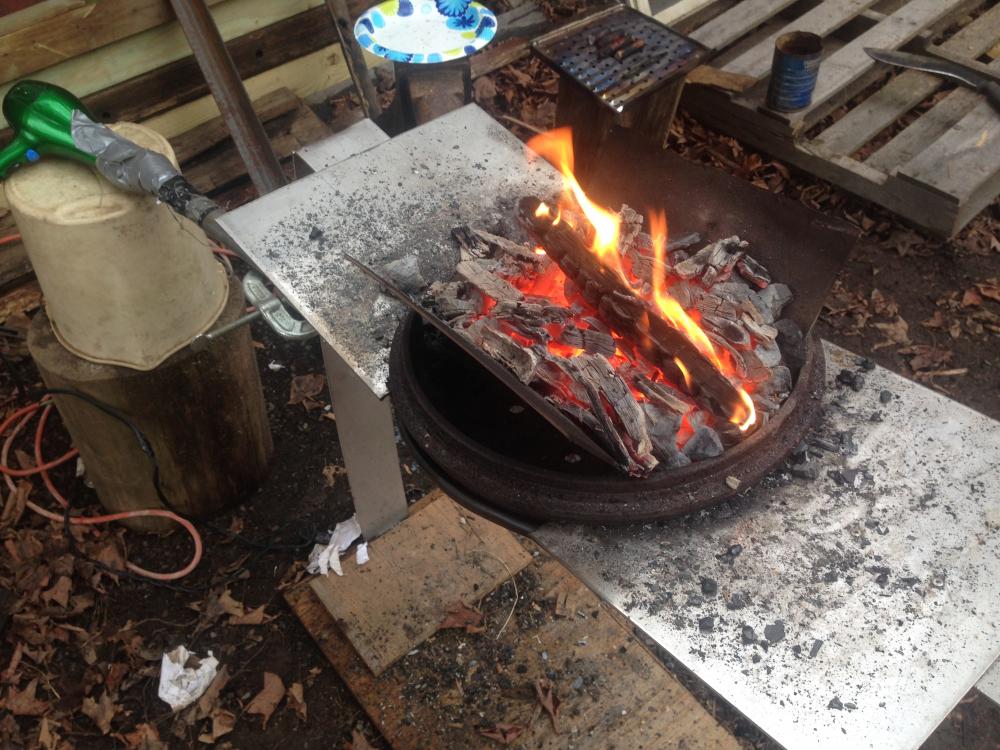
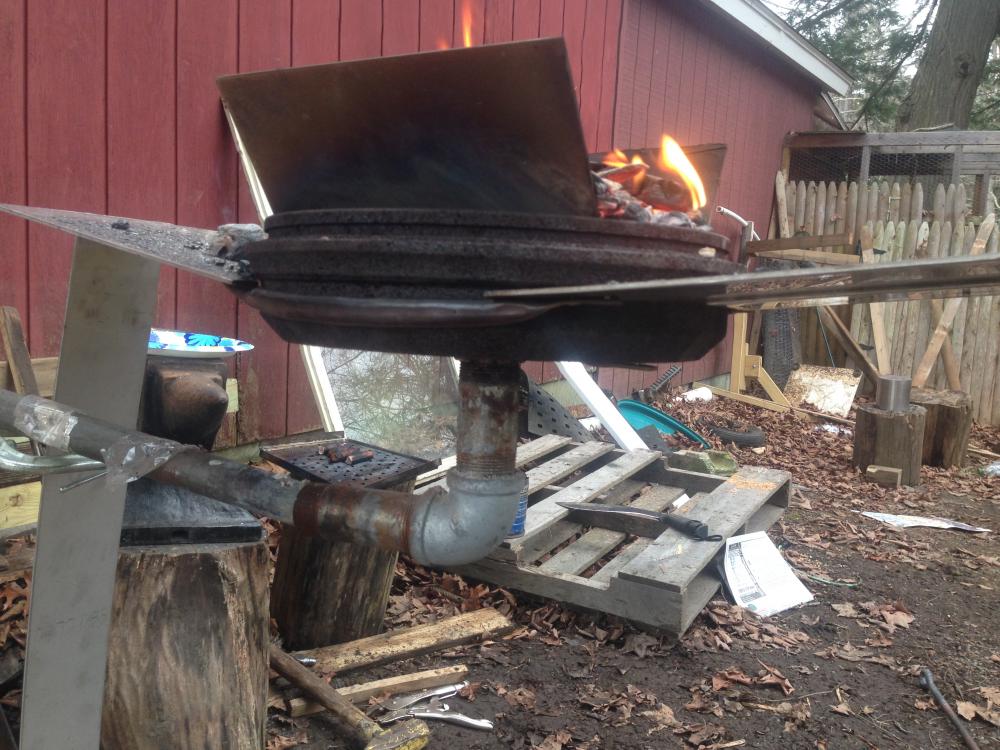
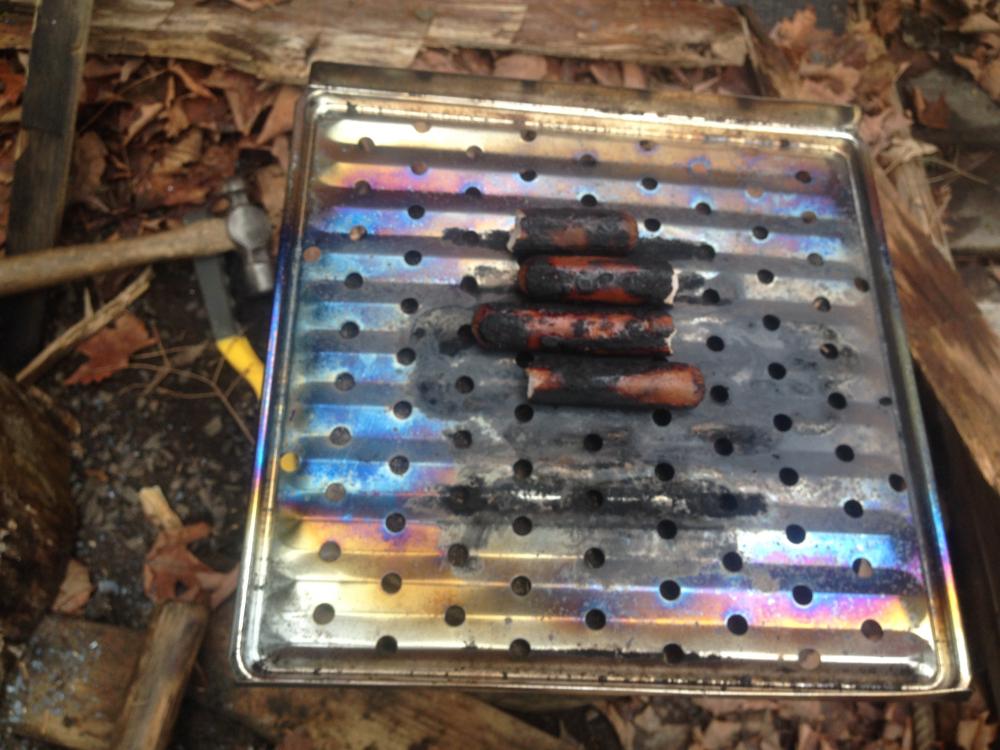
So I've been wanting to get out and forge for the past 3 weeks or so, and I've finally got my chance. And boy do i have a lot of updates from the three weeks. The thing was i couldn't actually forge until i fixed up my new forge, cleaned off my new anvil, and did some work on setting up my shop area before the ground froze. When i finally got all that done, i had a chance to do some forging. So here is my update, and asking for advice and critique and suggestions. Dont hold back! First subject to bring up is my new work space. Im making a roofed in section on the side of my garage. Seeing as how I'm just starting out, i don't really know how to outfit this area? How should it be organized? what do you guys recommend? How do you guys have your shops set up? I got the posts set in a couple days ago, which was perfect, right beforethe ground froze. It will be about 11' by 12'. darn i forgot to take the other picture but here is the posts set up and a random picture of the river in my backyard. Also, Im not sure who will be making more noise, me or the chicken coop ill be next to. Second thing, I finally got my new forge finished. It's a brake drum forge, and i have it set on a stainless steel top i made. It is made form two halves, connected by copper pipe. I designed it to be able to be taken apart, and it is a botom draft froge. IT isn't super sturdy yet, as it was made with the scrap steel I could find, and i could only rivet things together as I dont have a welder, but it worked very well. It is a bottom draft forge as well. I have those two pieces of steel on the sides to limit the are the fuel could go, which helped out quite a bit. This was also my first time forging with coal, I'm using tractor supply andesite coal, and it was completely different. So any suggestions or critiques on the forge and advice on using coal is very welcome. Now unto what I actually made today. I've been in desperate need of a fire rake, and I set that as my goal today. Big thanks to Everything Mac for the really helpful video tutorial he posted a bit ago, It really made it easier. I made mine out of rebar, and i think it came out pretty well for the 3rd thing I'veever forged. It was great to finally use my new anvil, such a satisfying feeling. sorry if the pictures aren't good quality, i was using my phone and it was cold out. I also still have my heart set on making a bottle opener, so I modified a small ball pein hammer to help make the tabs. I just made the ball part a bit smaller and more cylindrical. And finally, it was getting to be lunch time, so why not try to cook some hotdogs over the forge? It didn't end well... So all in all, Im very happy with today and it felt great to get back to forging. Sorry for the giant post and dump of info, but its been the cumulation of three weeks and I wanted to Share. So yeah, Im asking for any critiques, suggestions, and advice on anything I mentioned, and it would be a tremendous help! Thank you!


-
Show me your Bottle Openers!
MrDarkNebulah replied to Arbalist's topic in Blacksmithing, General Discussion
Would you say this type of opener is more difficult to forge than the normal opener with the full hole in it? -
We might not want to head down this road guys. Be carefulwe don't bite off more than we can chew...
-
Large Gear ideas
MrDarkNebulah replied to Richard Furrer's topic in Blacksmithing, General Discussion
Im liking KRS idea. You could actually combine both that and Richads and make it into a human sized hamster ball rolling down a hill. And PICTURES! -
For a post could a wooden post work? How big would that post be for it to work well. Would a 4 x 4 work? You guys have been really helpful. Thanks for your knowledge.
-
Home anvil mounting question
MrDarkNebulah replied to Ernie42141's topic in Anvils, Swage Blocks, and Mandrels
From what ive heard Putting it on a stump seems the best option. Putting more things underneath your anvil just gives more gaps and places for you lose rebound. The stump minimizes that. -
Im just starting out and i just got some coal. Ive hear stuff about clinkers and stuff, would coal work with a sideblast forge with this design?
-
Another " why did't I think of that"
MrDarkNebulah replied to Jim Coke's topic in Tools, general discussion
Thanks Jim, that would be fantastic -
Another " why did't I think of that"
MrDarkNebulah replied to Jim Coke's topic in Tools, general discussion
Yea i have the same issue, it has happened to every old photo ive ever tried. -
New to smithing. looking for help 74848
MrDarkNebulah replied to codyrwilliams's topic in Introduce Yourself
Make sure to add your location to your profile. That way people can see it everytime you post. You'd be surprised how many smiths on here that could be near to you. Welcome to the forum. HA! beat you to it frosty! -
Beautiful. And welcome to the forum. I'm going to steal frosty's job here and say that you should putyour location on your profile. You'd be surprised how many smiths there might be near you. This is one of the things that has me dying to get out to the forge. Maybe in a few years i might even be able to get something like that accomplished! great knife.
-
Thanks for the help. A start on my quest for knowledge, that might seem like a simple thing for everyone else, but how exactly do you want the leg of the vice to be on the ground_ is there a specific contact method you are looking for?
-
Spiked Hot Cut
MrDarkNebulah replied to AlexTN's topic in Hot Cuts, Anvil devils, metal cutting on the anvil.
I had the same problem. My solution was to take a drill and drilled a hole in a stump. Then i set a section of square steel pipe into it. It has worked allright so far. -
Thanks frosty. Very helpful as always. what would be a very simple way i could mount it. I have a ton of scrap steel, even some large plates, but i dont have any welding experience or equipment.
-
I just got my own post vice, and my forging area right now is outside on dirt, what would be a good way to mount it? Also, is there any good place for me to find out all i need about postvices? I've done a bit of research online, but the sources i found dont really talk about what you want when mounting them. Thank you all in advance.
-
Alternate to Anvil stand. Grrrr.
MrDarkNebulah replied to Frosty's topic in Stands for Anvils, Swage Blocks, etc
That all makes alot of sense. Thanks for the input frosty. -
Blacksmithing gems and pearls
MrDarkNebulah replied to Glenn's topic in Blacksmithing, General Discussion
From SmoothBore fantastic advice, but i probably wont listen to it for a while. I am still young and need to do all the stupid teenager stuff still. -
Yes i had the same issue when i started out, it was too much air. You can either wire up a dimmer, which is not recommended, or put in a way to vent some air on the pipe. The second option is what i went with and it works very well
-
I think the bell and the ball pein hammer were made to be together. Give it a whack and see how it sounds. That's got to be satisfying.
-
What I did this Afternoon
MrDarkNebulah replied to John Galt's topic in Blacksmithing, General Discussion
Very nice. Sorry im so ignorant, but how do you go about making the cross? Ive seen a few made out of railraod spike as well, and it seems as if they were split. That along with the fact its called a split cross seems to say that, but i cant see how you'dgo about doing it. -
I have a friend who is a retired ferrier. I was talking to him about mounting anvils and he said always make sure you have your anvil on a stump. He says that doing so will absorb some of the force of your blows better than concrete or other things, and save your joints in the long run. Have any of you guys heard about this? I dont have much experience in smithing, so i was wondering if you guys could confirm that for me. What are some other good ways to mount anvils?
-
The light bulb finally came on...
MrDarkNebulah replied to Worshipdrummer's topic in Blacksmithing, General Discussion
Dissappearing post! the first time it happened to me. Pictures? I had the same problem, but i made a temporary fix with a peice of wood that folded out to serve a rest.