
JHCC
-
Posts
19,350 -
Joined
-
Last visited
Content Type
Profiles
Forums
Articles
Gallery
Downloads
Events
Everything posted by JHCC
-
One good option (depending on the strength of the prevailing winds) is to have one corner of the tarp secured to a weight but not actually spiked down. If you do it right, an exceptionally strong gust will lift the weight and allow the tarp to flap a bit, relieving the stress. If everything is pegged down too tightly, such a gust could pull out a stake, rip the tarp, or blow the whole setup over.
-
Welcome to IFI! Please READ THIS FIRST!!! What you have there is a cast iron ASO (Anvil-Shaped Object). It has neither the strength nor the resilience of a proper anvil, and is best used as a doorstop or a large paperweight.
-
Hi, Josh. A few quick thoughts. Regarding the forge, a side-blast is easier both to construct and to control than a bottom blast. Clinker management is easier too, as it's less likely to clog your tuyere. If you insist on going with a bottom blast, consider a bullet grate. Regarding tools, a good hammer will certainly help, but I'd personally recommend spending less on the hammer (nothing wrong with a flea market special) and more on tongs. If you can't hold the workpiece securely, all your forging will be an exercise in frustration and increased risk of injury. Invest in a couple of V-bit tongs and/or wolf-jaw tongs to hold a variety of sizes and shapes up to 1/2"-3/4" or so. You will NOT regret it. An angle grinder is a VERY good investment, and you should get the best one you can afford. Don't be afraid to buy used: I just got a fantastic deal on a used DeWalt 7" from a guy who was closing down his contracting business, and I'm wondering how I managed to get along for so long with my 4-1/2" Harbor Freight special. (Side note: if you do go with HF, buy the extended warranty. I've had two or three grinders burn out after the initial warranty period, but before the extended period expired. If you have the money to buy a good one up front, do it, but if your budget would be better served by spreading the expense out over time, this is a good way to make sure you have a functioning grinder all the time.) Regarding anvils, if you have the money to invest in a commercial anvil rather than an improvised one, there's certainly no shame in that. You might find it worthwhile to invest in a chunk of scrap and spend the extra money on a proper post vise. That way, you can use the vise to hold what would otherwise go in your hardy hole and also have all the capacity for twisting, bending, etc that comes with a vise you can pound on. Overall, you're pretty much on the right track. Do keep in mind that it's fairly easy to create a plan in advance that relies heavily on what's available commercially, but that plan may end up being more expensive than what you could do through TPAAAT, flea markets, junkyards, etc. If that's the way you want to go and you have the money for it, go for it. If you want to be more economical and have some resources to spend on quality tool steel, blacksmithing classes, consumables (coal, grinding discs, respirator filters, etc), and so on, then make your plan more conceptual and be prepared to improvise in its execution. Definitely spend some money on good tongs, though. That's one thing I wish I'd done when I started out; I would have saved myself a LOT of frustration and not a few burns.
-

What did you do in the shop today?
JHCC replied to Mark Ling's topic in Blacksmithing, General Discussion
Very nice. Now make her a scrollwork basket! -
The downside is you can only use that one alignment, and there’s no way to use any of the other surfaces without untying the frapping.
-
Hot cuts from breakpress knife dies.
JHCC replied to Ericsg's topic in Hot Cuts, Anvil devils, metal cutting on the anvil.
Those dies are generally made from 4140, according to a guy I know who works sales for a tool-and-die manufacturer. -
One of my friends from college was lead writer for D&D for years, now over at Magic: The Gathering. I should have him join me in the forge next time he comes to a reunion.
-
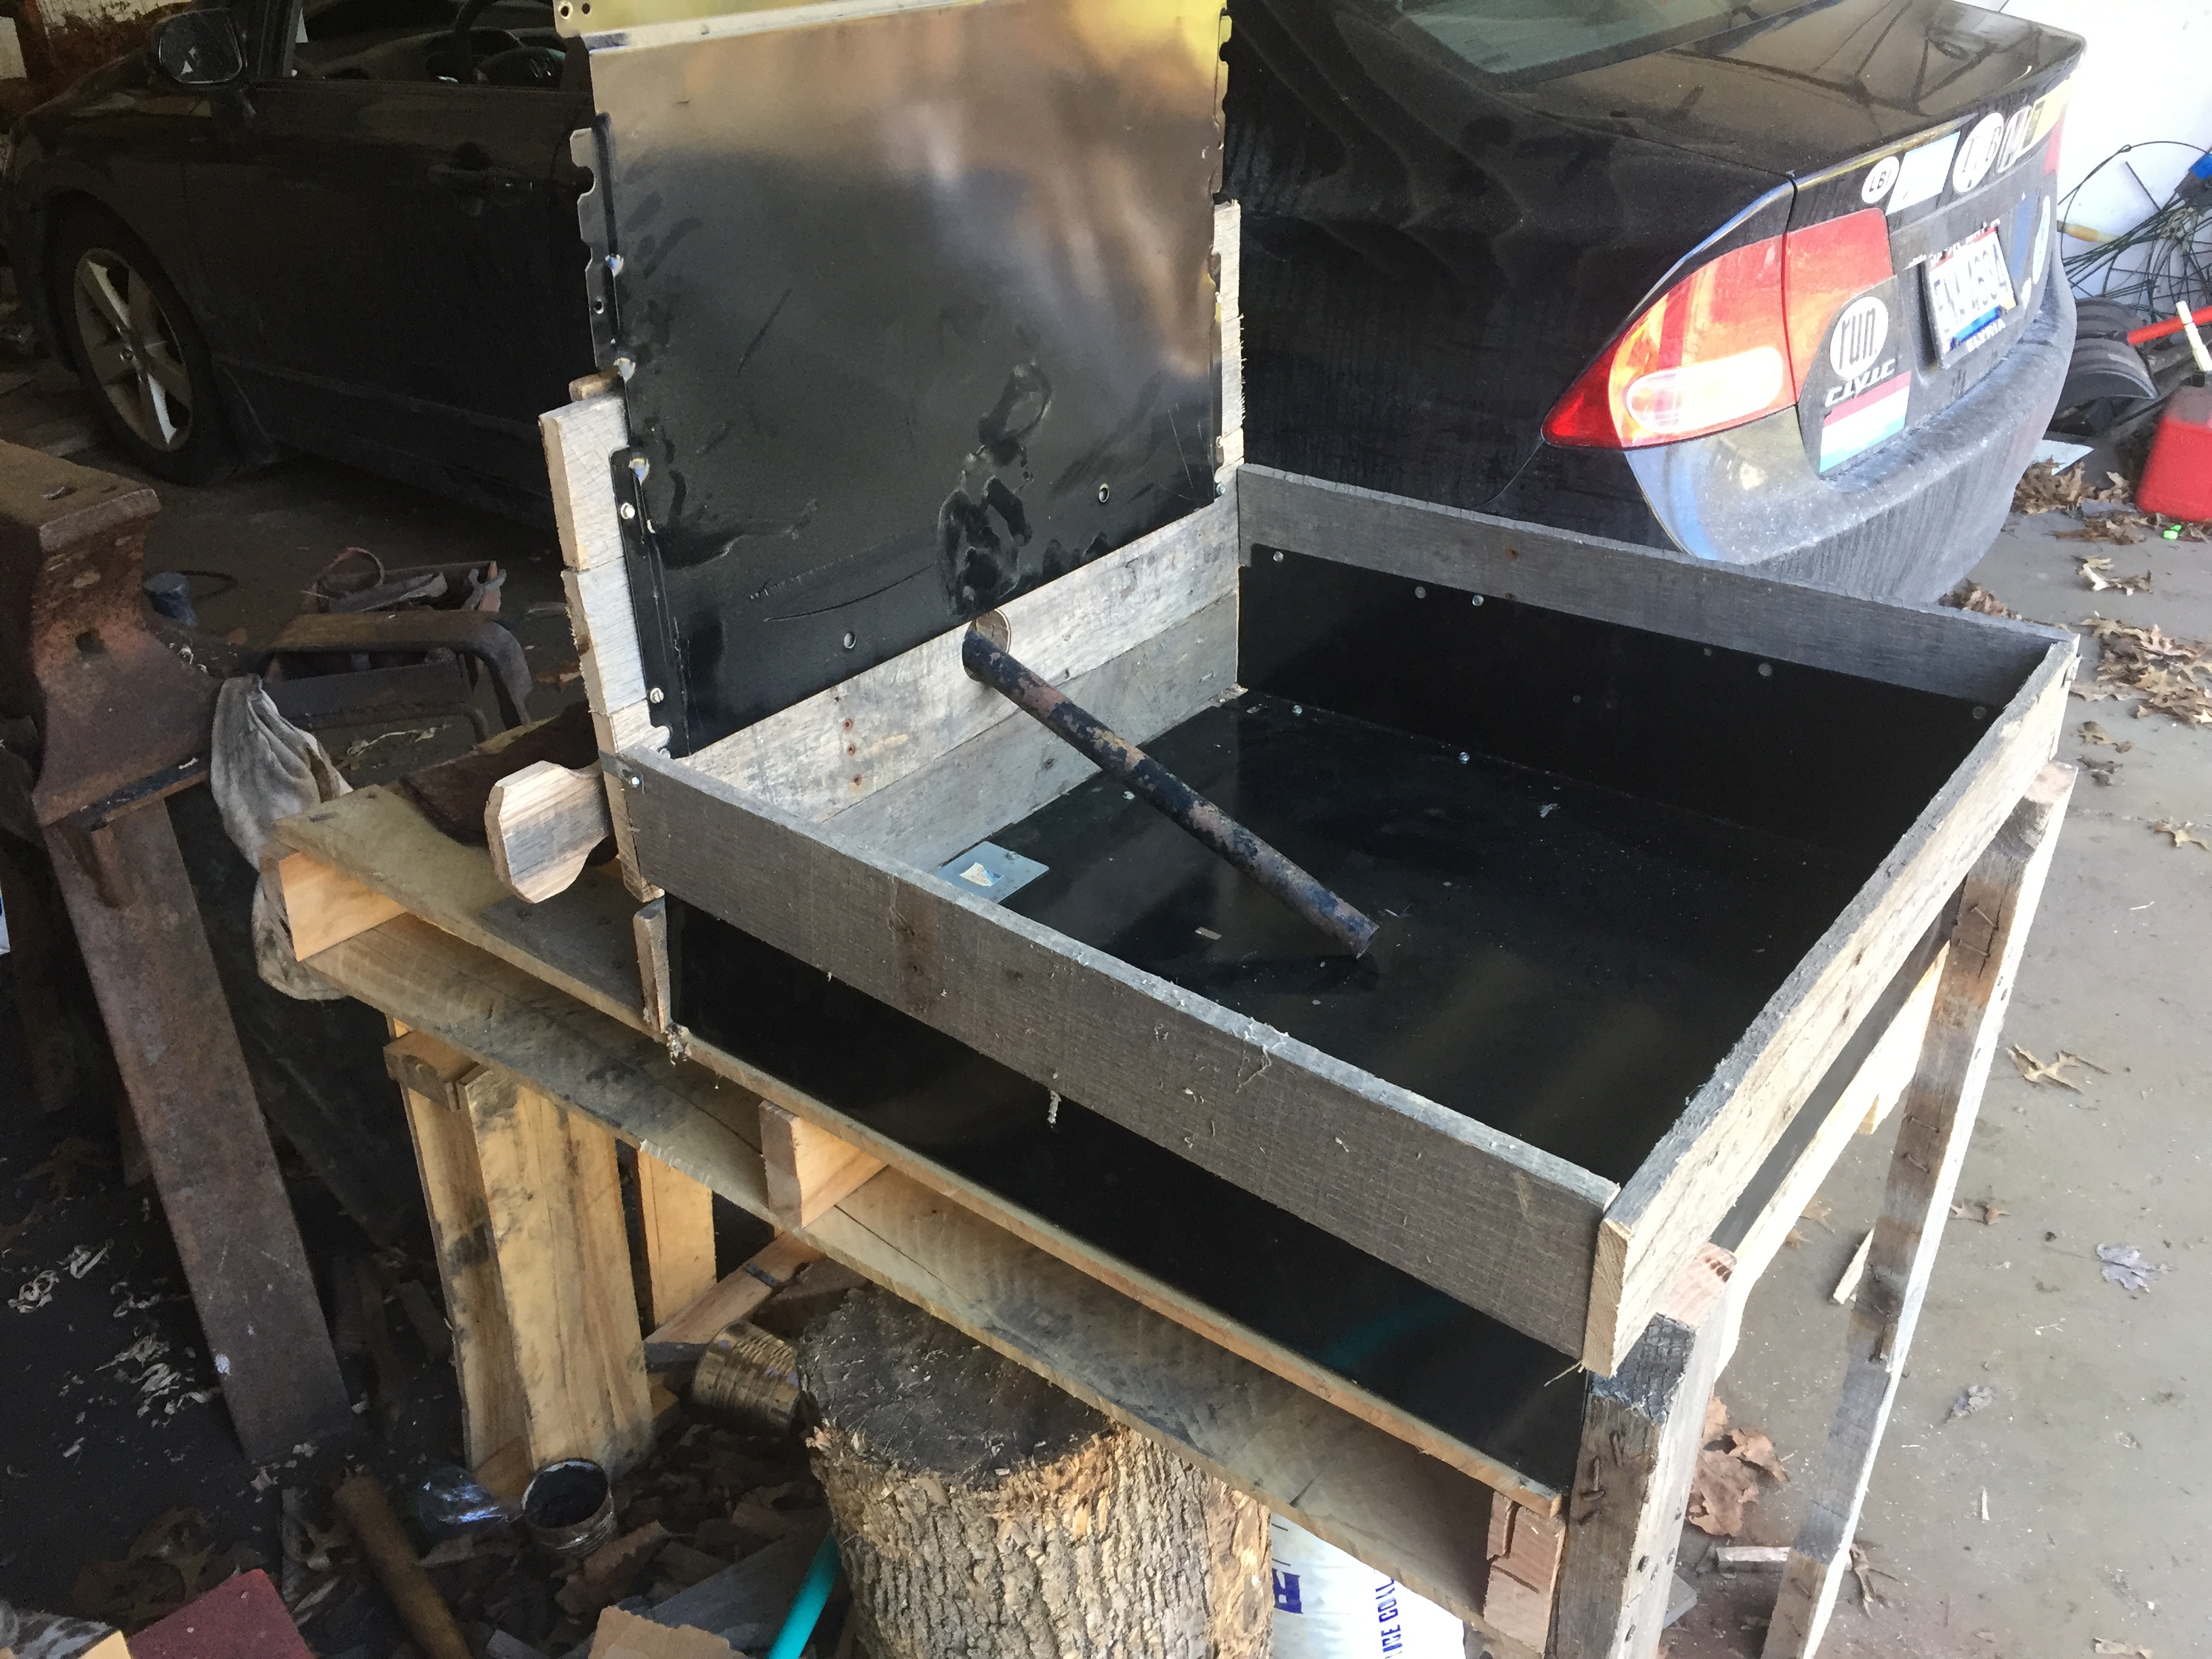
New side blast with water tuyere & bosh (pic heavy)
JHCC replied to JHCC's topic in Solid Fuel Forges
Never actually boils (at least, not yet). I'm thinking about sticking in a thermometer to see if the temperature would be right for a sous vide. I'll add a gallon or two of water before a forging session, but that's mostly to replace what drips out from the leaky drain valve. On my original JABOD, the box and the metal lining of the fireback were salvaged from a wall oven that I replaced. Hook and pull, rather than push and pry!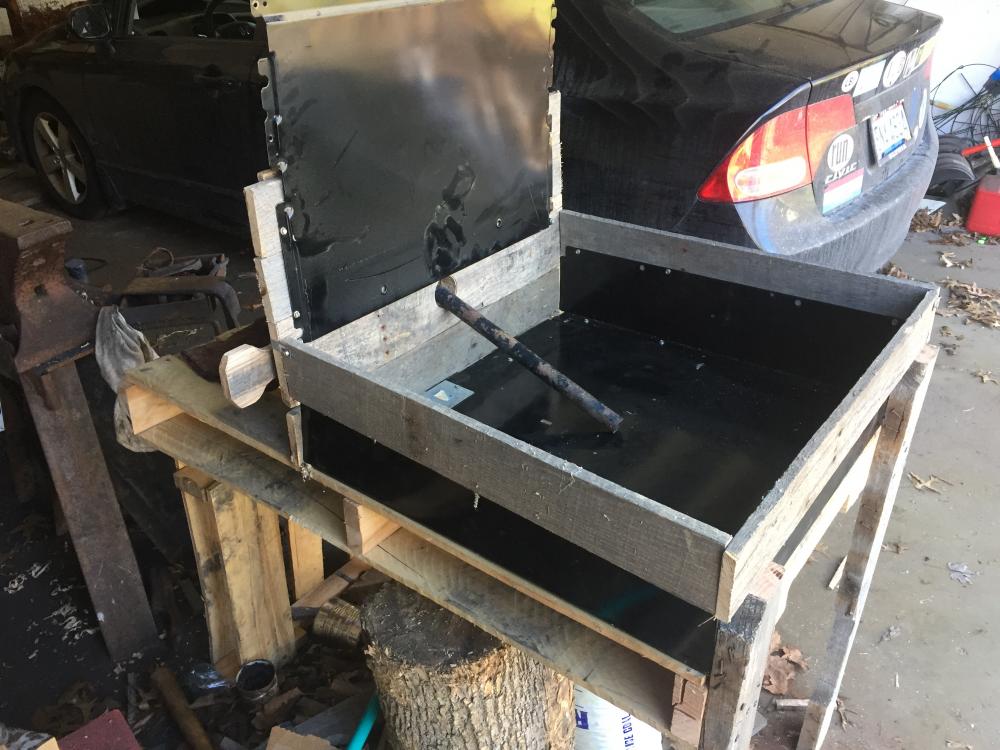
-
What did you do in the shop today?
JHCC replied to Mark Ling's topic in Blacksmithing, General Discussion
"Attention to detail" is scarcely lacking in your work! This is just one tiny thing that was bugging me! -
What did you do in the shop today?
JHCC replied to Mark Ling's topic in Blacksmithing, General Discussion
sfeile, that knife has a great profile. I especially like that you put the filework on the butt; nice subtle detail. Das, that Rakkenfowl is looking great! What fun! 58er, I love your work, but I have just thought: perhaps the copper wire should be stretched straight from the fish to the pole? You wouldn't get that kind of bending of the pole's tip unless the line were under tension, as it would be if you were reeling in the fish. Minor detail, perhaps. I love everything else. -
No, it's just going to burn up the first time you fire up the forge. A good way to keep clay out of the tuyere is a twisted rag.
-
New side blast with water tuyere & bosh (pic heavy)
JHCC replied to JHCC's topic in Solid Fuel Forges
It's a bit of an issue, but not much. There's a bit of coal mixed into the sand, but not enough to bother about. For beginners, I ALWAYS recommend the JABOD forges, as described HERE, HERE, and HERE. Playing around with the JABOD taught me a lot of lessons that were very useful when the time came to build this beastie. Since you have a MIG welder, I would suggest making a JABOD with a metal box, but holding off for now on building the bosh & tuyere. On the other hand, if your welding skills are already good, go for it! (You might want to consult Mark Aspery's article on Building the Side Blast Forge first. IFI member EverythingMac also has a good video about setting up his side blast.) The variac simply controls the speed of the blower; it doesn't produce the air blast itself. Before I got it, I used to regulate the blast on my old JABOD with a homemade gate valve, which you can see HERE. A hair dryer will work just fine, as will a bed inflator; Charles R. Stevens favors the double-acting hand pump, as shown in his Mark II JABOD post (linked above). I'm mostly using anthracite which needs a constant airflow, so I don't use a hand-powered blower. Still, you have lots of options. (The variac is great though. I love that thing.) Really, really hot. If I'm not careful, too hot. -
Welcome to IFI! If you haven't yet, please READ THIS FIRST!!! Very generally, lighter is better when you're first learning. People tend to get too heavy too quickly and can end up hurting themselves.
-
Directional forging.. Hammer understanding as I see it...
JHCC replied to jlpservicesinc's topic in Hand Hammers
So, you're making the face on the new French hammer flatter, rather than the usual advice to make it more round (like the faces on the older French and German hammers). A flatter tip to the peen as well. Interesting. Very interesting. -
Welcome to IFI! If you haven't yet, please READ THIS FIRST!!! Also, what Charles said: turn your anvil so that you're hammering on the end of the rail rather than its top. See
-
Just before I build my first forge, I need to make sure I have this right
JHCC replied to Ethan Yap's topic in Gas Forges
One advantage of starting out with solid fuel is that you get a feel for the kinds of projects that you are (or want to be) working on. If you move to gas, then you can design your forge on the basis of that experience, rather than on a guess or the recommendation of someone with different priorities or circumstances. -
Brazed flanges/spikes/hammer heads.
JHCC replied to fox's topic in Spears, Arrows, Pole arms, Mace/hammer etc.
I'm no expert on this, but since copper melts at 1,984°F/1,085°C, you could probably (depending on the steel) still be able to get the hammer hot enough to harden without melting out the filler metal (and certainly hot enough to temper). No idea if this would affect the strength of the joint, though. -
Just before I build my first forge, I need to make sure I have this right
JHCC replied to Ethan Yap's topic in Gas Forges
Depends on the size of the burner, the shape of the forge, and the angle between the burner and the floor. Without knowing that, we can't answer your question. If you haven't yet, please READ THIS NOW!!! -
Power hammer anvil requirements
JHCC replied to emtor's topic in Power Hammers, Treadle Hammers, Olivers
For example, here’s my treadle hammer. When you disconnect the chain linkage, the hammer head swings up and out of the way of hand forging.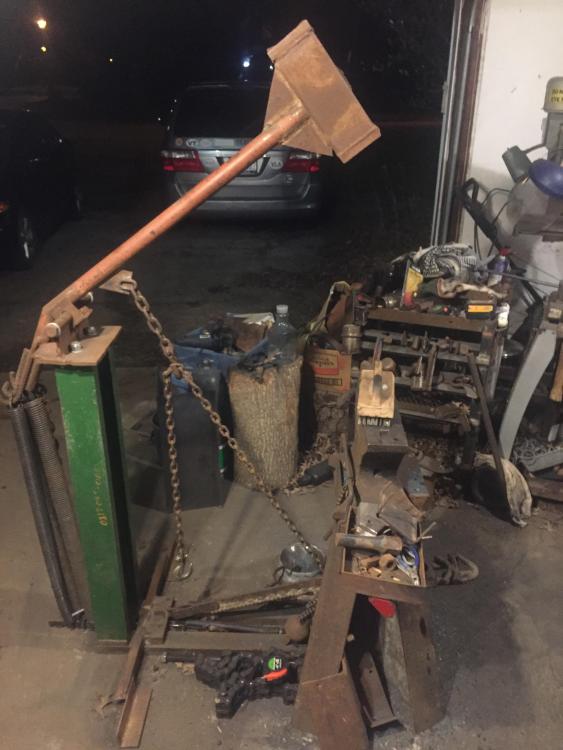
-
What did you do in the shop today?
JHCC replied to Mark Ling's topic in Blacksmithing, General Discussion
No pictures, but cut a bunch of chunks of steel to be welded together later for some tooling, once I pick up another spool of flux-core. -
"Moving metal the most efficient way is the key to minimizing injury." -- Jennifer Petrila (jlpservicesinc)
-
Directional forging.. Hammer understanding as I see it...
JHCC replied to jlpservicesinc's topic in Hand Hammers
Good analysis. Thanks for getting this conversation going. Excellent point. -
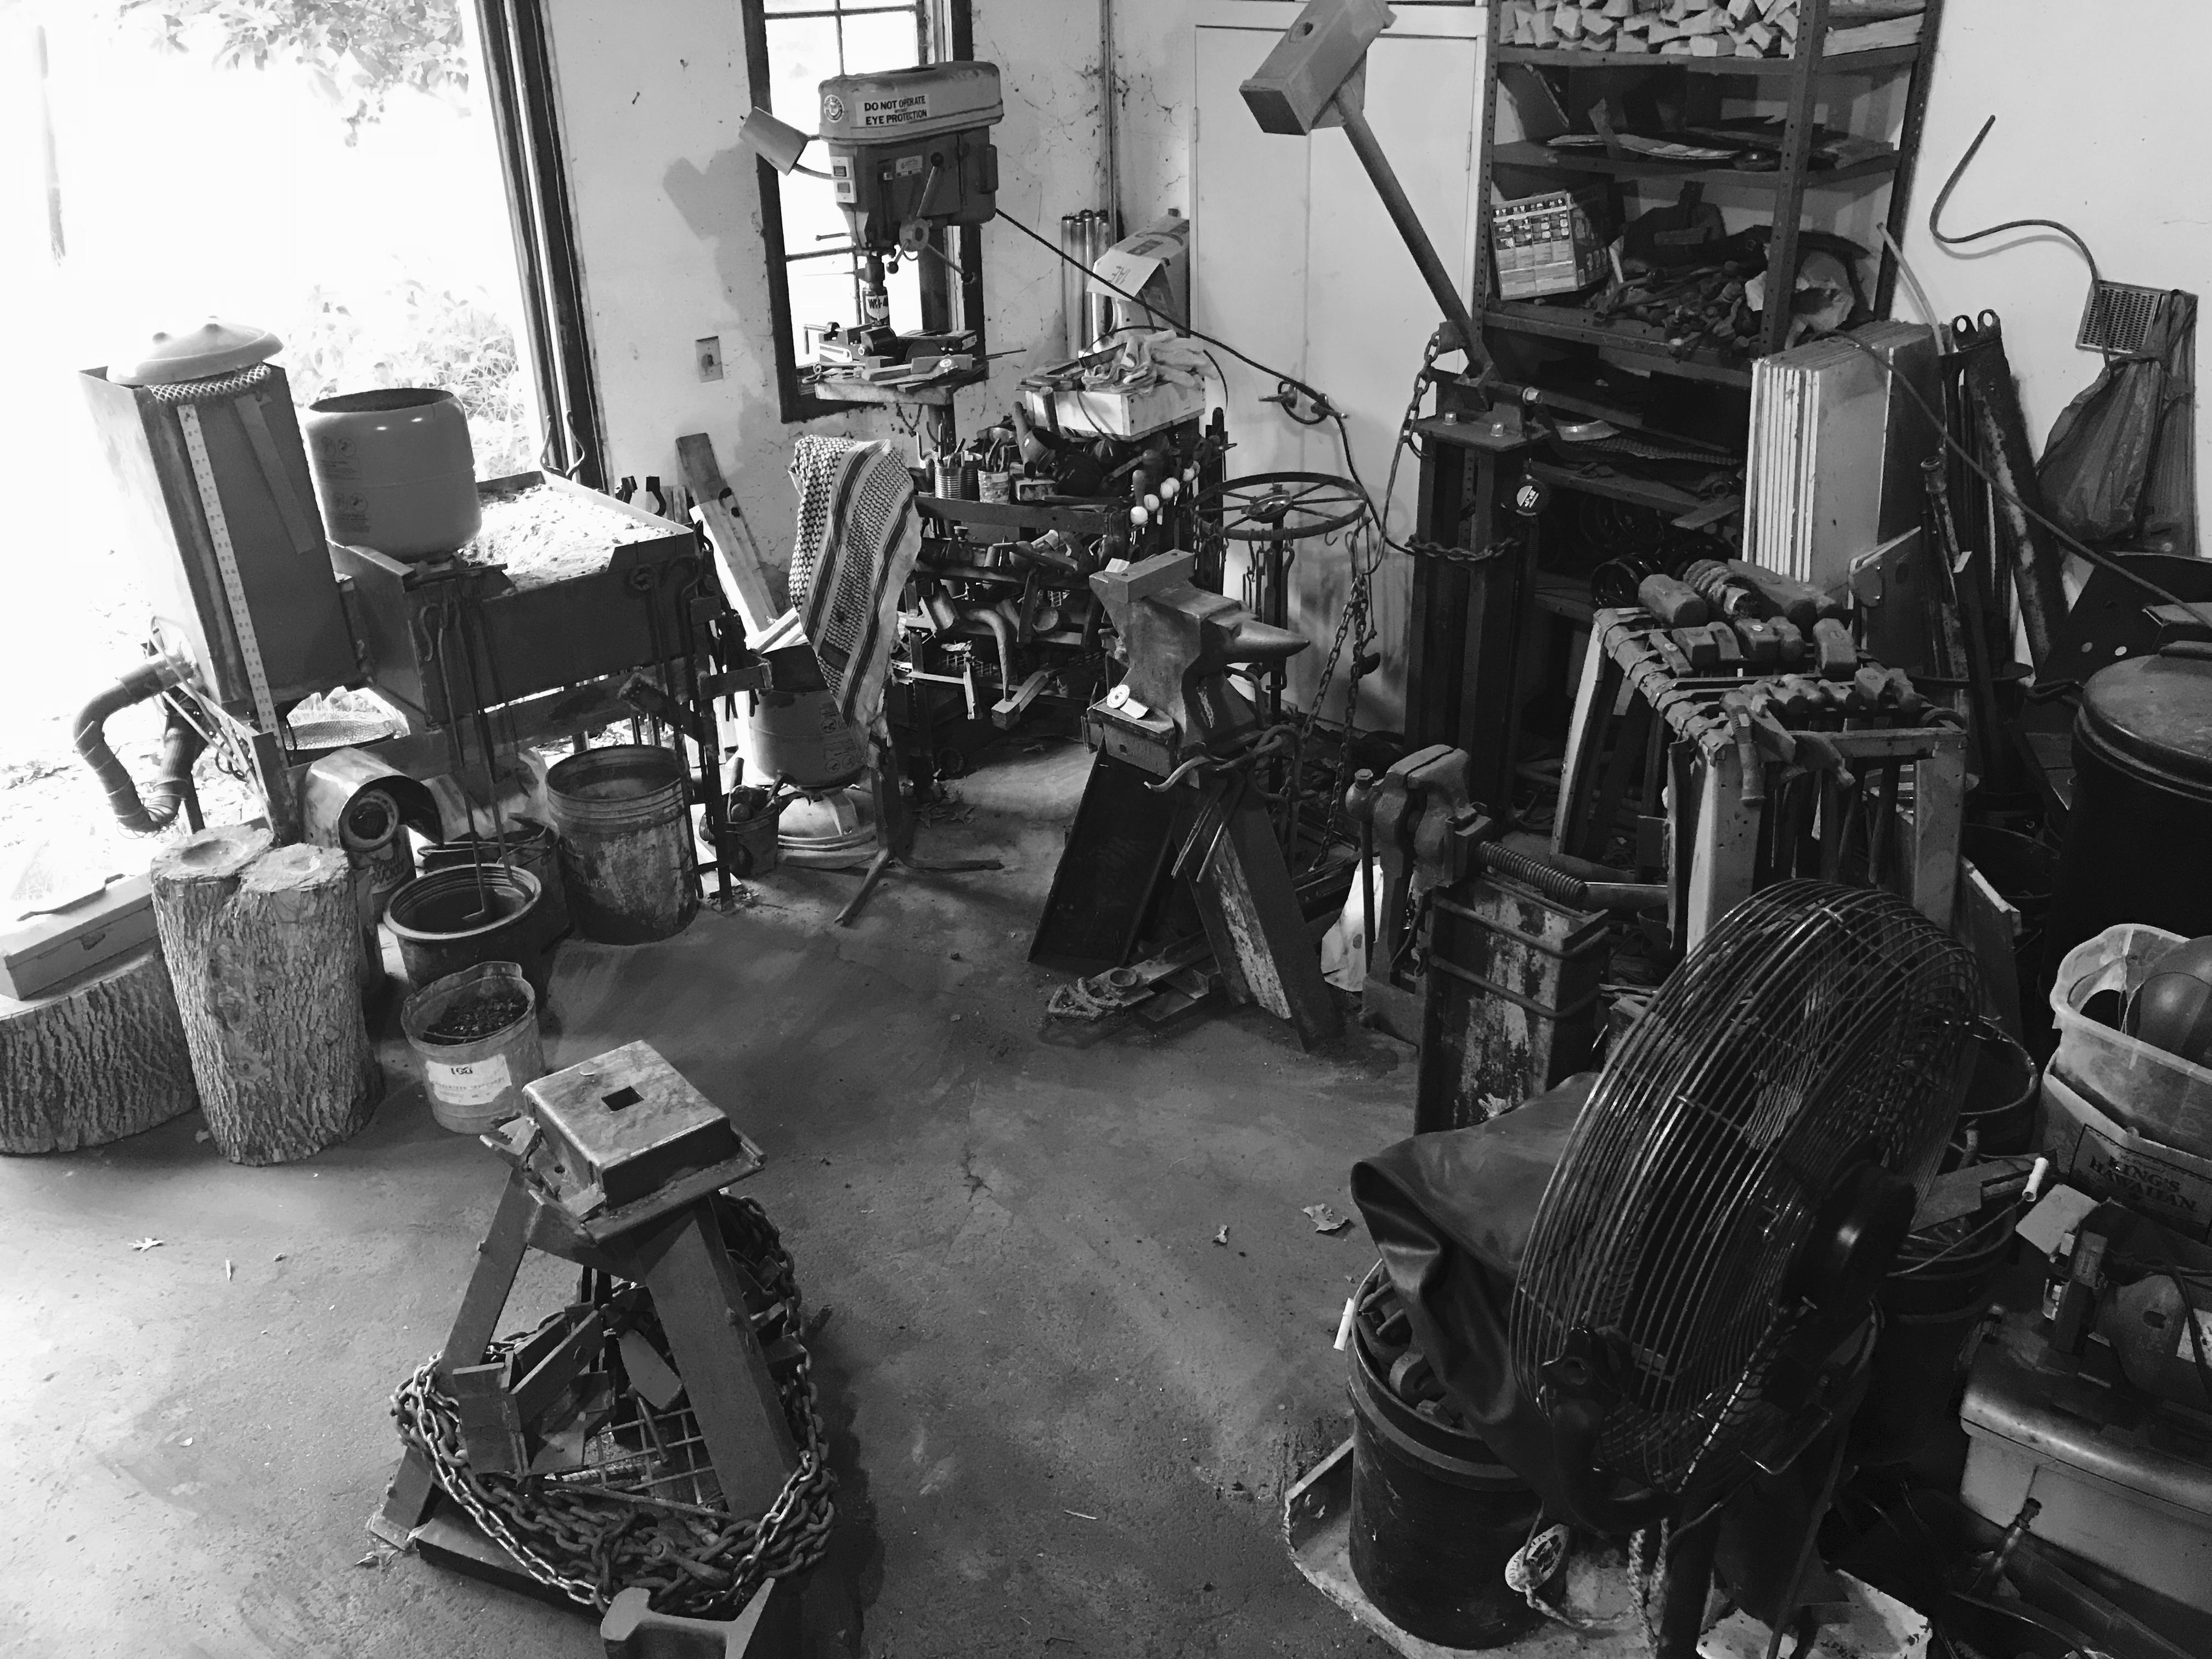
I've actually seen quite a few photos of old shops with the forge in the corner or even enclosed on three sides. I guess if you never work more than a couple of feet into a bar, it's really not an issue.
-
Just avoid hammering on it as much as possible. If you need something thin to pound on, make an anvil bridge.
-
Hometown of Johnny B. Goode?