anvil
-
Posts
3,246 -
Joined
-
Last visited
Content Type
Profiles
Forums
Articles
Gallery
Downloads
Events
Everything posted by anvil
-

Matched set of Balcony Railing w/ free-form organic scrollwork
anvil replied to David Kailey's topic in Member Projects
nice -
Its not critical. So either/any way works.
-
the greatest boost to me for being able to match scrolls was, as I stated above, to hang the same amount of material over the edge of the anvil, and scroll it, for each step. how much for each phase? I use Glen's Fibonacci ratio above. 1;2;3;5;8 etc. The golden mean is a good start to undertanding scrolls and the concept of ratios is critical. However, the fun part begins when you consciously change the ratio When you can do this, the shape of a scroll in any given space becomes infinite. Thus the space between pickets, defined by code, can be filled with an infinite # of shapes. This is also the primary reason I don't use jigs to turn my scrolls vs freehand matched scrolls. jigs enhance economics the more you use them,, freehand enhances creativity from rail to rail. Both have their place.
-
Is this proper tong orientationfor me. A left handed person?
anvil replied to Bustapepper's topic in Tongs
Yup, Im a lefty, and you got it right. -
First leafs I forged with my new built tongs
anvil replied to Bustapepper's topic in Blacksmithing, General Discussion
Im leafing this one alone,,, -
I do mine pretty much the same. However, I do them hot, and over the edge of the anvil as well. Lol, I do all my finials hot. After i get rolling I move to my post vice, bending forks and scrolling wrench. Much of my scrolling with my forks is done cold. Lol, unlike arftist, ive never found free hand wrestling 10 or 15 feet of iron into matching scrolls boring. If you have tapered ends, always use the same amount of material for all your tapers. Then, always draw them out to the same length. IE: mark all say 2" with a light center punch mark and then draw all out to 3". If you do this, then all your tapers will have the same cross section along the length. Next, on each section, always hang the same length over the edge, do the same on all. Then hang a longer length for the next go around. So,, first go, hang say an inch over and scroll all pieces. Then hang 2" of non scrolled stock over the edge, and add to your first scroll,, match all others to your first one. Basically the reasoning is if the cross sections match, and you use the same amount of material (length) for each phase, you almost cant go wrong. If these arent the same, you cant hardly be right. And like was said above, always match to your first one. This prevents accumulative error. This is not different than arftist and Frosty, just an added detail.
-
Nice books. Im unpacking mine and having a ball. It takes a long time to unpack a boxfull when you go thru each book! Life is what life is.
-
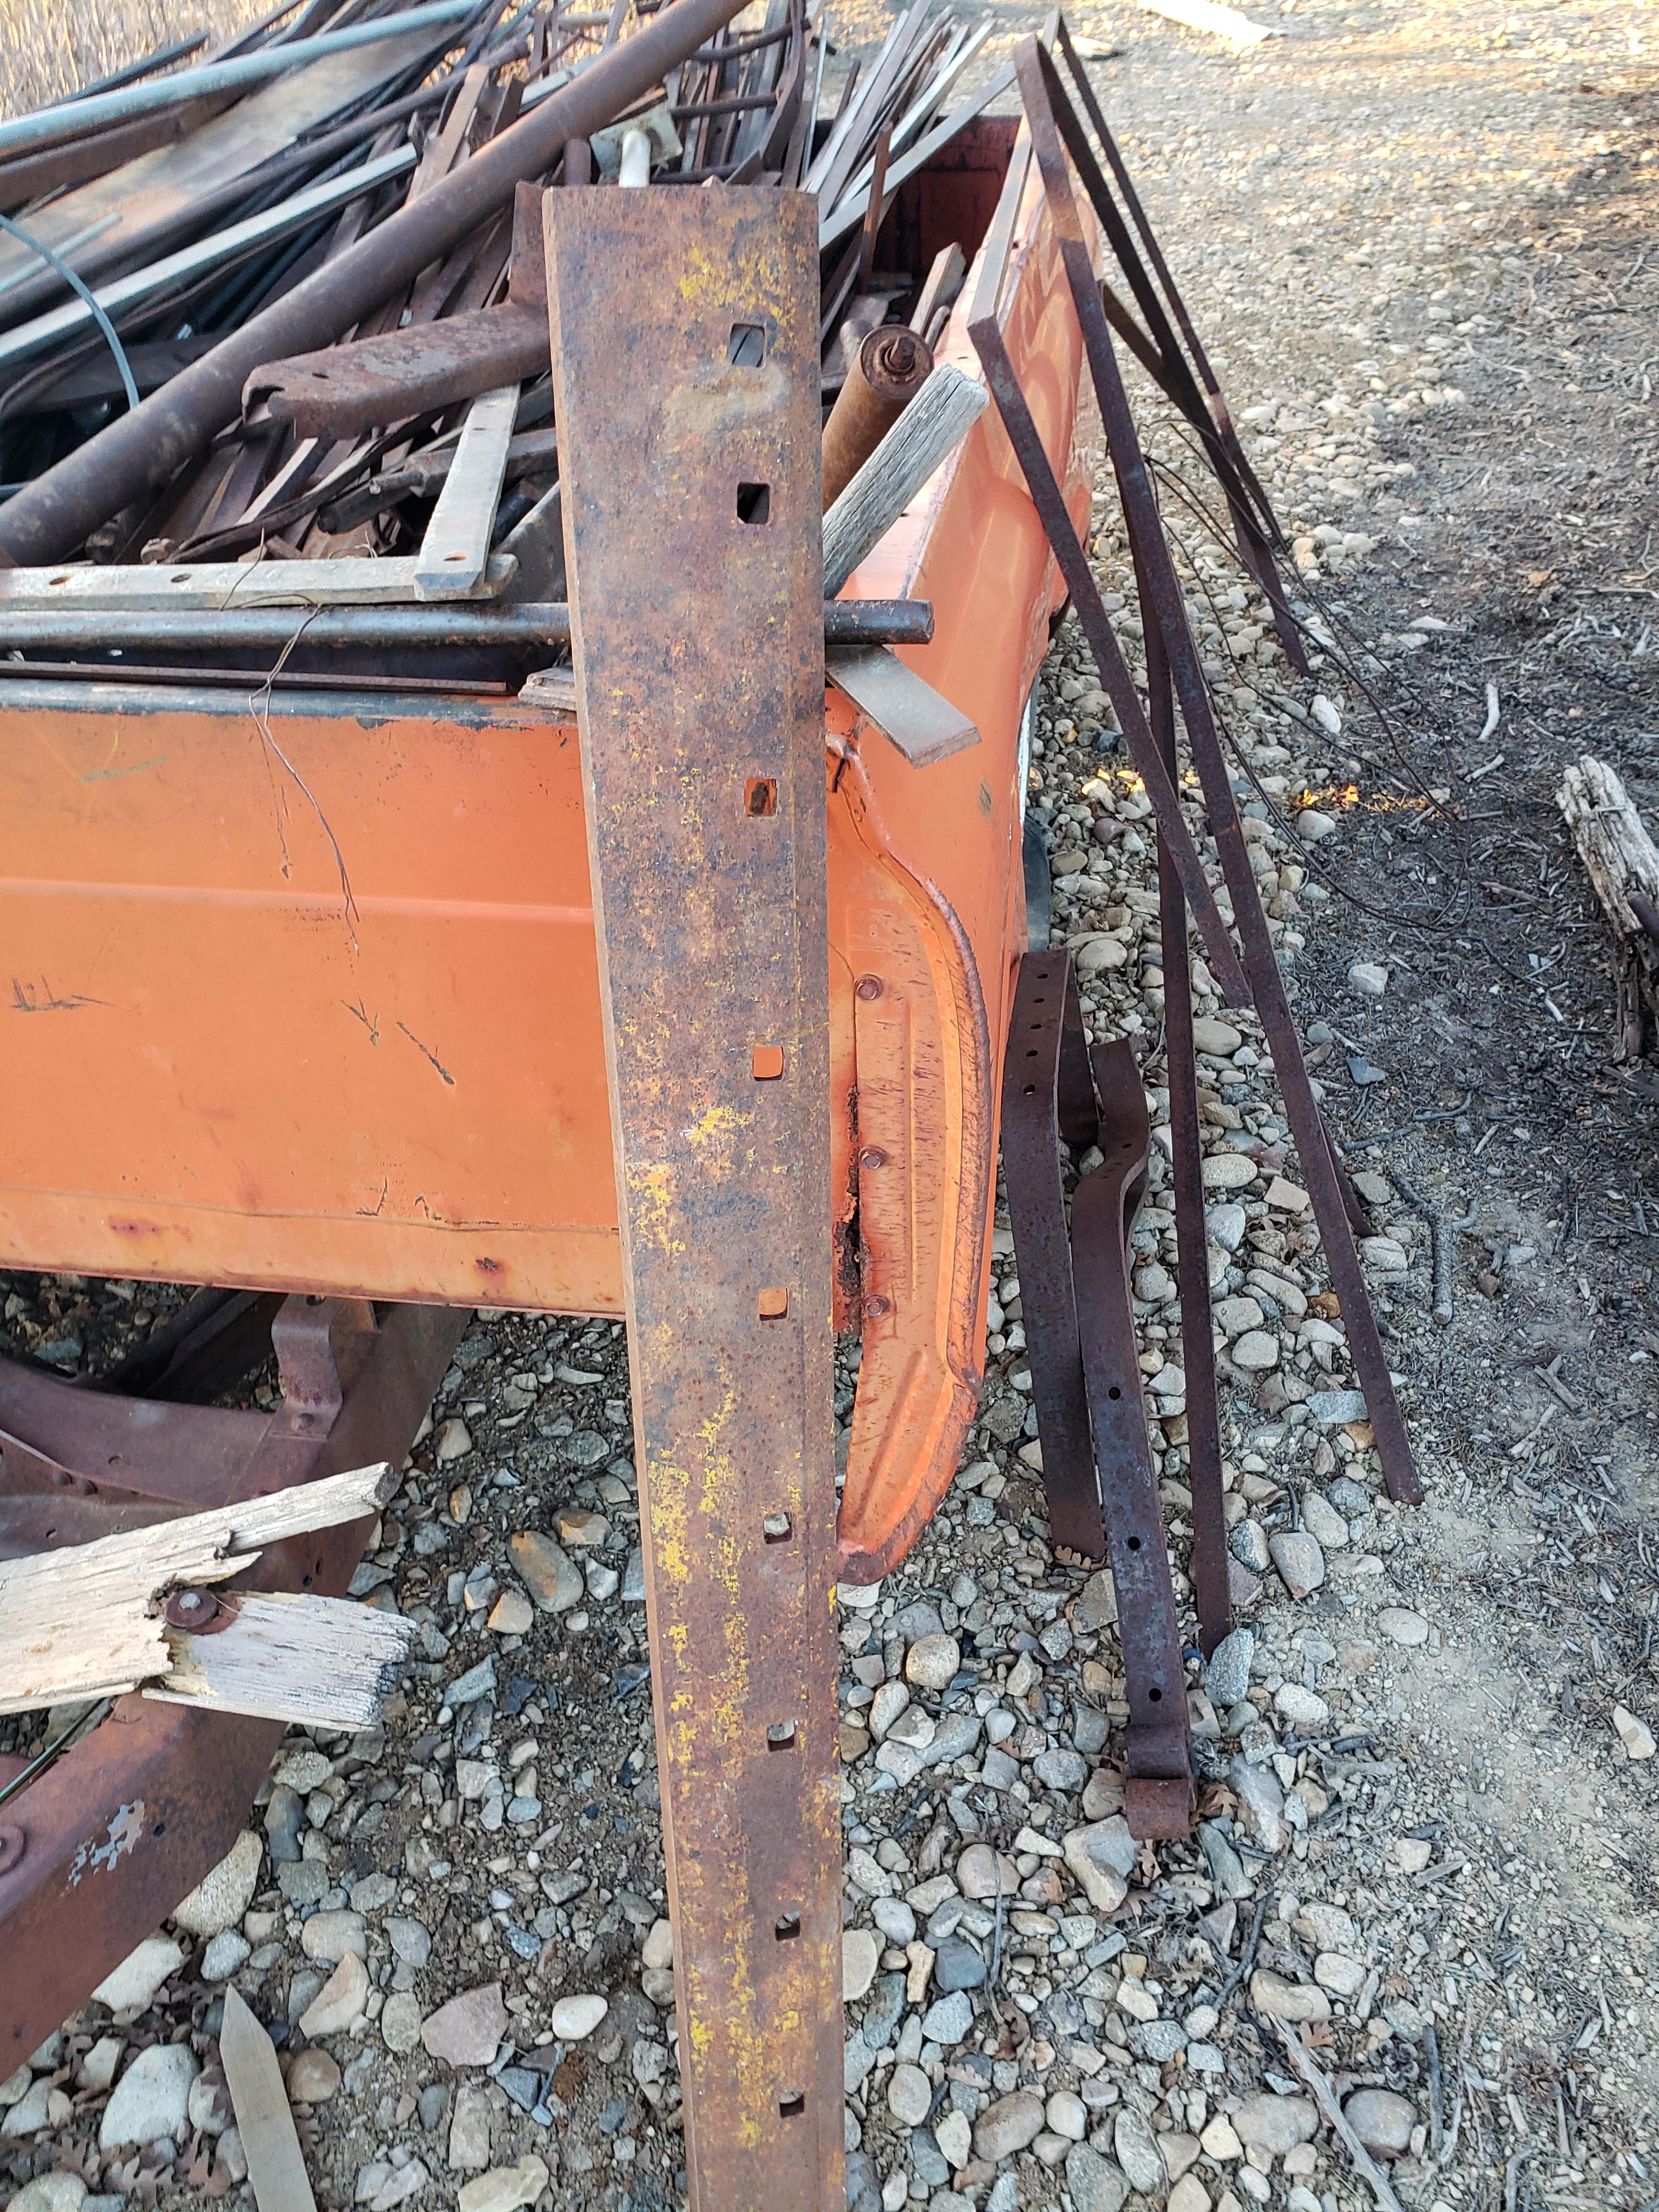
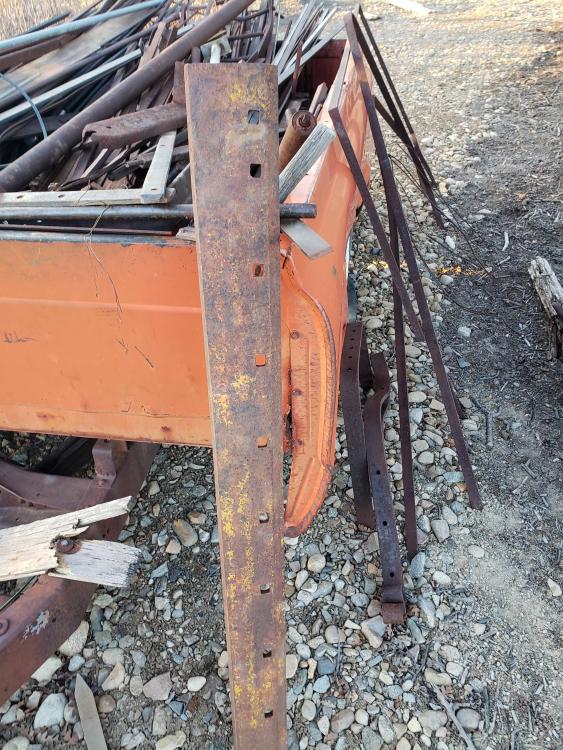
Actually, neither do I. The last "grader blade i got was the new piece in the pic. And that was over 10 years ago. Im guessing it was the same standard grader blade you speak of, but thats a guess. I do not know the brand, nor do I know the chemical makeup. The man who recommend it to me was Francis Whitaker at least 30 years ago. As far as working it, i have forged it, filed it, drilled it, ox/acetl cut it, hot cut it, and used a grinder on it. I never noticed anything that made me sit up and take notice while dealing with it. There was a learning curve, as with most junk yard type steels, and i have had my share of breakage. But once i figured out why, no problem. I still have and use some of my early benders, as ugly as they are. Ive edge bent 1/2"×2" hot, tweaked 3/8"×1" on edge cold, so put it thru its paces. I have gone to longer handles on my scrolling wrenches for more leverage, and it flexes then goes back to normal. It has never crumbled or anything unusual in the fire or under the hammer. So, assuming it is the same "standard" you speak of, the carbide, in this case, is not an issue. Good discussion, by the way! Thanks
-
My only suggestion would be for a permanent setup, mount both your anvil and post vice into the ground, not a surface mount. And make sure you have 360 degrees around your post vice. I turn nearly all my scrolls using my post vice, bending forks and scrolling wrenches. Even a medium sized scroll can use 10' + of parent stock and full access to your vice is a real benefit. And with my post vice mounted 3+' into the ground, Its firm! If you might be scrolling say 1/2"x2", a surface mount wont cut it.
-
Lol, I can heat more than one at a time, but I havent figured how to forge more than one at a time. Im working on it.
-
Well, Ive never worked for the city or county, and im not a heavy equipment operator. Lol, im jest a blascksmith. My only experience with hard facing is borium for horse shoes. As to what is standard, i havent got a clue. Grader blade was recommended to me for scrolling wrenches and bending forks once upon a time.. So i went to some heavy equipment operator friends and got their worn out pieces. Then I built a log house and decided to use same for draw knives. So I asked my steel guy for new grader blade. It came in different dimensions. Hey, they were already close to final draw knife shape. What can i say? I made a dozen of them and gave them to my peelers if they peeled at least 3 logs. That was a dozen years ago ans at least mine and a couple others are still in operation and hold a good edge. Thus, whatever these folks gave me, or i bought, I can say without question that the material is forgable and just basic heat treating that you might use for unknown steel works great. Basically I heat treated it like a high carbon non alloy steel. Danged if I know what those crazy equipment operators or my steel guy sold me, but every piece ive ever seen, new or scrap, or hanging out in someones yard looks like the pics i posted. And ive never seen any with shop applied hard surfacing. So, in my neck of the woods, they call it grader blade and it works. If we are talking of the same material, then, yes its forgable.
-
Bronze axe with wolf head poll
anvil replied to Rashelle's topic in Axes, Hatchets, Hawks, Choppers, etc
beautiful! He did a few workshops in Colorado that I attended. One of his handouts was a sheet with his tooling. Alas, I cannot find it. A major loss. -
my Beverly B3 is the finest lady in my shop.. However, Thomas is correct.
-
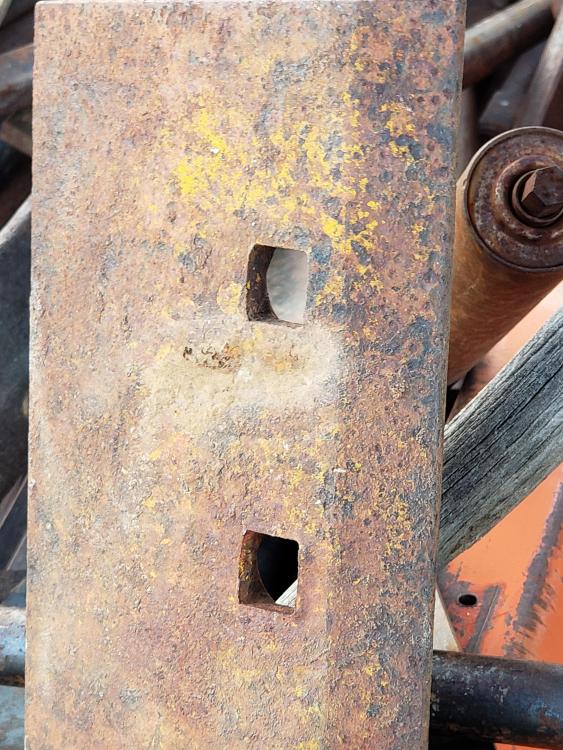
one last note. this grader blade does not come from the factory with imbeded carbide, but it can be applied after the fact in shop. It is easy to see, and if so, like Frosty said, don't use it, or remove the carbide before using
-
there is no carbide in grader blade that I know of. At least not in my area. They are a tough steel and are the replacement part that heavy equipment can bolt on and replace when worn out such as an articulated grader or say a 310d backhoe. I have used "used" with no problem, then a welding shop/steel supplier got me new stuff. And its forgable. I imagine Frosty and I are talking of two different things. here's a couple pics of grader blade. this is "new".. I've also made some draw knives out of, actually this very piece.
-
question: "How did you do that?" Blacksmiths response: "6 inches at a time!"
-
I make all my bending forks and scrolling wrenches out of grade blade.
-
yup, what Frosty said. I'll add this: mark it as he said above on both sides.
-
I wouldn't reforge it. look at your lower left corner and the upper right. they are thin now but your tool is usable if you file a handle with an offset eye. If you reforge it, especially if you drift it round, your weak spots will get worse. you will most likely end up with an unusable tool.
-
blacksmiths like a good tipple because there's good coal there. just can't beat a tipple at the tipple.
-
What did you do in the shop today?
anvil replied to Mark Ling's topic in Blacksmithing, General Discussion
nice brackets! and a matched pair. -
nice twist, Snuffy.
-
Approaching industrial clients
anvil replied to jason0012's topic in The Business Side of Blacksmithing
Correct. Thus the reason why I chose architectural iron over this pathway. I call doing a forged railing "limited production". However I do know a few who have chosen production as a blacksmith and done very well at it. A couple of specialty tool makers, a knife Smith who has a specialty product for special forces types, and two who do the path I described above. Also, the above have a tendency to better fit the more conventional business model than does "work by comission". Also, considering the parameters of the OP, this is a pathway that may fit his needs. -
id use my post vice, a scrolling wrench, a bending fork, and a twisting wrench.. Make the fork and wrench a bit over 2" wide. Also a few stands are a necessity. level your stands to the bottom of your fork so you can keep in plane. You should have no trouble edge bending 1/8"x2" with this setup.I would check for twist all the time and correct it as you go, or you will end up with a mess. Check for flat as you go as well. If you dont keep these two problems under control as you edge bend small sections, the error accumulates and you dont want that. Also, if you are not using a jig, draw about 1/4 or so of your inside radius on a table, floor, or what ever you have, and fit to this. So the process is 1: edge bend 6" and fit to pattern. 2: correct for flat(in plane) 3: correct for twist 4: recheck to pattern and correct fit, twist, and flat. 5: repeat If you need pics of setup and tooling, let me know
-
what have you gained from blacksmithing
anvil replied to pnut's topic in Blacksmithing, General Discussion
yup, donating shop and time to vets. I'm a disabled viet nam era vet myself, and familiar with the "PRO's and pawns, um, er, cons, oops,,, "problems" within the va system, so I want nothing to do with the system itself. I've actually done this for vets forever, along with any walkins looking for a little help. I do occasional paid classes, like many of us as well. But teaching has never been my main work. lol, it won't be my full time focus, but I hope to pull together a group of basically disabled vets and give them a place to be in our smithing environment and no stress, other than what lies between hammer and anvil. and if even one gets the bug, and pursues our craft as a full time Smith, I'll be a happy camper.