anvil
-
Posts
3,246 -
Joined
-
Last visited
Content Type
Profiles
Forums
Articles
Gallery
Downloads
Events
Everything posted by anvil
-
i always follow the specs given for the steel. A good reference is " The heat treaters guide companion". Their is a post on this in, i think, the heat treat section. Also, of course, i should have listed "forge" as step one. My go to sources are the above and my copy of Carpenter Tech heat treat specs for many of their steels. I did a "quick" temp check once upon a time and it seems that as a general rule, the temp to normalize is a bit higher than that for annealing. Thus, normalizing second, before hardening, means your steel is not fully annealed when you harden. since grain growth is refined at normalizing temp, if you do this, neither step counters the other. Ill give one example: W1: normalize (1600-1700f) anneal (1375-1400f) So basically its how i learned to HT, It is how steels were heat treated historically, and it is the process recommended by contemporary companies that make tool steels today. Thats good enough for me.
-
Excellent!
-

where would I find brick coal forge plans?
anvil replied to Steel sparrow forge's topic in Solid Fuel Forges
I just gave Morewood a call, and the "google" phone # is no good. So, unless you have an update, they may not be in business. I got this from Great Basin blacksmith association. I called and he sells coke. He is low and said call back in a week or two. ~$320/ton in a ton bag. He also carries it in ~90# bags. Ross Christensen, Salem,Utah. xxx xxx xxxx . I hope its ok to post this info here. -
Yup, me too.
-
where would I find brick coal forge plans?
anvil replied to Steel sparrow forge's topic in Solid Fuel Forges
Apparently the Utah Blacksmithing association gets their coal, and coke from Morewood coal within the last few months. -
Have fun! One more thing. Cracking can be caused by forging either too hot or too cold. This can happen whilst forging, or show up when you heat treat.
-
If you feel heat when you are grinding or see a y of the temp colors (straw thru blue to black) you blew it!. Dont let it get that hot. If you do, then the safest way is to go back to step 1 and start again.Especially when at the bottom of the learning curve.
-
Heres the process: 1:Normalize 2:anneal 3:cold work 4:harden 5: temper You need to know what steel you are using because modern steels are temp specific. As a general rule. "Critical temp" = cherry red or about when your steel loses its magnetism, actually just a bit hotter. Normalize by reaching critical temp and air cooling. This refines the grain. Anneal by reaching critical temp and cooling slow in lime or vermiculite. This brings your steel to dead soft. Now you can do your filing. Harden by reaching critical temp and quenching. Heres where you need to know your steels. Some quench in water, brine, oil, or air. This step makes your steel brittle hard. If you drop it, it may shatter. If you leave it sitting out over night, it may crack or break by morning. Tempering is when you draw back the hardness in order to have a working tool that wont break, shatter, chip, or dull too fast. These are the colors you see that run from straw thru blue to black. And the blue you see when you grind a drill bit or a knife is in this range, and in this case means you screwed up! Tempering is how you can get a "hard" cutting edge, a spring, or a tough hammer face. Again, this general, but not specific for a particular steel. Get the apk i mentioned. It is avalable for android and iphone. There is a sticky on it in the heat treating section. And the "O" in O2 means it is an oil quench steel. Hope this helps.
-
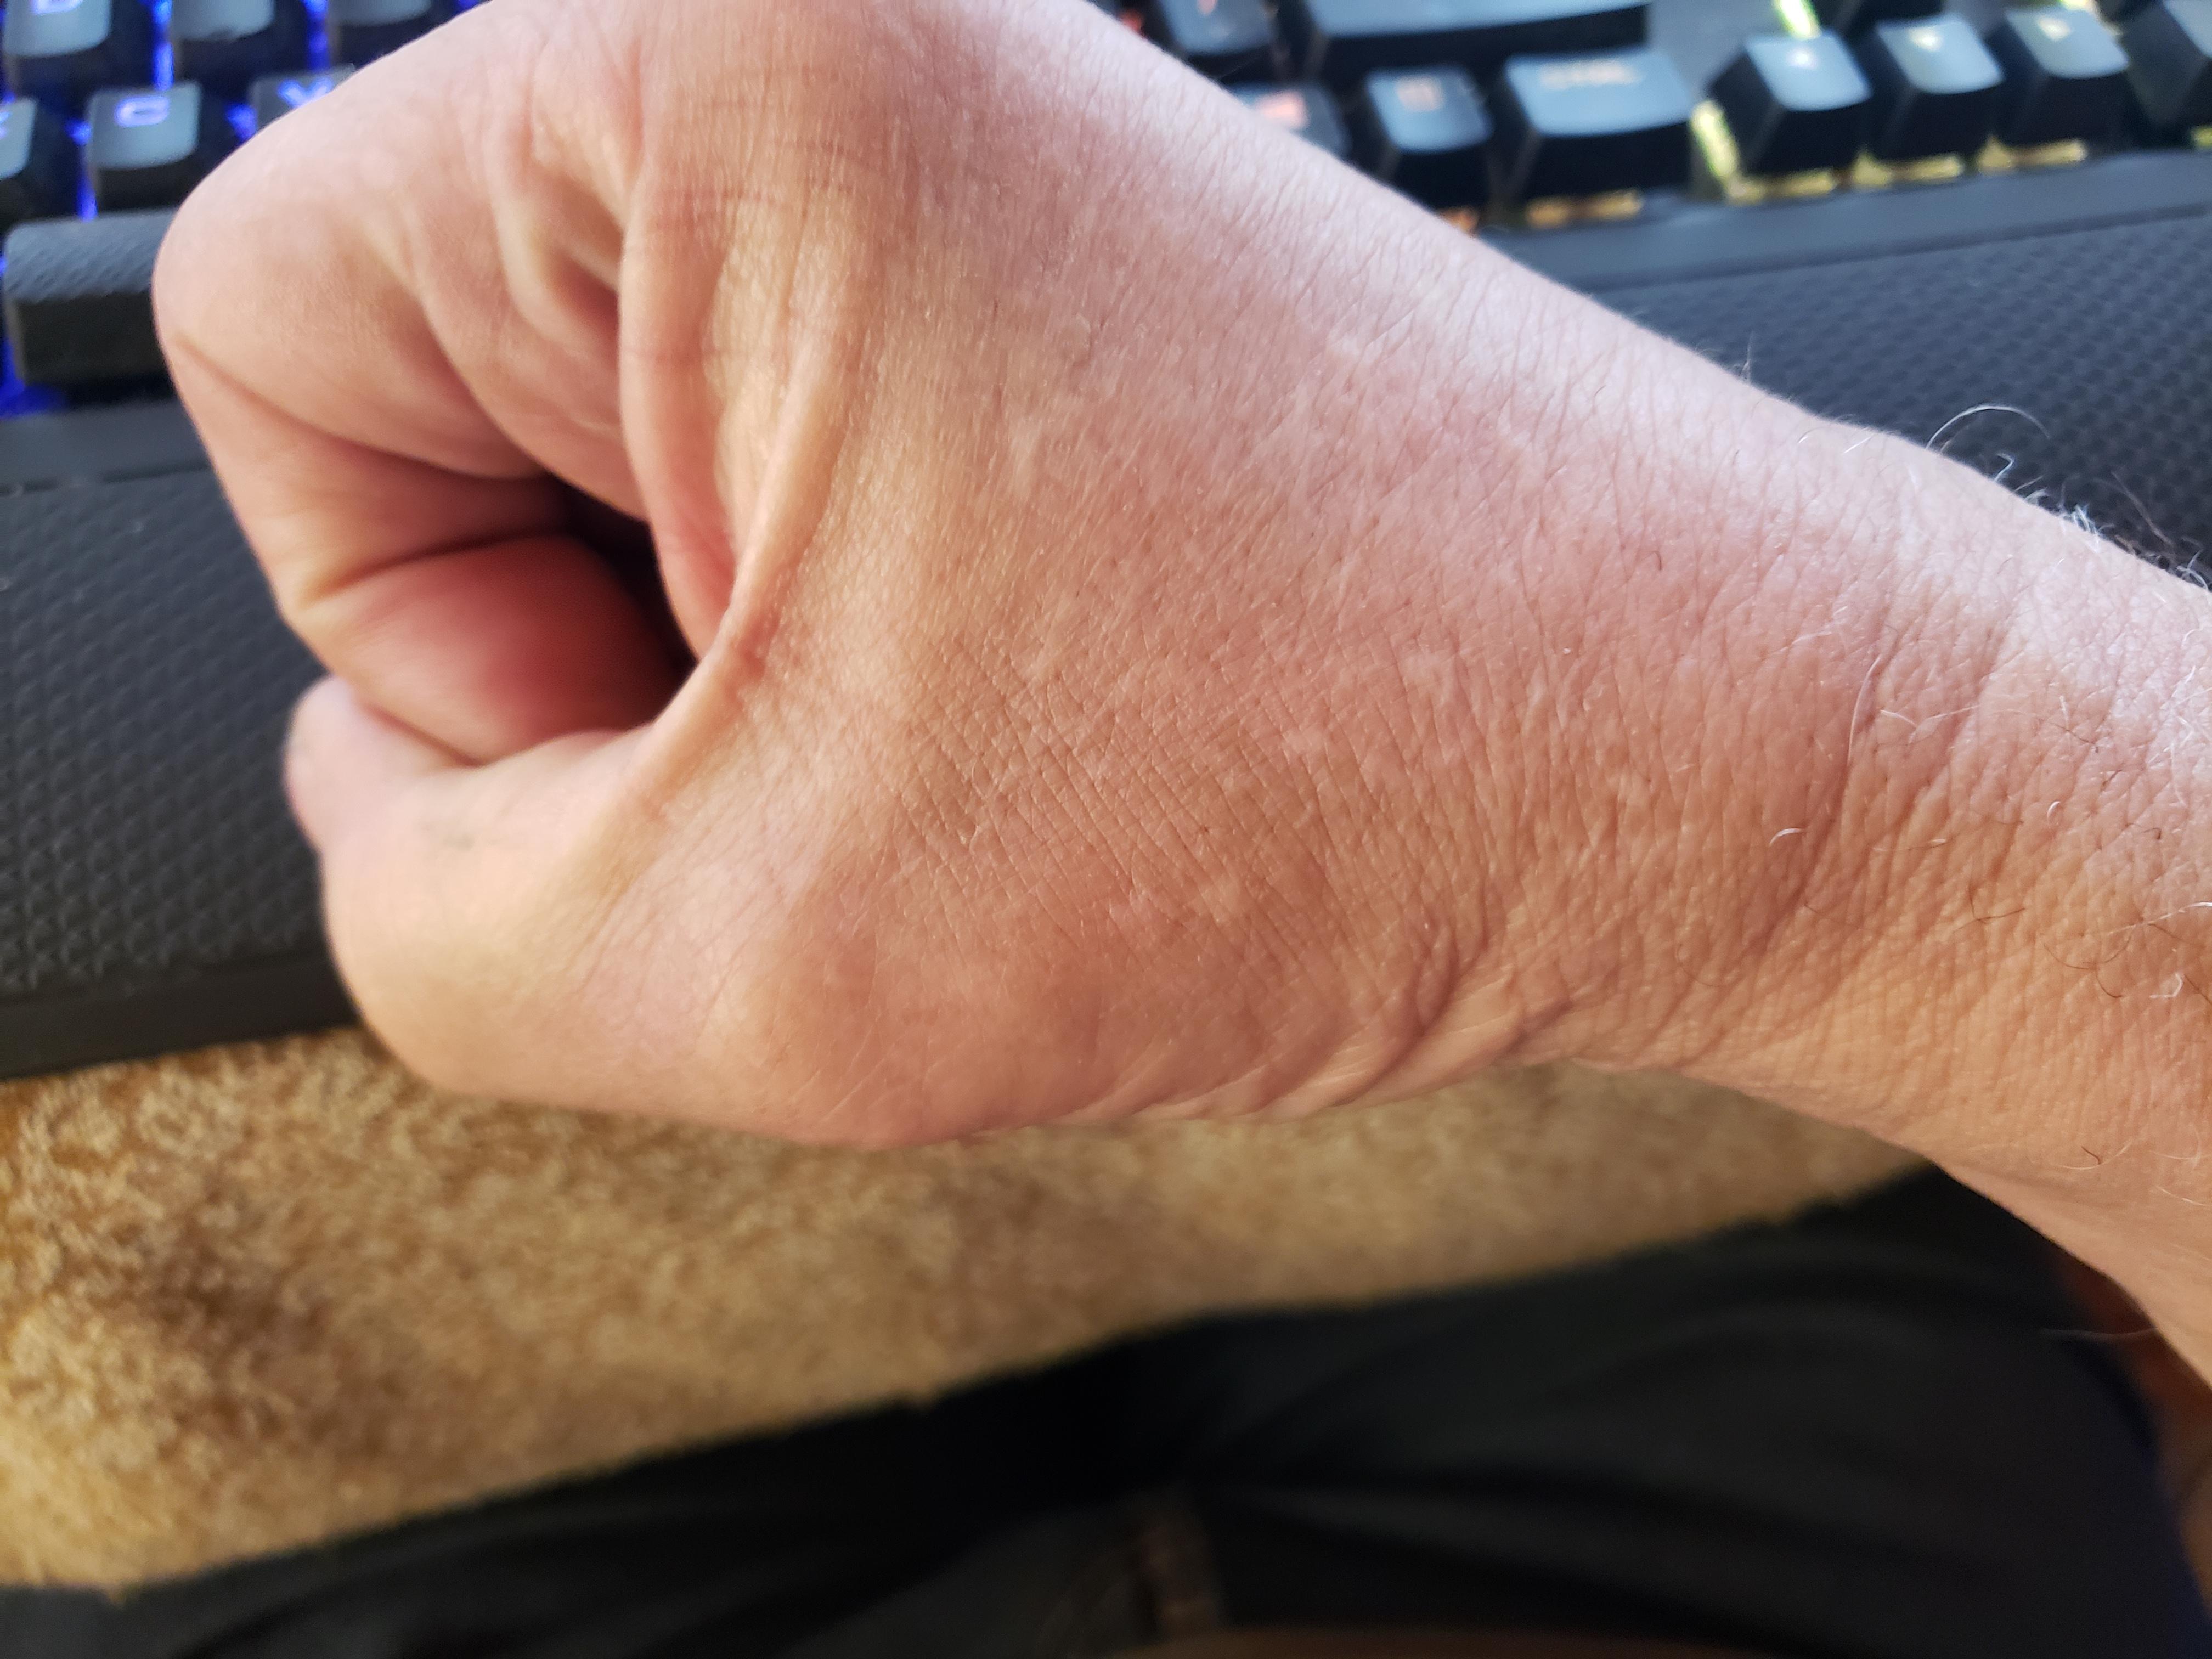
When developing that habit to always check to see if the iron is hot before picking it up, always check with the back of your hand. The back of your hand is way more sensitive to heat than the front.
-
where would I find brick coal forge plans?
anvil replied to Steel sparrow forge's topic in Solid Fuel Forges
Thanks, I found their number and addy and will do that monday. Have you used their coal? -
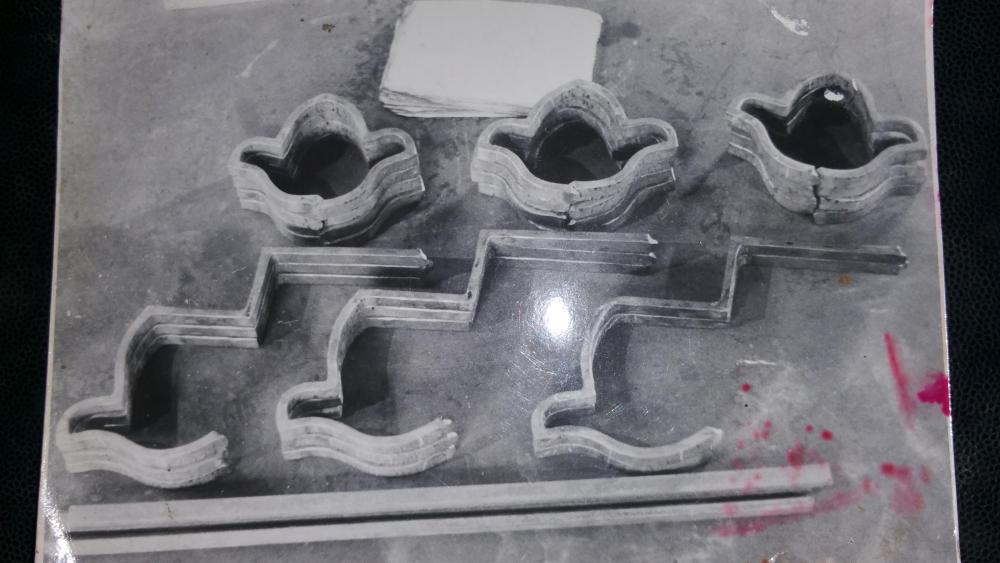
Now you need 4 scrolling wrenches to complete your set.
-
First off you are mixing up normalizing with annealing. You just air cool from critical to normalize. You cool slowly in vermiculite or lime to anneal. There is a free app for android called heat treaters guide companion that will give you all the info to heat treat O2. Dont be afraid of O2, its actually pretty user friendly. You just need practice.
-
where would I find brick coal forge plans?
anvil replied to Steel sparrow forge's topic in Solid Fuel Forges
Thanks much, ill prolly head that way this week. -
I saw it about '73. A family friend was organizing a farrier class at the community college and was bringing the farrier/teacher up from New Mexico State University, Las Cruces, NM. He showed me this movie, and it sealed the deal.
-
where would I find brick coal forge plans?
anvil replied to Steel sparrow forge's topic in Solid Fuel Forges
A little off topic, but could you let me know where in Utah you get your coal? Im near Durango/Cortez, Colorado and getting ready to make my first coal run to Utah, but am still trying to figure out where to go. Thanks in advance. -
Taking others' ideas...is it OK?
anvil replied to billyO's topic in The Business Side of Blacksmithing
Dang, Now thats the answer! Absolutely brilliant. -
Well, I deserve the lesson not learned award for this. I chose to learn the how to not let it happen pathway. For the most part its been a good choice. However, the key words are "for the most part."
-
Seems we are on the same side of this conversation. Frosty, I just dont see anywhere where this was brought up in this post.
-
What did you do in the shop today?
anvil replied to Mark Ling's topic in Blacksmithing, General Discussion
Really nice! and i especially like the facets on the pin. That she is! -
What did you do in the shop today?
anvil replied to Mark Ling's topic in Blacksmithing, General Discussion
I call them initiation marks into a very special club. And the difference between a blacksmith and anyone else is that the blacksmith doesn't flinch and screw up the forge weld! -
Historical forge welding of sheet steel
anvil replied to RogerrogerD's topic in Welding/Fab General Discussion
Cool topic! Like Frosty, my approach is as if it is a job in my shop. 1: check out old wood working tools such as slicks and chisels with conical sockets, '17-'18 century bayonet construction, "The gunsmith of Williamsburg" and those who make hand forged barrels. They may be cones or heavier material, but the process is basically the same for all. 2: work to dimension. You must understand the concept of equivalent mass. This includes the needed thickness of the final product. Ya got me here, but it seems it would be in the resources above. If not, than I'm sure the weight and tube dimensions are available. Backwards engineer it. The weight of powder is possibly a constant. Subtract from known historical weight. Now you know the weight, length, and outside diameter of the wrought iron. Apply "equivalent weights" to solve. 3: the best forge weld is the one that has the smallest possible "scarf" modified by your experience(extra material at the forge weld to succeed in 2 above and how to get it . . This is because the less you deal with it, the less time involved. 4: tolerance for error. IE how much bigger or smaller can my cylinder be so that slight changes in powder will not affect my "aim". 5: the forge welding temp is that of your material. This is readily available. And I would use wrought. 6: My tools would be dependent on the aerodynamics of a rocket of the time. Lets face it, most went where they danged well wanted to go! And a good reason would be that the forge weld either was heavier than the parent material or a wasp waist,,, or a 2' combo of both!. So Id start with a forge, anvil, mandrel, hammer(s), and files. Then go from there. -
Taking others' ideas...is it OK?
anvil replied to billyO's topic in The Business Side of Blacksmithing
Heres my view on this topic. There are no absolutes. What about restoration work? The best restoration work is he who can emulate the original exactly. In Europe, the restoration business covers iron made in the Gothic era, 9th century, to present. And they call this work "forgeries". You must have the original smiths skill level and recognize both his strengths and weakness. Then be able to physically produce the piece. Sometimes they even do chem analysis of the original materials and must match it! As for the rest, never forget, one of the best forms of flattery is from he who "steals your design". To me a poor mans copyright (circled 'C') on the drawings, and your touchmark on the piece, basically identifies the piece as yours and and dates it. This is all that is important to me. When a job is done and out the door, its no longer my issue. It may be copied, stolen, modified, or survive as one piece for a 1000 years. Alas, we are not in a craft where every time someone goes up or down your forged stairway, we get a penny. Legal actions are a choice. However a legal action calls for a court deal and lawyers. Never forget as a strong generality the best well paid lawyer will win the case, not the smith who's work is plagiarized. I dont need to repeat that lesson twice. I would much rather be in my shop working on my next piece that will not only make me a living, but give others ideas to "Forge" for their own work. Much better than sitting in a court room, gathering "evidence" for your lawyer, and paying a lot of money, win or lose. Of course, thats a personal choice. -
What did you do in the shop today?
anvil replied to Mark Ling's topic in Blacksmithing, General Discussion
Aah, nothing beats the smell of _ _ _ in the morning,,,
-
Looks good
-
Well, Jen is correct. Once you develop the skill to turn scrolls by eye, the time difference between using a jig, or the mark one eyeball becomes moot. Thus, in the long run, using the mark one eyeball means more variation and freedom of expression and along with this the ability to charge more per lineal foot due to it being unique. I say this strictly because the best way to max economics using jigs is to have one jig fits all, and it is used all the time. Thus in that space defined by code 4"×32", a production shop needs only one jig and one setup. The benefit is it takes very little time to train a helper to use that jig. However what you lose is one off creativity by the job. So the choice becomes production vs comission. This is the difference, and the choice made is always the correct choice. Thus there should never be any conflict between the two pathways. Obviously this is a great simplification. The question should be just how do you bridge the learning curve and get to the place where the time difference between jigs and the mark one eyeball isnt an issue? And how much learning time does it actually take to get to that point? Well, who in the blacksmithing world bends iron without a jig on a daily basis? A Farrier. Every shoe is shaped to fit a specific hoof without a jig and absolutely must be done in a timely manner. By the end of the first summer you are either fairly competant, or there will be no next summer. The next question is how long does it take a farrier who decides to become a " blacksmith" to grasp the idea that an "s" scroll is just a weird hoof and apply his/her experience and confidence to freehand matched scrolls in railings or whatever. Lol, sometimes without a hint from some blacksmith, never! Thinking out of the box isnt easy. And Frosty, when I read the origional post, he was asking advice on how to match scrolls. I figgured if he was using a jig, he would have asked how to use a jig. Since he didnt, i guessed he was doing them freehand. Thus so many posts and tips on freehand. And nowhere did i see any comments on freehand good, jigs bad.