All Activity
- Past hour
-
 Since we're on the subject of proper terminology the only melter I have is a wax melter. Have you ever seen a tilt melter or assay melter? They are referred to as furnaces.
 - Yesterday
-

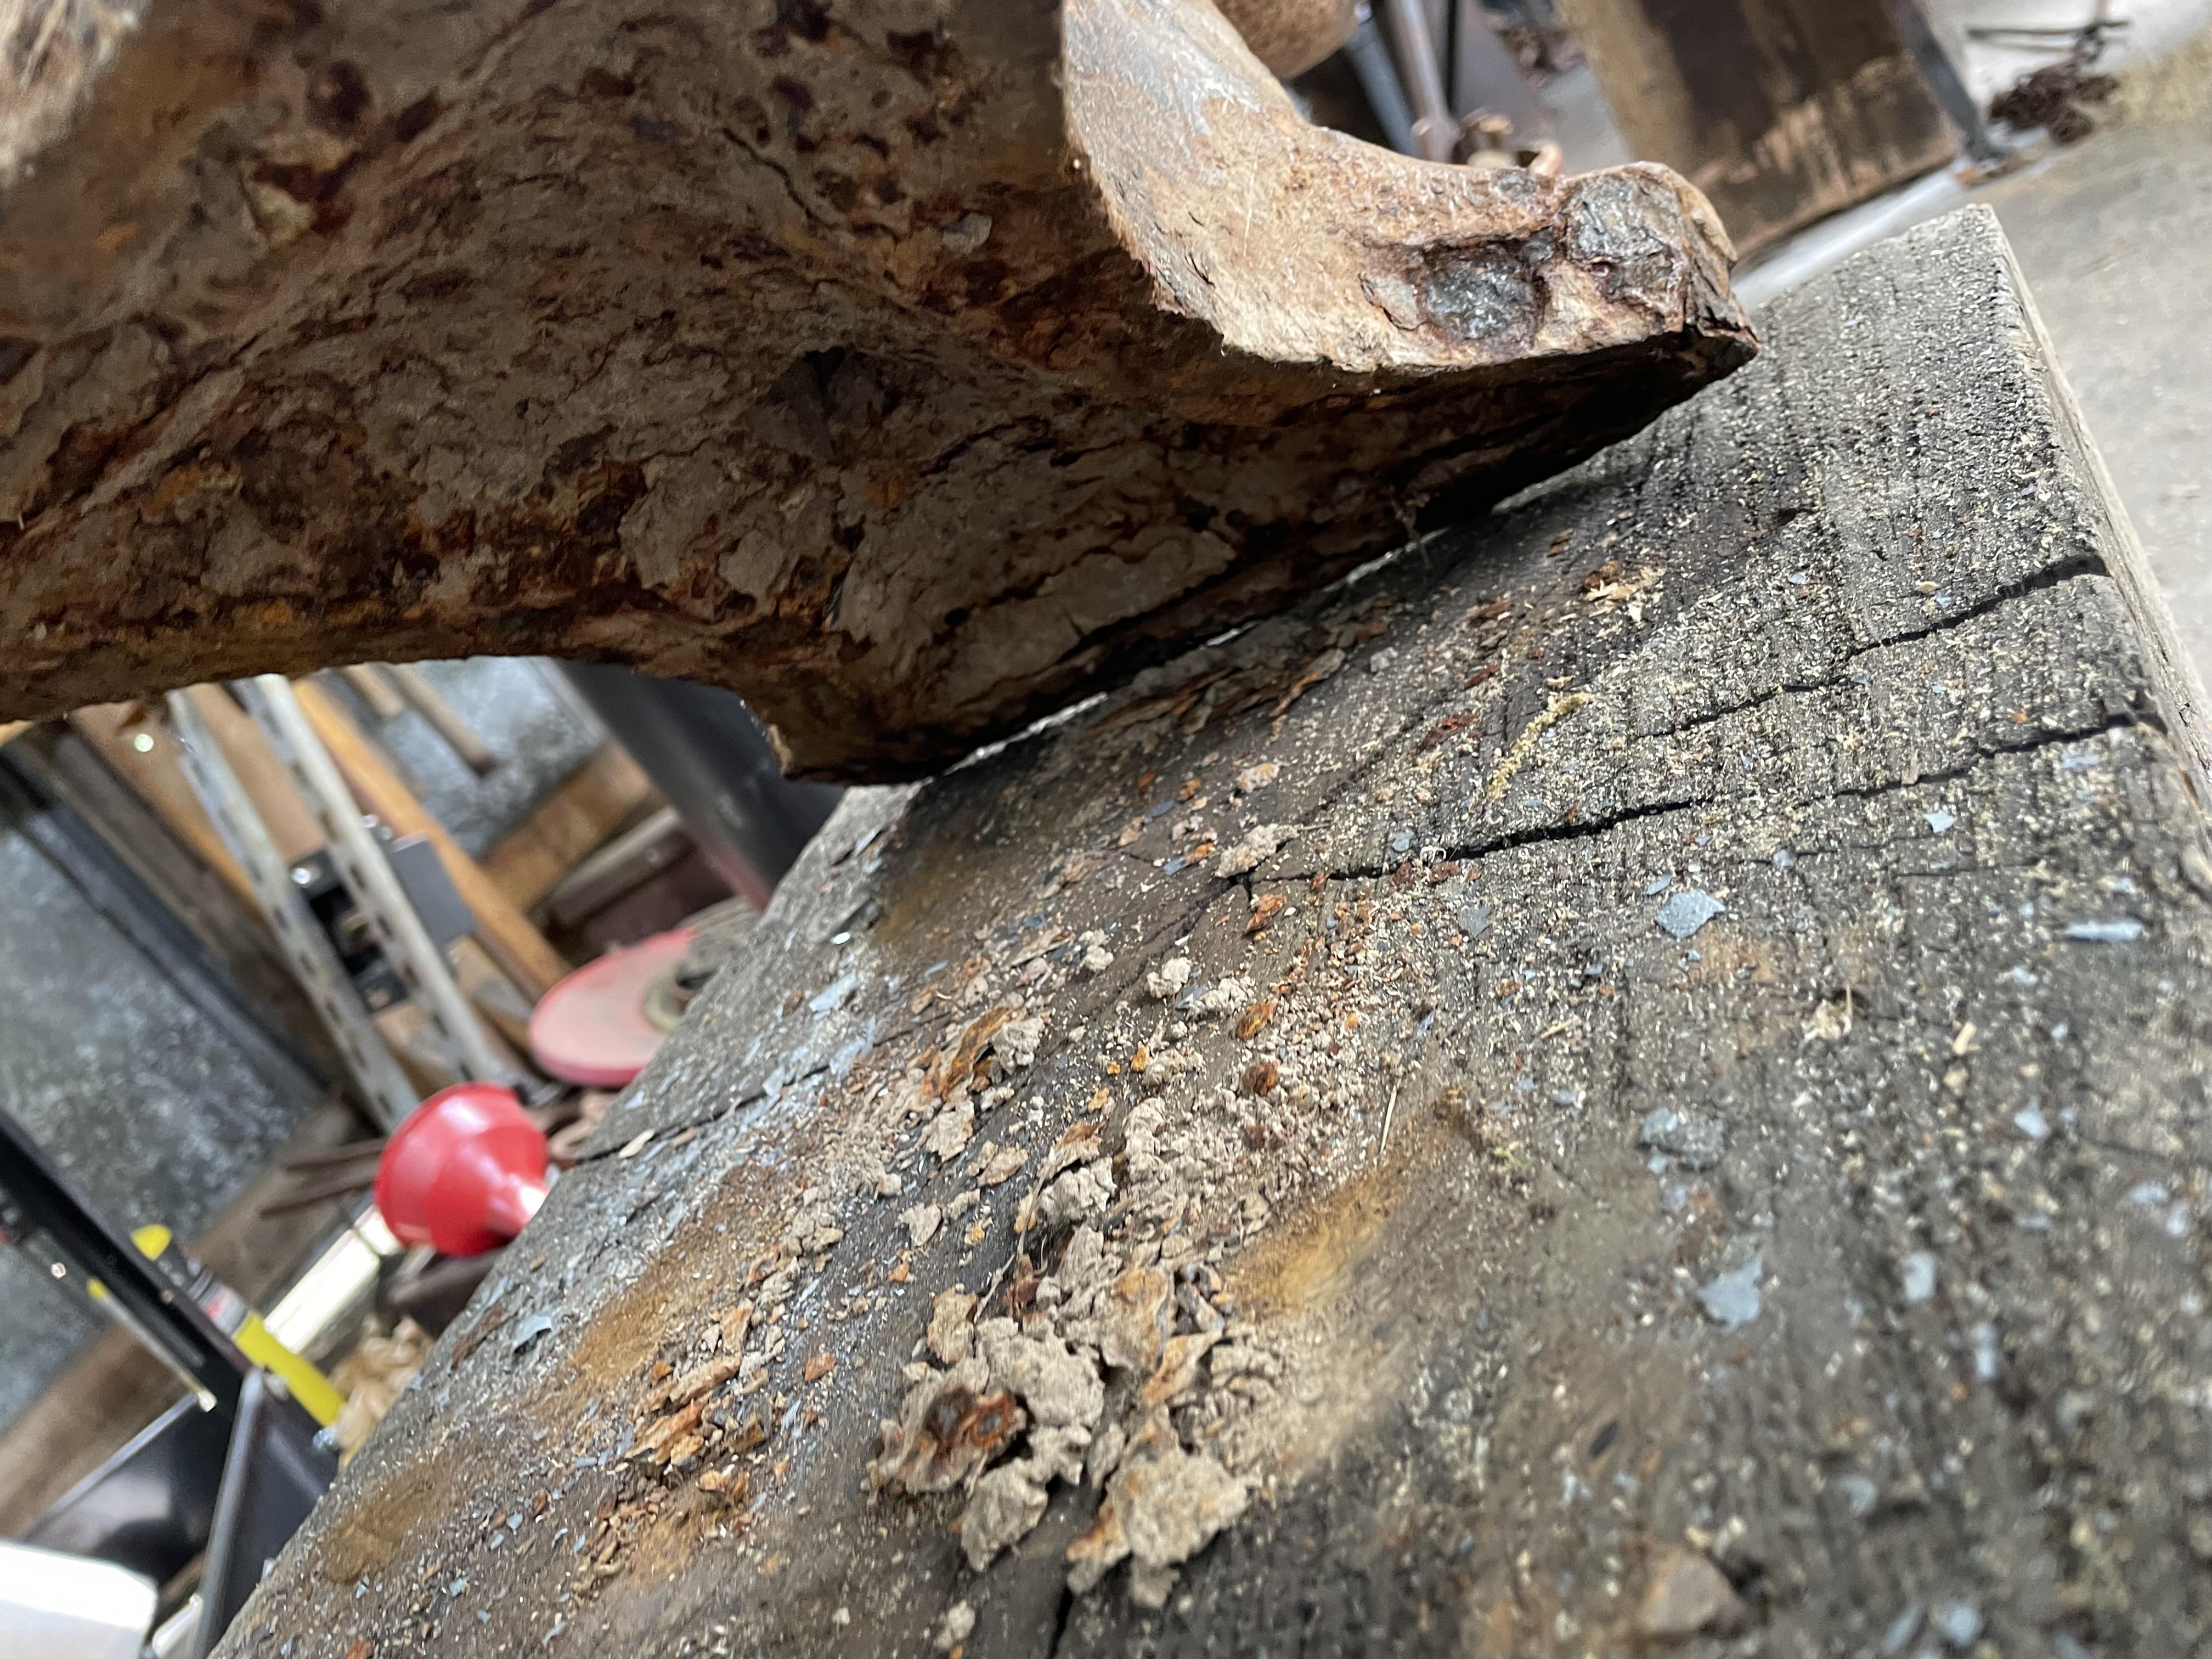
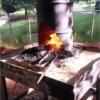
Protect the bottom of your foundry
Frosty replied to Florida Man Metals's topic in Smelting, Melting, Foundry, and Casting
I believe the foundry is the facility rather than a single piece of equipment though I'll be happy to learn differently. English is such a slippery thing you just never know for sure. One of our club members is a professional bronze caster and pours over a sand box or outdoors on dry dirt. He conducts the yearly iron pour at Art on Fire event and that's all on the ground. Until a couple years ago I demoed blacksmithing about 50' from the cupola and iron pour. Frosty The Lucky. -
Perhaps, you two should cut back on the chilly consumption. Now all three of us have passed gas
-
The Athens Forge, a member of the Alabama Forge council, will meet Saturday April 27, at 9AM. This will be an "Open Forge" day. Any member of the AFC, can come and work on a private project. Bring your tools and material, forges, anvils, and vices are available. You might want to try a pair of the Grilling Tongs Steve Alford demoed last month. Non members are invited to come and watch, and ask questions. There is a lot of smithing knowledge within the group. Visitors are always welcome. More information its available at www.alaforge.org You might want to mark the next meeting May 25, Travis Fleming will be demonstrating how to make a pair of tongs to hold a railroad spike for safe and secure forging.
-
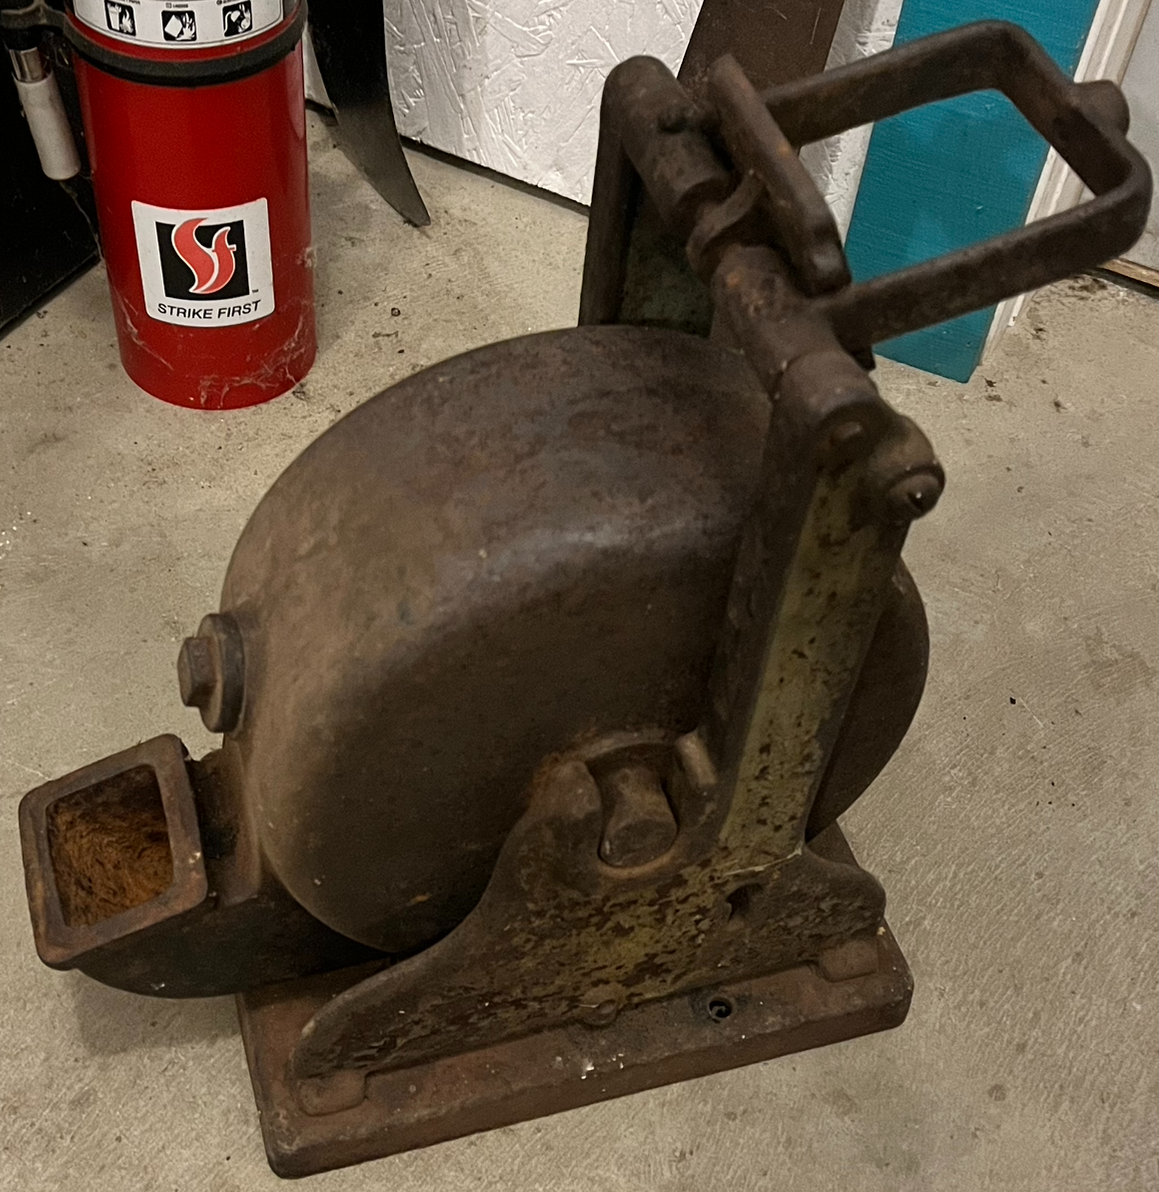
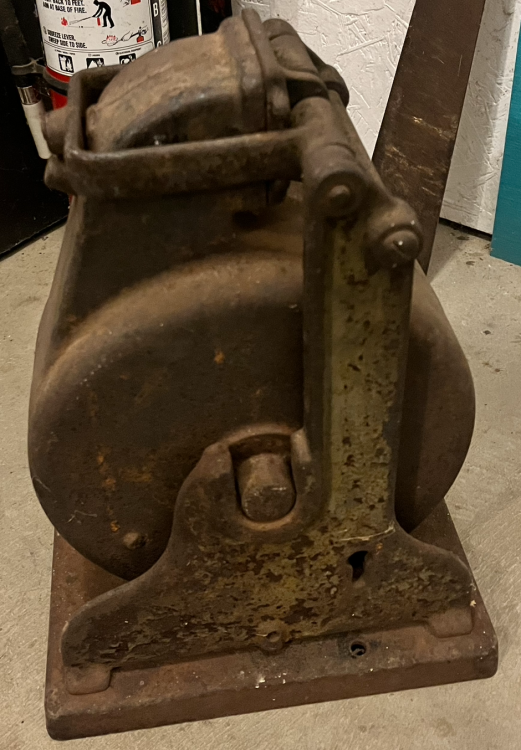
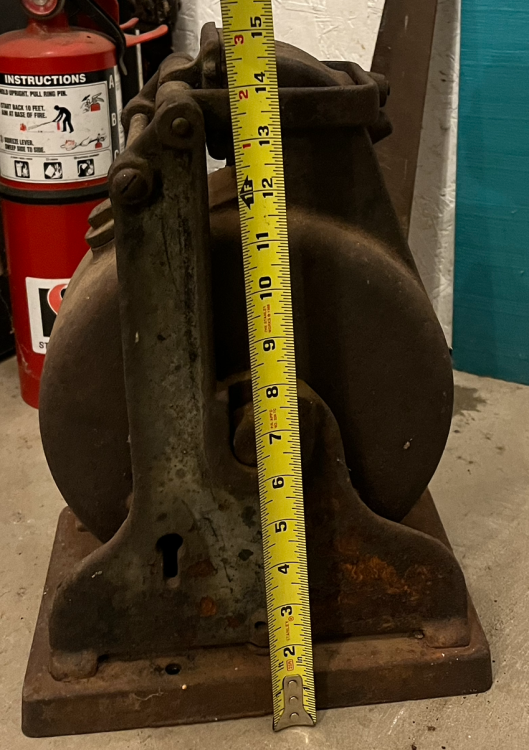
Welcome aboard from 7500' in SE Wyoming. Glad to have you. I agree with Frosty about adding your general location. This is a world wide forum and we don't know if you are in Kansas, Lapland, or Tierra del Fuego. I can't say what the artifact/machine is but I can try to deduce its function a bit. The round part is clearly designed to hold some sort of liquid. As Frosty points our there is a filling port with a threaded, square head. It is designed to rotate on the axle between the upright, locked position and the lower position shown in the first photo. What is puzzling to me is that whatever liquid is in it would not fully pour out in the lowered position, only down to the level of the bottom of the rectangular hole. Maybe in use it was mounted in a different position than the upright one it is in now. The heavy collar to hold it in a closed position indicates to me that it was designed to remain in that position securely. Other than that I can't imagine more. I hope that you find someone who recognizes it. If you find out please post the result here. I would like my curiosity itch scratched. GNM
-

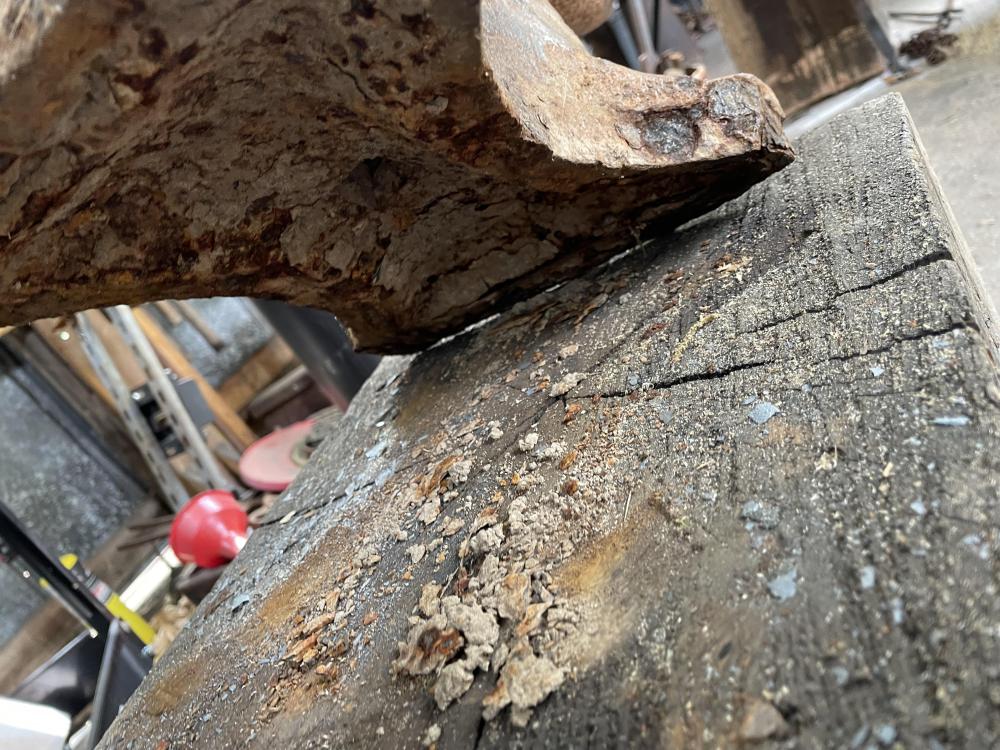
Trenton or Hay Budden?
Goods replied to Ridgeway Forge Studio's topic in Anvils, Swage Blocks, and Mandrels
Hourglass shape would indicate Hay Budden… I’ve not heard of Peter Wright’s having a depression on the underside. -
You can also place it in the area where you are casting as well instead of a sand box. I guess this would technically be considered the foundry?
-
Yes, the bottom of the furnace/melter. I hope your shop doesn't get hot enought to burn bone to ash. You would definitely need some crazy PPE.
-

Trenton or Hay Budden?
Ridgeway Forge Studio replied to Ridgeway Forge Studio's topic in Anvils, Swage Blocks, and Mandrels
The indentation on the bottom is hourglass shaped - The squat, round horn and the long thin heel make me think it might be a later model hay budden, but I am unsure. I don't think it is a Peter Wright - not the right handling holes or the right feet. -
Protect the bottom of your foundry
Frosty replied to Florida Man Metals's topic in Smelting, Melting, Foundry, and Casting
When you say foundry it sounds like you're talking about the melter rather than the shop. No? Frosty The Lucky. -
Trenton or Hay Budden?
Goods replied to Ridgeway Forge Studio's topic in Anvils, Swage Blocks, and Mandrels
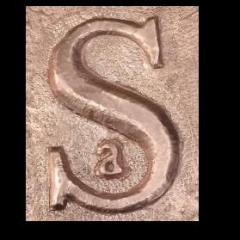
I’d say Trenton based one the caplet indentation (if I’m seeing it correctly) in the bottom and what looks like the remains of a Trenton diamond stamp on the side. Keep it fun, David -
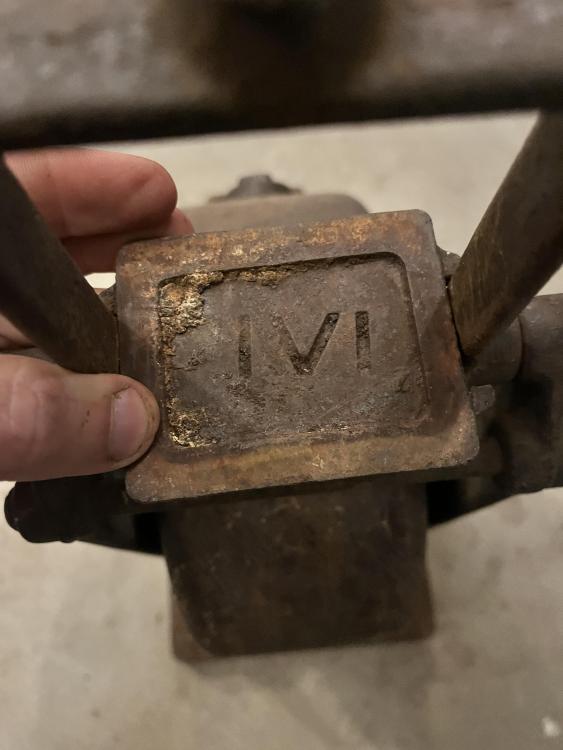
Welcome aboard Den, glad to have you. If you'll put your general location in the header you'll have a much better chance of meeting up with members within visiting distance. Branding plate? Do you mean like a label or data badge? I think that is highly unlikely, the body is looks to be intended to hold a liquid, That appears to be a level or fill plug and if it were to stamp labels, etc. it wouldn't need the big reservoir or body in general. It would probably have a vertical press and compound lever if it were for stamping labels, tags, badges, etc. IVI isn't a Roman Numeral. You might try one of the vintage tools or machinery sites. I'll be interested in what you find out. Frosty The Lucky.
-

What did you do in the shop today?
Chad J. replied to Mark Ling's topic in Blacksmithing, General Discussion
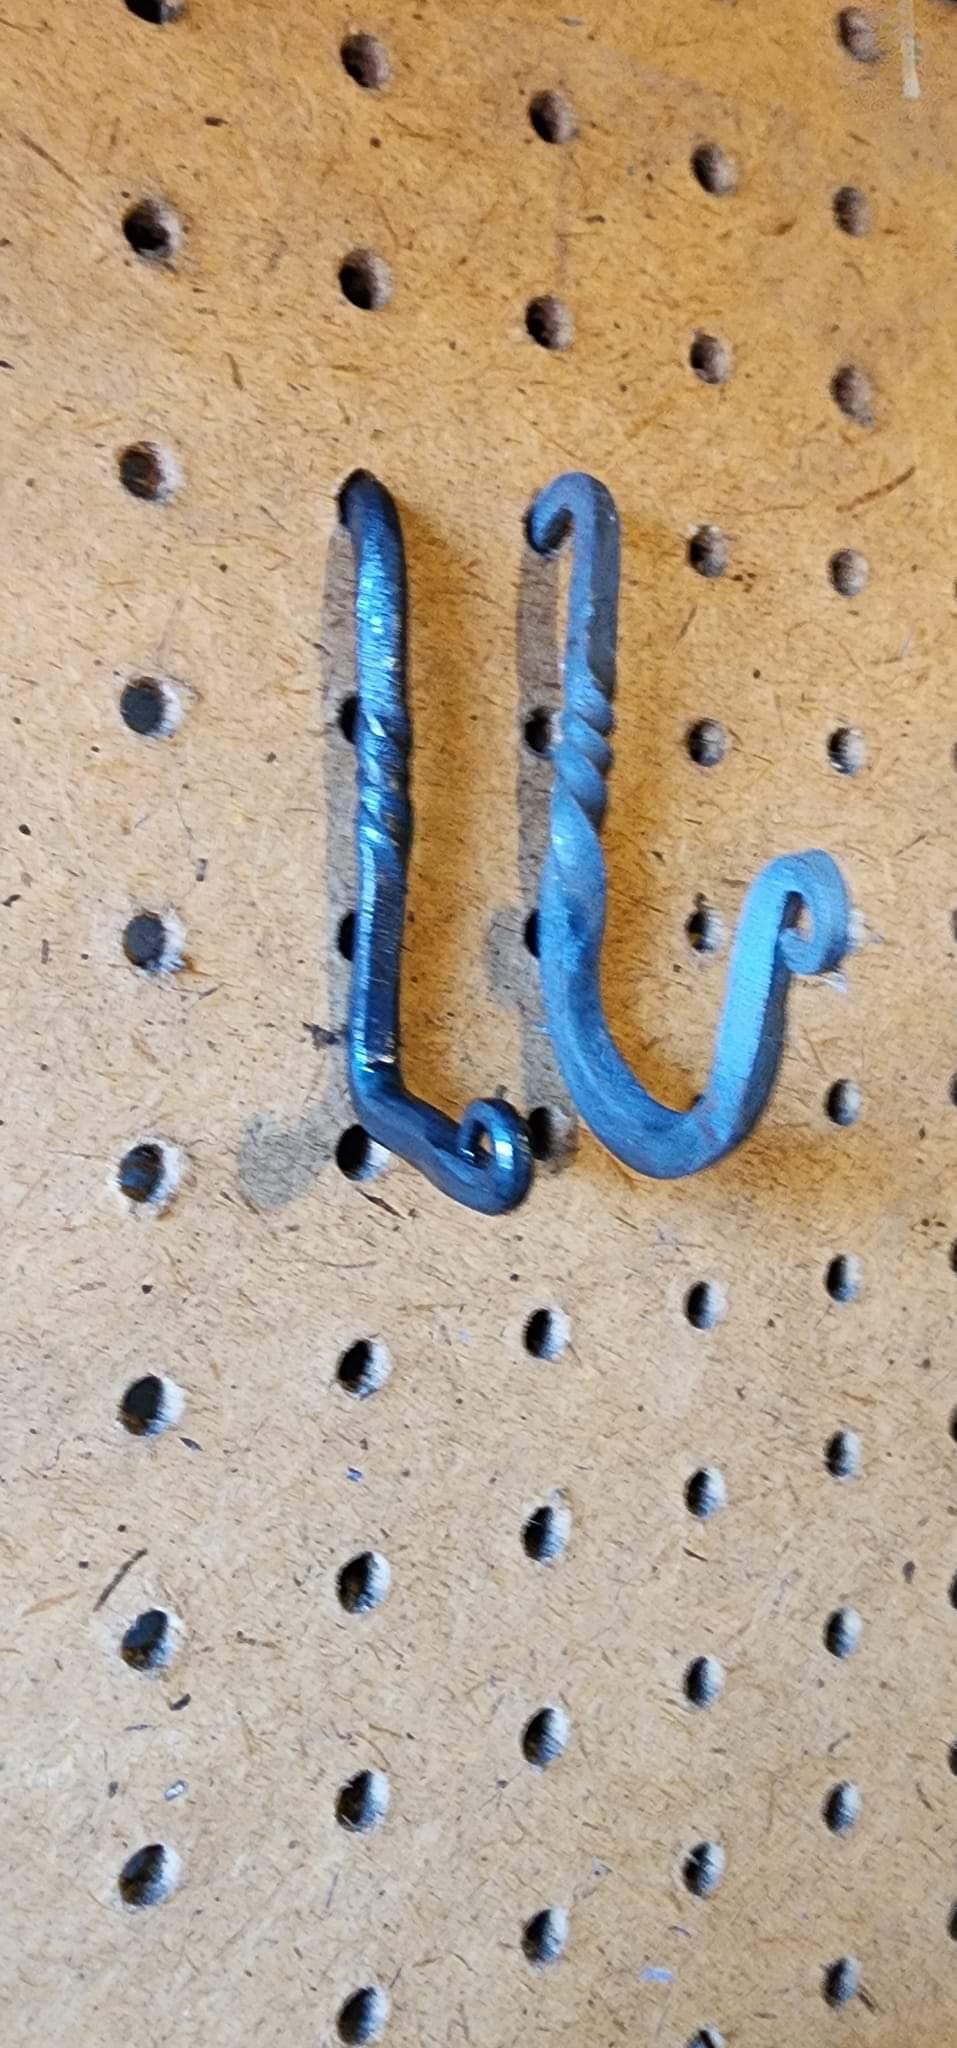
Thanks Frosty, I once had another smith over and she commented that she could get months of projects out of my rejects on the floor. For the hook, I didn't, I just went down. Most of the hooks I made in the past didn't fit well, a little too big on the hook, so they didn't turn much. What I think I may play with now is putting a tight s bend in the hook to keep it from twisting. Maybe I'll do one tonight and see how it looks and do the offset upward hook. Might as well pay with the designs, Father's Day is coming up and what Dad didn't like hanging tools nice and neat on pegboard. -

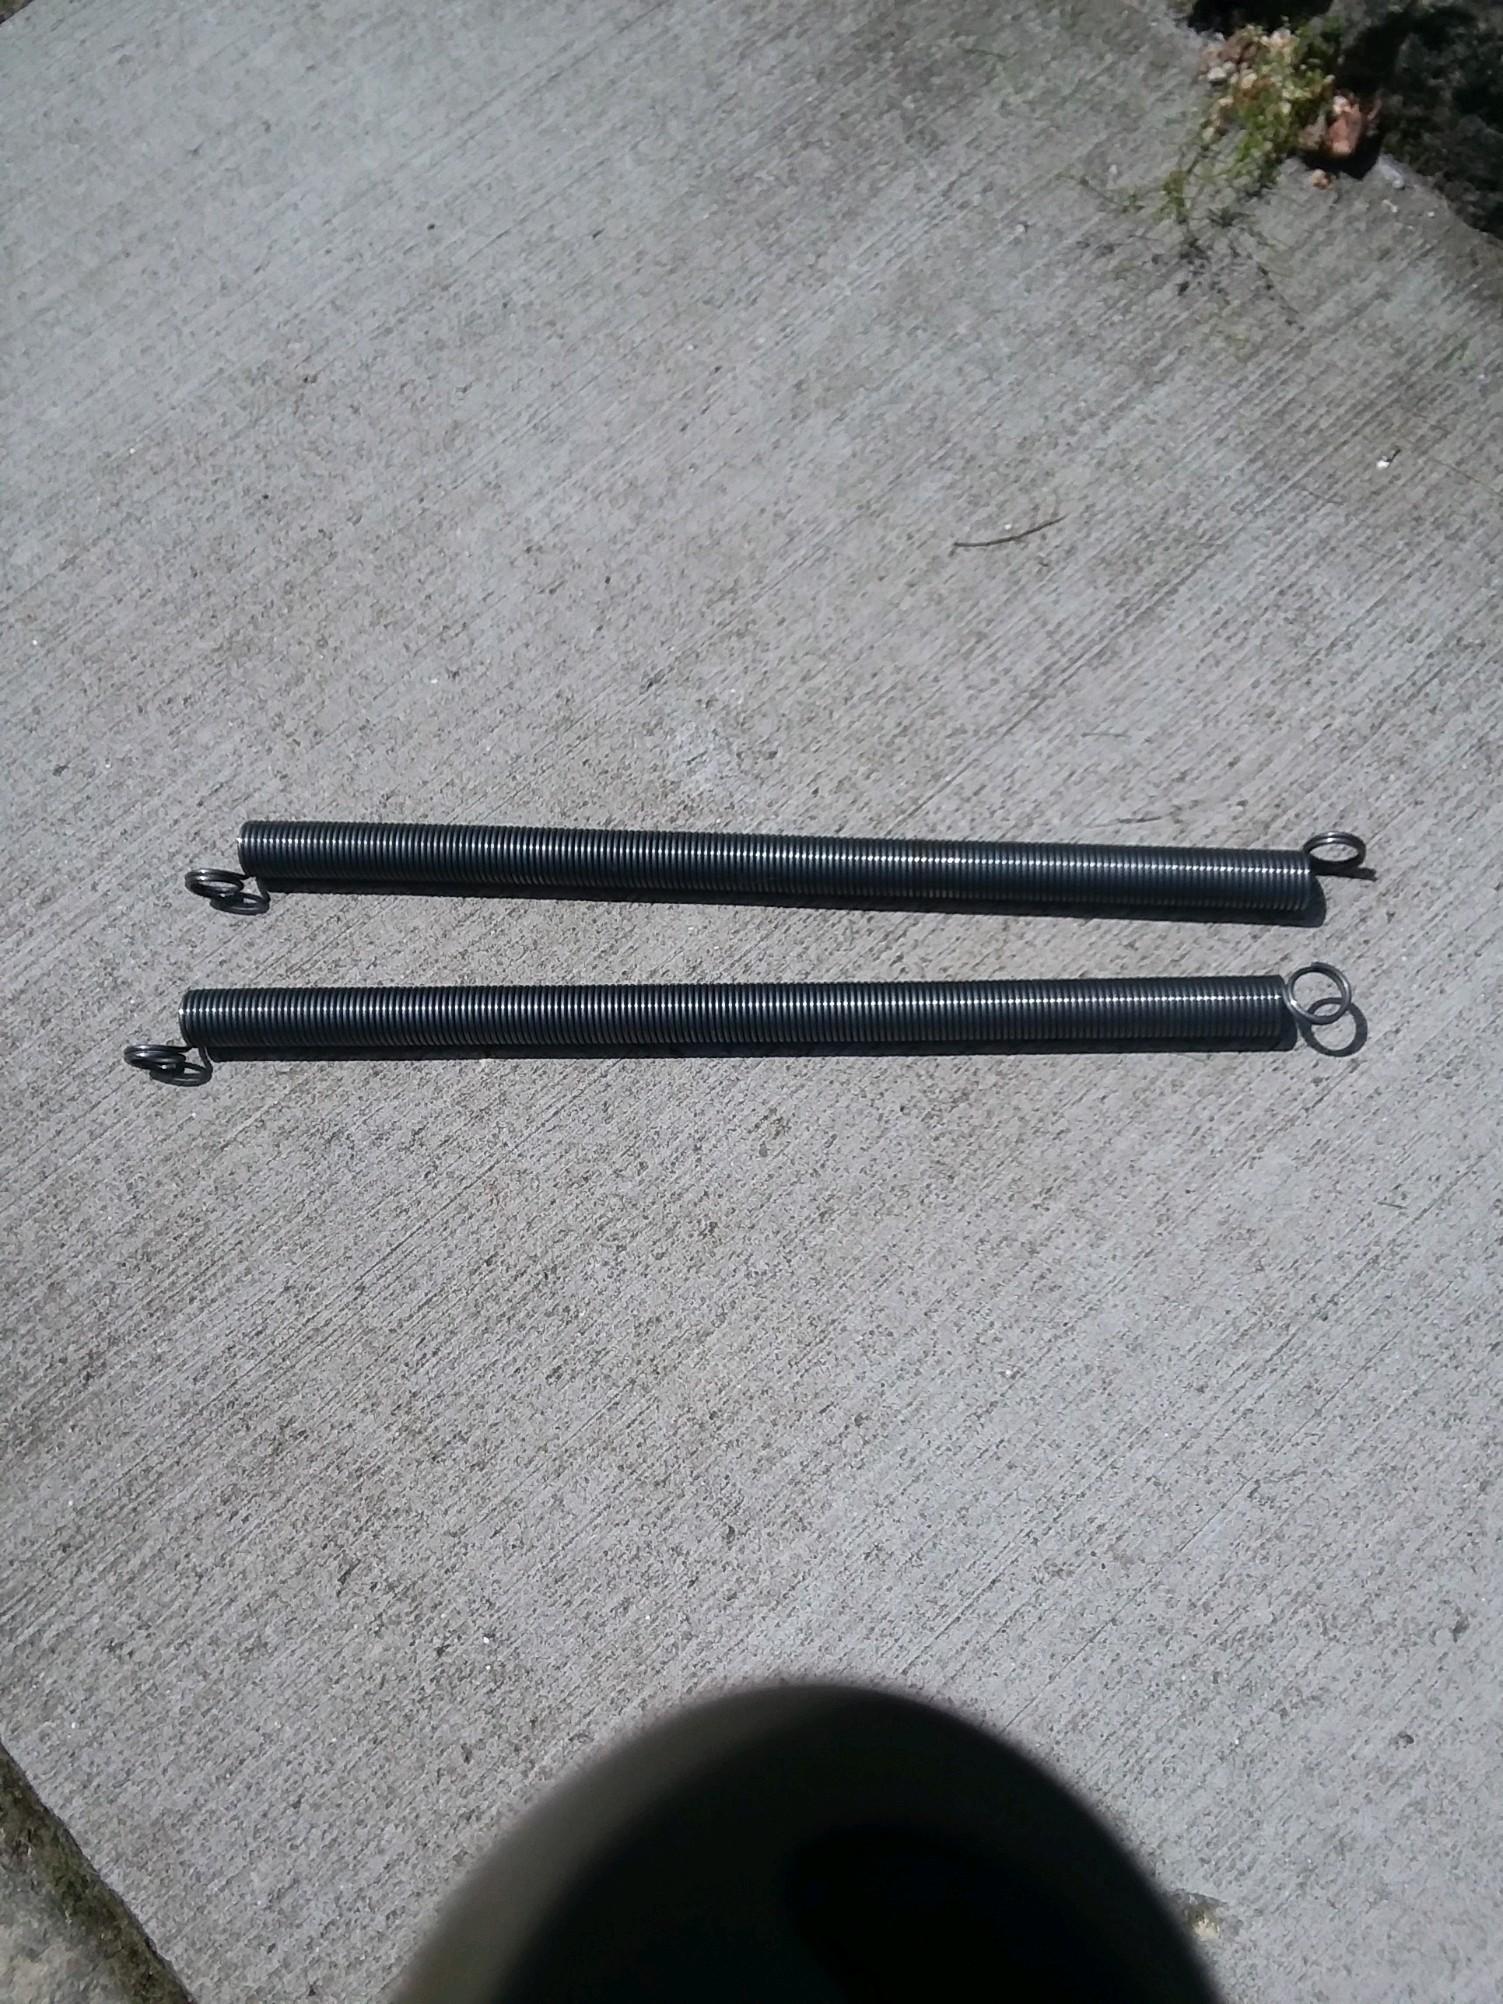
Steel from old garage door springs
yt12 replied to Ronin66's topic in Blacksmithing, General Discussion
had i only known------ive bored this board with my auction finds, but, anyhoo-----you may want to check your local on-line auctions-----they range the gambit -----i have had good luck with one that usually handles personal/household items, but often has odd-ball industrial items. most auctions have an opening bid of $1 ----whether a 2 dollar screwdriver or a $ 20,000 forklift-----some items generating huge interest-----some zero. have ended up with half a dozen car spring sets ....all brand new all for a buck----did pay up $3 for a set of 4 springs with all the air shock hook-up------would have sent ya these door springs, but they moved on down the line......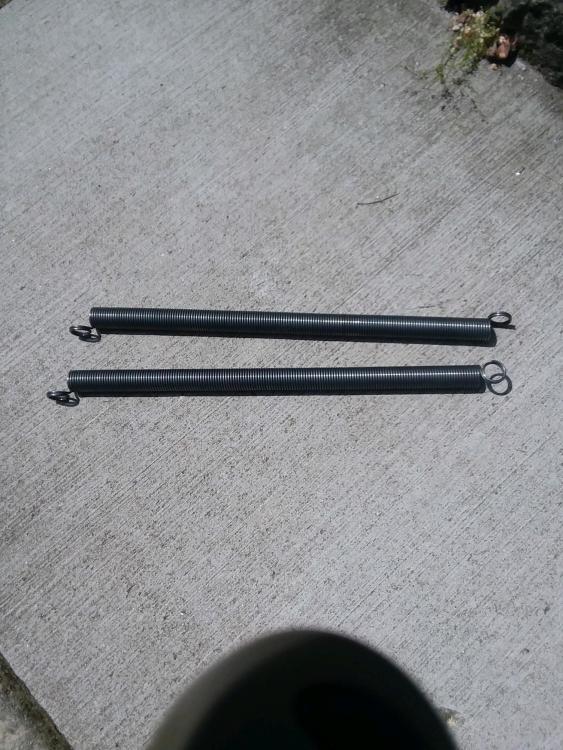
-
Trenton or Hay Budden?
Frosty replied to Ridgeway Forge Studio's topic in Anvils, Swage Blocks, and Mandrels
Trentons tend to have longer horns but it's not too short to be one. Try a web search for images, I'd link what I just skimmed through but it's several pages and too much bandwidth when anybody can search it. It could be a Peter Wright too, there are a couple anvils listed in the images that clearly have the name stamped in their sides. A couple on Iforge for that matter. Frosty The Lucky. -
What did you do in the shop today?
Frosty replied to Mark Ling's topic in Blacksmithing, General Discussion
Good job Chad, a clear floor and bench gives you so much MORE room to lay stuff down! While drying off after this morning's shower I saw the snow blocking the man door on my closed up for winter shop looks clear enough to shovel my way in. Cleaning it though . . . <sigh> Nice peg board hooks, did you put an upwards curve on the peg so it's locked in when there's weight on the hook? It doesn't take much but it really stabilizes the hook. Not taking much time to turn out things like simple hooks really improves them. When I'm just warming up right after I open the shop in spring I make leaf coat hooks, in part because I use them as a forge product #1 for beginners. When I get my self back up to speed I spend about 7 minutes from cutting the stock to brushing and waxing the finished hook. I start with 3/8" sq. hot rolled, twist the shank, draw the hook, leaf, vein the leaf, counter punch the screw holes, brush hard and apply my Trewax finish at a temp that makes it smoke so it comes out black. Later I may use a leaf die so the veins stand proud but I'm not so crazy about the dies I've come up with. Surprisingly it's more work than drawing and veining by hand. Anyway, in spring it takes me 15+ minutes to make a leaf hook and they're okay. Later when I'm cranking them in 7mins. or so they start coming out looking and working well. I think I have a peg board in the shop maybe I'll have to clean a path and make some hooks. Do your hooks want to turn sideways in use? Commercial peg board hooks have multiple pegs and or a spread bar to keep them facing straight. Turning has always been my issue with making peg board hooks. It's not insurmountable but it is unsatisfying having to add chachkas to keep them straight. An old acquaintance made little snake pegs that looked like they were slithering down the wall, neck and head raising into hooks. As I recall he said he spent 10+ minutes on them. Frosty The Lucky. -
Uh HUH and the English book replied, "Go figure." That doesn't add up to a good joke either does it. Sorry. Frosty The Lucky.
-

What did you do in the shop today?
JHCC replied to Mark Ling's topic in Blacksmithing, General Discussion
A little Repoussé-on-the-Road.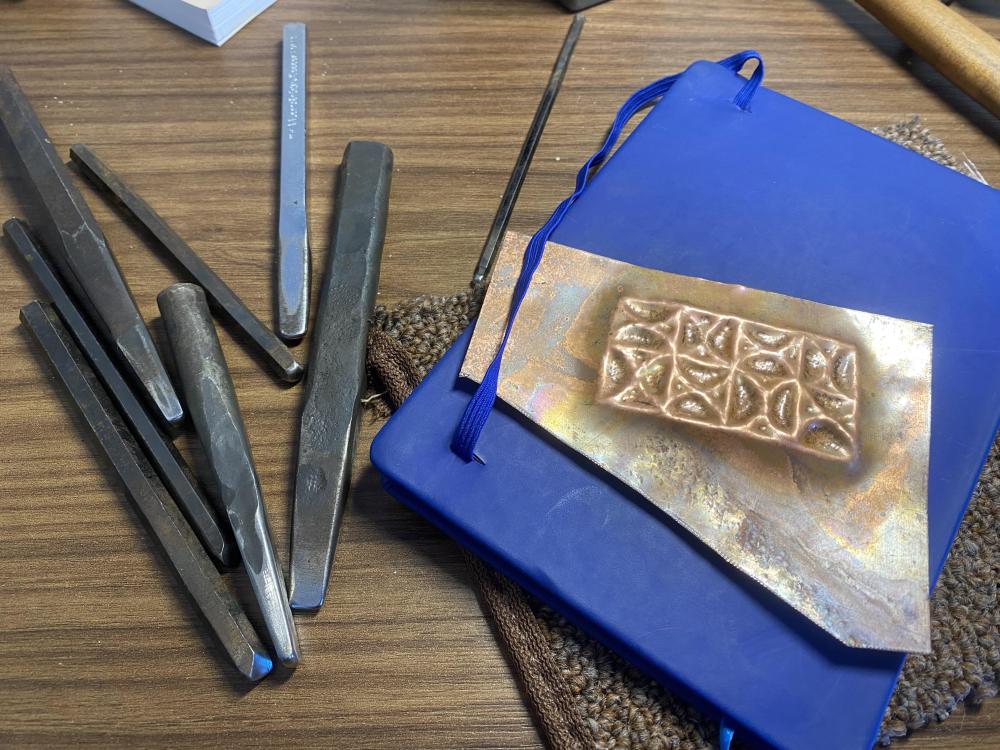
-
What did you do in the shop today?
Chad J. replied to Mark Ling's topic in Blacksmithing, General Discussion
Yesterday I found; the floor to my shop, a counter top, a pan that I had used to hold water next to the belt grinder, the stand that the pan stood on, my tablesaw, a place to put my snow blower, several half finished knives, my first attempt at a towel hanger, and space to set the coffin bookshelf back up so I can finish it now that it's warm again. I also rearranged my tool peg board so I can actually hang tools on it and made a quick hook for it. It used to take me hours, maybe exaggerated, to make a single hook for the peg board, yesterday the one I knocked out quick as a reward to myself for cleaning took maybe 5 minutes and looked much better. Still just as proud of the early ones.
-
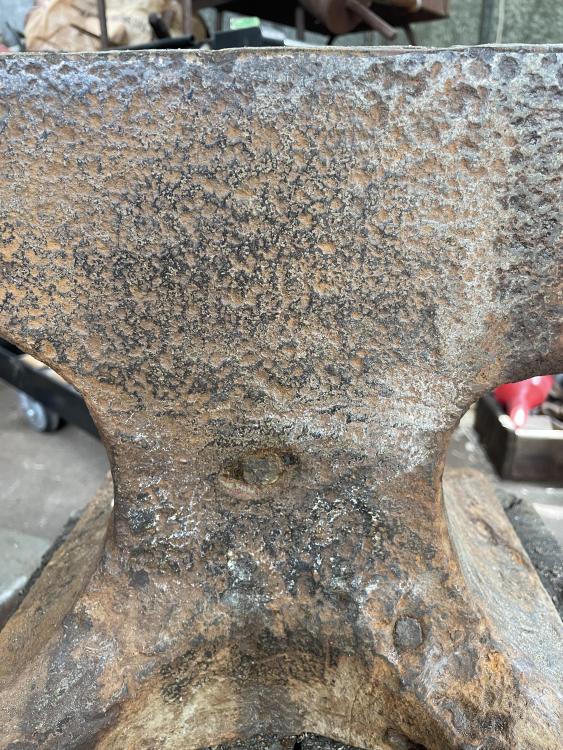
Rusty, crusty and pitted- I’ve had this anvil since I bought it from the antique mall 8 months ago, finally mounting it. it is 180 lbs (approx) and seems to be in good shape other than the rust and pitting. is it a Hay Budden or a Trenton? Any marking has long since disappeared…

-
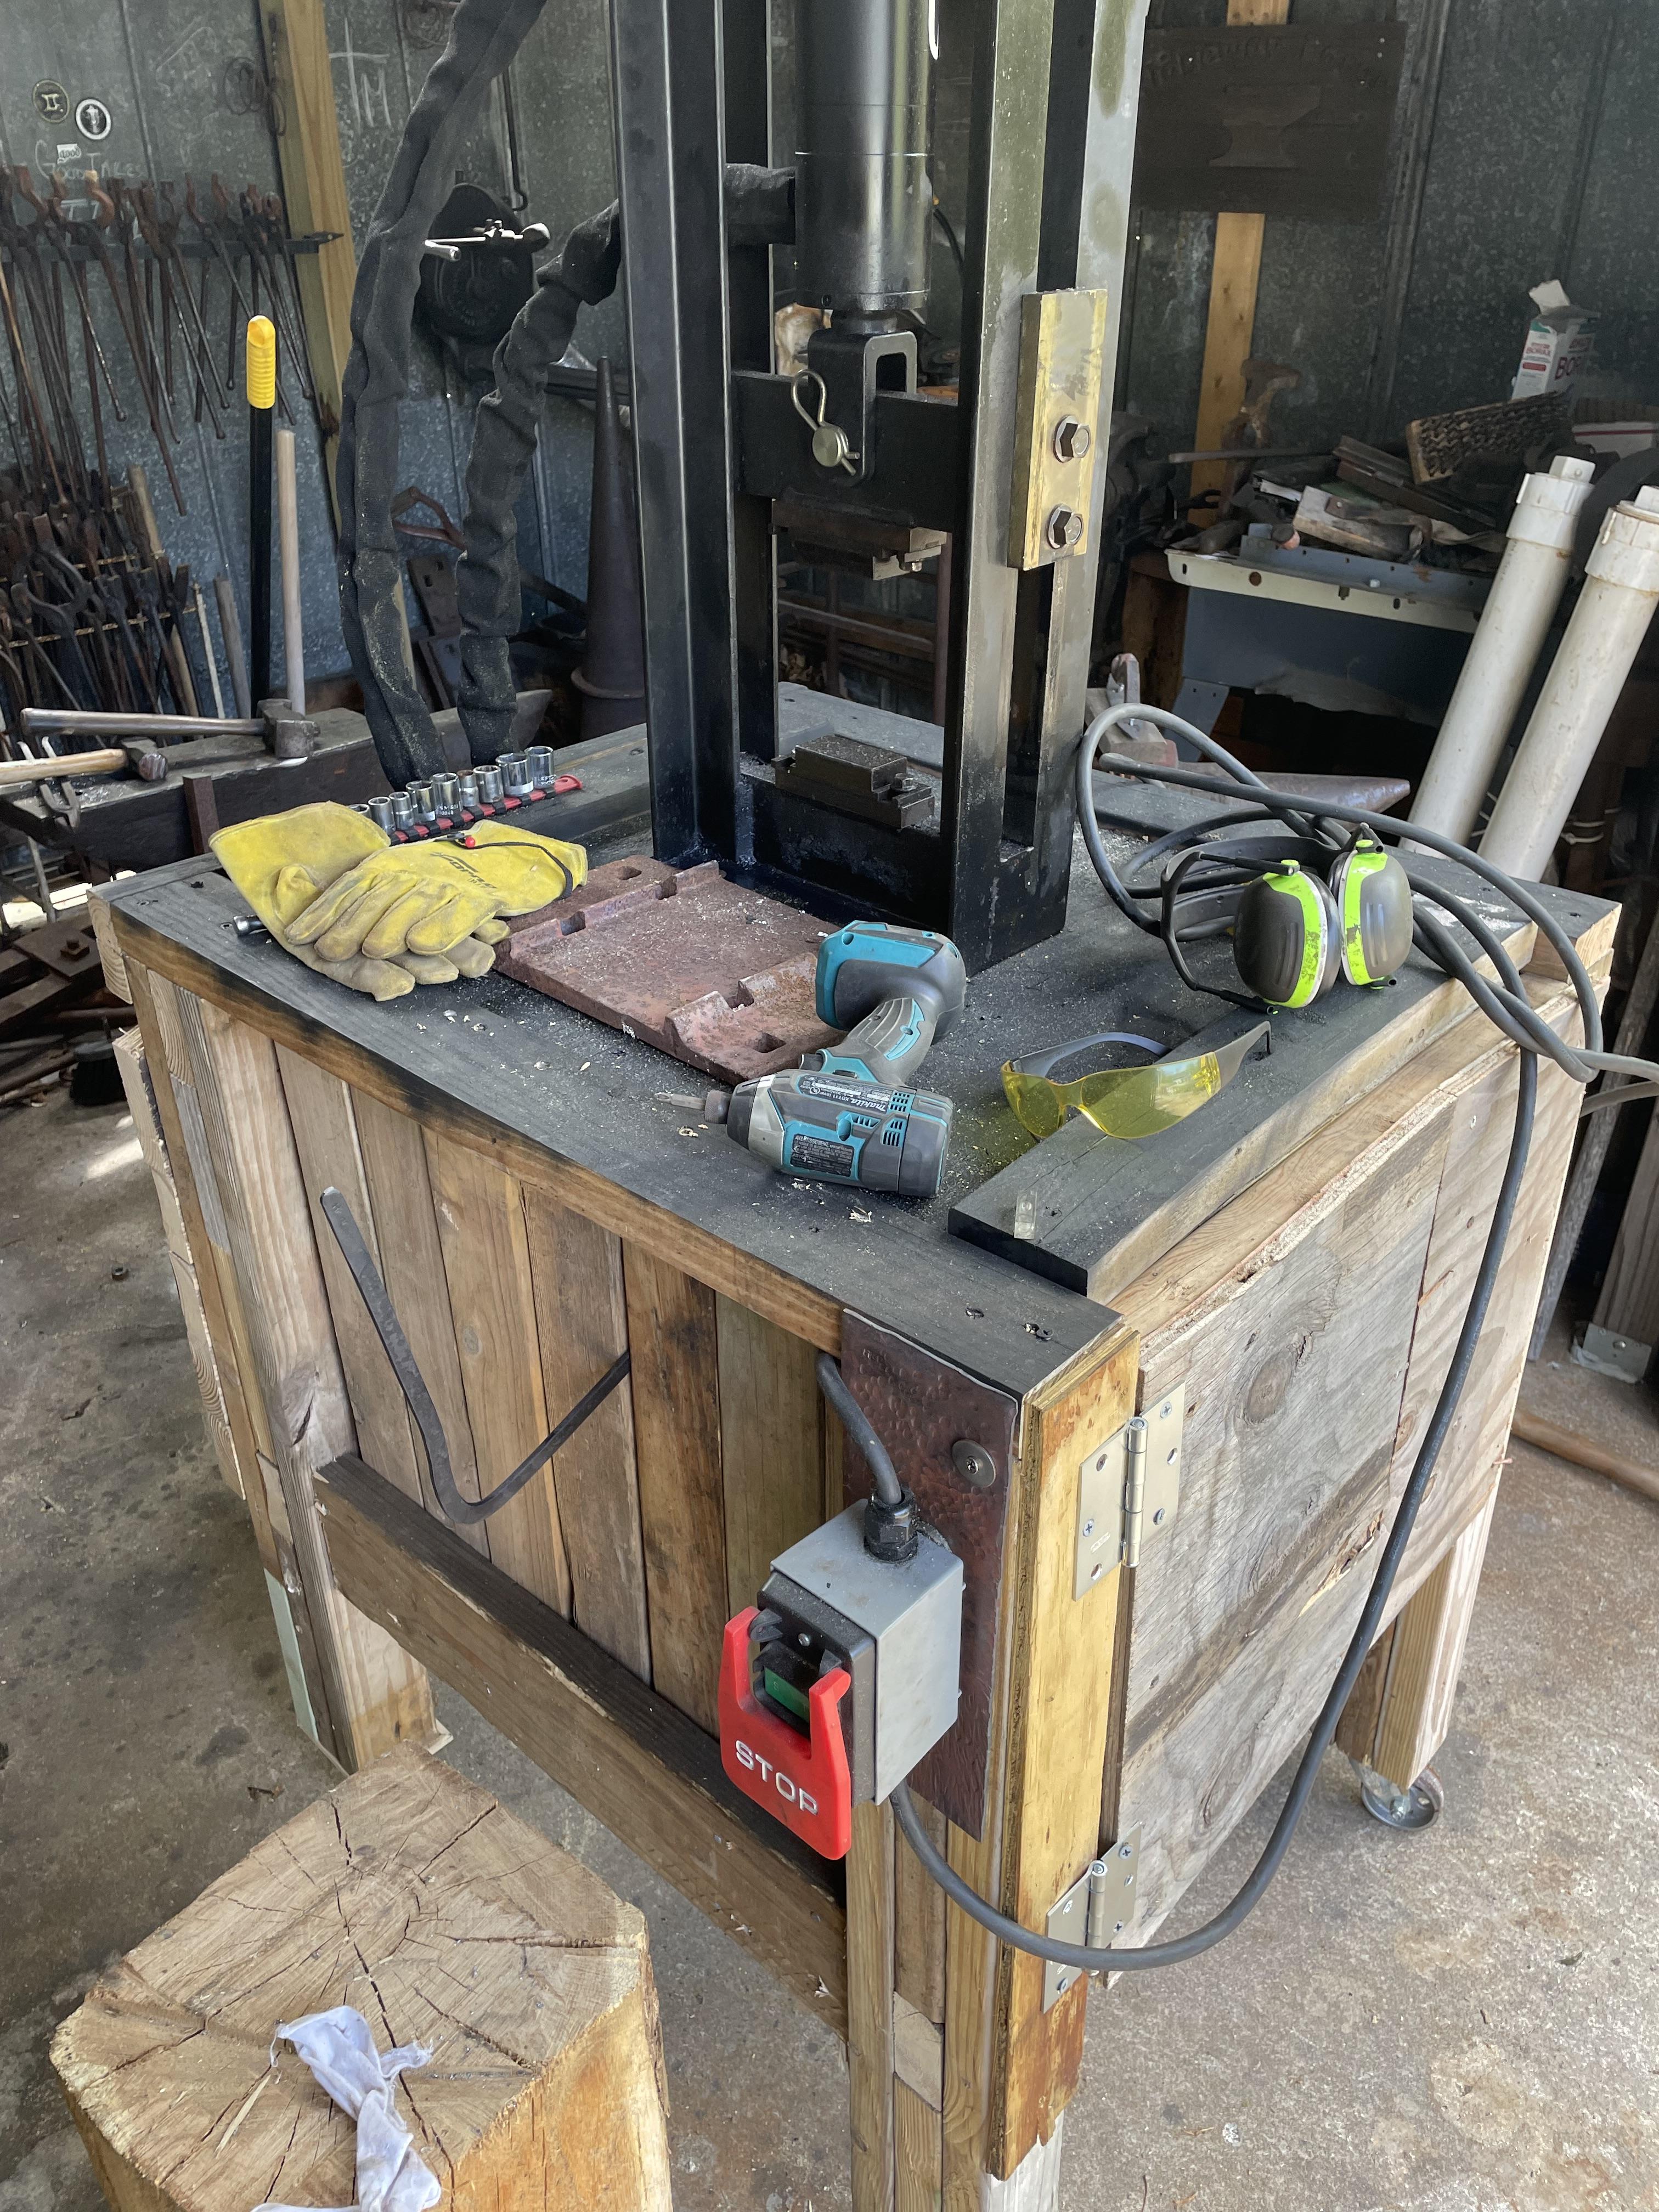
What did you do in the shop today?
Ridgeway Forge Studio replied to Mark Ling's topic in Blacksmithing, General Discussion
Finally finished the new stand for my 12 ton hydraulic press. I mounted the power pack and tank below the H frame to save space and keep things cleaner. One step towards cleaning up my shop!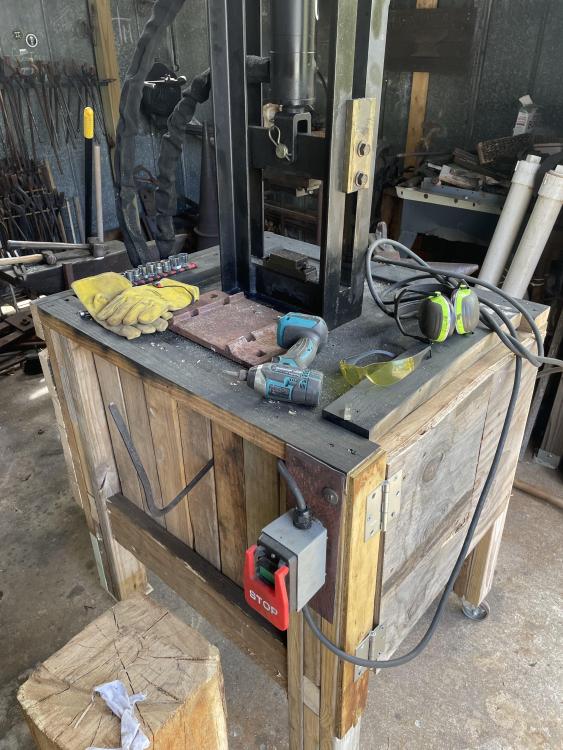
-
This looks like it may be some kind of branding plate maker, or maybe not. If anyone knows what this item was used for, I’d love to find out.

-
 DenM joined the community
 -

why did my angle grinder stop working
lary replied to GhostTownForge's topic in Grinders, Sanders, etc
I've had a couple of the cheaper angle grinders start cutting out at the switch. There the type that have a plastic switch that slide to a locking position. Sometimes on sale at Harbor Freight for $9.95. I've had the best experience with the 15 amp paddle switch 4 1/2 inch grinders from Dewalt. I'm not talking about the name brand angle grinders when it comes to the slide type switch. -

why did my angle grinder stop working
Mike BR replied to GhostTownForge's topic in Grinders, Sanders, etc
I think the last one I took apart had crimped connections between wires. Those are worth checking as well. -
 wendysfoodie joined the community
 -
why did my angle grinder stop working
Nobody Special replied to GhostTownForge's topic in Grinders, Sanders, etc
I would tend to think bad connection in the cord, switch, or less likely, the brushes getting a crap connection. Frosty may well be right, but I don't think any of mine have a cutoff for overheating, so I'm not experienced with it. The cord you can jiggle (carefully) to see if it cuts out, or test for resistance. Switch you pull out and test for resistance. Brushes you take out and look at them and while you're at it, make sure the commutator is clean and not scored. And if you've got them out, why not replace them. You can clean a commutator by sanding with a VERY fine grade of sandpaper, lightly, then cleaning out the grooves with a probe or thin screwdriver. I just had an old favorite, a Bostitch start making popping noises once in awhile, acting weak, and getting hot while using the cutting disc, so I'm guessing I've fried the brushes and it's arcing to the commutator (the bit of the armature that the brushes touch). Or maybe some of the carbon has got down in there and is arcing. I'd fix it, even if it costs more than new. I've had that thing for around a decade and love it. You kinda get attached to them. I've got three, one Bostitch, one Dewalt, and an $11 HF Chicago Elecric special that just will not die no matter what I throw at it. I've bought three of the latter over the years, almost more out of morbid curiosity than anything. One lasted about 30 minutes before the windings started smoking, one lasted maybe six months before the brushes went and I gave it away, and the other has been going for maybe eight years now, zero maintenance. It's the Nash Rambler of angle grinders, clunky, awkward, and people look at you funny when you use it, but it just will not die.