Frazer
-
Posts
1,403 -
Joined
-
Last visited
Content Type
Profiles
Forums
Articles
Gallery
Downloads
Events
Everything posted by Frazer
-

Show me your anvil stands
Frazer replied to pkrankow's topic in Stands for Anvils, Swage Blocks, etc
4"x4"x3/8" -
Show me your anvil stands
Frazer replied to pkrankow's topic in Stands for Anvils, Swage Blocks, etc
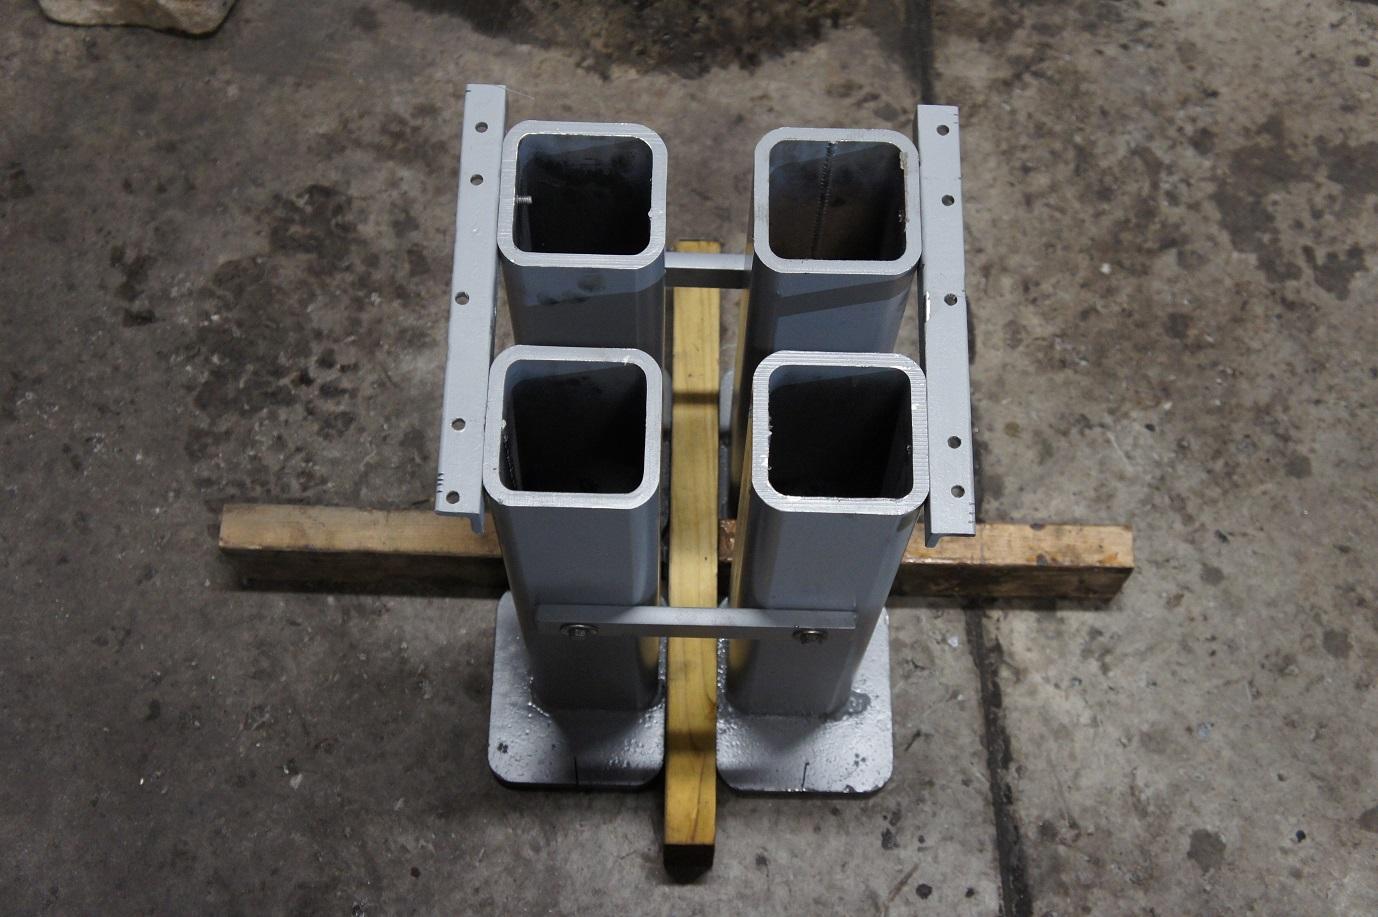
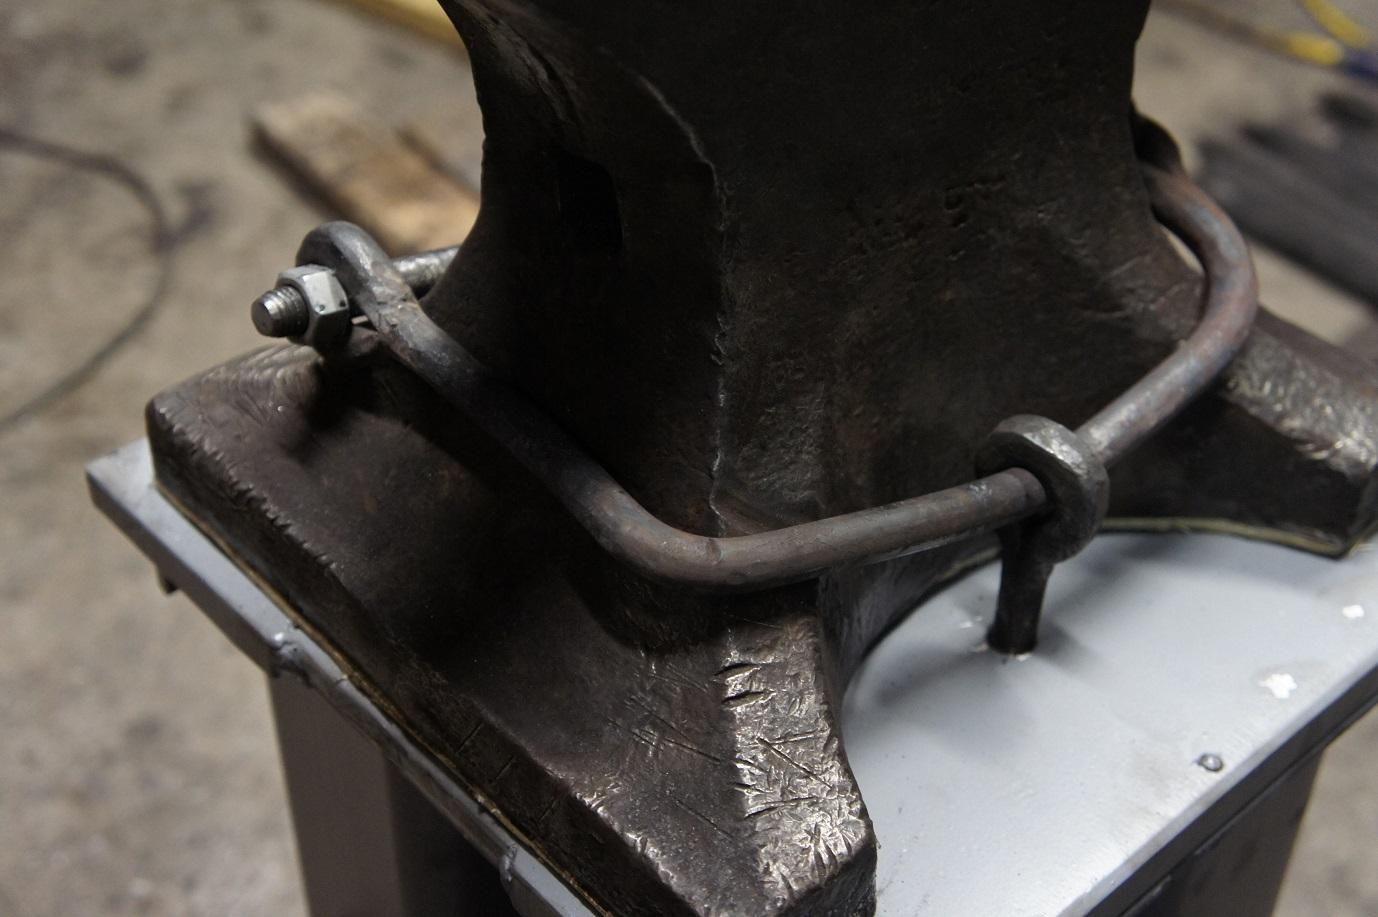
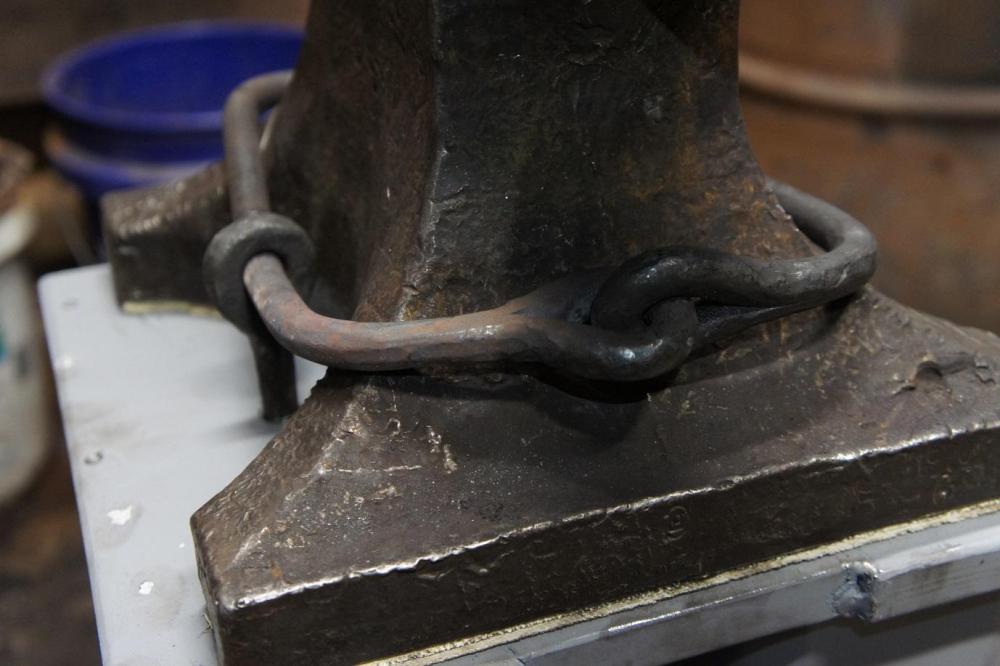
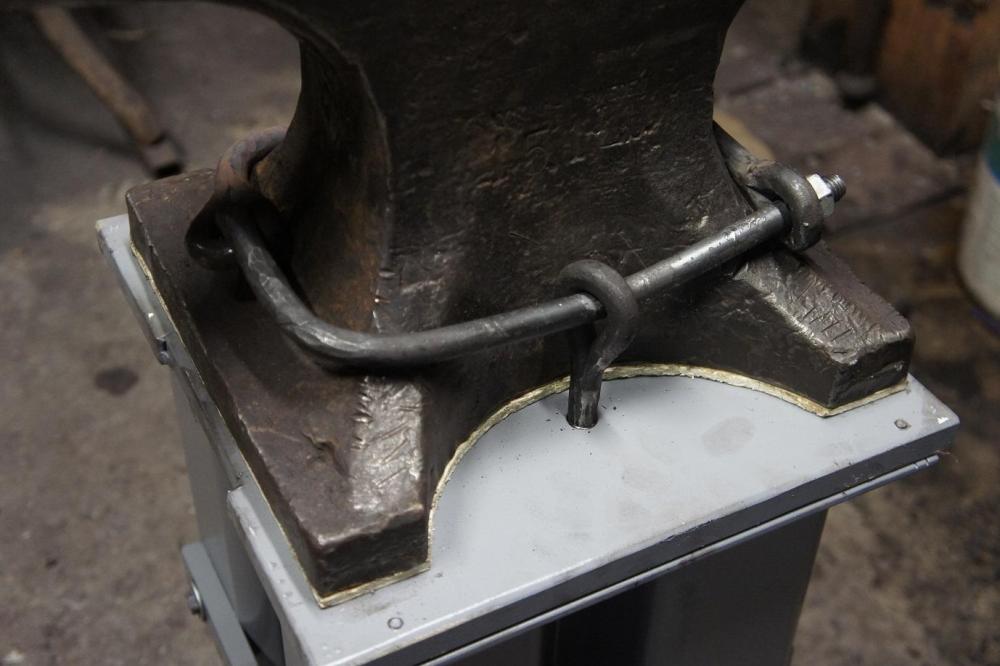
Upgraded to a steel stand from a wooden block. I still have to add some tool holders to it, but I want to use it first. I used JLP's anvil mounting system which works extremely well! Thank you for the idea. The stand weighs about 180#. Hopefully I won't be chasing my 150# anvil around like I was with my wooden stand. I thought about filling the legs with sand, but I think that might be unnecessary. We will see. Everything is bolted together in case I decide to change things in the future.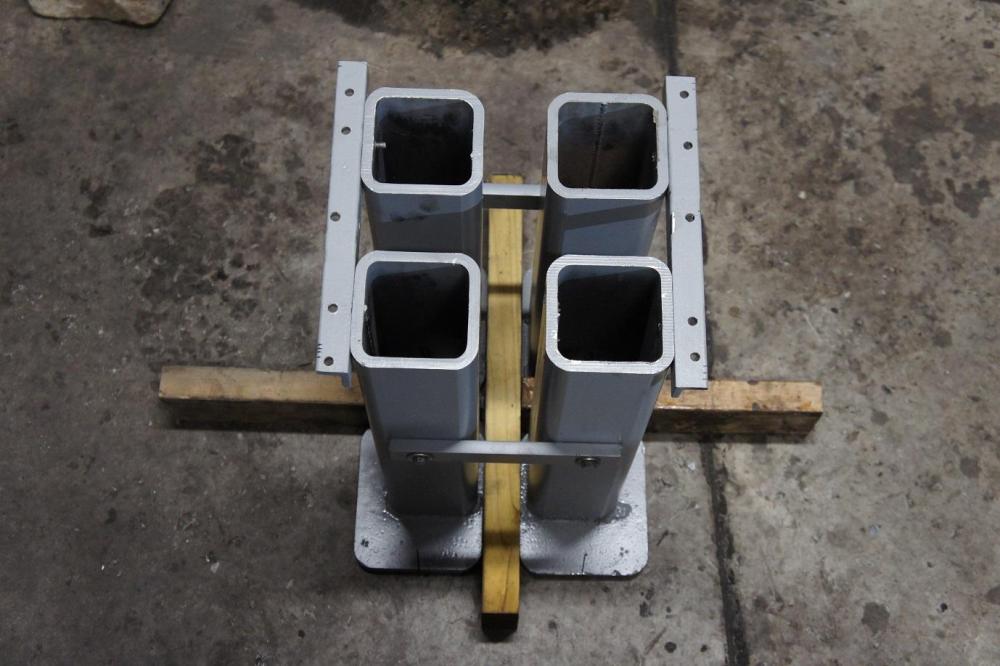


-
Billy, you're not kidding! Yes, most of my files have golf ball handles and they are hanging on either side of my vice.
-
Okay, so I made a video... What did we learn...? Talking to the camera is very different. My camera angle wasn't too great. I have to work on my posture, yeesh! Recording video on my camera kills the battery in ~20 minutes. Jennifer, ~35 minutes is a very impressive time. Total time was 1:00:32. Enjoy my bumbling through the process on camera
-
Latticino, very nice! Jennifer, I have to find my little GoPro for filming... It's around here.... Somewhere....
-
What did you do in the shop today?
Frazer replied to Mark Ling's topic in Blacksmithing, General Discussion
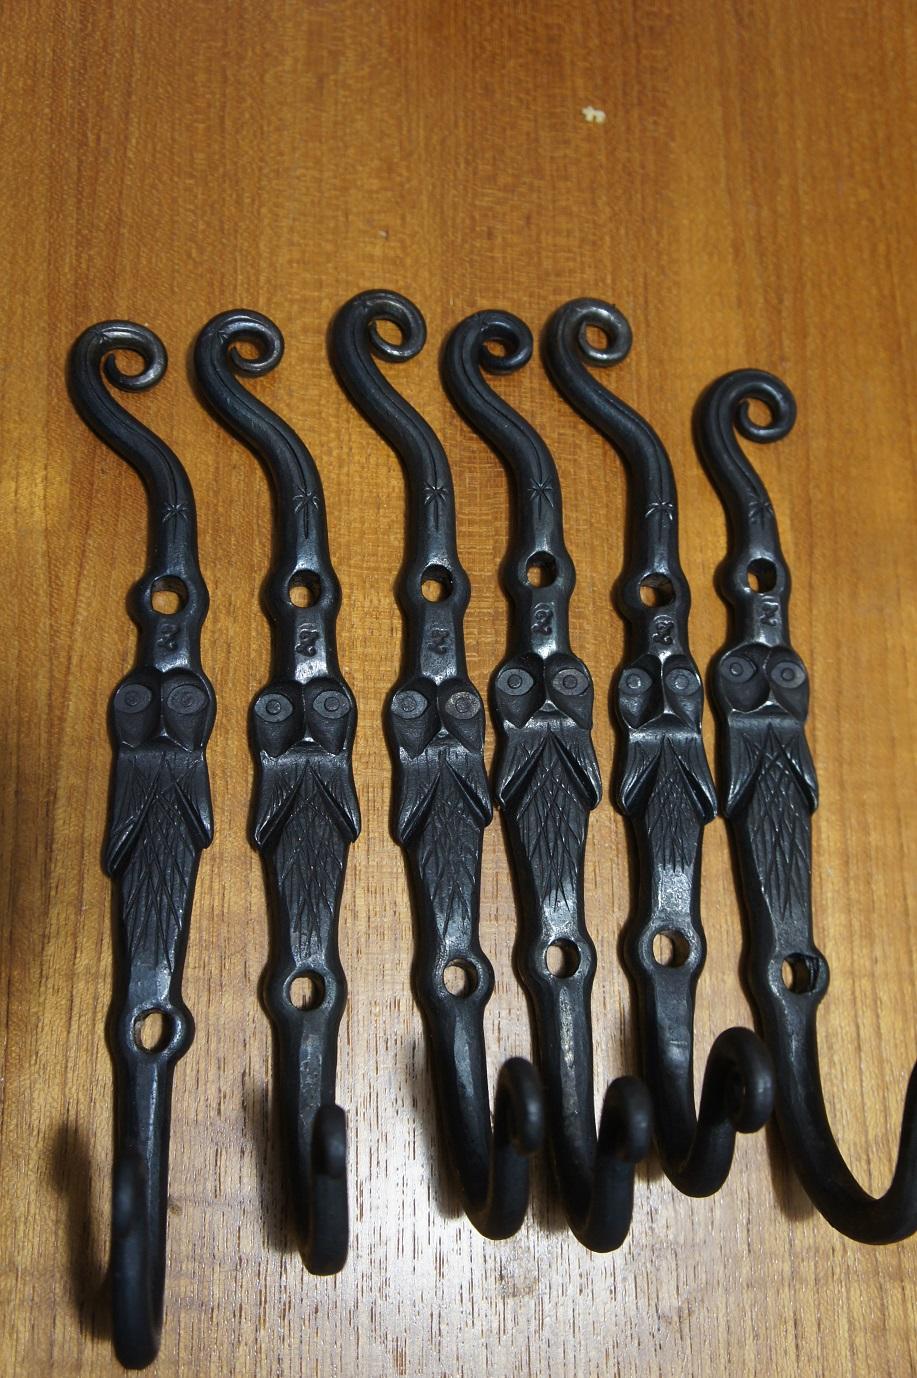
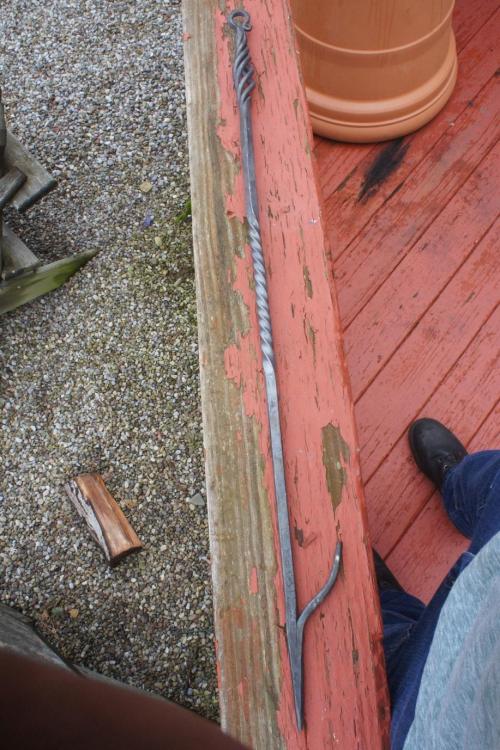
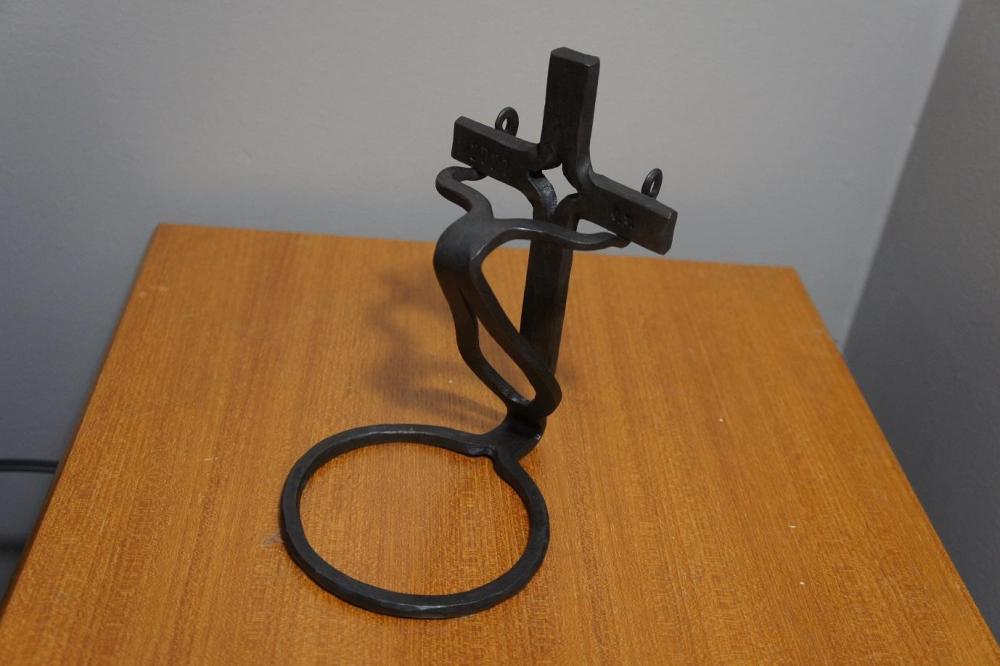
Finished a couple of last minute Christmas presents. Wizard hooks (one of them doesn't belong) And a split cross with a stand for my 95 year old great grandma.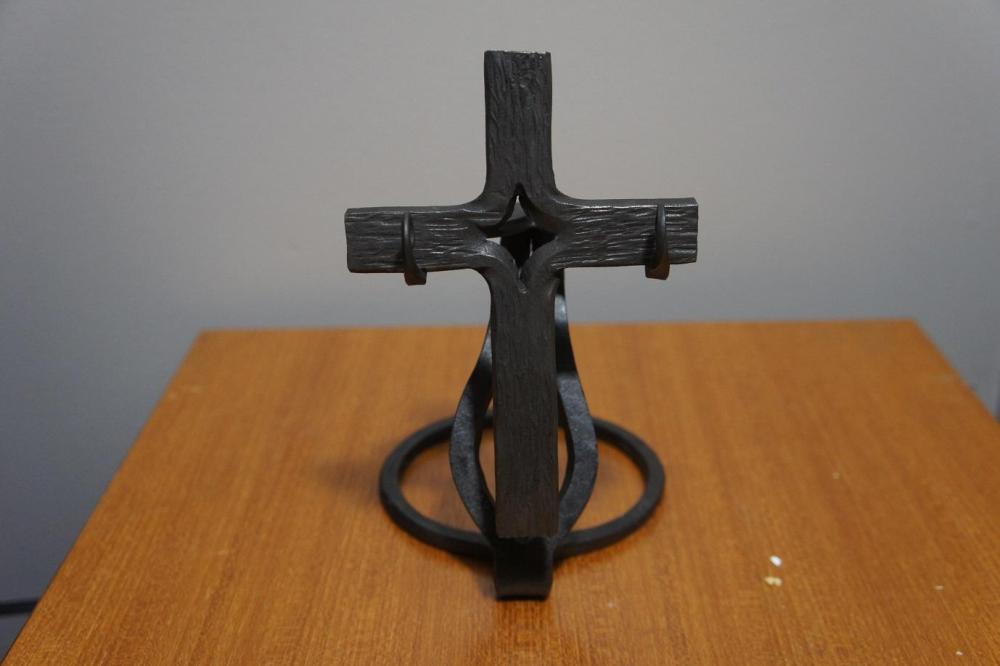

-
I took some 1.5" round bar, butchered in the hardie shank and flattened the opposite side to ~7/8" thick to make the face. Then I forged two short tapers out of one of the "&" shaped RR clips (~3/4" round) and full penetration welded them on either side. For a little extra stability I made a collar from some 1/2" sq and arc welded it on at the start of the hardie shank. I put the shank in the vise at the collar and used a top fuller to spread out the collar a little bit. It was actually pretty straightforward to make and I've found it to be quite handy to have around. The body of it is just A36; a more adventurous person might make it with 1045 or 4140.
-
Stock for making axes?
Frazer replied to Conrad.blacksmithing's topic in Axes, Hatchets, Hawks, Choppers, etc
I know, I know, I just had to get that in there. TP would've responded to my excluding a unit to some degree or other. -
Huh... I'm reading on t'internet that you can force a patina with warm blood, mustard (basically vinegar), vinegar and various other acids... Doesn't seem like it's a very durable finish, but no real surprise there. The first one interests me. Next time I cut my fingie (shouldn't take long) I'll have to test that internet mumbjo jumbo. Anecdotally, I will say that I have had knives patina after cutting exclusively meat too. Especially if I don't do a good job cleaning it off afterwards. Now whether that's due to the salt, the spices or the meat itself I just don't know.
-
Stock for making axes?
Frazer replied to Conrad.blacksmithing's topic in Axes, Hatchets, Hawks, Choppers, etc
132.8.... Kelvin? -
It appears 1095 and 1084. I see it with those, spring steels and on the 15N20 in damascus as well. Always the same color (more or less) and mostly when they get used for food prep. Whenever I give a knife to someone I give them a disclaimer that these aren't SS kitchen knives and some discoloration over time is natural. Especially if you're cutting acidic foods like tomatoes or citrus fruits. My guess would be that if it has tempering colors (from heat) it will have the same oxidation colors from other sources regardless of the alloy. *Note this doesn't mean the alloy doesn't play a role at all, I'm just saying that for most of the iron-based ones we tend to work with it may not play as major of a role. Except maybe for some stainless. I don't have much experience with forging stainless so I don't know.
-
I had my anvil face milled flat
Frazer replied to Trilliumforge's topic in Repairing and Modification to Anvils
I just noticed that someone already arc welded the heel back onto that anvil. You can see one bead on the side and a seam running across the face. Not sure that really matters at this point, more of an observation. -
It's just an oxidation layer. It's the same process as tempering colors only instead of them being caused by heat they're caused by moisture, the food you're cutting etc. Those same colors appear on all my knives over time too. I'm not sure why the colors tend to be blue most often and I'm not sure if you can force them to appear more uniformly somehow. Perhaps someone else will be able to provide those details.
-
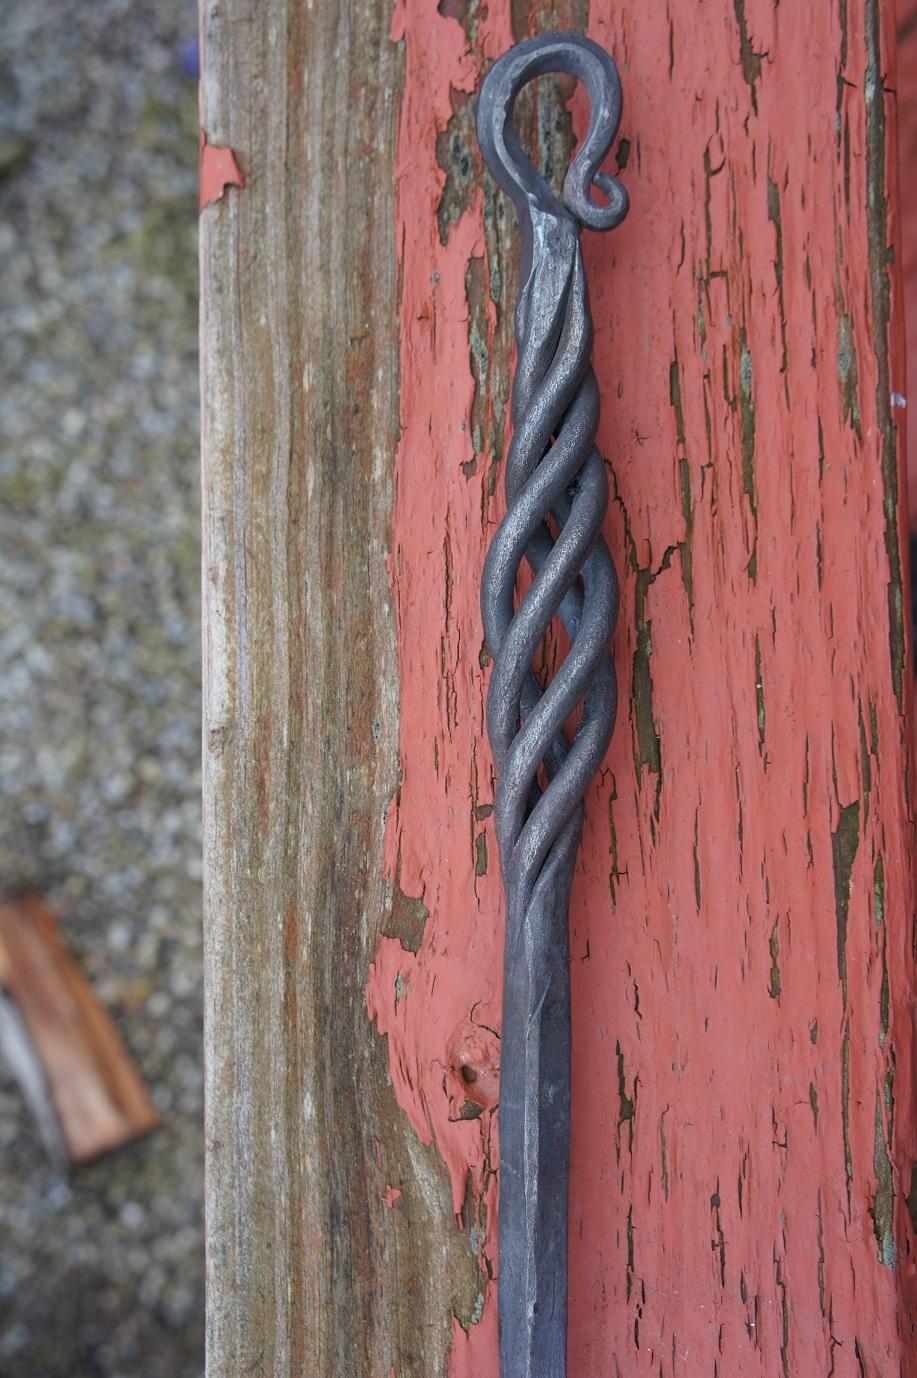
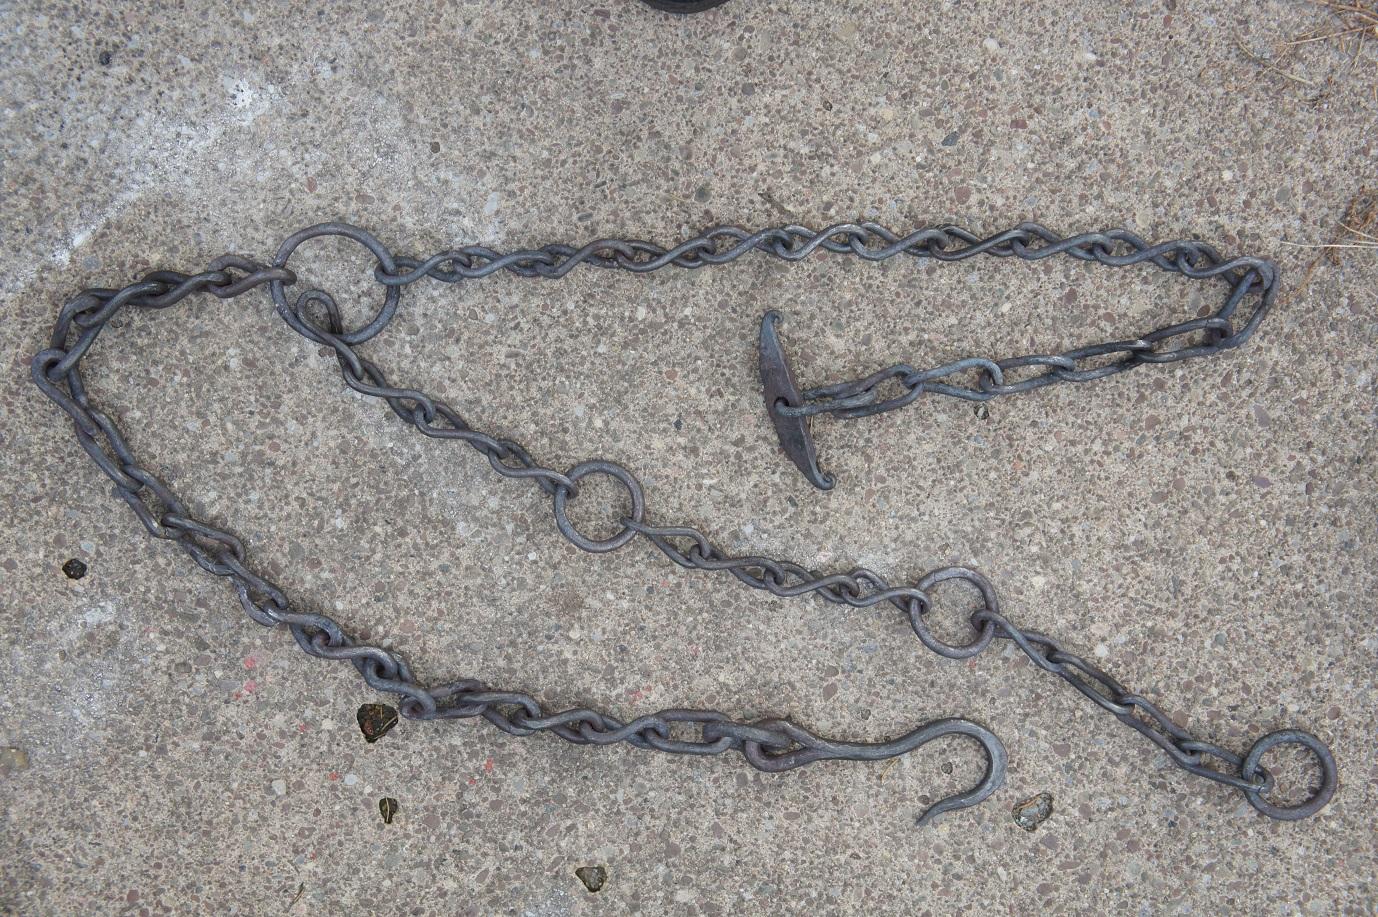
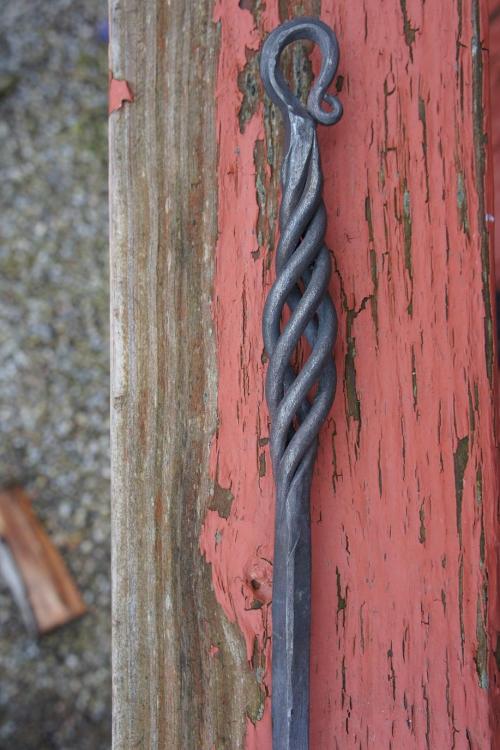
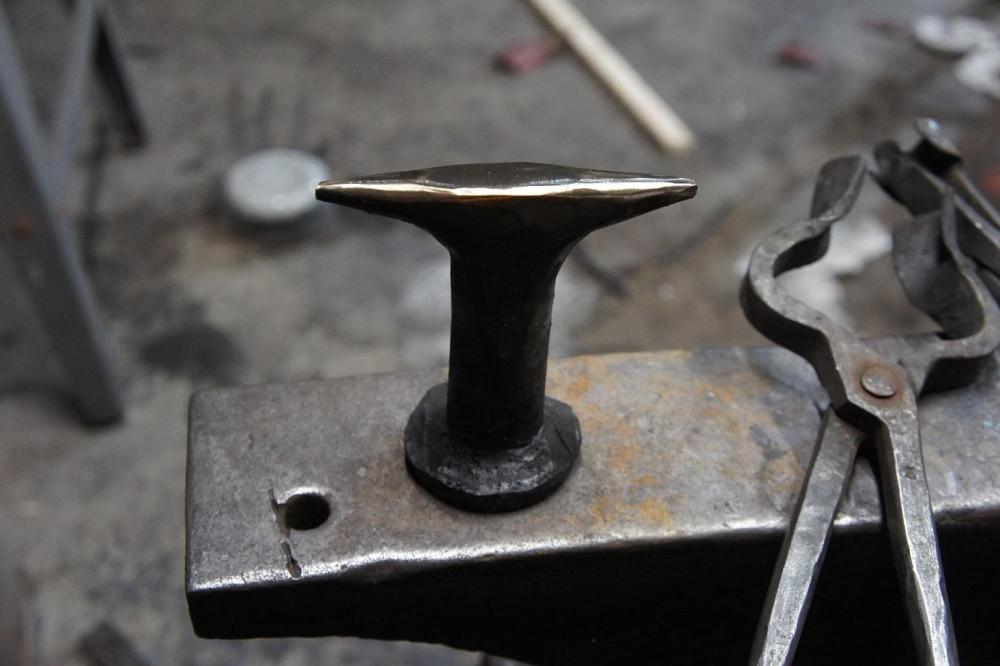
Thank you. As for the chain, that's hard to say. I did it for the learning experience so I wasn't really timing myself. My best guess would be 10-15 hours, not including making a couple of tools. One of them being this little guy that I now like a lot (you may have already seen it in "what did you do in the shop today"). Realistically, it was probably closer to 15 hours. It took me a little while to get the feel for it.
-
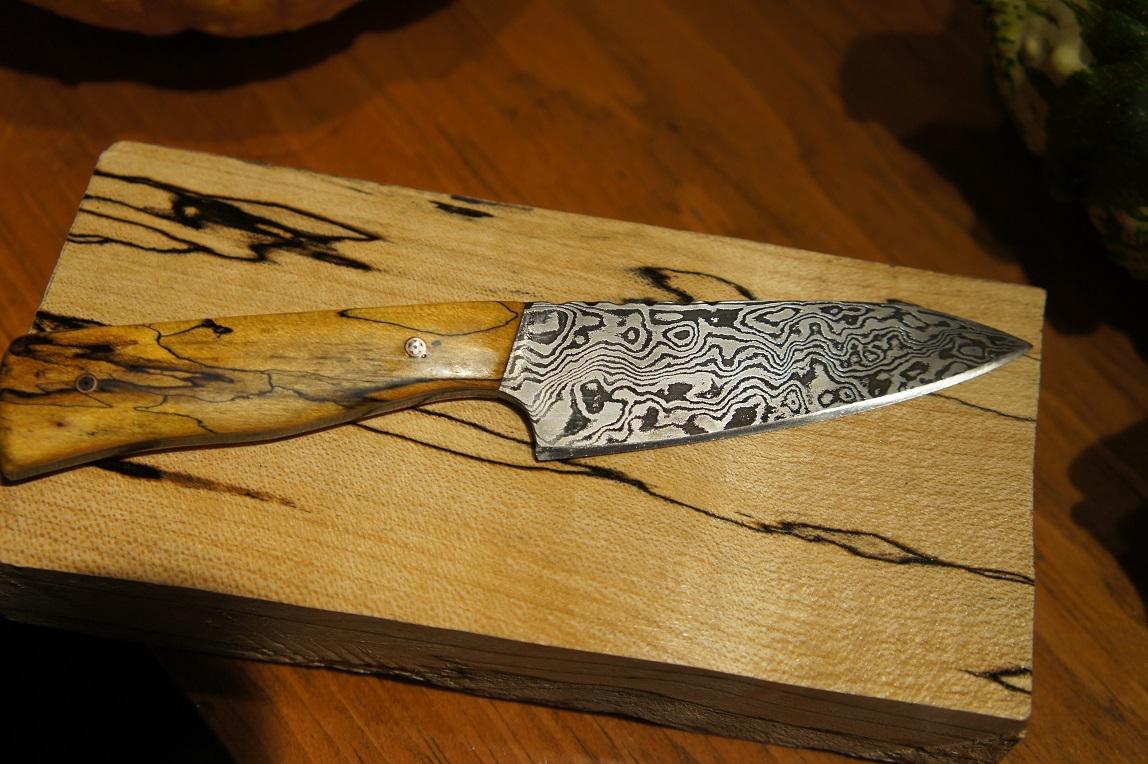
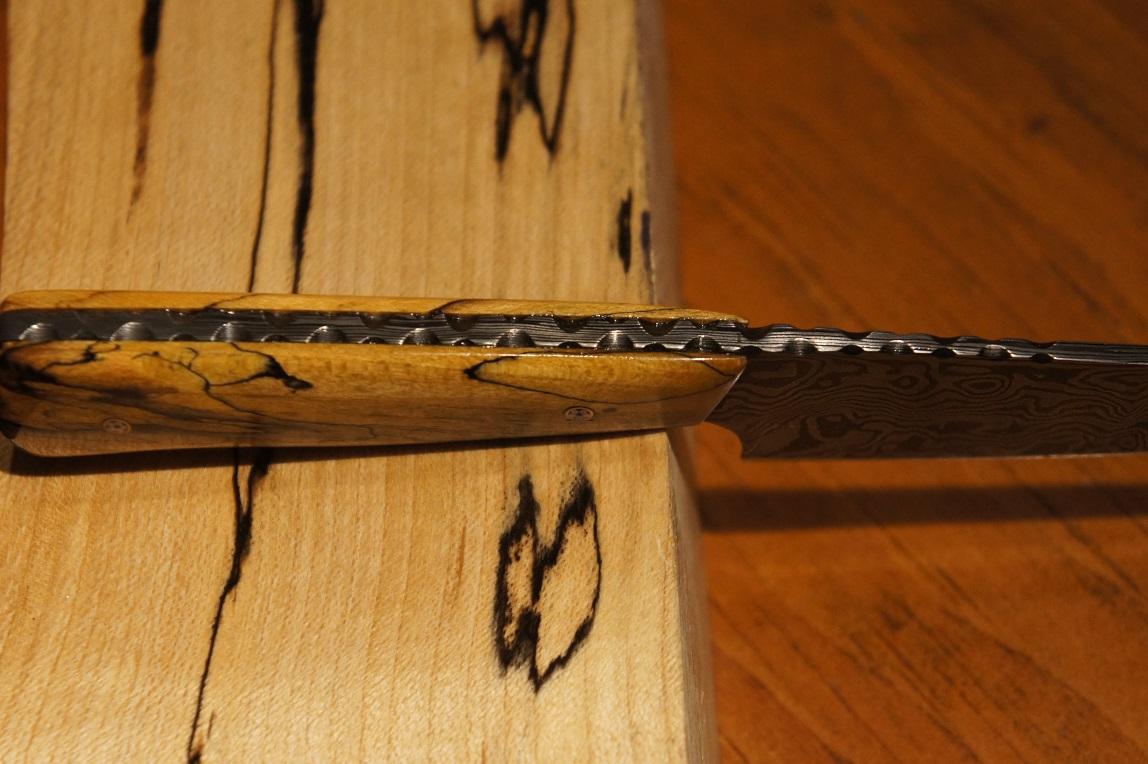
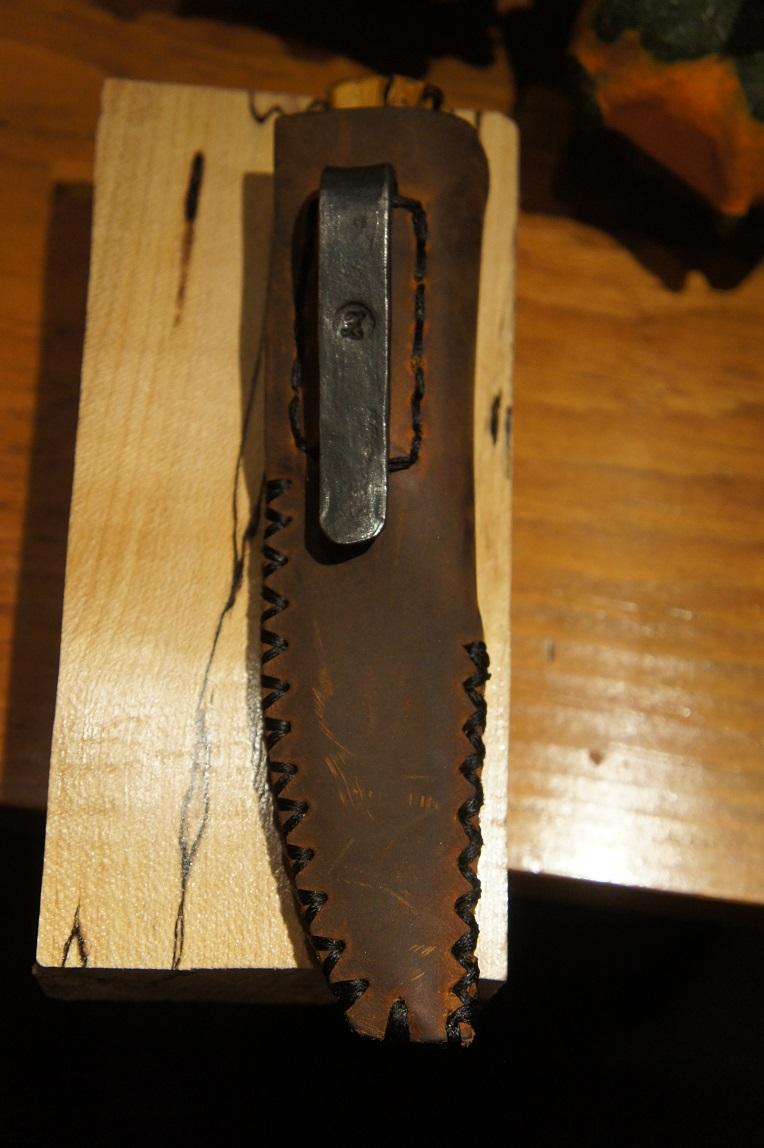
One pocket knife. Stabilized spalted maple scales.


-
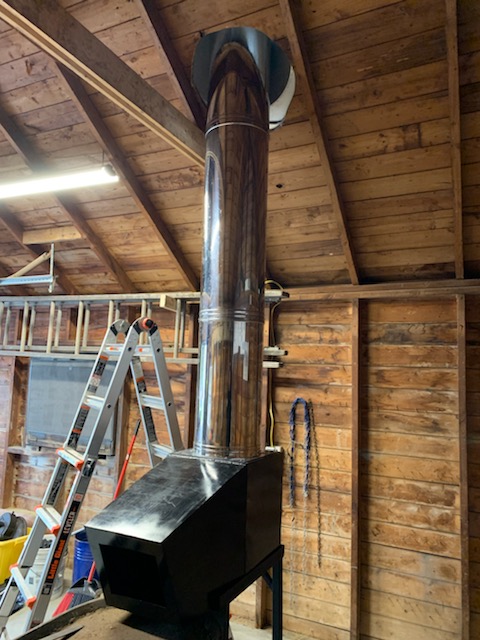
I think between those updates you'll be in pretty good shape. One other thing I'll add... As long as you're working on it now would be a good time to rethink that support system you have there. You're asking a lot from that one little strap and I would hate to see the whole thing come down suddenly and unexpectedly. They make telescoping roof brackets for pipe of various diameters as well as standoffs you can use to mount the pipe to the exterior wall.
-
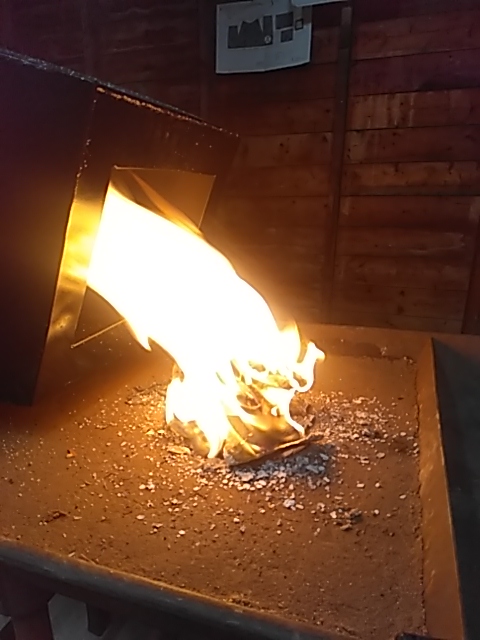
Ok, so I think the hood is the main culprit. You could probably modify it somehow to bring the opening down closer to the fire. Hotter flue gasses, more movement of air up the chimney, stronger draw. However, you might be better off leaving it in one piece and building a new hood. I have a modified super sucker design that works extremely well, but it's not the only good design out there. Basically, you want to bring the fire closer to your hood and make it so the path of least resistance for the smoke is up through it, not around into the room. Even if you did increase the diameter of the pipe, you would have to replace the hood since that opening is 8". Easiest thing first, start with the hood. I also can't tell what's going on with the cap. If it's an improvised setup you want to make sure it's not overly restrictive. I've read some specs on caps, but I can't remember them at the moment. Here's my modified super sucker. If you're keeping the 8" pipe (which you are better off bumping it up to 10") you'll have to further reduce the size of the rectangular opening in front. The cross sectional area of the inlet should be smaller than the cross sectional area of the outlet (chimney).
-
My forge had a half hood on it when I bought it (not from centaur forge). I took it off since the fire would have been so far from the chimney opening that there would have been a long way for the smoke to travel and cool down before it (hopefully) reached the hood. I think it was intended to be used outdoors or in a very open shop space where if not all the smoke was captured it wasn't a big deal. 8" isn't ideal, but with the right setup it can be made to work. If it is the half hood I'm inclined to think that's the biggest factor, but I'll hold out for pictures before I just start making assumptions.
-
Do you have any pictures you could share? Both of the forge/hood setup inside and an exterior shot that gives an idea of the building, the chimney height and its surroundings.
-
What did you do in the shop today?
Frazer replied to Mark Ling's topic in Blacksmithing, General Discussion
Tongs can be tricky; you'll get the hang of it. I switch between 2 and 3 pounds, but my 3# rounding hammer is my "go-to". I use a 4# hammer for punching, but not for general forging. -
What did you do in the shop today?
Frazer replied to Mark Ling's topic in Blacksmithing, General Discussion
Are you sure it was 8" long? That works out to a starting weight of just over 5#s. Jennifer, beautiful as always. -
What did you do in the shop today?
Frazer replied to Mark Ling's topic in Blacksmithing, General Discussion
Start small with a hammer. My first one was under a half a pound, but that's pretty light to do much with. 1# is still manageable and will be more useful. Then you work your way up from there in weights. So far I'm maxed out at 2# since that's all I'm really willing to attempt work by myself by hand. I get my 4140 stock as drops from a steel supply near me. Sometimes you can find hammer blanks for a couple bucks at garage sales. Some of the blanks even have the eye punched for you! -
What did you do in the shop today?
Frazer replied to Mark Ling's topic in Blacksmithing, General Discussion
Dax, that will happen sometimes. Heat them up, put the boss in a vise, grab a twisting wrench and twist the jaw back where it's supposed to be. EZPZ. Nice chain billy! I finished my first chain project recently. I might have gotten a little carried away. I ended up with 47 links, 5 rings, a hook and a toggle. Your welds look much nicer than some of mine. Those are also some very nice tongs. As it gets longer and longer it becomes quite unwieldy so being able to hold a link firmly (and keep the others out of the way) becomes more and more important. It quickly got to the point were I had my anvil between me and the forge so I could work on a link while the rest of the chain was laying on the forge pan. What size stock are you using?
-
I could see them holding lots of different things. Various sizes of rings immediately come to mind. I adjusted and old pair of flat jaws recently to something similar to those. Not quite as nice, but similar. Nice score!
-
As far as the weight that looks like 1 0 12 = 112 + 0 + 12 = 124# (give or take a couple pounds), it's small enough for the bathroom scale so if you have one one you can confirm there. I'm not an anvil expert, but it might be Hadfield & Sanderson, made in Sheffield, England. Someone else might know more.