Frank Turley
Members
-
Joined
-
Last visited
Everything posted by Frank Turley
-
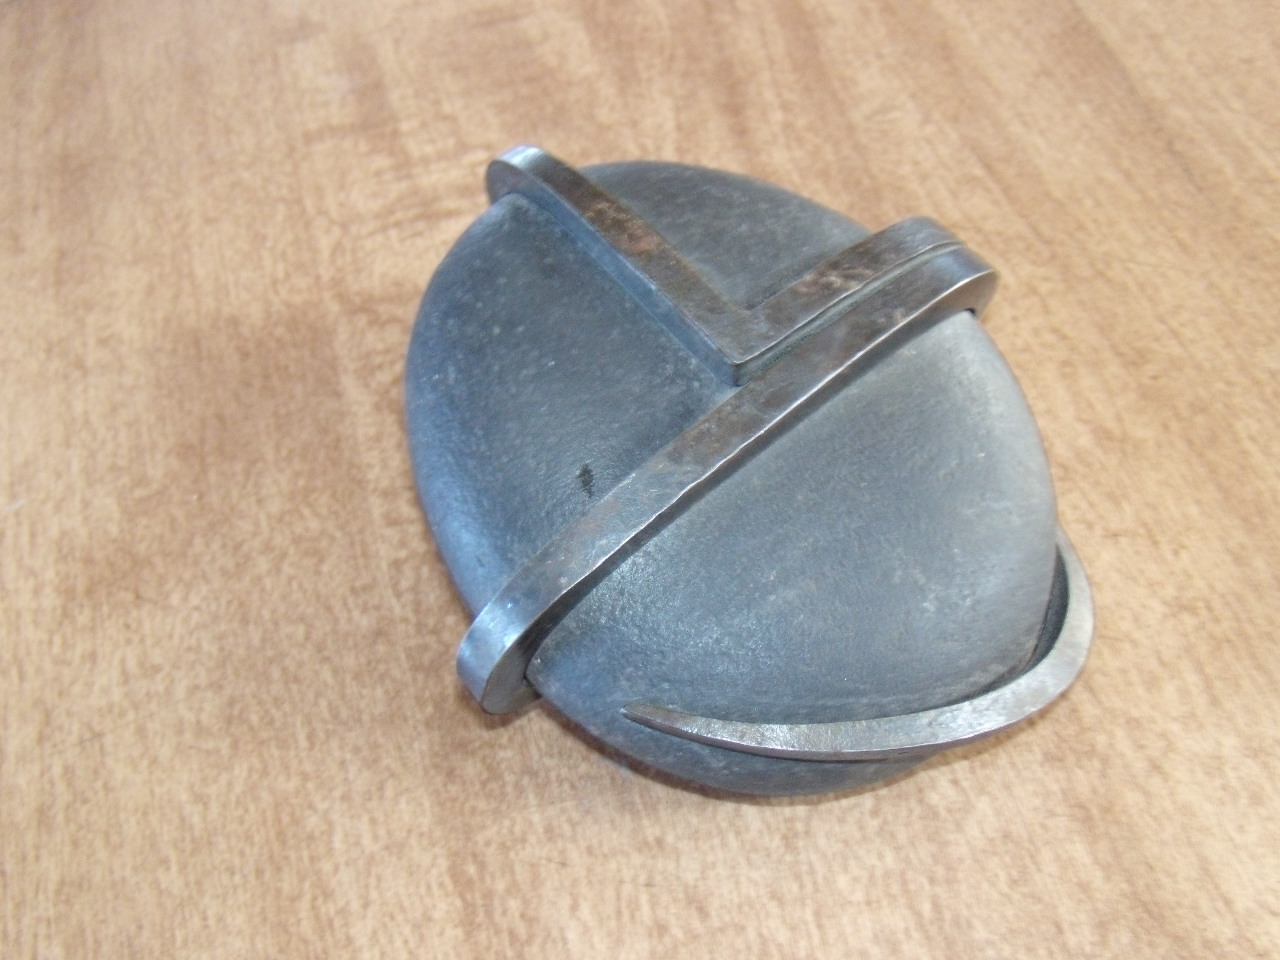
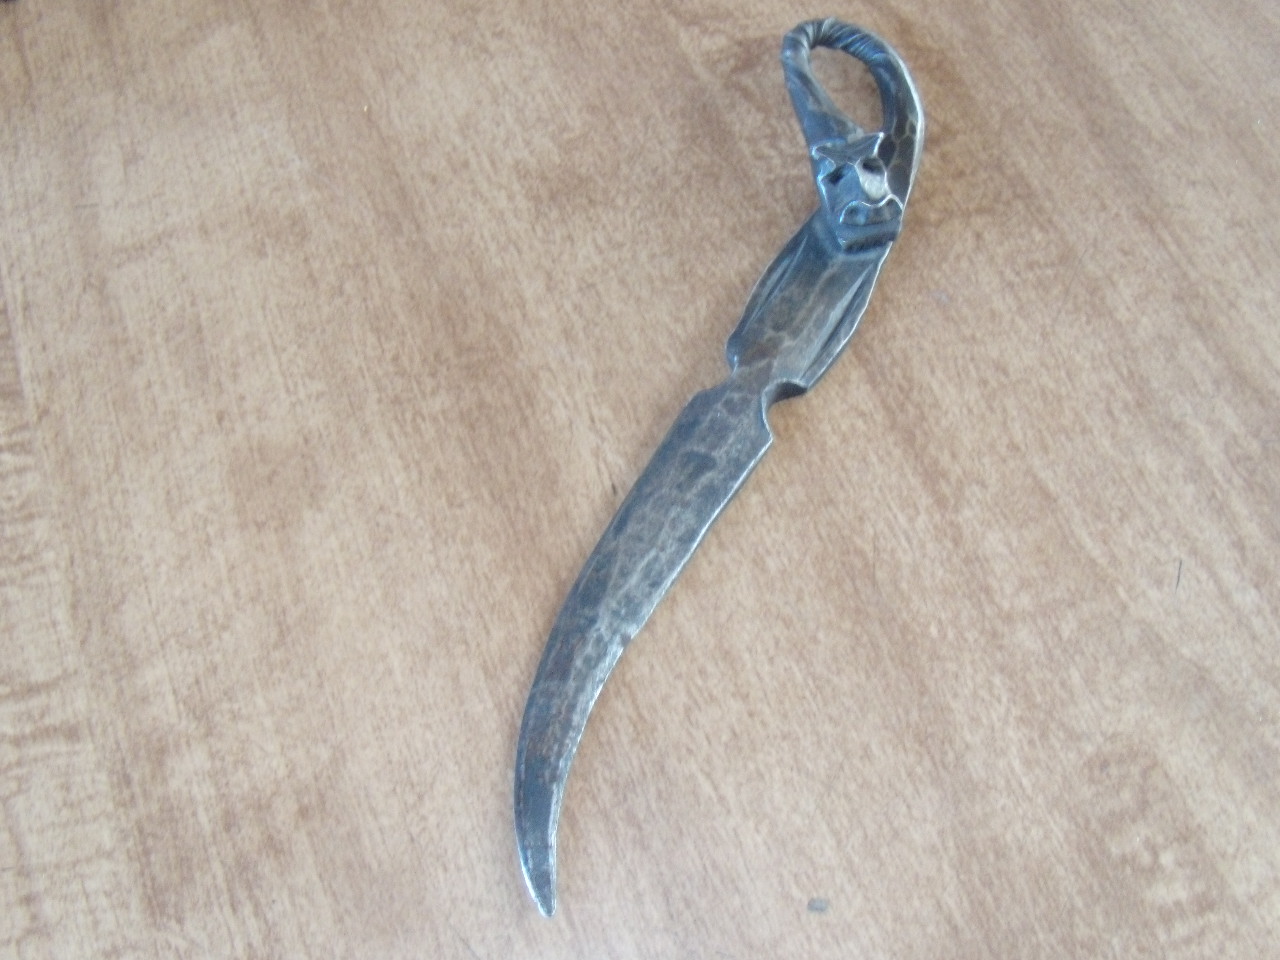
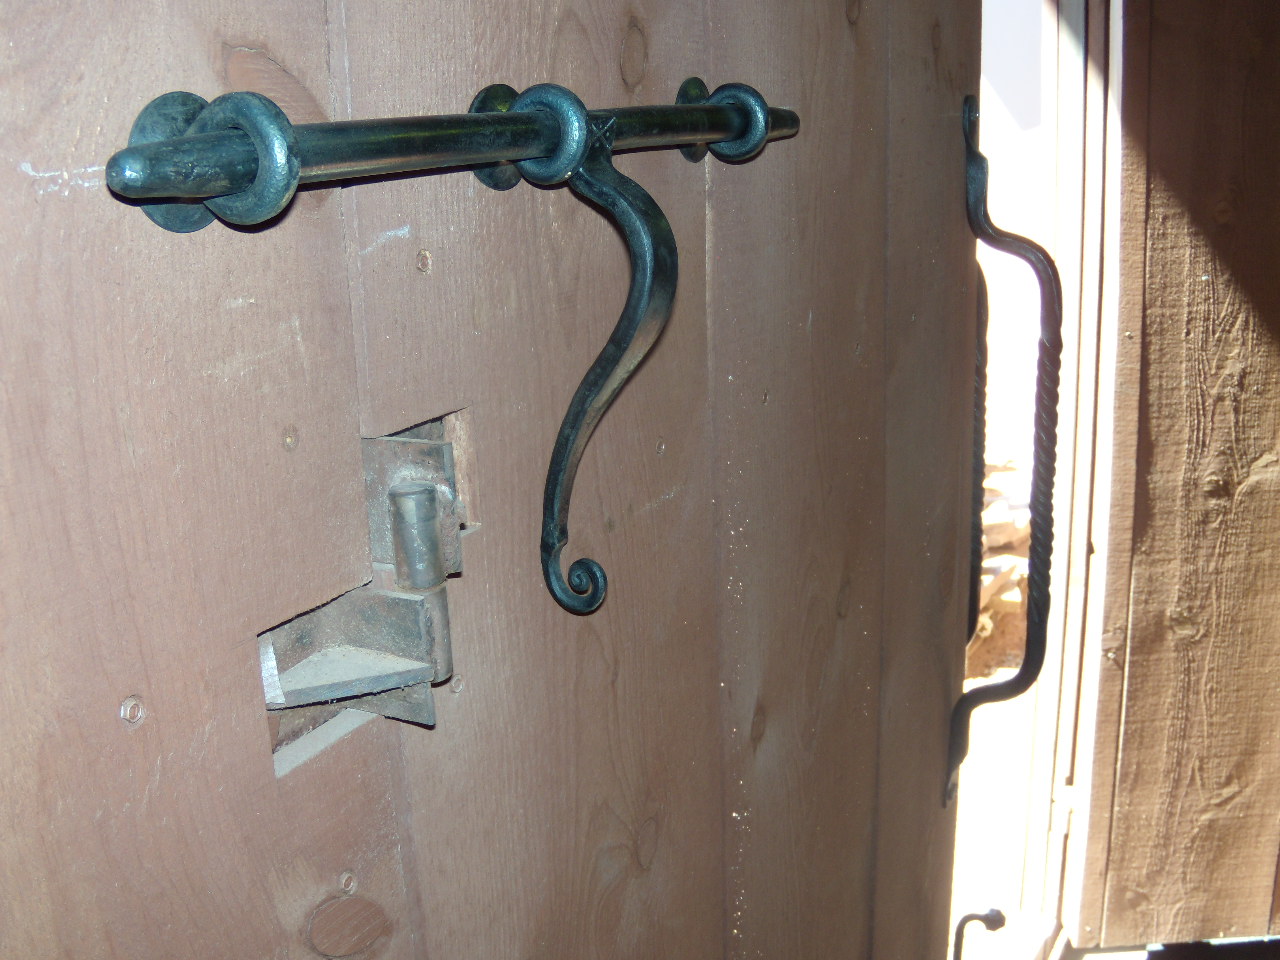
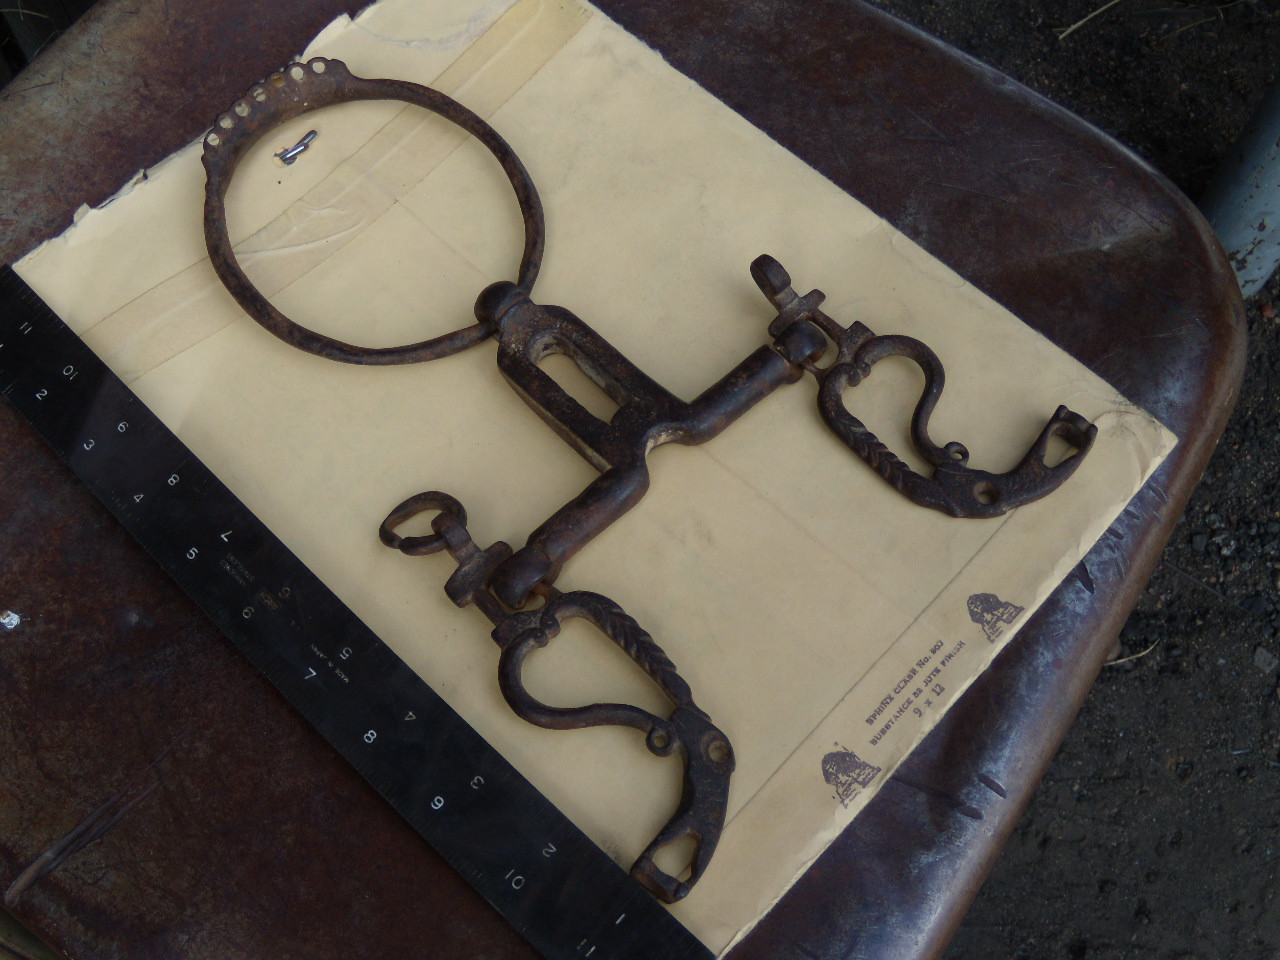
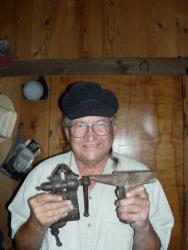
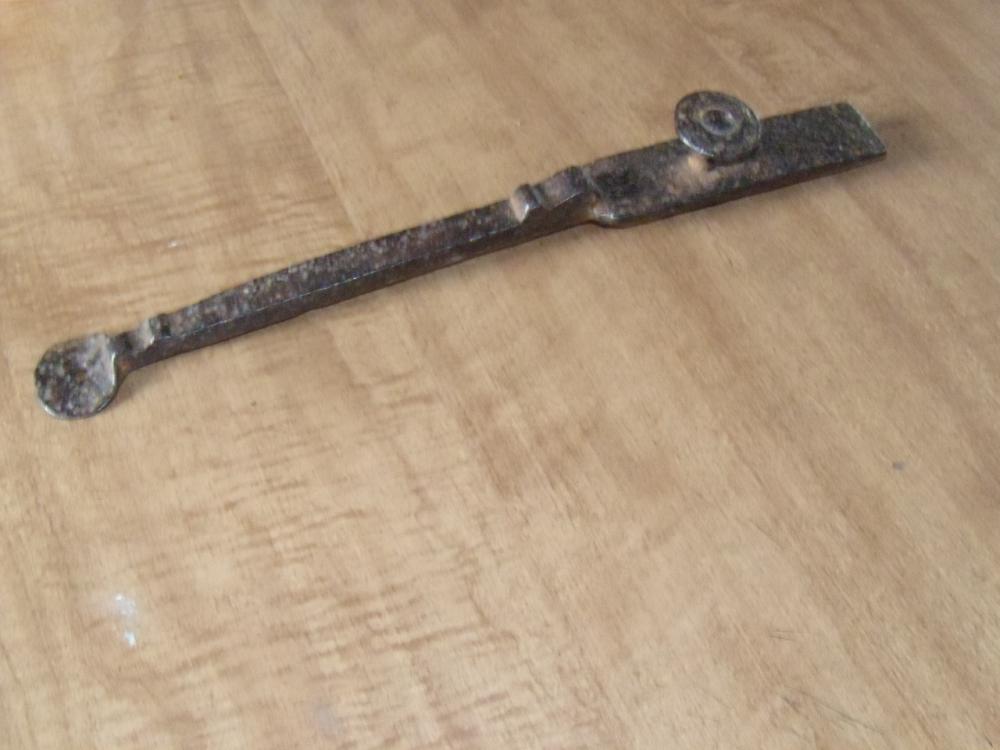
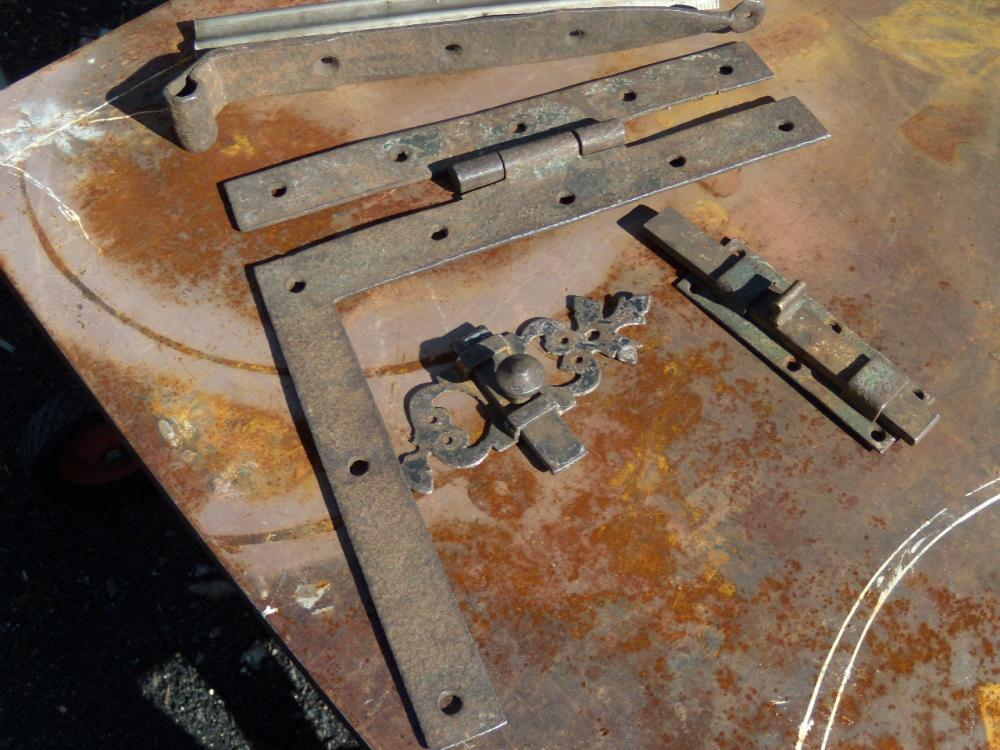
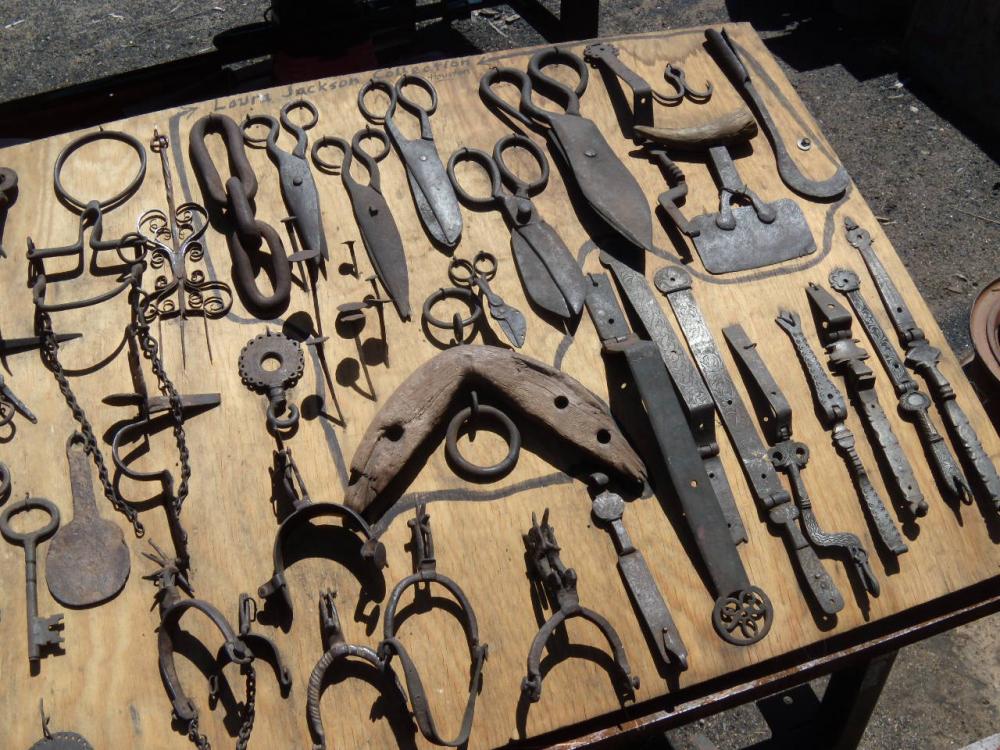
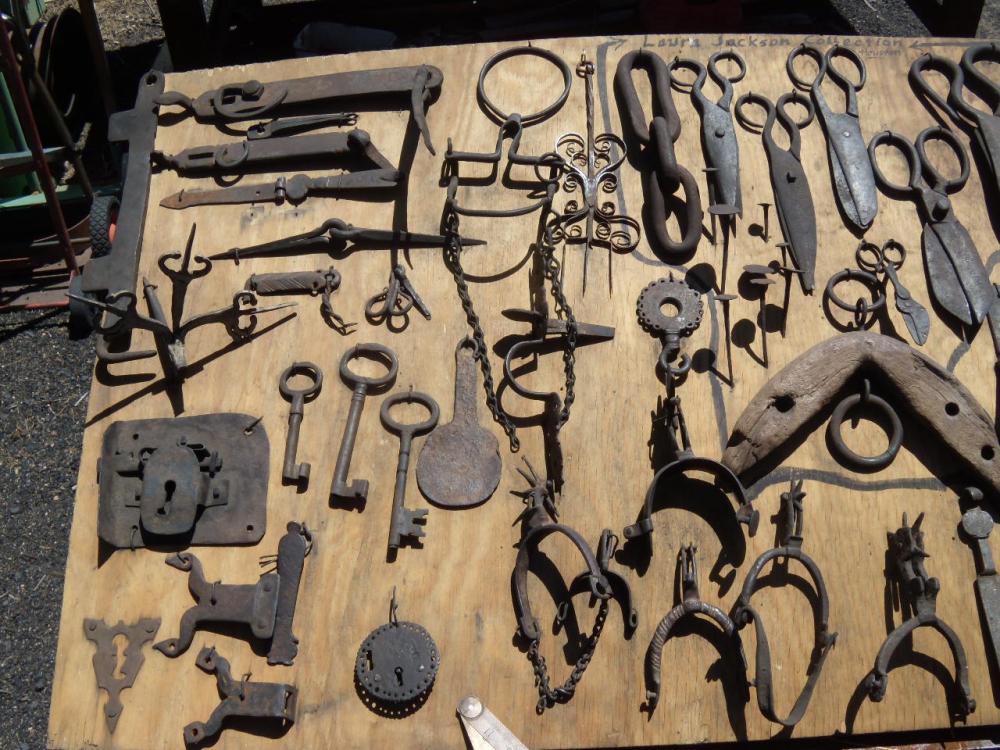
A few more pictures..... iron wrapped stone; Doug Wilson. Pincer tong jaws. Sam Yellin letter opener. Old French latch bar. Shutter strap hinge with purposeful bend,H-L hinge,and bolts from New Orleans.

-
Mathematics can have a number of definitions, even to the point of bordering on the ethereal. Los Alamos is not too far from me, me being in Santa Fe. Los Alamos is full of PhD's, and I had one as a student who was a professional mathematician. In that particular class, I went to the chalk board and was working on diameter and circumference: Pi times the mean diameter equaling circumference. I said that even blacksmiths needed to do some math. My student piped up and said, "Frank, that's not math; that's arithmetic." I kind of knew what he was inferring, and I asked him to elaborate. He told me that he could not explain it very well, but that professional mathematicians get so embroiled in some of the concepts, that they sometimes just have to go fishing (literally).
-
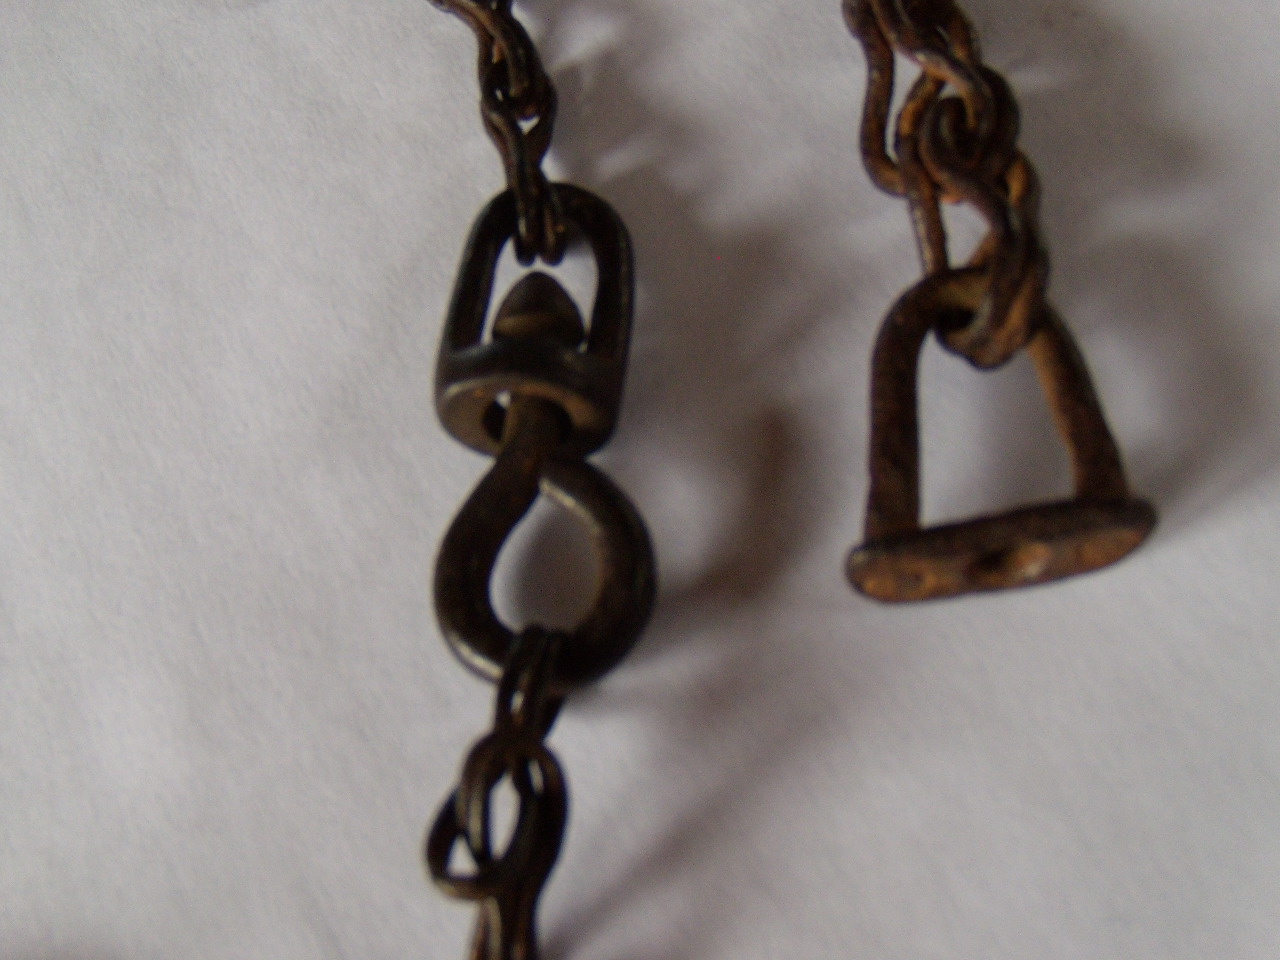
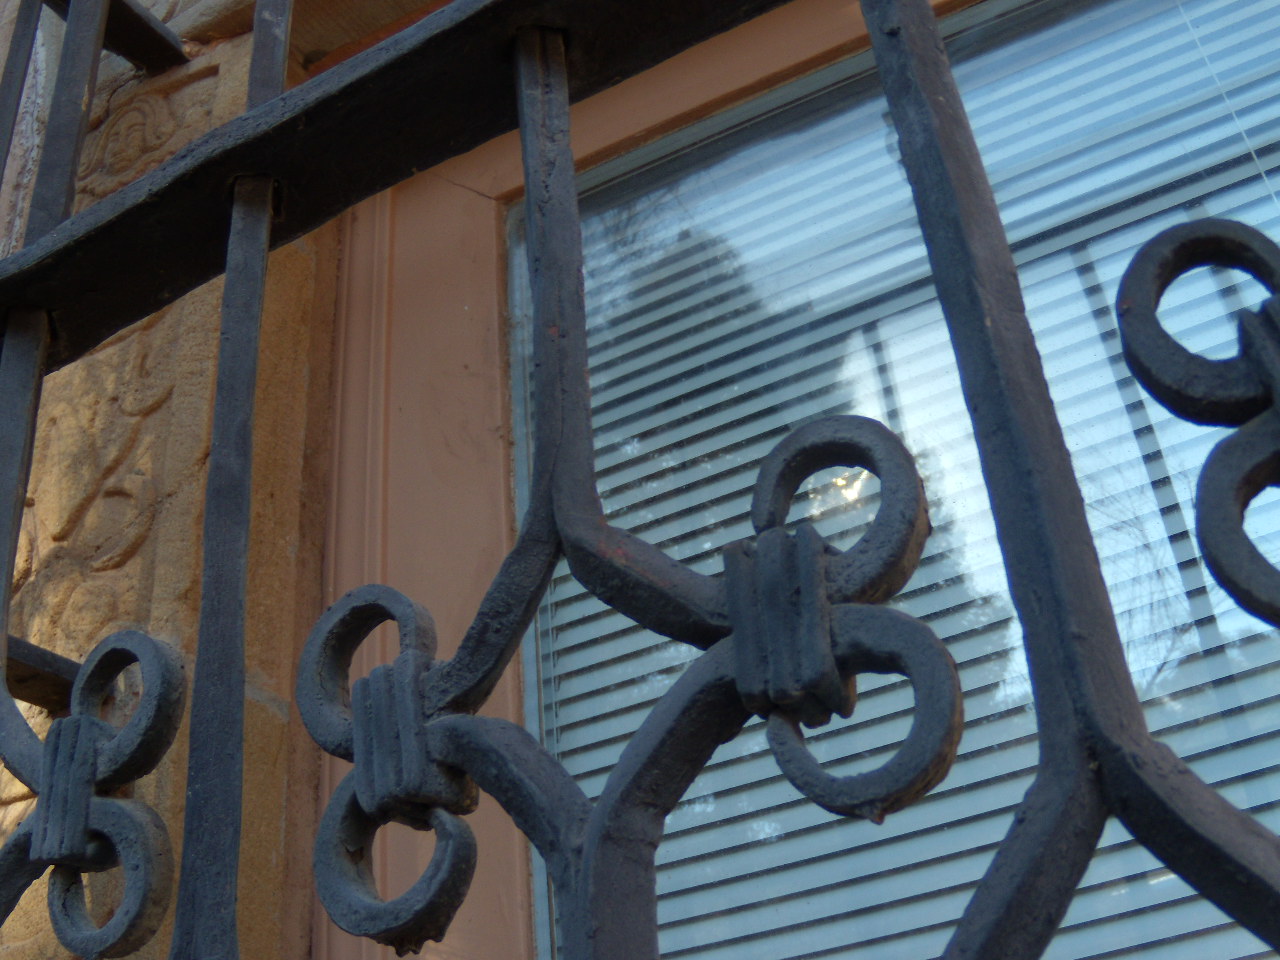
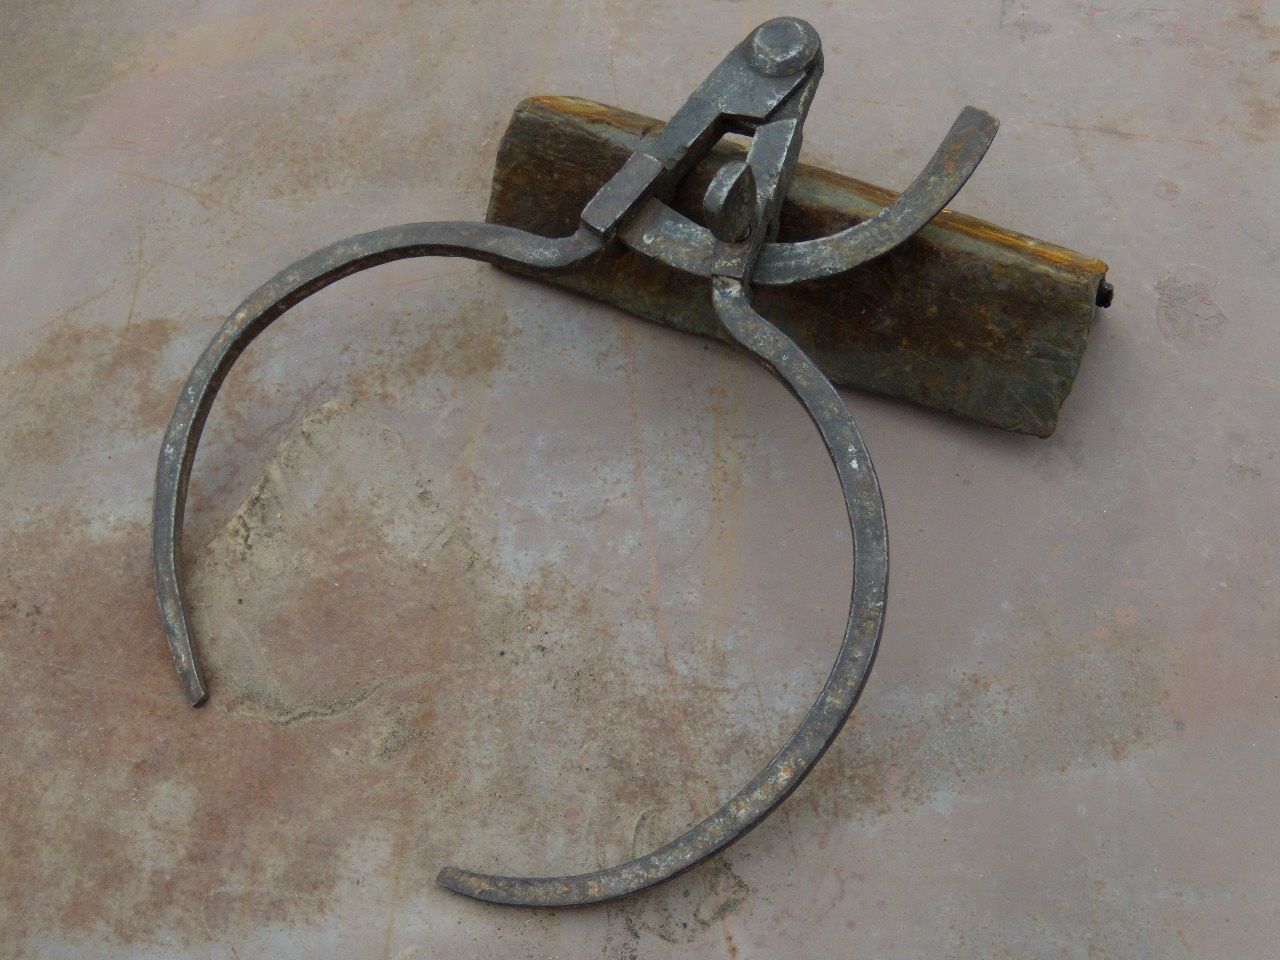
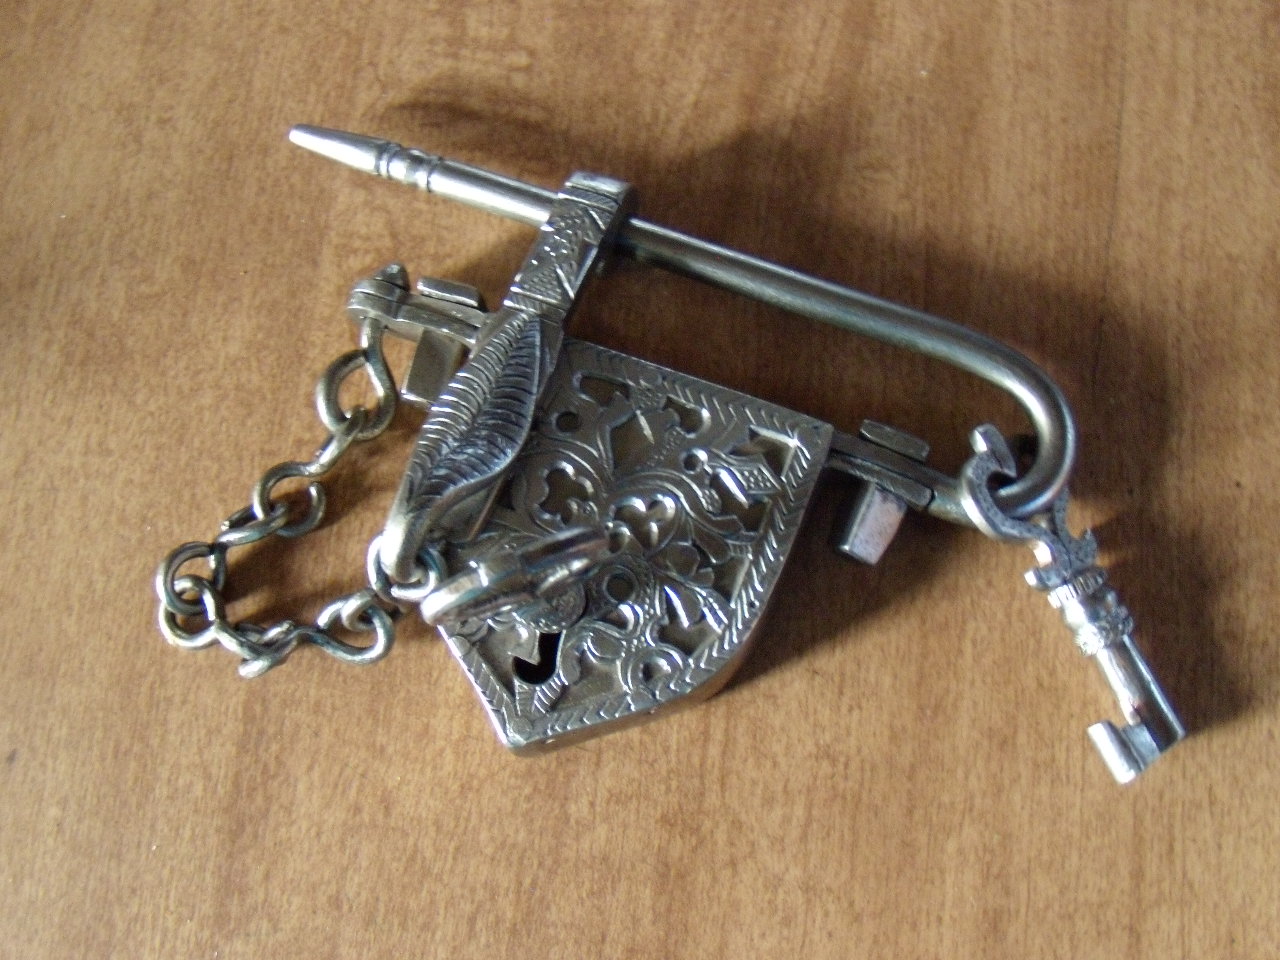
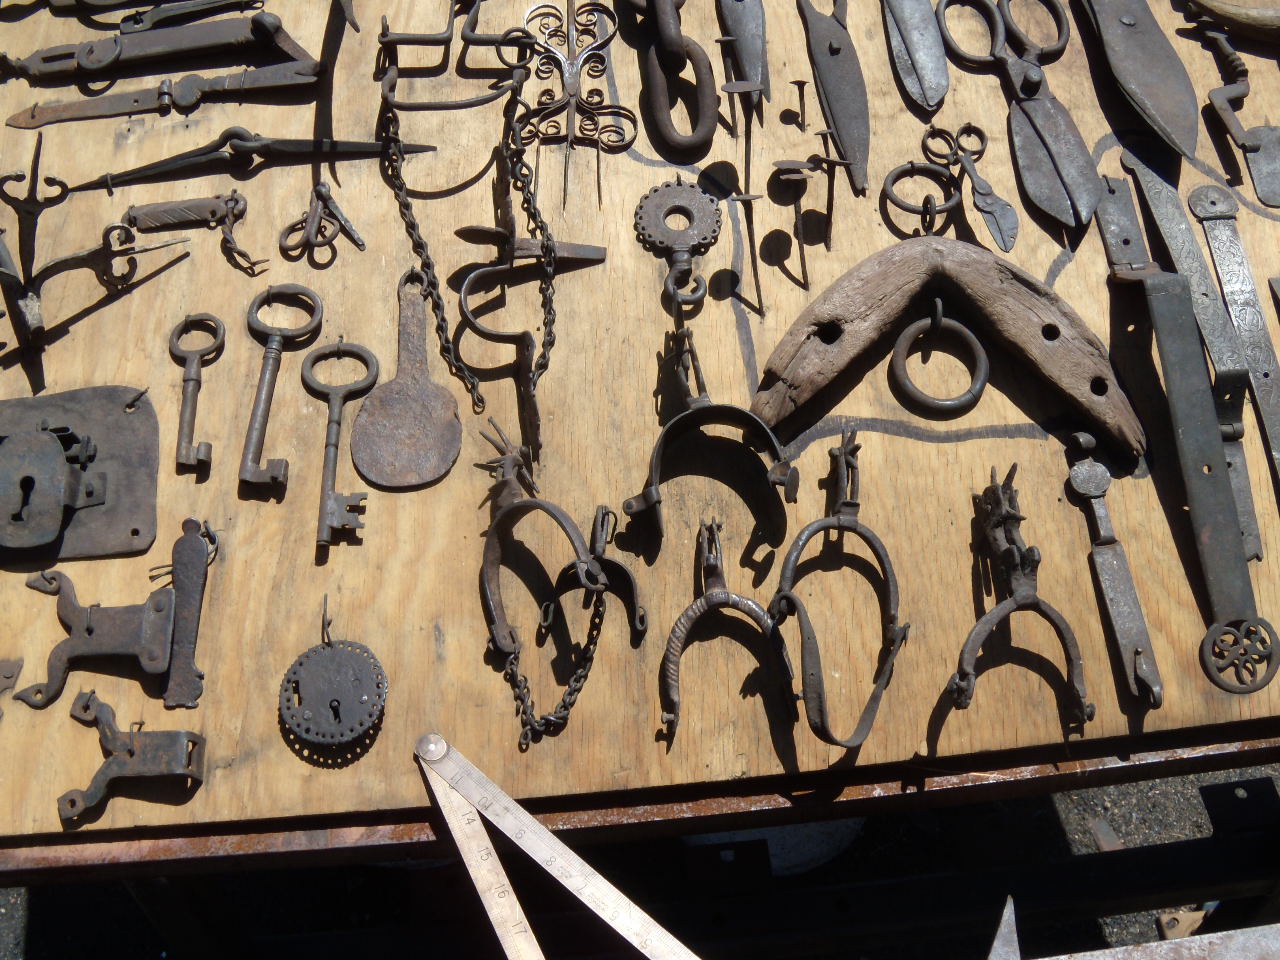
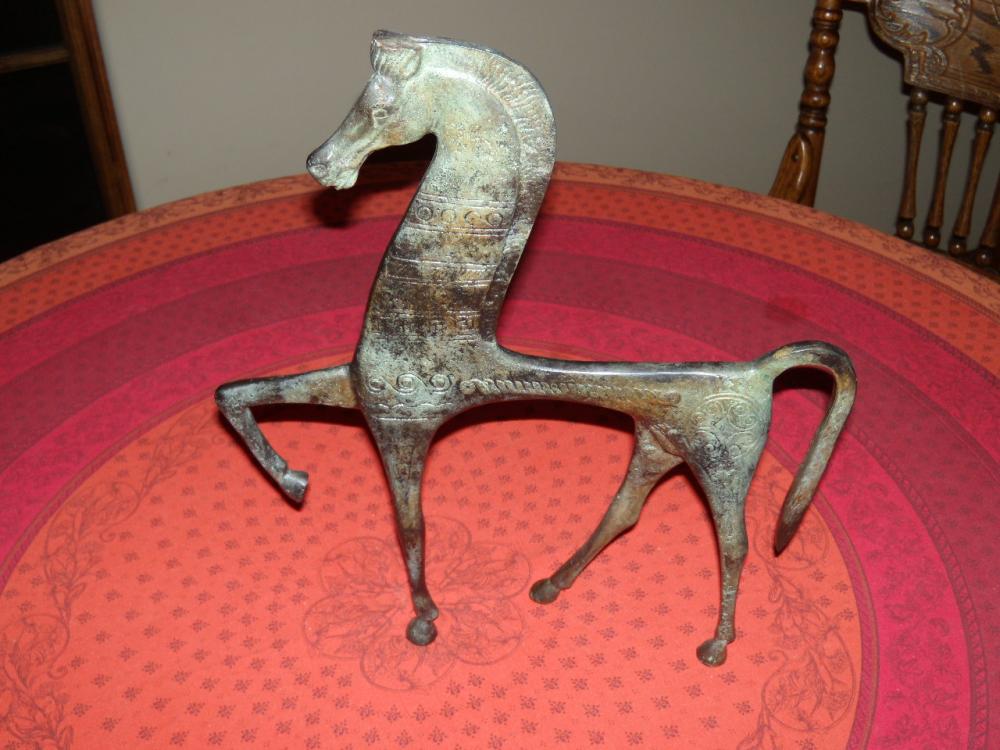
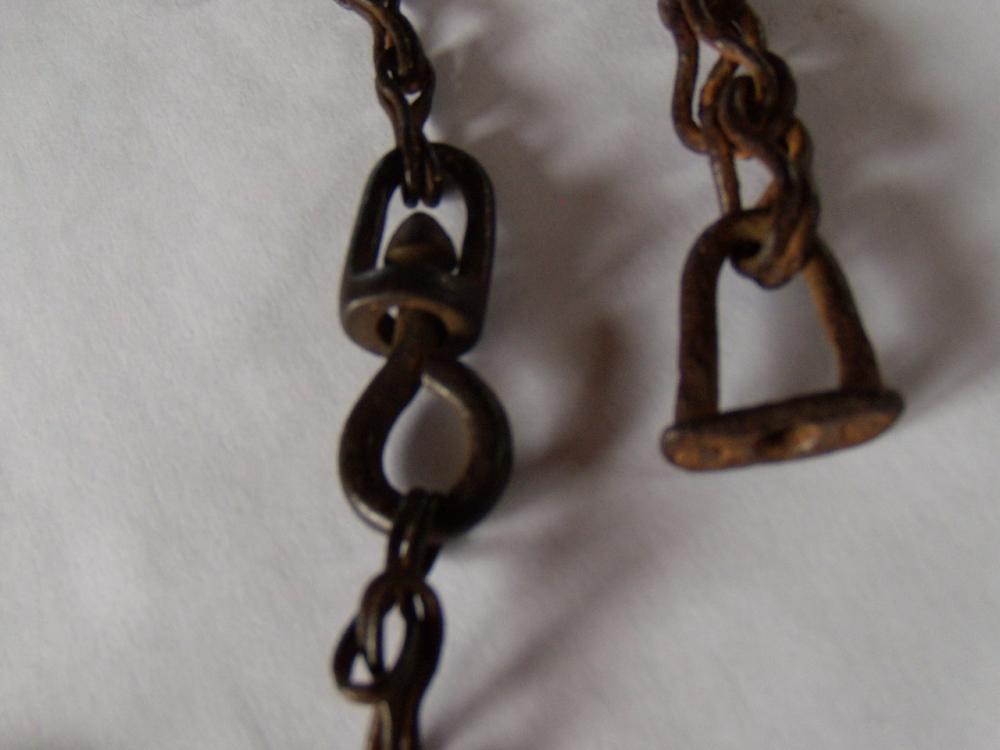
left to right; top to bottom. Turley made bolt. Cast horse, attenuated shape works! Rein chain swivels. Old Mexican grille element. Hand forged caliper. Padlock by Manuel Guerra of Cuenca, Ecuador.


-
The Golondrinas Museum near Santa Fe now has this collection that I put together over the years, but I wanted to share some of the items. The little wooden "yoke" came out of Texas; haven't figured it out yet.

-
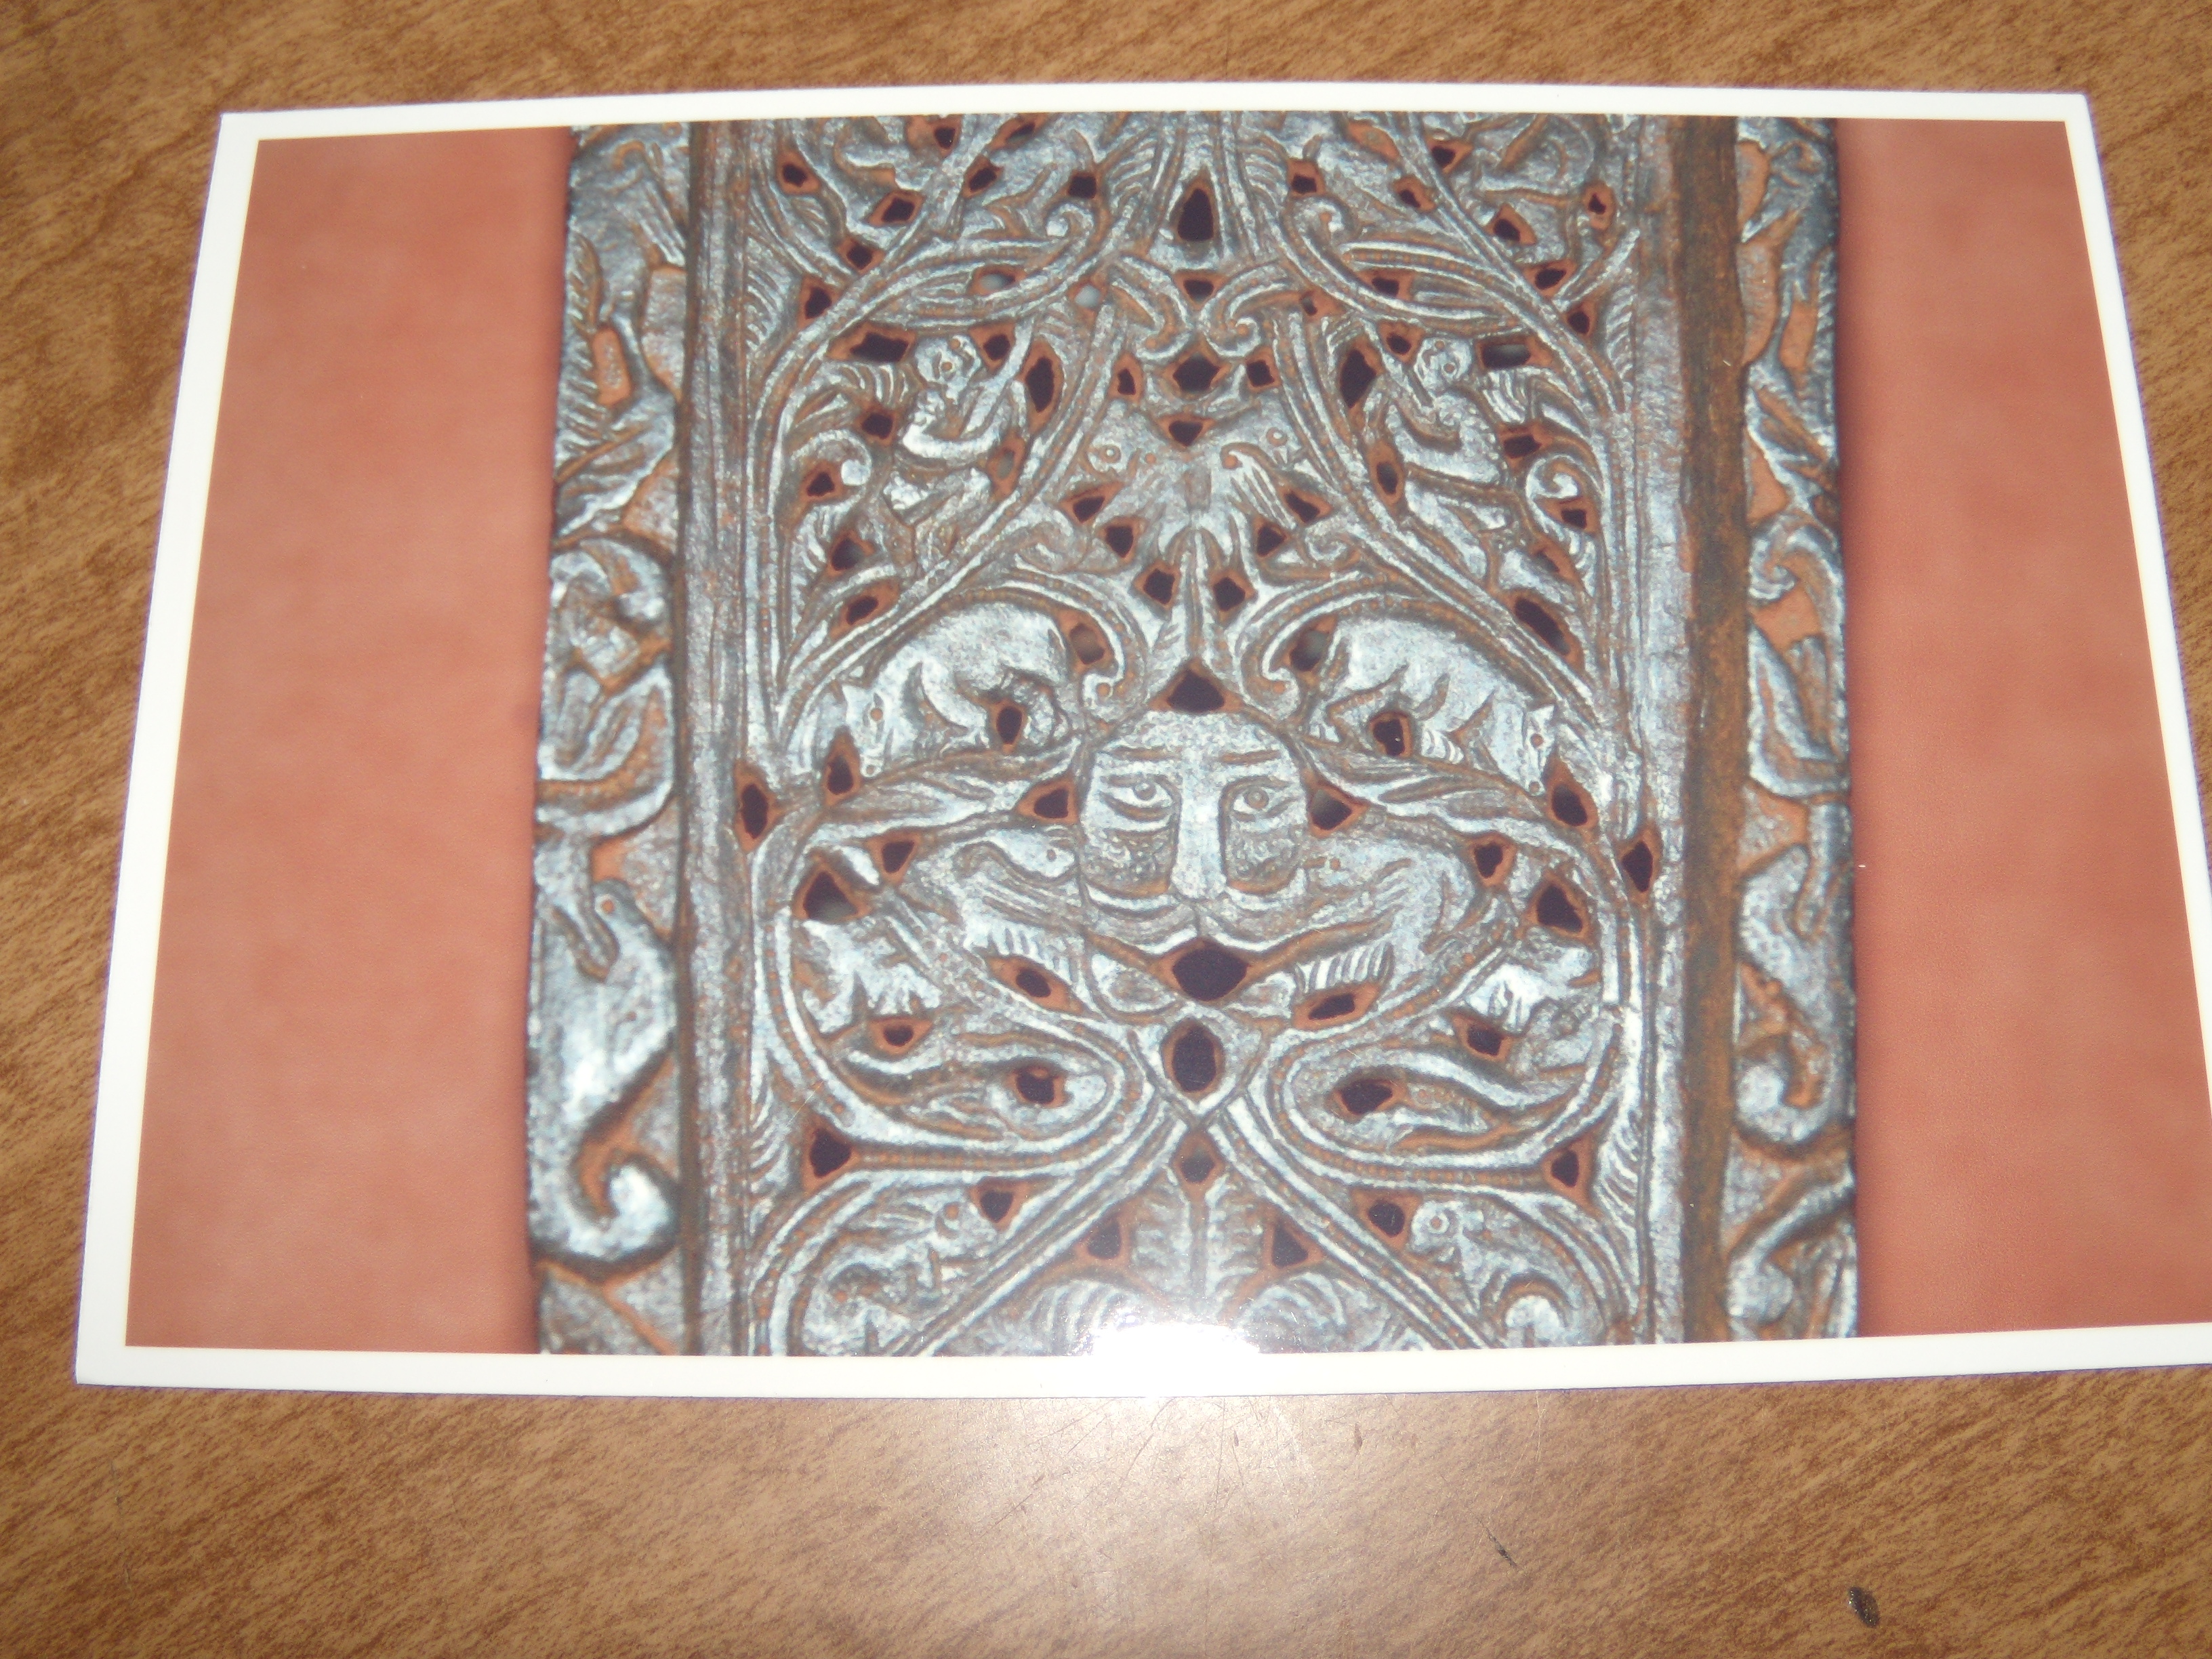
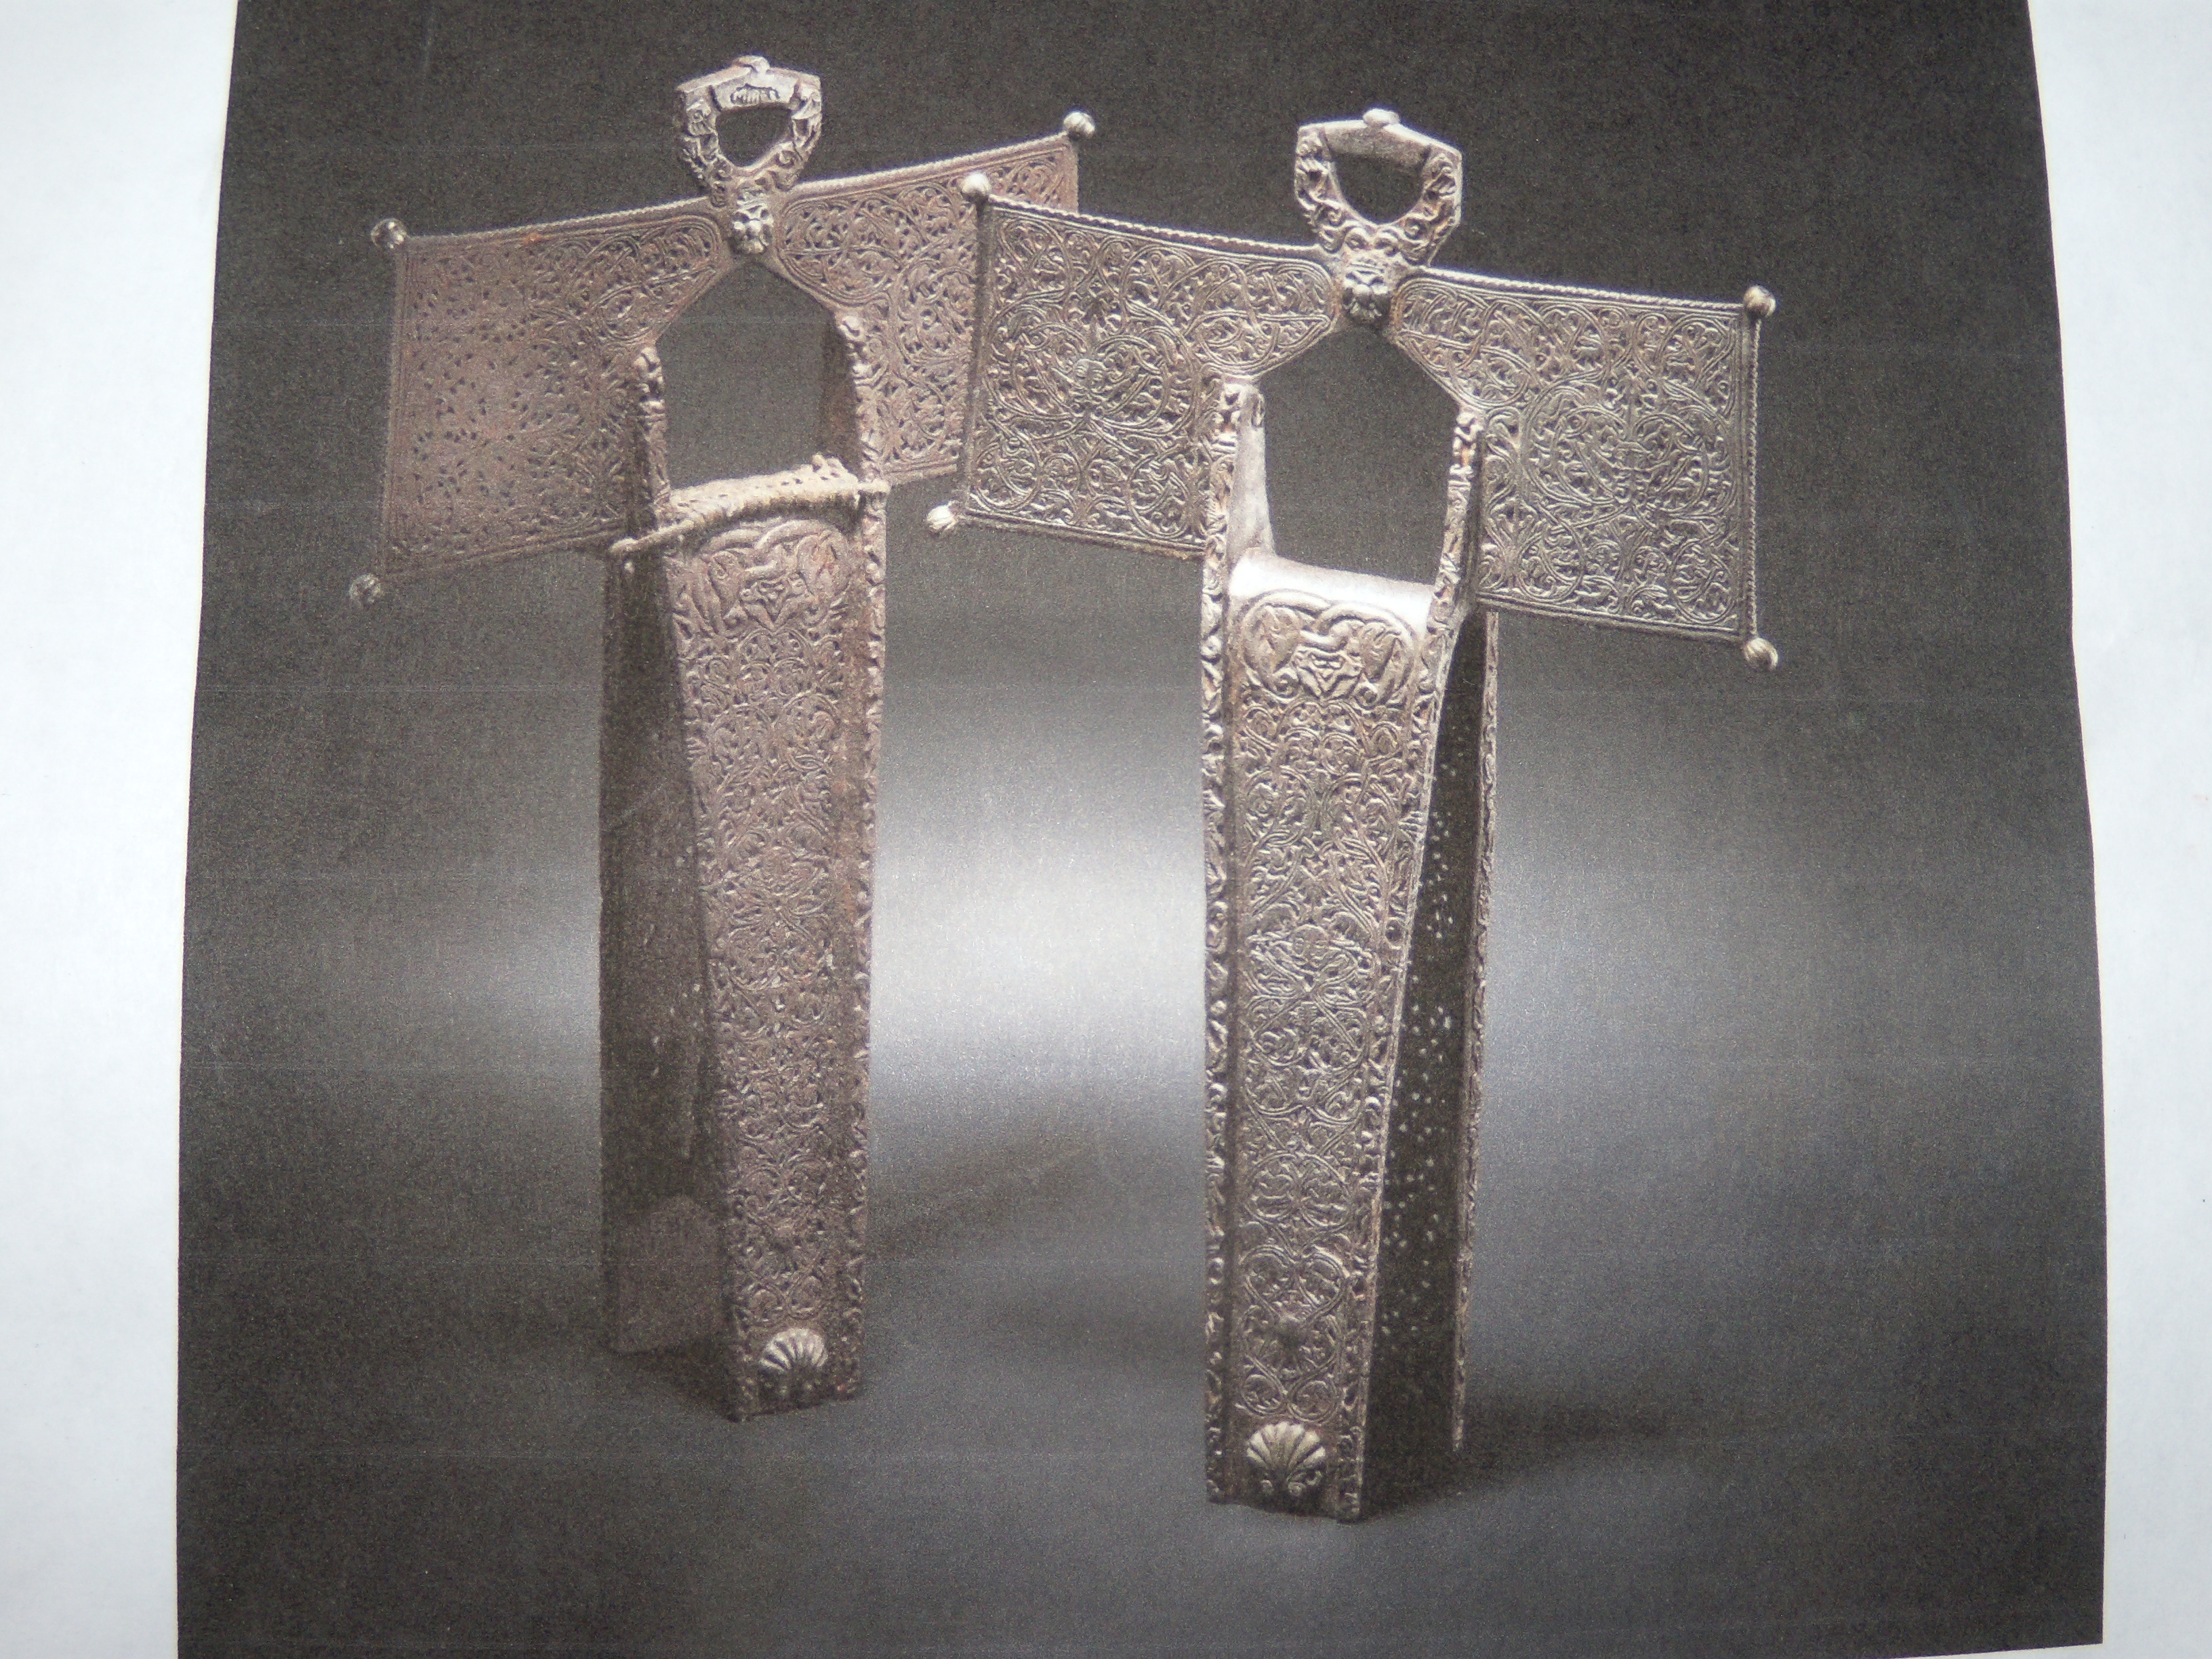
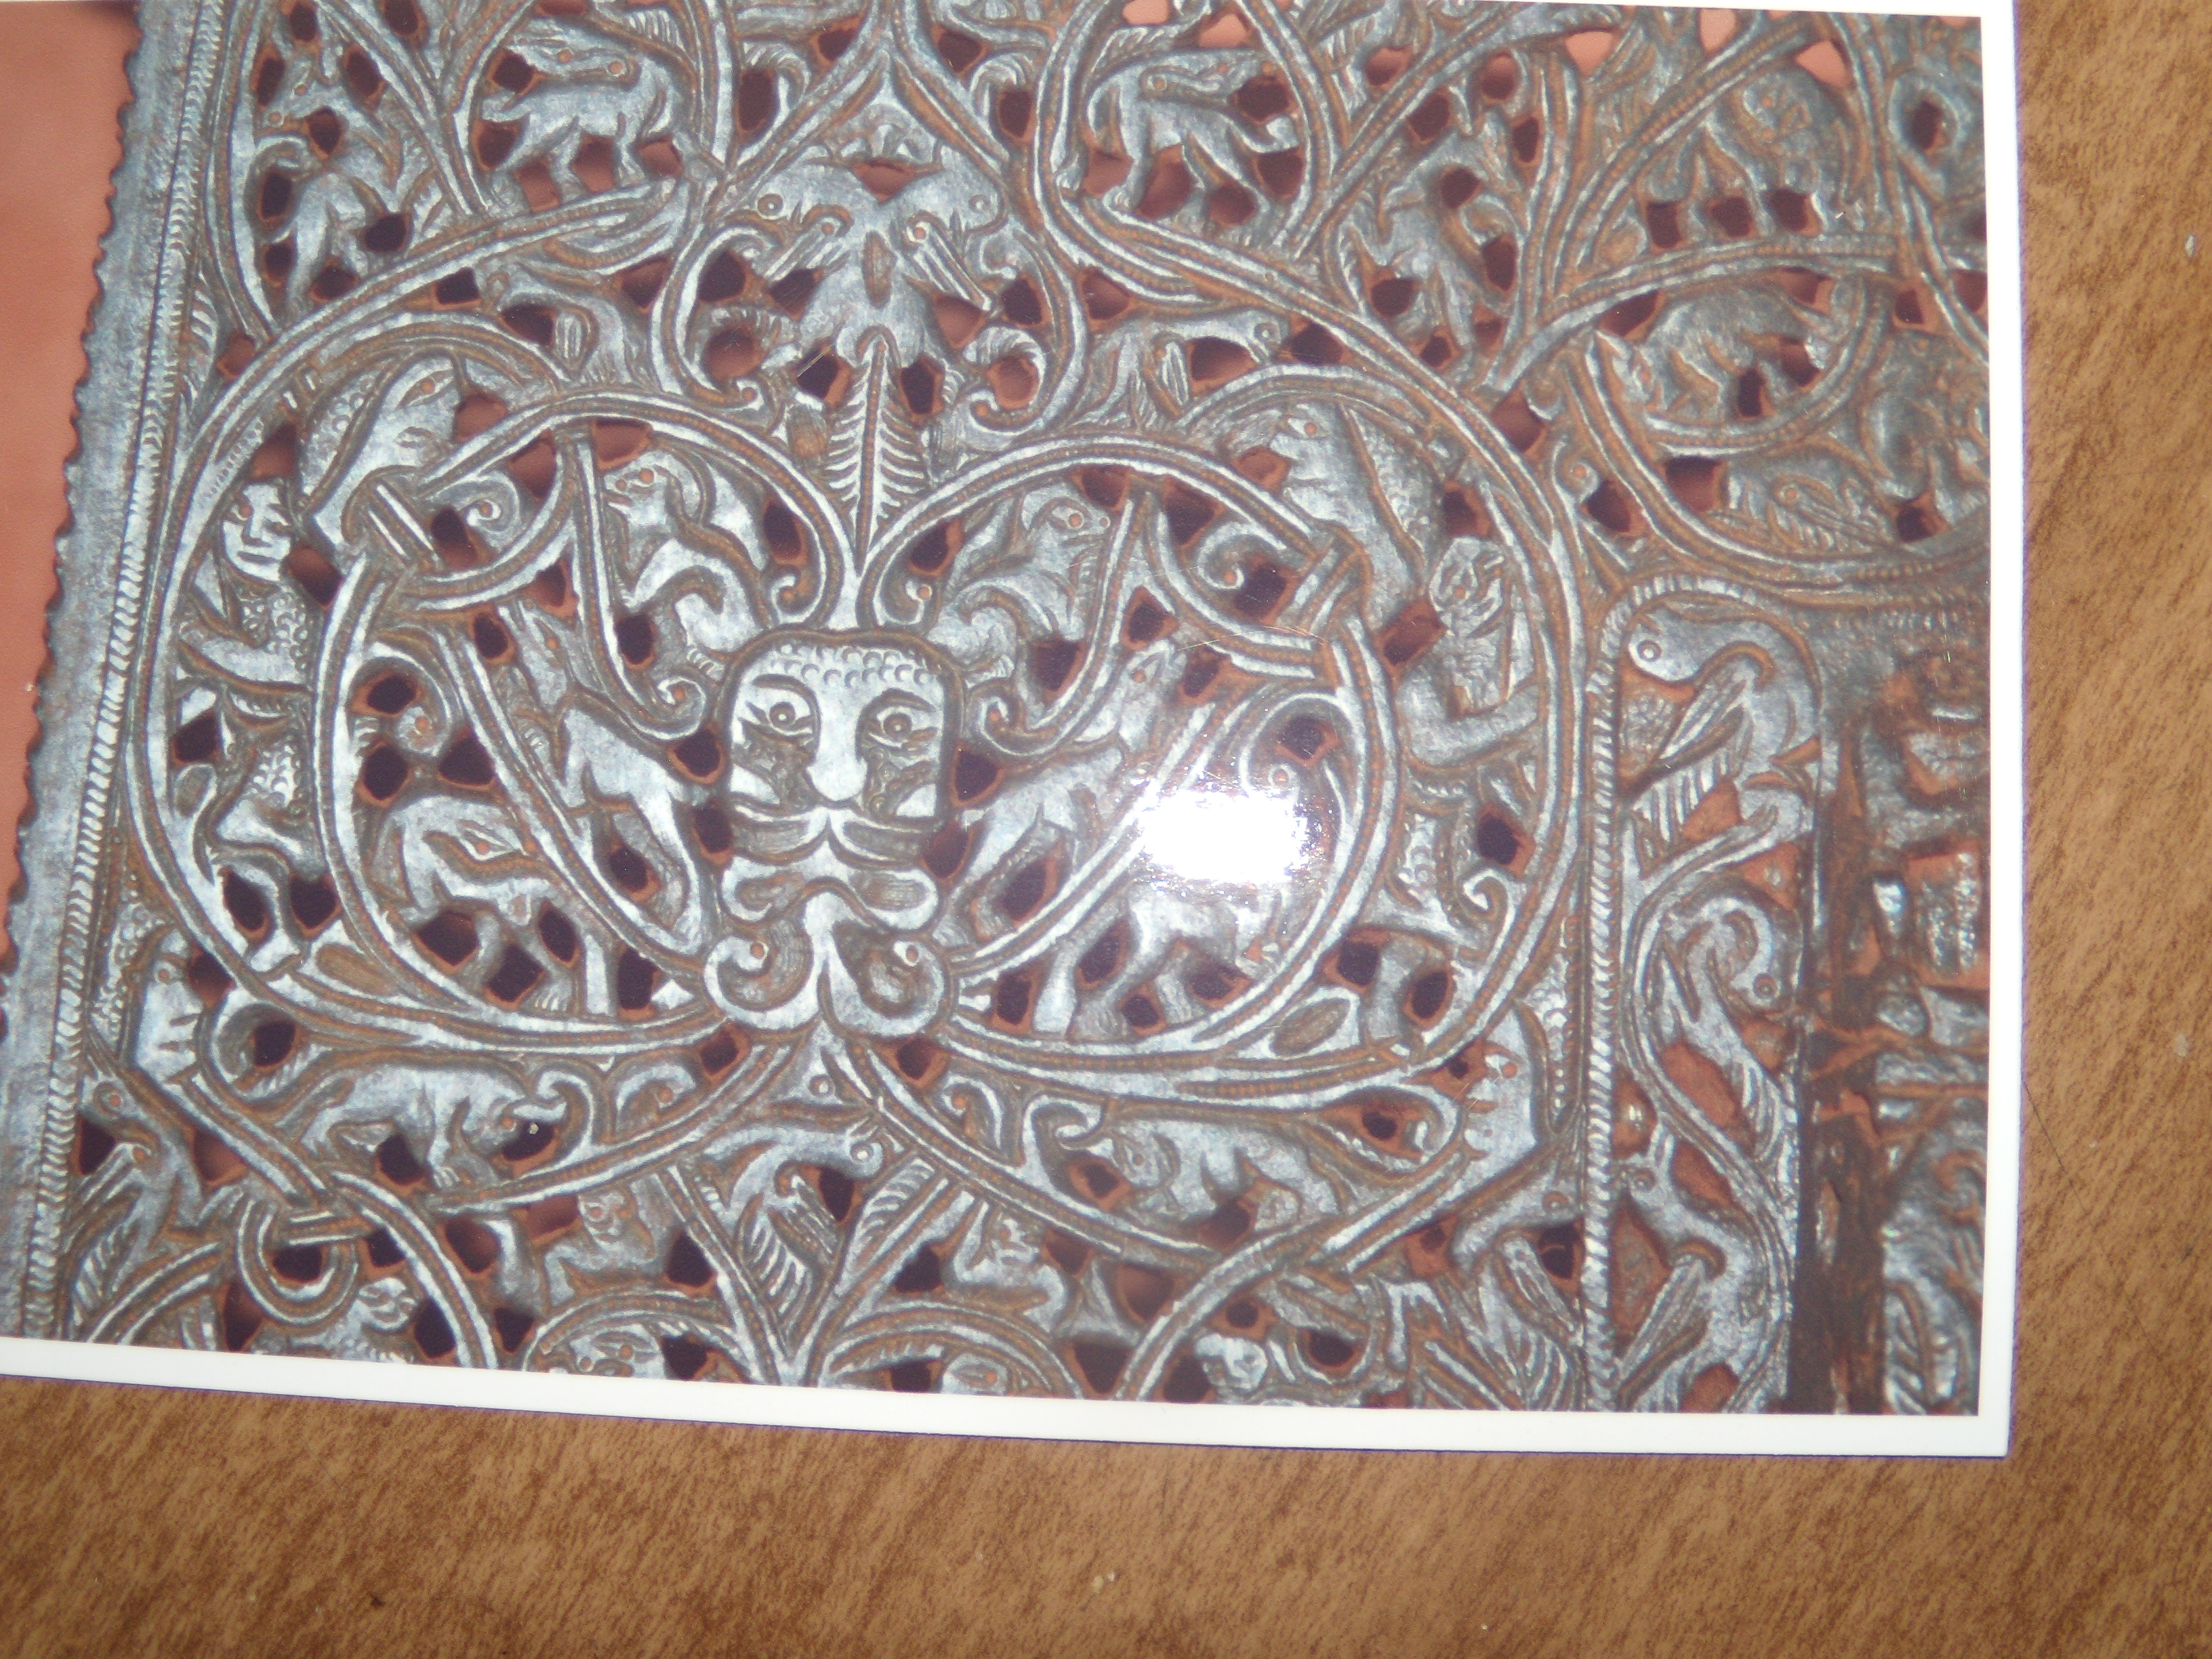
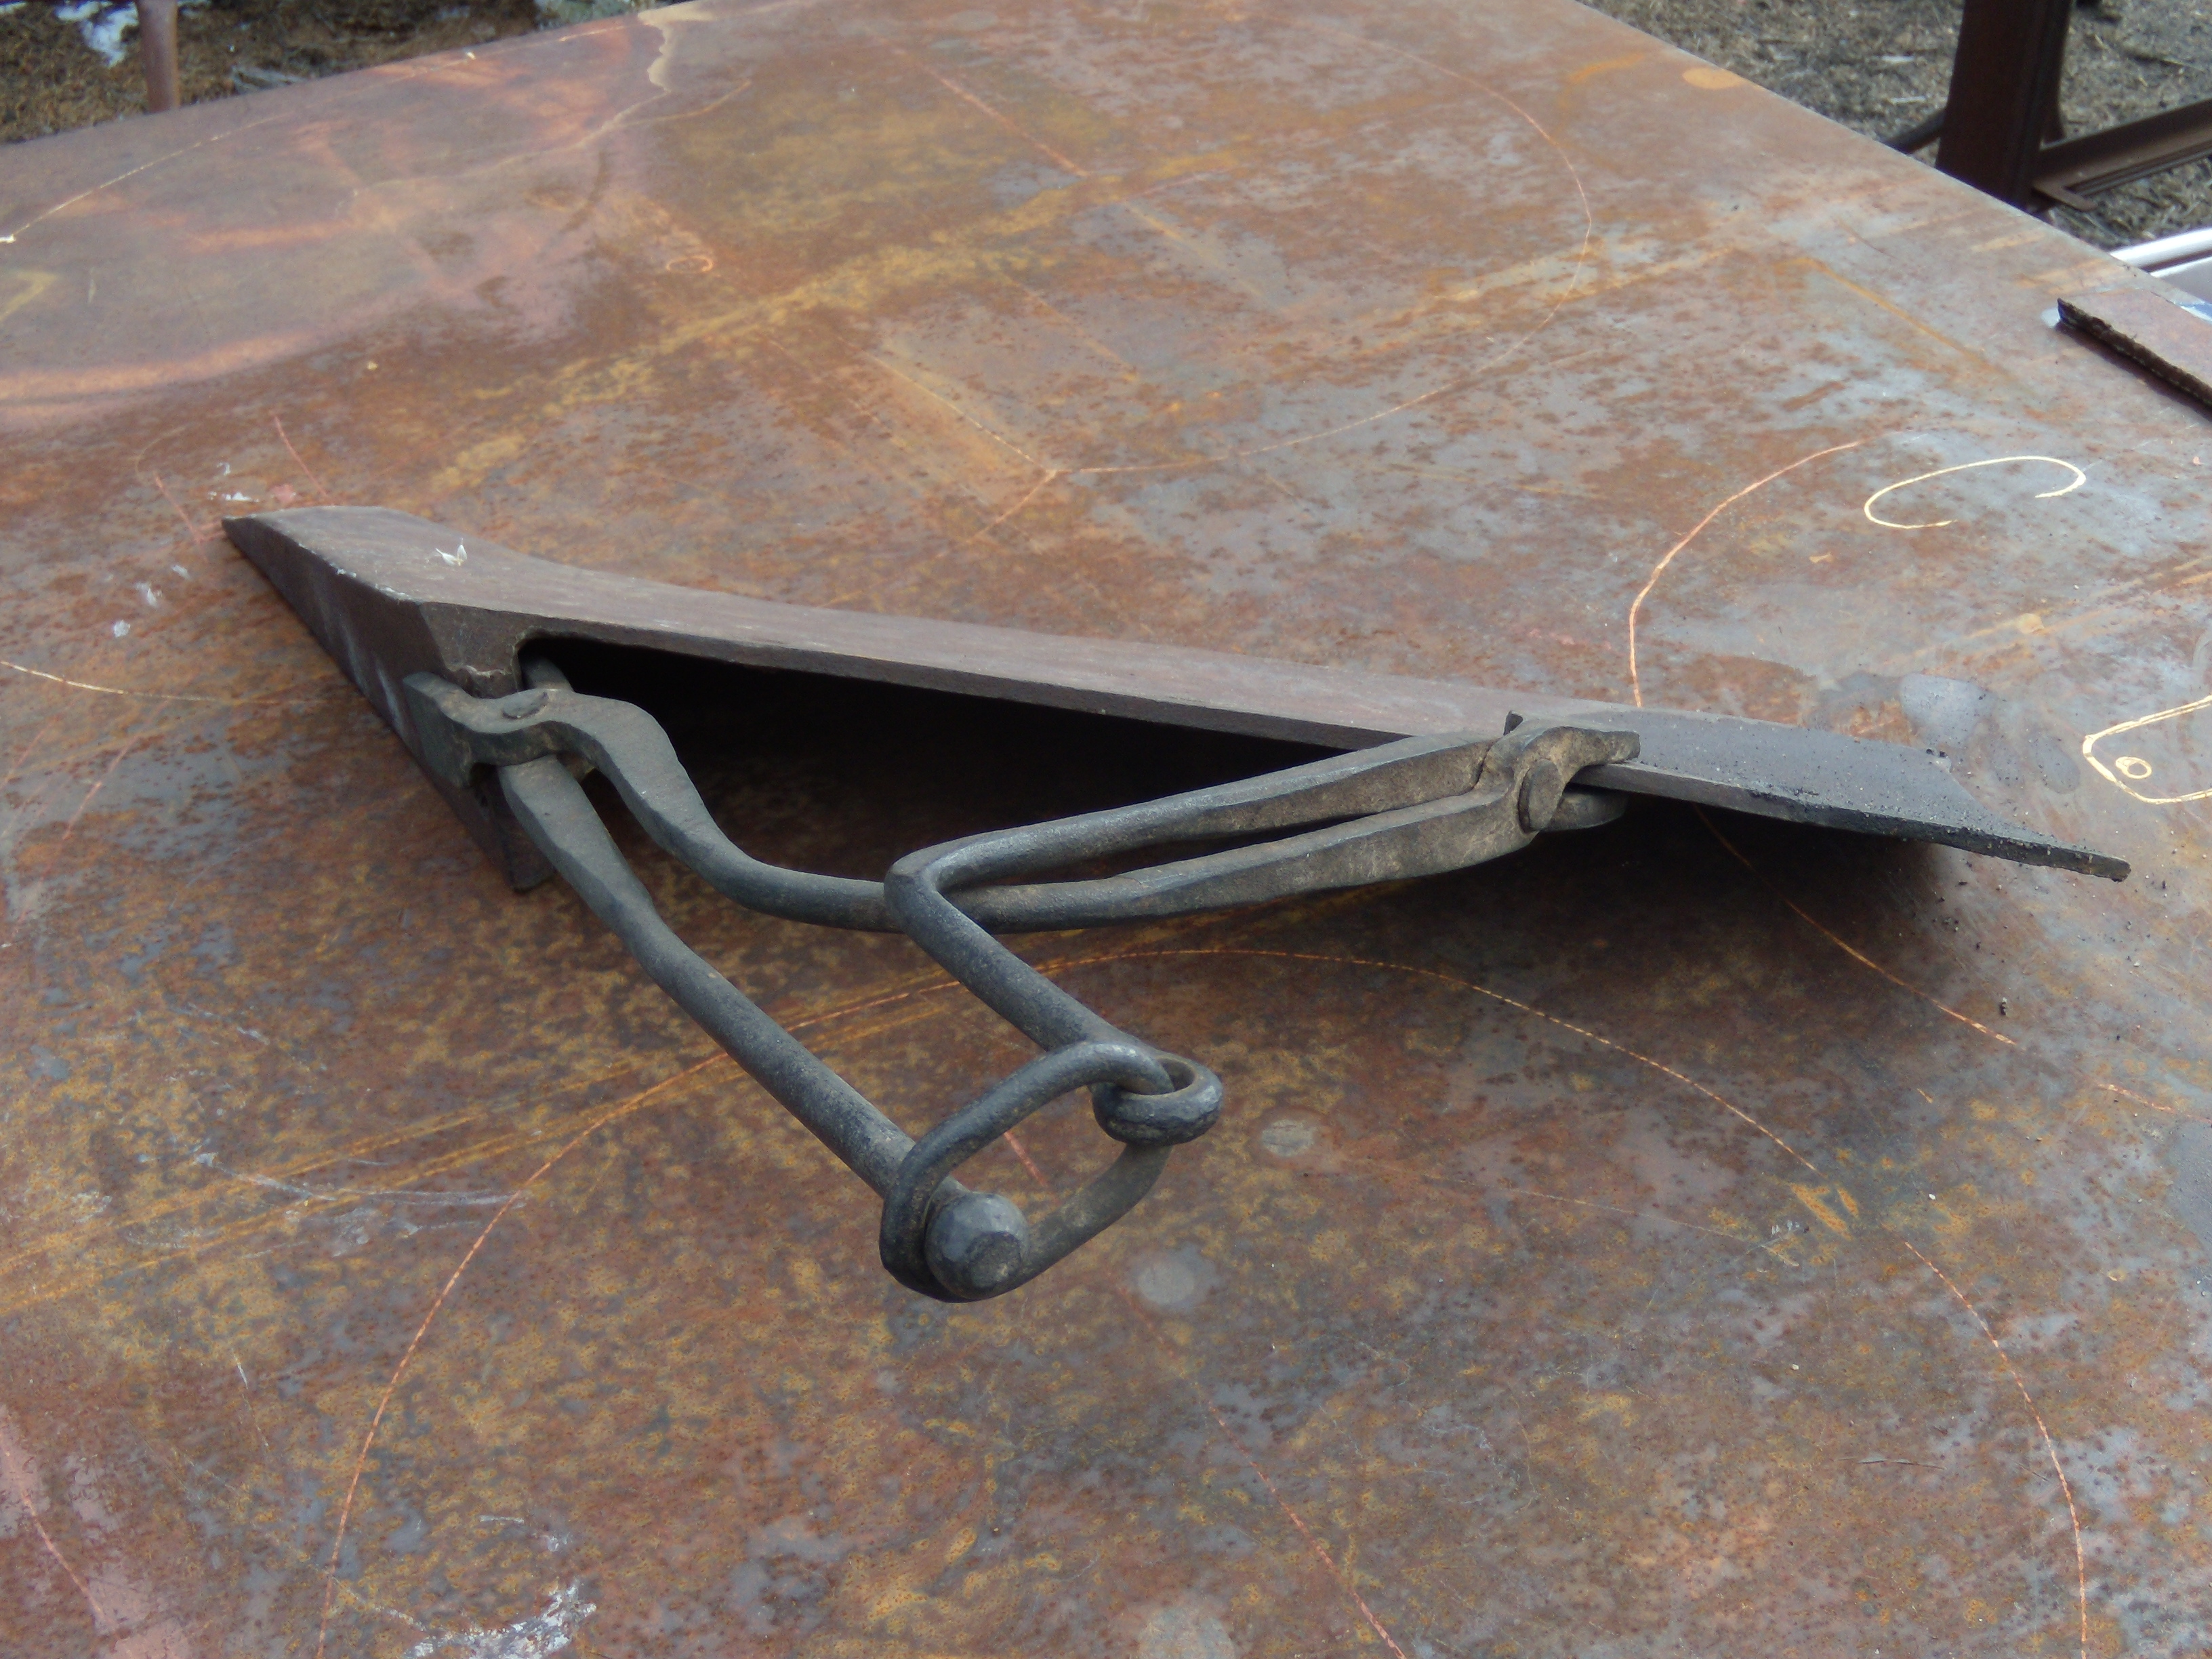
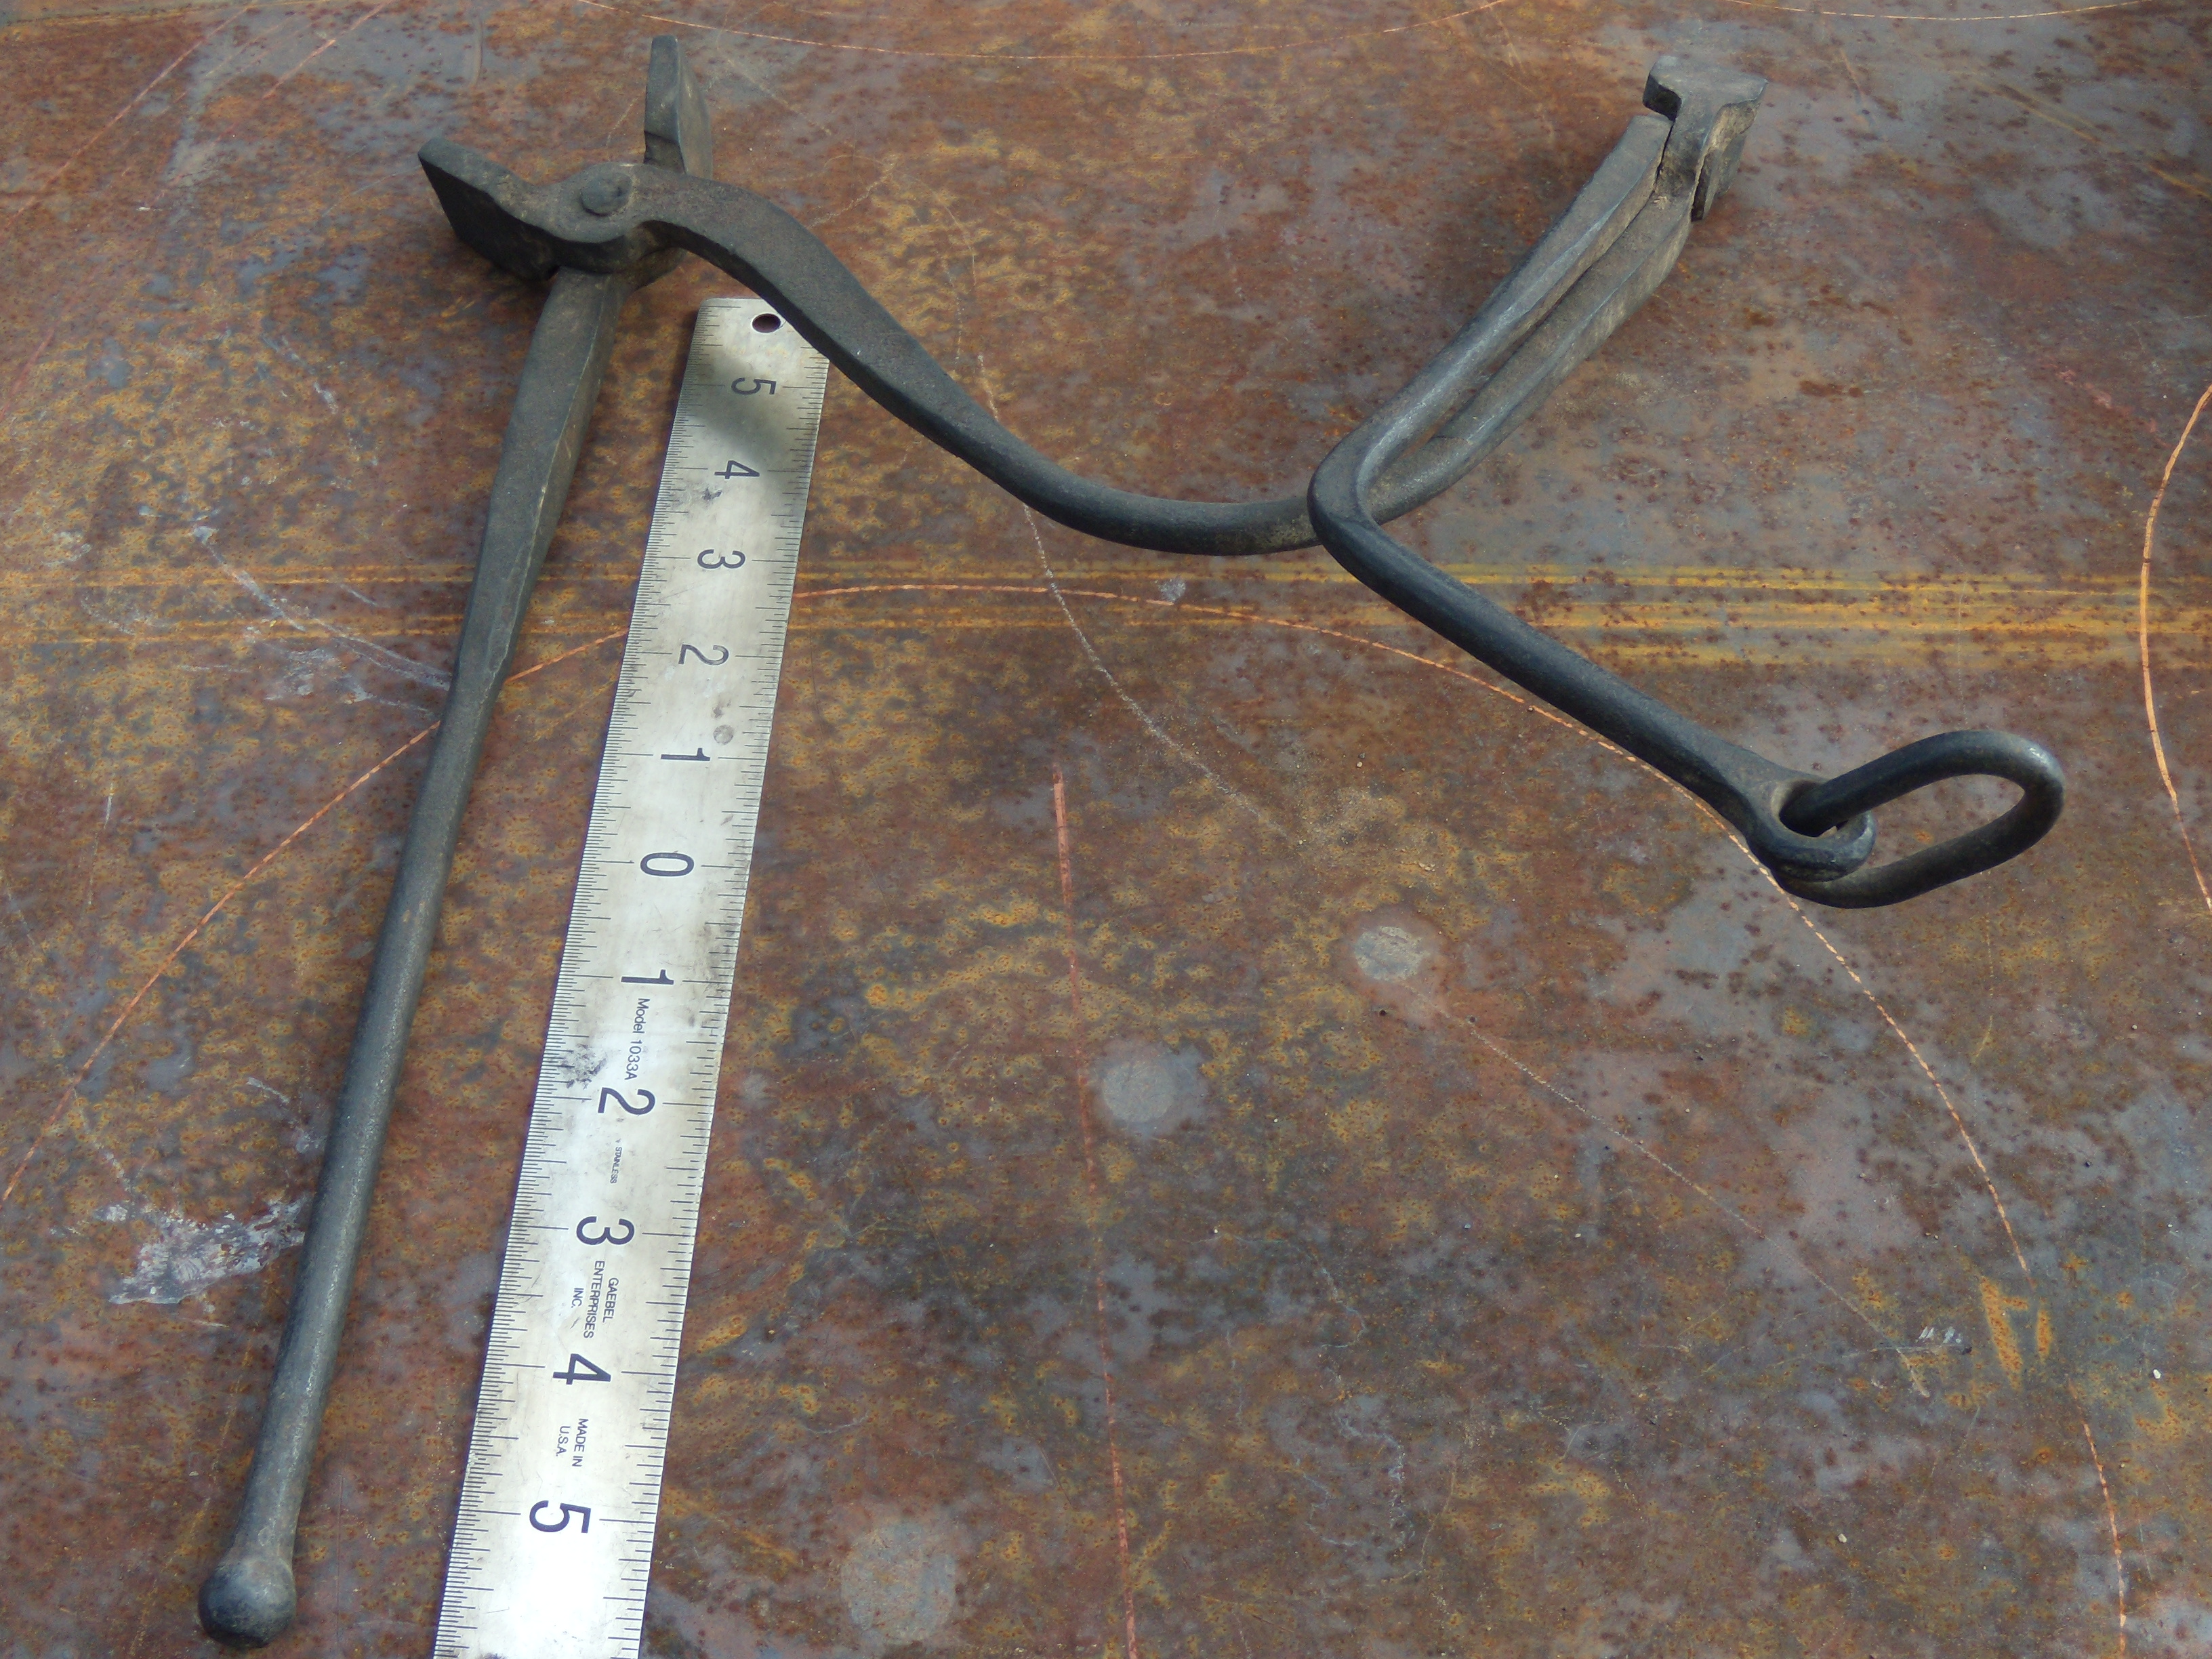
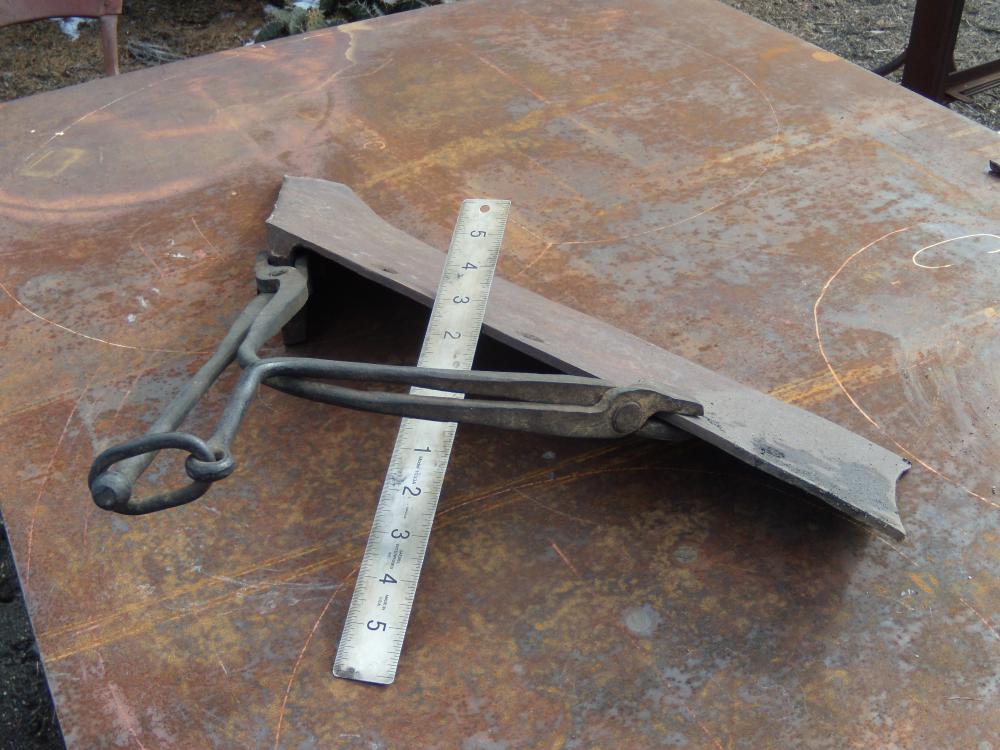
If the tongs are left dead flat on the jaw insides, eventually you get a wear pattern, more near and on the edges than in the middle. You then get a high center and the work wants to spin or twist between both jaws. To a smith, this is not a biggie. He or she can heat the tongs and refit them. On the other hand, with the dimple in the center, you don't get a high center. Regarding gripability, grabbing cold steel with the tongs, the dimple doesn't do anything. Gripping hot steel however, you might get a better hold, since you have a sort of concentric circle of flat surrounding the dimple. You have the edges of the dimple and the edges of the outer flat working for you. I used to put the dimple in with a 1/2" round punch. Not to forget that blacksmiths' flat tongs usually have the center lowered with a half round or vee fuller, lengthwise.JamesJimiY et al., I wish I could guide you through 'bossing up', sheet and chasing, but it is not my forte. Chasing in the solid is something I have not done. I could refer you to d'Allemagne, "Decorative Antique Ironwork." This book has a few amazing repousse photos, one of an entire horseback battle scene, worthy of study and done in iron sheet metal, not copper. You won't know what business ends are needed on your tools until you have a layout drawing of what you intend to do. When a tool is finished, it may not be finished. After first use, you may need to sand and polish and try it again. This can be repeated until you get it to behave. You will discover over time what lengths suit you. I have found that the holding hand on the tool is formed sort of like a pool cue hand bridge. This gives good stability. I have also found that many learners hit the head of the tool twice when they should have only hit it once. Why do they do this? I don't know. The first blow is a dinky blow and he second blow is the effective, harder blow. Observe yourself, and if you are using extra dinky blow, stop it! O1 is not normalized. If cooled in air from a bright cherry, it will harden to a degree, but it will be an unstable hardness. Therefore, annealing is in order prior to hardening and tempering. I recommend your googling of "The Locksmith Shop of Manuel Guerra" Except for the electric grinders and forge blower, you would be looking at a shop and the way people worked in the 16th century. A couple of young men are chiseling openwork on sheet. It pays to observe the speed and dexterity, especially of one boy, maybe 12 years old and seated at his work table. Guerra has now passed, unfortunately. His shop was in Cuenca, Ecuador.Taking a close look at the vise, one might wonder whether it is chased rather than engraved. A how-to article titled "Chasing Solid Material" by Tom Latane, appeared in the latest "Hammer's Blow" Vol. 25, #1. Interestingly, he performs his work on a small leg vise. When chasing, material is 'set down' with variously shaped tools. When engraving, "threads" of material are cut and removed from the workpiece. David Irving of Denver, recently brought to me for my perusal a pair of cruciform stirrups. We think the work is chased and the design is amazingly involved. Besides chasing, there is also openwork. The design is run through with arabesques, grotesque faces, and a "bestiary," if one included all the animal forms.

 Was Tao Goo the first neo tribal guy?And perhaps a related word: fractious. When I was horseshoeing many moons ago, we would work occasionally on fractious horses.Sign in shop. Lack of planning on your part Does not constitute an emergency on my part,"The Blacksmith Ironworker & Farrier" by Aldren A. WatsonDid you fuller the claw lengthwise before splitting? By doing so, that area will then be thin enough to slip under a nail head."Iron in its happiest state...rust."Rockstar, You can get a good look at share sharpening on youtube, "Sharpening plowshares with Dick Carlson". He is using either a single flat jawed tong or two of them. He's working by himself but with trip hammer to draw out the cutting edge. When forge welding, it is the point only that gets the weld. I have also talked a little about this subject, if you go to the top of ifi and "Search" plowshare sharpening, you might find it. You are looking at the share only. The moldboard is the large curved piece that gets attached to it and turns the earth over.The book, "With Hammer in Hand" by Hummel, has a nice photo of an old forge. In this instance, the bellows was on the floor above the forge and a leather hose led down to the forge.Last year, I corresponded with Ken Schwarz, the head smith at Williamsburg, Virginia, about Colonial side blast. He said that their researches showed that a large chunk of cast iron with a hole through it was used to convey the air. So apparently the conical tuyere nose of the bellows was inserted in one end of the casting and the other end would expel the air to the fire. Cast iron is heat resistant, so we assume it would have a long life next to the fire. I did not pursue this information further, but the question arises as to whether this was only at Williamburg, or did Colonial forges elsewhere have access to cast iron for this purpose. I suppose cast iron could have been available if an iron furnace was a reasonable distance from Williamsburg. The pig iron was tapped onto a sand casting bed as I understand it. Perhaps a special sand mold could have been made for the forge purpose.The tongs came up on another thread recently, so I went to the shop and got them out. (seldom) Dick Renker is visiting the forge right now.
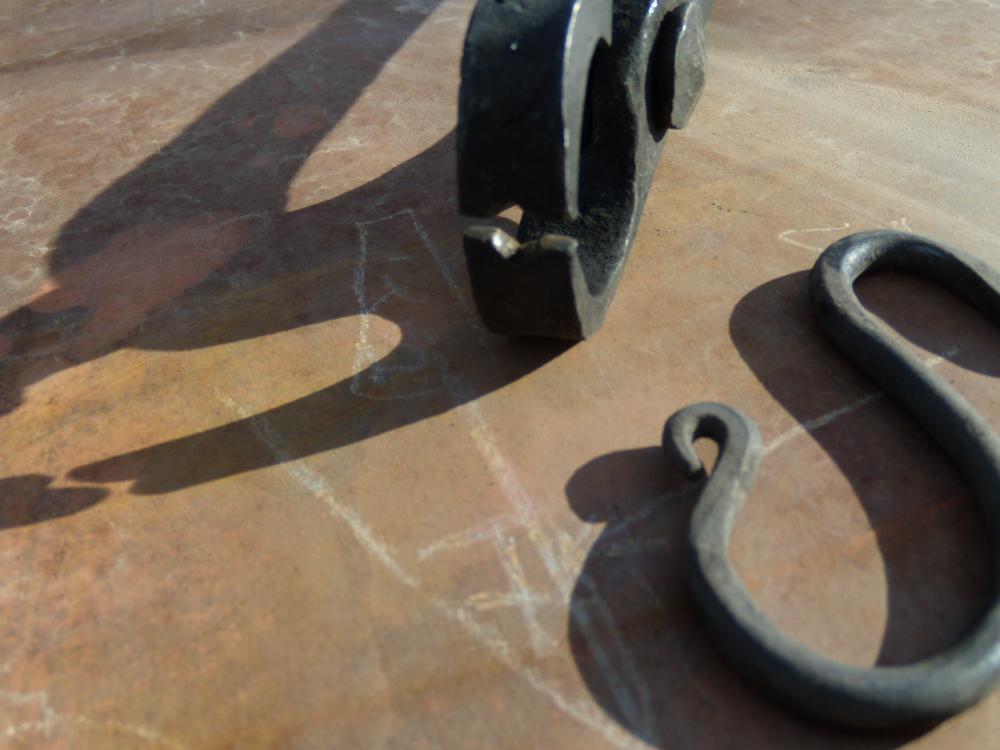
 "Live today; procrastinate tomorrow." Sign in my doctor's office.Let's look at bpo145 again. The bent nose is levering the hot scroll around the jig or scroll form. One jaw is inside the form and the other jaw is outside the workpiece and form. Sometimes you don't need the tongs. You simply bend the hot piece around the form and it maintains the correct shape. But sometimes there will be an uneven heat or whatever making a gap between tool and work. That's when you suck it tight to the form using the tongs. [The photo is better than the caption.]A little more German. I was US Army stationed in peacetime Germany in the mid 1950's, and on leave, I noticed that many Germans carried nice leather "brief cases". You would see them on the bus or downtown sidewalks, etc. One time I saw a couple on a park bench open their cases and out came bread, cheese, and wurst. All the time, I thought there were important papers inside. Furthermore, when I told a German friend that we called the case a "brief case," he laughed out loud. Brief case translates as "letter cheese."Adun, The torch heat was for tempering only. It is done after quench-hardening in liquid. Heating a distance behind the cutting edge after removing scale down to bare metal will allow you to see the tempering colors. You are watching the "bands" of color move slowly toward the cutting edge. Old timers call this "chasing color." The temperature range of the colors goes from about 430F to 630F. This heat rainbow method of tempering is quite old and works on high carbon and some low alloy steels. High alloy steels often require more elevated temperatures for forging and heat treating. The tempering colors beginning at 430F will head toward the cutting edge as follows: light straw; straw; dark straw; copper color; red; purple; full blue; pale blue; ocean green. To obtain the full camber, I had to take a big red heat on the blade and bend it with a wooden mallet. I wanted to avoid hammer marks. Then another red heat to air cool (normalizing). After normalizing comes hardening and tempering. There is much more to know. I made some log dogs of 1/2" square mild steel. They hold the log steady while you hew away.Adun, I didn't get into the whys and wherefores of the camber. I just did what Peter wanted. I assume he wanted to avoid the corners catching and/or marking the wood. It was a full camber on the blade length, not just bending the corners up. I have no idea whether other log builders treat their broad axes with such a camber. I tempered the edge to a full blue, 560F degrees. I directed the torch tip backwards, that is, directed away from the cutting edge allowing the temper colors to chase. The torch tip is 6000F, so I was carefully heating at first near the middle of the blade width. Peter had the log on horses. He was right handed, so he stood to the right of the horizontal log so as to work on the log side facing him. The log was pre scored with a felling axe and then the broad axe was used not so much with an up & down chopping motion, but rather a shearing motion combined with the chop...a bit of pull back. You should learn about marking with the chalk lines in order to get 90 degrees on the log cross-section.