jlpservicesinc
-
Posts
5,777 -
Joined
-
Last visited
Content Type
Profiles
Forums
Articles
Gallery
Downloads
Events
Everything posted by jlpservicesinc
-

Heat treating to enhance pattern
jlpservicesinc replied to 51 Papy's topic in Heat Treating, general discussion
It is true.. To do a simple test to see just how much of a difference it will make take a used chain maybe 10 or 20link and just hit 4 or 5 links with a torch or put them into the forge and heat up enough to remove the hardness.. Then throw the hardened and unhardened pieces into the acid. On large section of hardened or face hardened objects like anvils you can see a marked difference.. Also on blades like katanas.. here you can see it clearly with a knife with differental hardening..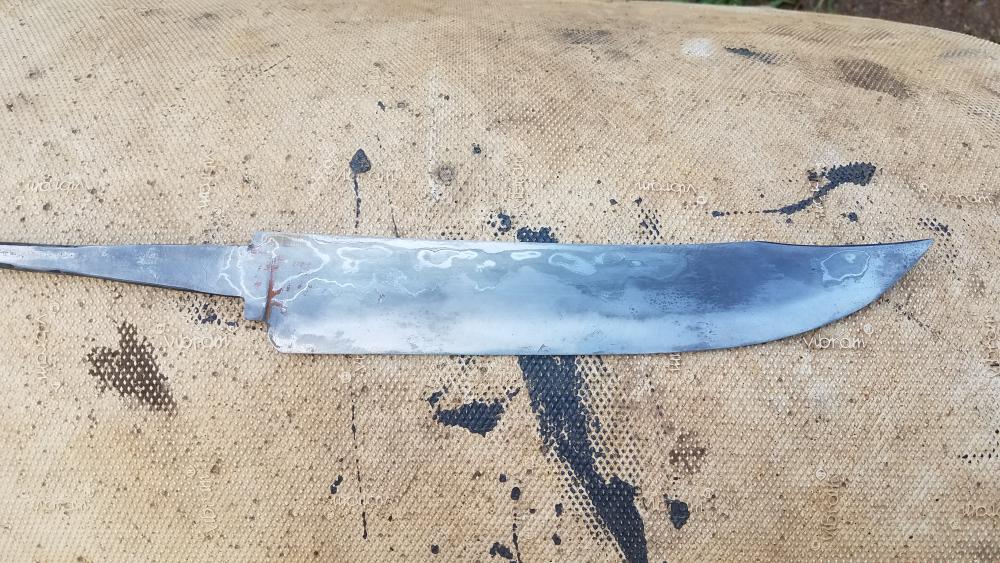
-
Frosty in certain parts of the world the anchors do have different shapes.. vs the plow or fluke type.. Not that I'm saying this is an anchor but I have seem them used and in this configuration.. The maul looks like a stone or masons maul.. If the face is soft and there are round indentations it might be that..
-
Hay Budden repair or not
jlpservicesinc replied to jeks's topic in Anvils, Swage Blocks, and Mandrels
I've been experimenting with coming up with a way to tig weld medium or high carbon rods back onto faces or heels or what ever that then can be heat treated just like the original anvils with showing very little difference in temper or hardness.. I have gone as far as welding a 1/4" plate with beads which are not porous with 0.85 carbon steel.. Problem is I haven't had time to do any further work on it.. The plate is ready for hardening and this will be where it will be a make or break process.. I just don't have enough free time to work on these types of projects these days.. If it's 410lbs it is plenty big enough to be used and the NEB were selling cast tools for making hardie tools which were chained onto the top of the anvil. -
Found a 50lb Peter Wright Anvil
jlpservicesinc replied to JRMo's topic in Anvils, Swage Blocks, and Mandrels
That is awesome.. Great find.. -
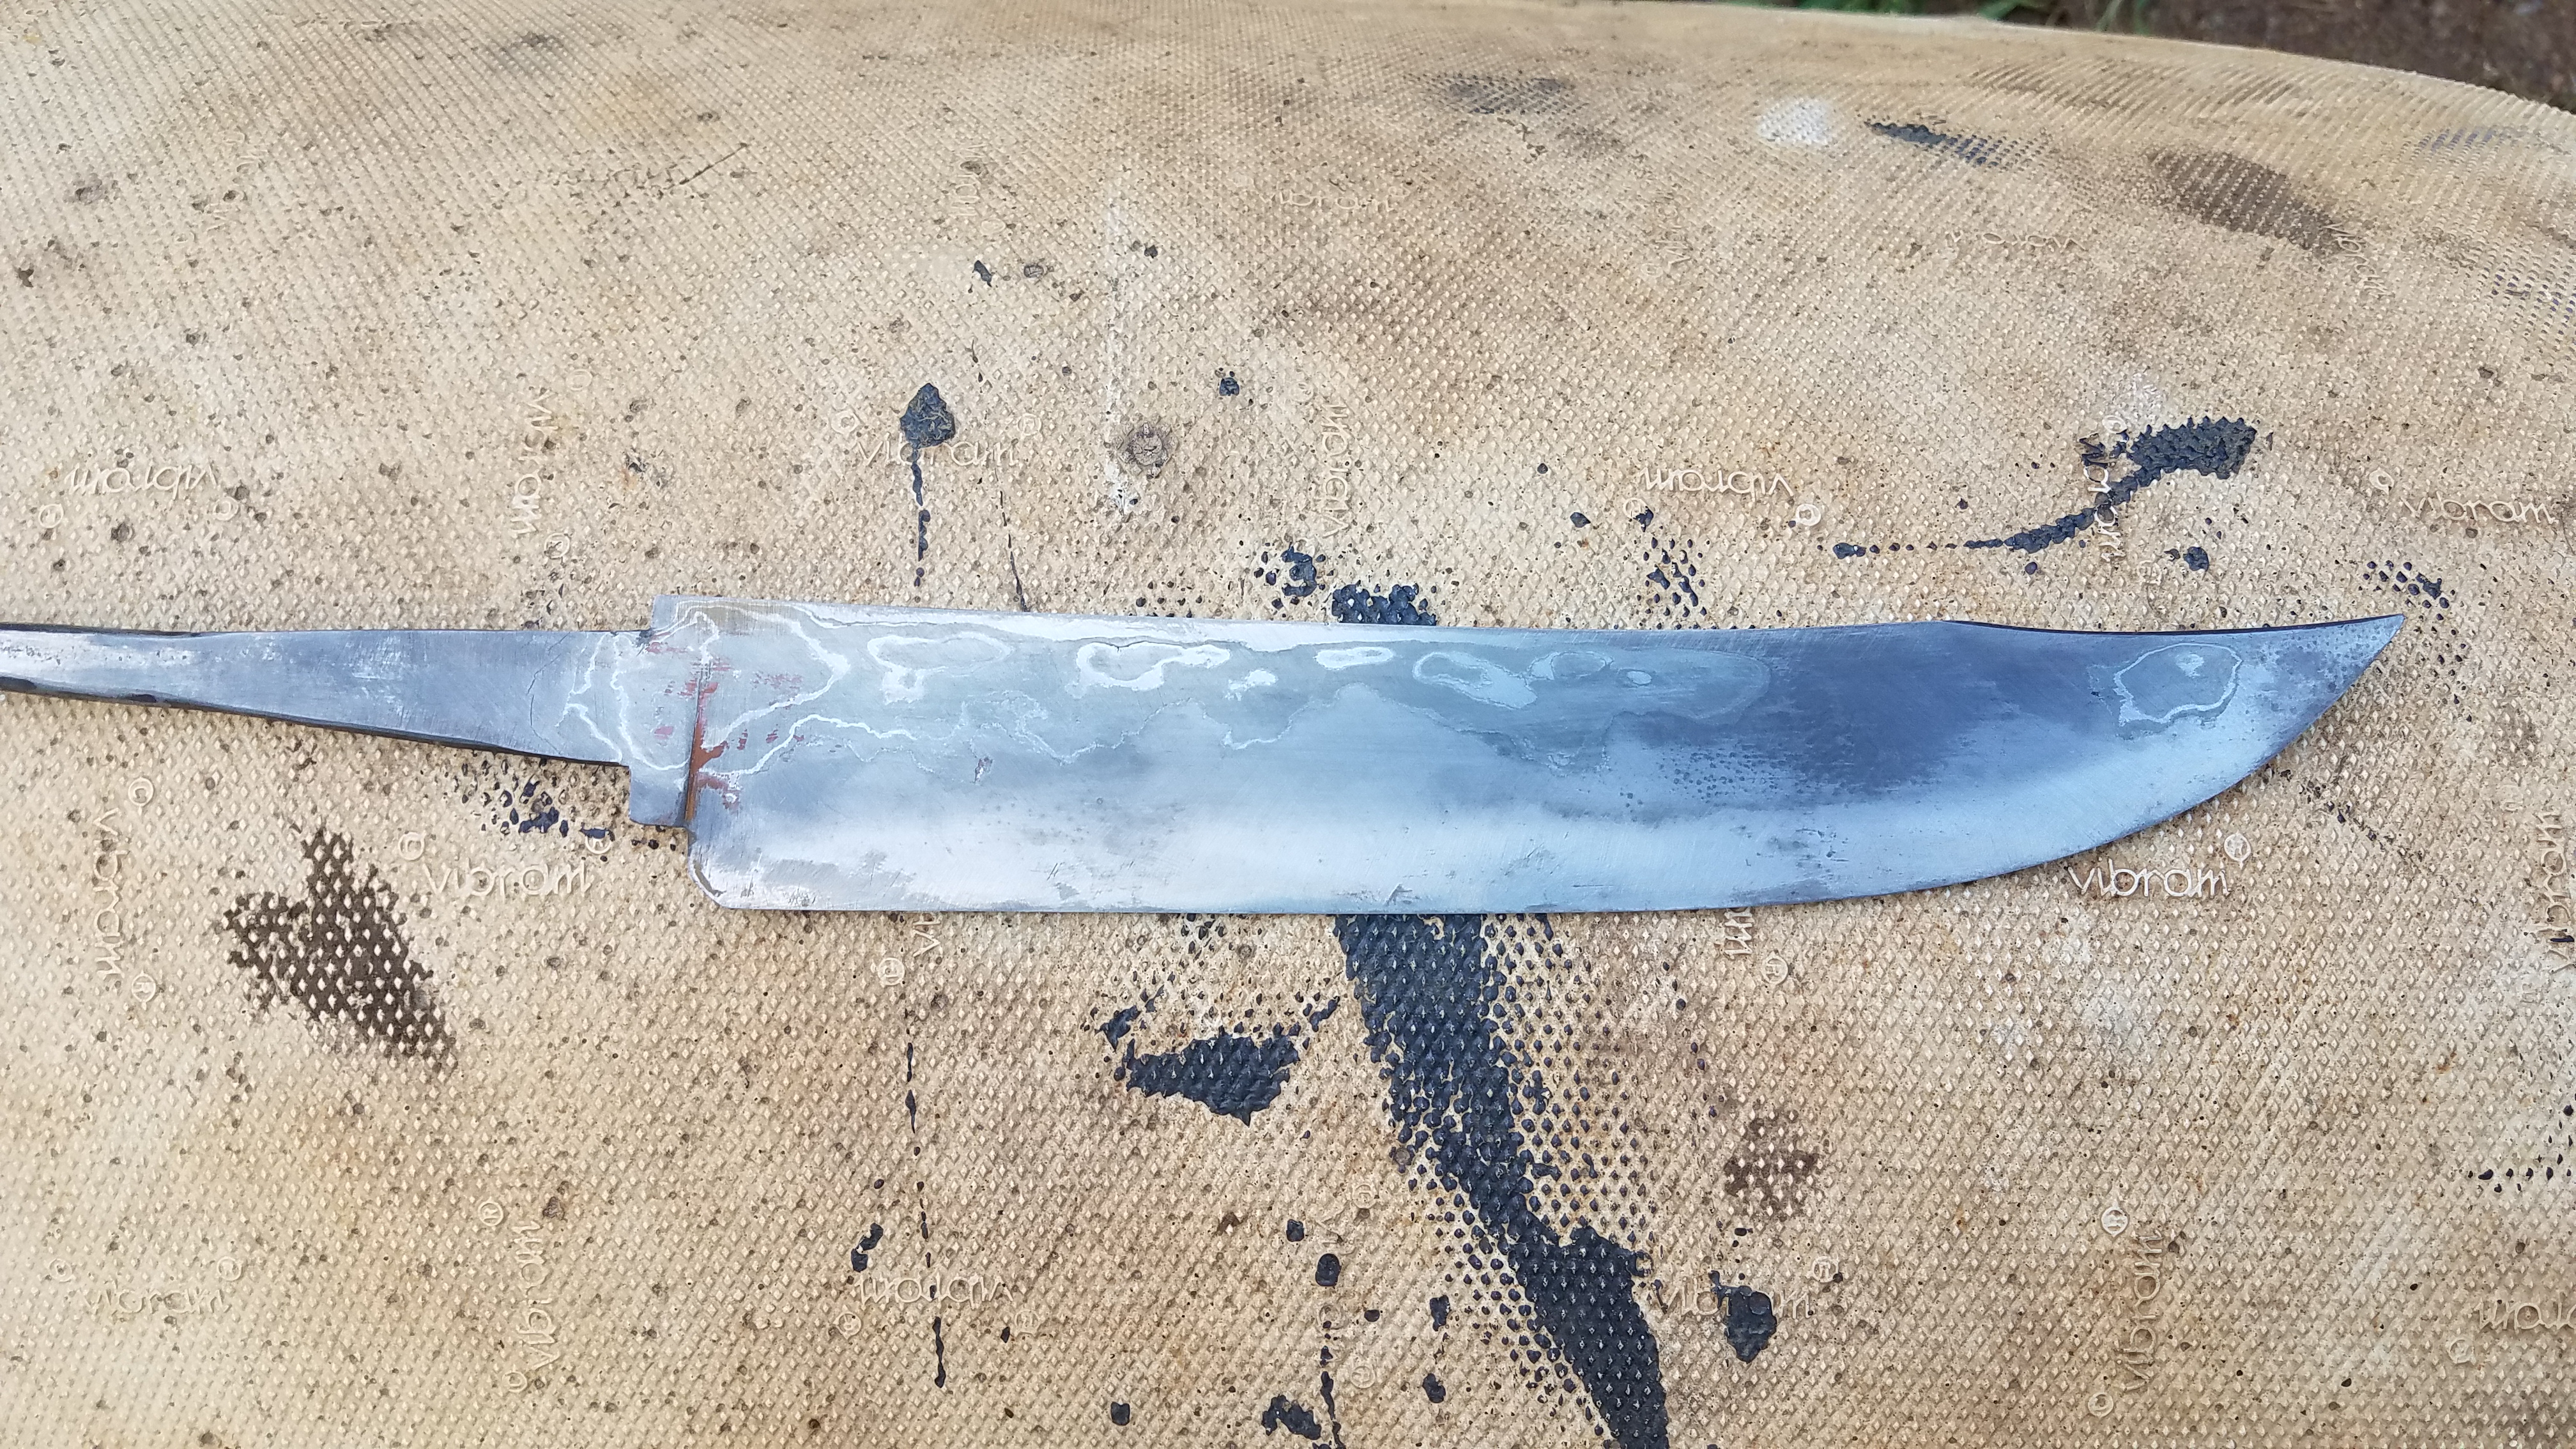
Funny how that works, isn't it.. Luckily Lou had the right questions when he came along and asked about welding 5160 to 5160.. The taco was simply because of what we had on hand.. I'm really curious what Lou makes out of it? Would make a nice a nice hunter and I betcha the with the contrast it would be really neat looking.. No notification from anybody else on winning so I'll hit Bob up and see.. I concur on getting up in front of all the people and just throwing down. Especially with the limited resources and tooling.. LOL.. Its tough pulling it off. Kudo's to all who took part..
-
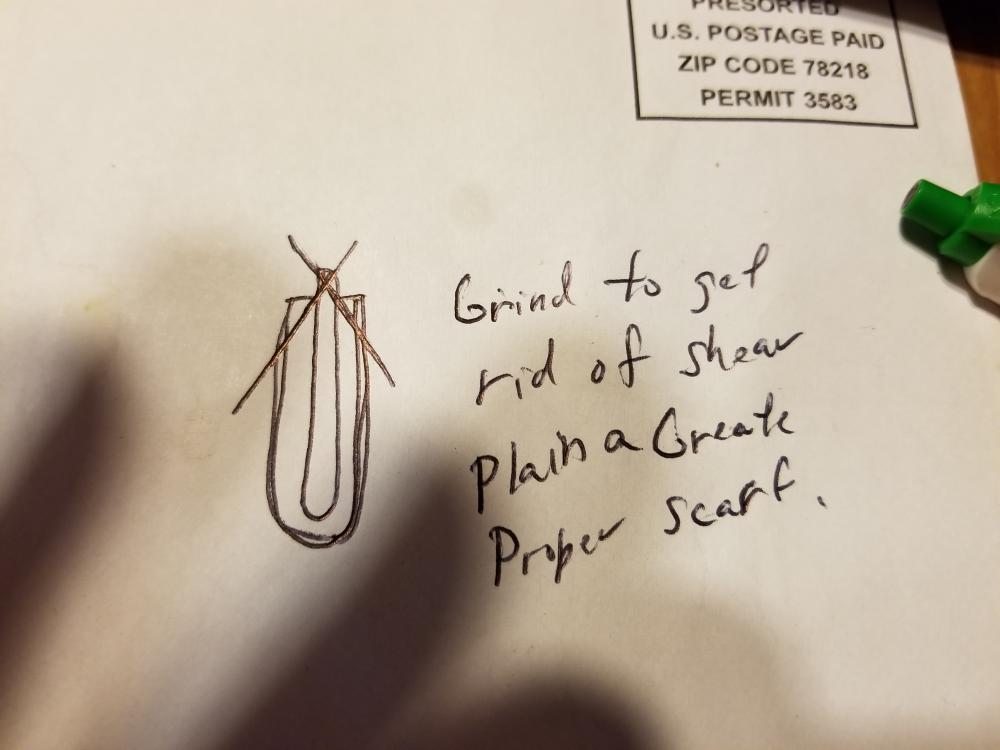
Was great to finally meet you in person.. Glad I could help.. I thought that might be you when i saw the heart.. Before you finish that taco billet the sides need to be ground down towards the mower blade so a shear plain doesn't happen at the interface between the mower blade and the mild steel and this will act as a perfect scarf.. the forge out as normal remember to keep some extra heat in it as there will be a pretty big slip difference between the mower blade and the mild.. Looking forwards to the finished project and please take a pic as I have none of any of the items or pieces I made..
-
Nice write up.. If the Meet ever happens more towards home I'll have to stay for it.. I wanted to stay but with Mondays coming on so quickly I really need a day to catch up on rest.. If I did win the casting raffle that would be great.. I have been wanting to build another forge for once I get the school up and running so this will round out the desired amount.. All the trivets look great.. Here are a few pic's I snapped.. I didn't get a one of anything I made though so if anybody has pics please let me know.. Judson do you remember what the nail header went for? There were some really nice pieces on the table..
-
It was perfect. Brand new old stock I believe.
-
OOPs sorry it sold.. I spoke to soon..
-
Thanks.. I can get you pictures of that anvil if youd like? Top, left, right, horn, heel, bottom? Which ones do you want..
-
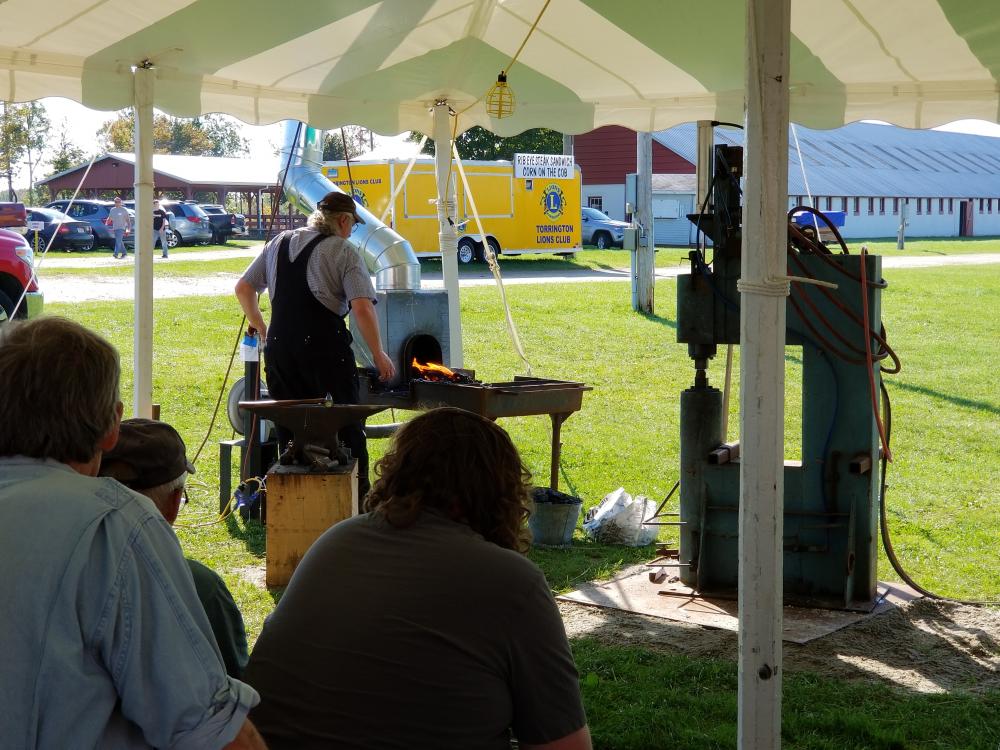
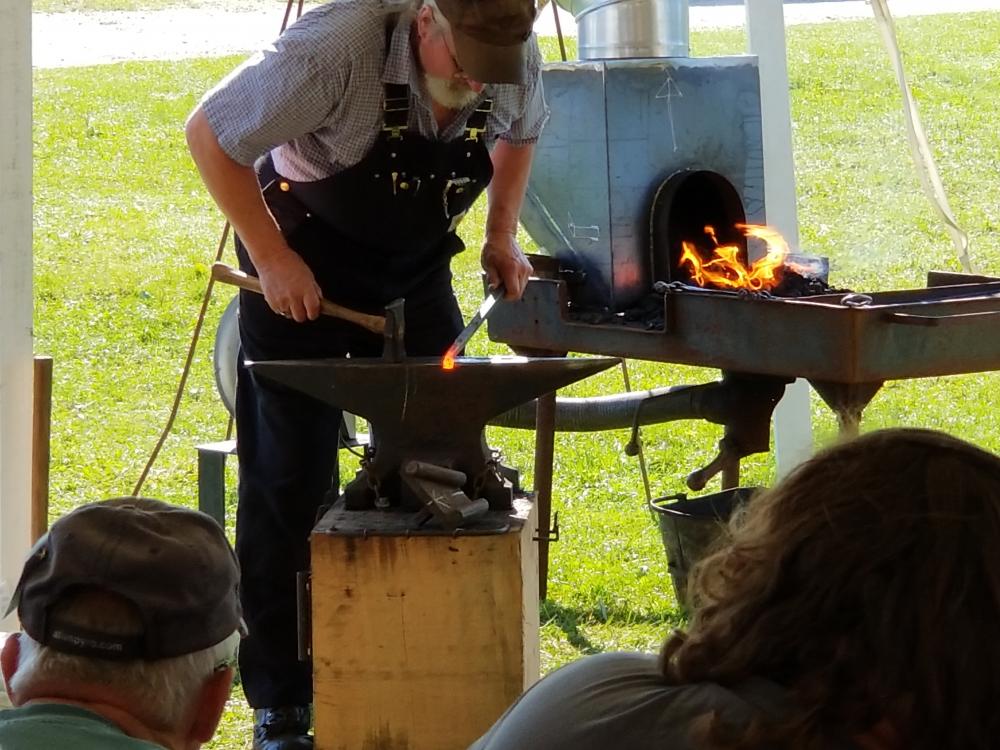
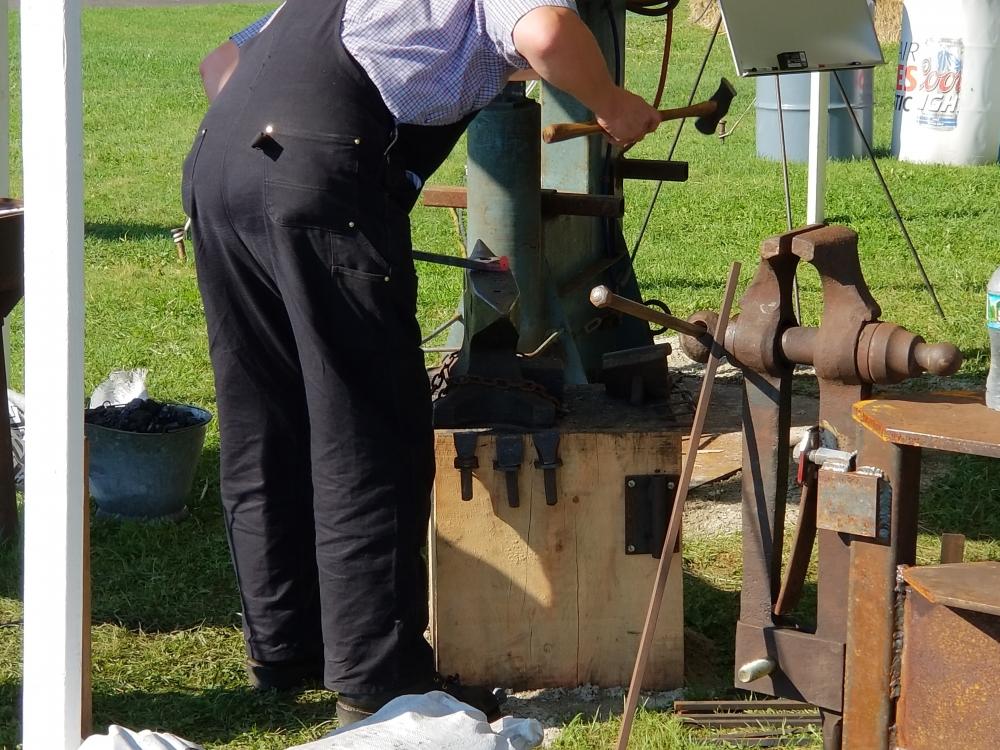
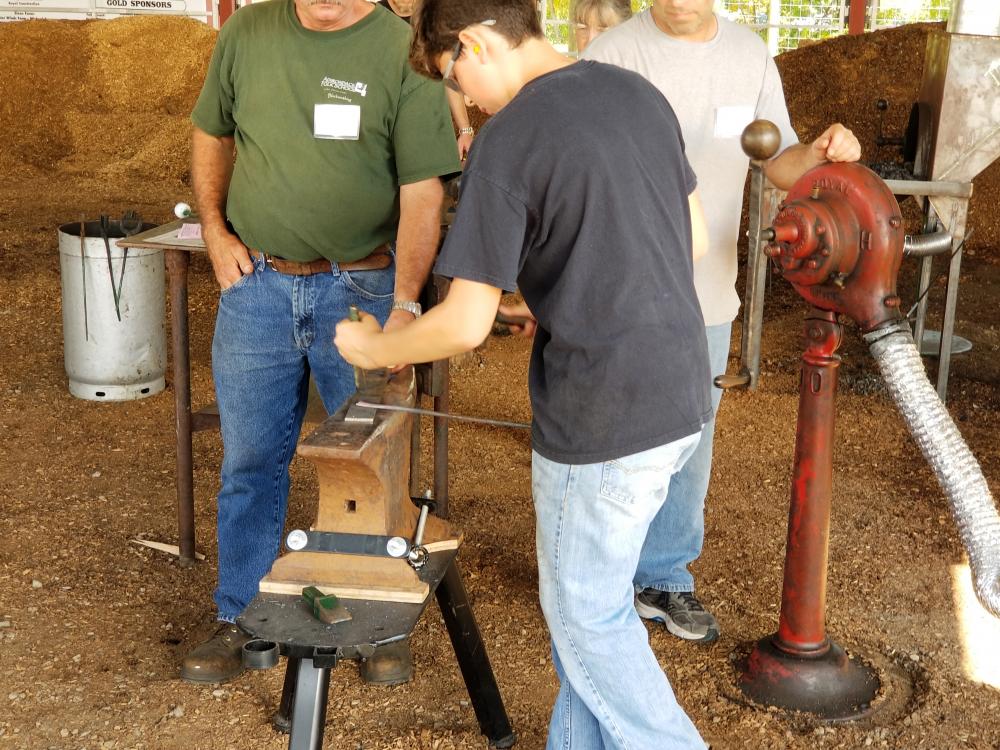
If anybody has any pictures of me working or demonstrating please PM me.. I didn't get a one or anything made.. Thanks.
-
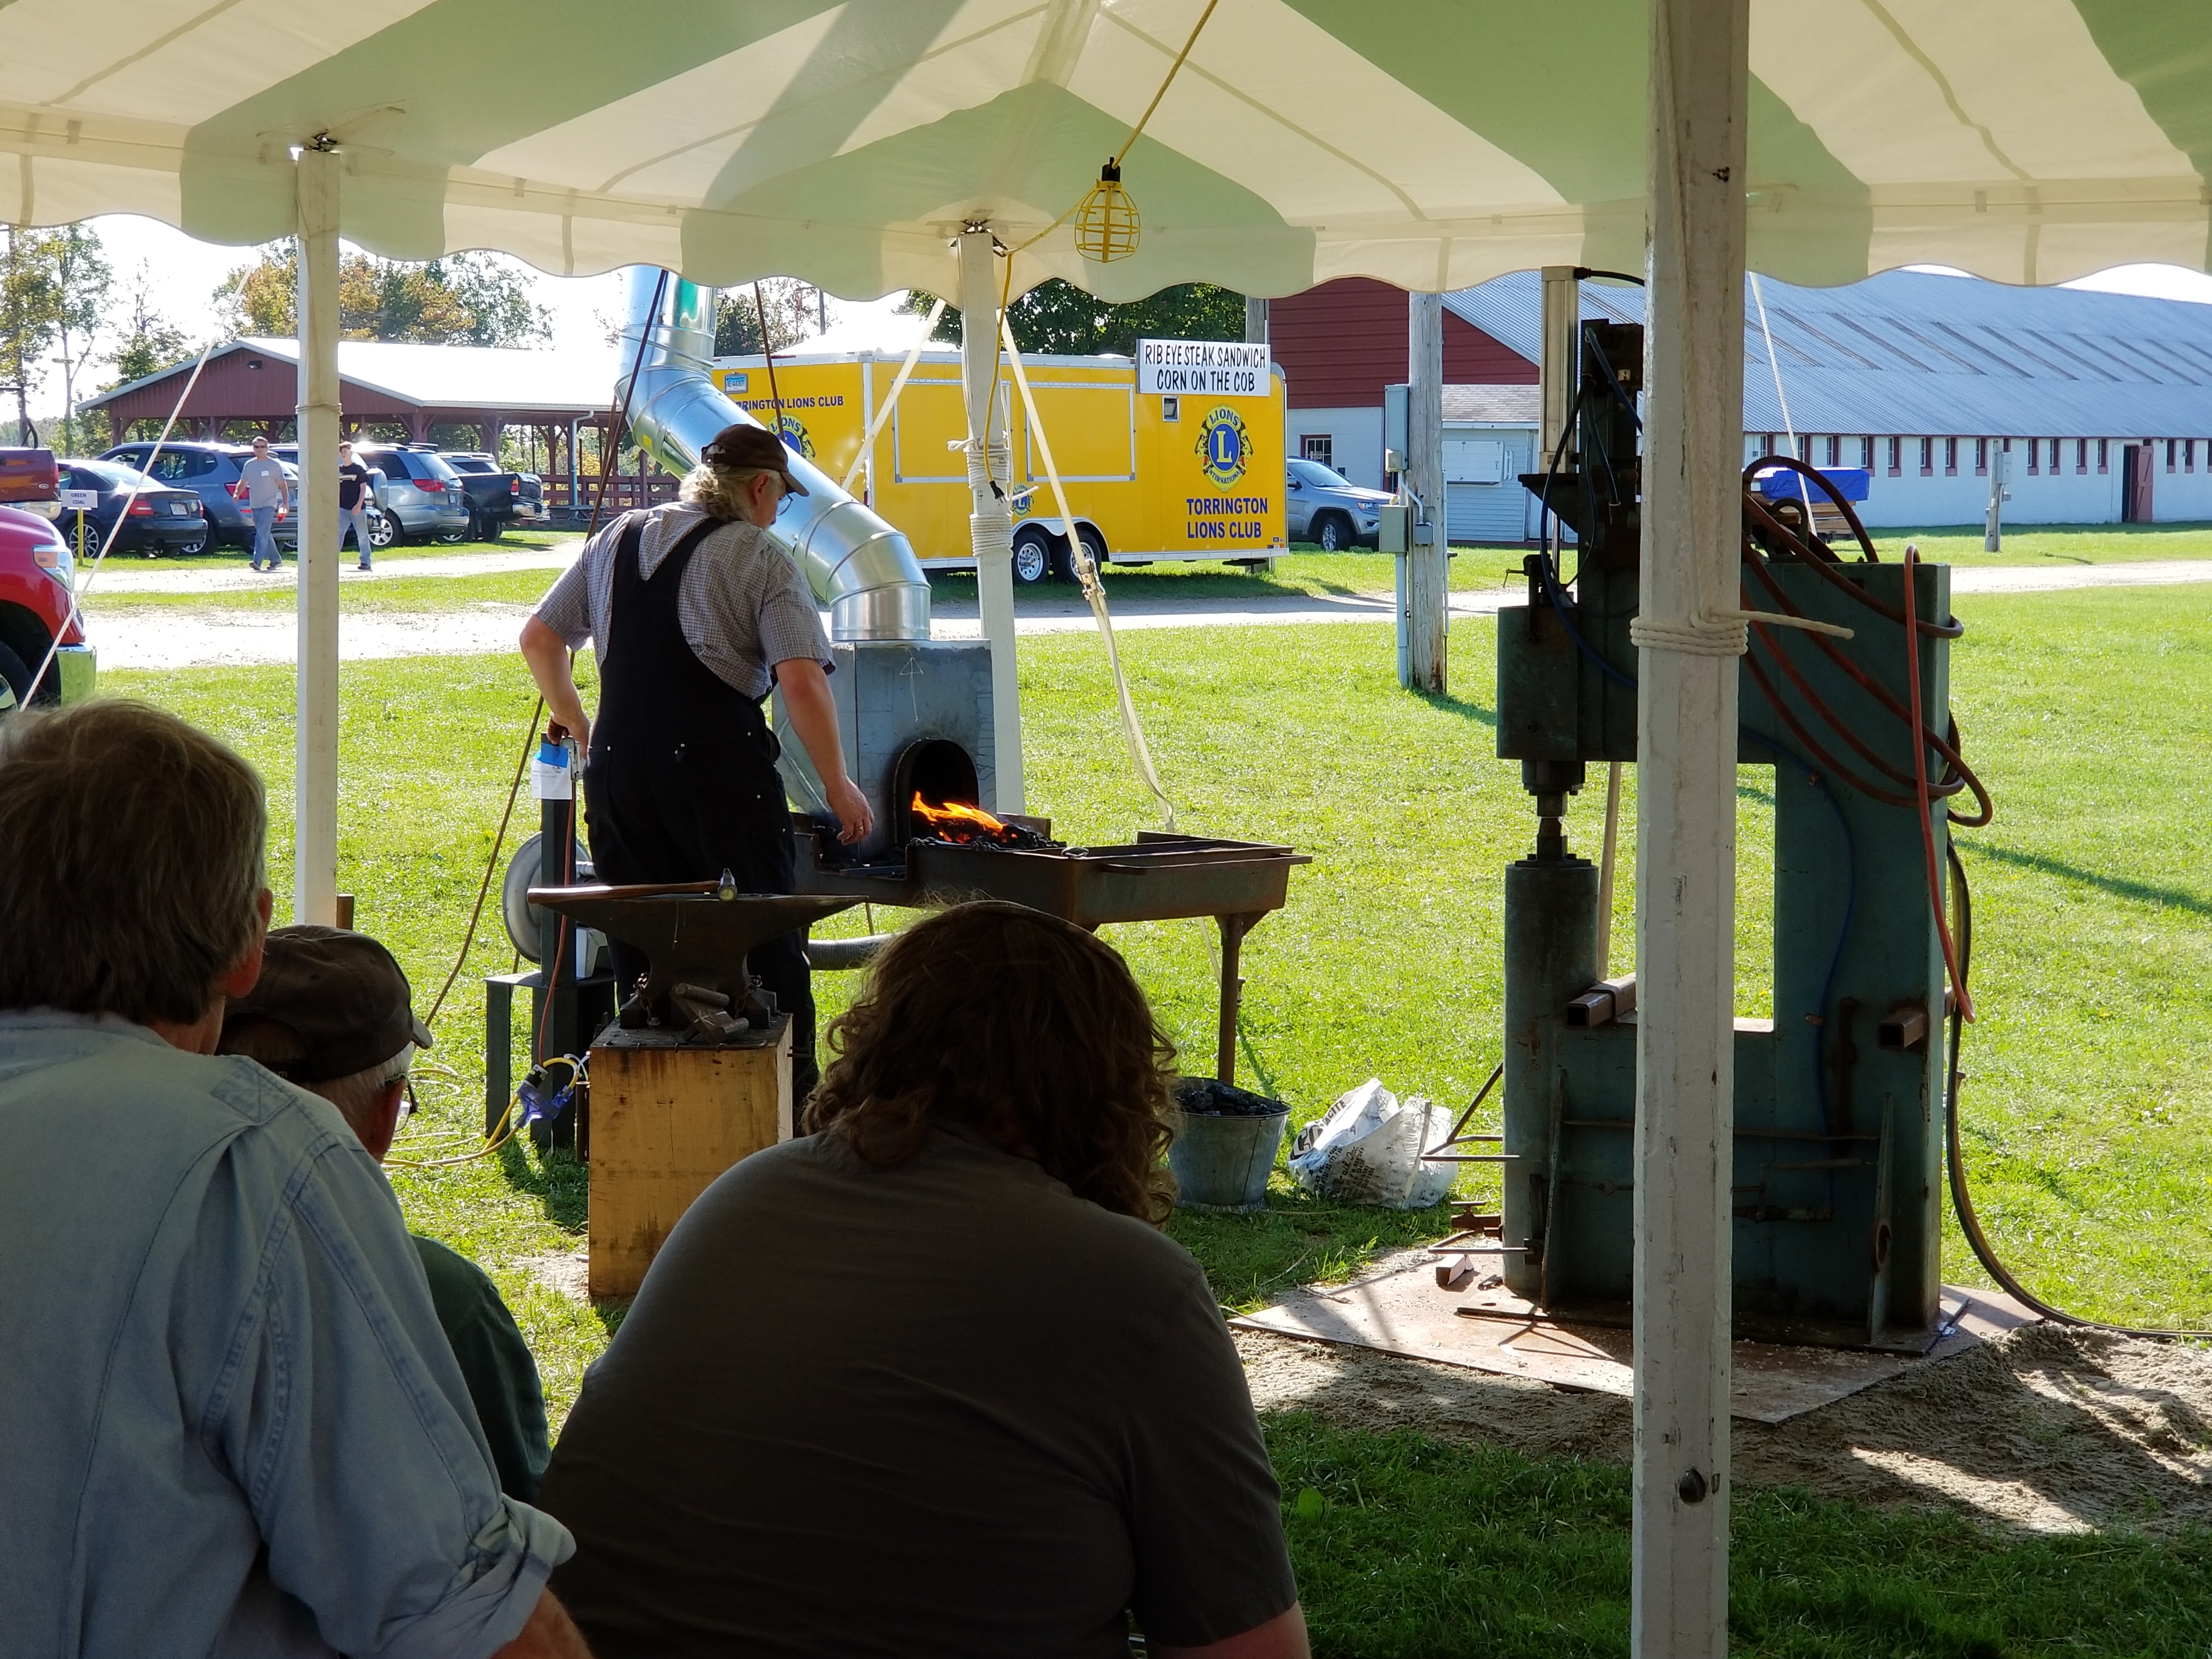
What a blast.. I met some really nice people, got to instruct on many subjects all over the scope and abilities while helping in the Green Coal tent.. This area was abuzz with just so many skill levels and so many different subjects. The only time the place wasn't full is during lunch or dinner. Friday night I made a nail header to donate to the NEB green coal tooling out of an axle from a Subaru.. I then went on to instruct, cutting and splitting for a fork, making balls finials, san-mi (Taco) damascus using mild for the outer wrap and lawn mover blade for the center.. Forge welding demos.. ETC, ETC.. Was non stop.. Really had a great time and met so many new people.. To any of the people that I just met, when and if we meet again don't feel badly if I don't remember your names.. It takes me 3 times meeting to remember names and faces.. LOL.. Was a lot of fun.. Great turn out for the whole event..
-
One other thing of note.. if you have 2 or more pieces and they are different thicknesses (like the thick center section and the 2 other sections) when you weld them and forge then down you can actually get a shear because the metal will move just about at the same rate.. which means if it's all ready thinner than the main sections as you work it it can become to thin.. By welding the eye first and then inserting the steel bit and welding that you will help to avoid the problem from the get go.. (Unless you are welding Damascus billets Ideally a forge weld needs to be welded 2 to 5 times to blend and get to the final shape) A scarf and the weld takes this into account and a well thought out weld will be placed in such a way to offer the maximum effectiveness of the weld but also used to create the strongest joint.. It's certainly possible to make forge welds on some pretty whacky places problem is in use they will fail as they were not engineered or implemented in the correct way.. Weld scarfs and placement of the weld is nearly as important as the weld itself..
-
Charles R. Stevens.. Nice..
-
Don't throw it away or cut it up.. It's best to have ample material rather than to little.. I can't tell from the photos which parts are welded or not.. Take some closer up pictures of where its' welded and then go from there.. besides that if you are making an ax it needs to be a lot thinner than what i could see in the photo..
-
First thing is to forget the welding of the ax.. Perfect on something simpler like chain or a poker.. Something that free's you up to not have to worry about holding a second piece.. If you really want to proceed with the ax then I'd suggest doing it differently and weld shut the area right in front of the eye first leaving the area for the steel bit to be placed in later.. or in other words a properly designed forge weld scarf joint.. Funny thing about forge welds is once you have experience you can simply look at steel as you pull it from the fire and know if it will weld or not.. Other thing is the steel while in the fire should have a smooth glassy coating on it.. It should not be all oxidized or crusty... You should be able to see clean metal under the flux.. if the pieces don't stick right away don't continue hitting it.. Clean, reflux and take a better heat.. Light taps to set the weld is all that is needed.. Here is a video of the flux on some welded wrought iron with 1018, and 15n20 and 5160 which was made into 1/4" pins for a knife.. In this video you can see where the flux at the tip is oxidized.. This was was being forge welded at one of the demo's I did and there is more flux on there than is needed but I stopped to take this little video and you can see the flux and the clean metal under it.. I'm using anhydrous borax here.. Which I boiled and crushed up myself just to throw more information in there for the group..
-
Looking for a blacksmith
jlpservicesinc replied to Hunter.kilby's topic in Blacksmithing, General Discussion
There is a meet for the NEB this weekend in Goshen CT.. There are members and an online news letter for the NEB as well.. do you guys have transportation? There are a bunch of us in the area.. I'm in MA, but I know a guy who is in NH who would be closer to you.. And what do you mean by " Cap stone"? -
I love the old history stuff.. In the town where I grew up they had a village called old furnace which supposedly made cannon balls during the revolutionary war.. Not quite sure as I believe it or not since there is also a landing zone called New furnace where there was a cast iron or smelting furnace.. This was right on the river and to this day you can walk the river and pull out pieces of lime stone and fragments of slag and iron and charcoal from where they just dumped the remain part of the charge.. The town eventually built a rail line over the sight and ruined any of the building structure so all that is left is the slag dump.. There is still an old foundry in town which went out of business back in the late 80's and in the early days there they also dumped all the slag directly into the river..
-
+1 yup what he said... I prefer softwood charcoal when working Japanese style blades especially for hardening..
-
Soft wood charcoal is awesome. It's just softer and crumbles/crushes easily..
-
I agree with Thomas, But a wood forge can work.. The Whitlox design will work for most people as most won't know it's marginal as there simply isnt enough room to hold all the needed wood before it turns to charcoal.. Ideally you need a firebox or feed chute to feed the wood in at a large enough volume to create the correct amount of charcoal needed for the job at hand before being turned to ash. a ratio or 4 or 5 to 1 in feed rate is about right for soft hardwoods.. 4 to 1 for white oaks or harder woods.. So ideally the forge would look more like a wood stove at the top, tapering at the bottom with a firepot to direct the coals into the center for maximum heat density zone.... Ideally also in a side blast design vs bottom blast as this would allow for cinder and soot to help insulate the bottom.. The wetter the wood the higher ratio to feed rate is needed..
-
Well don't hold out on us. What ya got?
-
Stump anvil or huge hardie?
jlpservicesinc replied to humphreymachine's topic in Tools, general discussion
boom, there you have it.. Solved.. Question becomes what are you going to use it for? -
+1 Well said..
-
Stump anvil or huge hardie?
jlpservicesinc replied to humphreymachine's topic in Tools, general discussion
That is one of the neat things about all this stuff.. You have the normal then every once in awhile you have to ask "What"? It has 2 sharp edges and 2 rounded edges from the looks of it.. Just like the set tool I made.. It's funny though as the set tool was one of the first haride tools I made.. It ended up with a nice flat top but the sides under the face ended up undercut due to a lack of experience..