
JHCC
-
Posts
19,313 -
Joined
-
Last visited
Content Type
Profiles
Forums
Articles
Gallery
Downloads
Events
Everything posted by JHCC
-
"Thrall" is an Old English word (originally written þrǽl) that simply means "person in bondage" or "slave", hence "servant" or "laborer". The only common modern usage is in the verb "to enthrall", which is synonymous with "to captivate" or "to enslave". The term "bellows thrall" gets used around here by folks who have experience with SCA-type reenactment of pre-industrial smithing, to denote the person who pumps the bellows.
-
Having now mixed up the System Three silica, I can vouch for its hydrophilia. Fun tip: partly mix in the silica, add a drop of food coloring, and watch what happens!
-

What did you do in the shop today?
JHCC replied to Mark Ling's topic in Blacksmithing, General Discussion
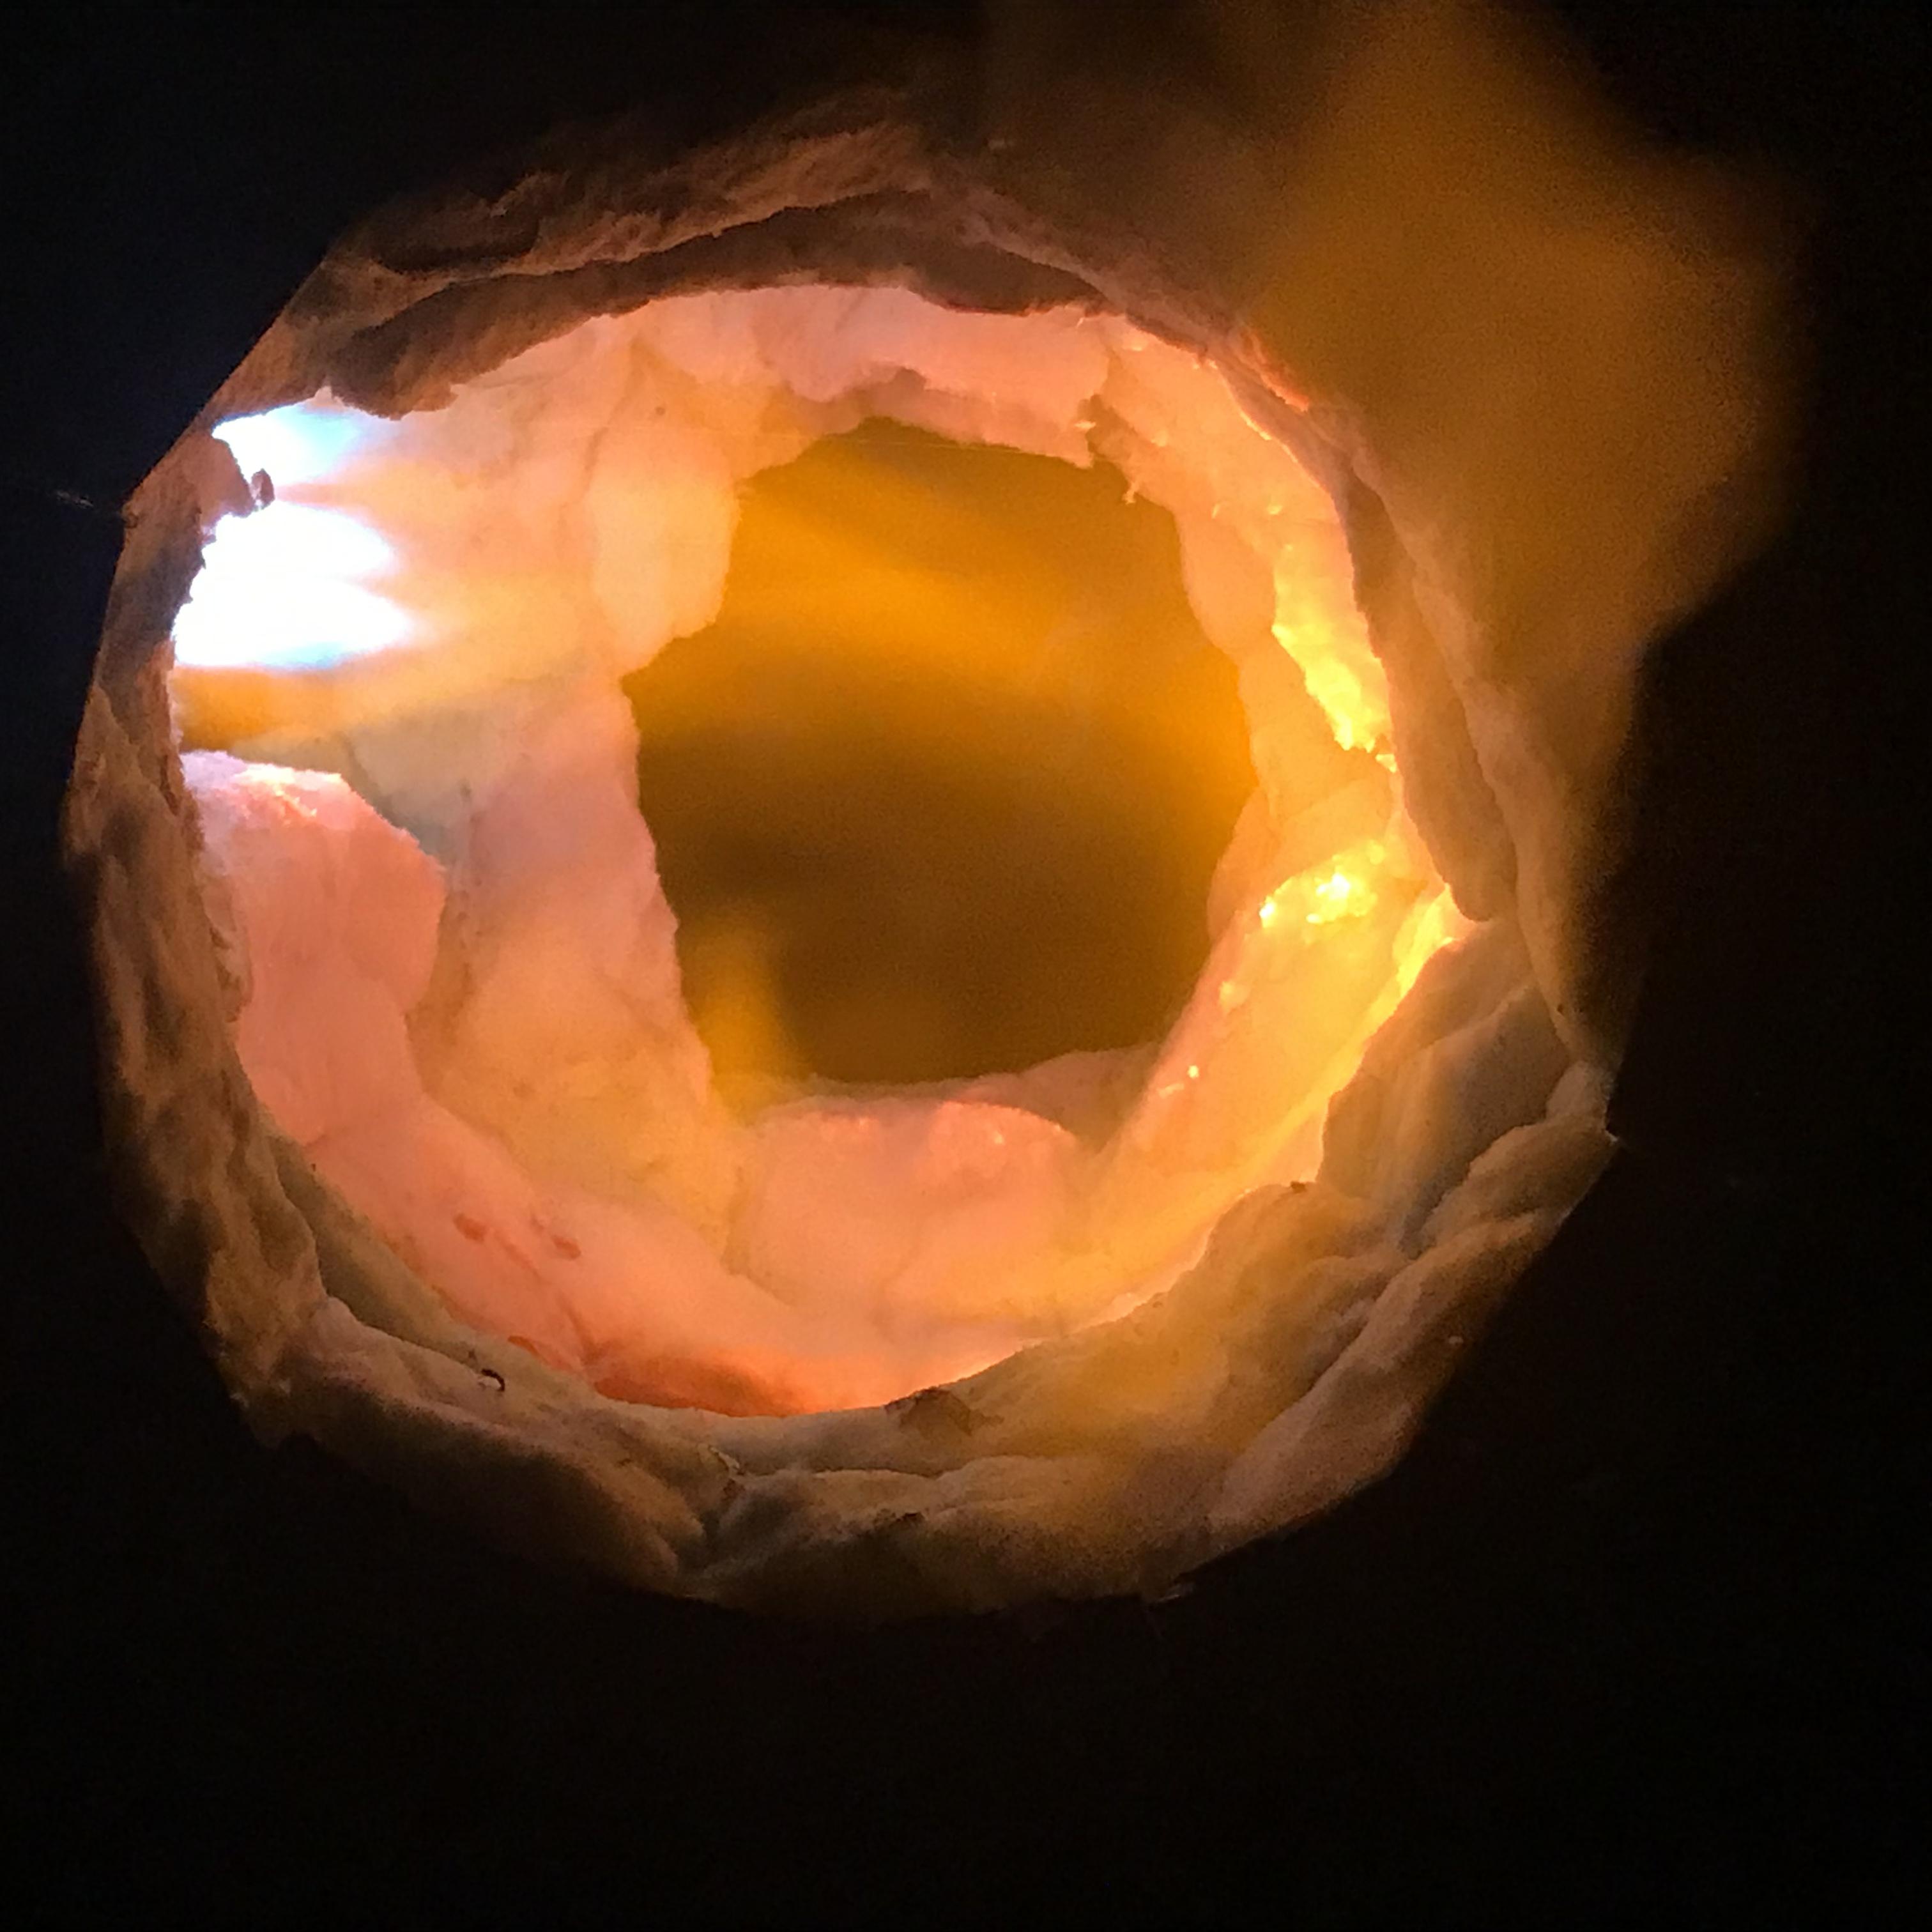
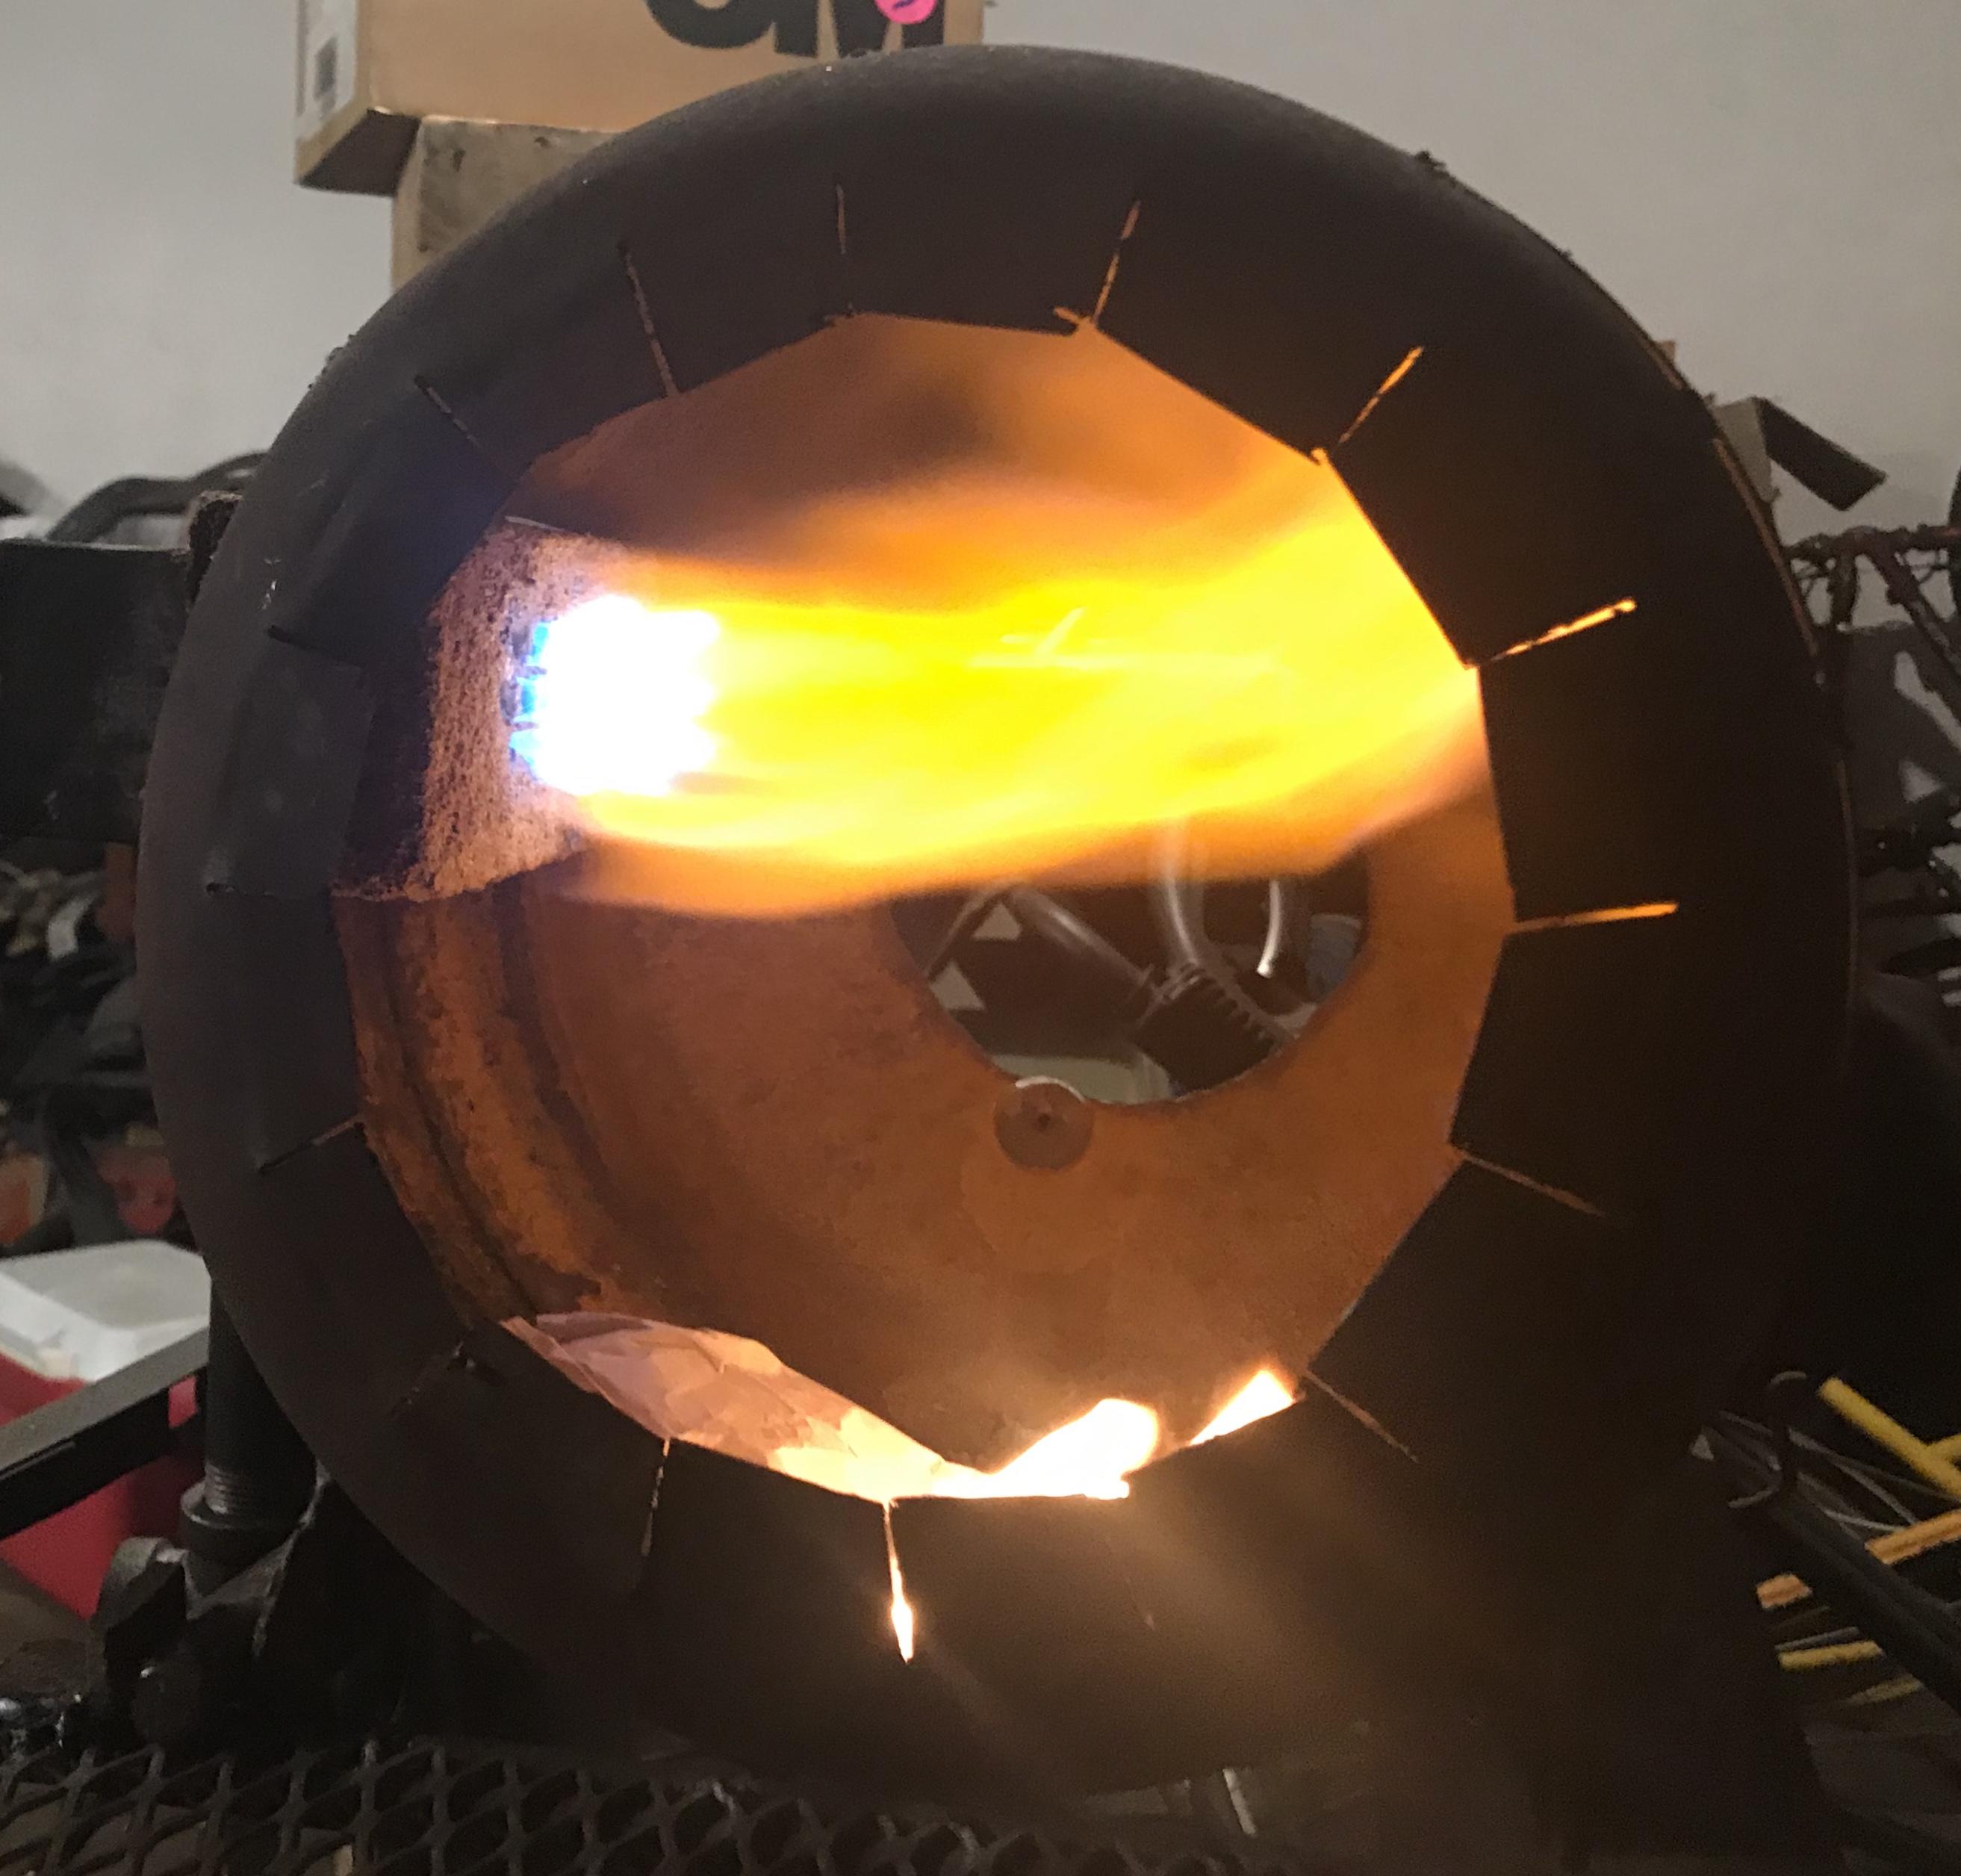
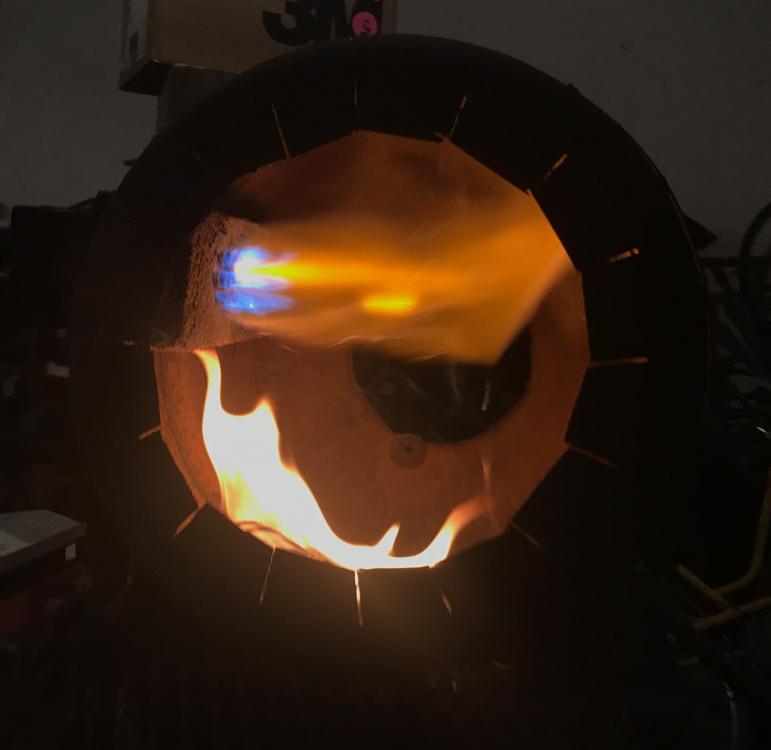
Put kaowool in the new gas forge and rigidized it. Firing the first layer: Firing the second layer, showing a nice flame swirl: View of the burner face: Next step: hard refractory shell.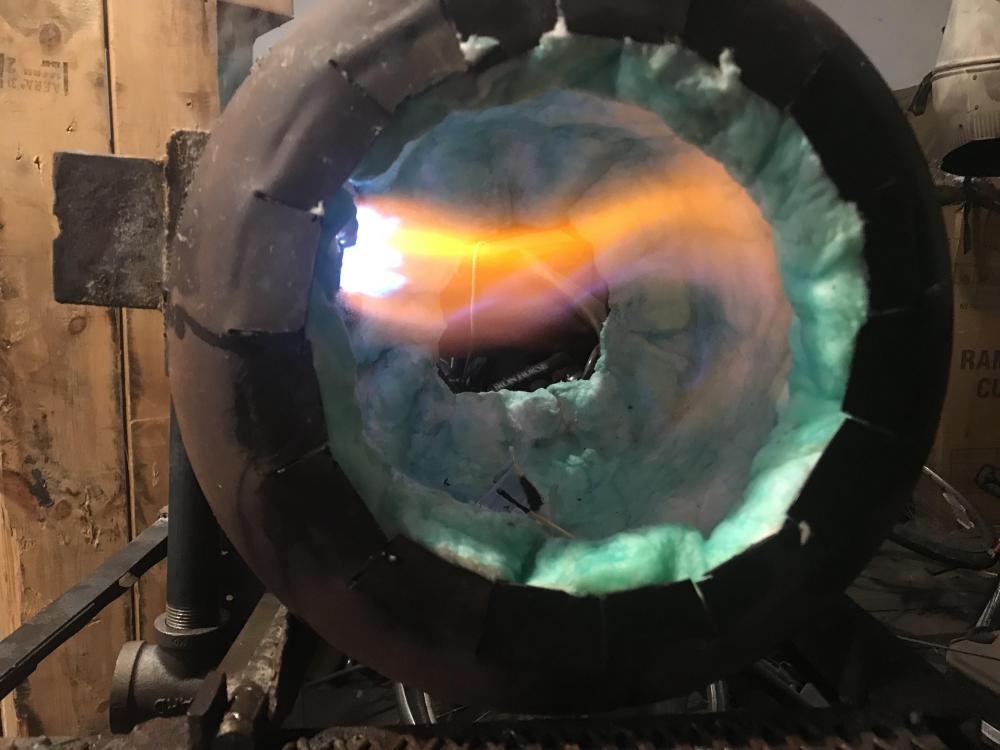


-
Funny story: the first time I had pneumonia (and more precisely, when I finally listened to Lisa and got medical assistance), the doctor prescribed a steroid to help clear up my lungs, with the warning that I should take it first thing in the morning, as it might keep me awake. (He also said that I should call him if I started feeling psychotic.) That first day (which was a couple of days before Thanksgiving), I had to take the first pill at about 3 pm, and it kept me awake until after 8 am the next morning. In my steroid-fueled mania, I made about a dozen batches of piecrust. Double crust.
-
Welcome to IFI! If you haven't yet, please READ THIS FIRST!!!
-
What did you do in the shop today?
JHCC replied to Mark Ling's topic in Blacksmithing, General Discussion
aus, those are the replaceable teeth from a sickle bar mower. -
What did you do in the shop today?
JHCC replied to Mark Ling's topic in Blacksmithing, General Discussion
Did some basic grinding on the blade for a folder: And test-fired the ribbon burner (in an as-yet-unlined forge): (The flame on the bottom is from the lighting paper.)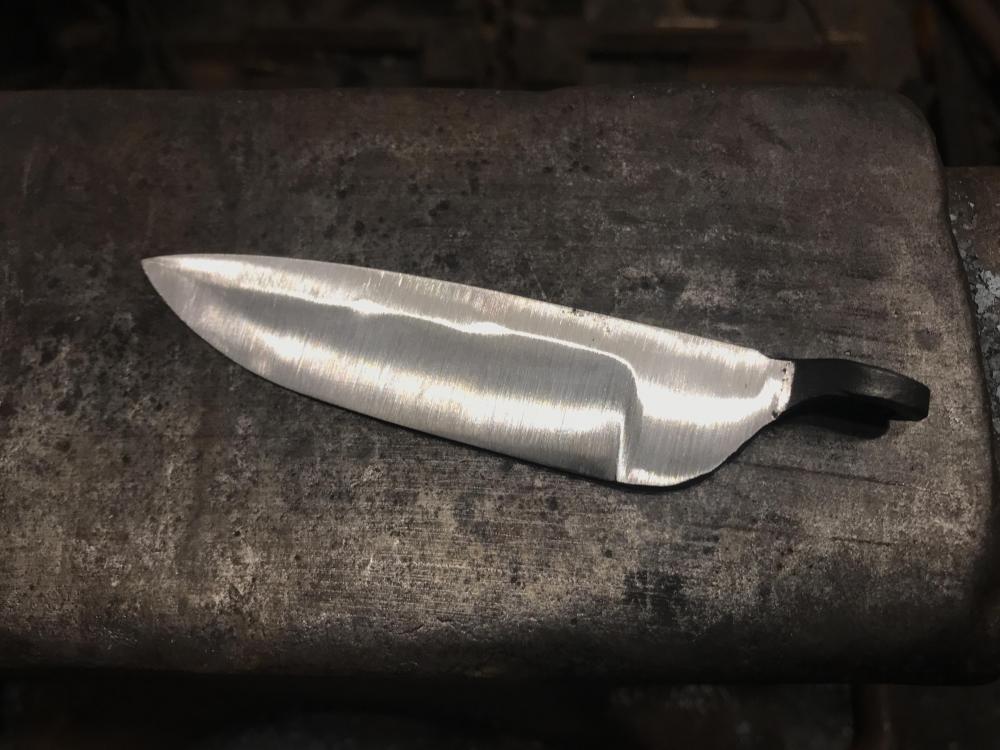

-
What did you do in the shop today?
JHCC replied to Mark Ling's topic in Blacksmithing, General Discussion
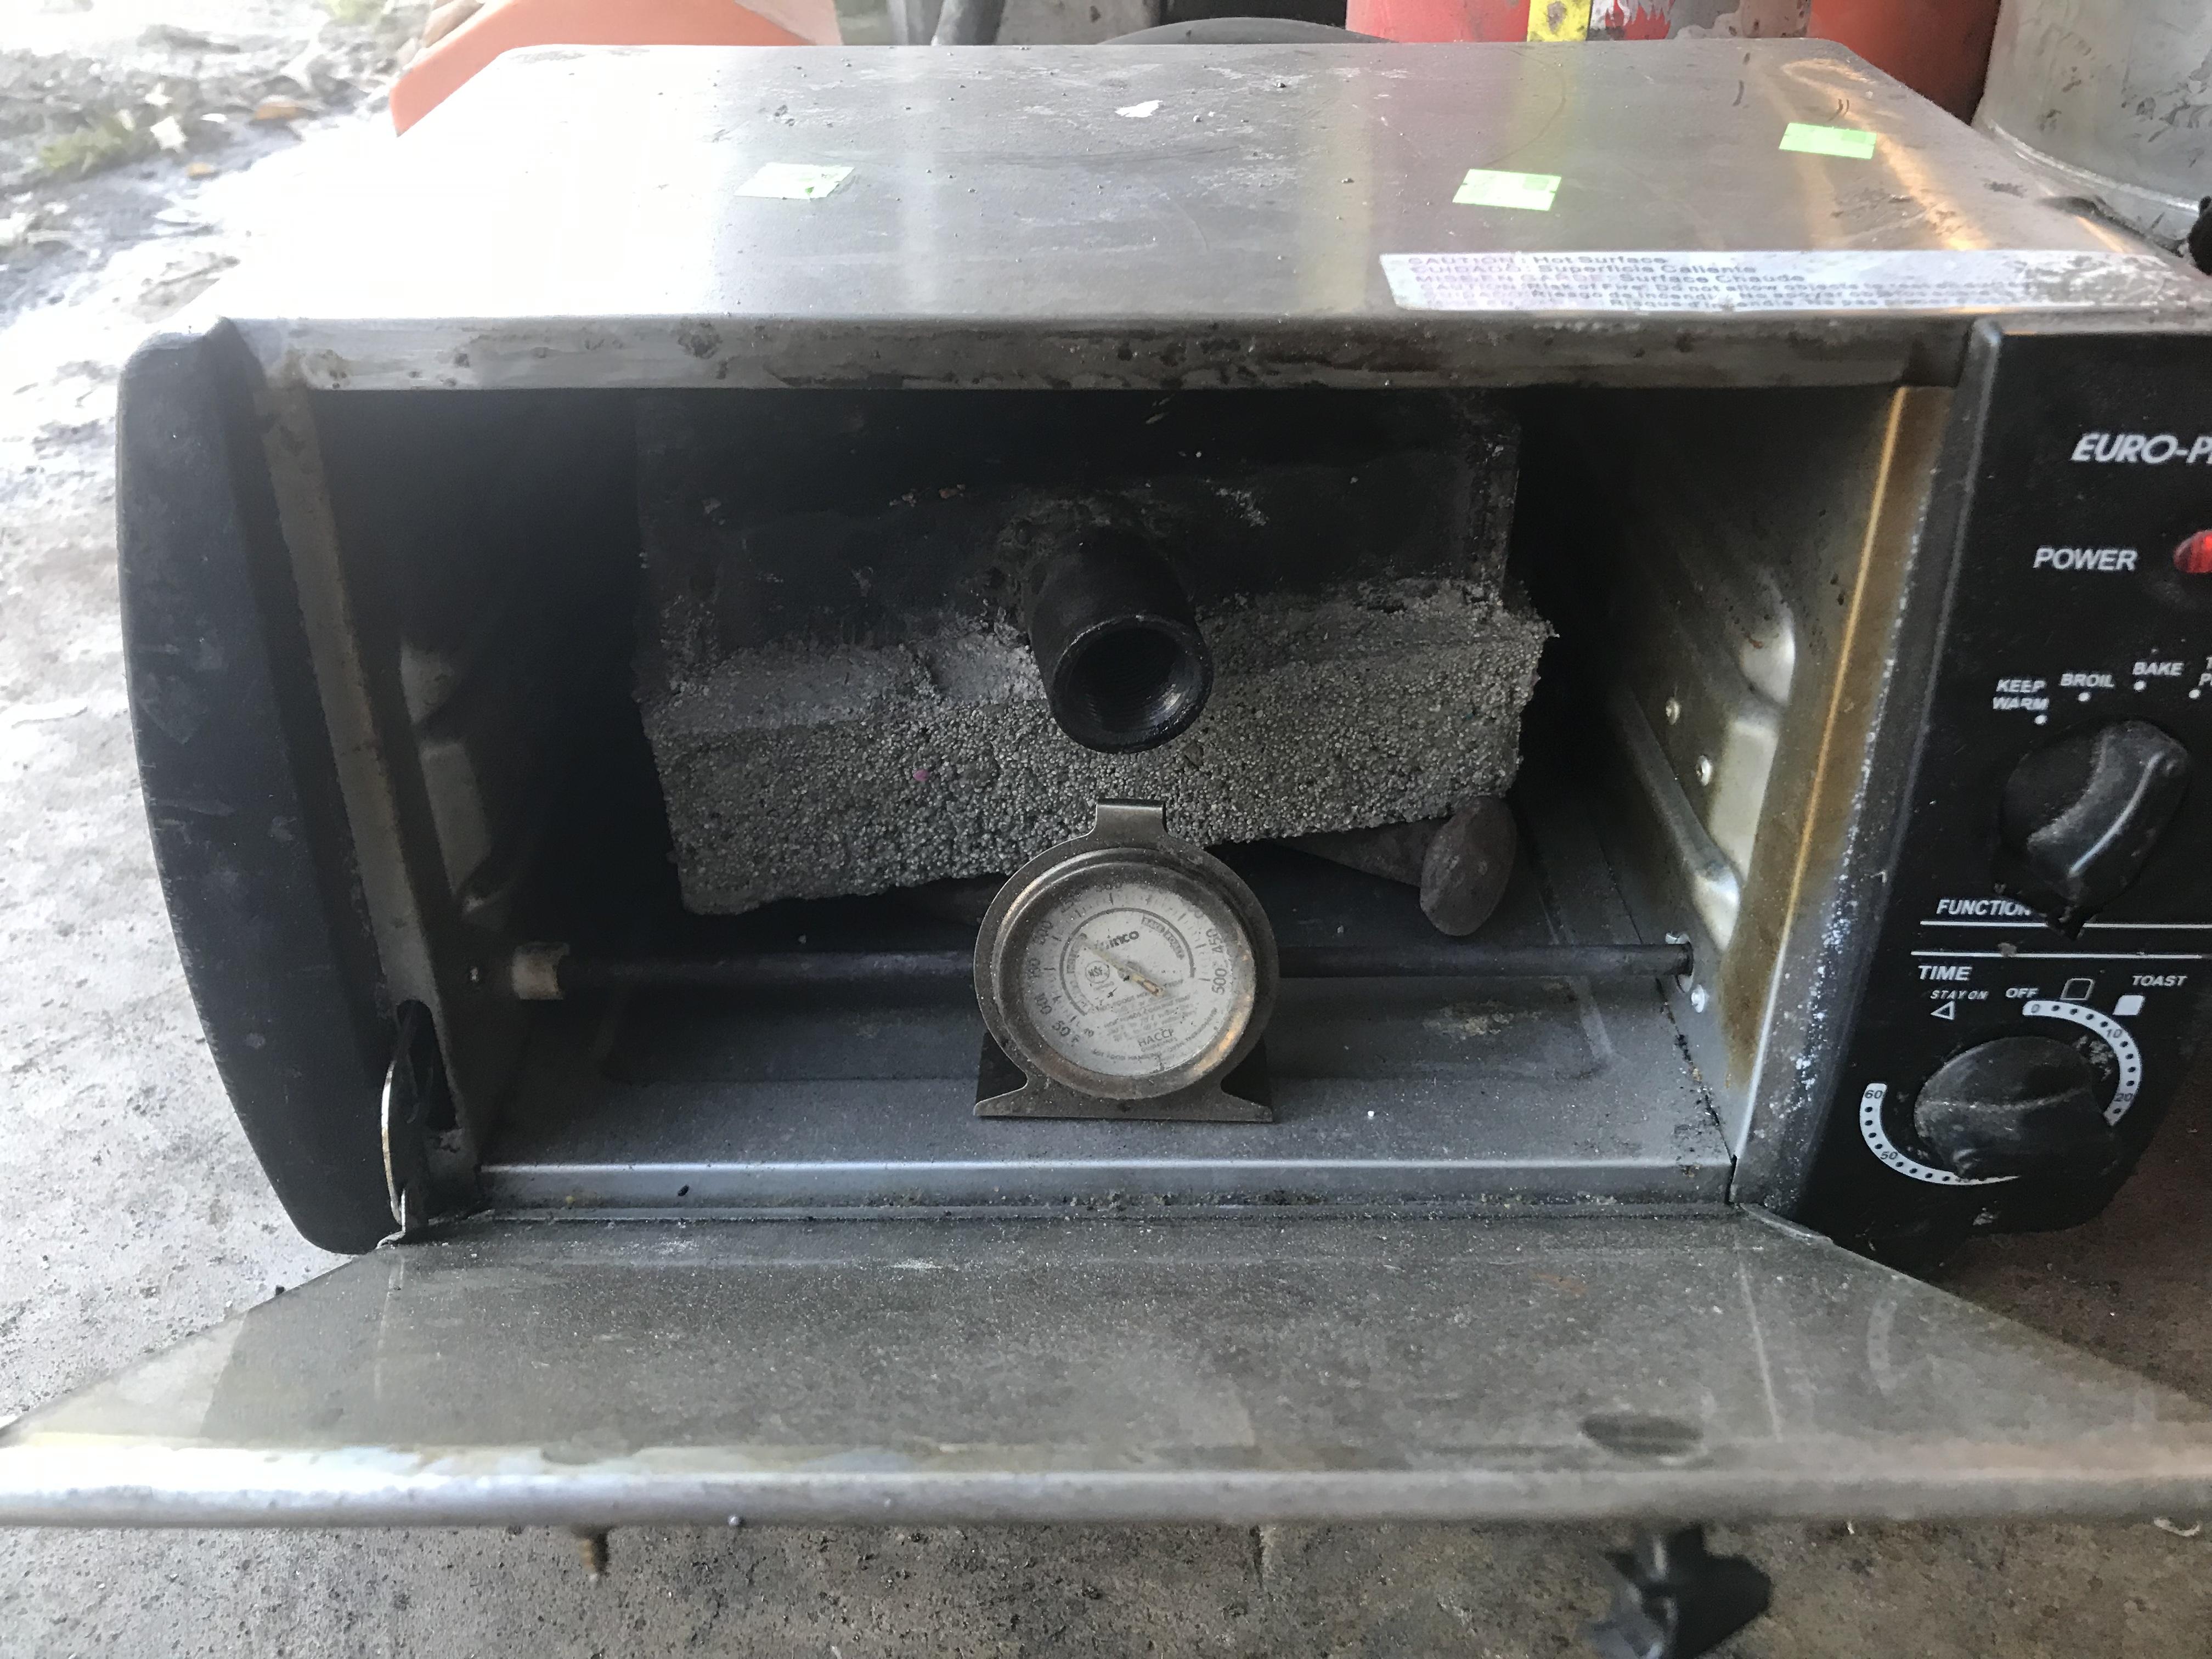
Unmolded the ribbon burner. The crayons did not release, so I drilled them out. Currently sitting in the toaster oven to get rid of the remaining unbound moisture and melt out any bits of wax.
-
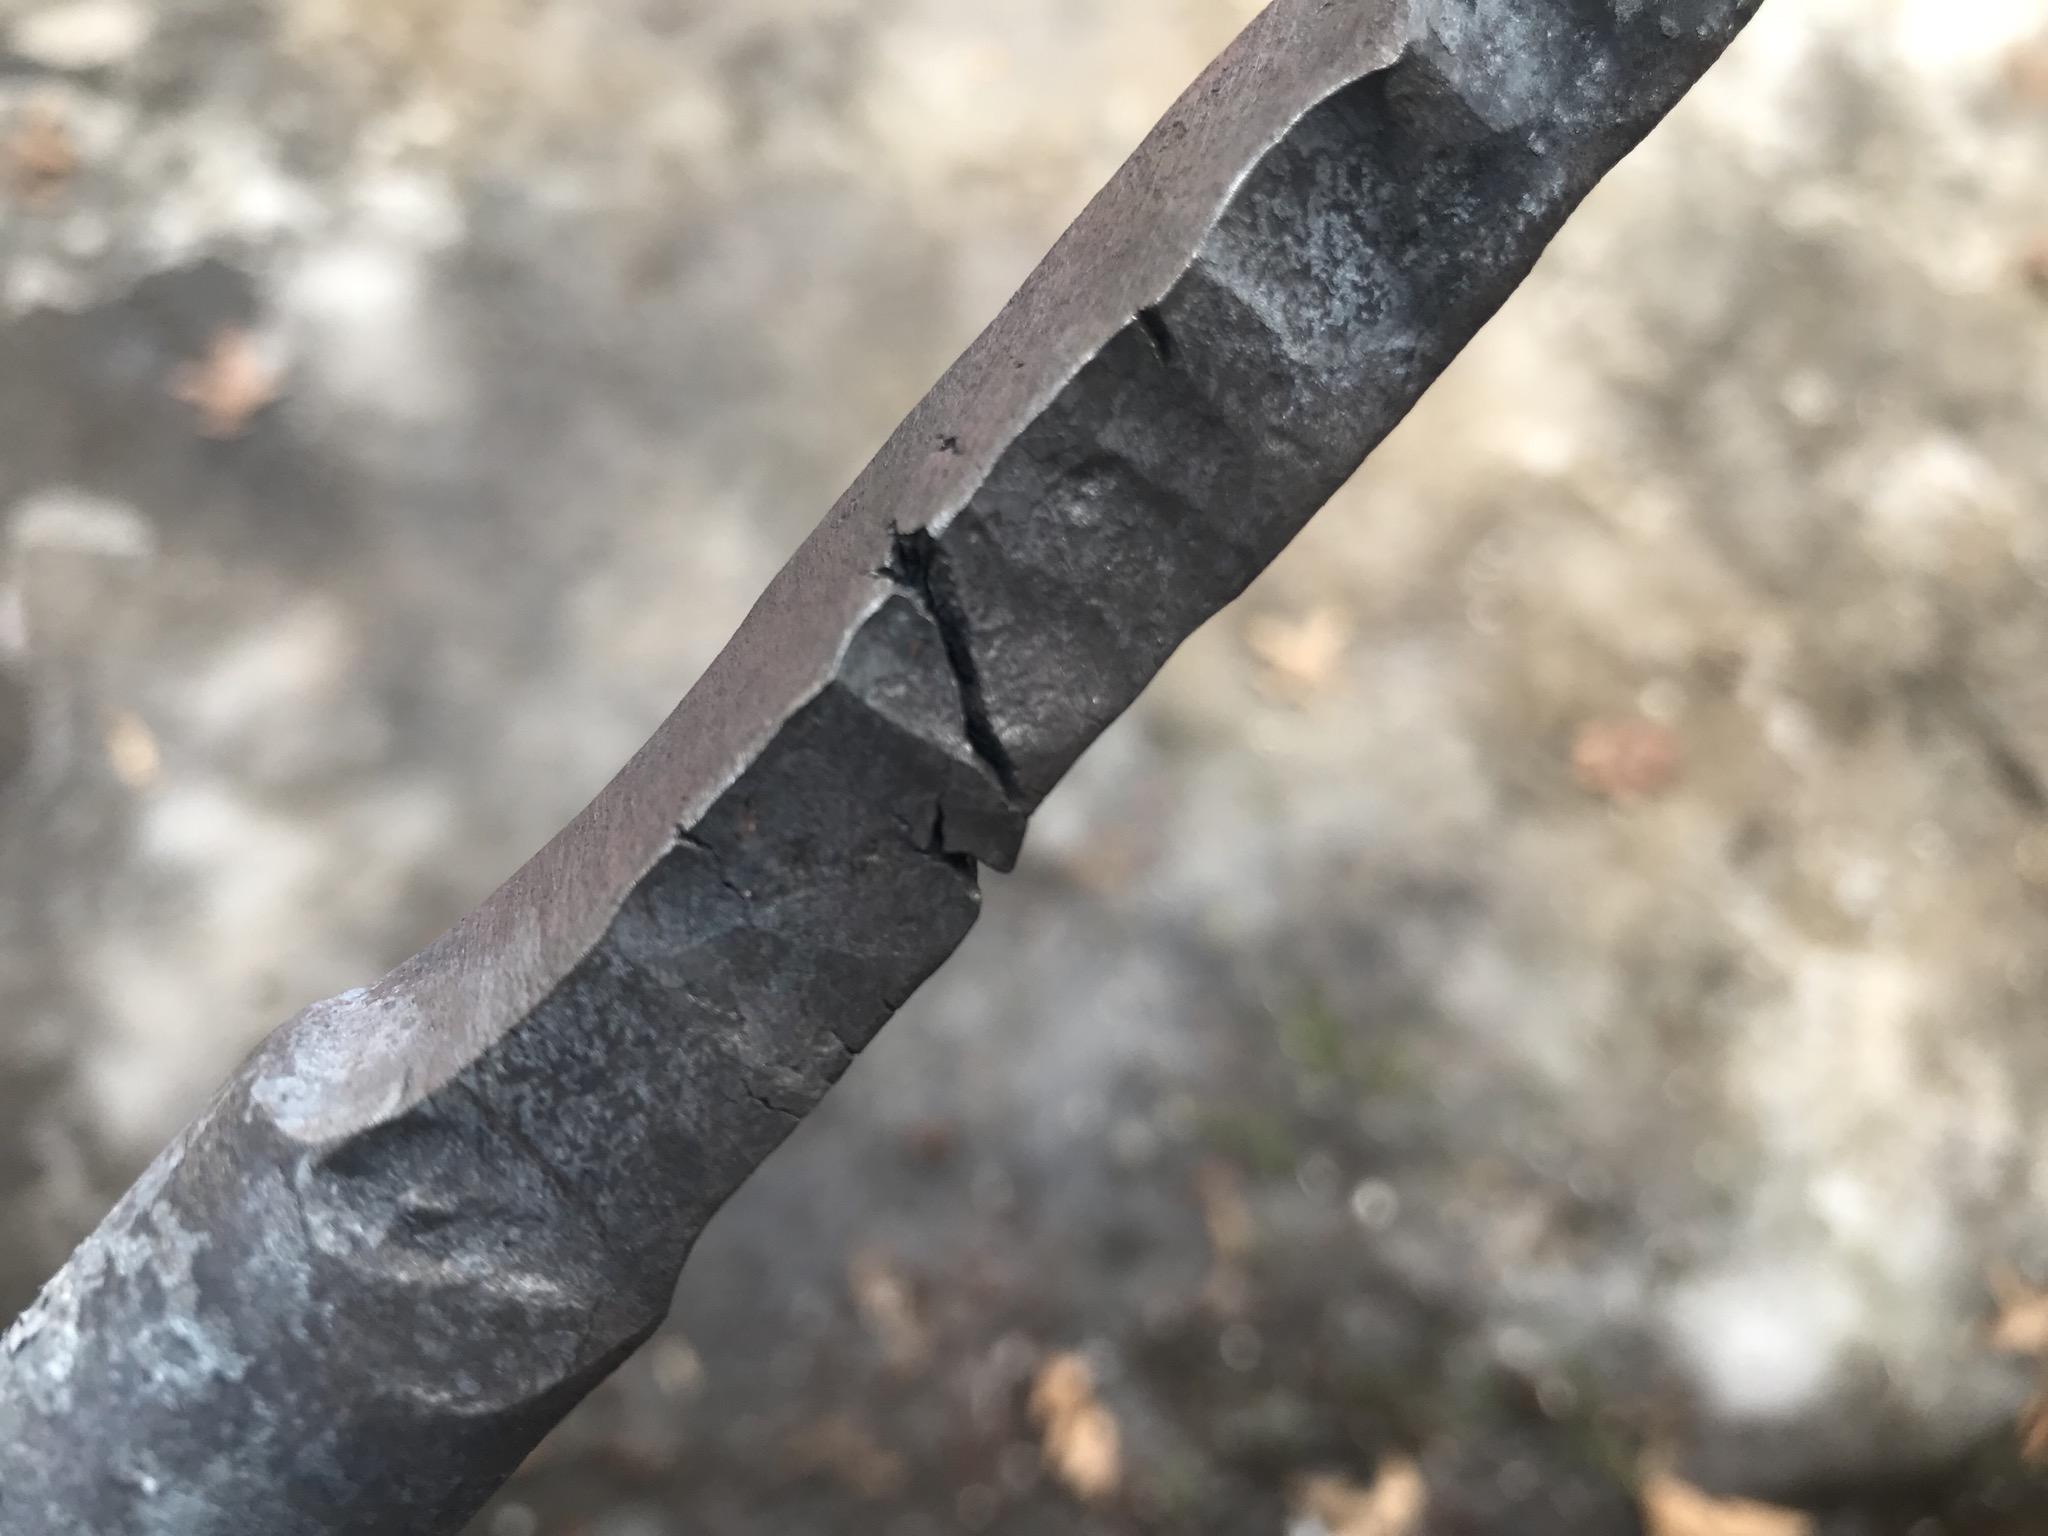
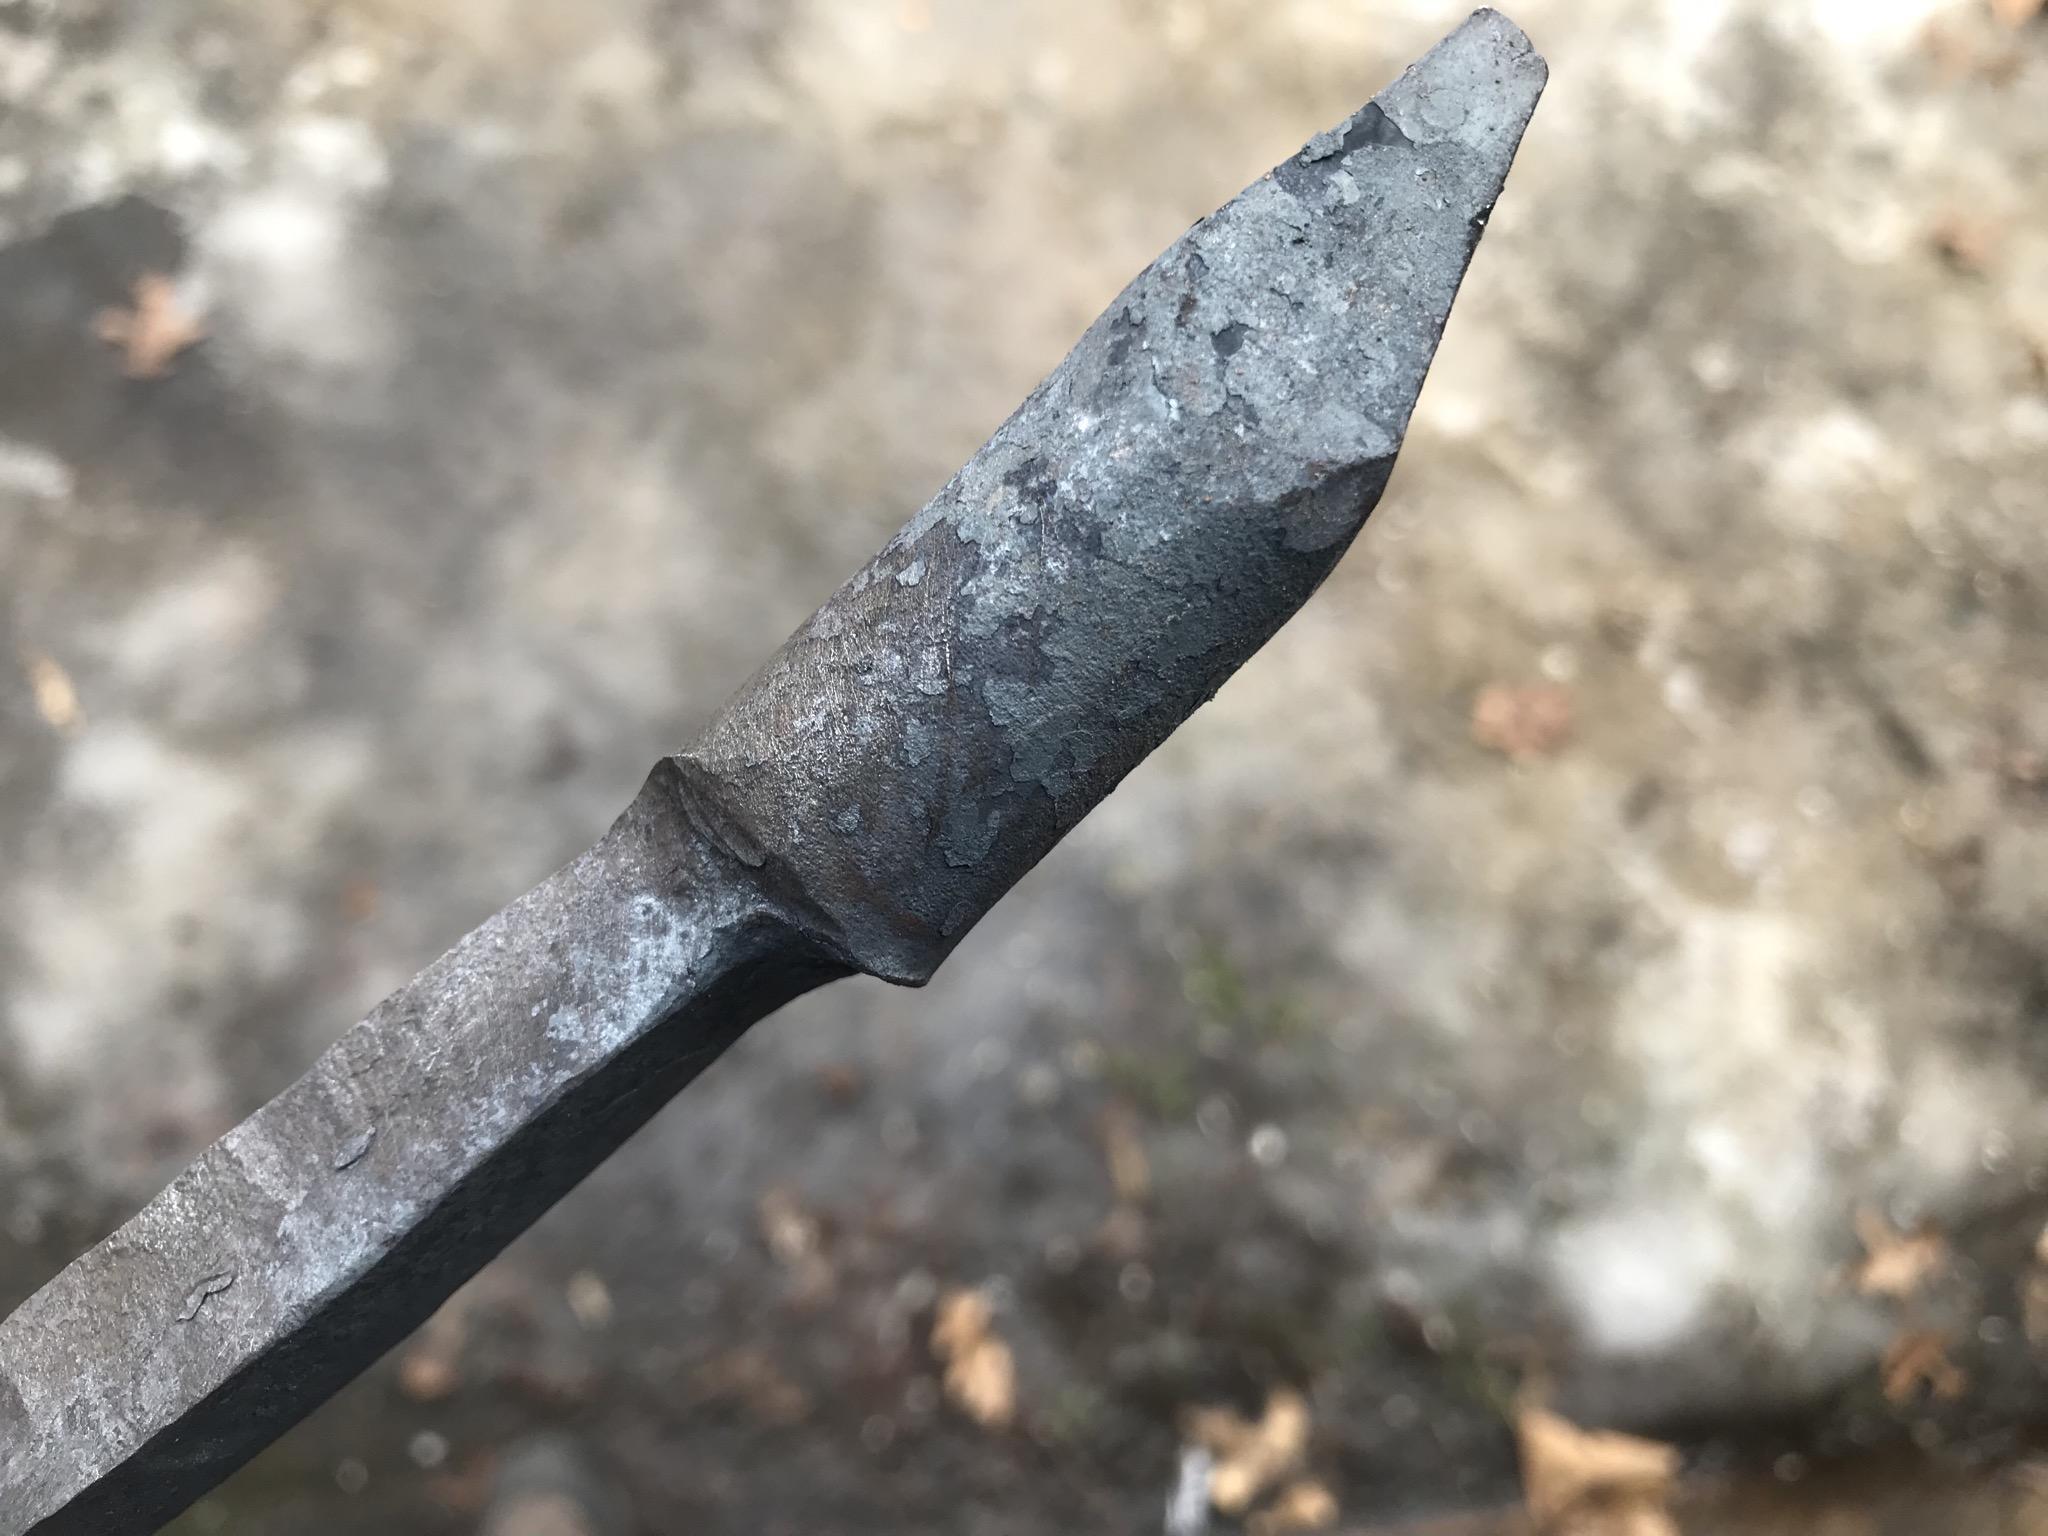
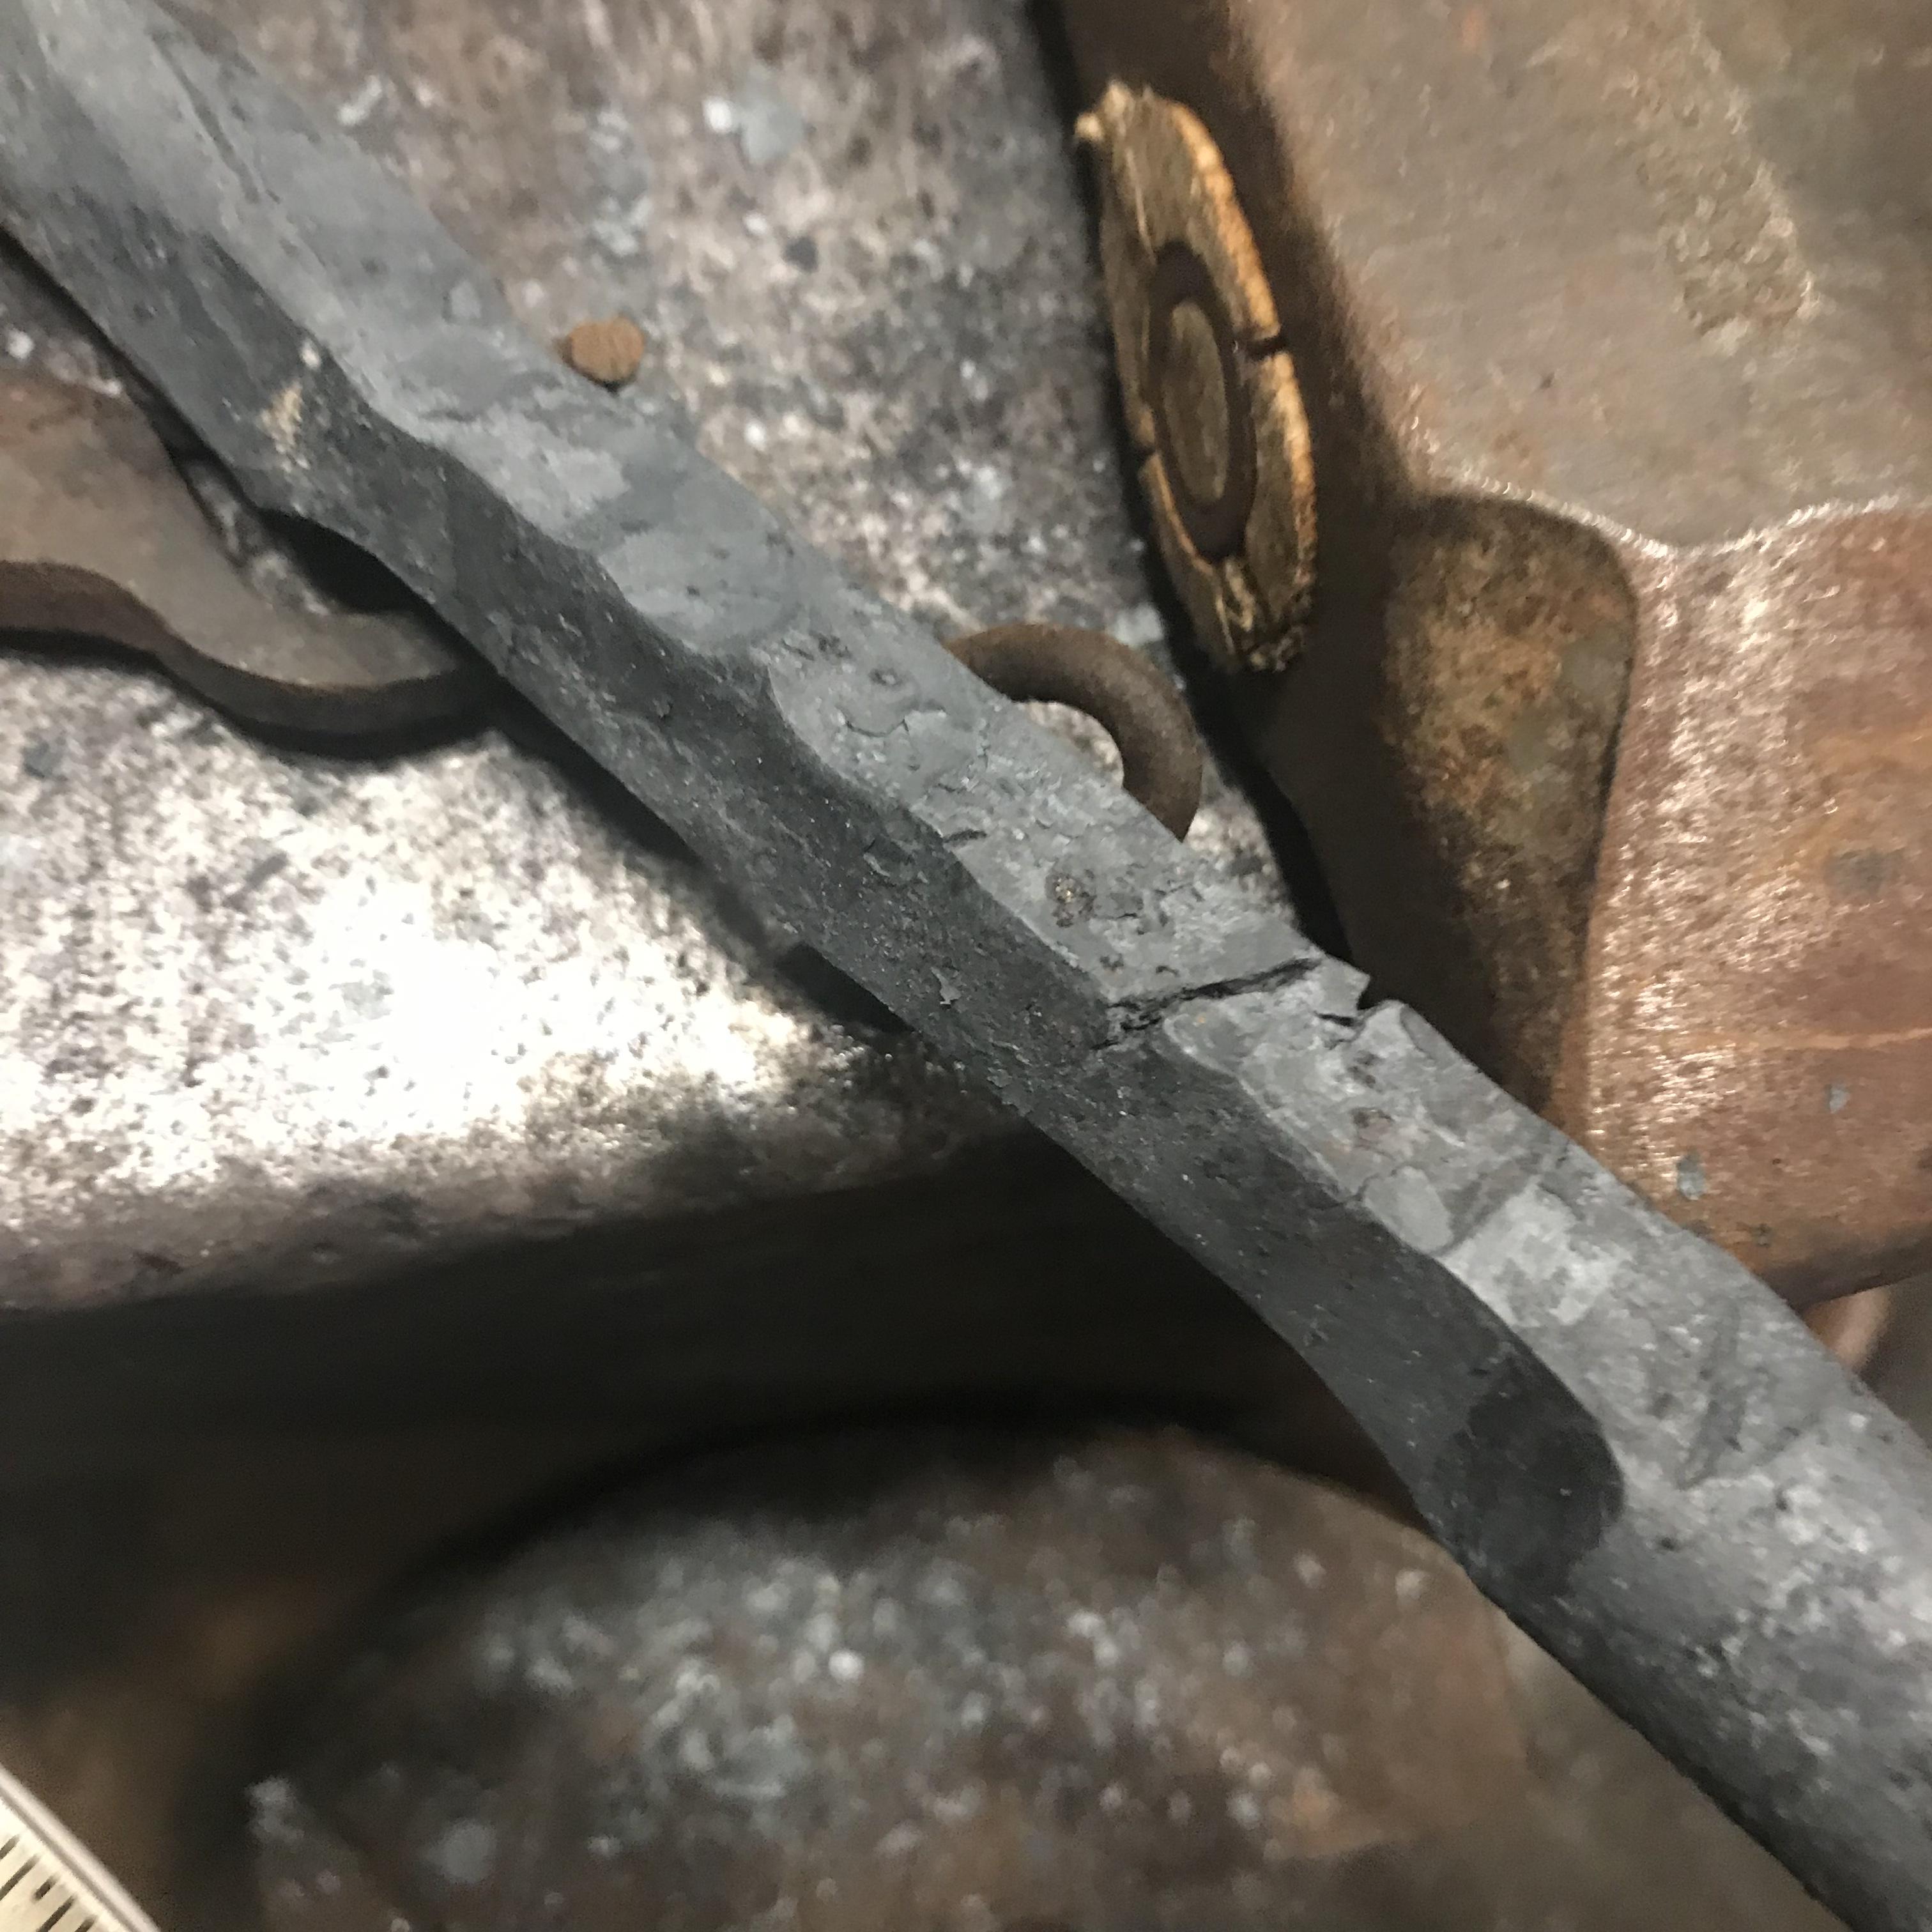
Last Quad-State, I got a couple of yards of 3/4" round rod in O1. Yesterday, I finally got around to starting a knife, but ran into some problems which I'd appreciate some help with. In short, I got some nasty cracking while drawing out what was supposed to be the tang. Could someone please take a look at the following photos and give me an idea of what I may have done wrong? I understand that O1 can have issues with air hardening and contact quenching, that working it too cold can lead to cracking, and that working it too hot can make it crumble/cottage cheese. I've already read a couple of the other threads about working with O1, such as this one and this one. The cracks appeared while I was hammering, but I suppose it's possible they had formed earlier and only became evident during drawing out. I don't believe that I burned the metal at any point or got it anywhere near welding temperatures. For comparison, here's the tip of the preform, which has no such issues (what looks like cracking is just scale). For context, I was working with a side-blast forge burning bituminous coal. Ambient air temperature was about 40F. The anvil was not cold -- as I'd been working on some other projects previously -- but not hot, as those projects were fairly light. Hammering was by hand, not with a power or treadle hammer.


-
I haven’t lined my forge yet, but on Lou’s recommendation, I got a quart of System Three white silica filler from Amazon. It’s under nine bucks. I’m told West Systems makes a similar product. Oh, and mentioning brands and suppliers by name is okay. It’s just direct links to commercial sites (outside of the Knifemaking Suppliers page) that are verboten. I haven’t lined my forge yet, but on Lou’s recommendation, I got a quart of System Three white silica filler from Amazon. It’s under nine bucks. I’m told West Systems makes a similar product. Oh, and mentioning brands and suppliers by name is okay. It’s just direct links to commercial sites (outside of the Knifemaking Suppliers page) that are verboten. And welcome to IFI! If you haven’t yet, please READ THIS FIRST!!!
-
What did you do in the shop today?
JHCC replied to Mark Ling's topic in Blacksmithing, General Discussion
Could be worse: you might have said "Antichrist"! -
What did you do in the shop today?
JHCC replied to Mark Ling's topic in Blacksmithing, General Discussion
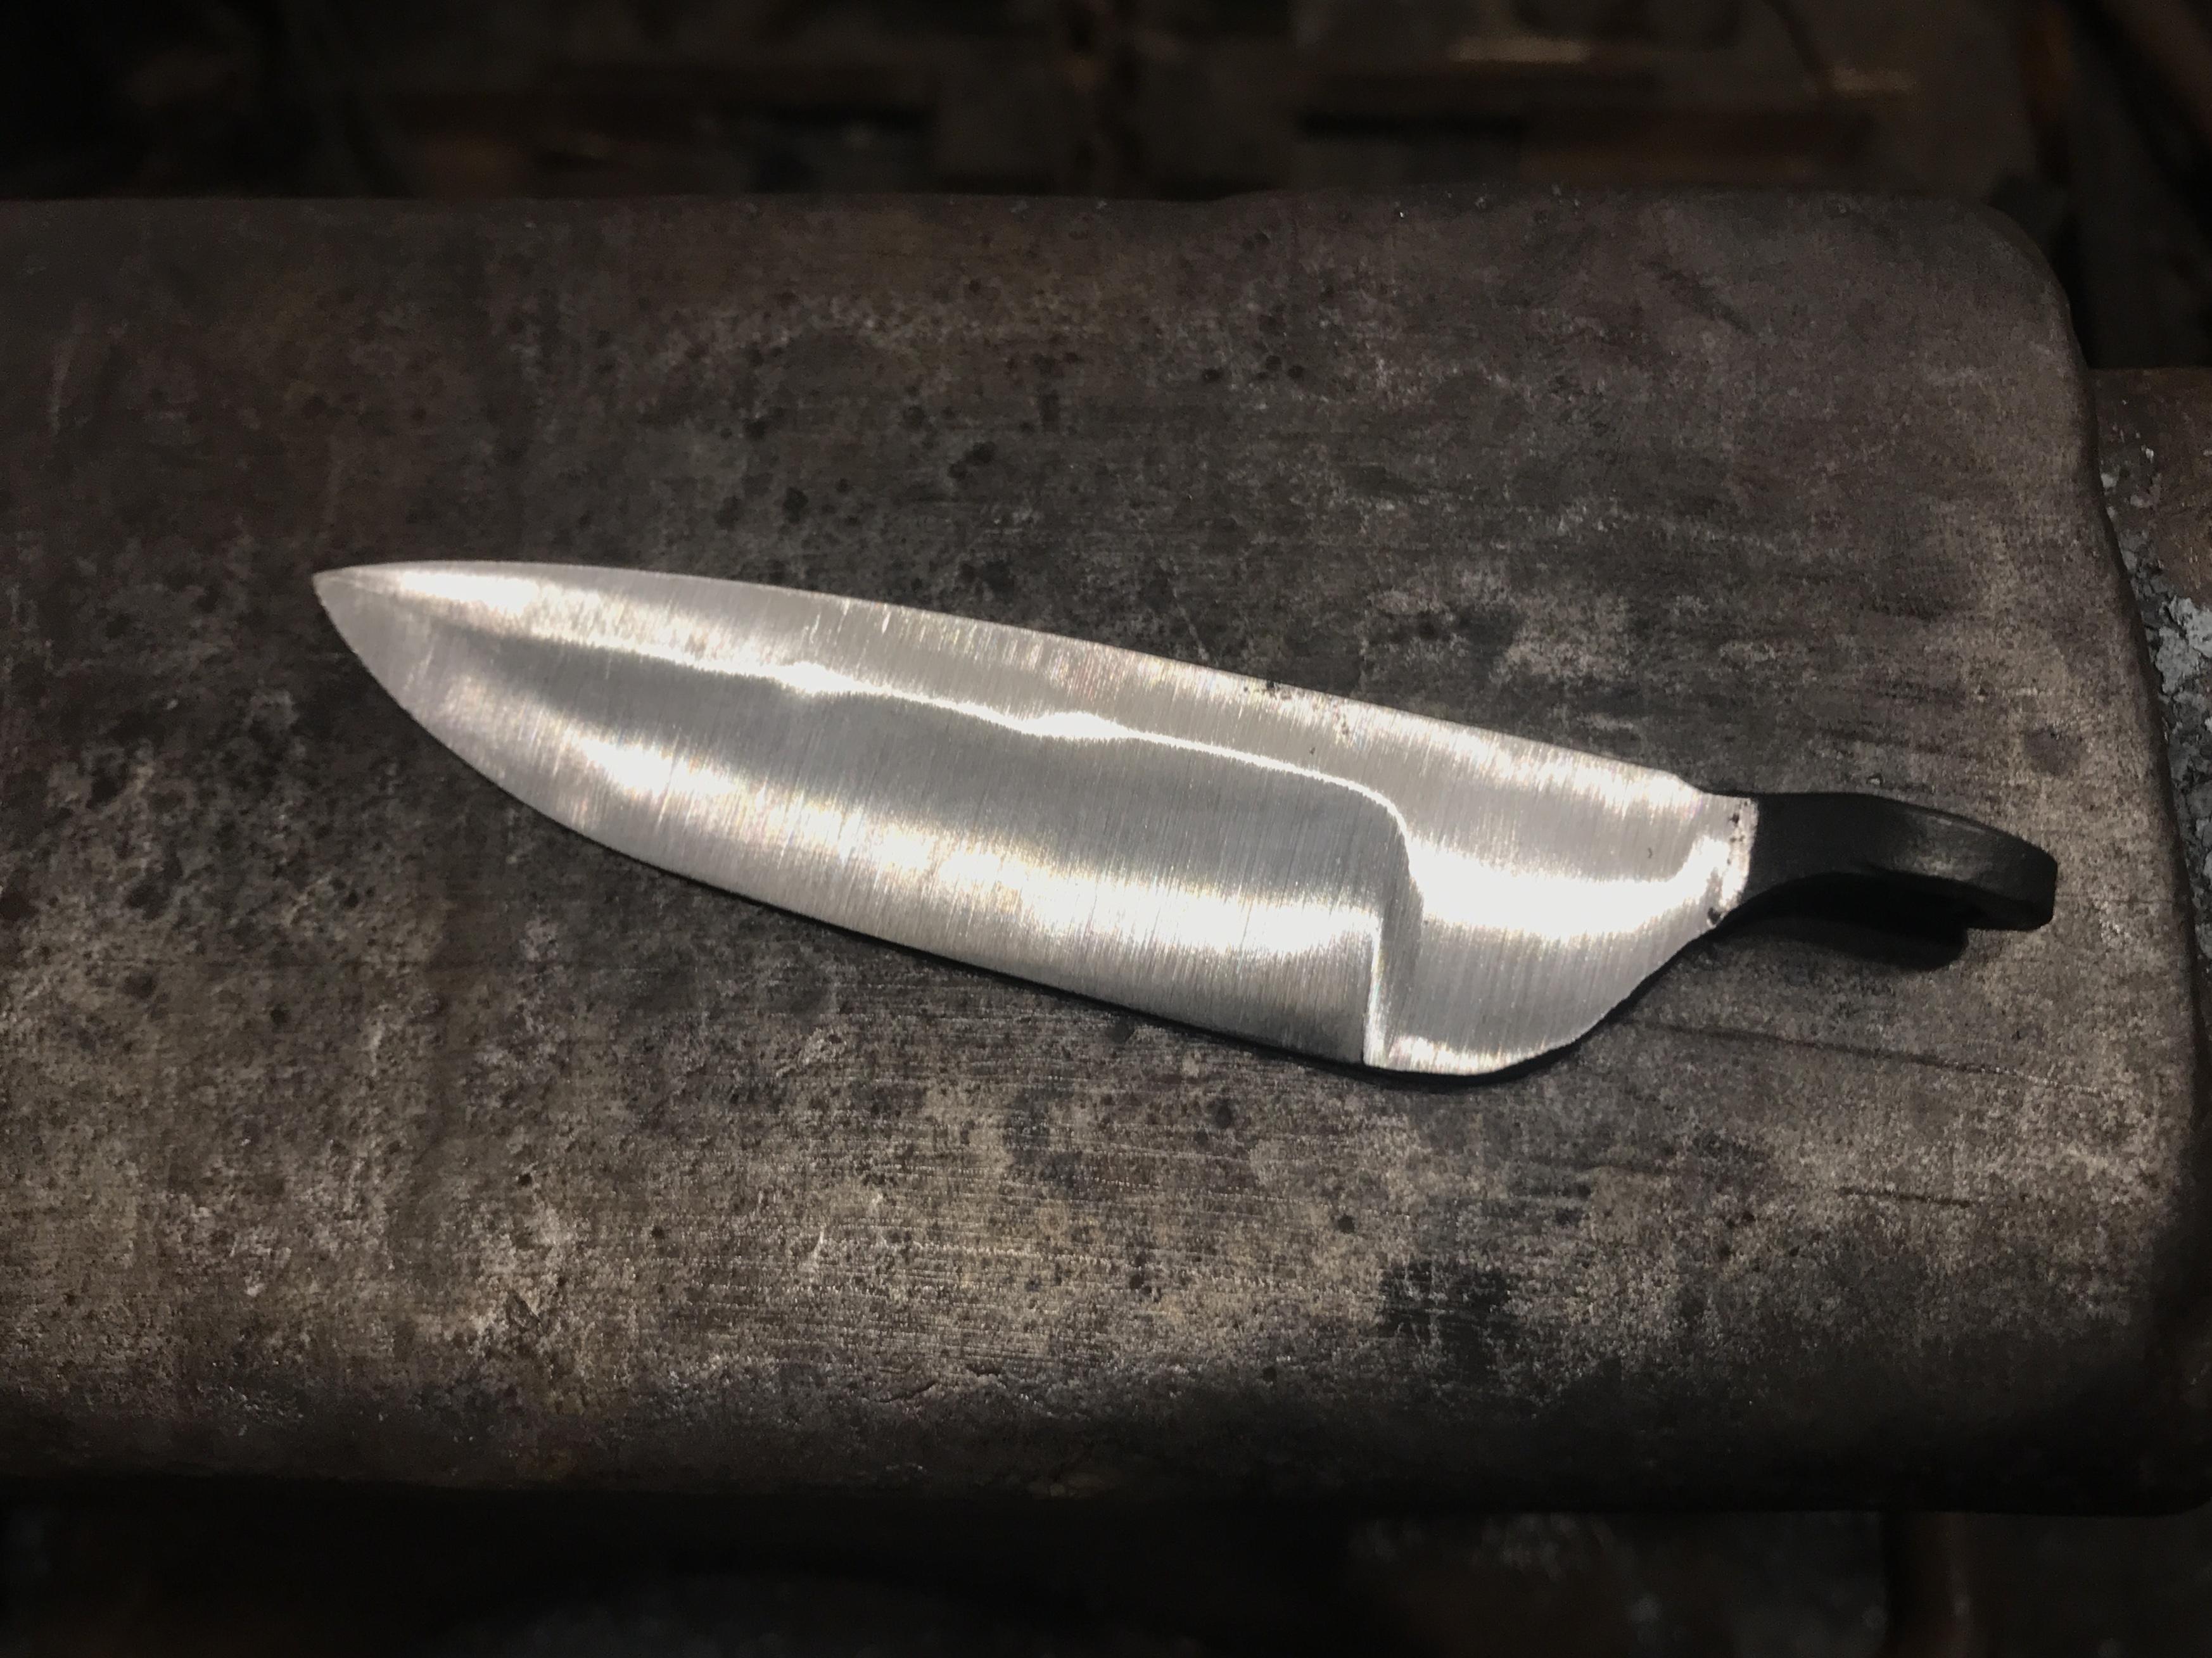
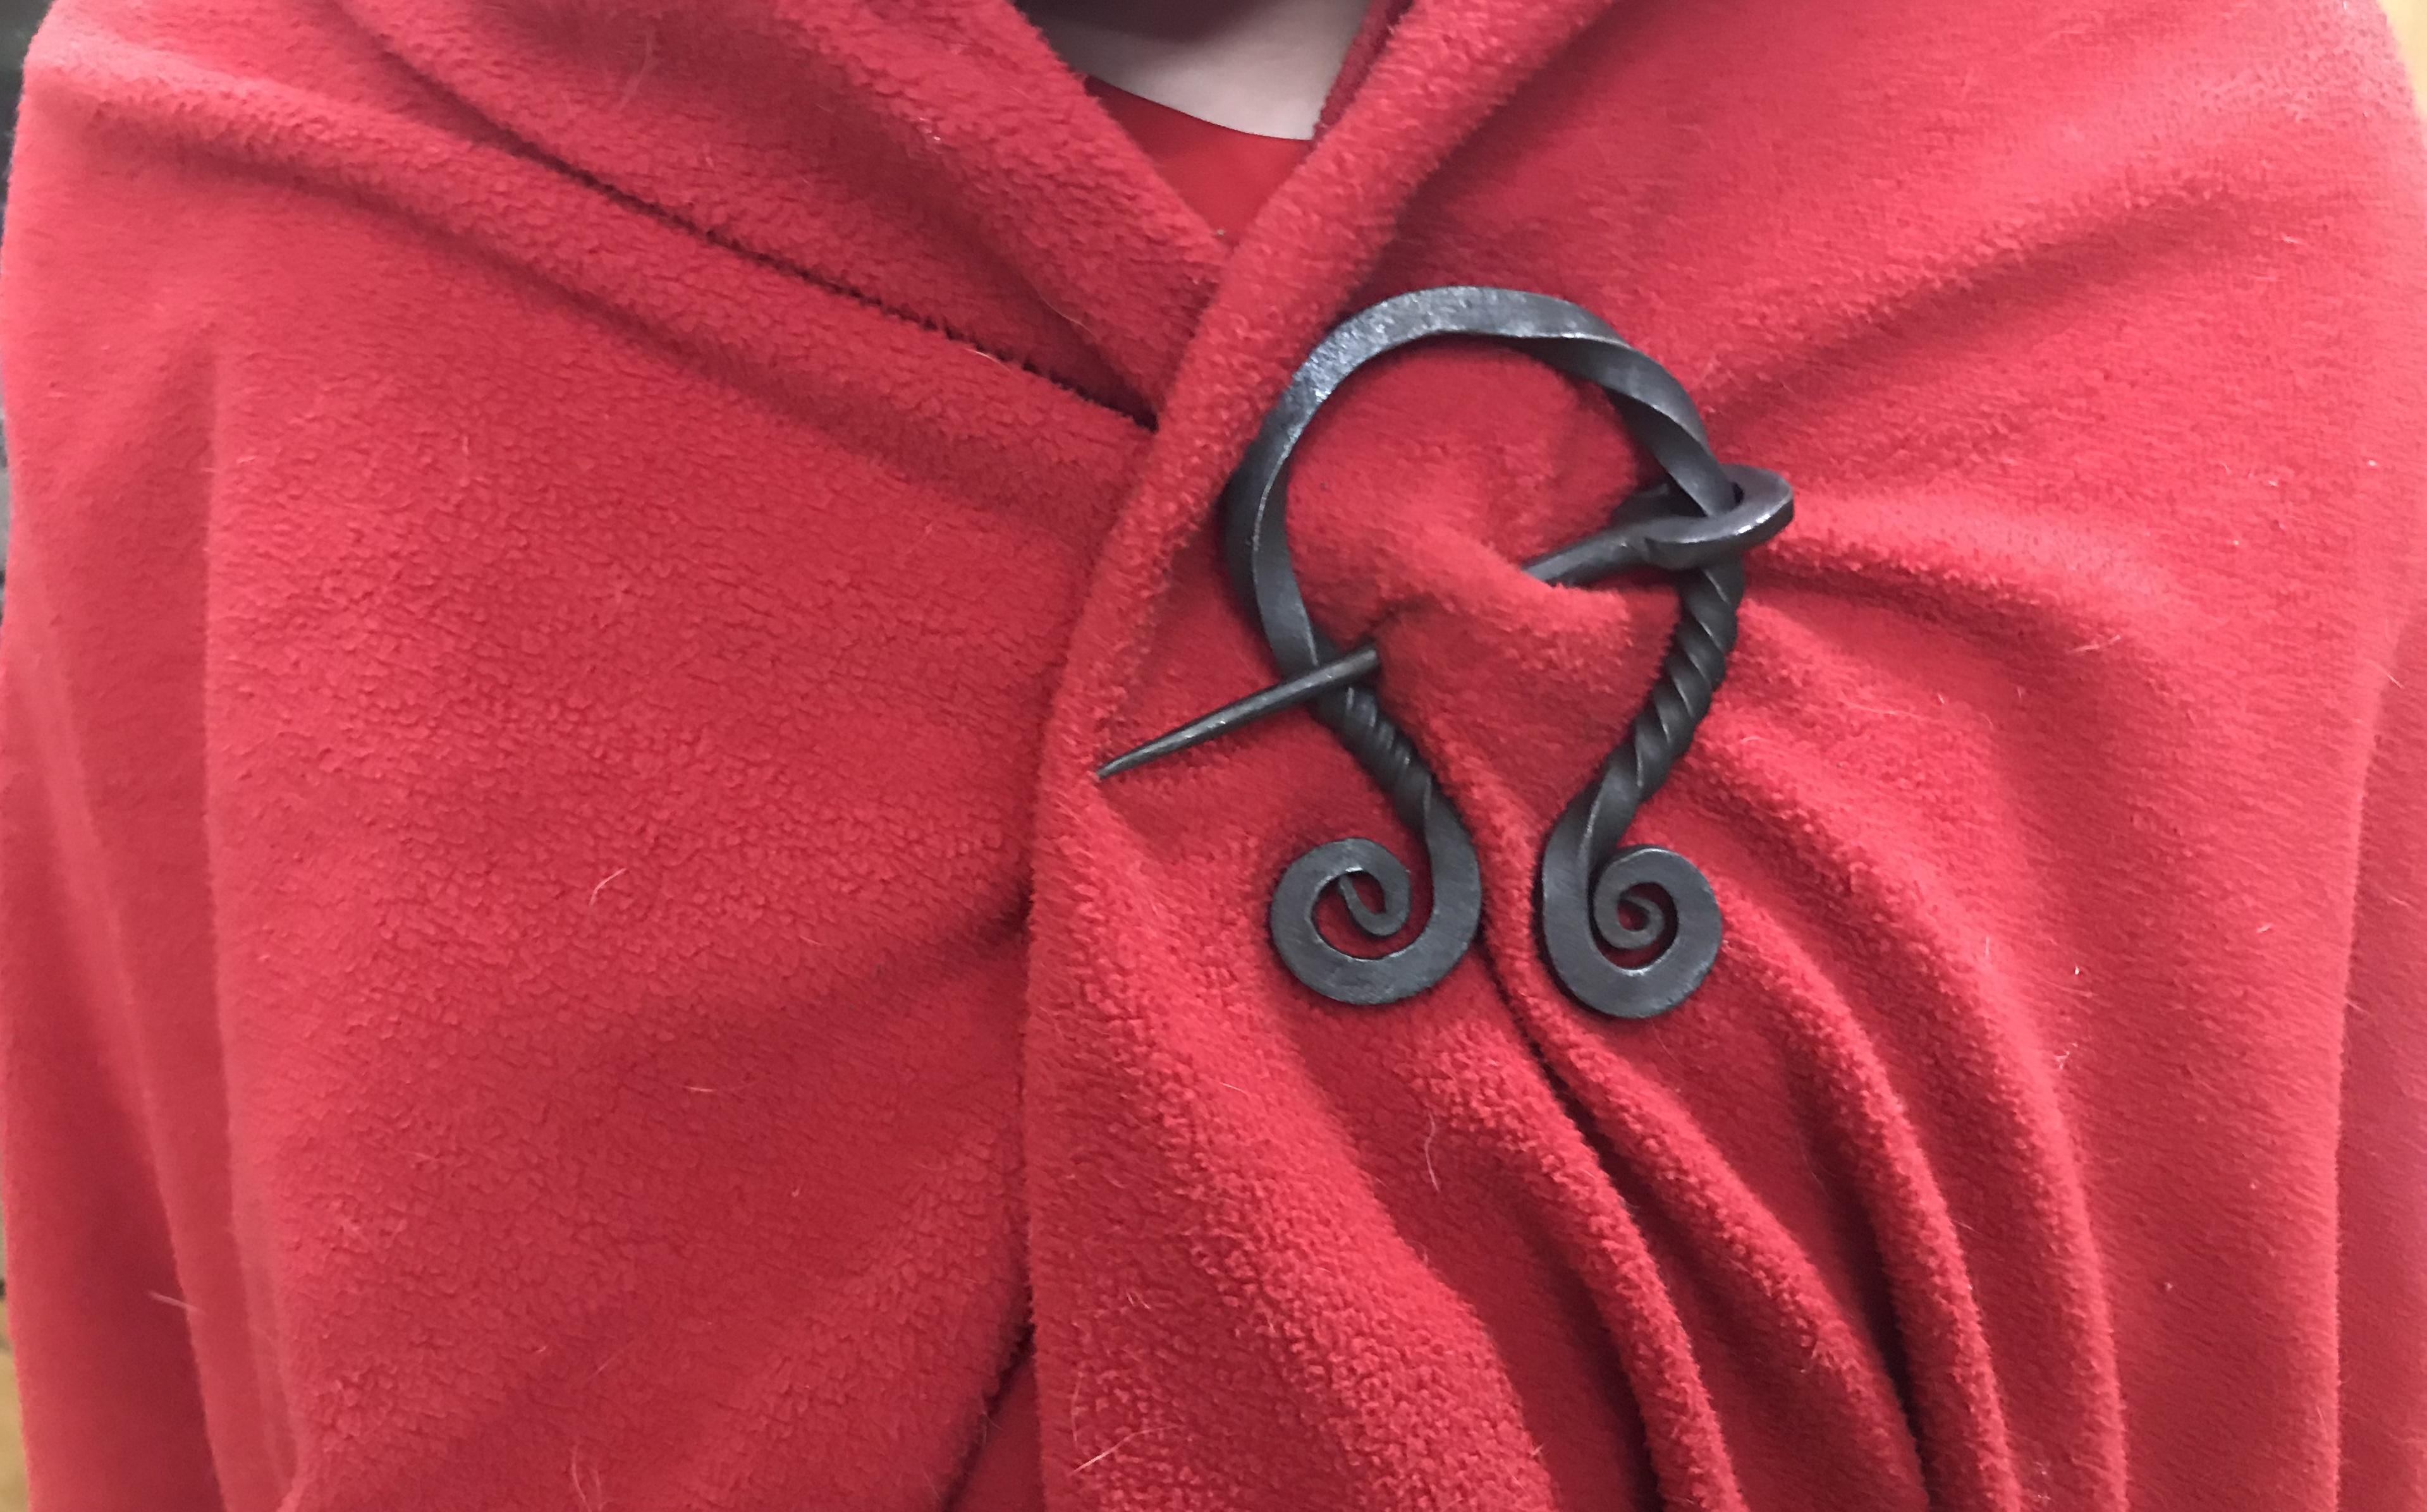
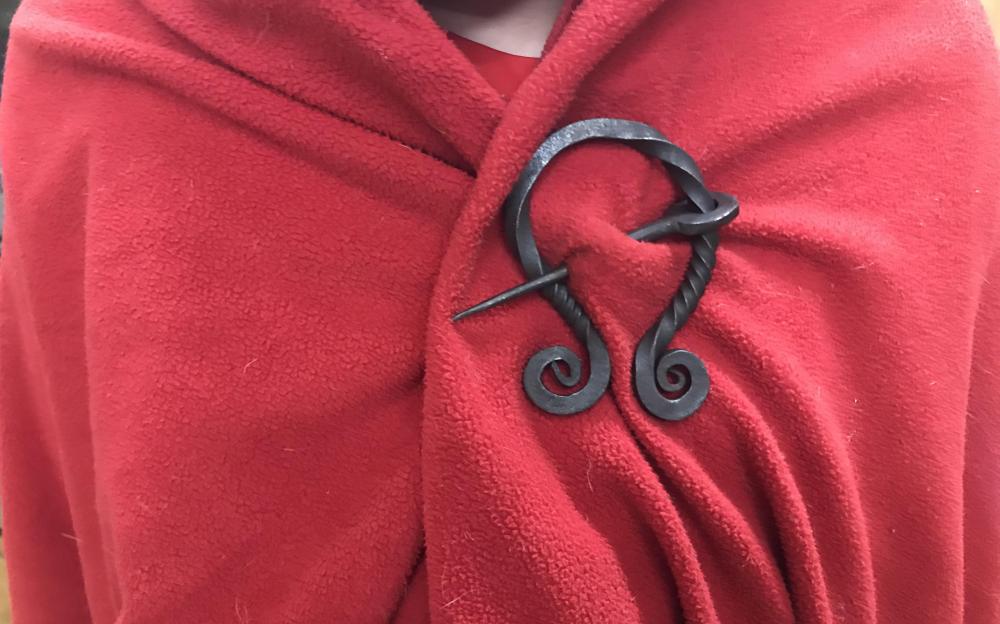
In addition to forging a couple of bits and pieces for the shop (some more successful than others), I made an annular brooch for Lisa to use as a shawl pin: Also did some bladesmithing, forging the parts for a folder with a 1080 blade. I also started making a blacksmith’s knife out of O1 and learned a valuable lesson about its working range. Change of plans! (I think there’s enough to do a hidden tang.)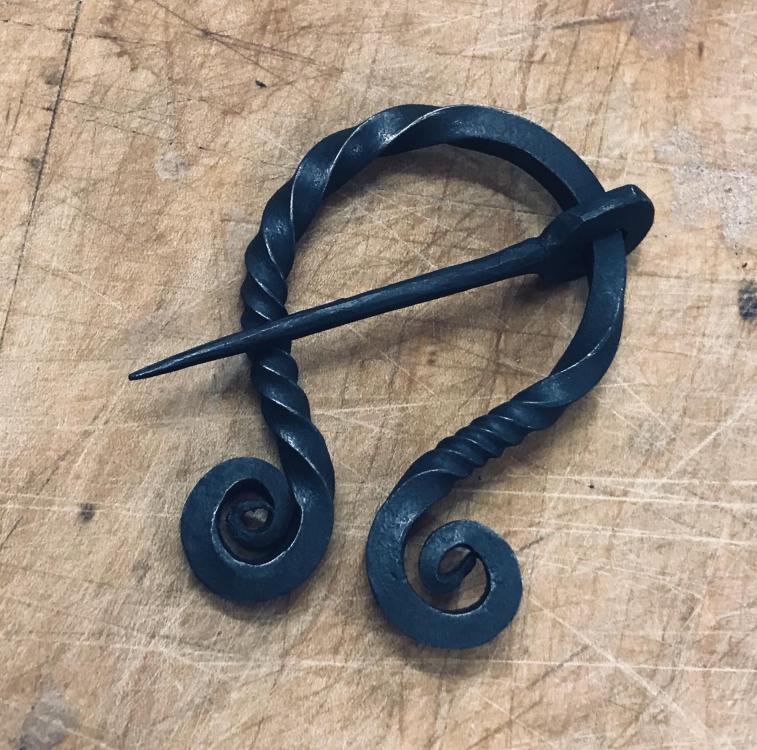

-
To give a slightly simpler (and perhaps a hair more practical) answer, the success or failure of the weld is determined in the moment of the initial contact. If the layers don’t stick at that moment at welding heat, they’re not going to start sticking as the billet cools. If they do, then a prolonged squeeze is irrelevant.
-
Be very, very careful cutting any container that ever held anything flammable or explosive. One spark, and we could be reading your obituary.
-
Newbie question.... ringing sound railway track anvil
JHCC replied to Deavil's topic in Anvils, Swage Blocks, and Mandrels
Welcome to IFI! If you haven’t yet, please READ THIS FIRST!!! Cutting a piece of railroad track into an anvil shape is a waste of time and money. This has been discussed at length in the anvils section; check out those discussions for details. -
What did you do in the shop today?
JHCC replied to Mark Ling's topic in Blacksmithing, General Discussion
If there is any exothermic reaction from the curing, I doubt it's enough to make a difference. Even if there is, I suspect any heated components would have cooled to ambient in the recommended 16-24 hour curing time before removing the mold. -
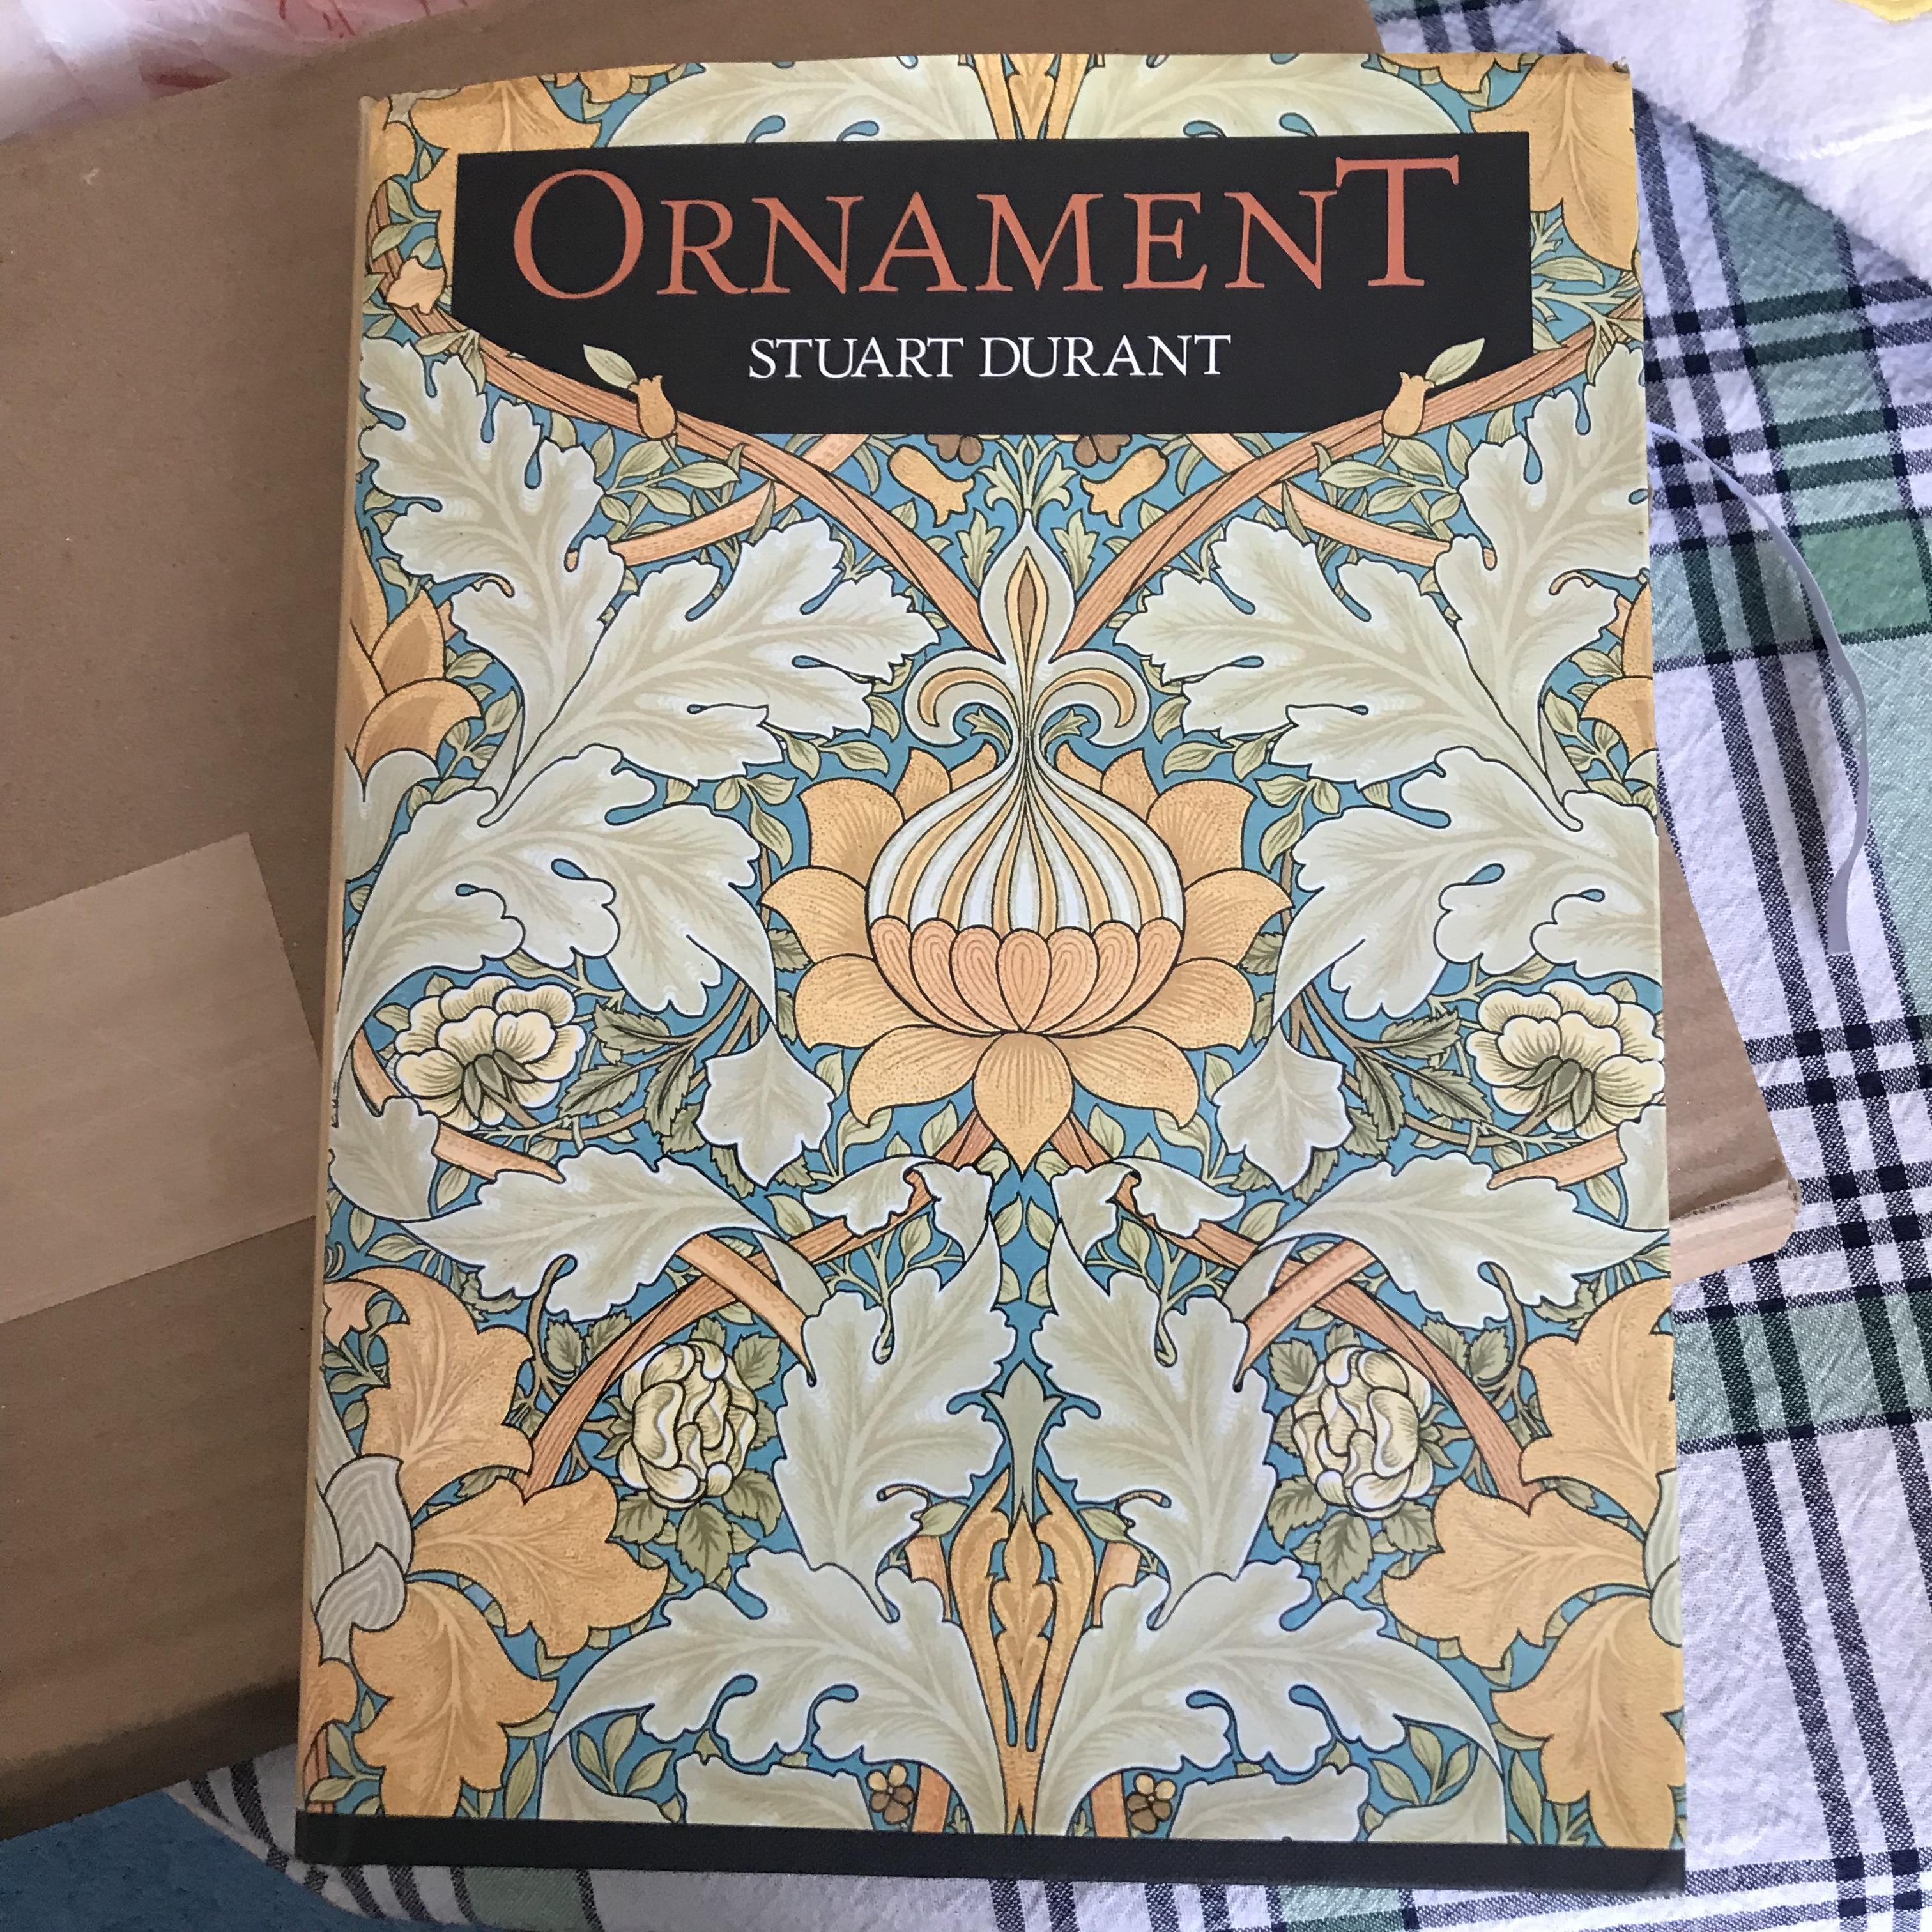
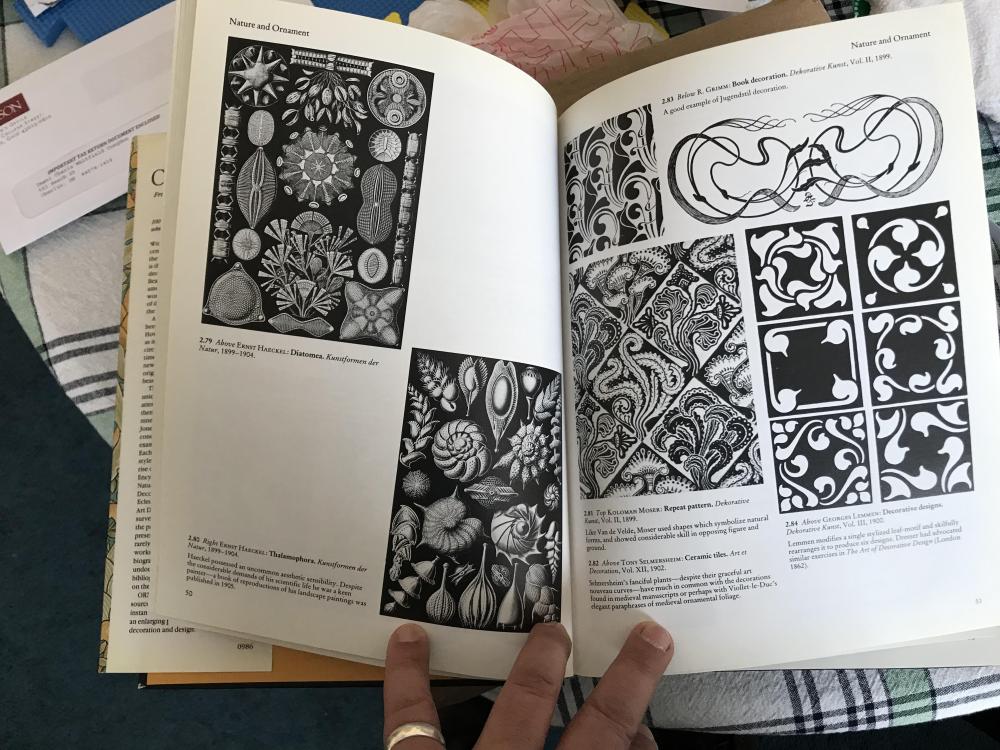
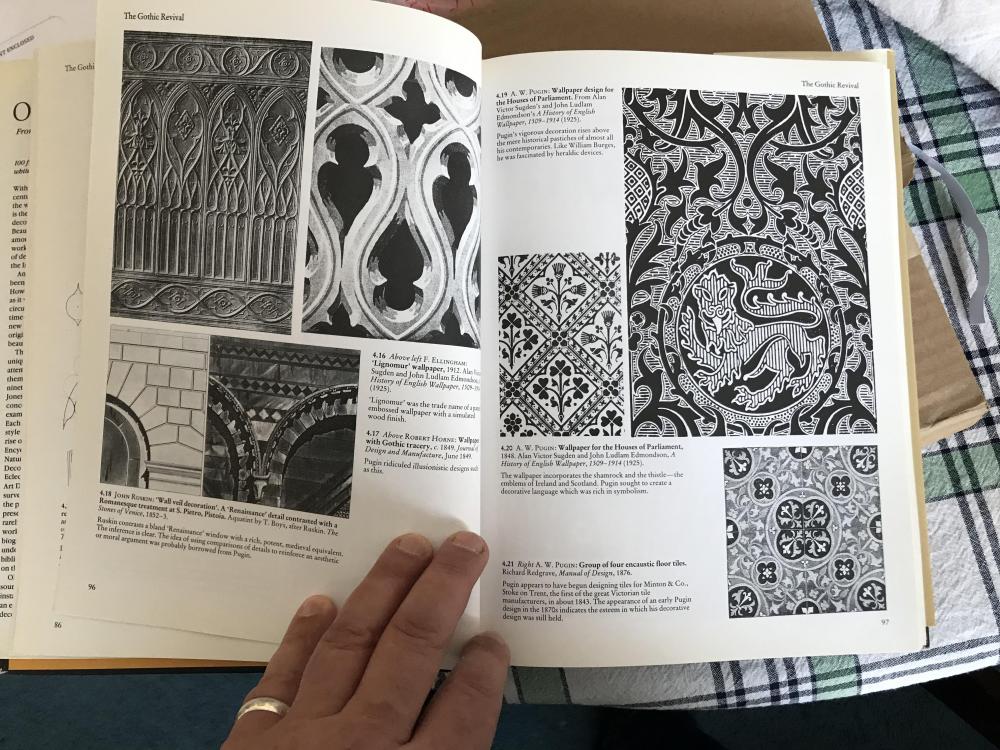
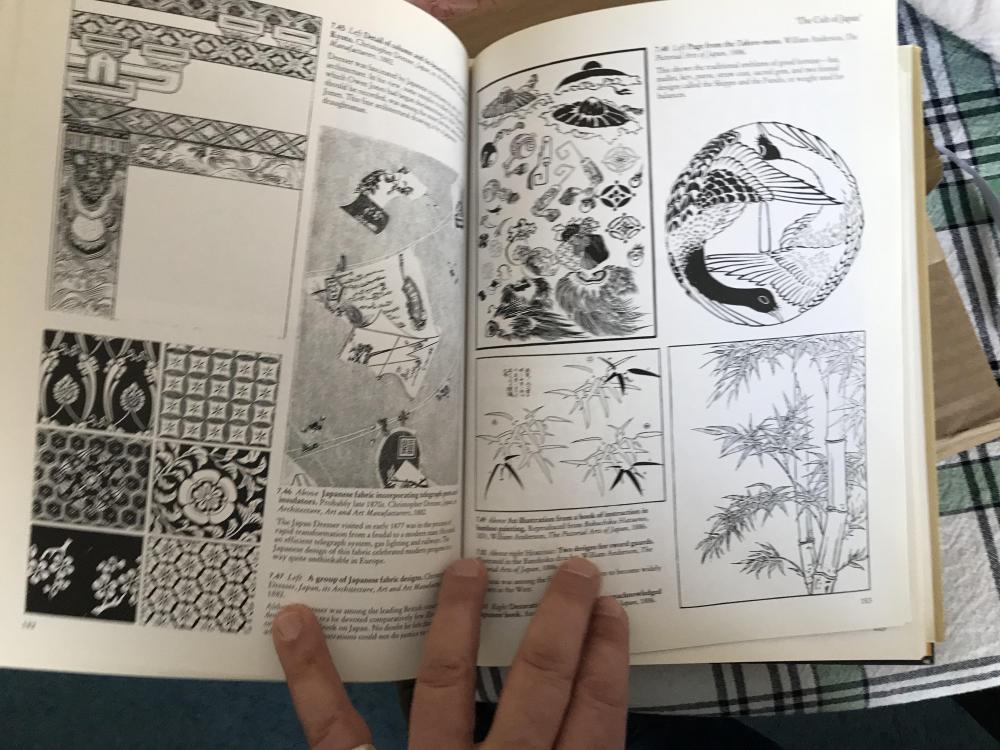
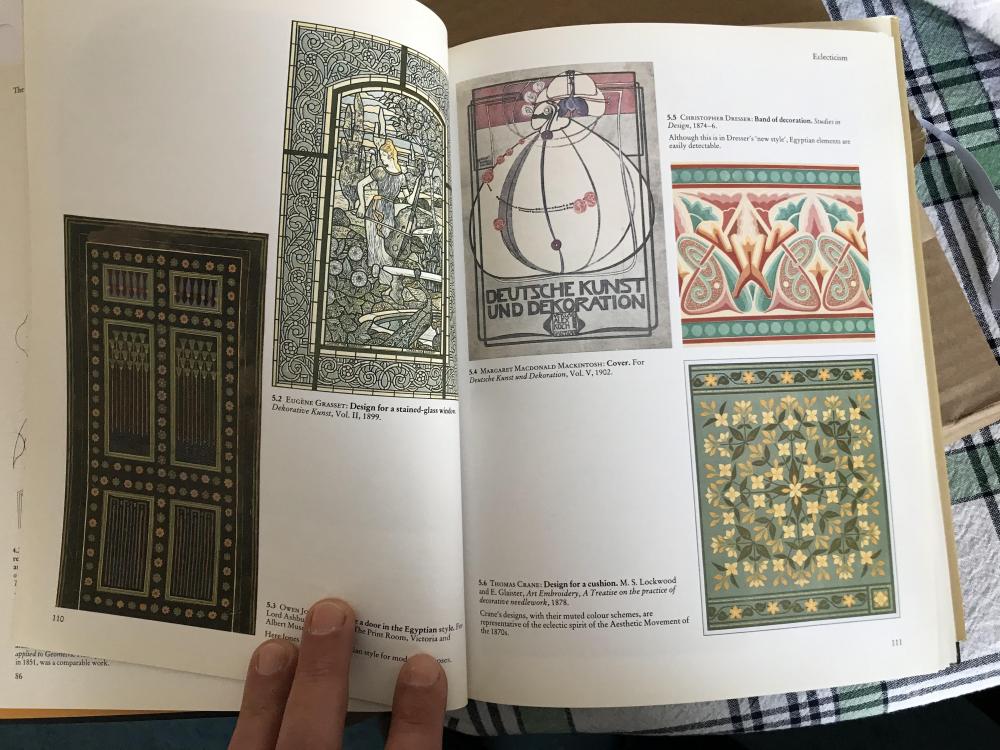
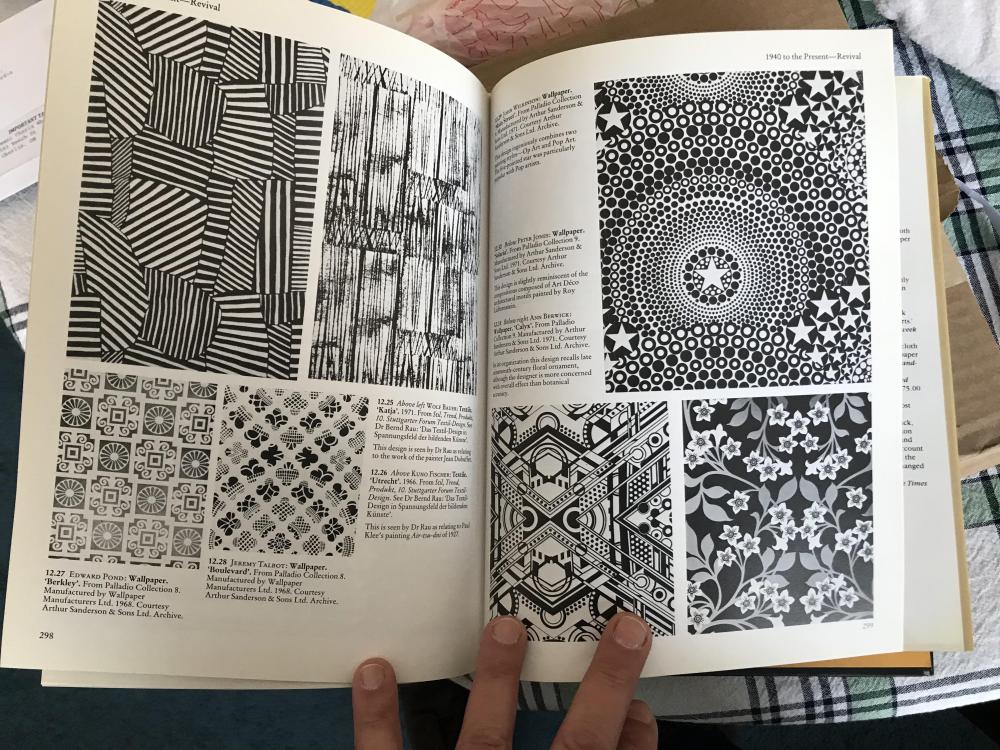
Today’s mail brought a used copy of Stuart Durant’s Ornament. Almost no metalwork as such, but lots of good visual reference — and at $6.72 delivered, you can’t beat the price!

-
Thank you, Lou. You definitely win this year’s IFI Good Citizen Award.
-
What did you do in the shop today?
JHCC replied to Mark Ling's topic in Blacksmithing, General Discussion
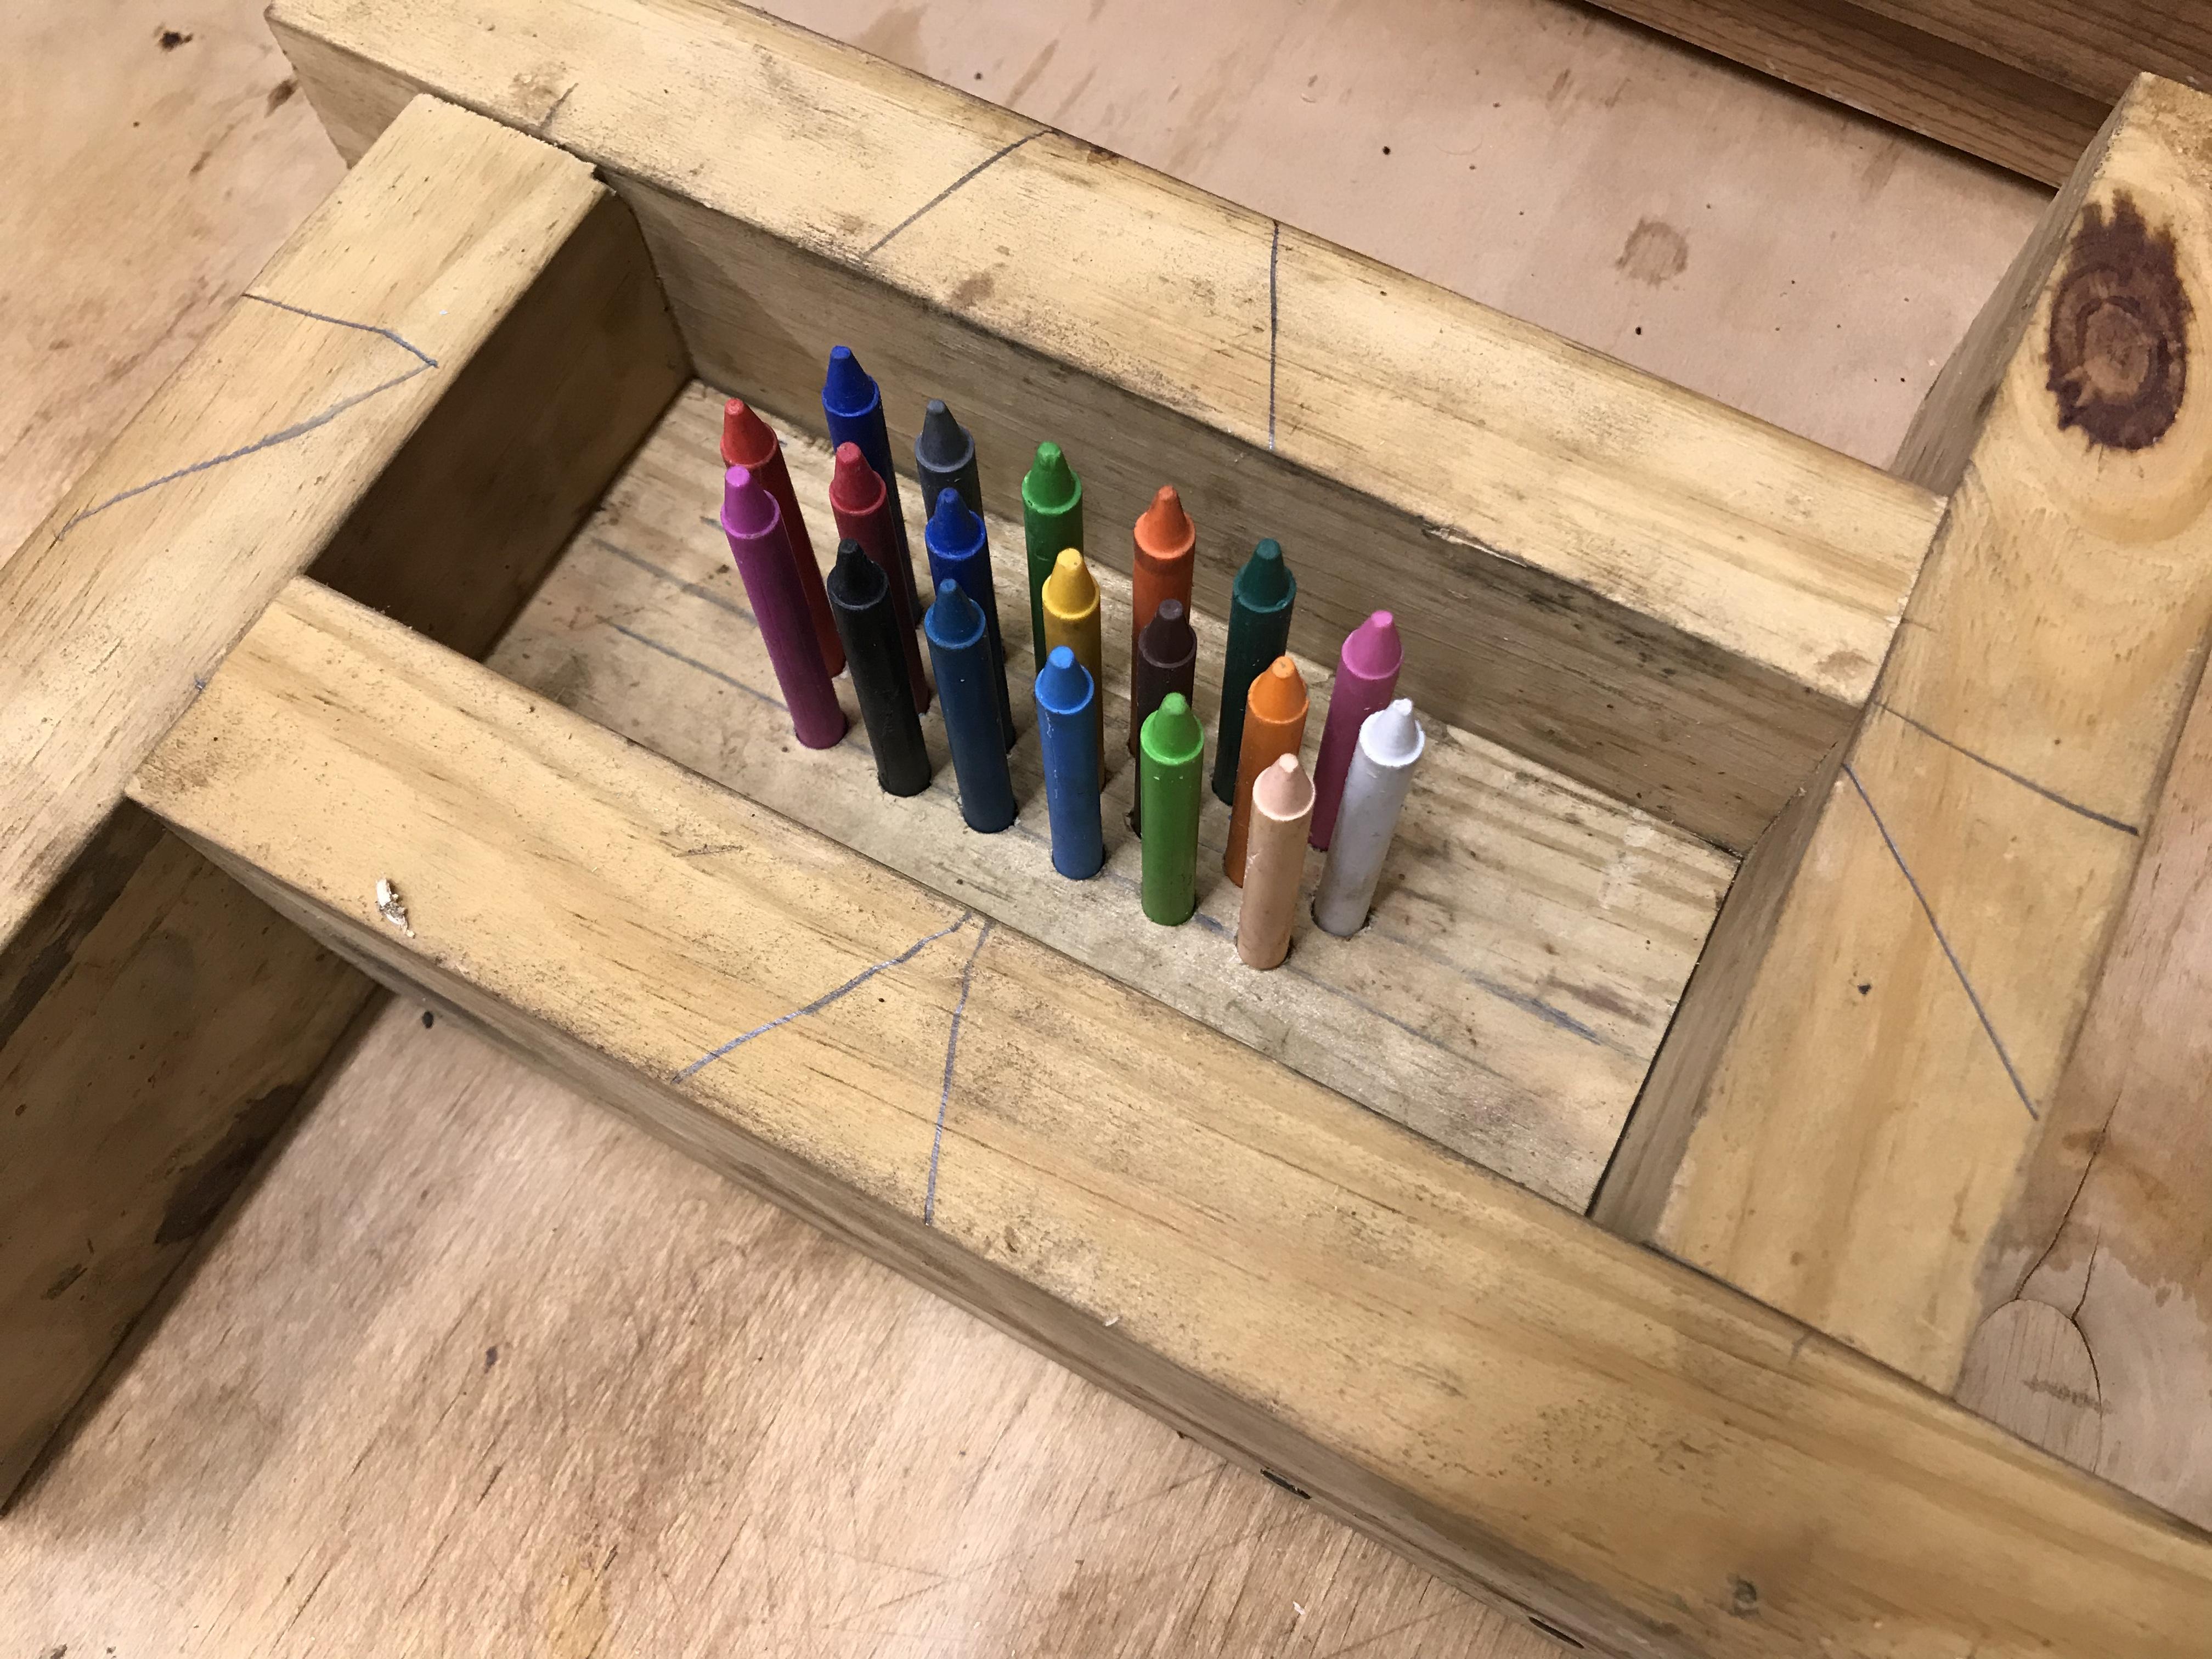
Crayons. Here’s the mold before the pour: I took the twin precautions of peeling off the paper wrappers and coating them with cooking spray before adding the refractory.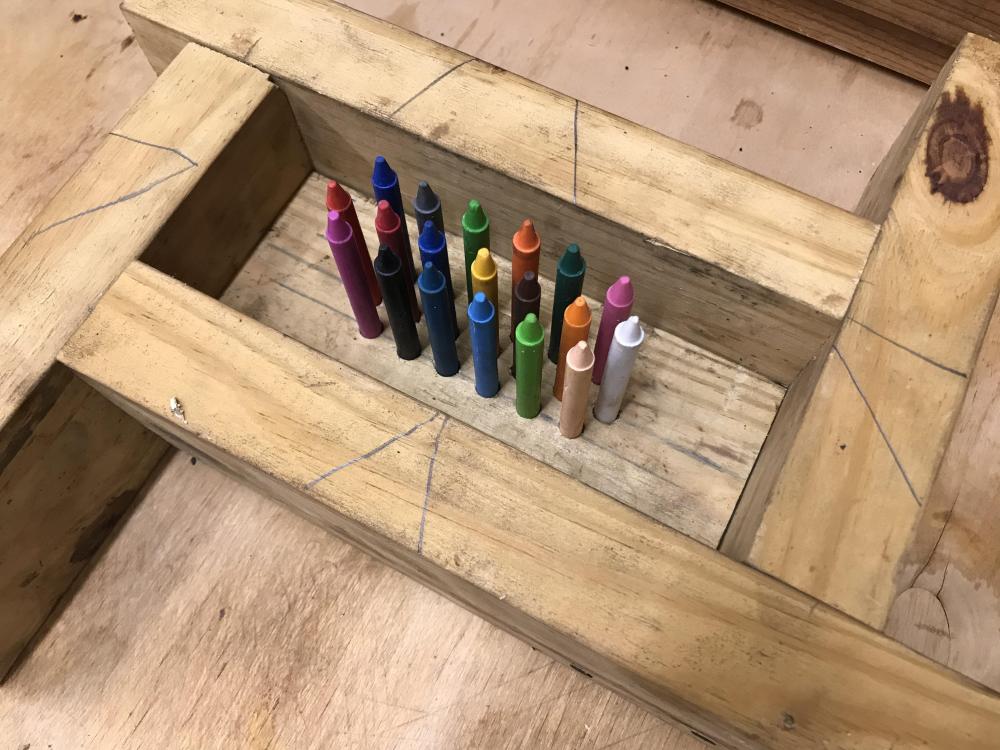
-
Saw this too late to make use of it, but I’d found in another thread the useful detail that since one cubic foot of mixed Kastolite weighs 90 lbs, that’s 19.2 cubic inches per lb. My mold measures 7-3/4” x 3” x 2”, which is 46-1/2 cubic inches. That gave me a starting point of 2 lbs, 6-3/4 oz of dry Kastolite plus between 6-2/3 oz and 7-1/4 oz of water. It’s been very dry, so I ended up using very slightly more water (about 8 oz total) to get what felt like the right consistency. I didn’t add more to account for settling, but I also didn’t subtract any to account for the volume of the crayons; those seem to have canceled each other out.
-
What did you do in the shop today?
JHCC replied to Mark Ling's topic in Blacksmithing, General Discussion
Cool bird, aus! Cast the block on my ribbon burner: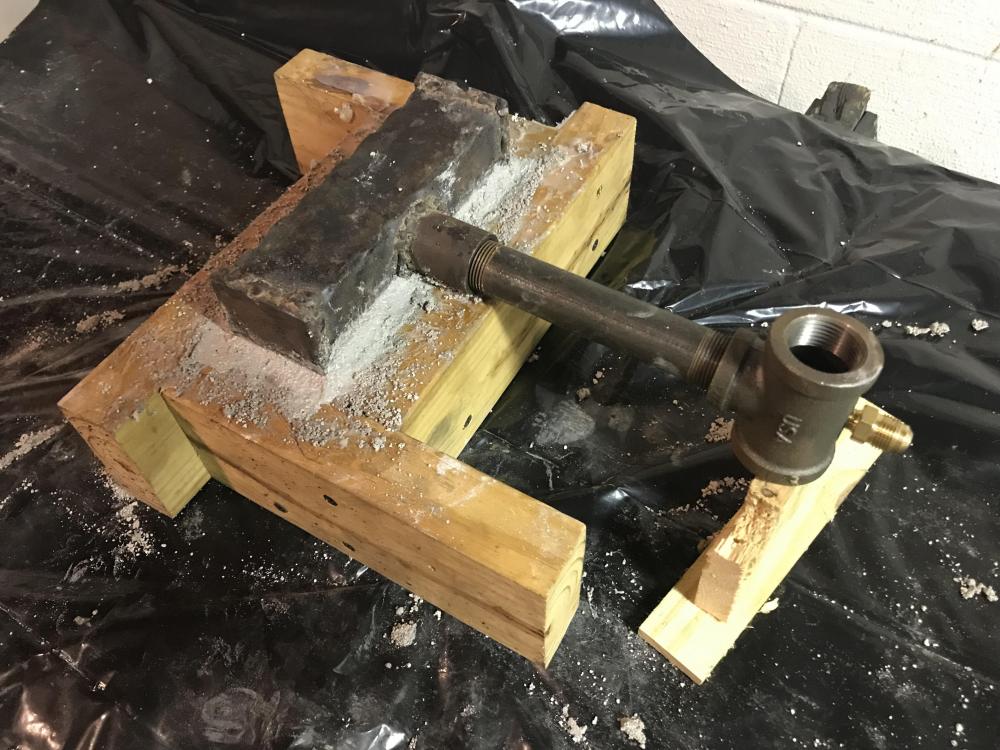
-
What did you do in the shop today?
JHCC replied to Mark Ling's topic in Blacksmithing, General Discussion

-
What did you do in the shop today?
JHCC replied to Mark Ling's topic in Blacksmithing, General Discussion
Mount your anvil to it and move on. -
RR Spike Hardie Tool
JHCC replied to John Becker's topic in Hot Cuts, Anvil devils, metal cutting on the anvil.
Welcome to IFI! If you haven't yet, please READ THIS FIRST!!! A tie plate will not make a good anvil, especially lying flat. You might be able to make it work standing on edge, but even that's not great. Using a RR spike as a bickern for arrowhead sockets might work, but you're going to need to have it much more securely fastened. Take some time to read around the forums (especially the sections on improvised anvils) to get some better ideas. Good luck! -
The only time I've eaten alligator was in Texas, and it was something of a Cajun-style. Very chicken-like, but more moist. I do love a good crawfish etoufee.