DanielC
-
Posts
664 -
Joined
-
Last visited
Content Type
Profiles
Forums
Articles
Gallery
Downloads
Events
Everything posted by DanielC
-
Yea, I planned on cutting perpendicular to each previous fold. I planned on the carbon to burn away, so I have another 15# of kawagane made from the same high Ti magnetite to refine and add in if i need to. Or even thought about de-carbing some cast iron that I found at the historic smelter we mine at, and add it in. I know japanese smiths run into the issues with carbon loss and have been known to Orishigane or add cast iron into the mix to beef it up. Going to risk the quench in water. Water or brine seems to be the only quenchants suitable for bloom. Also, thank you for taking interest in what I am working on. You make some awesome swords.
-
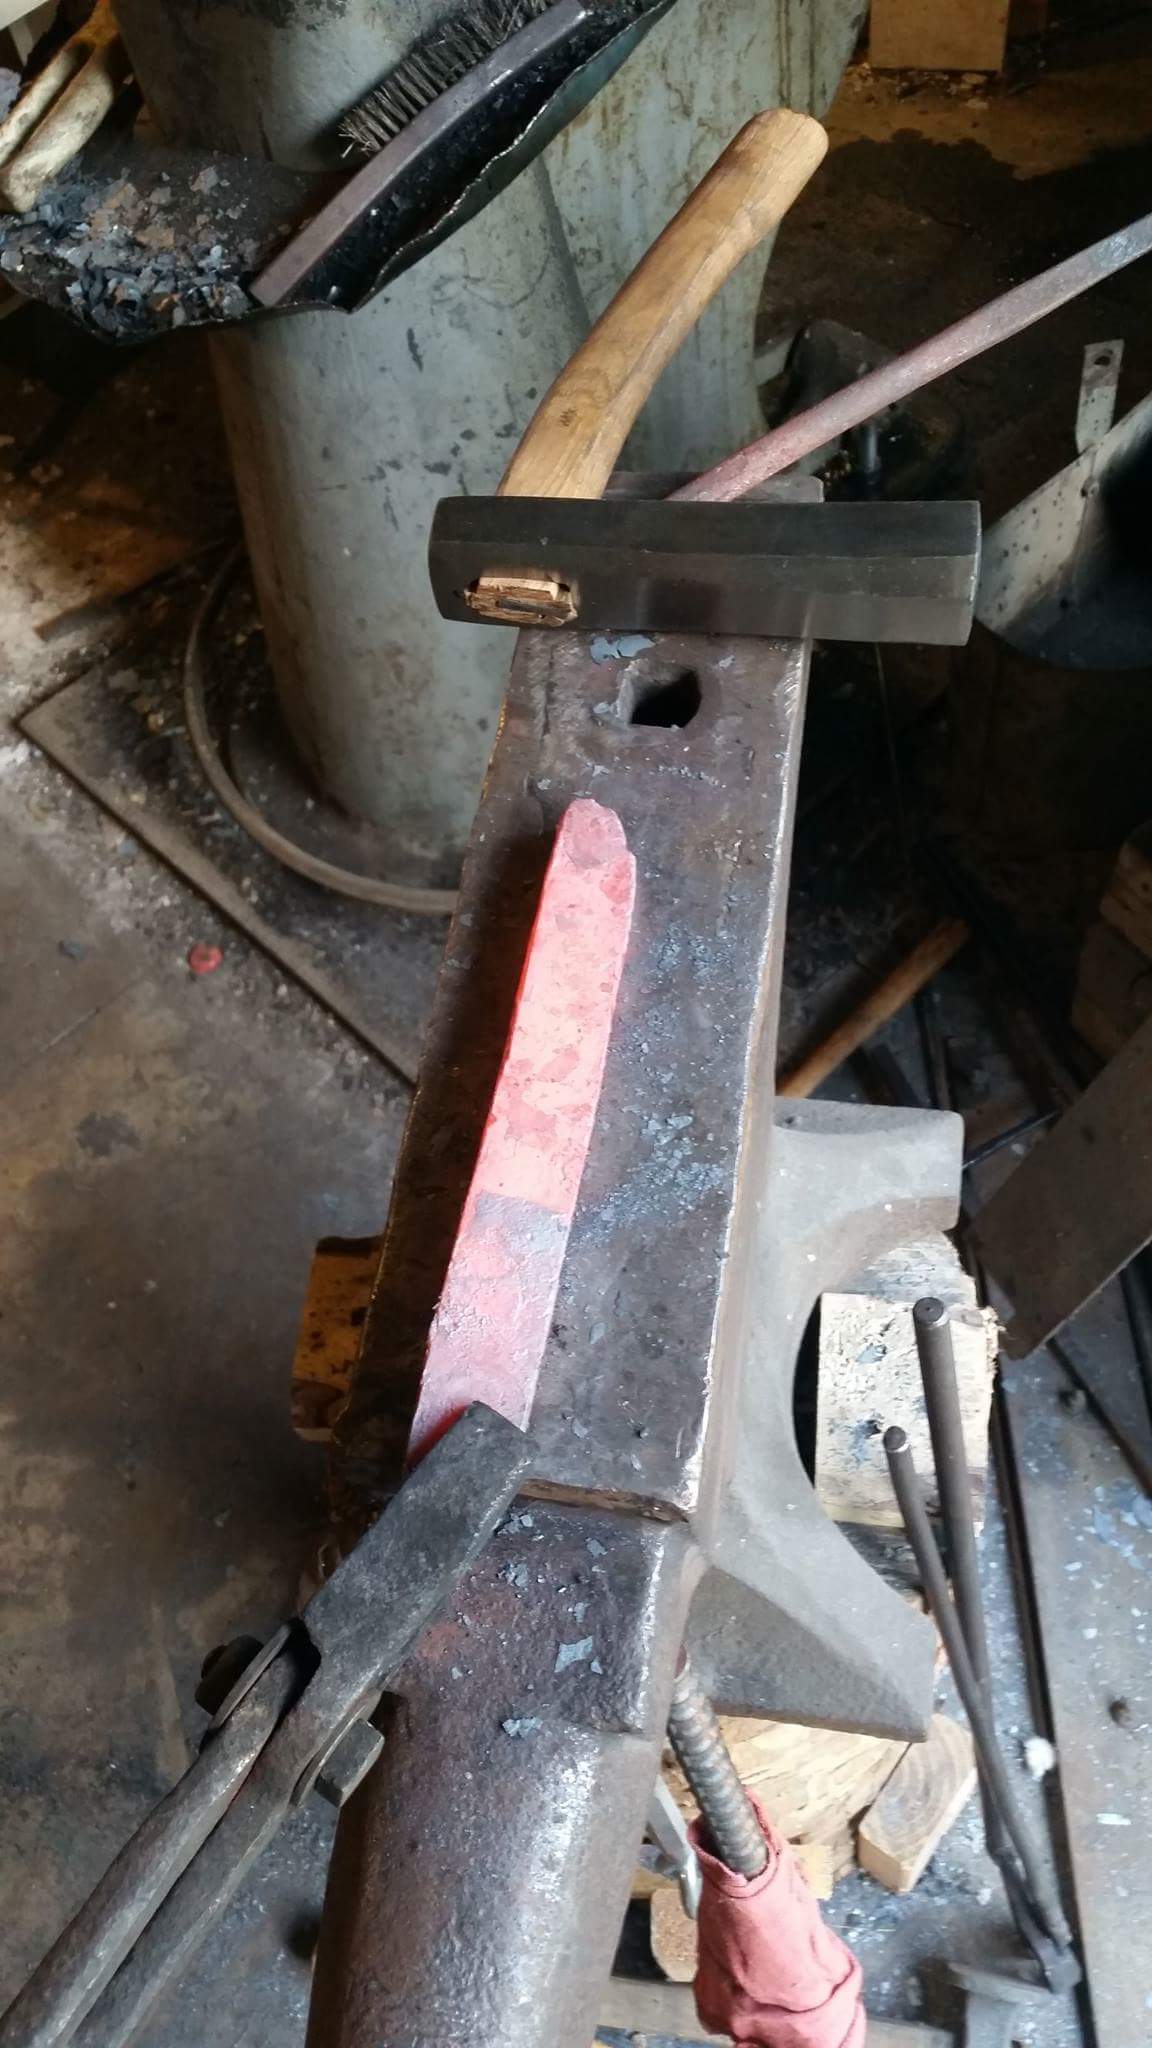
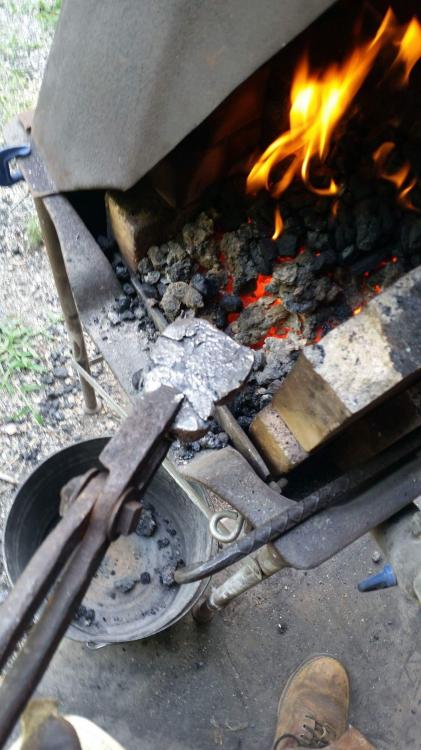
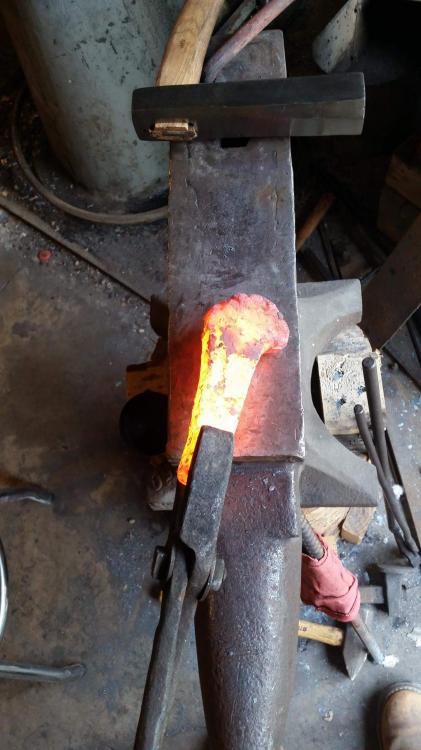
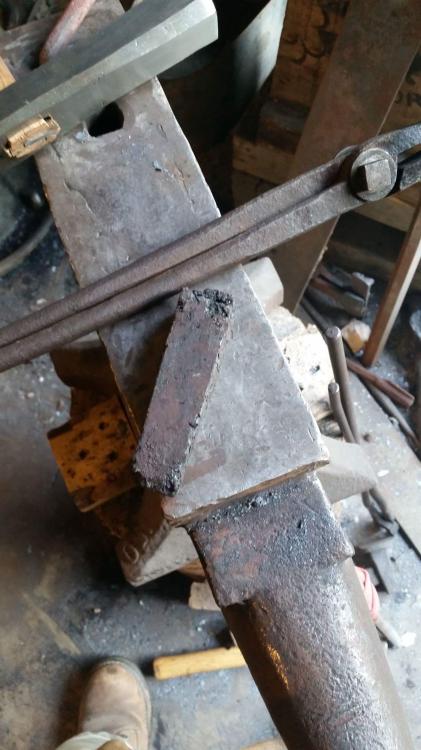
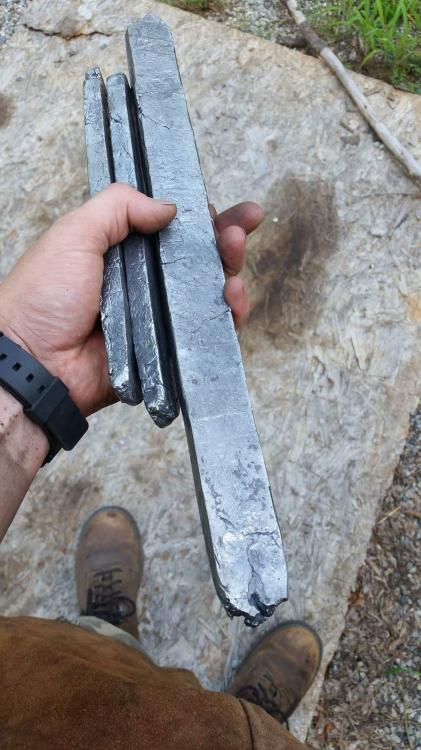
I am working on refining these bars for a future ambitious project making either a wakizashi or a katana, depending on the amount of material I have left over after a dozen folds of each. The first set of pics is among some of the best iron made at all last year. Very clean iron, and easy to work with little cracking, even as a muck bar. This bar will be the shinganae. The next two bars are very high carbon steel bloom bars or kawagane, that came from two separate high Ti magnetite smelts. If you are familiar with the makeup of the older japanese magnetite sands, they too had elevated levels of Ti to deal with. Decided to bar these up since the carbon in each kawagane chunk was pretty even throughout since our smelter is small in comparison to the Shimane tatara. This is all in preparation for the large number of folds. More to come.


-
I get a 3500F castable refractory that has a high resistence to flux. I lined my new forge in it, but haven't made plates out of the same material yet to test it out some molten flux. One of my close friends gets it straight from the ceramic company who makes it, and they don't usually sell to the public that I know of. My friend just got lucky. Wit rather high temps it is shrunk in a few spots. But only where I places new refractory on top of or blended into already day dried refractory. Haven't had it crack anywhere else yet.
-
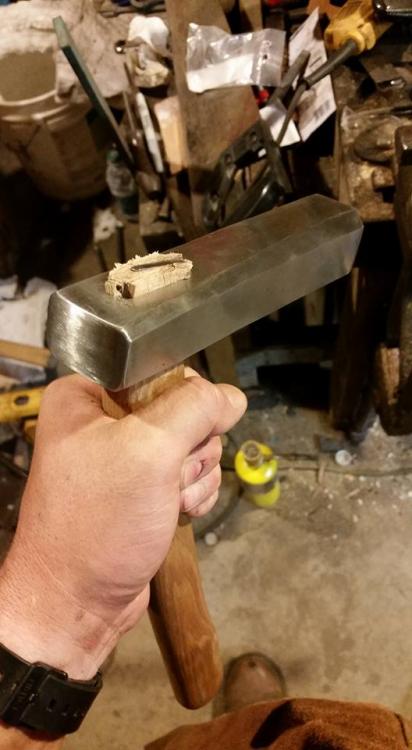
Was inspired by several hammers recently, and this style of hammer has always felt good in my hand. Wanted a heavy one for bloom, and well because i prefer heavier hammers (smallest one I go to is 2.75#).

-
Just a quick test run before I sculpted in the 3500F highly slag resistant refractory (doing that in stages now). The only problem I had so far in construction was the re-welding of the forge body when cutting down that we'll bladder tank to desired size. My welders are for welding heavy stuff, and they aren't too fond of lower voltages. https://www.youtube.com/watch?v=kUTk5Mo3-AU
-
You can get lost looking at thermocouples. The two places I have bought products from is www.omega.com, and www.auberins.com. Type K covers wide ranges of temps.
-
Considering I had similar thoughts and questions when I started this sort of apprenticeship back in 2013, I know where you are coming from. It's hard enough wrapping your mind around it when you see it in person. It took me about 5-7 smelts before I felt confident enough about the process. Going on to around 15 smelts now before I feel I have any authority over information. Still a ways to go before I am at Mark's, or Lee's level.
-
This bloom is crumbly due to carbon content, not much can be done of the breaking. Most of the crumbling off is also bloom fluff which is a mixture of slag and iron/steel which you want to come off. If you see some of the other videos, we are always knocking off thick layers. That's the bloom fluff and is meant to come off. The bloom fluff is collected and used for Evenstad hearth refining, and also collected until we have a good 60-70# to do a re-melt. Re-melts usually make some really wicked high carbon material. Pretty fun those.
-
As per request, here is a video where I captured some of the finer details not shown in previous videos. Wicked high carbon bloom, plus a how-to of sorts. Enjoy!
-
No problem, glad I could be of some help!
-
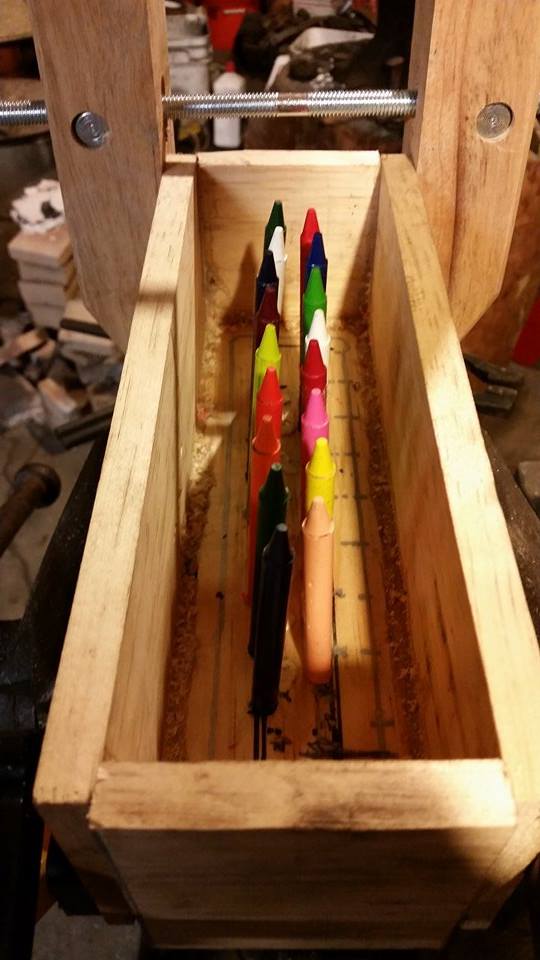
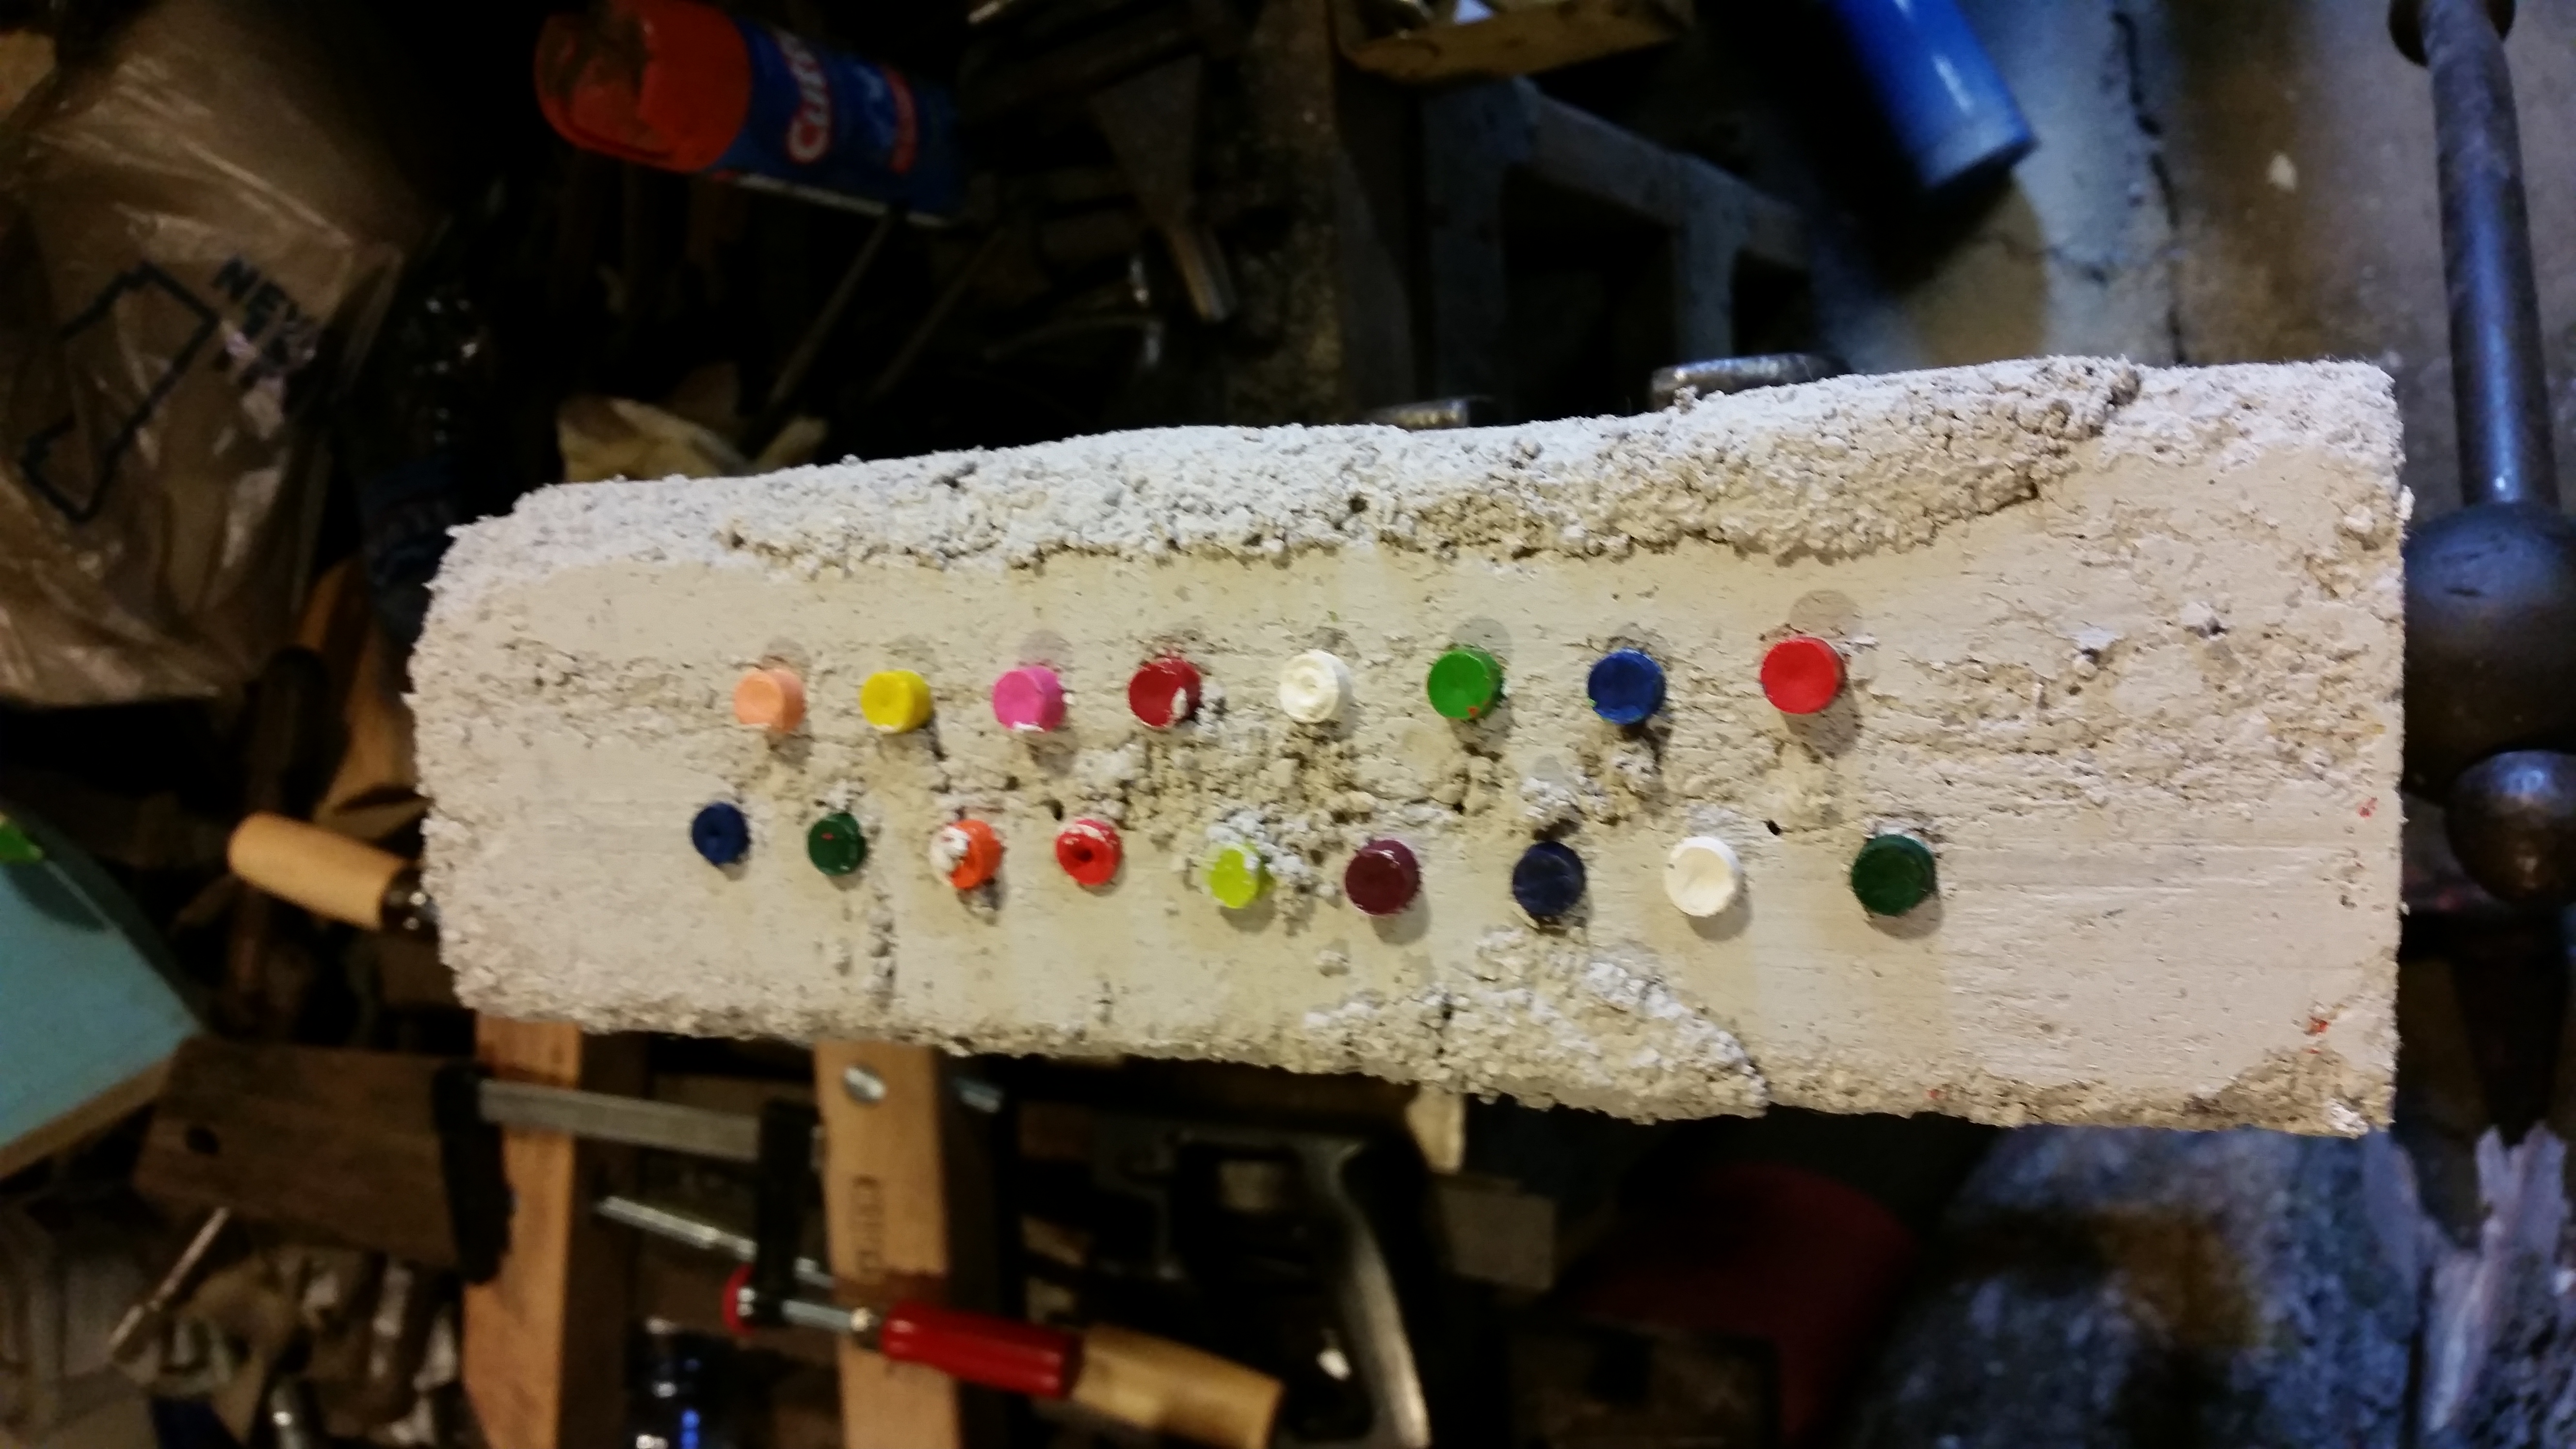
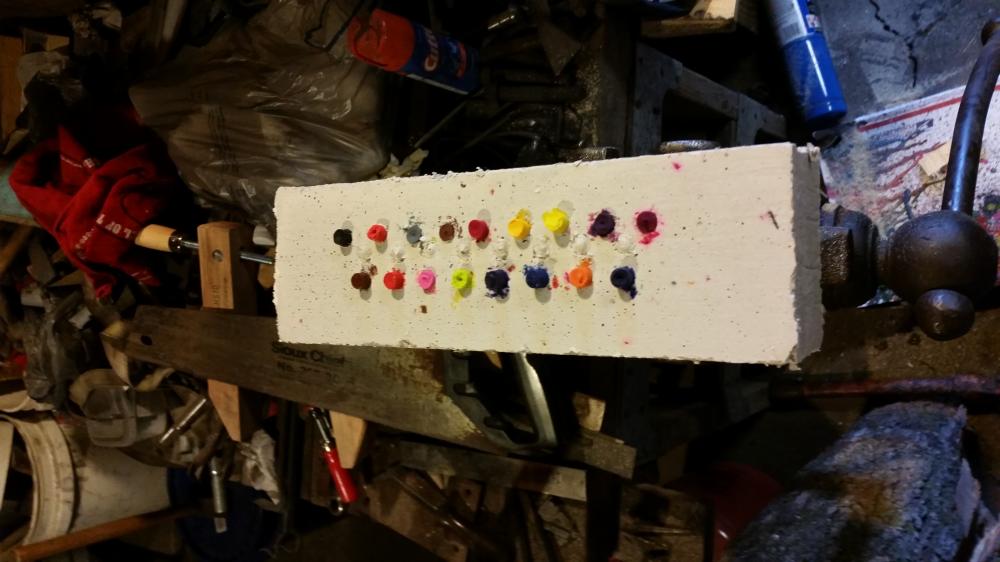
Just make your form like the image shown (Though I found I needed to cut an inch off of the top of the crayons.), mix your castable refractory and pour in. You dont want it to be higher than the crayons. The jiggle your manifold into the castable. Wayne has a great pdf. on his site that explains it even better. It says to weld angle iron stops. I just used a c-clamp around the 1" pipe coming out of the manifold and rested it on top of the form to hold it at the height I needed. I have around 1/2" or a little bit more submerged,

-
Burner Running. https://www.youtube.com/watch?v=yvJWTC9PZ2Q I cannot get the video to imbed. Oh well. There it is running outside of a forge.
-

Catalan Smelting Furnace 2015
DanielC replied to DanielC's topic in Smelting, Melting, Foundry, and Casting
Uhm, well the stack is built. The only other thing to show is us loading ore and charcoal every 10 or so minutes for 4 hours, lol. Positioning of the tuyure at relatively precise angle and height from floor is important, but wouldnt be shown in a vid. We will see. When I get there in the a.m., around 9am we start the pre-heat to dry any moisture from the air for about 30min., then we load with charcoal to burn down some, the start the loading process of ore and charcoal. Running a smelter is like getting a feel for the smelter. The different sounds and the speeding up and slowing down of burn times are all indicators of what is going on inside, and what you need to do. Hard to catch on film, really. Better to hop on a plane to NC to experience Usually our stack from floor to top is around 38-40" tall. This time we're going to like 4'. -
Please delete. THIS NEW FORUM WE SWITCHED TO IS SO BUGGY! I CANNOT EVEN POST PROPERLY! IT KEEPS TELLING ME IT IS FORBIDDEN, OR IT JUST DOESNT SHOW VID. WTH!
-
Help for a Gas Sword Oven / Large Vertical Forge?
DanielC replied to BlackthornForge's topic in Gas Forges
Sweet xxxxxxx oven man. -
Catalan Smelting Furnace 2015
DanielC replied to DanielC's topic in Smelting, Melting, Foundry, and Casting
Gearing up for 2nd smelt in a week. This past Sunday we successfully ran a smelt at EricS's house and made a solid 8# bloom with another ~5+ pounds of bloom fluff using our locally obtained limonite ore using the round stack furnace. Tomorrow we are running again, yet this time back at Mark's house and instead of limonite, we are using high Ti magnetite also locally obtained. Our local magnetite ores are compositionally identical to what the Japanese used historically. We get our ores tested by a smelting friend in Germany. This stack (round) is going to be increased in height a little bit to what we usually do for iron, to increase the length of the reduction zone, and make steel. This bloom has a well known buyer, so probably won't be keeping any. Ah well, it will pay for a pallet or two of charcoal for future smelts. -
Help for a Gas Sword Oven / Large Vertical Forge?
DanielC replied to BlackthornForge's topic in Gas Forges
There's quite a few sword smiths on Don Foggs site. More than a dozen. Off topic, but yea there's a few. Swords go for thousands. A lot of work involved and s lot that can go wrong. -
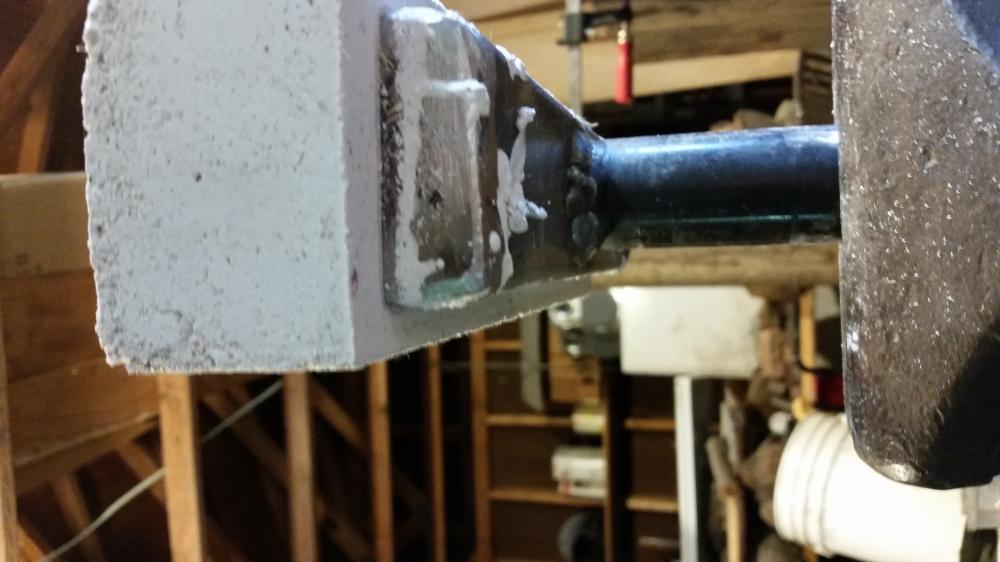
3hp KMG with VFD. It's all i'll ever need.
-
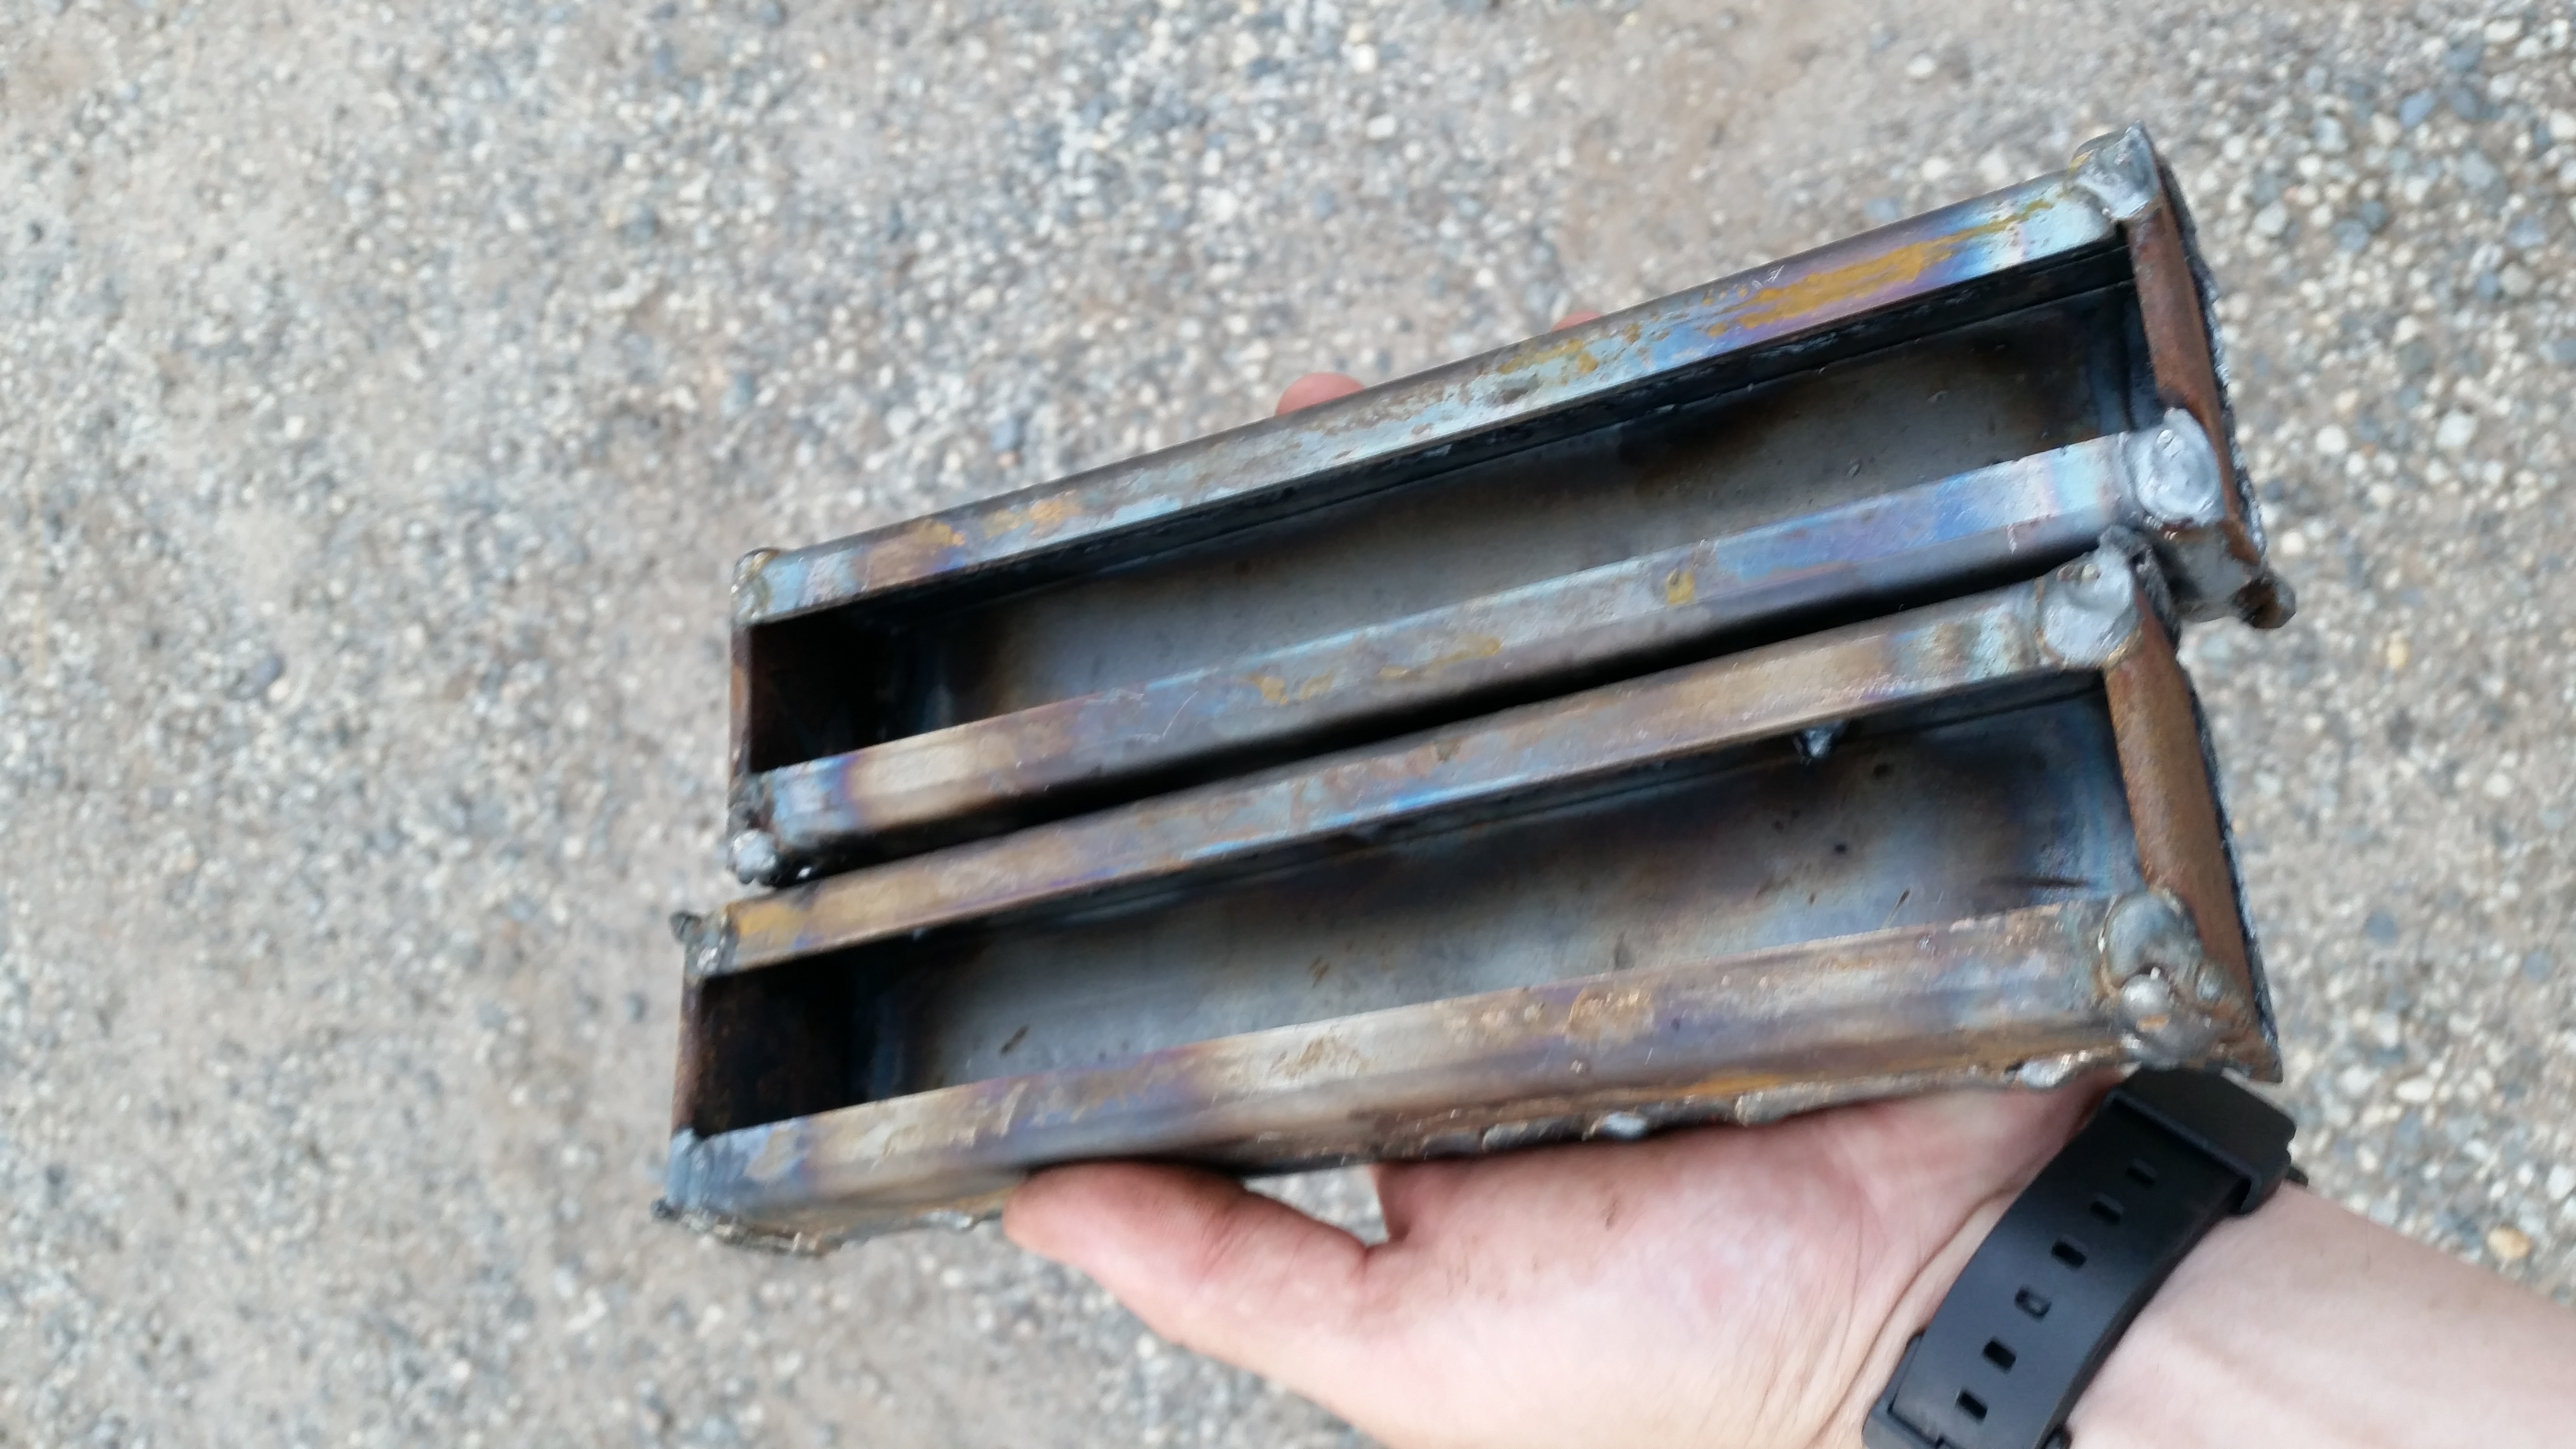
Cleaned up the welds.
-
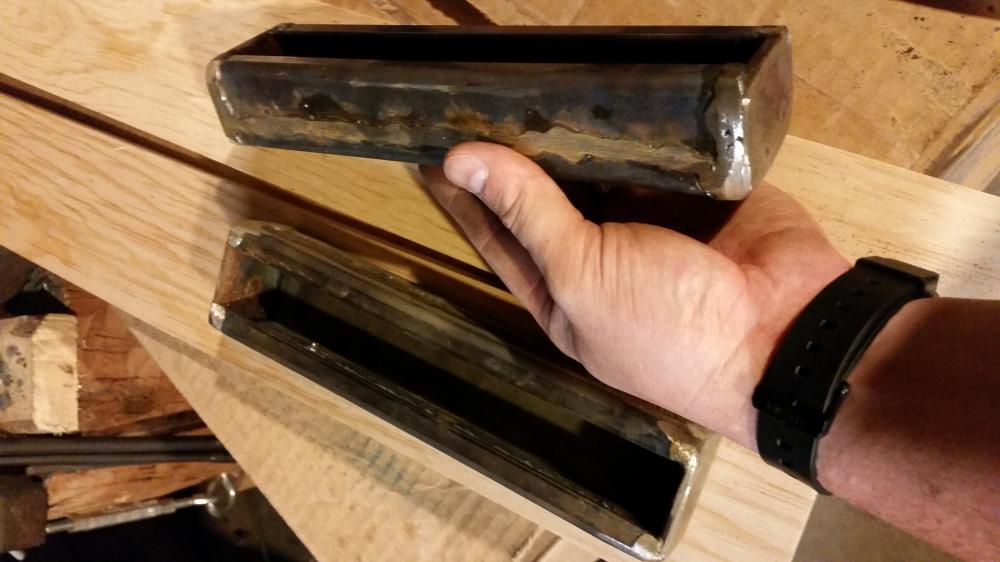
This is what the manifold looked like prior to casting. First pic is prior to drilling hole and welding on some black iron pipe.


-
Oh I found out the hard way. I now have a multi-colored rainbow post vice. Made another for a friend. This one turned out much nicer. I haven't pinned down the size of my forge yet. Something large enough to fit 5-8# bloom iron/steel halves after they are somewhat processed in the coal forge getting most of the rest of the slag out so it doesn't destroy all the consumable castable plates I'm going to make out of this same castable. This will pretty much be my everything forge plus for welding. This being my first forge ran on gas, any tips on how many sq. Inches to shoot for, with a ribbon burner of this rough size with a 1" inlet? Edit: just realized you were asking about the plenum volume not the forge itself. So the mixing area behind the castable. Its 2"x8.5"x 3/4" in the manifold itself. The manifold is a little but wider than my hole pattern. Chris Price who has tested this exact design, just slightly scaled down found 1/2" to be plenty and found no need for a baffle, plus the baffle added what he felt as unecessary back pressure

-
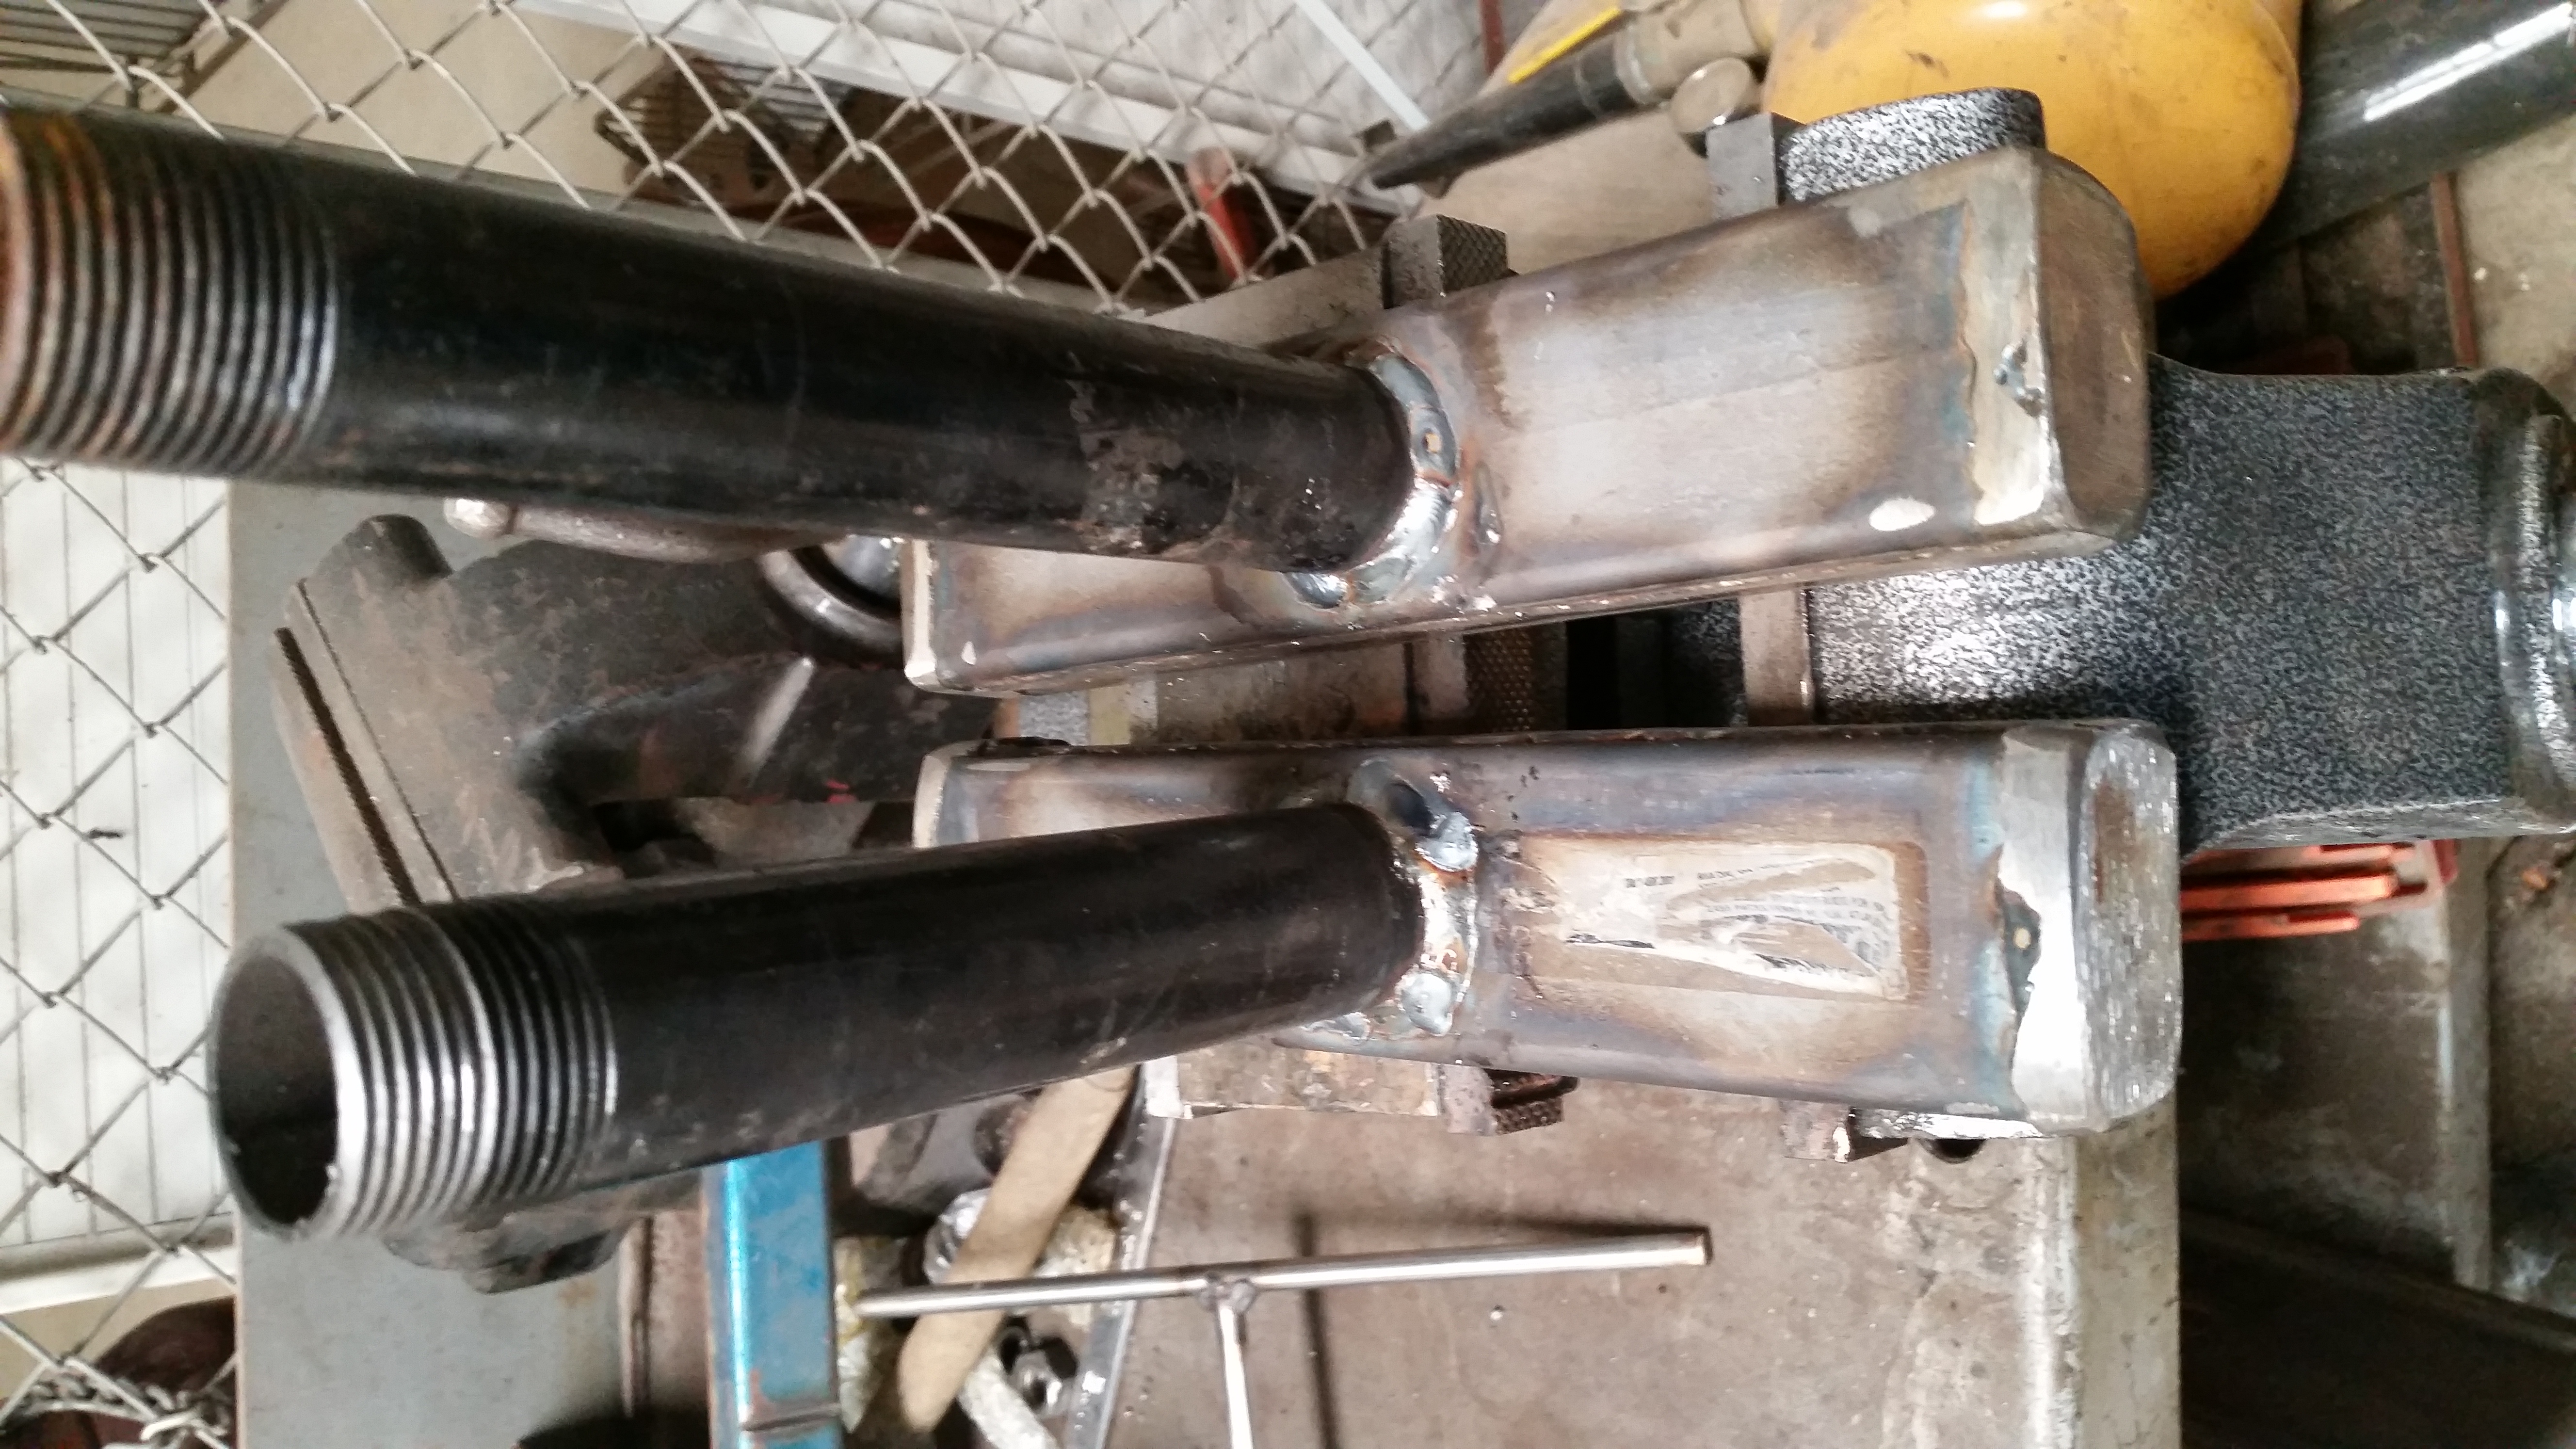
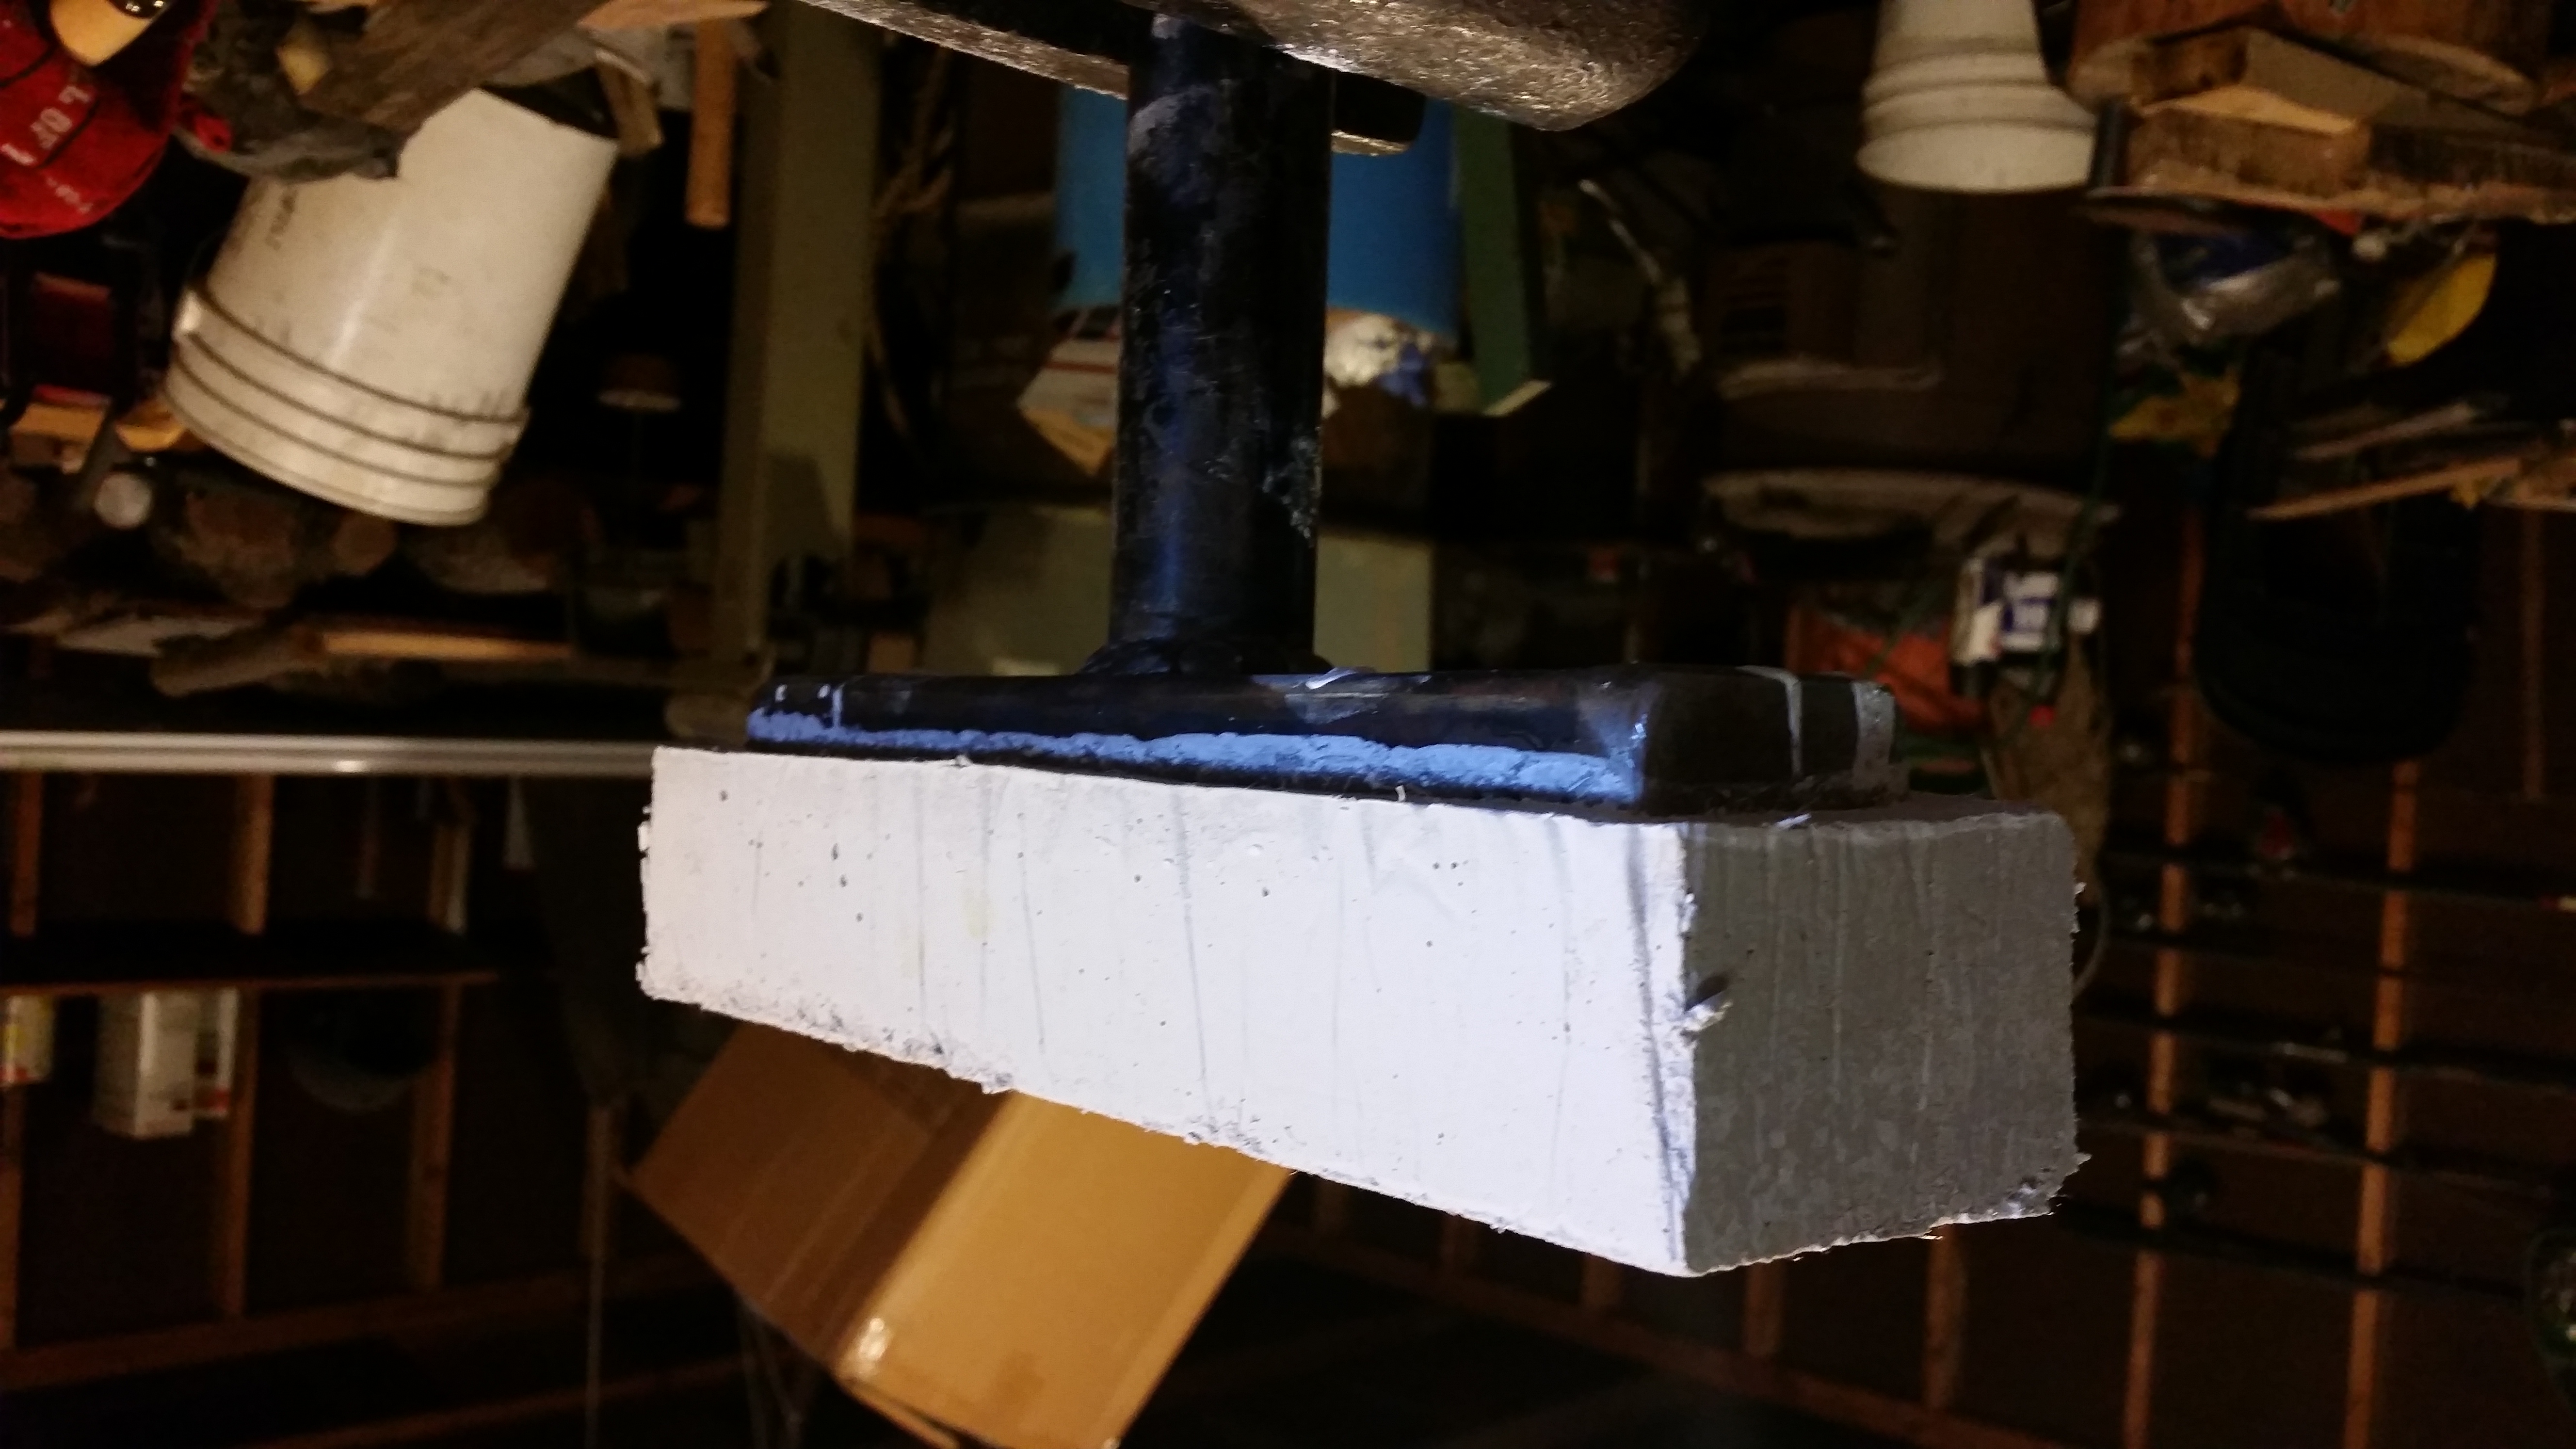
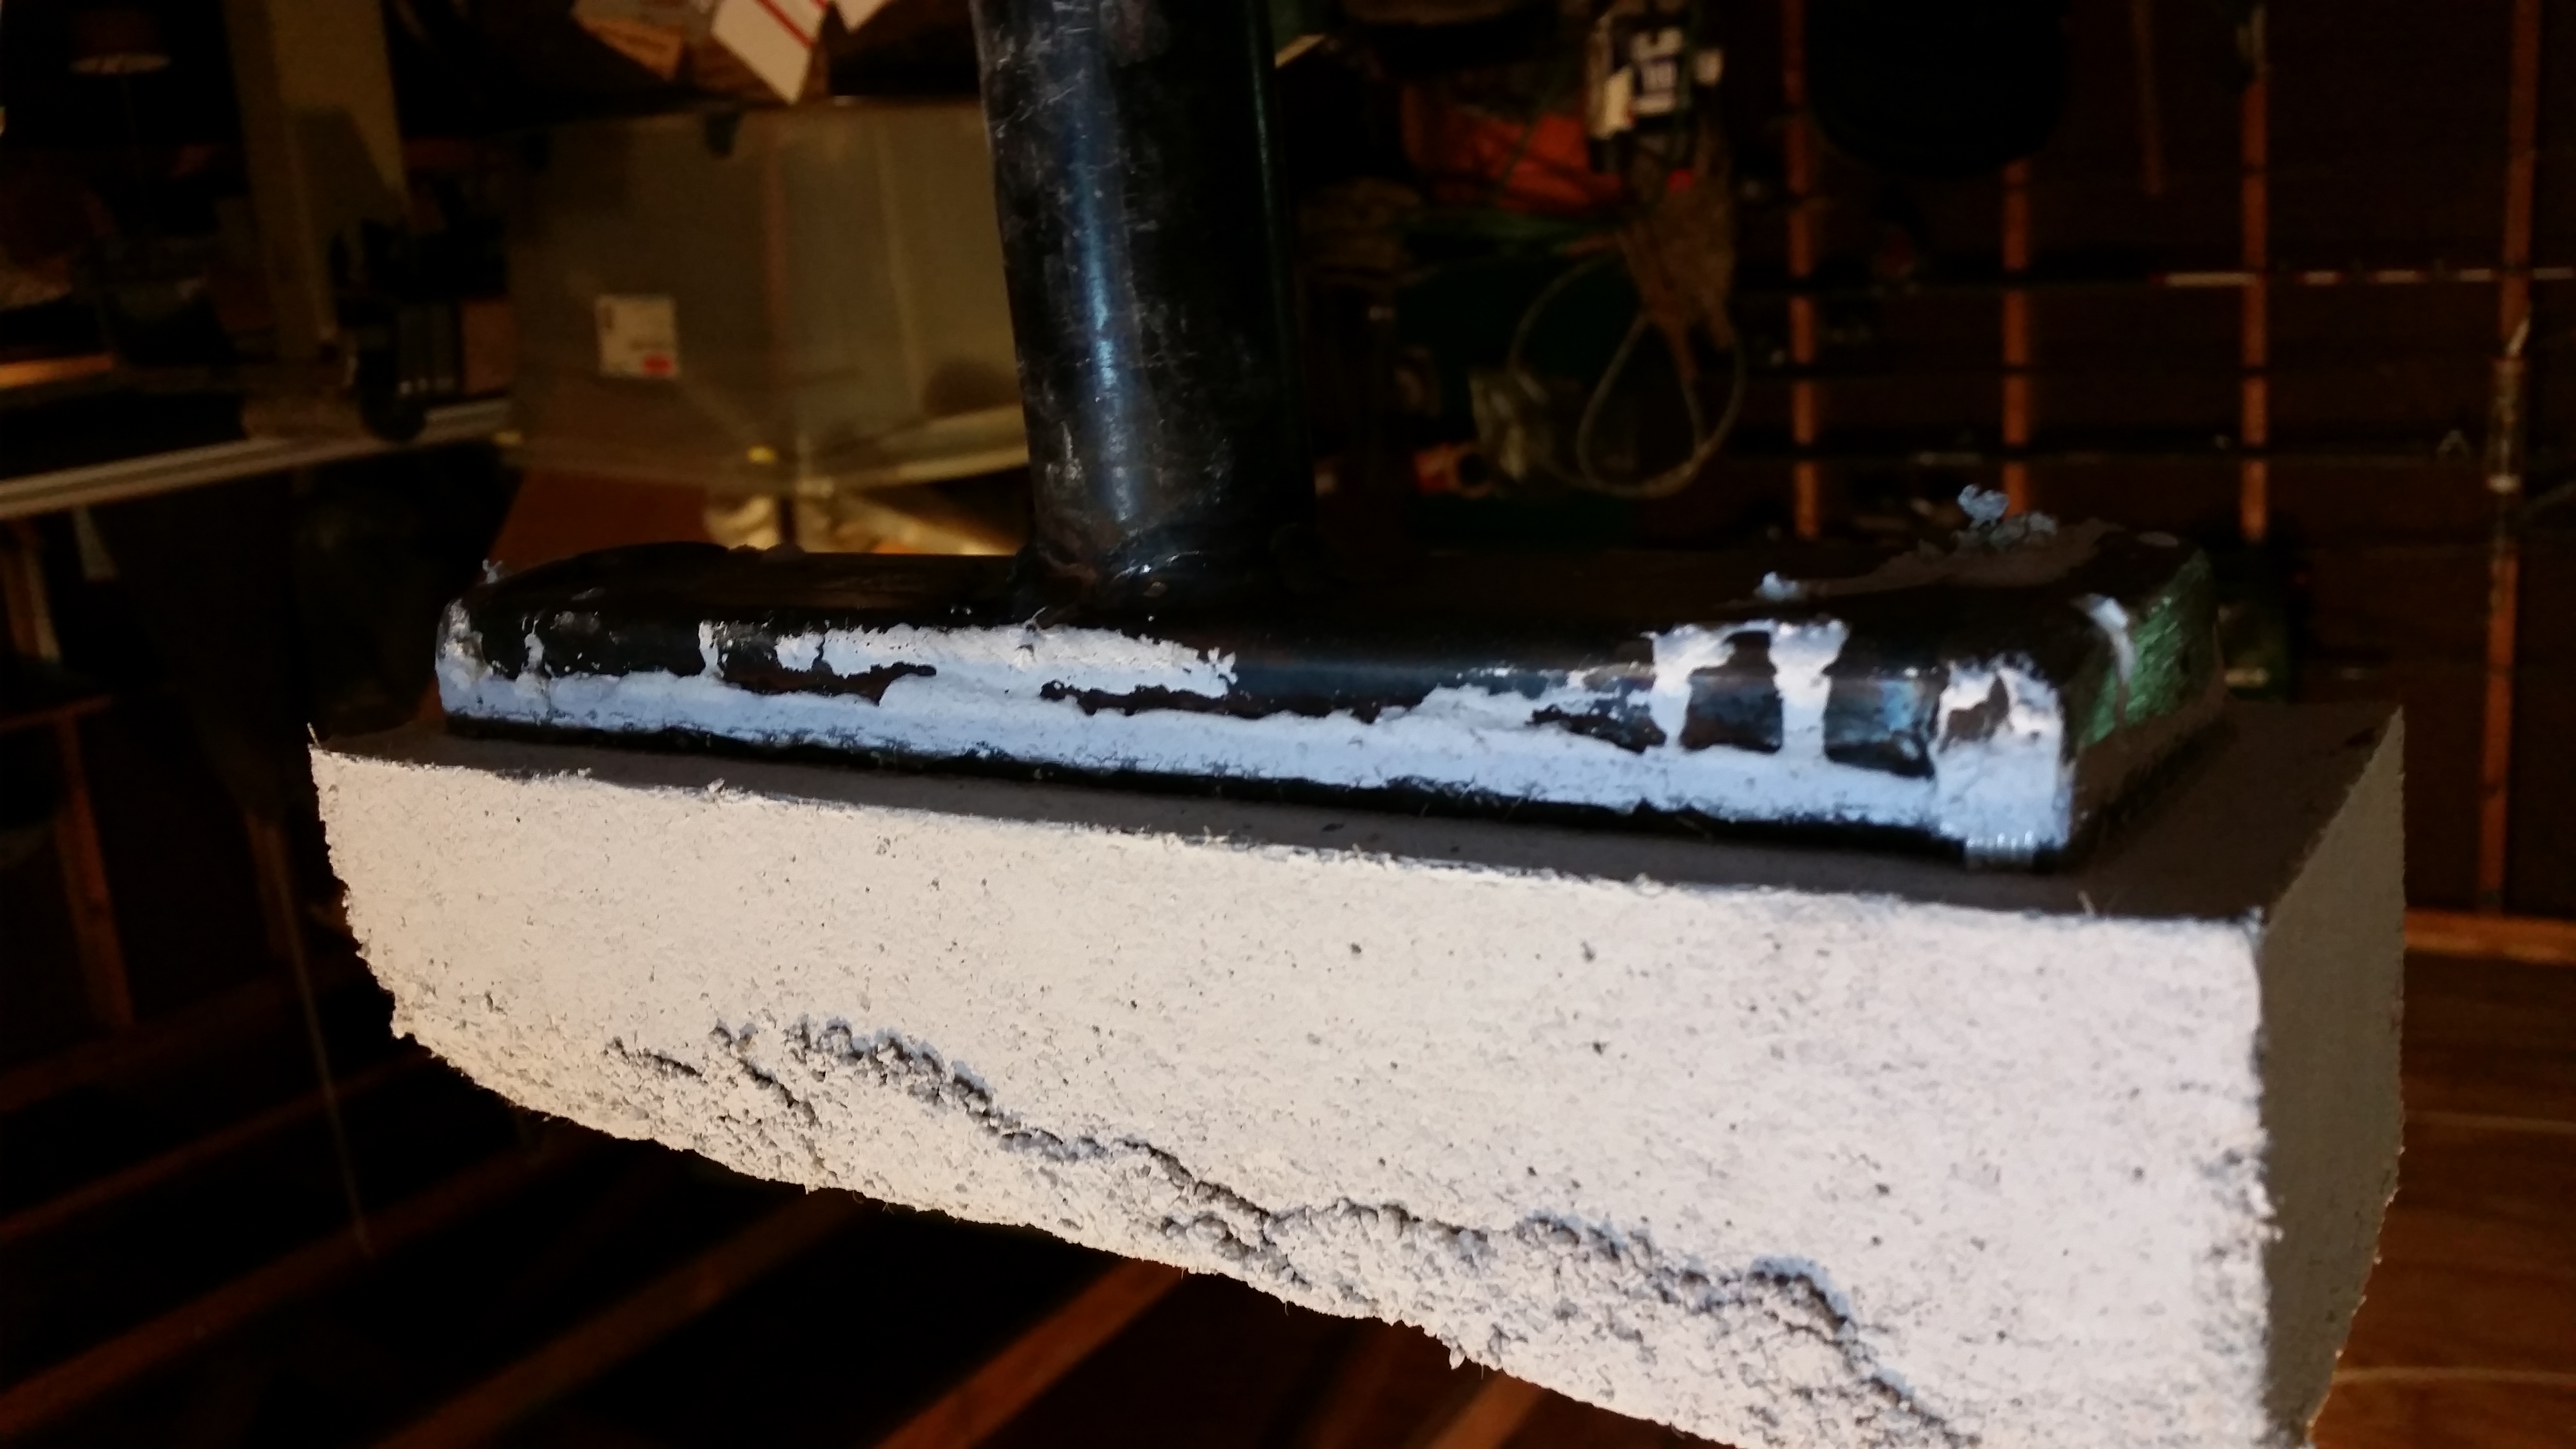
This burner is nearly finished. Loosely based off of Grants design, and mostly based off of Chris Price's design at Tidewater Forge. This is a 1" inlet going into a manifold I fabricated that was inserted into a ~3000-3500F (can't remember. Its made into ladles to hold molten iron in industries) castable refractory, similar to Mizzou, but has higher flux resistence. Will be lining my kaowool in the forge with it as well. Once it sets a little longer I will melt out the crayons and have a burner ready. I am making two, one for me and one for a good friend. This being my first one, I of course missed a step, that of spraying my form with a release agent. Plus I was a little impatient and pulled the form a little early. This resulted in a corner edge breaking off. It is only cosmetic though. Rehydrated what broke off and it stuck back on readily. Building a ribbon burner for several reasons. Mainly I am tired of only using coal/solid fuel. It really get old having to sift ashes and clinker and re-build my firebrick enclosure in my forge every time I want to forge. Coupled with the fact that I have to pull the forge outside every time as well.... Another reason is I work bloomery material a lot, and make pattern weld. This burner should theoretically evenly heat up 10"-12" of material to welding temps before the heat gradient tapers off. This seems to be a better option for me than regular burners. Of course this burner is forced air as well. Very efficient for what it does. More so than venturi or forced air burners. This ribbon uses a higher air to fuel ratio than regular forced air burners. Also, my picture orientation is wonky. For some reason the forums want to flip around the orientation.


-
Catalan Smelting Furnace 2015
DanielC replied to DanielC's topic in Smelting, Melting, Foundry, and Casting
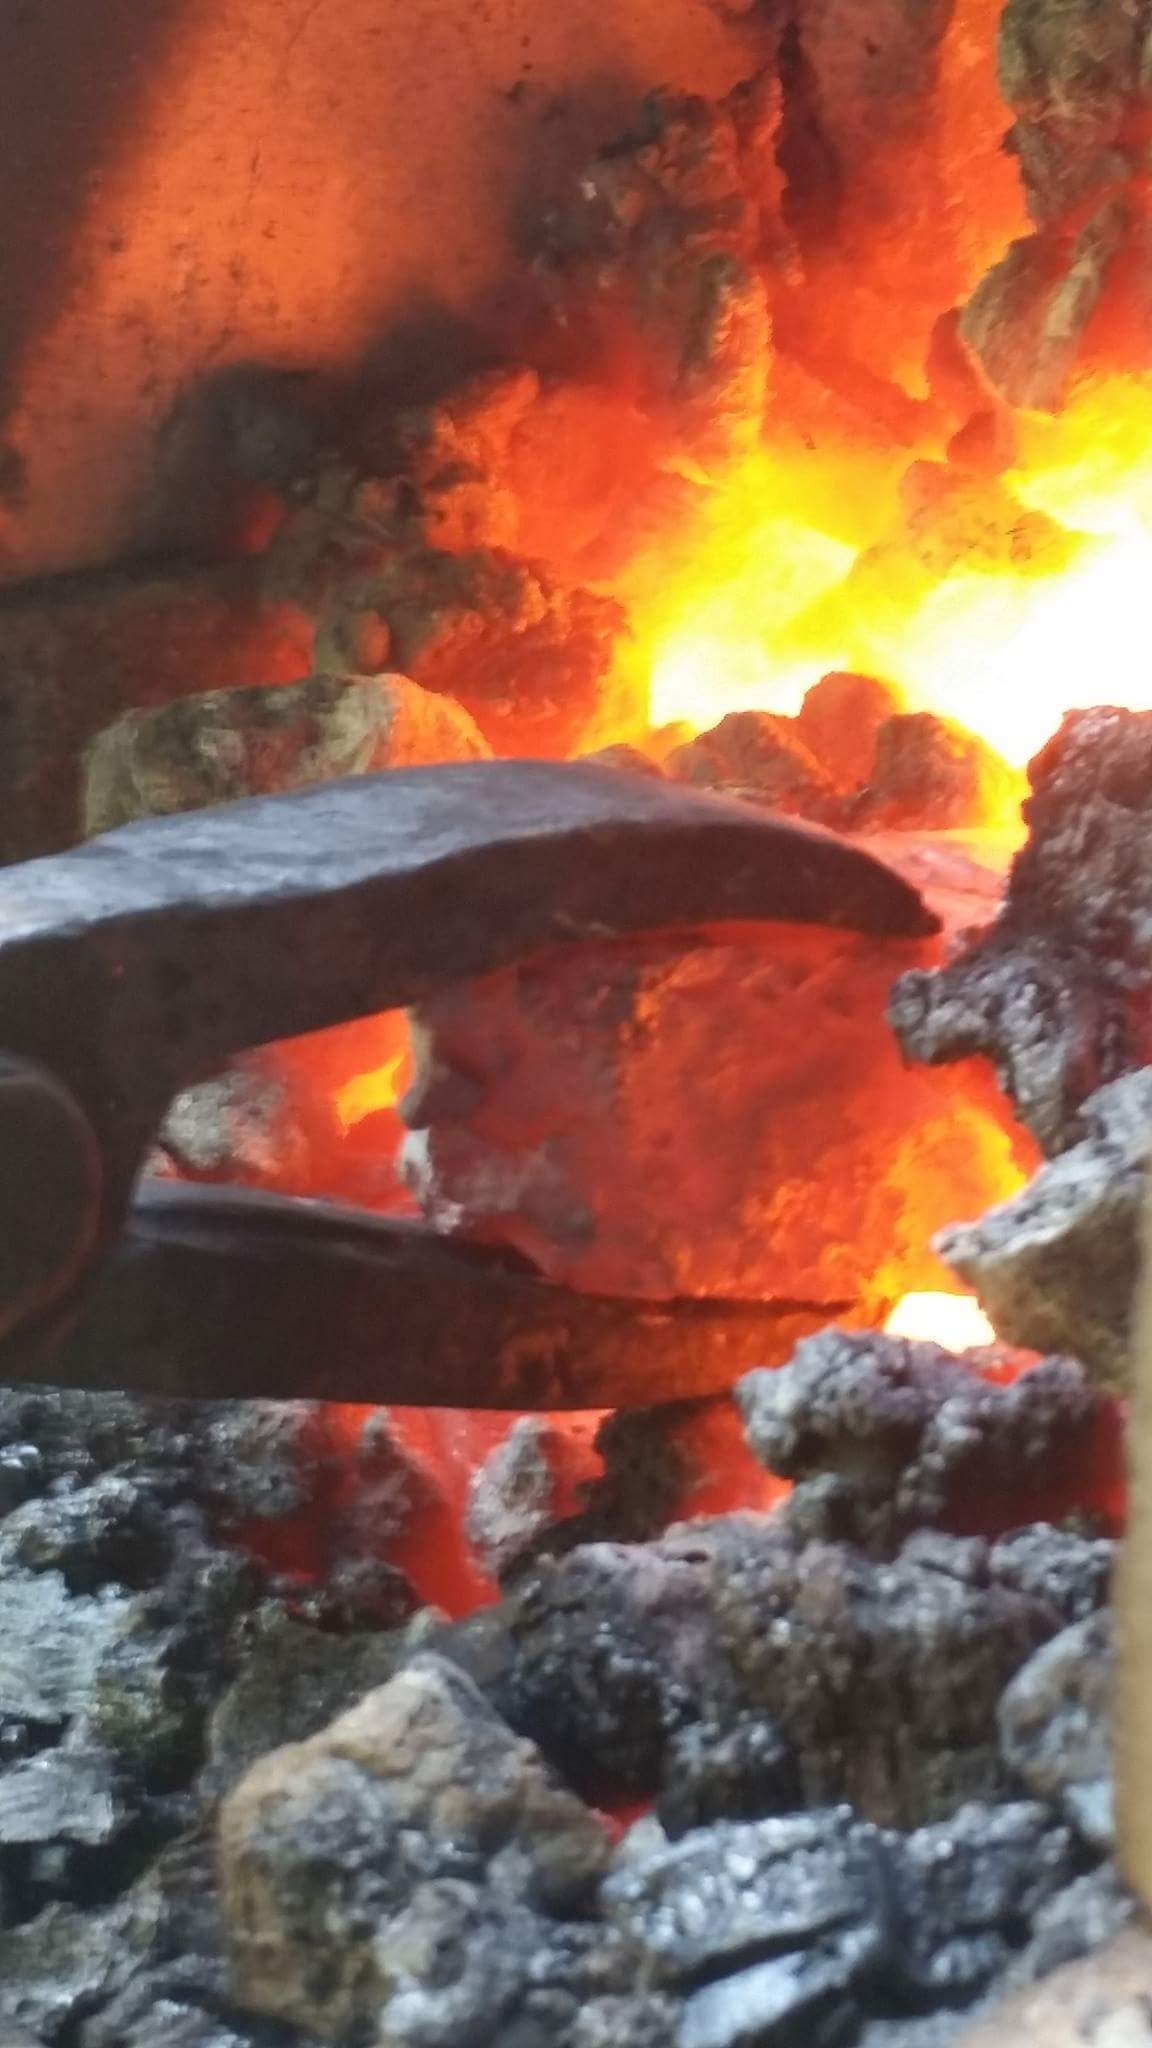
Here is a view through our tuyure. It is neat how and where the bloom forms in this style furnace. Apologies for blur however. It is hard to focus when it is so intensely bright, even with welding glass. You can see the bloom (dark) and the molten iron and slag hit the bloom, weld, and cool off. -
Catalan Smelting Furnace 2015
DanielC replied to DanielC's topic in Smelting, Melting, Foundry, and Casting
We finally found a manufacturer that would do that. When we buy pallets we will get them $10 per 20#, or .50c a pound. -
Catalan Smelting Furnace 2015
DanielC replied to DanielC's topic in Smelting, Melting, Foundry, and Casting
With the problem of charcoal. For the most part we use lump charcoal bought in stores like Home Depot. They sell in 17 or 20lb bags, can't remember. Get 150lb. Worth for a smelt with a 8" cylinder stack. Go any bigger and expect to nearly double your charcoal consumption. Luckily we found someone who wants to buy a few full sized blooms, so that should fund several pallets of charcoak, or enough to smelt all year without having to buy charcoal.