anvil
-
Posts
3,246 -
Joined
-
Last visited
Content Type
Profiles
Forums
Articles
Gallery
Downloads
Events
Everything posted by anvil
-
Its a pretty complex piece. There are 6 depressions around the perimeter. There are twp straight lines. And it looks lime there is a raised round deal in the very center. Are all these details going to be in your finished piece?
-
So they still have grocery store paper bags in Arkansas? The danged libs got rid of them here nearly 40 years ago. They wanted to save the trees. All we have is plastic. Now the trees burn every summer and our world is choking to death on plastic bags. Thank goodness for Thrifty Nickels!
-

Pricing my work makes me uneasy
anvil replied to jwilson645's topic in The Business Side of Blacksmithing
Your last paragraph pretty well sums it up, no matter if you are full time, part time, or a hobbyist. -
I believe I will try to make a steel faced WI hammer
anvil replied to Donal Harris's topic in Hand Hammers
To prevent those cold shuts on the edge try this. Slightly dome both the hammer face and the steel. Heat the steel and drive up some rags. Bring the hammer body up to a light welding heat. Set the cold steel onto the hammer body via the rags. put back into the fire. Dont put it in face down. The heat from the hammer and that of your fire will get the steel to a proper welding heat very quickly. Start your forgeweld in the center and work outwards. The slight doming acts like a scarf and that plus starting your forgeweld in the middle prevents slag inclusions. You should be able to get a pretty good weld between both including your edges on your first heat. If you need another forgeweld, put your hammer back into the fire before you drop below a yellow and dress your forging. Here I quickly forge the edges of the steel on the diagional to secure my edges, then, forge down the crown enough to dress the face and forge any bulging of the sides, not just the edges to what you want. I wouldnt keep the outside cooler than the center for any reason. The edges are the hardest to weld without getting coldshuts, and they cool faster than the rest of what you are welding. This cooling of the edges is one of the causes of coldshuts. Keep your edges hot. -
Pricing my work makes me uneasy
anvil replied to jwilson645's topic in The Business Side of Blacksmithing
Response works, and no matter how you call what you are, your 7 points are right on considerations for anyone wanting to make a little money. Jen, I dont understand your logic. If you make something in one hour, Why make 3 in an hour. My answer is if you can make 3 in an hour, why does it take you an hour to make one? Charge the same price and now you are making 3 times the money. -
Here ya go. Its pretty small. experiment. About 4 newspaper or 4-5 thrifty nickels


-
Scavenge nickel steel or other contrast steels for Damascus.
anvil replied to Northerncraftsman's topic in Knife Making
I do what you do for contrast. Old buggy and wagon leaf springs and wrought tire iron makes a great contrast. I cant help you on where to scrounge nickel, but heres some suggestions. Auto parts stores sell shim stock and its very cheap. Shim stock is made of many things and thicknesses. For our need, some are very low carbon and nickel is common. -
Review of Don Meador's "Pricing Your Work"
anvil replied to JHCC's topic in The Business Side of Blacksmithing
Pretty interesting. im pretty similar to this, but I dont have the patience to go by the inch. I go by the detail as a stand alone object. I know how much time it takes to make a tenon, drill a hole, drift a hole, do a picket with two tenons etc. For a twist, I know how long it takes to do a full twist on say 8" or less at the same heat. I know that a one off twist costs more time than doing multiples. It takes about the same amount of time to heat up one 8" piece as it does say 6 pieces of half square in my fire at one time. Too few irons in the fire is as bad as too many. Now its simple math. x amount of tenons, tapers, whatever multiplied by time for each. To answer the rest, this is only the base line costs. I know how much materials are and the time to completion. Now I put on my businessmans hat and add in all the rest. Now I have a complete bid. This works for anything from "S" hooks to railings. So this man and I are basically working on two variations on the same theme. Heres some advice for those who do crafts fairs and flea markets. Flea markets items are usually sold cheaper than crafts fairs. So dont sell the same product for less at a flea market for the reasons above. At least label them as seconds. -
And knows what book the answer is in.
-
Pricing my work makes me uneasy
anvil replied to jwilson645's topic in The Business Side of Blacksmithing
First off, JHCC, you ARE doing this for a living. You have made it quite clear that your work is part of your household income. Second, your post, even before your rebuttal to jen is right on the money for anyone who wants to make a profit on their work. Your responses to her clarify and strengthen all you have stated above. Third, Jen, your outlook on pricing, step by step is absolutely the road to failure. These points are not specific to a hobbyist, a part timer, or a full time professional. They apply to anyone in the craft field who wants to make money for any reason. 1: JHCC is correct. The customers budget sets the price point of the job. Its up to the smith to design something within this budget that will satisfy both the client and the smith. If you as the smith cant do this, its the fault of the smith, or because of his decision to refuse the job straightaway. 2: Without a doubt, this point is critical. This is the bottom of the line for making a profit. For what its worth, I charge a set 10% for design. If my client accepts my bid, its included. If not, Ive already informed the client of this and he gets a bill for my design time. 3: JHCC, you clarified this very well, and George put it very diplomatically. Jen, you are leaving out the most important bit of info that an individual must be able to recognize within himself. And this is what most people who pontificate on making money as a smith, or why not, ignore. Whats Your Experience Level? To elaborate on George's example, If it takes you an hour to make an "S" hook, and an experienced smith can make 4 an hour, no matter where he or she sells them, do you really believe that smith should charge the same $60/hr? Do you really think the pathway to success is to sell his for $60 each while the other guy sells his for$15 each and makes a profit? 4: JHCC, you clarified it well. Jen, your statement here is basic bookkeeping. However Tools always dictate what one is capable of. Francis Whitaker was fond of saying there are 2 things needed for a successful job. Proper setup, proper tools, proper job. I always consider my tooling during the design phase. From a flower that needs a special chisel to, in one case, a treadle hammer. Id been looking into treadle hammers and bid a job that by my design, a treadle hammer would make it possible. The bid would enable me to purchase it. If he didnt accept the bid, I had another design and bid that did not require this tool. They went for the bid and I got enough money in the down payment to purchase the now needed hammer. The rest is history. Did I include the client on how I was going to spend my money made on his job? Nope, unless Im asking him to finance the tool, its none of his affair. You must consider your tools before starting a job. 5: If you have a production item you are certainly doing something right. If you are not making a profit. you have already failed. The amount of that profit is certainly the prerogative of the smith and no one else. Having a production job is a great thing. It teaches a lot. For instance, it teaches how to match your work . You can always improve your routine to increase your profit. Refer to Whitaker above. 6: Refer to 4 above 7: Basically when I get a potential customer like this, I price my product out of his range. This type of client will many times cost you more in headaches during the job and bad cess after the job than its worth. I have far more sense than to do a job for someone who believes hand made means sloppy. You always charge more money per piece when doing a limited production run than a one off piece? And here we truly differ. If you cant match your work, then you will most likely not be able to succeed. You see, If you can match your work, then you can make everything the same or different. If you cant, all you can do is not match your work and look for ways to justify your not having that very necessary skill set. No quotes like above, but Im going to deal with the rest of your statements. I started matching things as a farrier. Every shoe was turned to absolutely match that hoof. 8 to 10 horses a day four shoes per horse for 10 or 12 years makes you pretty good at this. It took me a few years to realize I have this skill. When i did, my blacking efficiency matching anything became second nature. Havent you acquired this skill from your farrier work? You actually charge 10-20-30 more per item verses a one off piece? This is a pathway to failure. I cant even comprehend this belief. I look forwards to limited production because I know that at the end of the run my skills will have improved and any one off piece done in the future will benefit. Im curious, does that mean you charge less per foot for a one legged horse? Couldnt resist. "If someone wants 1 thumb latch it can be made in a few hours I can charge less because I don't care about matching anything so can just bang 1 out.. Easy peasy" Contrary to this, because I care about matching everything and I can efficiently match my work, I can bid a whole house full of doors or cabinetry and just bang them all out and make really good money easy peasy. And they match. There just isnt enough work out there doing one off hardware to succeed. However, there is plenty of work out there to do a "housefull" of iron, make good money and stay really busy if you have the skillset to do the work. "stupid low price" Basically if you are truly a full time working smith,then 10 years later You should be able to charge that -price- and actually make pretty good money,,, Or charge less and still make better money. When you check prices of others if you are lucky, all you may know is how he made it, how long it took him to make it and the price. What more do you need? " I'd rather charge a premium price and get the appreciation of knowing I am getting what I am worth and you'd be surprised just how undervalued we look at ourselves with. " You cant possibly do this and get a premium price without a bit of deep personal introspection on just what your skill level truly is. If you do this, you will never undervalue yourself. And you will continue to improve your skill set. The road to failure is paved with the belief that you "deserve" a premium price without the skill set to back it up. If you have the skill set, then you will get what you have earned,,, not deserve.. "accounted for 3 hrs and it taking you 6". Experience overcomes this. Learning should never be charged to a client. They are paying for competent work done in an efficient manner depending on your skill level.. Most clients know they want "Forged Iron", but they have no real knowledge of our craft. They in fact trust us to make an appropriate product for their money. The choice we, as craftsmen have is to finish that project no matter the time and charge for 3 hours, or rip them off. And be tickled silly at the 3 hours of learning that you bought. I always bid my jobs Time and Material, not to Exceed $X. Time is the time to do the job as I bid it. Material is everything from rent to rivets, and the not to exceed lets my client know that no matter the reason, thats all they will pay for the agreed upon project.. Any extra time becomes "learning time". Somebody's got to pay for it,,, might as well be me. Who knows, with a little do diligence and using your example, hopefully it shouldnt take too many learnings to get your time down to 3, and who knows, perhaps, with enough repetition, you can cut your time to 1.5 hrs and really make good money. And, hopefully make them match. "what if you take a loss on 30 openers? " Refer to the above. I look at it this way on a first limited production run. Thats how much money I made on that run, I should be able to do far better on the next. If you cant, perhaps you are in the wrong business. "Auto shops get what per hour?" The new guy works for minimum wage, The shop foreman makes good money and the owner makes profit on how he manages the business. When you run a single man shop, you are all three,,, apprentice, journeyman, and master. Your profit is dependent on the skill level of all three. If the apprentice doesnt have the skill set, the journeyman is lazy as all getout and the Master cant bid a job,, well,, theres your answer. "It's amazing how expensive it really is" As a traditional smith, its amazing just how inexpensive it really is compared to so many other businesses. You see, my cup is always half full. It really helps to look at it that way when that learning time seems to be overwhelming. -
Coke in forge not lighting
anvil replied to QbBlacksmith's topic in Solid Fuels: Coal, Coke, Charcoal, Wood, etc
That works as well. I've never had a need for the wood block. Lol, too complex for me. No matter which way, you need to shim the ash dump open in order to get a little draft. Once I had a 3 week job and I was using Carbondale coal. When banked as above, it would neither burn out or go out over night. At the end of the job, I realized I did the boy scout equivalent of a "1 match campout" , I lit my fire once with one match and it stayed lit for 3 weeks. -
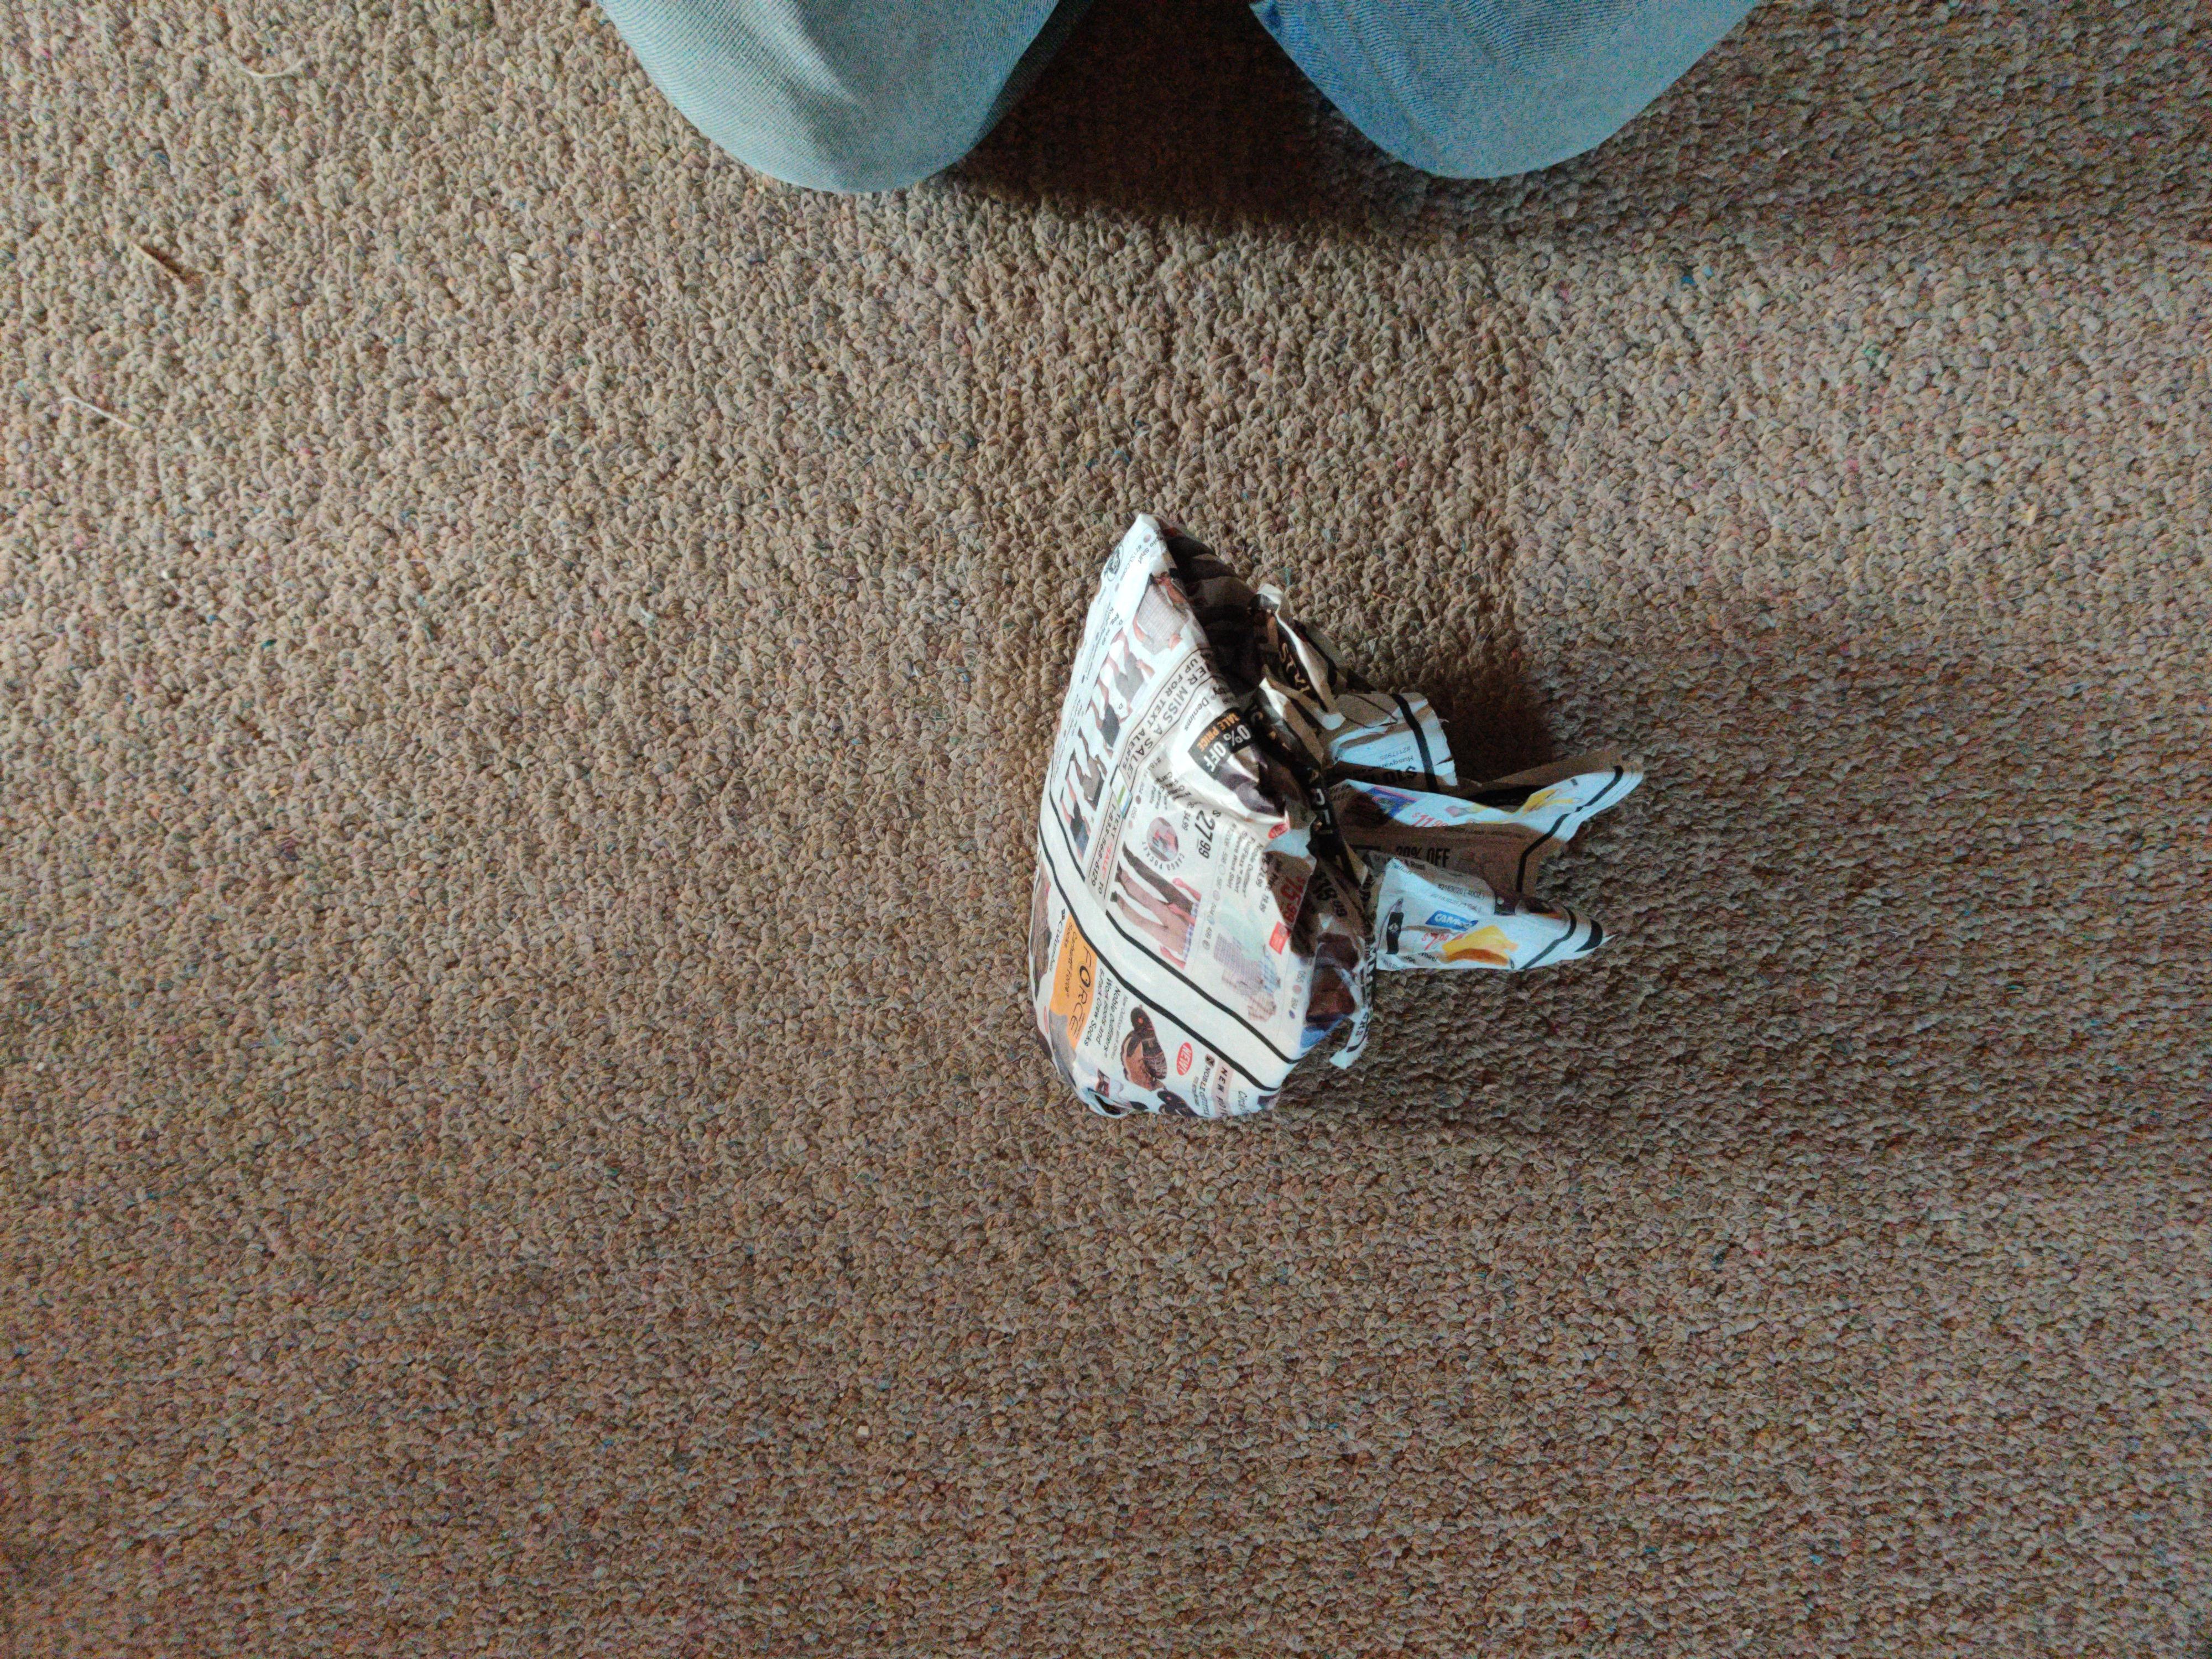
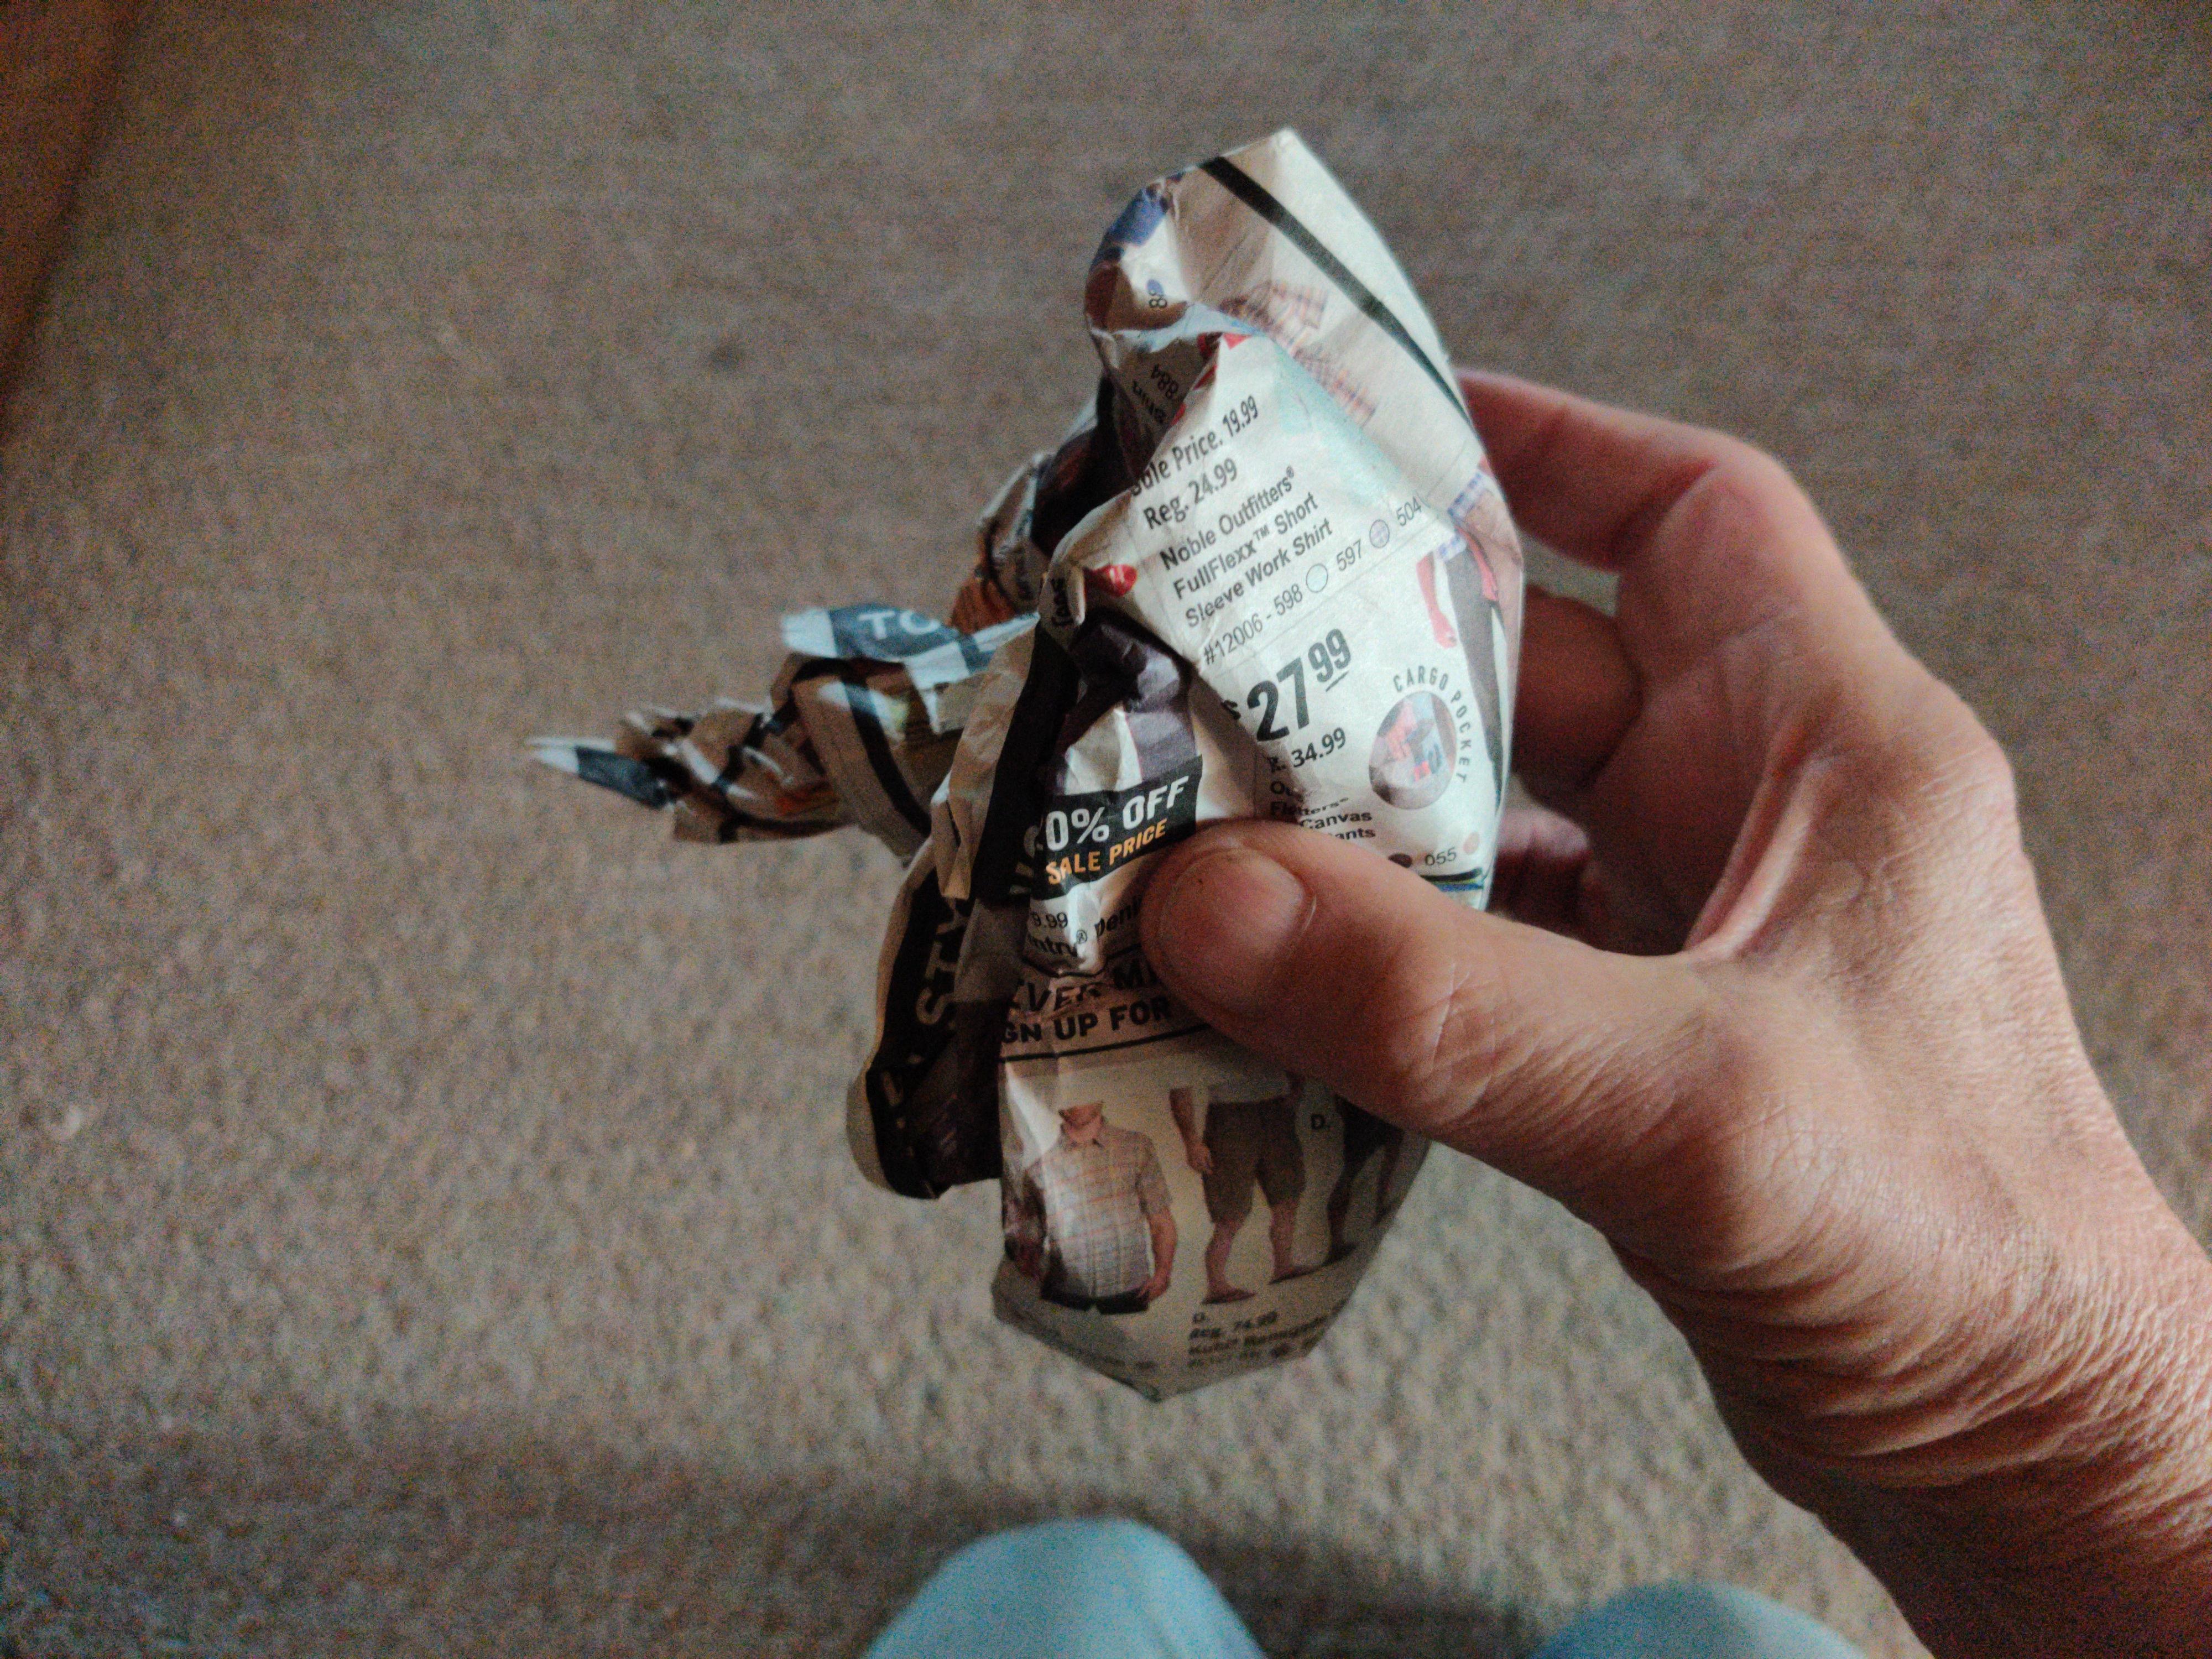
Concerning water, Water is max importance. water is used a little at a time as needed to control the size of your fire. Keep your green coal wet at all times. Experiment. On your water can, put 3-4 holes on each side about a third of the way down from the top. Use these holes to control your fire. Newspaper hands down. I make a mushroom out of 4-5 sheets of newspaper. Lets see if i can explain how to make a mushroom out of newspaper. stack your newspaper so it makes a circle on the perimeter. grab the newspaper off the center a couple of inches and start folding it in. this is the top of your mushroom. Keep doing this until the outside edges are under the mushroom and look like the stem. Twist the stem to tighten it up. Light the stem and place it over your air inlet stem down. Cover with coke, and bring your wet green coal up to the outer edge of the newspaper. The wet coal directs the air straight up, burns the paper and is all you need to light your coke.
-
Just before you shut down, take a little time and make some coke. Meaning when it turns to coke, take it out of your fire. Fill in that hole with coal and make some more coke. When you have enough, use this coke to start your new fire the next day. Then just use this coke, no green coal. It will start with a little newspaper wadded up like a mushroom. Have enough coke to cover the newspaper and bring the coal up to the coke. Wet the coal around the perimeter.
-
When you do a differential temper, or temper by the reserve method, You can get that brown/purple about half inch or so on the face. the rest will be a graduated blue or darker twards the eye. Then quench. This gives a tough hammer face and a softer, but not soft, core. Its pretty forgiving as well when tempering. It aint rocket science. With a little experience, you can control the movement of the colors and maintain a constant temp from side to side/cross section. This means the color you see on the sides will be the same through your hammer.
-
I would just use it. I usually put a hot oil finish on my work and I do it on my anvil. That should do the trick. Of course. it depends on how much time you spend on your anvil.
-
Pricing my work makes me uneasy
anvil replied to jwilson645's topic in The Business Side of Blacksmithing
I started blacksmithing when I was 17. I shod my first horse and saw metal move betwixt hammer and anvil for the first time. Ive been a working smith ever since. The primary product from my shop changed from Farrier work to Architectural blacksmithing around 1980. I'm 74 and still get that rush every time i do a forge weld. I can hardly stand the wait from my very detailed shop drawings and notes to, like the Phoenix, arise from fire to become final product. Never hesitate to pursue your dreams,,, all ya gots to lose is that silly dream. -
Coke in forge not lighting
anvil replied to QbBlacksmith's topic in Solid Fuels: Coal, Coke, Charcoal, Wood, etc
I have to say i'm working from memory here. The Carbondale mine had closed and I'd run out of coal. A blacksmith/trucker friend brought me a load once a year for a couple years. The price was right and the shipping was free. There was coking coal available from Trinidad, Raton, And Hesperus, but it was,,, and is,,, a dirty but usable coal. When my friend quit deliveries, I went back to coal. I'm pretty sure I'd remember a problem with the coke, but nothing sticks out. Lol. doesn't mean much,,, I know I'd remember if I had to restart my fire more than once a day, including a lunch break or even a couple hours to the hardware store. Other than anthracite, I don't believe I've burnt any fuel in my shop where dumping the ash, keeping the ash dump open, poking a small hole thru the top of the fuel, then add little air or a handful of sawdust was all it took and back to work. So, it is a memory thing, not recent experience. I am considering coke for my new shop. I'ts supposed to be available near Salt Lake City,,, but Hesperus is just down the road. -
Sheesh, everybody knows if you catch a rattler changing a tire, You'd best tread lightly!
-
You are missing the rest of what makes a dirty fire. Thats the fly ash, fines, small bits of clinker, scale etc. That big clinker is only a small part of it. And you are right. A difference is that with a bottom draft all the "stuff" falls straight down. With a side blast, It falls down below the air inlet. Both solve this problem differently. With a bottom draft with a "clinker ball" and handle, I constantly flip that handle and the ash etc are gone. And thats what you cant do with a grate. With a side blast eventually you are going to have to break down your fire and shovel it clean. I shouldnt of said fire control. Maybe I meant thermodynamics. Where the air goes because of a triangular ball. The air goes up the sloped sides and no air goes straight up. This makes an envelope around the heart of the fire,radiating in, and no hotspot anywhere. With a sideblast, the air comes out 1" dia and hits the coke. And this is the hot spot. With fire control, you can control the size, but it will always be hottest right where it comes out. This has been good for me. I've been thinking of a side blast these last few months. This and one other thread have given me good info on side blast. Its a bottom blast for me. What can i say. The air envelope idea and getting rid of fly ash, not sweeping it into a corner waiting for the ash bunnies to....
-
Back on topic. I think you are right. To be clear, I've never used a side blast, but I've burnt a lot of coke. No matter what direction the air comes from, it basically does 3 thing. It produces heat and heat rises. It makes clinker and ash, which falls down. Thats it. The heat heats our work and we must remove the clinker and ash. Then there's air and we need to remove the O2 from it to have a reducing fire. Simple stuff for simple blacksmiths. I'm not a fan of a grate. With a grate, slots or holes, the air basically rises straight up. With a sideblast, the air moves horizontal broken up via coke. We have far less control of this, so less control over our fire,,, possibly. A clinker ball due to its shape channels the air twards the sloping sides, and up. This creates a fireball that burns from the outside in giving us a large controllable fireball. A clinker ball also allows us to remove all clinker and ash without breaking down our fire in able to do this. A flick of the handle, and done. With a grate, to remove the fines and ash, you must break down your fire and shovel it out. A side draft has a depression below the air inlet that clinker and ash can fall into. Of course you can remove the clinker ring, but what about the rest? \ Just my opinion
-
Thanks,JHCC, that's what I meant. I can't put their addy down. Check Centaur Forge. I'm not a fan of a metal grate. My first home built forge used one. I made the grate out of 1/4" welding rod for cast. When I learned of and used a clinker ball/breaker it made a major difference in my work. From keeping a clean fire without having to break it down to air distribution in the firepot. They are inexpensive and not that hard to add to a home built firepot.
-
sitting on pins and needles awaiting the results! Cant hardly stand it
-
Little things that make a BIG difference
anvil replied to C-1ToolSteel's topic in Shop Tips n' Tricks
Lol, an empty space is an anomaly in nature,,, it cant exist for long or the world will cease to exist. A never proven but known fact. -
Coke in forge not lighting
anvil replied to QbBlacksmith's topic in Solid Fuels: Coal, Coke, Charcoal, Wood, etc
The primary difference is "blacksmith coal"(bituminous) cokes and anthracite does not. The difference is like night and day. -
Forge clinker ball. Once you try it, You will wish its what you started with.