ede
-
Posts
254 -
Joined
-
Last visited
Content Type
Profiles
Forums
Articles
Gallery
Downloads
Events
Everything posted by ede
-
I agree Ranchmanben that the second one is more a long term solution, thanks for confirming my thoughts. I'll try to post some pictures when it's done. It would be great if I could get another one. I would make that one much taller for fine detail work. Thanks, Scrambler.
-
Prefered Leg Angle for Steel Tripod Anvil Stands
ede replied to ede's topic in Stands for Anvils, Swage Blocks, etc
Wish I knew how to do that, JHCC, feel free to post them separately. -
This is a poll for what people prefer for the angle of their fabricated steel tripod anvil stands. This question is about a general forging anvil and not a striking anvil.
-
Oh, you want a Brazeal hammer? Gosh, those are forged from an alloy of Valyrian and Mithril steel. Because those mines don't produce what they once did and Brian mines it himself, expect to pay plenty.
-
Yes, Yes. I live next to the best place for migas and breakfast tacos. The Doña is the best hot salsa you ever had. Wait, you work S. of the border so I'm sure you get your fill. The offer still stands.
-
Interesting idea Lou with the v-groove. Thanks for sharing. I heard of this ede, aspiring smith he is.
-
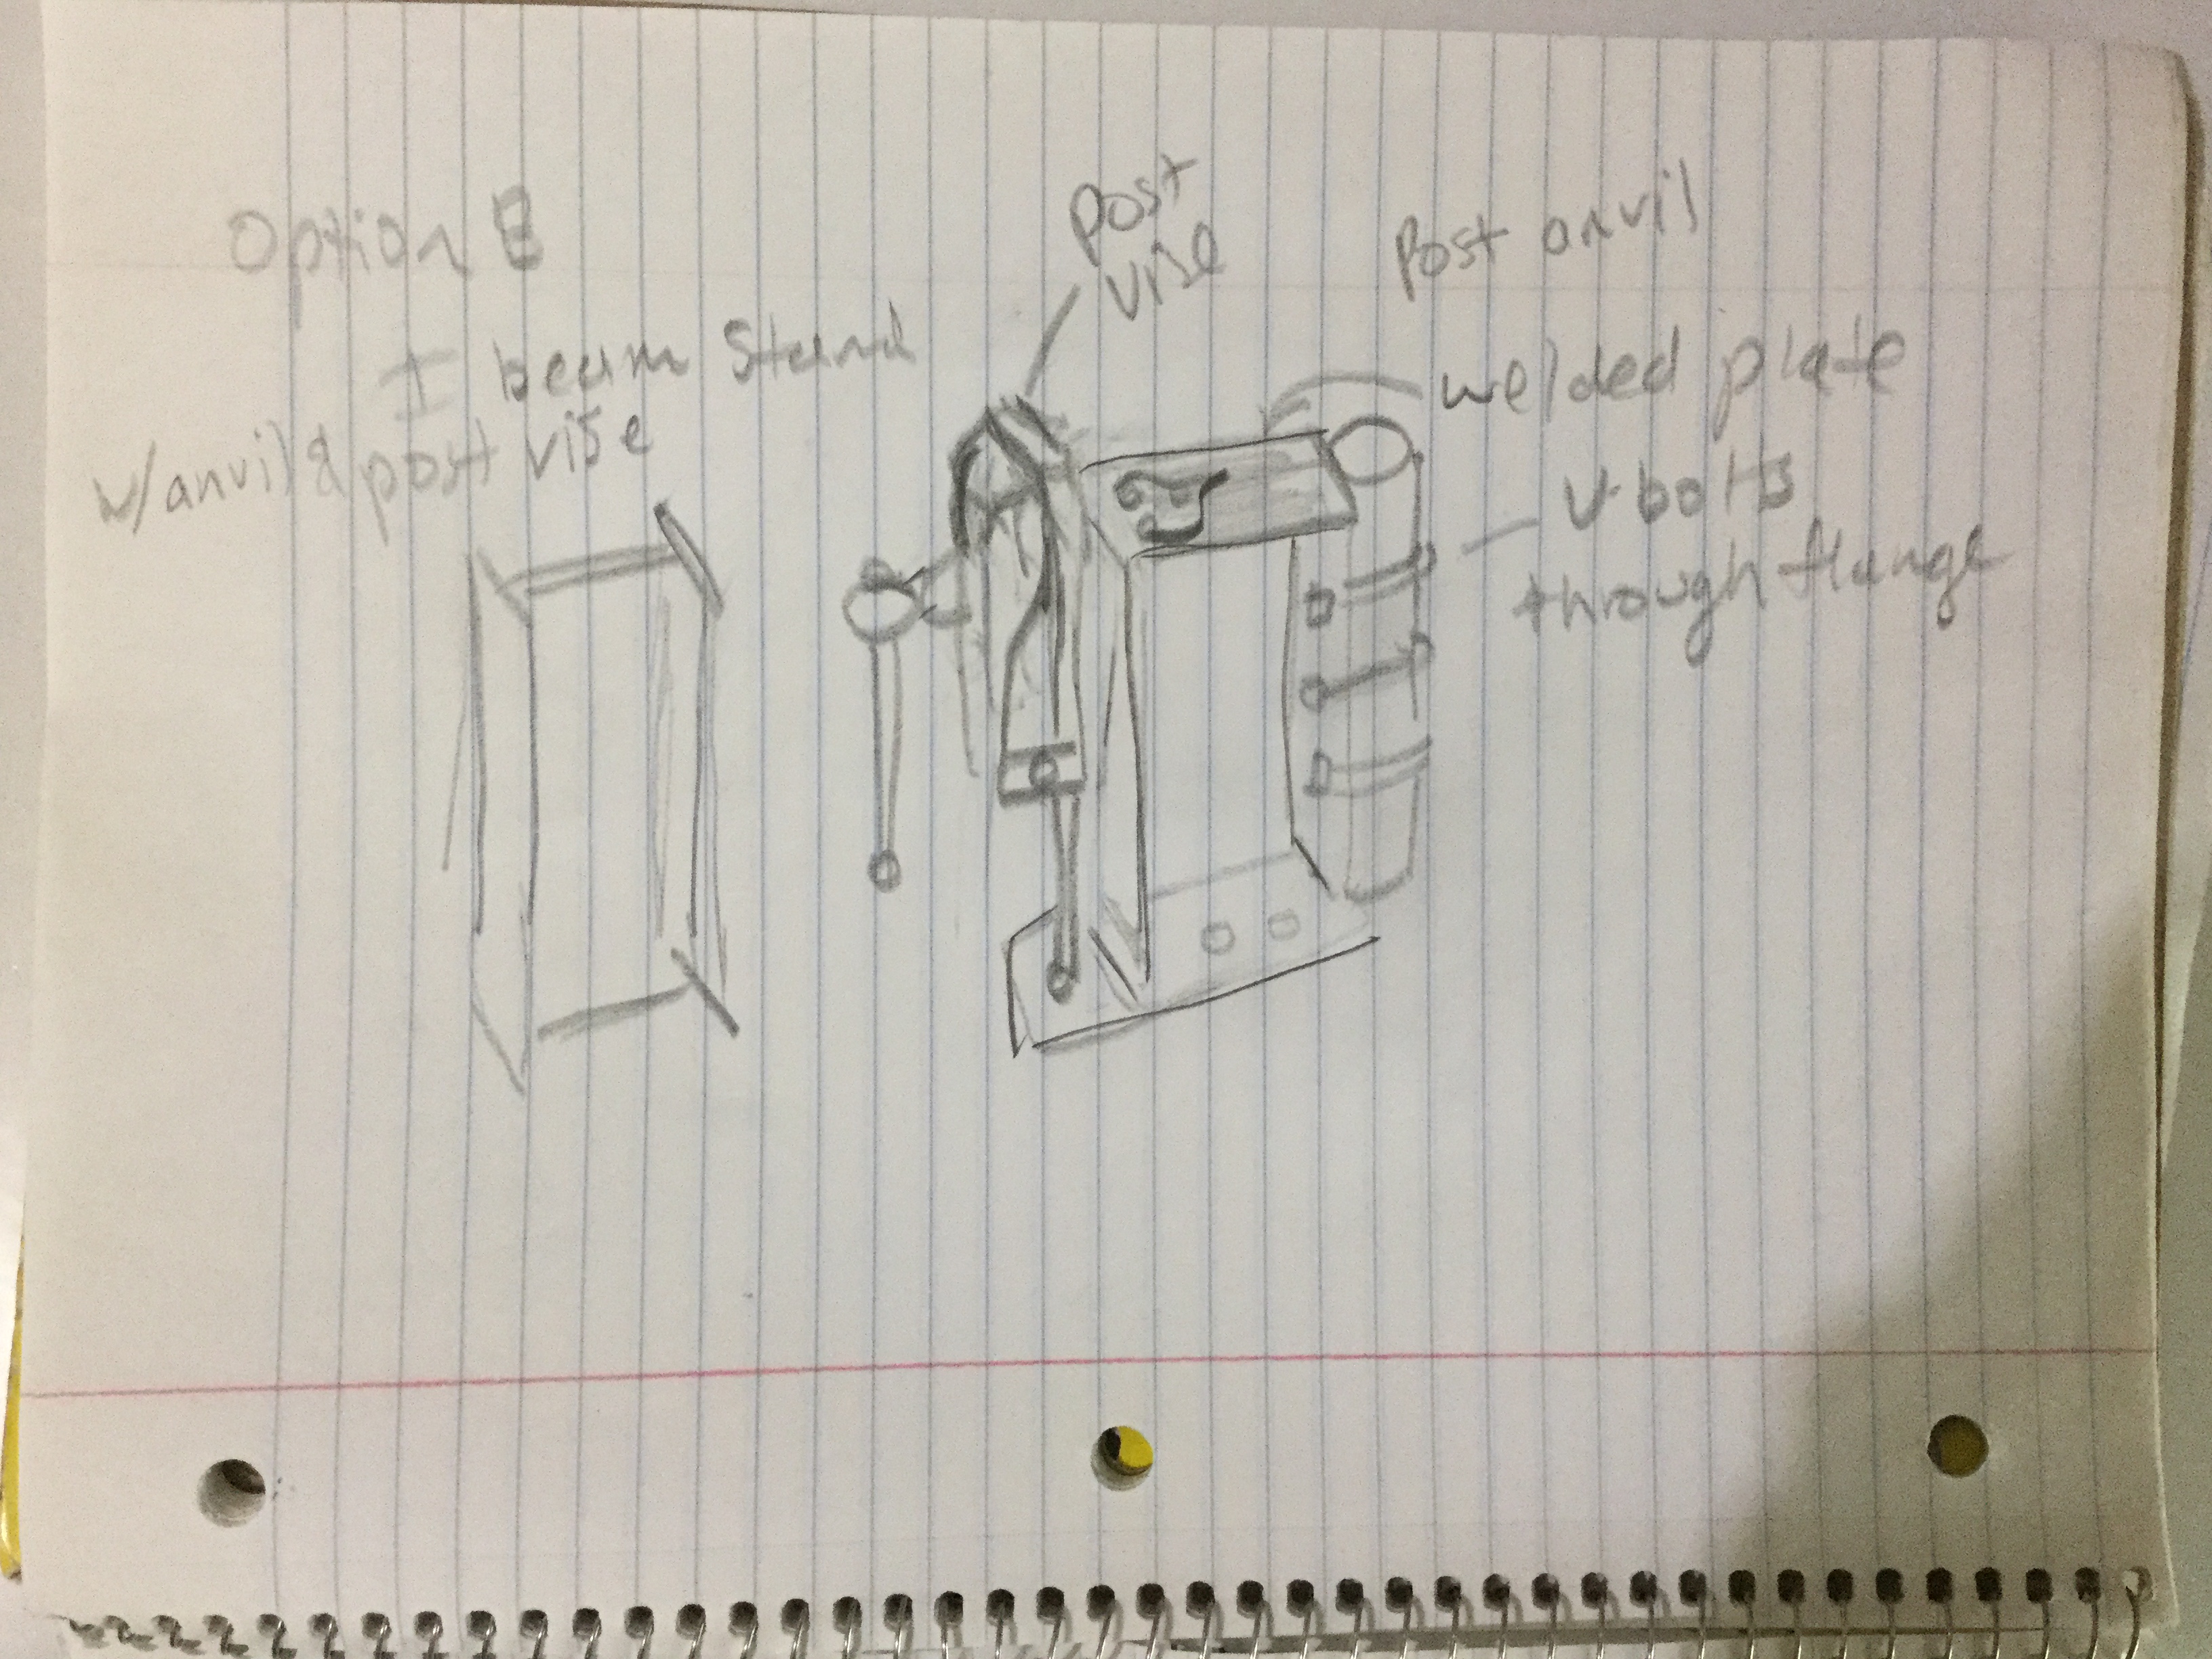
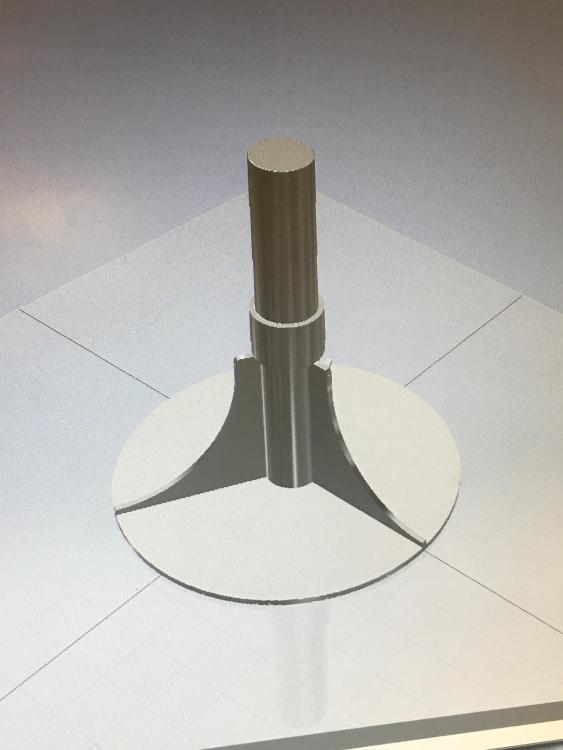
Yes, I want to be able to "get in close" to my work. That drawing doesn't show, but if I go this route I will grind 3 flats on the breaker. When it sits in the pipe tube (ring), I'll have some threaded set screws to lock it in place. Okay, so instead of welding the feet to a large diameter base, you are saying forego the base and just use the bottom tube socket and it will sit better. I like the idea of using it on uneven ground. Maybe I will cut some individual pads that can be welded on to the base of the gussets with holes to accept floor bolts. How would this be adjustable though, for the varying floor levels? I'm not sure what bucket idea you are referring to, are you referring to the cad drawing or are you referring to the captured method in option A? I thought option A would possibly deaden the ring, currently the thing will ring like tuning fork, on and on and on. Yeah, I think it could be useful as well. I saw Kovko's video, thanks for the reference. For other people who are thinking about this sort of thing, here's another way by Caotropheus. Note, no safety glasses worn while striking: Since I don't have my own shop and not in even a quasi permanent place, I think you and Thomas are on point. Haha yes, I like that; Good for the soul indeed. That is a clever way, Scrambler. I think with the tripod I'll be able to get closer though. Thanks for sharing. Charles, I think Scrambler was referring to the stand and not the hardy hole. However, a free standing hardy is on the ever growing list of tools to make.
-
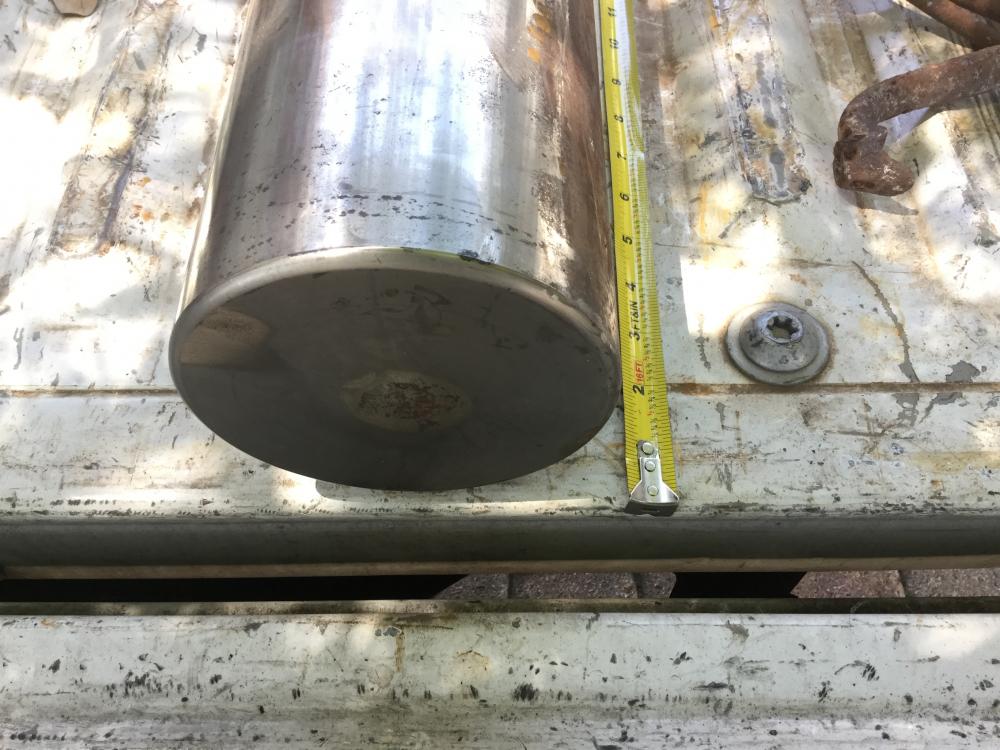
Yeah that was my calculation as well, about 165#s. This picture doesn't show the ring or the adjustment bolt you are talking about. This was an earlier permutation: Thanks, Scrambler!
-
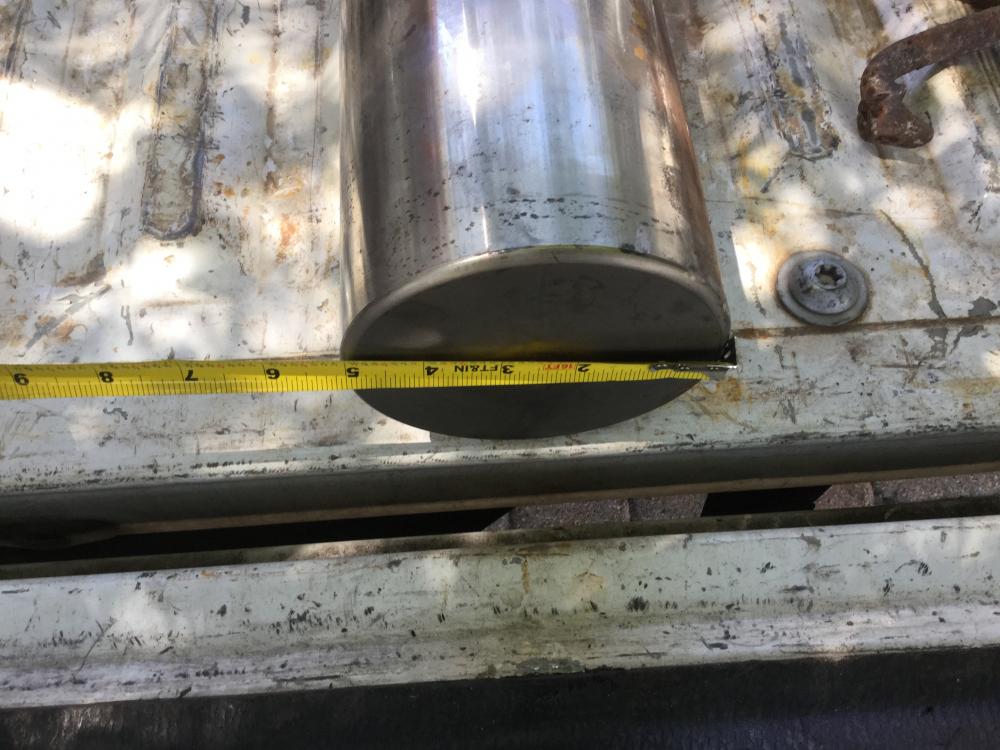
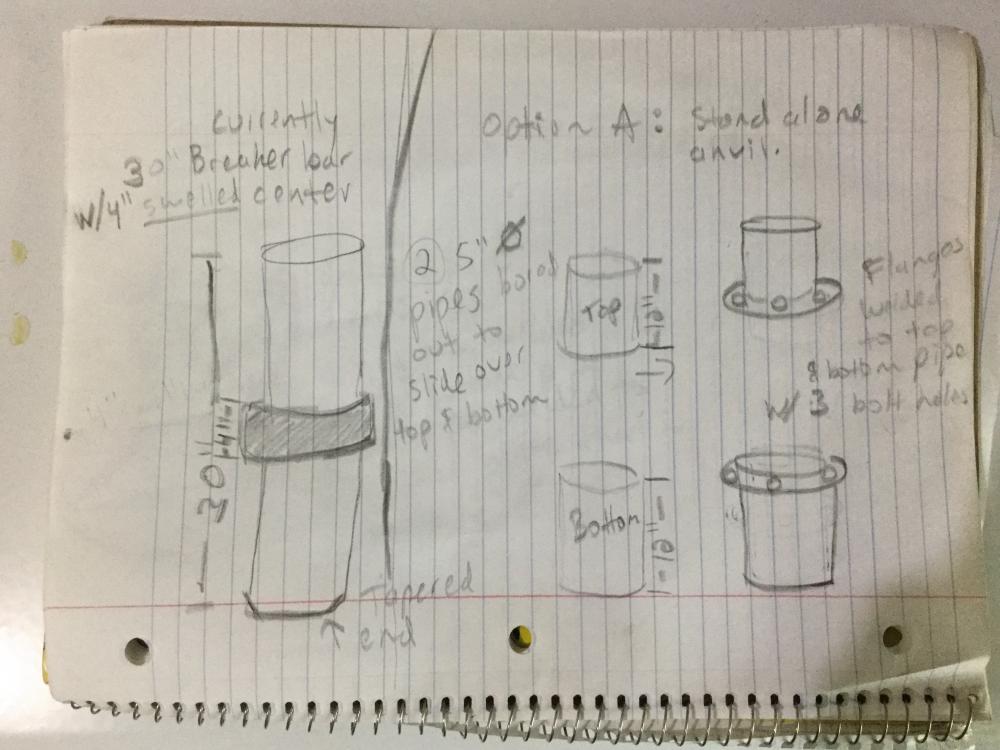
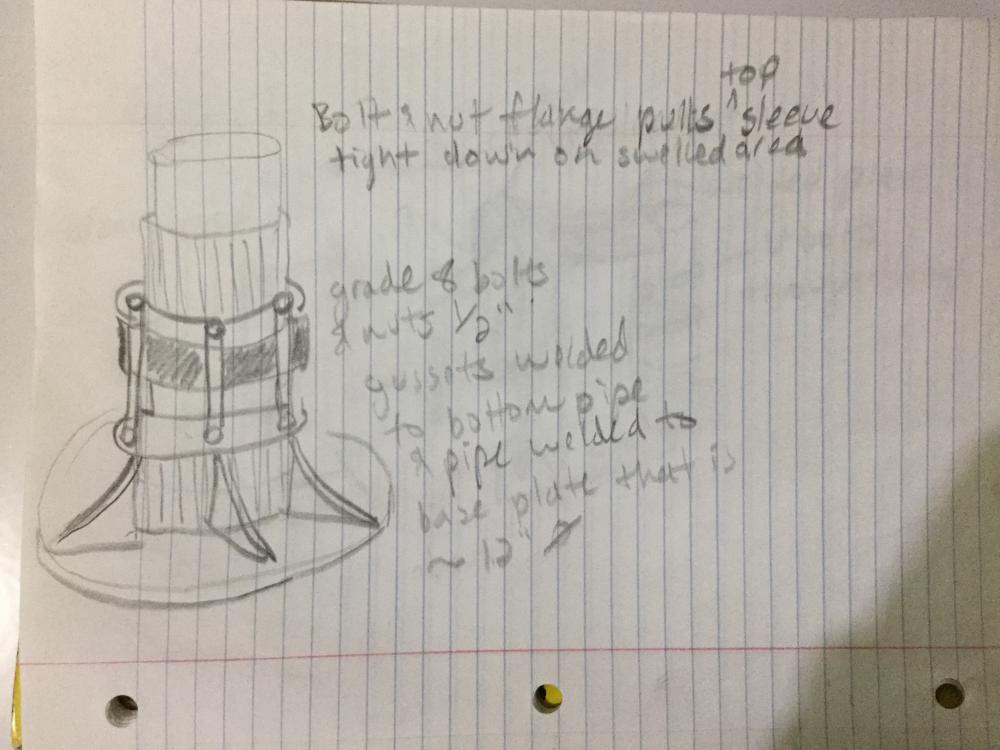
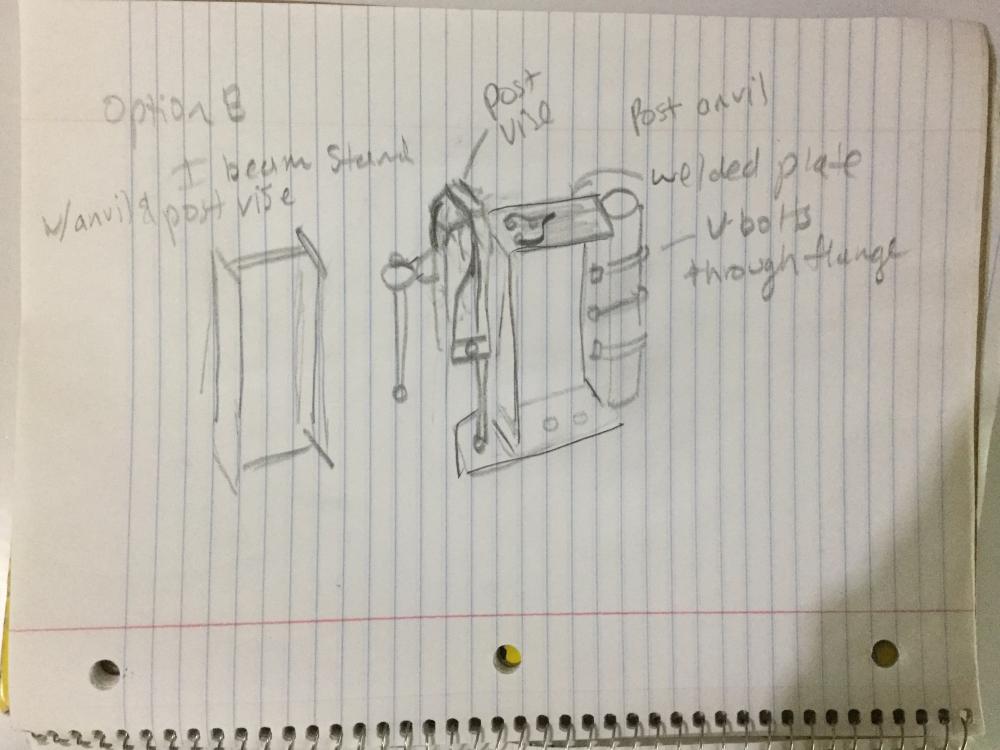
I acquired a 5"x 30" hydraulic breaker bar from a friend. It appears to be very tough tool steel. I'm not sure what alloy but speculate it's 40 series or D2? I've drawn up some idas for mounting it vertically and am looking for some input. I'm not going to try to weld on this metal so I've come up with a couple of ideas for mounting. I've seen the ones where they drop it in a 4 gallong bucket of cement, however I'm looking for somthing a little more refined. One can google Japanese knife maker anvil to see what I'm talking about. I've bored out a couple pipes to already do option A, a stand alone low anvil, but am second guessing myself with option B. Current situation, I don't have my own shop, I do however have a primary 220# anvil already. I do general smithing more than knifemaking. My striking anvil is actually at 30" already, although this one I can tell will have some excellent rebound. I forgot to inclue in the drawing of option A, the bottom pipe would have set screws to lock it in place, Please don't be offended if I don't go with your design or suggestion, looking for some honest input here. Hopefully my scribbles make sense. Thanks in advance!

-
Very nice swage stand and even nicer with your old sweet dog gracing it. I can see the benefit of your design and it looks very useful. Thanks for re-uploading the photo..
-
Thanks, JLP, I appreciate all your suggestions. The 1/4 gussets is just from material I had laying around. At some point Down the road it will be bolted down.
-
JLP suggested them, I figured why not, can't hurt might help. I think it has made it more rigid. I was considering tubing but decided on 1/4 angle since I could weld it in different planes, on the top, sides, and underneath. I'm sure tubing would have been fine too. You can fill the legs at least that way.
-
This is where mine is at. I have the winch, just need to fab the rest:

-
I look forward to seeing yours DanL. Interesting choice on the round tube. I wonder if a thrust bearing would help with the pivoting if you placed one underneath your tube.
-
Edennis, you did not cast the inside all in one shot, correct? You troweled and hoped gravity wouldn't pull your refractory down but it did, so you had to go slow. That line could be from the refractory curing at different rates since it appears to be where the flat meets the curve of the ceiling.
-
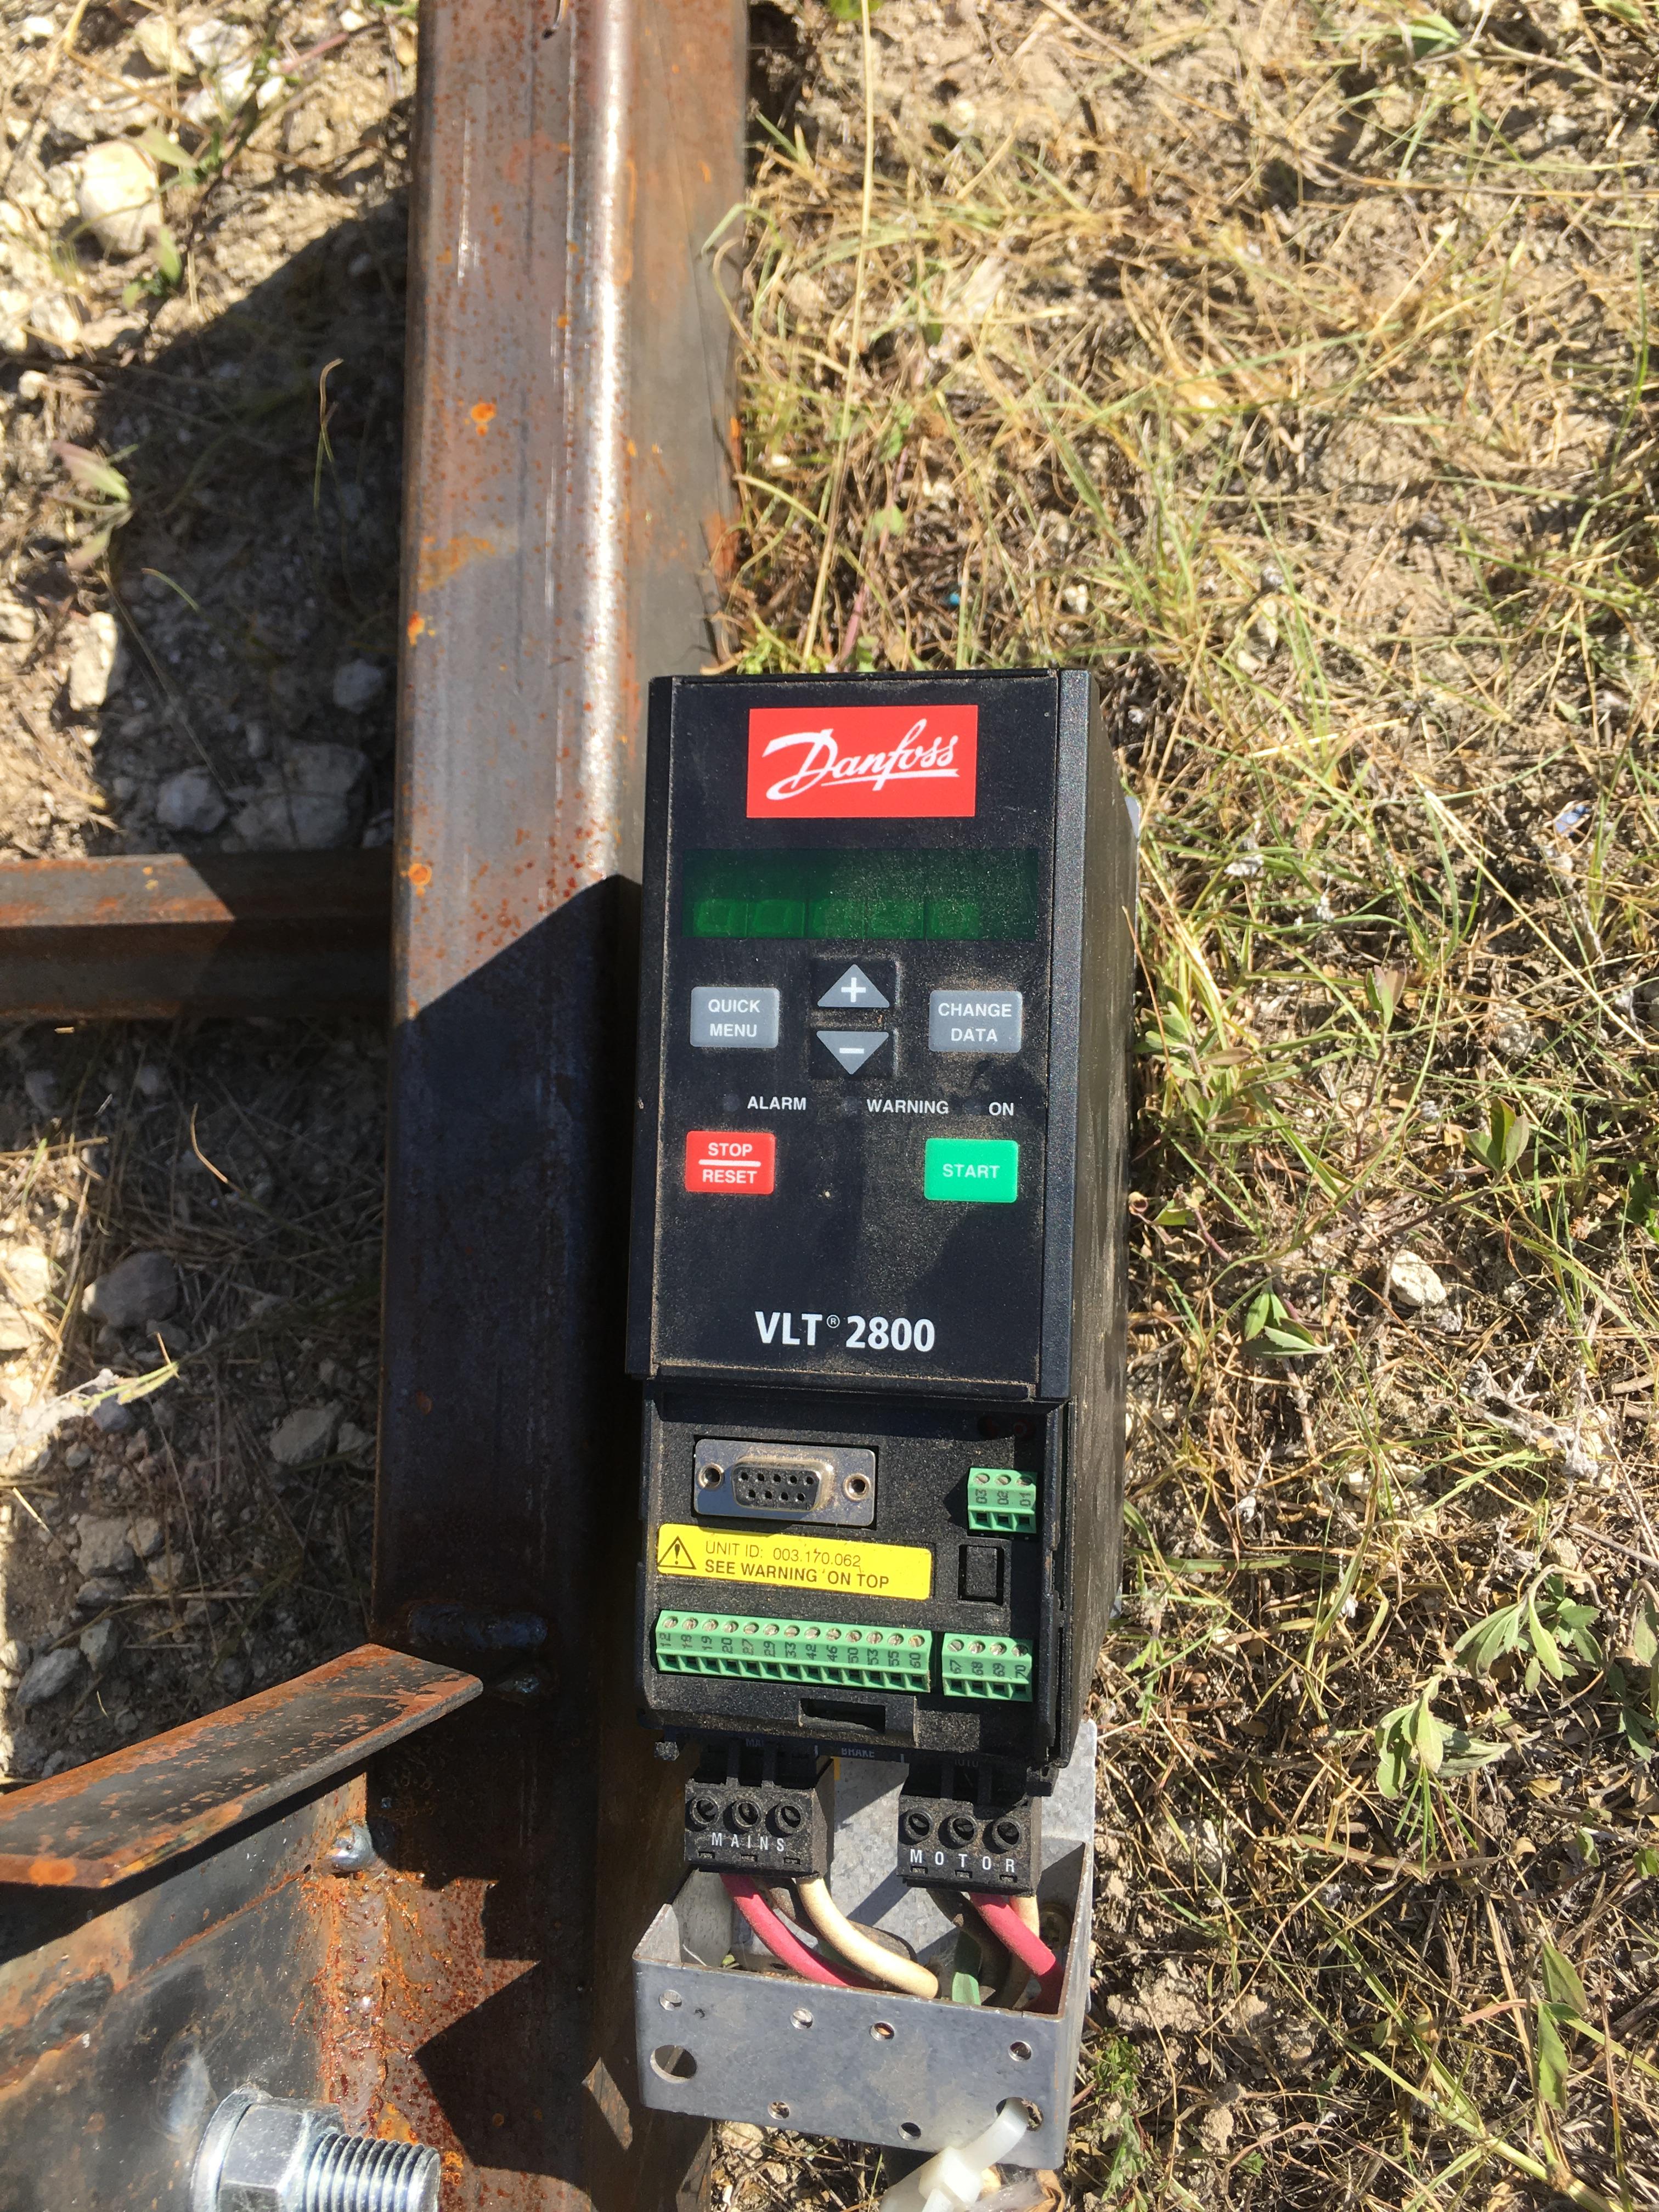
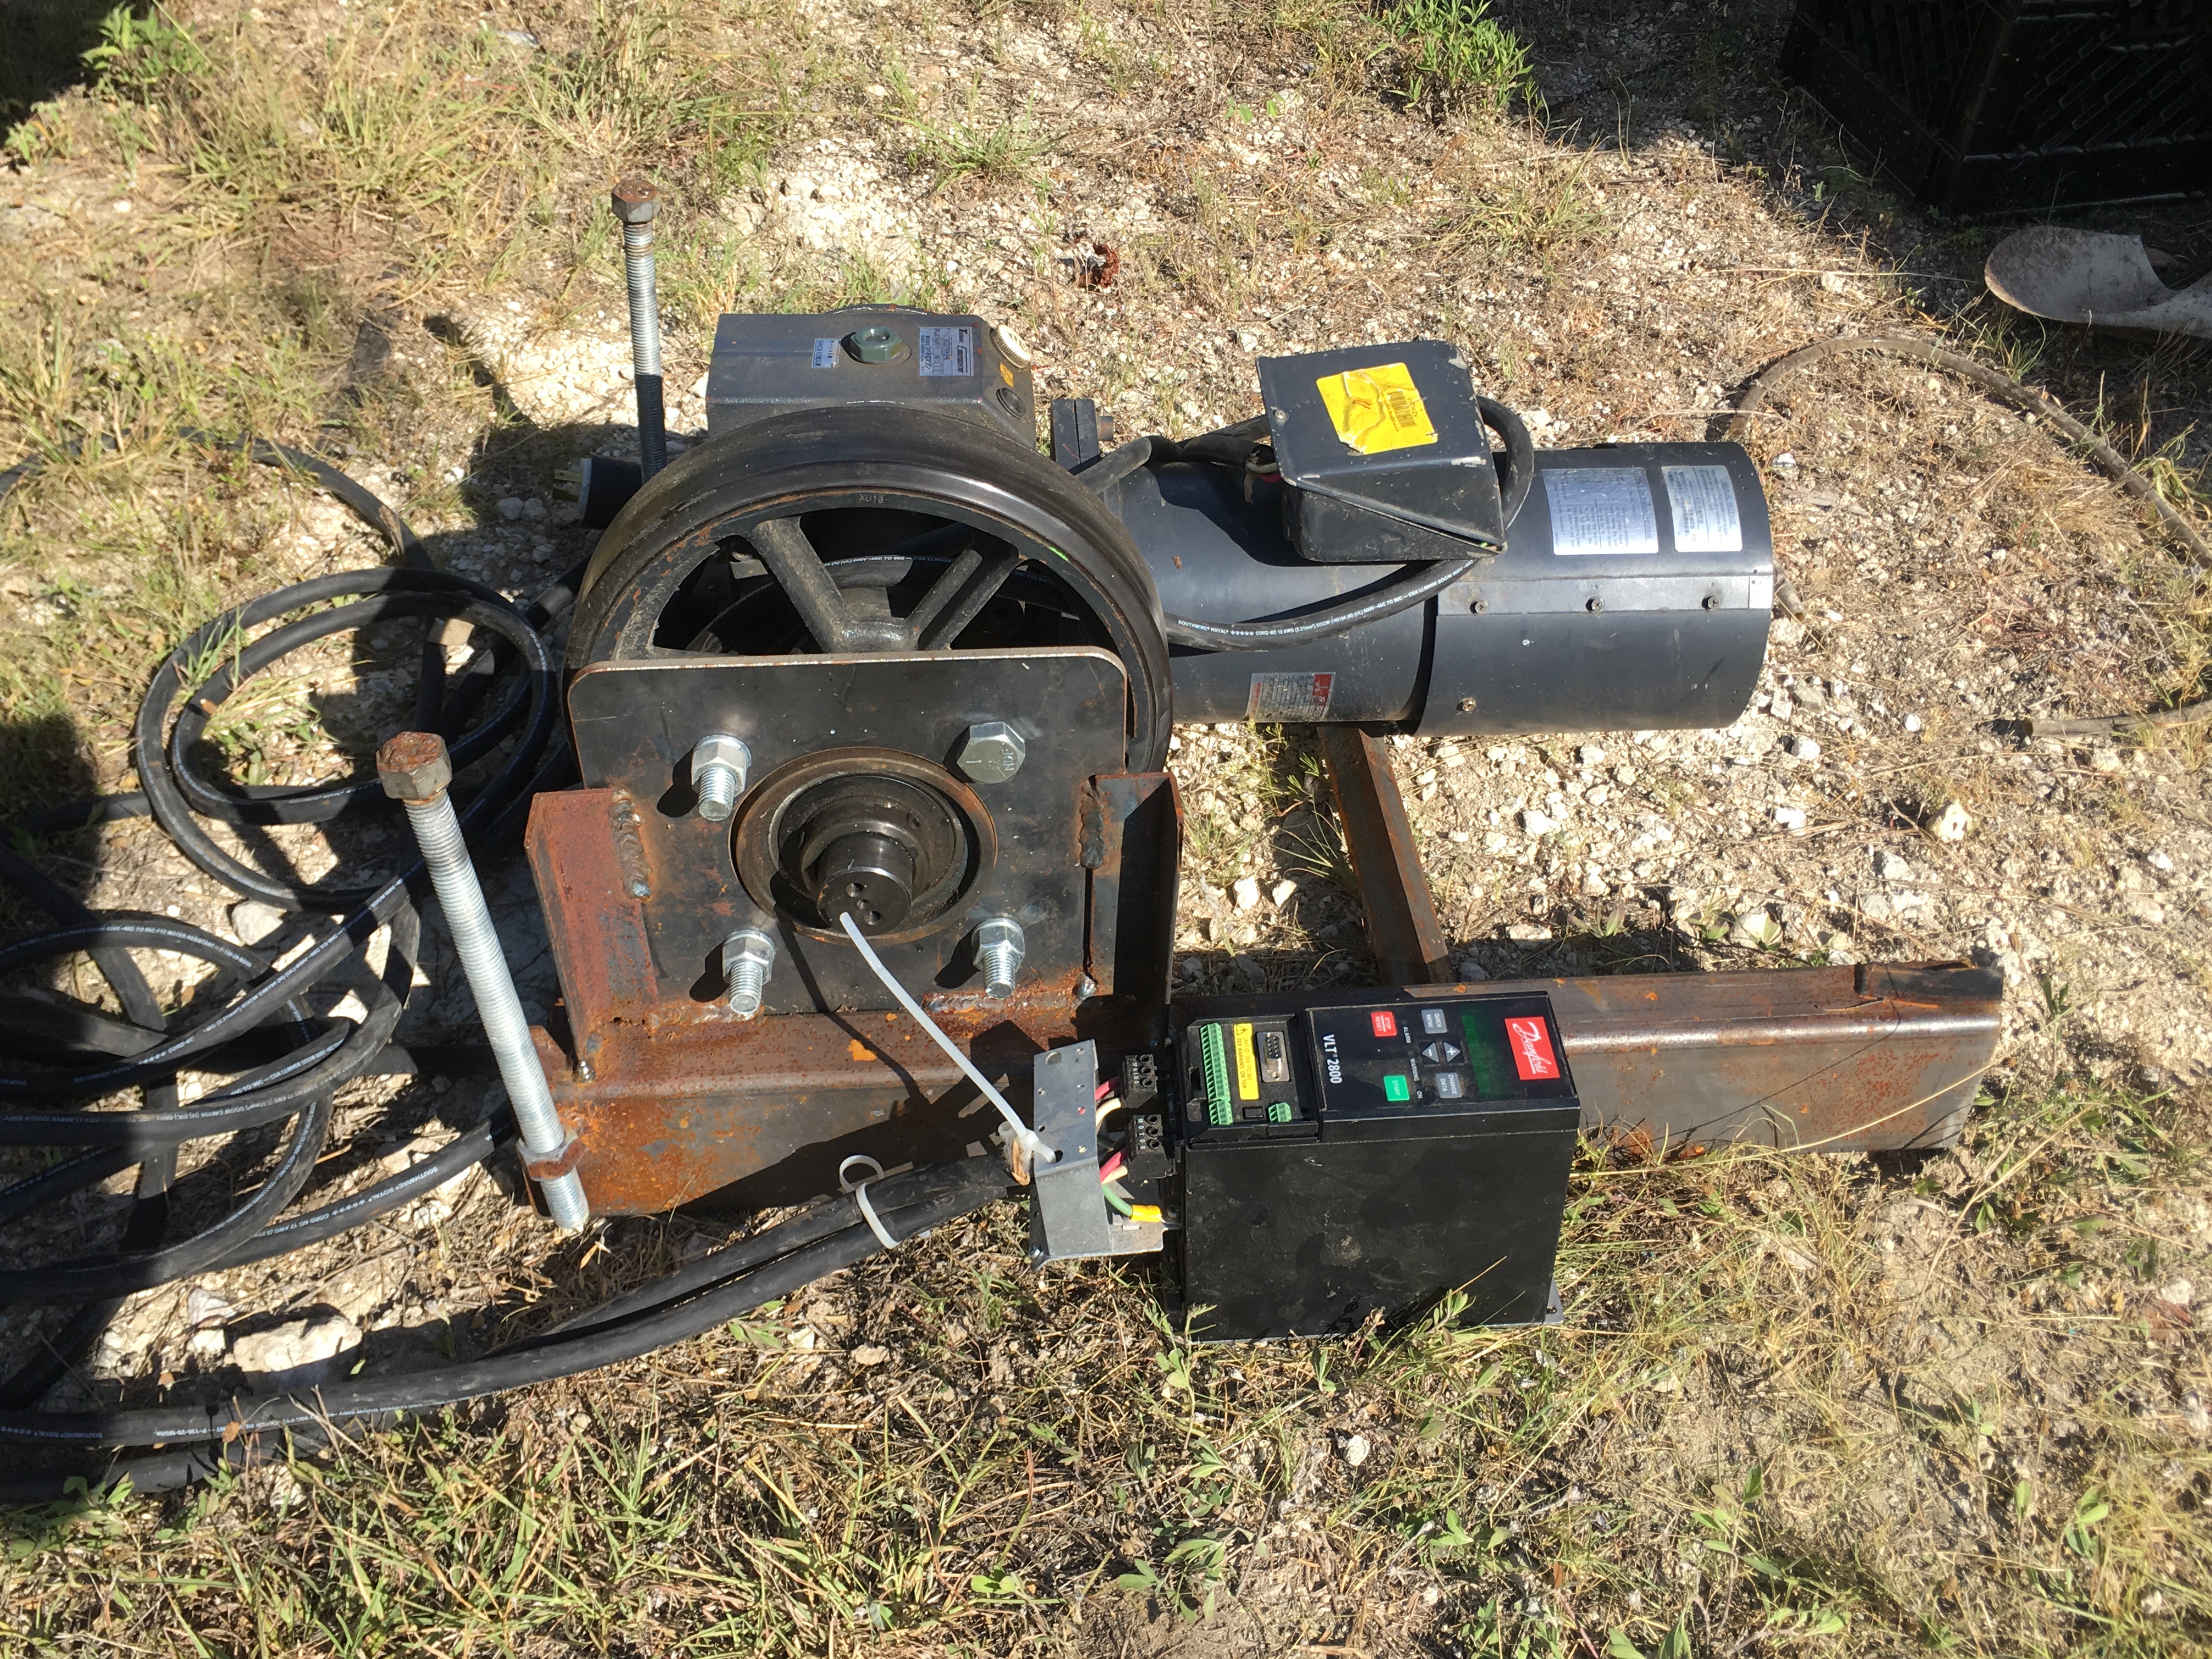
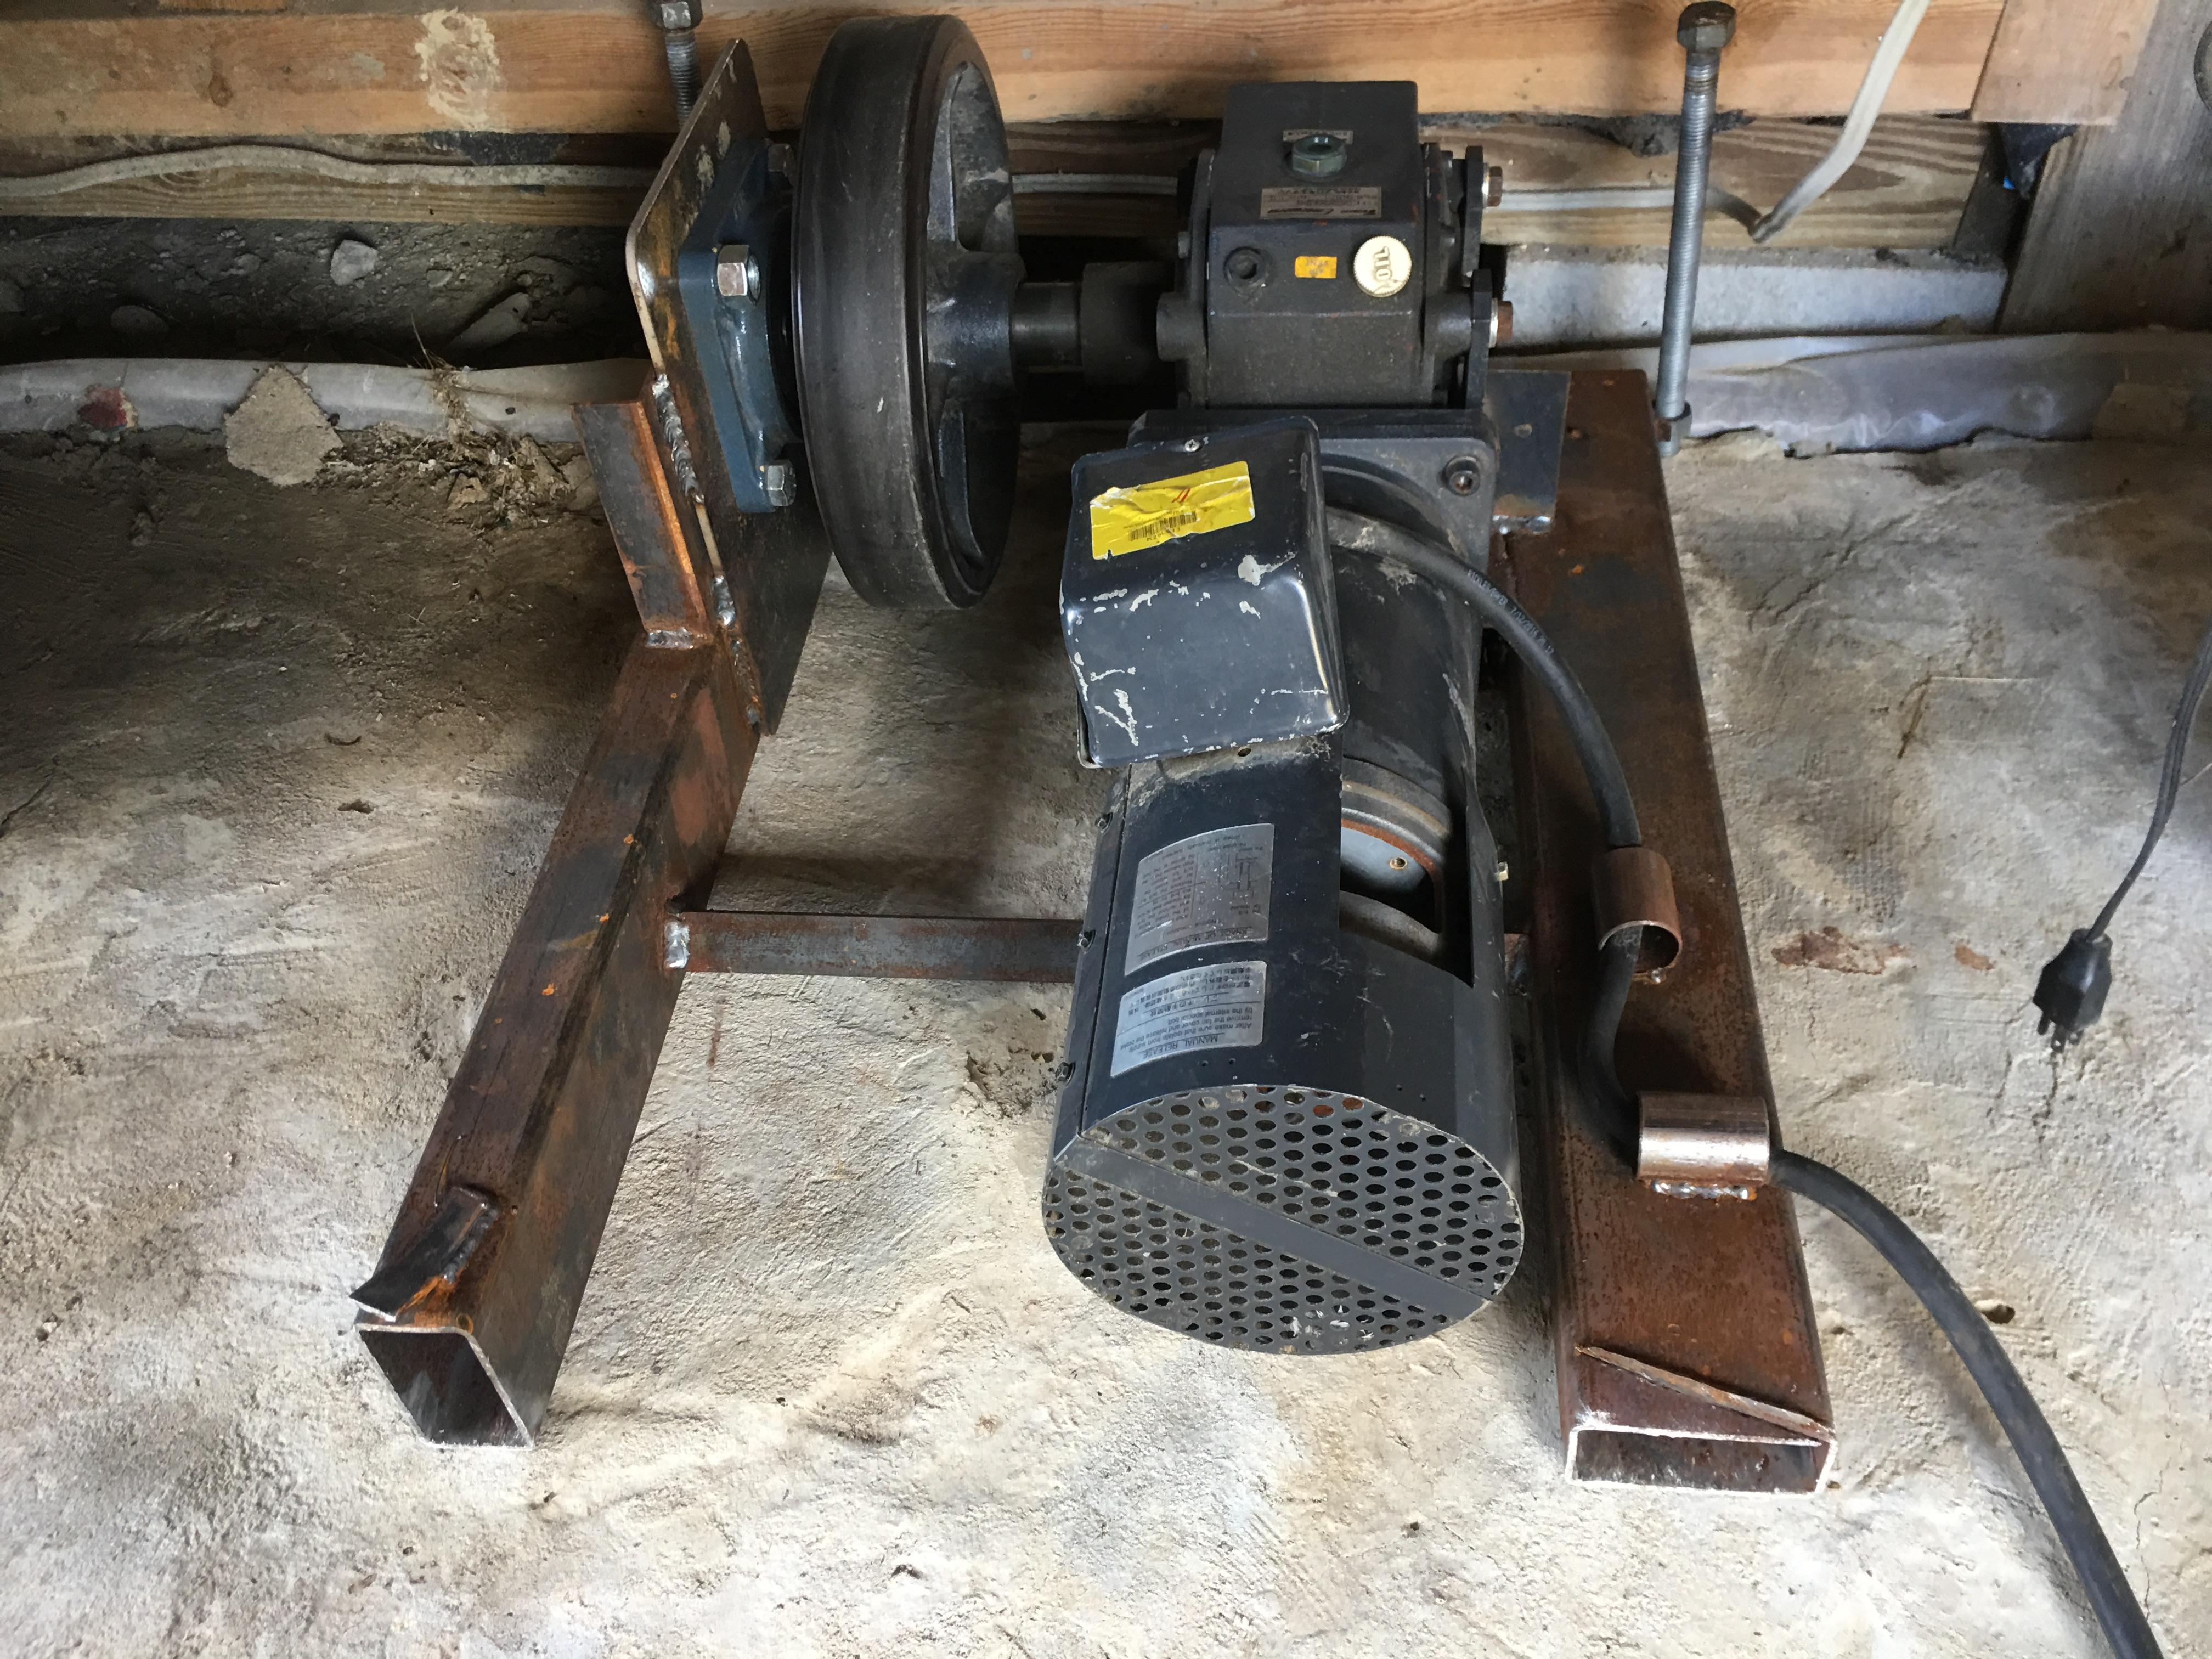
Thanks, Lou. I will definititely be checking out Fielding's youtube videos. I don't have three phase and yes, it does have some major low end torque! Would love to make a tire hammer with this if I can figure out a way. I was reading about the different ways of converting last night, however I'm not familiar with the "jack" motor method. It sounds like the rotary method is the way to go as it's not supposed to have the starting and reduced power problems like a static converter. I heard they cost around 600 for a 3hp rotarty coverter.
-
Agreed, although the person that thought up of this might of had a few.
-
I'm sorry to hear of the loss of your Father, Thomas.
-
The cleaner "Bar Keeper's Friend" has the active ingredient of Oxalic Acid. We used to make file cards out of solid brass stock. It's not as fast as a brush and I don't think it works as well on very coarse files, but it works very well on fine files.
-
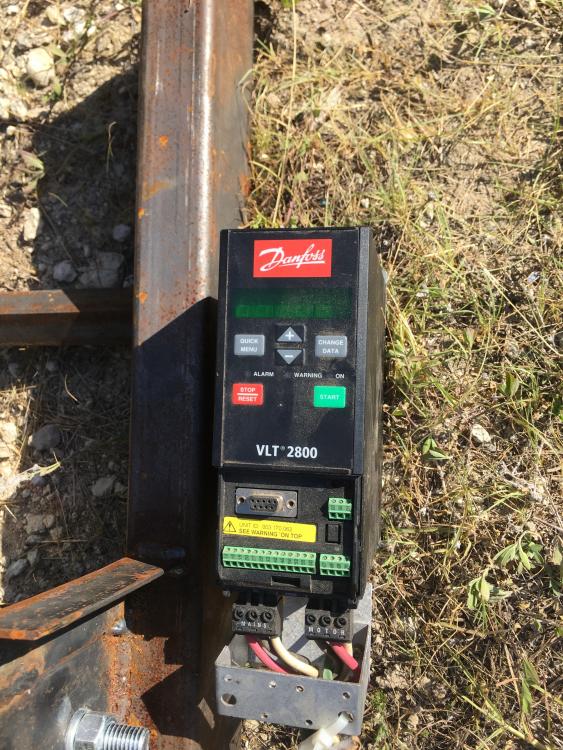
Picked up a free 3 phase 3 horsepower brake induction motor/ reducer with VFD. This was used to spin a room. Not sure what to do with this Any ideas?


-
Ouch!! i did that when taking apart a 130# post vise as the spring was out and slapped the xxxx of my thumb. Fortunately the worst it got was a fat blood blister. Here's hoping your thumb heals up.
-
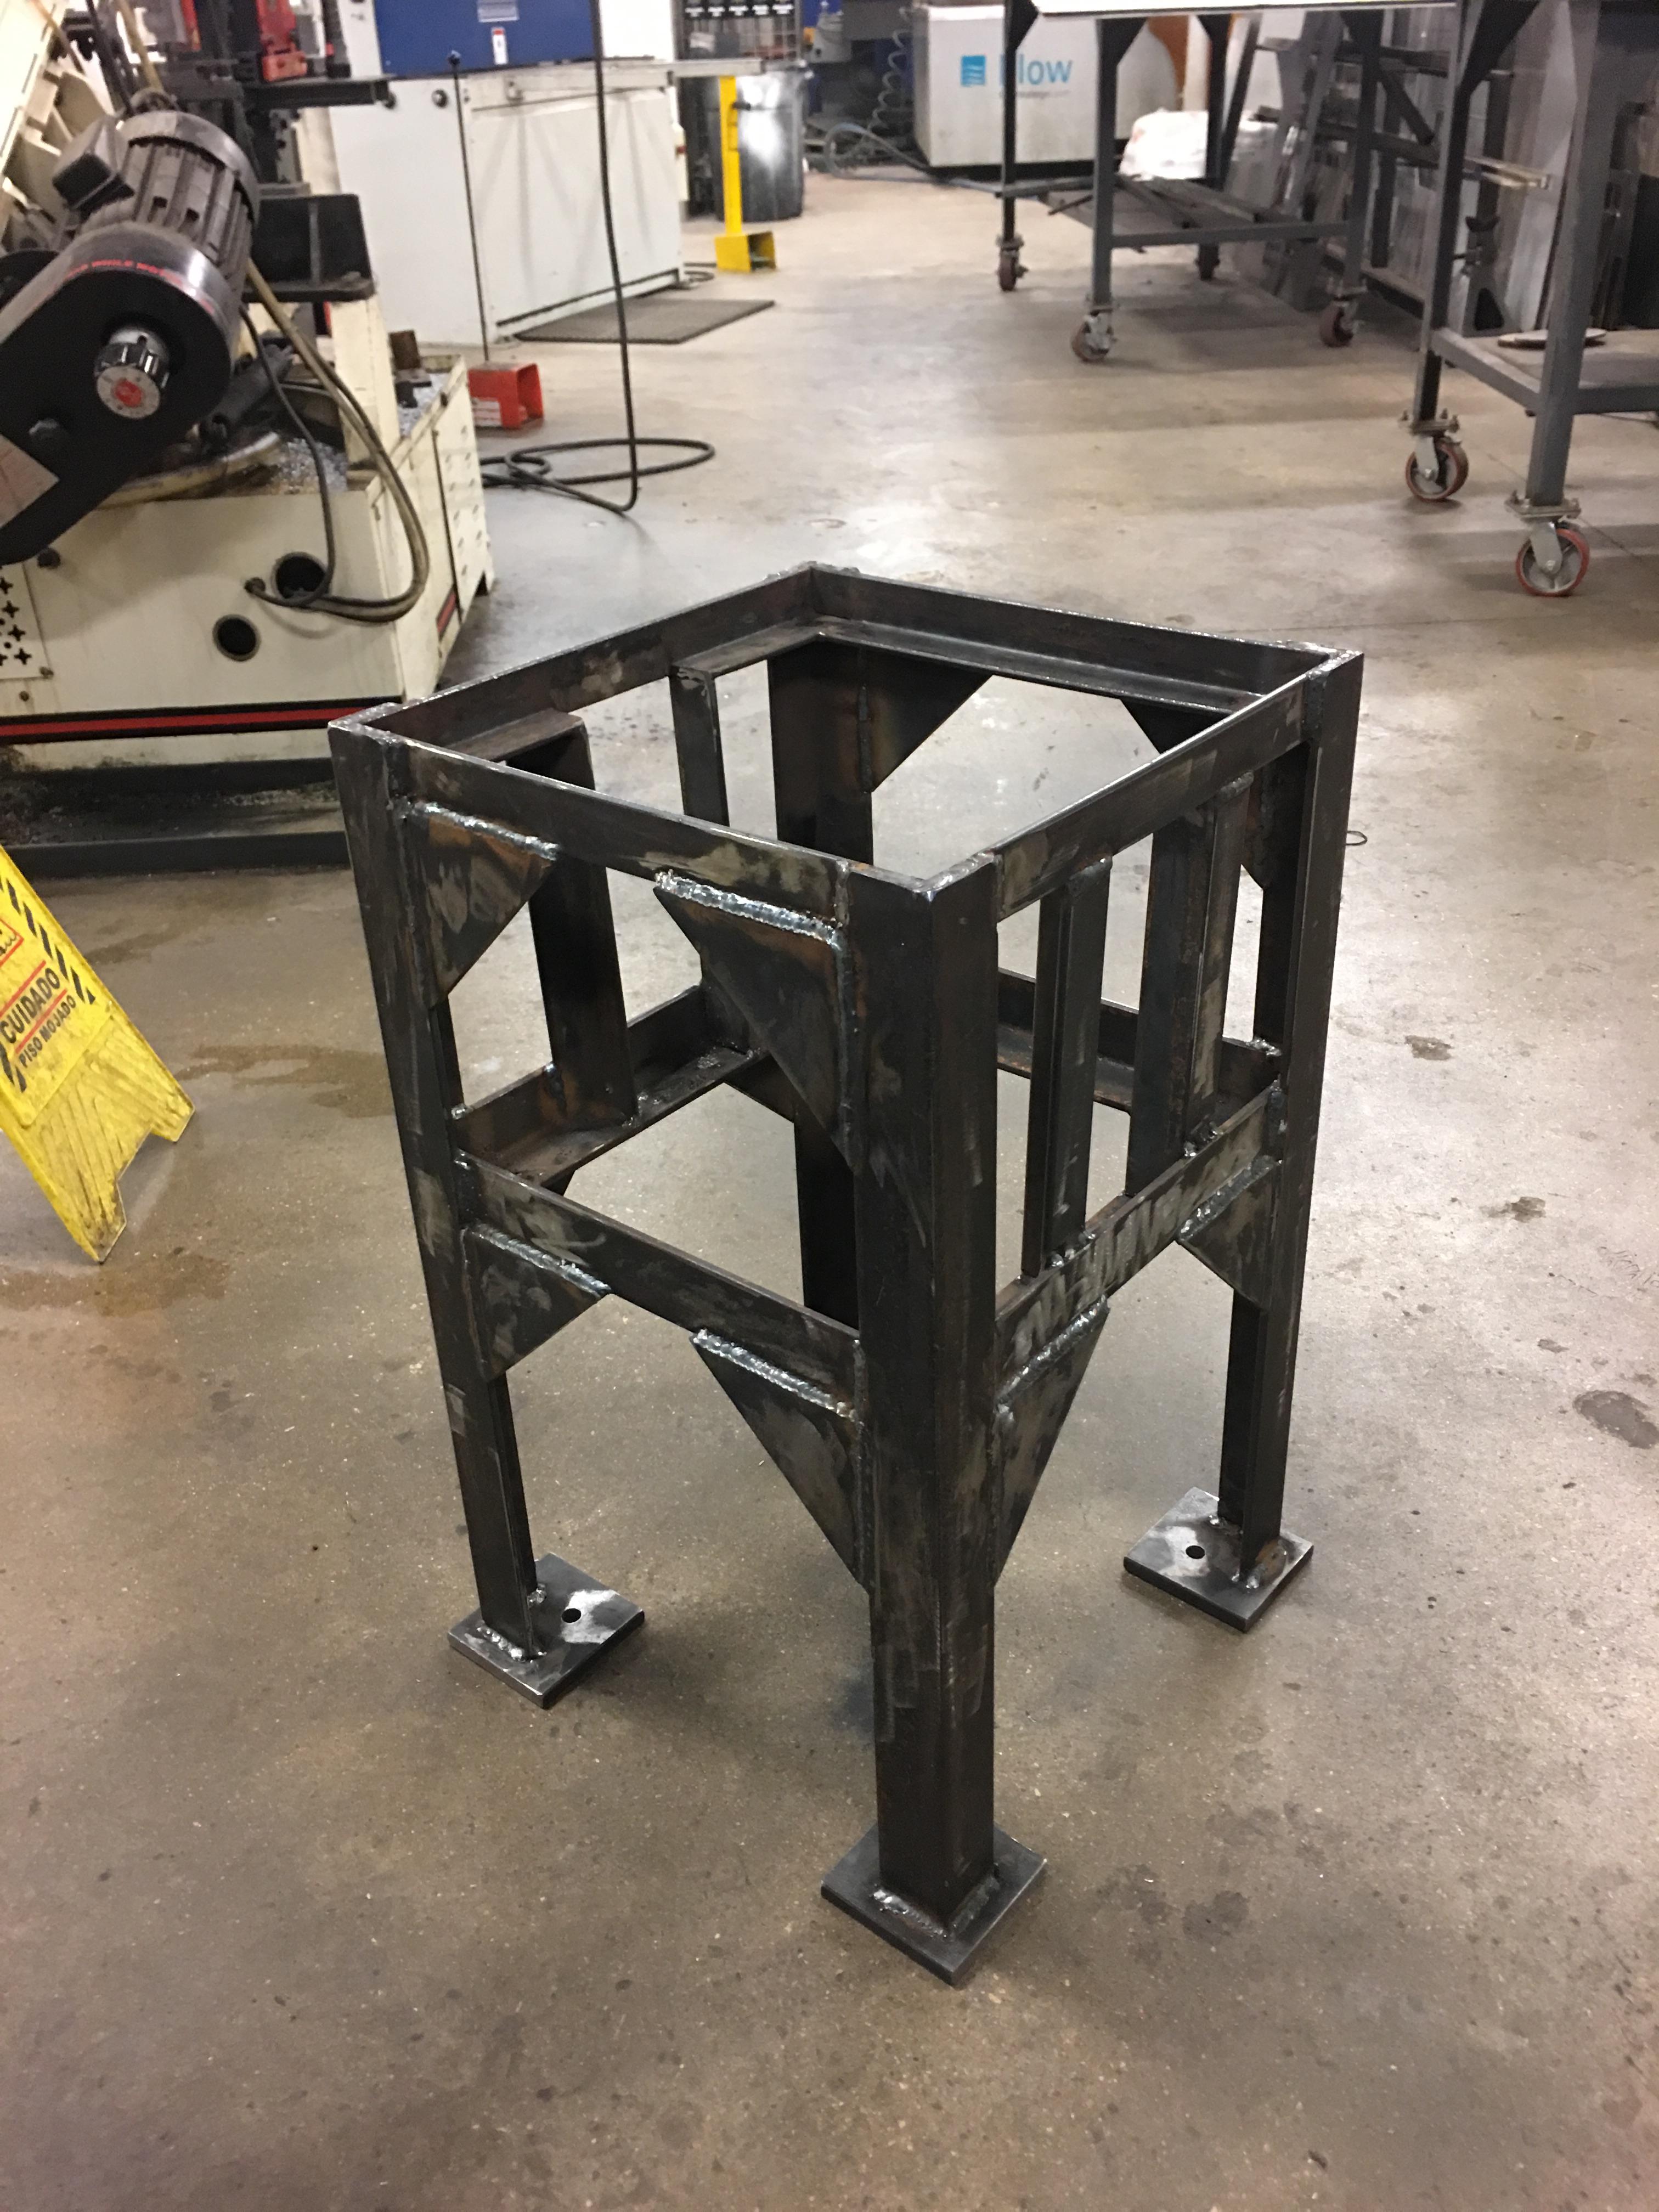
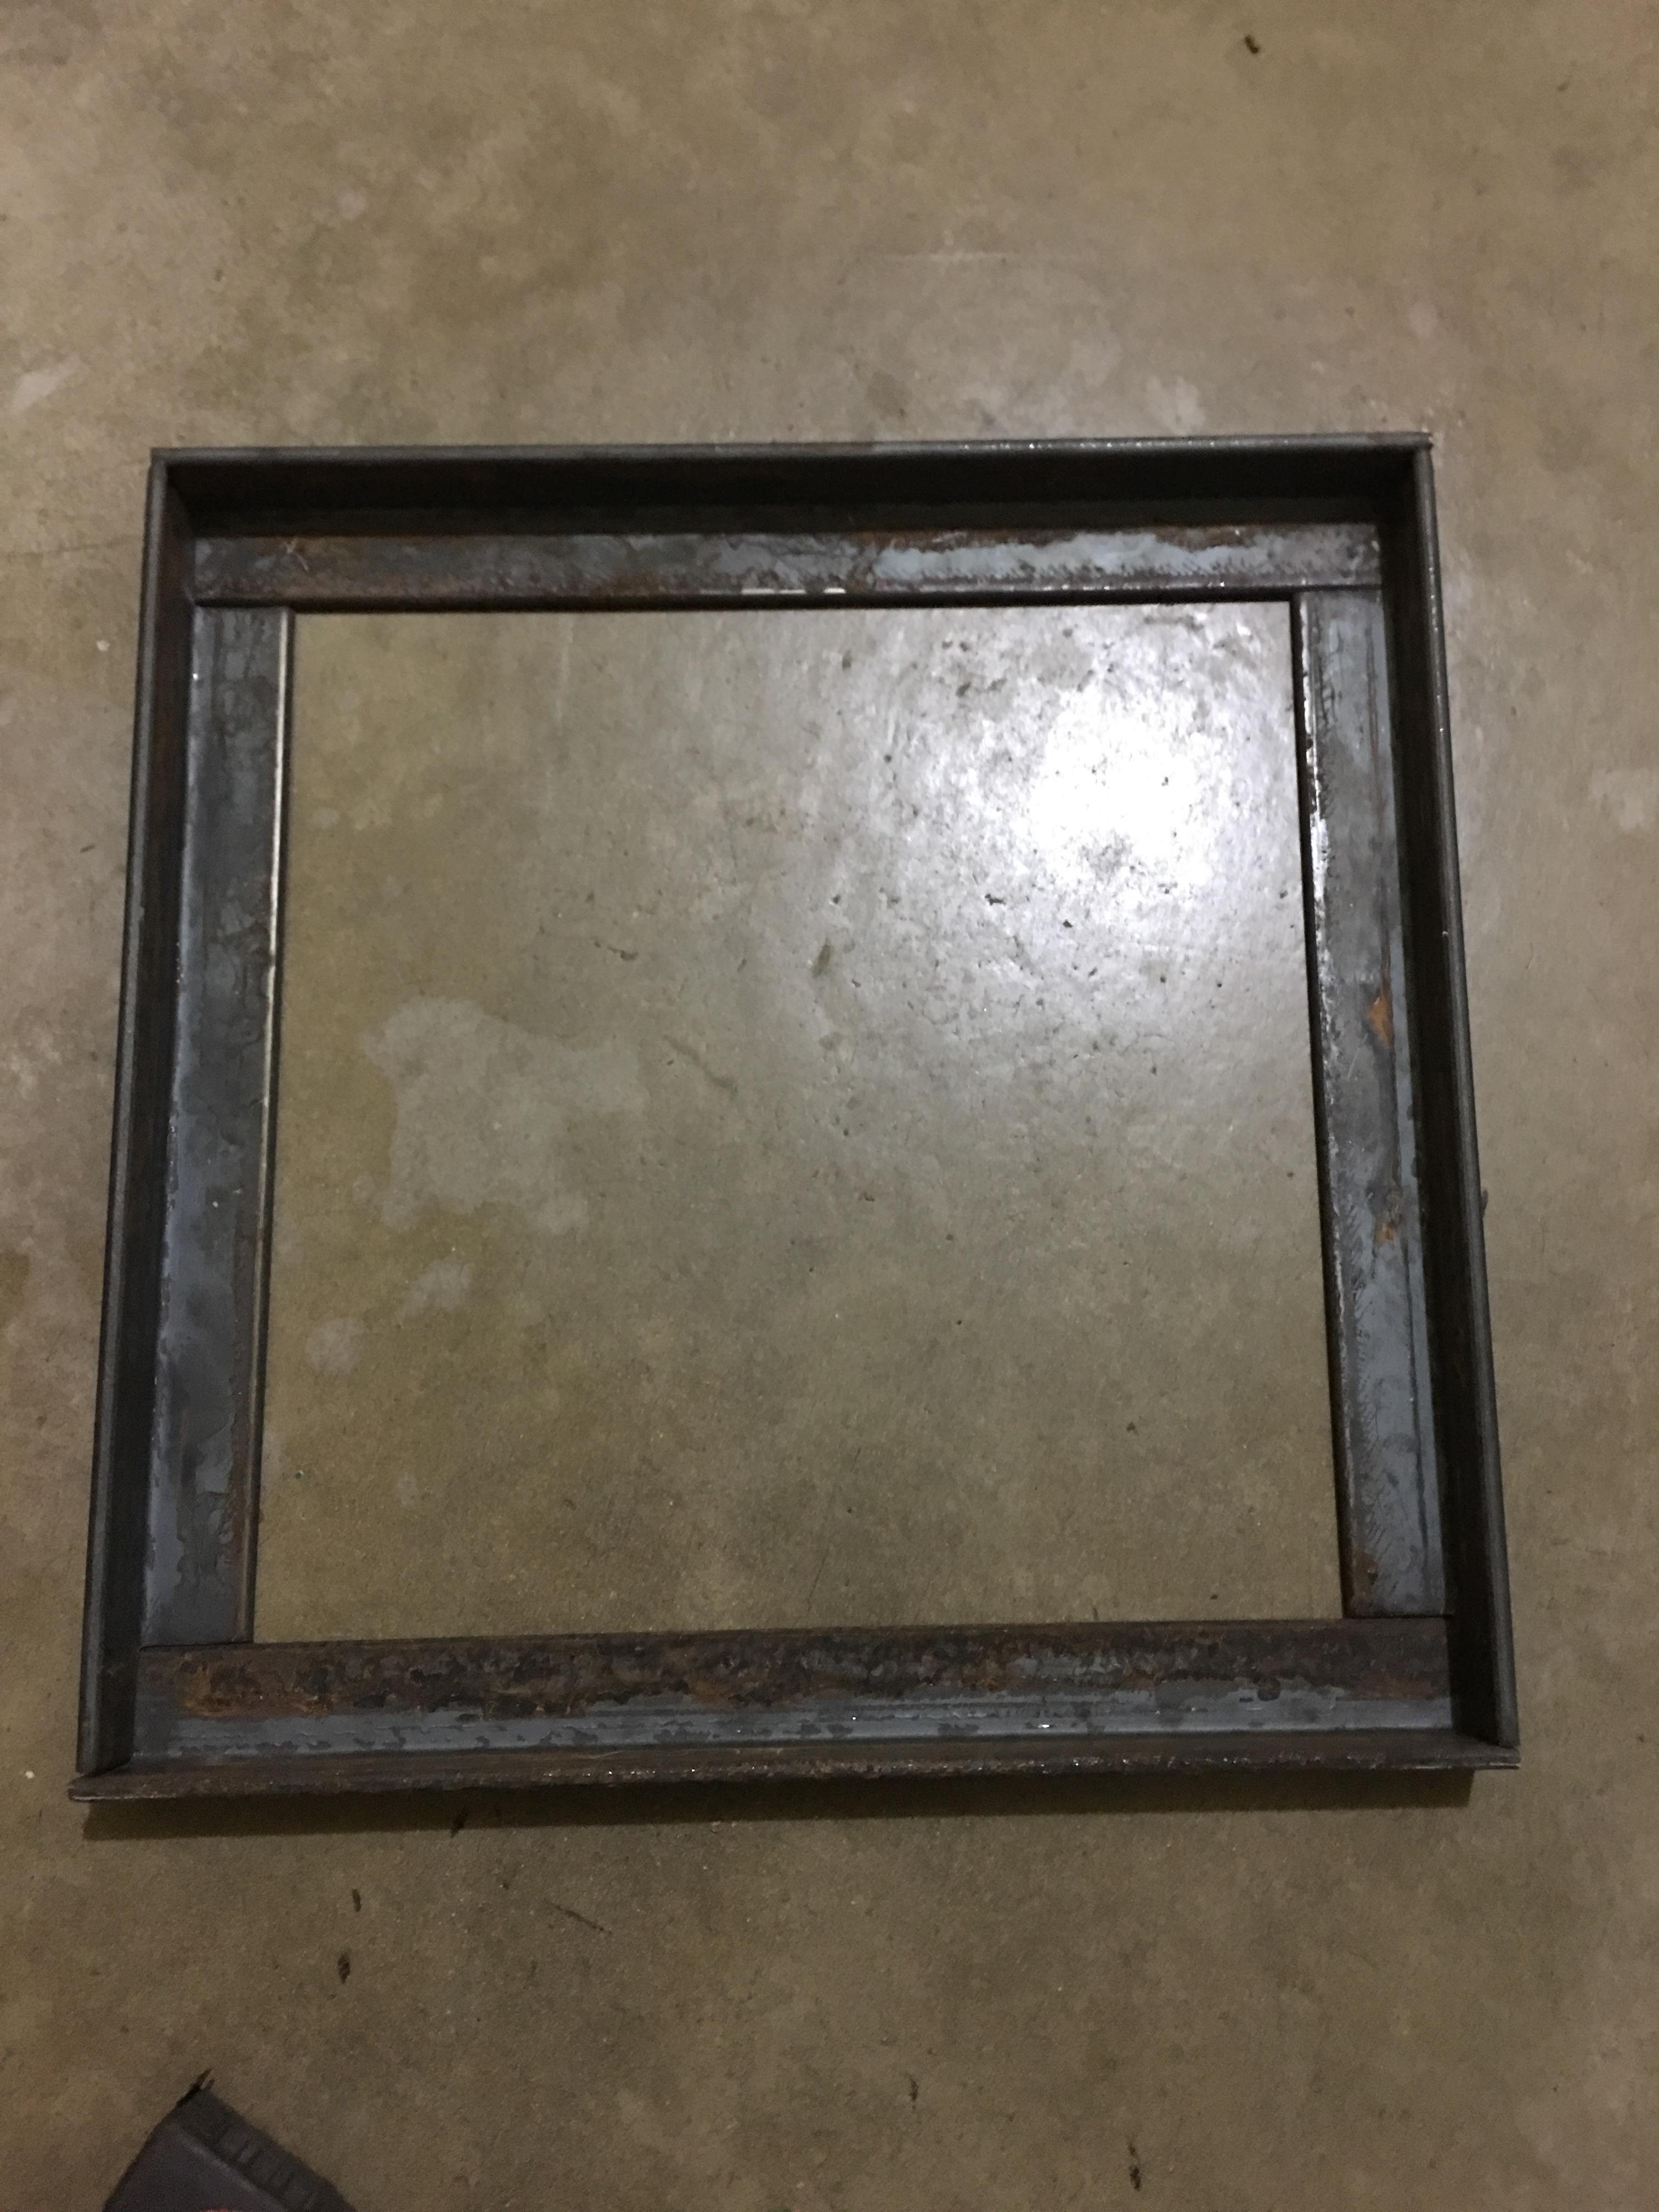
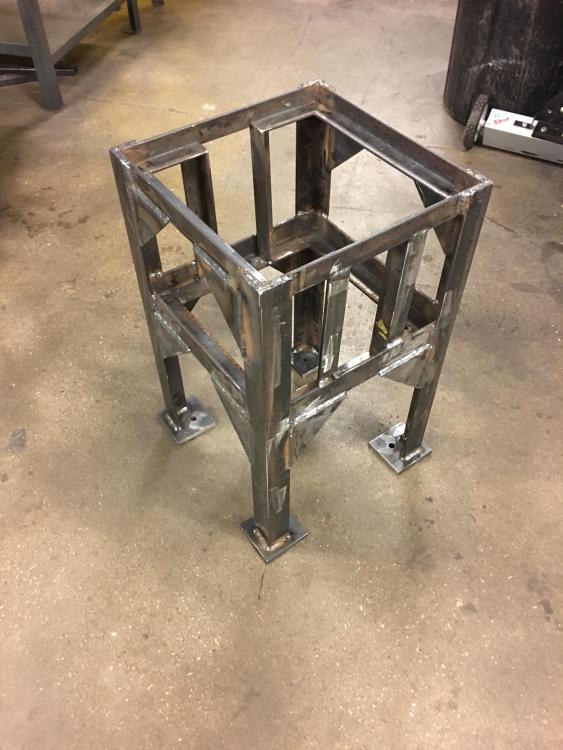
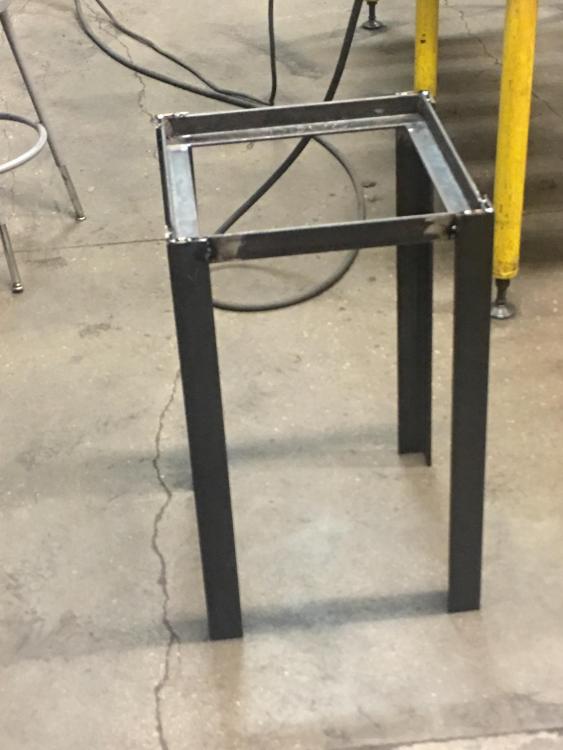
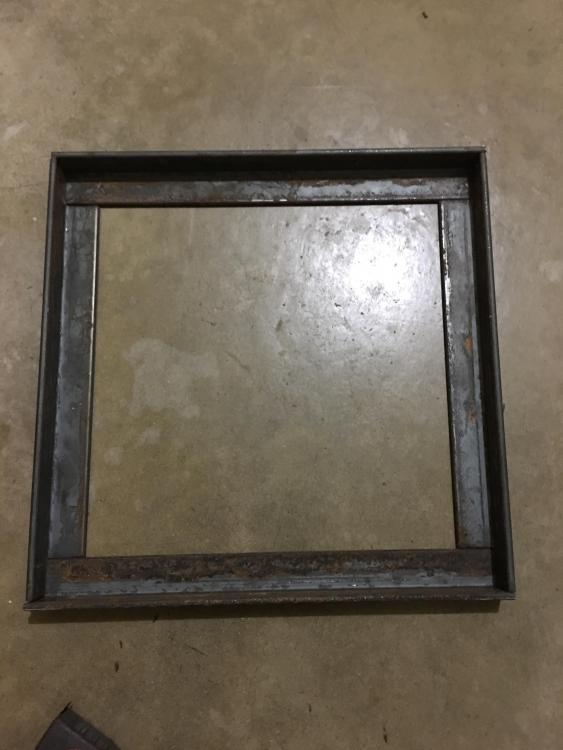
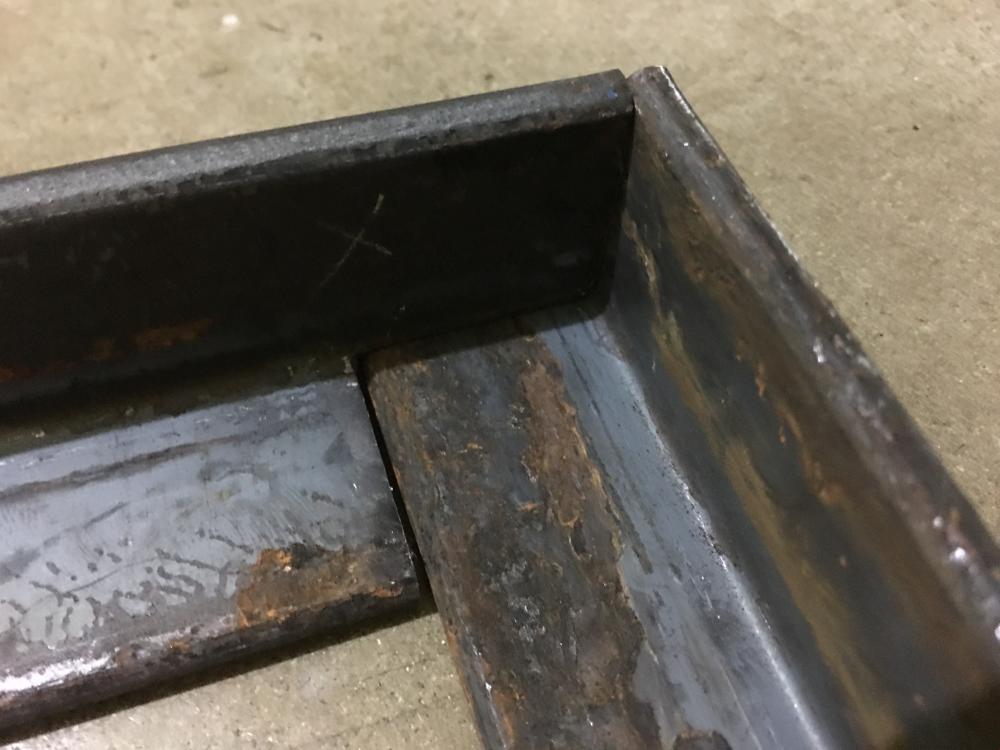
I chose 1 1/2" by 1 1/2" x 1/4" since that is what will fit my swage block without interfering with any of the holes during drifting. I allowed a little gap between the swage and angle for ease of removal. I will probably be adding some thumbscrews to lock the swage in place from the side. I was thinking of having the swage drop in about half way for ease of removal when on edge in the drop slot. Its just tacked together at the moment. The legs are 2x2"x 1/4" and the feet will be 1/2". I set the target height for 30" which is the height for my striking anvil. Lots of reinforcing needs to be added still. I also coped the corners for more welding reinforcement.
-
I have some hammers from the late Bill Fiorini of Koka metalsmiths. Bill was an incredible knife maker of Damascus and jeweler to boot. He had trained in Japan and I never understood until now why the eyes on his hammers were rectangular. Thanks for explaining this.
-
I happen to be making a stand right now out of 1/4" angle iron for about a 200# block. Jlpserviceinc, I'm curious what you would consider a more beefy design. Most of the stands I've seen built seem to be made out of angle iron.
-
I have a friend who lived in Houston who raved about those, said they were the cat's pajamas.