MaxwellB
-
Posts
152 -
Joined
-
Last visited
Content Type
Profiles
Forums
Articles
Gallery
Downloads
Events
Everything posted by MaxwellB
-
I've been following your posts, either here or on reddit, since we're both getting off to the races at about the same time and using almost exactly the same stuff. Sort of like I've got a comrade out there who's suffering through the same things I am, tempering the eagerness to put hammer to metal with the desire to not have to start from scratch in 6 months because we overlooked something. I've got the GP ordered and it should be here within a week. It'll be perfect timing as I'm back to work on the 10th after taking care of my mother after her medical needs have been handled. Going to be interesting when the warmer weather gets here and I can put some serious time into hammering.
-
Good deal... I'm just trying to decide if I should order one or two pints or the 15lb pail. I think I'm going to go with a gallon bucket to be safe. Everything is looking like it'll be $50 - $55 incl shipping to the house, so might as well. Won't stop me from tinkering, but it should be the last piece to the puzzle. With your burners, do they have a cross-bar on them? I'm thinking I'm going to have to take my angle grinder to it and cut it off it the greenpatch coating causes those burners to be recessed too much. Otherwise they won't be low enough. I'm just wondering if they're using stock burner models or they have different setups for the different forge types.
-

What did you do in the shop today?
MaxwellB replied to Mark Ling's topic in Blacksmithing, General Discussion
Got my molds for resin casting assembled and gaps caulked. Gave them test runs. First block I put too much black in the mix, came out a solid chunk of black resin. The second one came out better, needs to be squared up. A bit dark, so I'm thinking too much blue. Looks good in direct light, but in ambient lighting it's a dark block. Maybe slicing it in half will help, maybe not. The attached is with a light directly above the block. Ocean Blue with a Violet swirl. Need to find decently priced resin if I'm going to keep casting garbage to start until I get my own personal style dialed in.
-
Lou, about how much of that greenpatch did you end up using for the forge? Also, are you going to add a second coat or just roll with the one? I'm not happy with the way mine is so far. Seems the refractory from Devil Forge is too thin, and the water glass I painted the surface with hasn't done anything to change the structure. So I'm thinking at this point it's time to mortar mine up. Any suggestions? I've got a square body forge, not the oval you've got, so that might cause some issues. I'll take any advice you've got.
-
I used to be a baker. I can't remember how many times I've gotten burns on my forearms from reaching into the ovens to turn loaves of bread around, or having a hot sheet tray come off the rack as I'm maneuvering it around and the rack tilts. Plus numerous nicks and cuts from cutlery, both dull and sharp. At some point in the kitchen you just expect the owwies to come. When I worked for Kinkos many years ago the papercuts were so numerous I stopped feeling them. I'd only notice I was bleeding when the white paper had a red corner. I kept superglue in my apron pocket and people thought I was crazy.
-
Kaowool and Refractory Cement question
MaxwellB replied to Pr3ssure's topic in Insulation and Refractories
Kaowool is a brand, however it's almost like Google at this point, the name becoming the product. There are threads concerning rigidizing the wool as well. You'll want to rigidize independent of coating with refractory for maximum protection of the wool. However the wool is a consumable, meaning you will need to replace it during the life of the forge. Rigidizing is as simple as buying some fumed silica (available from amazon pretty cheap), mixing it with some water and a few drops of food coloring (to guarantee you're not missing any spots) and spraying the wool with it generously. Depending how generous you are with the rigidizer determines how far down into the wool you are binding the fibers. Makes it easier to apply the refractory later if the wool is a bit stiffer. -
Kaowool and Refractory Cement question
MaxwellB replied to Pr3ssure's topic in Insulation and Refractories
Take things step by step. Your primary concern right now should be shell, lining, burners. Once you have that knocked out, since you've stated you're wanting to use kaowool, then you should look at rigidizing and then protecting the wool. Now, it's completely possible to use castable instead of kaowool, if you want to trade efficiency for heat retention. Not recommended for most forges as you'll burn through fuel at a much quicker clip. There are a ton of threads here that go back and forth about how to make your own ITC-100 (considered top-tier refractory) to apply once your kaowool is rigidized and your burners are functional and you're happy with everything. -
To "soften" the metal, are you talking about annealing them? It depends on what they're made out of. Some metals, if you heat them and let them slowly cool, will be softer/easier to work with. However, there are metals out there that will "air harden" if you try that. Or if you have a torch you can attempt to heat up the area you want to bend until it glows at least red, and then bend in a vice or a jig. However, the best bet is to know what the material you're working with is, and research it's properties that way. That way you will also know how to harden them (what I'm assuming you mean by "full strength") and temper to reduce stress so whatever function you are going to utilize them in won't cause failure in the material.
-
That's the basis behind the Scientific Method. Can you replicate the success (or failure) by following the same steps someone else did. Science is a beautiful thing.
-
Lou, is that like "if it's stupid and it works, then it's not stupid"?
-
As the wool isn't in direct contact with a forceful flame I would say that rigidizer should be sufficient protection. I didn't paint any of the included stuff on mine, as it's just at the very opening at the top and more of a protection against heat loss. I bought some kiln wash I might slap on there tonight and fire it tomorrow to cure/set. If not tonight than the next few days. Then I'll consider the forge prep finished since I got firebrick too to use as a stand instead of the retaining wall blocks that hold moisture and aren't going to be happy about being exposed to heat. Soon!!
-
louspinuso I commented on your post on the "other" social media aggregate site. Glad to see you found your way here. I'm not sure if you saw any of the other posts about the devil forge, but the bits of kaowool they give you to plug the gap between burner and forge housing work best when torn in half thickness and then into pieces. Don't try to cram the whole lot in there, won't work. I've got the same brand forge, but square and with the back door flap. Can't wait to get the chance to put it through a session instead of using it as a space heater for when I'm working on my anvil stand and prepping my work area.
-
Half Penny scroll...
MaxwellB replied to jlpservicesinc's topic in Blacksmithing, General Discussion
JLP, look for something that has a LOCA-based attachment. Stands for Liquid Optically Clear Adhesive. There's no membrane, and once the adhesive is UV cured it's distortion-free. I have it on my cell phone and it's literally as if it's not there. Might be a route you can explore if you haven't already. -
What did you do in the shop today?
MaxwellB replied to Mark Ling's topic in Blacksmithing, General Discussion
IFC, I found some at Walmart. $22 for 4' fixtures. Couldn't pass up the deal. The old fluorescent fixture was almost dead. It wouldn't be really turn on properly, had to jiggle the plug. This new one fires right up, 5000 lumens, nice and bright. Definitely know what I'm going to be putting up in the rest of the area when it's ready. And they're LED, so you're not running up the electric bill. I'm an idiot though. I left my drill at work today, so the plan to get started on the anvil stand today gets put off until tomorrow afternoon after my typical Sunday Morning Stuffs. -
What did you do in the shop today?
MaxwellB replied to Mark Ling's topic in Blacksmithing, General Discussion
Continued prepping the work area. Installed some LED work lights, replacing the old fluorescent one and installing a second one on the opposite side of the garage. Now I can see after the garage door opener light goes off, or when I'm in there tinkering. I'll probably run one of those heavy duty power strips in there, so I can add a second one later once I get the position of everything laid out. Sorry, nothing exciting. But still progress towards a goal. -
Stock thickness for damascus
MaxwellB replied to acronin's topic in Knife making Class General Class Discussion
I would say the .049 is fine, you're just going to get thinner layers. JPH just posted in his latest thread he's using a foil and it looks like it turned out awesome. Only one way to find out if you like it or not though... -
Tools, tongs, hooks, and bottle openers. That's my recipe for learning for the next month or two until I'm confident I have hammer control down and am familiar with heat cycles of steel. As much as I want to jump right in and start making knives, I know I need as much practice as I can so I don't make a mess of things and discourage myself. Welcome!
-
66 lb. Chinese 'ACCIAIO' Anvil Unboxing and testing
MaxwellB replied to HojPoj's topic in Anvils, Swage Blocks, and Mandrels
Thanks for the info, and enjoy your weekend! -
66 lb. Chinese 'ACCIAIO' Anvil Unboxing and testing
MaxwellB replied to HojPoj's topic in Anvils, Swage Blocks, and Mandrels
Wouldn't the angle iron be overkill or unnecessary? Everything else makes sense, but my brain can't wrap around that part for some reason. -
Very nice! Put those up on the wall, keep them display only.
-
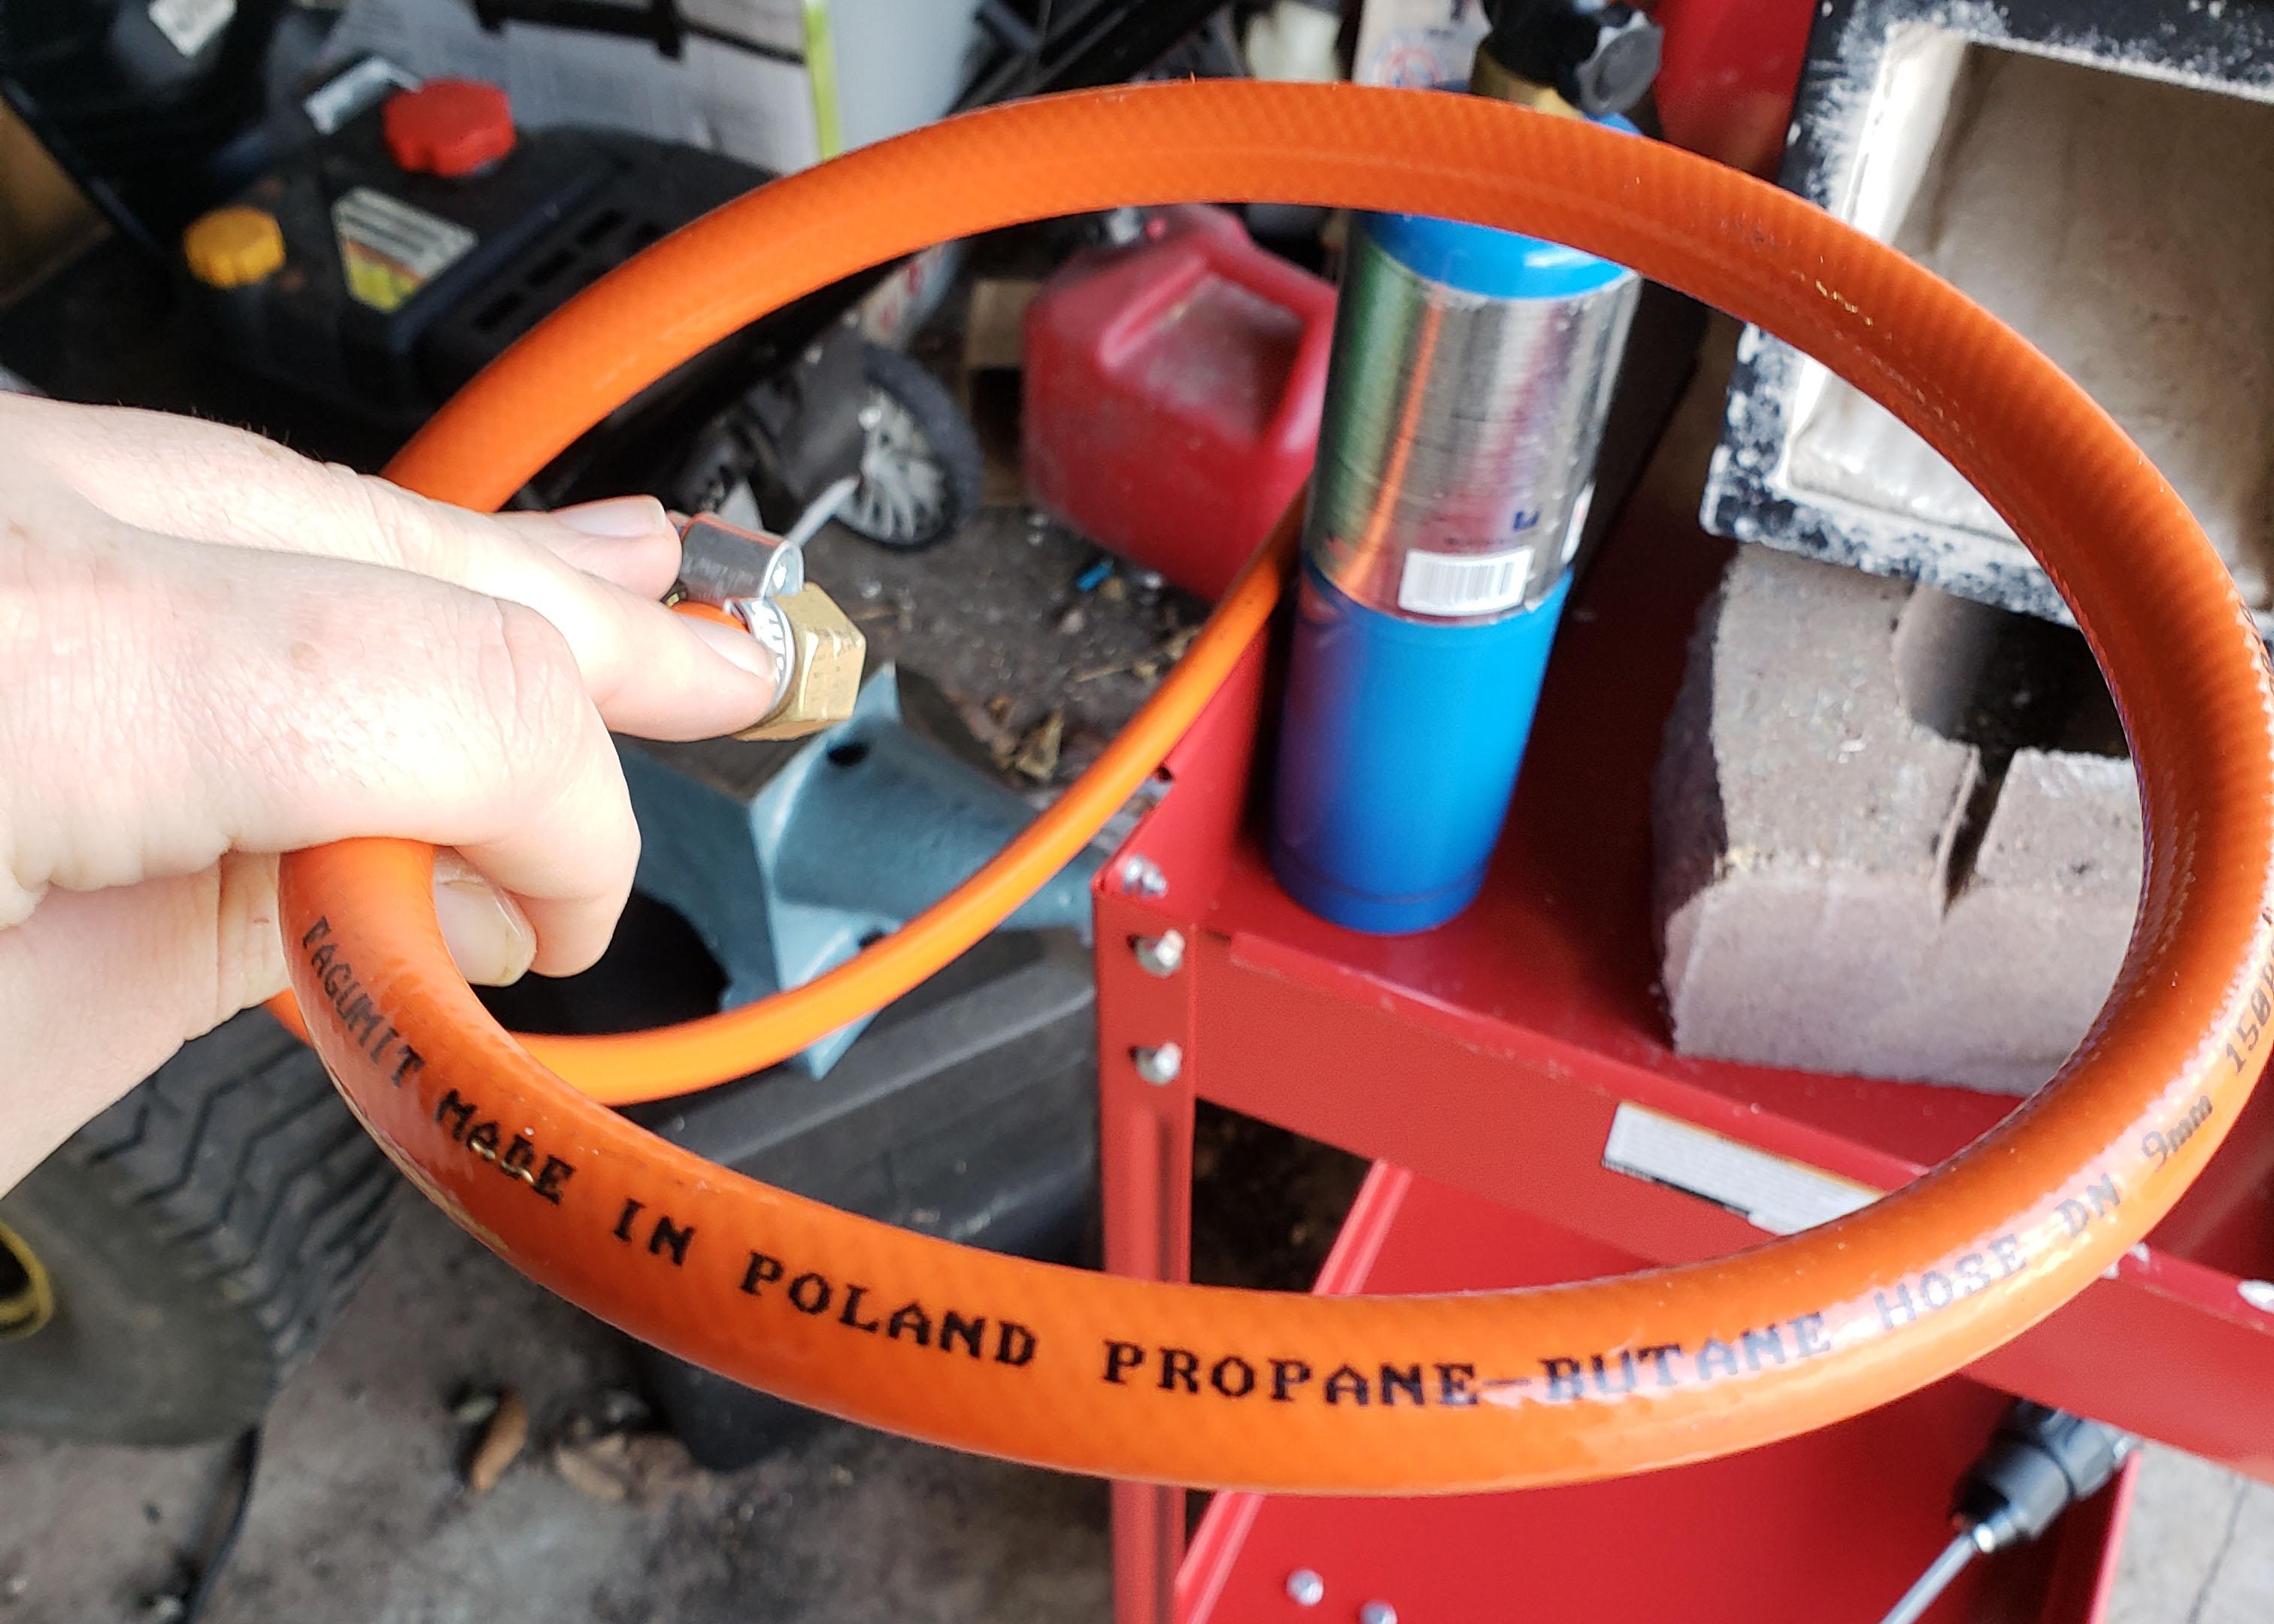
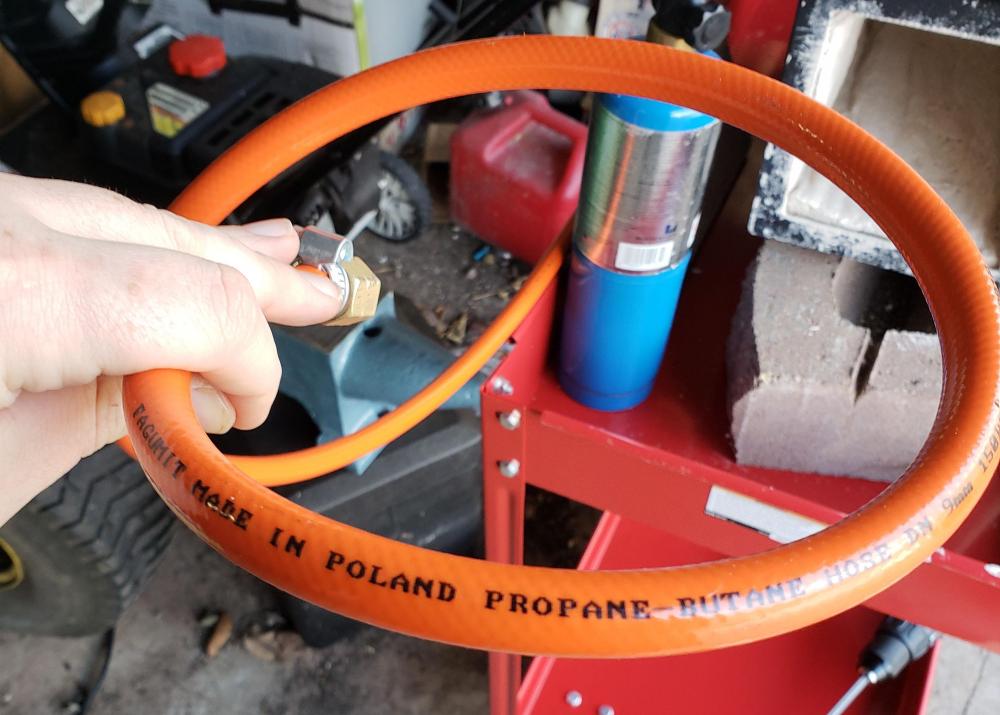
Frosty, I purchased the two-burner model of that brand. The hose is stamped as being rated for propane. I think because it's a European manufacturer, it looks different. Not sure how similar this is to US standards, but I would think it'd be fairly universal because propane is universal, no?
-
66 lb. Chinese 'ACCIAIO' Anvil Unboxing and testing
MaxwellB replied to HojPoj's topic in Anvils, Swage Blocks, and Mandrels
Stevo - That's exactly what I was thinking. Trying to keep those holes free so I could retrieve stock. Maybe do a test fit and cut out a V under those pieces, so anything that drops down is channeled out for easier retrieval. I had also thought of drilling (very very slowly) holes in the feet to sink lag/carriage bolts into. But I don't think the material there is going to like that, so I'm going to scrap that plan. I also have a few spots I can put magnets on to bring that ring down, and I saw that HF sells those rubber anti-fatigue mats, so I thought cutting squares for under the feet would work nicely. -
Wow! Looking good JPH! Quick question for you... When you say "bowling ball material" for the handles, are you referring to wood/resin handles, or have you actually cut apart bowling balls? Because I have a black and purple bowling ball that I don't use anymore that I think would make some decent scales.
-
66 lb. Chinese 'ACCIAIO' Anvil Unboxing and testing
MaxwellB replied to HojPoj's topic in Anvils, Swage Blocks, and Mandrels
So... Mine came today. I was actually coming home from Harbor Freight to get a paint pot to use as a resin pressure pot and UPS was pulling away. Came in the exact condition Hoj's did, with a little more yellow tape on the box. Same wax/grease paper on the face. Gave it a quick inspection to make sure there was no damage from shipping, but couldn't do much with it other than give it a few taps just to hear it ring. Sunday is my next day off an I'm planning on dialing in the right height for the anvil and starting the build the stand. The chunks of trees and stumps I have are all soaked from the rain and snow, so I'll build a pedestal-style stand. Figure 3x3 of 4"x4" lumber should be enough, giving me a 12" square to put the anvil on. There's no holes in the "feet", so I'll have to get creative on how to tighten it down. Can't wait to get started on this, but the weather doesn't appear to want to play nice as the week I'm on vacation it looks like it's going to snow. Oh well. Will give me time to get the garage in order and start to plan the demolition of what will become my workshop. -
I've got a Devil Forge two-burner that I finished setup on yesterday. However, I'm not a fan of the propane hose being near the forge for obviously reasons. What would be the best way for me to insulate the line and protect it from hot air? I know for deep frying turkeys I always just wrapped some aluminum foil around the area closest to the pot, but since this is running at higher temps, I'm curious to know if someone out there has a best practice.