OlvinJanoisin
Members
-
Joined
-
Last visited
-
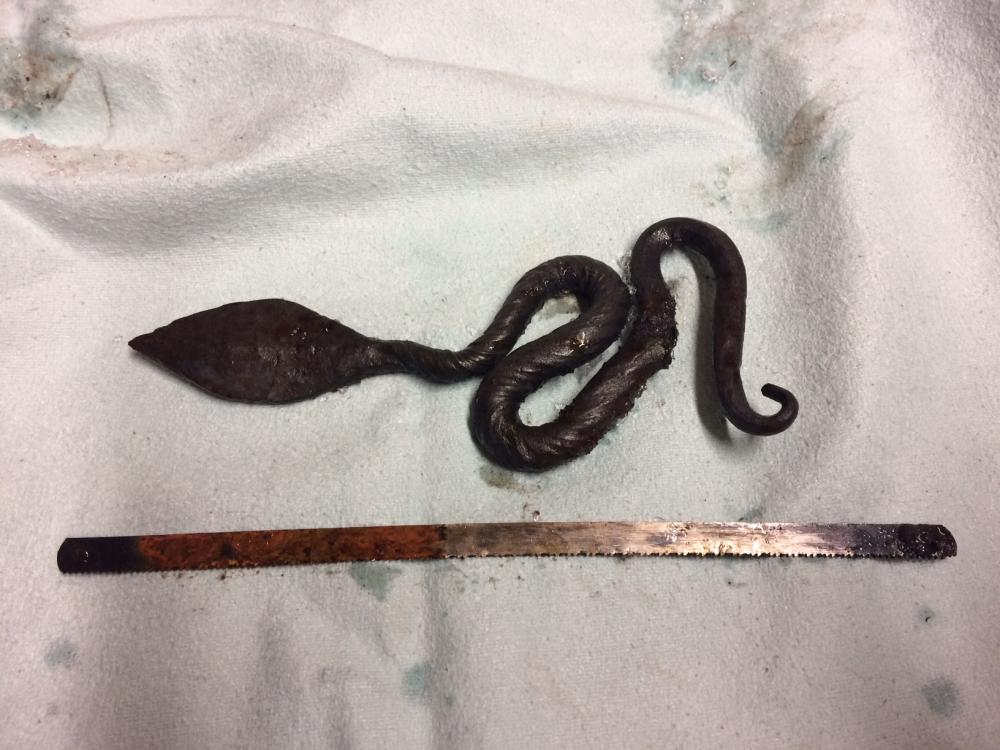
for oils use wd40, just dug these items from snow (xxxxxxxx cold) when I saw this post.. (saw blade has been on rain for 6 months, other piece 2 months more, snow came week ago..) These were my test items for rust protection , saw blade other side is uncoated. Please see the difference. For my 'easy to rust' blades the wooden inner part of sheath seems to protect somehow the blade from rusting(!) , just remember to wipe the blade ALWAYS before sheathing.. And use the knife frequently For rust removing put the blade on vinegar for couple of hours, and rust is gone. [edit] Sorry for bad quality picture, the other test part has only couple of spots of rust, its also blacked on oil.
-
Good find! Nice document all in one! I have successfully used electrode potential chart information to determine metals, using silver on other electrode and other is unknown,and in between is watered (sal soda, salt...) paper, then measuring voltage. (I even build small device to determine and tell the metal, will post image of it later). One problematic material to measure was aluminum (it will have oxidation layer instantly when exposed to air).
-
I totally agree with you If I see some design soaked with epoxy and it still has rivets or so on, I count these as failed or lack of skills. But certainly there are many cases where modern glues are best choice in common sense, like If you design to use hidden tang. Design matters, I also want to build and do designs which could be build in any century.
-
Wow I really like! True artist!
-
btw. for modern quick technique I have used those glue gun glues, just whittling long chips and filling the handle hole with those (not too full), and then gently pushing heated tang to hole and move it there around so that the clue will go everywhere in there... that will hold tight... and strong... (as soon you will not reheat the blade ) f.e. I made one fish hookup that way, and even trying to bend/round hook it will last...strong bond...
-
Hot sulfur has been used for filling hollow bolsters and larger areas. (Now replaced by plastics) For wood handles tight hole (burned with tang) and then totally wetting handle, hitting blade tight on it and letting the rust do the job. Also birch bark tar (tökötti)... (Dunno about fish-glue, anyone knows?) And without doubt tight fitting and riveting if possible probably combined with some of above methods. That's what came up my mind... I'm not specialist, but these I have heard/read about.
-
-
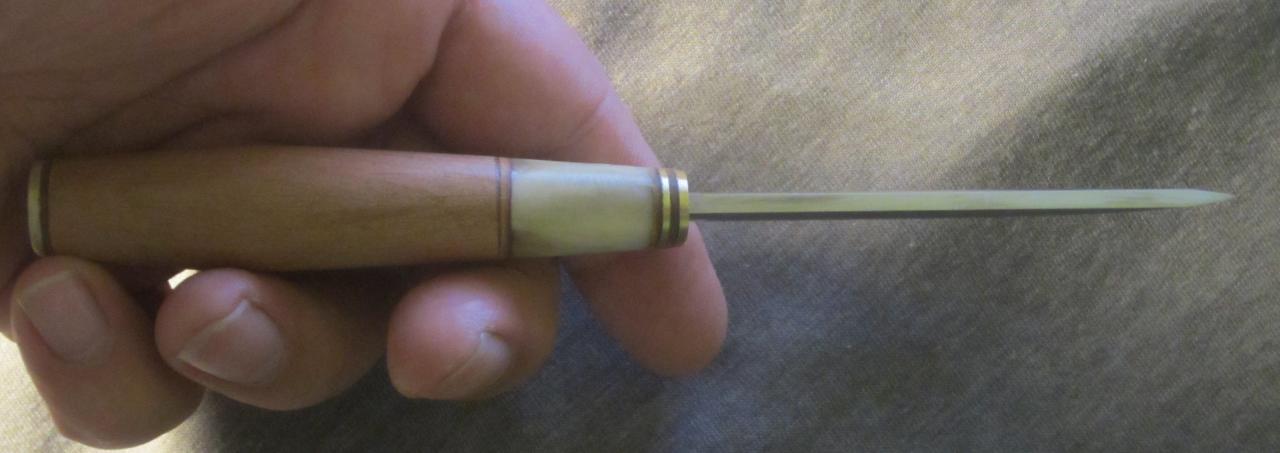
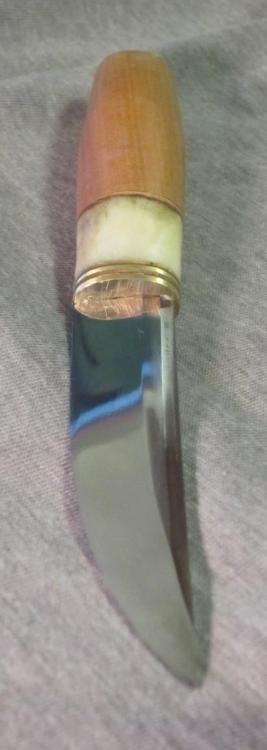
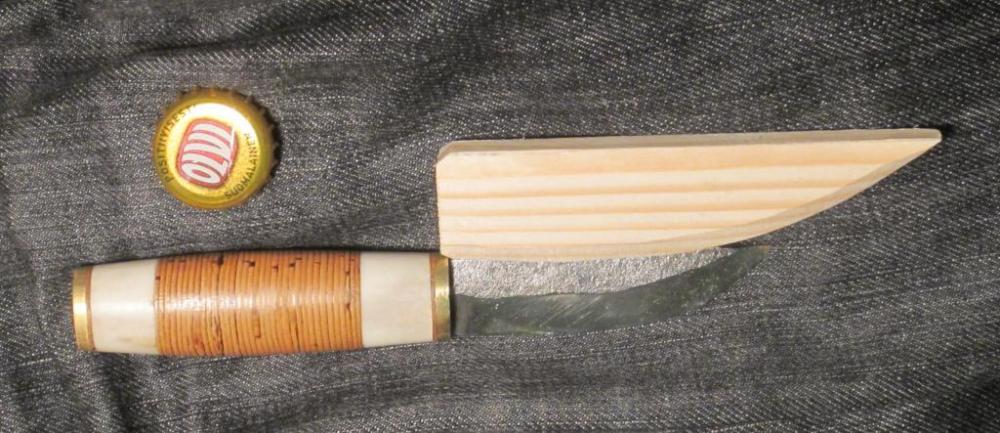
Wooden part covers the blade and at handle part there is only leather. The wooden part is for safety + gives some posture for sheath. Please attach pictures of yours when you make one! Here is small and slender fishing puukko. Handle wood part is black alder. Had trouble on handle due way too small piece of reindeer antler...

-
-
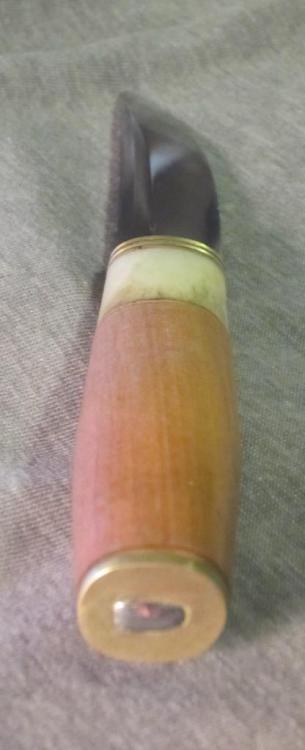
I made also little bit smaller version for even smaller hands (for her's little sister so she wont start to cry ) Handle length is only 3 1/4". For this I tested almost boiling candle wax (I think it is stearin), where i dipped the handle and kept couple of minutes ->After polish resulting bumpy surface on bark (which was little surprise) ... feels really nice on hand + gives really good grip. Materials and type are same as in puukko above.
-
-
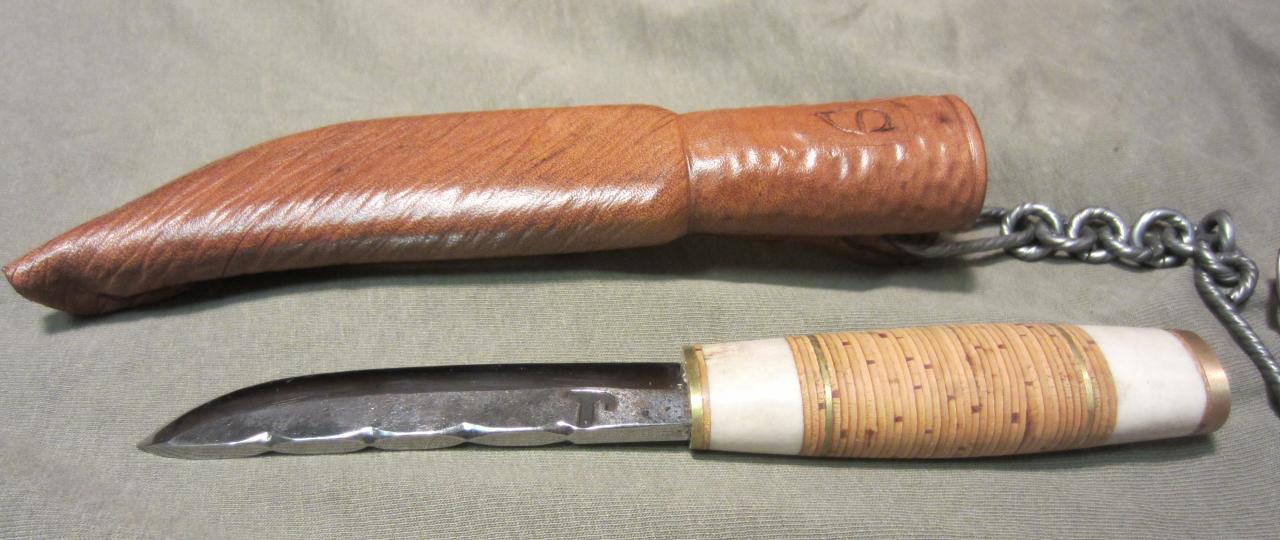
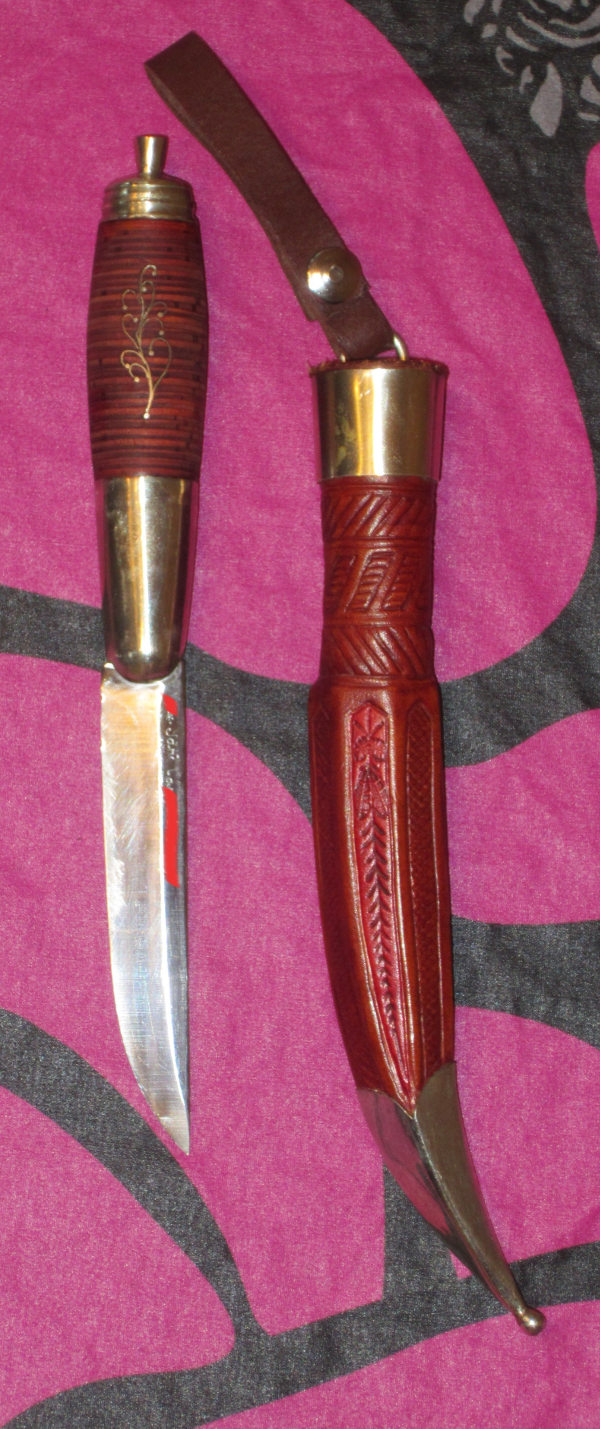
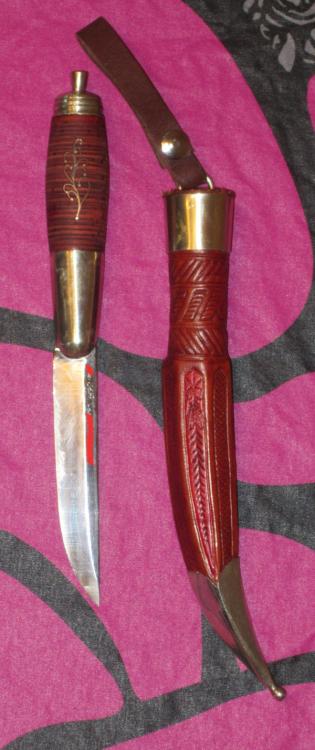
Arvooppa and thanks. Here is one which I made on some course years ago ... not very happy about sheath ornamentation.. this is what you get when you work during hangover... Handle is riveted from top end, metal parts are nickel silver and the rest is birch bark, etching on blade. Also sheath metal parts are nickel silver.
-
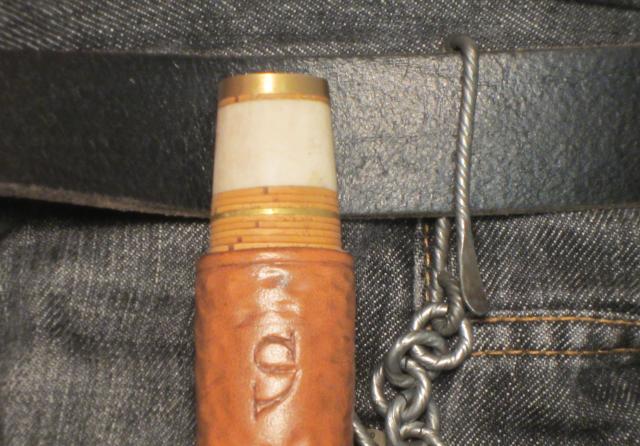
Hi and thanks! I made this for 13 yr. scout girl, so it's meant to be 'no so serious', tried to make this pretty Usually I like to leave some unfinished surface, so knife has really feeling that it's hand made and personal. (Earlier I grind and polished all sides and made the blade like manufactured on some factory, and every time I felt sad about loosing nice textures and the feeling of hand made, so I decided to leave something there) Yes you get good grip from birch bark handle, its little soft and it feels nice and warm on hand like cork handles on some fishing rods, except its much more durable. In image you can see the spine, on background is the hollow rough wooden inner cover for sheath (I don't know is there individual English word for it), It's for avoiding injuries if you fell bad with the knife dangling on your waist. Sorry for bad image quality (taken on web cam) and late answer, I have been pretty busy lately. I'll post the sheath image as I get time to make on. And some other knifes.

-
Please can you clarify?
-
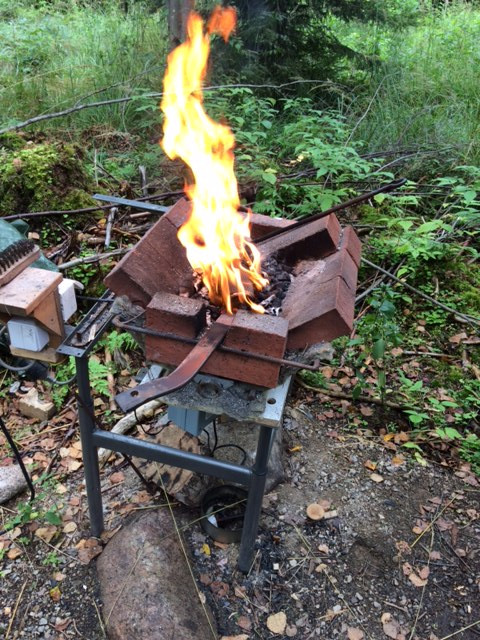
No, this works little different. There will form bed of charcoal under and at sides and top are coaling woods, so there is then nice "nest' for your workpiece. Enough heat for smaller needs like knifes etc. You can even burn you steel with this using only wood (Done ). If I need to run this with more energy for bigger stuff, I use charcoal / coal / wood mixture.