Ranchmanben
Members
-
Joined
-
Last visited
Everything posted by Ranchmanben
-
One of these day I’m going to make it out there. Looks like a lot of fun.
-
I’d drop $18 on that in a heart beat. Very cool little vise. Those small vises are handy for holding small pieces when filing.
-
I use 1045 but it’s treated similarly to 4140. Forge to shape, normalize, anneal, rough grind, harden in water then temper to a straw color. I use a heated drift to do my tempering. I’ve also read that some people have problems with 4140 cracking when quenching in water.
-
I’m not sure I understand what’s going on here but I’m sure interested in finding out.
-
Jennifer, it hard but not like hard rock maple and fairly brittle. The burls are absolutely beautiful. It’s not terrible rot resistant though. Here a picture of this stump in the sun so you can see the colot and grain better.

-
Arkie is for the most part correct although I’ve seen a few random ones that were bigger. I’ve got some chunks in my barn that are 26” diameter. I don’t have a saw big enough to cut it into useable lumber. Jennifer, that piece was some of my firewood.
-
Thanks Gergely. Mesquite is mighty pretty and it’s stout enough for this but this one is extremely portable. JHCC, I like that forming dish. I’d really like to have one that’s just a tad bit shallower than yours. Did you do anything to reinforce the underside?
-
Been around all those parts at various times but I’m a panhandle man. Love it.
-
Thank you. I’m a big fan of mesquite too. One of my other anvils is on a mesquite stump too. I worked on a ranch for a while in Lordsburg, NM, anus of the United States. The fella I worked for had solid mesquite cabinets through out his entire house. They were stunning but the cabinet maker said he’d never do it again. Where about in God’s country were you raised?
-
I’d say you certianly got your moneys worth!
-
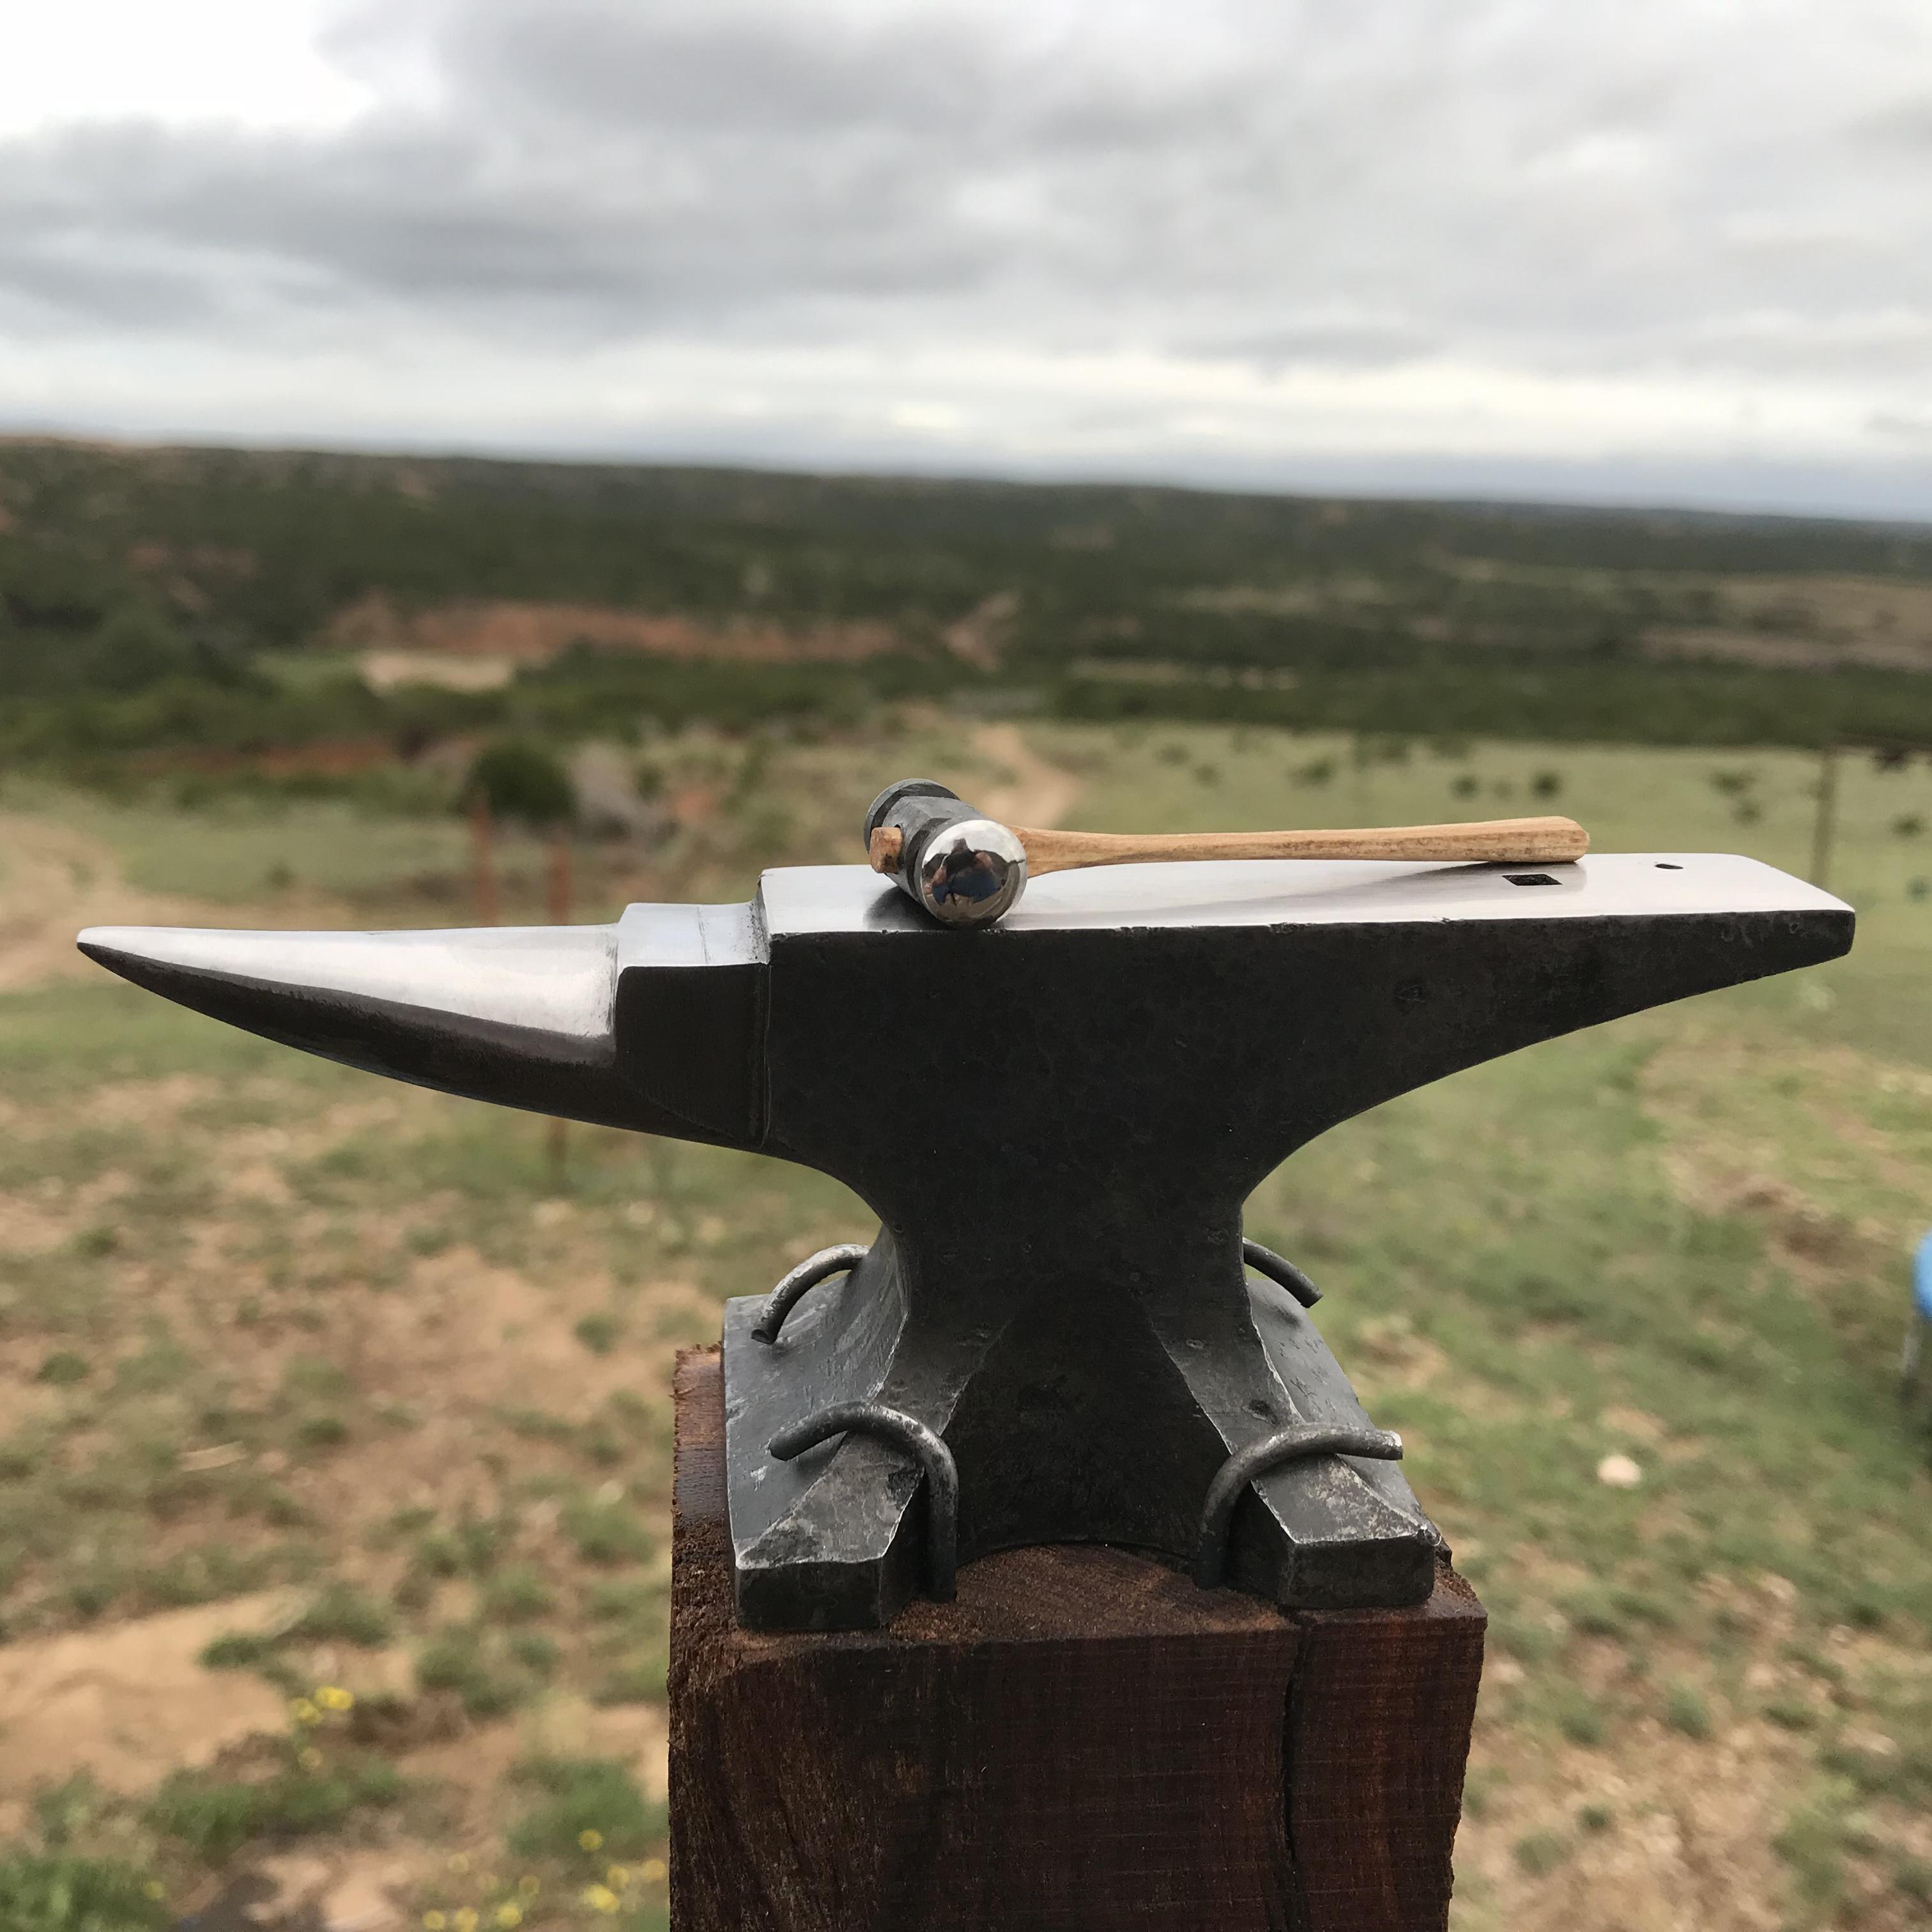
Mesquite isn’t that bad to work if you’ve got the right tools. That handle is pretty thin, maybe 3/32” at the thinnest section.
-
Mike, it’s only there for the picture. I’m probably going to keep them in my living room.
-
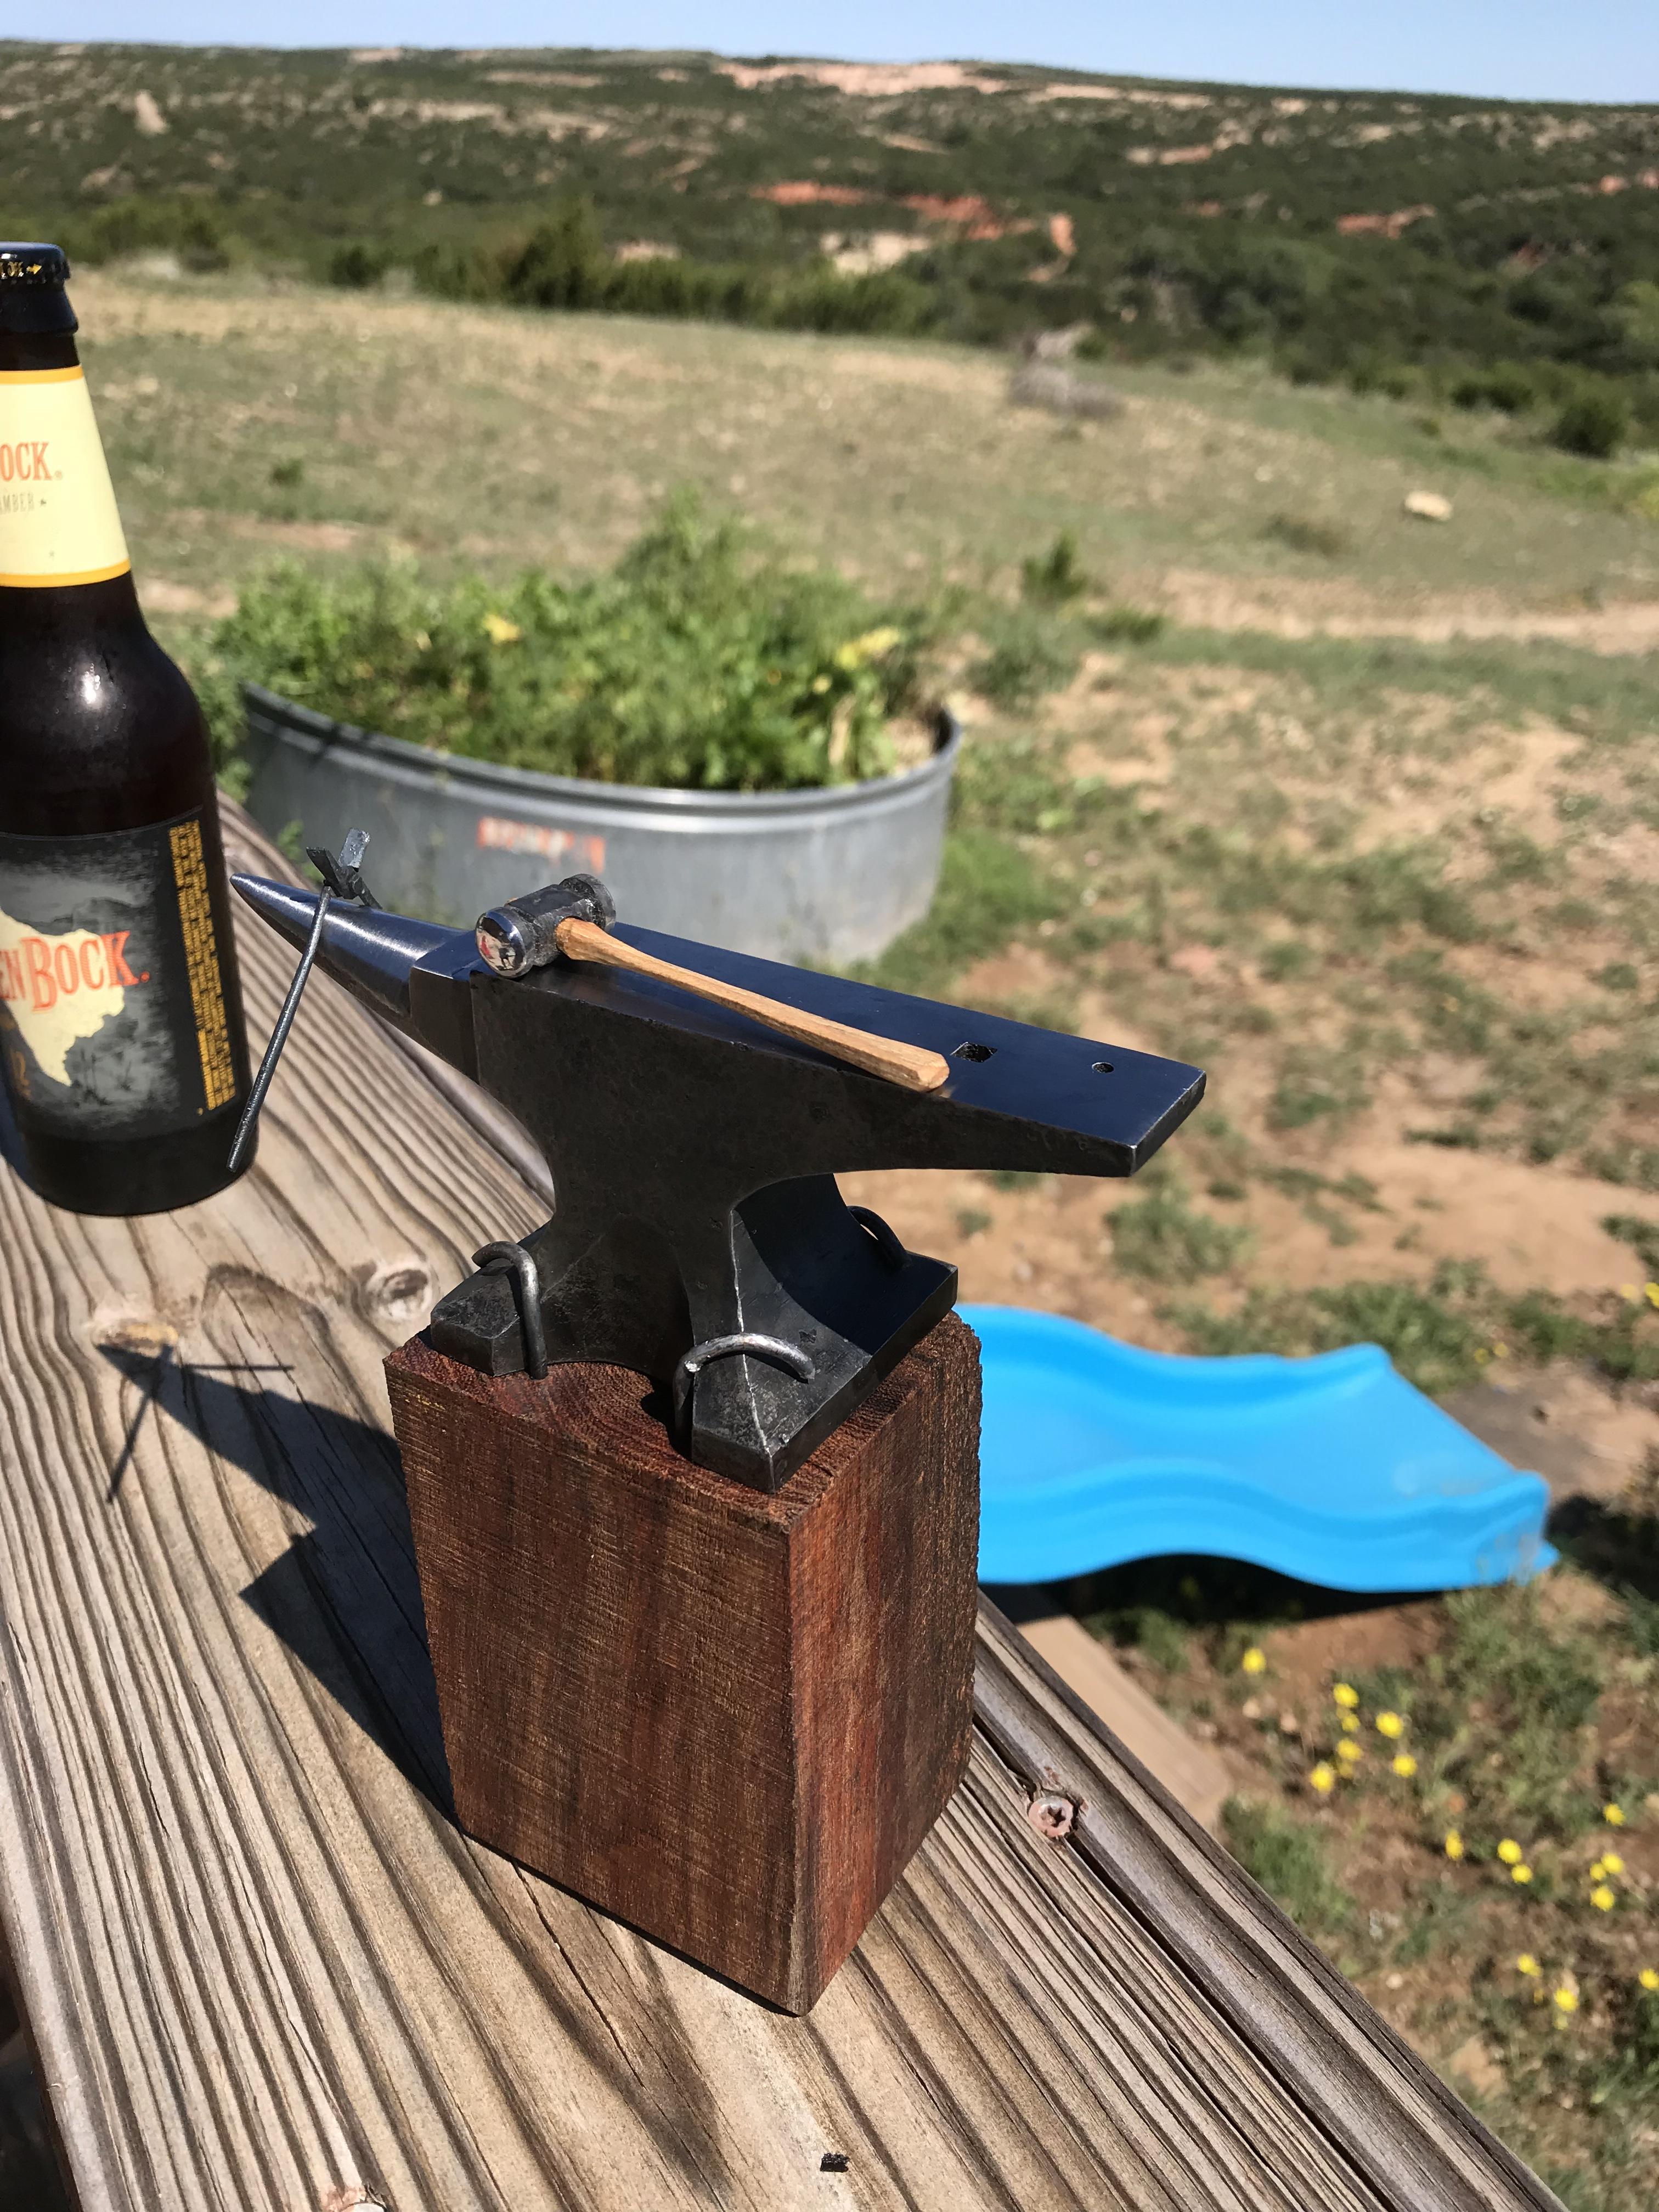
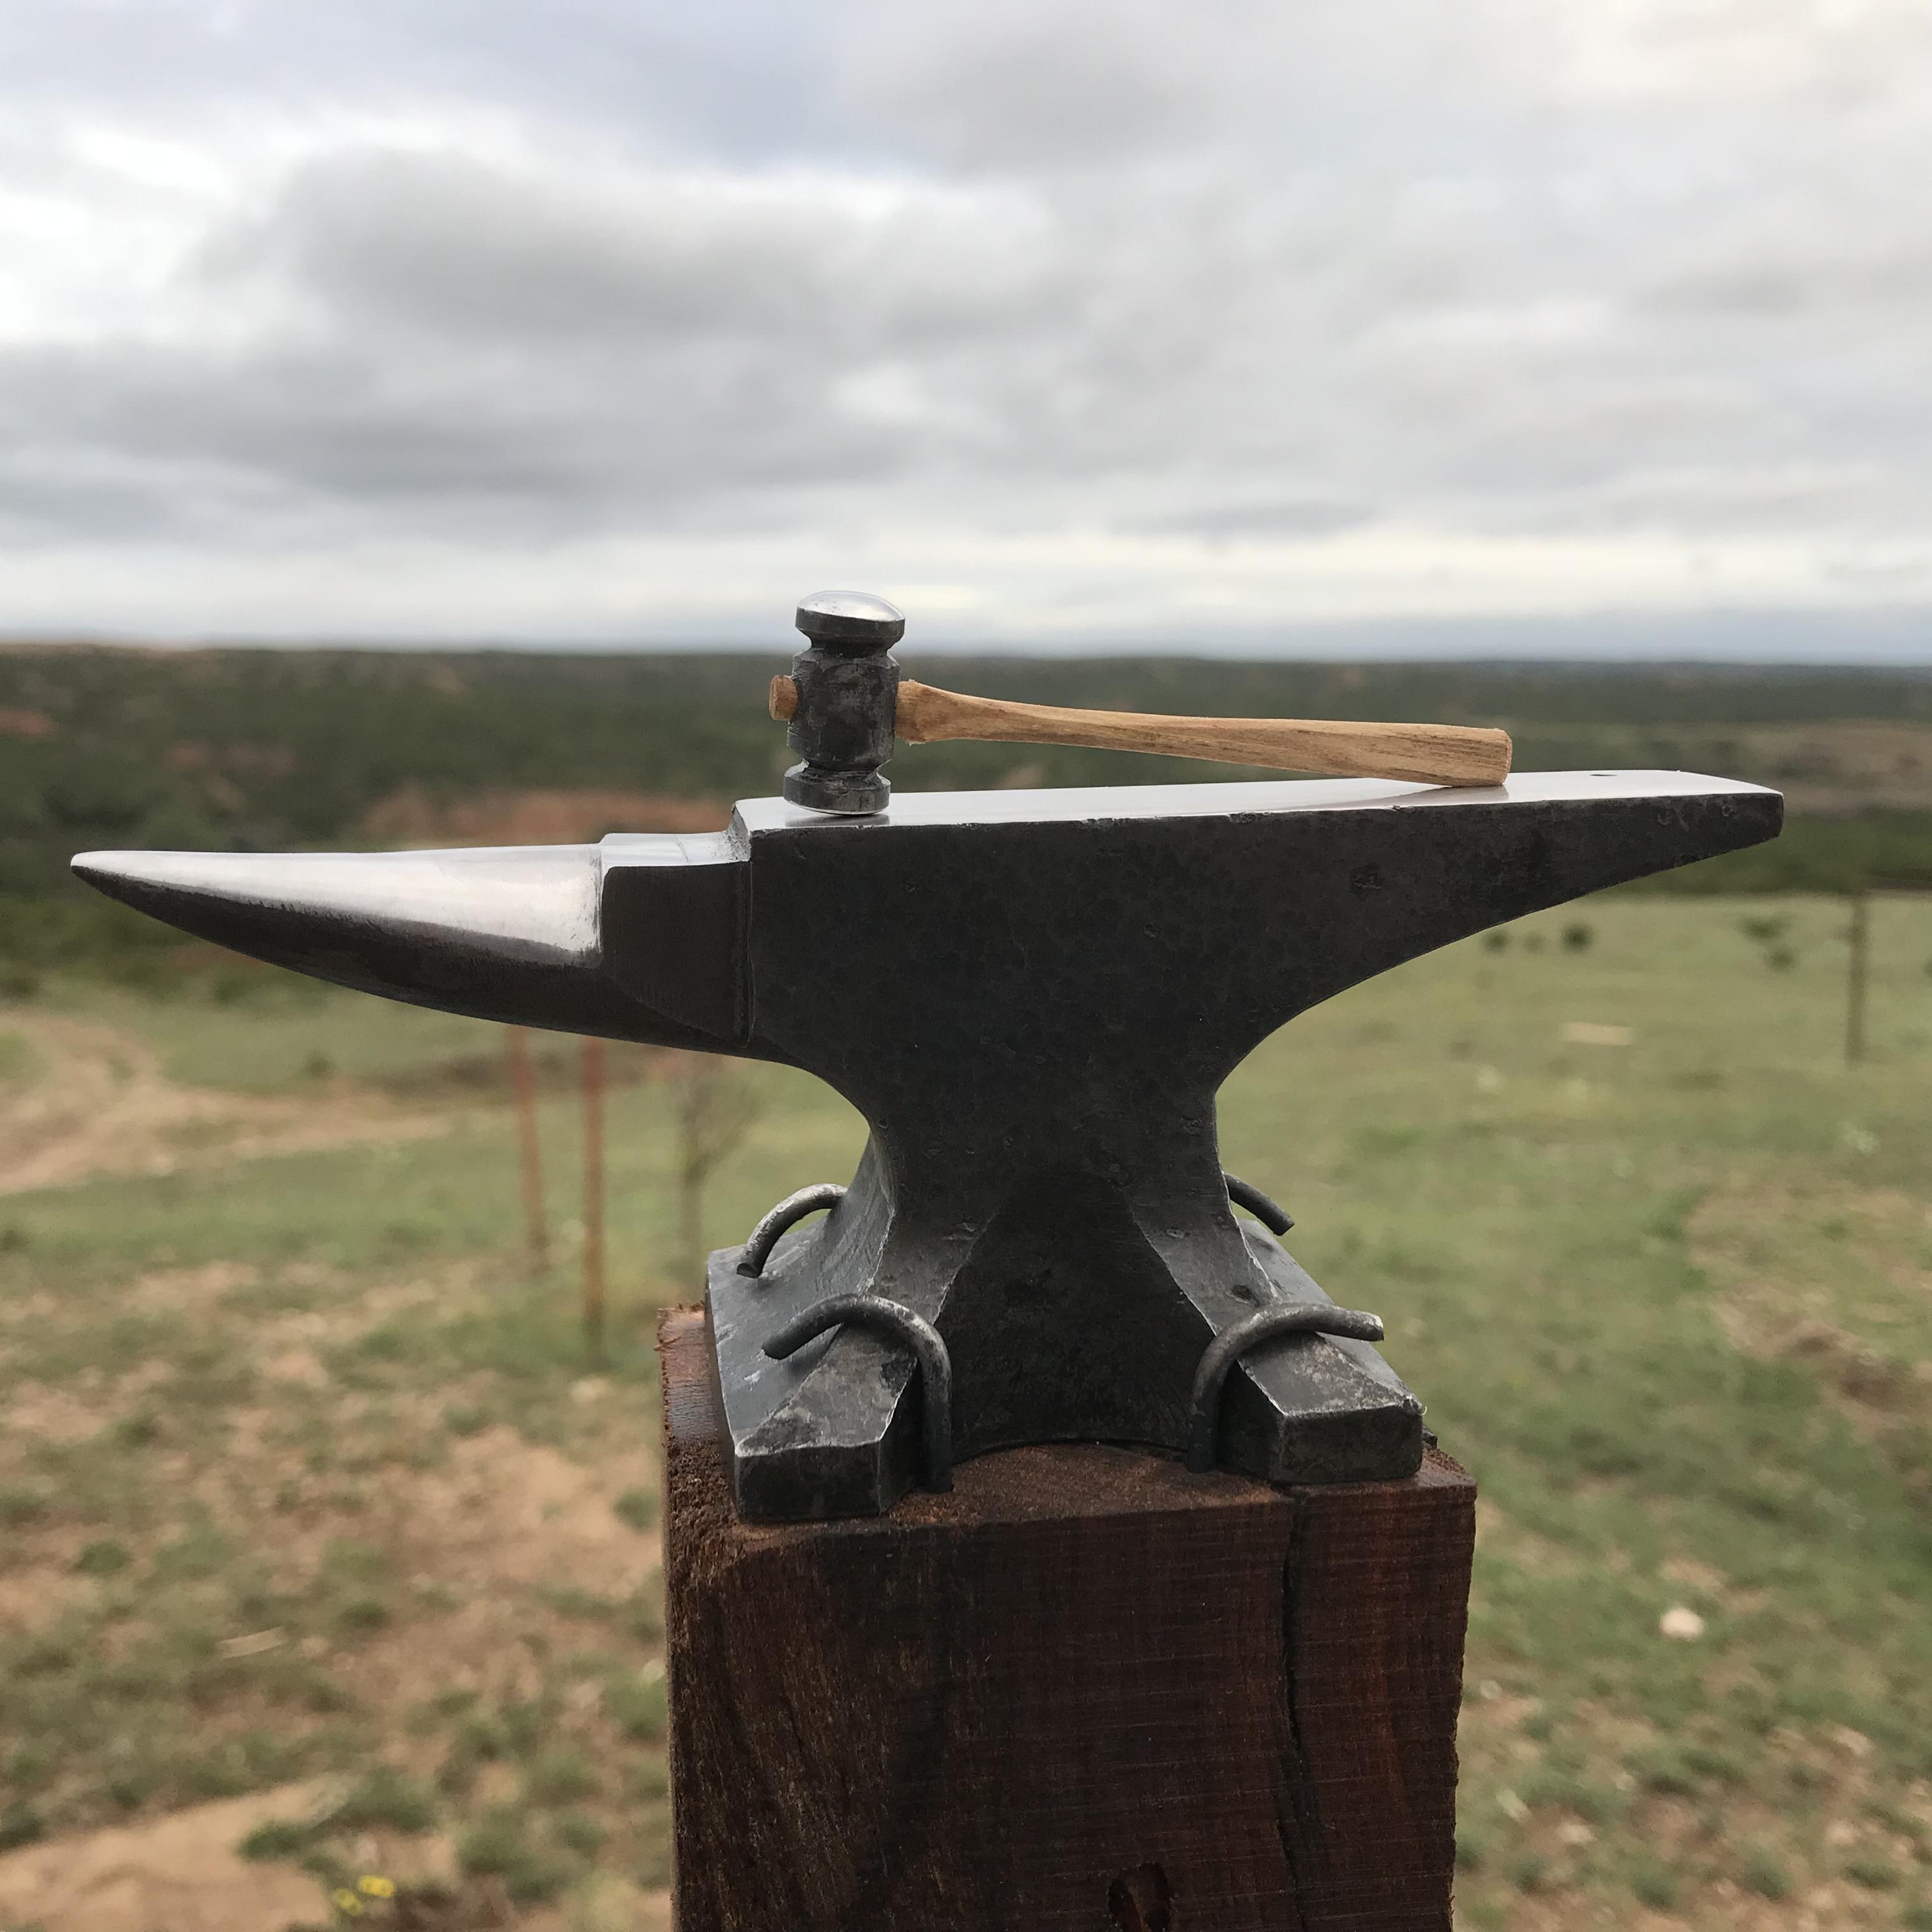
Made a mesquite anvil stump for a new anvil and also built a new hammer. The anvil is on the small side but I really like it


-
Thank you. I’ve been going back and forth about doing that. It only over hangs the pipe 1.25” all the way around so I don’t really think it will be too much of a hinderance if I don’t do it. I’ll probably stick the anvil on it as is and see how it is. I’m planning on putting a rack for hammers and tongs so that might make me stand too far away. I really should just make a rolling hammer rack and only put the swimming tool tray on the anvil stand.
-
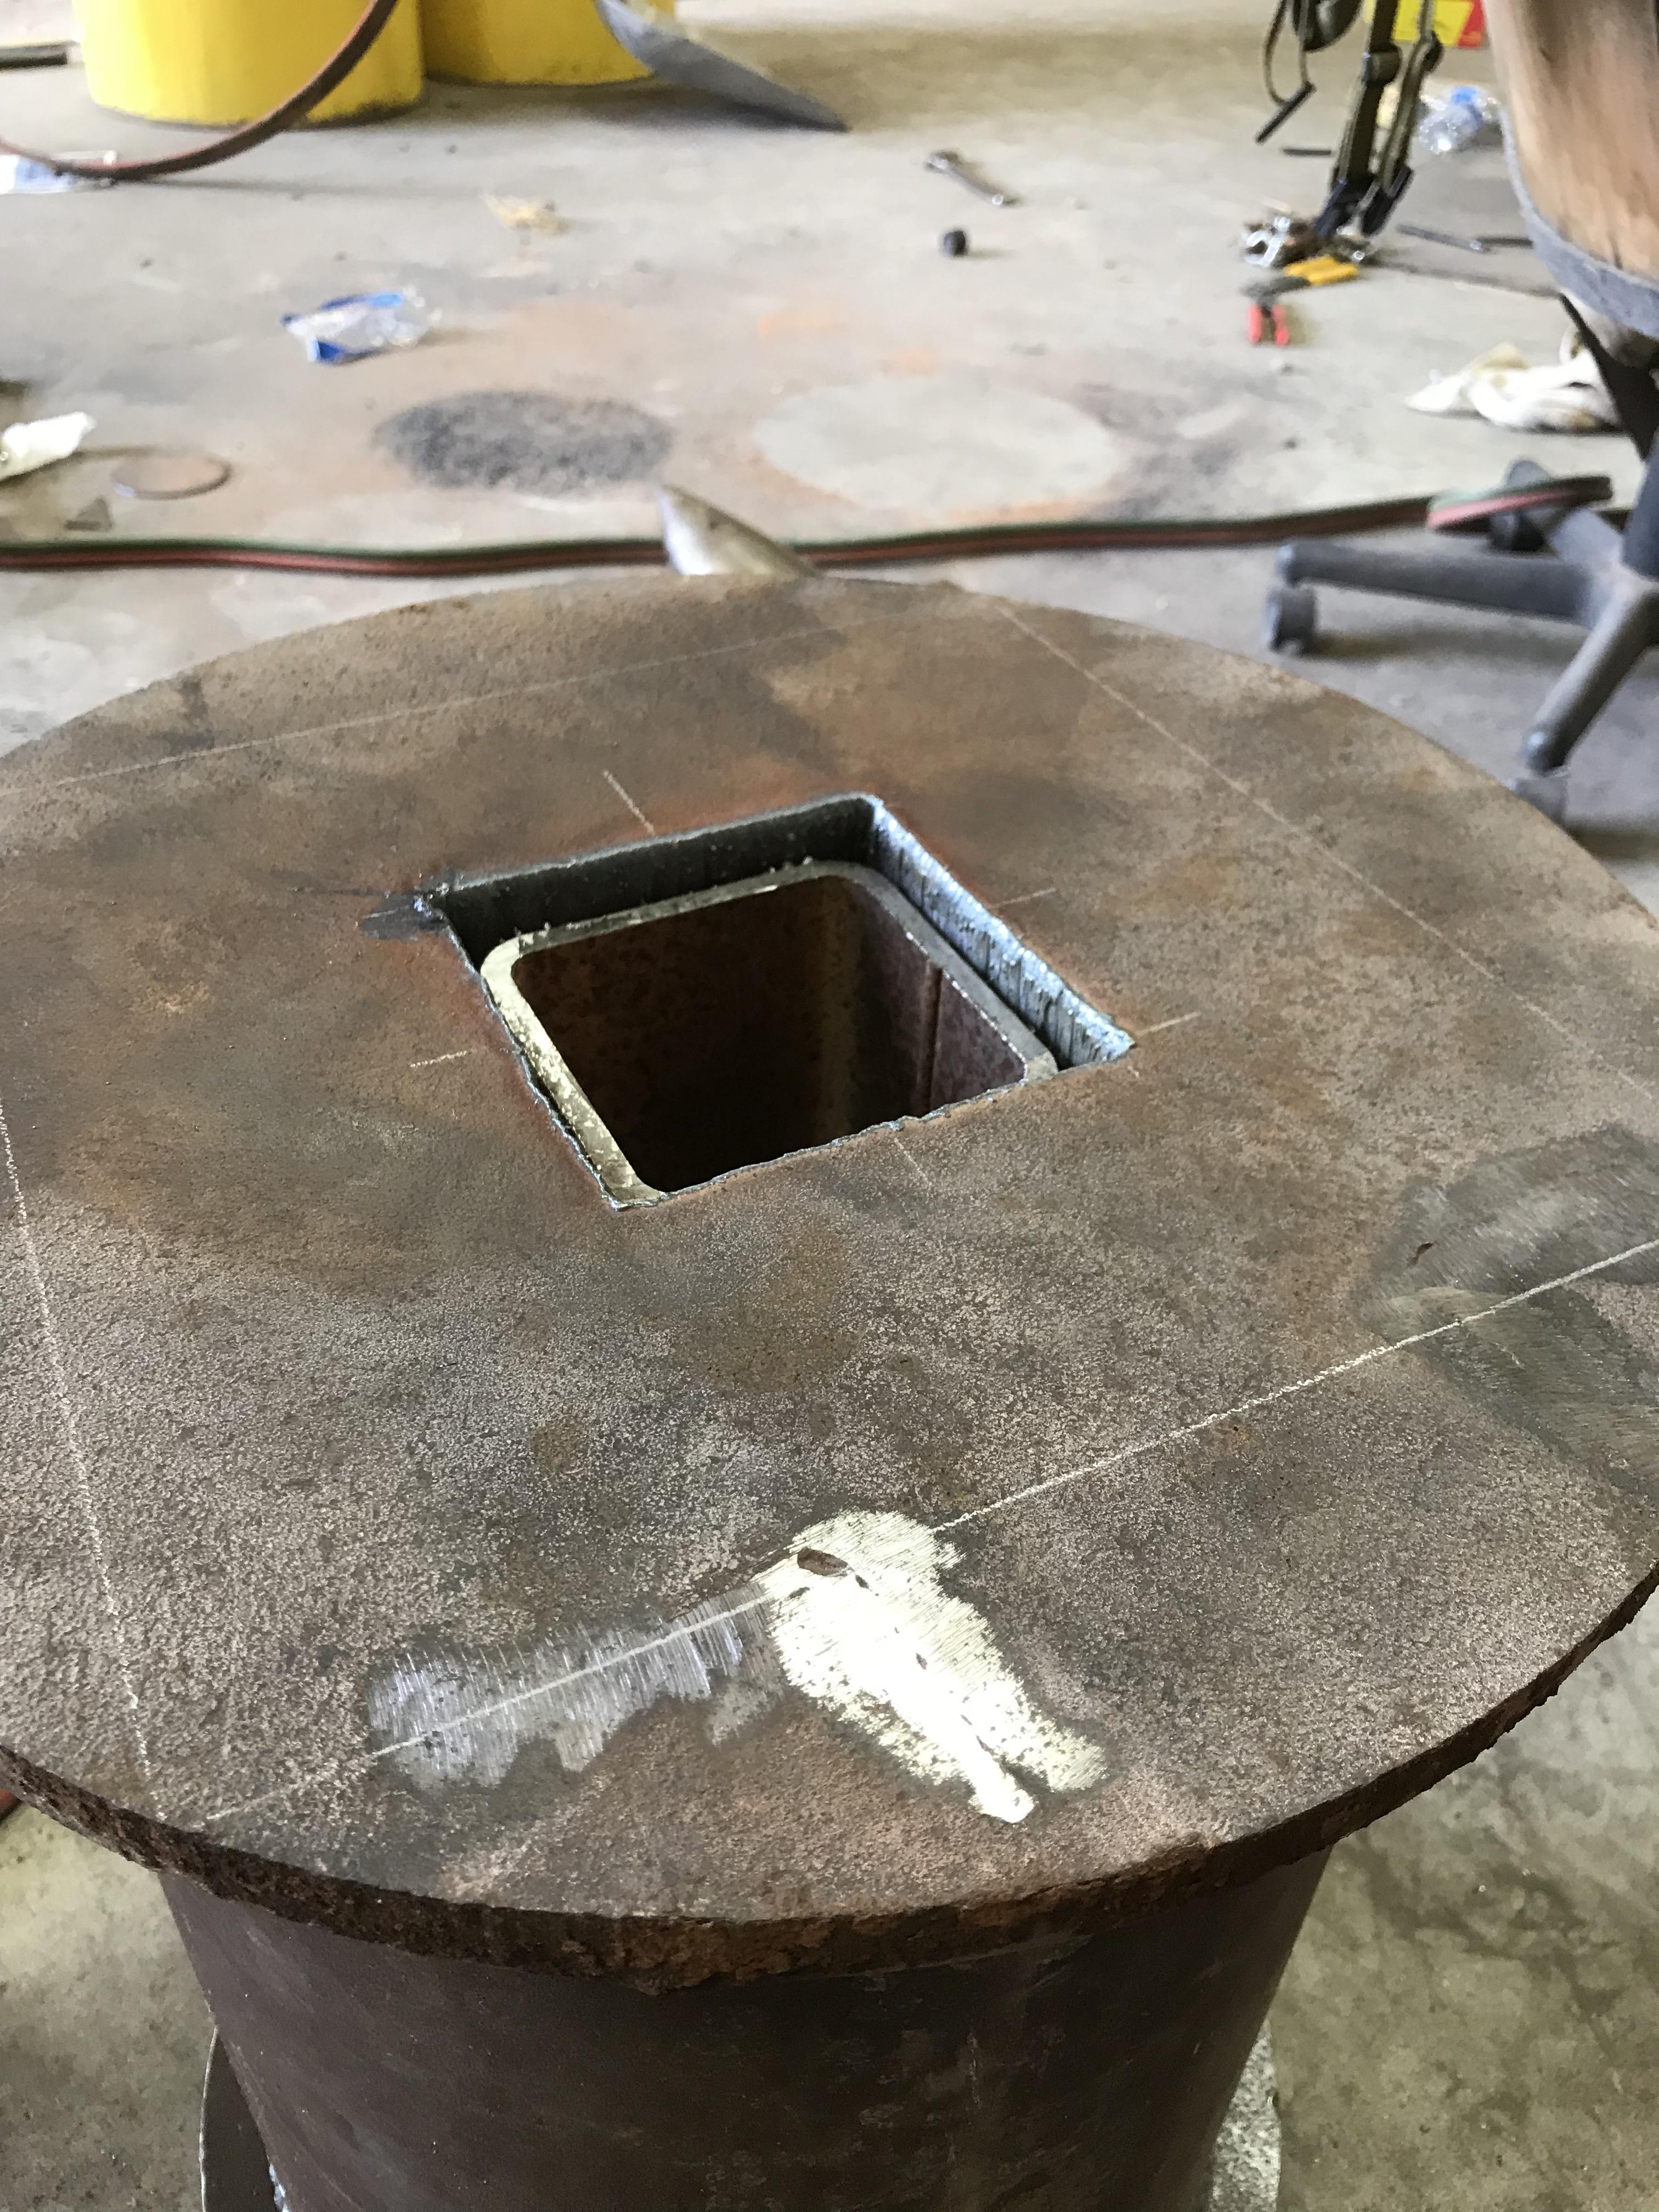
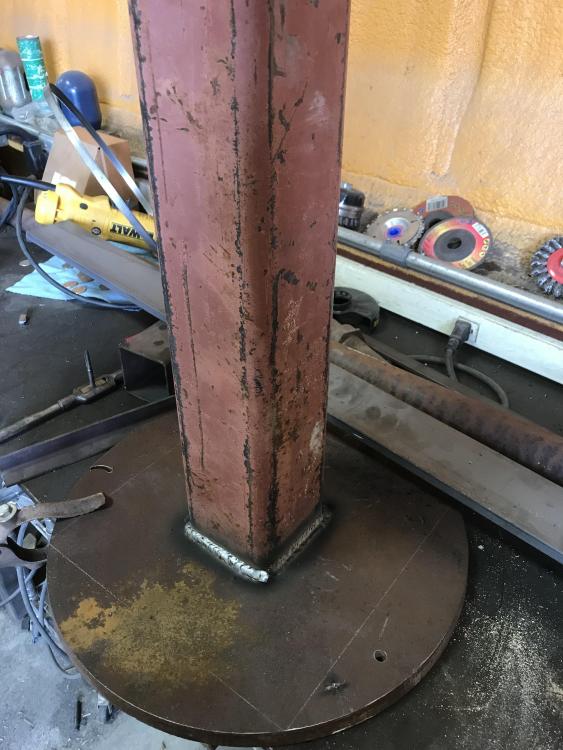
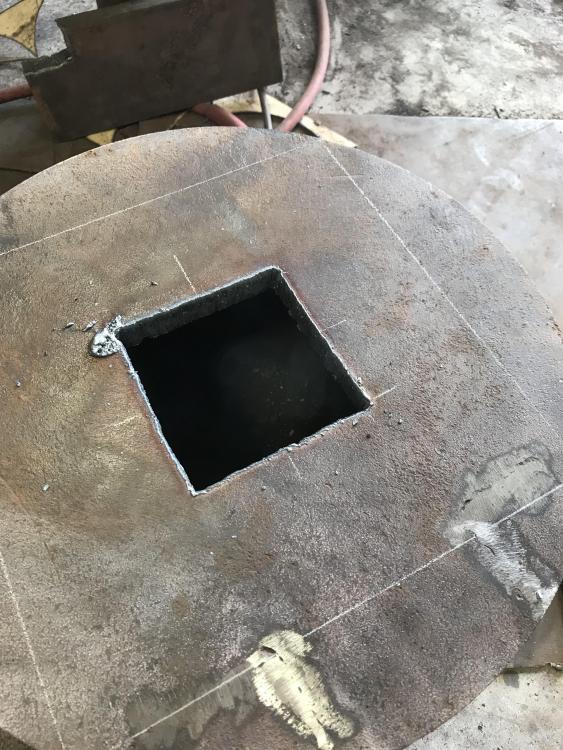
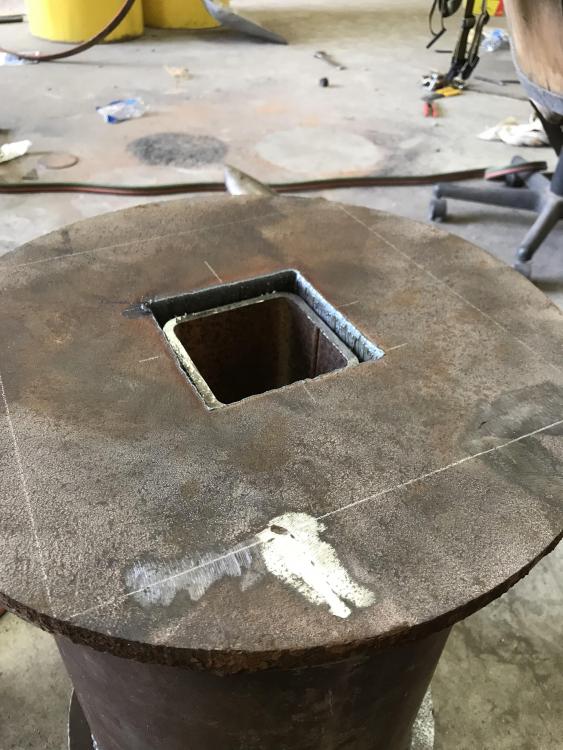
Made a little bit of progress. Cut the square tubing 1/4” longer than the big pipe and welded it to the center of the bottom plate. Next I cut a 4.25” square hole in the top plate to give me a little wiggle room when doing the fit up. I then welded the pipe to the bottom plate and did a test fit of the top plate. At this point I’m at a stand still until I can get some sand and drill holes for mounting bolts. Ordinarily the sand wouldn’t be an issue since we’ve got a couple of dry creek beds running through the ranch but last night we got a couple inches of very much needed rain. I suppose I could cook the moisture out of some sand but that sounds like a pain.

-
It’ll certianly be heavy but I do t know if I’d call it big, still easy enough to get right up next to it. I do plan on filling it with sand and oil, I don’t like my anvils to move. If I could, I’d like to bolt it to the floor but that’s not in the cards.
-
Mike, I’m curious how those files work for you. I’ve been wanting a set to test the hardness of the hammers I make.
-
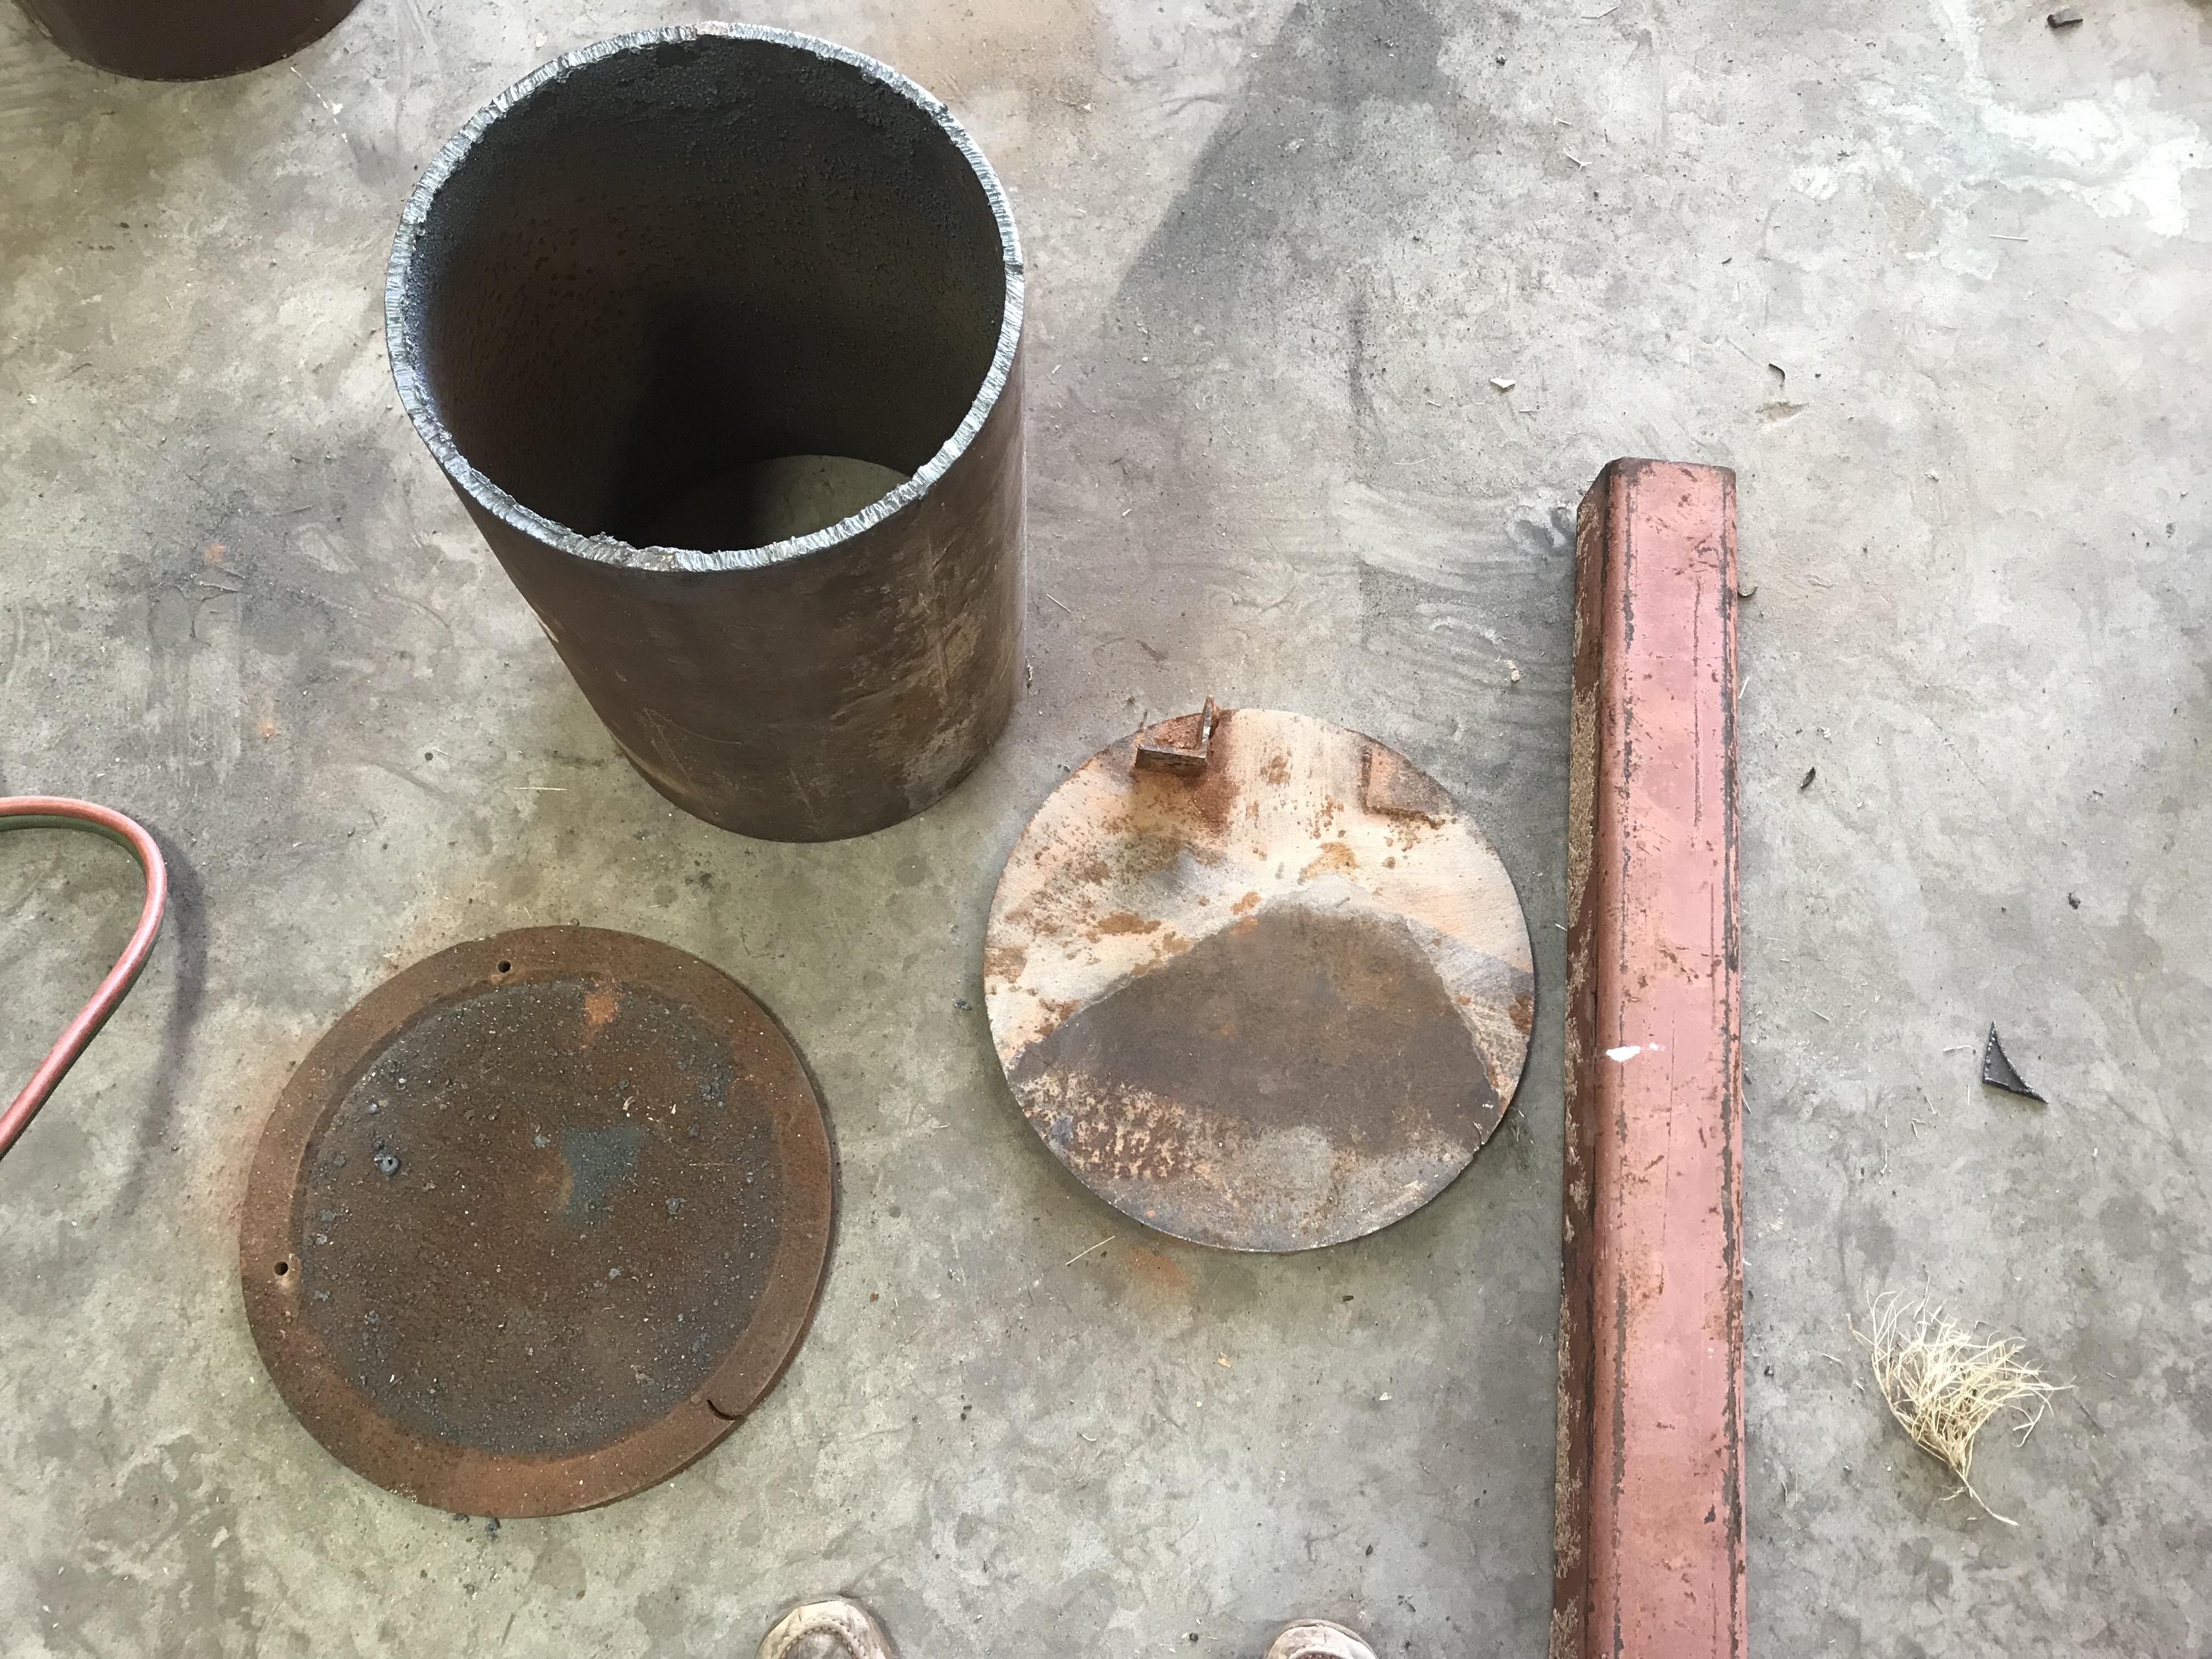
Began work on a new anvil stand. Didn’t get very far, only got the pipe cut.

-
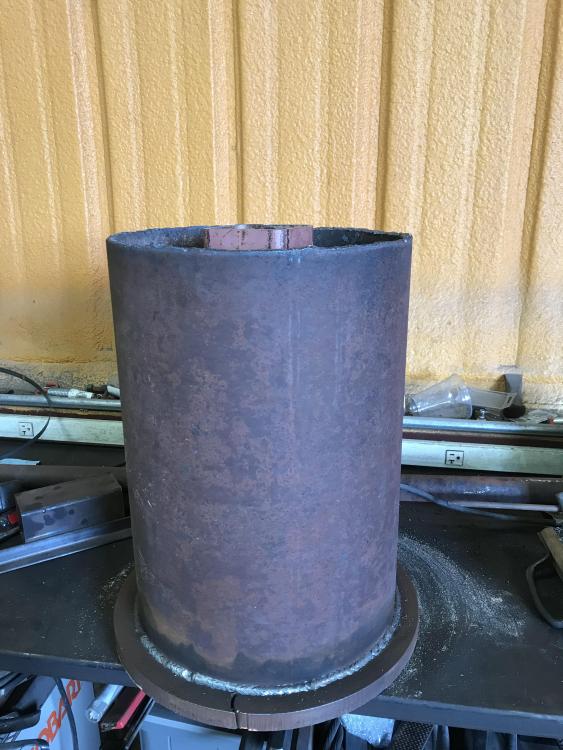
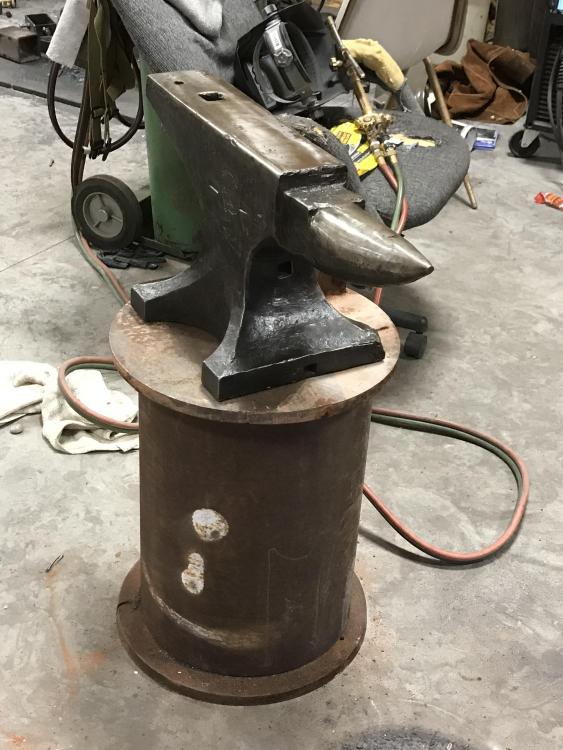
This is pretty much what it’ll look like with the addition of a hammer rack and swinging shelf for tools.
-
Thought I’d post pictures of a new anvil stand build. The pipe is 12” diameter 3/8” wall. The round plates that will be on the bottom and top is 16” diameter 3/4” thick. The 4” square tubing will be welded To the center of the plates and lend additional rigidity. The interior of both square and round pipe will be filled with sand.

-
I do that too Das. I will also sometimes dunk my brush before I use it. It’s a farrier trick that’s surprisingly effective.
-
You should see what a 10lb Hay Budden sells for, $2000+ easy. In reality, for hobby smiths, 130-175lbs of anvil will do everything they will ever want to do and is light enough to be moderately portable. It seems to me like that’s the most desirable weight range for folks that want to use their anvils but aren’t relying on it for a living. It certianly can be done though. Full time smiths and folks that are doing heavier work obviously need or want heavier anvils. Those anvils are put in place and might not ever move. A lot of this has to do with location as well. I’m in the Texas panhandle and it’s a fairly anvil poor area so prices reflect that as do condition of the anvil, make, age and clearness of marking. Generally, in my neck of the woods, I’ll sell a clean/sound 165lb anvil for $5/lb. Over 175lbs the price goes down. Under 130lbs the price goes up. Older but not truly old, meaning pre 1920, under 60lbs is where prices really start getting weird.
-
I’ve left a few parts and hammer heads in vinegar over night and it certianly removes scale but it also reveals pockmarks in the metals where the scale has been hammered into it. The lesson I’ve learned is to brush loose scale off when you get to the anvil, ideally with the material hanging in open air, and vigorously brush before it goes back into the fire. It gets to be a habit. In my experience, scale makes more scale. If you start removing it at the beginning of a forging you don’t end up with those stubborn bits of scale that won’t come off with a jack hammer.
-
I know the feeling and the desire to have perfectly smooth forgings. I don’t know if you do it but I recently learned to only use your block brush in one direction. That helped me some and you can also burn scale off with a torch when you really really want to be particular
-
I love scale free, smooth forgings. That one is both. Great job.