Ranchmanben
Members
-
Joined
-
Last visited
Everything posted by Ranchmanben
-
1908.
-
Jon, stainless beer kegs can easily be had for free. Call your local beer distributors and ask if they’ve got any kegs they need to get rid of. When I did this I got 4 kegs and a 6 pack of beer that was “dented”.
-
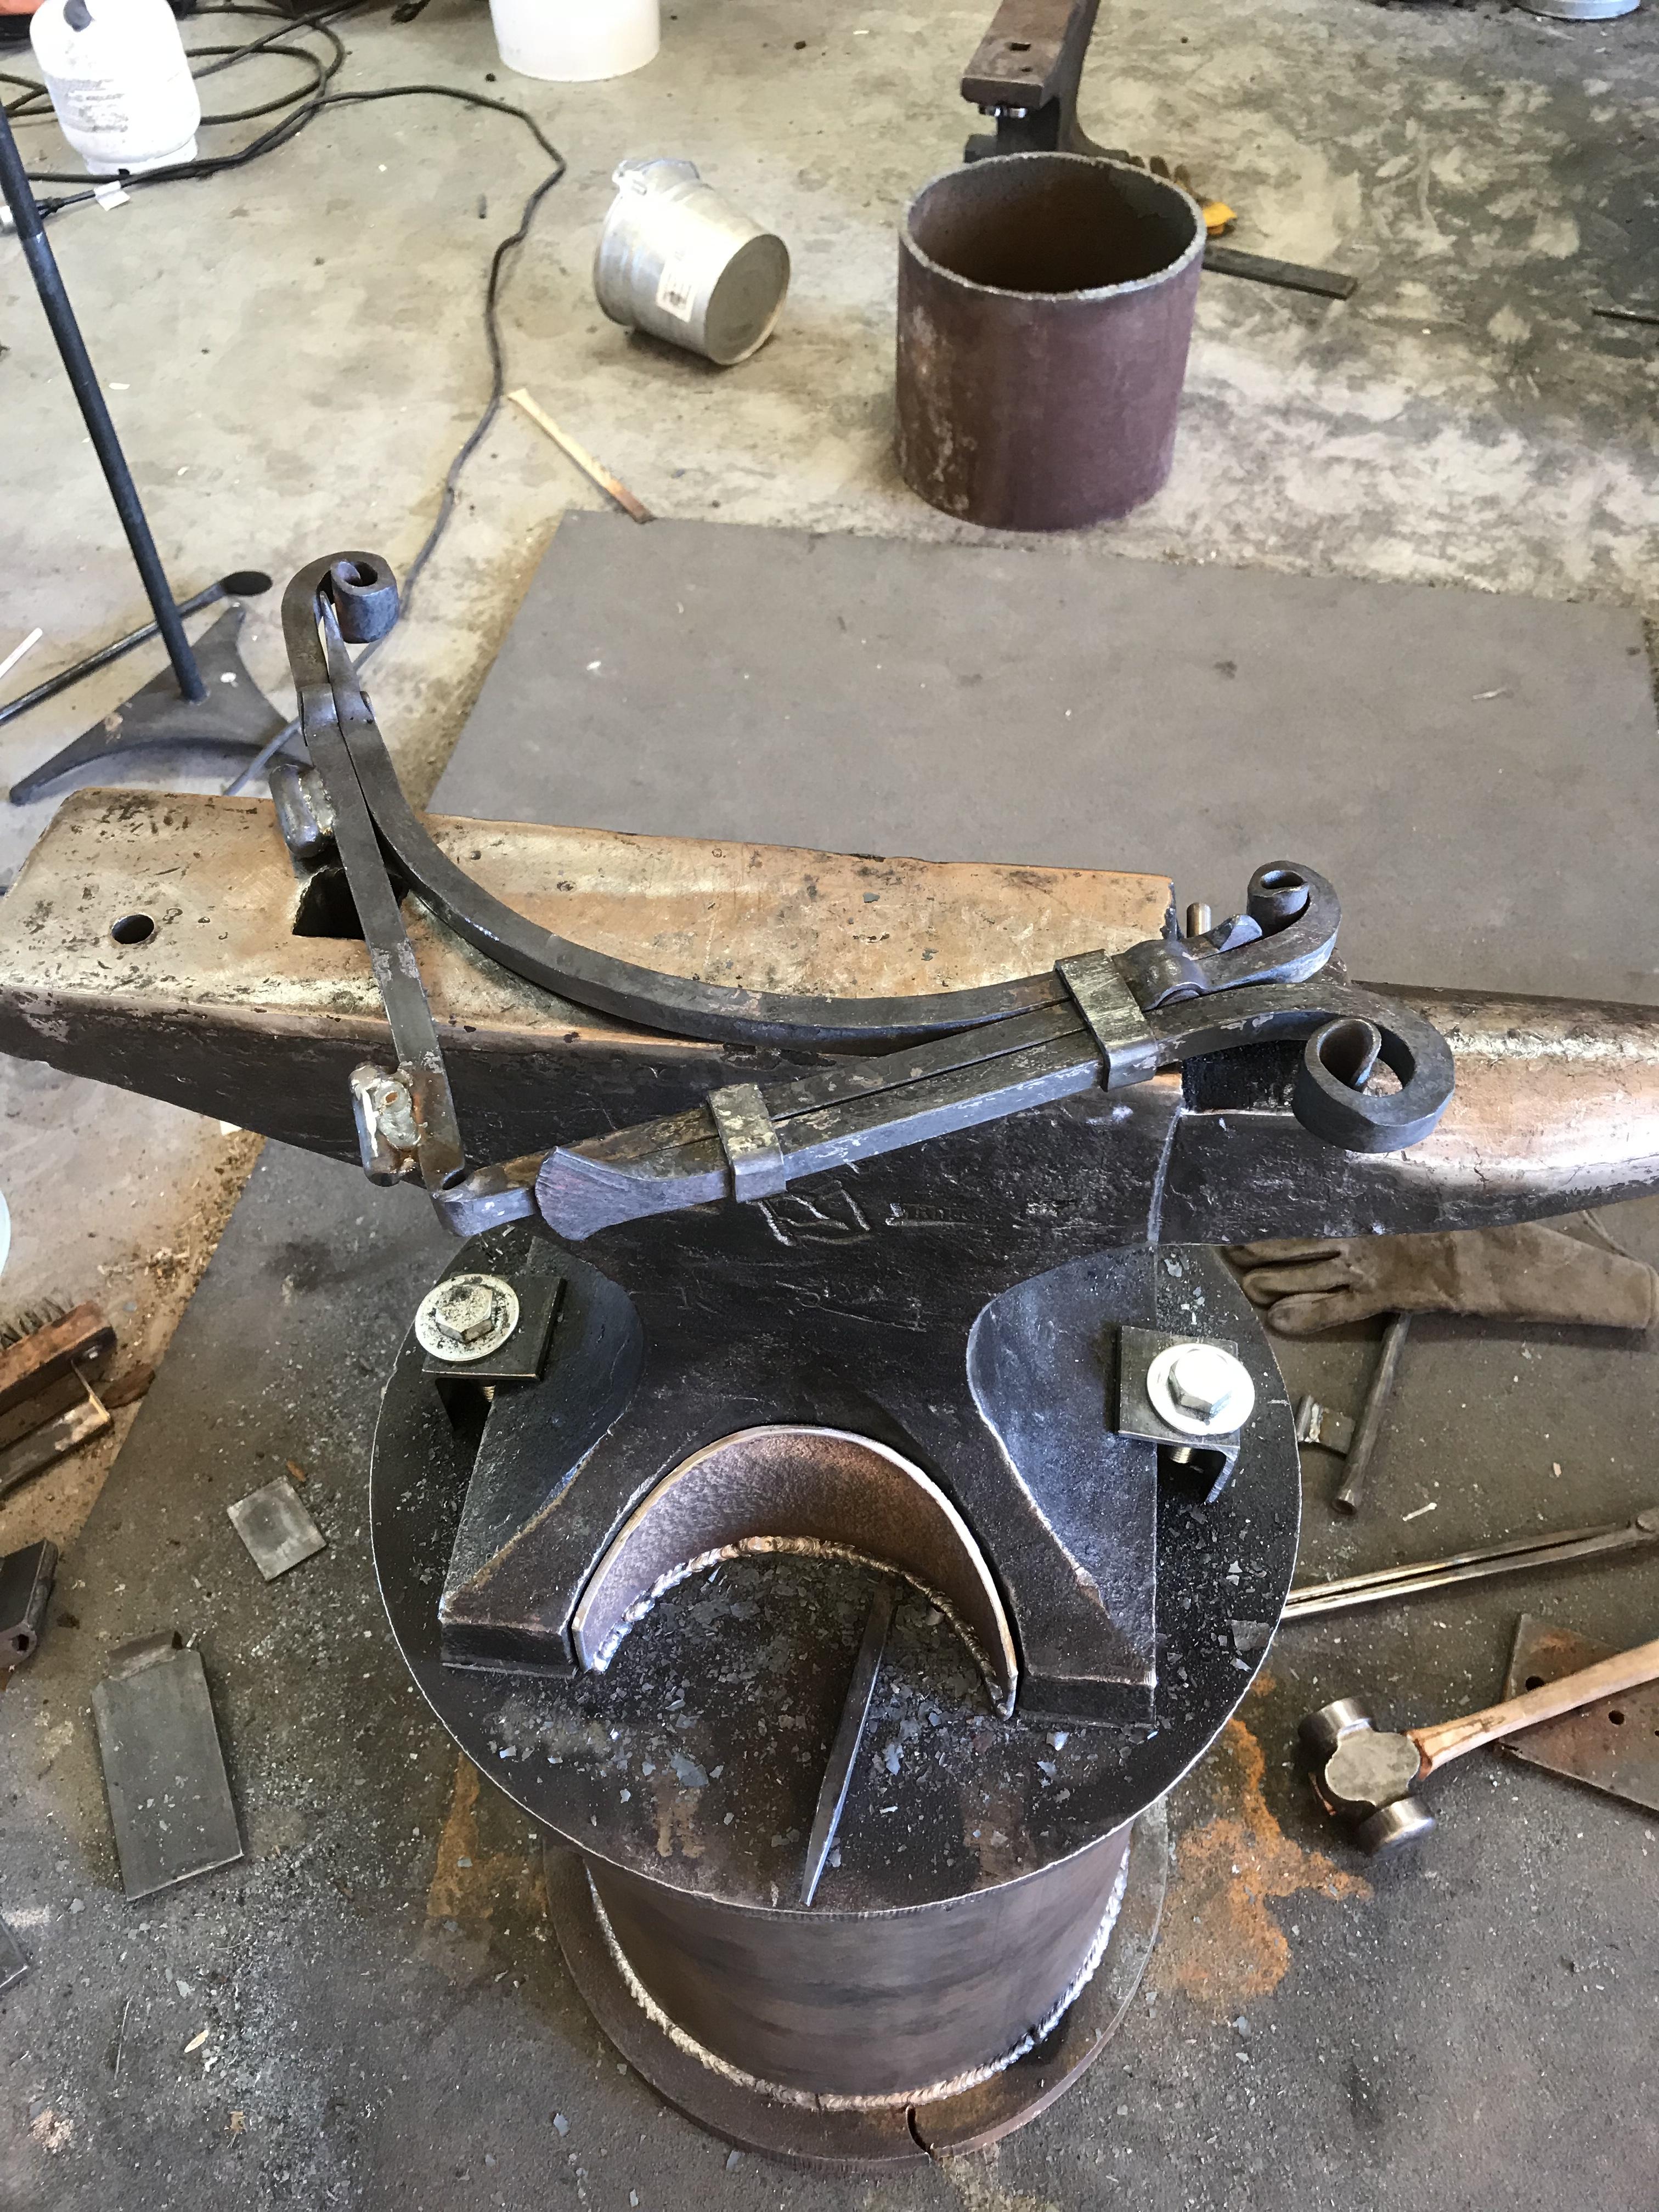
Got a few minutes to work on tool tray parts. This was a good place to try a couple new forging processes. All was going good until I welded on the hinges. Somehow both parts of the top hinge got welded together and I broke the pin trying to get them apart. I don’t have another one on hand so I’m going to cut them both off and do something different.
-
Thanks Al.
-
Al, the clamping forge is plenty sufficient it, I would just like something prettier. No need for it to be pretty but if I’m going to look at it all the time I’d like it to look nice. It’s actually sitting on a rubber stall mat. I’m sure having it on rubber absorbs a tiny bit of my hammer strikes but, to me, that’s better than always having sore feet.
-
Thanks folks. I’m really pleased with how it’s coming along. I should have been more specific earlier and said I’m not completely pleased with the way the clamps look. I think stripping the coating off the bolts or painting them will help a lot. My in-laws are arriving this evening so I doubt I’ll get much more work done til next week.
-
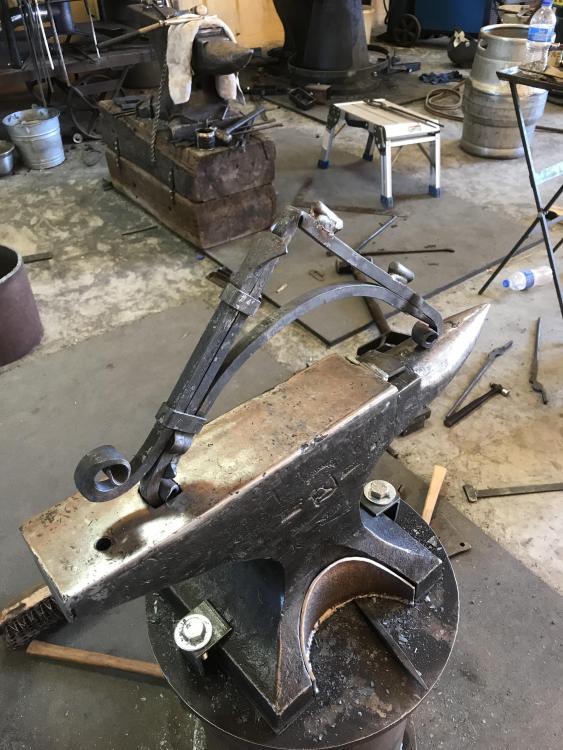
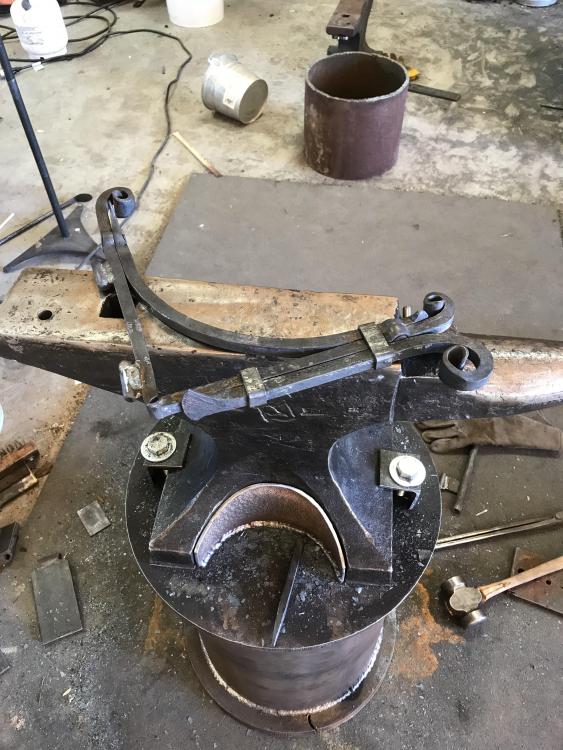
Made some progress on part of the swinging tray. You can get an idea of where it will be. I’m embarrassed to say that these are the first two scrolls I’ve ever forged
-
Thanks Mike. It’s the most stable, quiet stand I’ve used thus far.
-
From what I gathered around town, the guy’s Dad use to do a bit of smithing. Not much though, mainly repair work. I guess you can’t put a price on sentimental value but holding on to unused, large, heavy and valuable tools can get irritating.
-
Drilled and tapped holes for 5/8” bolts and used a piece of angle iron on each foot. Cinched it down mighty tight. I’m not exactly pleased with the way it looks but it’ll be fine for the time being. Next it the tool shelf.
-
We’re all on the same page.
-
Is this something that will be available to the public or is this a one off? With such a robust design, would you be able to pack more tonnage into the same frame?
-
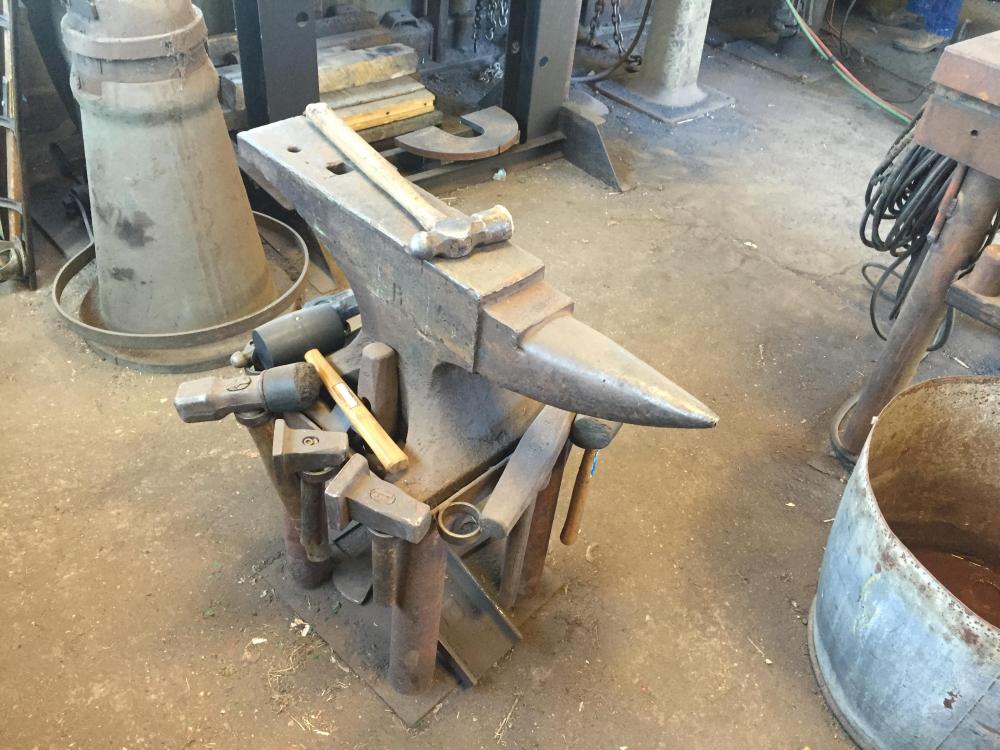
There’s a little old welding shop in town and the guy has got a great anvil the needs to be in my shop. I’ve been trying for years to buy it and he won’t do it. I’ve even offered cash and a smaller replacement anvil, he doesn’t do any forging. I’ve tried to get better pictures but the guy is a little squirrelly about that. All I’ve got is the one. Maybe in a year or two I’ll be able to take another as he shoots my offer down again. It’s looks to be cast and the only mark I’ve seen is an R on the off side. I’d guess it’s in the 200-250lb range. An yes, that’s a 50lb little giant that hasn’t run in years but looks like it would be ingood running order. Also not for sale This brings up another question and might deserve its own topic, When do you give up on trying to buy an anvil or other piece of equipment? Do you ever really give up?
-
Taking orders?
-
Did a lot of carpentry and then made a little headway on the new anvil stand. Already thinking about the tripod stand I need to put together.
-
I was thinking about a zip tie, less give.
-
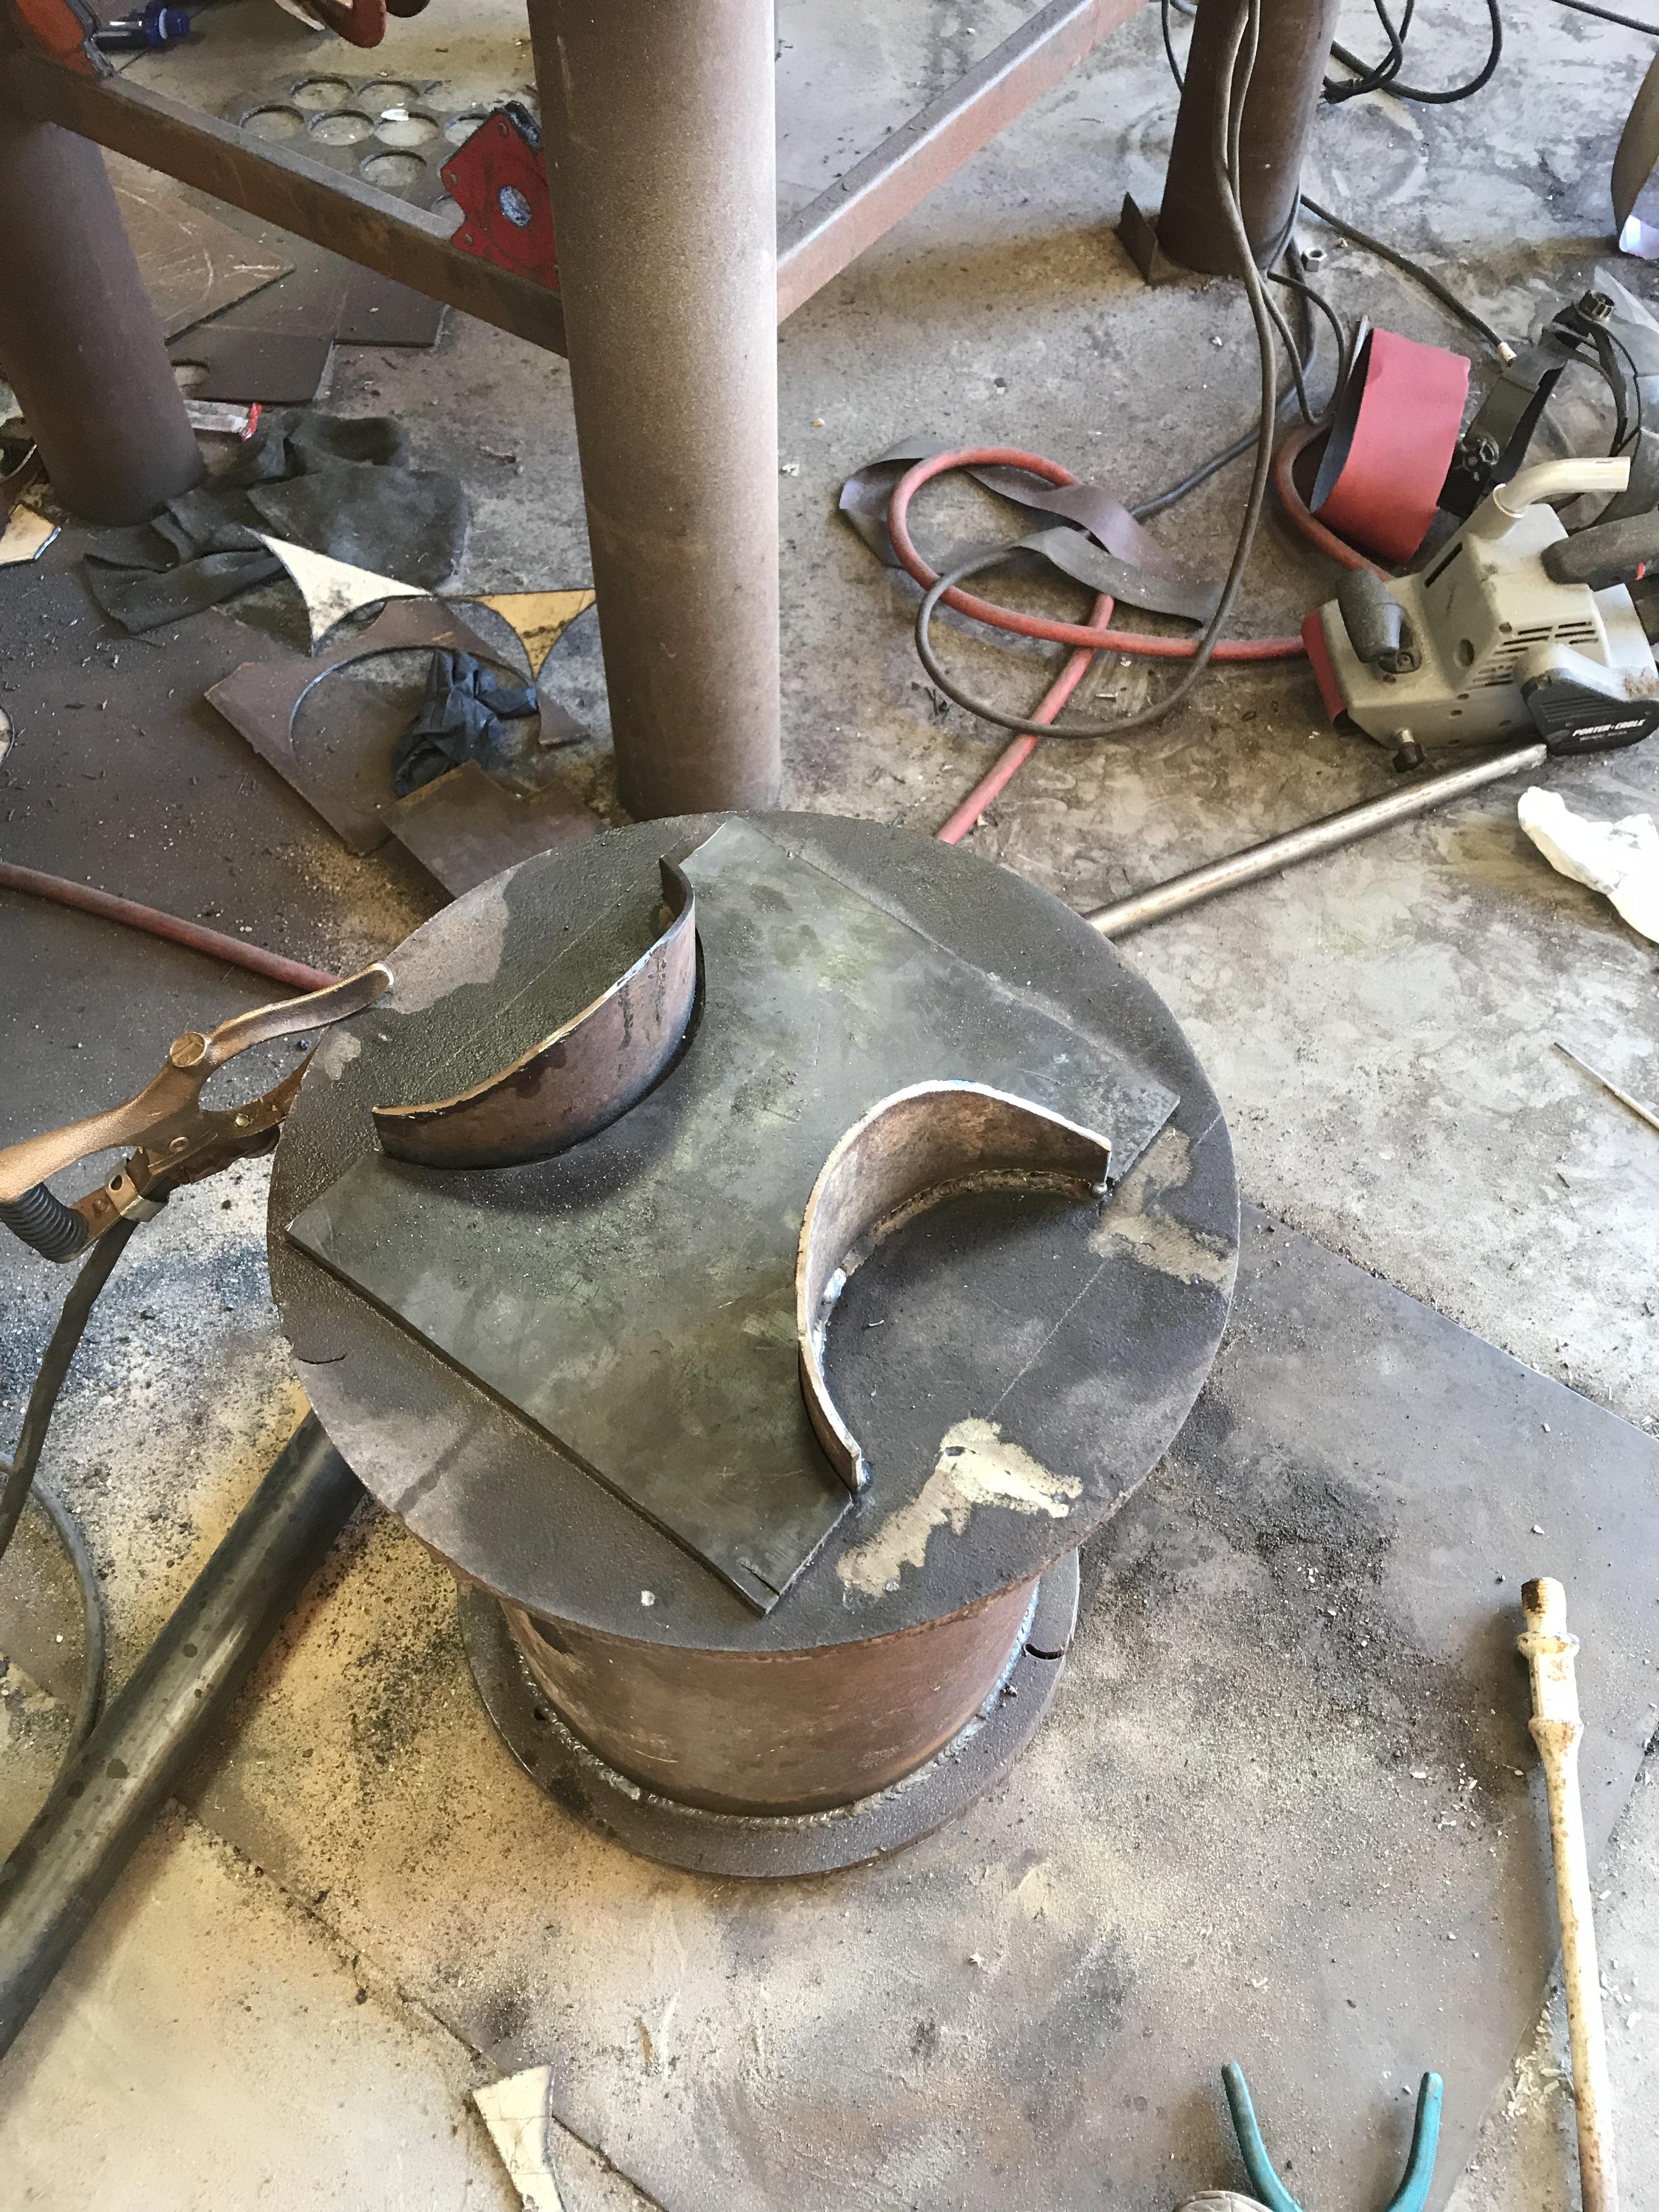
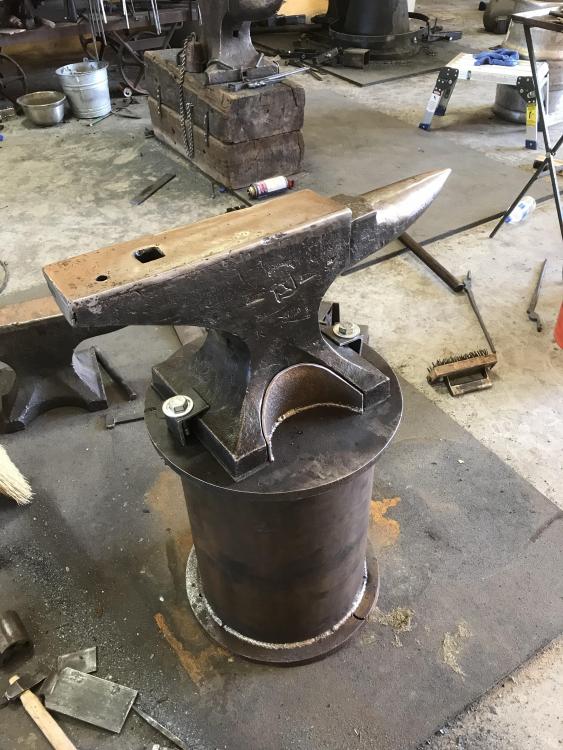
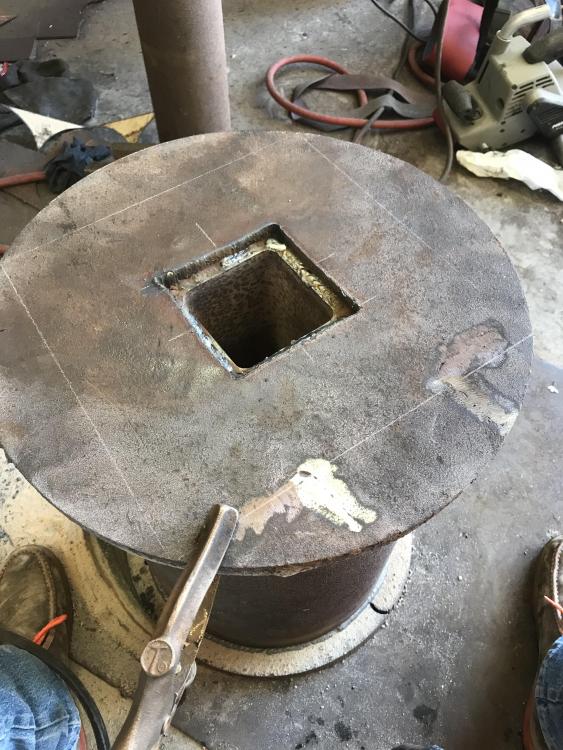
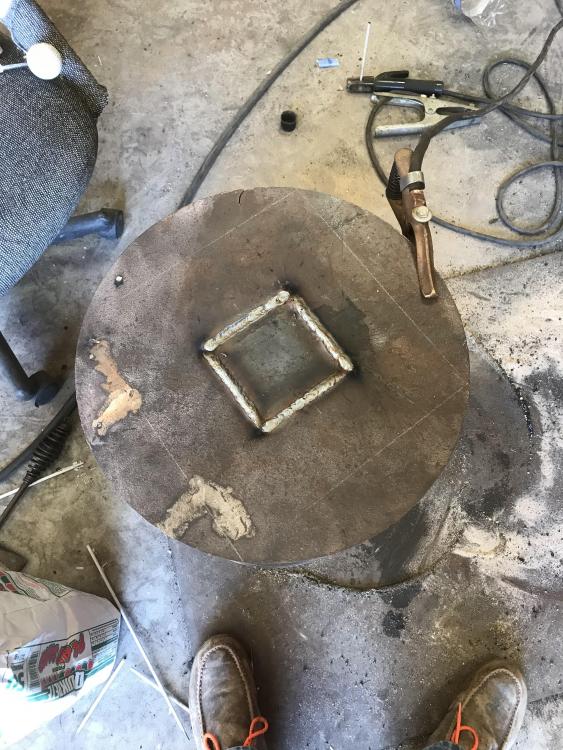
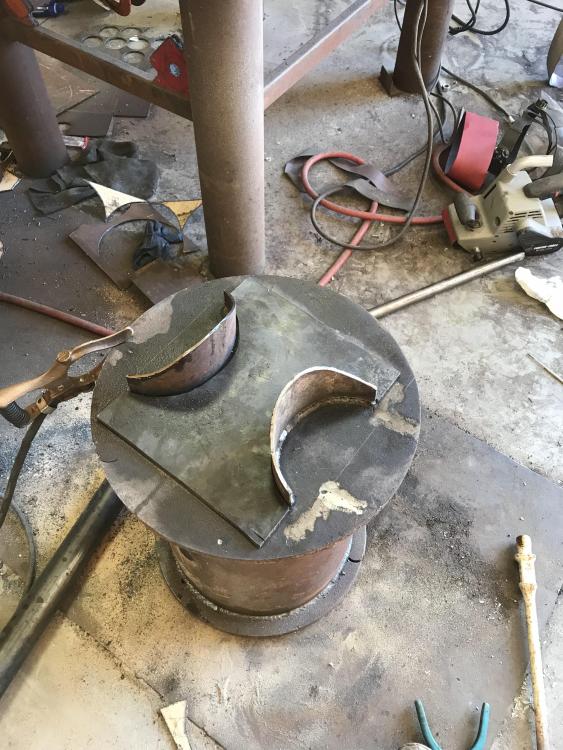
After standing around the stand, with anvil in place, in every position I could think of, I don’t think the lip on the top cap is going to affect the way I operate. I filled the round pipe with used motor oil and 130ish pounds of sand. After that I welded on the top cap, first to the square tubing through the hole I cut and then around the outside of the round pipe. Next I filled the square tube with oil and and 20ish pounds of sand. Cut a cap for the square hole and welded it in place. Started on the mount for the anvil by cutting a couple pieces of pieces of pipe to the contour between the front and back feet and welded them in place. I also cut a piece of boot sole material to the footprint of the anvil to use in place of silicone caulk. At this point I’m not exactly sure what I’m going to do to actually secure the anvil to the stand. I’d like to do something the works well but also looks decent.
-
Mark, I with you on Jakob Faram. He’s somewhat inspirational to me as well, very clean designs and very clean forging. Check out John Williams too.
-
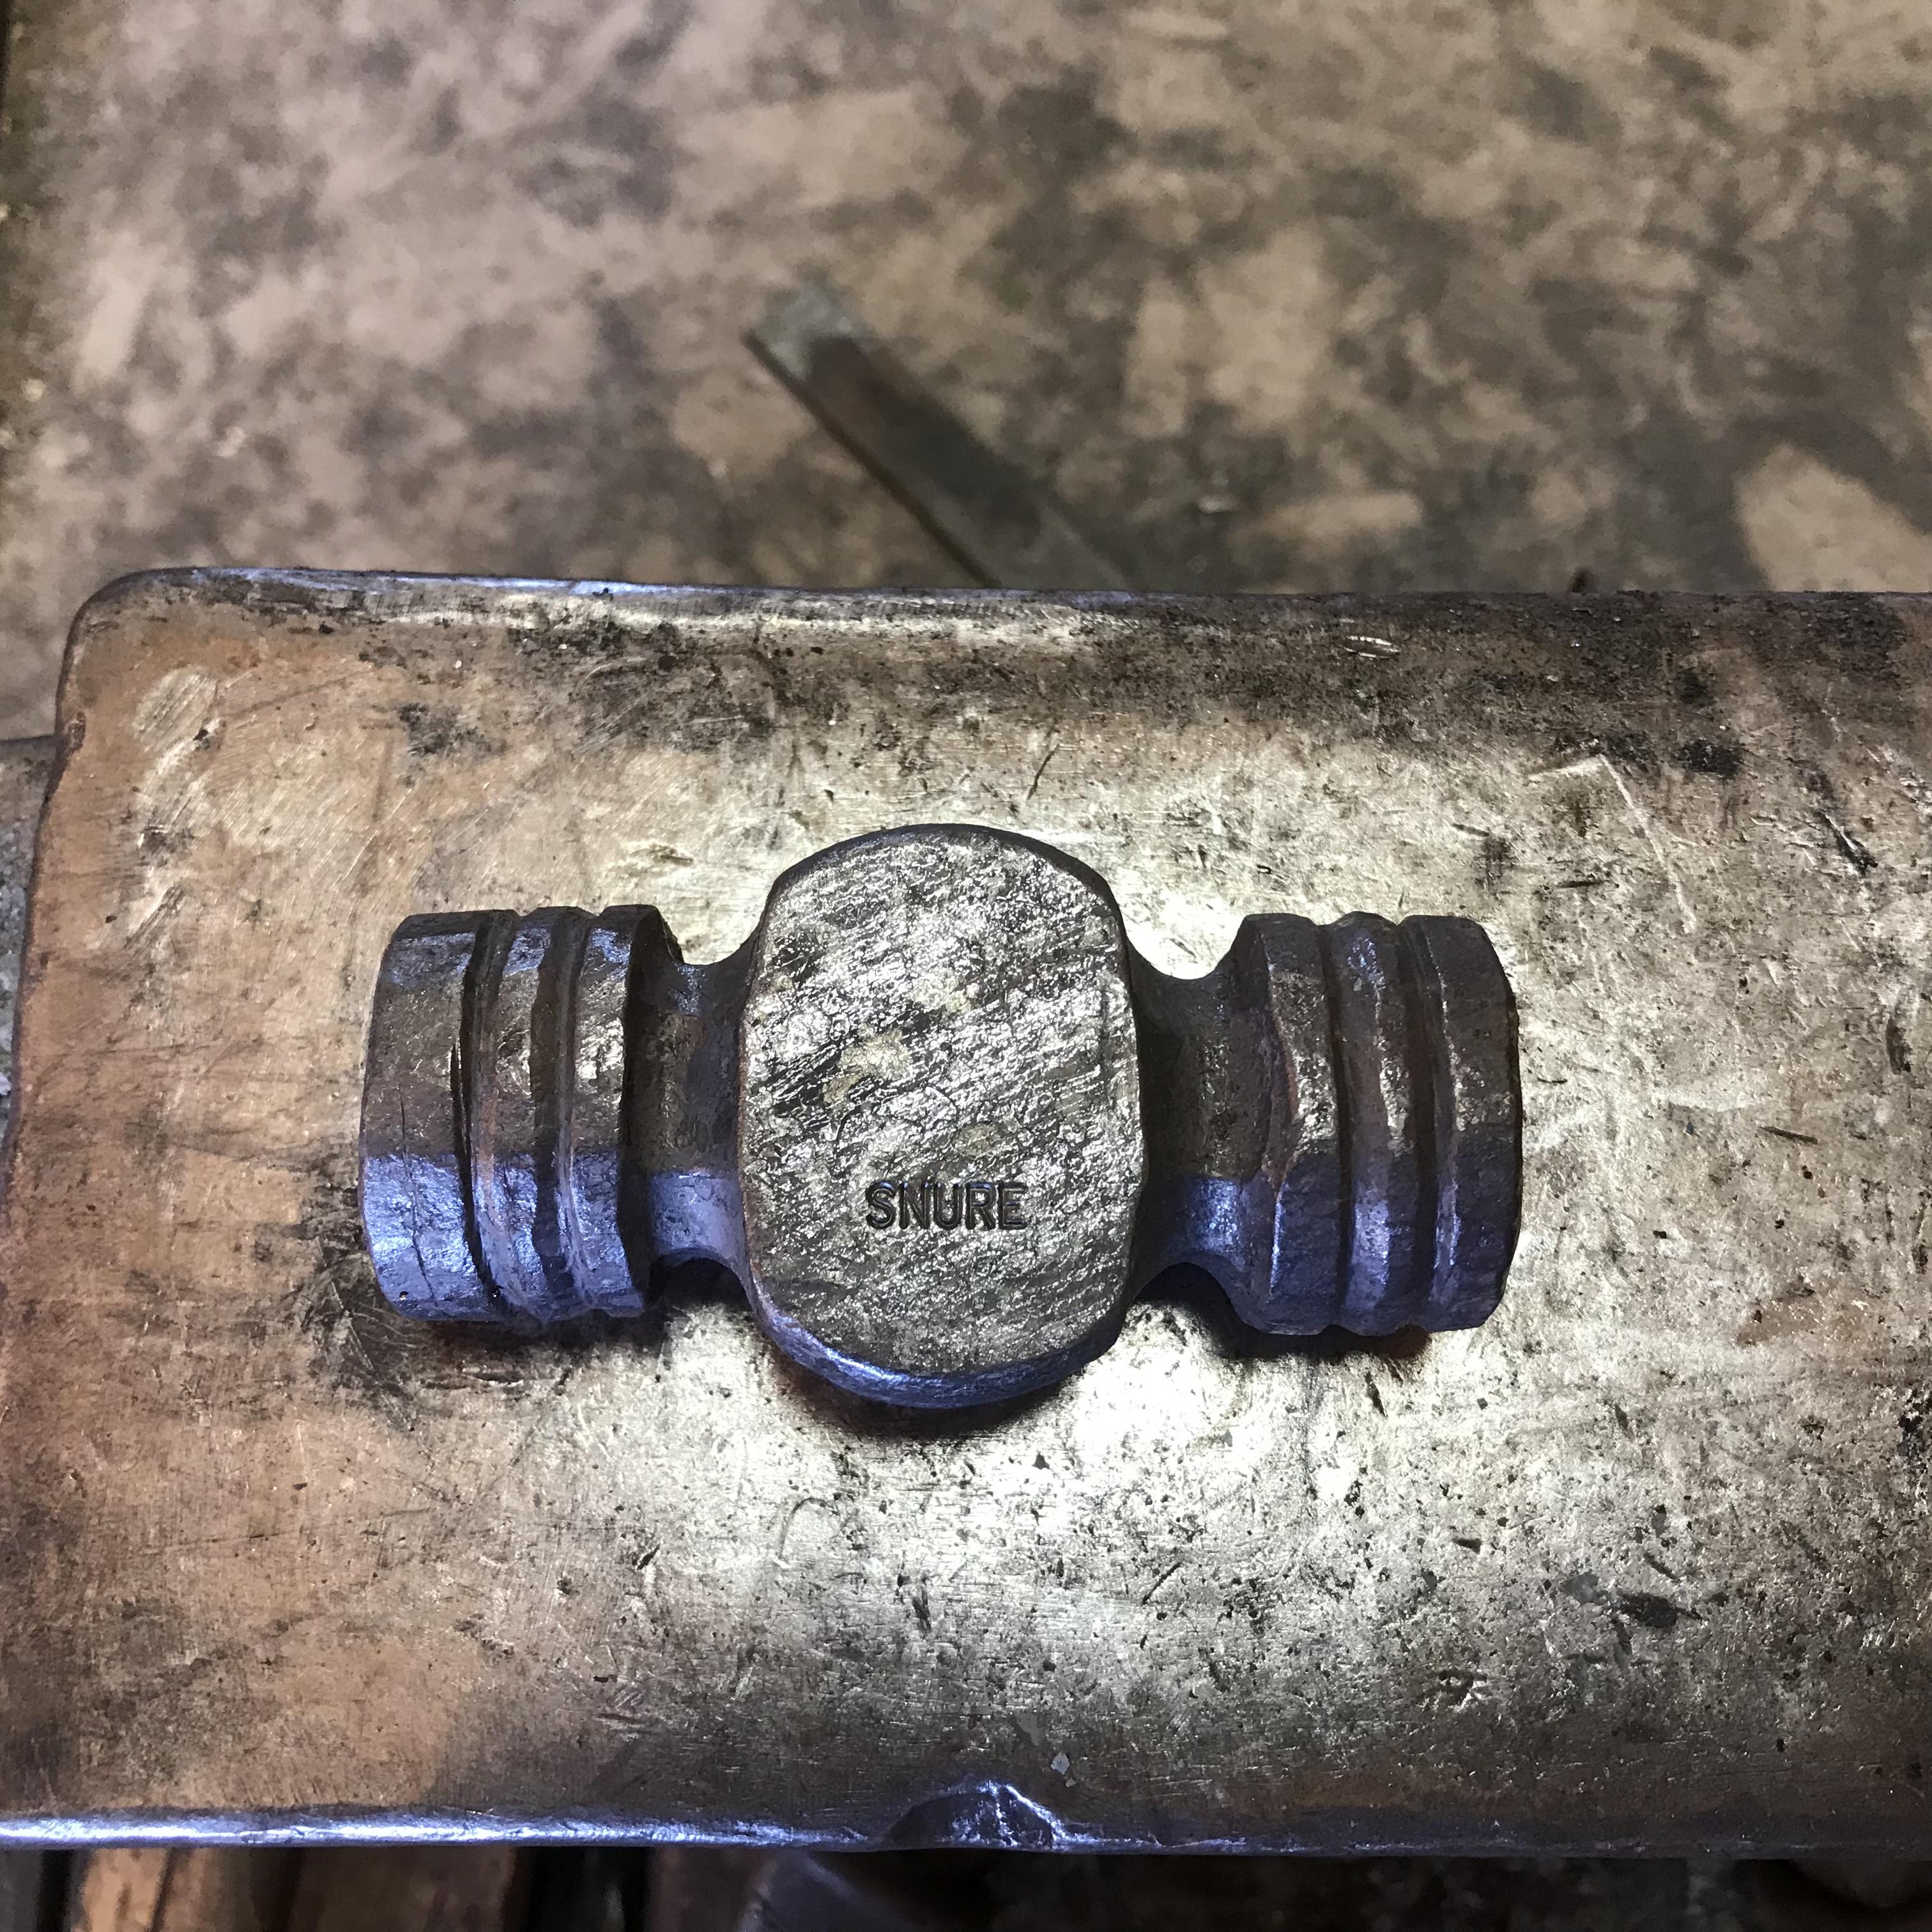
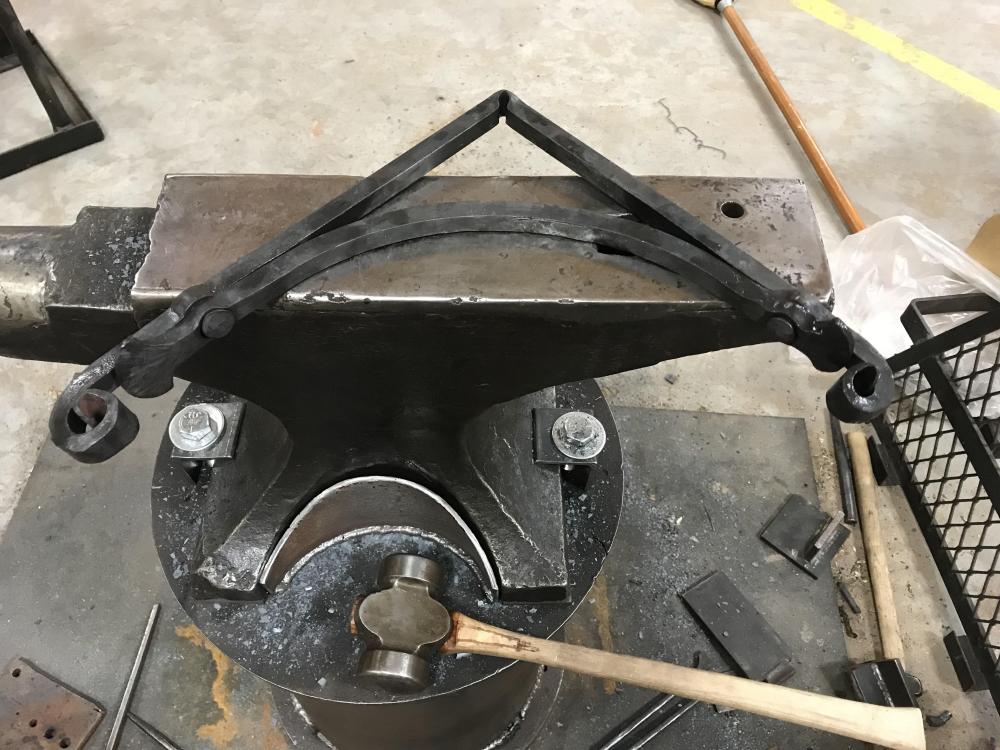
Forged out the new new style hammer. I think this is the route I’m going to go with flat cheeks.

-
Thanks Frosty. I think I’ll make a mini smithy but it’s kind of low on the priority list. If I start making progress on it I’ll start a new thread.
-
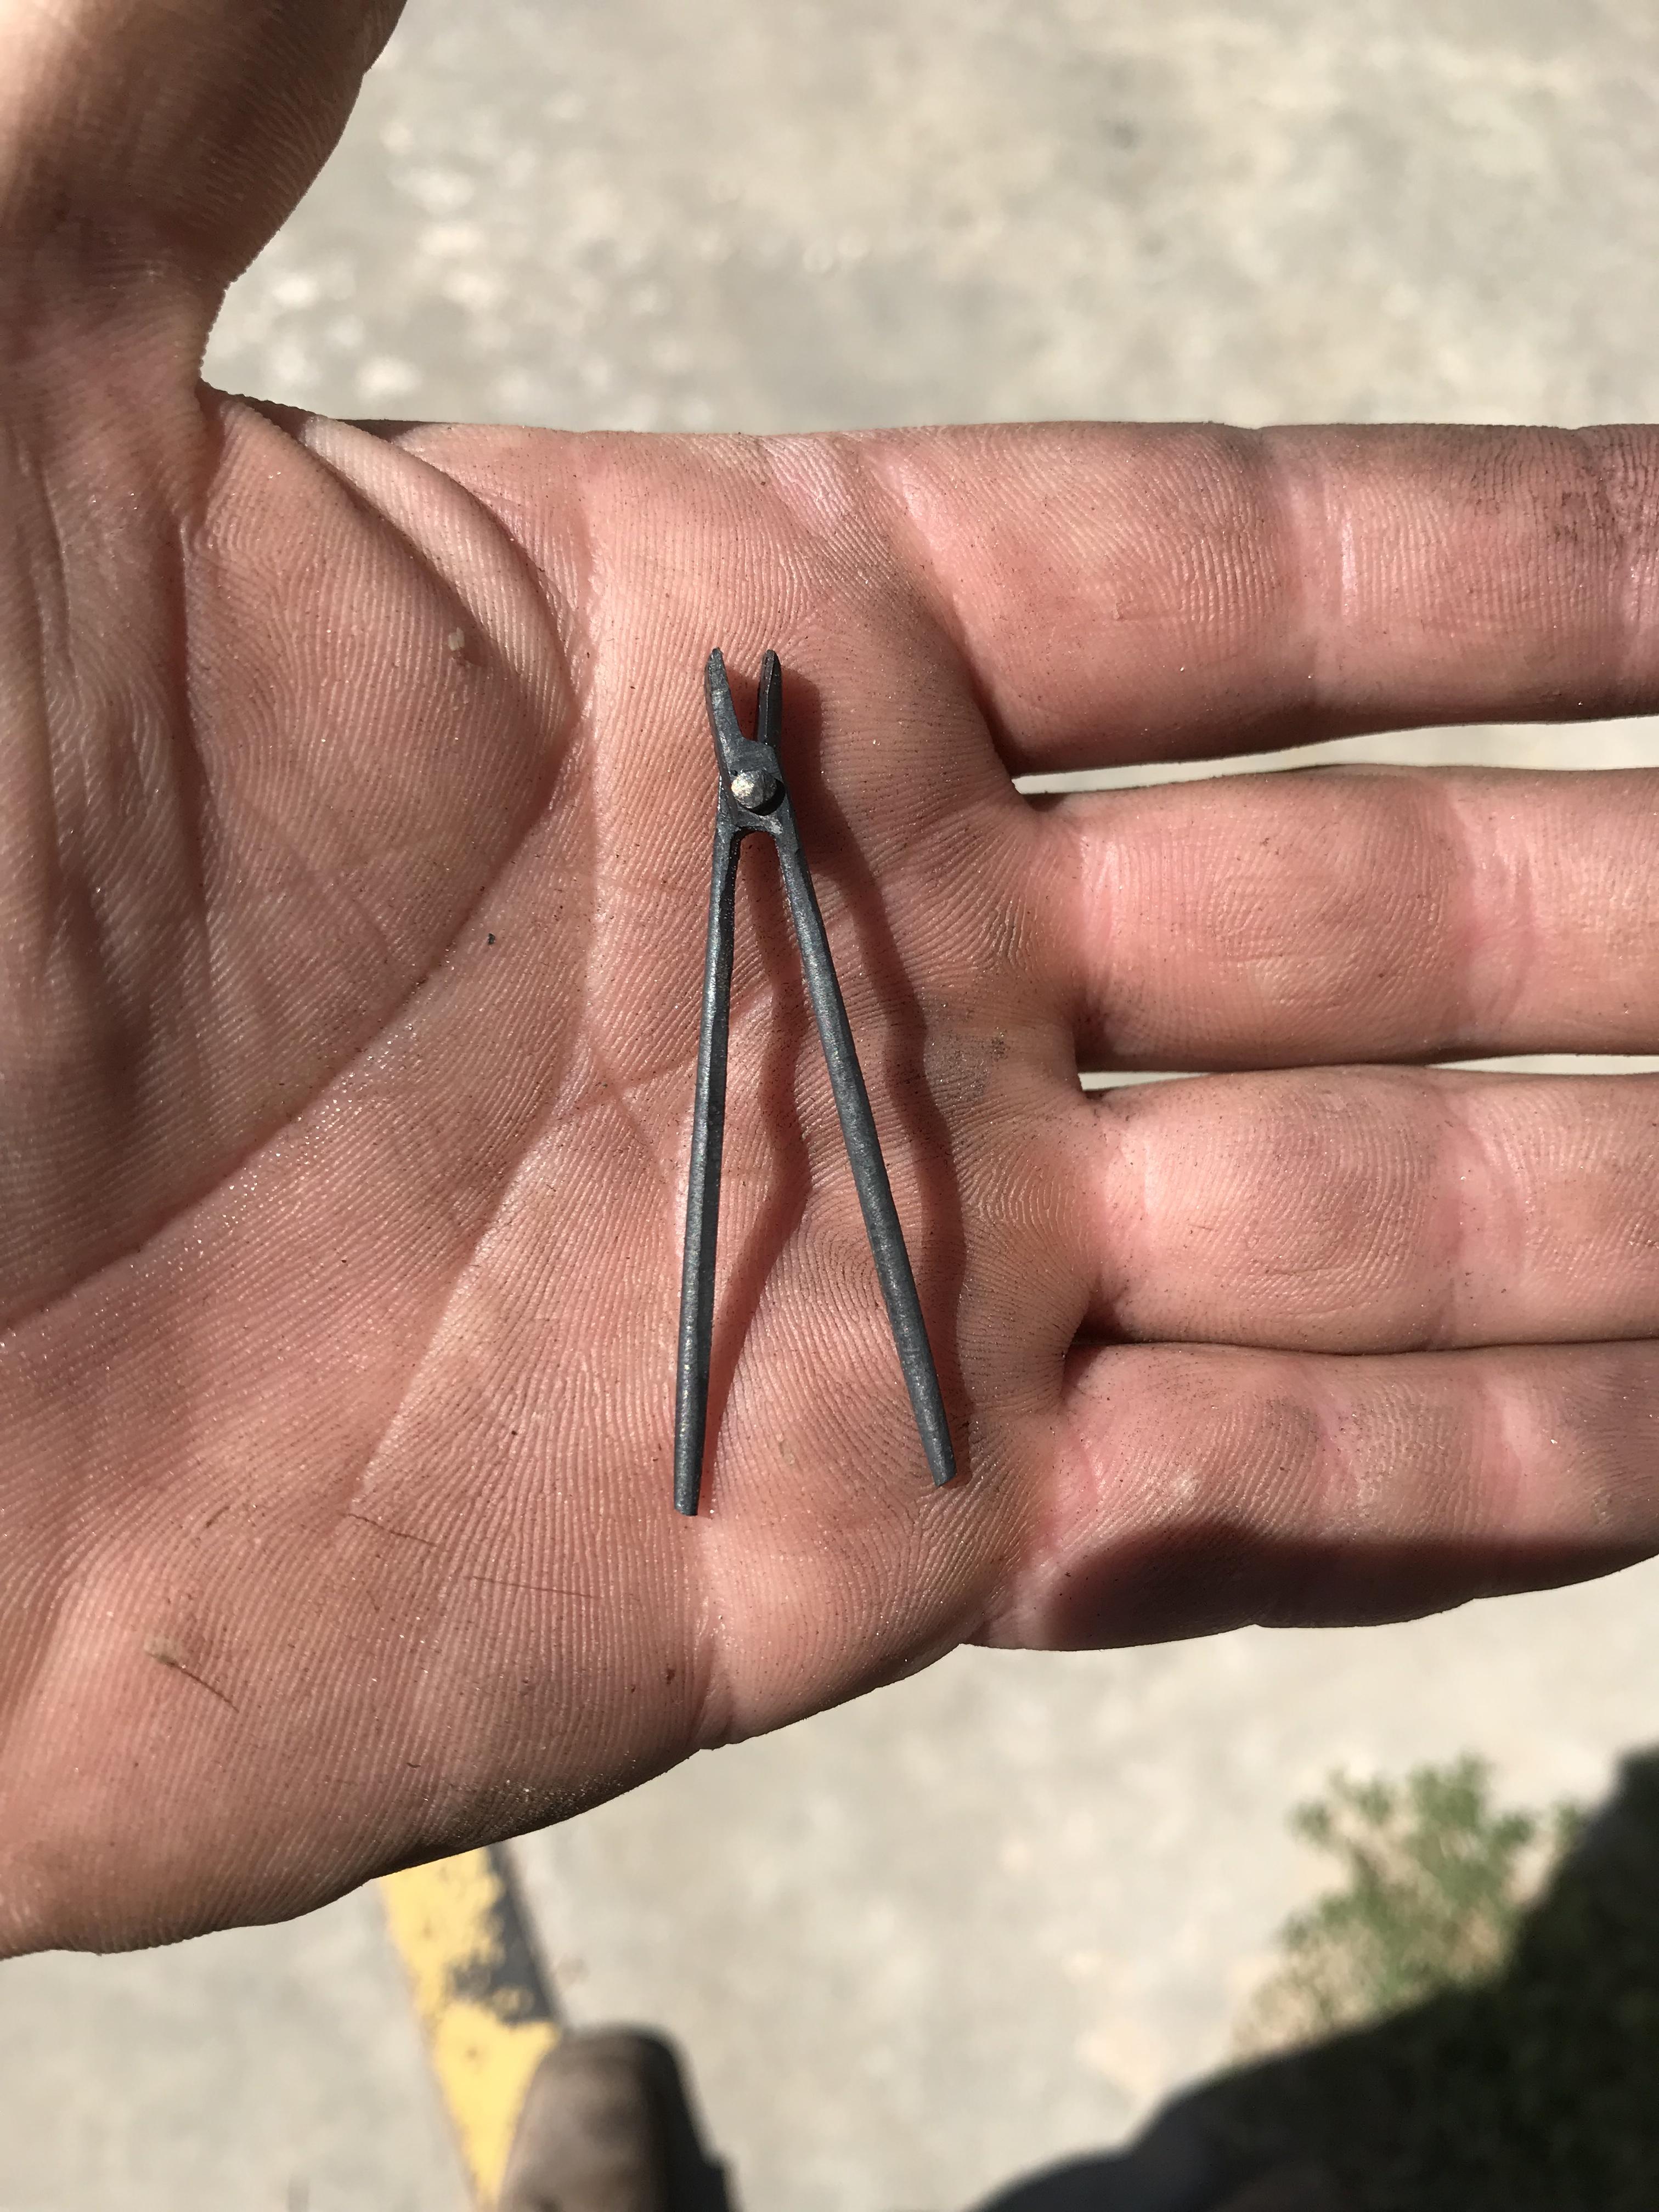
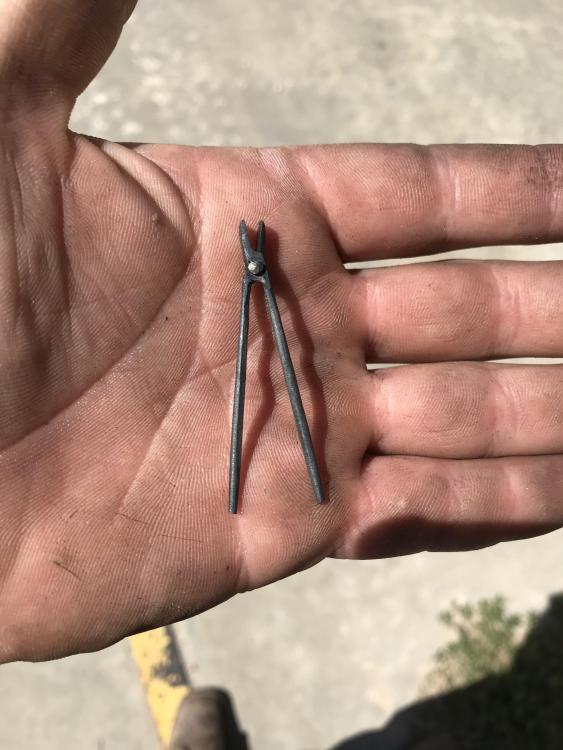
I’d have to say that the tiny ones were tougher. After you’ve built a few dozen full sized sets of tong they don’t present much of a challenge. These tiny ones were mainly done on a belt grinder and one little slip pretty much ruins them.
-
-
Thanks Das but I confess, I filed and ground the hammer and tongs.
-
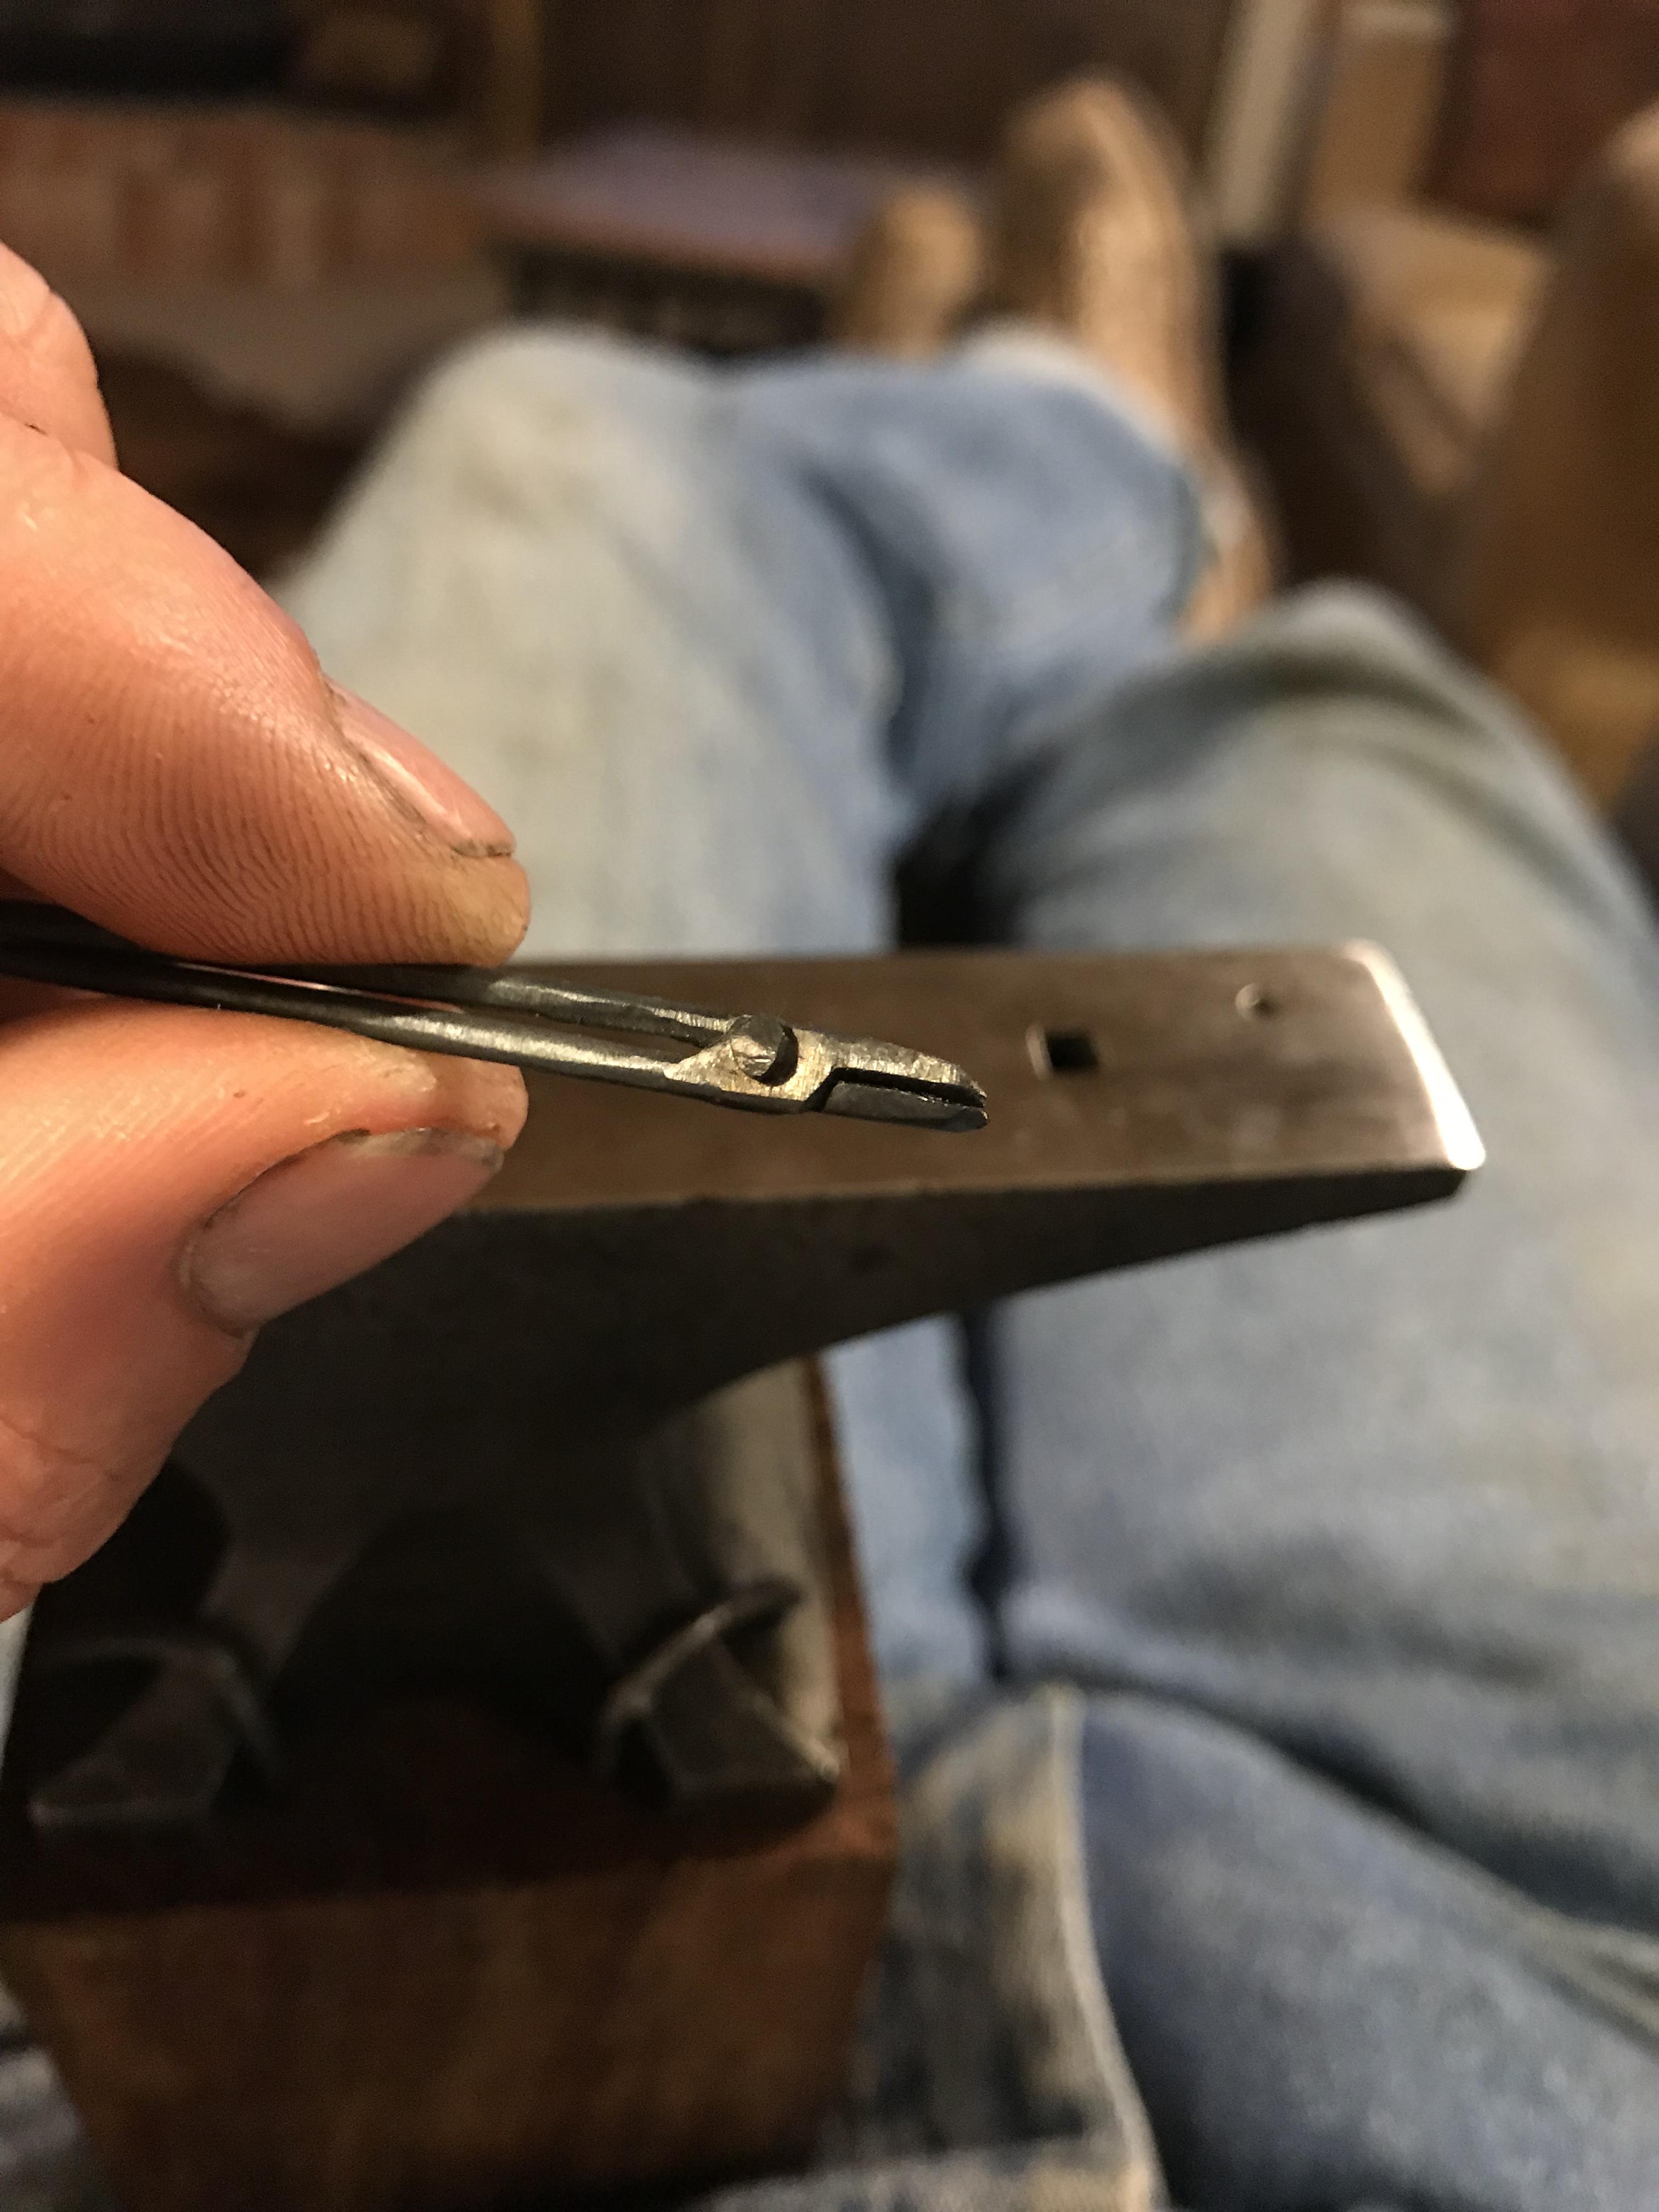
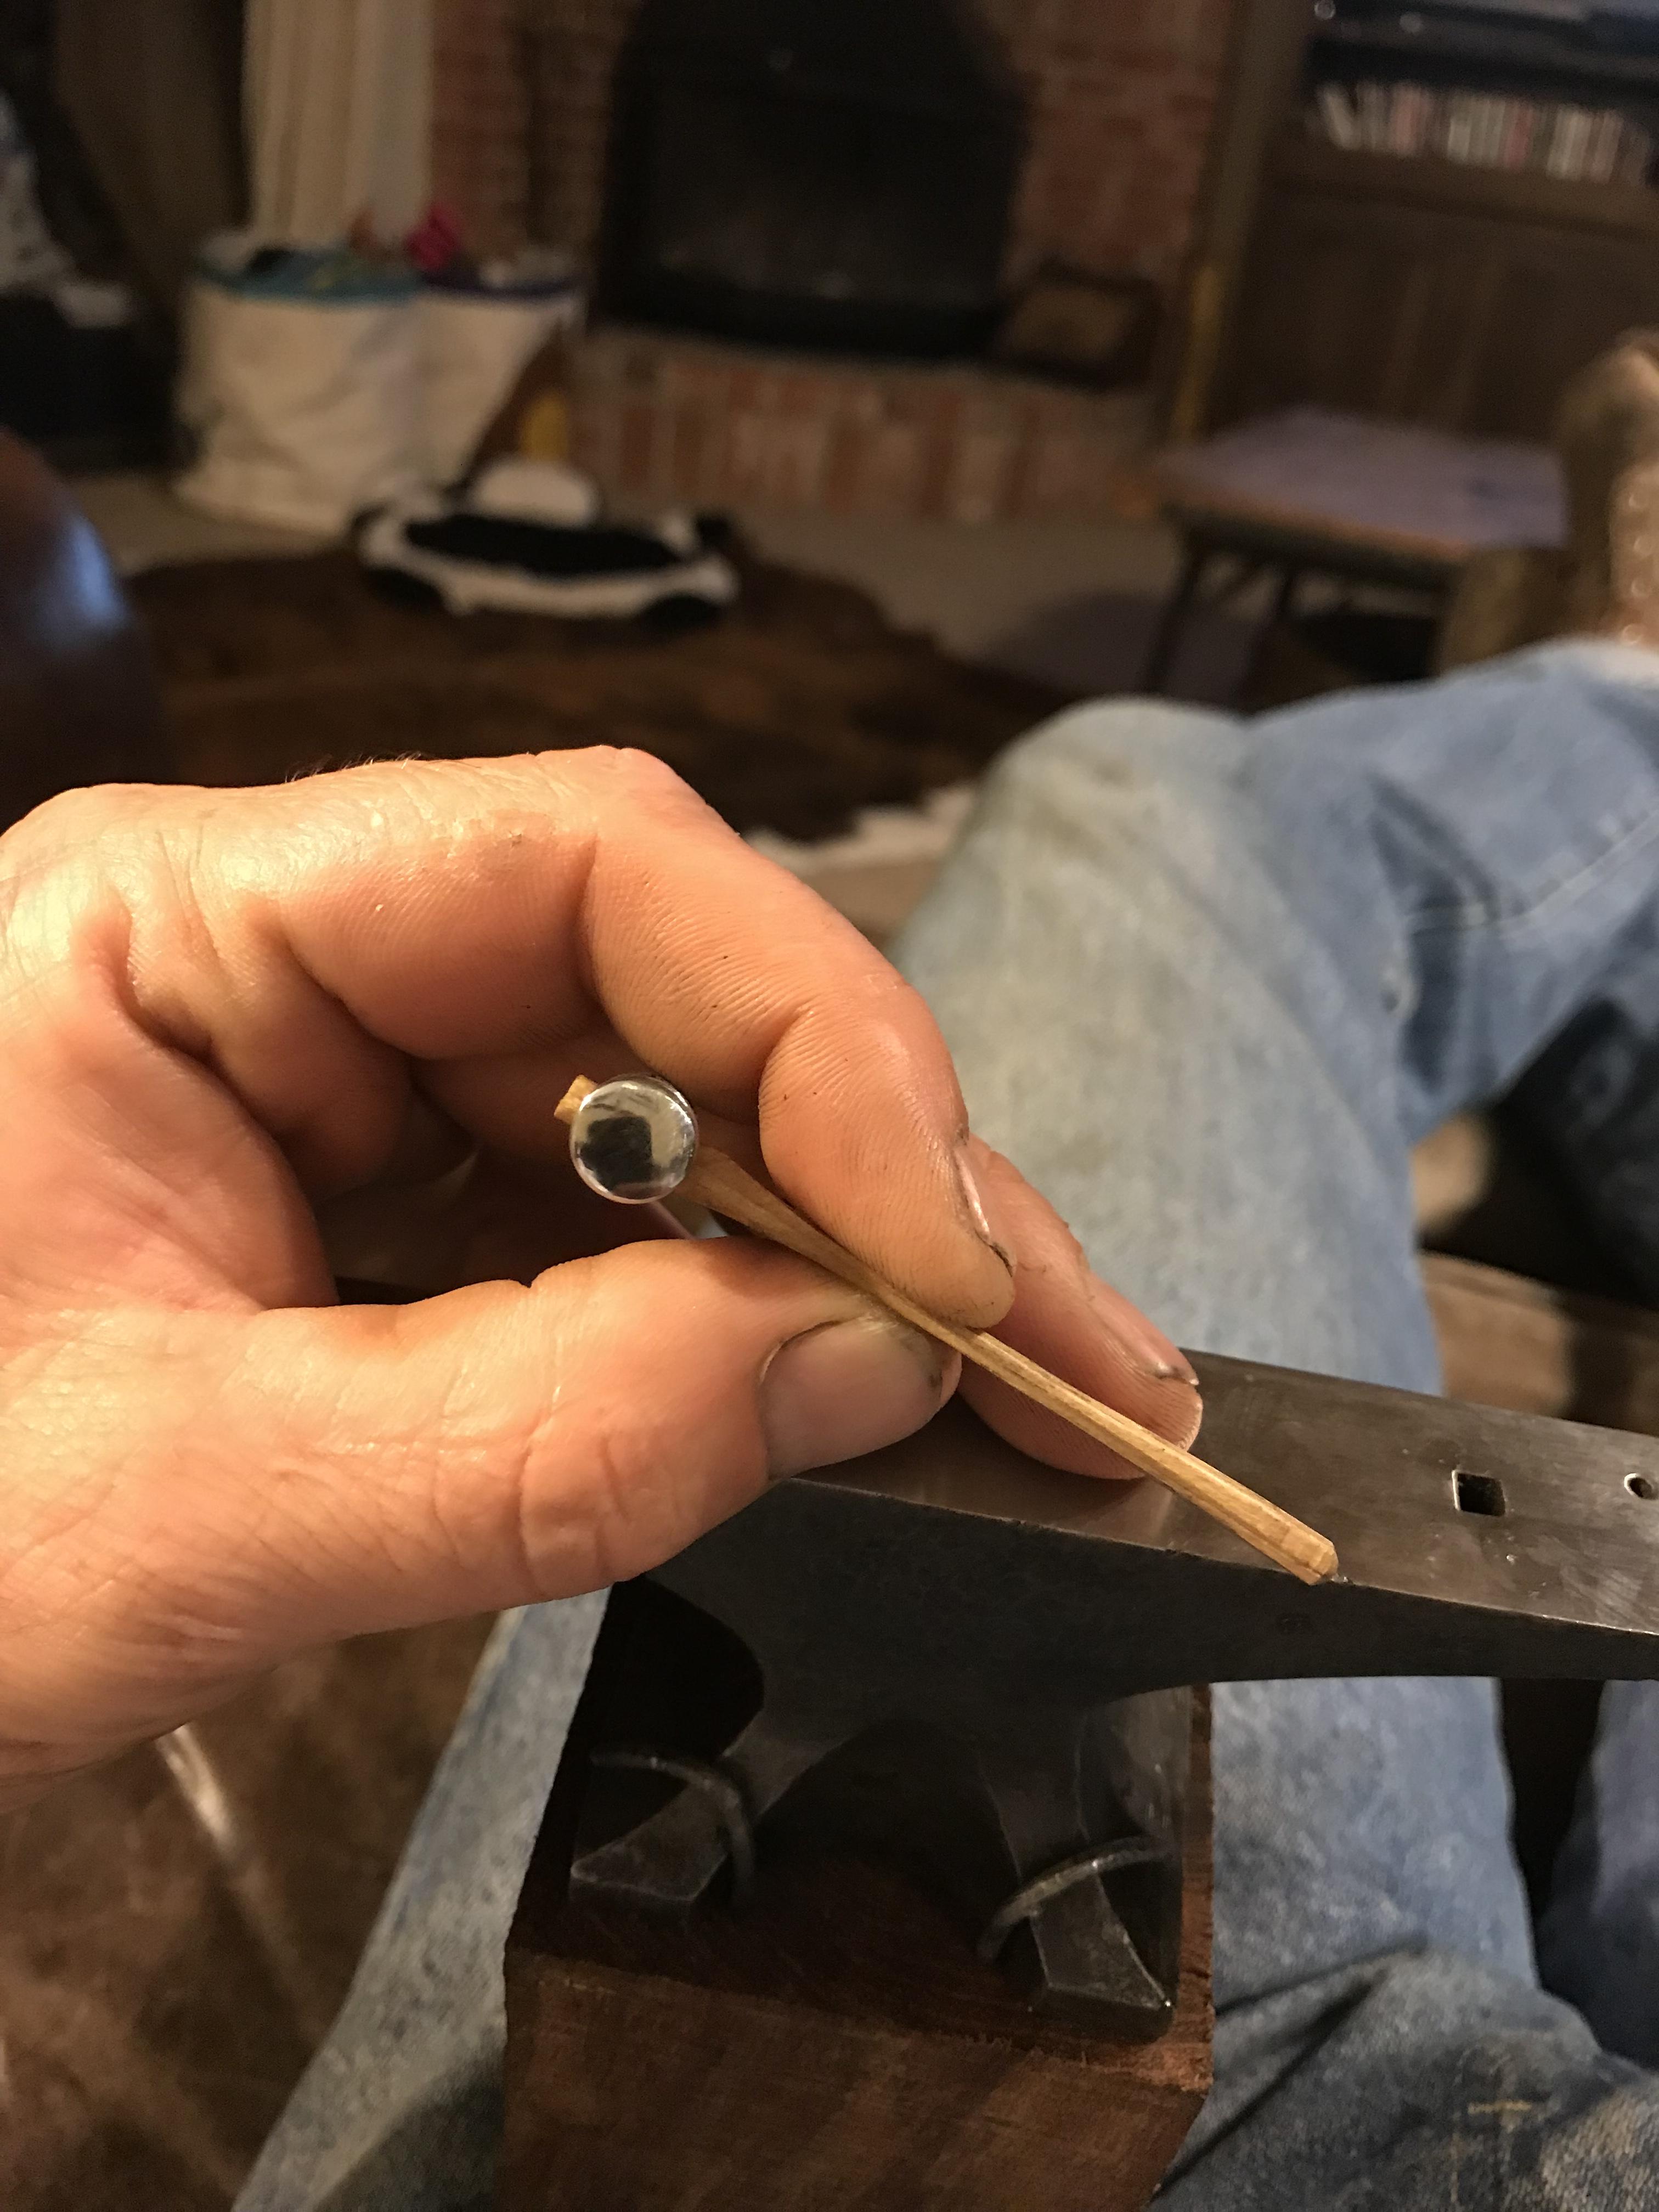
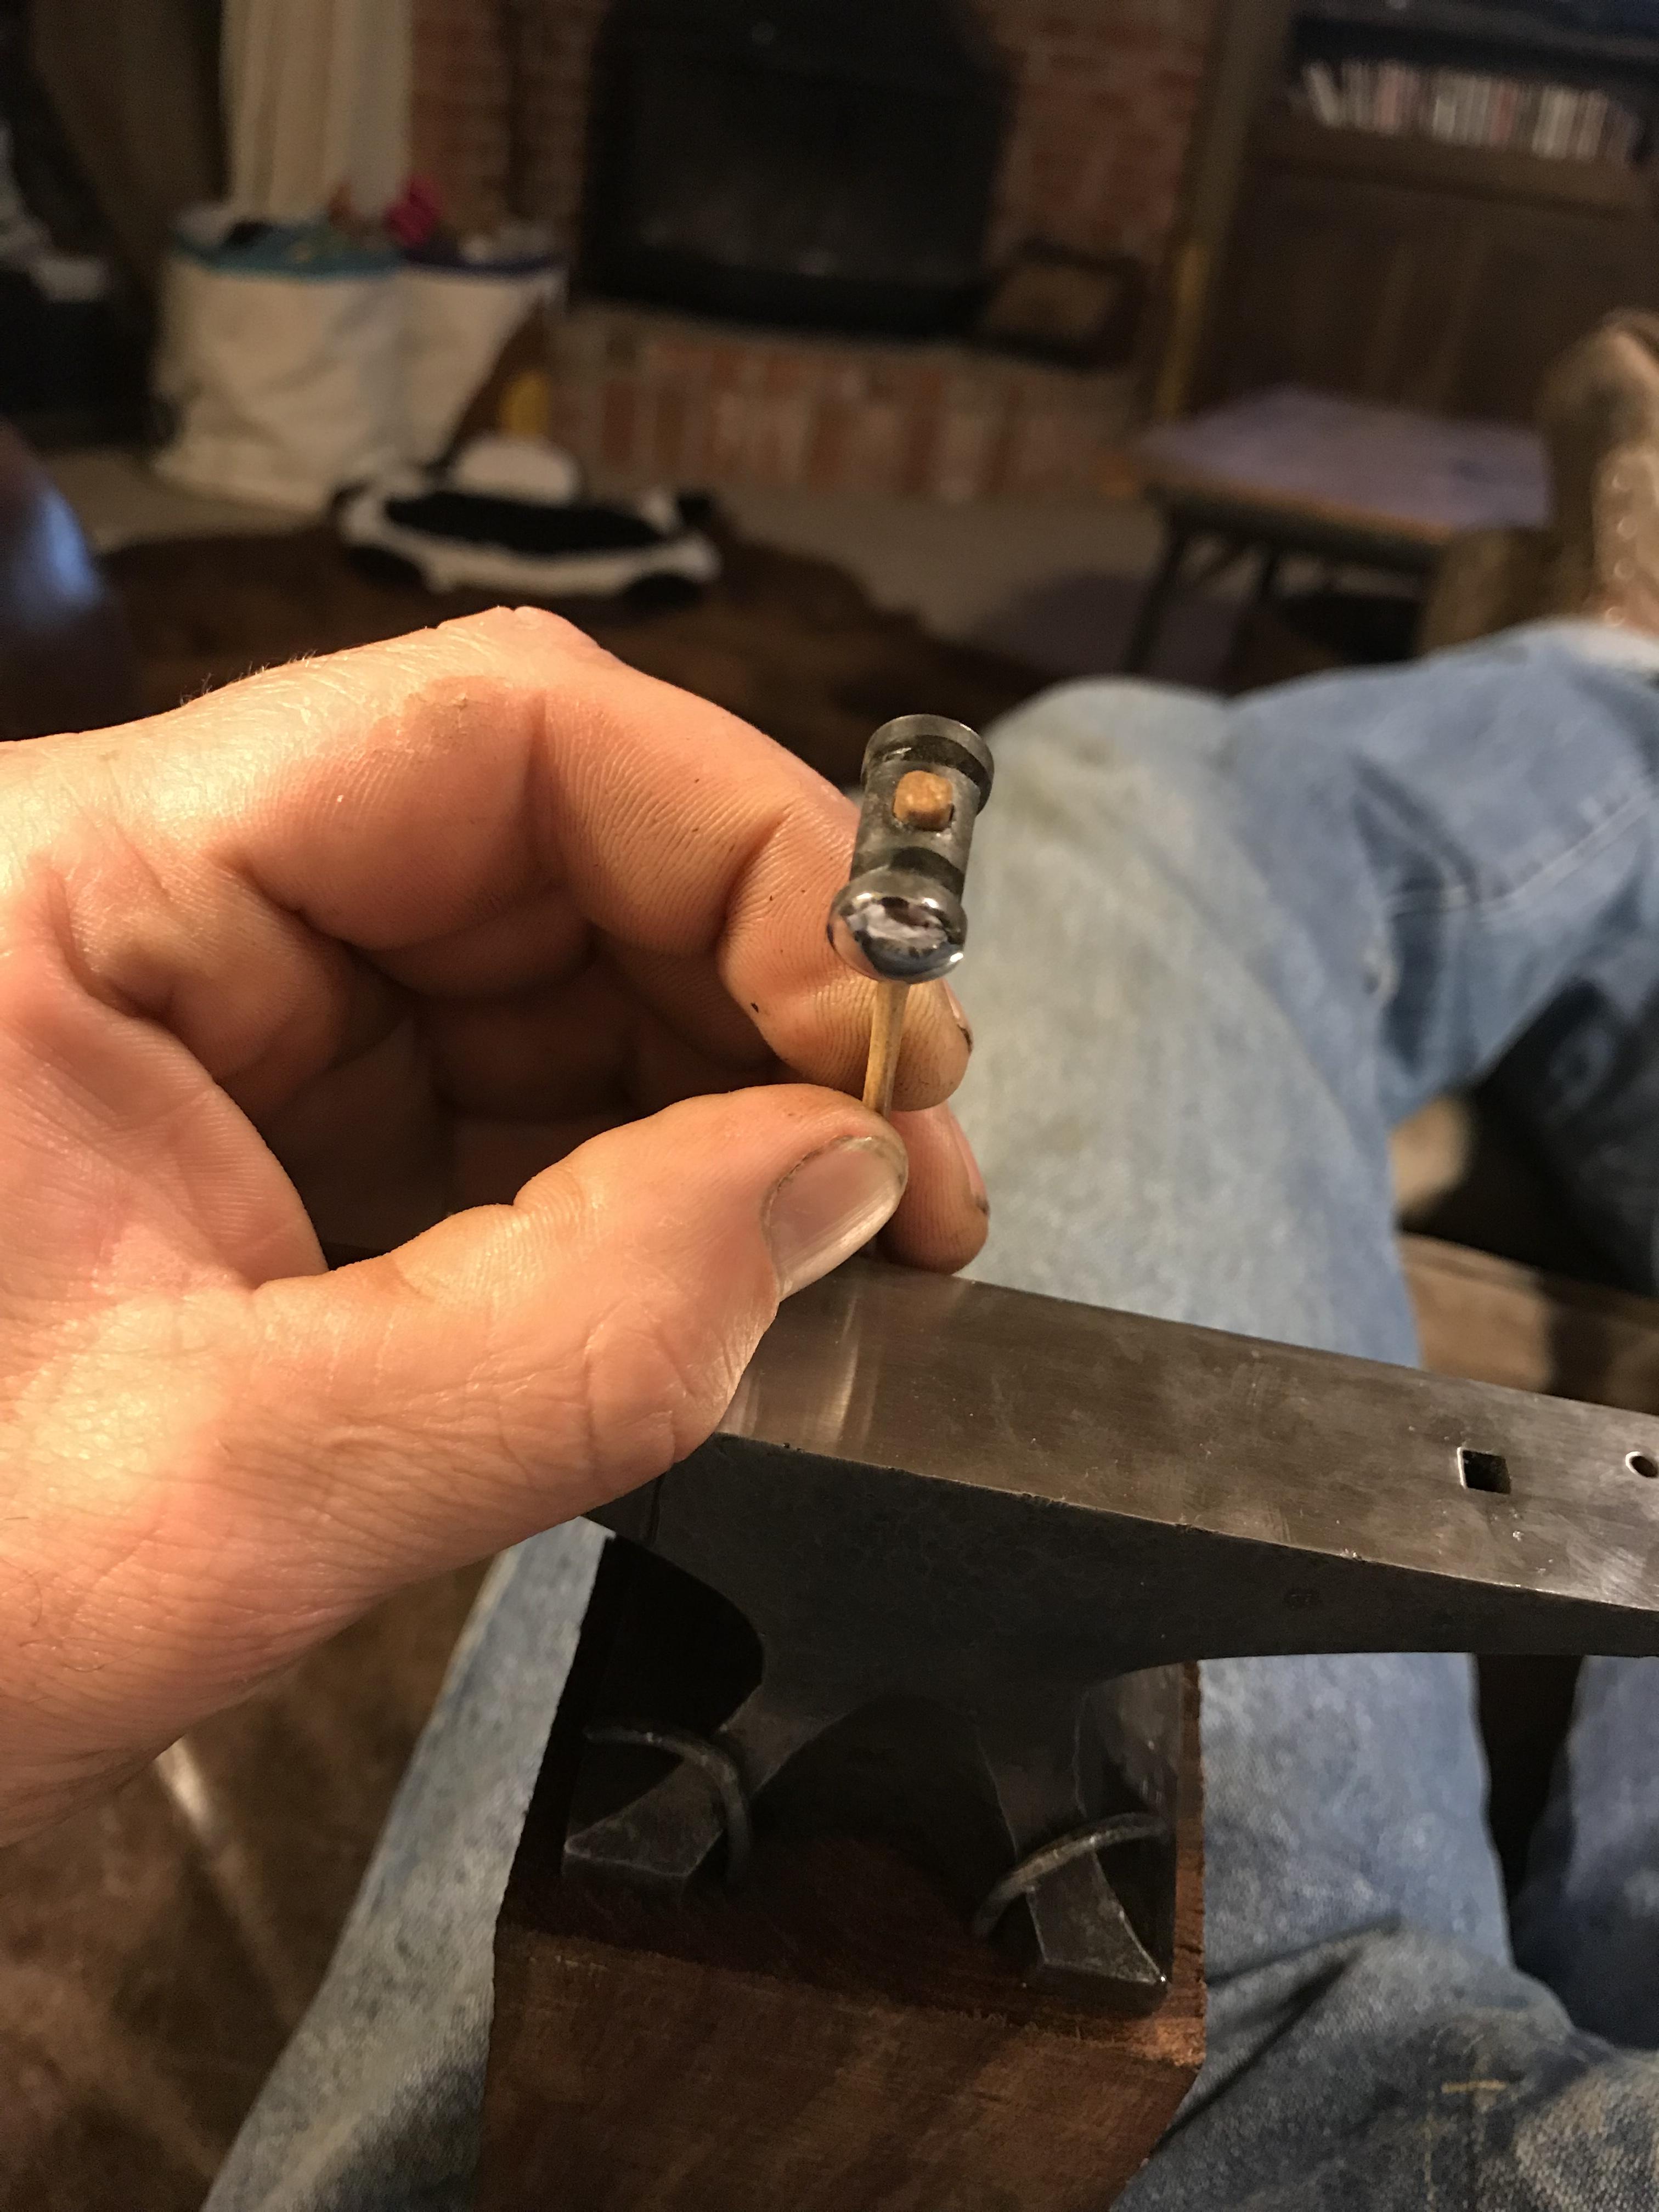
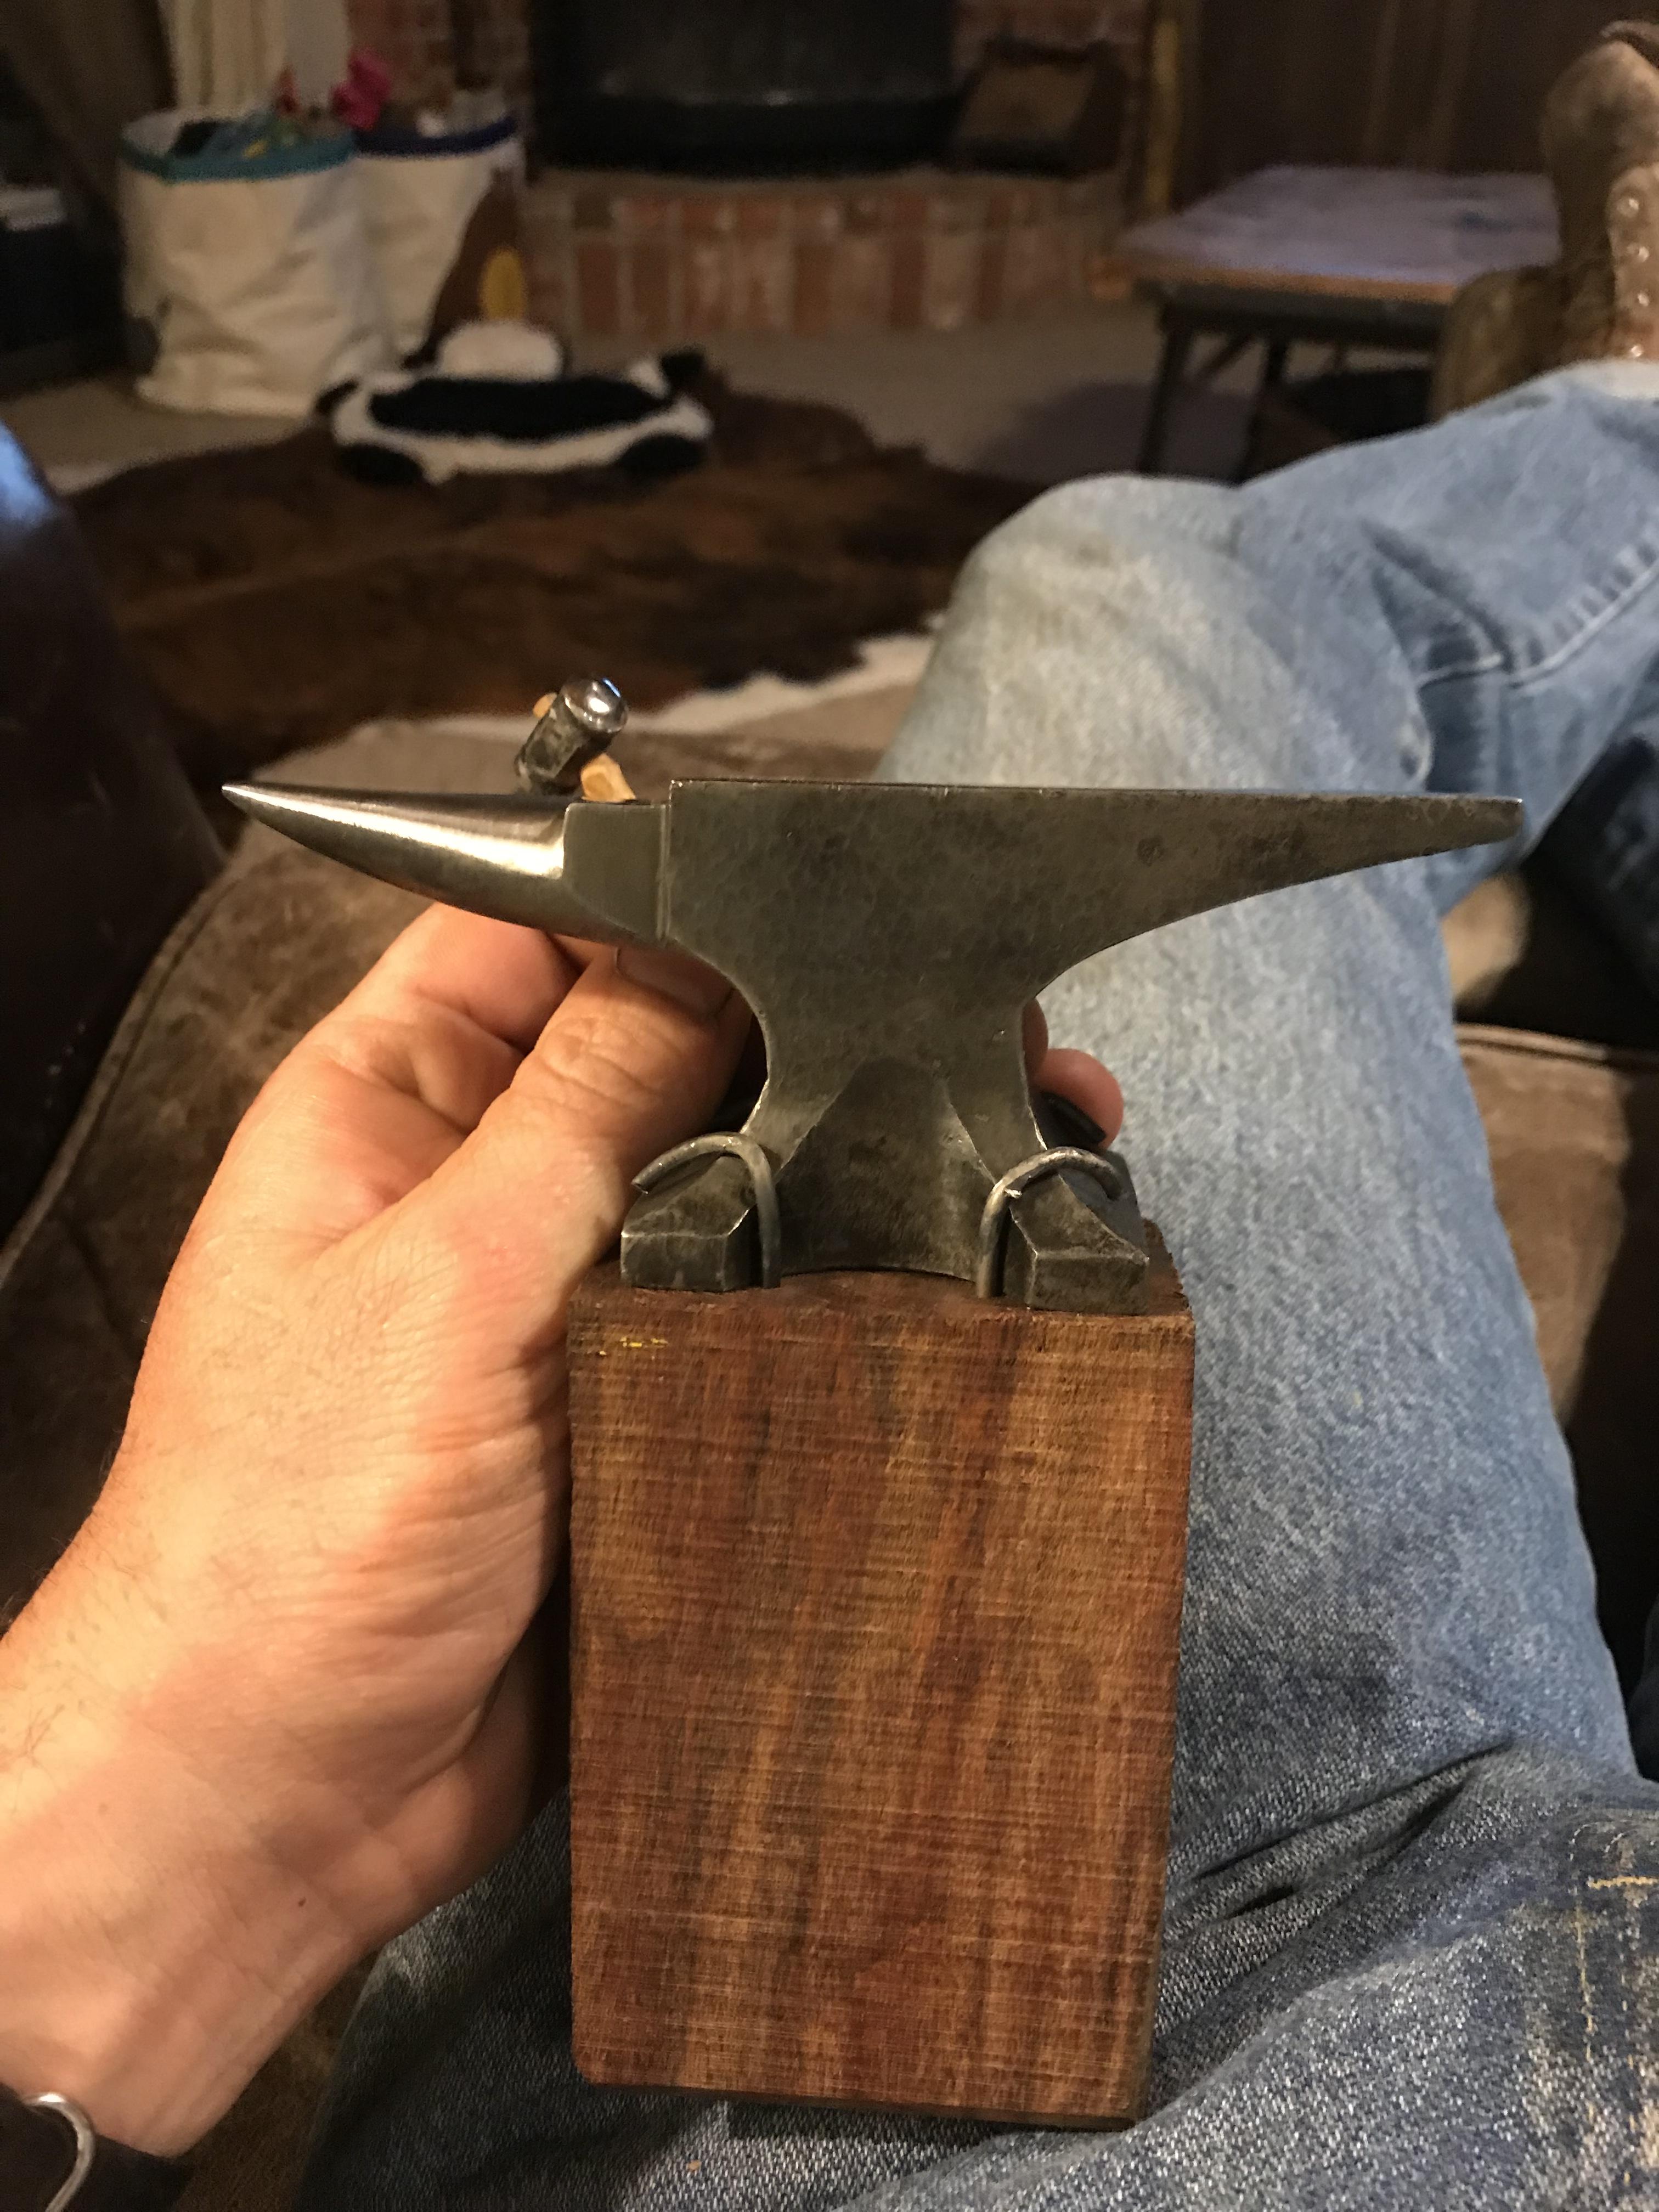
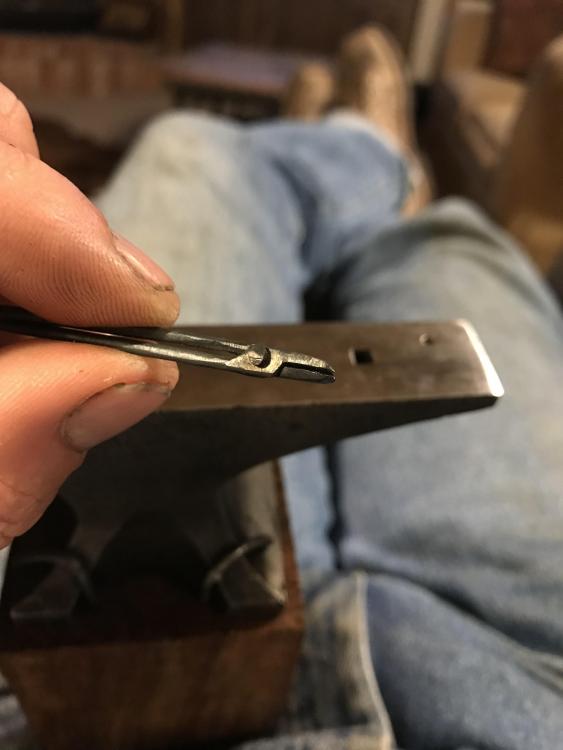
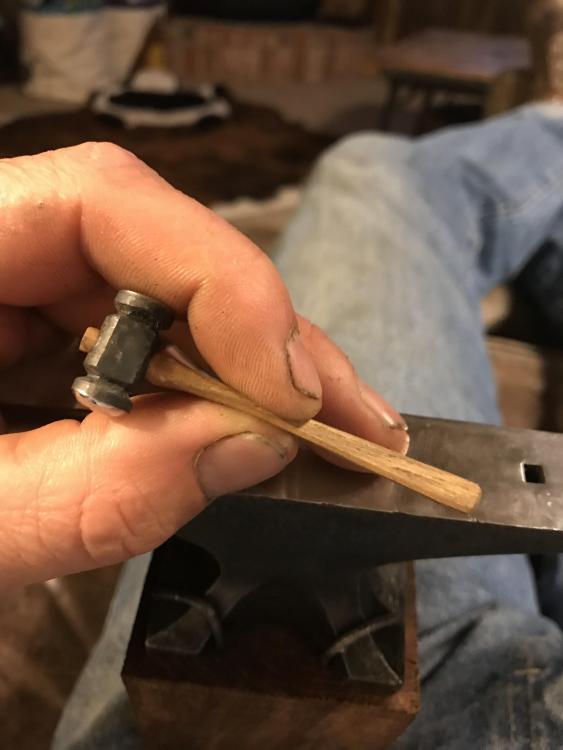
Great work mud man! I like that Fungtional hammer. Now that my joke is over I thought I’d show the little tongs I made from 5/32” 7018 rod and the hammer made from 3/8” cold rolled. The tongs are working set with peened rivet and offset reins. The hammer is handled with hickory, like it really matters. The anvil was forged by a guy named Devin Jennison at Fawkes forge. It’s based on an arm and hammer anvil, forged from 4140 then properly heat treated. When not on the stump it’s got appropriate ring.


-
You say you’re not the best with word but I’m more than twice your age and you stated a few points that I didn’t even attempt to type out because I would have gotten the point across like I wanted. Well said.