Ranchmanben
Members
-
Joined
-
Last visited
Everything posted by Ranchmanben
-
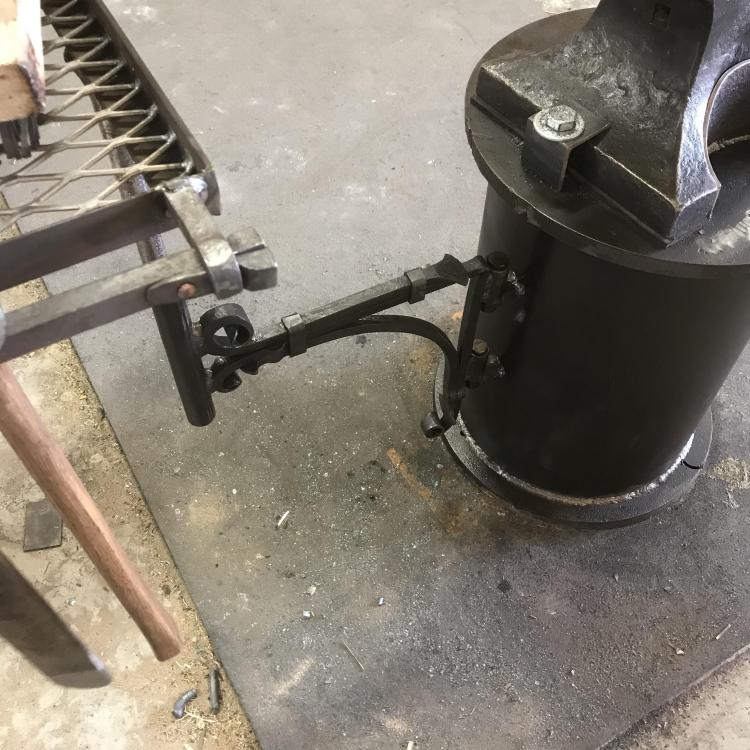
Thanks Arkie. When building, I took it as an opportunity to try some things I’ve not tried before like collars, wedged tennon joints, flush rivets, a different kind of finial and scrolls. It’s kind of all over the place from a design standpoint but it works well and I learned quite a bit.
-
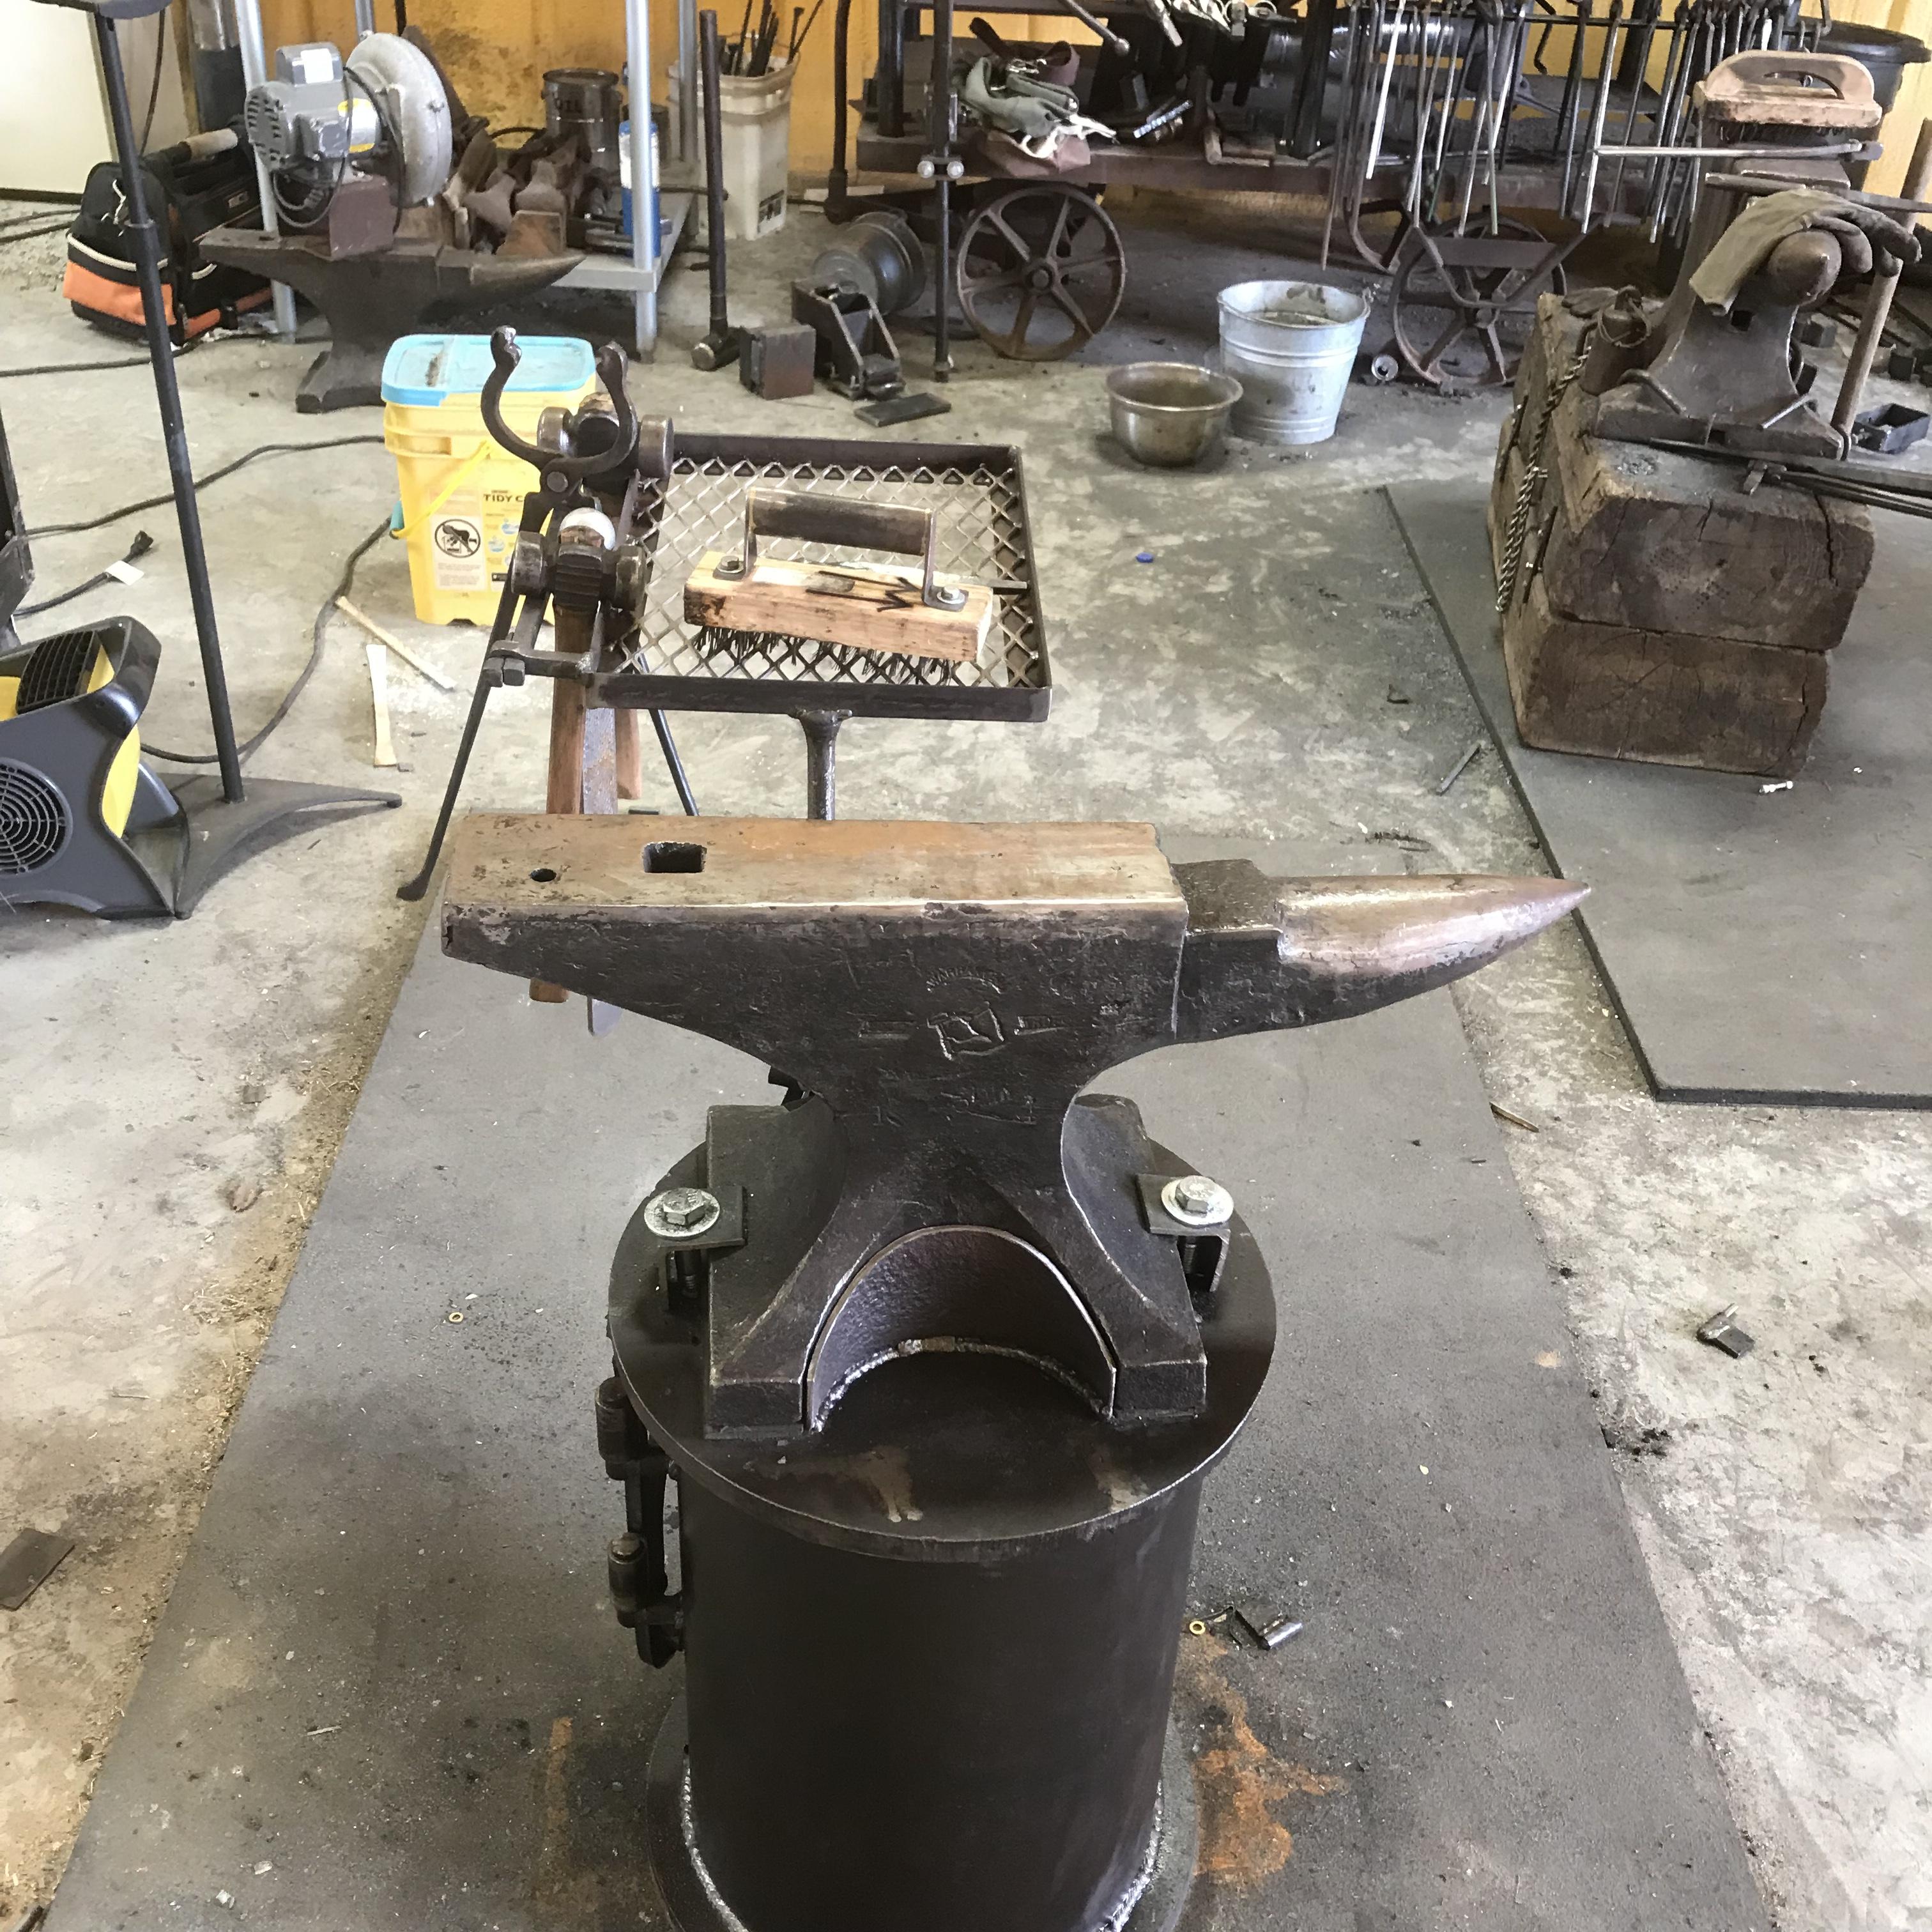
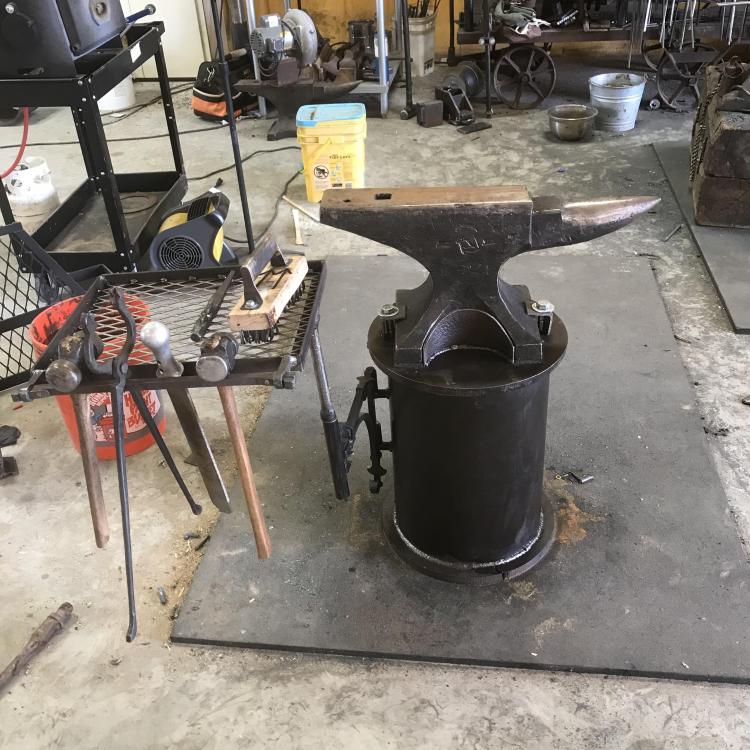
Finally got around to finishing up the swinging table/tool rack for the stand.

-
Thank folks. Papy, like every other hammer I make, this is the one I’m going to keep. I’m already telling myself that about the missing mystery hammer. I’m not sure when it’ll be done but it’ll be fancy.
-
Thank Das. Trying to be consistent and clean.
-
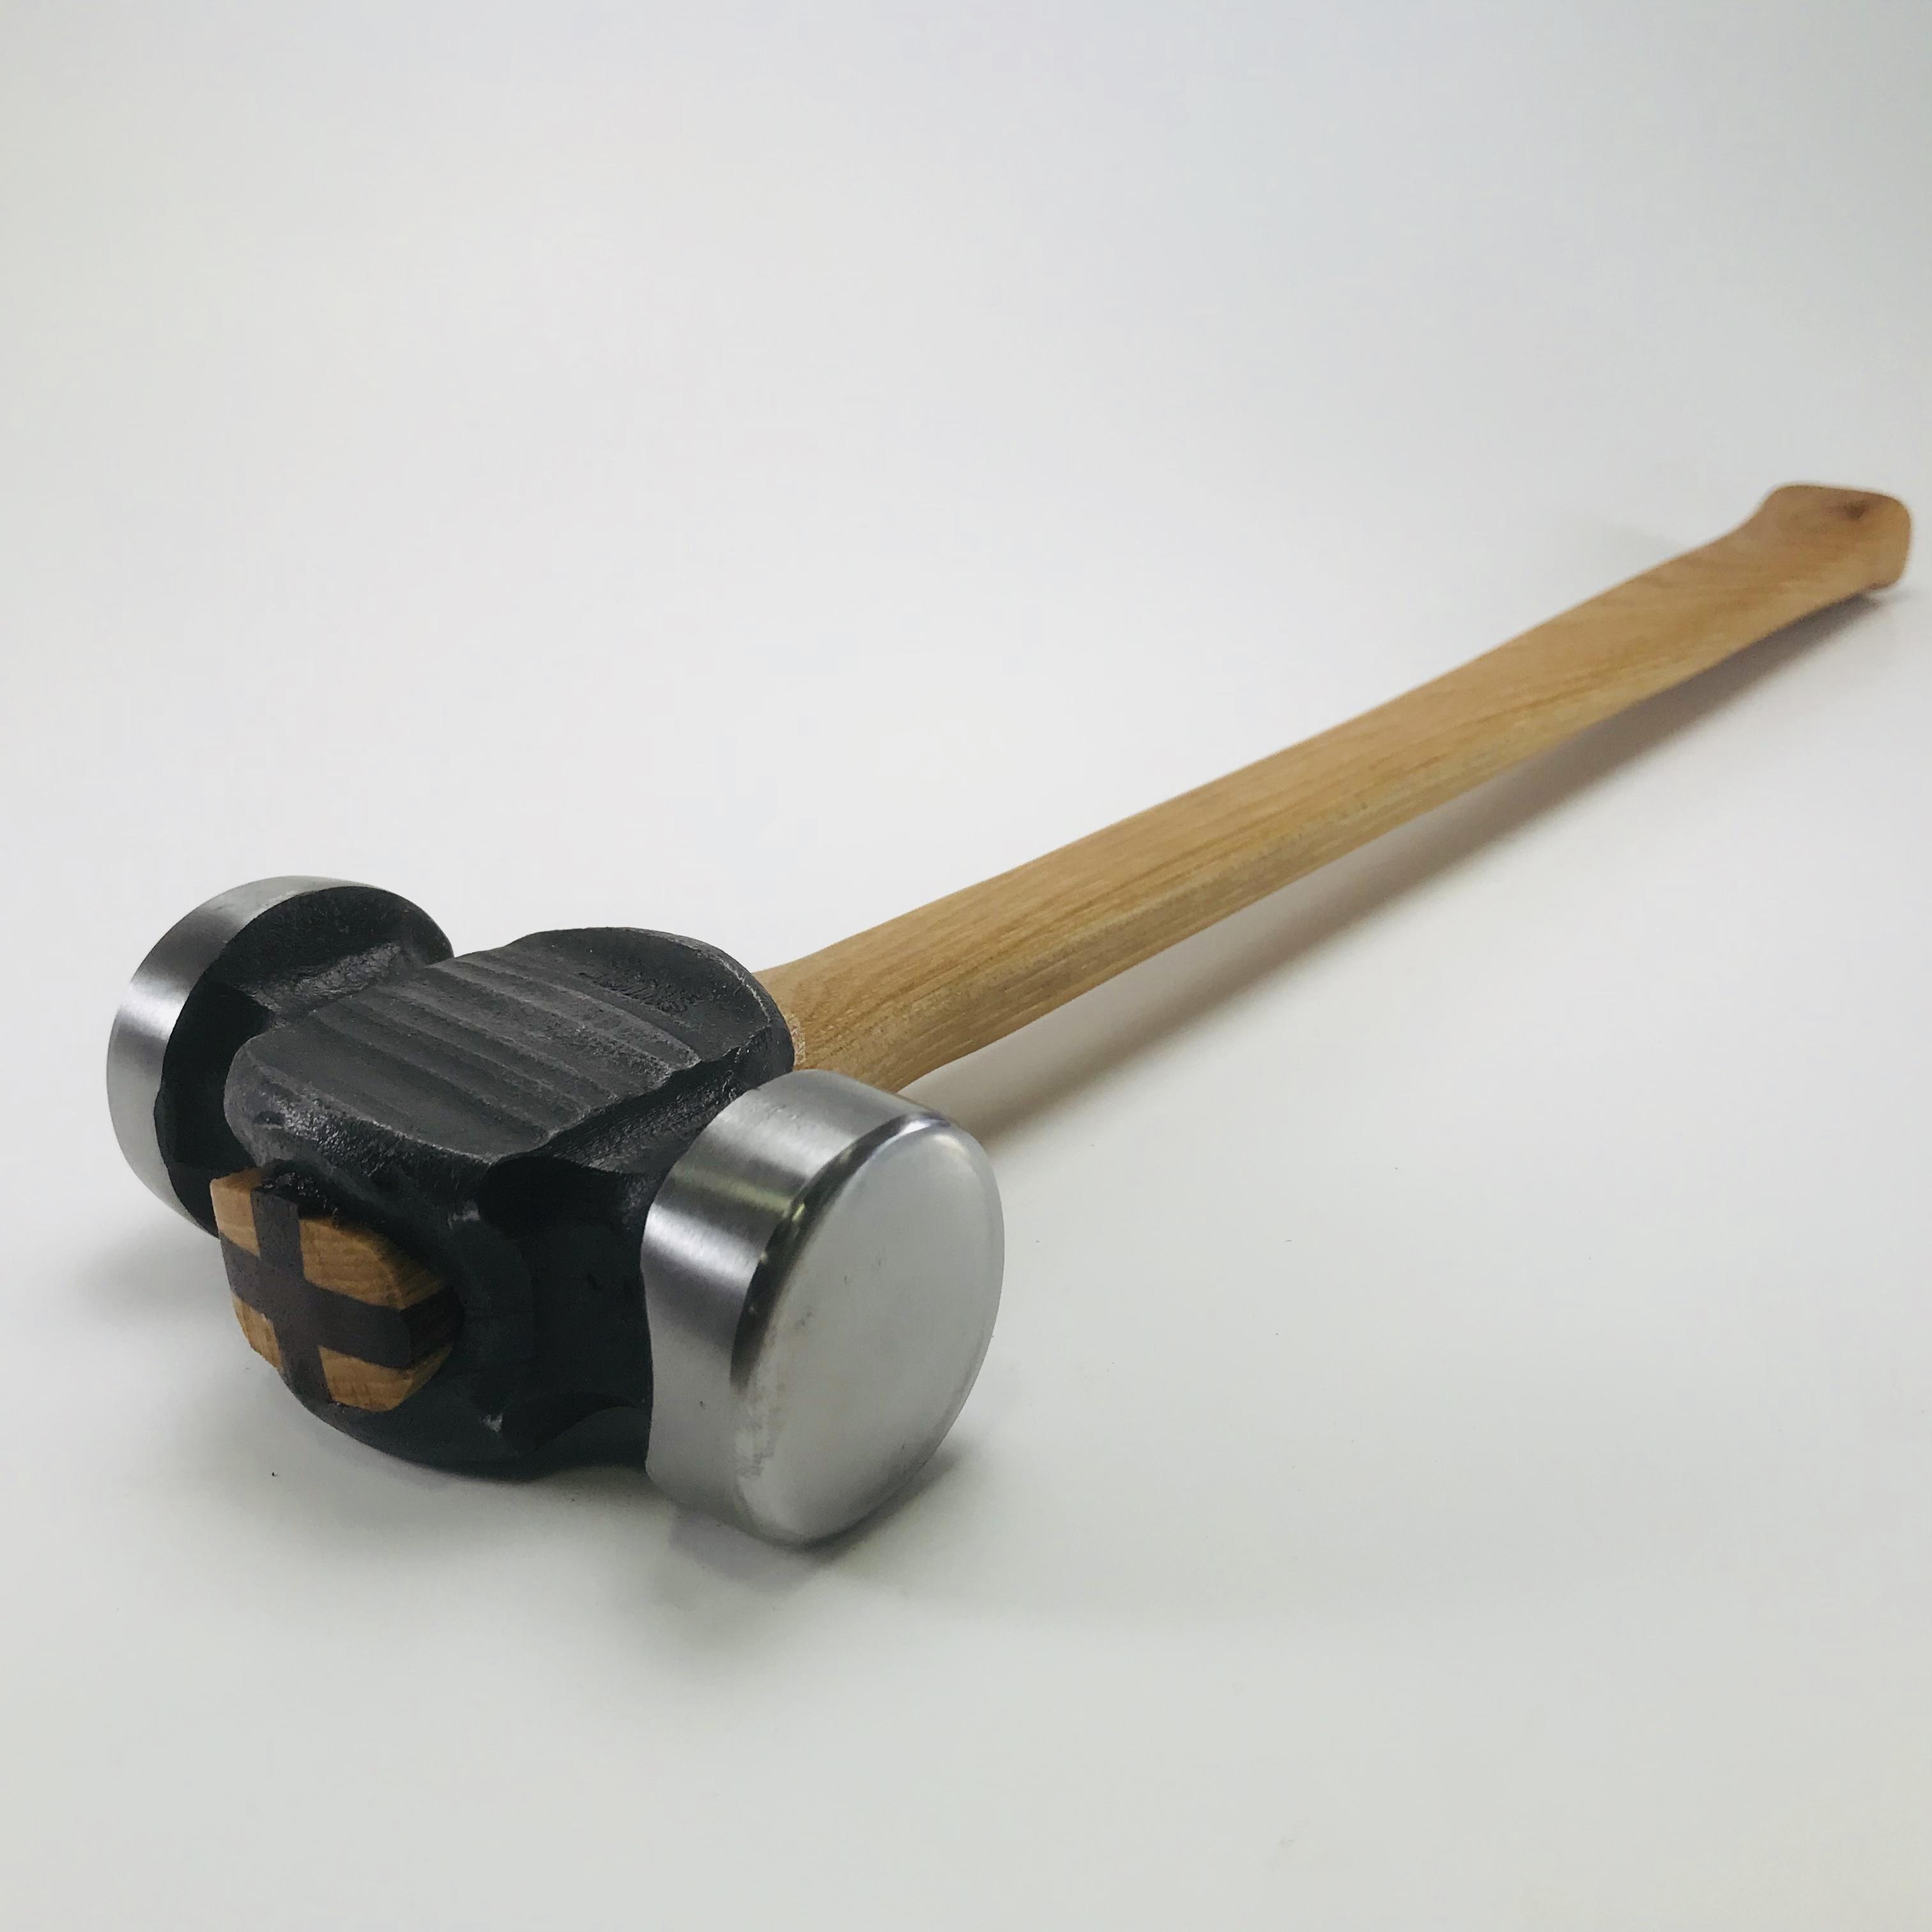
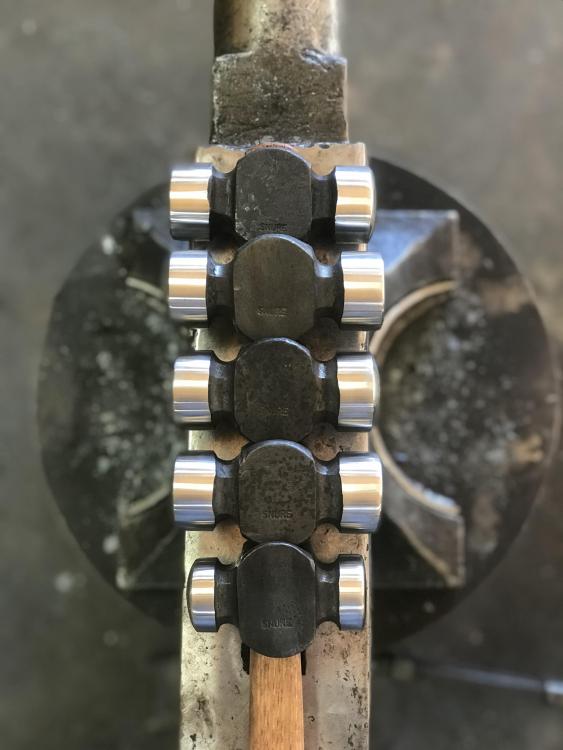
I’m with you Jennifer. I quench everything I can in water. I forged and annealed five hammers Monday. Did some grinding Tuesday evening and heat treated and final polish on the faces Wednesday evening. Hopefully I’ll get them hung this evening. Four 2lb and one 1.25lb that was a special order. One of the 2lb didn’t make the cut for the store order. Nothing wrong with it but it just didn’t look enough like the others. I’ve got special pans for it
-
Peter Wright’s haven’t got a serial number and so can only be give an approximate age. After 1910 imported products had to have the country of origin on them. Since that one has got the England stamp is 108 years old at the oldest. They didn’t have that stamp before then 1910. Good luck with the sale.
-
What kind of work are you wanting to do? What size material are you working or wanting to work?
-
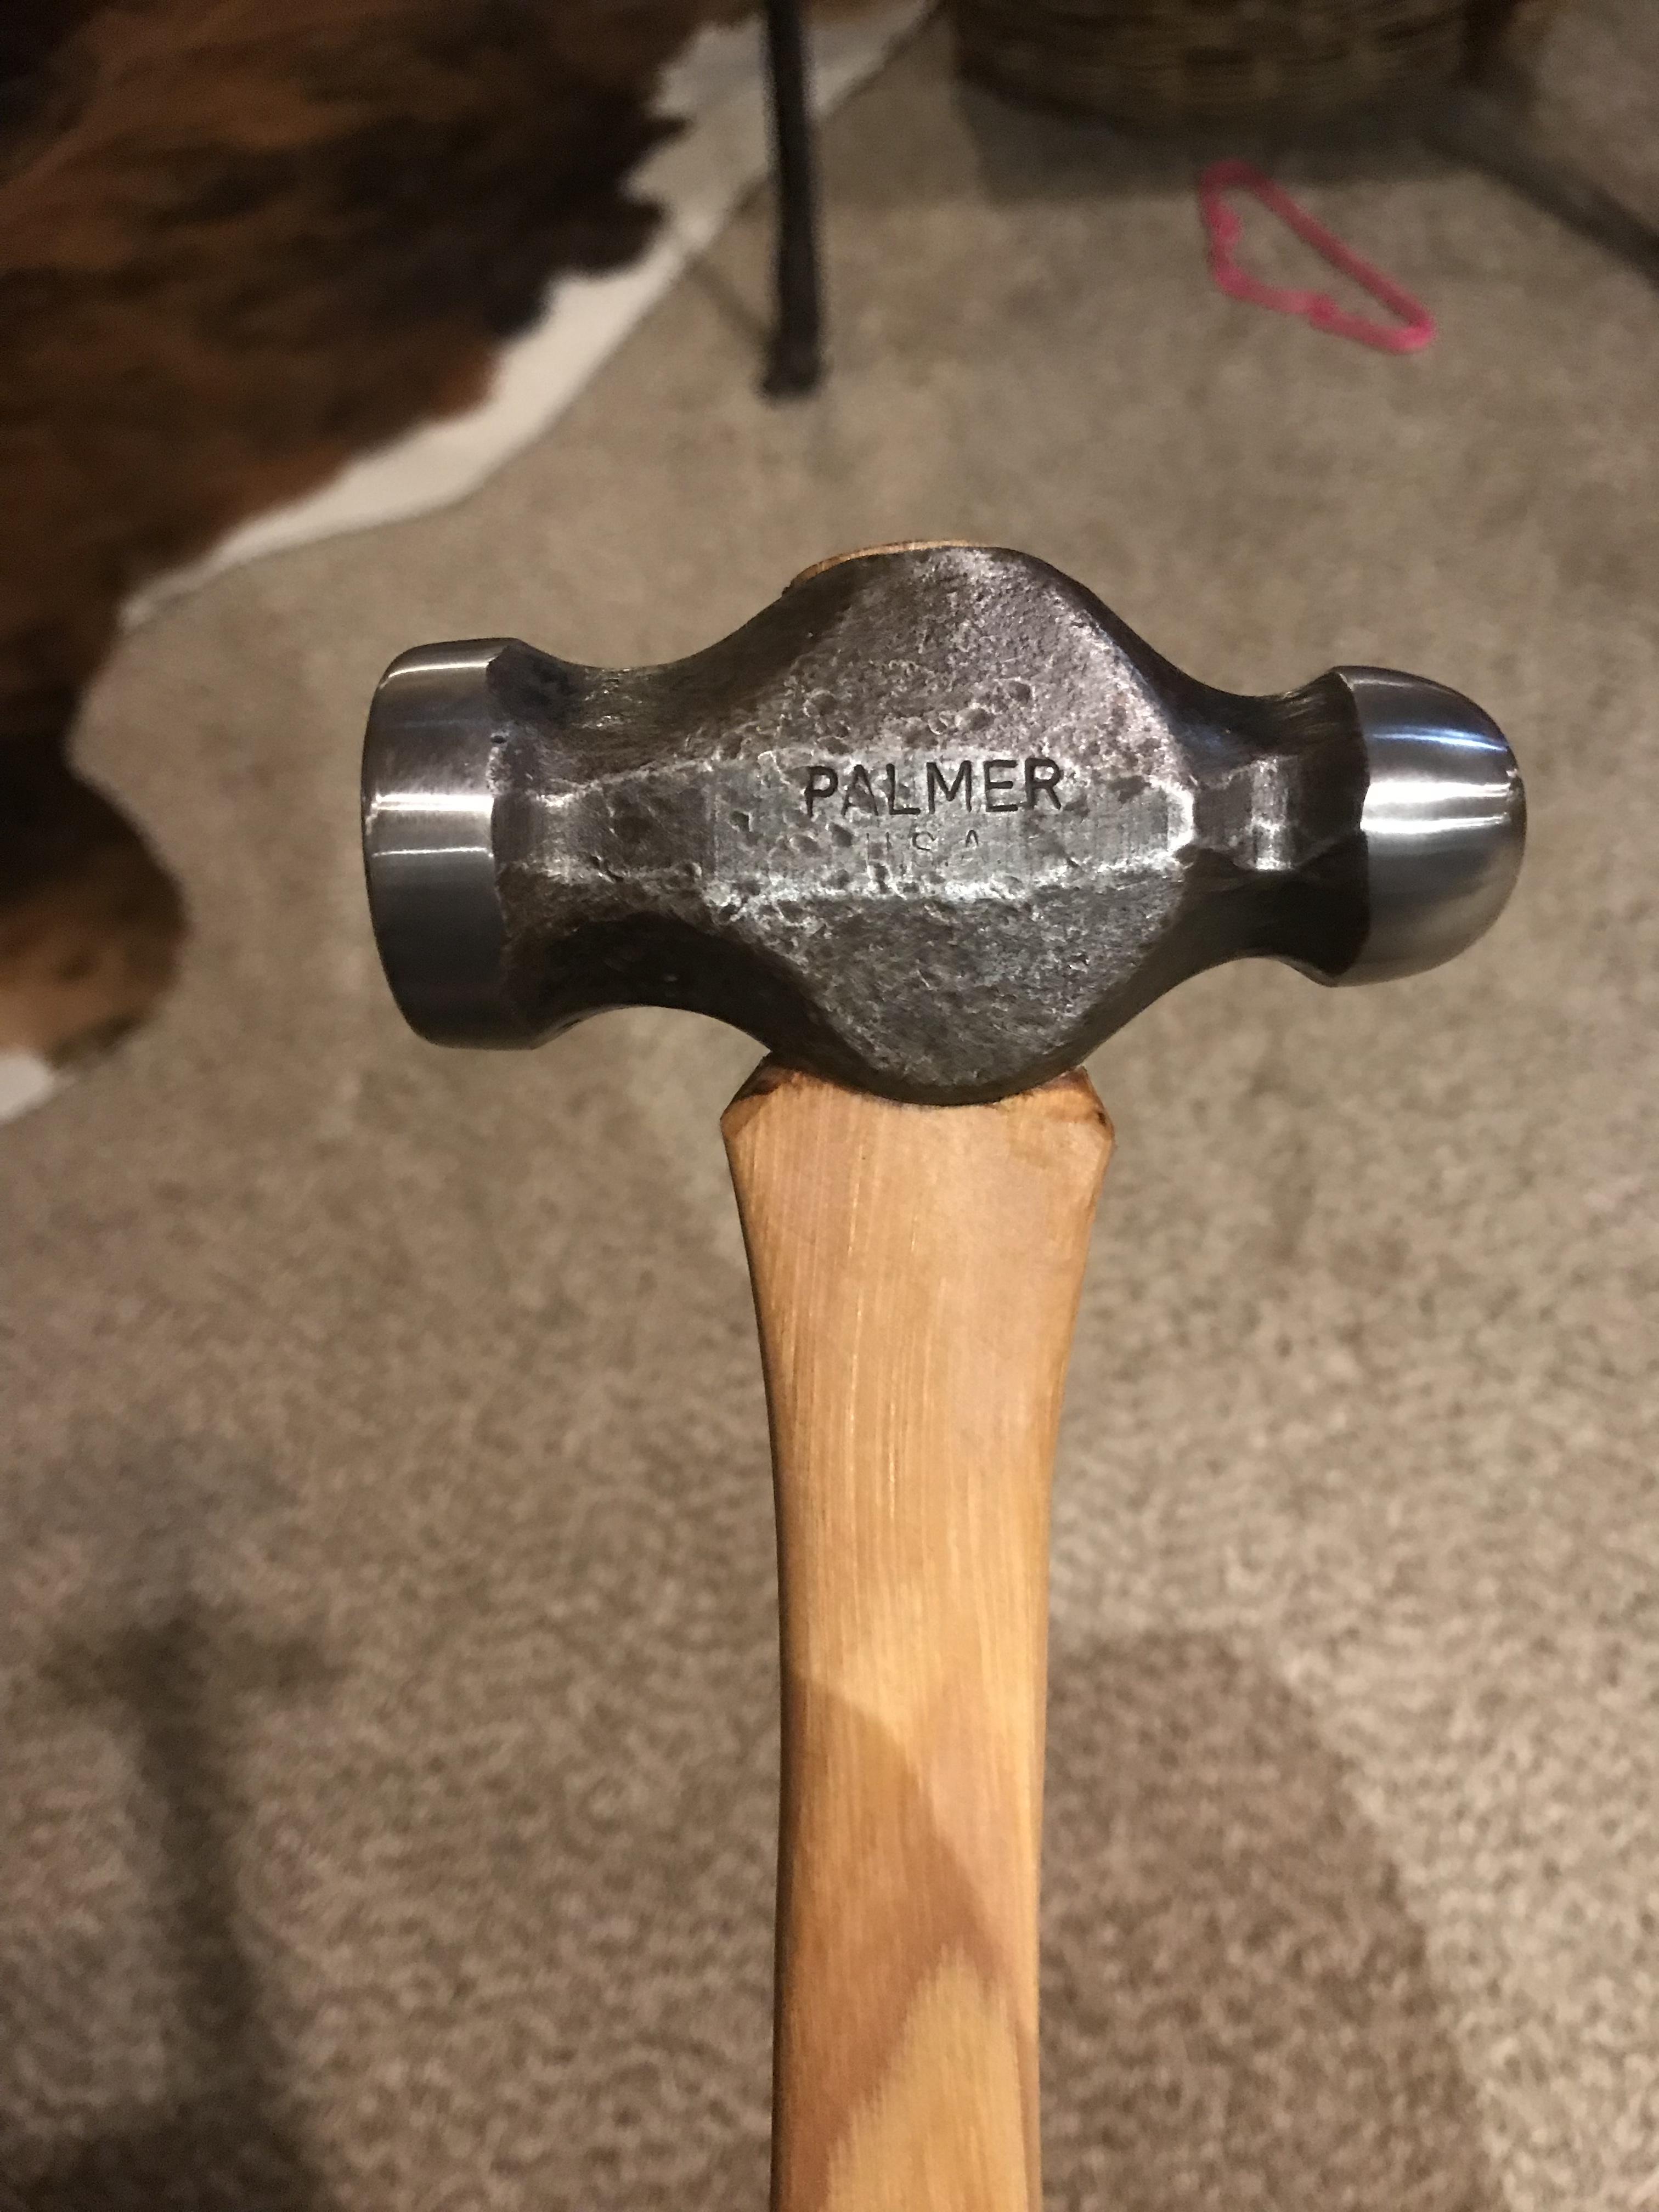
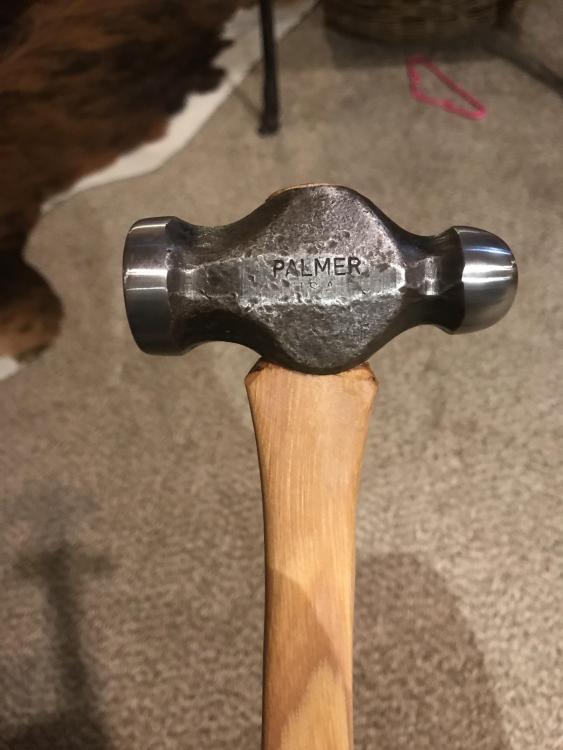
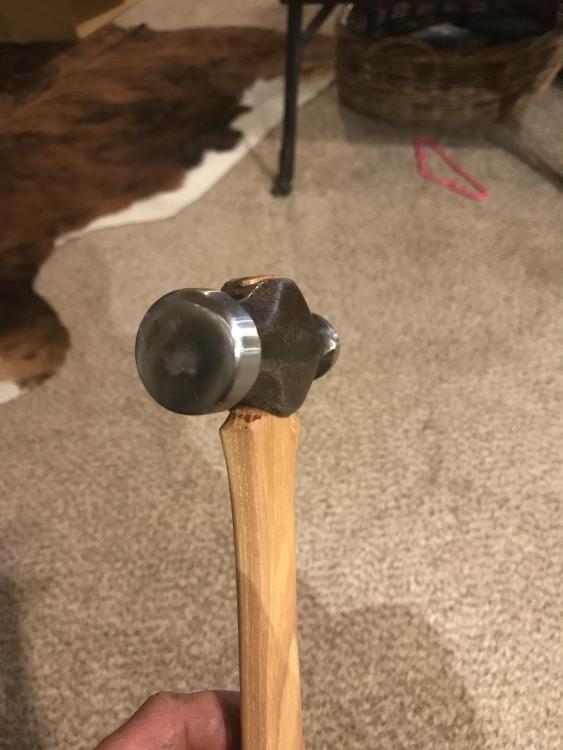
Chopped down the face of a little ball peen to make it a little more balanced. I’ve never liked how unbalanced ball peen hammers are. Planning on using this hammer for peening small rivets.
-
Thank guys. I’ve never had much of a problem with my heads coming loose but I’m always looking for ways to improve my products. I think I’ll look into the swell lock and try it on the next hammer I make for myself. Glenn, I occasionally will give the wedge a coat of blo before driving it in to help lubricate it. I don’t know if it helped secure it in place once cured but I doubt it since it very little air is in that joint. I just make sure to drive it in as hard as I can without breaking things.
-
Glenn, is your second metal wedge perpendicular to the first like this one? Or along side it some how? If using swell-lock, I assume you’d use it before soaking anything in BLO. Would that cause any discoloration when you did soak it? Is swell lock something you could dribble down the slot for the wedge right before you drive the wedge in?
-
Mark, I’ve actually had a coulple of hammers done like you’re talking about. A couple of them have had the wooden wedge work it’s way out in two pieces after very little use. I’ve toyed with the idea of glueing the wooded wedge in but I like to be able to knock the wooden wedge in further if needed.
-
Thomas, do you use a metal wedge with your hammers?
-
As I’ve been making more hammers and therefore more handles I’ve gotten to where I never install a metal wedge. I send them with the hammers I sell but have decided that when hung properly there’s no need. Every hammer once mounted gets the head soaked in boiled linseed oil/turpentine for 18-24hrs and then the handle for the same amount of time. I’ve played with longer times but the results are negligible. As long as I soak the head once or twice a year they don’t seem to loosen up. It they get loose enough that a soak doesn’t do the job then it’s time for a metal wedge. Also, it often seems like the metal wedge just splits the grain making a built in fault. Does anyone else else do something similar or do you always use a metal wedge? I look at hammer handles as a consumable but like everything else, the more care you take of it the longer it lasts.
-
That’s a nice looking set of tongs John. I’ve gotten to where I like a rod handle for use with the power hammer but I like a bigger grip of some sort.
-
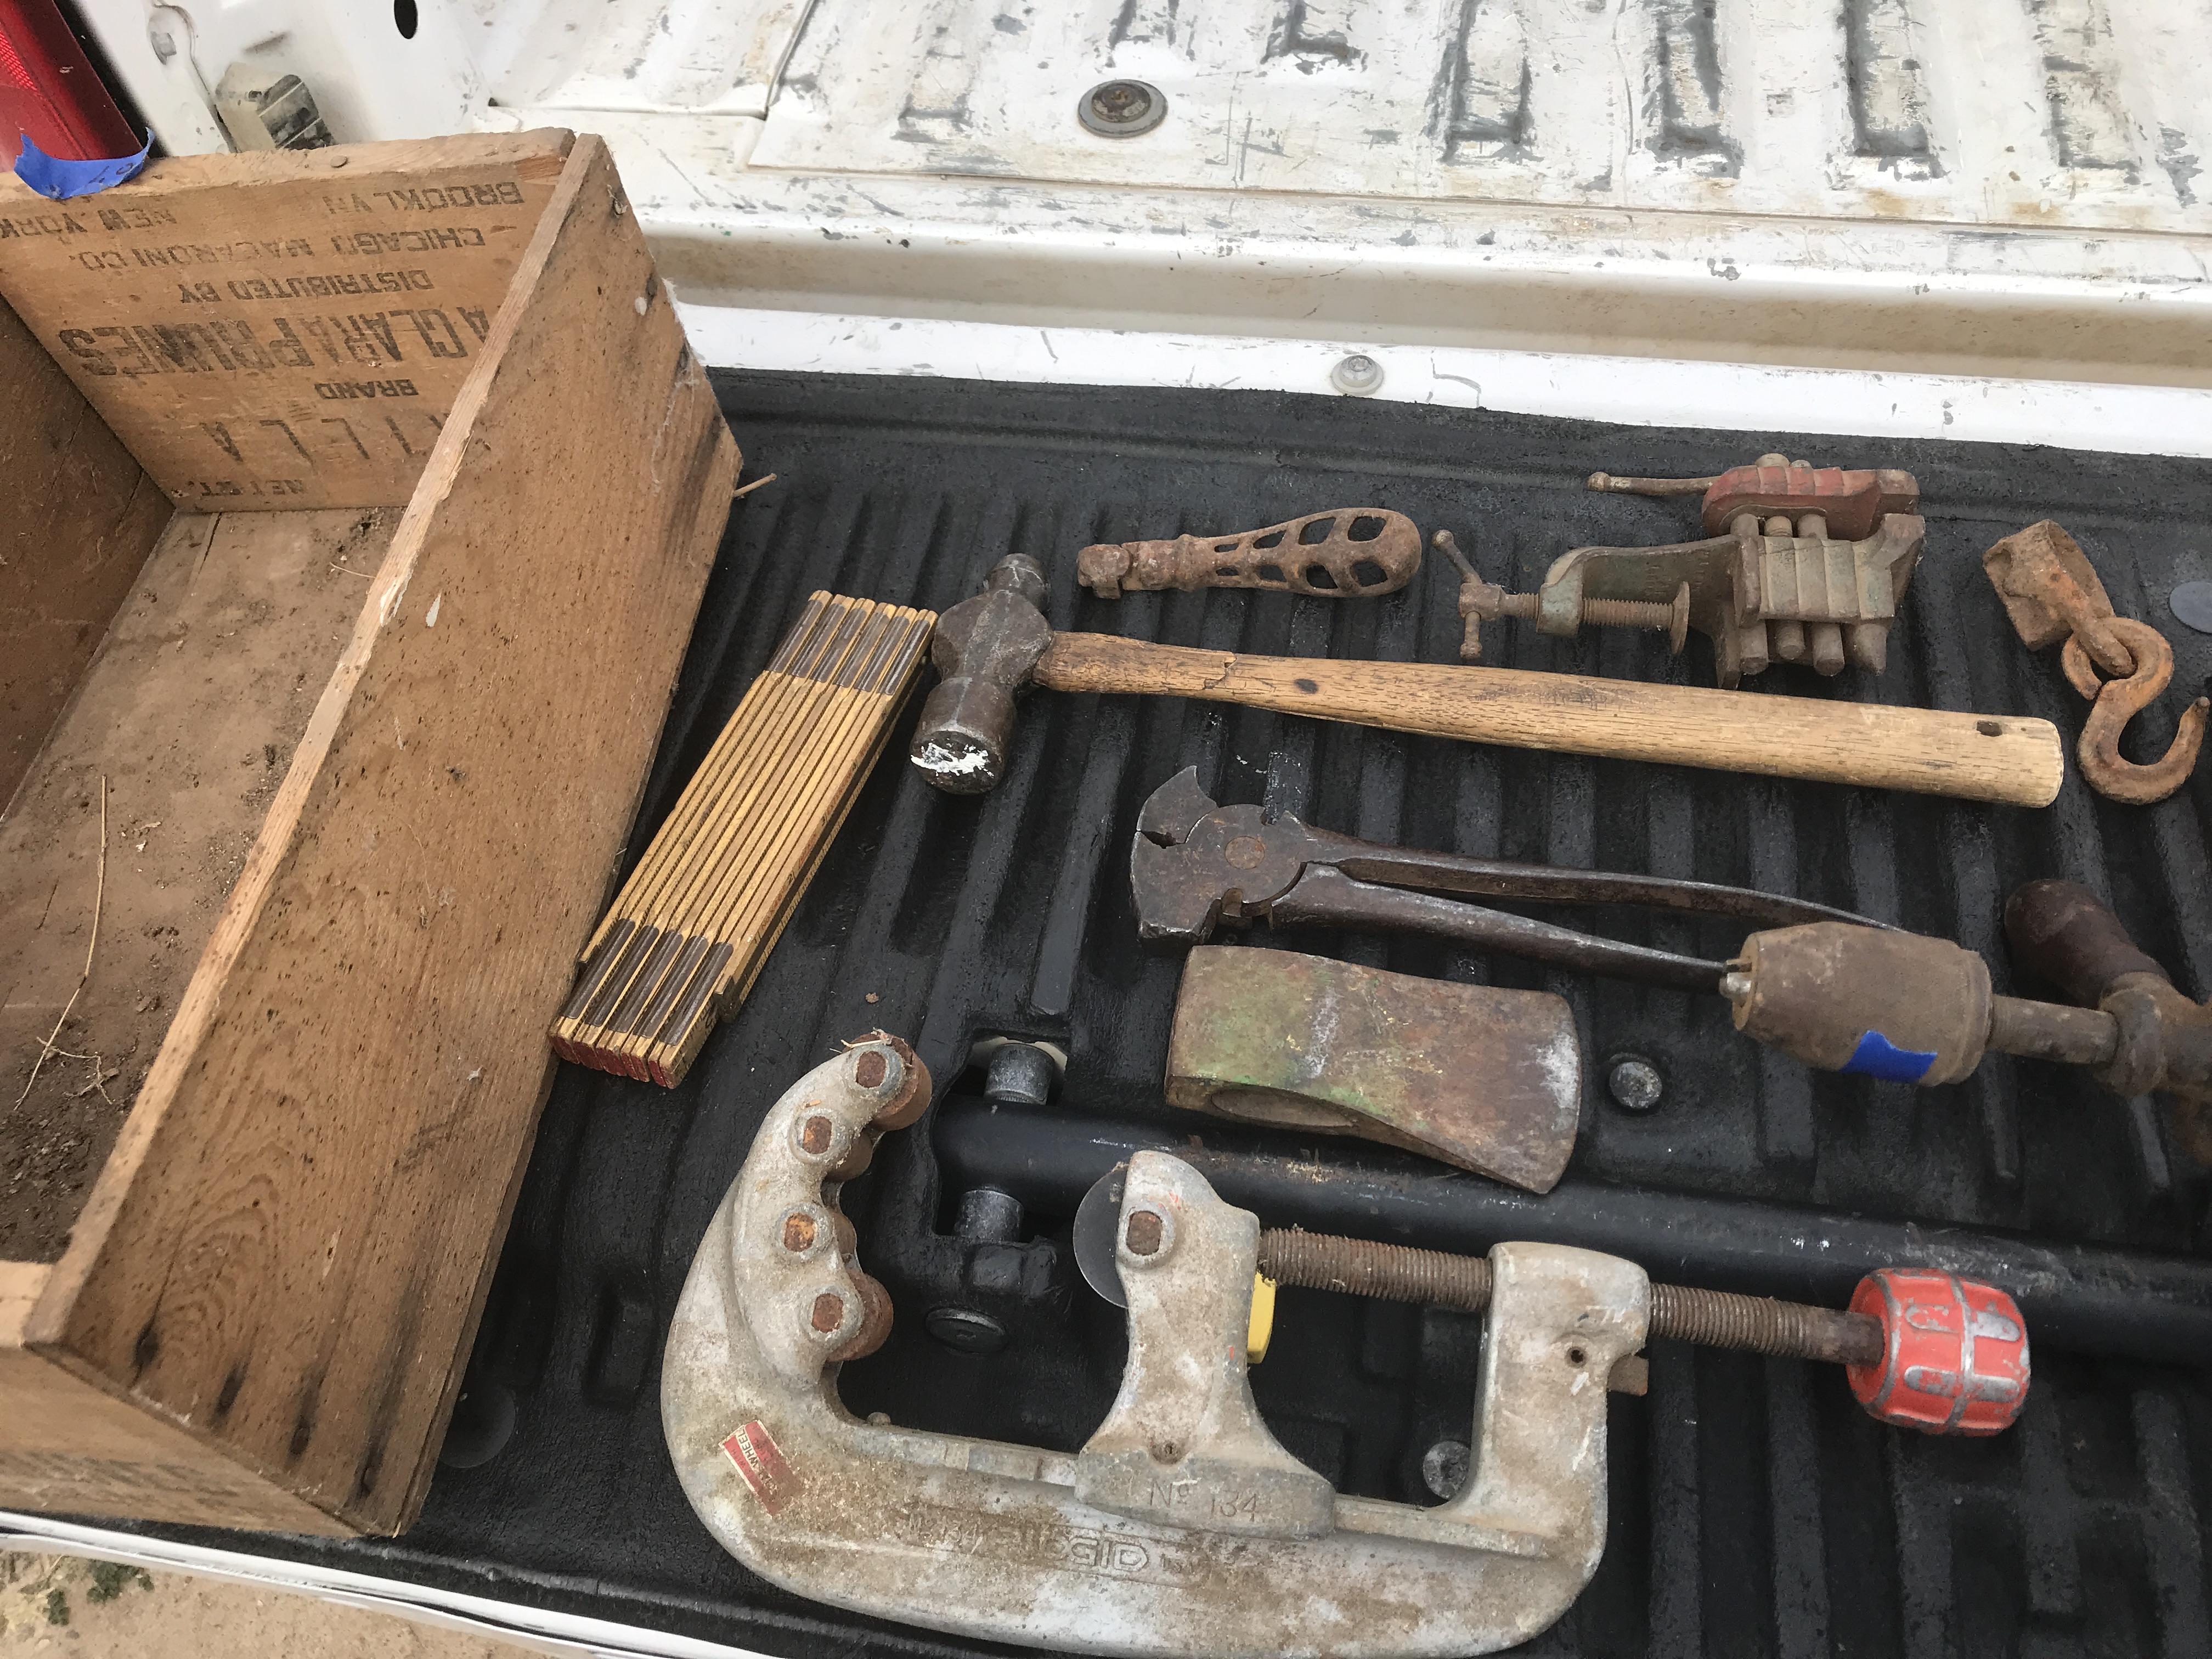
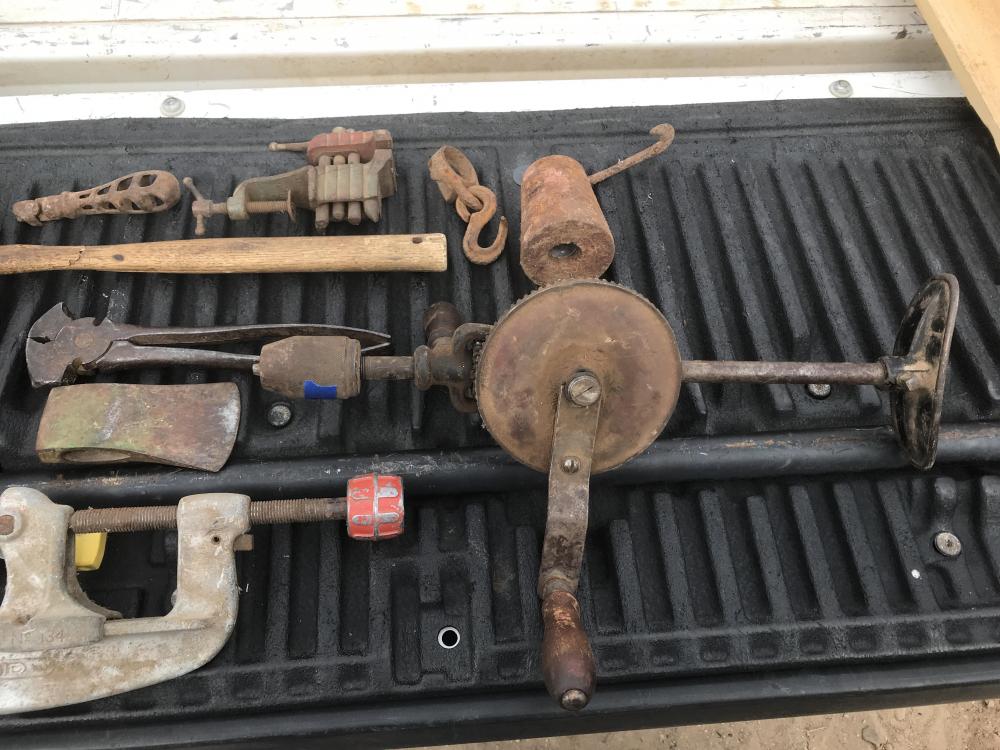
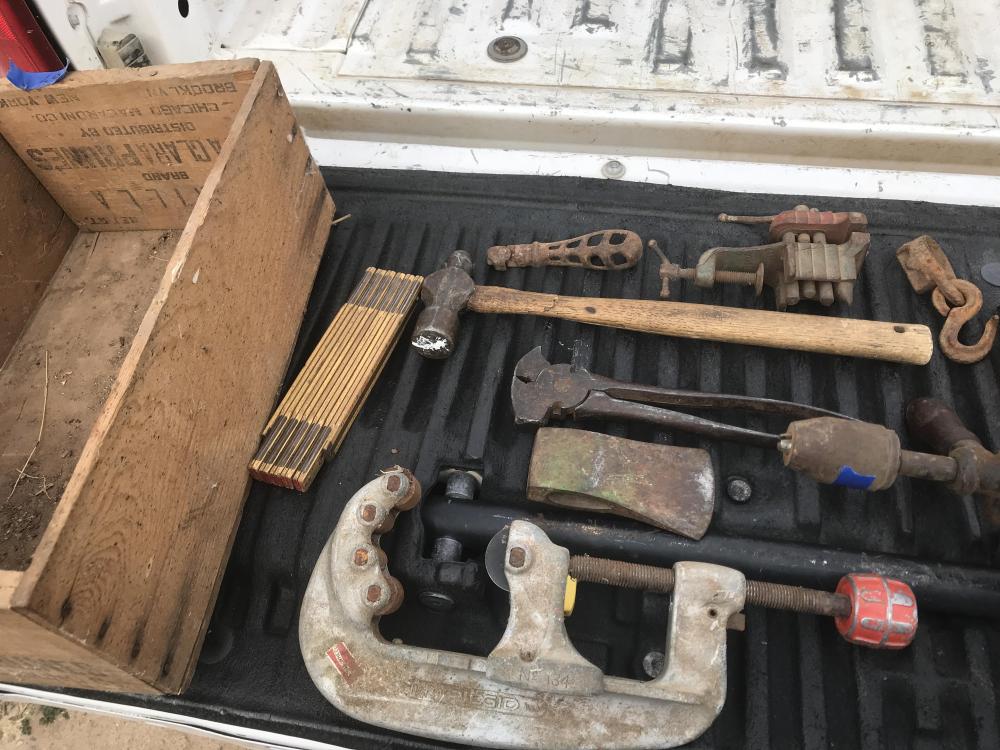
Made a little haul from a garage sale Friday.
-
I’m following your logic and I can see it’s merit but a concrete post surrounded on all sides by 4x4’s would create a rather large foot print. Although a large footprint is good for stability it would prevent you for getting up close to your anvil. Just something to consider.
-
Like Thomas said, you’ve got the topography so it’s etched plenty deep. Get a piece of very fine sandpaper and wrap it around something stiff like one of those pink rectangular pencil erasers then lightly sand the high spots. For more contrast, darker valleys, soak in coffee then sand the ridges.
-
I’m afraid I won’t be making it for coffee any time soon.
-
Thanks Das, you’re exactly right. For the most part I’ve put fair prices on things because I can make another. I did make a cross pien that I particularly liked. A guys asked how much and I threw out a silly number and he pulled out his wallet and handed it over. I learned to not price things I don’t want to sell.
-
I’m still at that point. If it does more than pay for the hobby all the better but I want to keep it hobby and fun. Plus, It’s not like the store is going to list my hammers on the website and sell them all the first day. If all goes like I think or hope it will, I’ll only be making a hammer or two a month to restock. It might not even be that often though. Thanks Al
-
Depends on where you’re at. If you’re in the Texas panhandle, I’ll come to where you are and we can discuss it over a nice cup of coffee and I’ll have cash in my pocket. Around here that would fetch $3-4/lb. pretty easy but I’m in a pretty anvil poor area. Other more anvil rich areas like the north east it will drop its value.
-
Thank you. Professional certianly doesn’t mean making a living though. I’m not going to be quitting my day job ever. Thank you Mark.
-
Thanks Arkie. That one is 2.04lbs so I’ll call it a 2 pounder. I’ll probably keep it til someone wants it. Thanks Jennifer, that’s quit a compliment. I’ve been playing around with a more refined finish but still handmade look. That’s the look I’m going to stick with for a “production” hammer. I’ve also been tinkering with my 1045 heat treating and am at a point I’m really happy with how it’s holding up. I’ve lent a few hammers to some farriers I know that are notoriously hard on tools. After a month or two of full time daily use, they’re happy and after hammer inspection I’m happy. The farrier supply in Amarillo put in an order to start carrying hammers today. I guess that makes me a professional?
-
When I started out I used sucker rod for a hot cut, coil spring for an eye punch and a jackhammer bit for the drift. As I used them more I started to try out different steels. I still use sucker rod for all kinds of punches including a hot cut. For an eye punch I stick with s7 or h13. I tend to like S7 more than h13 though. Both of those steels can be purchased from that auction site relatively inexpensively with free shipping in the USA. For the drift I still use throw away jackhammer bits from Home depot. It’s handy to have more than one hammer eye drift so one can be cooling off while you’re using the other.
-
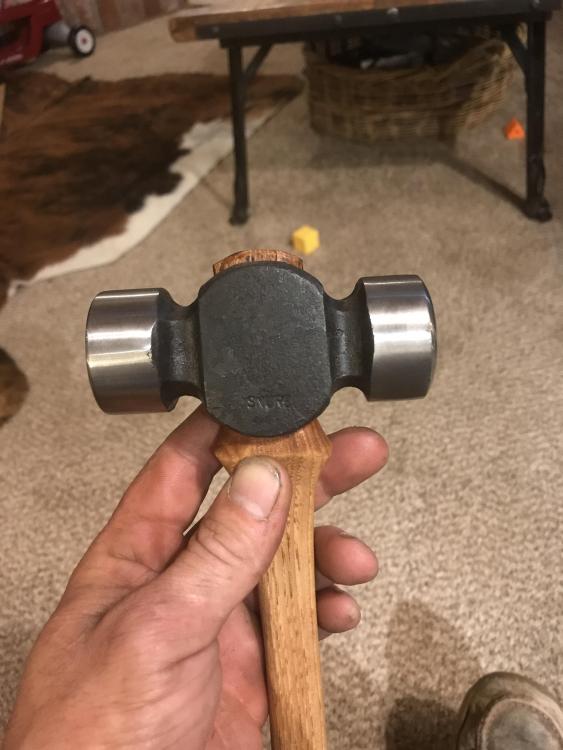
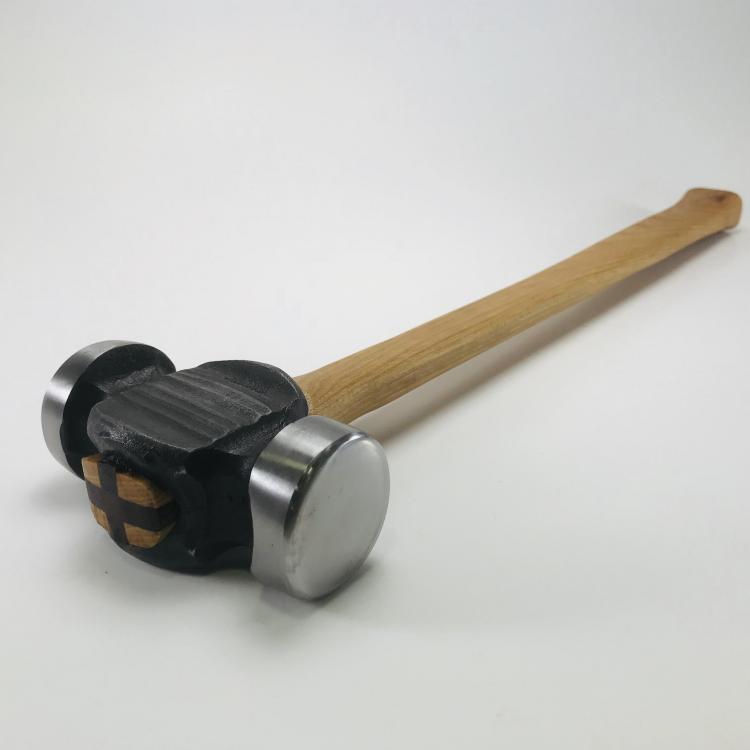
Finished up a hammer for myself. This will be the first hammer I’ve kept since the first.