Forging Carver
Members
-
Joined
-
Last visited
Everything posted by Forging Carver
-
 Alright thanks
 -
Dale I'm not trying to be mean to you or anything but I did use the search feature and didn't find anything if you would have read the comment carefully. Also, twi weeks ago you said you don't care anymore and haven't talked to me since, so why are you telling me that again now? When you search soup can forge, tons of stuff comes up but nothing about what I am looking for. Also, even if I did find a post on how to make one, I learn better by watching someone instead of following a set of directions. I wouldn't be posting this if I could find the answer in the search feature.
-
Ah darn I wish I would have known. Every video on the soup can forge used this pasted and Paris and sand mix. Oh well, you live and you learn. At least I know for next time. So what exact stuff should I use instead? They are fairly simple to make anyways. I made mine through a video by a guy named nighthawknlight on YouTube. https://m.youtube.com/watch?v=jBVa2bw3r_k it wasn't until after I finished the forge when I found this. http://www.zoellerforge.com/coffee.html. Should I follow this instead? Sorry if this was answered, but I could not find the answer. Sorry if this was a little choppy and didn't make sense but something is going on and I am kind of worried about my brother. Thanks for the help.
-
How hard and how much did that air hammer cost to make?
-
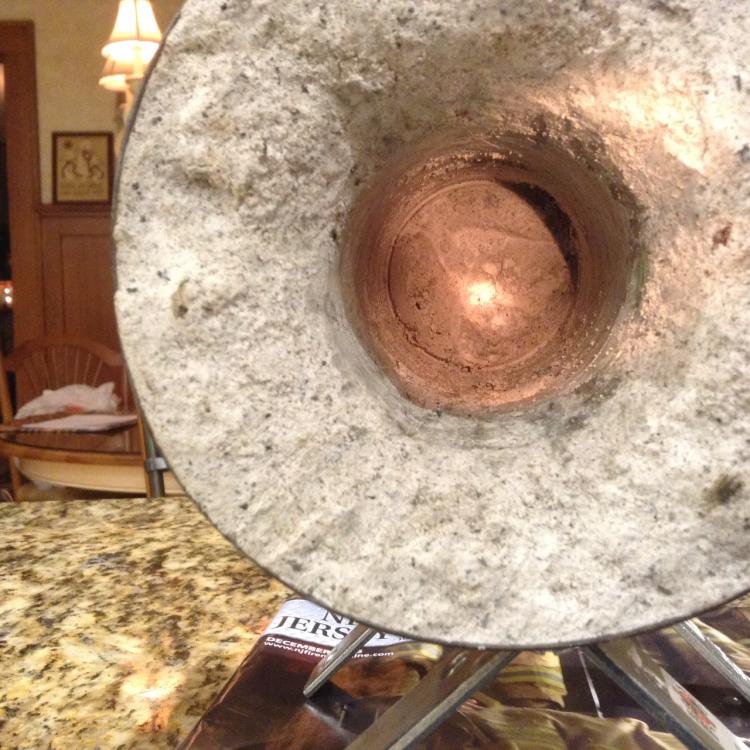
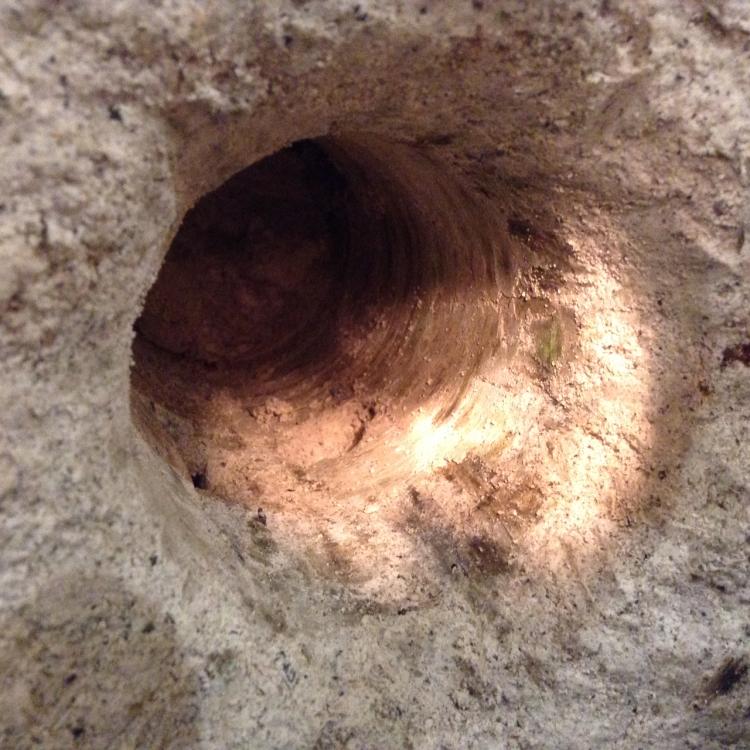
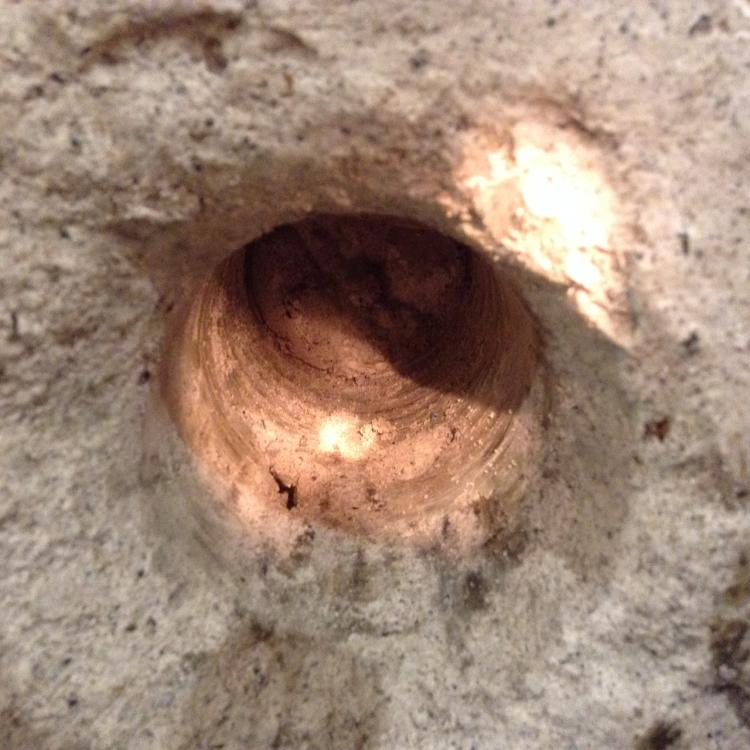
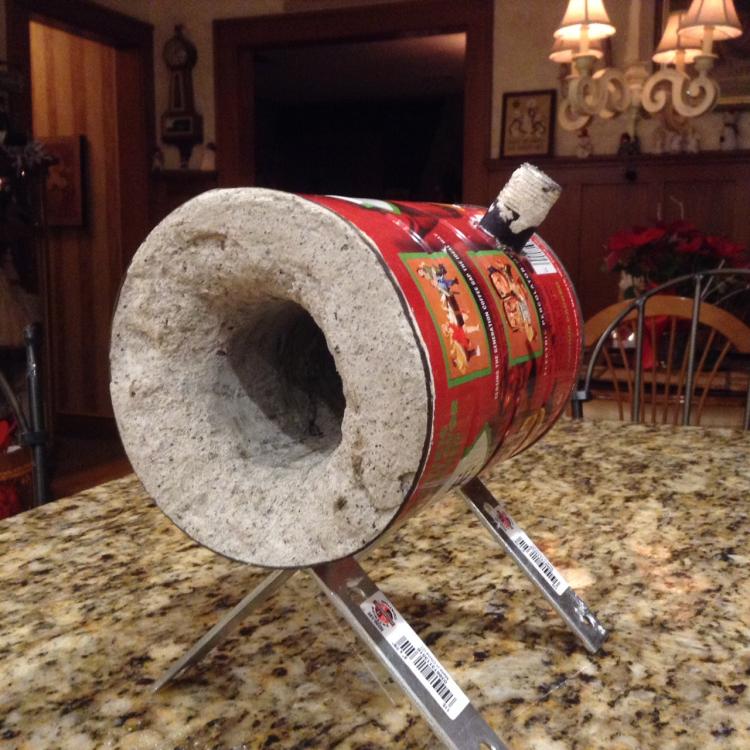
alright it is finished!!! I am so thrilled I got the thing out. It is made from a 2 pound soup can and the insulator is one part plaster of paris, one part sand, and enough water to five it a clay like consistancy. The area where the propane will enter is a 1/2in pipe nipple. There are two holes that may have been from me trying to pry the container out, so is it fine how it is, or should I make a small batch of the mix and patch it up? Lastly, is the entrance for the propane too far back? It is literally at the back of the forge. I think this will work how I want it pretty good! Thanks
-
Will it melt though becuase it is so thin? If I do that, I will have to cut the top off it and then drill a hole for the torch.
-
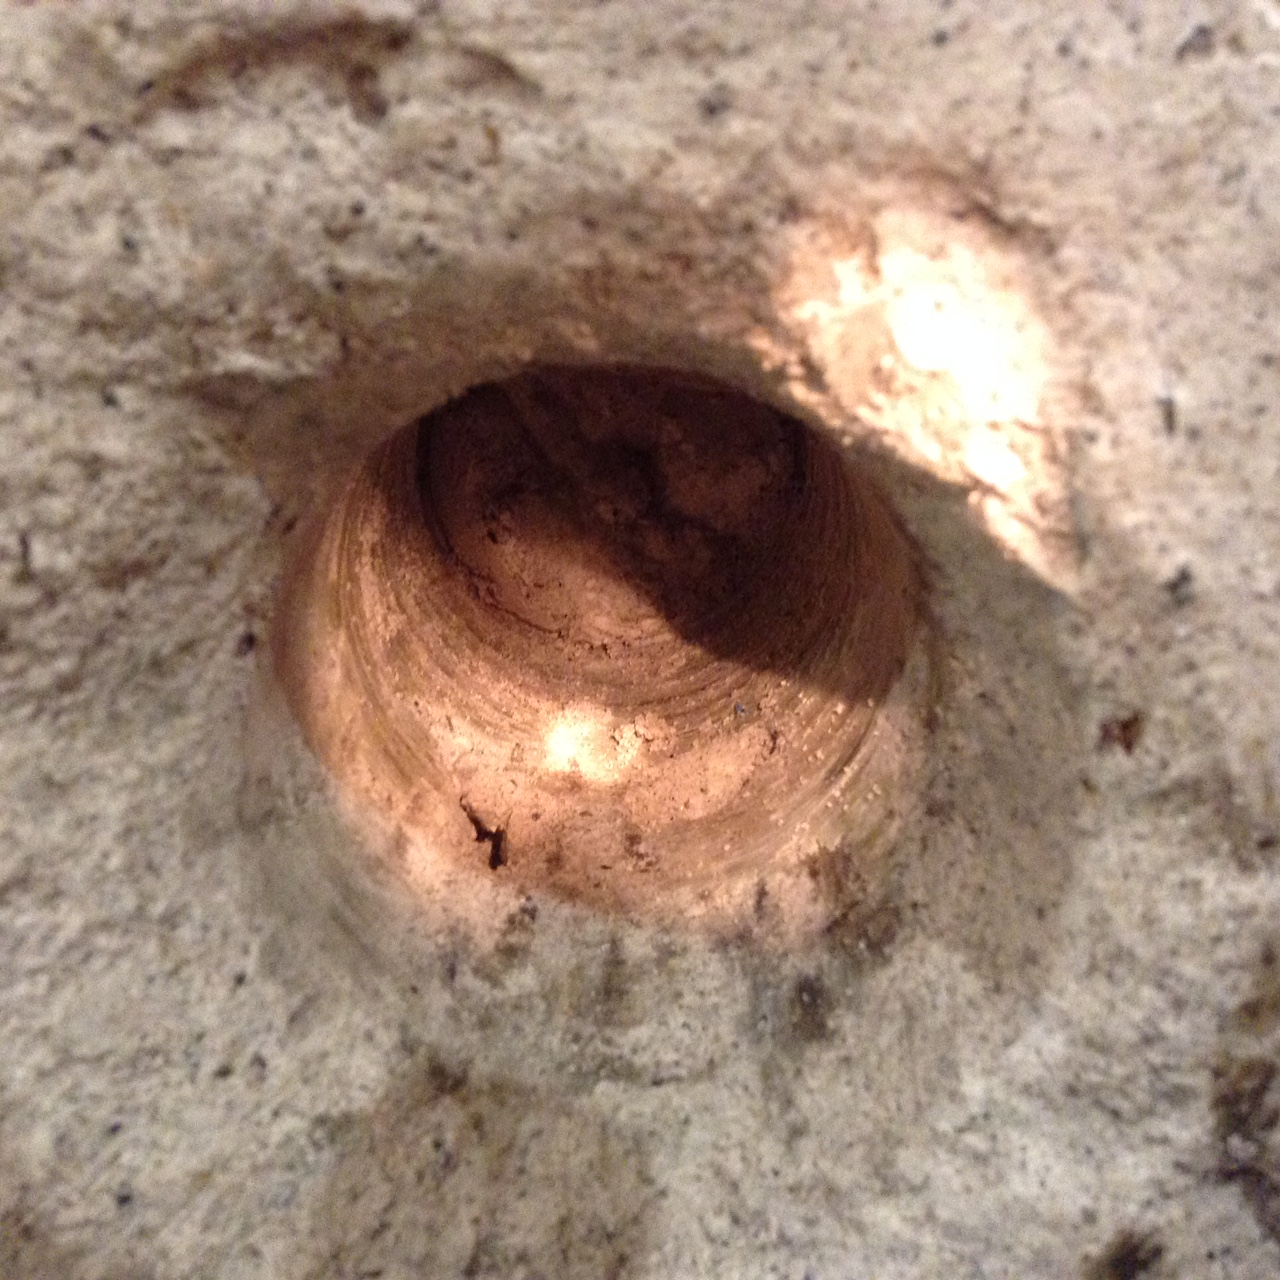
Alright so the thing is made but I used a kitchen oil spray container as a form for the center. Only issue is that the mix hardened and now I can't get it out. Is mayo not option to melt the can out? Thanks
-
Sure I guess post it becuase eventually it will come in good help. Right now I just wanted a small one so that I can forge real quickly after school for a couple, but I am interested in going all gas eventually. Thanks
-
Those are pretty nice!
-
Hi, . So I want to make one of those soup can/coffee can forges that run of a propane torch. I do use coal which is absolutely fine, but it creates a lot of smoke and gets me very dirty which I do not mind. However, on weekdays I do not forge with coal becuase I need to setup the forge and I get very dirty. Right now there is only about 2 hours worth of daylight from when I get home from school. So I figured that if I make a soup can forge, I can forge some carving knives so I can keep up with business when I start selling them, and also bottle openers. My only fear is that I am unsure if the forge is big enough for a bottle opener specifically made from a railroad spike. The railroad spike will probobly fit, but I do not know if it will fit or will be too big once I start working the drift on the horn. Any of you guys out there who have a soup can forge or used to or know if they are large enough for a spike opener, please let me know. Thanks
-
What I found after making a couple is that you should upset the tip of the taper to about 1/4in because it is a bit thin there then flatten it out. I suppose that if you punch and leave enough room for when you work on the horn, it would thicken enough too but I have never tried that. Plus, upsetting is some good practice for me because I am a beginner.
-
oh lol! I should go edit that!
-
well some good news! I gave that opener to that one carver and now a person wants to buy one FROM me! This is going to be my first sale! I just need to figure out a price. I suppose I will just ask what they are willing to pay. Thank you all for your help! The capitalized from is an inside joke for those of you who are wondering why!
-
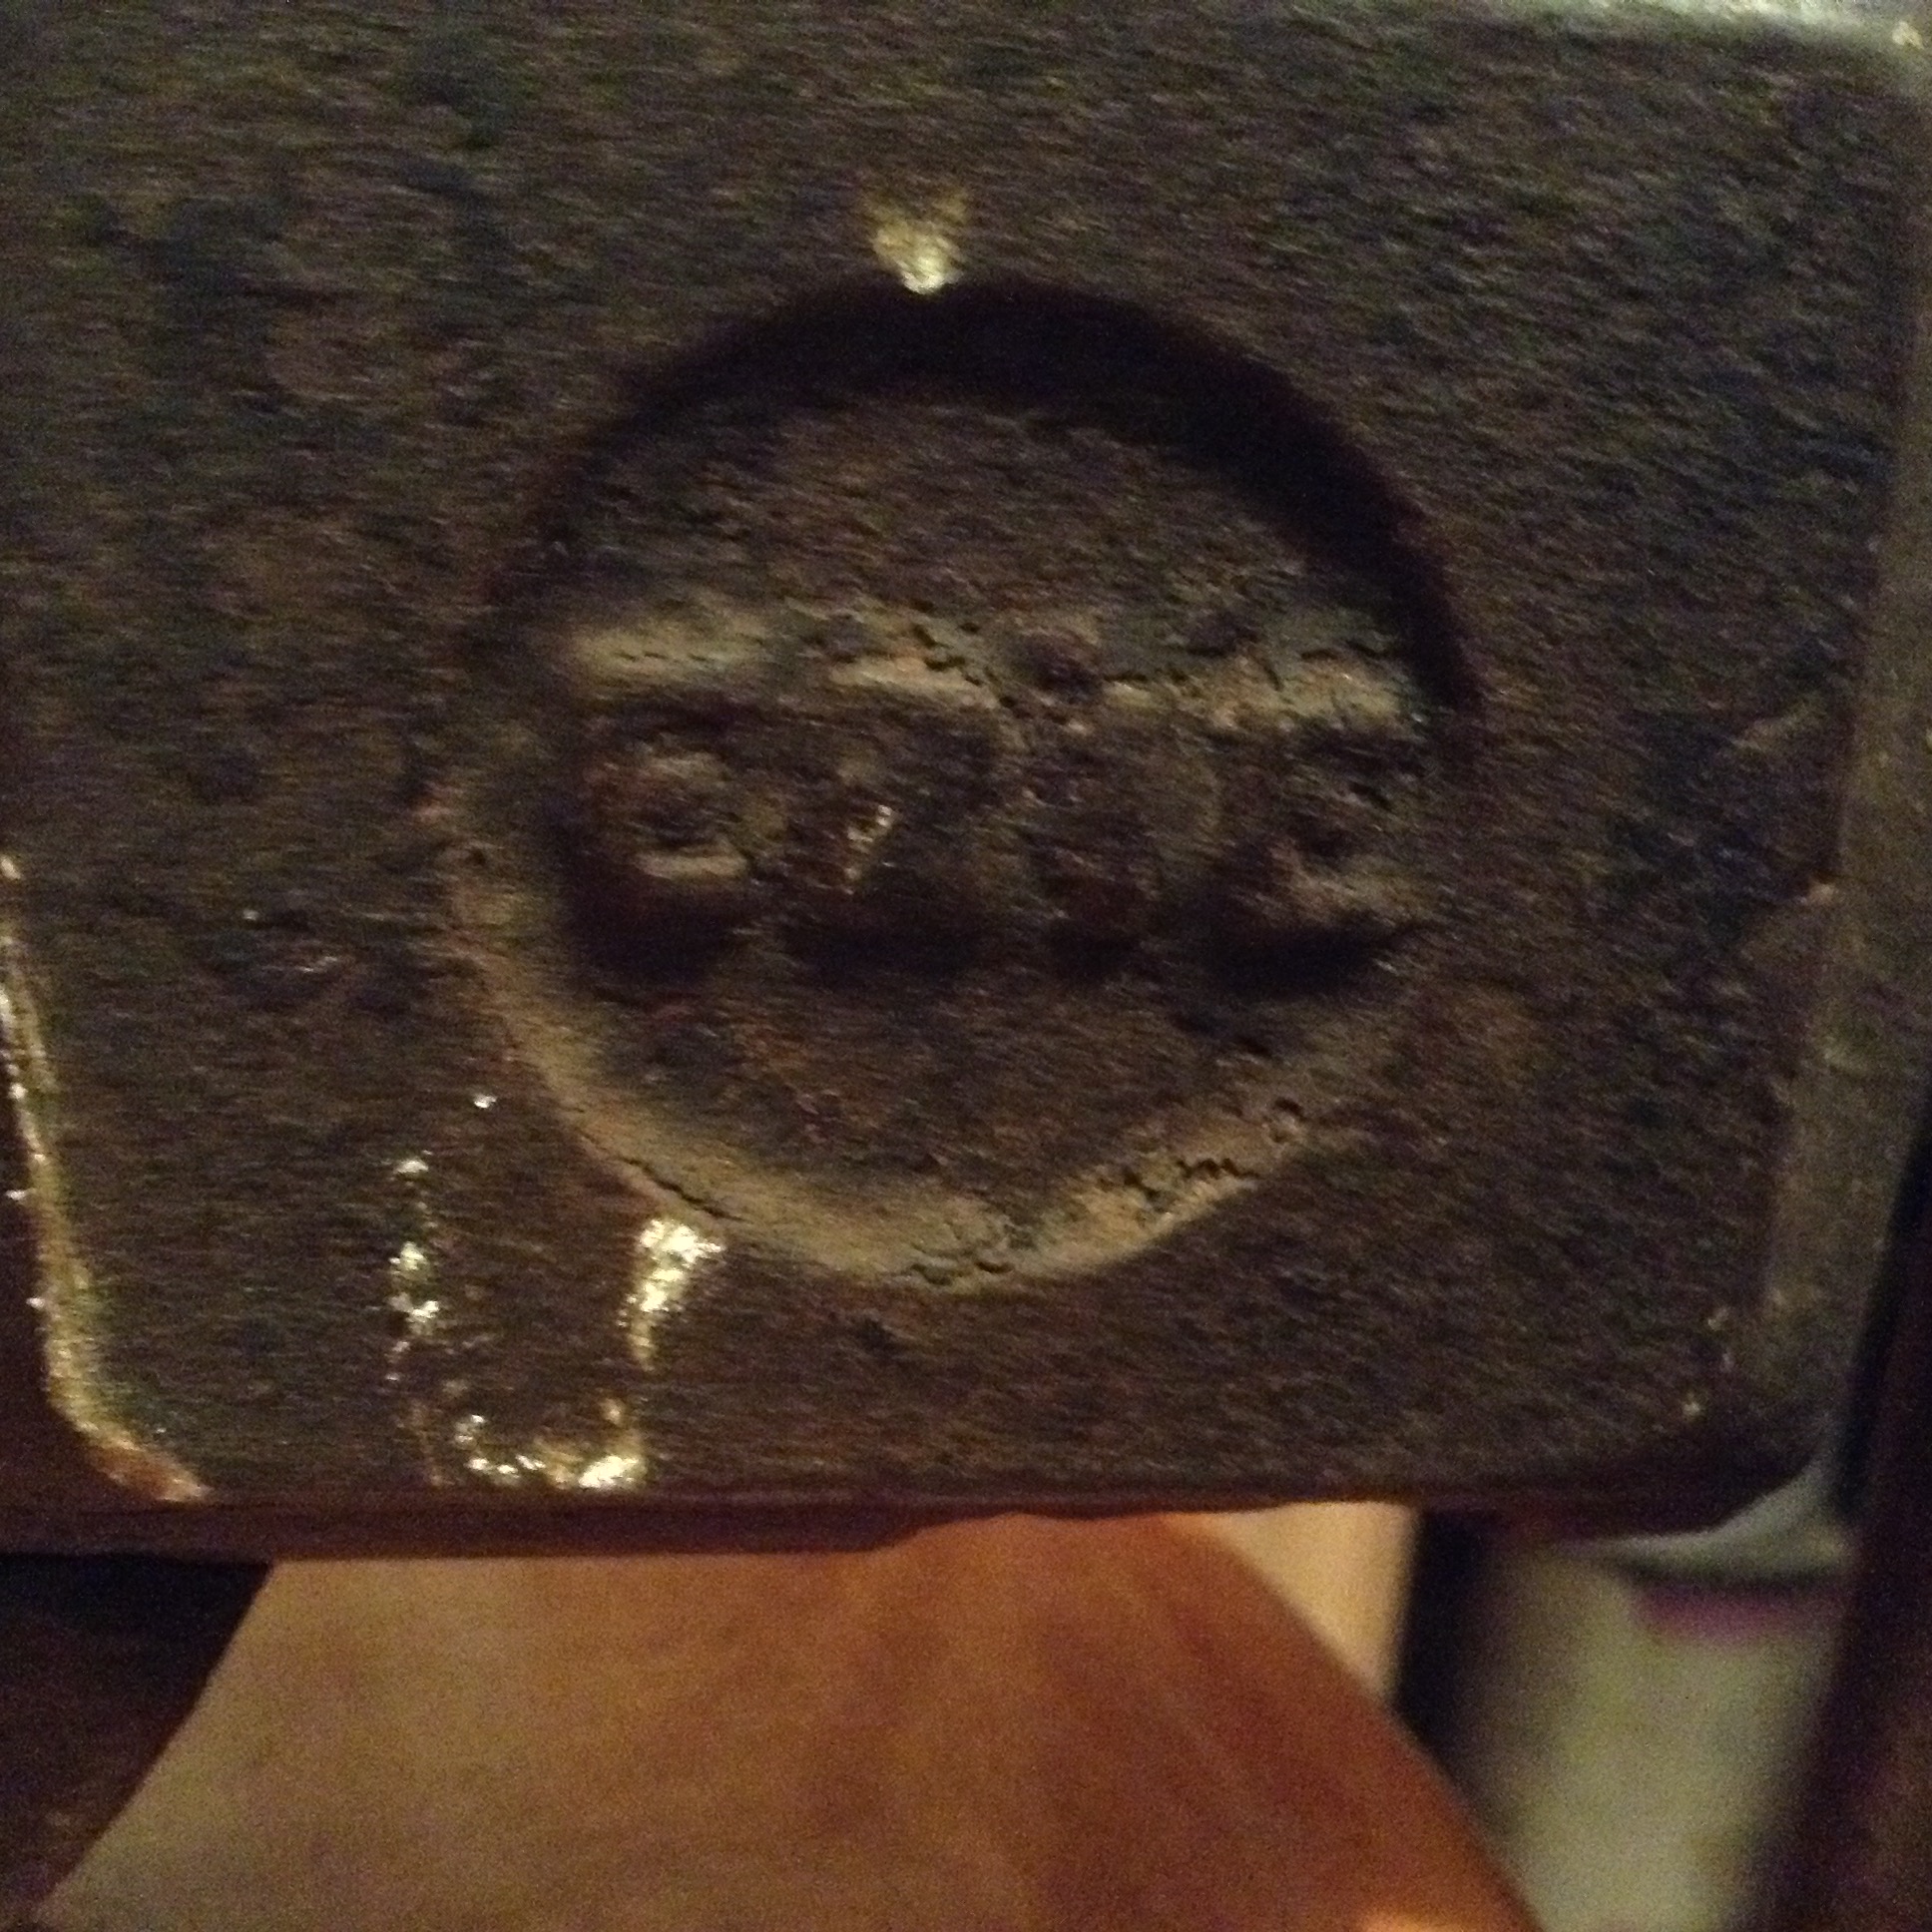
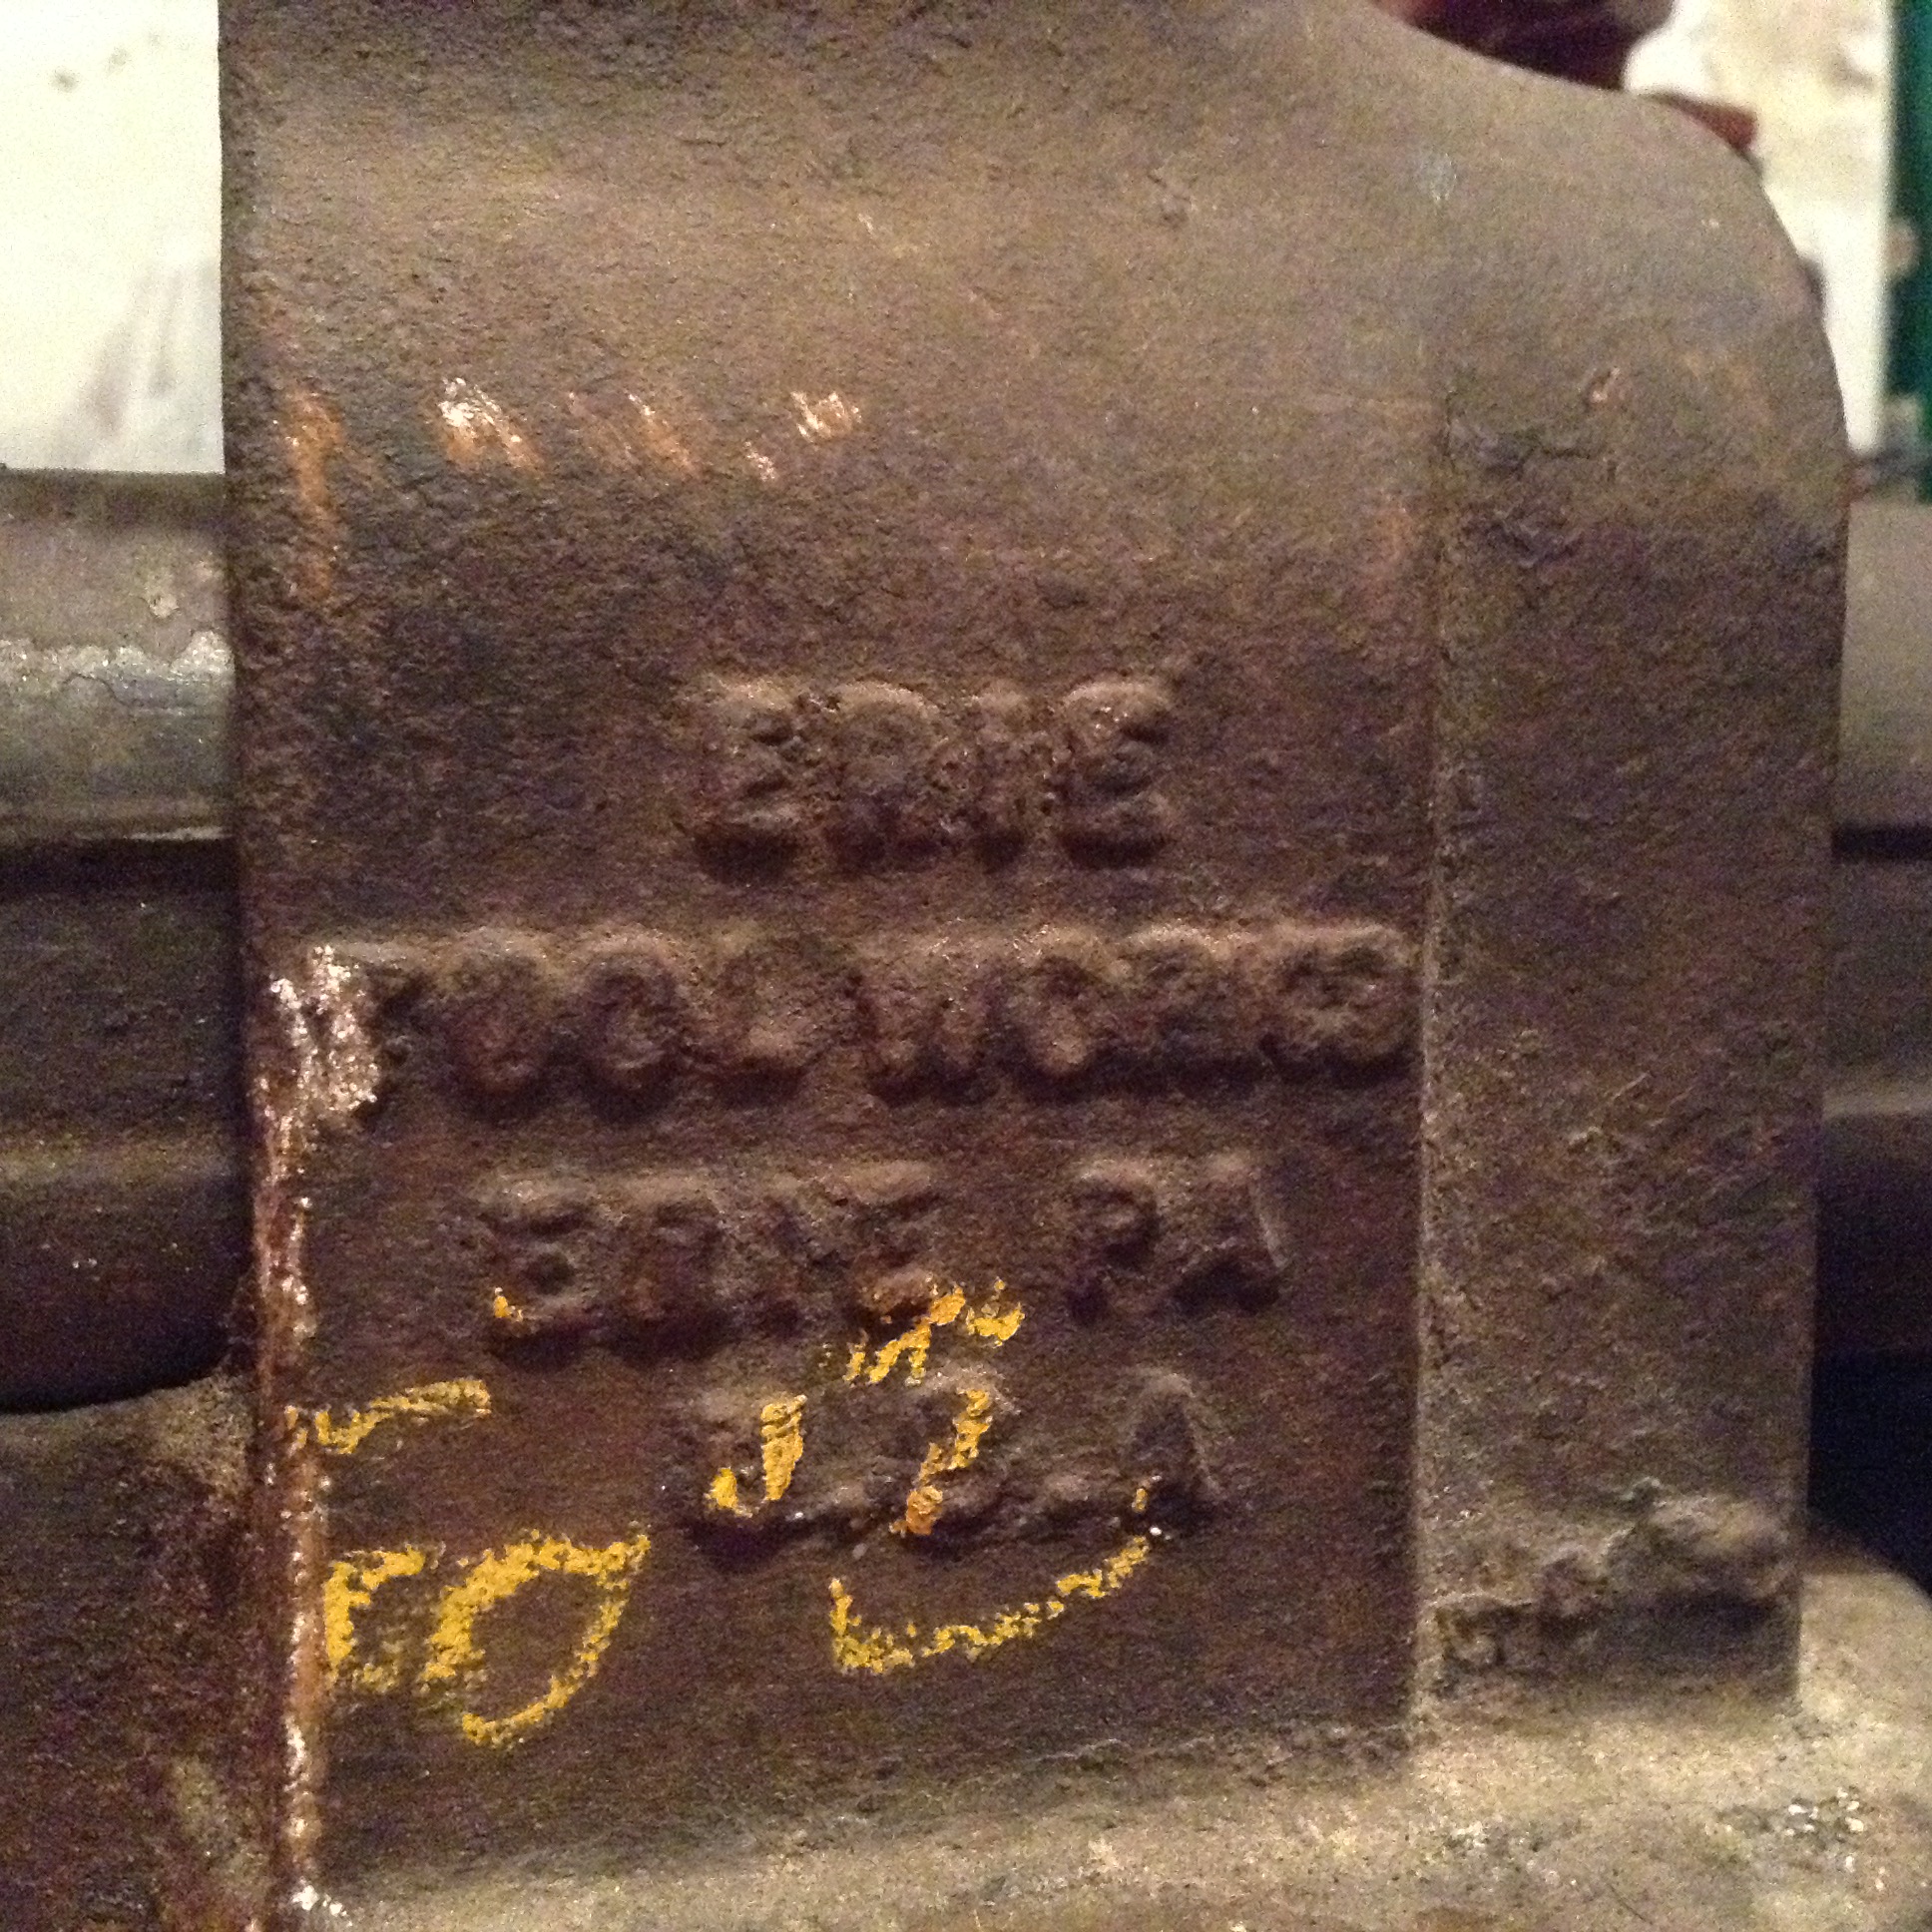
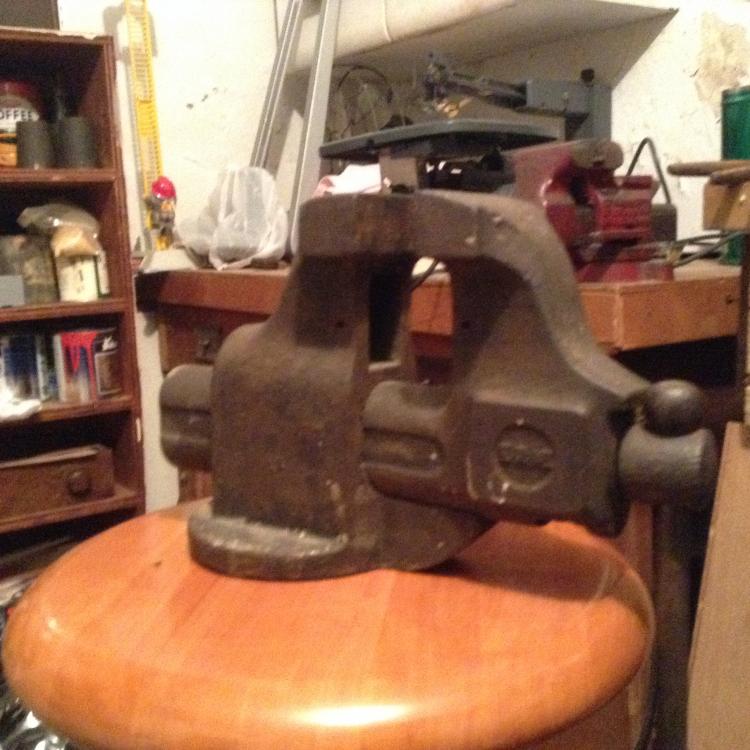
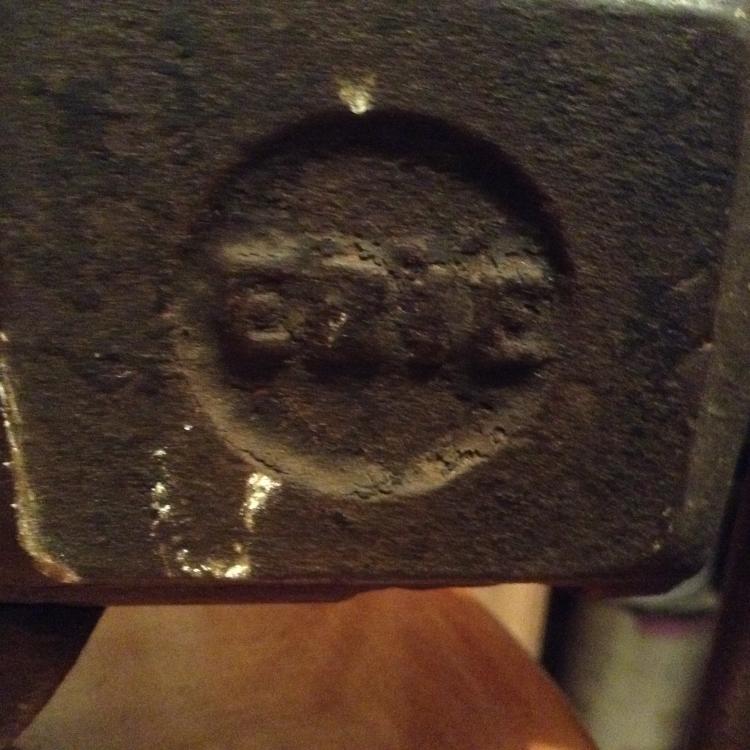
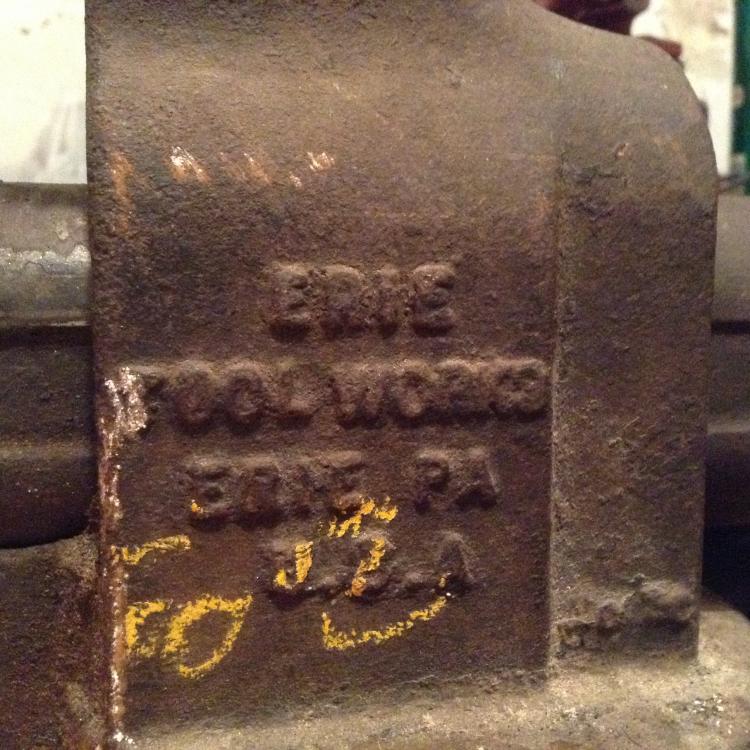
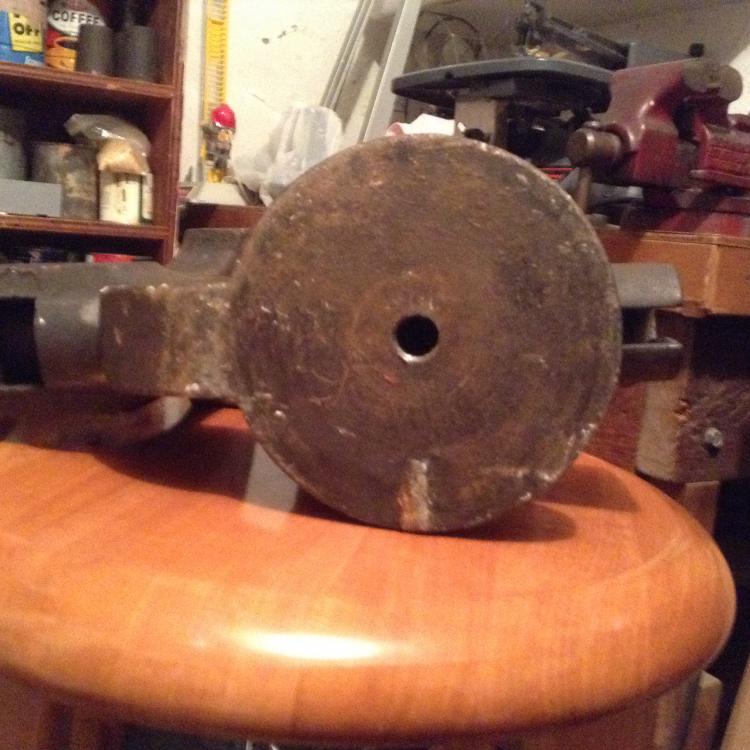
Yeah smoggy I hope i will be able to but who knows. I saw a guy in this thread post a picture of a vise that I don't quite know the name of, but it seems like it would work good. It was Vaughn who posted it. Nice and small and I have used them in my shop class before and they work pretty well. Anyways, here is my vise. It is made by Erie vises and the jaws are 4in. Thanks
-
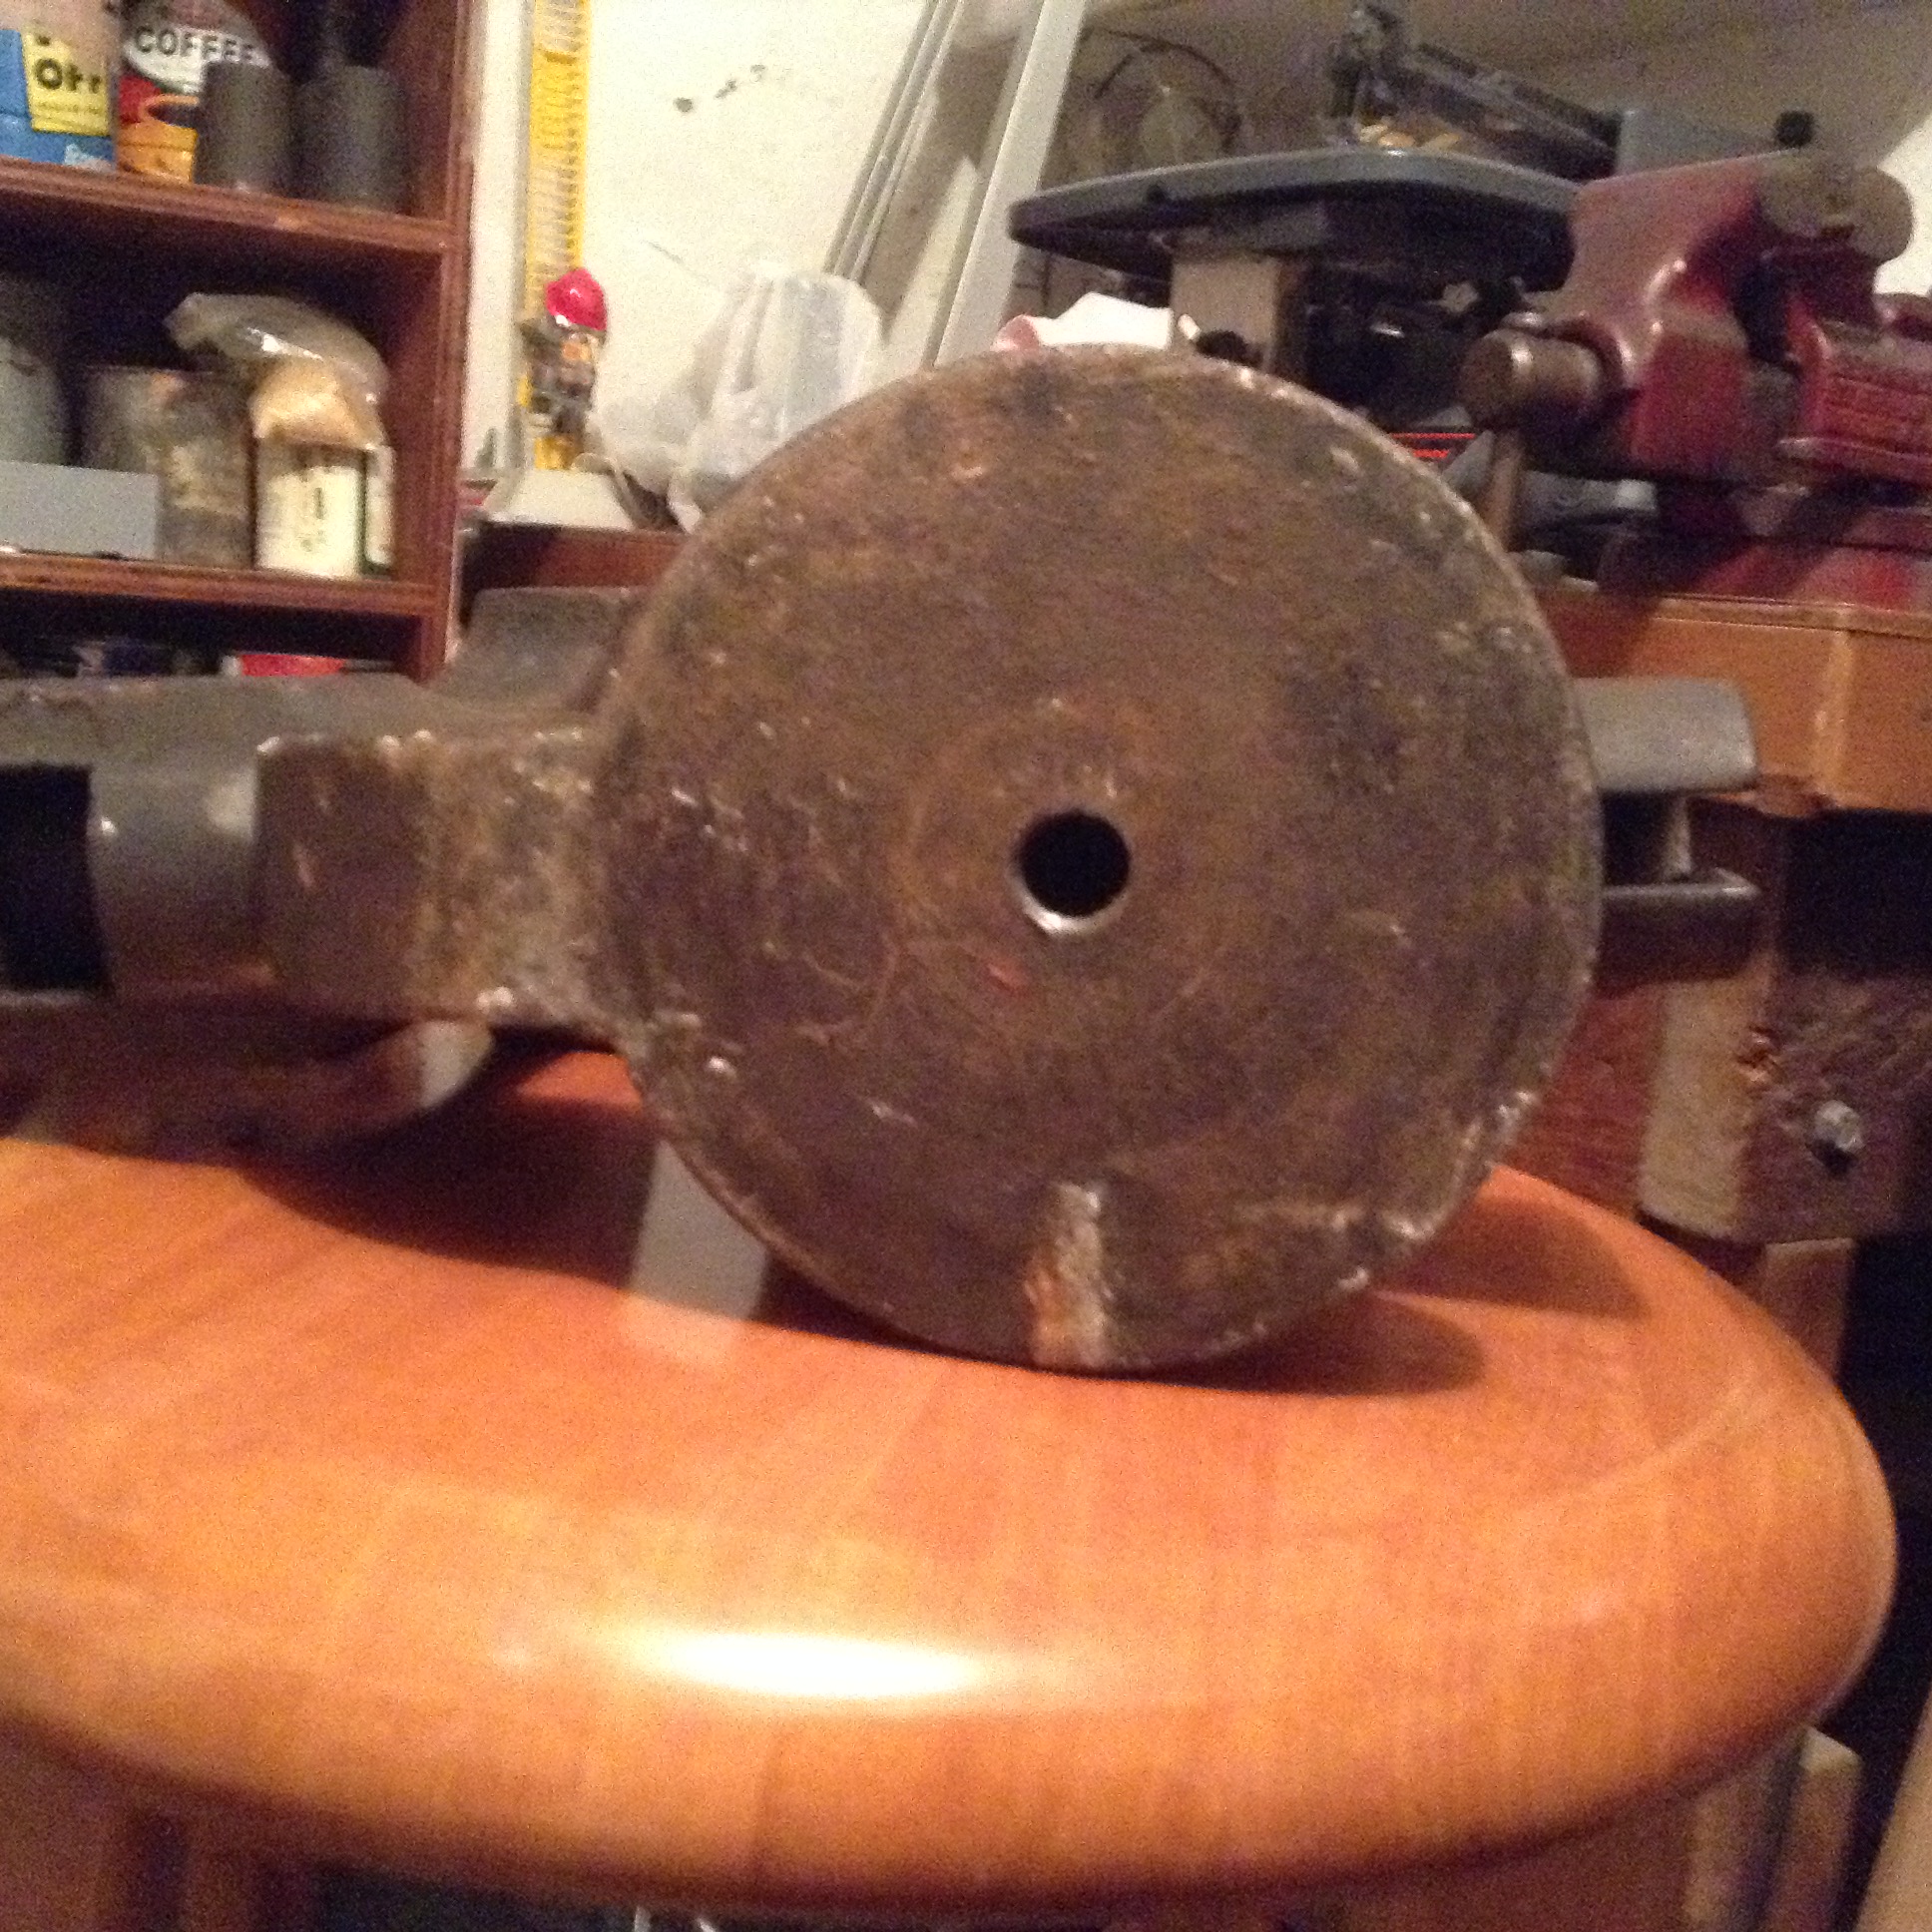
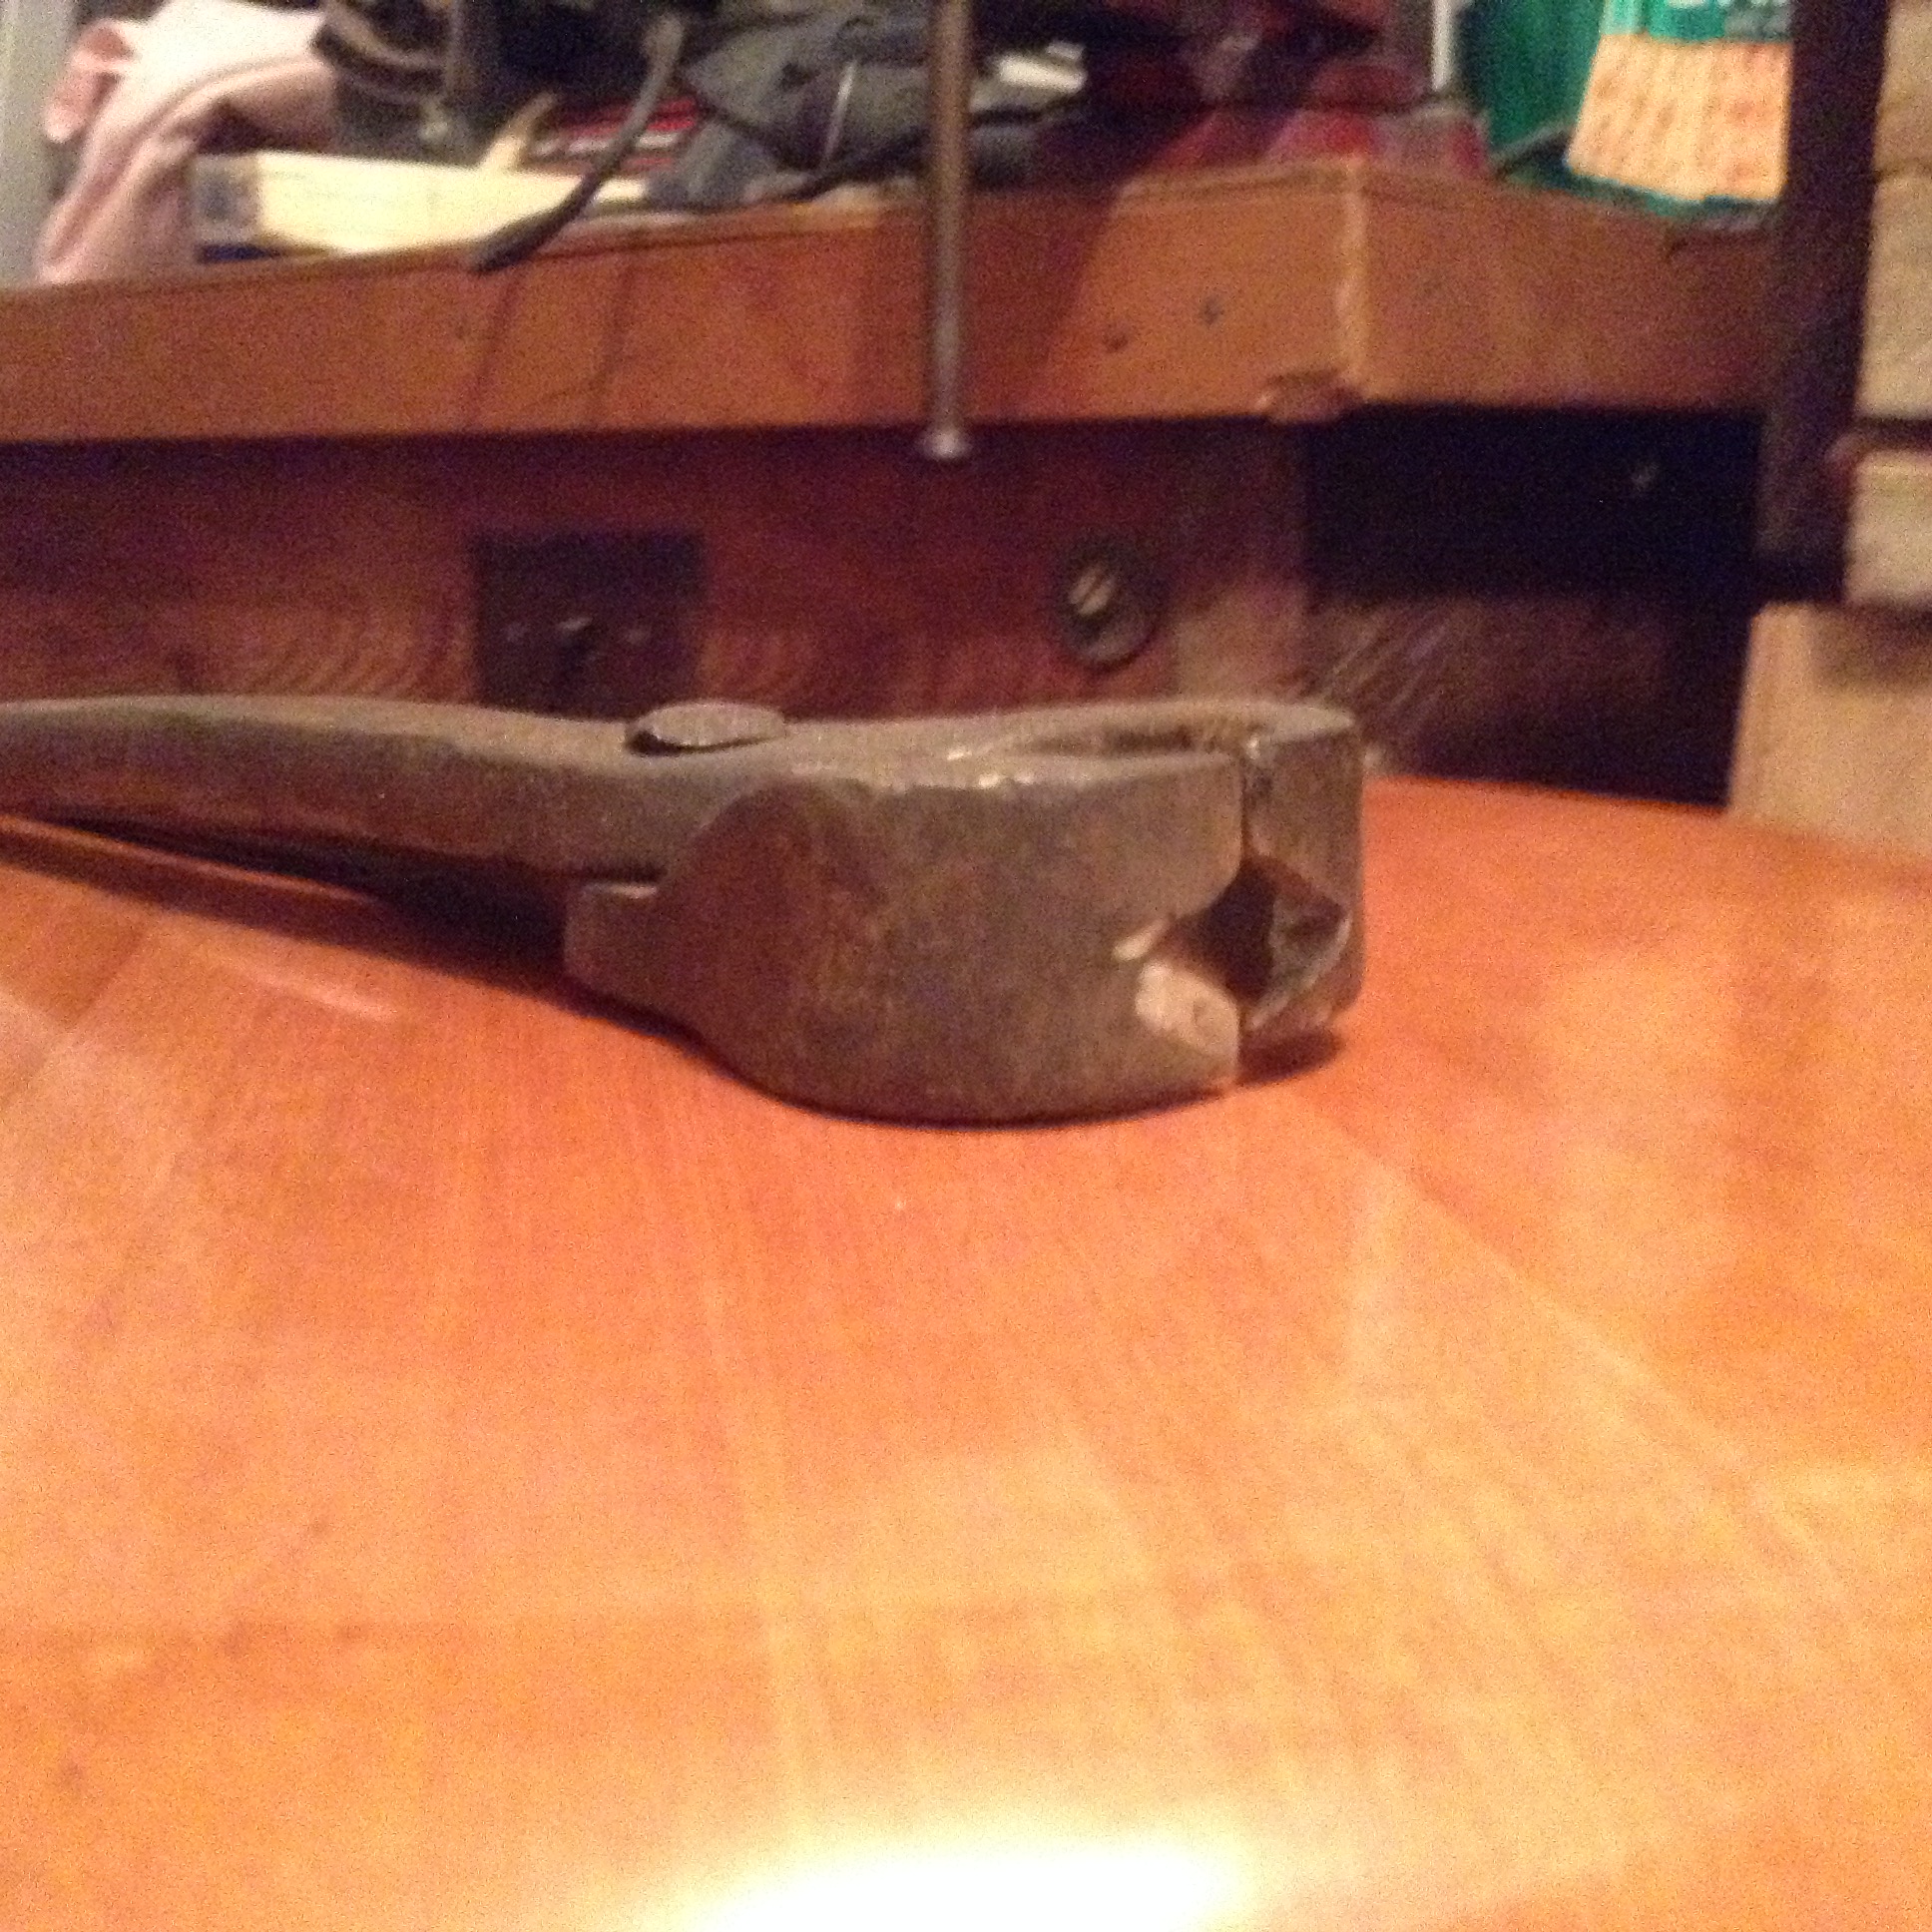
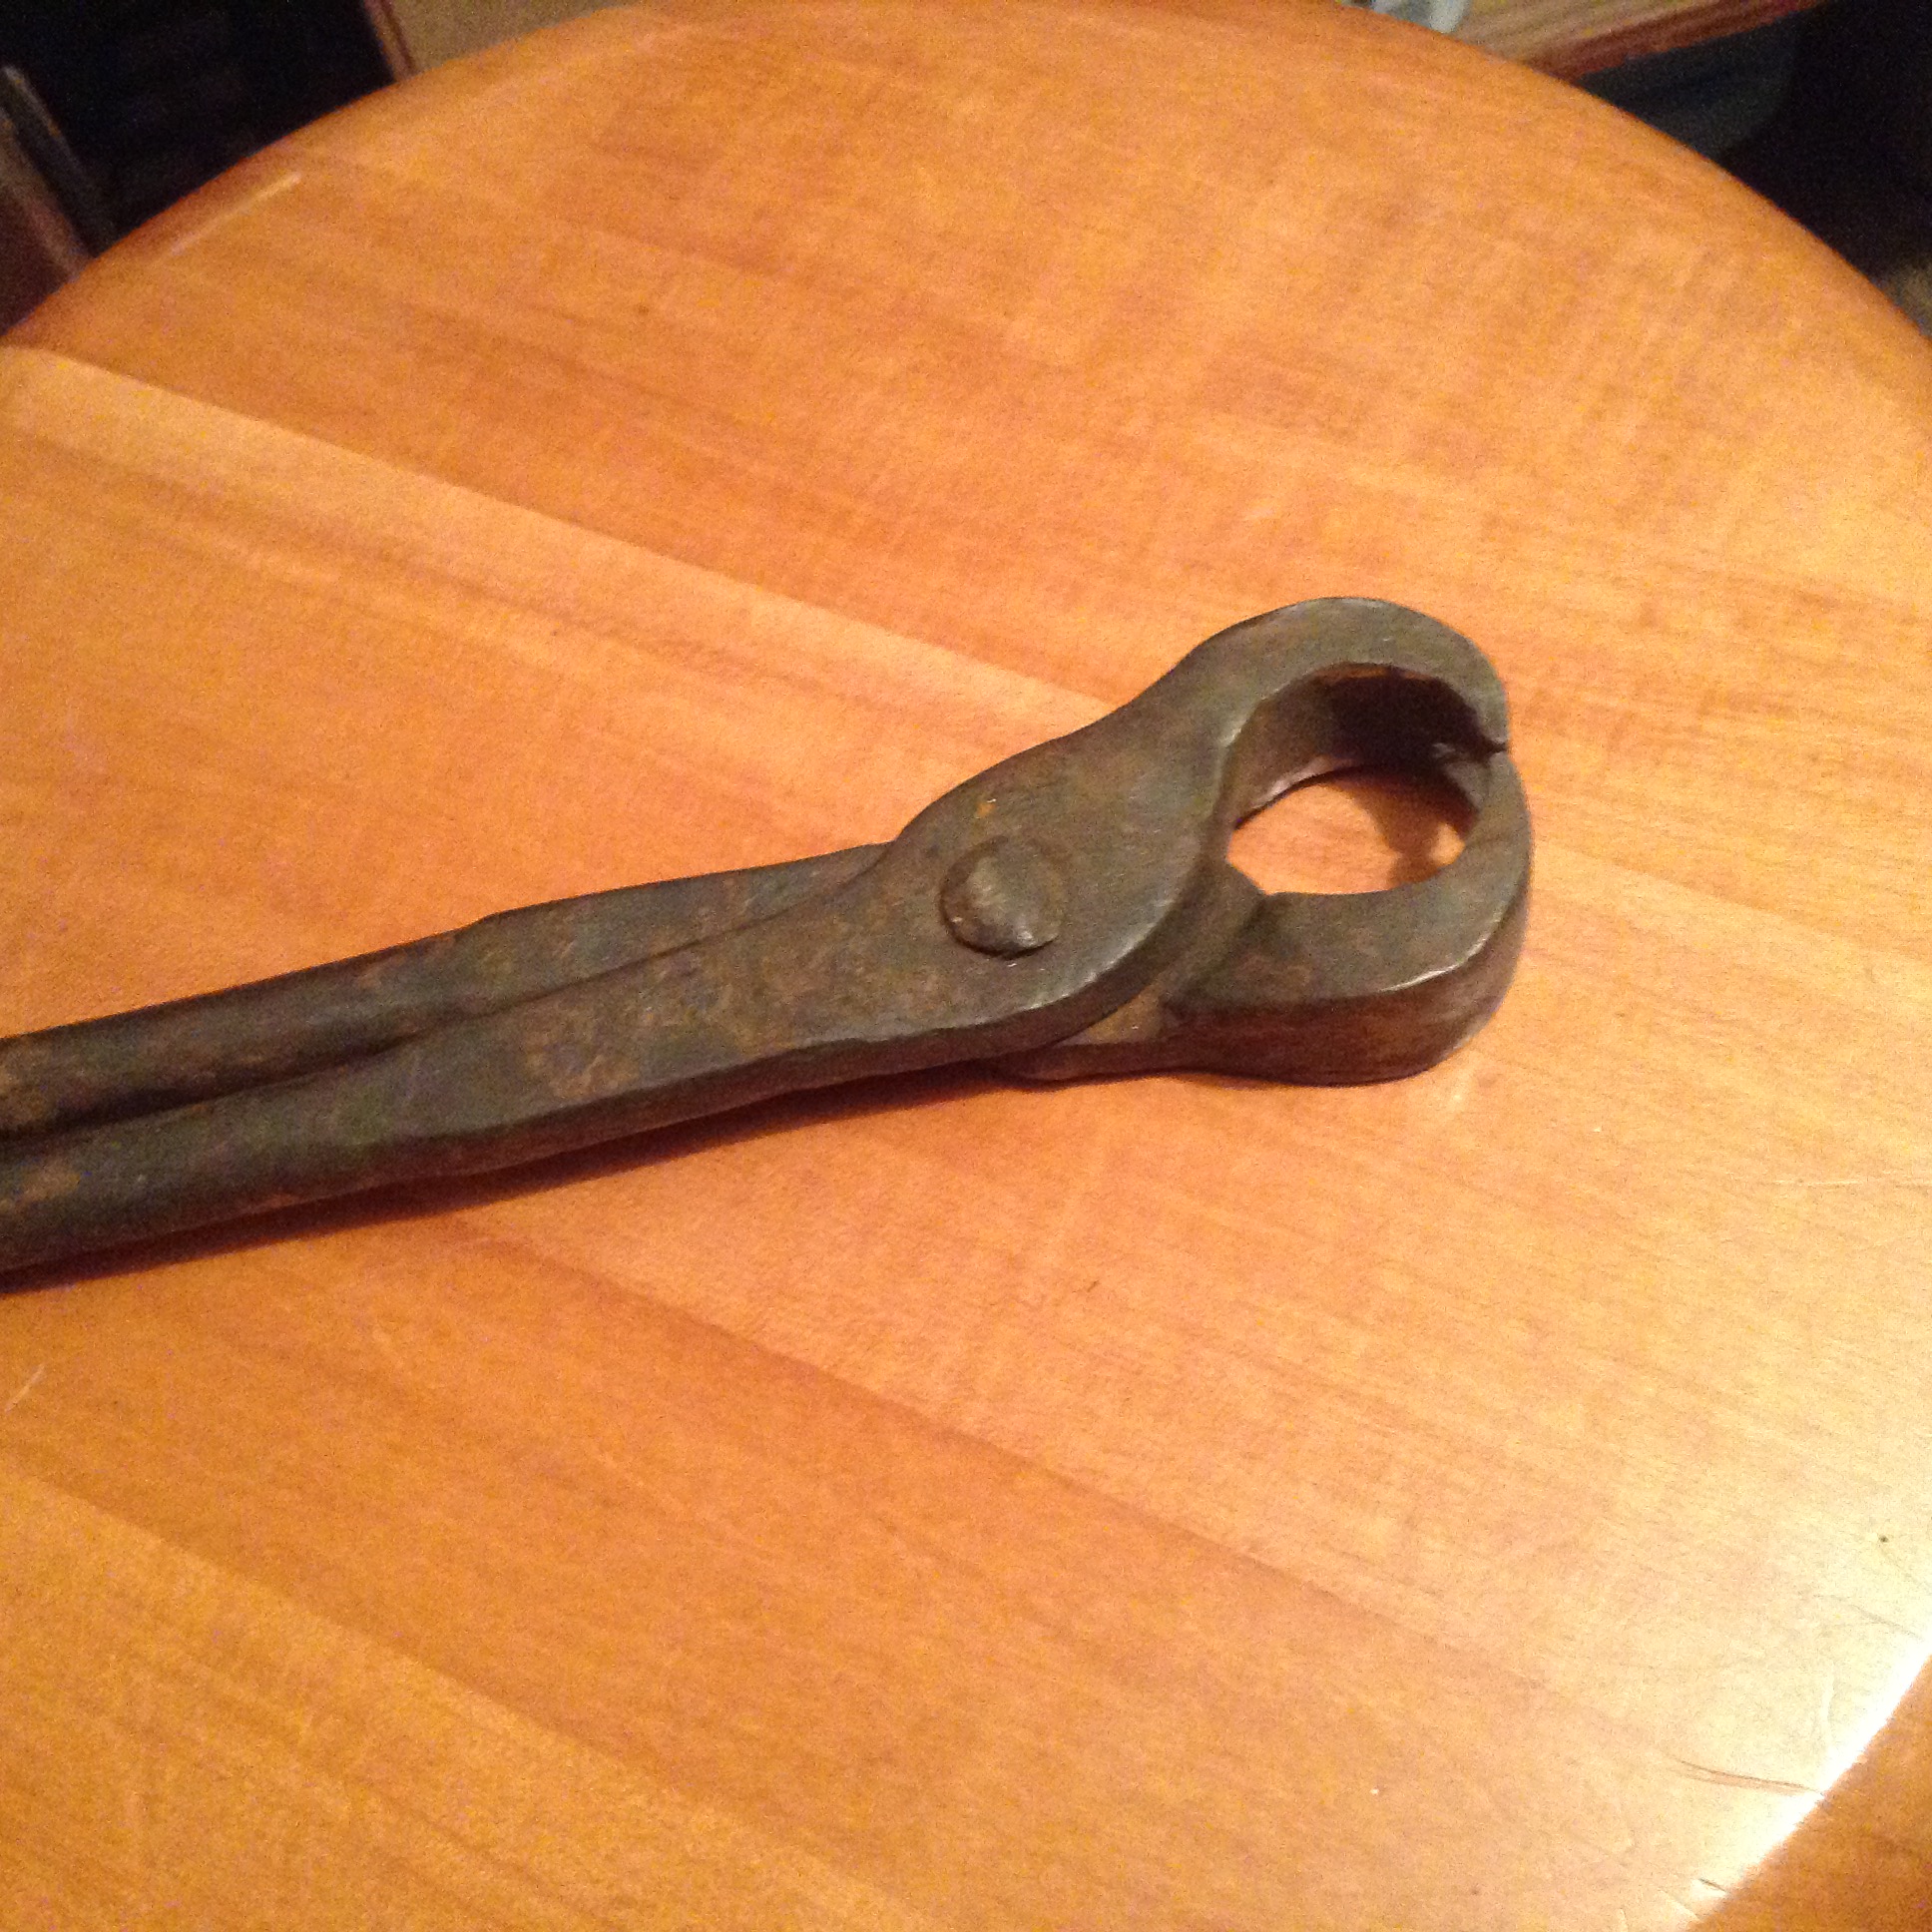
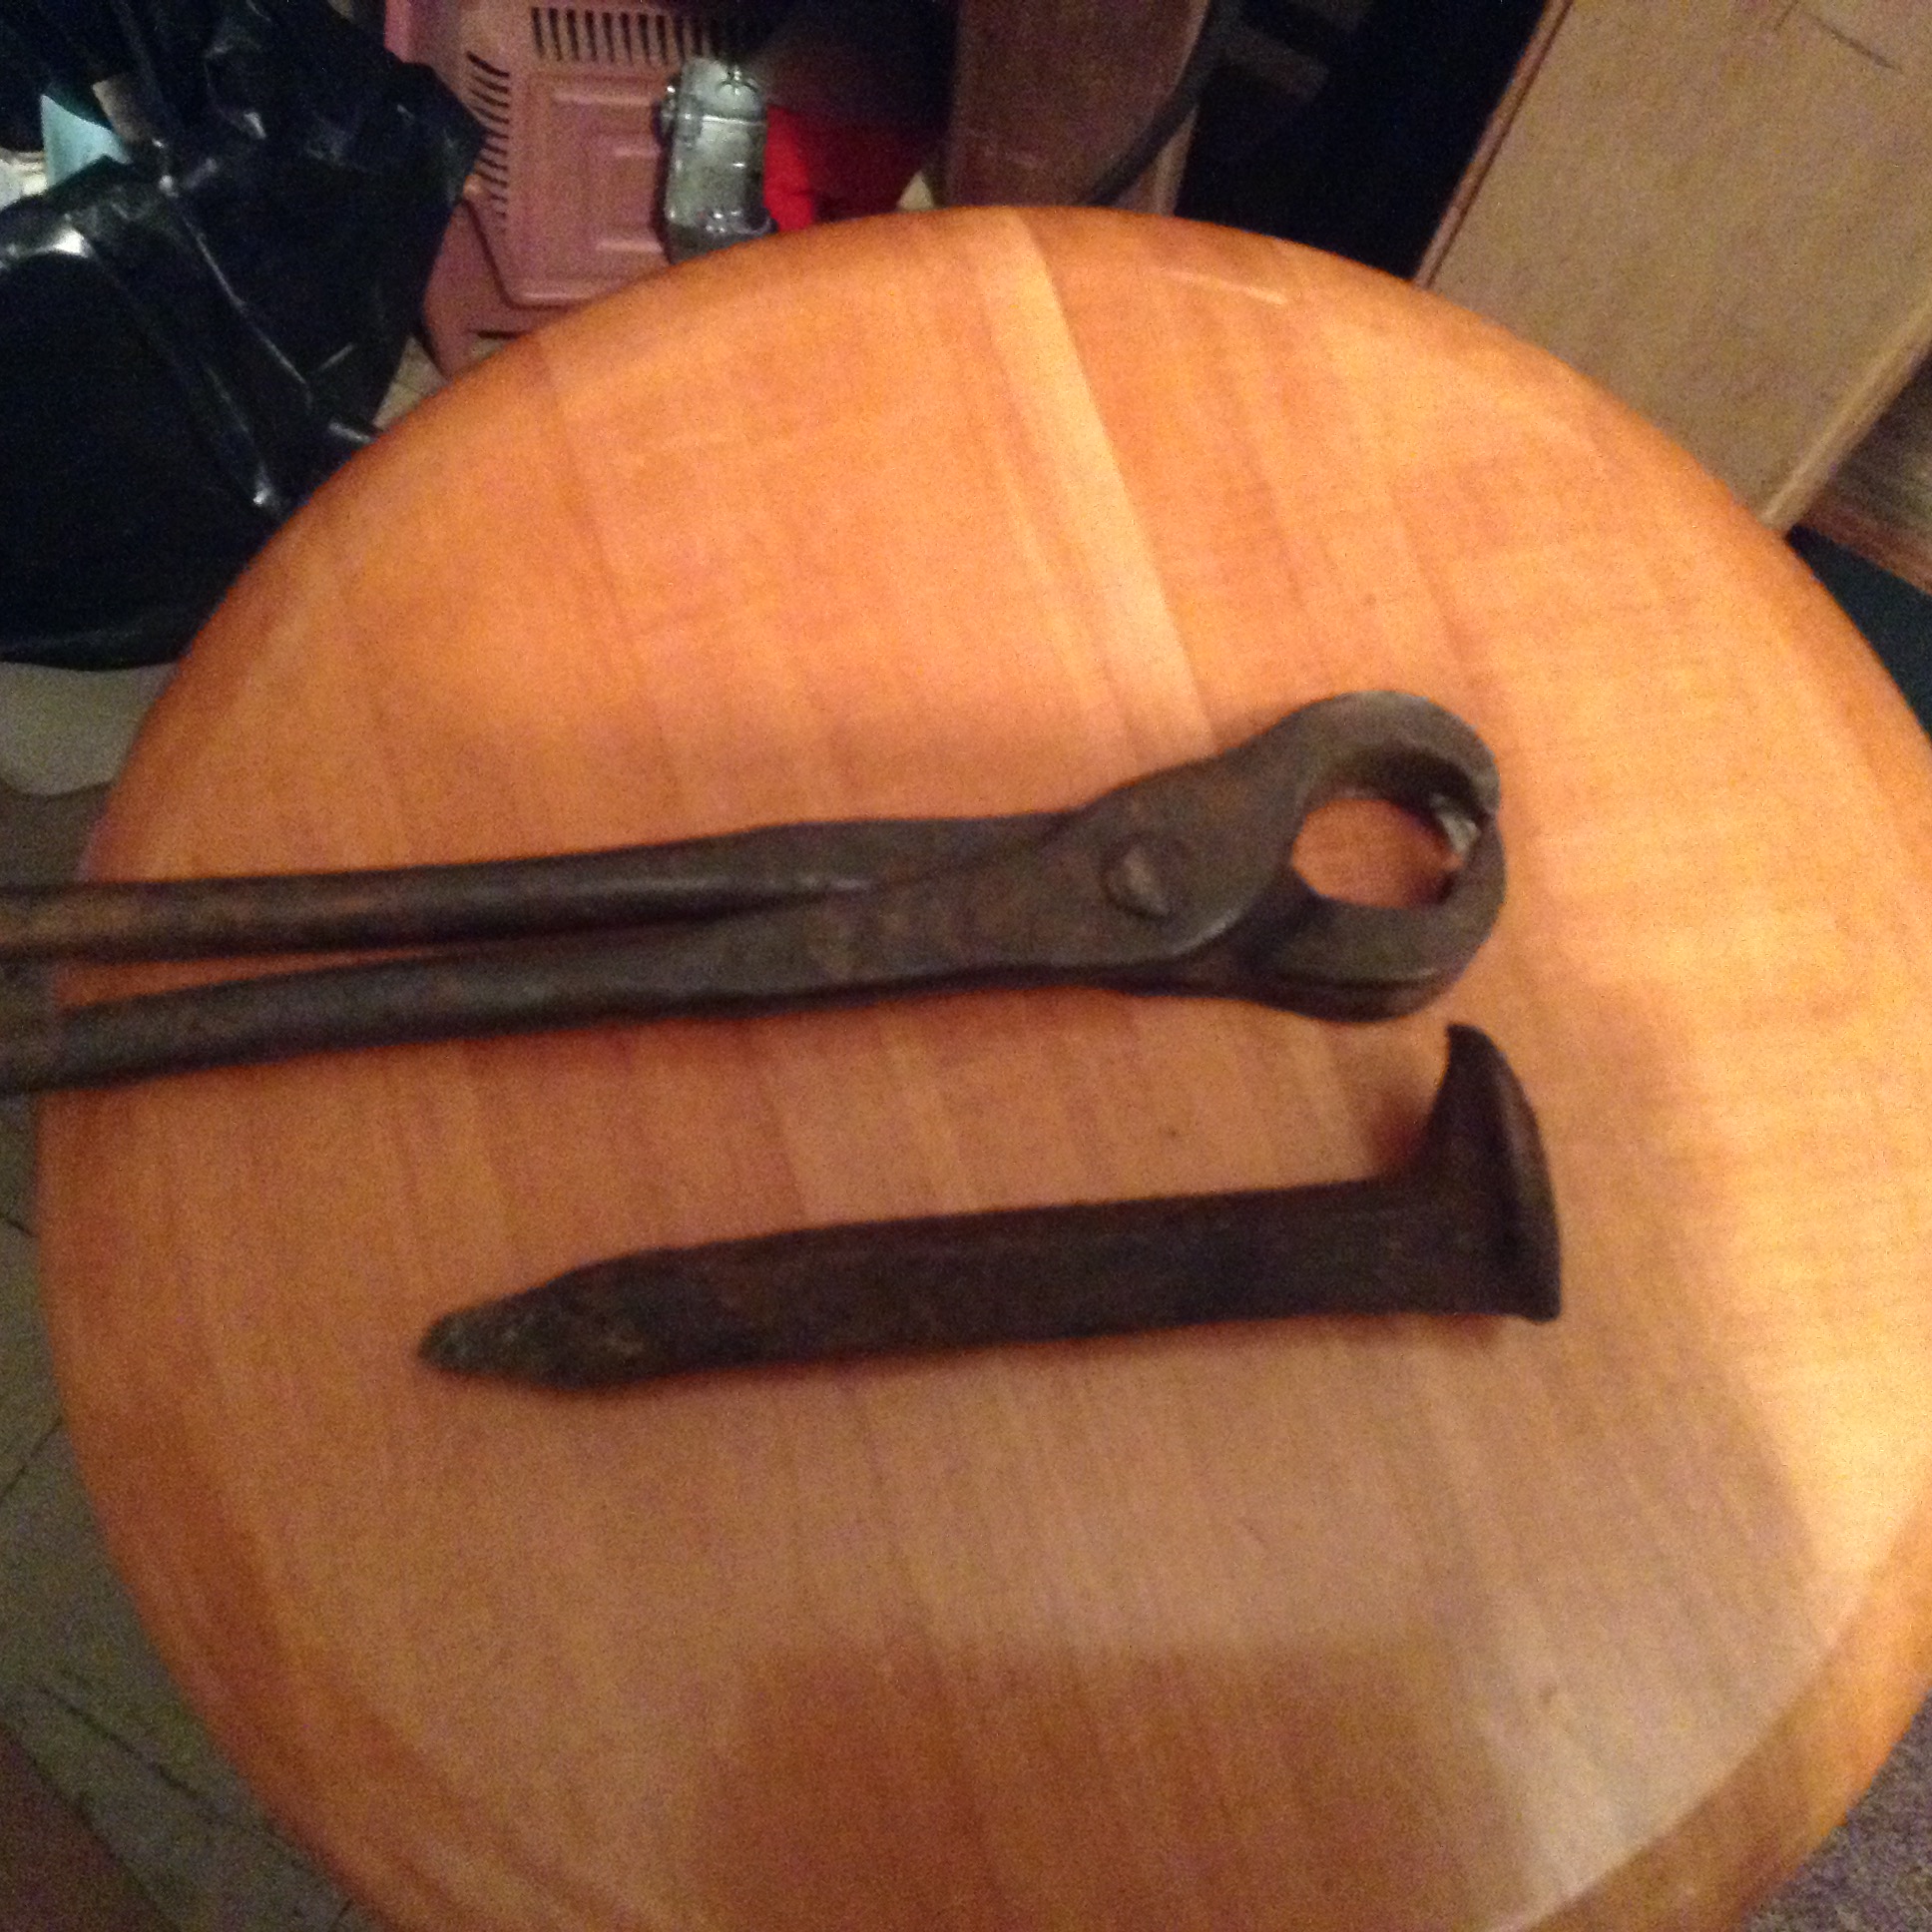
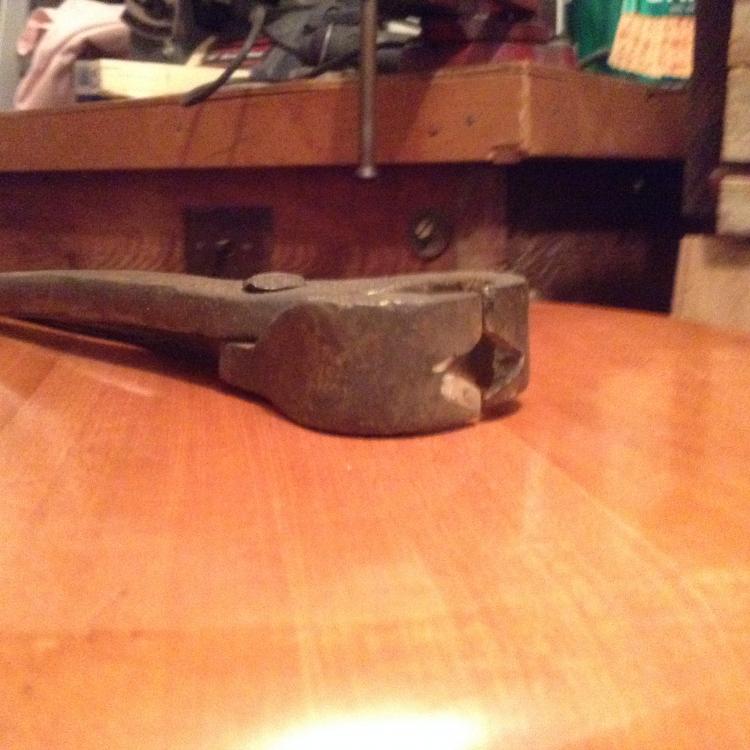
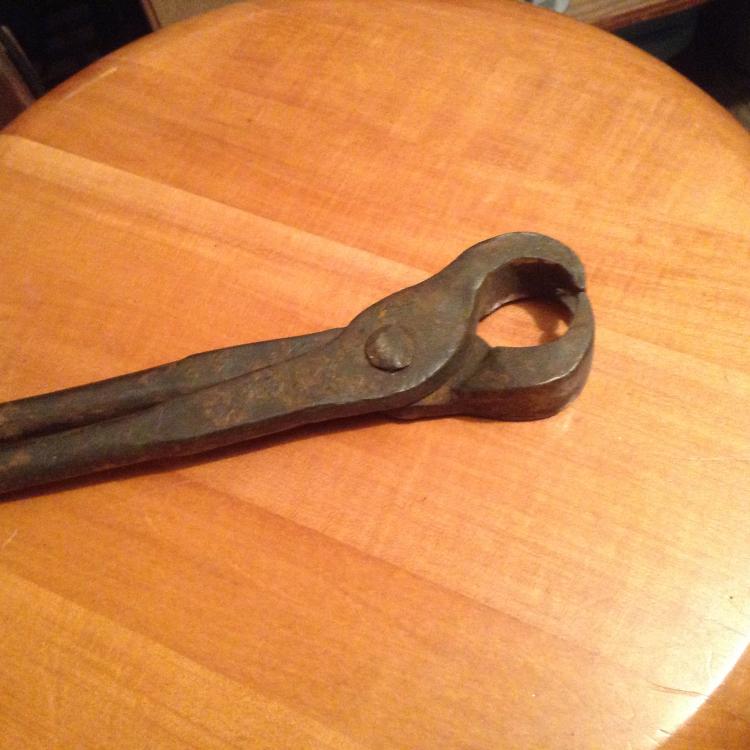
Oh that would be awesome! I am going to go take a picture right now and might as well take a picture of the vise to for the other thread. Thanks Here they are. Tell me if you think they are too ruined or small to do something with.
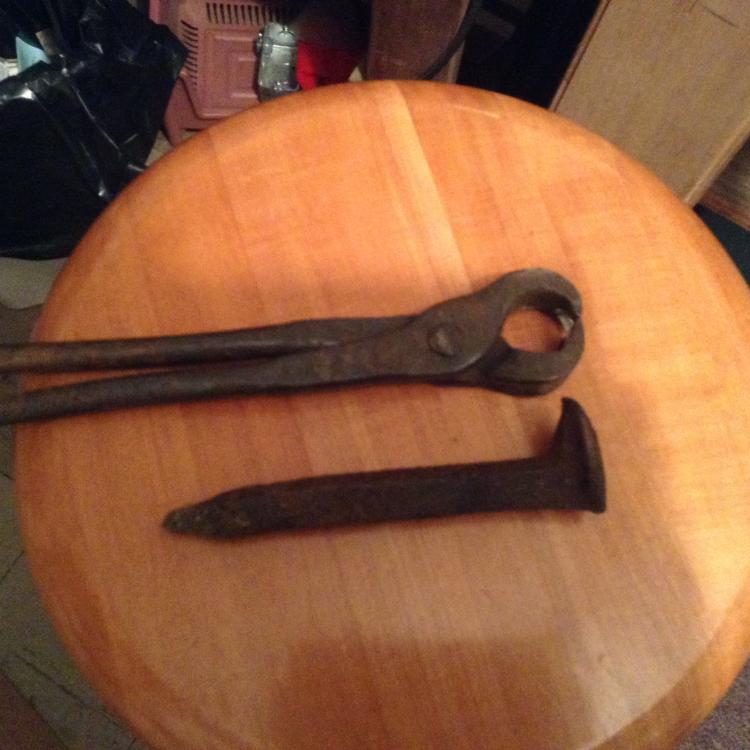
-
Ok thanks. I can get a picture for you guys. It is a pretty nice vise and heavy duty for a machinists vise.
-
ok thanks I will look into that stuff. ok thanks I will look into that stuff. So do you mean to cut an arc shape and put it in the back of my forge? I was thinking about getting one of the bent pieces and then connecting it to a piece like this for a chimney. Only issue with that is I need a stand. Right now I am working in a 12 in dia brake drum as a forge, so this 10in duct will fit perfectly as an updraft.
-
oh thats what you meant by modify. I got my pair of nippers and cut a v notch in them but I messed them up and they are now in the trash. Gonna have to find a bigger pair.
-
alright thanks for the help everyone.
-
Ok. I got a monkey wrench home, so I might bring it to a welder to get a handle on it. Thanks
-
Thanks for the help. Did you make the wrench in the middle? Thanks
-
alright thanks. My vise you bolt from under the vise, not on the sides of the base. I suppose I should just use channel then? Thanks
-
ok thanks
-
So I don't have much space and can't get a post leg vise. I also have no where to attach my machinists vise because I can't have all these stumps on my parents yard. So I was thinking that I could just weld a shank on the bottom of of the vise so it can fit on to my anvils hardy hole and so I won't need a table to bolt it down. I just wanted to make sure it's not a dumb idea before I do it. Thanks
-
So basically you get something like a c clamp and attach a monkey wrench to the anvil. You then put the piece in the monkey wrench and then twist with another monkey wrench? Thanks