DSW
-
Posts
2,161 -
Joined
-
Last visited
Content Type
Profiles
Forums
Articles
Gallery
Downloads
Events
Everything posted by DSW
-
You can make up all sorts of bending jigs. For rings and hooks, I have one of Yesteryear Forges Versa jigs as well as a similar unit I bought off ebay for making larger rings. The same idea can be used to make other shapes. Pins can be dropped into holes to allow stock to be bent around one form then change direction.
-
Dad likes to mention the "raisin" cookies they used to get on the diesel subs back in the late 50's/ early 60's at the end of a long deployment. Of course the "raisins" were the bugs in the flower that got baked in.
-
I agree NOT an improvement at all... lets try the screen shot solution since it won't let me post after 8 tries....
-
Well I'm glad I'm not the only one that's happened to. I chalked it up to my poor internet connection.
-
How do you split them Frosty? I could cut them on my wet saw, but that doesn't sound like the best idea.
-
Here I've been waiting in anticipation to see some trick method of connecting the block to the plate. I figured you'd neck down the back into a tenon and rivet on the plate, heat shrink the pieces some how, or some other "secret" way. Arc welding is a bit anticlimactic. I think it looks great though.
-
Looking to get a hold of an anvil
DSW replied to New axe maker's topic in Anvils, Swage Blocks, and Mandrels
depends a lot on what tools and equipment you have at your disposal. If you have access to a torch and power tools like a grinder, annealing isn't really needed. If you plan to abuse yourself using a hacksaw and files, it might not hurt. -
That's certainly true enough lately. That's certainly true enough lately.
-
You never know where those leads may come from. My 2nd anvil came courtesy of a connection I made with a neighbor of a customer of mine. His buddy did scrap and had an anvil. I mentioned I was looking to my chiropractor later and he pointed me towards this old farmer down the road who rand a small landscape supply who had 2 in a back barn he was looking to sell. My big anvil came courtesy of the guy who shared my machine at the tech school night program on machining. Turns out he had it in his garage left over from when they sold his fathers machine shop years ago...
-
I'm surprised that you think Sears to be an exception to rebranding as most of their stuff for years has always been made by someone else ( though in some cases made to Sears specs) 1st 3 possibly 4 digits of the Sears part number usually calls out who made that item for Sears. For example 642.XXXX would denote that Harris manufactured a Sears branded welding regulator/torch set. 934.XXXX would be Century Welders.
-
Man I miss studded tires. PA did away with then for one year before the public screamed and they brought them back. Problem is most places dumped all their studding gear and it's almost impossible to find anyone local who will still stud tires. Add to the fact the truck has an odd size tire, and only commercial tire places are equipped to mount them, and it's a loosing battle. I even had to explain studded tires to one of the guys at the commercial tire shop I usually use as he'd never heard of them before.
-
There must be a lot of Xanth fans here.
-
I had to do a double take on your 1st sentence Smoothbore. I read the R in lard as an I 1st time thru.
-
That's one I hadn't thought of, but it makes a lot of sense.
-
If you can weld, you can always weld on a handle and cut it off later if need be. Someone here a while back also posted up a pair of old slip joint pliers that had the handles lengthened by welding on some rod to use as tongs. They would have a larger opening than Visegrips might.
-
Looking to get a hold of an anvil
DSW replied to New axe maker's topic in Anvils, Swage Blocks, and Mandrels
Yeah, Charles did a great job with that. It would help if you added your location to your profile. Sometimes members may know where to acquire a piece of rail. I've had members on another site offer to get me pieces of rail from work knowing I do smithing when the subject of starter anvils comes up. You never know, someone here might be close to you and know where you can find something. -
Welcome. Glad to have you here with us. Take a minute to add your location to your profile so we know roughly where you are at. You might be surprised how many here might be near by. I'll leave the burner question to Frosty and some of the others who have more experience with gas forges than I do. I do congratulate you on finding something that interests your son and keeps him away from video games. Forging can be a great amount of fun for both of you. I think it's a shame more young kids don't learn to do things with their hands these days.
-
http://www.iforgeiron.com/topic/3602-thomas-powers-applied-anvil-acquisition-technique/
-
Looking to get a hold of an anvil
DSW replied to New axe maker's topic in Anvils, Swage Blocks, and Mandrels
Take a look at this thread by Charles. http://www.iforgeiron.com/topic/42290-another-rail-road-iron-anvil/ -
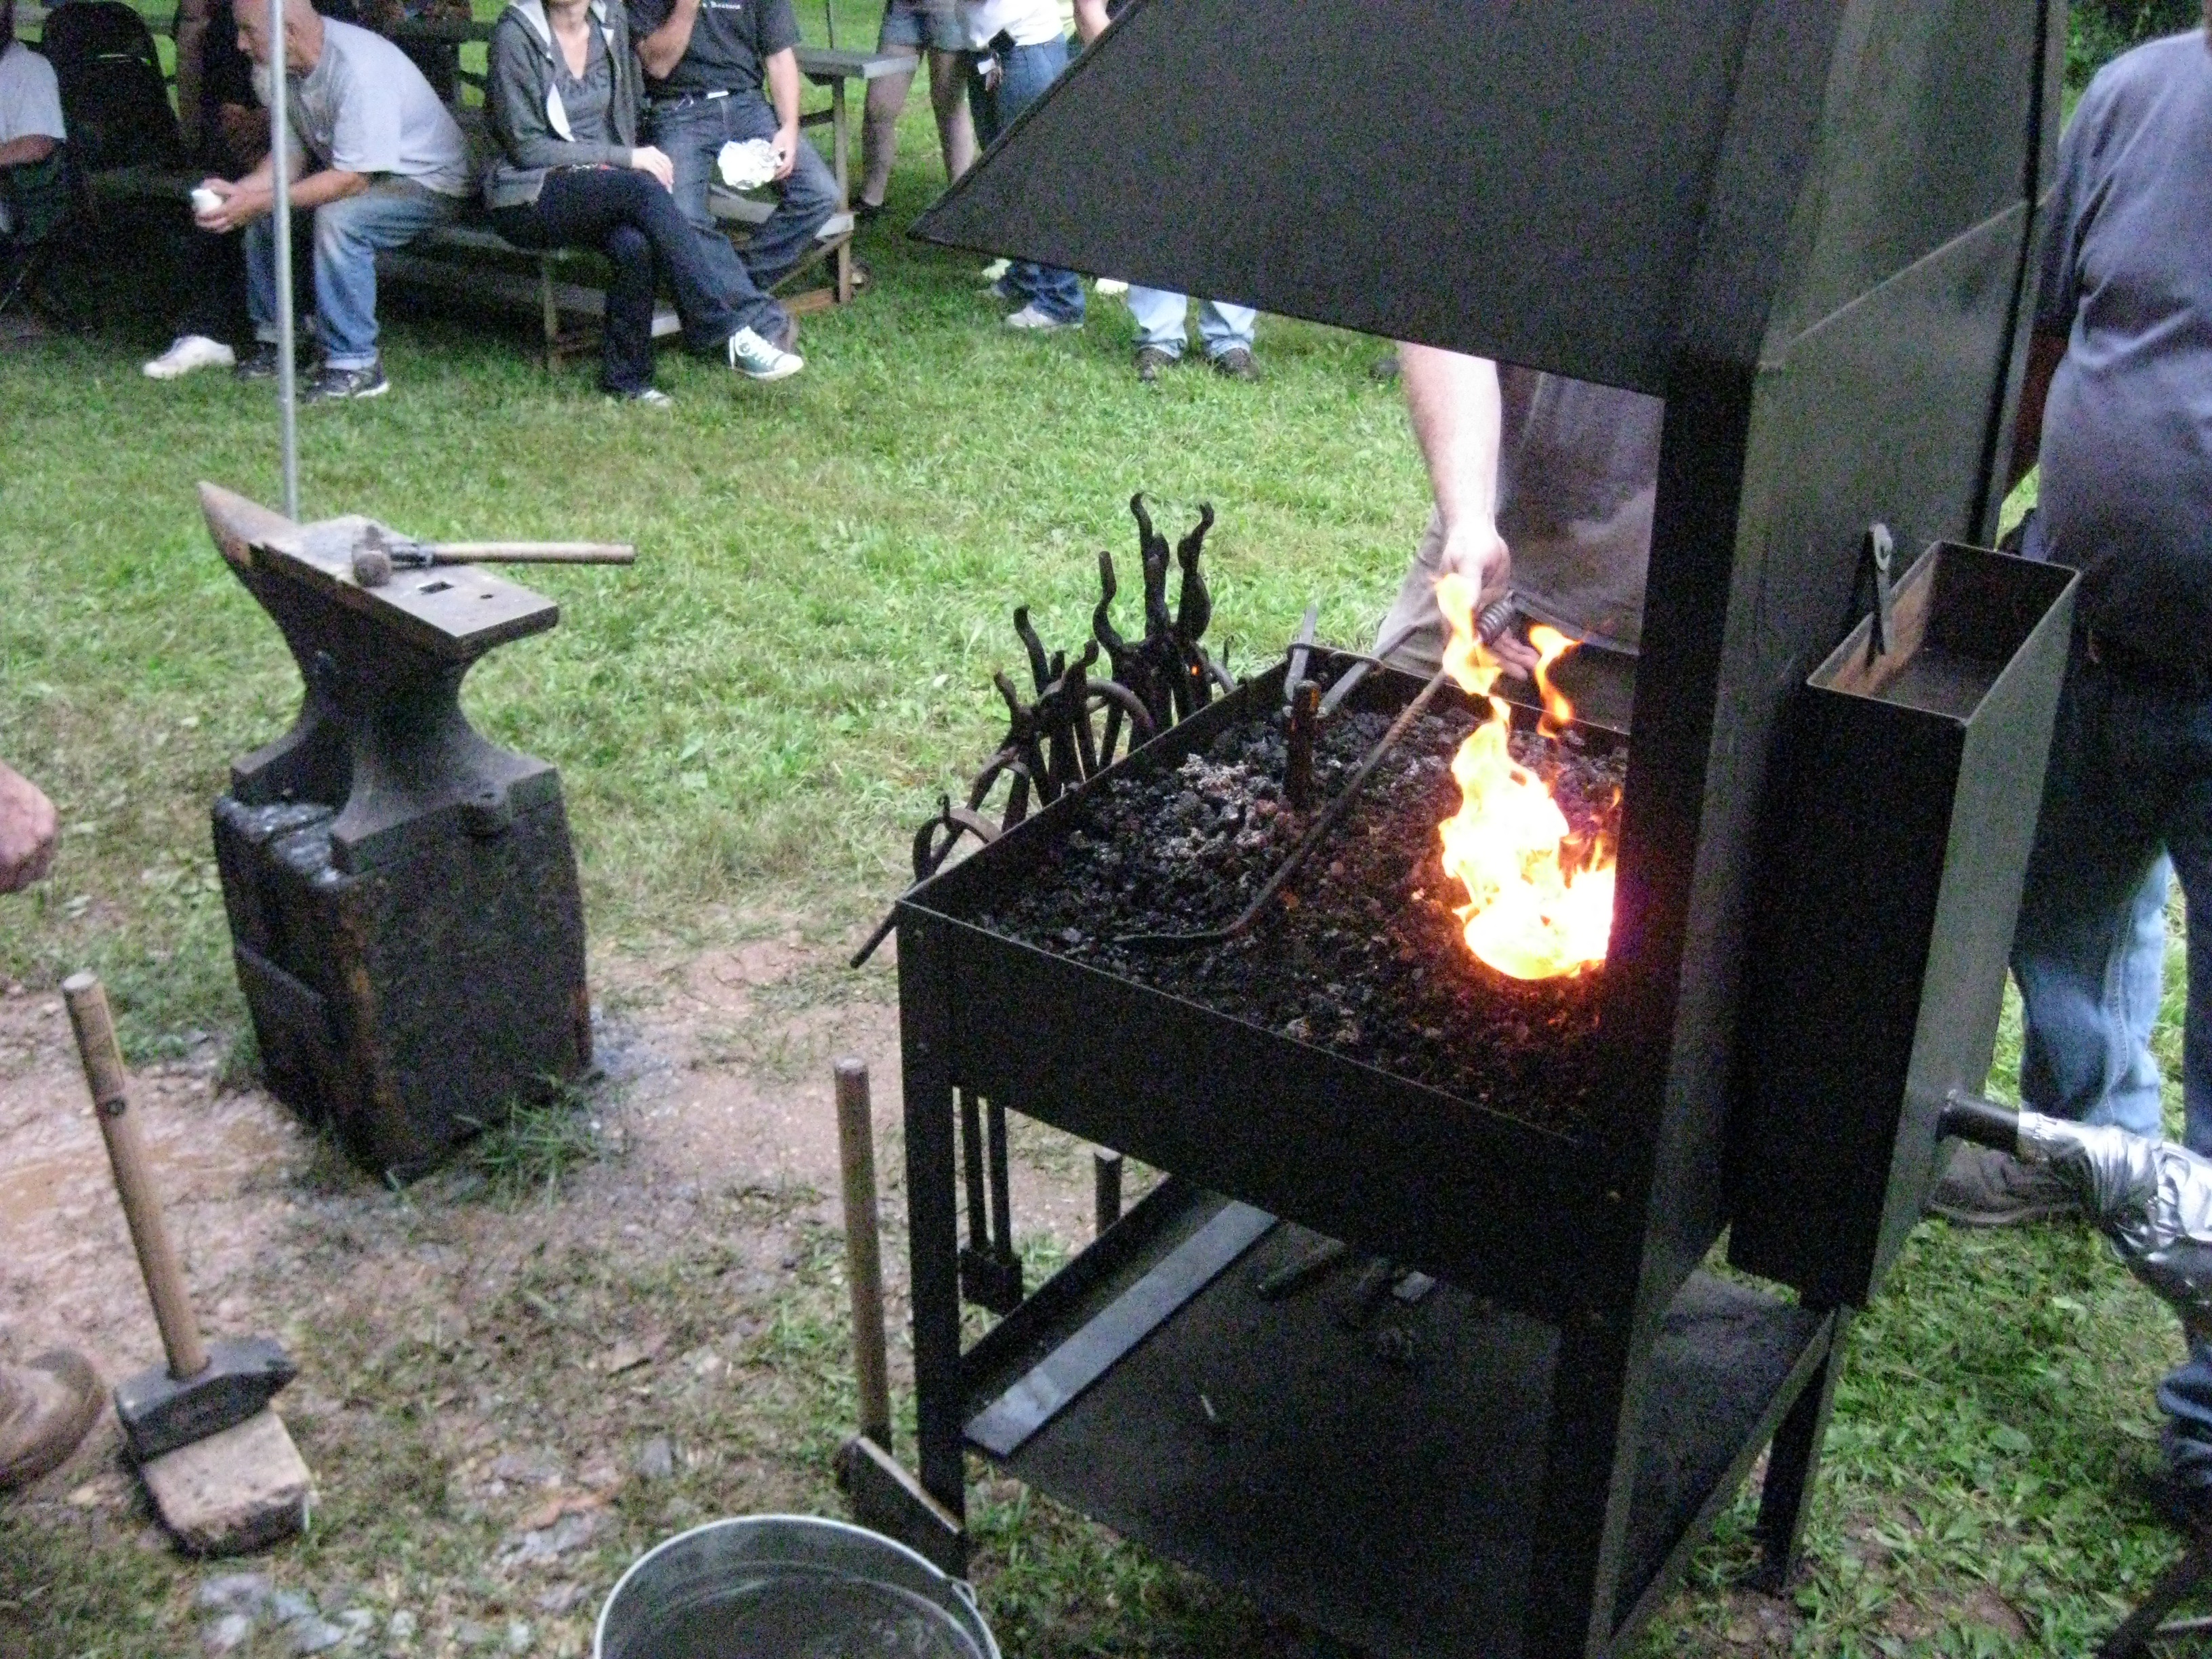
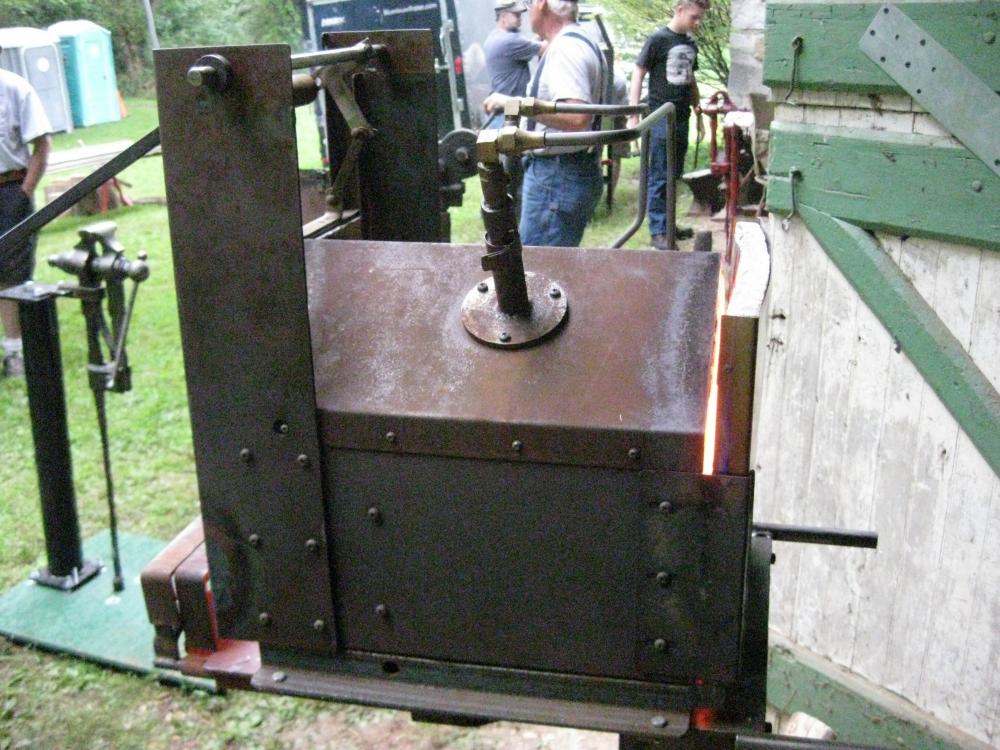
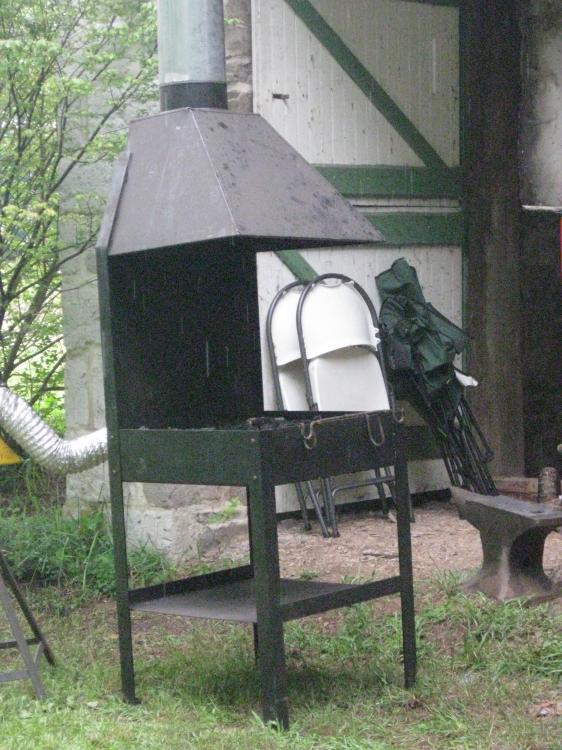
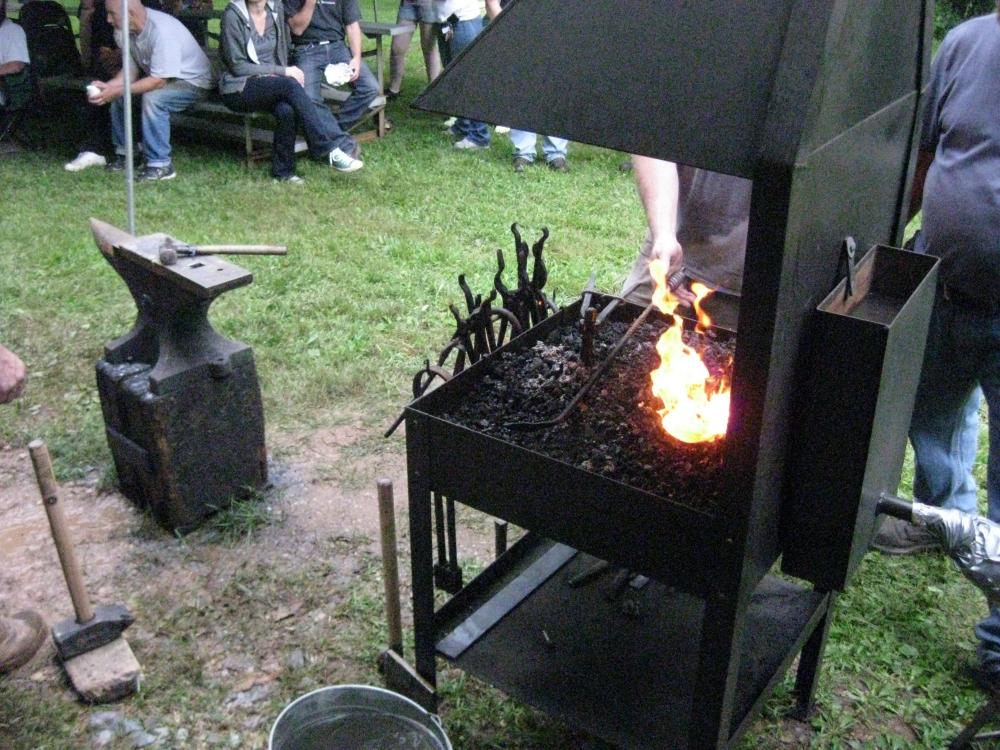
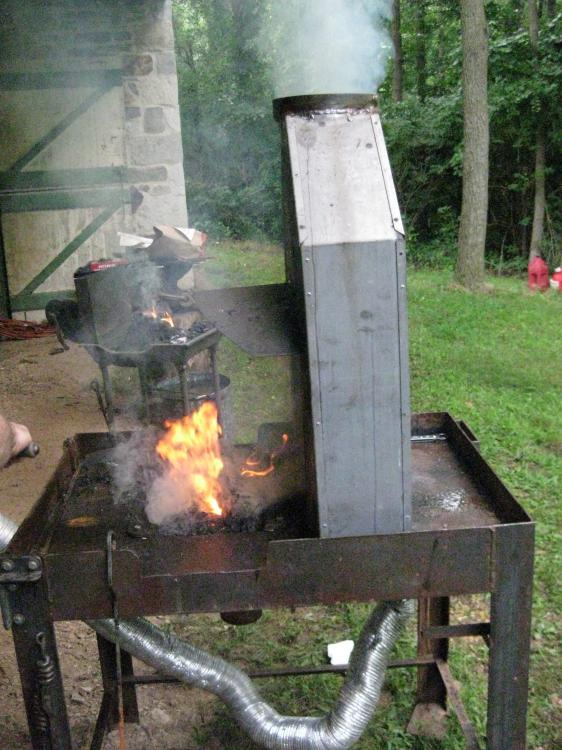
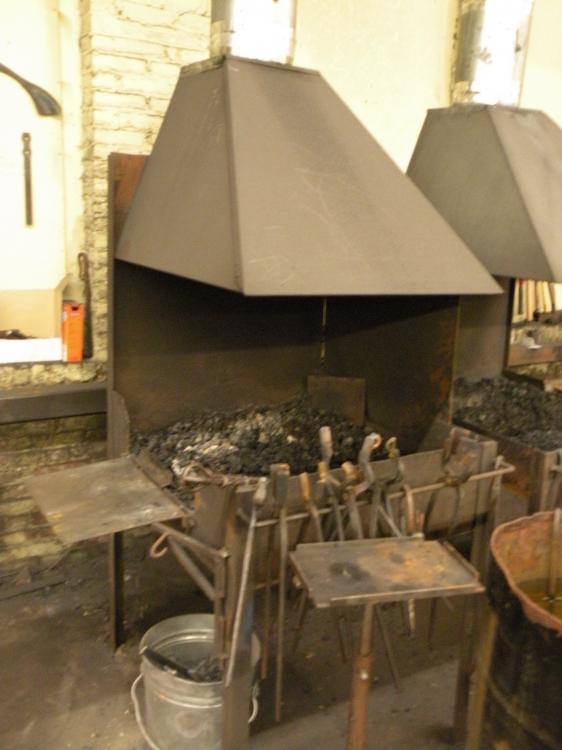
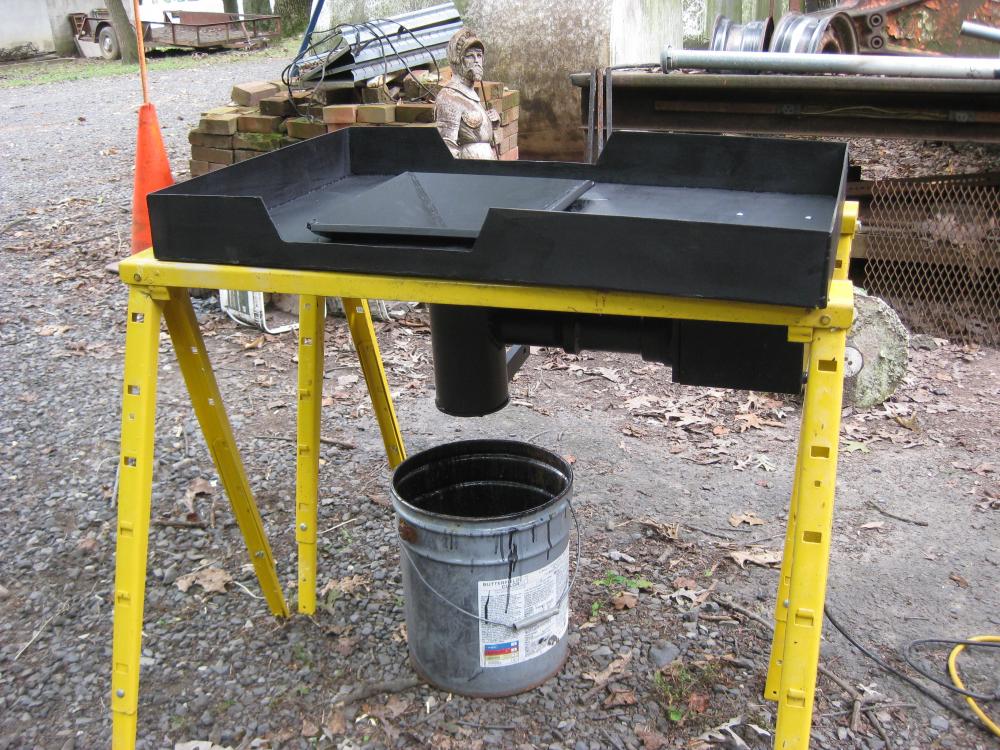
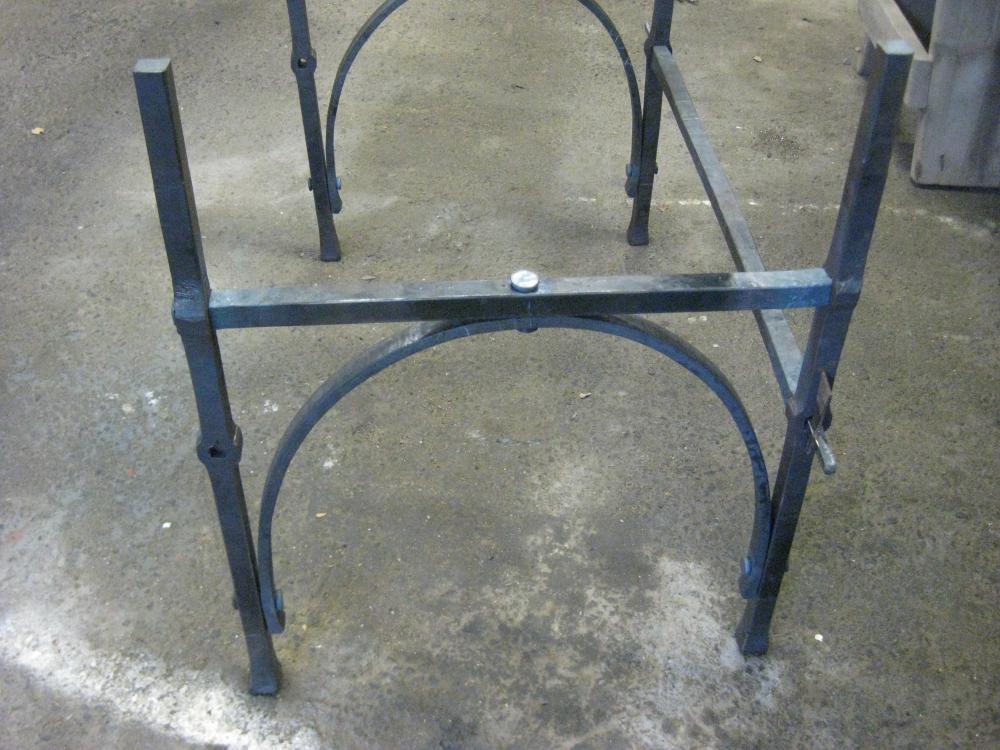
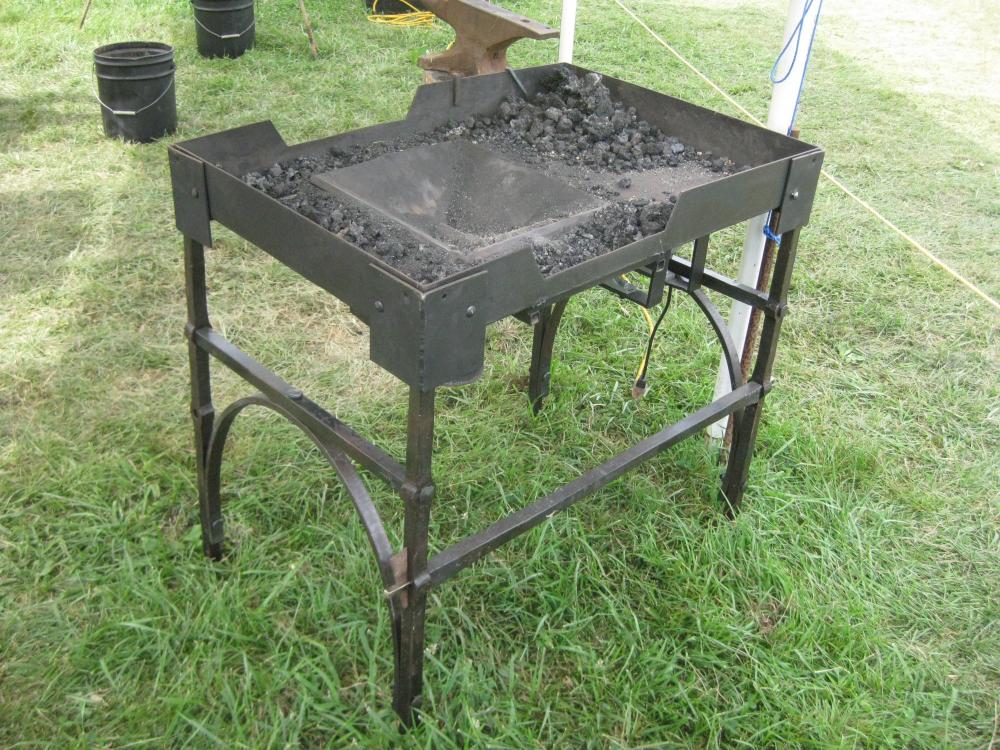
I don't know why it copied over the previous picts again... Yes the 1st 3 picts are of my forge. 1st pict is the original incarnation. 3rd pict is after I added the legs and made a few small tweaks to minor things. For example in the 3rd pict you can see the 2 pieces of 1/2" square tube I added to the bottom so I could slide in a stock support. My poor internet connection and forbidden is making posting tonight a nightmare. I did a thread on my forge build, but the picts no longer exist with the new upgrade to the site, so the thread is pretty useless. If I have a better connection tomorrow I'll try and repost that thread. I'll have to dig up my notes anyways for dimensions. I believe it was modeled on either a commercial forge made by Pieh or Centaur Forge. I took measurements from the ones in class to use as a rought design. Actual measurements were altered to fit materials on hand some though. I did do a clinker breaker when I built it. Of all the parts, it's probably the one I'm least happy with. If I was going to redo it, I might just buy a clinker breaker from Pieh or Centaur and not bother trying to build my own. I'd buy that 1st, then build the firepot/tuyre around it's dimensions. The clinker breaker isn't required though. You could make do with just a grate if you wanted. Sides on mine are 3 1/2" x 1/8" flat bar. Originally we were going to use it as flex forms for concrete but we came up with a better solution to that problem. I can't remember if we originally bought it as flat stock or if it was steel landscape edging. I know we used both when trying to figure out what worked best. Angle iron would work also and might be easier if you have limited fab skills. I'll Pm you some more info in a bit.
-
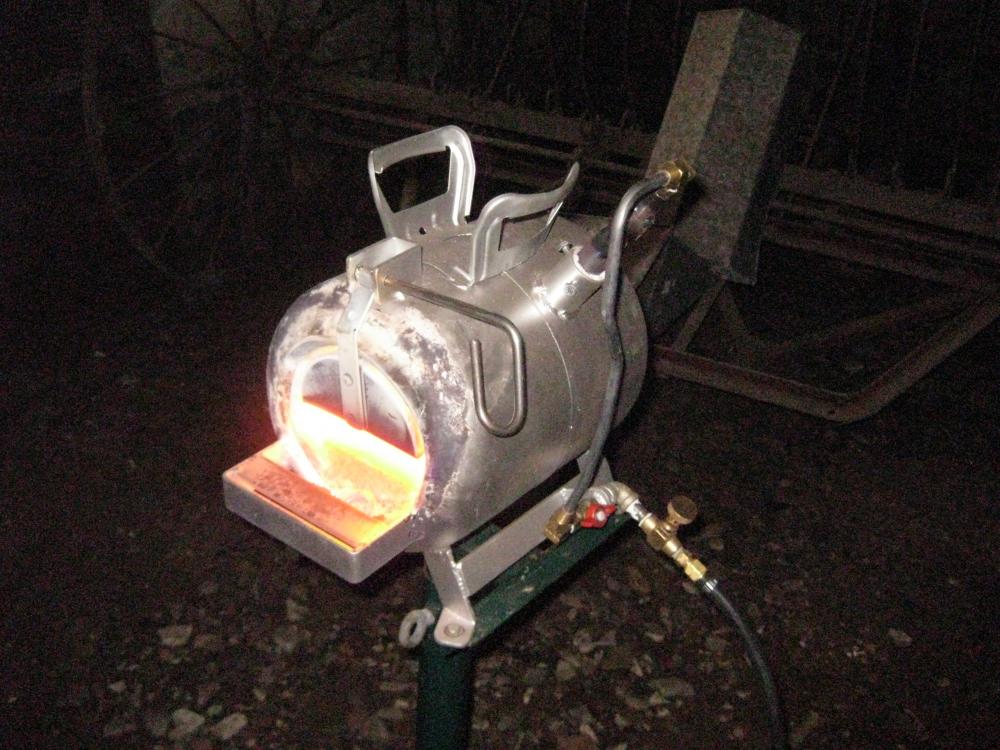
Nick, a burner isn't all that hard to put together. However locating decent insulating material for your forge might be. When I went to build mine originally, I bought regular fire bricks that Fizzano's down the street had in stock. These are hard bricks, not the soft insulating bricks. They take forever to heat up and suck down a tremendous amount of fuel. Because of this my forge really didn't do so good. I'd get things hot, but not really all that hot, certainly not hot enough to forge weld. Don't bother buying the hard bricks, they aren't worth it. If you really want to buy some, let me know. I'll sell you the ones I have. You will want to invest in either soft insulating bricks, or insulating blanket like Kaowool. To get these, you'll have to order what you need. Wayne Coe here has all that stuff if you want to order some. I've been kicking around redoing my gas forge. I've got one of the Reil style burners I built, as well as one of Steve Gesheimer's that I bought from him at one of the PABA meetings. Eventually I'd like to pick up a 2nd one of his burners possibly and build a forge similar to his 2 burner forge I posted up in the Smiths of NJ thread. I just need to find some decent flat sheet and buy the 2" insulation and coatings if I go that route.
-
Nice job. I've seen that design before, but I haven't gotten a chance to try one. I think they might be good sellers and easy to make. I like the fact you counter sunk the screw holes. Small things like that can make a difference.
-
I'll have to take time in the near future to put the picts back into my forge build thread. Mine cost me about $50 originally. That was for the 1/2" plate I chose to use for the fire pot. I had some 1/4" I could have used, but chose to err on the heavy side since I know the heat was going to degrade the pot over time. Everything else originally was scrap finds saved up over time. I could have just as easily gone with a brake rotor and made something almost the same for just about free. I'll admit that later I made the legs in one of my blacksmithing classes and that added "cost" to the whole thing, but I could have just used pipe legs or angle iron like they did above and still stayed below $100 total even with the 1/2" plate.

-
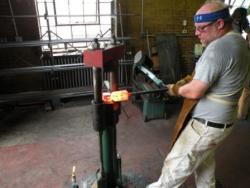
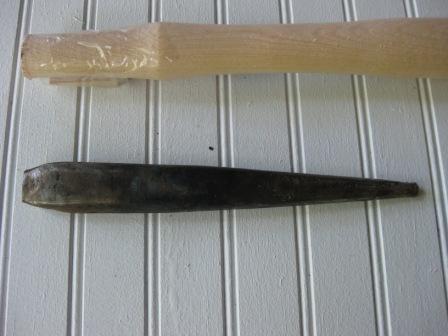
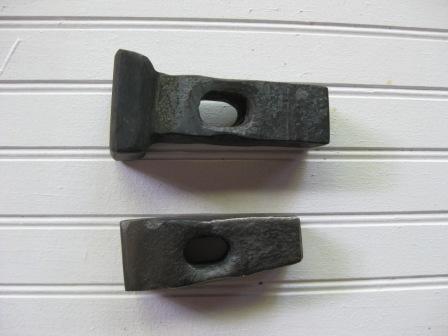
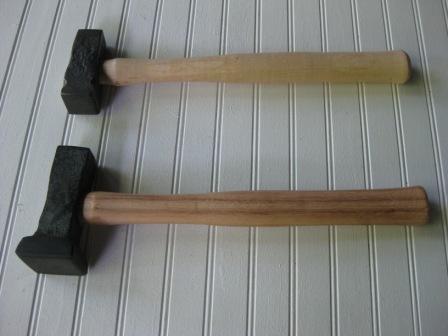
It's not really all that hard to do. Made this flatter and set hammer in my 2nd blacksmithing class. I had help punching the original hole in the 1 1/4" stock and it helped to have someone to hold the stock while I swung the sledge to drift the eye. Eye was made from simply 1" round mild steel I flattened and tapered. I looked at the replacement handle on my cross peen and guessed how close I needed to be to match that handle. It came out pretty close.
-
Looking to get a hold of an anvil
DSW replied to New axe maker's topic in Anvils, Swage Blocks, and Mandrels
Plenty of info here on what works for "make shift" anvils. Pretty much any good sized chunk of solid steel you can beat on. Doesn't even have to be steel, a rock would do in a pinch. Of course there are plenty of places where you can buy brand new quality anvils as well.