Steve Shimanek
-
Posts
441 -
Joined
-
Last visited
Content Type
Profiles
Forums
Articles
Gallery
Downloads
Events
Everything posted by Steve Shimanek
-
Elementary Forge Practice by Robert H. Harcourt, Stanford University Press 1917, reprinted by Lindsay Publications.
-
I found this book while cruising Ebay for blacksmith stuff; it seemed like it might have some useful information, so i bought it. It was designed as a trade school reference in 1917, so it is a bit dated in many respects, but the projects and the drawings are well worth while and still relevant. The book was about $10 with $5 shipping, came quickly, and is in trade paperback format. 144 pages; I cruised through the whole thing last night. I recommend this for beginners and experienced smiths alike as an excellent addition to any blacksmiths' library.
-
Started Power Hammer Project
Steve Shimanek replied to Steve Shimanek's topic in Power Hammers, Treadle Hammers, Olivers
I got a chuckle from "any decent spring shop should be able to help".....no such thing around here. Do you see a problem with the geometry of my machine in progress? The problem with Northern Tool is that they use Fedex for ground delivery in the mainland US and apparently Fedex is not consistently able to then transfer to the USPS. Somehow what should have been 2 to 3 weeks by air turned into 3 months by ship. I do buy from them every now and then anyway. I haven't bought my valving yet, but have spec'd the parts from McMaster-Carr. I can dig up the part numbers if anyone wants to review the list i came up with. -
Started Power Hammer Project
Steve Shimanek replied to Steve Shimanek's topic in Power Hammers, Treadle Hammers, Olivers
I ordered a shop air kit from Northern Priority Mail 3 months ago...it got misdirected and ended up on ocean mail, finally got it about a week ago. The compressor is installed and wired already. I still need to get my valving, but the project is still alive. -
It has been hitting in the 90s and doing anything means sweating buckets here.
-
Started Power Hammer Project
Steve Shimanek replied to Steve Shimanek's topic in Power Hammers, Treadle Hammers, Olivers
Finally back to making some headway on this project; I wired up the compressor, had a flexible hose made, and ordered some air hose from Northern....also took apart the cylinder, reamed out the end cap port, cleaned, resembled and primed it. When funds permit, I still need to order the valves. -
Very cool.....I'm a Les Paul fan.
-
The Color Guard of the Salt River Pima Maricopa Indian community used black berets with the SF crossed arrow insignia as their badge; all were former military, some of them were SF and arrows are definitely associated with American Indians. I was an honorary member as a retired officer and from an associated community. My take on the stolen valor issue is that as long as someone is not falsely posing as something they are not, the wearing of non specialized insignia is not really an issue. Special qualification badges not earned are another issue, one that is frowned upon. Some presumably well intentioned persons have berated people innocently wearing a shirt or hat with a service insignia as stolen valor, going way overboard. I like the anvil unit patch; a t shirt with that will be cool.It won't be long before it will be available through civilian sources that sell militaria.
-
No, I mean the opposite...lowering the ram to hit harder.
-
Impressive build; I see no excess movement, unlike a lot of home built machines. That was a sizable piece you were hitting on, so it looks like it hits well. How big of a gap is there between the tup and anvil? You might just adjust the turnbuckle out a little to get a harder hit.
-
It’s Finally Burning - a first build story (photo heavy)
Steve Shimanek replied to Daguy's topic in Gas Forges
Birch slapped.....;) -
This is as clean as it has been since i made it
-
burnt? grain looks large; you didn't quench it, or forge too cold? No idea unless you specify all of your process.
-
Forced patina recipes will vary depending on the metal; one method on iron or steel is heat, followed by salt and hydrogen peroxide applied in cycles, with light abrasion in between applications. Concrete cleaner is another method, but the fumes are harsh. Sealing an item in a closed atmosphere with vinegar also works. Try to google "forced rusting" or "forced patina" will return lots of results. I had a metal sculpture using an old chain link and a flange that i welded together, and needed to match the patina; the above techniques were useful and turned out well. I then sealed the piece with clear spray lacquer or similar.
-
I like the patina of old junk; it lends itself well to creating art. Learning to do forced patinas to match old patina is a useful skill. Art is in the eye of the beholder, be sure to wear safety glasses
-
Interesting, i will be watching.
-
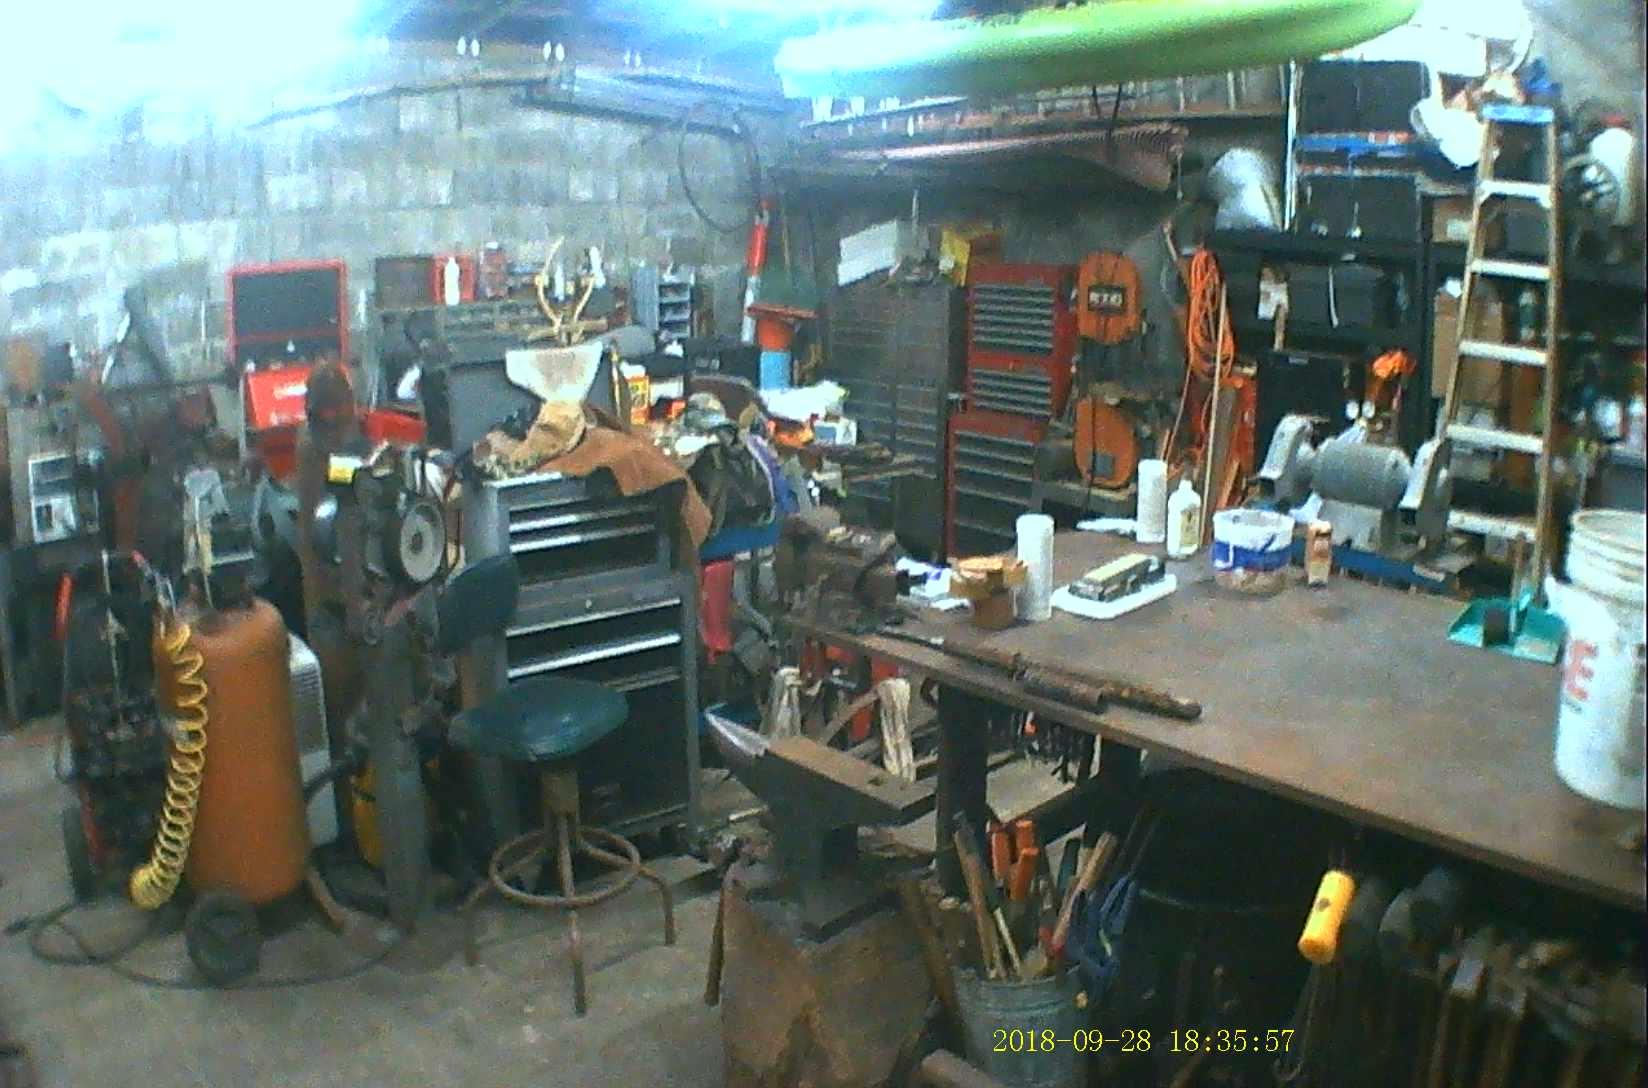
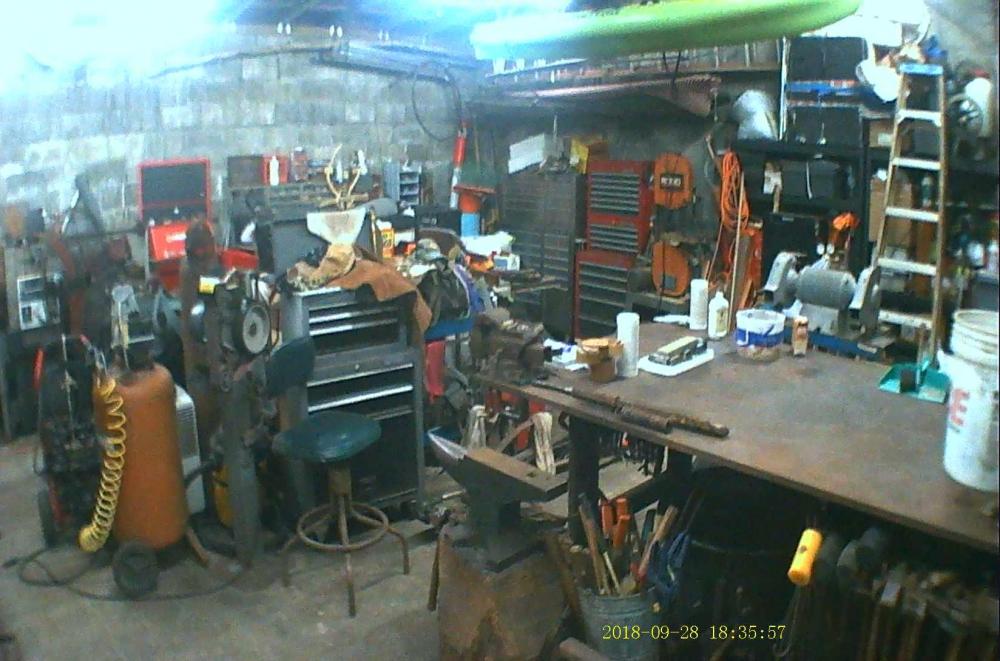
I started cleaning off my work table; it just led to more projects completed and started...stuff is still on it
-
This deck has had a hard life and i needed to get back in business ASAP. I used my Lincoln MIG welder with flux core for most of the repairs, as i had not fired that machine up for a while; i later found more cracks on the spindle housing and acetylene welded them up. https://youtu.be/LKIk1-BVrns
-
Started Power Hammer Project
Steve Shimanek replied to Steve Shimanek's topic in Power Hammers, Treadle Hammers, Olivers
Roger....good shop day today, finished up what i was working on yesterday.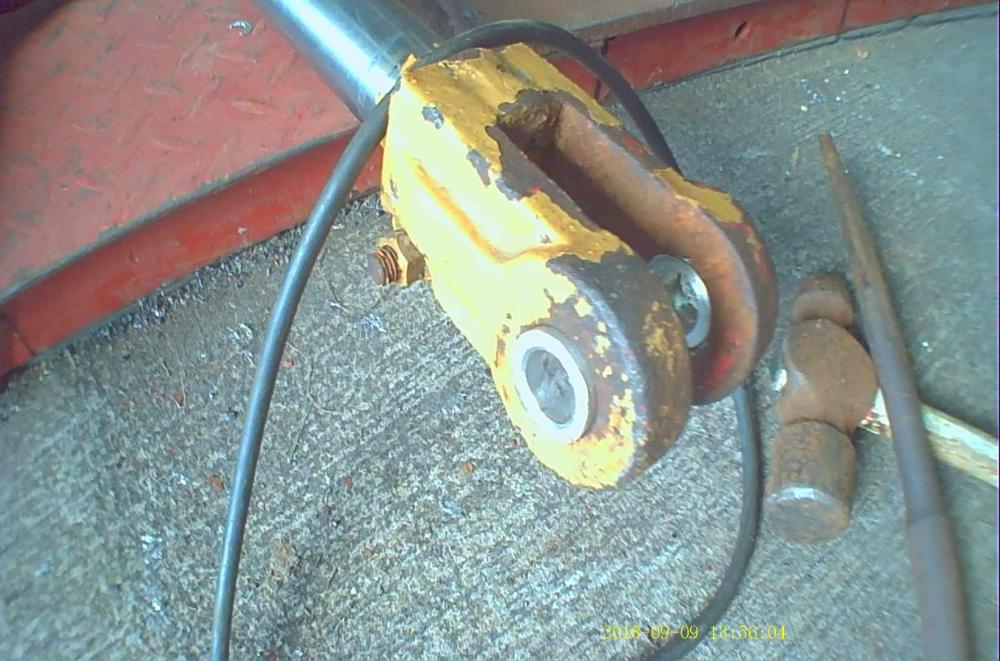


-
Started Power Hammer Project
Steve Shimanek replied to Steve Shimanek's topic in Power Hammers, Treadle Hammers, Olivers
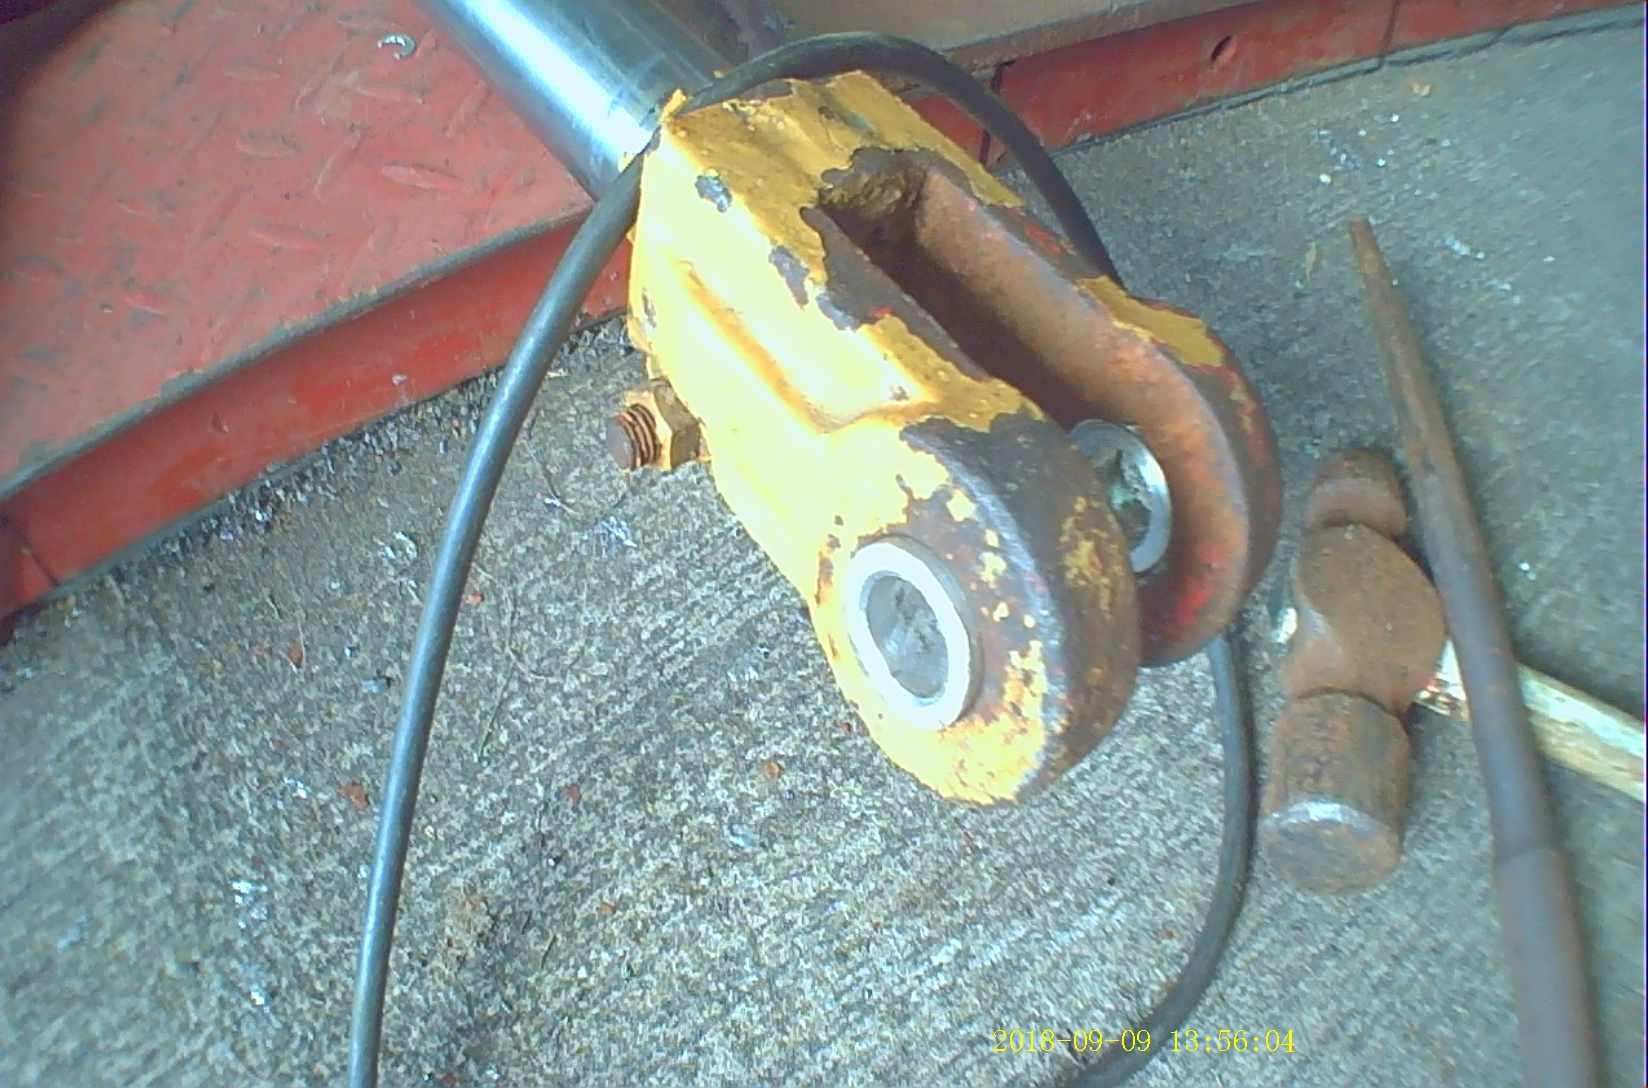
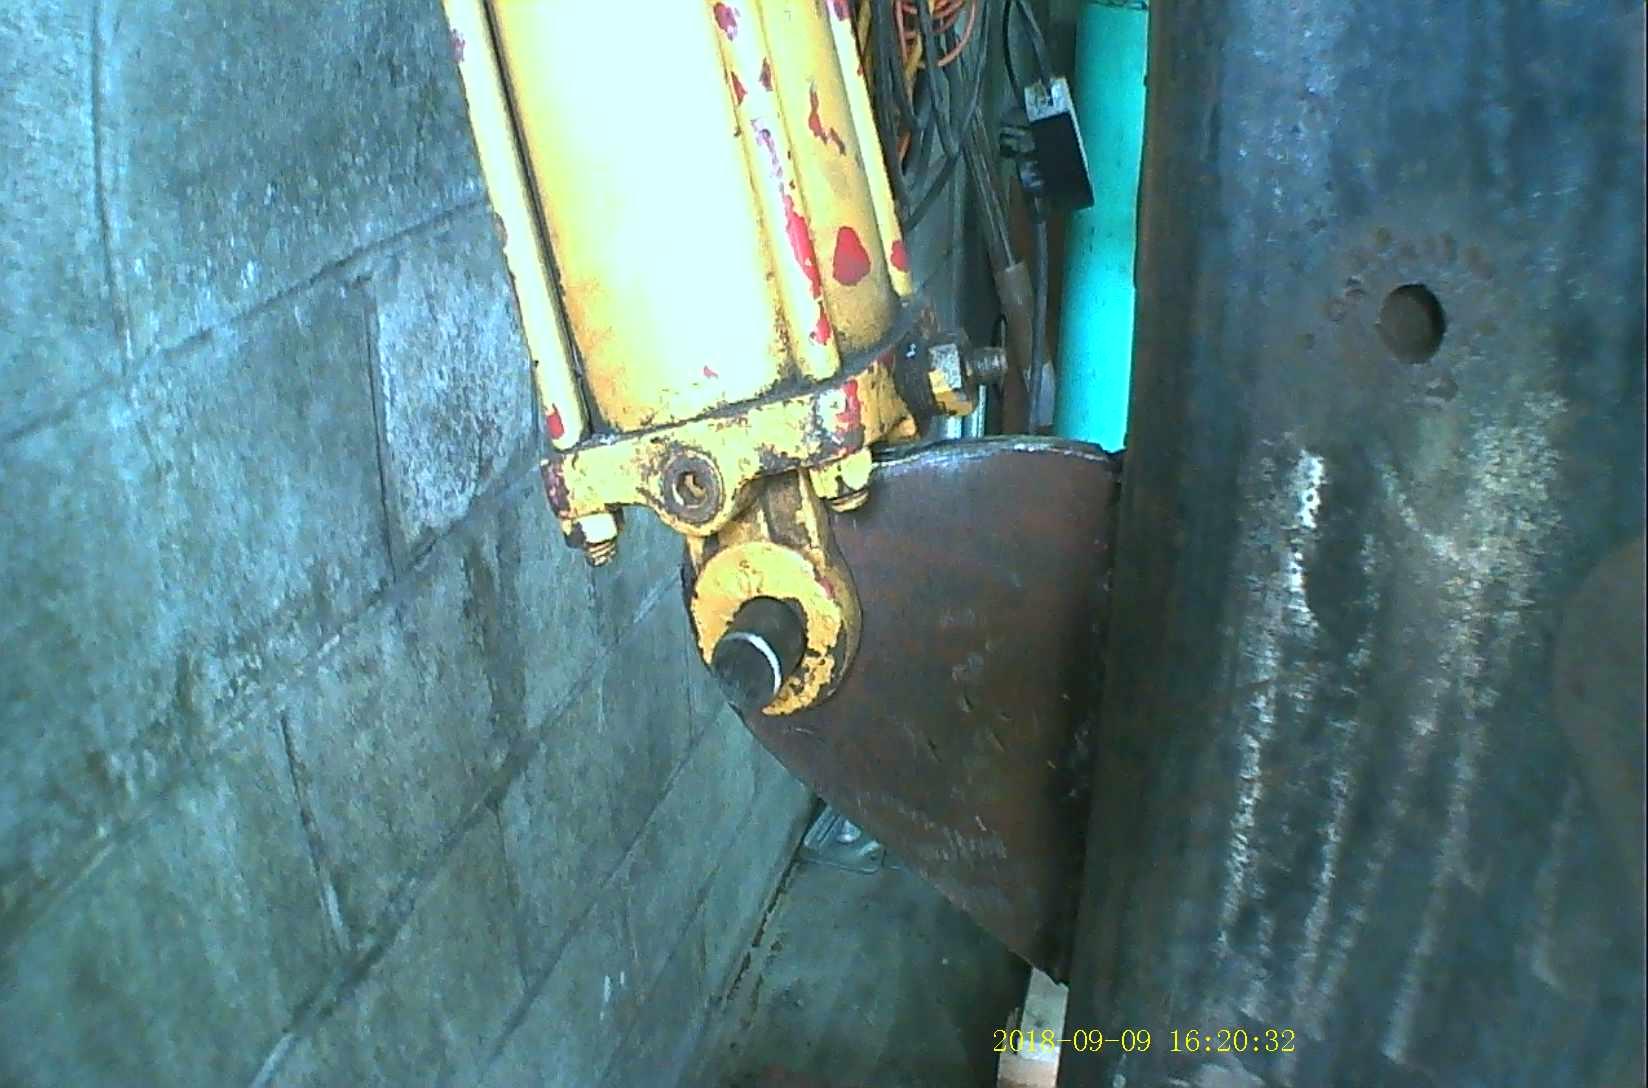
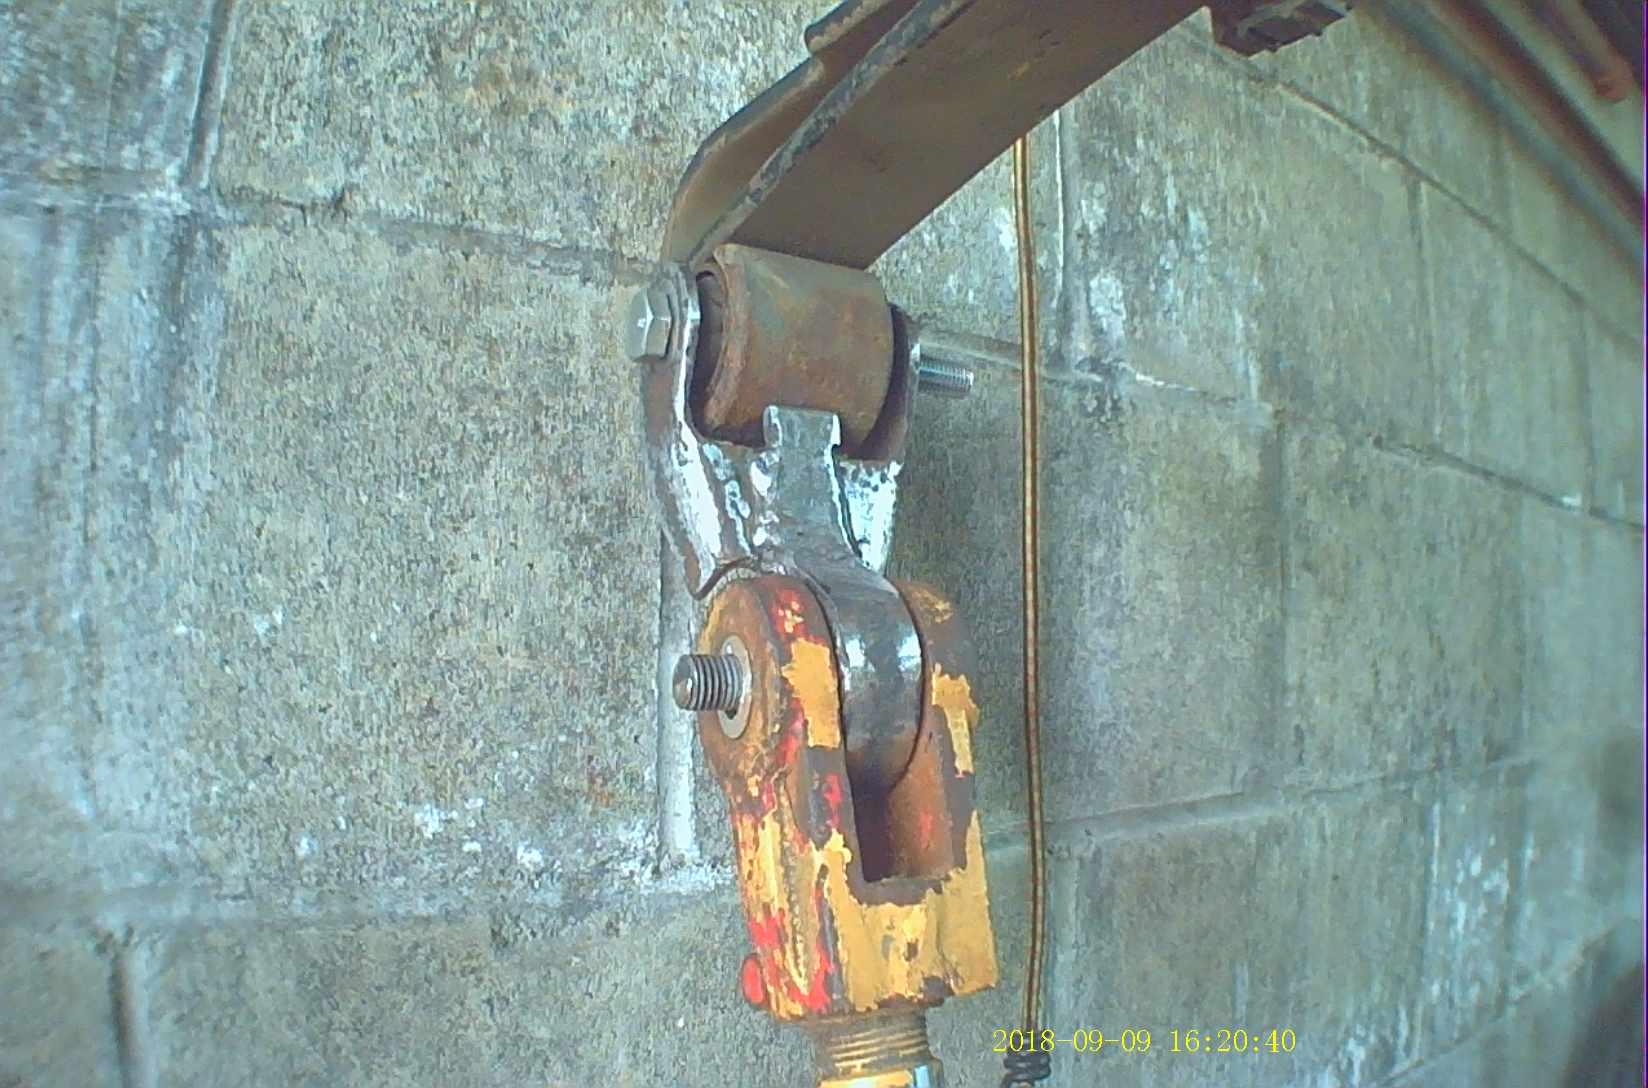
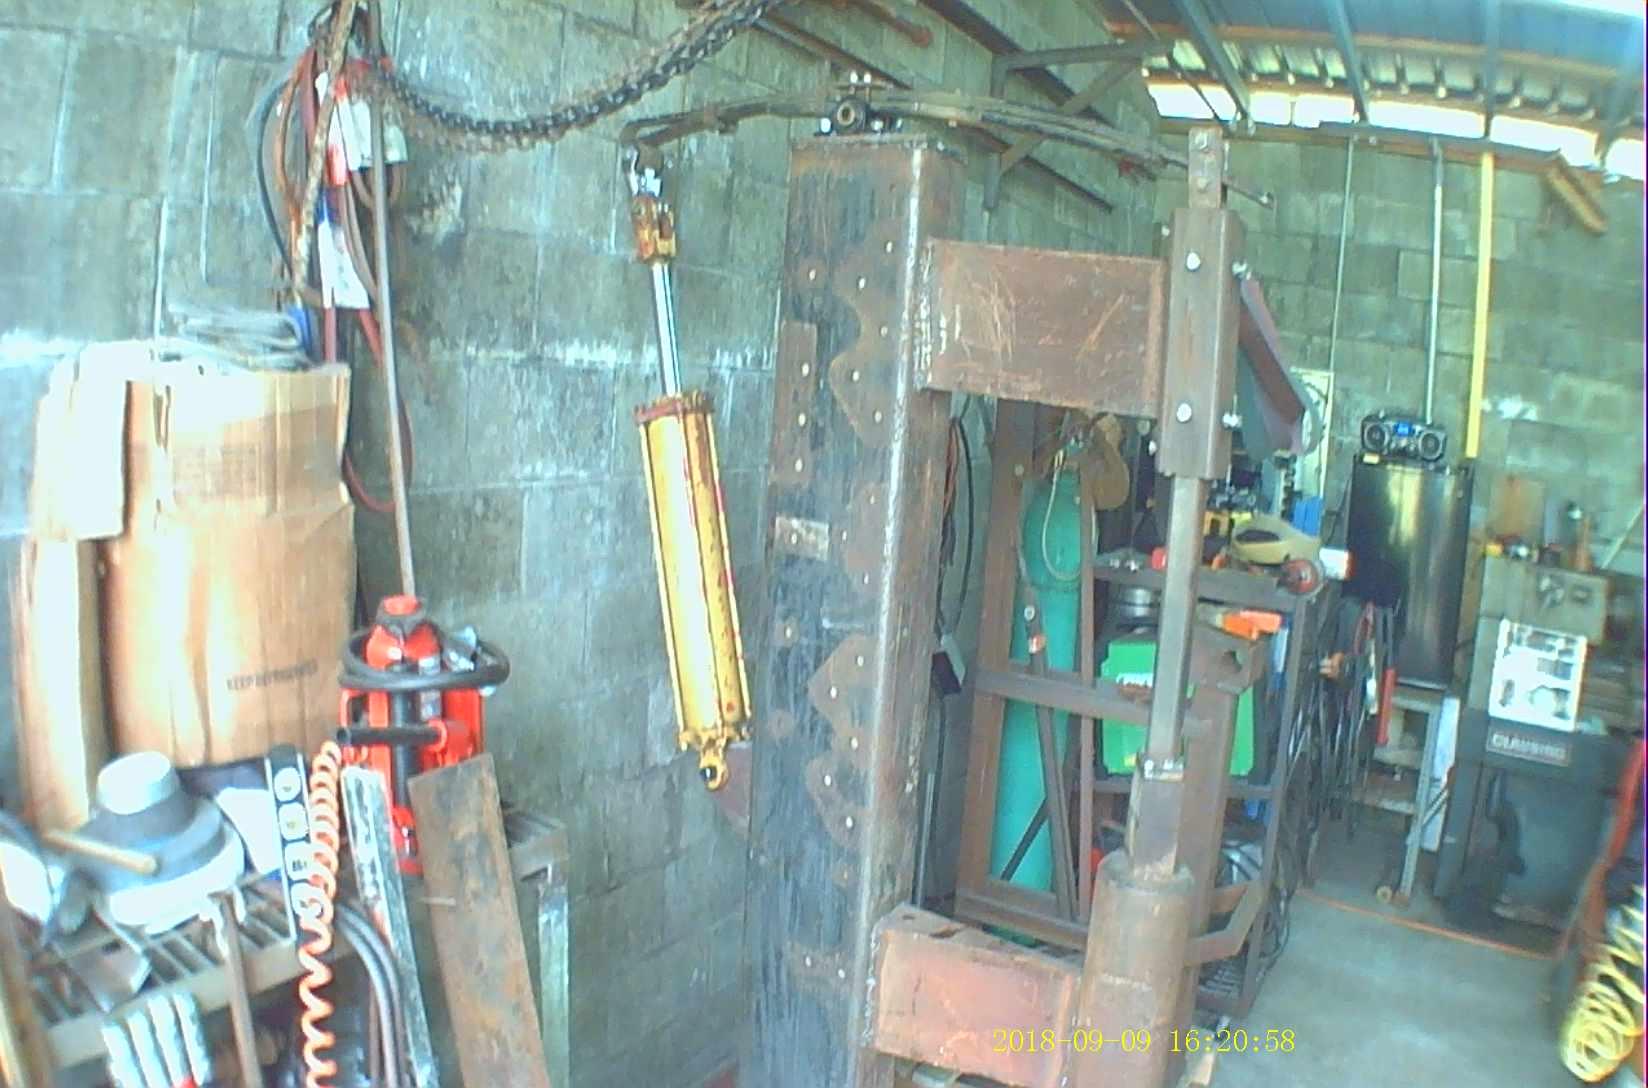
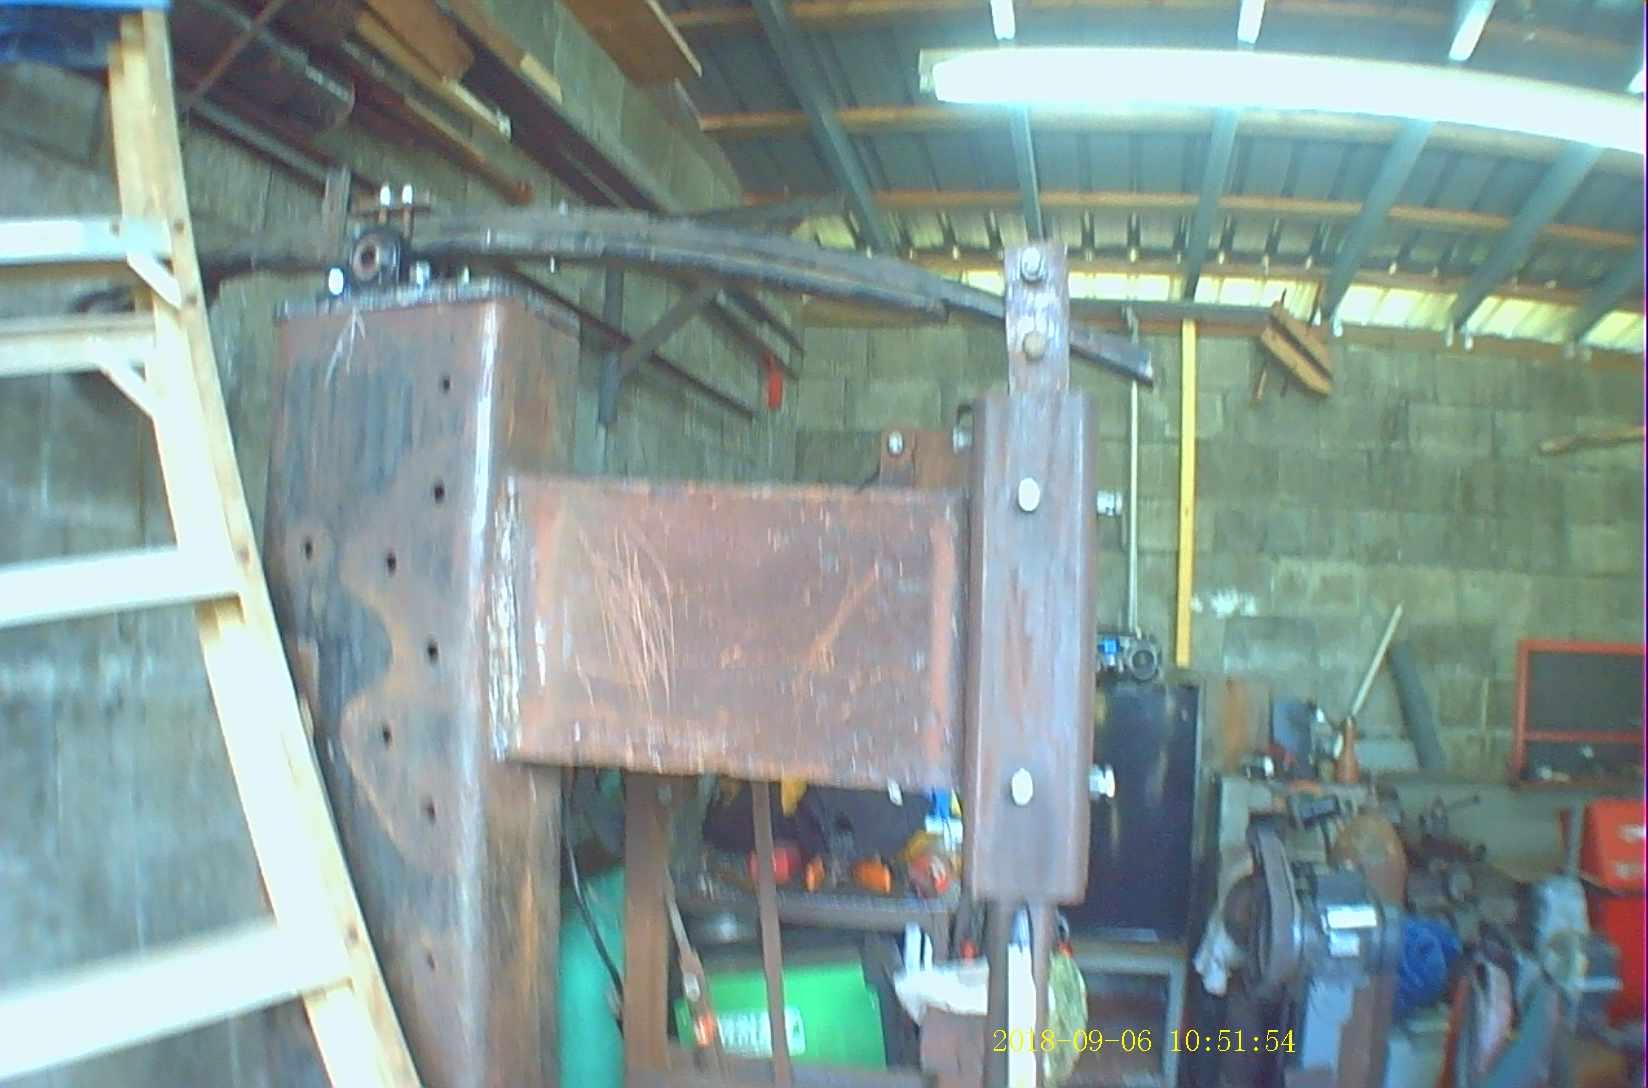
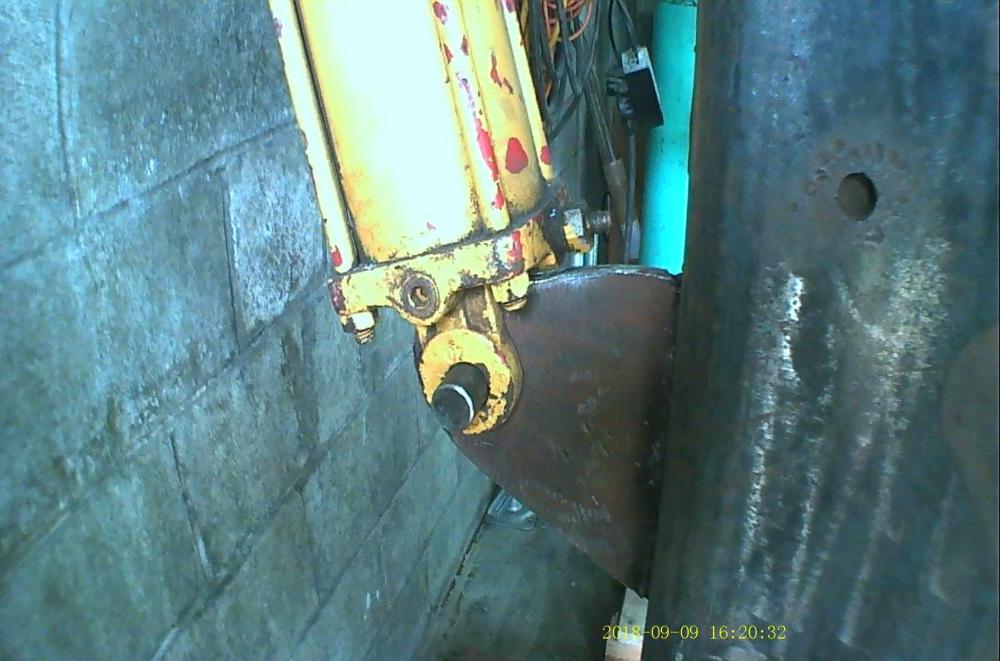
I modified a spring bushing for the top roller to take up the slack and add in some rubber cushioning....yesterday i made the link for the top of the cylinder to the spring by modifying a leaf spring toggle, which i will beef up a bit by welding a strap on it; the eye of the leaf spring still has the rubber bushing in it, so it will be cushioned at both ends. I also welded on the top of the column, and cut a flange for the bottom of the cylinder to mount to. The cylinder and pivot point are placed asymmetrically so the rod does not extend to the end of its travel, so there will be a built in air cushion in the cylinder as well. -
Started Power Hammer Project
Steve Shimanek replied to Steve Shimanek's topic in Power Hammers, Treadle Hammers, Olivers
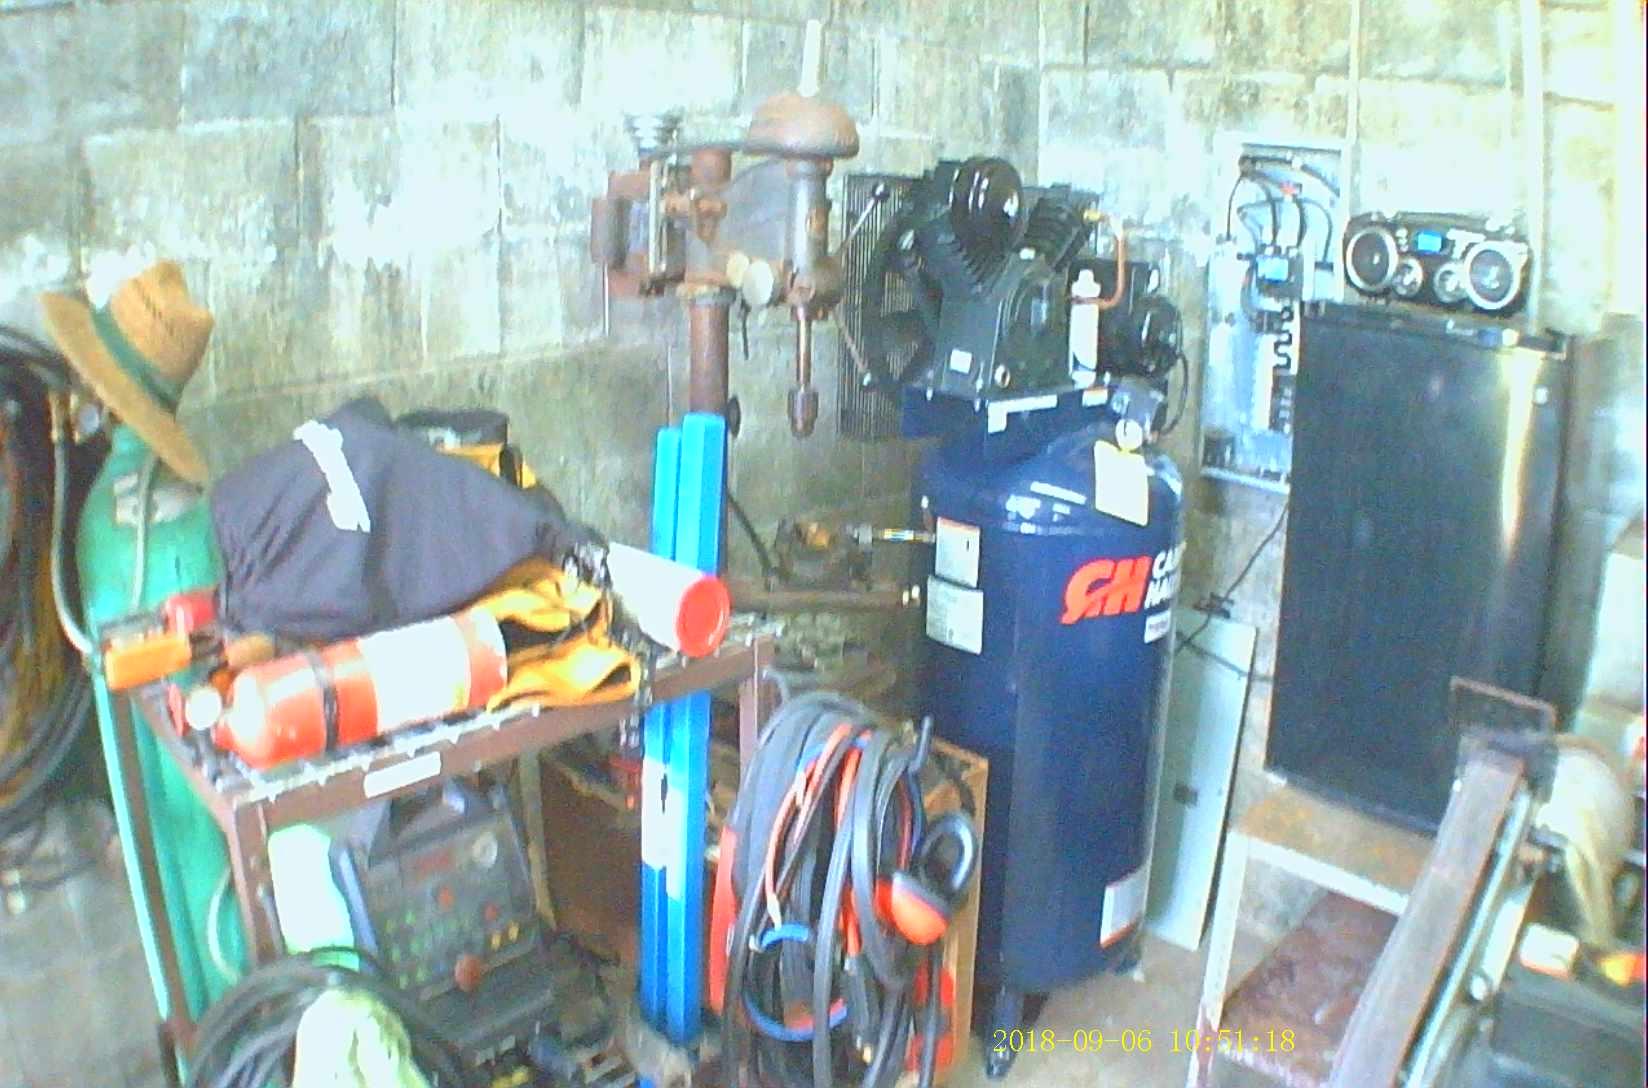
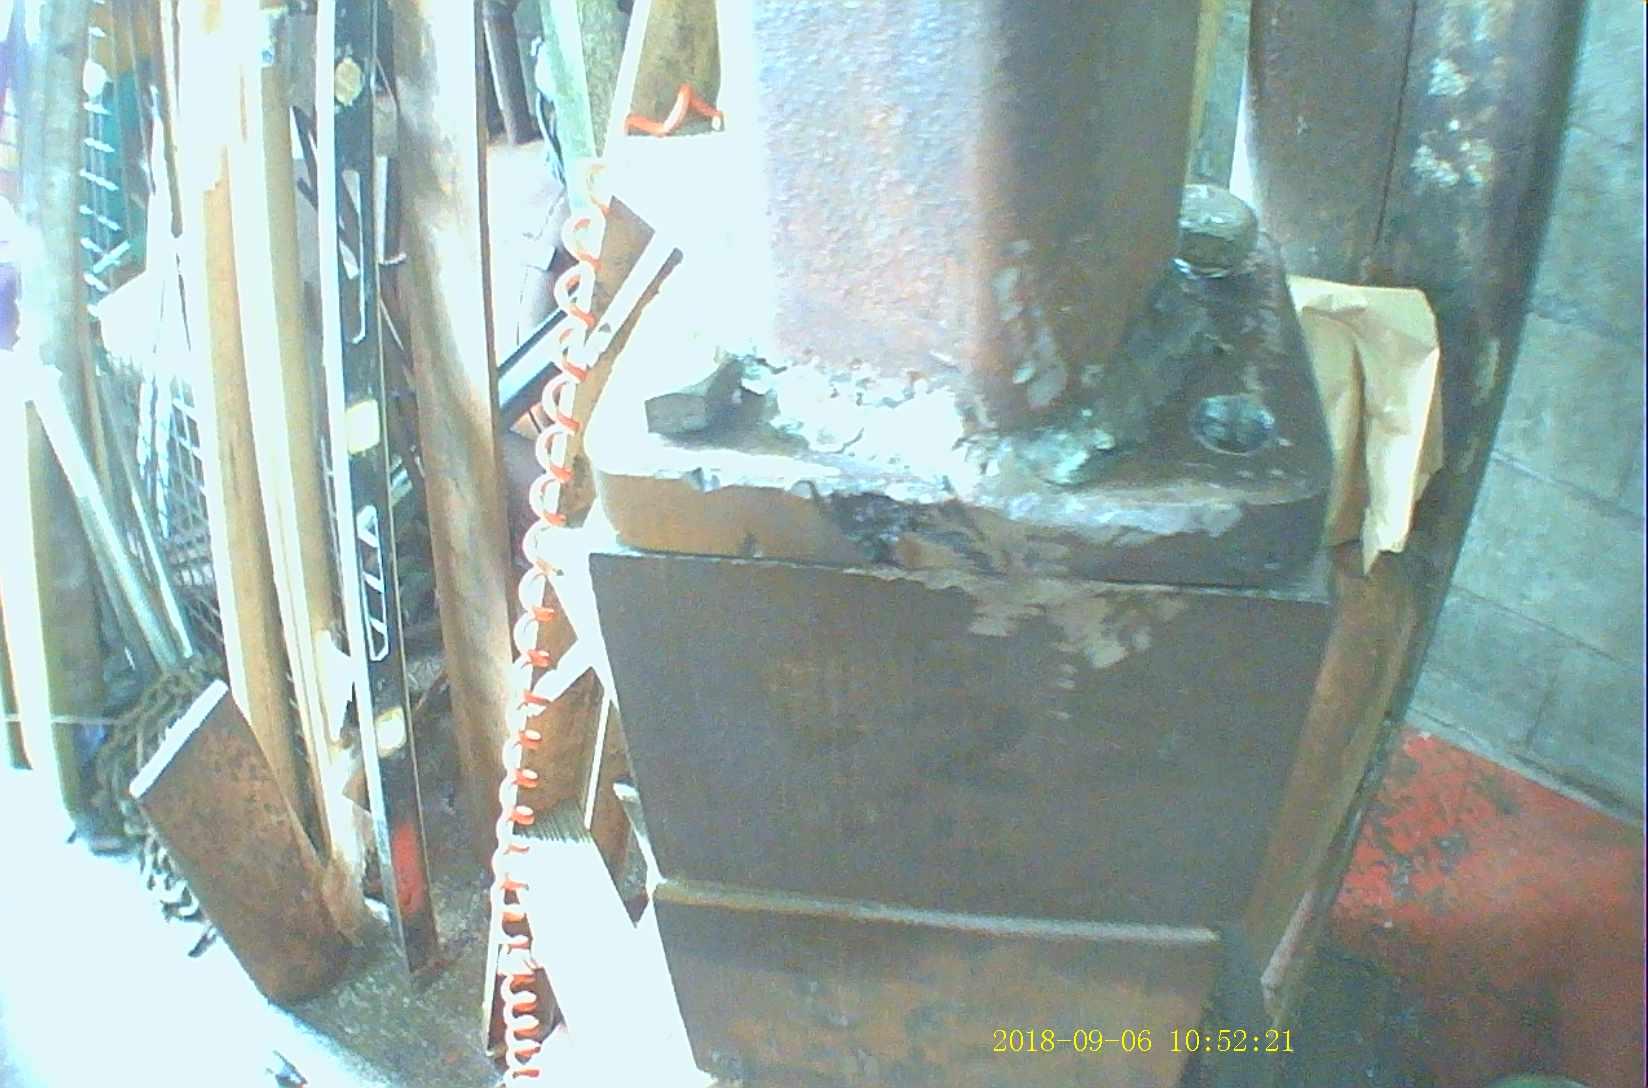
Clarity not so good but shows the general idea....I cut off the die from the ram, melted in some more lead, then welded on a plate so the top die can be changed. Guide bushings are drilled to index them and keep them in place. Bonus photo shows compressor AND my welding cart.


-
An old saying in the repair industry is that if a hammer can't fix it, it is an electrical problem......true story
-
Started Power Hammer Project
Steve Shimanek replied to Steve Shimanek's topic in Power Hammers, Treadle Hammers, Olivers
I will take some pics today and get them up later, didn't mean to get stingy....:) Compressor is a Campbell Hausfield 5 horsepower 2 stage with 80 gallon tank, 17 cfm at 175 psi. Need to plumb and wire it but that will have to get in line to be done. -
Started Power Hammer Project
Steve Shimanek replied to Steve Shimanek's topic in Power Hammers, Treadle Hammers, Olivers
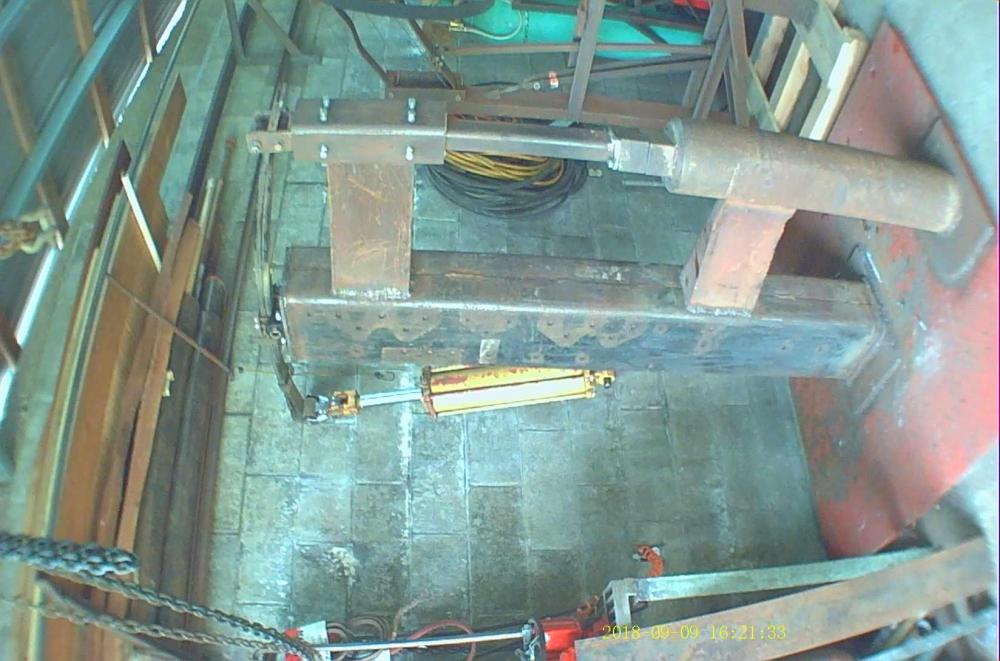
Compressor delivered today, rearranged the shop to get the compressor into its spot. Ram guides installed and alignment checked, so far so good. -
Started Power Hammer Project
Steve Shimanek replied to Steve Shimanek's topic in Power Hammers, Treadle Hammers, Olivers
Holes drilled for bearing mounts, and drilled and tapped for guide bushings....lead poured to fill the ram tube.