
bluerooster
Members
-
Joined
-
Last visited
Everything posted by bluerooster
-
At that point I would have been forced to tell him that I had sat on the couch in my living room, watching the ballgame, and turned it out with a hacksaw, and couple of files.
-
That kid could tear up an anvil with a toothpick
-
I figure to weld the reins. Not sure of what kind of bird, but i'd guess a wren of some sort.
-
I will. for sure.
-
Awsome! Something else for me to try.
-
Finally got out to the forge today. Holy Catz! Its been a while. Anvil is rusted, forge has flaking rust in the fire pot, and this is in a box of borax: I left it alone, as I didn't need any borax today. I don't know how long it's been, but I'd hazard to guess I haven't fired the forge in over 6 months. So, for my first project I decided to make some box jaws. I had about 10 feet of 5/8" square stock, so I cut off a couple of feet, using the forge, and hot cut hardie. Then proceeded to get the jaws roughed in, and pinned together temporarilly, so I can make adjustments to the jaws, and get them finished up. After that, I decided to get a start on a filet knife for a friend. I have a brand new coil spring for a Toyota Corolla, that didn't get returned for credit. I figured it would make a nice blade. Got the blade roughed in, and decided to call it quits for the day. I don't know what is up with this resizng app, but I'll get it sorted. It's making everything distorted/short, and fat. It doesn't give me the option to keep the aspect ratio without being entirely too large. Well just got the app figured out, but too late to edit my post.


-
Yep Sears sold everything. Even livestock. (well bees anyway) In order to increase sales of radios, they determined that the middle states didn't buy radios as there were no stations that they could pick up. So, Sears built a station in Chicago. The most powerful station in the world (as the story goes) That station? WLS. They broadcast things of interest to the farmers of the midwest, and also ads for products that Sears sold. WLS was an acronym for Worlds Largest Store. Living in North Texas, I would listen to WLS on a regular basis.
-
Irondragon, That looks like a K model. Predecessor to the Sportster. Kool!
-
I like that sign it's cool. As to cutting threads, I've only used a lathe. We had a Leblond of 1950's vintage that did pretty good, after the split nut on the lead screw was fixed. Someone, at some time, engaged the feed, with the lead screw engaged. The other lathe was of 1800's vintage, and had to swap gears on the lead screw, depending on the thread, and pitch. There's a placard telling which gear set to use for what thread. The lathe ran off a flat belt and overhead shaft.
-
My plan for it was a dishing form, and mabe a bell..
-
Neighbors pole barn burned down last week. They were cleaning it up the other day, and I happened to see an oxygen bottle laying on the ground. I didn't say anything at that time, but by the time I got home, got my pickup, and back to his place, it was gone.
-
When I built my house, I seriously considered pre-made cabinets. Then found that the standard sizes would not fit properly without lots of dead space. So, I built my own cabinets in place, using real wood. No filler blocks between boxes, no dead space, every inch is usable for storage. And the height fits us perfectly. The standard height is way too short.
-
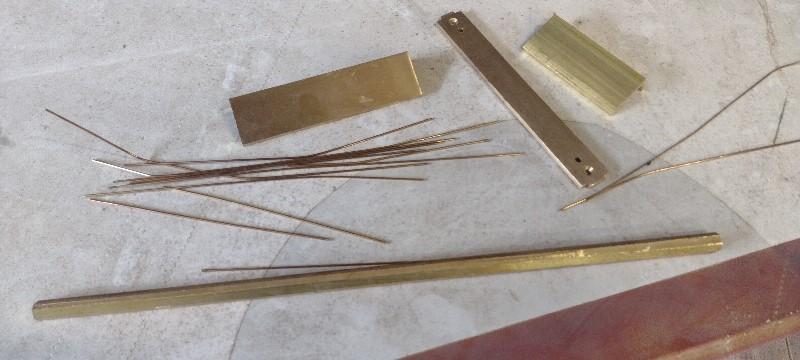
Found some brass at the scrap yard. Hadda give $2 for it.
-
Speaking of selling, I'm not skilled enough in my hobby to justify the sale of anything yet. But as it stands a fireplace poker would have to sell for about $150 to cover my time, material, and fuel. Lately, I've given them away to friends for Christmas presents. And bottle openers to friends just because. The gate latches, and hinges, I made because i needed them, and had more time, and scrap, than money.
-
Pigs feet inna sack,... diagonal from th' stop sign,... peck of green beans.
-
First off, welcome to IFI. I have had no experience with that company. But I'm sure someone will come along shortly with some info. Plus, If you put a general location in your profile, someone here may be pretty close to you. And where you are vs where the company is may well be a very long distance.
-
Air drier can be as simple or complicated as you want to make it. I have one with water trap, oil trap, and desiccant tank, followed by a CO filter. The air coming out is clean, dry, and breathable. Another one I have holds a roll of toilet paper as a filter. Then I have one that's simply a 2" PVC about 2 feet long with a drain valve in the bottom. +1 on draining the compressor tank daily. To make it easier to get to, you can remove the drain cock, and with an elbow, and short pipe, plumb it to out from under the bottom. Easy to get to.
-
I'd thought about putting together a forge at work as well. It would be a big help in fabrication of custom parts, and repair of others. Along with making specialty tools that are needed right now.
-
Got a little forge time in today. And during a welding process I got distracted for a second. three of the four pieces went away. I cut it off, and welded together what remains. But I wanted a longer piece. Oh, and I need more baling wire. Did a little more to the dragon as well. I may start over on the dragon, I'd like his forehead to be more pronounced. Mothman, That jewelry rack is the bees knees!
.jpg.fc9b36009e53e820e1b55e345a4fb41f.jpg)
.jpg.20b3be508369bf3887ee07f904fc76f3.jpg)
-
Ya know, If you don't have so many hours in an AT6, there ain't nobody gonna cut you loose in a P51. Then, after talking to some folks that fly the P51, they say that after the AT6, handling the P51 is a non-event. No forge time for several days. But, I did spend the past couple days hammering steel, and bending it to my will. An old Ford pickup, with rusted corners on the bed. They make patch panels, but the boss didn't want to spend the $100 for a pair. OK, I'll make them, but it will take longer, and cost you more. I didn't think about any "before" pics, but I got the after. Here's the left side And the right side And the box of rust that I cut out I allways save what I cut out, to show the customer that I didn't just pack it full of Bondo.
.jpg.dd1e5a0f734c43f0f6494625cddee595.jpg)
.jpg.fc1124c7003d8ec742277afe2bce80a5.jpg)
.jpg.c84a60def5c7fdeefee69700b4507381.jpg)
-
Looks like an interesting project. I would put it at close to 120 years old?
-
JHCC, Could it be due to work hardening of the steel, causing failure of the weakest spot? I know that is not an area that sees any impact, but the vibrations of impact can cause similar, over time. I've seen it happen many times.
-
It appears that you forged in the curvature of the blade. Once you get it filed, and clayed, are you not worried that it will curve even more in the quench? I forge my "hotdog/taco" (Kobuse) style as straight as I can. They take on the desired curve in the quench.
-
mabe try this? : Heat Treatment The heat treatment of S7 steel is essential for optimizing its performance, especially in high-impact applications. Annealing: Heat S7 steel to 800°C to 850°C (1472°F to 1562°F), then cool slowly in still air or in a furnace. This procedure relaxes the steel, minimizes internal tensions, and makes it simpler to process. Preheating: Preheat S7 steel in two stages: first to around 500°C to 600°C (932°F to 1112°F), followed by 800°C to 850°C (1472°F to 1562°F) before quenching. This helps prevent cracking during the hardening process. Austenitizing: Heat S7 steel to 1000°C to 1050°C (1832°F to 1922°F) and hold for 30-60 minutes. This ensures a uniform austenitic structure, which is crucial for effective hardening. Hardening: Quench the steel rapidly in air or oil to reach a 55-60 HRC hardness. The rapid cooling locks the structure and enhances wear resistance, but care must be taken to avoid warping. Tempering: After hardening, temper the steel at 500°C to 600°C (932°F to 1112°F) for 2-3 hours to relieve residual stresses and balance hardness with toughness. This ensures the steel retains its strength while preventing brittleness.
-
For a decent finish to keep the rust monster at bay, I use old, used peanut oil. It's what I have on hand, (4 gallons of the stuff) and works well as a quenchant, and a protectant. And it smells like deep fried Turkey when applied to hot steel.