MCalvert
-
Posts
75 -
Joined
-
Last visited
Content Type
Profiles
Forums
Articles
Gallery
Downloads
Events
Everything posted by MCalvert
-

leaf spring stock removal HT?
MCalvert replied to 671jungle's topic in Knife making Class General Class Discussion
I like it. Yhorm's razor has a ring to it, don't it just. If you're going to chop carcasses then it should be great, if the grinding goes well anyway.. and provided there's no cracks! What about Cormoran's corn clipper? -
leaf spring stock removal HT?
MCalvert replied to 671jungle's topic in Knife making Class General Class Discussion
Orcish chef's knife? -
Are you going to do this as a hobby, for supplementary income, or try to make a good living?
-
Les L I am using leftover propane from my bbq grill(20lb). I would guess 1/3 of a bottle was worth 4 hours before my pressure started to drop. I won't get a real bottle for a month or so and I will be able to give a better estimate for a 40lb bottle. This is all at orange heat, 1ish psi.. maybe 2psi max. Knife stock heats up lightning fast.
-
Fortunately it's just for injured deer we have to put down after they get bumped on the roads. Animal control refuses to respond to deer after business hours.. just too many. Tis a shame we cant donate the meat.
-
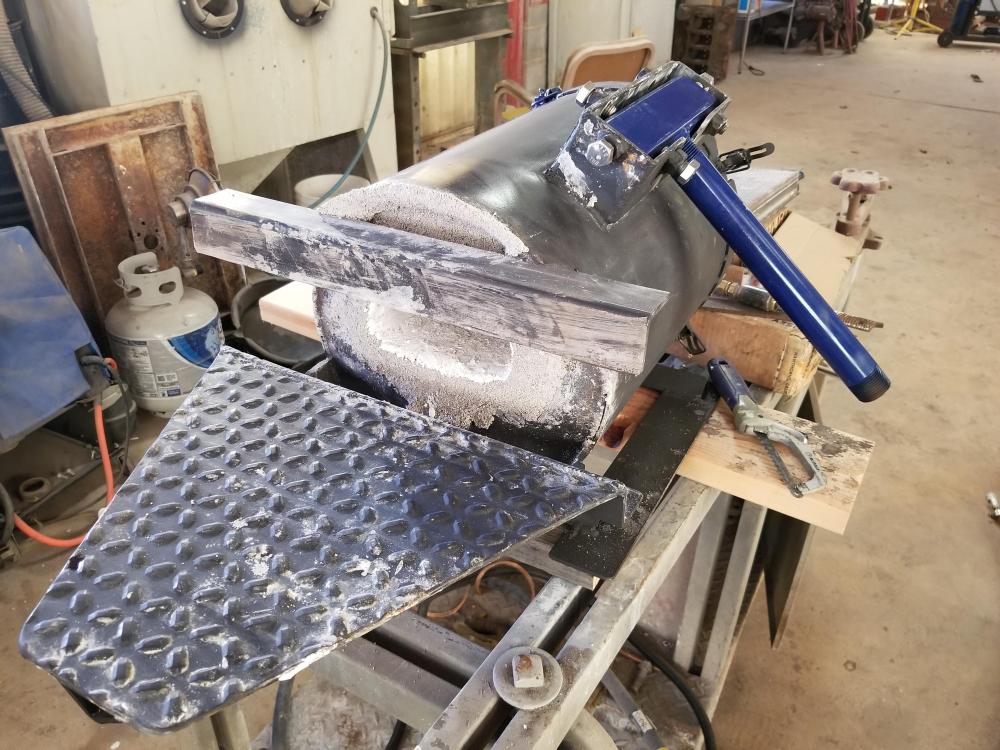
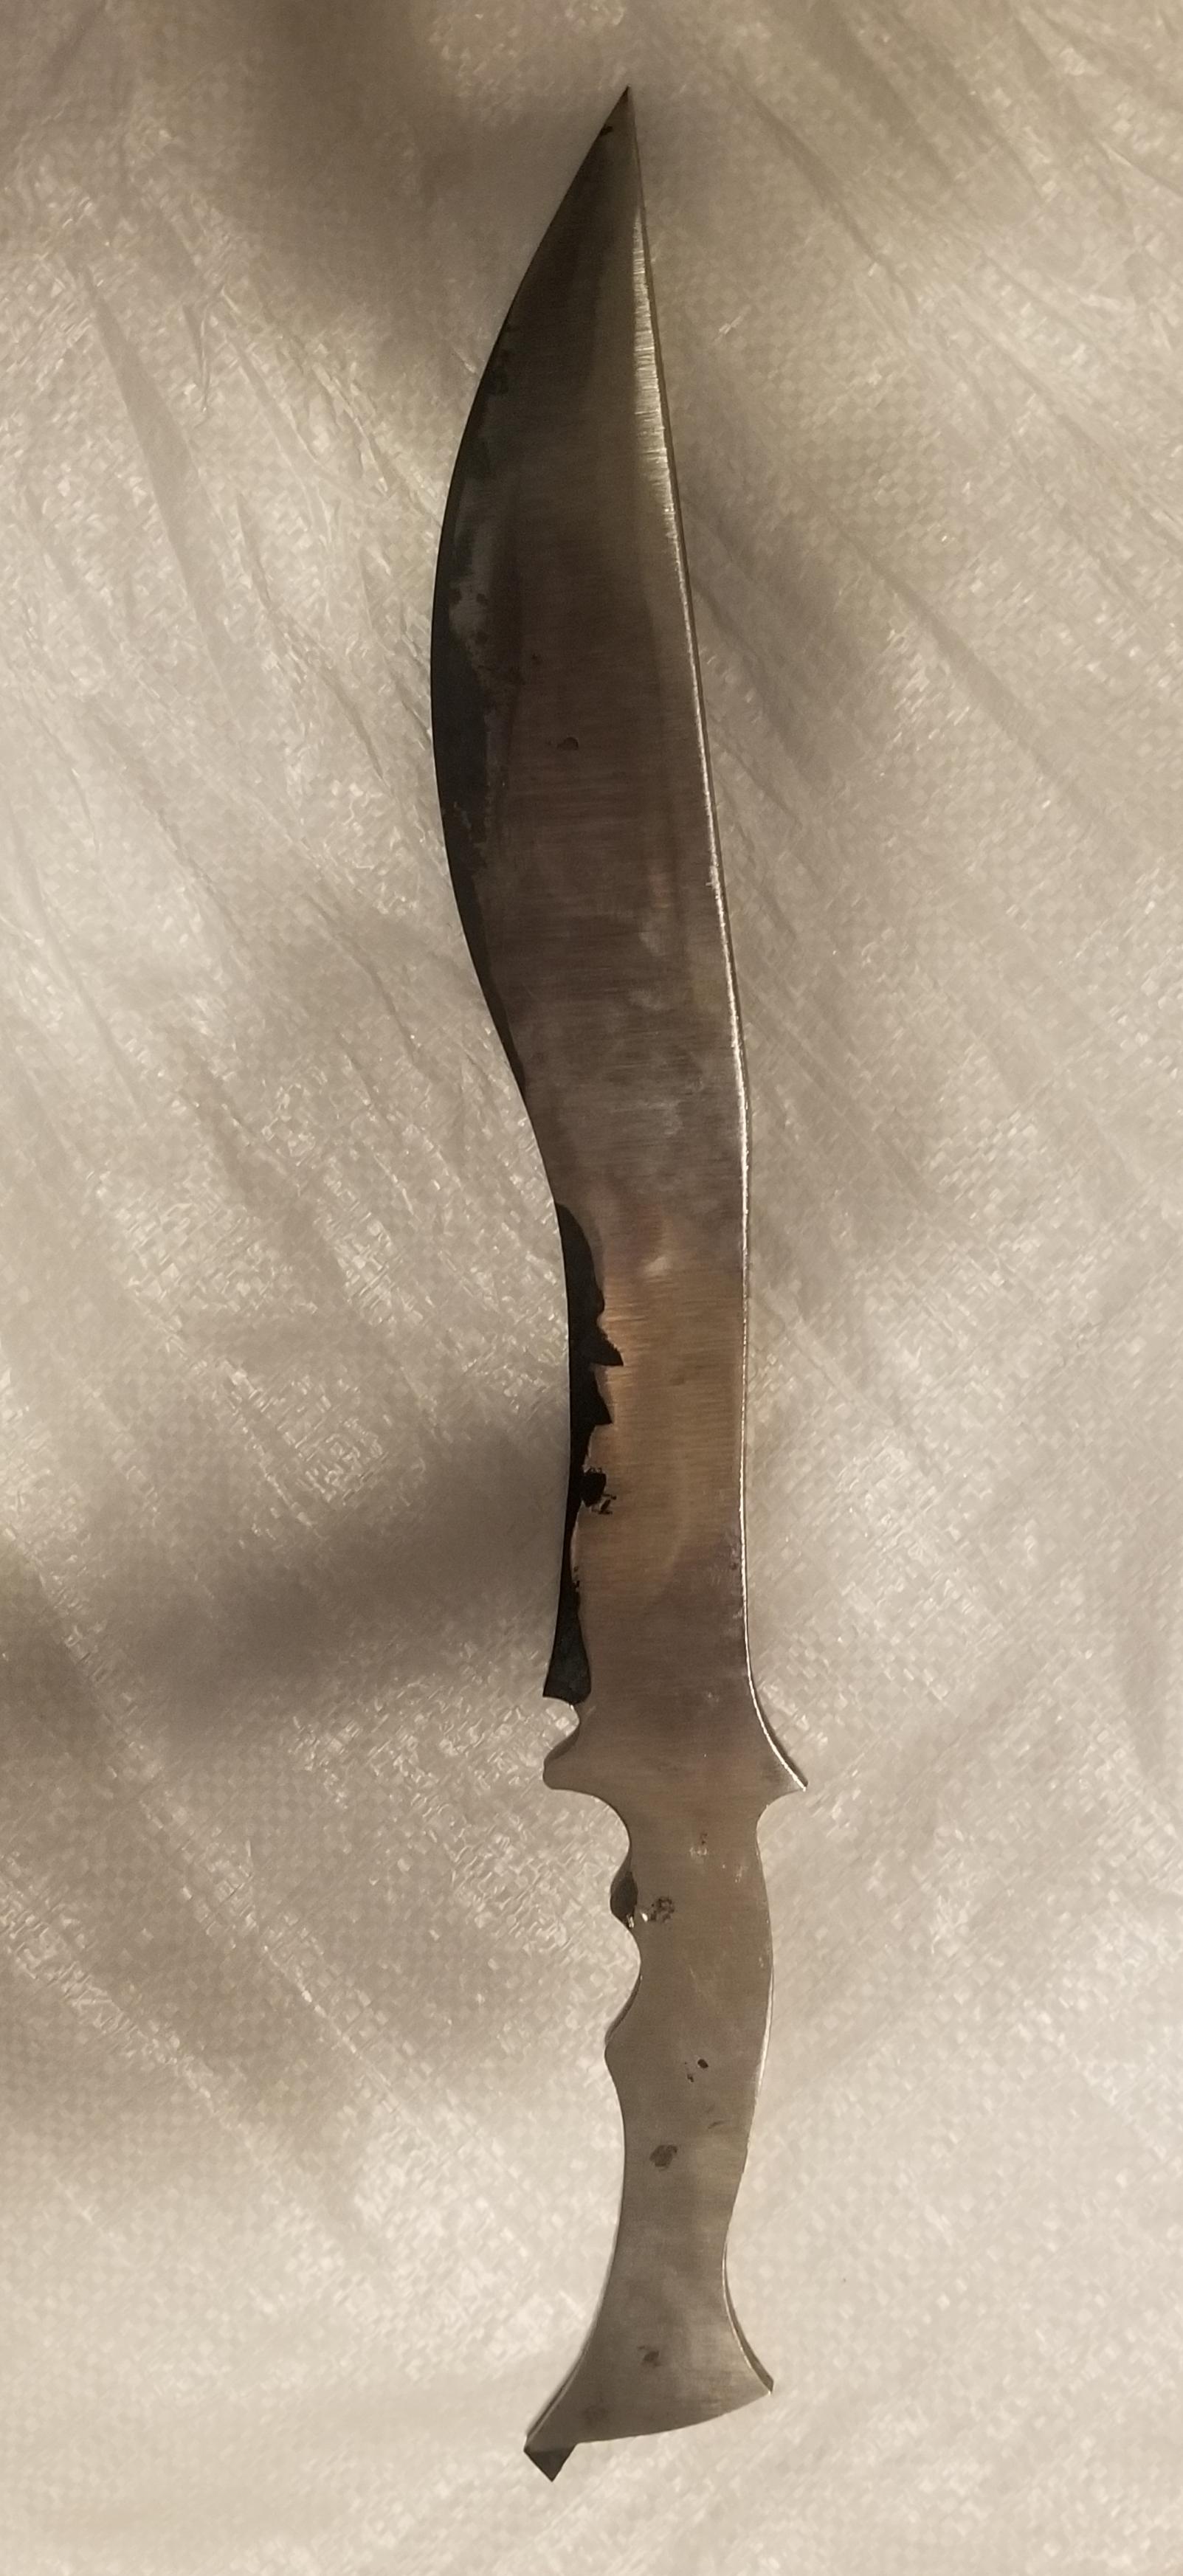
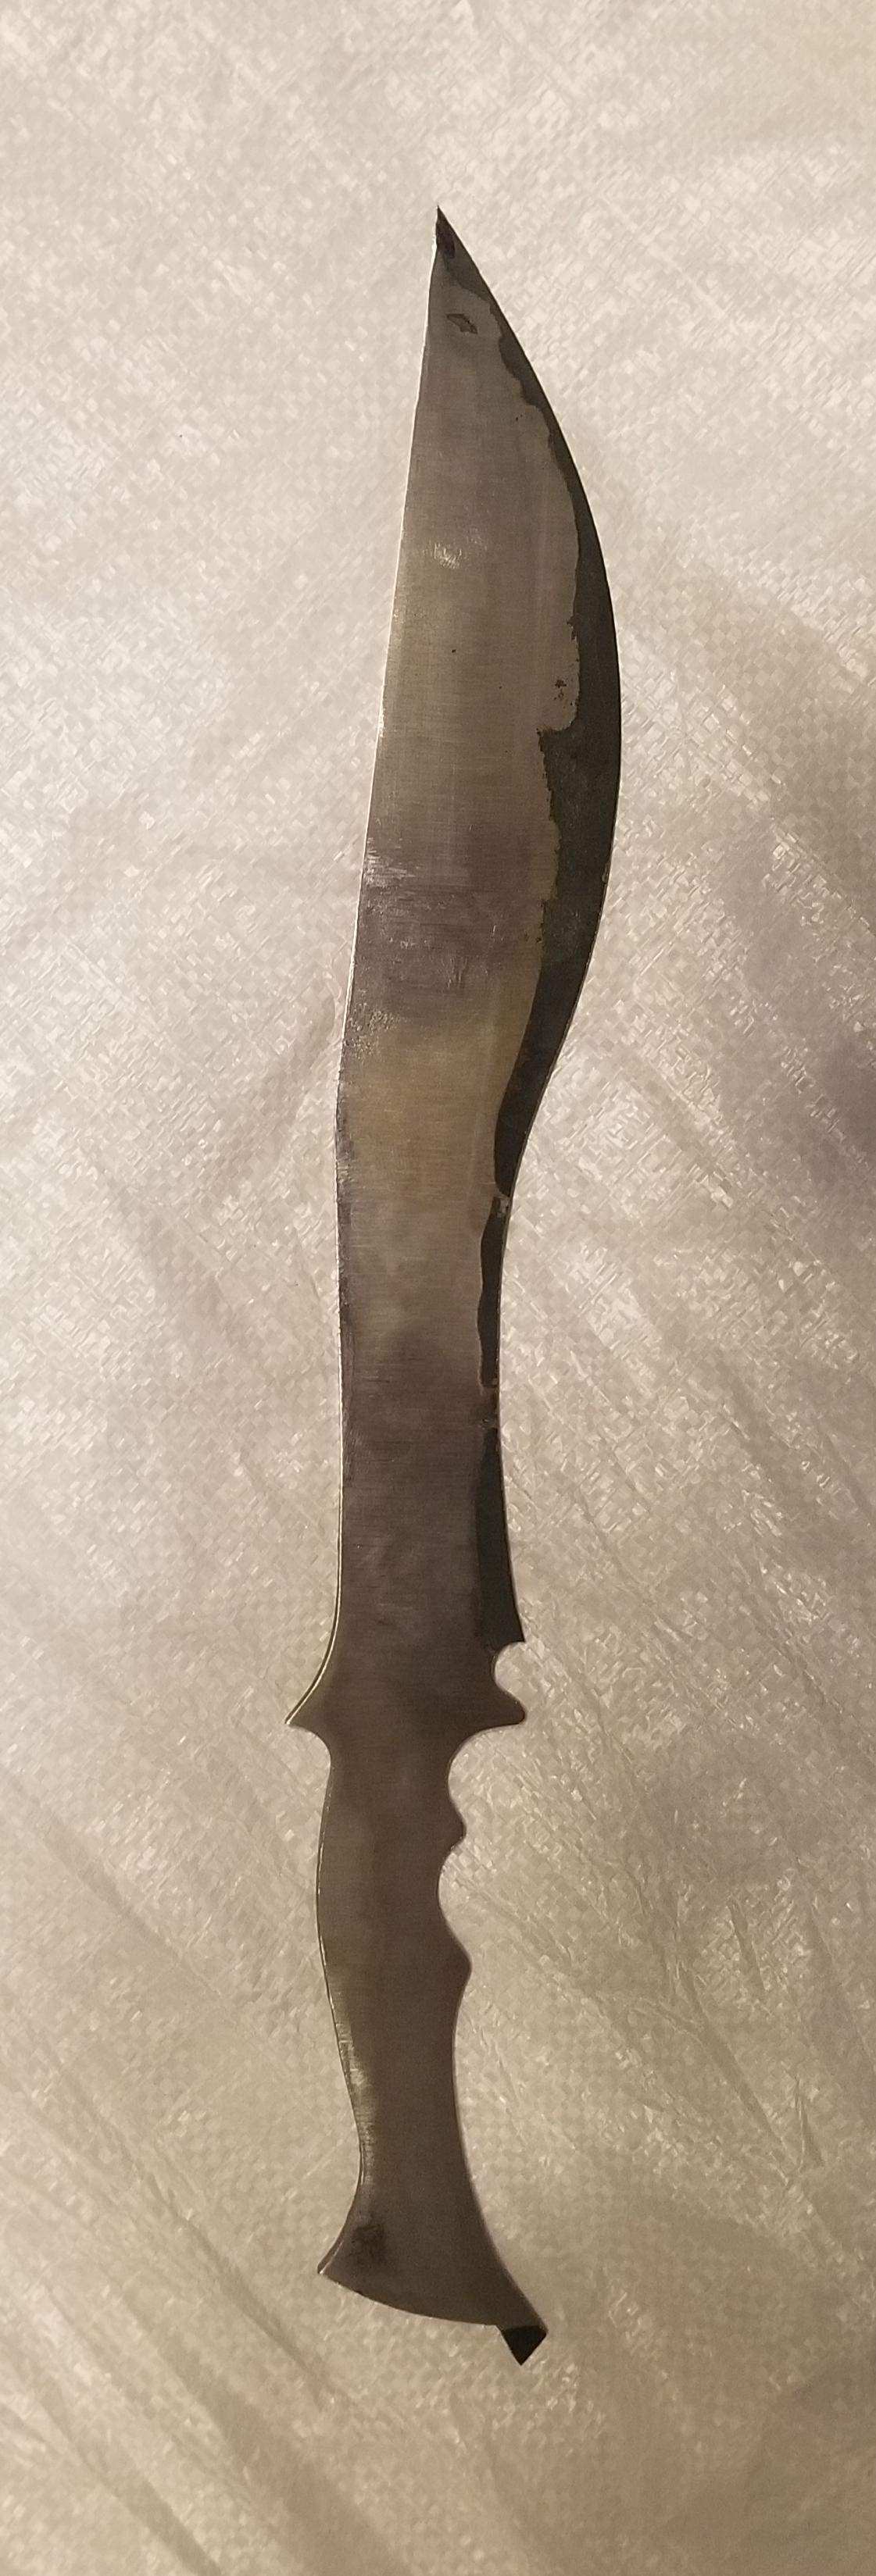
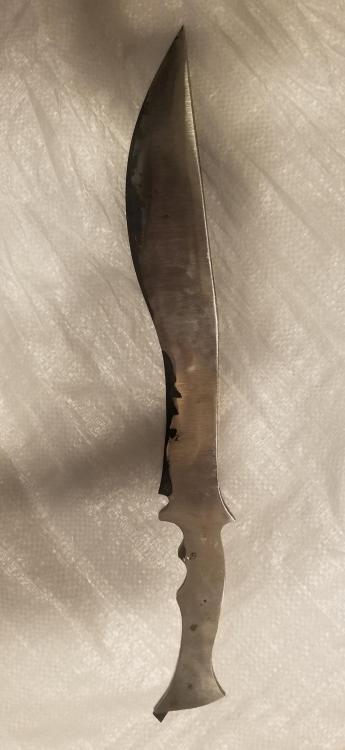
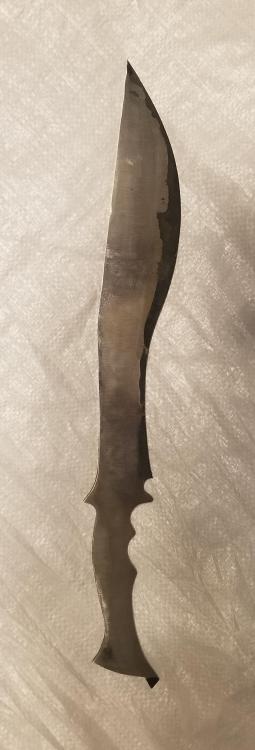
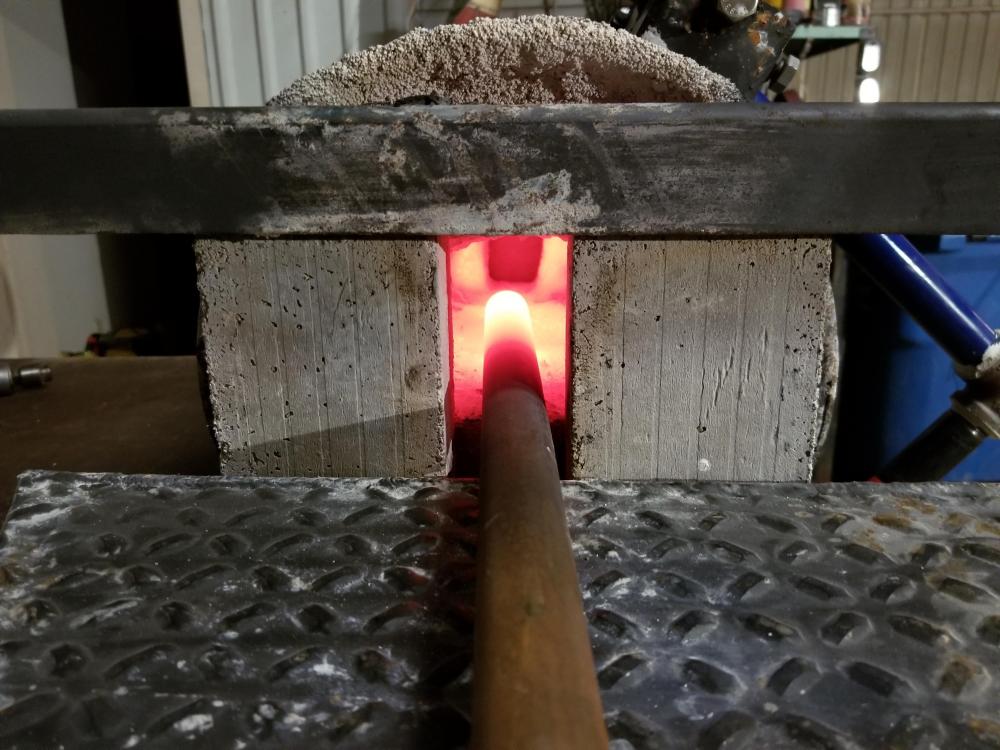
So instead of trying to grind the belly twist out, I bit the blade (har har) and got the metal hot again. It was relatively easy to get the belly of the blade properly straight (according to my eye at least), so I did some drawing on a 1in round for some tongs while I thought up a way to try and get the angle in the mid-blade without ruining it. I decided to make a little jig using two 1x3x12ish bars in a vise. I clamped the tang end of the blade between the bars just in front of where I wanted the bend. I then used a blowtorch to heat that spot in the blade before putting it in the forge, and I made sure the bars soaked up a good bit of heat to ease the leeching during clamping. This caused a hot spot where I wanted the bend, and with a little hammering, it finally broke over. The blade was straightened again using an idea from Buzzkill, profile ground, and scale removed. I am planning on starting bevels next weekend, and if I can get through the coarse belts to 200ish, I will normalize. The blade didn't take as drastic an angle as my pattern, and is closer to a real kukri I have in my display cabinet. All in all I am happy with where the blade is at, although I'm not as far along as I wanted to be today. Pictures below show the corrections.
-
Well I haven't done any heat treating yet. My concern was that grinding one side significantly more than the other would cause issues during hardening... going forward I am planning on grinding more this afternoon (finally on my weekend again) and seeing how it straightens out through the first few passes. I could put it in the vertical mill but that seems excessive. If I am not liking how it is looking I will just put it back in the fire. If the grinder does the trick, I might normalize tonight and harden tomorrow. Still up in the air on handle material.. I keep going back to bloodwood and gaboon ebony. I also like the idea of cratemurtle and gaboon ebony for the contrast. I will post pictures tonight for an update on my belly twist and how it gets fixed. I appreciate your reply/advise Scanlan, and will try it out.
-
Is this due to excessive heats, excessive scale, or too much heat?
-
Jaw dropped!
-
I just gut a deer a few days ago with a Kershaw I've had for 15 years or so. At one point I buried it a little too deep in a tree trunk while throwing knives with friends.. tip snapped off pulling it out. I ended up reshaping it with sand paper on flats, and then matched the edge it had prior to that. No real heat buildup that way, and it didn't take as long as you'd think.
-
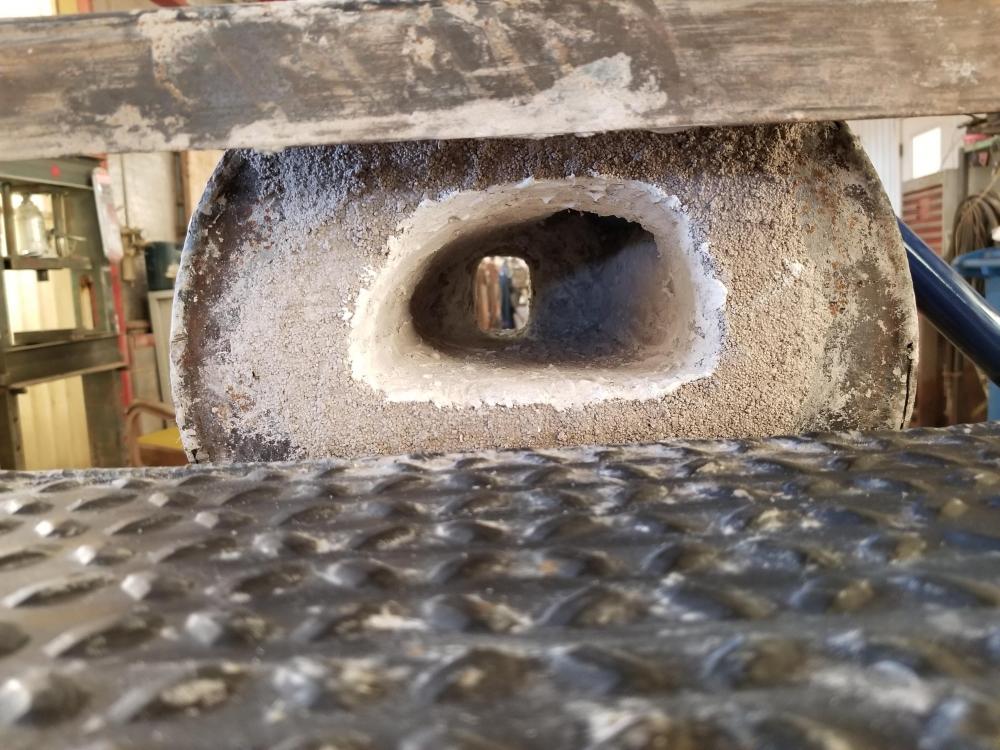
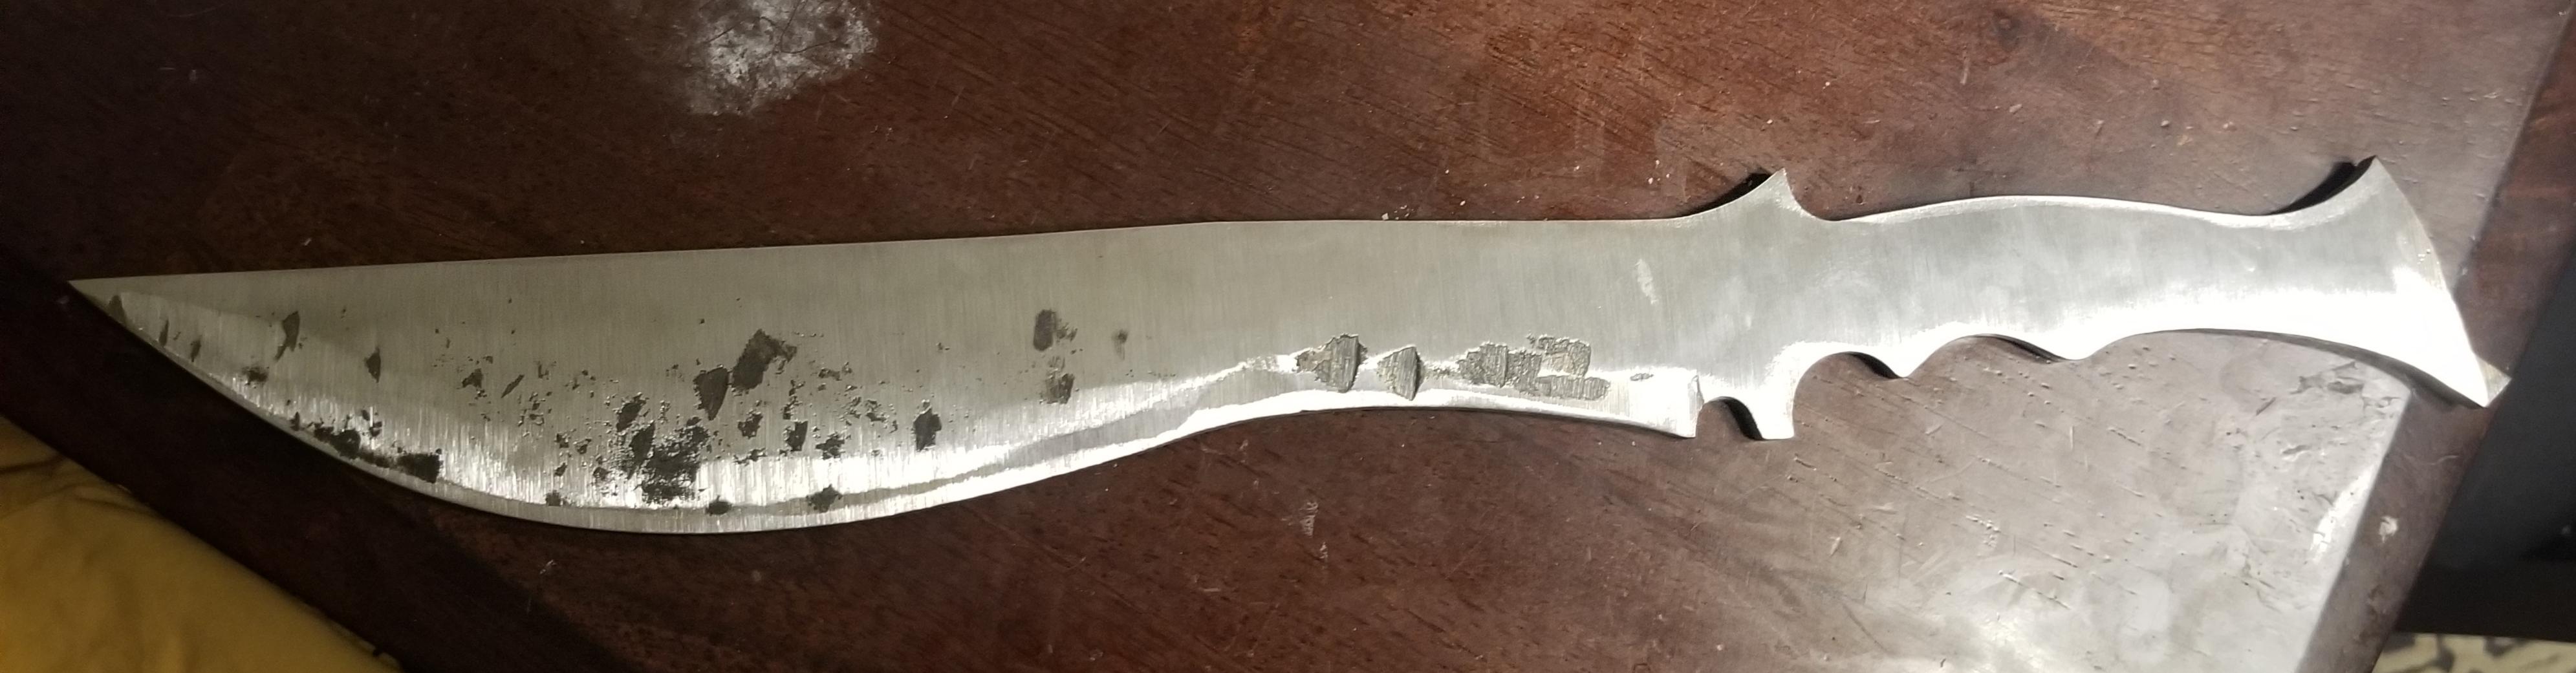
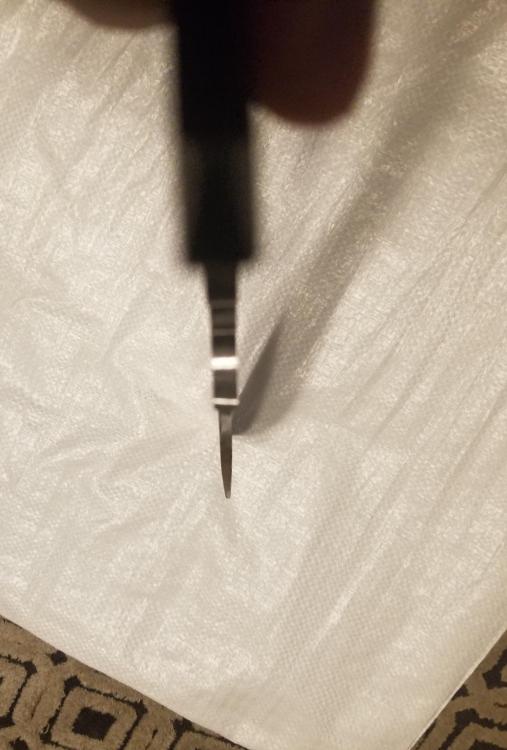
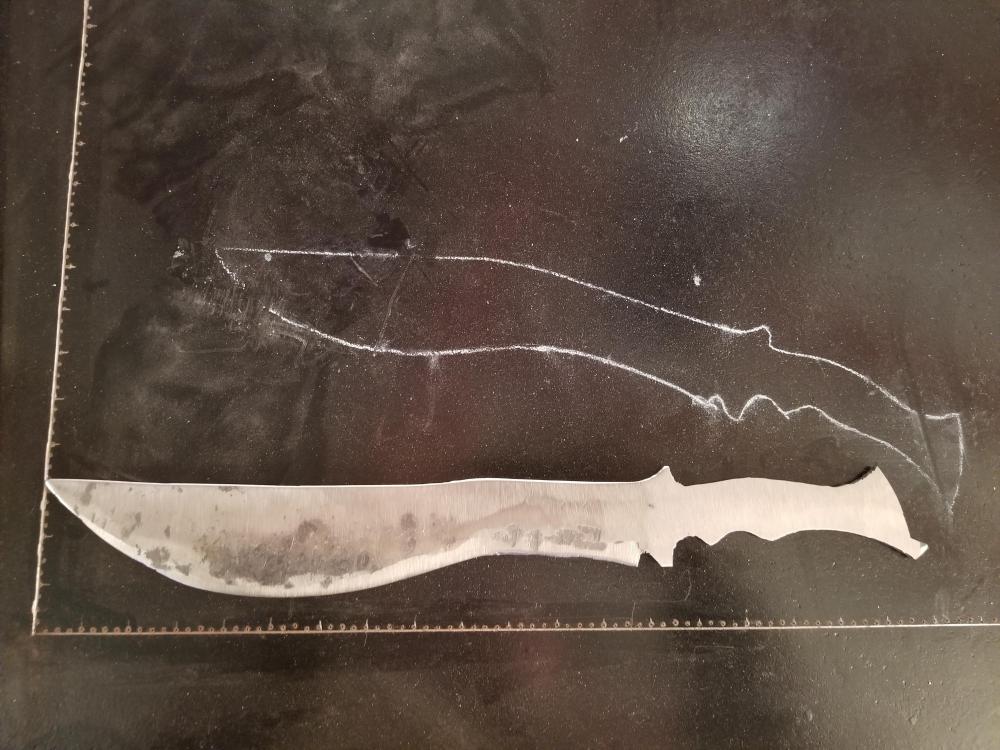
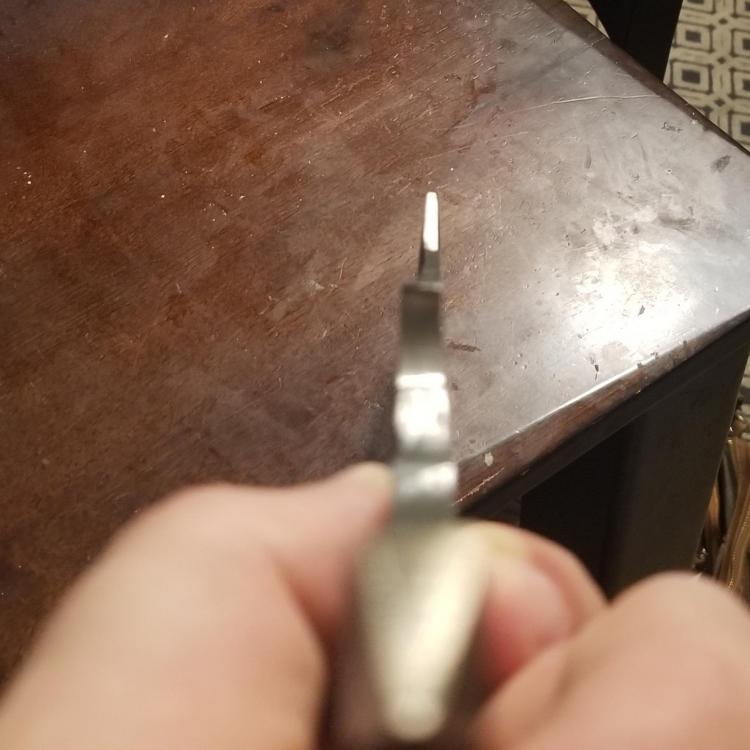
I just got done making a multi-port gun forge, and I have been wanting to make a large kukri (sp?) to use at work. This is the largest knife I have made yet, and first attempt at a kukri. I started with a .250" x 2" flat bar of 1095 from NJ steel baron. I cut the opposite angle off for the tip and stretched it back down. I am not sure what that process is called, but I am a fan of Walter Sorrell's and emulated one of his knives in this regard. The overall length is 18 inches. The belly was drawn out, and I tried forging in the bevels some. These steps went fairly well. Two major failures.. First and most frustrating was the failed curve in the mid-blade. I tried and tried to get it to happen, and all I have to show for it is the slightest angle change. The second failure was a twist that developed while drawing out the belly. I thought I had it corrected, but found it to still exist when inspecting the blank today after grinding scale off. The handle was roughed in on a band saw. So I have some questions, first being how do yall get the blade to have that beautiful change of angle when making a kukri? I thought of using one of my solid fuel forges to make a small hot spot and hammer the spine to get the steel to expand there.. I just dont know how else to go about it from a flat bar.. Second question: will grinding the minor twist on the edge half of the belly cause a warp during hardening since one side will have seen so much more belt? I have tried thus far to hammer and grind both sides evenly. The pictures are from post-forging with most of the scale ground off so I could see a little better. Black table is pre-profile grind, brown table is post-profile grind. The edge picture is an attempt at capturing the belly twist.. not a good attempt as it turns out.


-
Wow!! That's beautiful! I love that the handle materials contrast well and still compliment each other. The blade looks machine good.
-
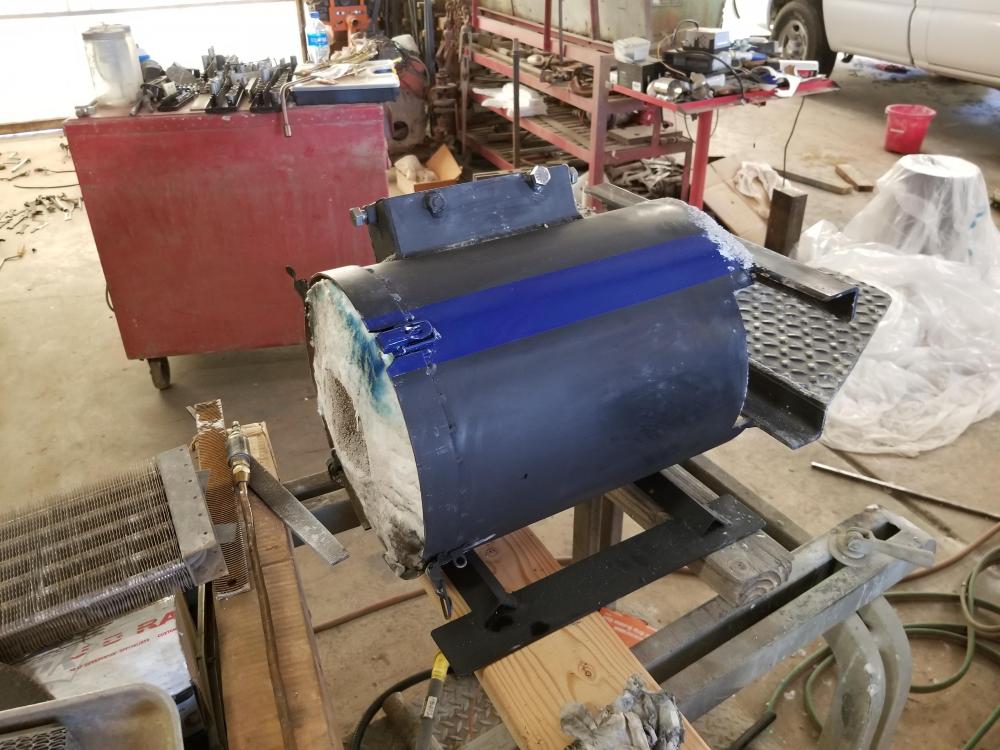
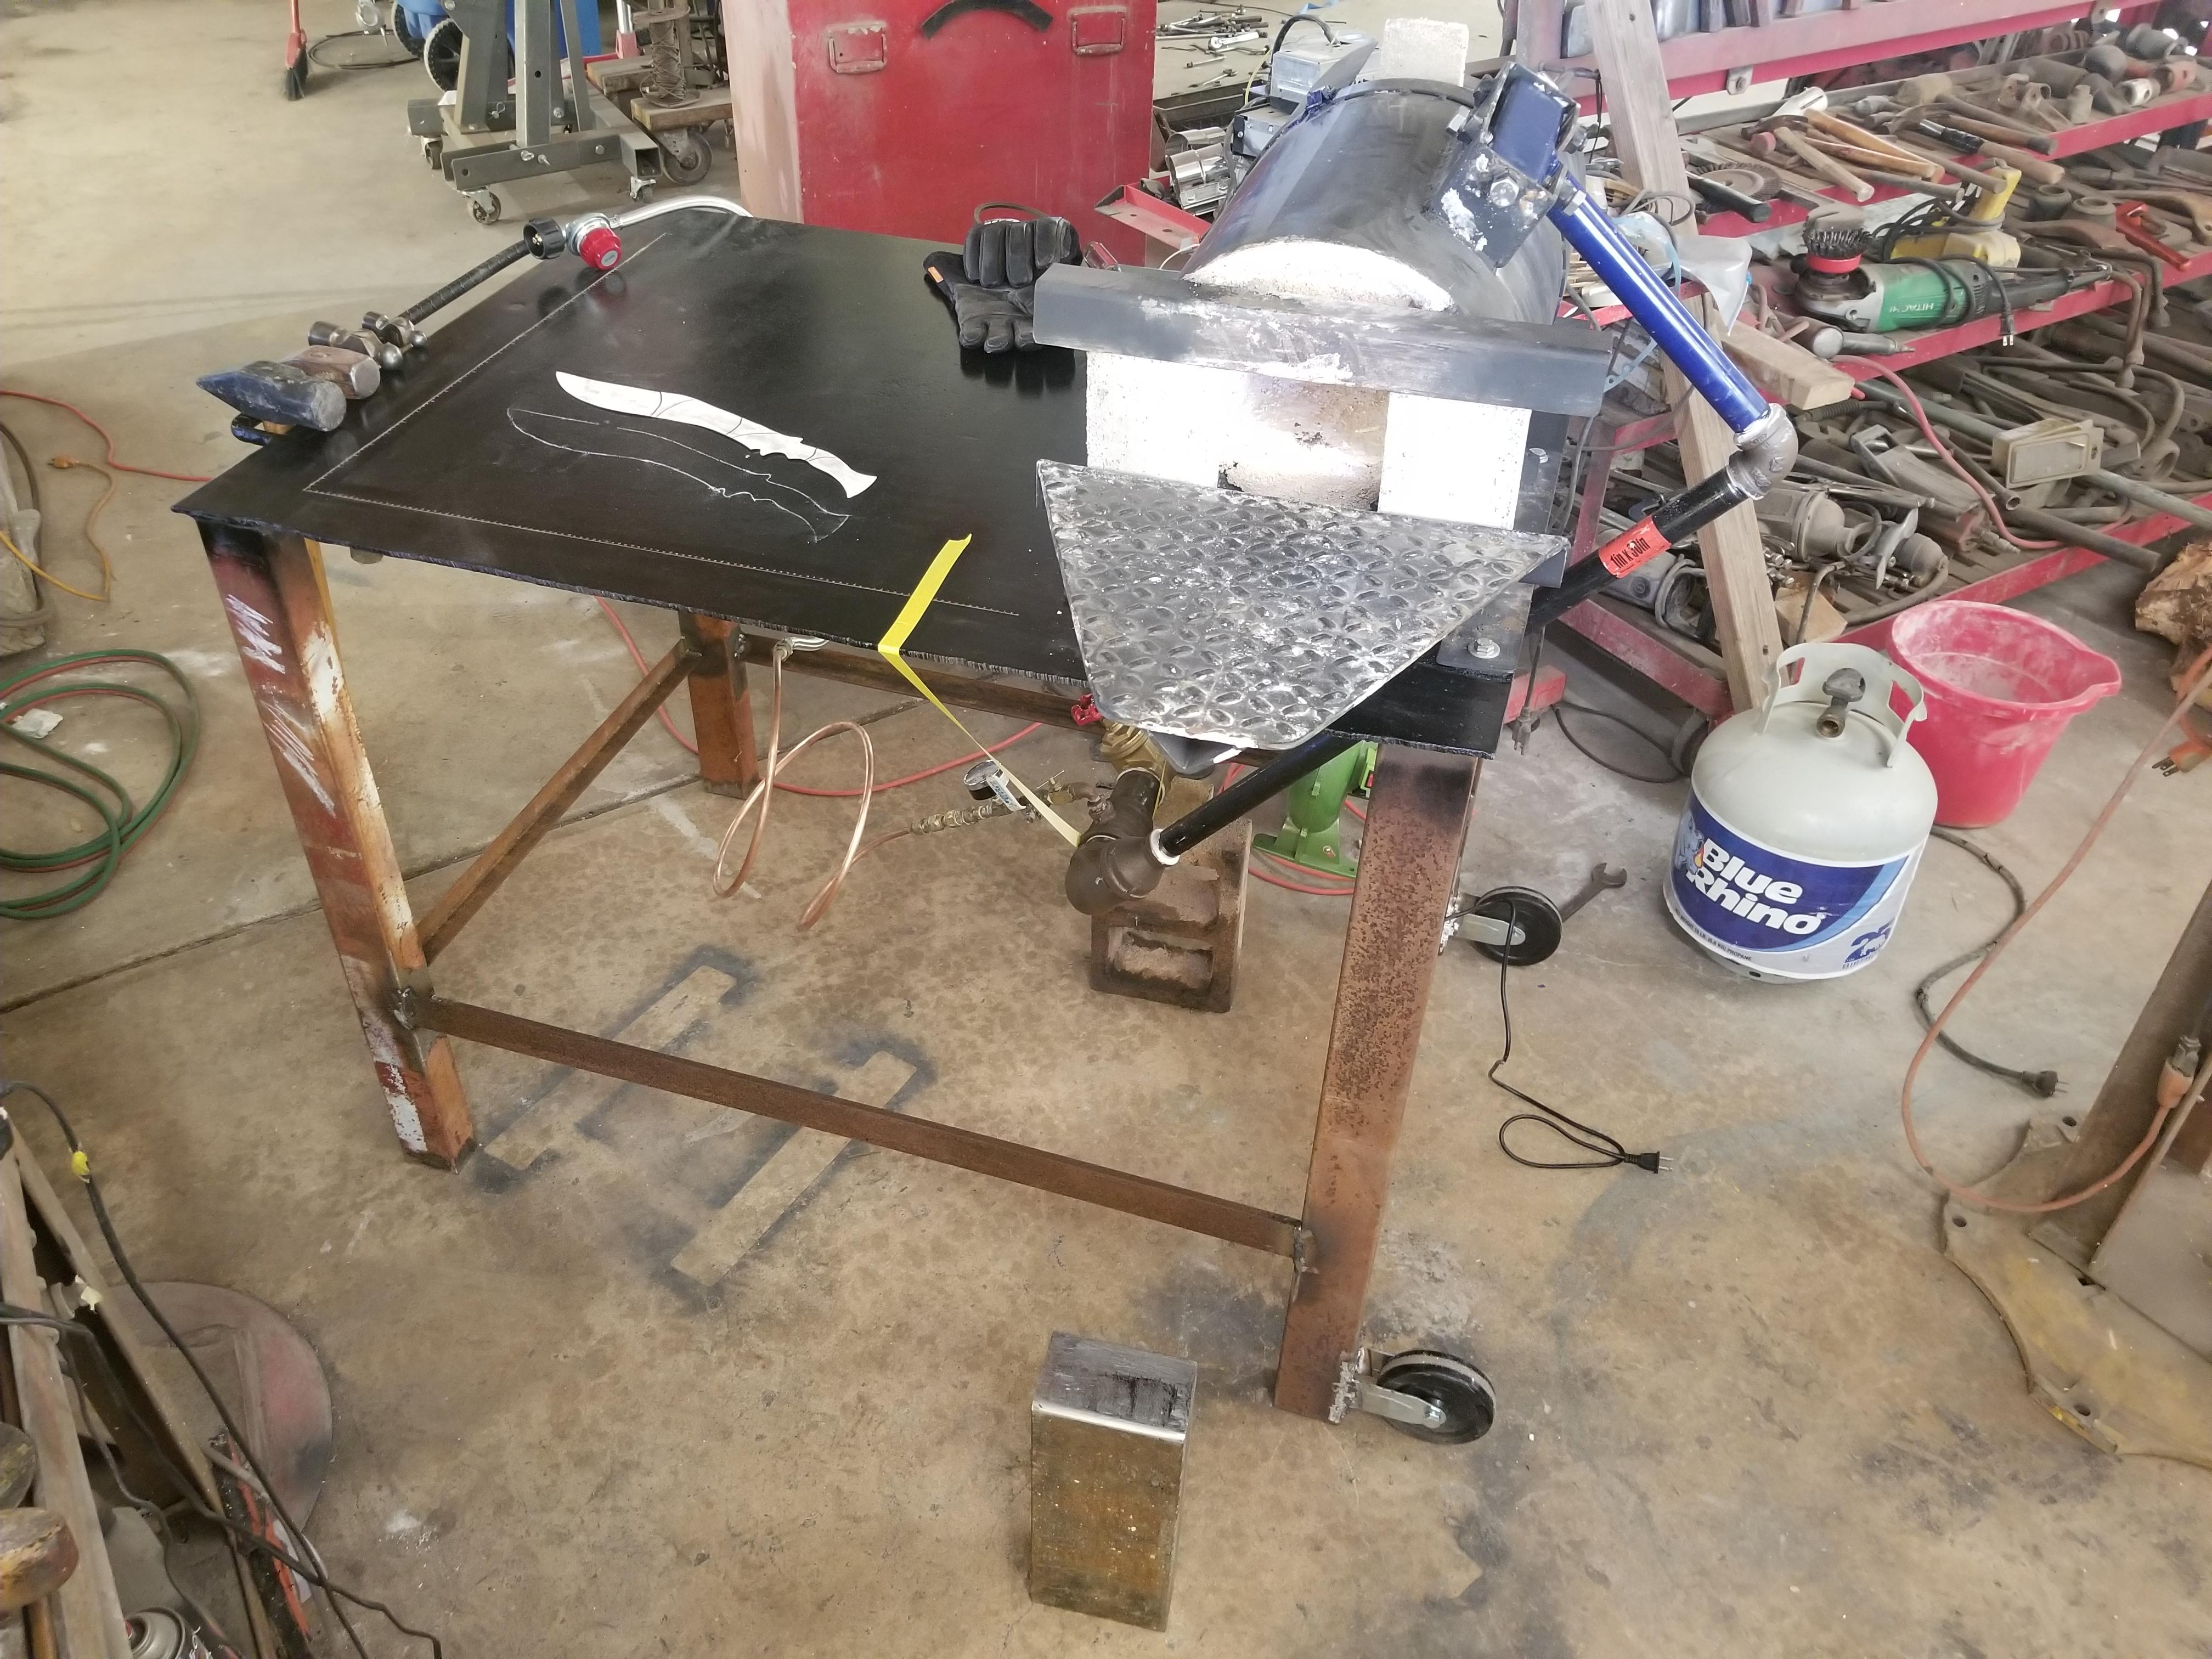
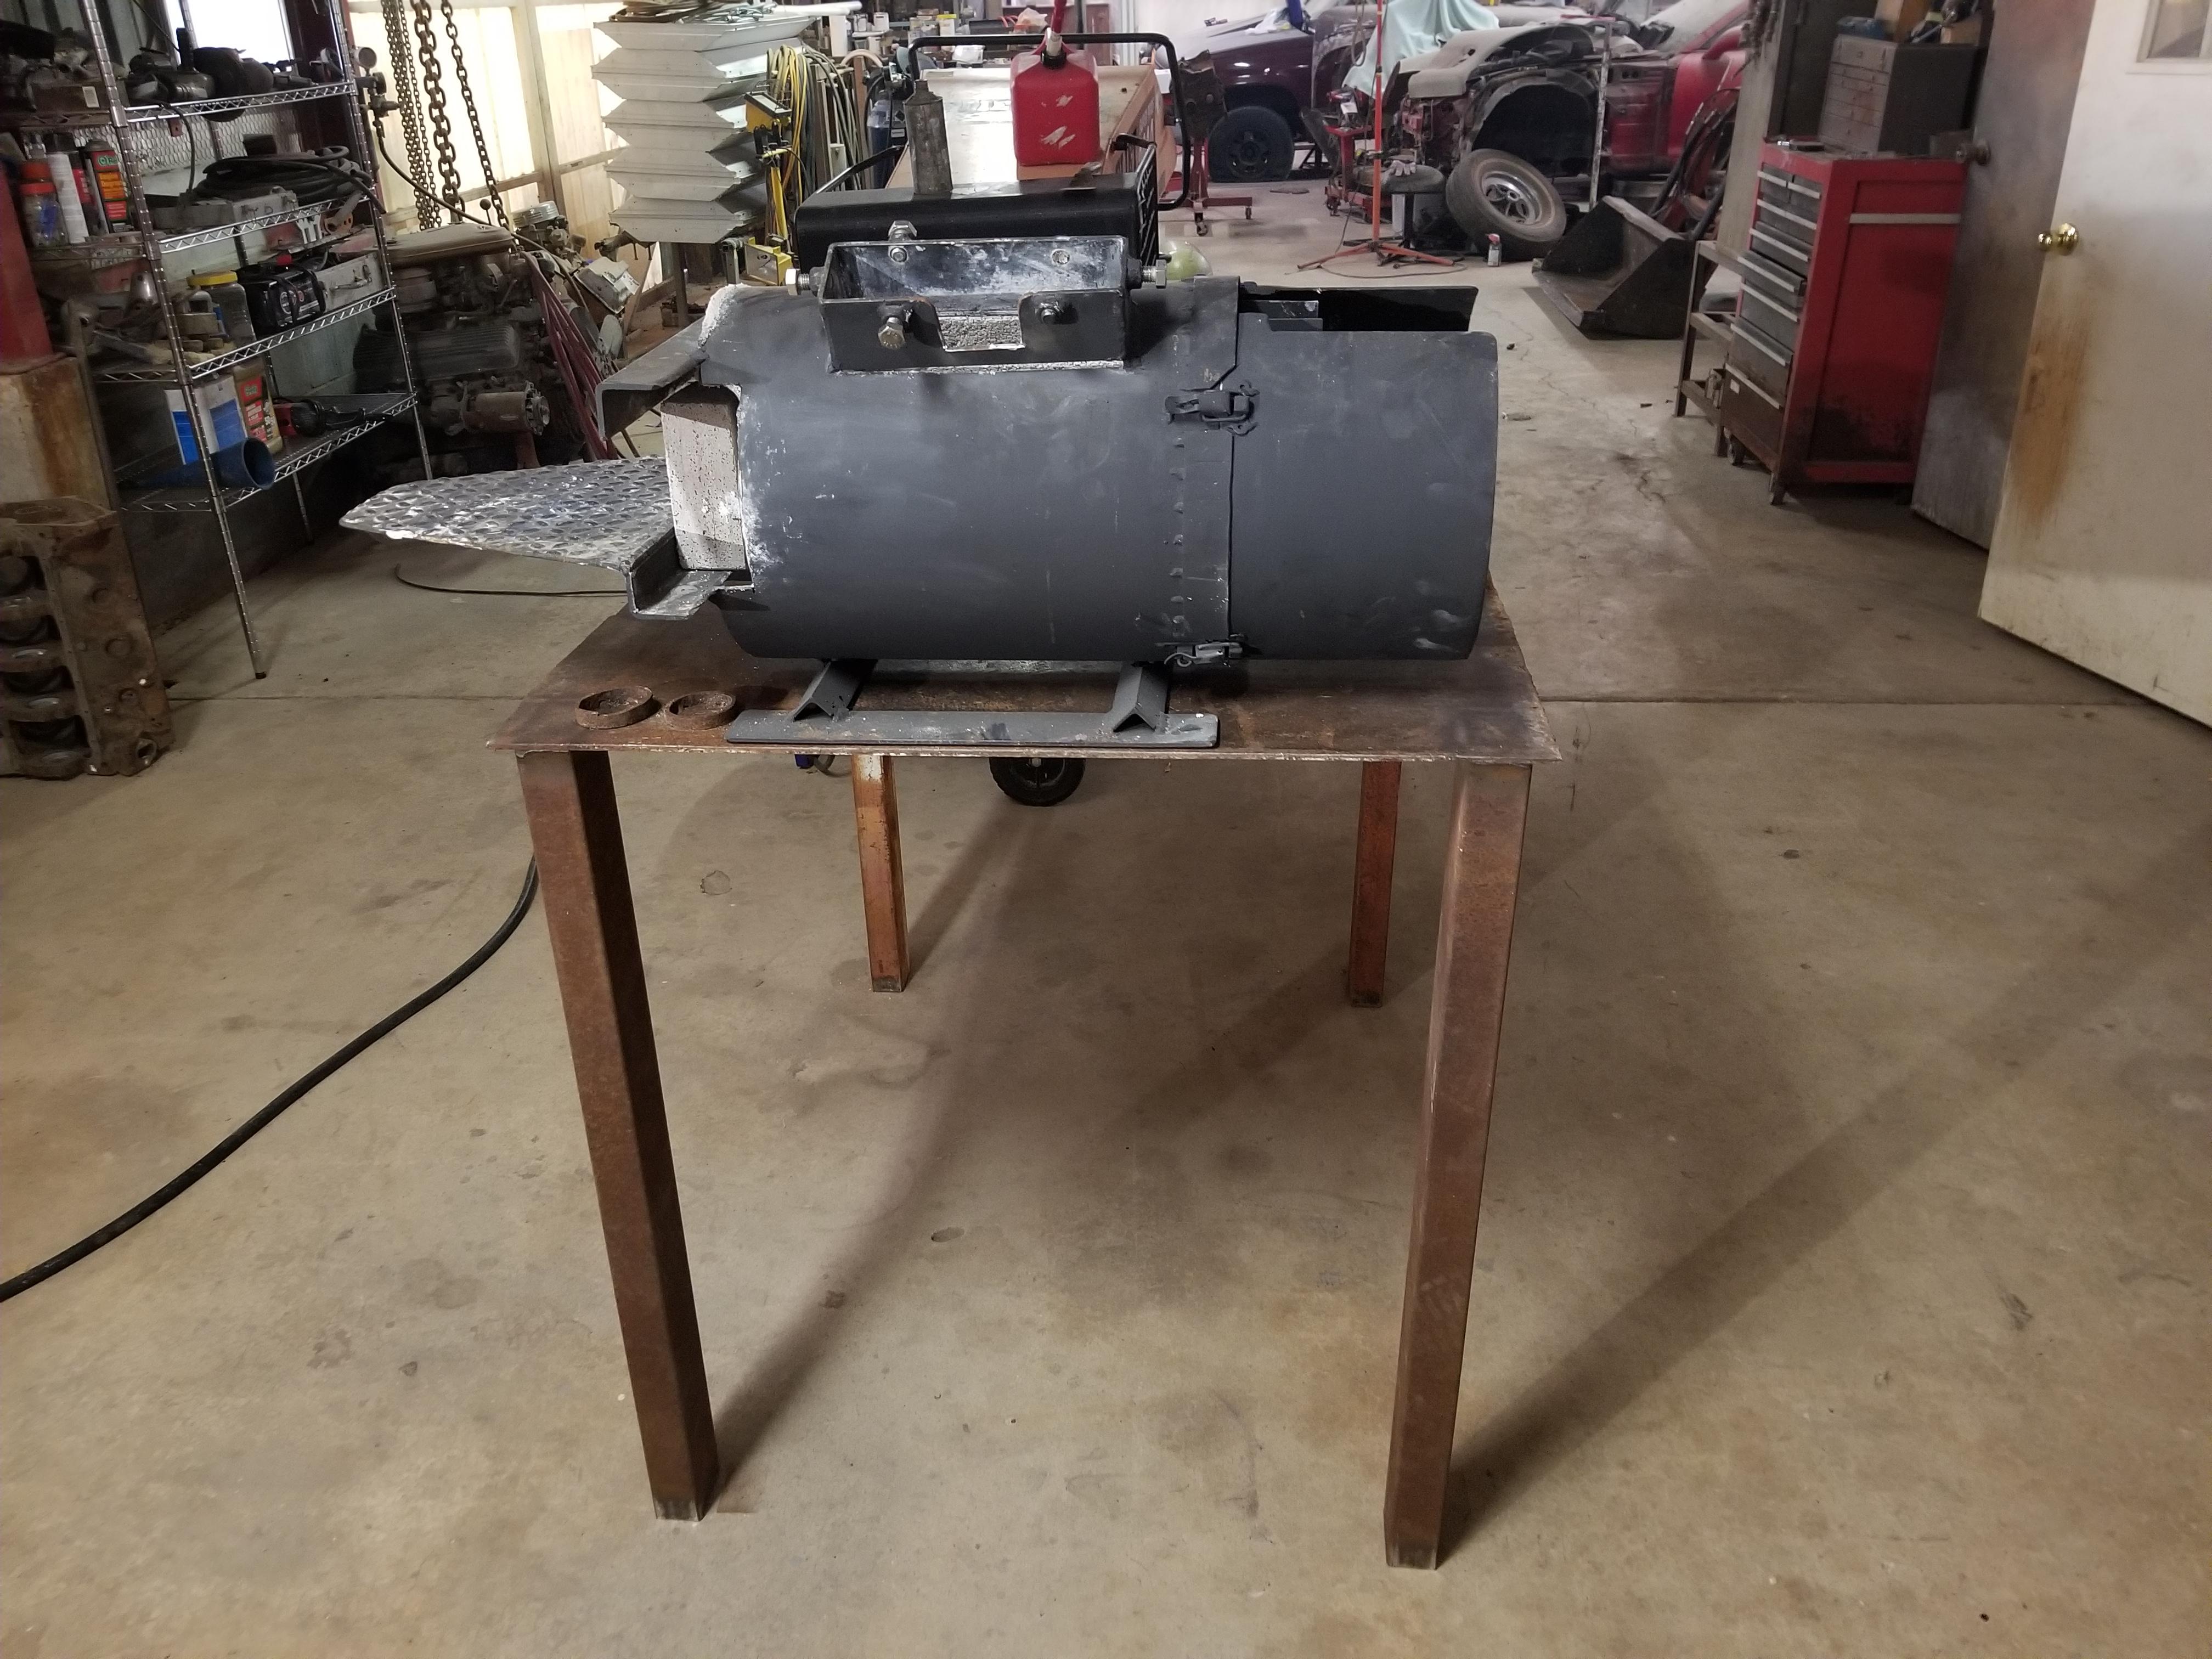
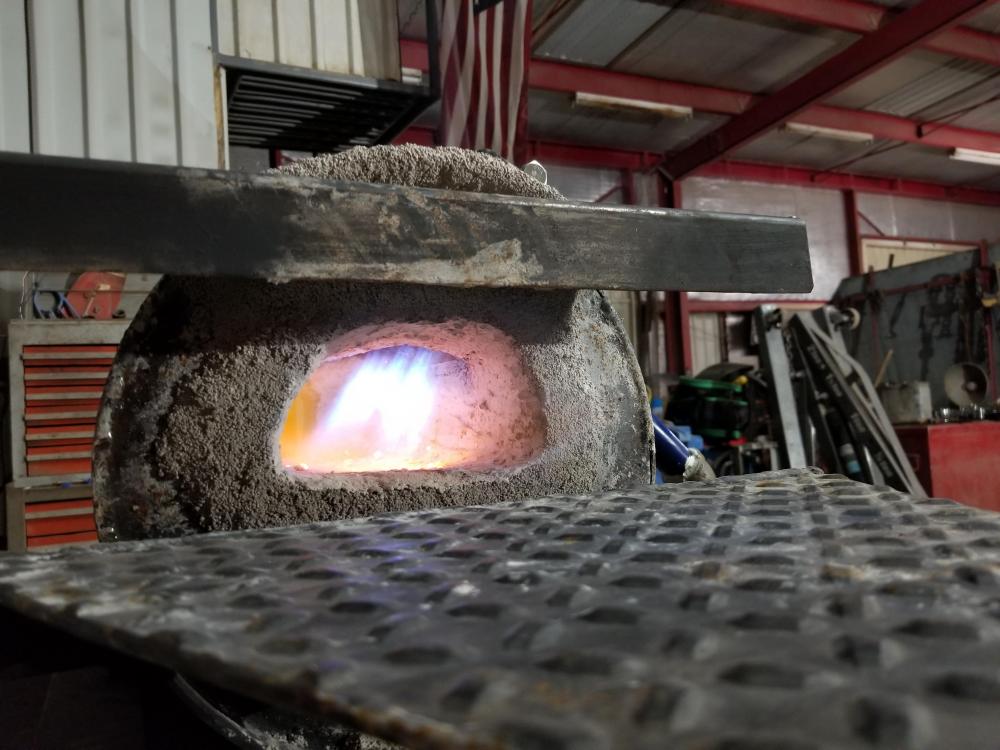
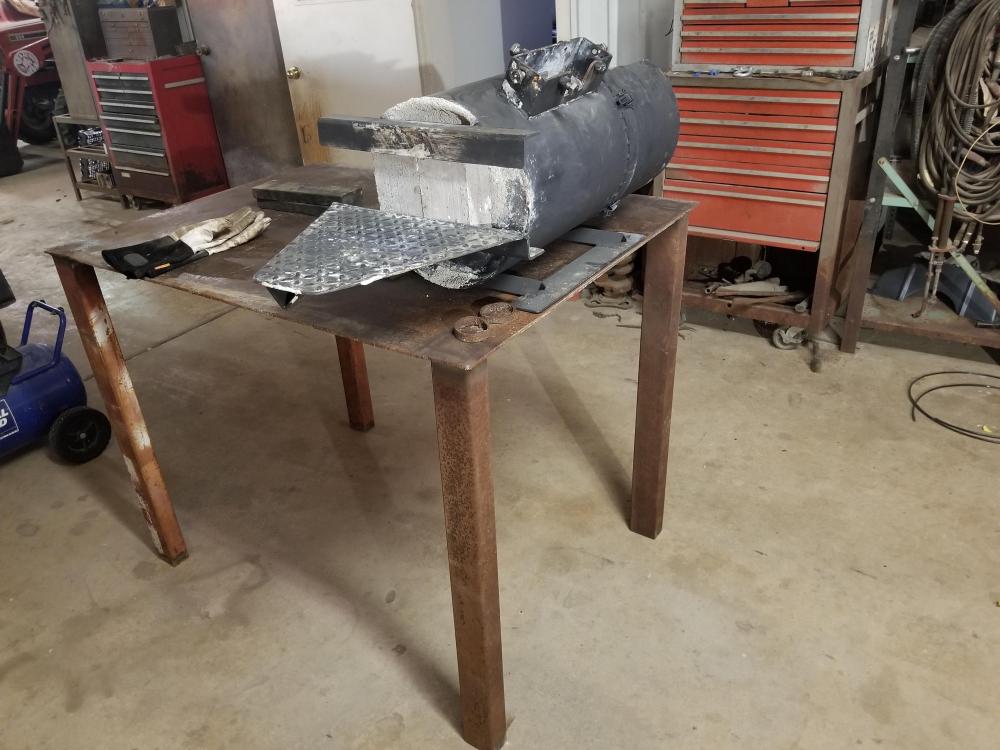
Well, this is going to be my last update for the forge build thread. The table has a 28x28 inch square/ruler scored into it, and I will brush some bright orange paint in the lines once it's warm enough for paint. There is a handle/rack for hammers and tongs with wheels on the other side so that when you tilt it, it can be easily moved. I used some nice foam between the forge feet and the table to soak up some vibration. The bottom shelf will be done once I find some scrap expanded metal. I used the forge today for the first time at length. The plenum stays cool for quite a while, but once the forge is at a low yellow, it heats up. It isn't hot enough to burn from a touch, not even close in fact, so I dont think I am having any back-burning issues. The forge heats up fairly quickly, and will get plenty hot at 2-3 psi. I haven't had more propane in it than that so far, and it achieves low yellow. I stretched out the belly/tip of a large kukri today, and hammered in the bevels a good bit (rest will be on the grinder). The stock was .250 and heats between hammering were very fast. All in all, I am EXTREMELY happy with the end result, and I am thankful for all the help and encouragement. If anyone contemplating building a forge reads this, I would strongly advise the following: If a curmudgeon tells you something, just shut up and do it. They've already tried what you're thinking and it didn't work, so they're telling you what did work. Follow one of the plans that are proven and supported by career blacksmiths, evidenced by multiple successful build threads and happy owners. Follow the plan exactly. (This means you have to read.) Don't buy a commercially produced forge. Forges are a load of fun to make, and you will learn a great deal. You may develop new skills. Use scrap, and save money for cast-o-lite and matrikote/plistics. Try to be safe. You will love the process. Don't shy away from it. Start scrounging and get busy.

-
I would knead the refractory really well, butter as you have, and do it in 1/4 sections. After you have the desired thickness down, take a yard stick (3ft. ruler) and continually slap down the entire length. Keep doing this until you are blue in the face and eventually the cast-o-lite will start looking wet and flow out a bit.. or level out maybe. That's what worked for me anyway.
-
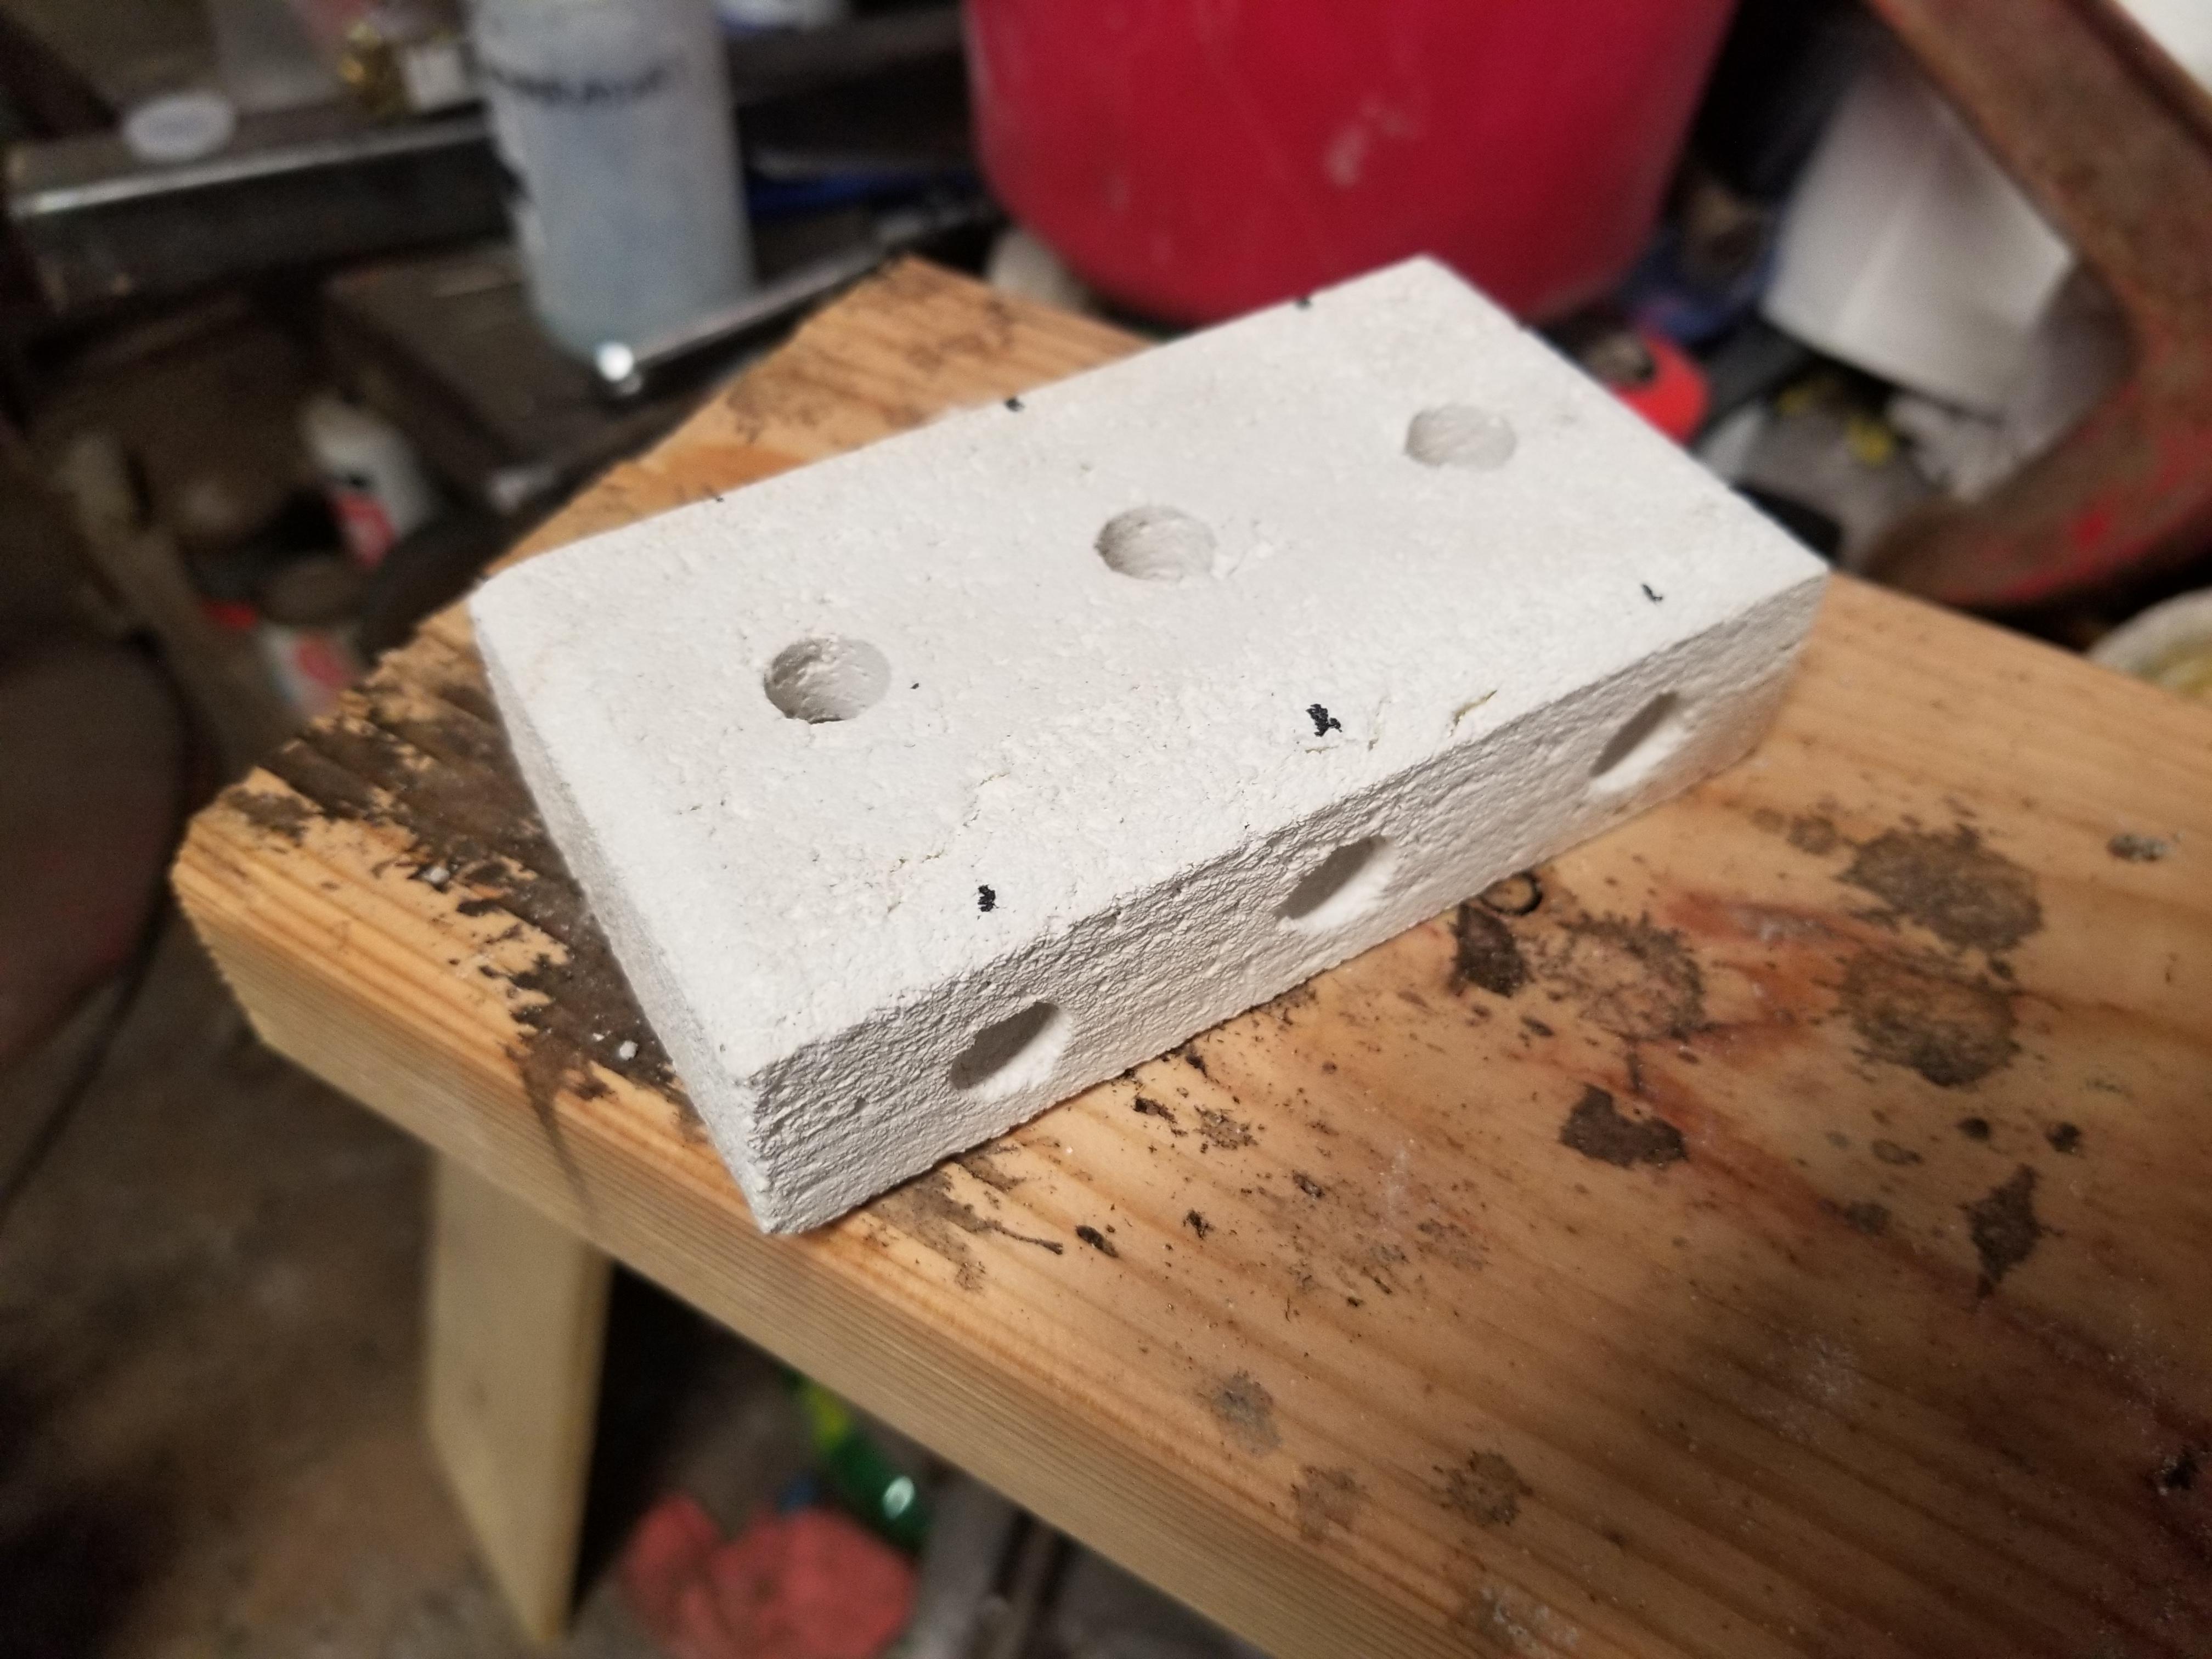
On my propane forge, I made soft fire-brick cores, and then formed a cast-o-lite shell. I was hoping that this would possibly provide doors with some level of insulation, but mostly did it to save as much cast-o-lite as I could for an upcoming project. Either way, it made for some wonderful doors.
-
No no. My mistake. It plumbs directly into the pipe.
-
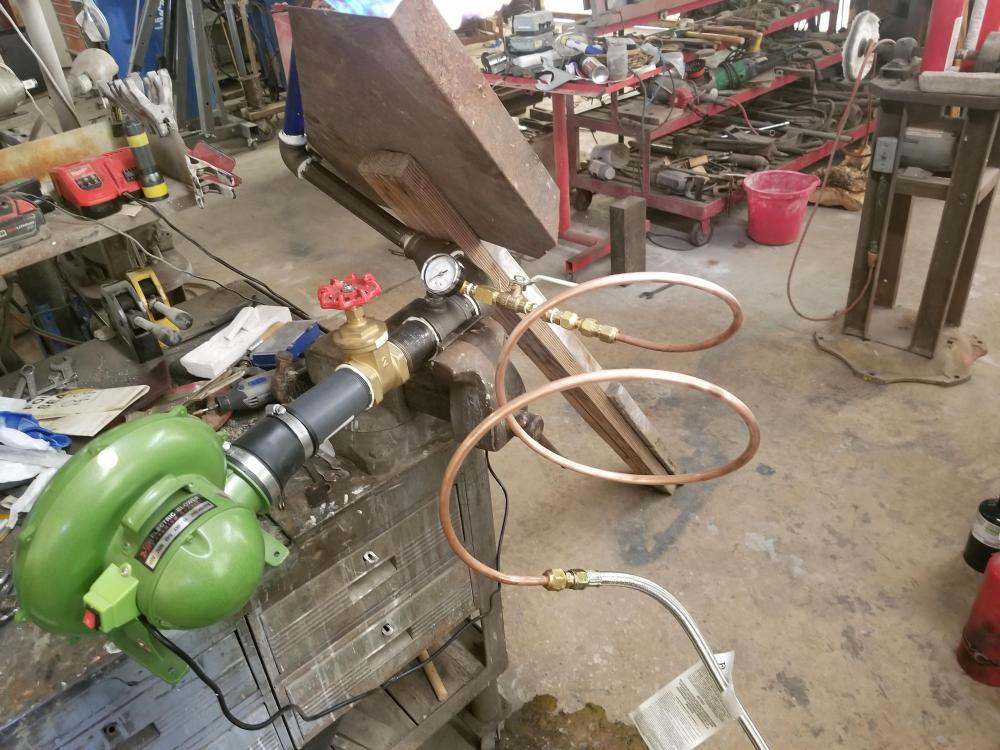
Mine goes from braided line to copper tube (flare), then flare to NPT adapter, then pressure gauge, then needle valve, then the nozzle. This was suggested to me so that I could set the max line pressure with the regulator and gauge, then fine tune with the needle valve depending on what the flame looks like. It helped me a ton. I set my max line pressure to 2psi, and then I know that I am tuning in that range with my gate valve and needle valve. I forgot to say regulator to braided line, oops!
-
For the longer blades you plan to hammer out, you may consider building a small solid fuel forge so that you are not heating more of your steel than you can work in one pass. Otherwise you may have strength issues in your final product due to all the decarb and large grain structure (brittle and poor edge retention). Solid fuel forges are not difficult to whip up, and the big forge you are making is going to heat a lot at once.
-
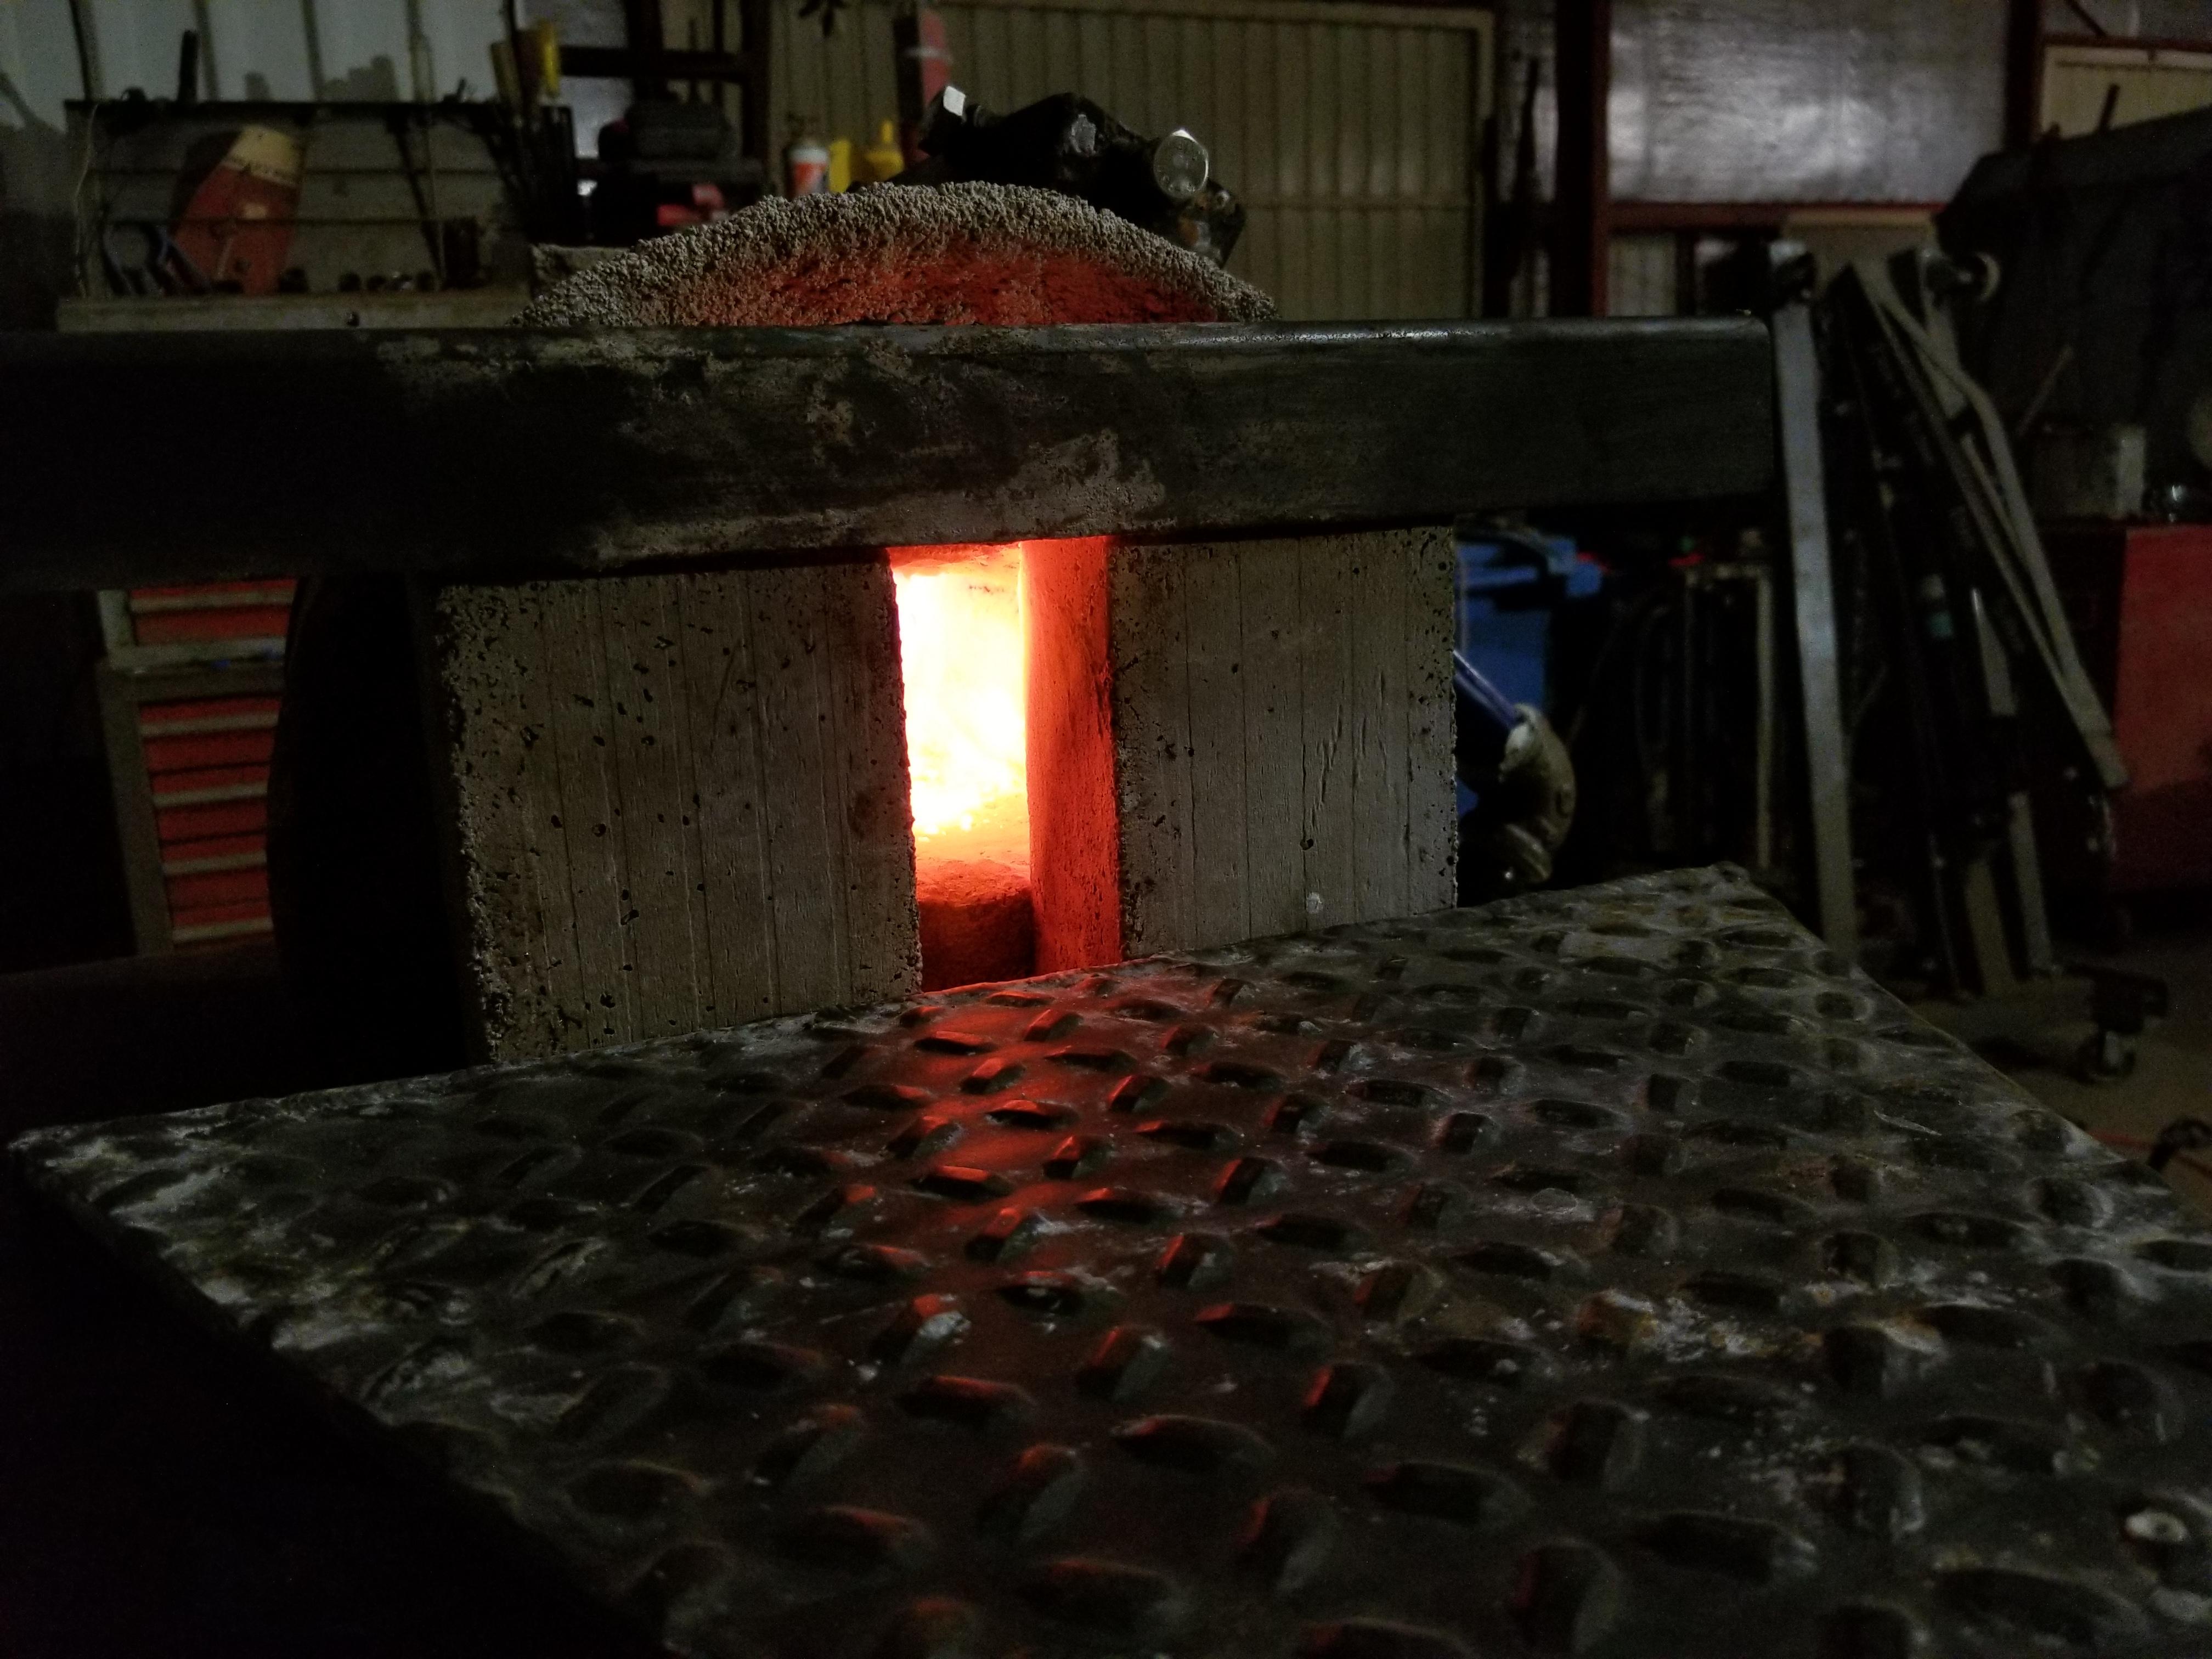
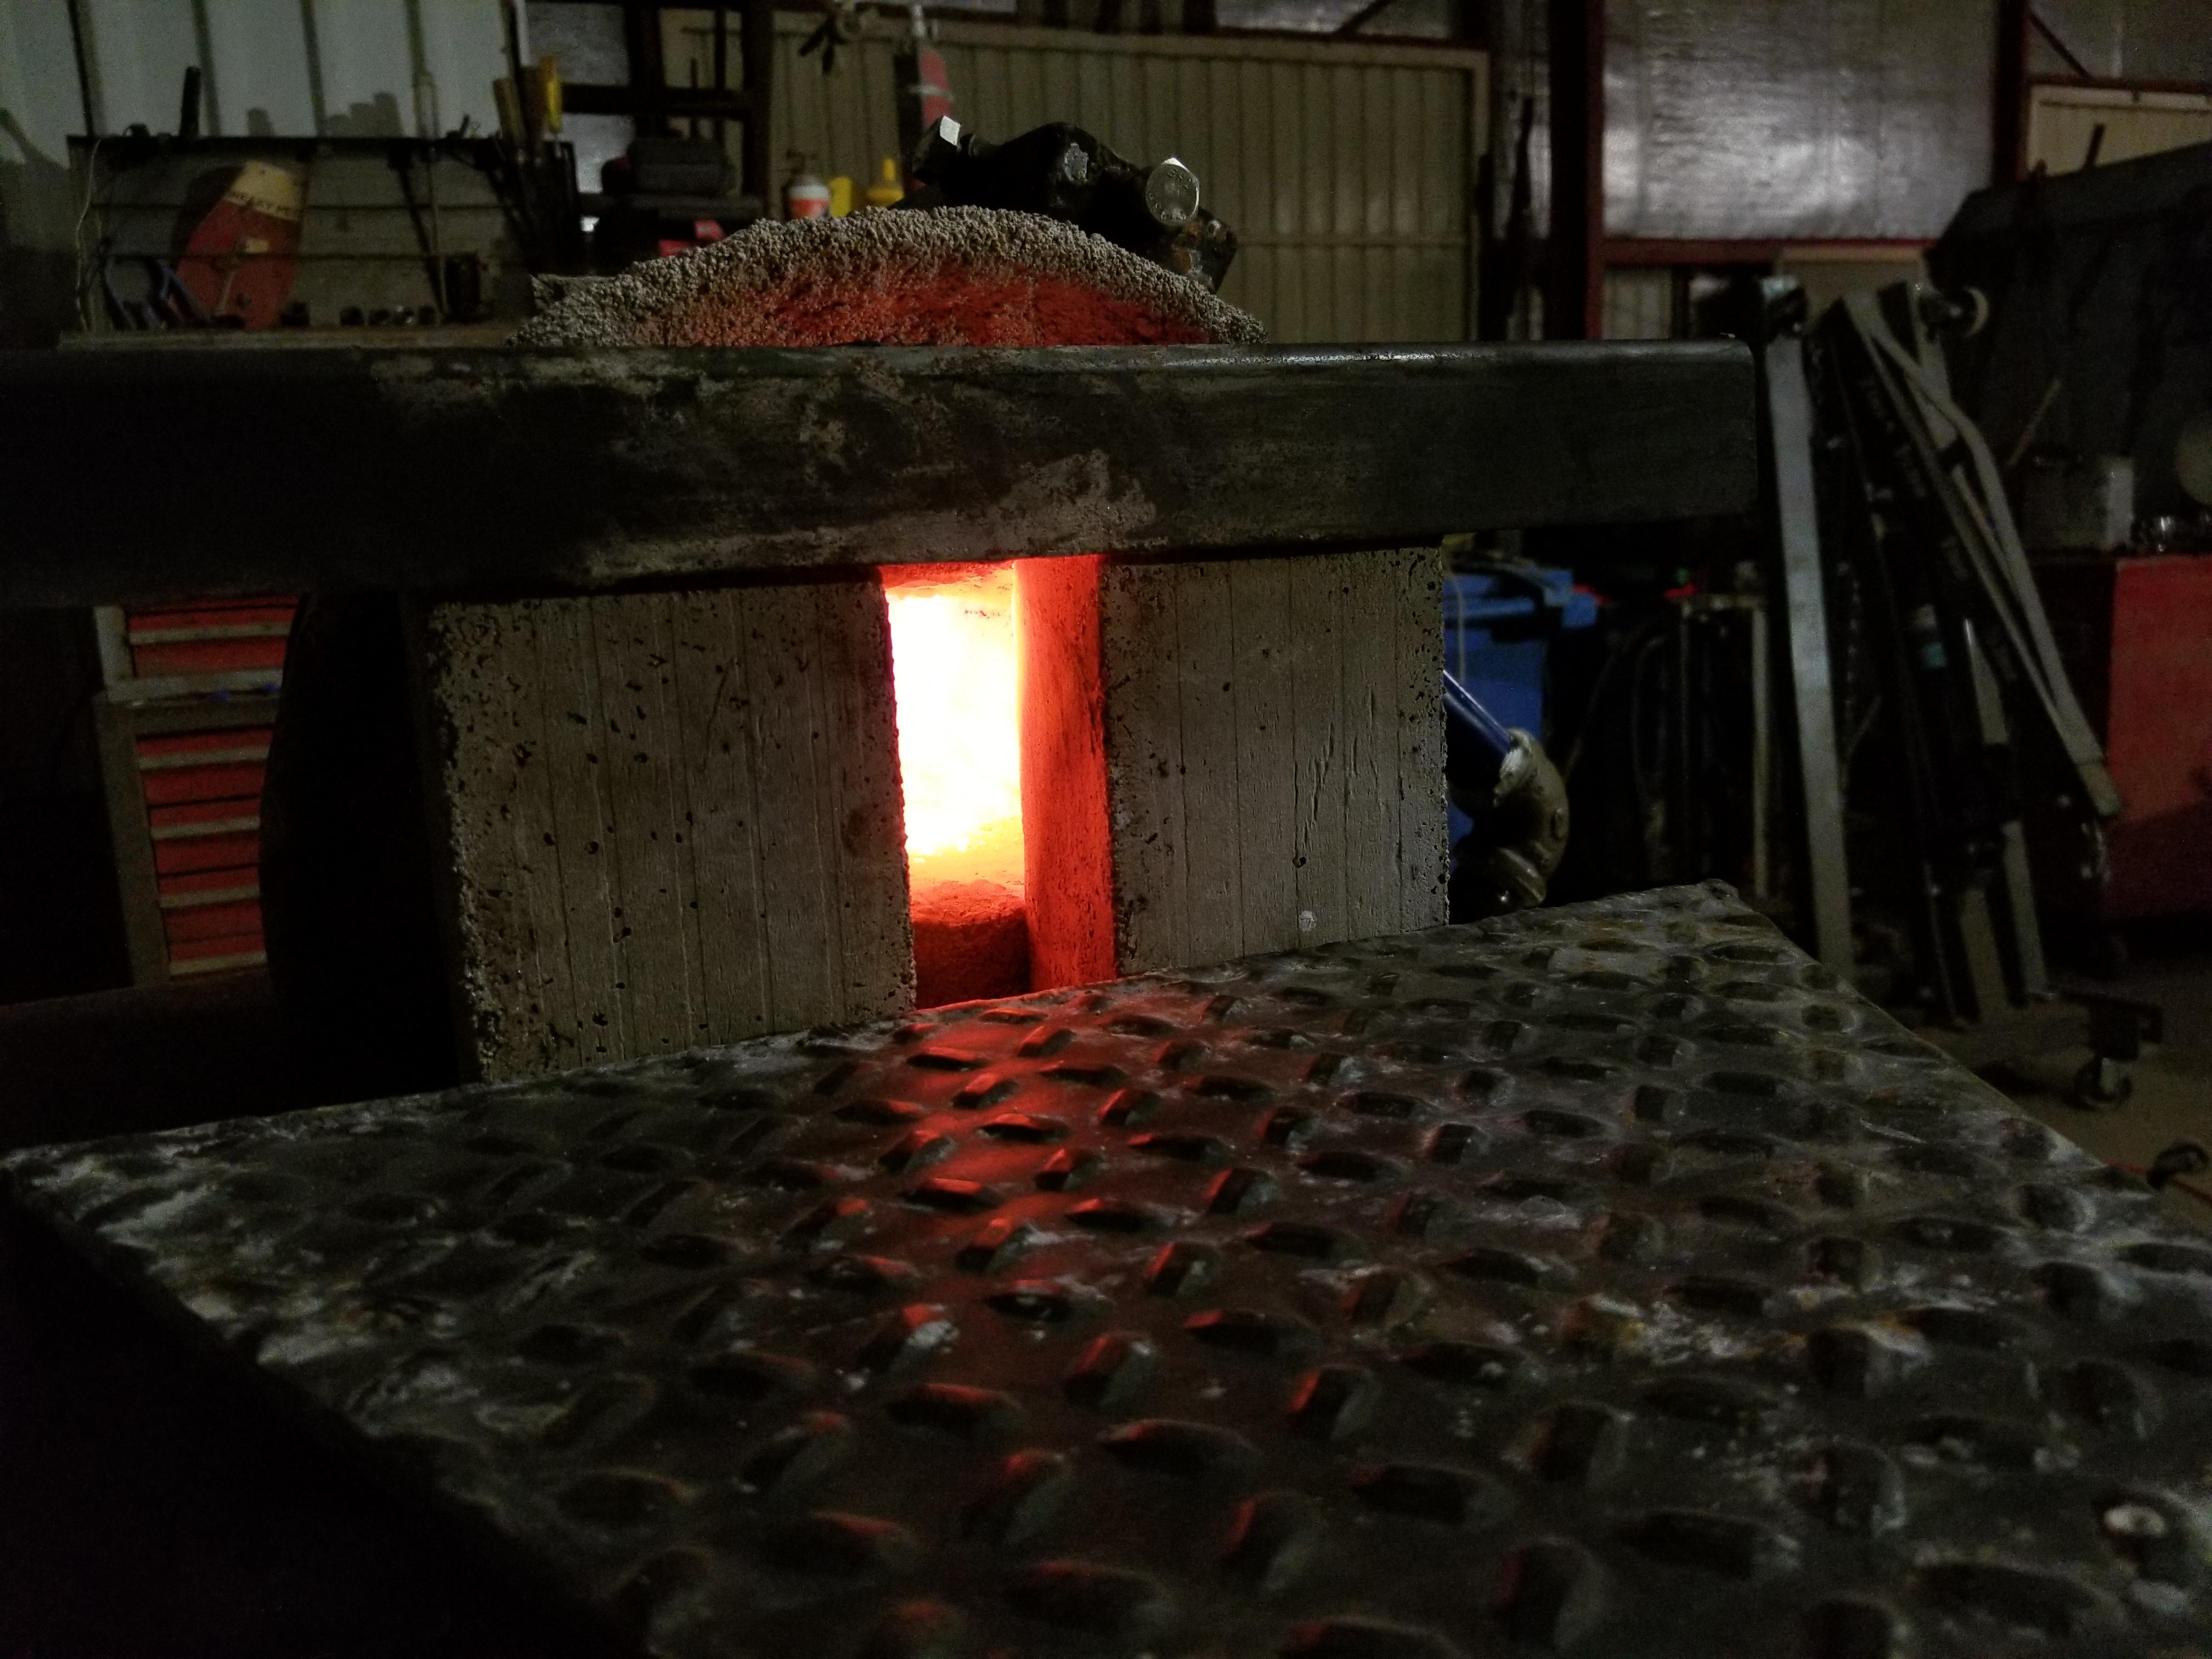
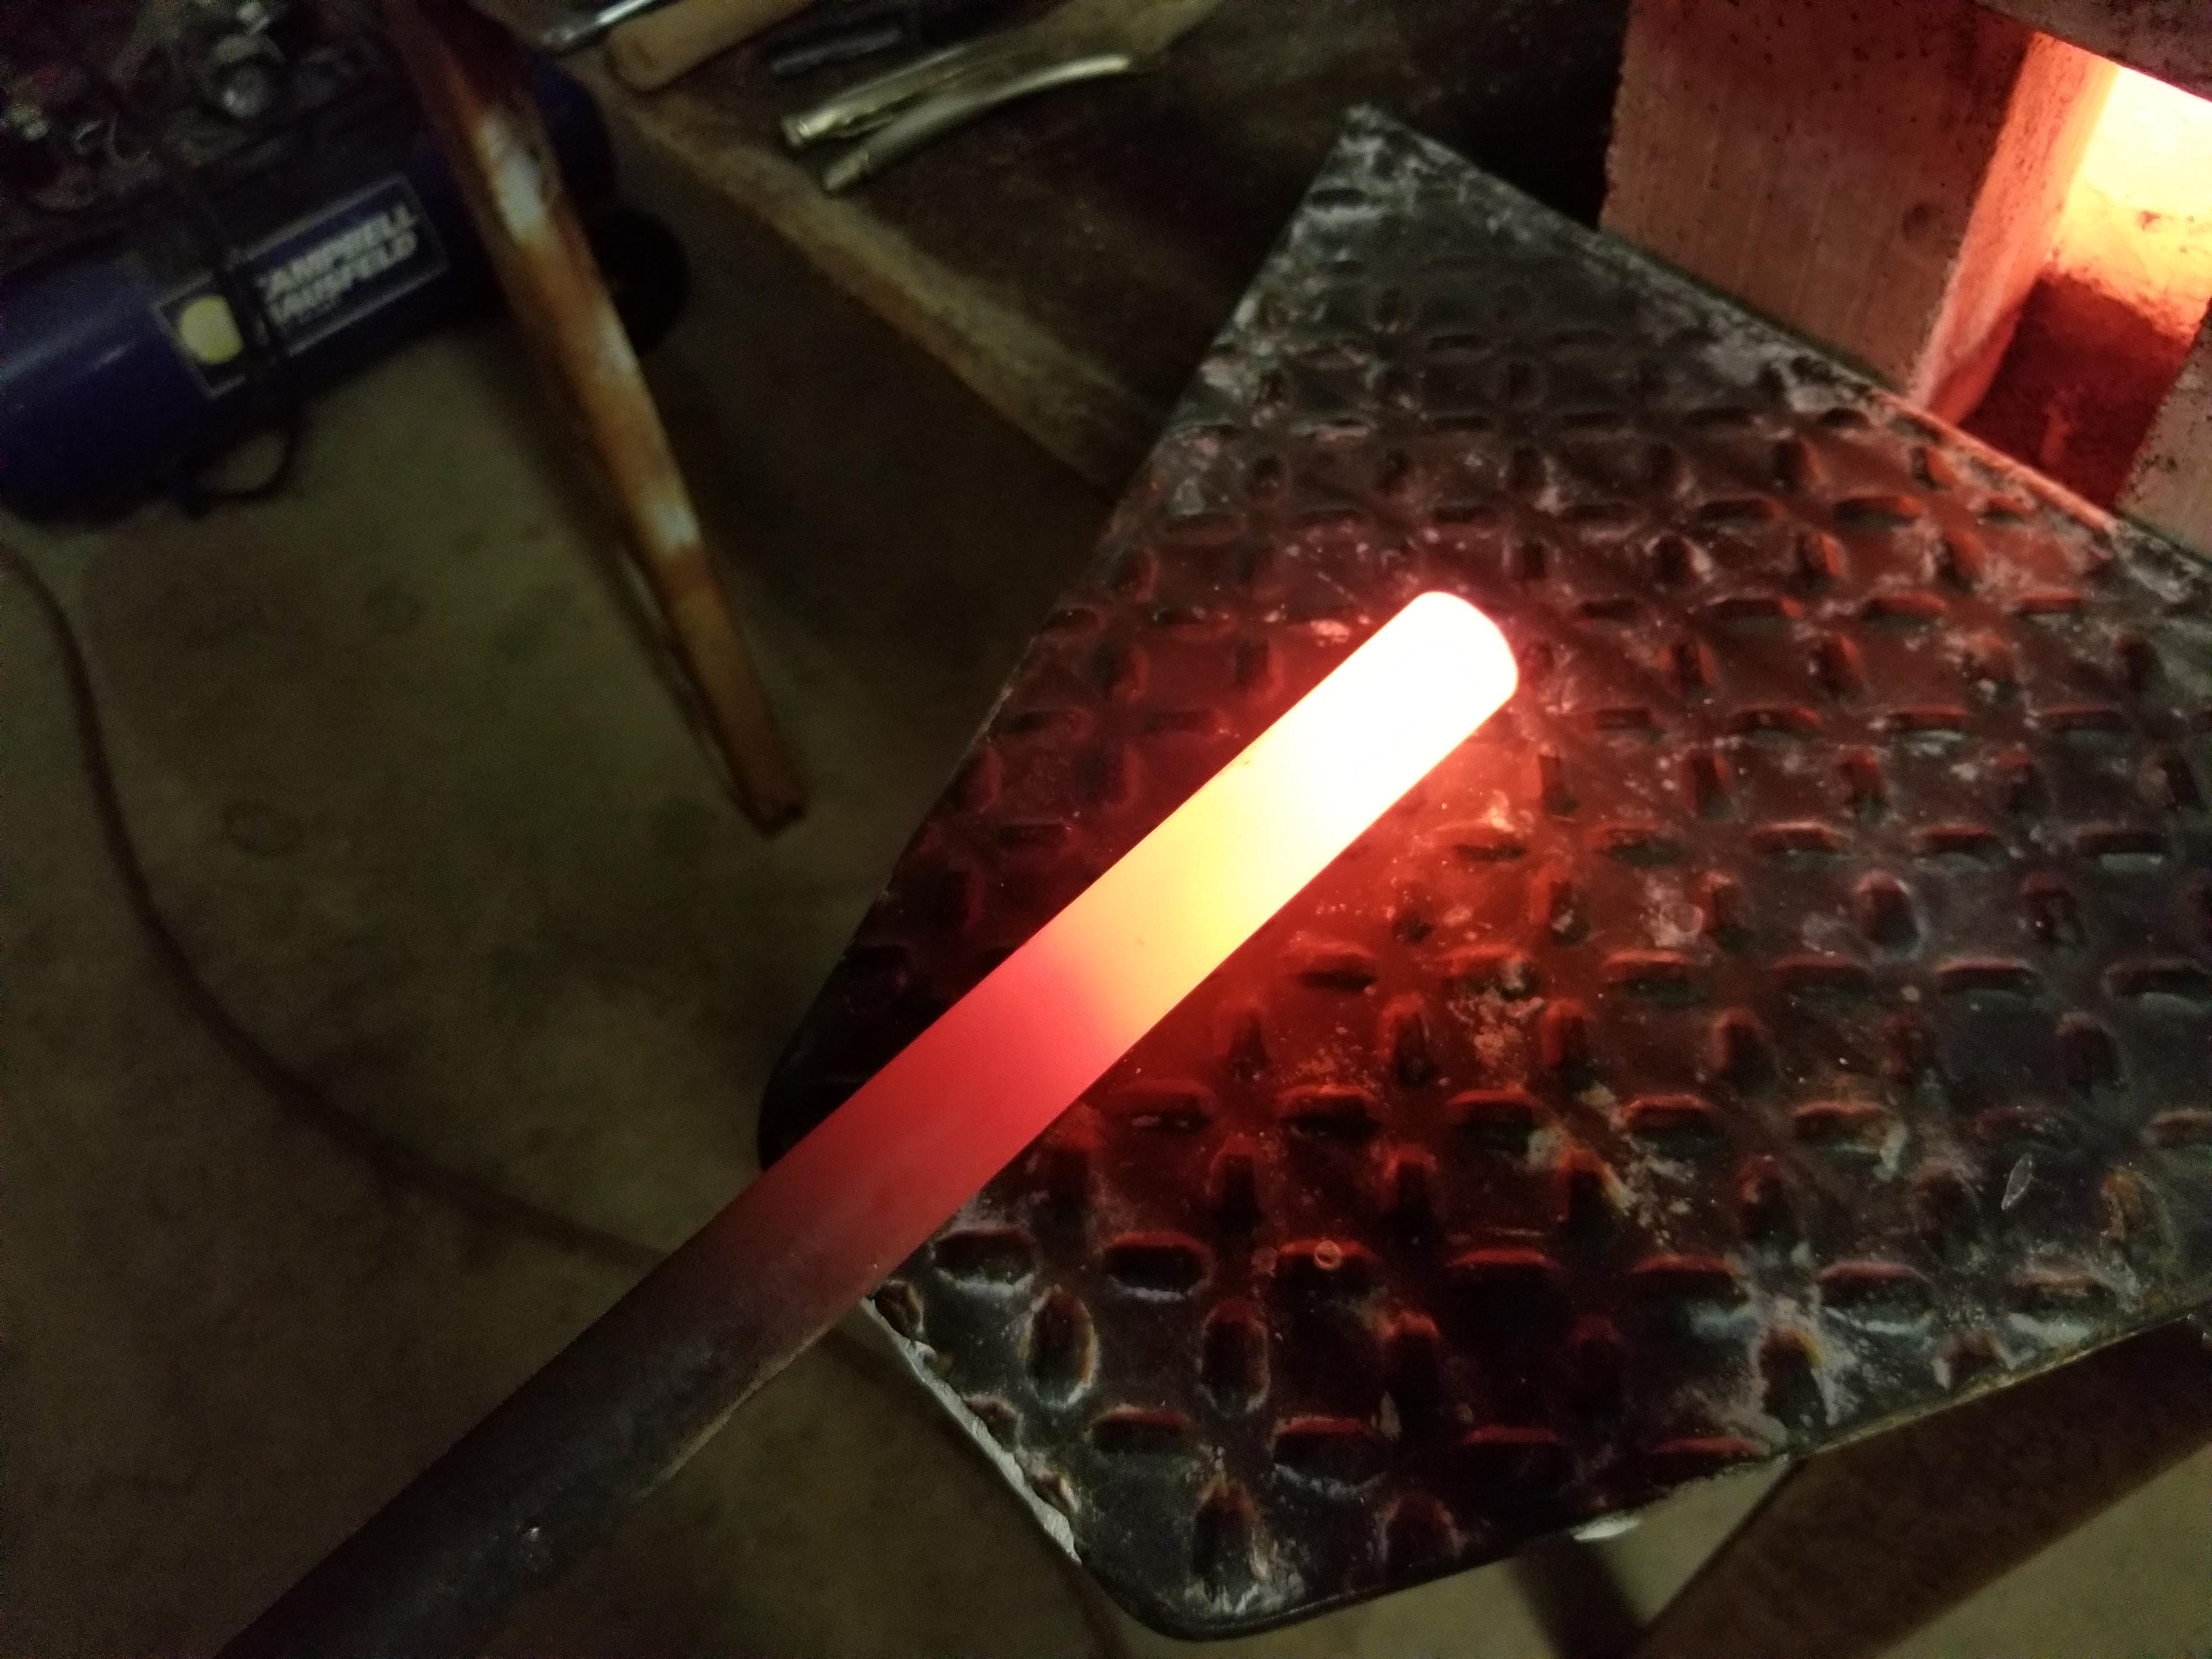
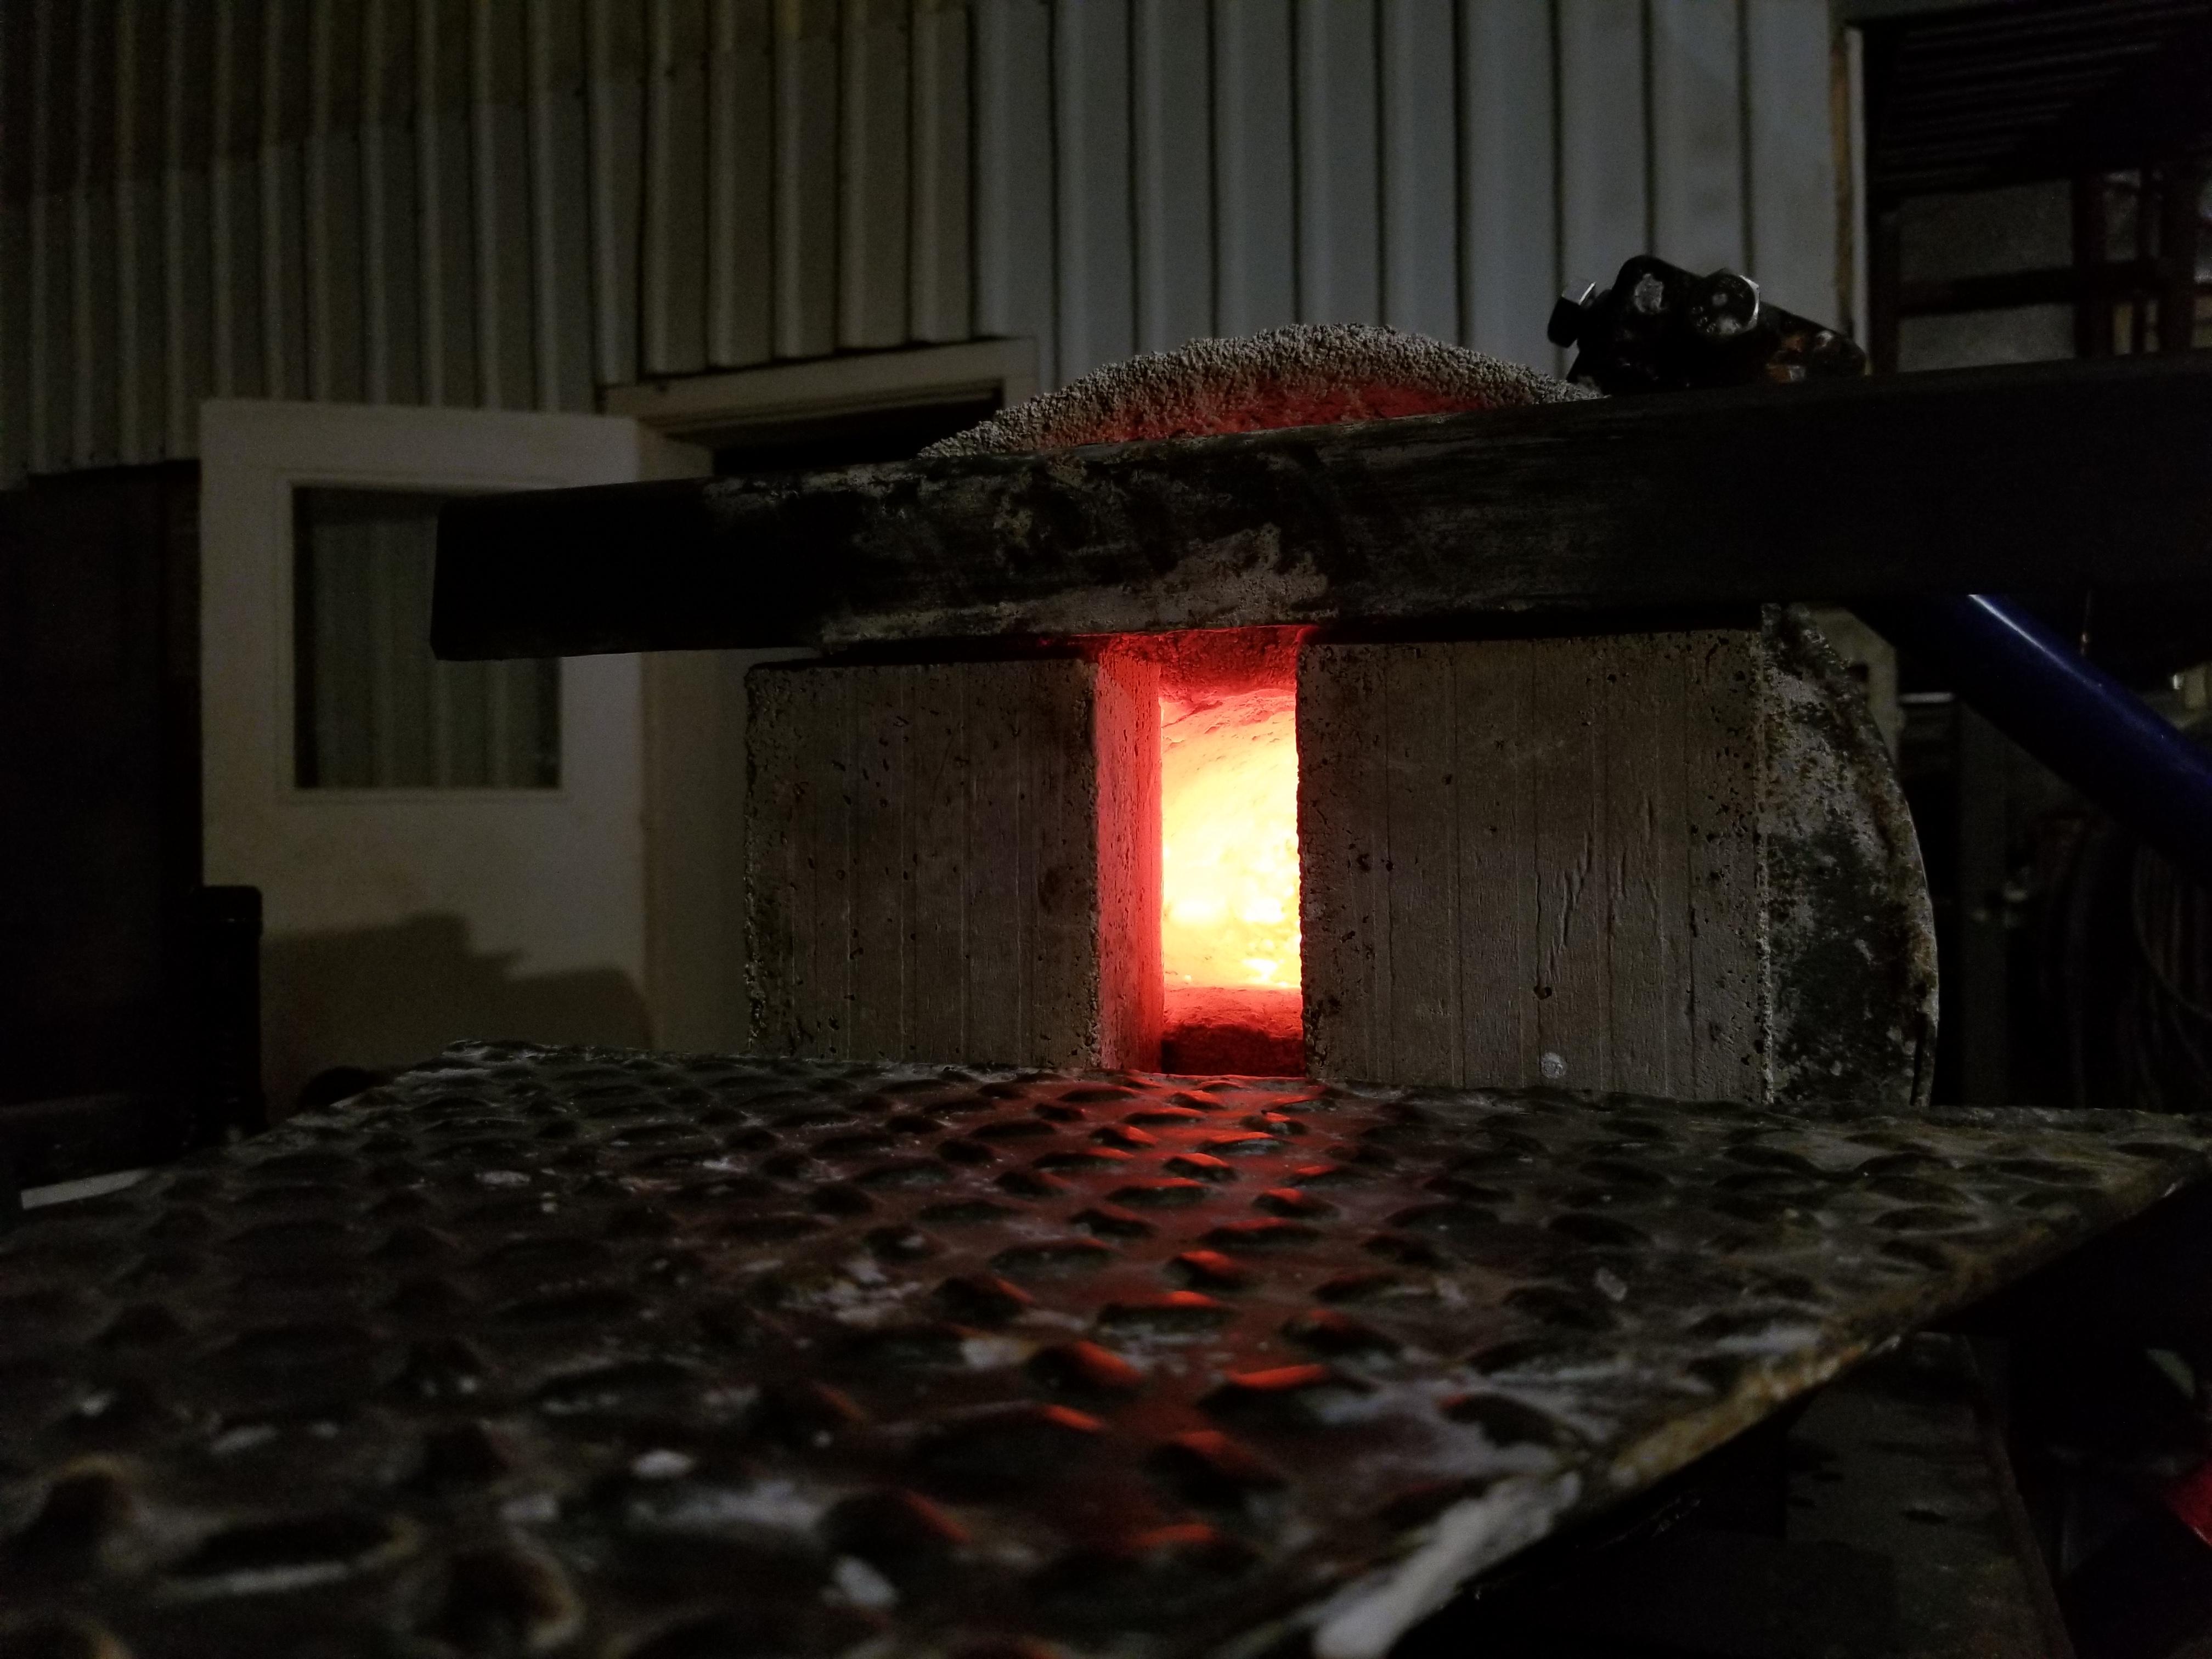
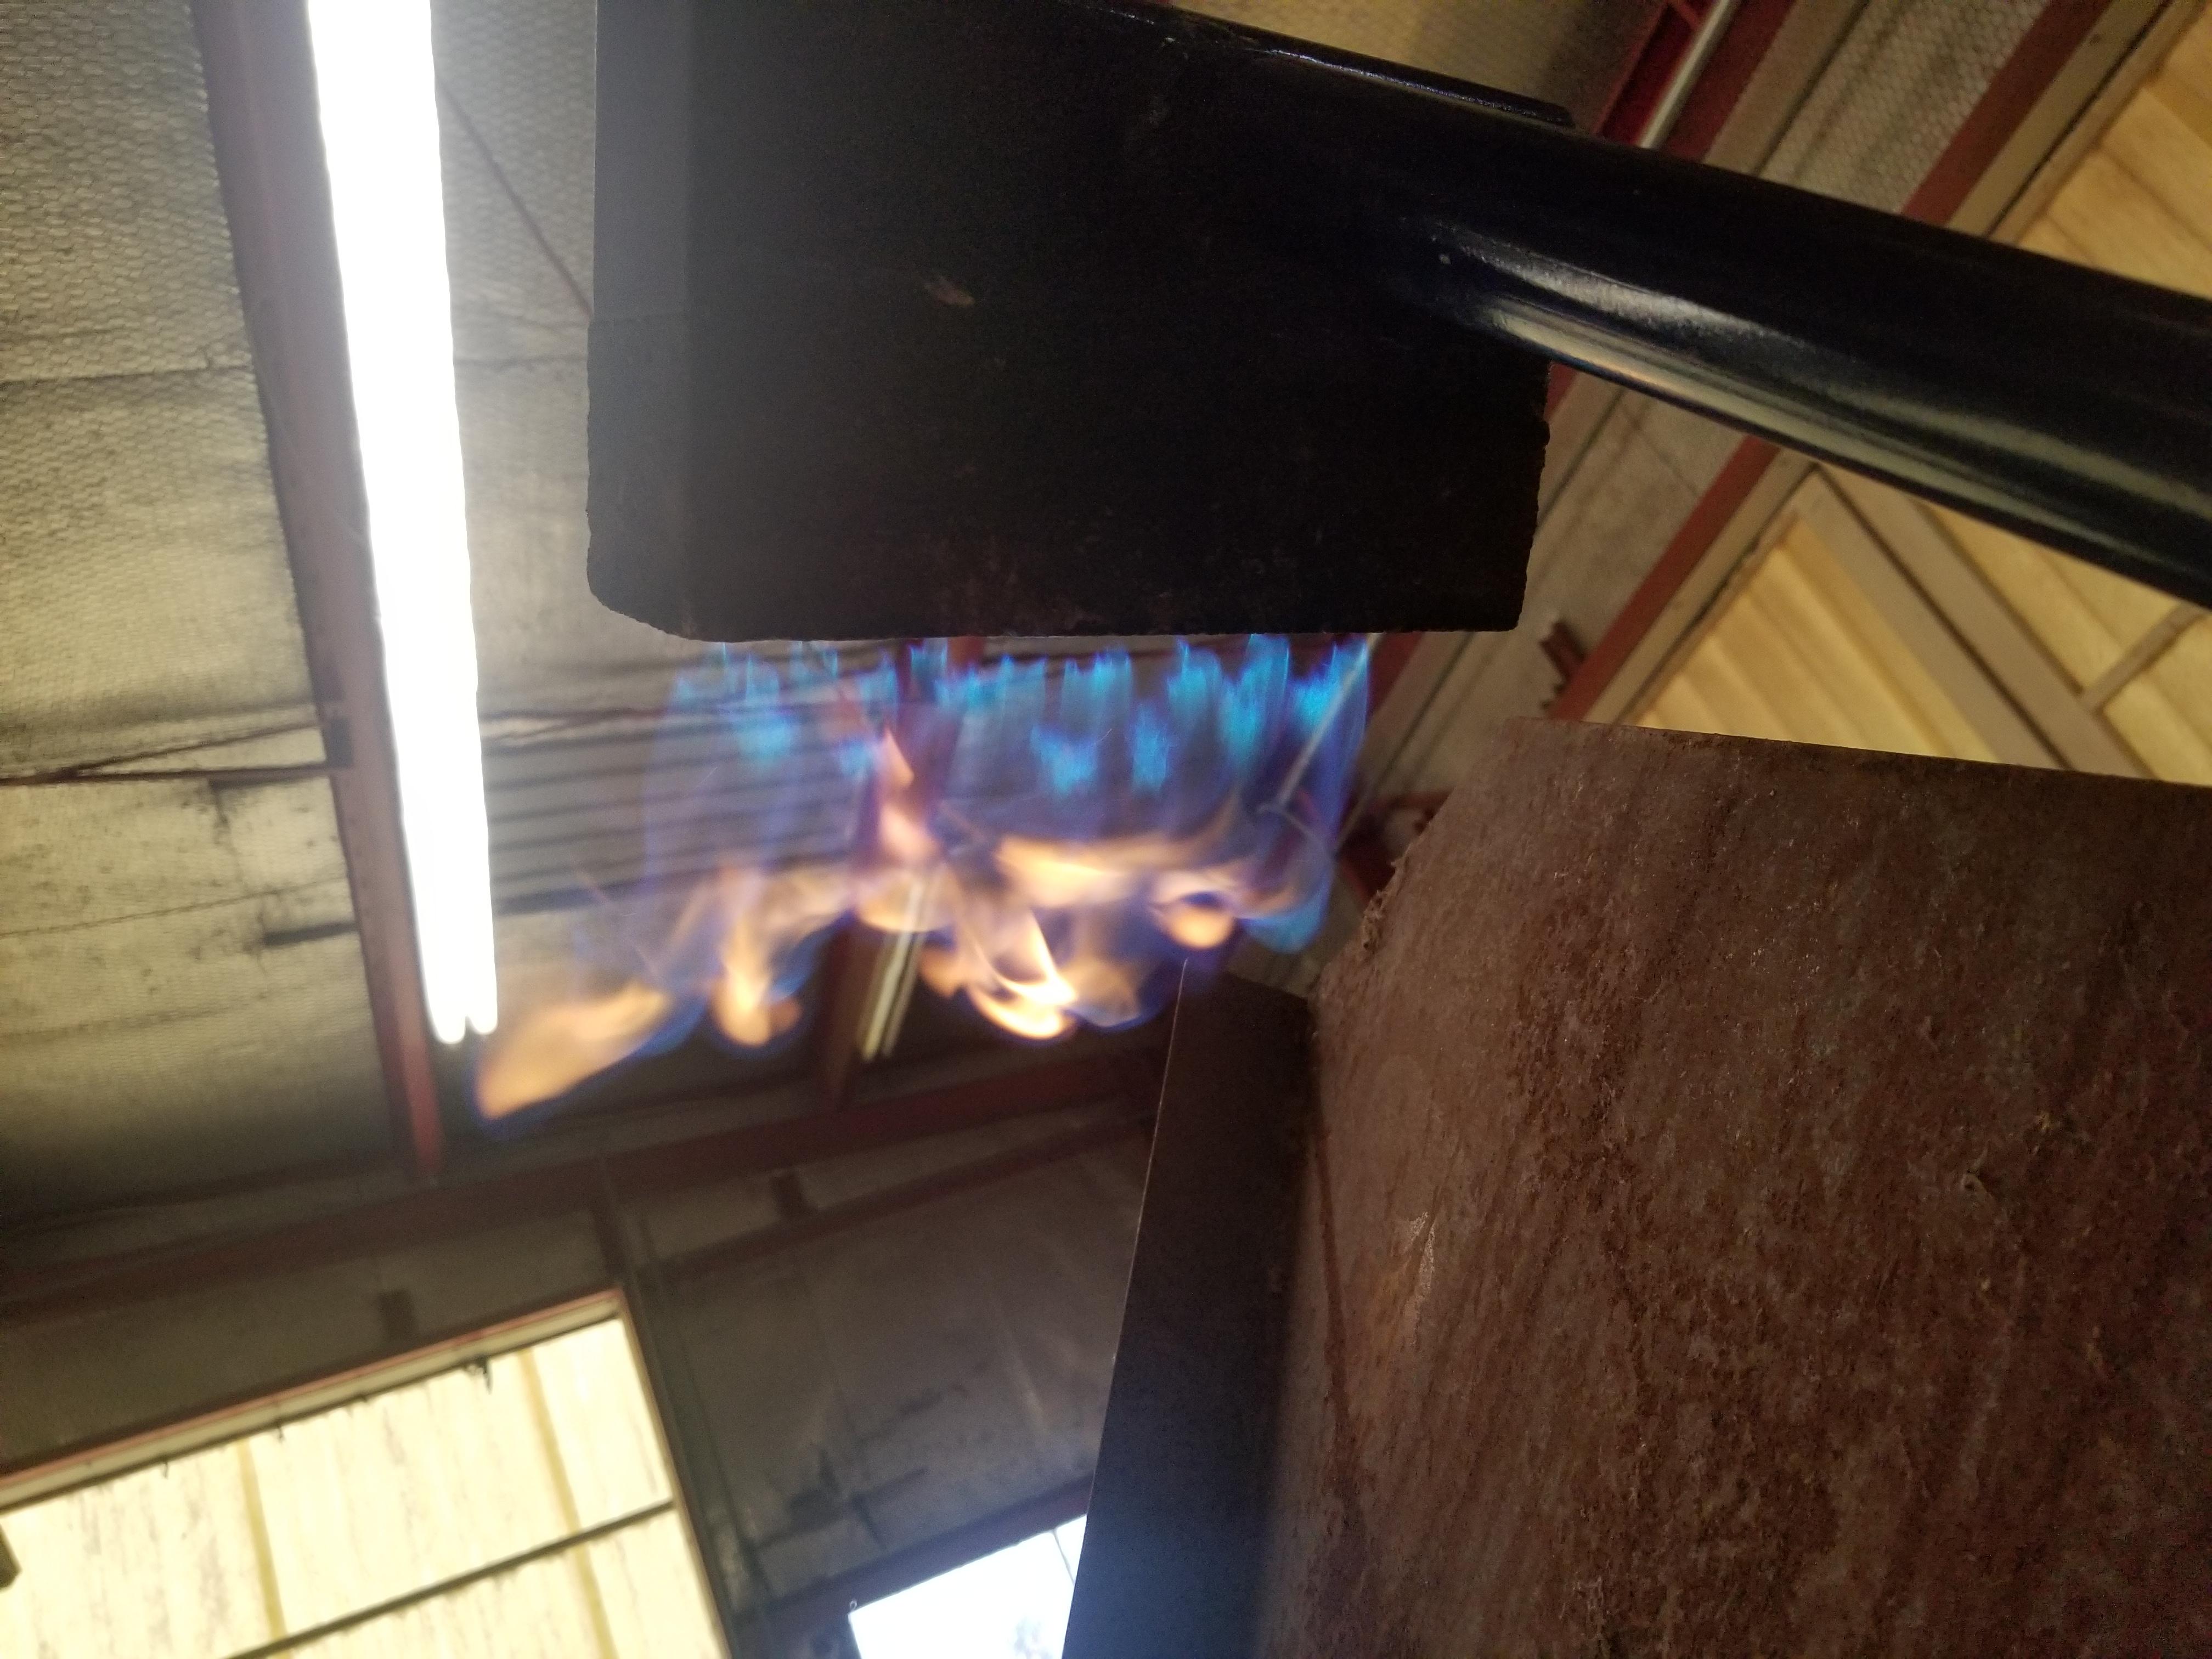
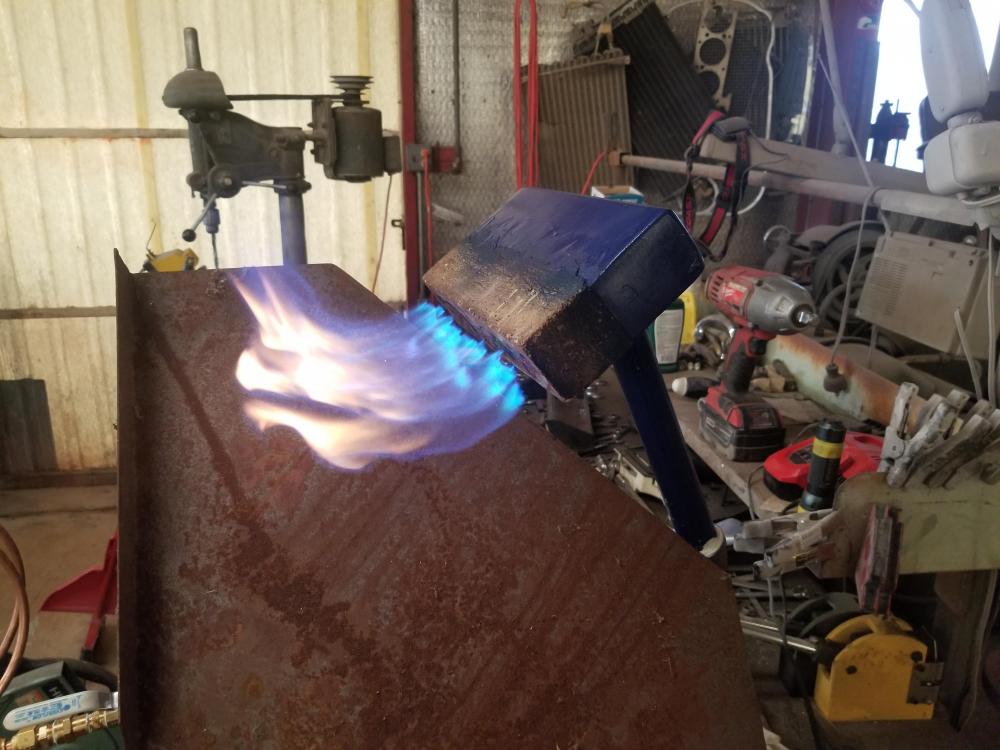
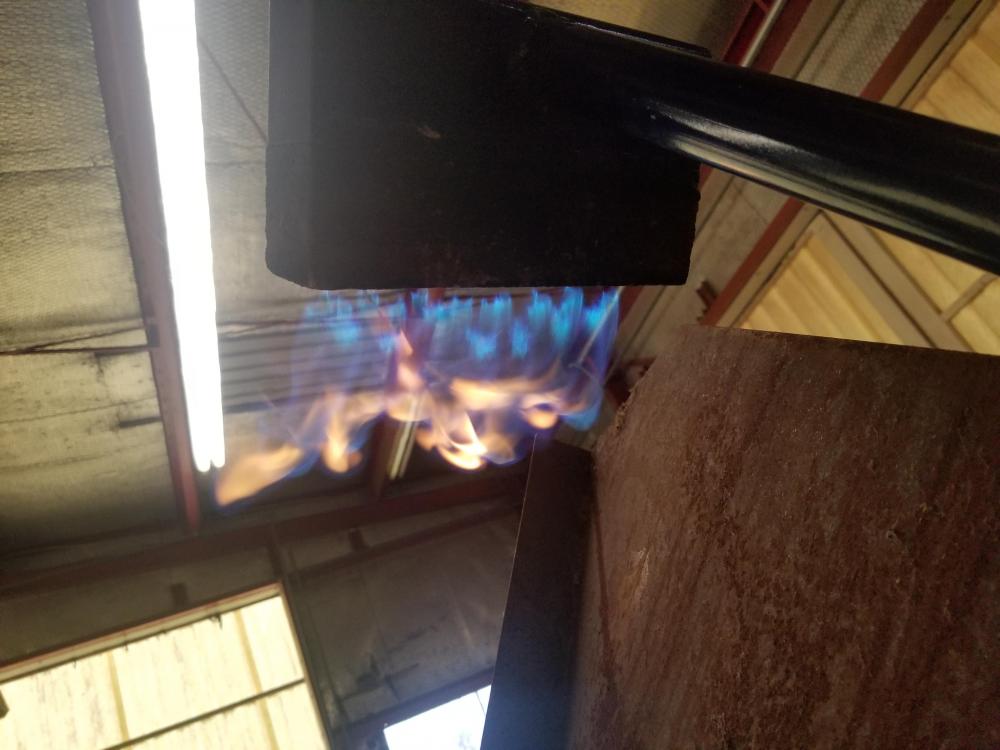
Thank yall for the sagely advise. I will just go with a square/ruler, and make a rack for tongs and hammers on the bottom. Virgin firing was tonight, and for the life of me I couldn't understand why the flame would not stay lit when the burner was in the forge. It turned out that opening the gate some kept her going. I was displeased initially with how big the flamelets were, as I was expecting some cutesy little ones. I got over the robustness for long enough to get some heat in the forge. I had the max line pressure down at 2psi, and the needle valve about half way open (maybe, I was being very cautious). All the pictures will be at this setting. Cameras at night make flames brighter than they are to my eye, which saw the inside as a high orange. I put a 1inch round stock bar in for exactly 4 minutes, and the picture of it seems more accurate as far as color is concerned. The picture of the round stock inside the forge is after shutdown. Any further correction or advise is greatly appreciated and impatiently anticipated. I have short videos if there is any interest.


-
I got my new work bench on its own legs. I will probably add a bottom shelf tomorrow to sit a tank on. I'm torn on what to do with the other side of the bench.. mount a vise and bench grinder, install a coal forge, or leave it open with a square/ruler etched into it for whatever comes up.... or all three in a modular fashion . I could even 'Y' the blower to also work for the coal forge so I'm not using hair dryers anymore. I plan to get it on casters so that it's super mobile like by belt-grinder and accessory table. Any curmudgeonly suggestions are welcome. Also to the mods, I am not trying to annoy you with my big pictures, I just cant find the option on my phone to reformat them into a smaller configuration.. or whatever the term is ( not so up to speed with my smart phone, still learning). Apologies.

-
Thank you sir. I'm going to do as you suggest with the pressure gauge. I was actually showing my dad the difference between rich and lean flames, and I had the blower gated almost all the way down.. the thing puts out gobs of air. I'm looking forward to finishing my work bench, I need more workable area in a bad way!
-
Long overdue. The burner creates some level of heat, at least. When I get my table built this weekend (Monday-ish), I will fire it in the forge.
-
I just want to say well done on your forge. I know you are working a couple bugs out and all, but this thing looks fantastic to me. When you get it dialed in just how you want it, I bet it ends up being a pleasure to use! Bravo.
-
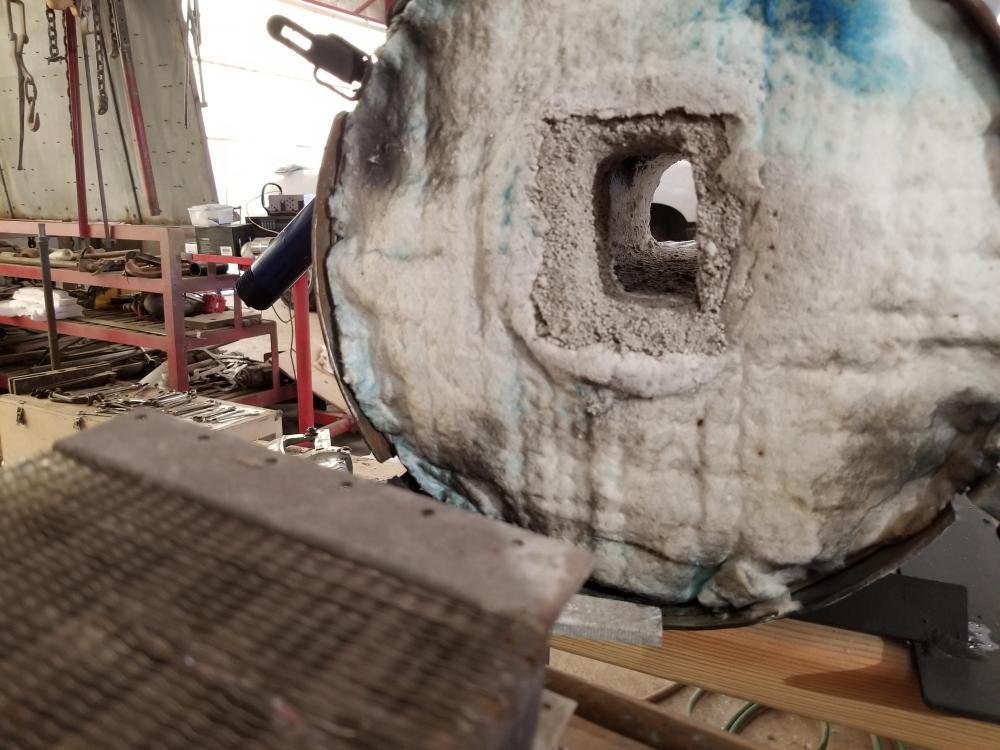
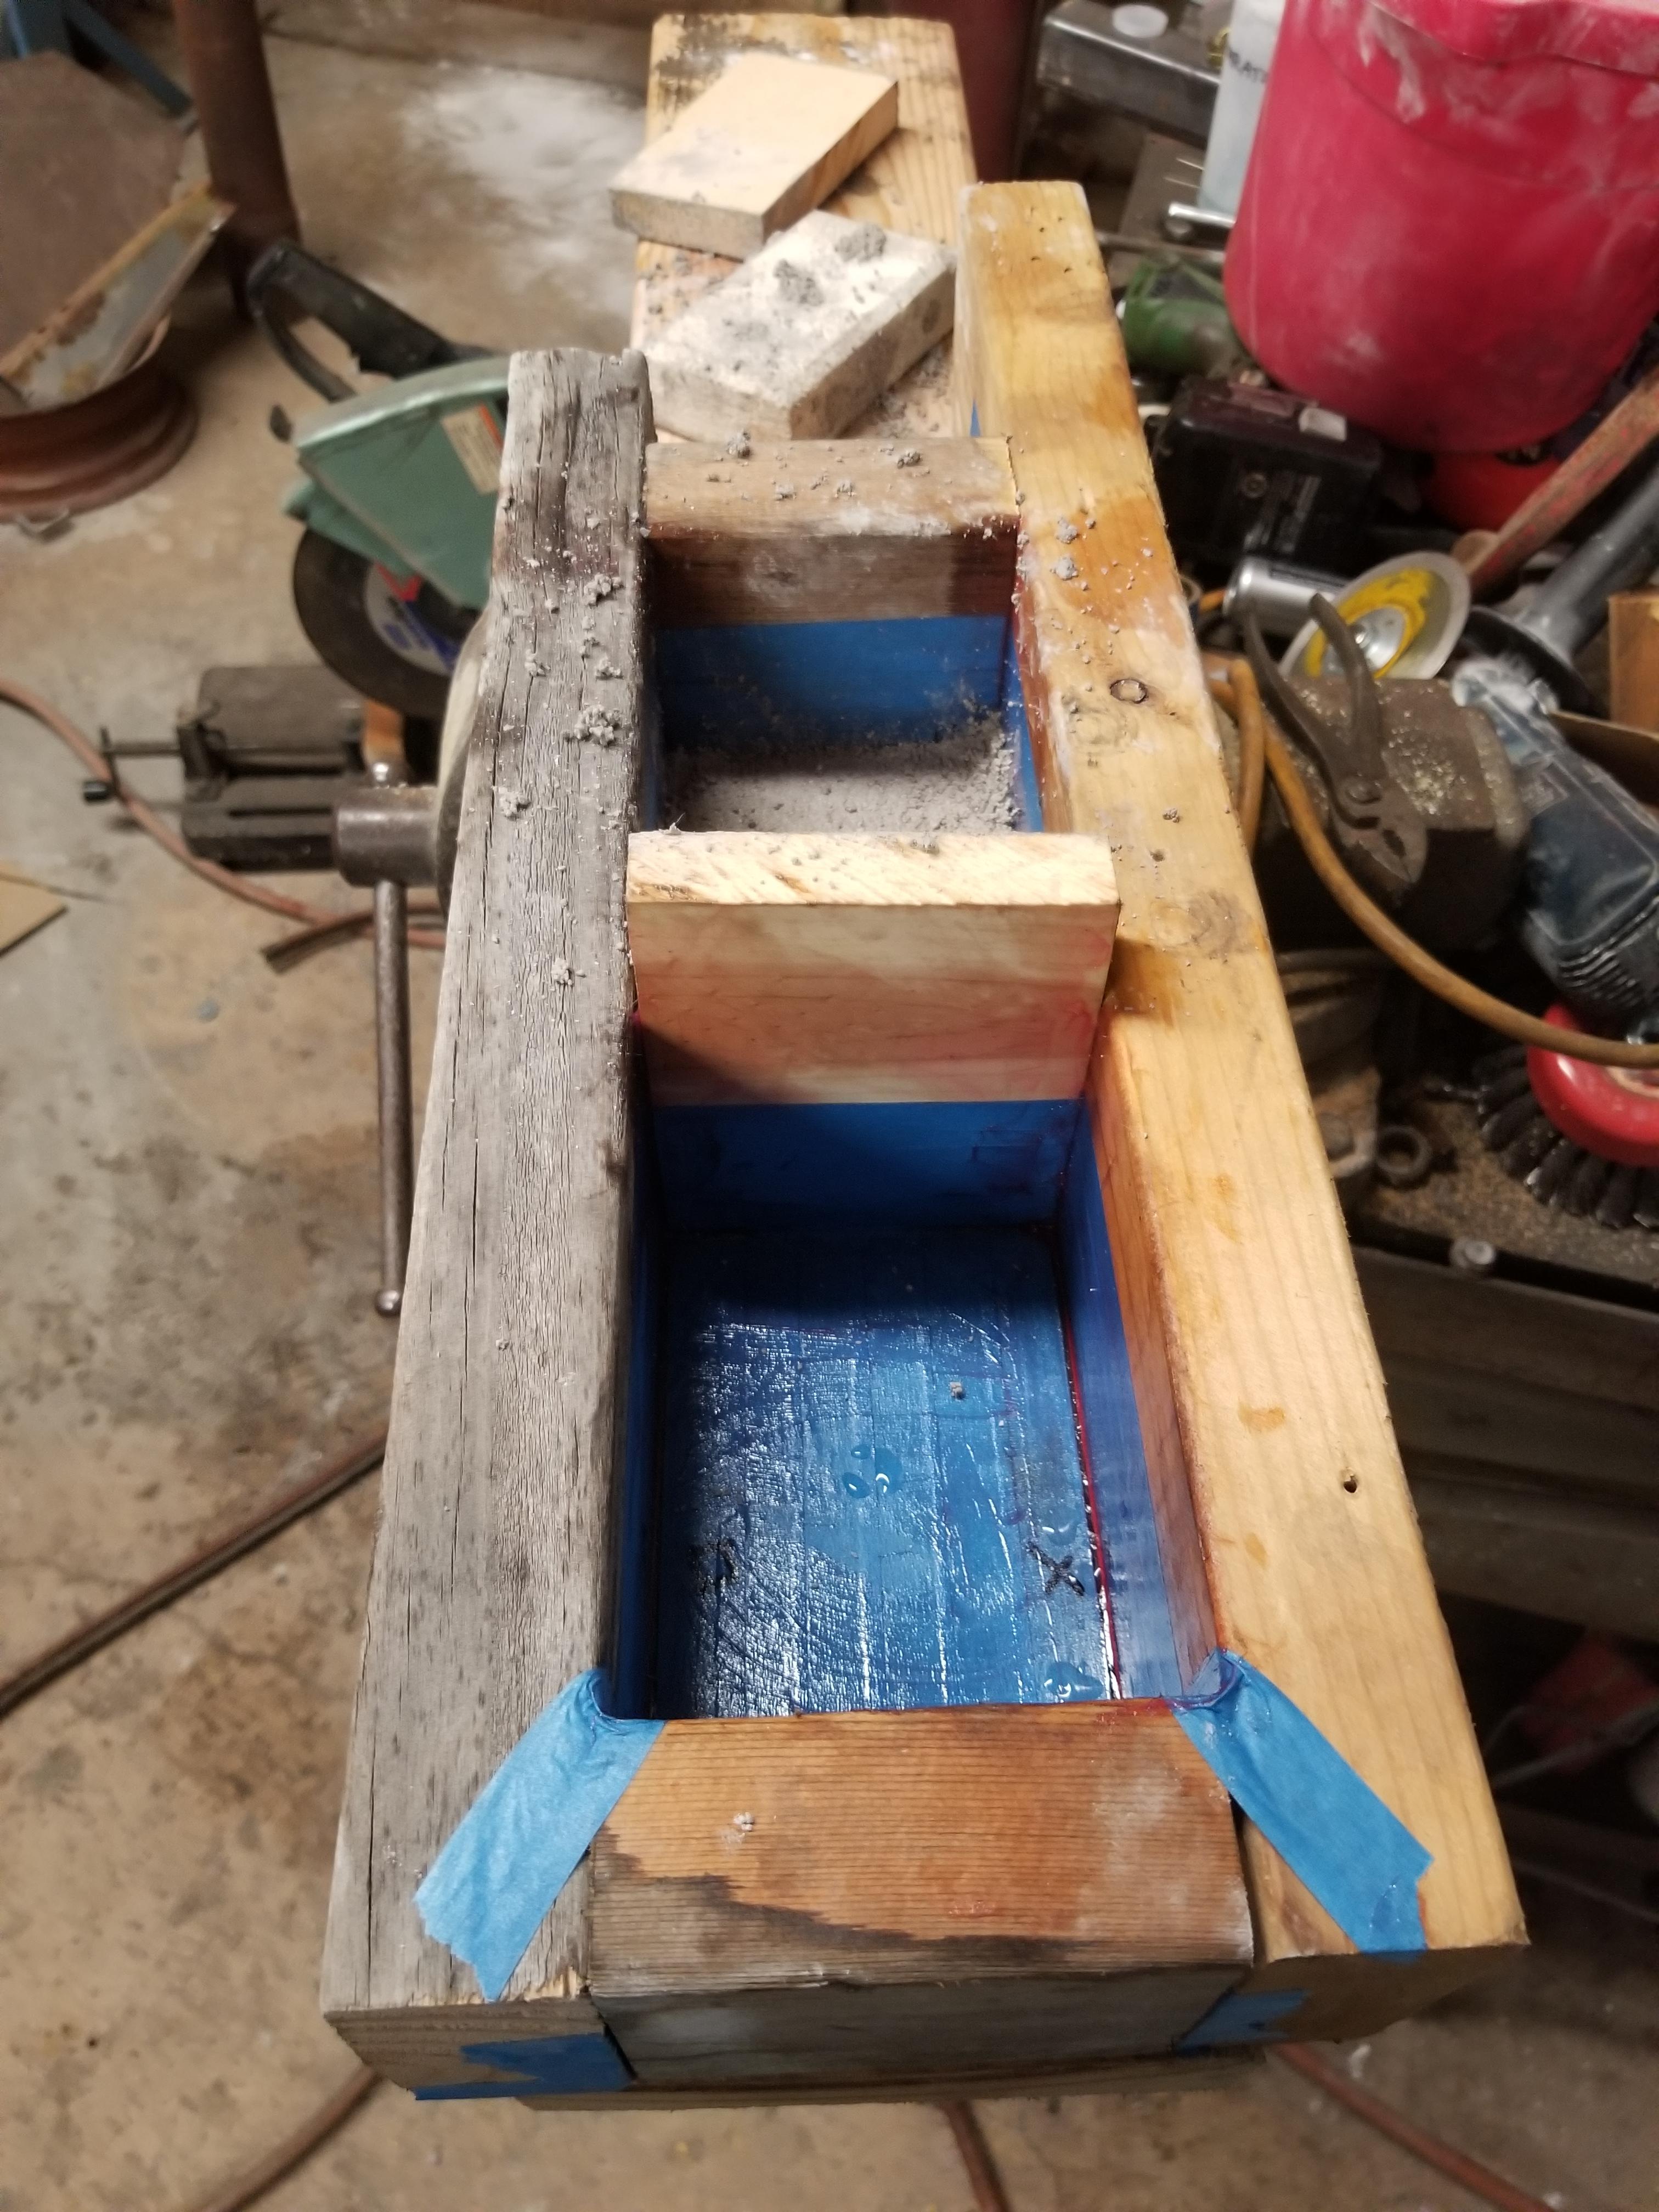
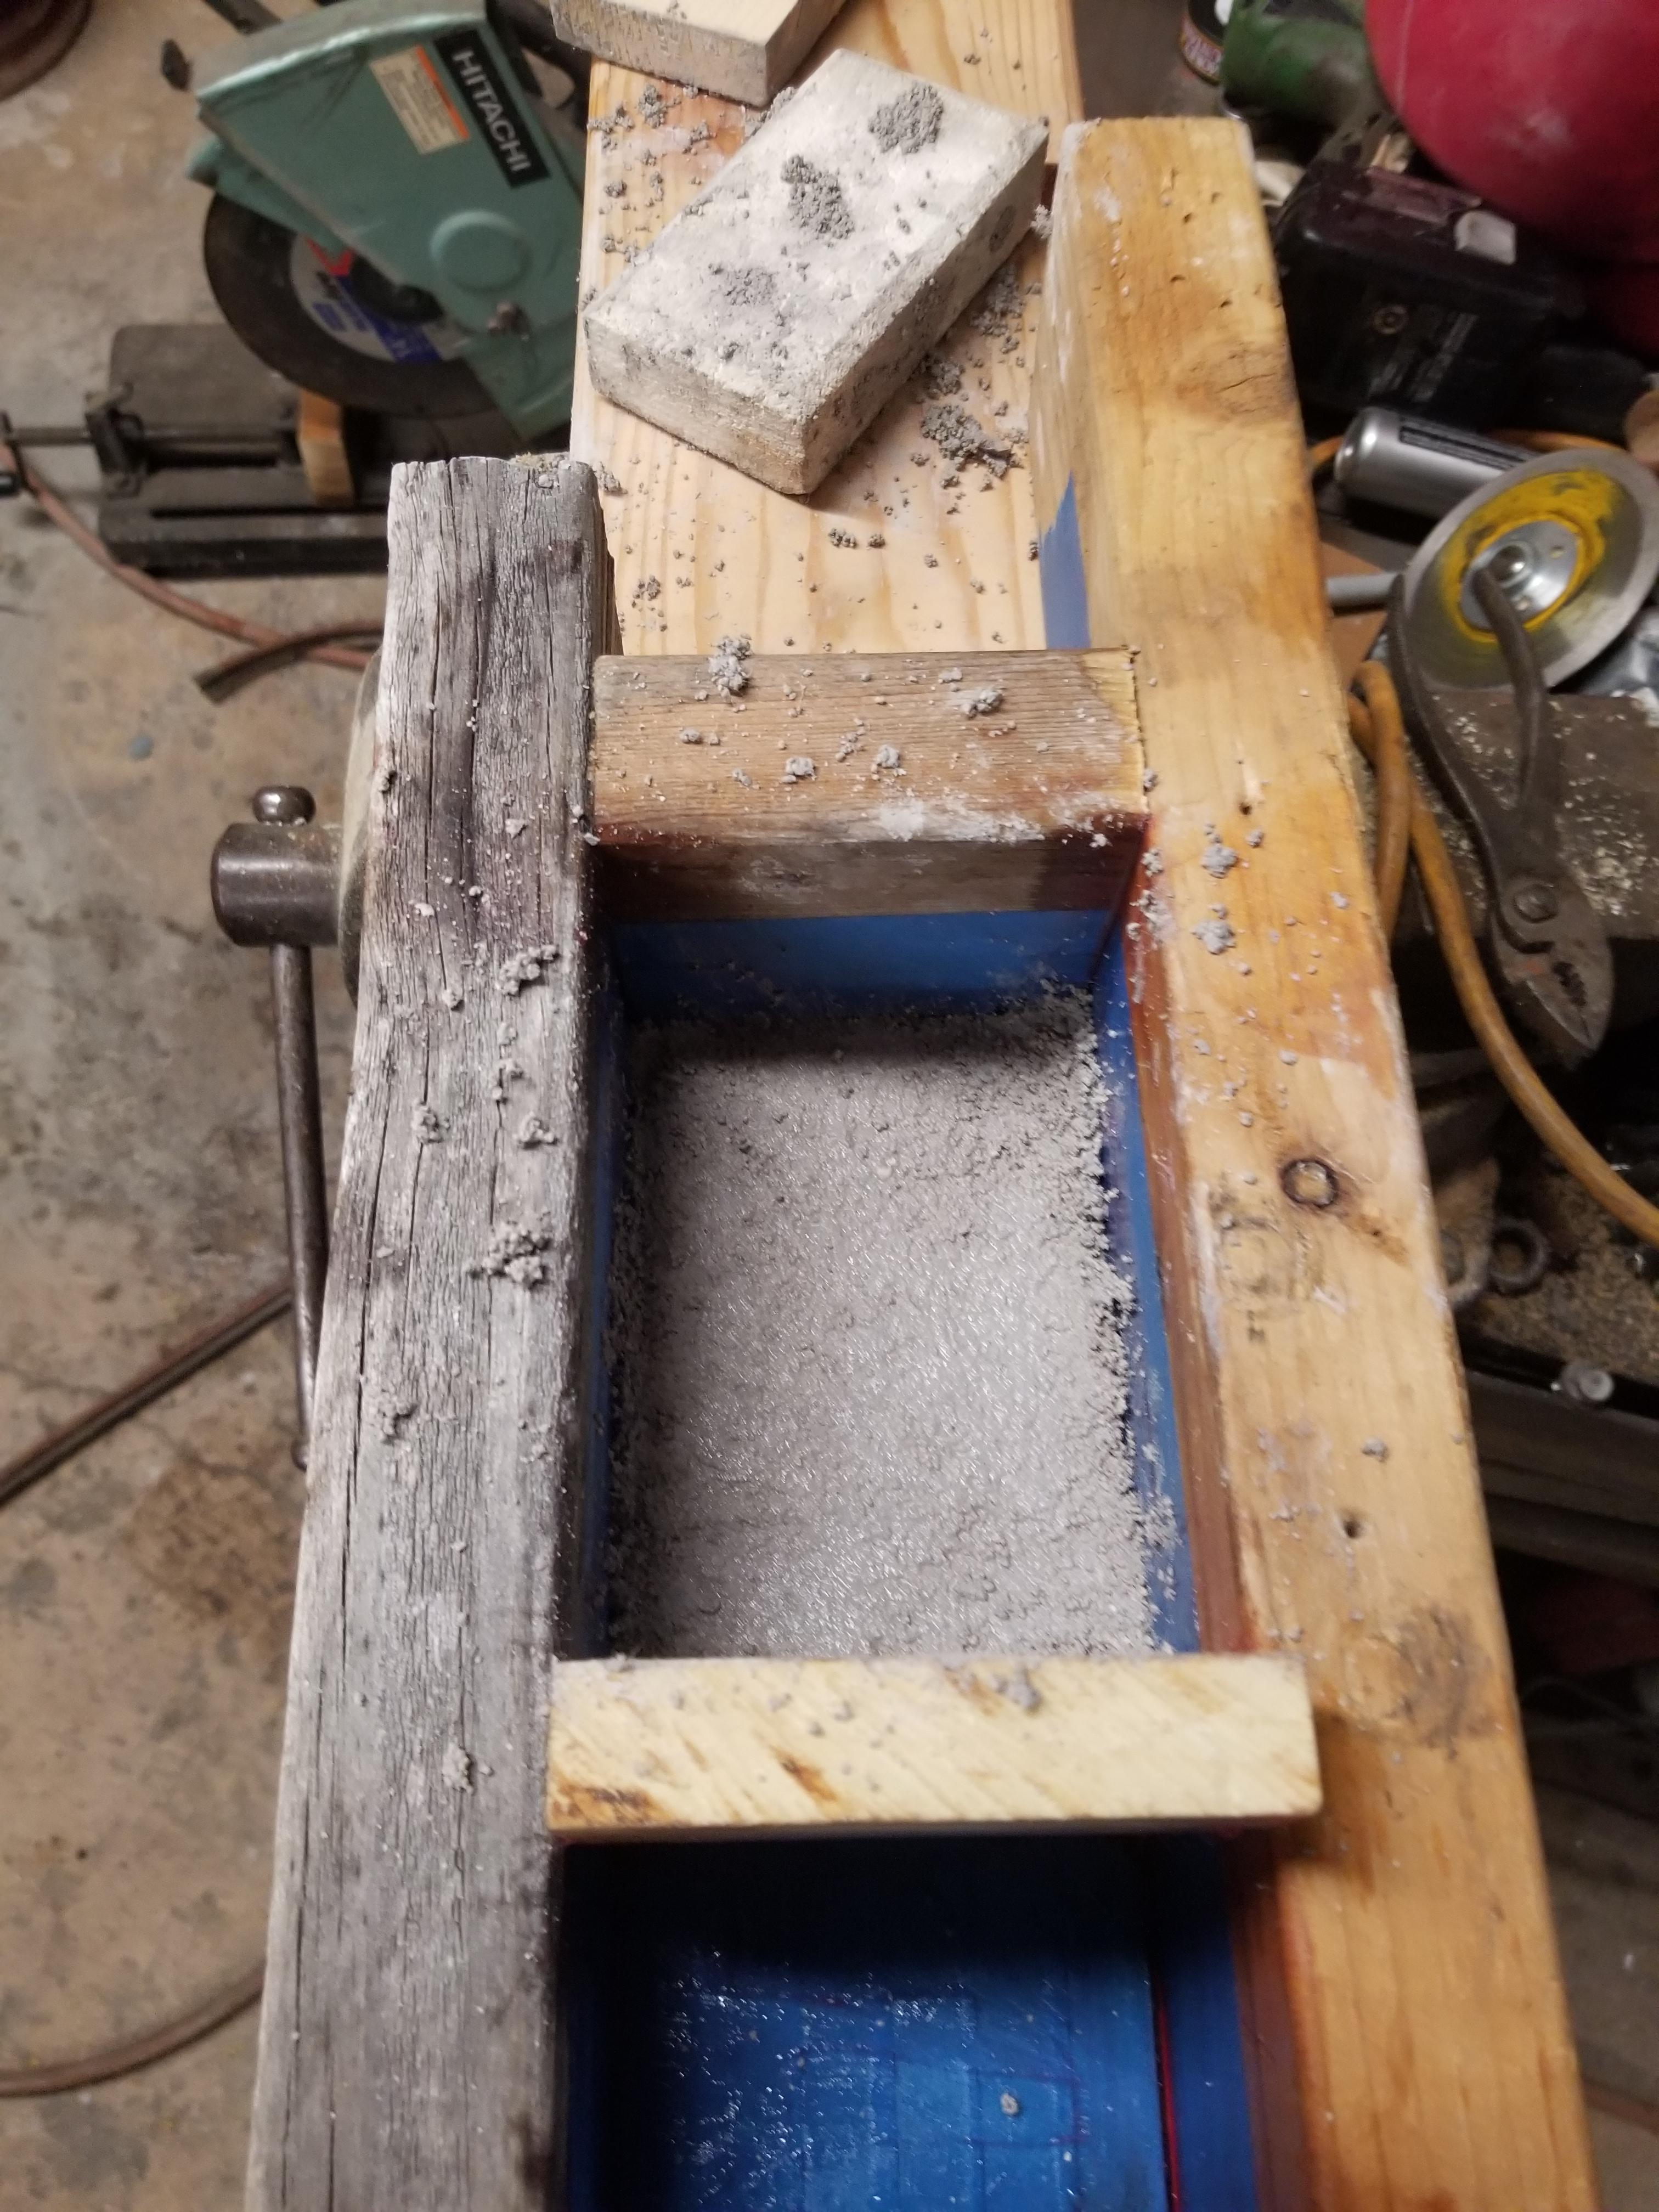
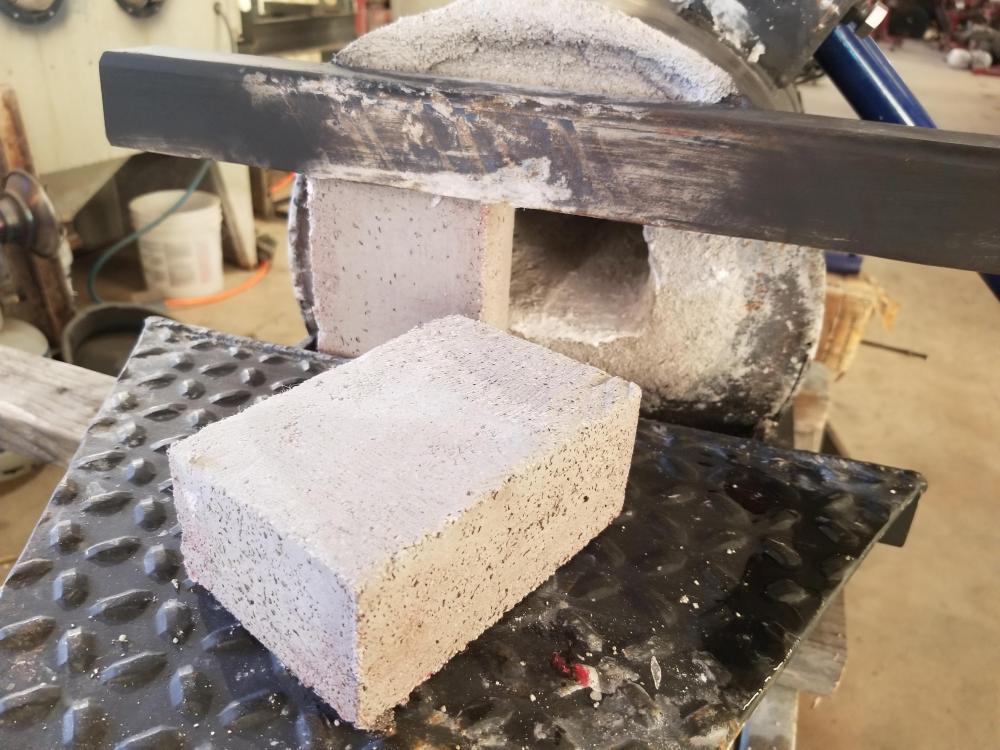
I got my forge doors cast finally. Being that the doors are consumable items, I made a mold that I can zip together to cast more as needed, and leave in a corner in the mean time. These particular doors are cast-o-lite with soft brick cores. The soft brick had passages drilled and packed with cast-o-lite to tie the faces together and increase strength. I am impressed with cast-o-lite as it is very strong after it is cured. My hope is to have doors with reasonable toughness that will aid in insulating the forge to a degree.


-
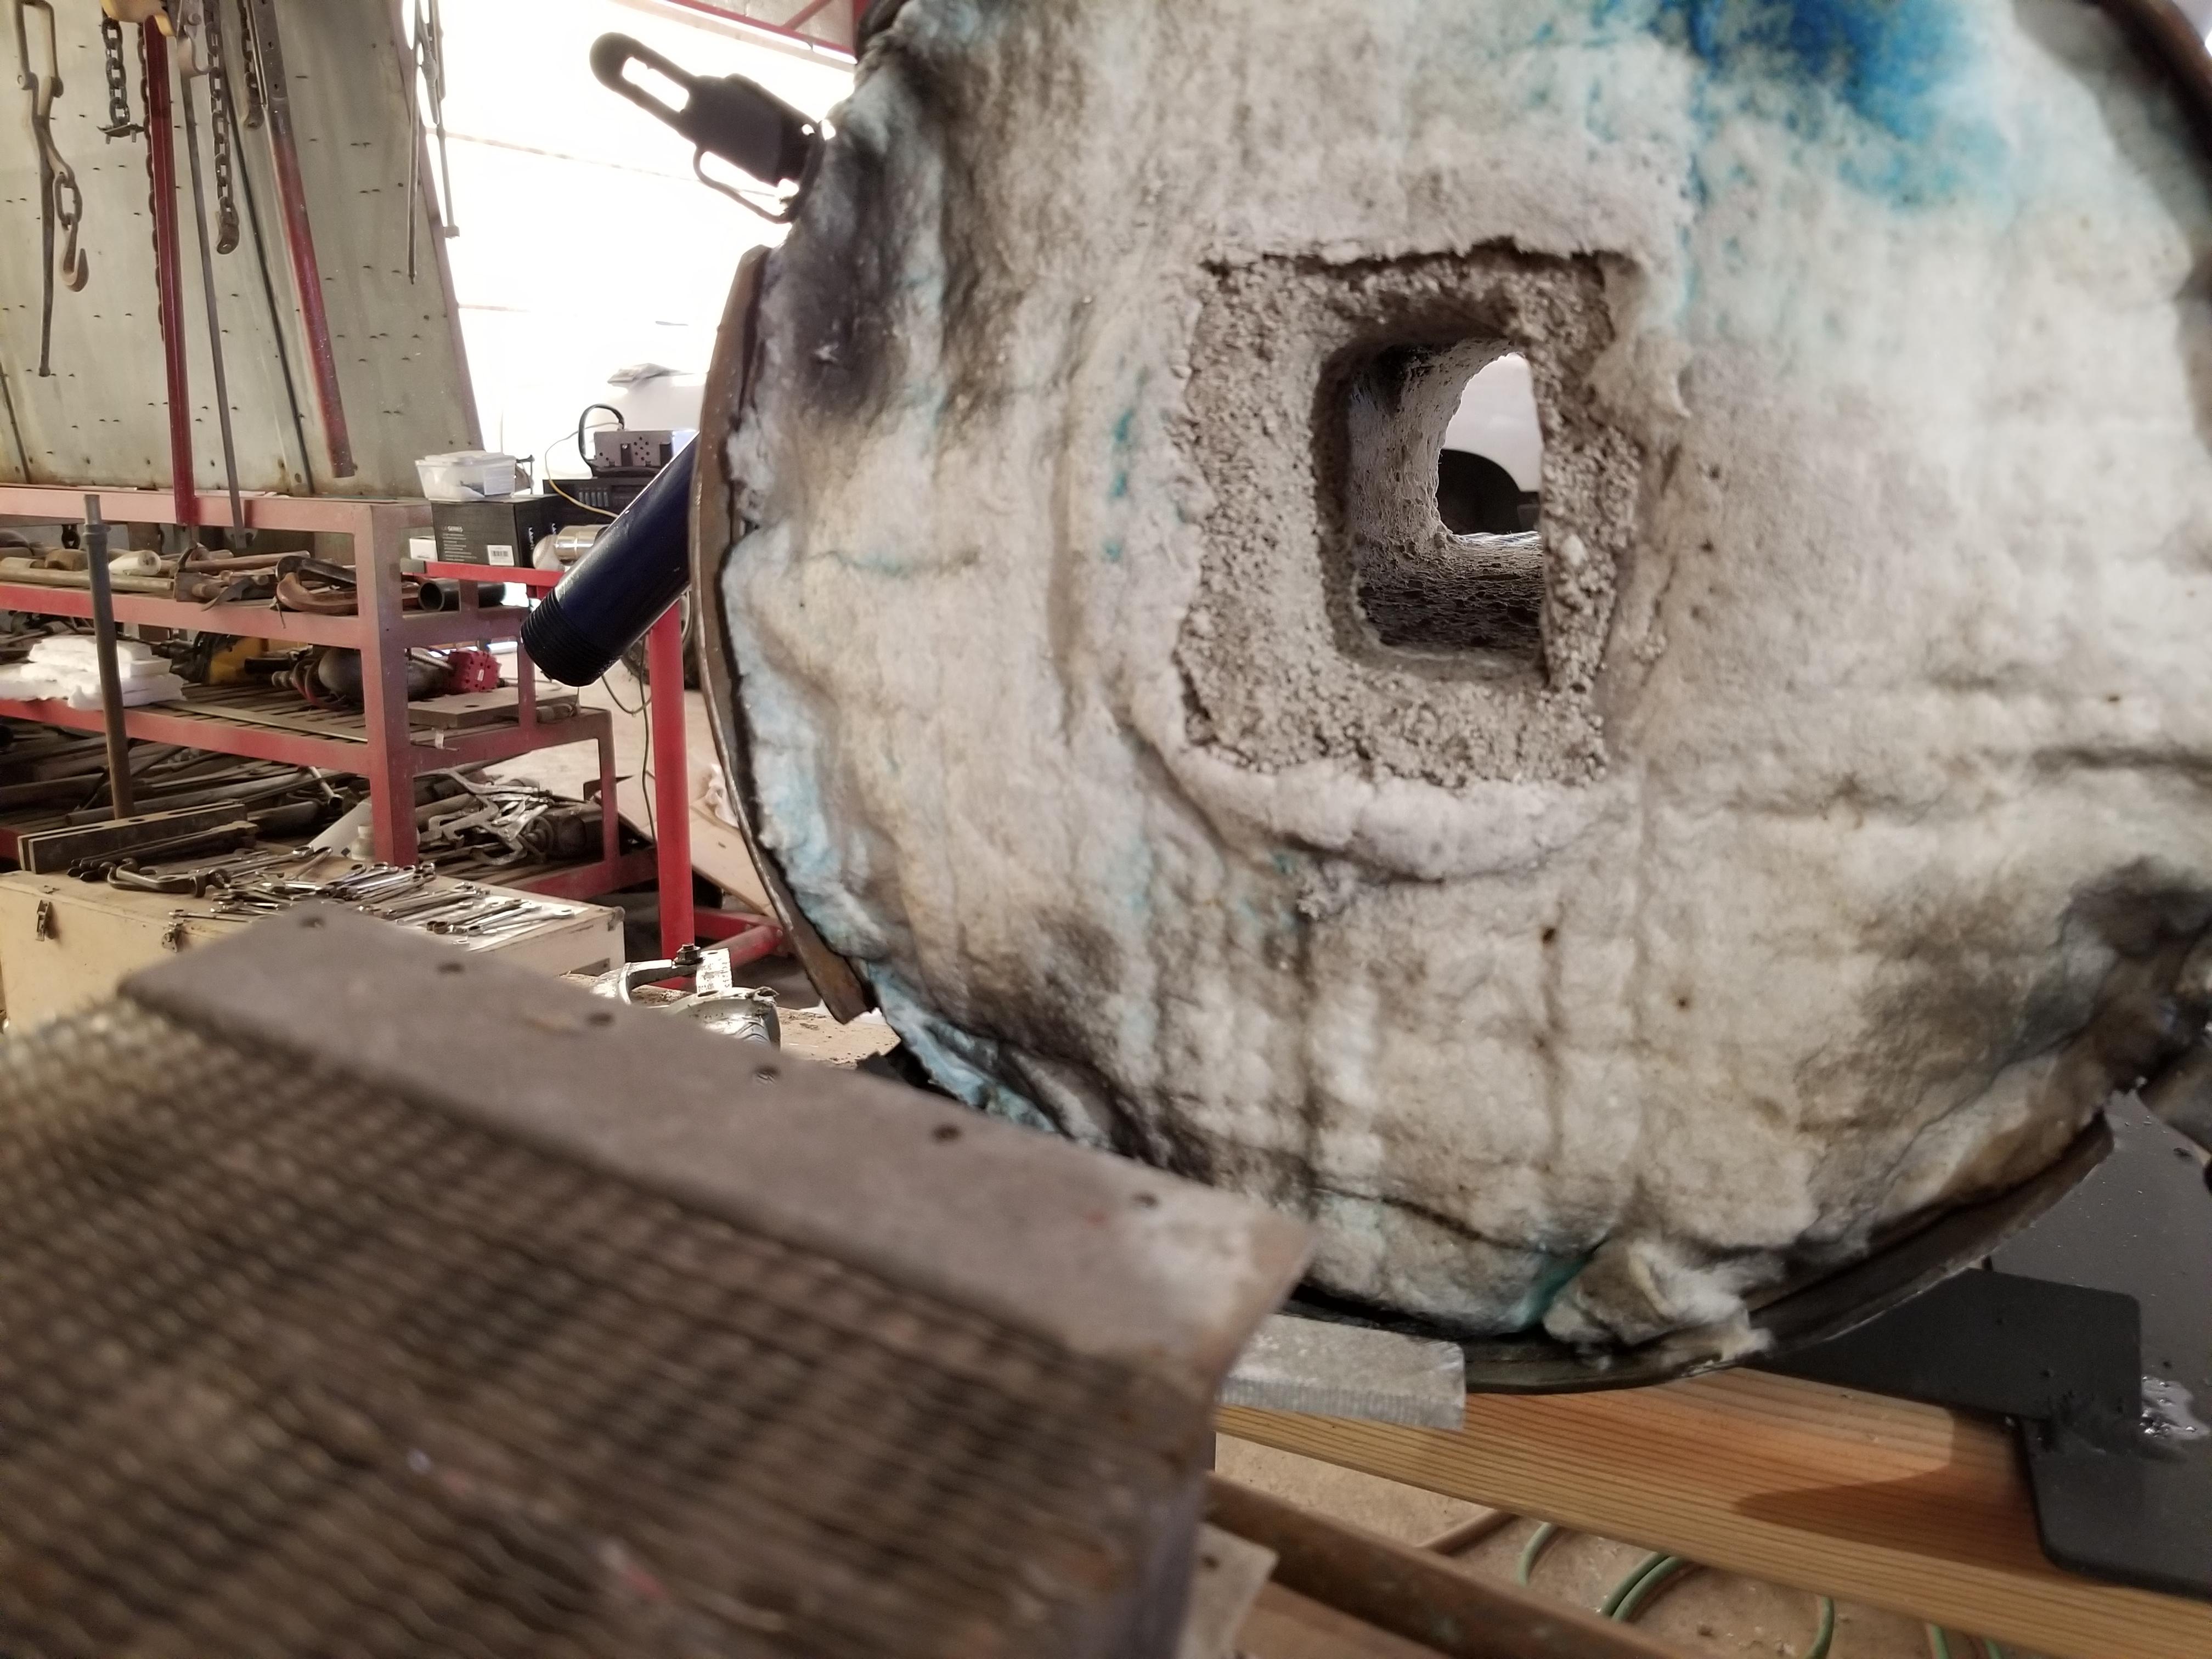
Overdue update: Except for casting of some refractory doors, the forge is finished. I am on to working out the burner. The interior is 1/2 in. bubble alumina for the floor and 1/2 in. COL30 for the walls.. light coat of matricoat90. I wish it was about an inch wider, but overall I am happy so far.