671jungle
-
Posts
455 -
Joined
-
Last visited
Recent Profile Visitors
1,762 profile views


-
I just realized the final design build isn’t posted here. I think i can fish out a video. The final version is the most rigid design of all the burners I’ve built and can be duplicated in larger sizes. I used 316 stainless for the nozzle I will do a break down in a few weeks when i do some maintenance or possibly rebuild the forge.
-
Hello, and thank you! Its been a busy and crazy last couple years. the burner works great. Very efficient and hot. I can burn steel in it. The stainless flame “nozzle” is still holding up but has noticeable corrosion. Both still burn neutral with a fast flame. Still rigid as ever. I can pull the bottom mounted burners out of the forge and knock debris out of the torch and stick them back in with no issues. The forge itself needs some maintenance work but still works a charm. If I’m guessing right, i get about 40hrs out of it at 20ish psi with two burners running. I have been using it for general forging and making mokume gane.
-
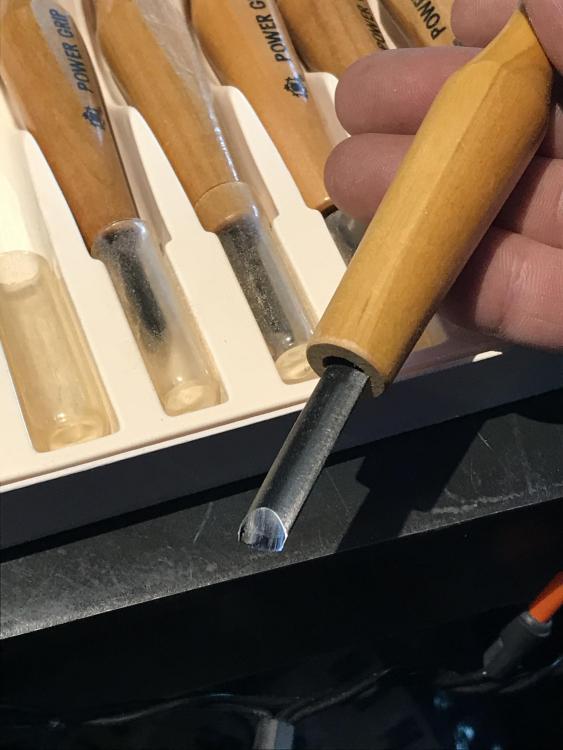
All this plus some for $5 at the local recycling
-
I cant post the link for whatever reason. Search drawn brass tube with desired ID on ebay. I just looked it up. Its still there
-

Gassifying Drip Oil Fed Rocket Heaters with a Heat Exchanger?
671jungle replied to 671jungle's topic in Everything Else
Thank you Frosty. I have thought on all those points. Mostly coming up with a stainless baffle to interrupt the flame and help with secondary combustion or more heat exchangers running through the flame path to act the same and increase heat transfer. Any other thoughts? here is a video and a basic diagram of the wick. The guy in the video is cut from a similar cloth as most of us here in IFI. Thanks for the response. i like the idea of a “hot plate” vaporizer. I am curious if a baffle on the flame front would help with secondary combustion. As far as intake and exhaust: 1) can the intake remain oversize to accommodate as much air as needed for combustion? 2) can the heat exchangers as a baffle to interrupt the flame? or would it be better to reorient the exhaust all together? thanks for the time!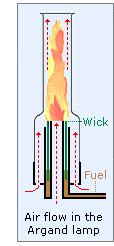
-
Gassifying Drip Oil Fed Rocket Heaters with a Heat Exchanger?
671jungle replied to 671jungle's topic in Everything Else
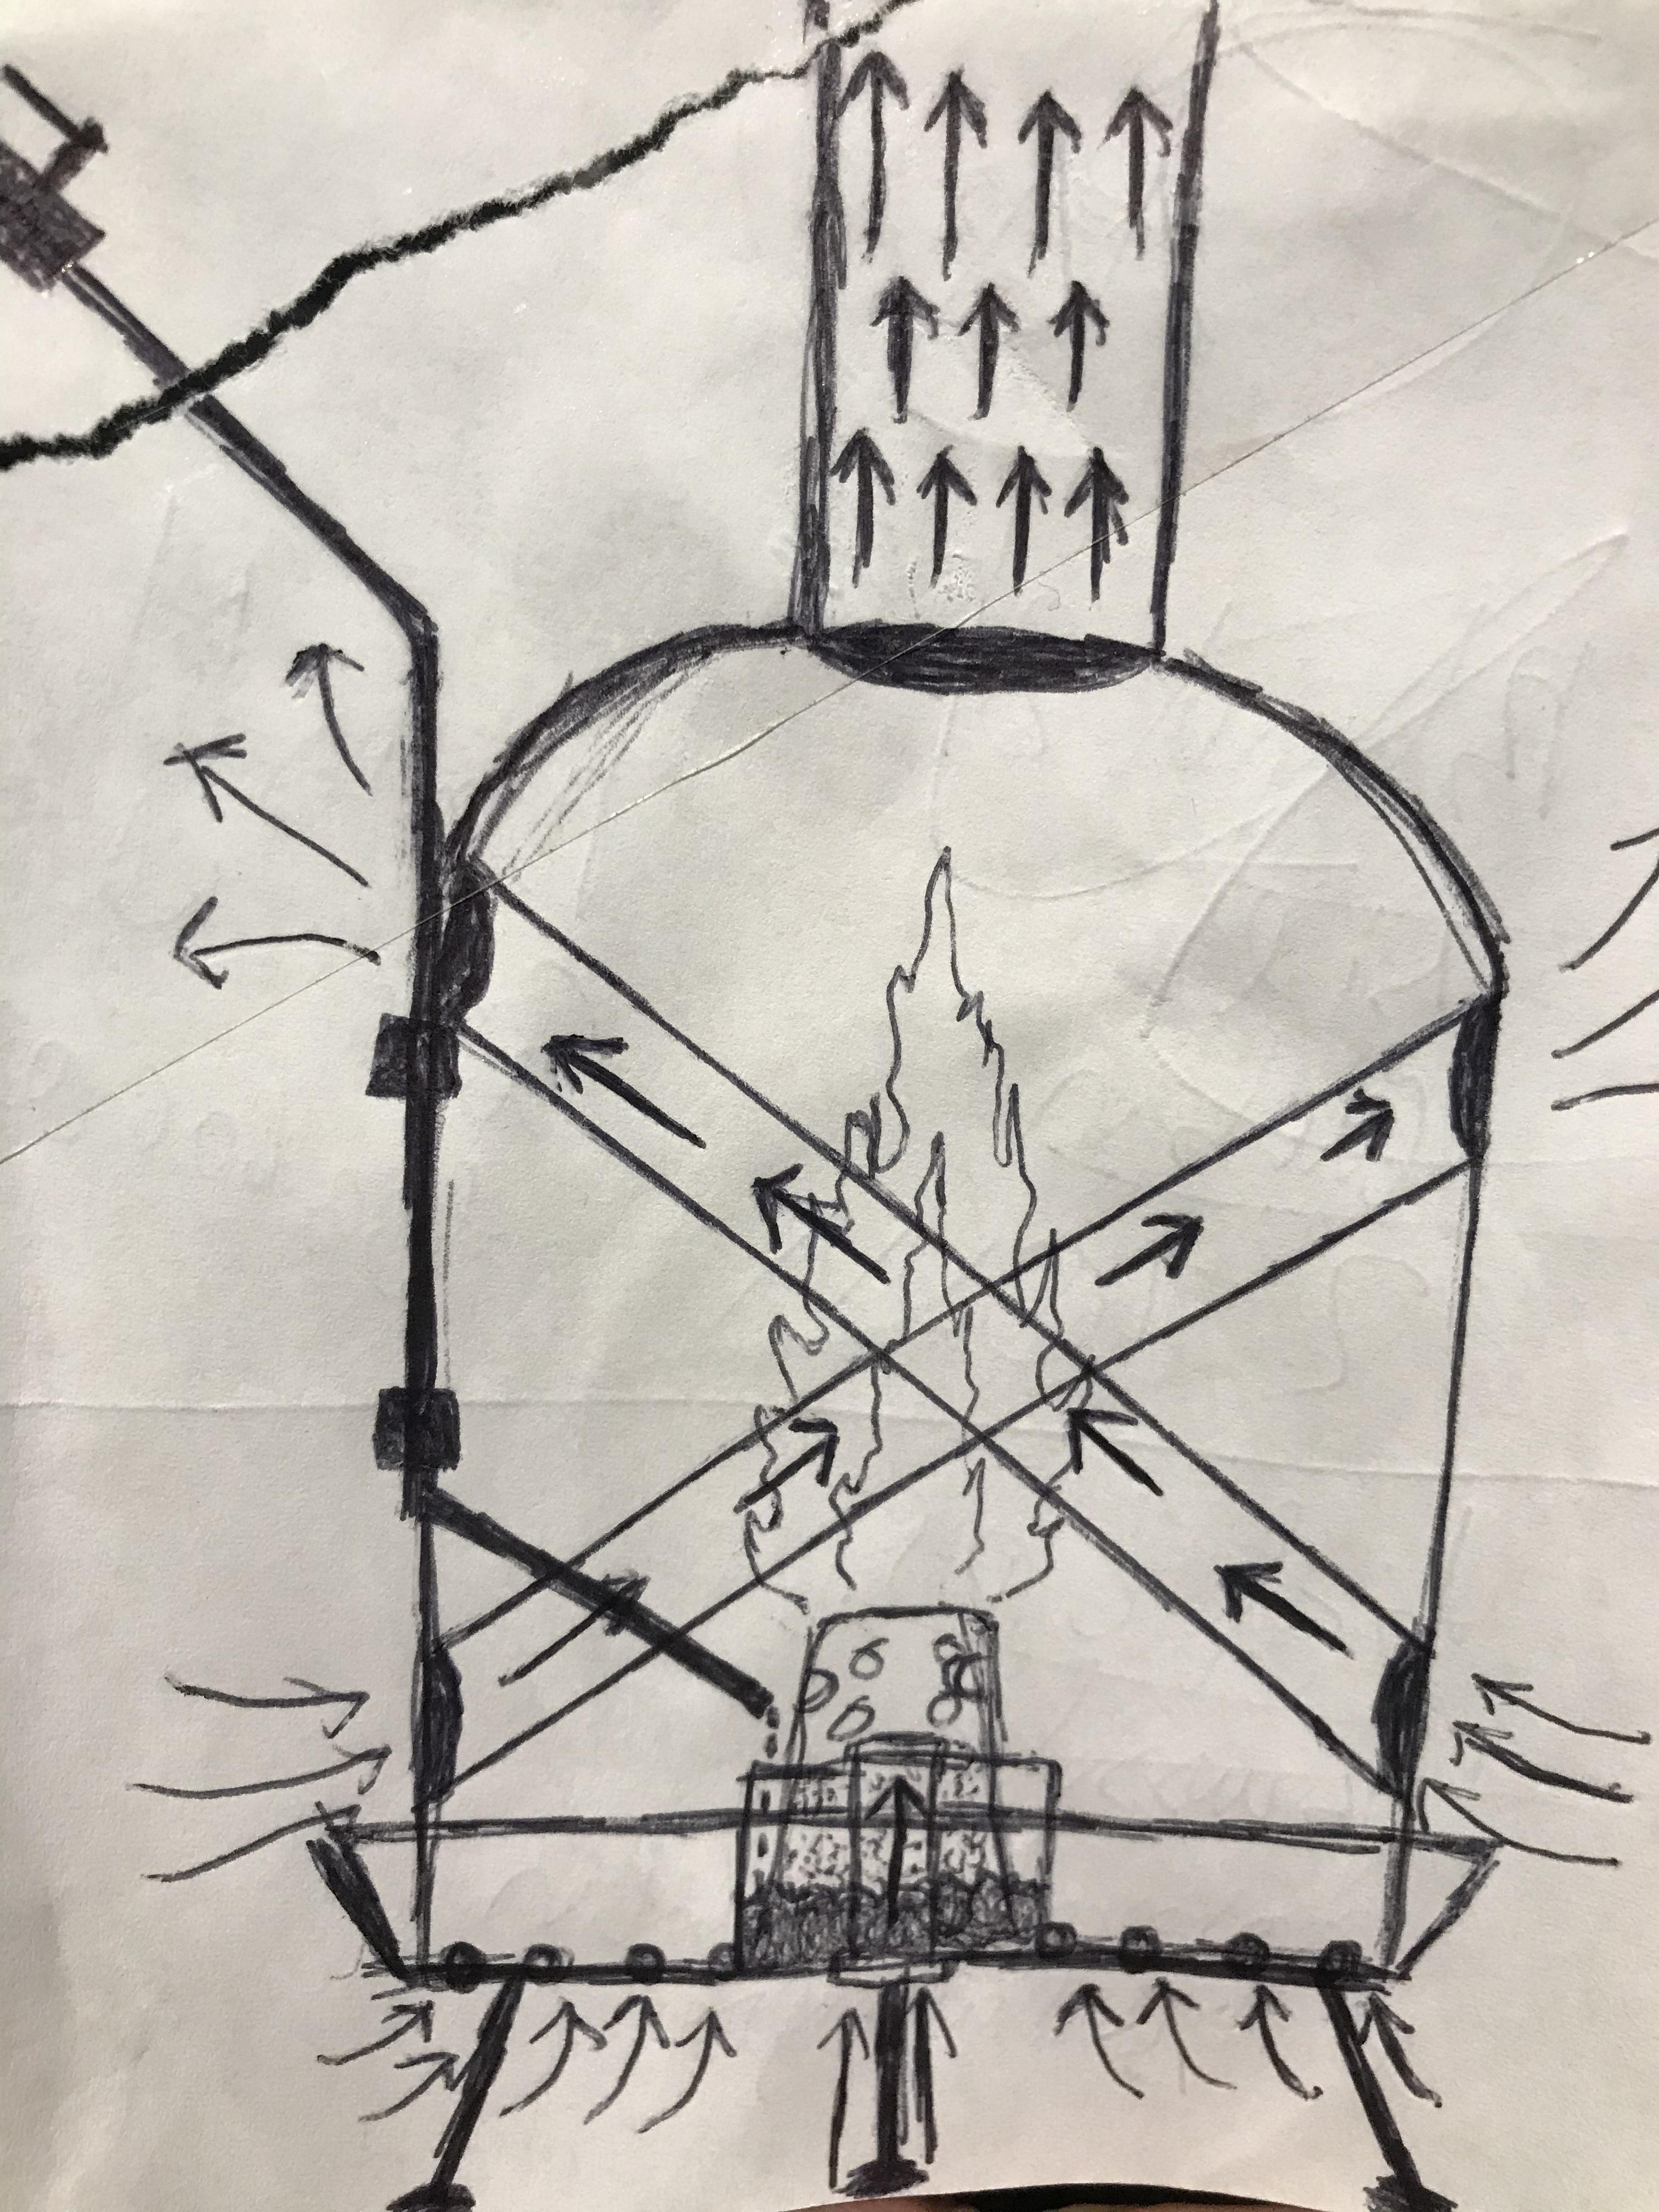
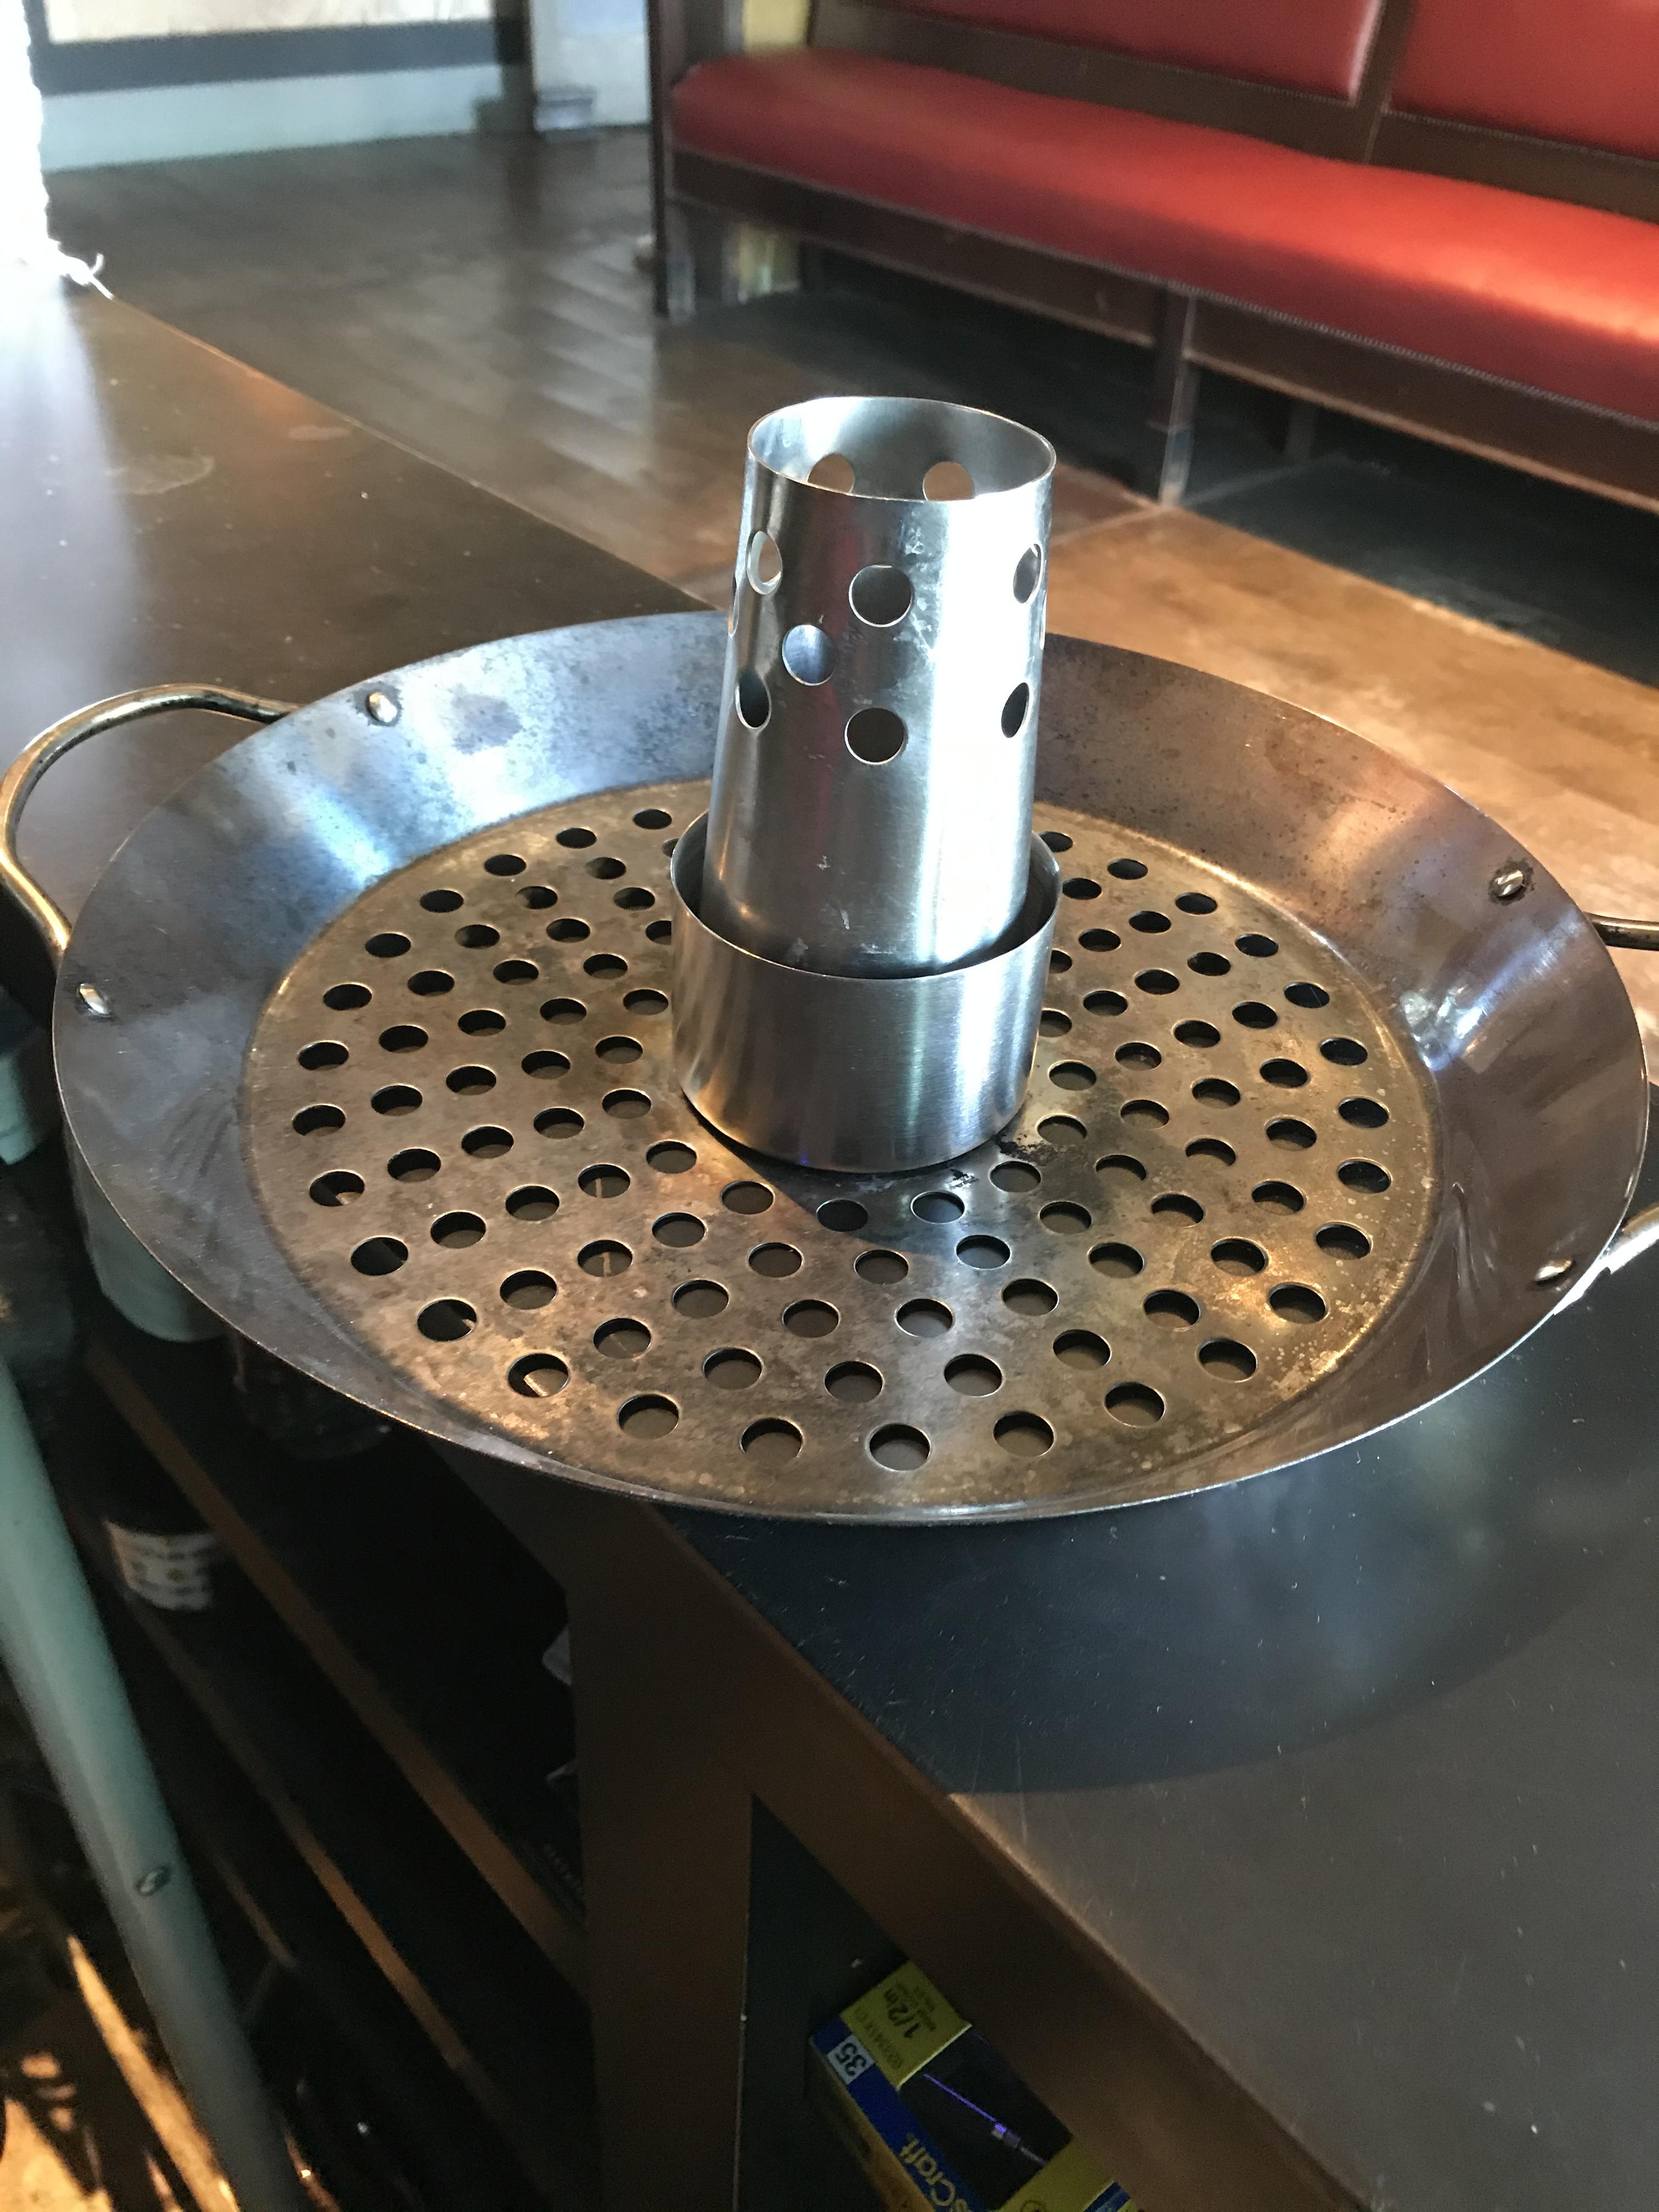
Rough idea of the system. I have a sneaking feeling to make the combustion chamber smaller in diameter or cone shaped. The exhaust may need playing with as well. i am also very interested in the “Argand lamp” wick being that the wick diameter is rather large. The large surface area will hopefully increase output. The center through way of the Argand wick will be 1” or 2” copper tube protruding out the bottom of the reservoir and base. The wick material will be 100% carbon felt. The breather holes in the stainless pan and wick housing are about 1/2” diameter hopefully providing plenty of air for combustion. 1 1/2” or 2” copper tubes for the heat exchanger. the whole device will be ran on gravity fed vegetable or waste oil.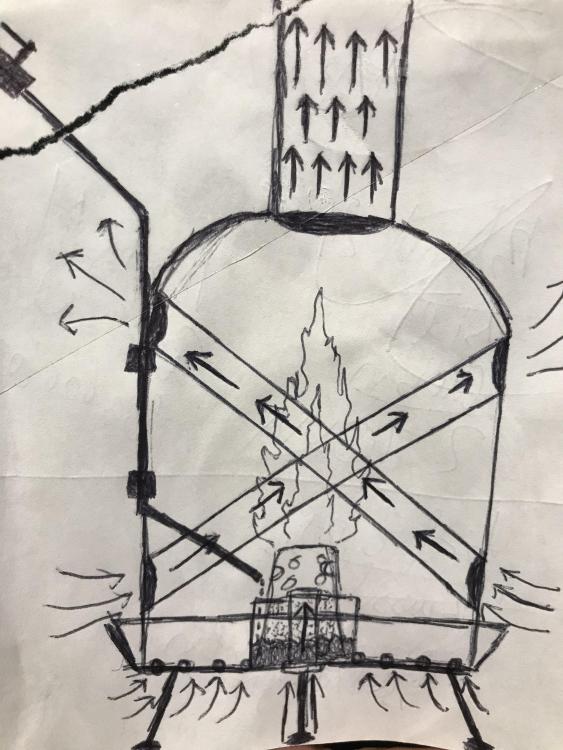
-
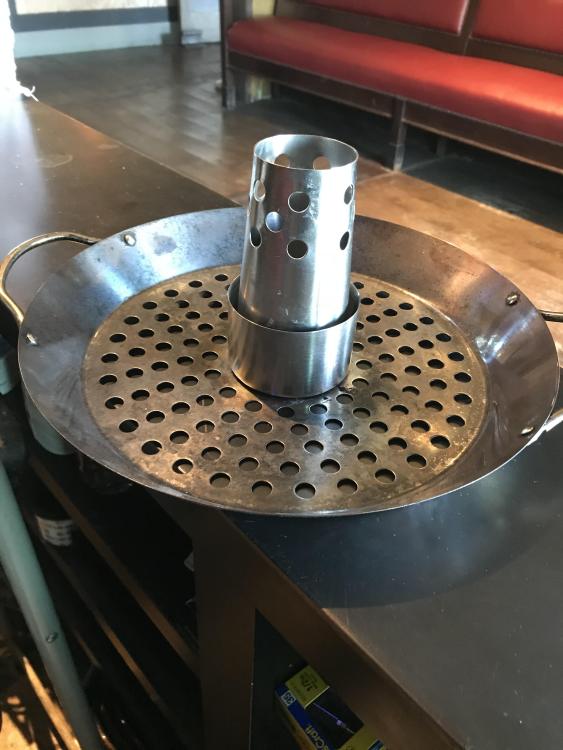
Hello everyone. Not forge related but in the realm of our interests. Have any of you made gassifying drip oil fed rocket heaters with a heat exchanger? This will be the base and wick housing for the greenhouse heater. Super simple design. Attach legs, empty propane bottle for combustion chamber will sit on top with copper tubing running in the cross section for a heat exchanger and a chimney for exhaust. The drip feed will run down along the combustion chamber before entering and leading to the wick reservoir. The wick will be an “Argand lamp” style wick. Any critical notes, precautions or additions are welcomed. thank you
-
What did you do in the shop today?
671jungle replied to Mark Ling's topic in Blacksmithing, General Discussion
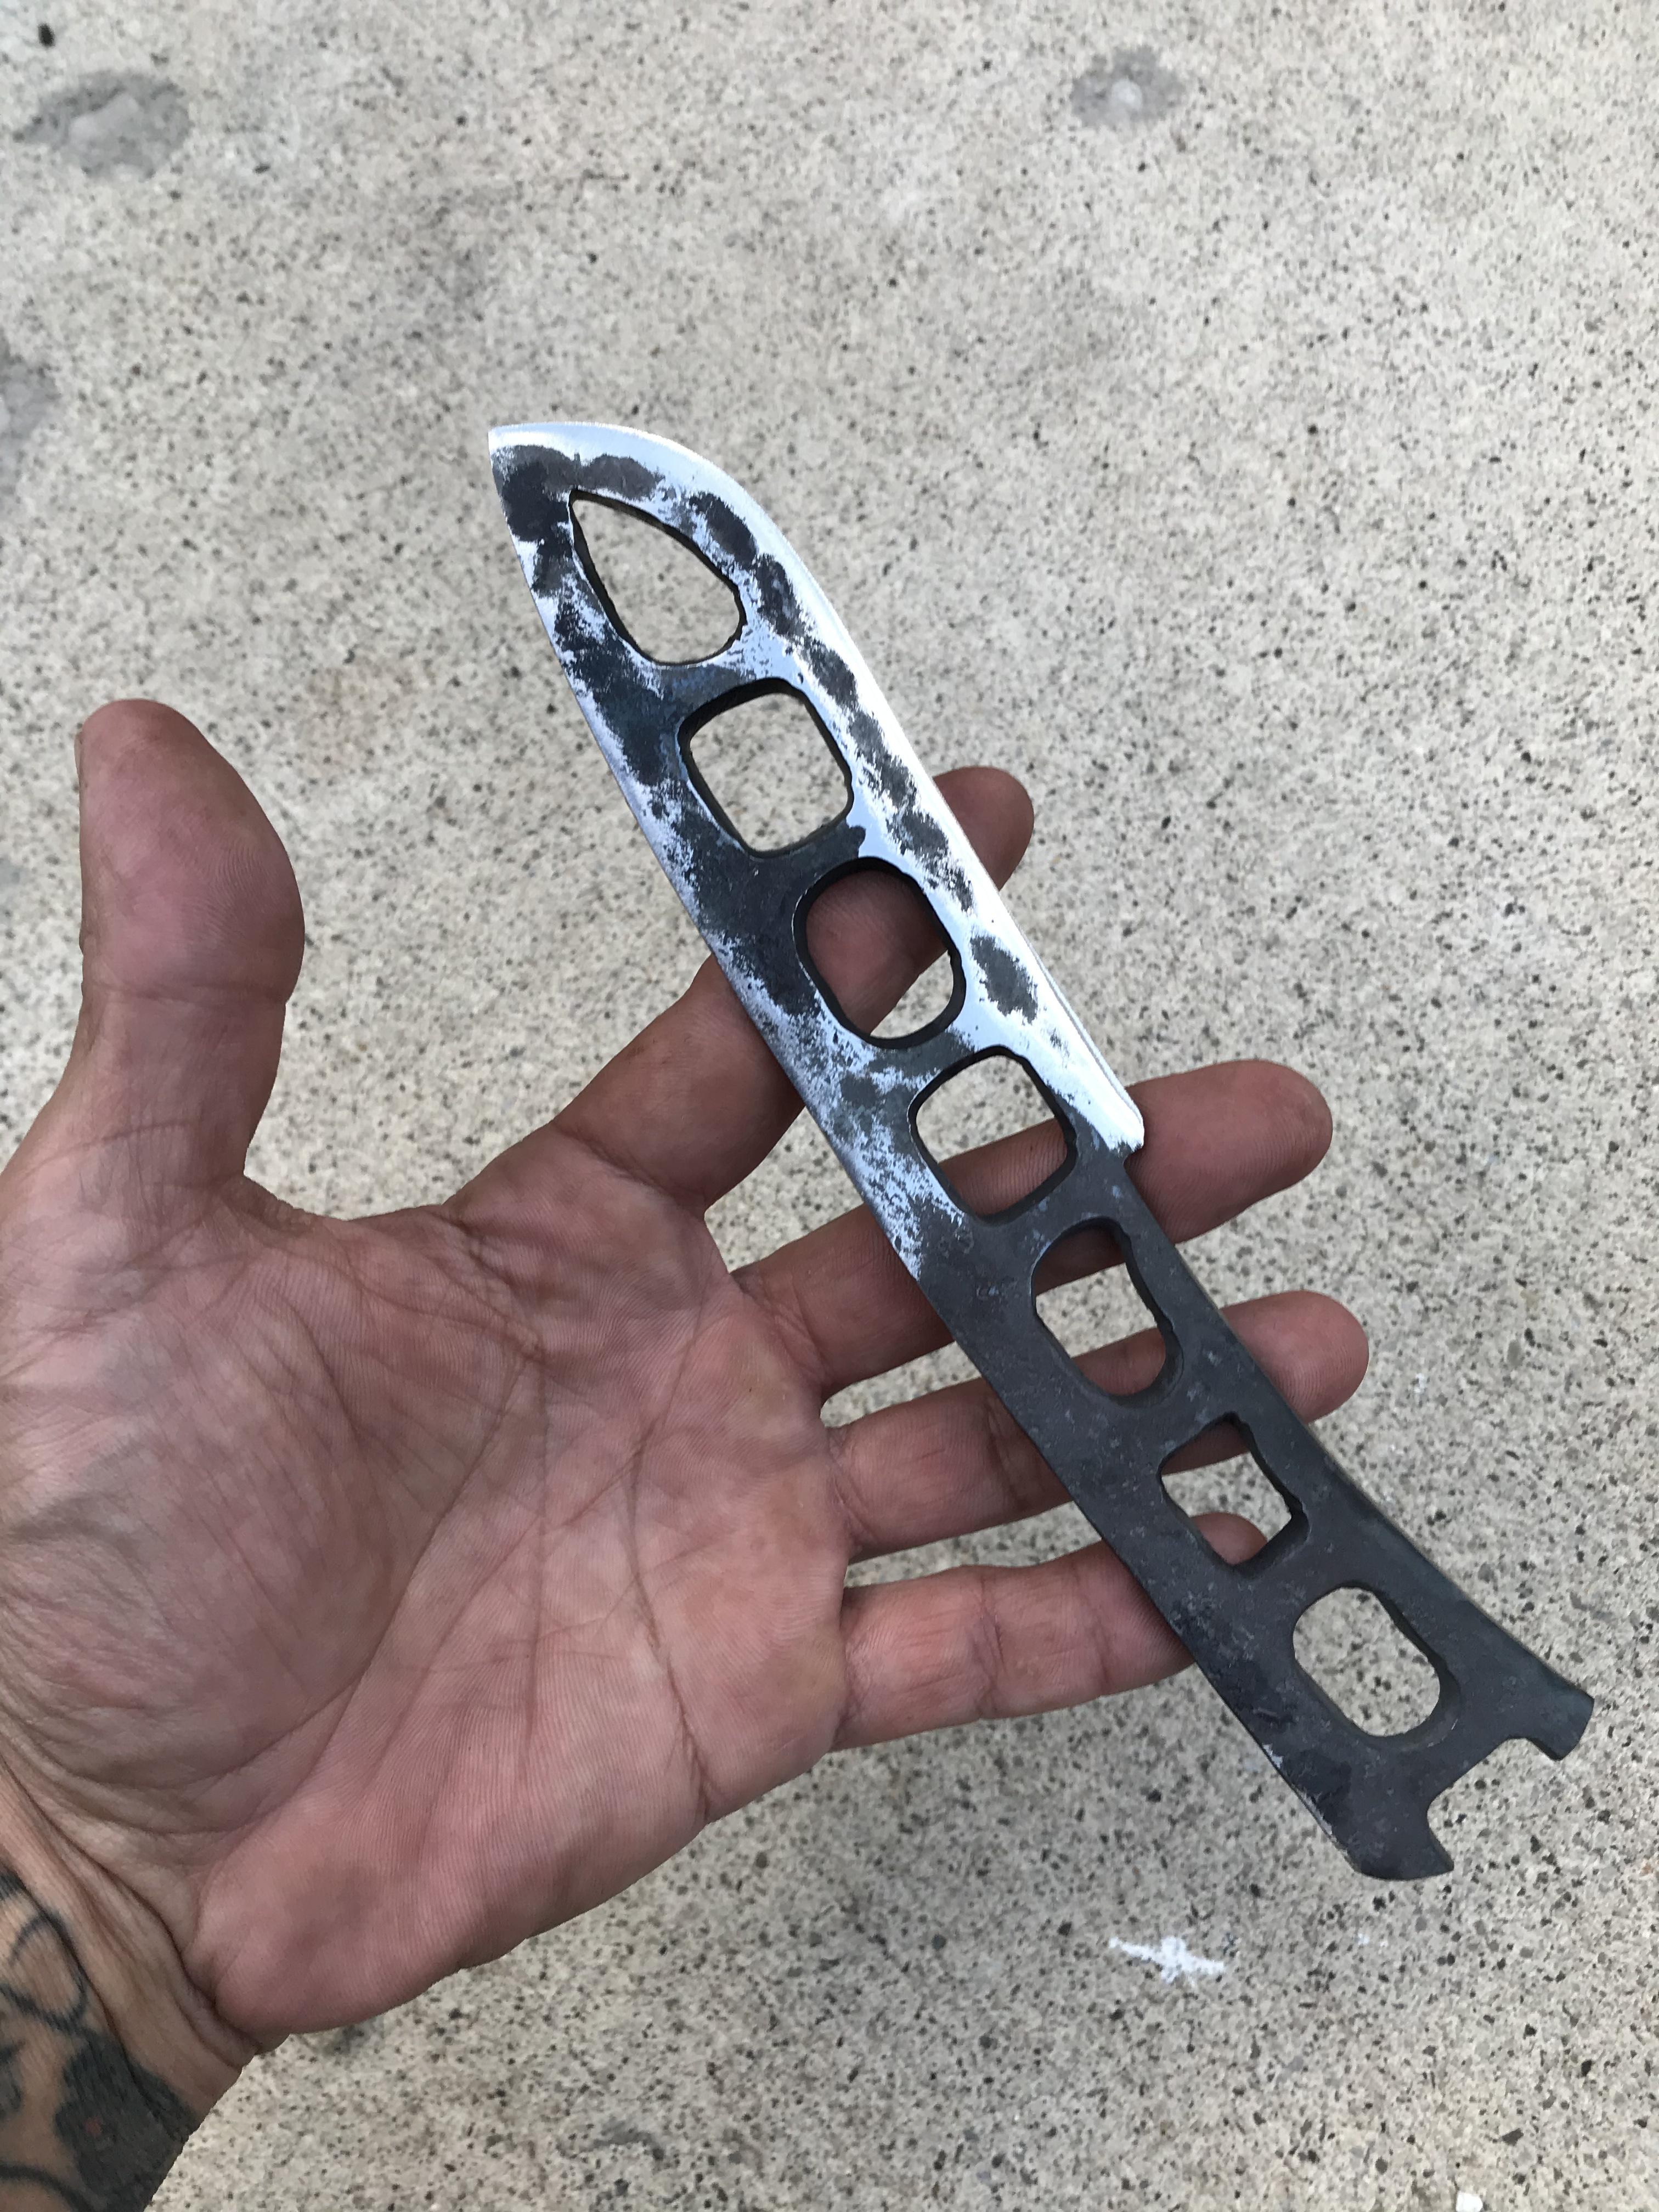
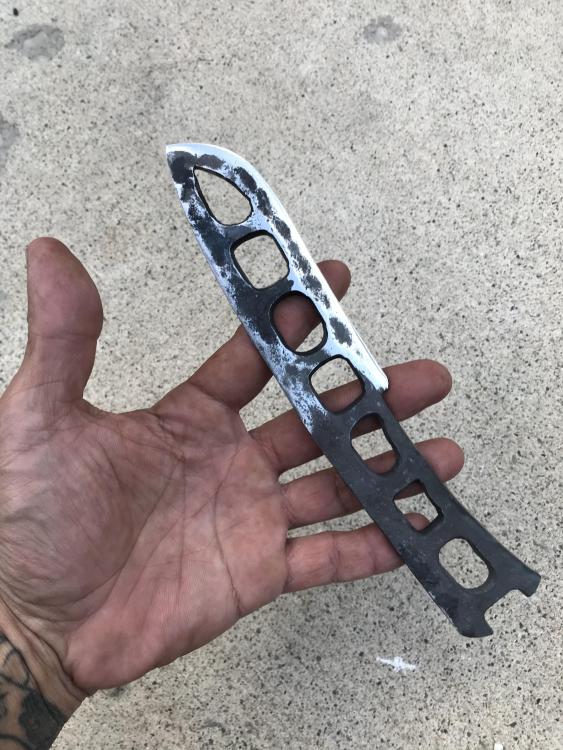
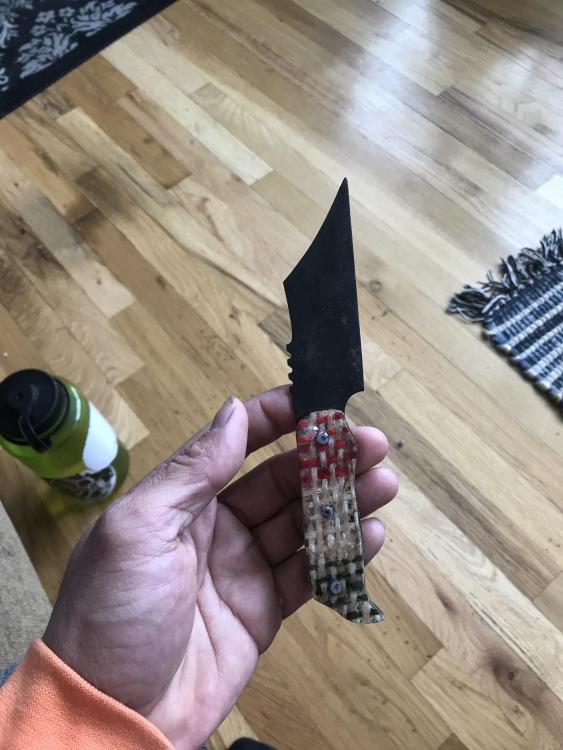
Good day y’all. Hope all is well. CV bearing housing repurposed into a blade. I have been filing corners amd sharp edges before the quench amd it seems very soft. I was under the impression that it was a very hard steel. While cutting, sparks displayed as HC. I didn’t have enough material to do a break and heat treat test. Anyone have experience working these into tools? Thanks?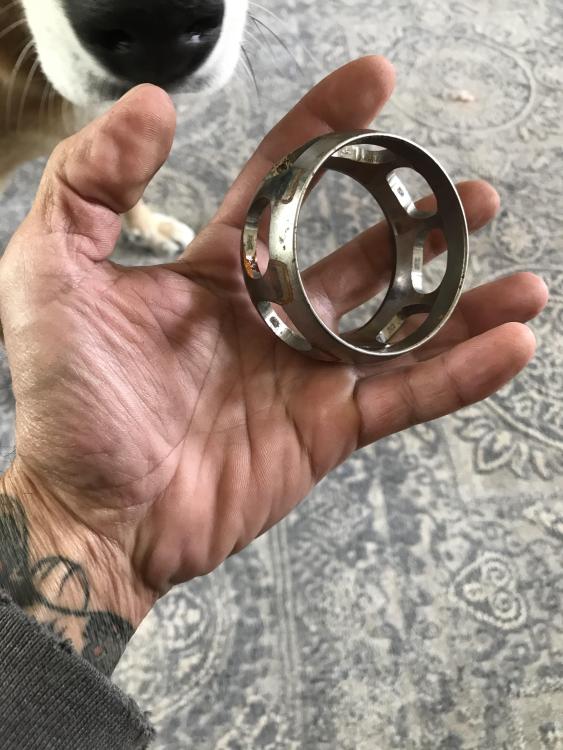
-
What did you do in the shop today?
671jungle replied to Mark Ling's topic in Blacksmithing, General Discussion
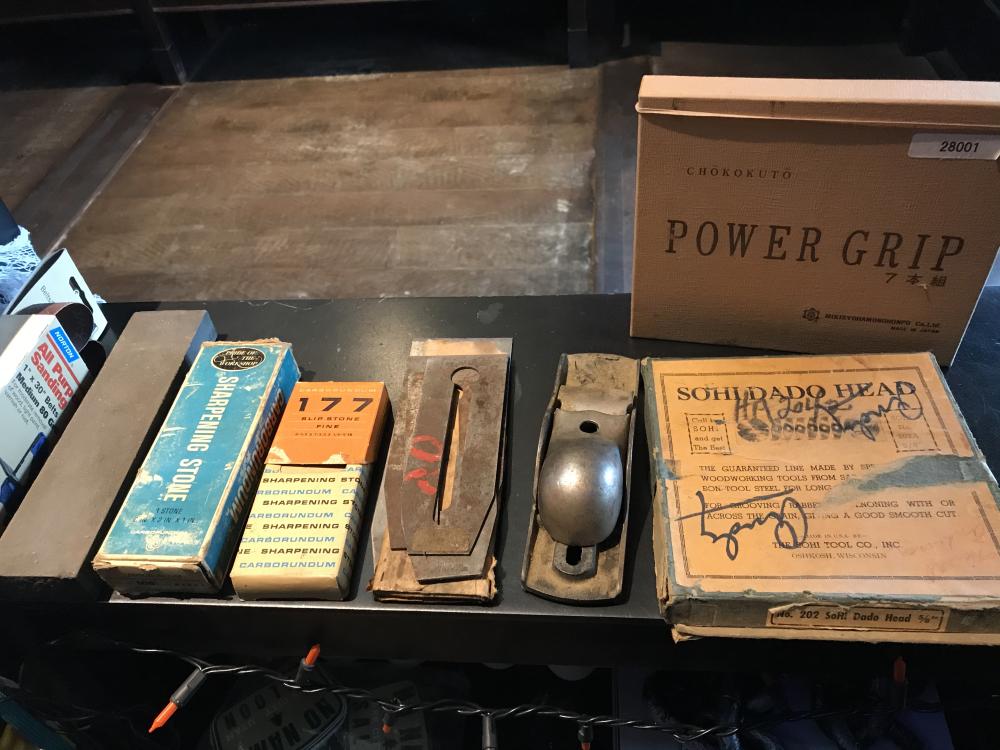
Good day everyone. And good work seen here as always. It has been awhile since I’ve been on here and a bit since I’ve hit some steel. Now that I’ve landed and stable, I’ve started up again and have a question. How does one go about hollow grinds without a belt sander?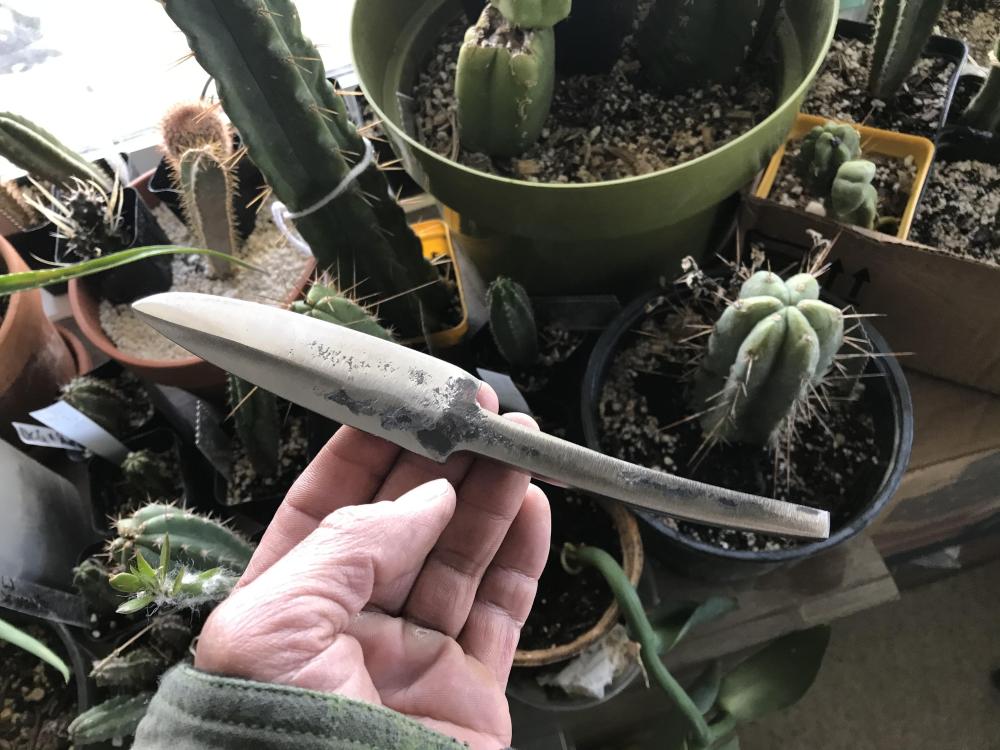
-
What did you do in the shop today?
671jungle replied to Mark Ling's topic in Blacksmithing, General Discussion
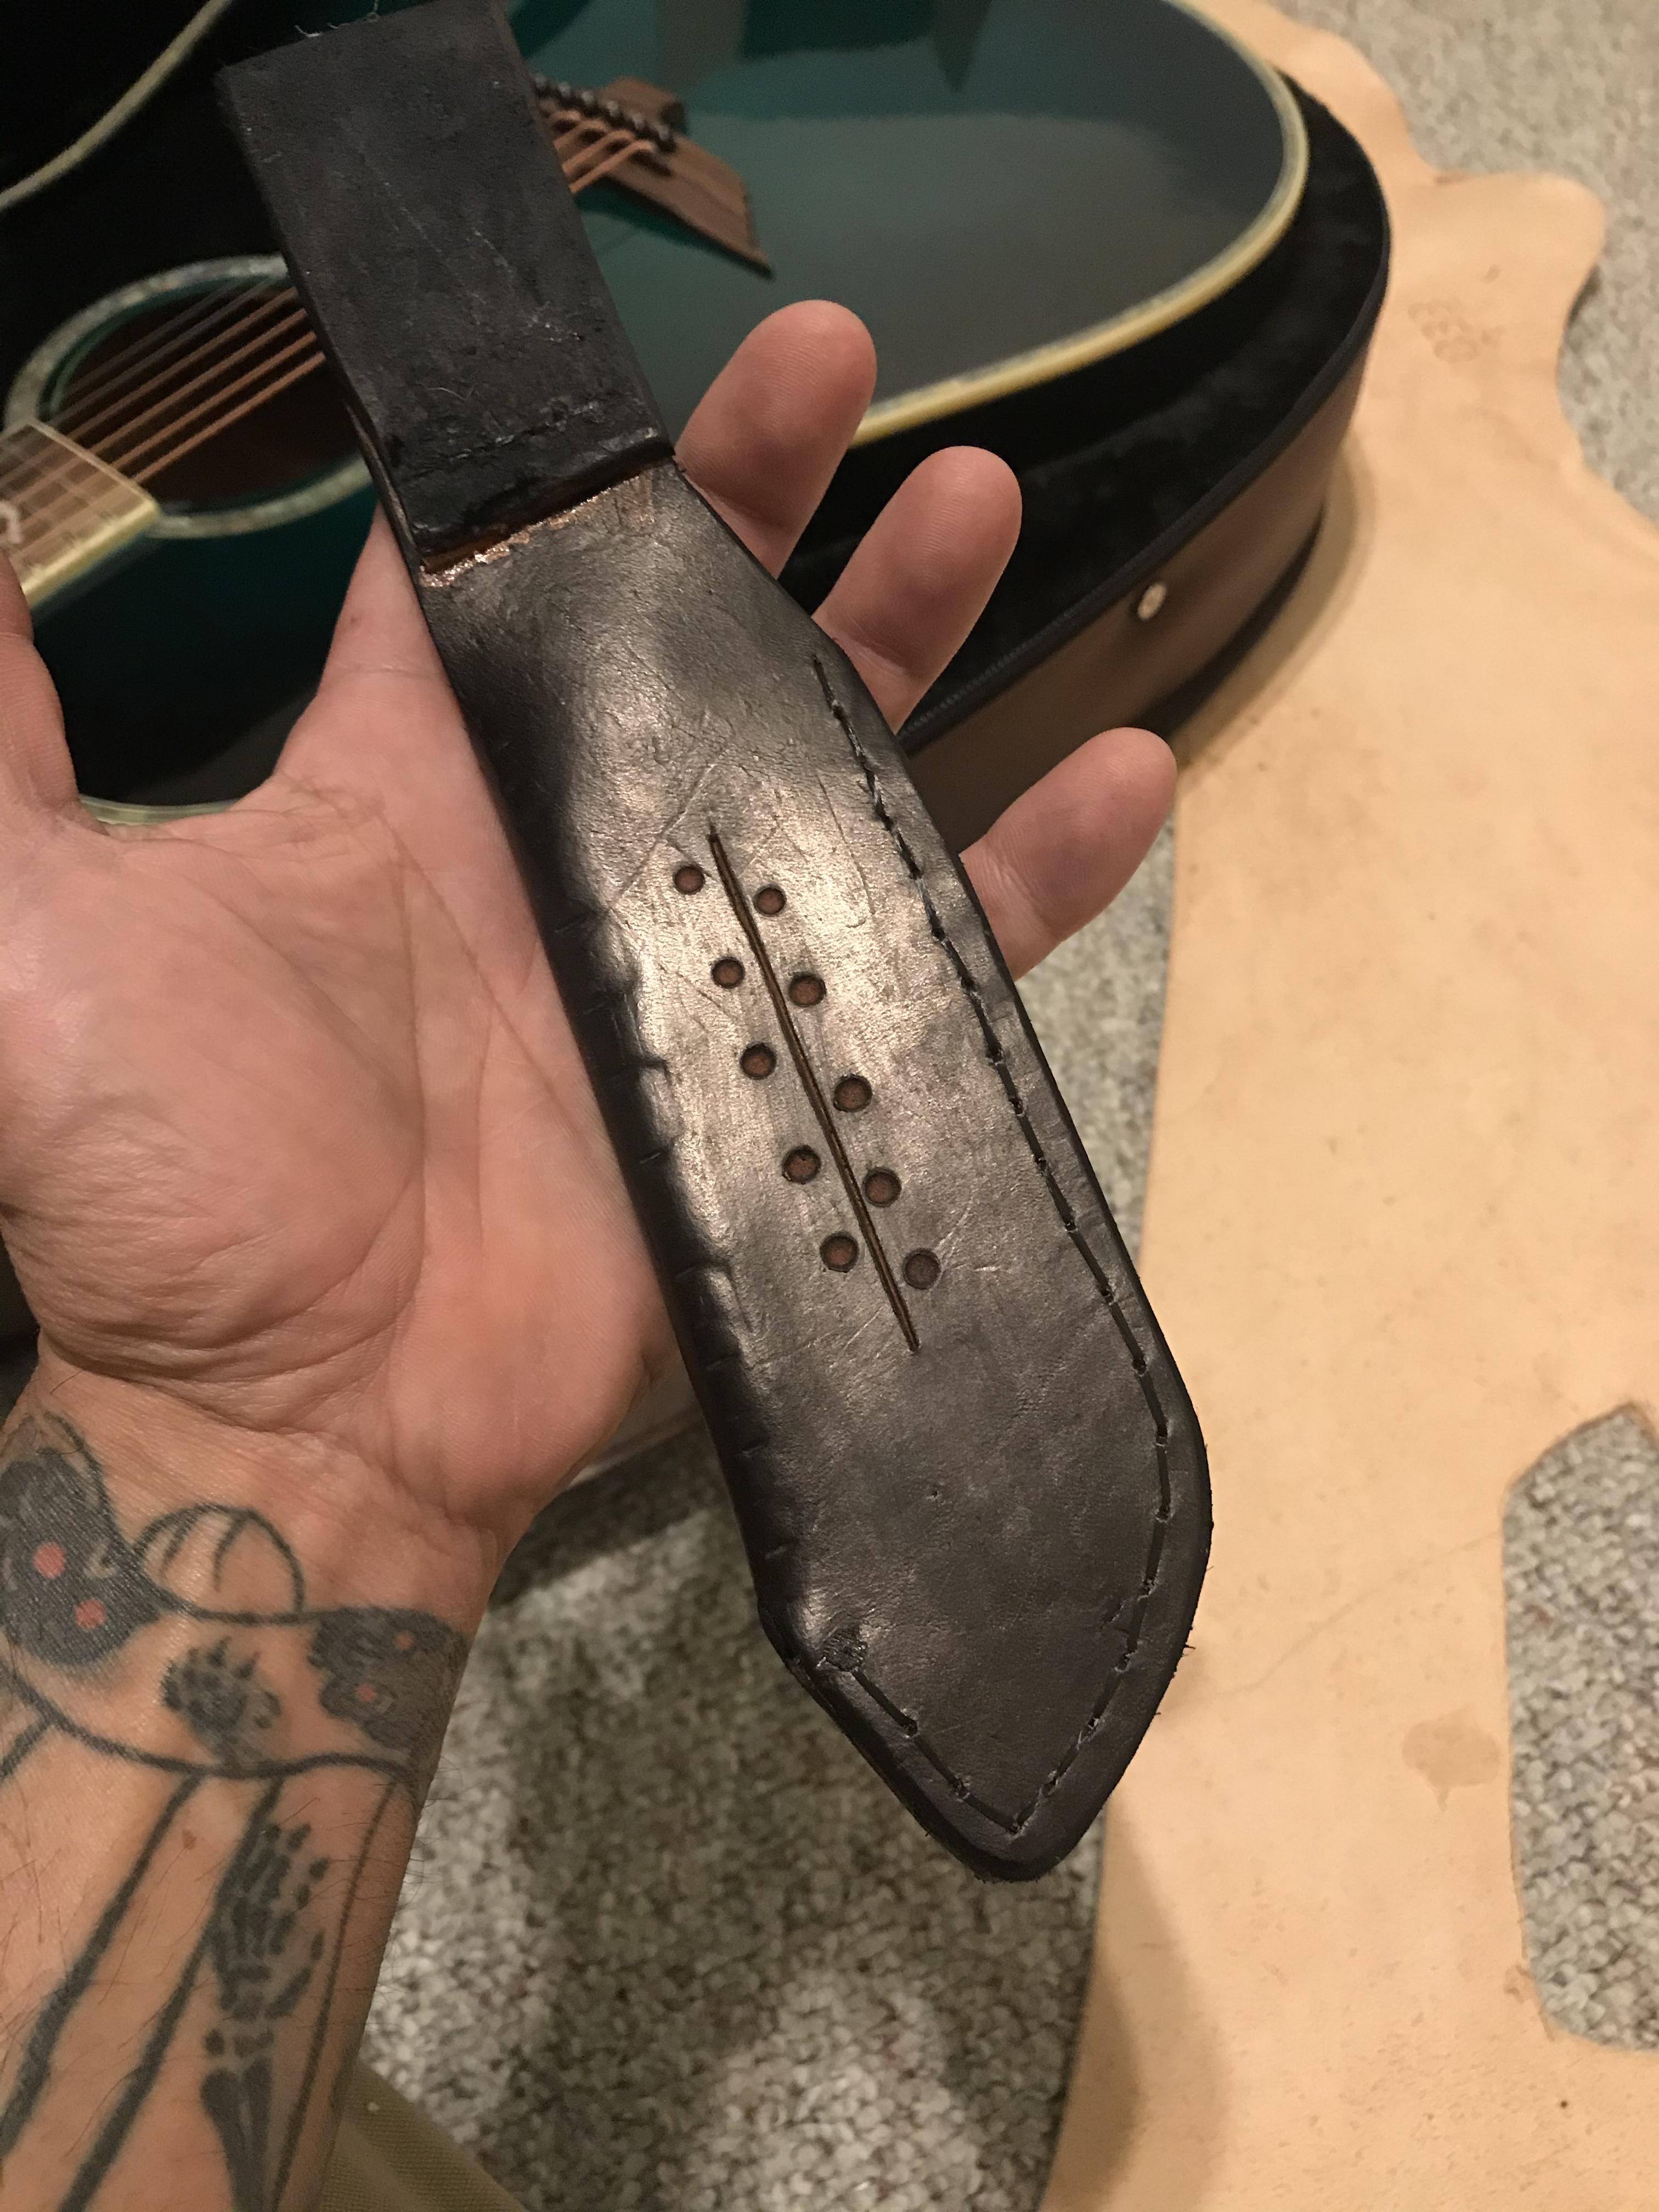
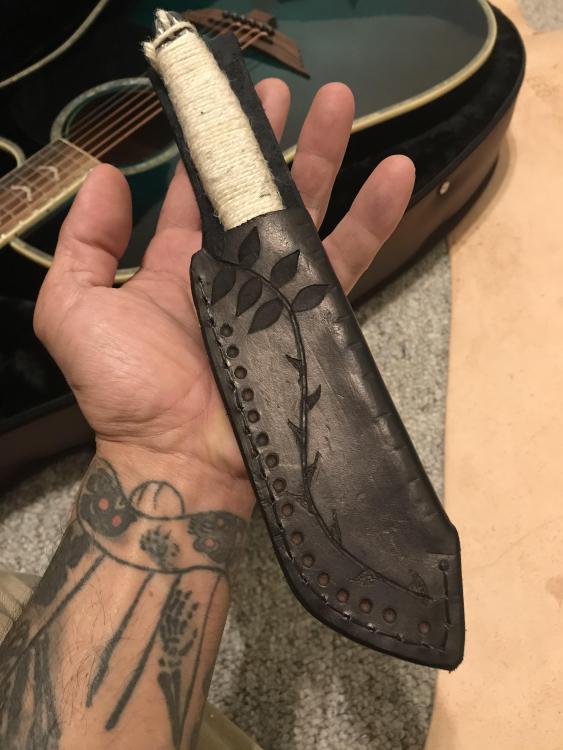
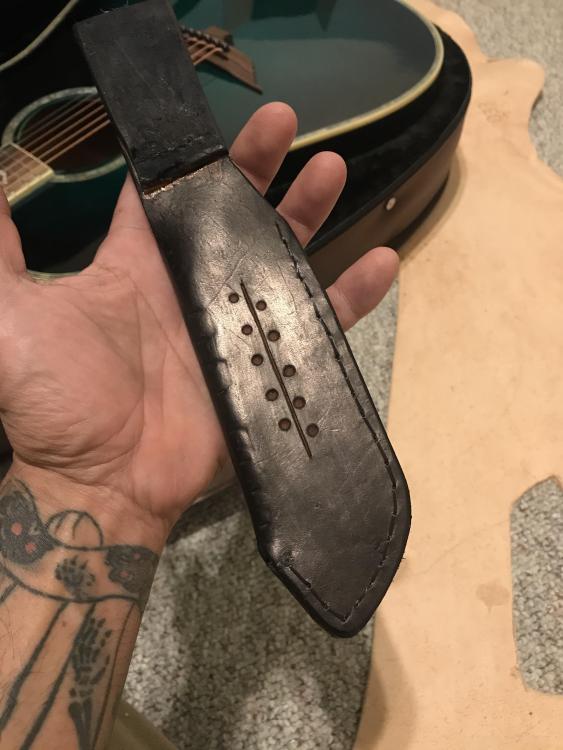
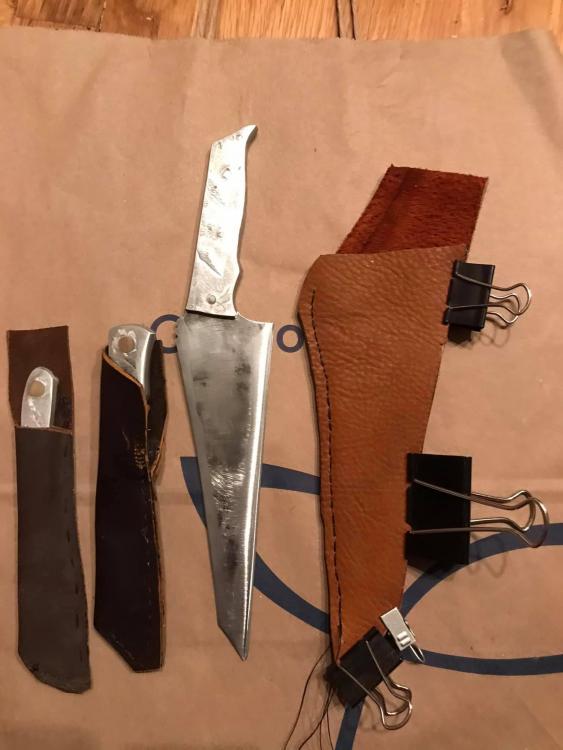
Been awhile since I’ve been in here. Hope everyone is well. native style bush knife I made for a friend. They wanted the raw look.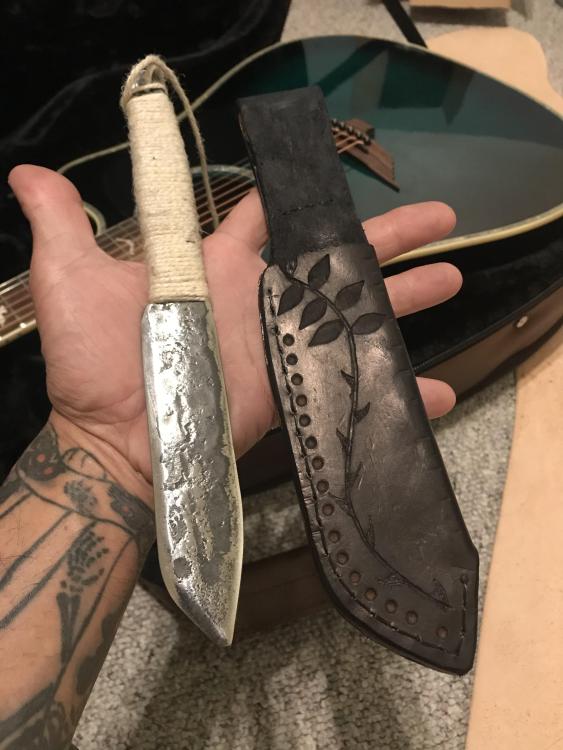
-
Hi! It’s been awhile since I’ve been on here. I got three from a random surplus store
-
What did you do in the shop today?
671jungle replied to Mark Ling's topic in Blacksmithing, General Discussion
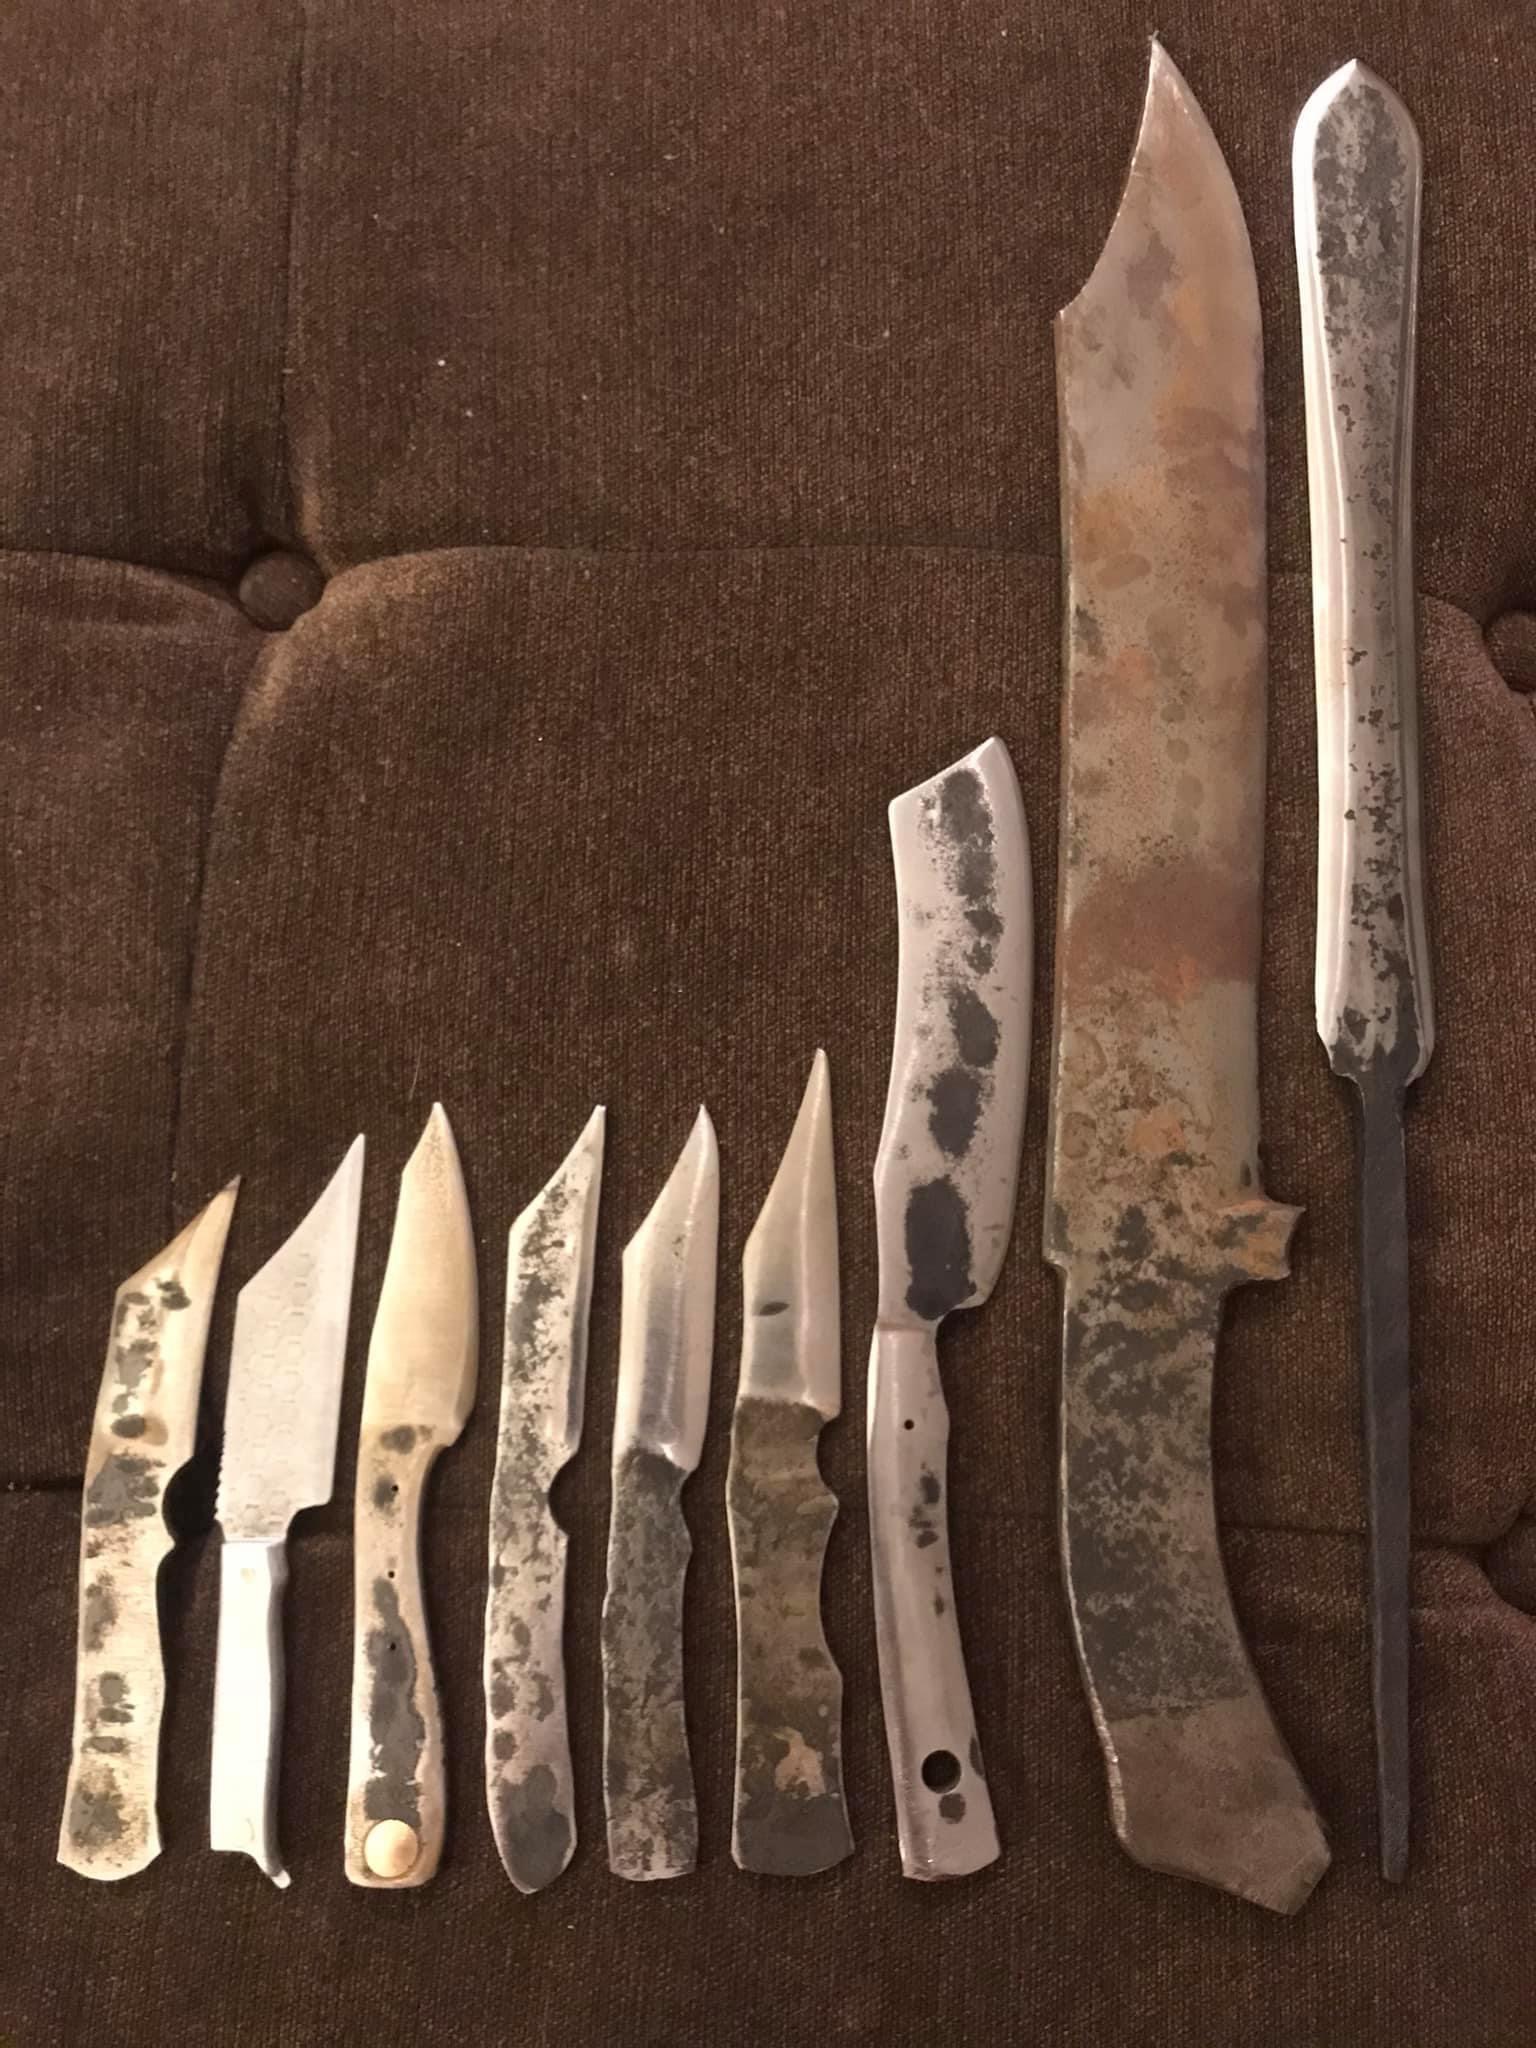
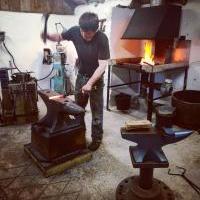
Been super busy the last few months with non shop related stuff. But I have been working on some blades here and there. Hope everyone is doing well!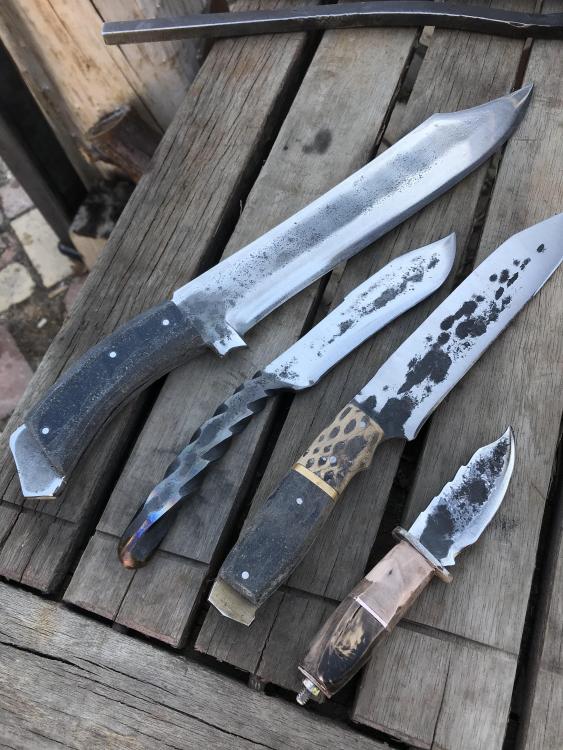
-
I am so sorry Mike! I totally got caught up in my bubble. I will do it in the morning. But from what I can recall, I drilled the intake holes 4” from the flame end of the mix tube then made the cut for the jet to be a little past the start of the intake which would give room for tuning. Since most of the assembly is threaded together, tuning the distance of the jet is as easy as turning the coupling the hose barb is threaded into or the hose barb itself or both effectively adjusting the distance on such a small system. However they may be slight differences. Again, my apologies for not responding sooner
-
What did you do in the shop today?
671jungle replied to Mark Ling's topic in Blacksmithing, General Discussion
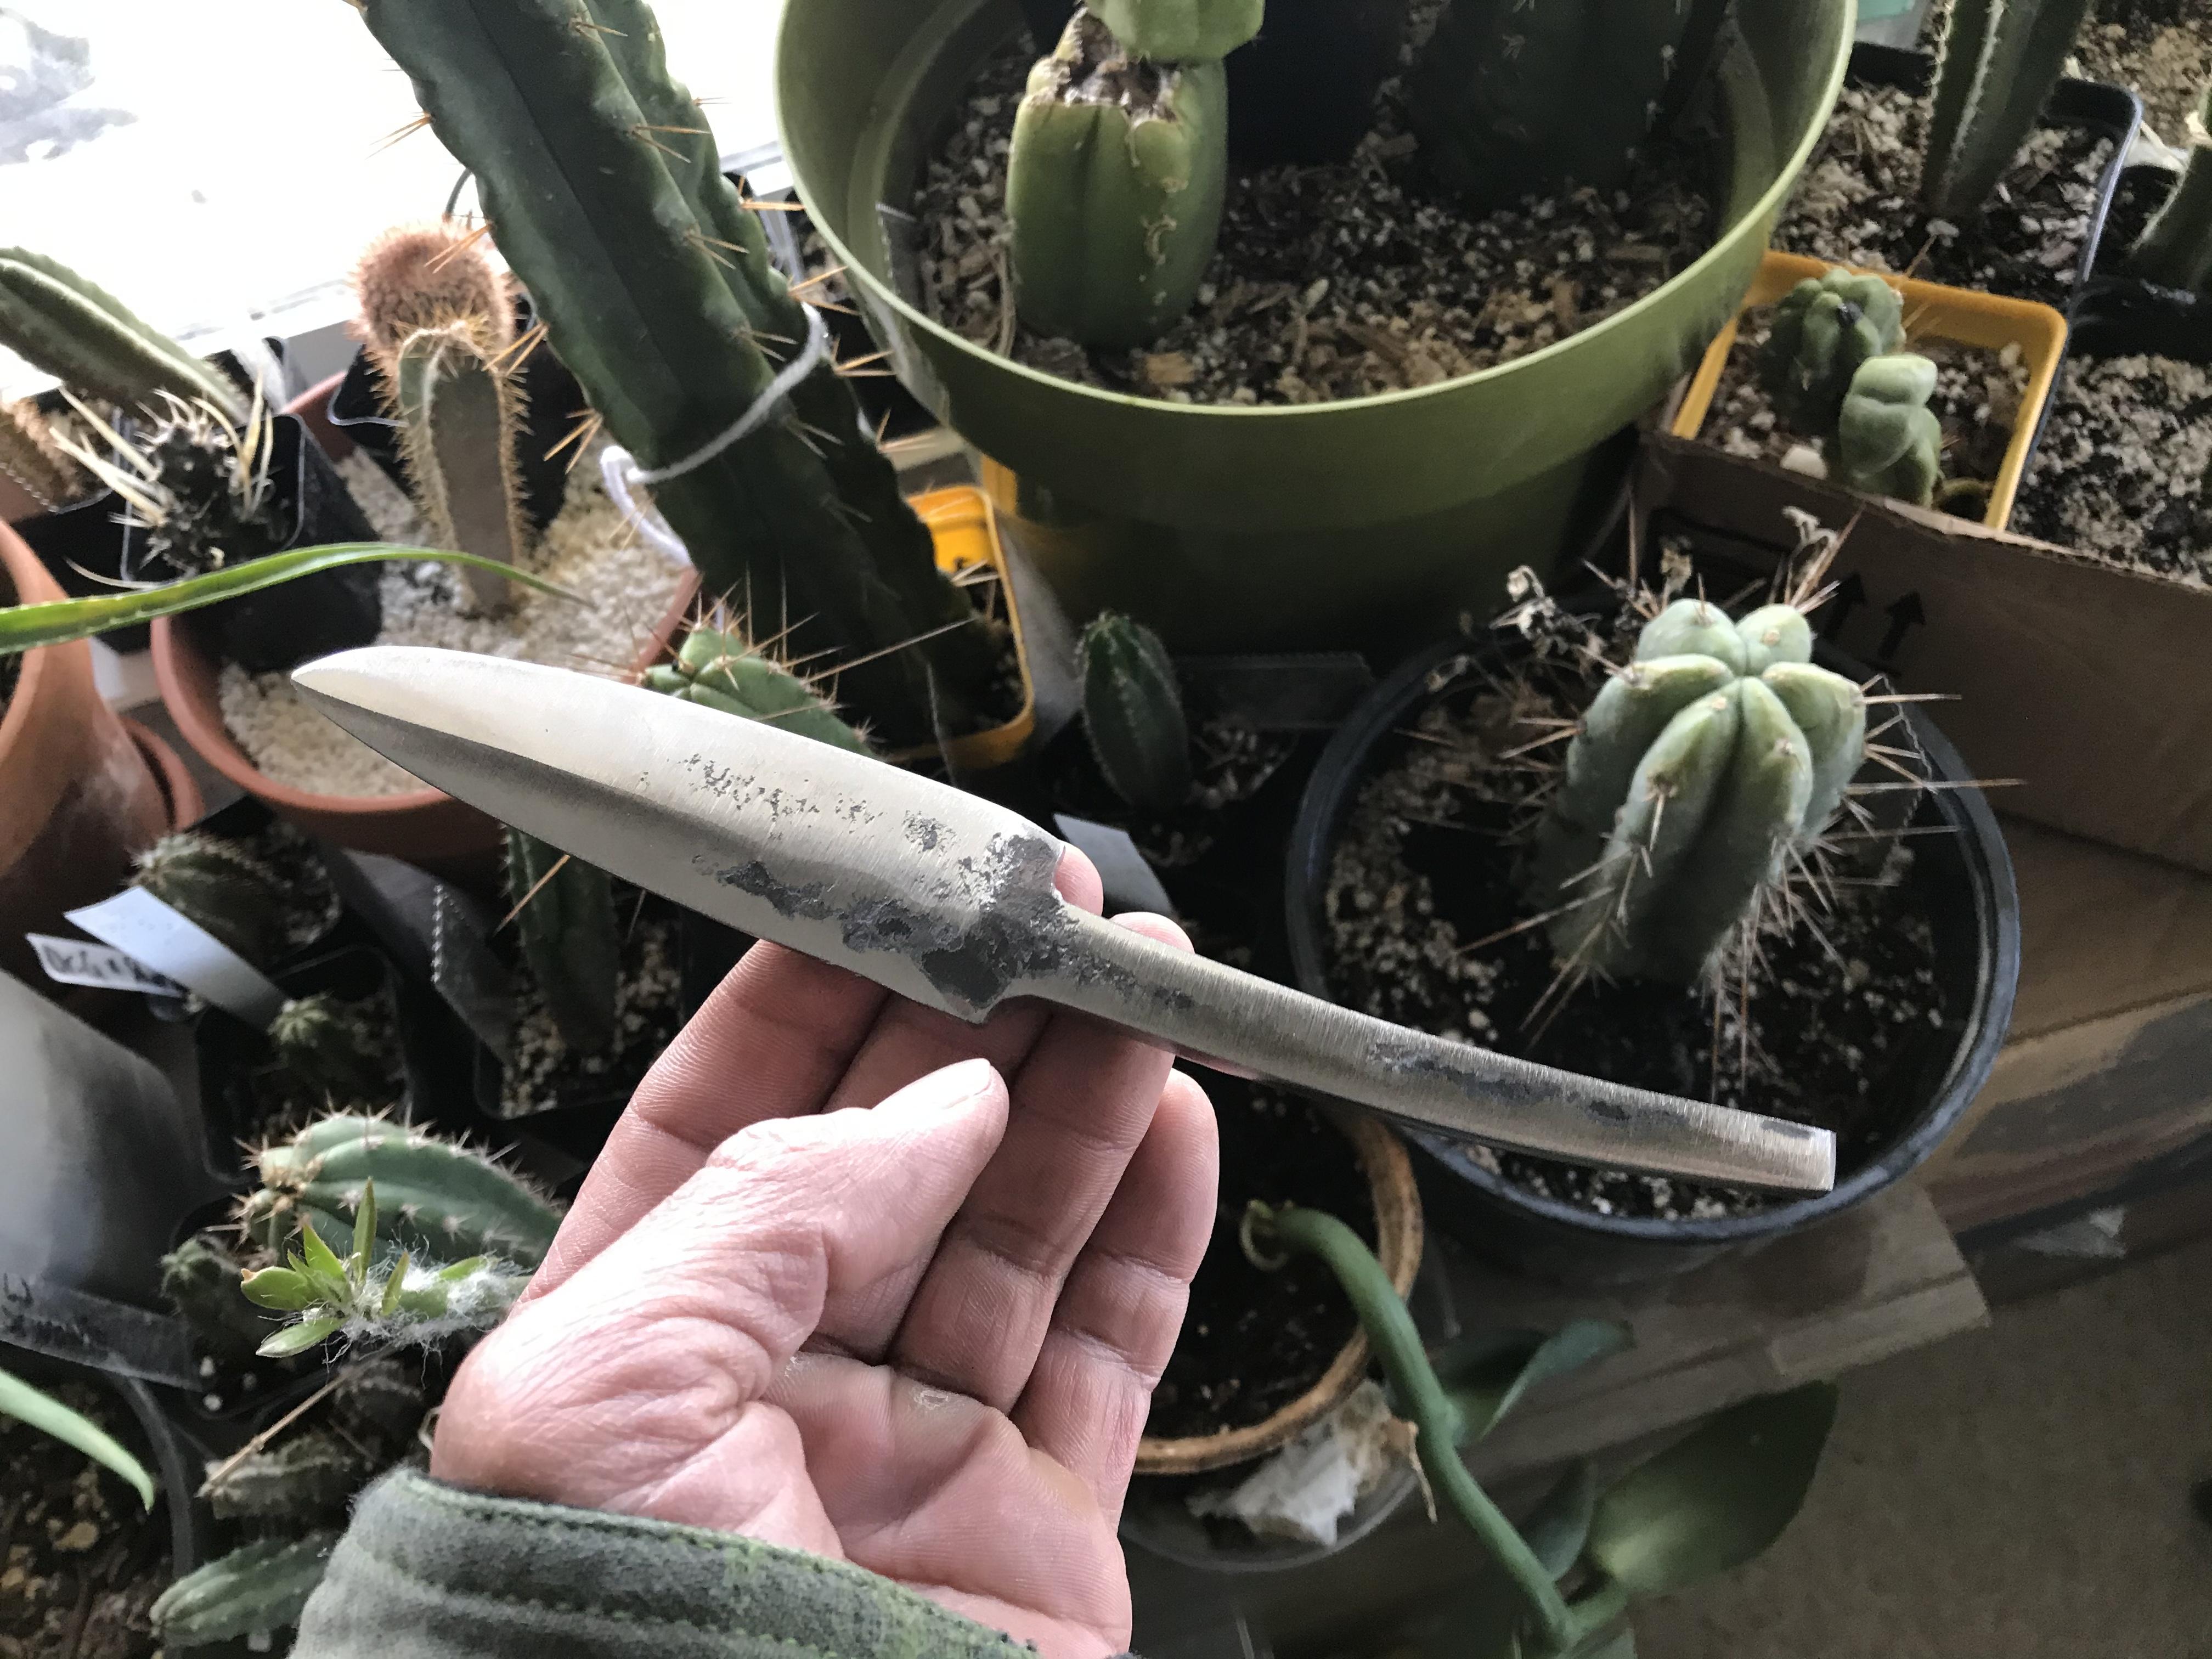
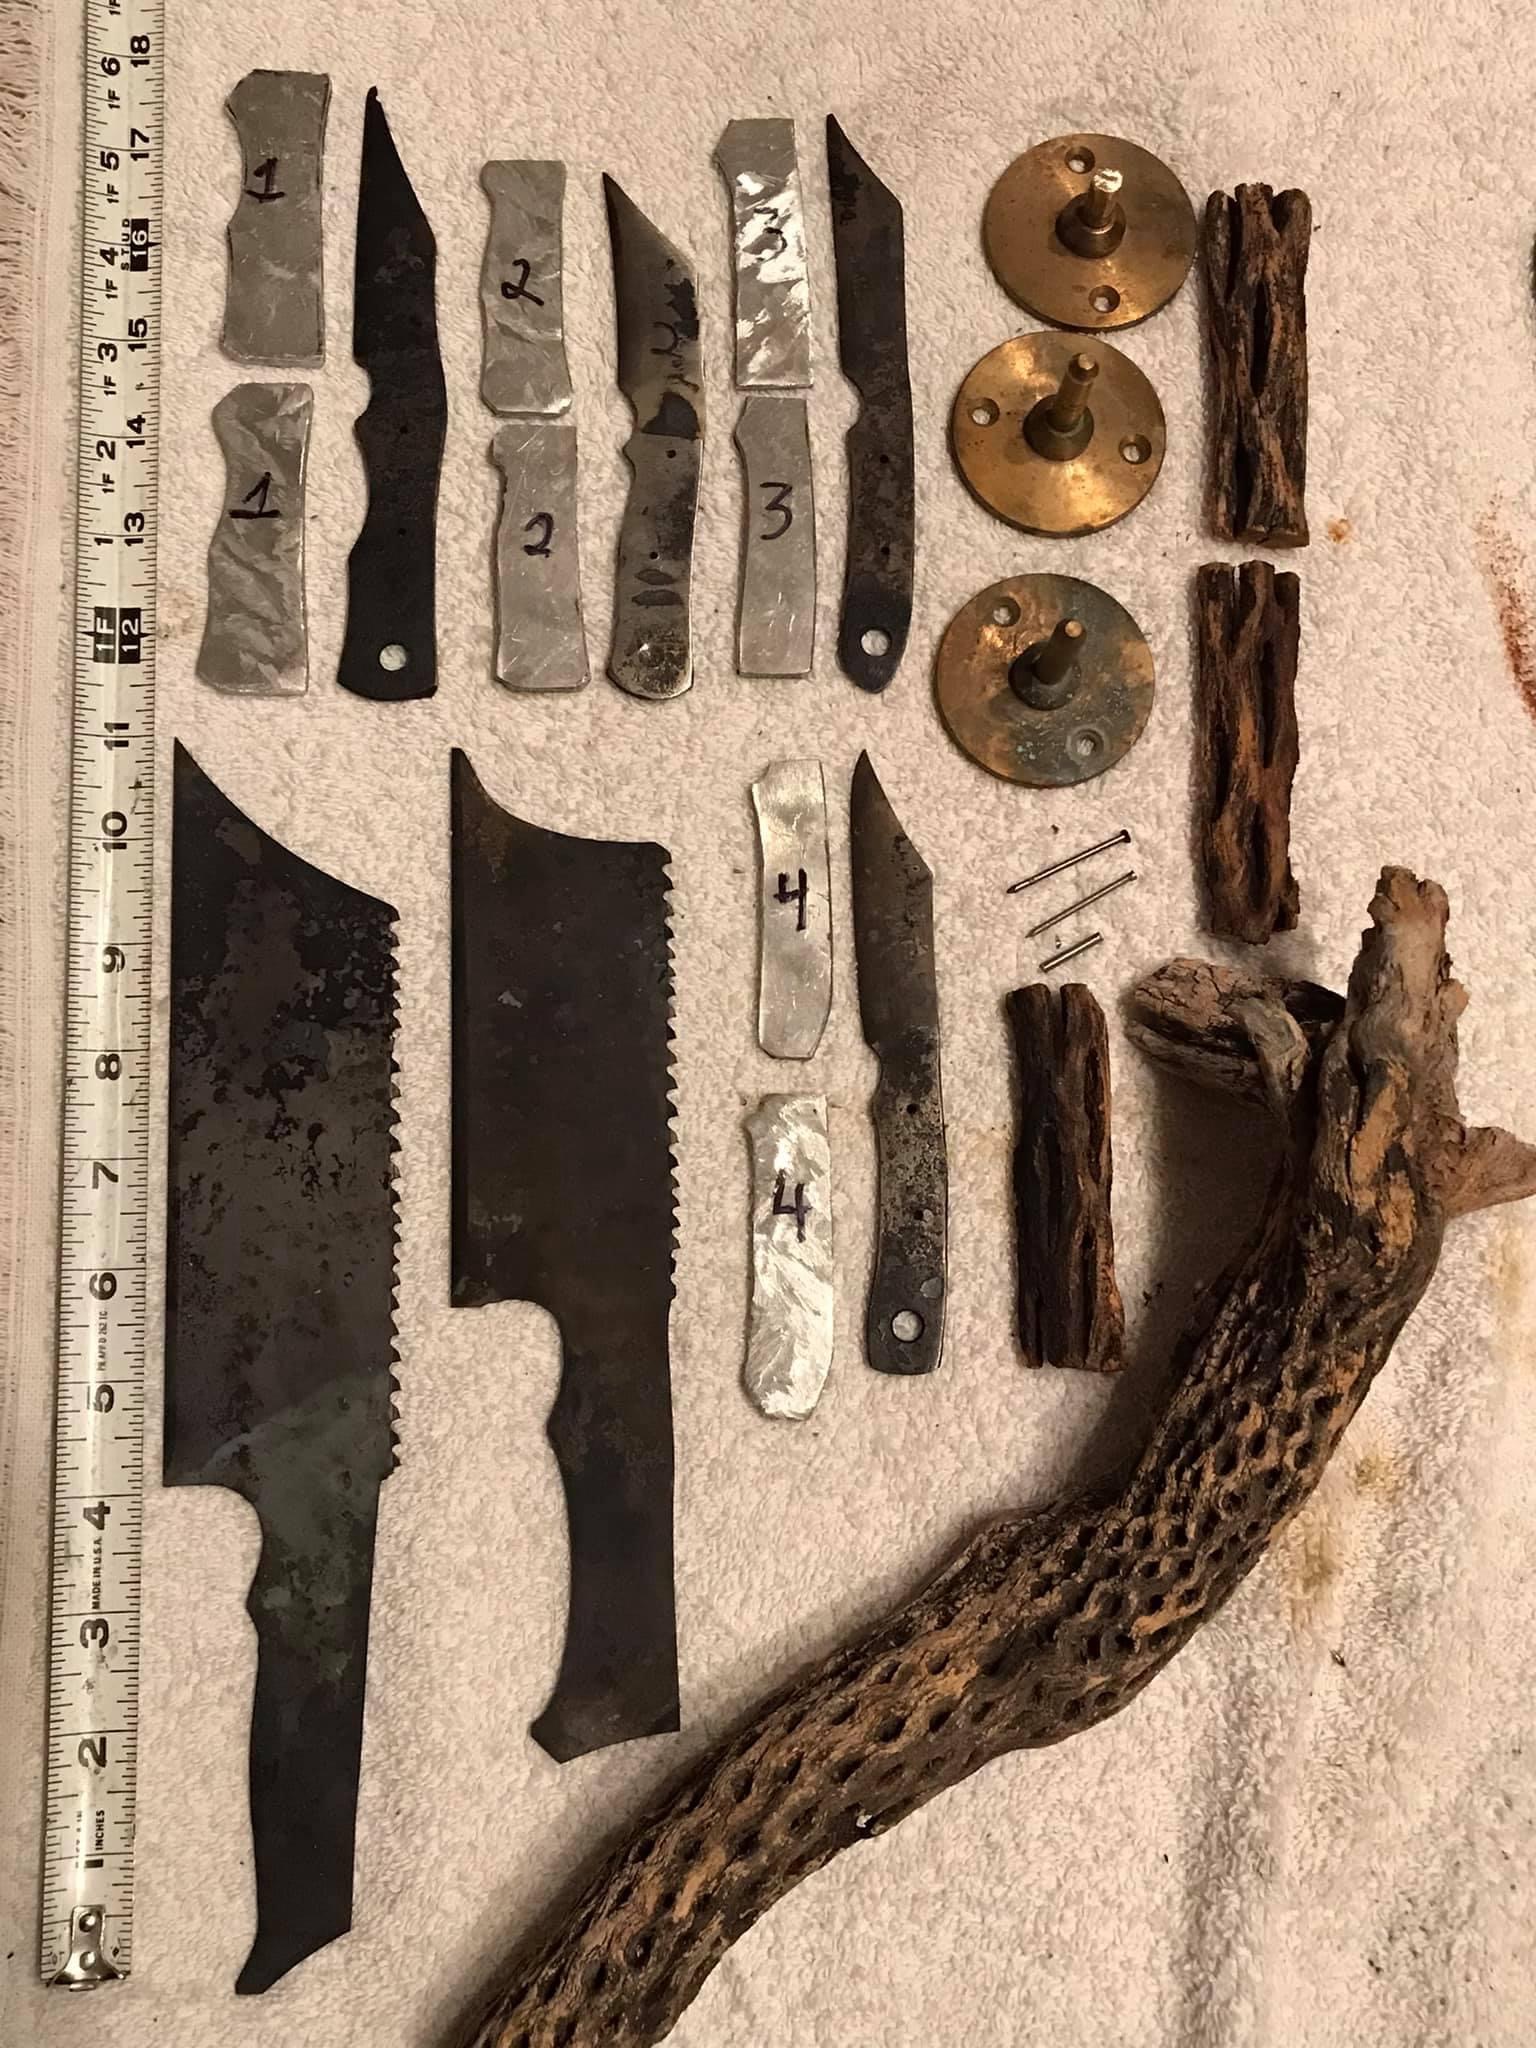
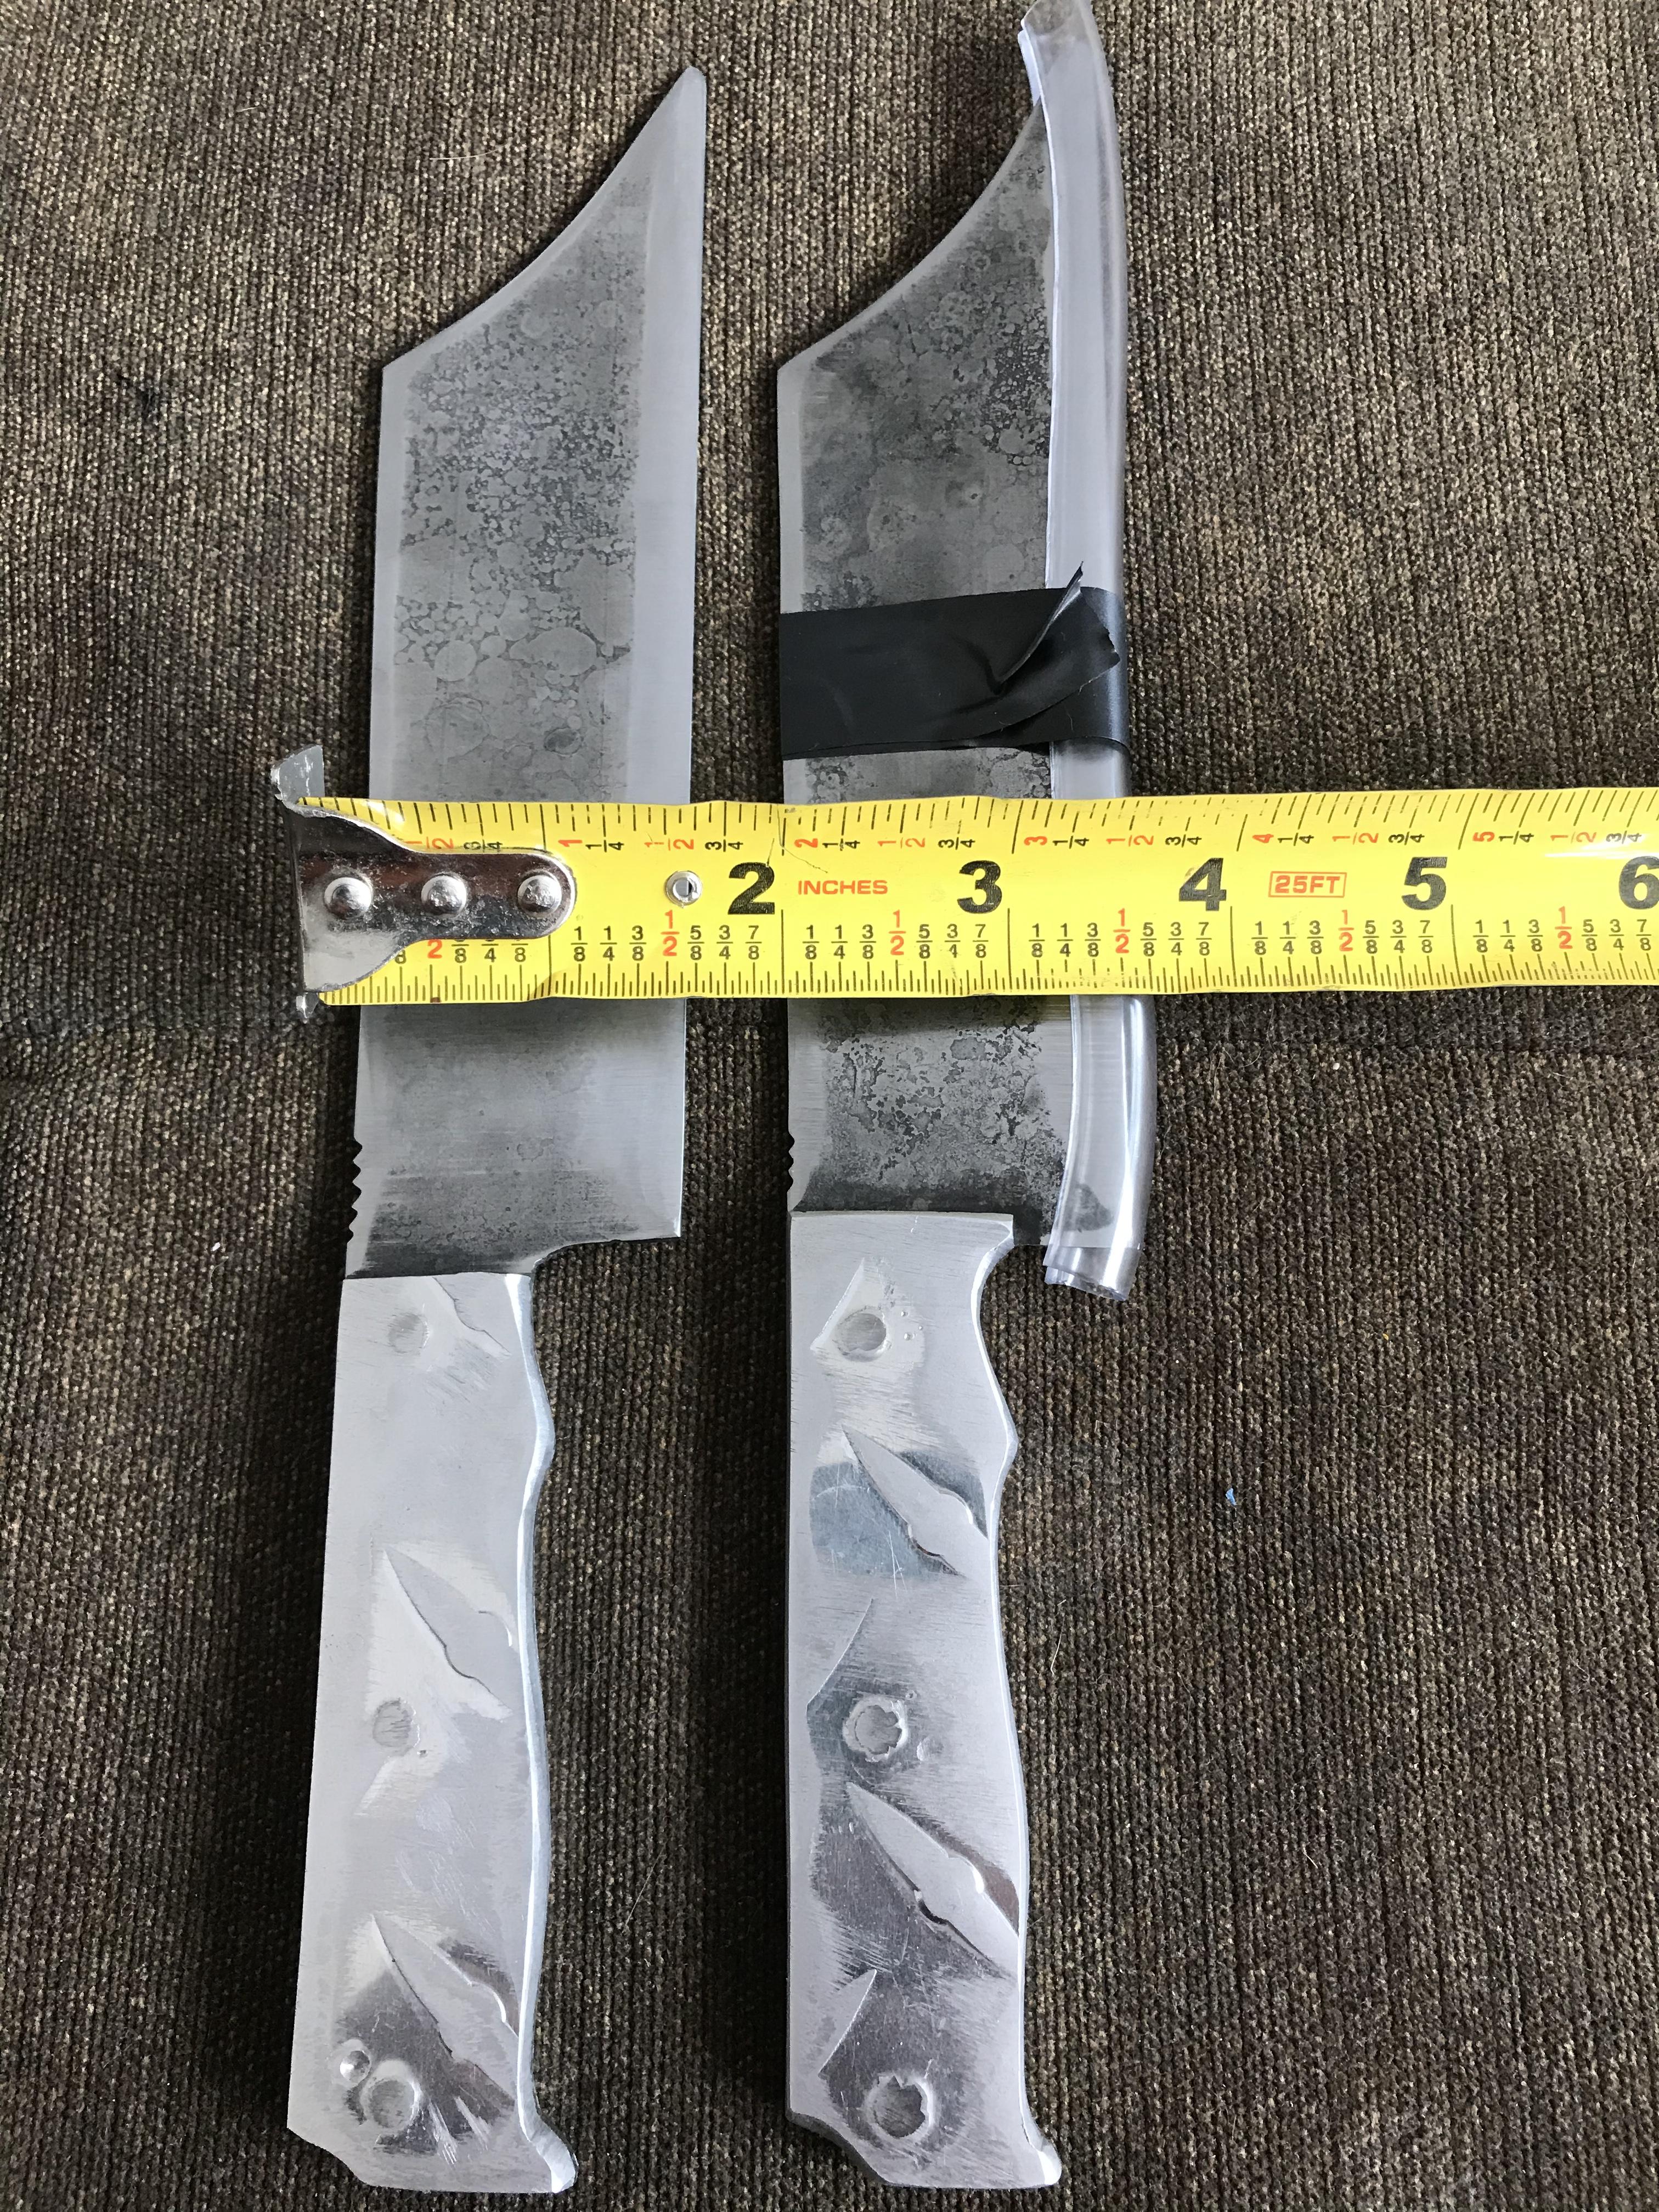
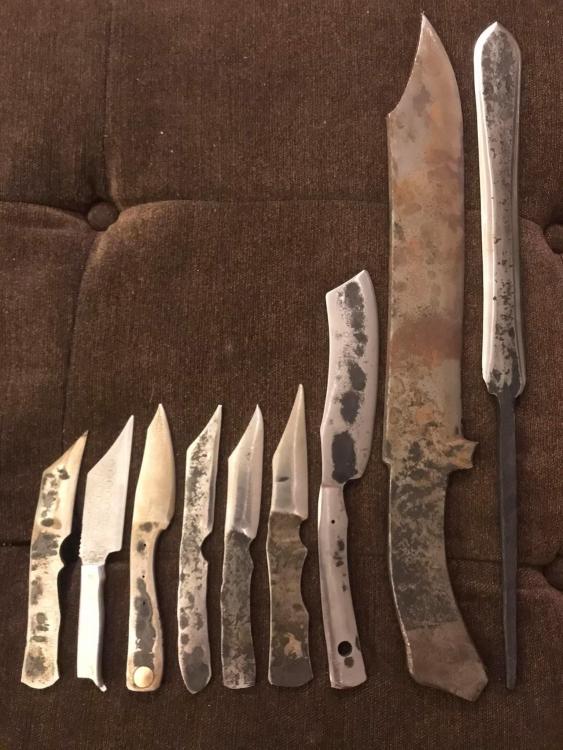
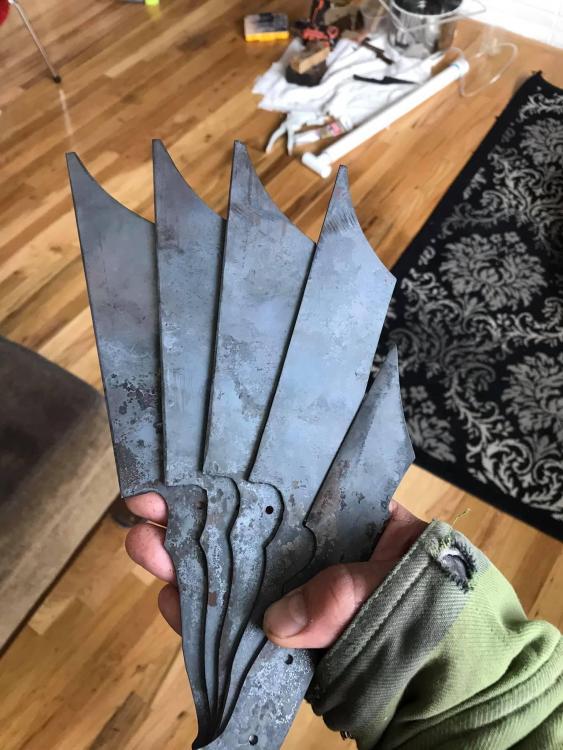
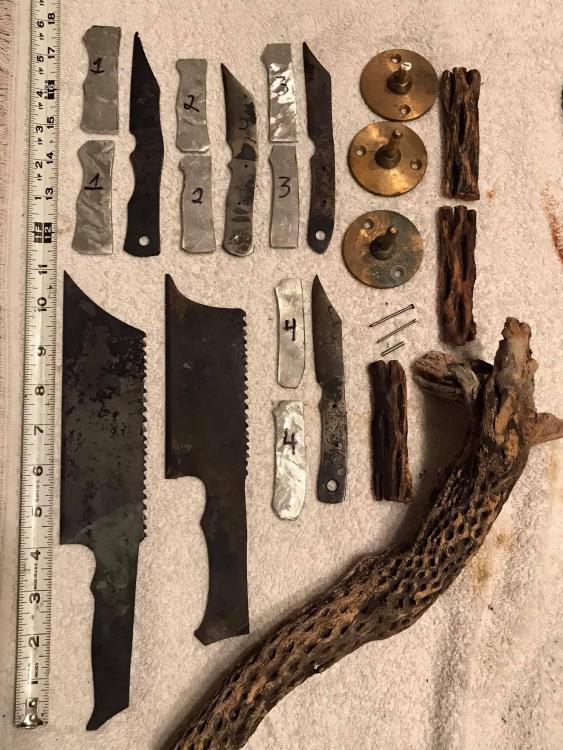
Been making a bunch of grafting knives for the cactus group I’m a part of.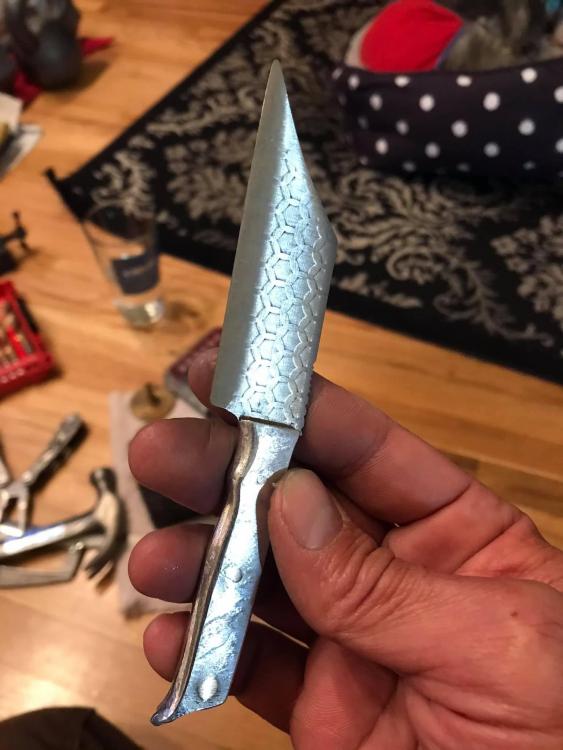


-
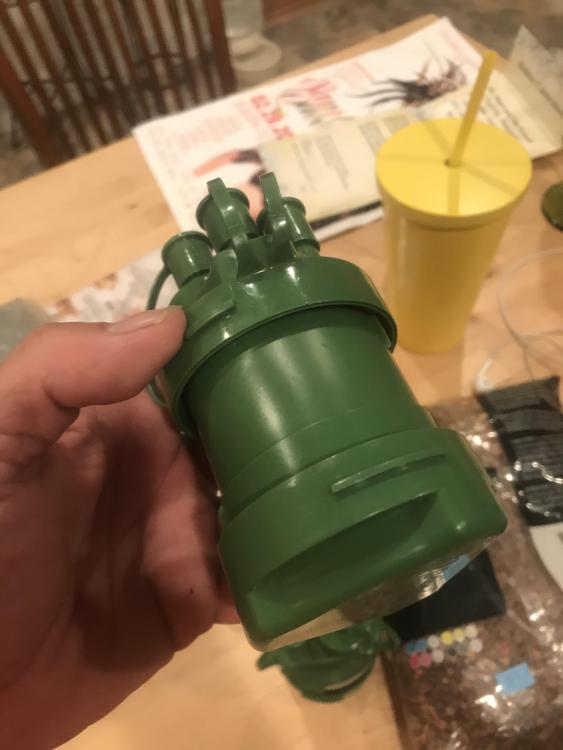
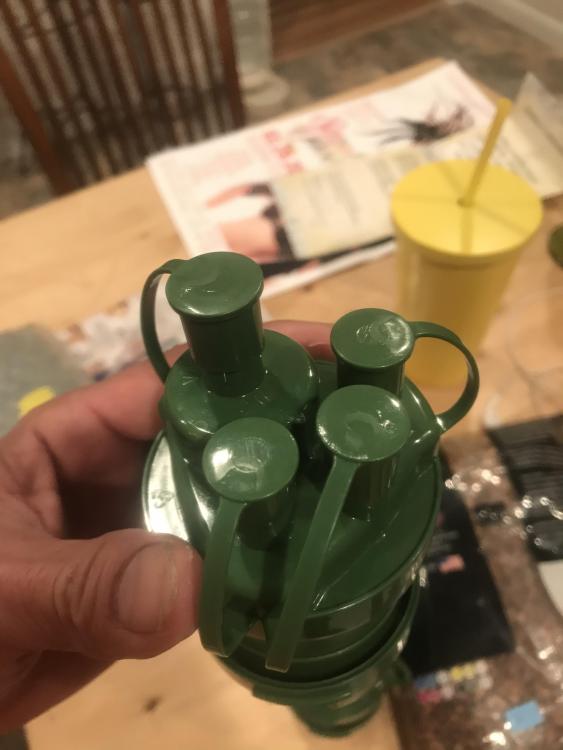
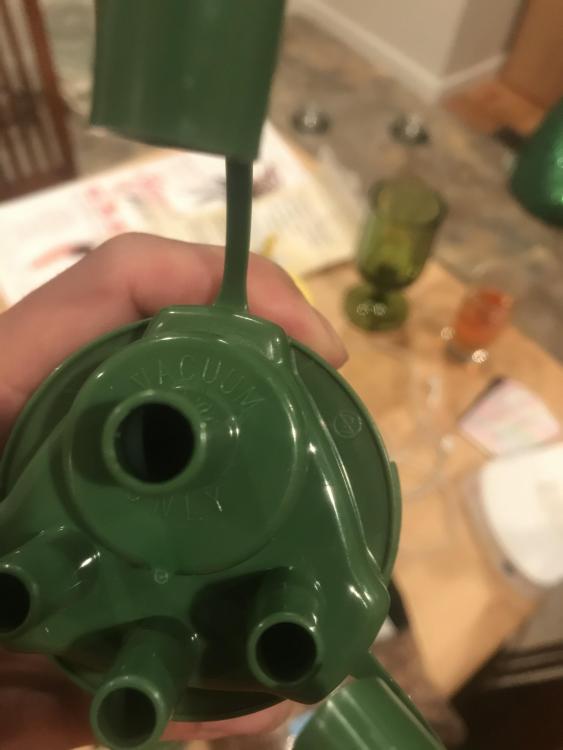
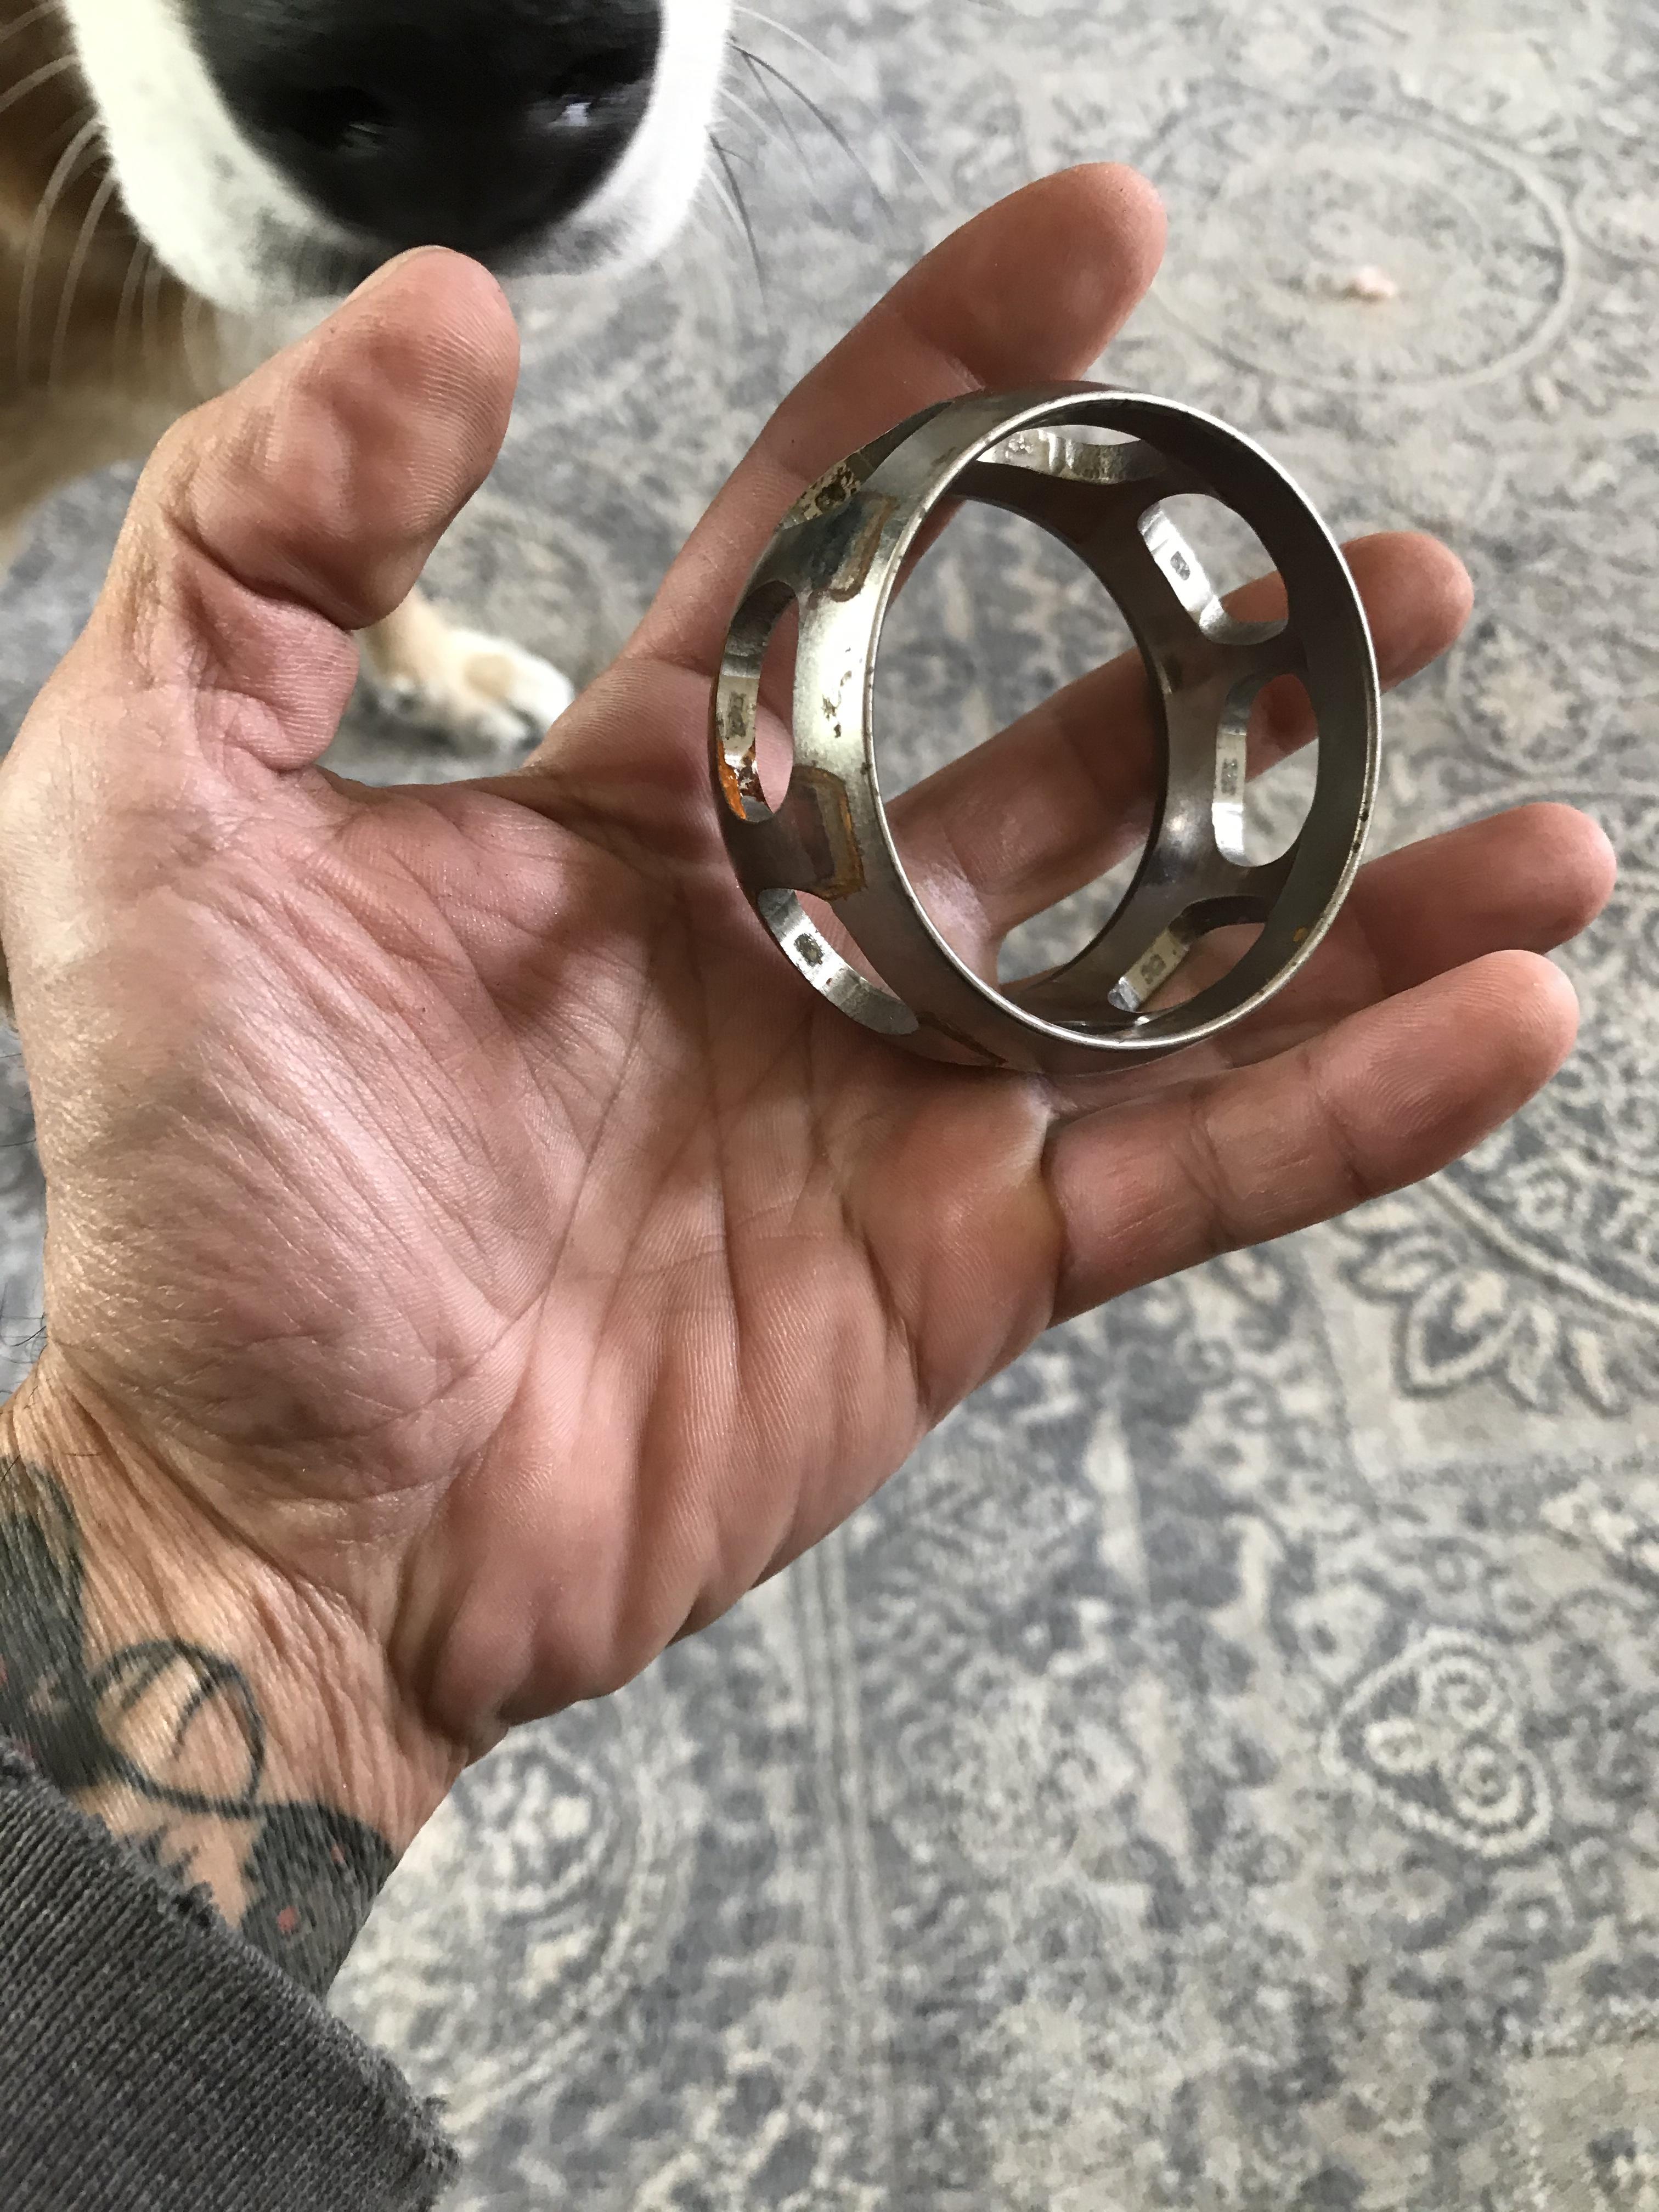
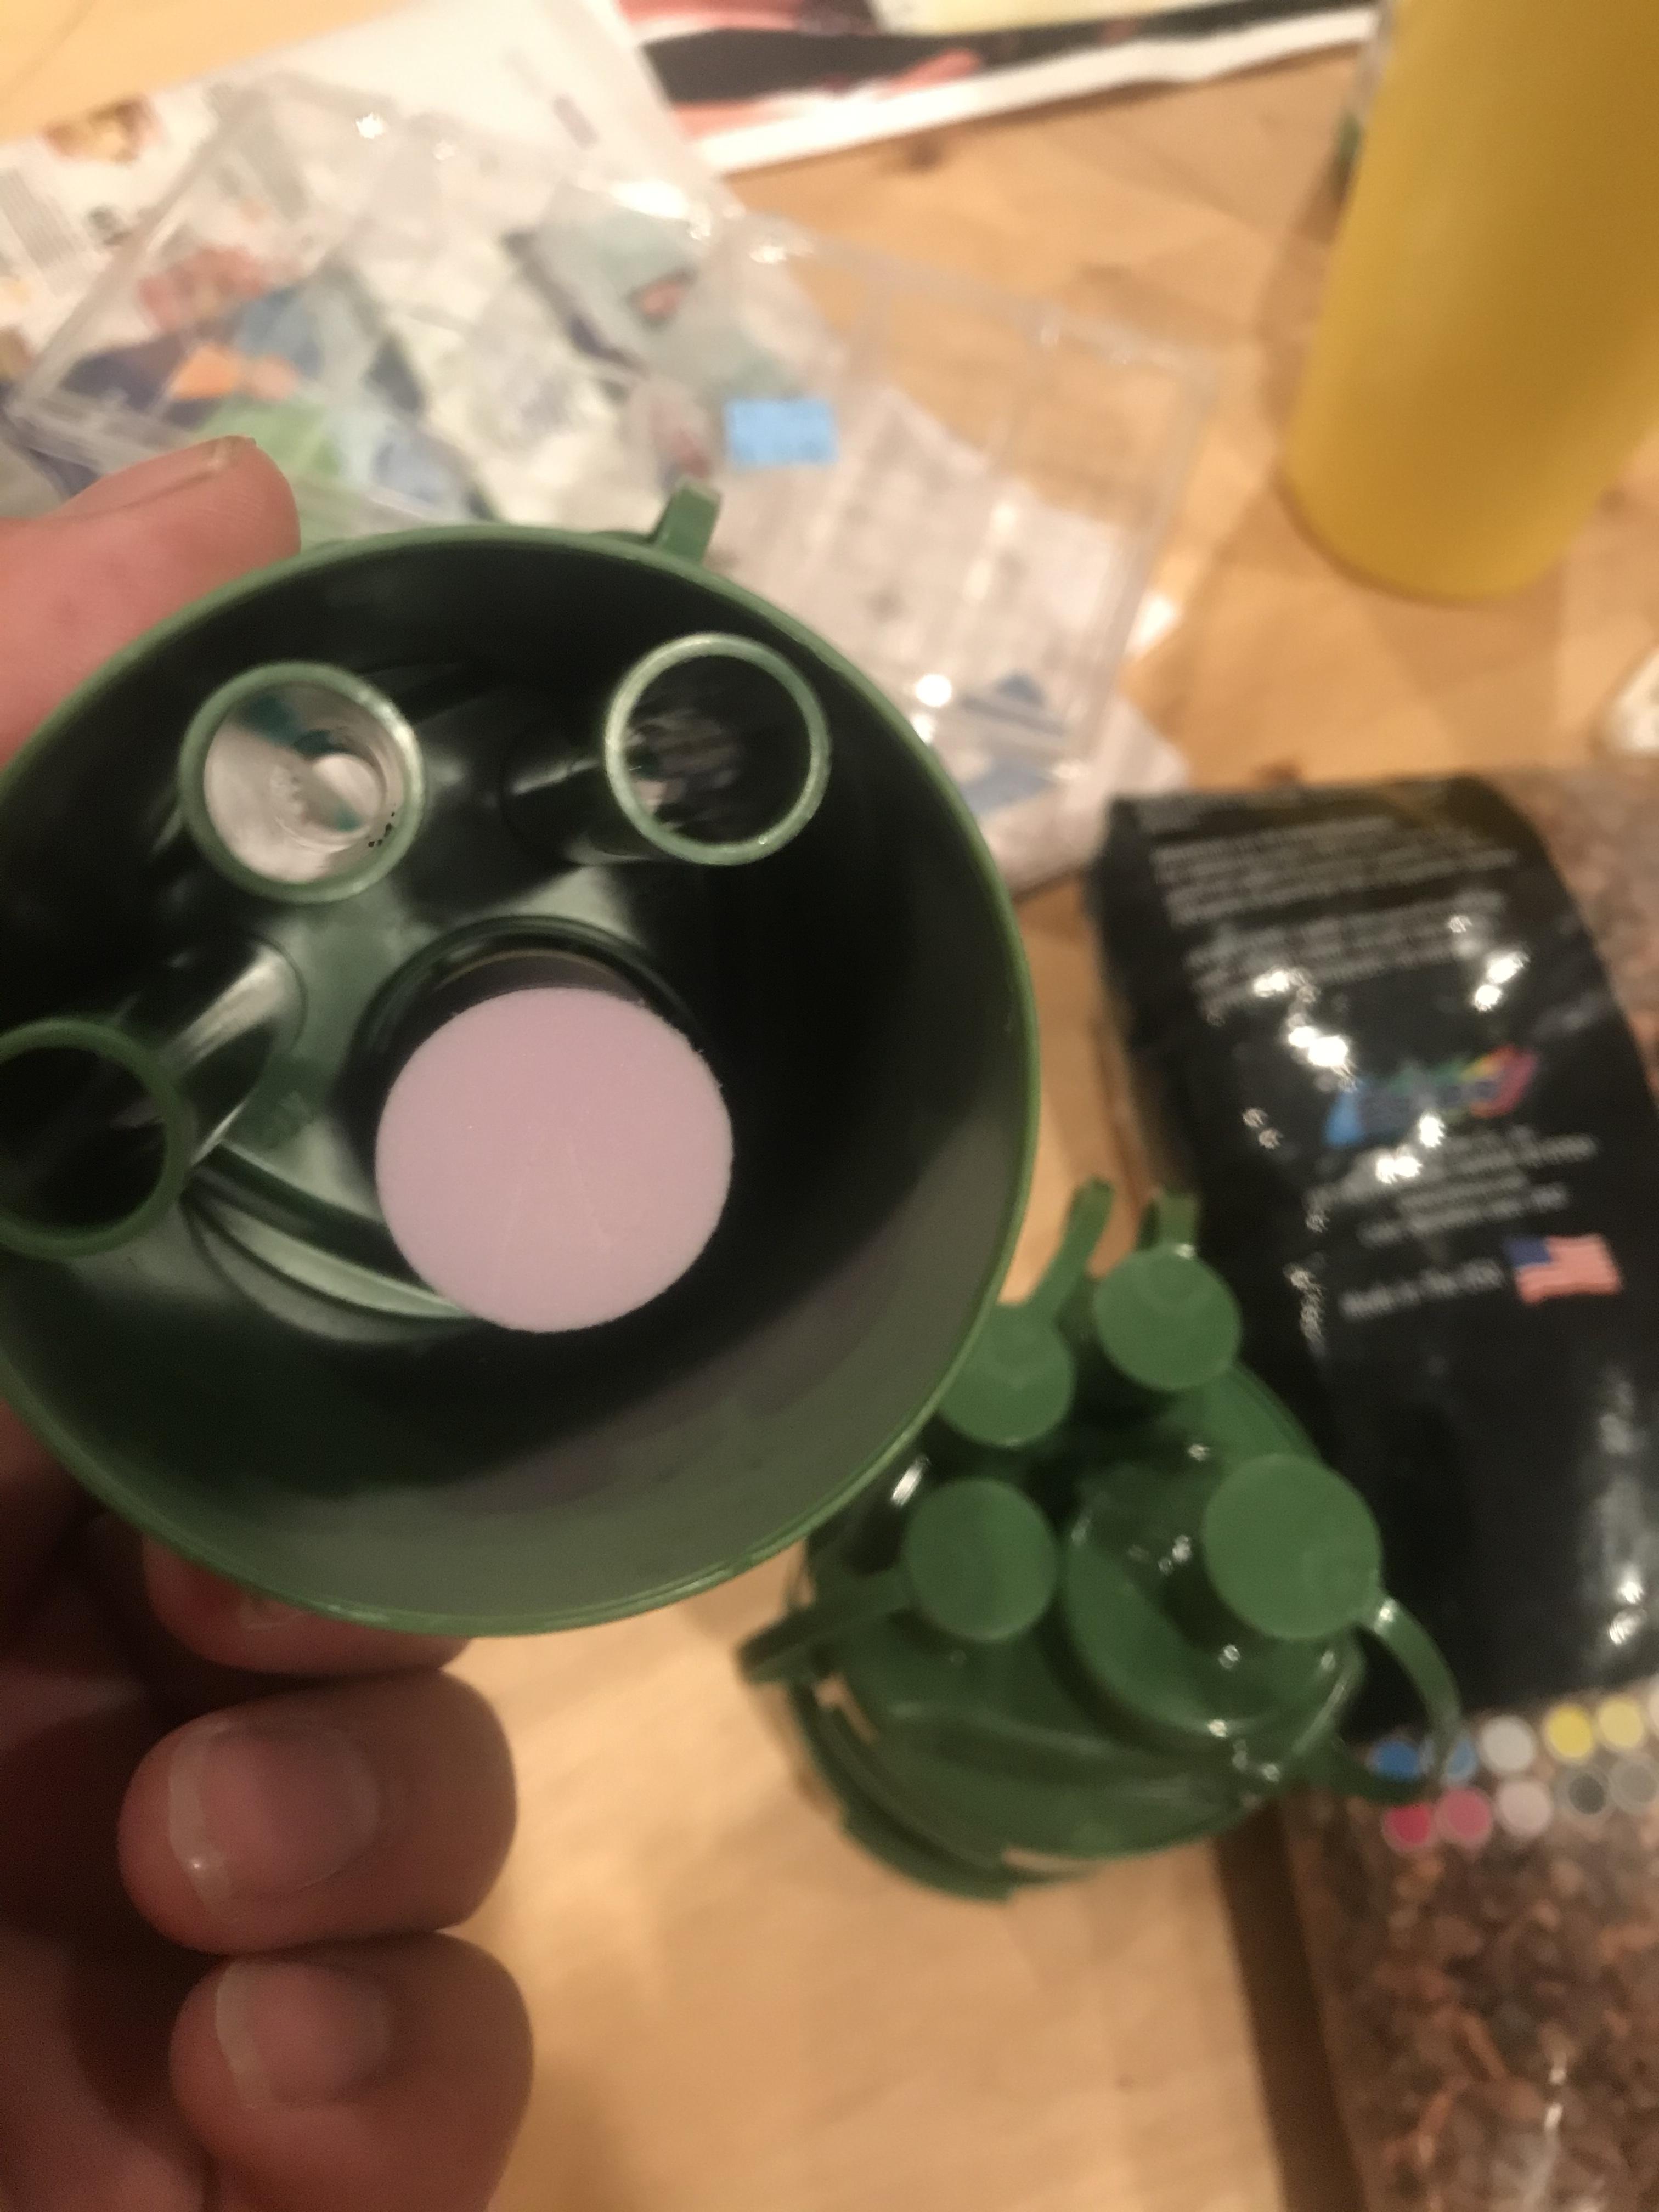
It’s been awhile since I’ve been on here. Pretty busy with all sorts. Anyone know what these are? I found them in a thrift . They had hundreds. Thinking of using it for an irrigation part.