Goods
-
Posts
1,172 -
Joined
-
Last visited
Content Type
Profiles
Forums
Articles
Gallery
Downloads
Events
Everything posted by Goods
-
Be weary of that anvil. If it’s free so be it, but otherwise it’s over priced. The hardened steel face has broken off from cutting shelf to the hardy hole. It may work better than the rail upright, but I’m not sure of it. Look up the proper repair method for that lady, and see if you can get some experienced advise on the method. There is a link floating around this site somewhere for it... Just my two cents... David
-
I find internet searches useless for this type for thing. I would normally walk through the hardware store and just get what would fit close enough and was cheap. (I also have a good hardware store only two blocks away.) I believe the tube I used may have been a discharge hose. You could also try shop vac hoses, but the are probably heavy, generally meaning more expensive.
-
Yeah, I finally figured out how to lower the resolution on my uploads, and it looks like I overdid it. I wrote that if your hair drier has a cool air button, wire, wire tie, or tape it in. You don’t the hot air and the hot air may melt cheap corrugated tube, not to mention drive up electricity bills. The other note was to use a PVC T or better a long sanitary T, but conduit body shown above by Chris Williams is fantastic! That has a easy gate method built in! David
-
This is just an idea. Just use what you have or can source cheap/free. This is your first forge and you’ll probably want to change it around a bunch. (Sorry, not sure how to fix the rotation...) David
-
For the mounting the hair drier, you could mount it on the side of the box. I would put a “T” right after the hair drier, with the stem of the “T” connected to a flexible tube up to your tuyere pipe. Then you could use straight through side as a waist gate. If you hard mount/plumb to your tuyere pipe, it will be a pain to adjust as the end of the pipe burns up. The tuyere pipe will most likely be consumable. However you do it, make sure you air adjustment is easy to use and reach. That way you can get in the habit of adjusting the air between heats. That will save you a lot of fuel. Keep the pictures coming! David
-

What did you do in the shop today?
Goods replied to Mark Ling's topic in Blacksmithing, General Discussion
Yeah, I’d say it needs to be a little bigger. Do you have tongs that will hold this stock size? If so, it would probably be much easier starting with shorter stock. (Sorry, just looks like the hard way to me.) -
Those jets of blue flame coming up around the mixing tubes are pretty scary! Must be a lot of back pressure to get jets like that. (Sorry, I’m not a gas forge guy yet, so I can’t offer much help, but keeping working on it. I plan on building one at some point, and you never know, I could run into the same problem.) David
-
Hans, I absolutely love that! Great job! (Don’t let my wife see it, or we might be working out shipping cost...) David
-
Kyle, I hope all of this has not chased you away. Get us some pictures of you current setup. We would love to help! If you in my area, I could help in person or hook you up with others who are much more knowledgeable than myself. David
-
Overall, good job on the first set. The most important question is do they hold what you are forging securely? Almost nothing worse than having hot metal fly through the air looking for something/someone to damage. Keep at it, and keep us updated on your progress. We like pictures! David
-
What did you do in the shop today?
Goods replied to Mark Ling's topic in Blacksmithing, General Discussion
Glad to hear that you’re still at it and sharing your knowledge and skills with others. I really enjoyed your posts in the past and have missed not seeing your inspirational work! David -
What did you do in the shop today?
Goods replied to Mark Ling's topic in Blacksmithing, General Discussion
Picker77, that’s one reason I really like the slight beard with the set down. I forge the set down right after forging the eye. For me it serves three purposes. 1) I know the weld is good, 2) I’ve determined the handle direction, and 3) I really like the look (gives the 3~4” competition width with what is to me a graceful curve). Since watching JLP’s hawk video, I now draw the beard before wrapping the eye, so the direction is predetermined. (Thanks Jennifer!) David -
What did you do in the shop today?
Goods replied to Mark Ling's topic in Blacksmithing, General Discussion
Picker77, I just got off the phone with a gentleman at Dunlap. I hope my handles come in as quickly and looks a good as yours! David -
What did you do in the shop today?
Goods replied to Mark Ling's topic in Blacksmithing, General Discussion
Thanks for the input. I was planning on ordering handles at lunch today, but life conspired against me. I’ll try to get out of work early enough to order this afternoon. How fast did they turn your order around? David -
What did you do in the shop today?
Goods replied to Mark Ling's topic in Blacksmithing, General Discussion
I bought my handles at a renaissance festival. I ran across a bucket full in the corner of a shop and the price was right. Don’t have that option right now, so I was considering ordering from House Handle Company, Dunlap Woodcrafts, and Crazy Crow. I’ll avoid Crazy Crow now! Thanks. -
What did you do in the shop today?
Goods replied to Mark Ling's topic in Blacksmithing, General Discussion
I know the state meeting was today, but I when to the Vernon chapter meeting at John’s. Not sure about January’s meeting, but I plan on being at Ken’s in February. It’s only 10min away from my place. If you were there last year, I was the guy who brought the crate in with the ~30” bearing races with a couple of the balls and rollers for the iron in the hat. (Of course, that may have been the chapter meeting, they were back to back weekends) David -
What did you do in the shop today?
Goods replied to Mark Ling's topic in Blacksmithing, General Discussion
Thanks! That’s what I thought you meant. I’ll give it a try next time. I need to make a few of these to keep. Both my boys are wanting to learn to throw them, and I keep selling them faster than I make them. I need to order some handles and get to work. David -
What did you do in the shop today?
Goods replied to Mark Ling's topic in Blacksmithing, General Discussion
Thanks Jennifer. No concave bend and to be honest I’m not real clear on what that is. I basically forged the eye on the mandrel which is more round than the handles that I had on hand, but the same circumference. After forging the eye in on the mandrel, I let it cool, then had to work it cold to fit the handle. I need to buy more handles, and if they don’t compare really well to the mandrel I have, I guess I’ll just have to forge one of my own... Looking forward to that next video, David -
What did you do in the shop today?
Goods replied to Mark Ling's topic in Blacksmithing, General Discussion
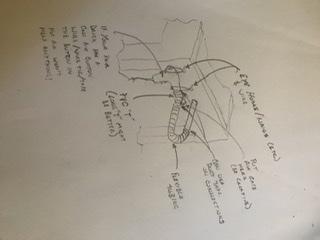
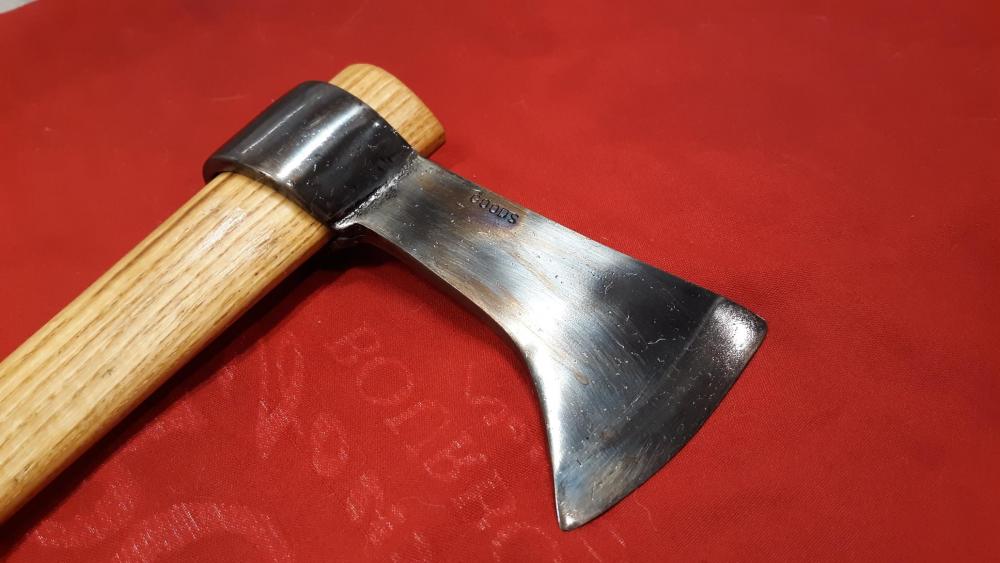
Thanks all! Just got home from a hammer in. The hawk was wrapped, welded, then eye drifted/forged in the post vise with the weld clamped tight. Other that clamping in the vise, made very similarly to your video (just added a few more hours!) Oh, I forgot! I do forge a small step down where the weld of eye measures out to. That way the weld is exactly where I want it, and I don’t accidentally weld back too far in the eye. May just be a cheat to compensate for lack of experience. Here’s a side/top view: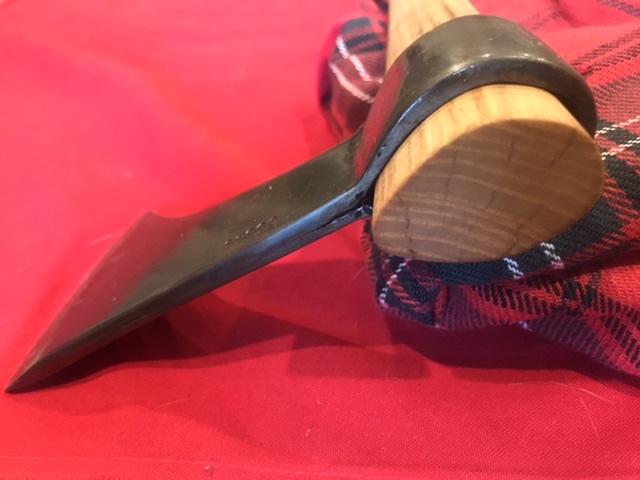
-
What did you do in the shop today?
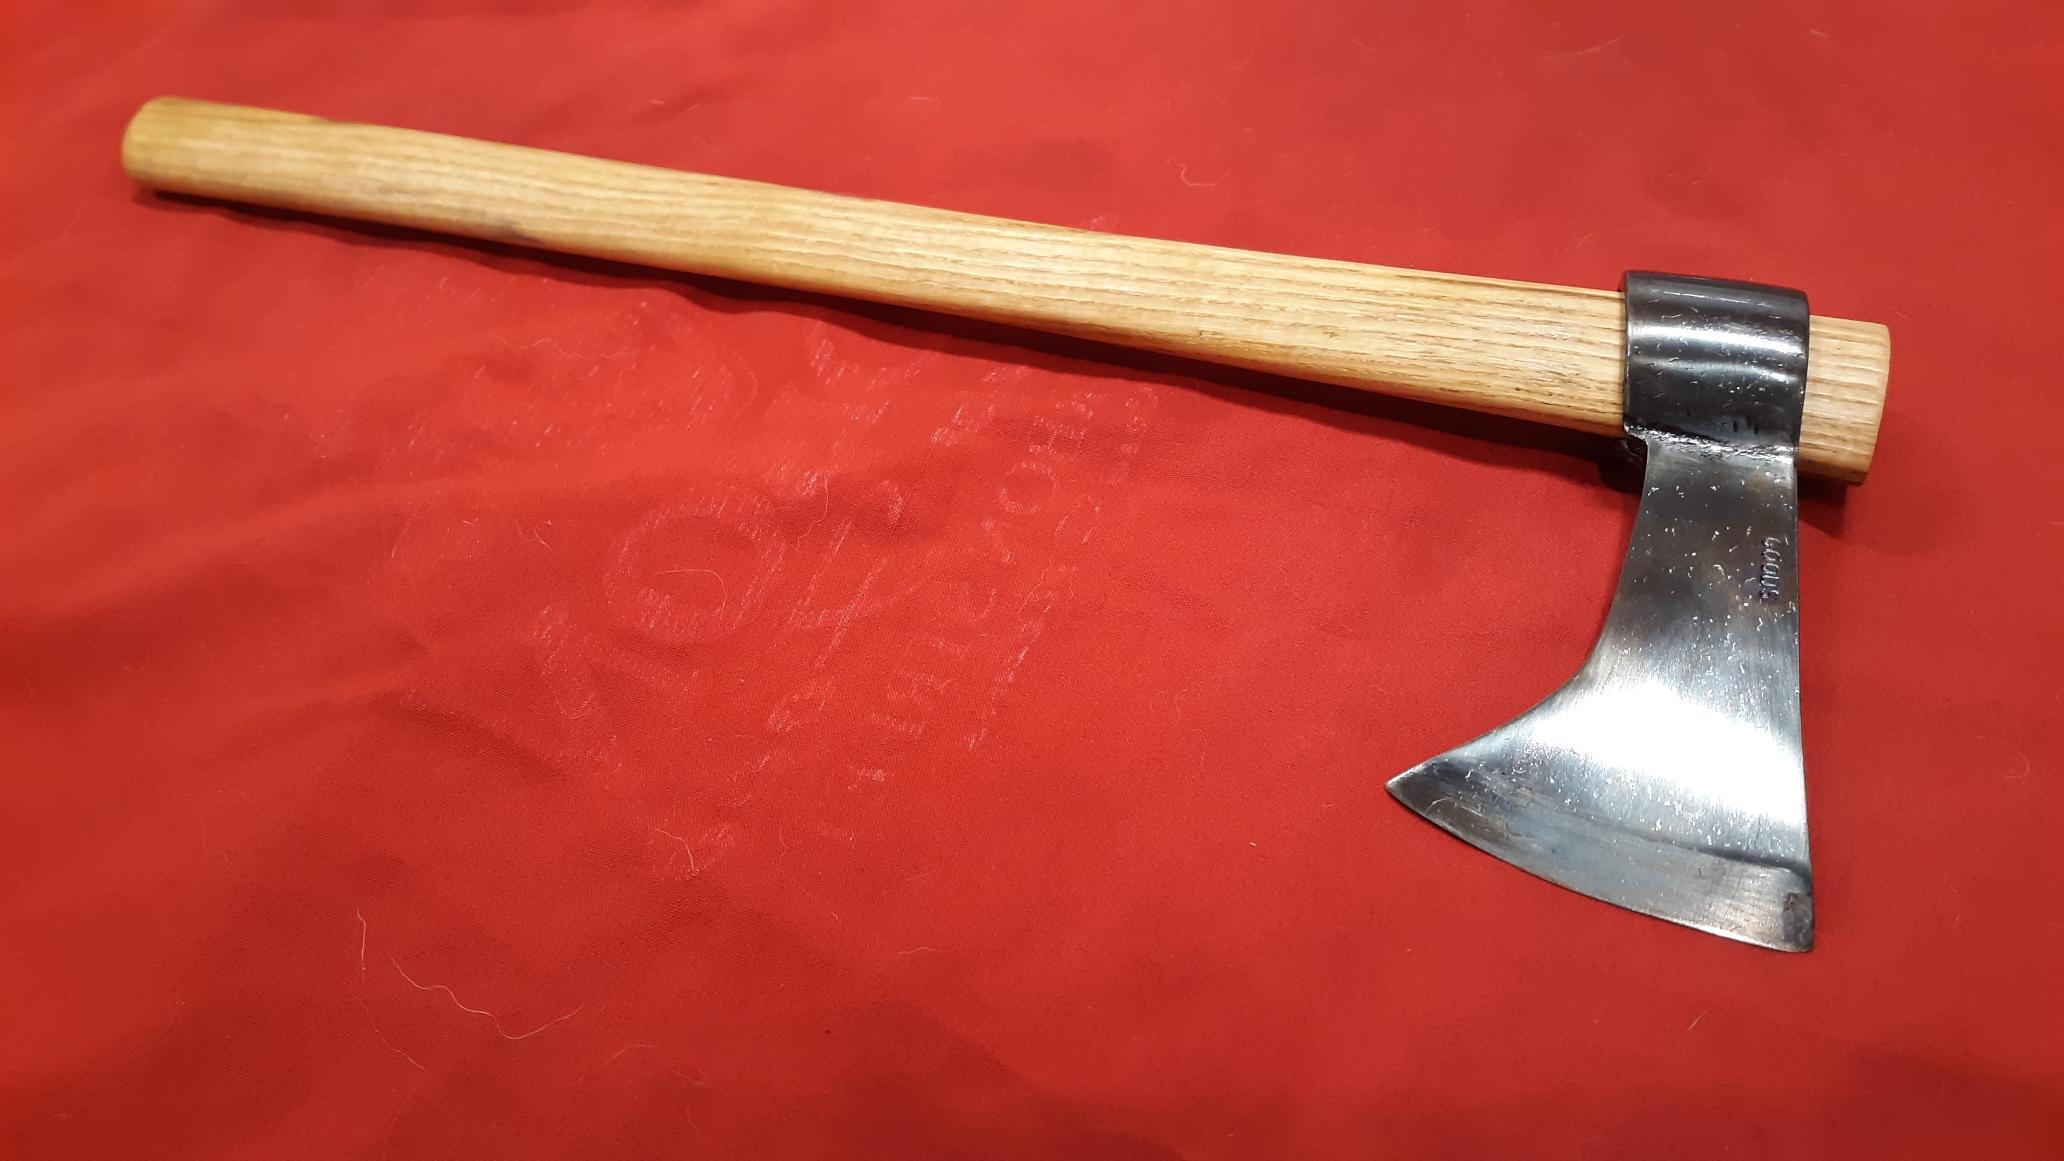
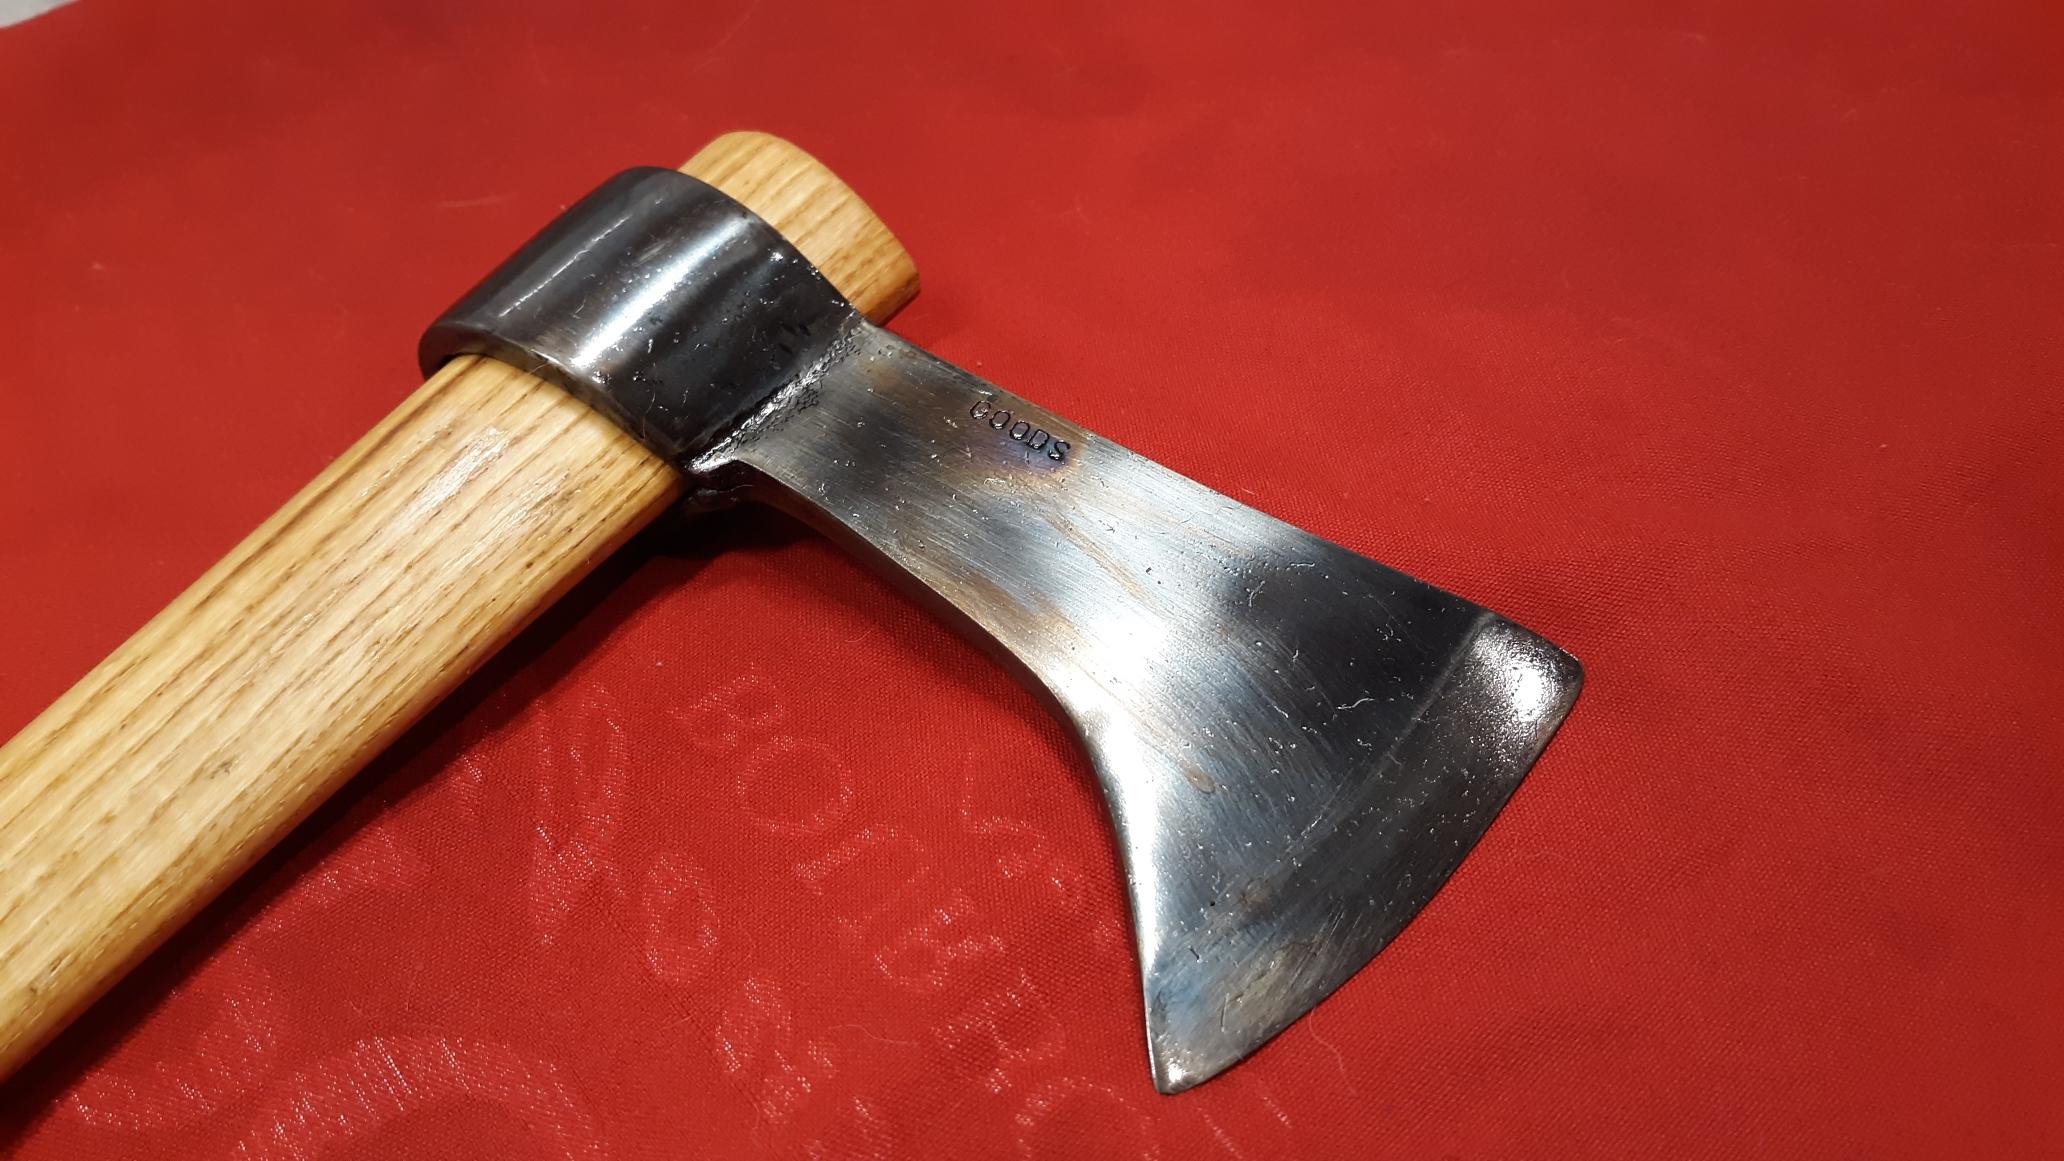
Goods replied to Mark Ling's topic in Blacksmithing, General Discussion
I was asked if I would make a tomahawk for a friend at work to give to his brother. Well, finished the second try today. I feel this one is good enough. (Actually, I kind of want to keep it for myself!) 1018 with 1095 bit.
-
Looks pretty good, but BLO may not be the best rust prevention to use on food processing item. keep it up! David
-
Don’t sell yourself short! While the poker end may not be prefect, that twist is really long and consistent, along with a good clean elegant loop on the end. Keep it up, David
-
What did you do in the shop today?
Goods replied to Mark Ling's topic in Blacksmithing, General Discussion
I’m not sure a man hole cover or weight lifting plates would be the best fit. I would think rotational inertia is what you want now just mass. Double the effective radius, quadruple the effect. Both items would have a relatively small radius, but heavy to work with. Michael’s design of a heavy ring with a large diameter looks very efficient to me. David -
What did you do in the shop today?
Goods replied to Mark Ling's topic in Blacksmithing, General Discussion
Keep an eye out for small diameter garage door spring. You could make hundreds of hair pins out of one of those and they’re often free. To the comment of hardening the pin, be wary, there are still some areas with old laws still on the books from when women would use hat pins for self defense and male leadership at the time frowned upon the number of men with puncture wounds... and women defending themselves. (Can’t give concrete details on this, my son is the well of knowledge here) -
What did you do in the shop today?
Goods replied to Mark Ling's topic in Blacksmithing, General Discussion
Leave it normalized. It is a lot harder than hot steel. Also, just like struck tool ends, you don’t want it to shatter when you hit it with a hard hammer.