MC Hammer
Members
-
Joined
-
Last visited
Everything posted by MC Hammer
-
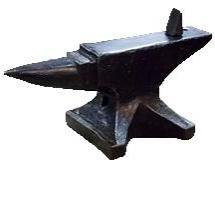
Nice wide face on that anvil. Looks like a good one. You can always say "Mousehole-ish" because it does resemble them as many of the anvils from that time period do.
-
You guys are just peppering this thread with good ones.
-
It looks like a casting line right up the face of the anvil. That's usually not a good sign, but it does ring nicely but then again so does a block of steel I have that only registers 5 inch rebounds on a 10 inch drop. I use it as a flatter station and for any time I need sharp corners. Definitely do the rebound test with a steel ball bearing. They can be found on Ebay or Amazon. Mine is a 1 inch bearing and I think it works really well. Do the rebound test and report back. Maybe you've read it in the forum, but 7 inch or above are considered acceptable rebound returns when dropped from 10 inches. With that said, there is a whole thread recently dedicated to arguing the rebound debate.
-
Take as much as you can. As you forge more you'll see what you are not using and can take it to the scrap yard for cash. Plate steel is always useful in my opinion. You can make a cut-off plate to protect your anvil when cutting hot stock with chisels & you can make all sorts of things out of it. Rebar gets a bad name because it's made of all kinds of scrap metals. One section could be hard high carbon steel for an inch and then right into crappy quality steel. With that said, you can make things out of it that don't require a cutting edge. Later on you will enjoy welding stock to the rebar instead of trying to hold onto it with tongs. Keep at least a few lengths of it handing around. Steel pipes (not galvanized) that are usually black in color and will rust are useful in forging candle stick holders. Keep your eyes peeled for jack hammer bits as well.
-
They usually weigh my scrap and then say "How does $5 sound?" or sometimes it's $10. They've been good to me and even will show me any anvils they get in. So far that's only 1 anvil and it was a cheap ASO. On my next trip I plan on giving them a picture of a swage block and put my phone number on the picture so they can call me if one comes in. The only problem with my scrap yard is that they move scrap fast. You gotta just be lucky. I've arrived to find all the piles gone and just the slim pickings to look through. I always find something there though.
-
It's super easy to work with. You just apply it and then use a heat gun on low to heat it up. You have to use 00 steel wool in between applications to knock down the whiskers as some of the grain will raise a bit. As long as you follow the directions that come with it you'll be happy with the outcome.
-
That is a beautiful finished tomahawk. For years I've made tomahawks and pipe tomahawks out of cast heads. Try aquafortis and heat on the next curly maple handle you make. It will make the tiger stripes really pop. For a finish after sanding, also try polishing the whole handle with a piece of brown paper back. The bag will put an incredibly smooth final sanding on it.
-
Wow, nice anvil! If you got it for free or scrap prices it was the opportunity of a lifetime. You did a great job cleaning her up. Did you take any before pictures when it was covered in tar?
-
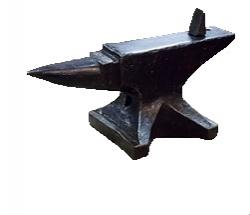
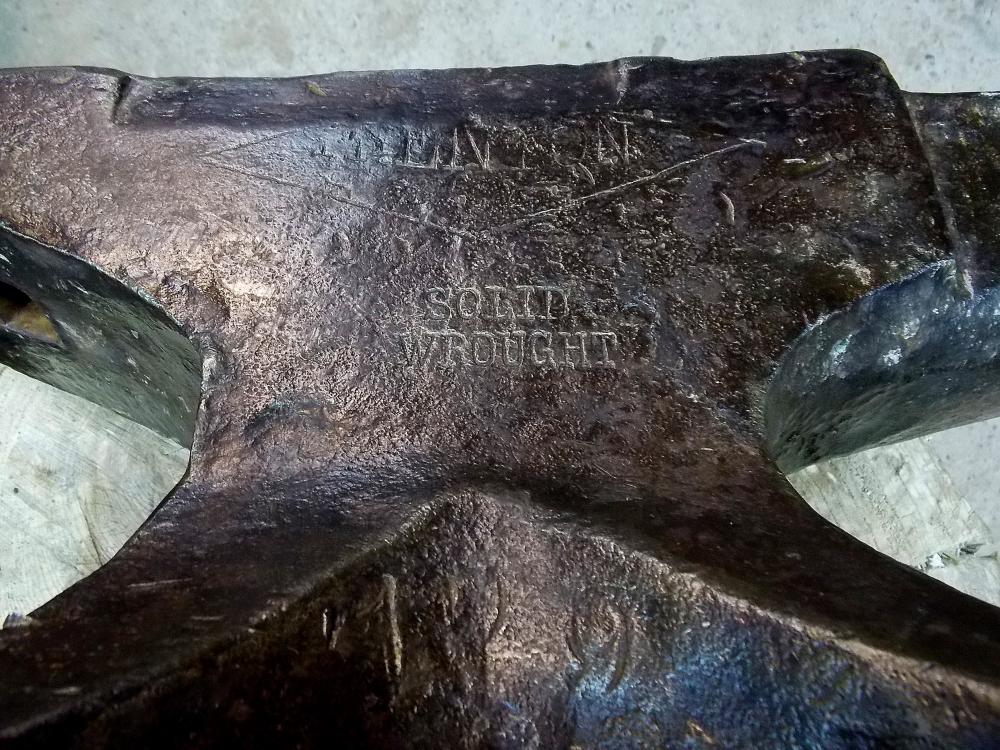
My early German Trenton has the weight stamped on the side under the logo and between the feet (179 lbs) The bottom looks like this Here's the full view for comparison to see if it looks like yours I don't believe when compared to mine, that yours is an early Trenton. Blackfrog would know best though.

-
I go to a small mom & pop scrap yard. I know the lady who runs the scales and they never mind me picking around. I think it's most likely an insurance thing. Not everyone has common sense enough to stay out of the area where the magnet crane is loading piles into the trucks. My scrap yard is even willing to use the cut-off torch to separate leaf springs or cut the odd piece that's too long. I've often looked at the bigger scrap yards wondering about the excellent scrap that's there, but I think the little operations are less busy and easier to deal with. I guess I'm really lucky! Sfeile - when I get my blacksmithing shop finished I'll have to have you over and we'll take a ride up to this scrap yard
-
Great job Sfeile.........they will cut ! How can I say anything bad about those knives when I've never made a knife myself? I'm not a fan of super shiny finishes as I'm more of the old Bowie knife type, but you are well on your way into knife making.
-
Wow, didn't know that about Ohio That's terrible. I'd try farms instead of scrap yards. Farms have plenty of old scrap piles, but you have to respect them and always ask permission. If it were me and I lived in Ohio, I'd be doing strategic trips to another state for scrap I guess.
-
I am glad your shirt in your avatar is not true. At any rate, anvils can be found for under $100 but it's not the norm. Don't brush off the advice of others that are telling you to ask everyone because it does work. My first nice anvil was bought from a friend's friend's nephew and this guy had 10 anvils to pick from. I just bought one for $50 in June, but the first one cost me $300. In your price range I'd look for anvils with broken horns or a broken tail (end with holes in it) but that have good solid faces (top surface). You can always upgrade. Check out that thread on improvised anvils. What I did is came up with a budget first. Save your $10 an hour for a few months coming up with a monthly savings plan so you have at least $300 and then your in business. Forget Ebay on your budget, but Craig's List isn't too bad in your area. I saw several possibilities for anvils in your area on Craig's List. Don't rush into this hobby, take time to get the right basic tools. Don't forget you need tongs. You don't need a big expensive anvil to start forging. The best bit of advice is going to the scrap yard. You can find a solid cube of metal to start forging on and buy a pile of scrap to practice on for your $100. My last trip to the scrap yard I got 40 lbs of scrap for $5. Be respectful and ask politely and you might be surprised at how successful you can be at a scrap yard. They might just have an anvil tucked away in the corner that they would sell to you for scrap prices if you look sincere enough. Don't monkey around at the scrap yard either. You look like a young guy, so the yard will be expecting you to act a certain way so prove them wrong. There's heavy equipment moving around and those that run it don't want you getting hurt. Stay out of areas that look busy with equipment, bring gloves, and watch where you are walking. Thank them when you leave and leave a good impression.
-
No arguments from me JLP. I agree completely. Knowing a lot (head knowledge) never trumps experience actually doing it. I've read a lot on blacksmithing, but until my skills improve through practice and I apply that knowledge to produce decent work, it's just information. I like how you think and it's the old craftsman (craftswoman) way of thinking. I doubt when the old master blacksmith took on a new apprentice he sat that apprentice down for 3 1/2 hours of theory, equations, etc.......pretty sure he got the apprentice to work by showing them how to do it and offering correction where needed - and most likely as a striker or making nails or something I'm sure. When I teach flintknapping classes I talk for maybe 20-30 minutes about theory and then I dump out a large bucket of flint and tell the students to dive right in. I then go student to student asking them what they are trying to accomplish and offer corrections and encouragement. Around and around I go until the allotted time is over. I'm always surprised at how fast the time goes by. I've found this way of teaching a hand craft skill works best. It may not work for blacksmithing, but I think you all get where I'm coming from. I've had students show up who've watched several of the videos over and over and they know the right words but they have no idea how to make that theory happen with their own hands. By the end of class some of those book / video heavy students are ahead of the others but most fair no better than the person who just started that day without having watched the videos or read the books. Carpenters, mechanics, and woodworkers fair the best as they understand hand-eye coordination and the correlation between hand and mind in the sense of having vision of what they want to accomplish. Long winded way of agreeing with you JLP, though I have vastly less experience and time at the anvil. I learn by forging over and over and over.
-
-
I just have a habit of wearing eye protection the minute I start forging and wear them until I take off my apron. It's always the last thing I remove. I have mine on a flexible mesh like thing that allows me to hang them around my neck if I have a need to take them off. I rarely do that though.
-
Saw a guy's shop and he had a tube connected to the top of his forge that pulls air in from the outside vs. naturally aspirating the air from right above the forge. Anyone have any experience with this set-up for a gas forge? I presume he's trying to limit the amount of make-up air that he has to circulate into the closed garage shop by bringing in his own fresh air supply from outside the shop. He's a professional bladesmith so it's not like he's a Youtube guy winging it.
-
Good input JLP, and that would make sense for sway on the top if it was a solid steel.
-
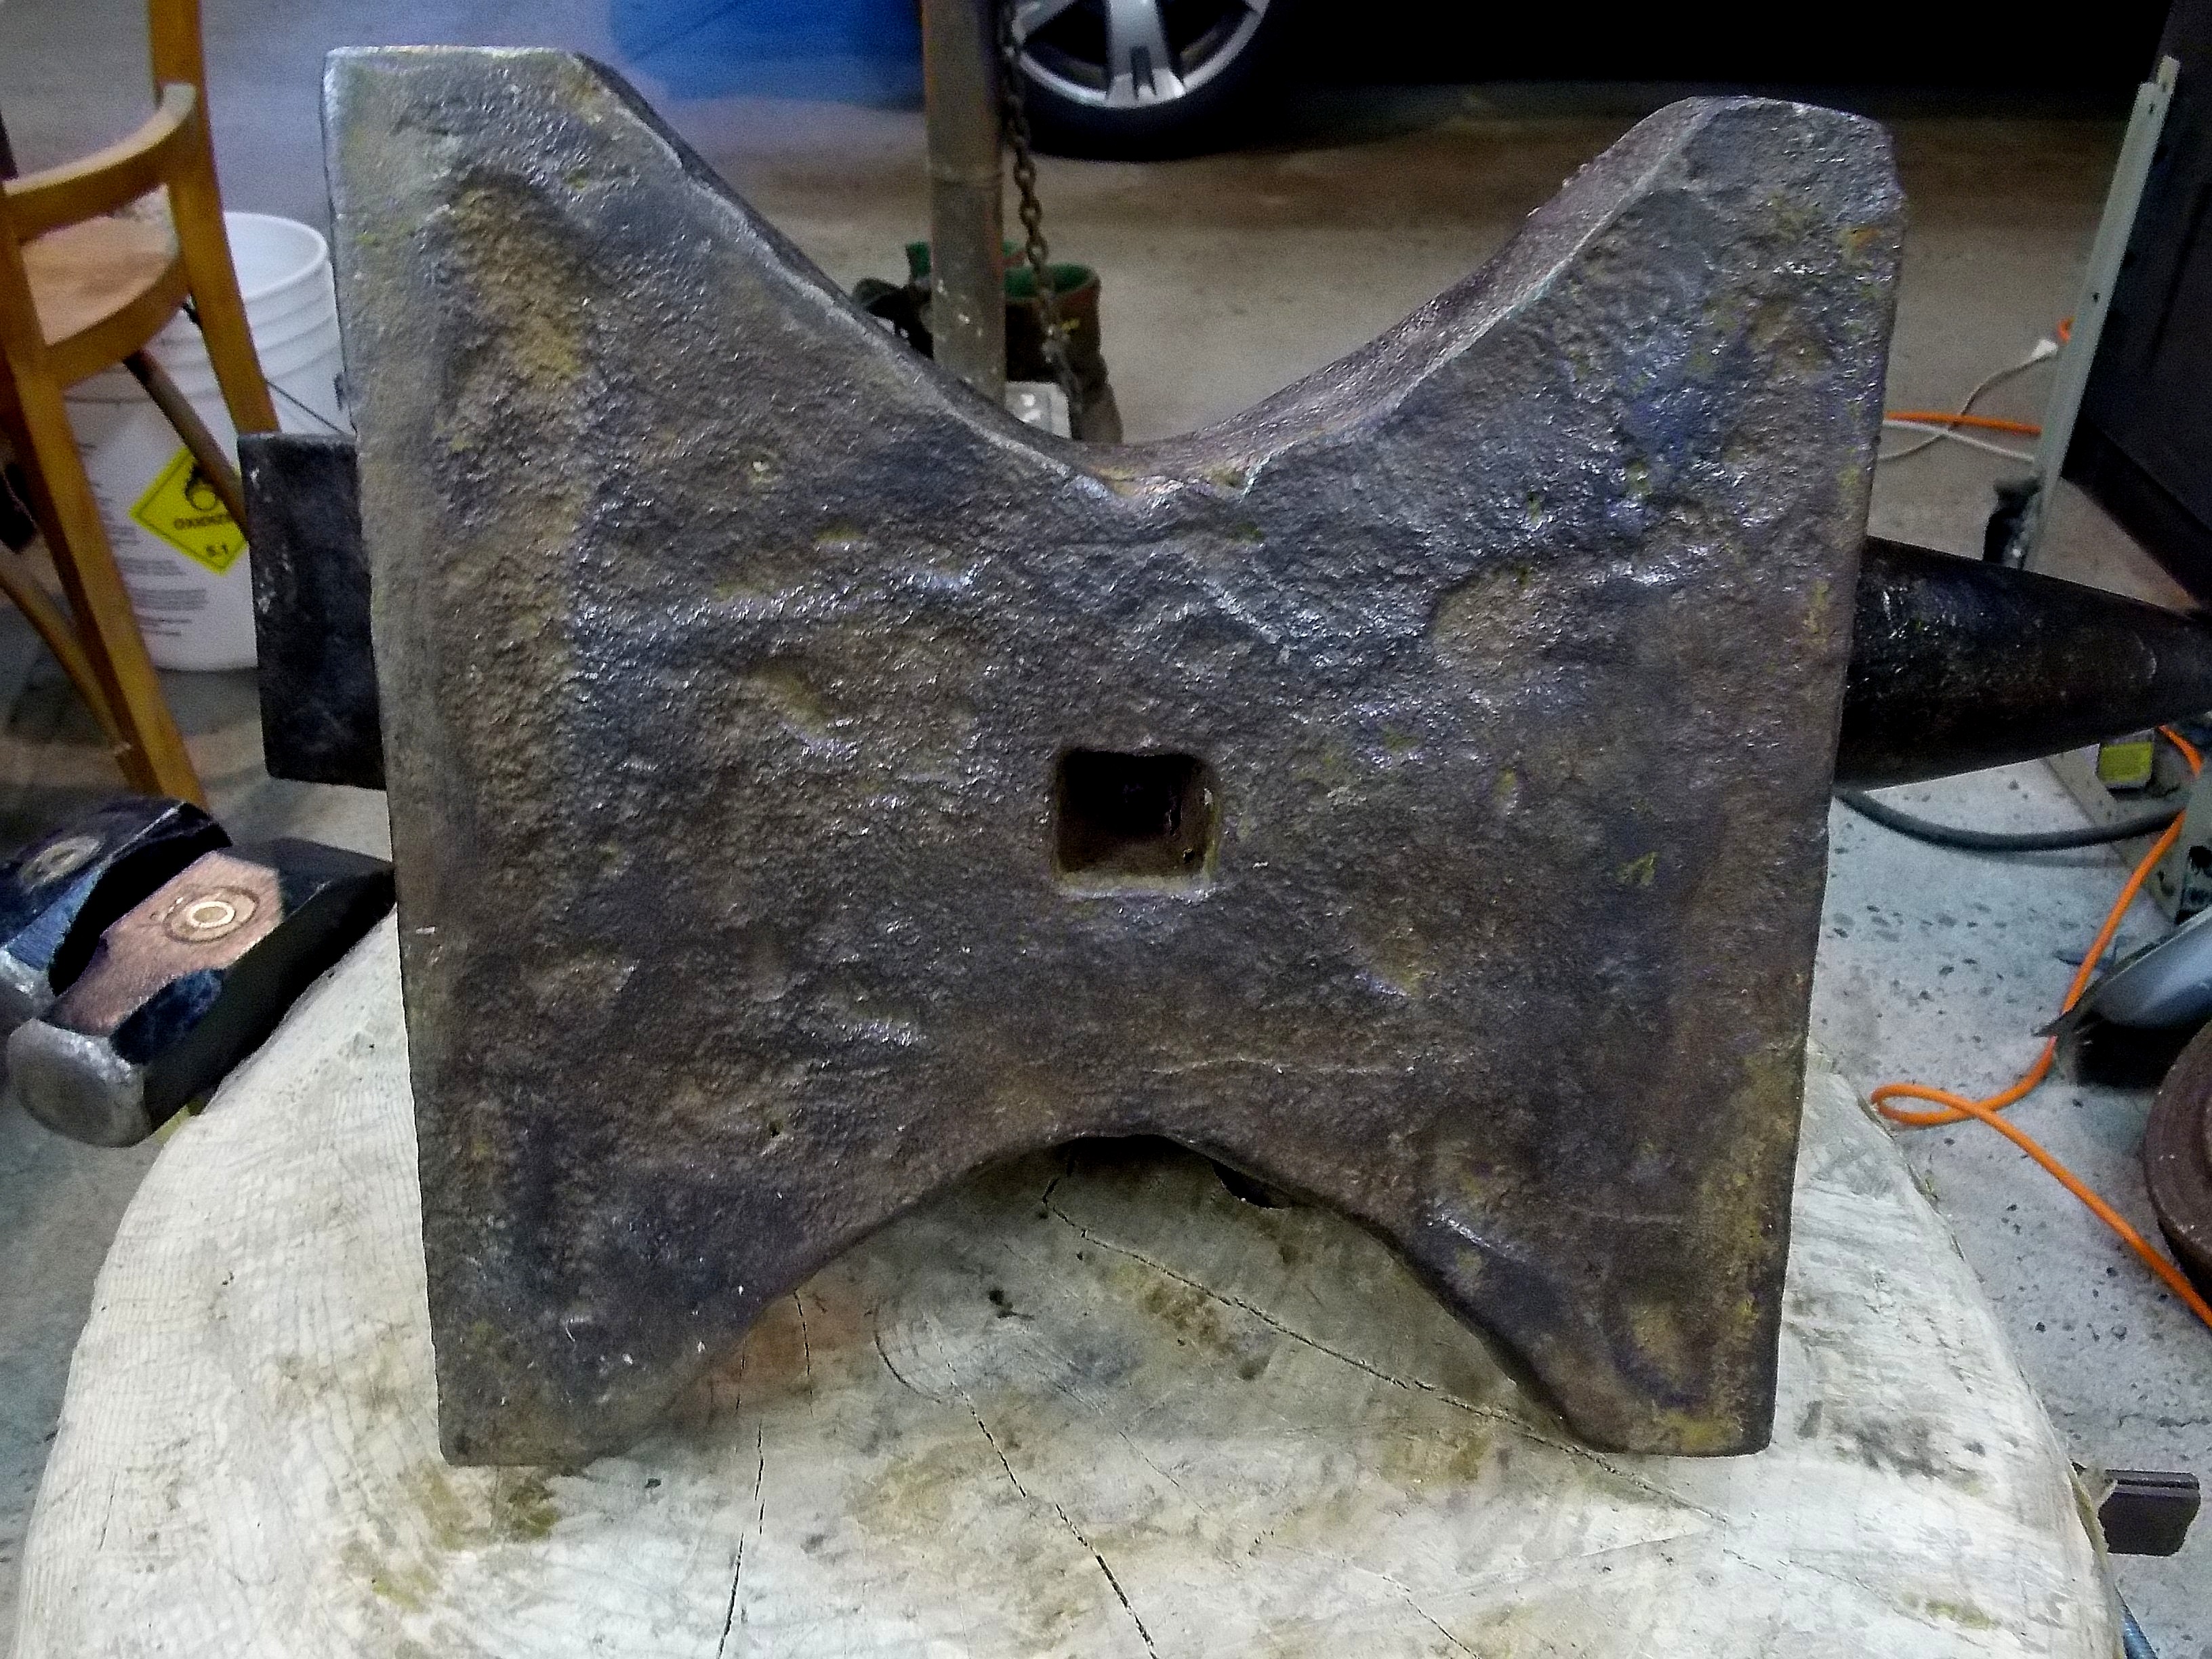
Did the solid steel tops welded on sway like this one? There seems like a lot of sway on the face based on the pictures. I thought sway was a distinct characteristic of a steel face welded onto a wrought iron body. There's also a lot of chisel test marks, makes me wonder if it's one of the early ones during the switch over that Thomas was talking about. Others with more knowledge can correct me on both points.
-
Here's an update on this situation: I had all but decided to just start using this Fisher, but I had some free time last night and decided to try an experiment. I took a medium grit carborundum stone and water and lightly worked it in circular motions across the face of this anvil. Having used water to sharpen metal blades with sharpening stones I know that the resulting color is usually grey. What I found was an oily murky brown and this is after the wire cup wheel and angle grinder had removed anything it could remove. I think this was a stubborn layer of garage grim that had worked into the small pits and abuse marks over the years. Once I saw shiny metal emerge and a good solid grey coloring to the water I stopped. No need to go any further as I was to the true metal surface of the anvil face. I wiped the face clean and did a ball bearing drop test. From 10 inches I got 7.3 - 8.2 drop returns. The highest returns were areas where there were not any abuse marks and the surface was smooth. Yes, yes, never grind the face and I agree 100% to never use power tools or take it to the mill to have it ground flat, but what little I removed with light work wasn't even measurable but the improvement in performance was noticeable. I hesitated to post this result because I didn't want some newbie to take a carborundum stone and work 8 solid hours polishing his or her anvil face as that would be a waste of time and good face material. So let me be clear, I spent all of 10 minutes working that stone around on the face with water - nothing crazy to create heat and any loss of metal on the face was not measurable. I'm also happy with the results and will not do a single more thing to the face of this Fisher other than work hot metal on it which I think over time will continue to improve the face surface / rebound.
-
Nice anvil Marc1 Here I was thinking you had specially shaped anvil, so I'm glad to see you have a regular anvil like the rest of us. Thanks for sharing. I think more along the lines of JLP. For me, equations are intangibles much like the terrible directions you get to assemble that new entertainment center They make sense to the one who wrote them, but with no thought to the end user trying to figure it out. Many times I've just had to set the directions aside, look at the parts and how everything works/goes together (hands on) and then put the thing together using the directions as a reference and not a step by step guide. Being a flintknapper, I've spent a few decades mastering the speed at which tool hits stone, shifting from different sized striking tools with some being swung at different speeds. Often a larger percussion tool swung at a slower speed accomplishes more than a smaller one struck violently fast. So much of what JLP states makes sense to me.
-
Interesting points Marc1. Only on the internet can a blacksmith from NY chat it up with a blacksmith from down under. Can we see a picture of the anvil you forge with?
-
If you aren't married to the idea of making your own tongs from bars of steel, there are guys out there who make preform cut tongs called "Quick Tongs" or "Rapid Tongs" that are very easy to make. A kit that makes 4 sets of tongs costs only $44. This kit will give you all the tongs you need to get going. Use a pair of vise grips to make the first pair that will hold the other 3 pair. Google "quick tongs" and you will find the website. I use these kits and they are pretty easy to make a great pair of tongs from. I think I managed to give you info without advertising for the guys out there that own these sites
-
Affirmative - will do Biggun!
-
Buzz - that makes perfect sense and answers the question I posed Buzz - now that makes sense on the rebound / hard face issue. I think you answered my question well. I think this is the difference that is notices when one switches from ASO to a hard faced anvil. Marc1 - I understand what you are stating above, but I have some observations that must be explained. I roll my 179 # Trenton anvil out onto my dirt driveway on it's 300# stump every time I forge. When I'm done forging I can see where the stump has made its impression into the dirt. Now mind you this is not the effect of 479# sitting there for several hours but you can see that the pounding all afternoon has set the stump into the dirt. That tells me that yes there is some energy being transferred into the ground. Having had a smaller stump at one time, My wife can testify that she heard "thump-thump-thump" inside the house, but when I switched to the larger stump she does not hear it anymore. That says to me that the larger the anvil base stump the more energy it absorbs which makes sense, but also testifies that energy is in fact being transferred through the wood stump. I think I read somewhere that energy transferred down the wood grain more readily (hence why the old-time mechanics would take a piece of wood and hold it to an engine block to isolate sounds inside.) Obviously the energy doesn't just go vertical so you are correct there, but I think the lion's share does because that's the direction of the most force being applied. When a meteor hit the earth the impact goes in all directions forming a round crater but notice that the deepest part of the crater is in the center where the direction of force was the greatest. BTW, I did read the article and new that Brian made that quote not you