Jasent
-
Posts
954 -
Joined
-
Last visited
Content Type
Profiles
Forums
Articles
Gallery
Downloads
Events
Everything posted by Jasent
-
Josh's misguided musings in metal manipulation (Photo Heavy)
Jasent replied to Josh Foran's topic in Member Projects
What ever is comfortable. I use a fleshing beam 8" wide made from maple. Needs to be very smooth so not to cause cuts. I like a double edged flesher with the convex side sharp and concave edge dull. Must the work is done with the concave side but tough flesh or fat is nice to cut off with the sharp side (think top of the arch sharp, inside the arch dull). I like my flesher to have a radius similar to the radius of the fleshing beam. So if your using a mostly flat beam you want a straighter blade. If your beam is more round than flat then a more curved blade. This maximizes your efforts. I like my beam set up at about 65degree angle so the top is about eye level so that most the area is at a comfortable working height with out bending over. Hope all this makes sense you flesh what's in reach and then move the hide so the work being done is at a comfortable height. Having the angle and height adjustment is a big bonus for a fleshing beam. I mount on a frame with a hinge so angle can be adjusted. -
Josh's misguided musings in metal manipulation (Photo Heavy)
Jasent replied to Josh Foran's topic in Member Projects
How will you be fleshing the hide? On a beam or flat? I'm a trapper so I may have some insite on the fleshing knife -
Like so
-
Looks to me like that back door is going to warp in short order. Other than that I like it
-
its nice to have both. For me propane is way more assessable than coal. So I use propane and charcoal
-
On the list bud
-
I like it.
-
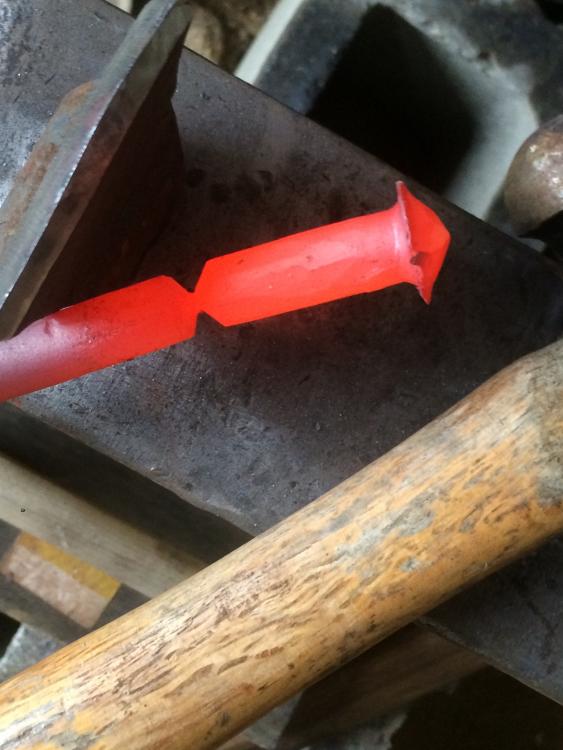
What I need is a flat face up to a slight radius. I want to tapper the center quill to a point instead of hammering it out i don't like terminating it so wide. I figure I'll use a small fuller to set the shape and set down the humps pushed away from the quill then once the quill is set texture in the veins. Does this make sense at all? spring swage? I'm not sure how to do that with out a welder or ever doing a forge weld. Any tips on doing this would be great.

-
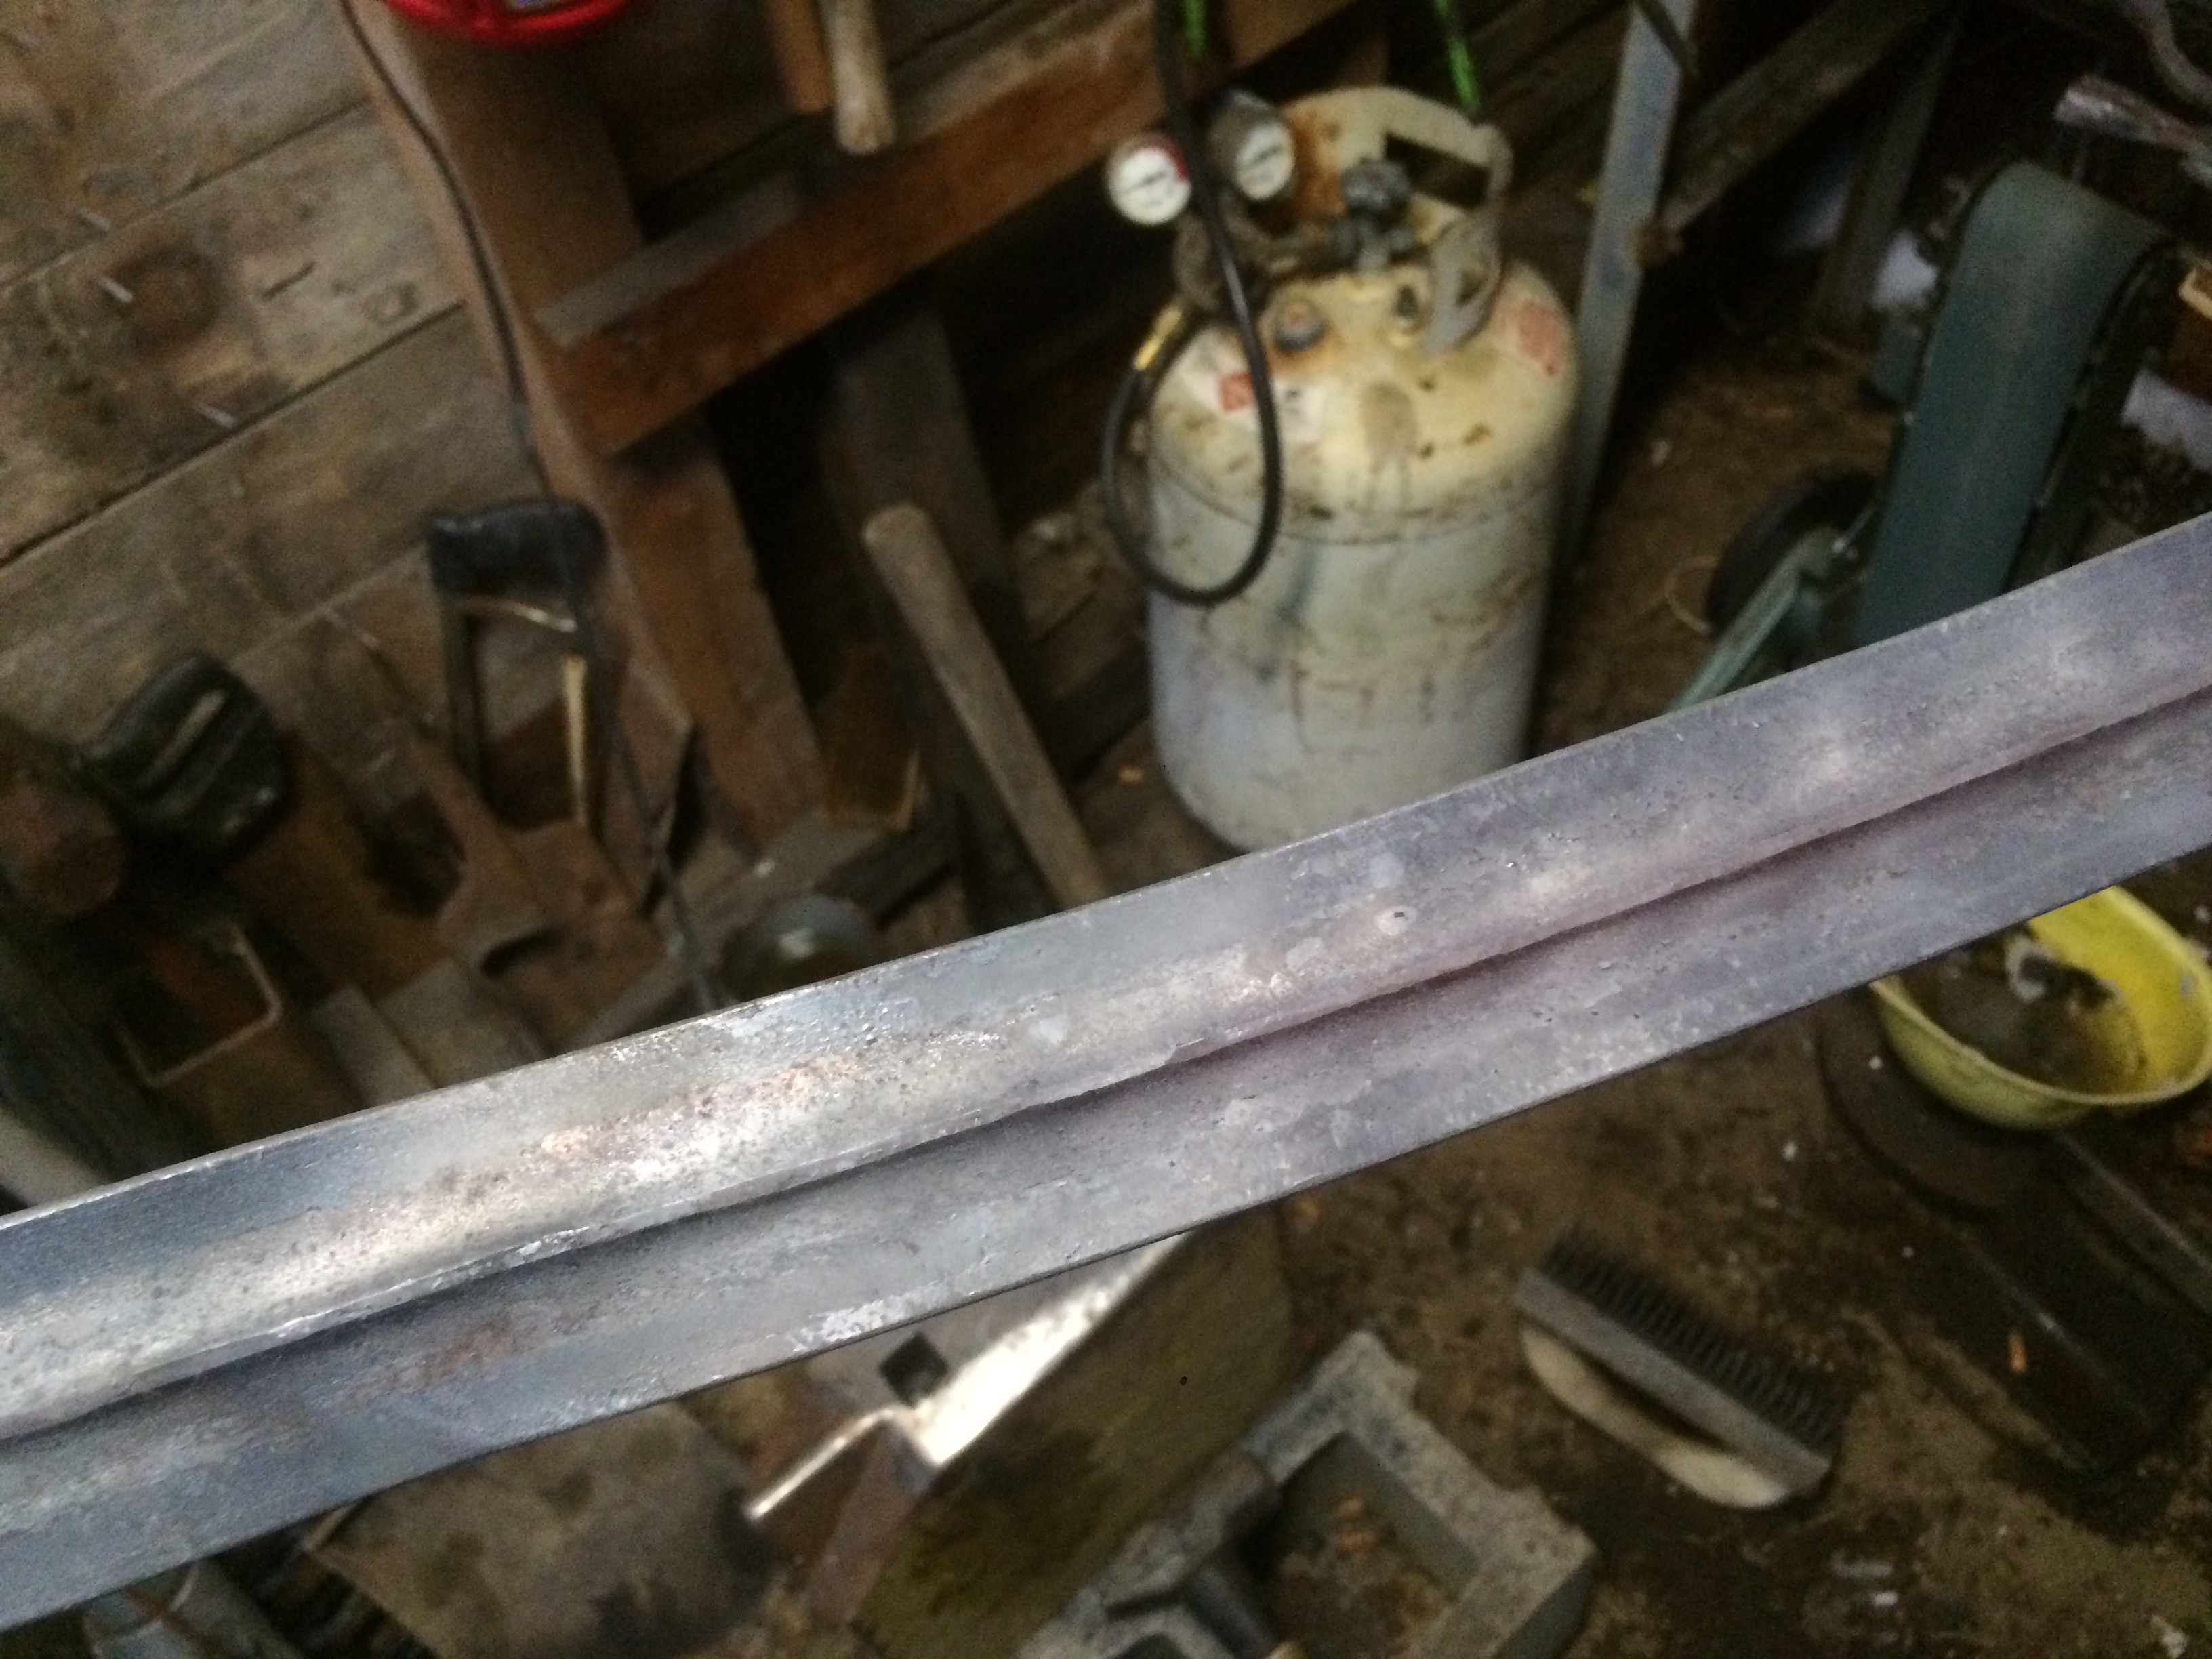
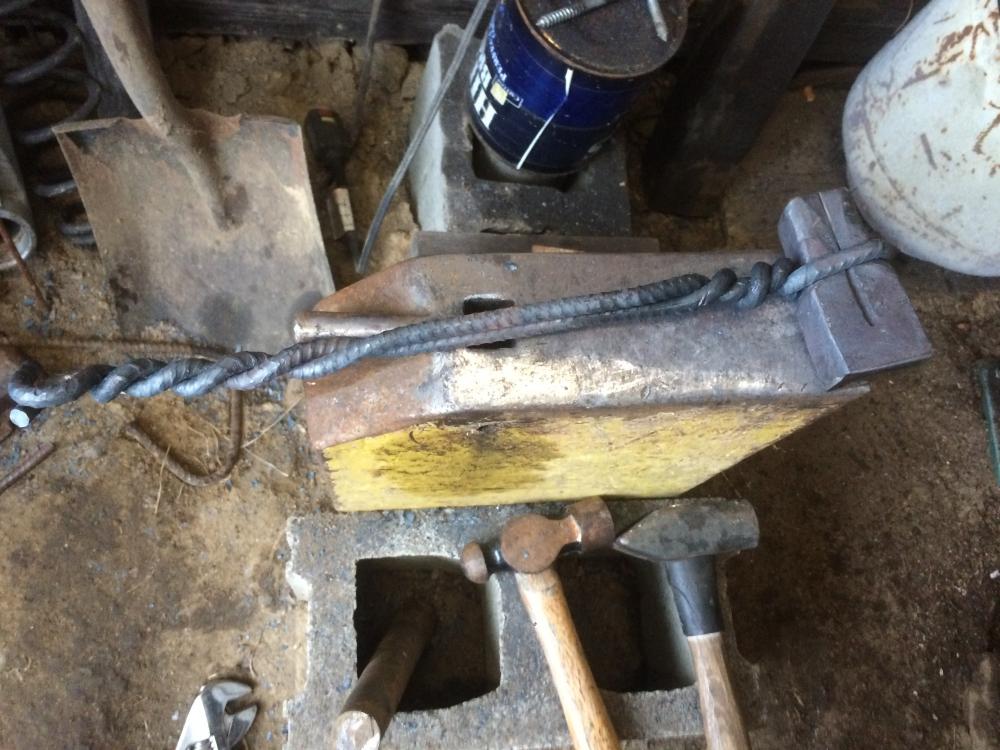
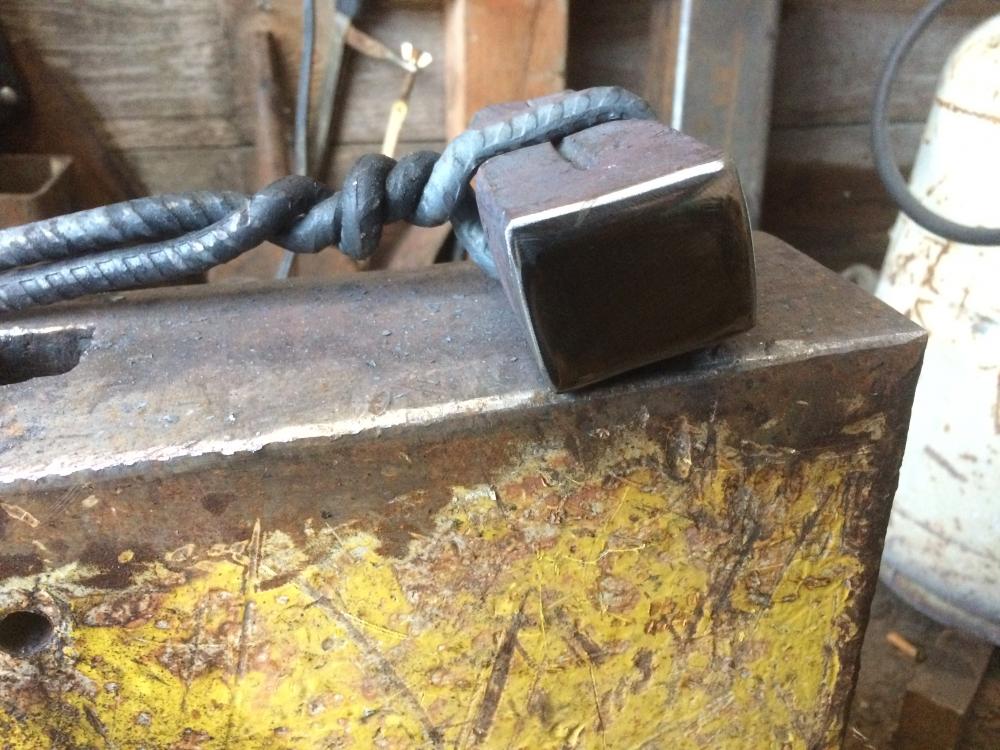
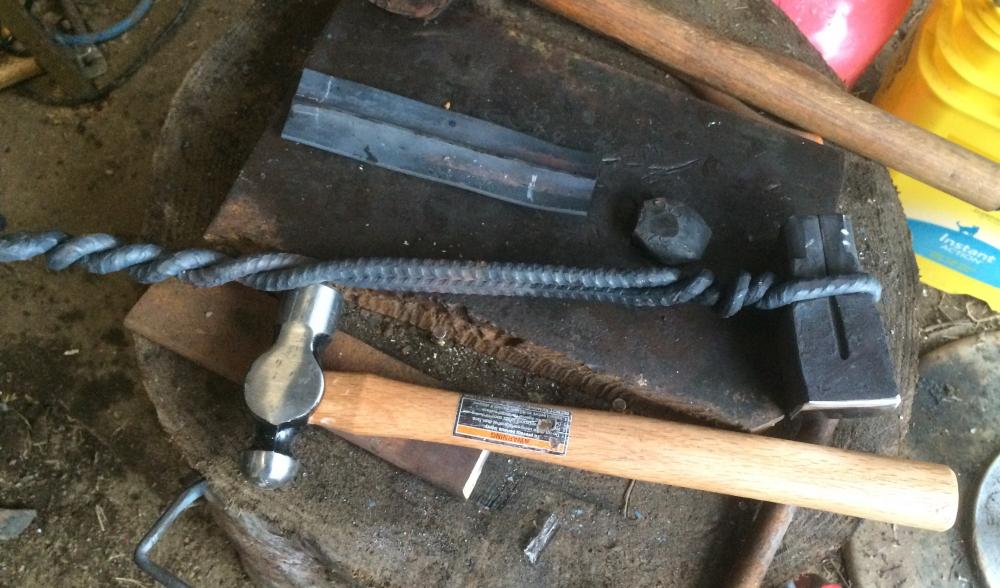
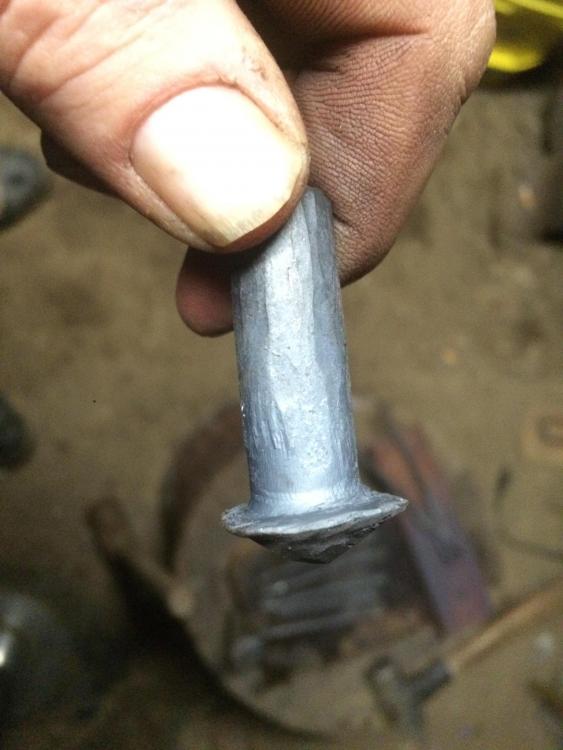
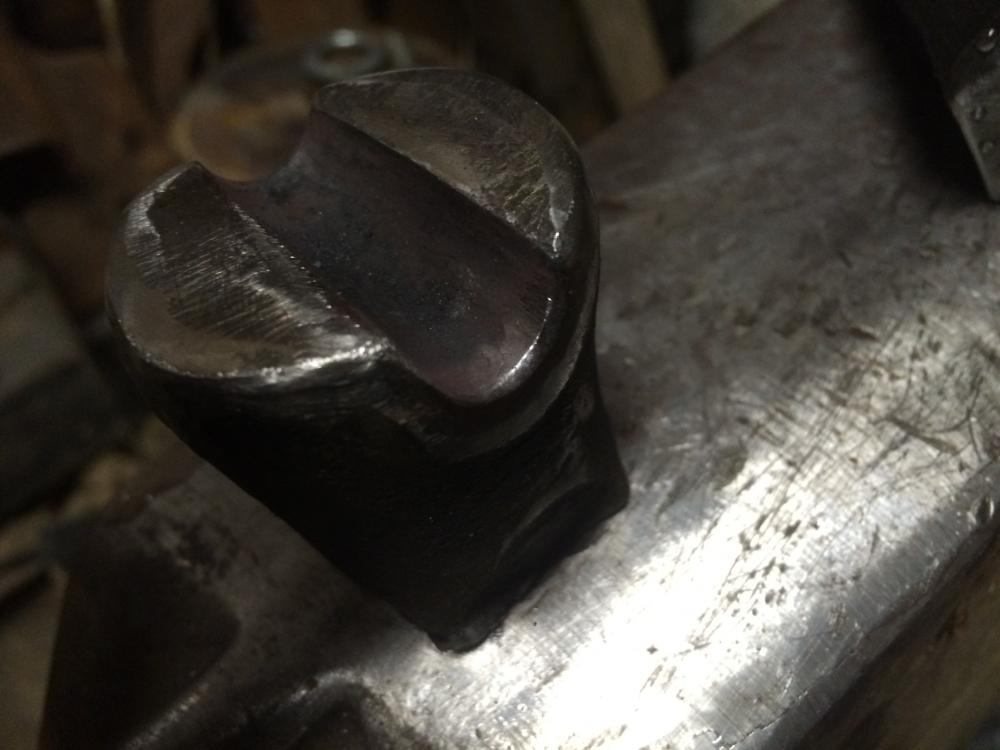
Made a set or flatter today. Idk which you would call it. Plan to use it on the feathers to taper the quill as it gets near the tip. I think it will improve the looks a bit. I got a request for 9 feathers so I may take a swing at the texturing die tomorrow. Should I radius the edges of the face more?
-
I've done kastolite 1/4" and it has held up nicely. Bout 4 months now. Floor is 1/2" the rest is closer to 1/4-3/8
-
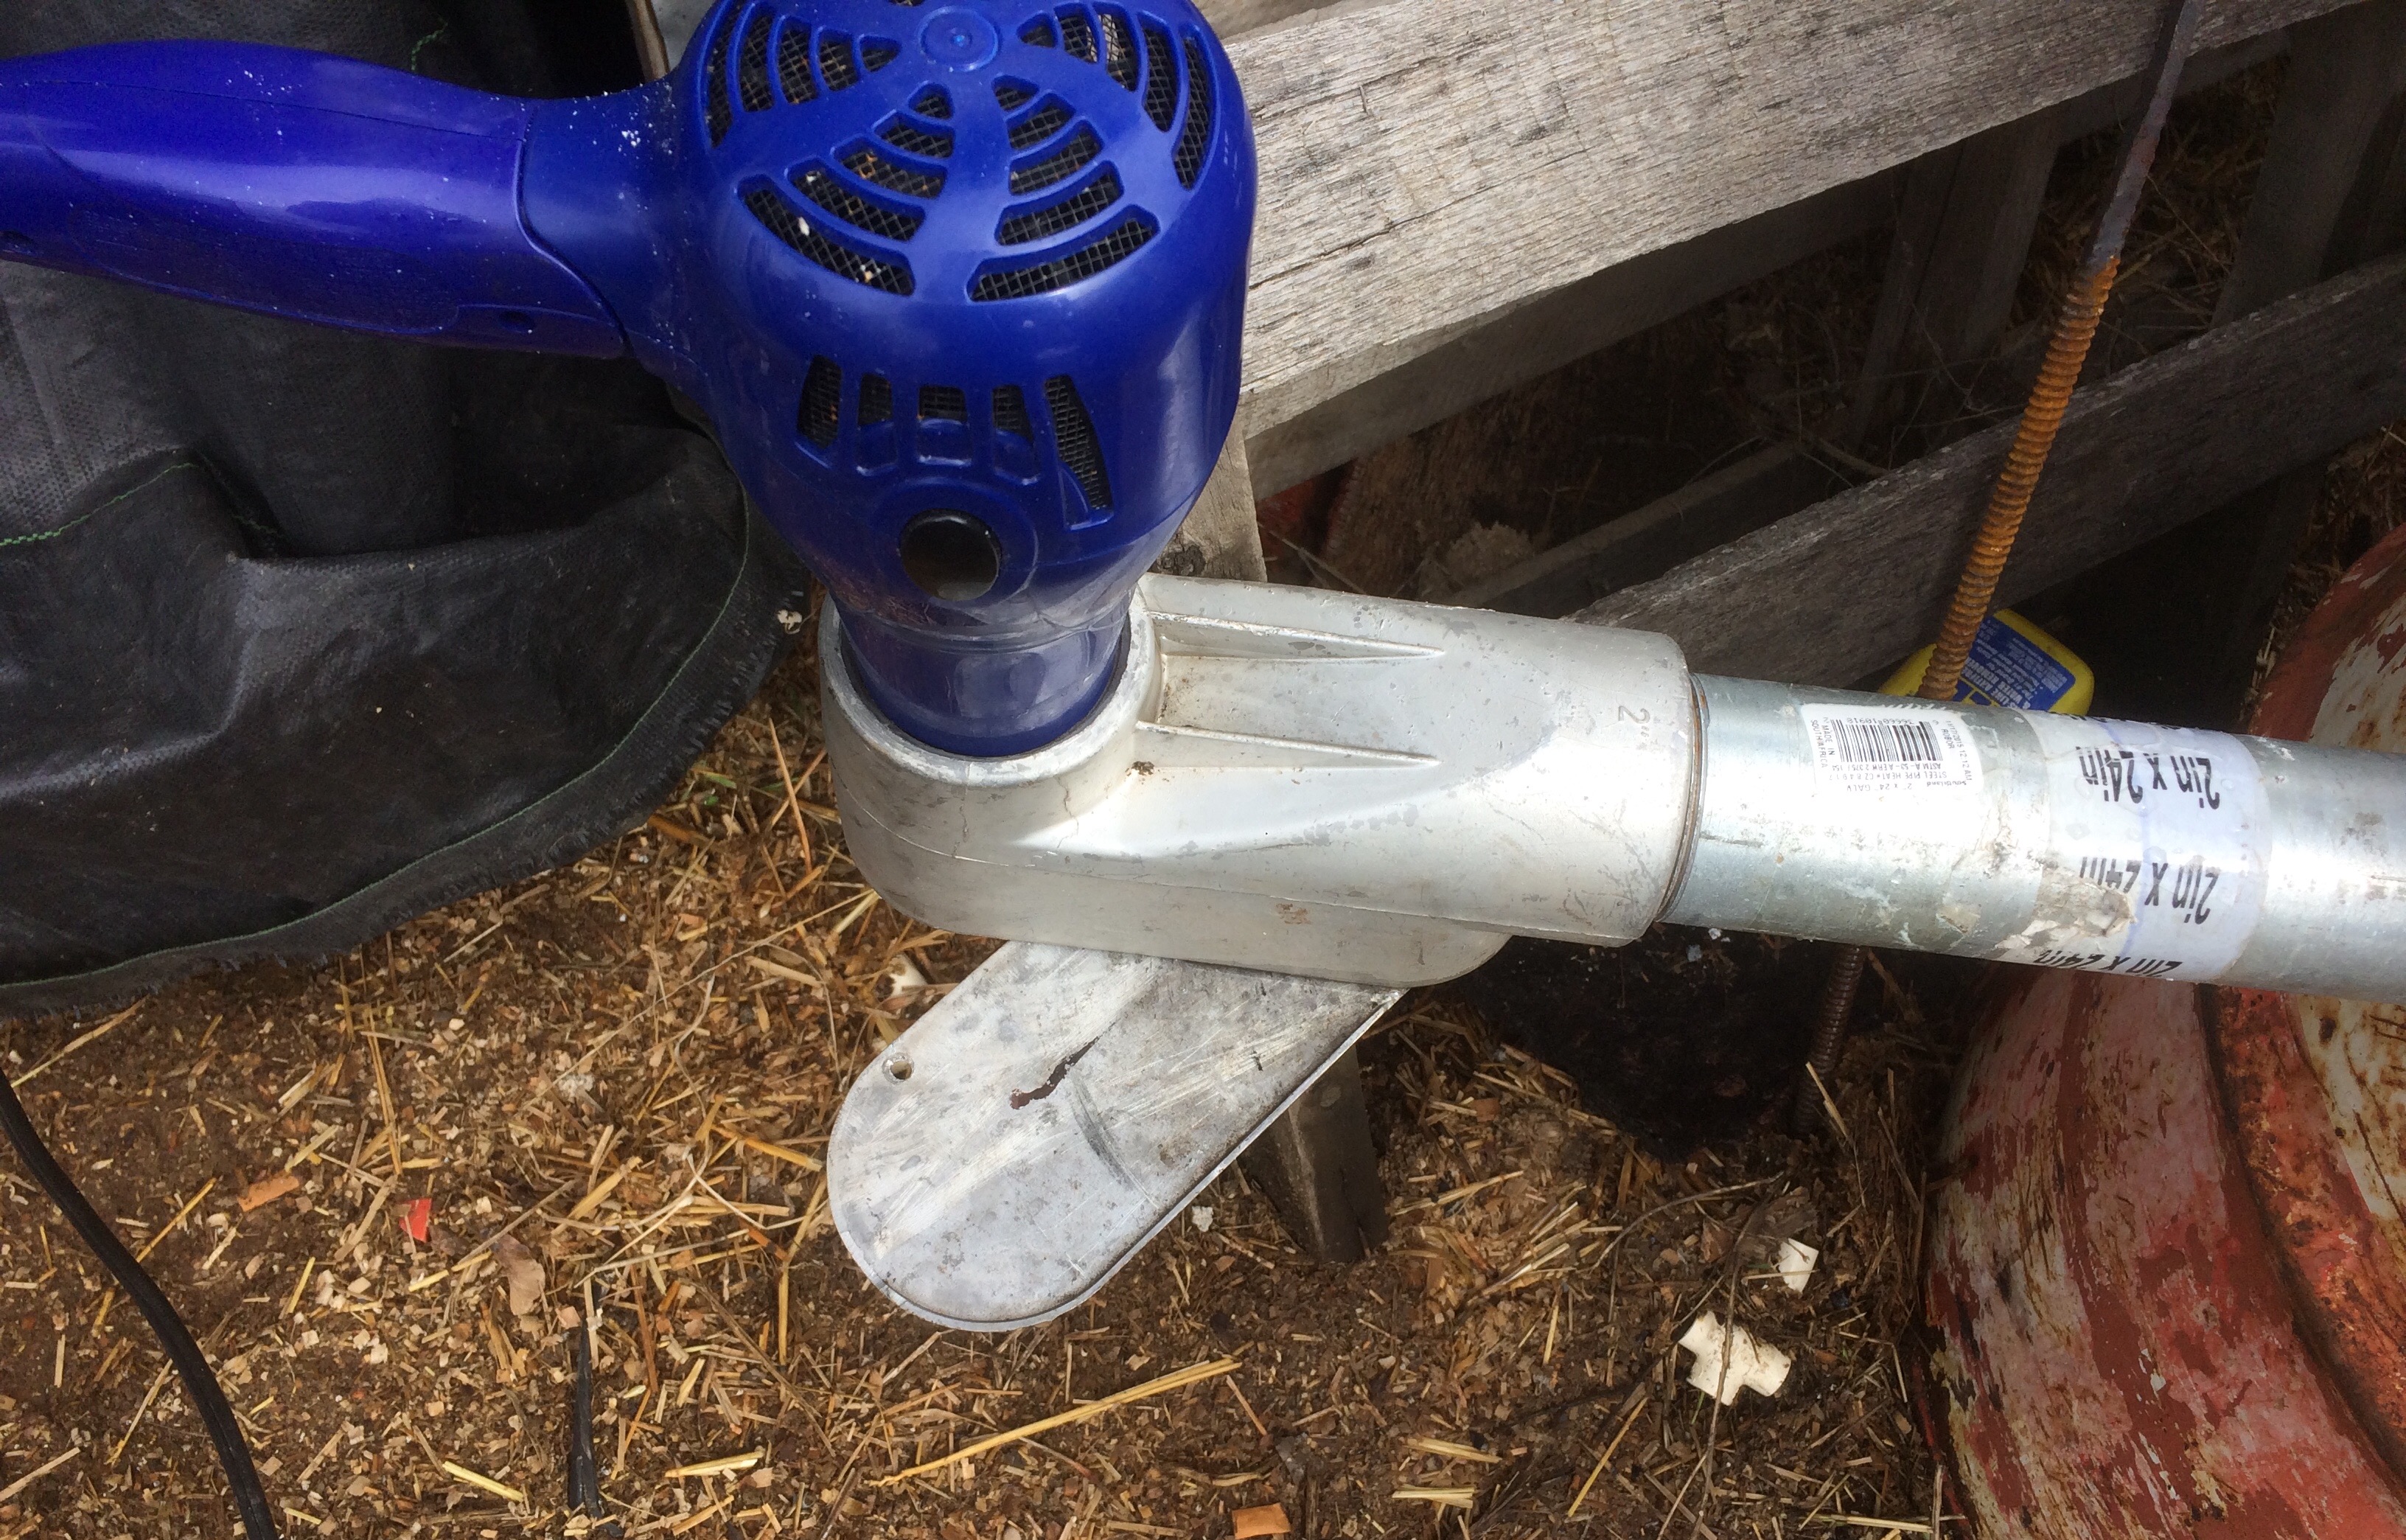
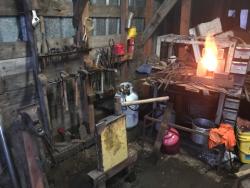
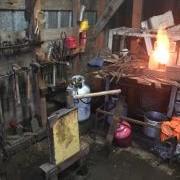
This is how I control my charcoal forge. I found even on low the hairdryer was too much air. Had a 2" LB that just happened to fit my hairdryer perfect and my forge is plumbed in with 2" so it works for me. From zero air to raging forge fleas in a flick of the wrist

-
Amount of fiber blanket for a 20# propane tank
Jasent replied to DavidF's topic in Insulation and Refractories
You can make your own rigidizer very cheap. It is recommended not only to give a firm base for refactory but also to limit shrinking of your insulation from thermal cycling. You can order fumed silica on Amazon for about $9. Rigidizer one cup of fumed silica one pint of water. Don't forget a few drops of food coloring so you can tell where your thin or thick but First mist your blanket with water only so the rigidizer soaks in threw capillary action I use a spray bottle from the dollar store. Buy 2-3 they are cheap but handy. Treat one layer at a time Then I let it sit a few hours in a warm place. On top of the fridge was my choice. Then I take it out side and fire up my torch and warmed up the blanket till it's starts to steam and let it sit till it stops then repeat till the outer blanket starts to feel dry. Now put you burner in the forge and fire it up. At first it burns for a moment but the steam will put the burner out. When it does let it sit till the steam stops. Then fire it up again. Keep doing this till it stays burning and the forge comes almost up to forging heat. Good red heat. Then shut it down and let cool to room temp. It's now ready for refactory which I cure the same way -
Yes or a larger tank. I have a 25 gal but no way to haul it at the moment.
-
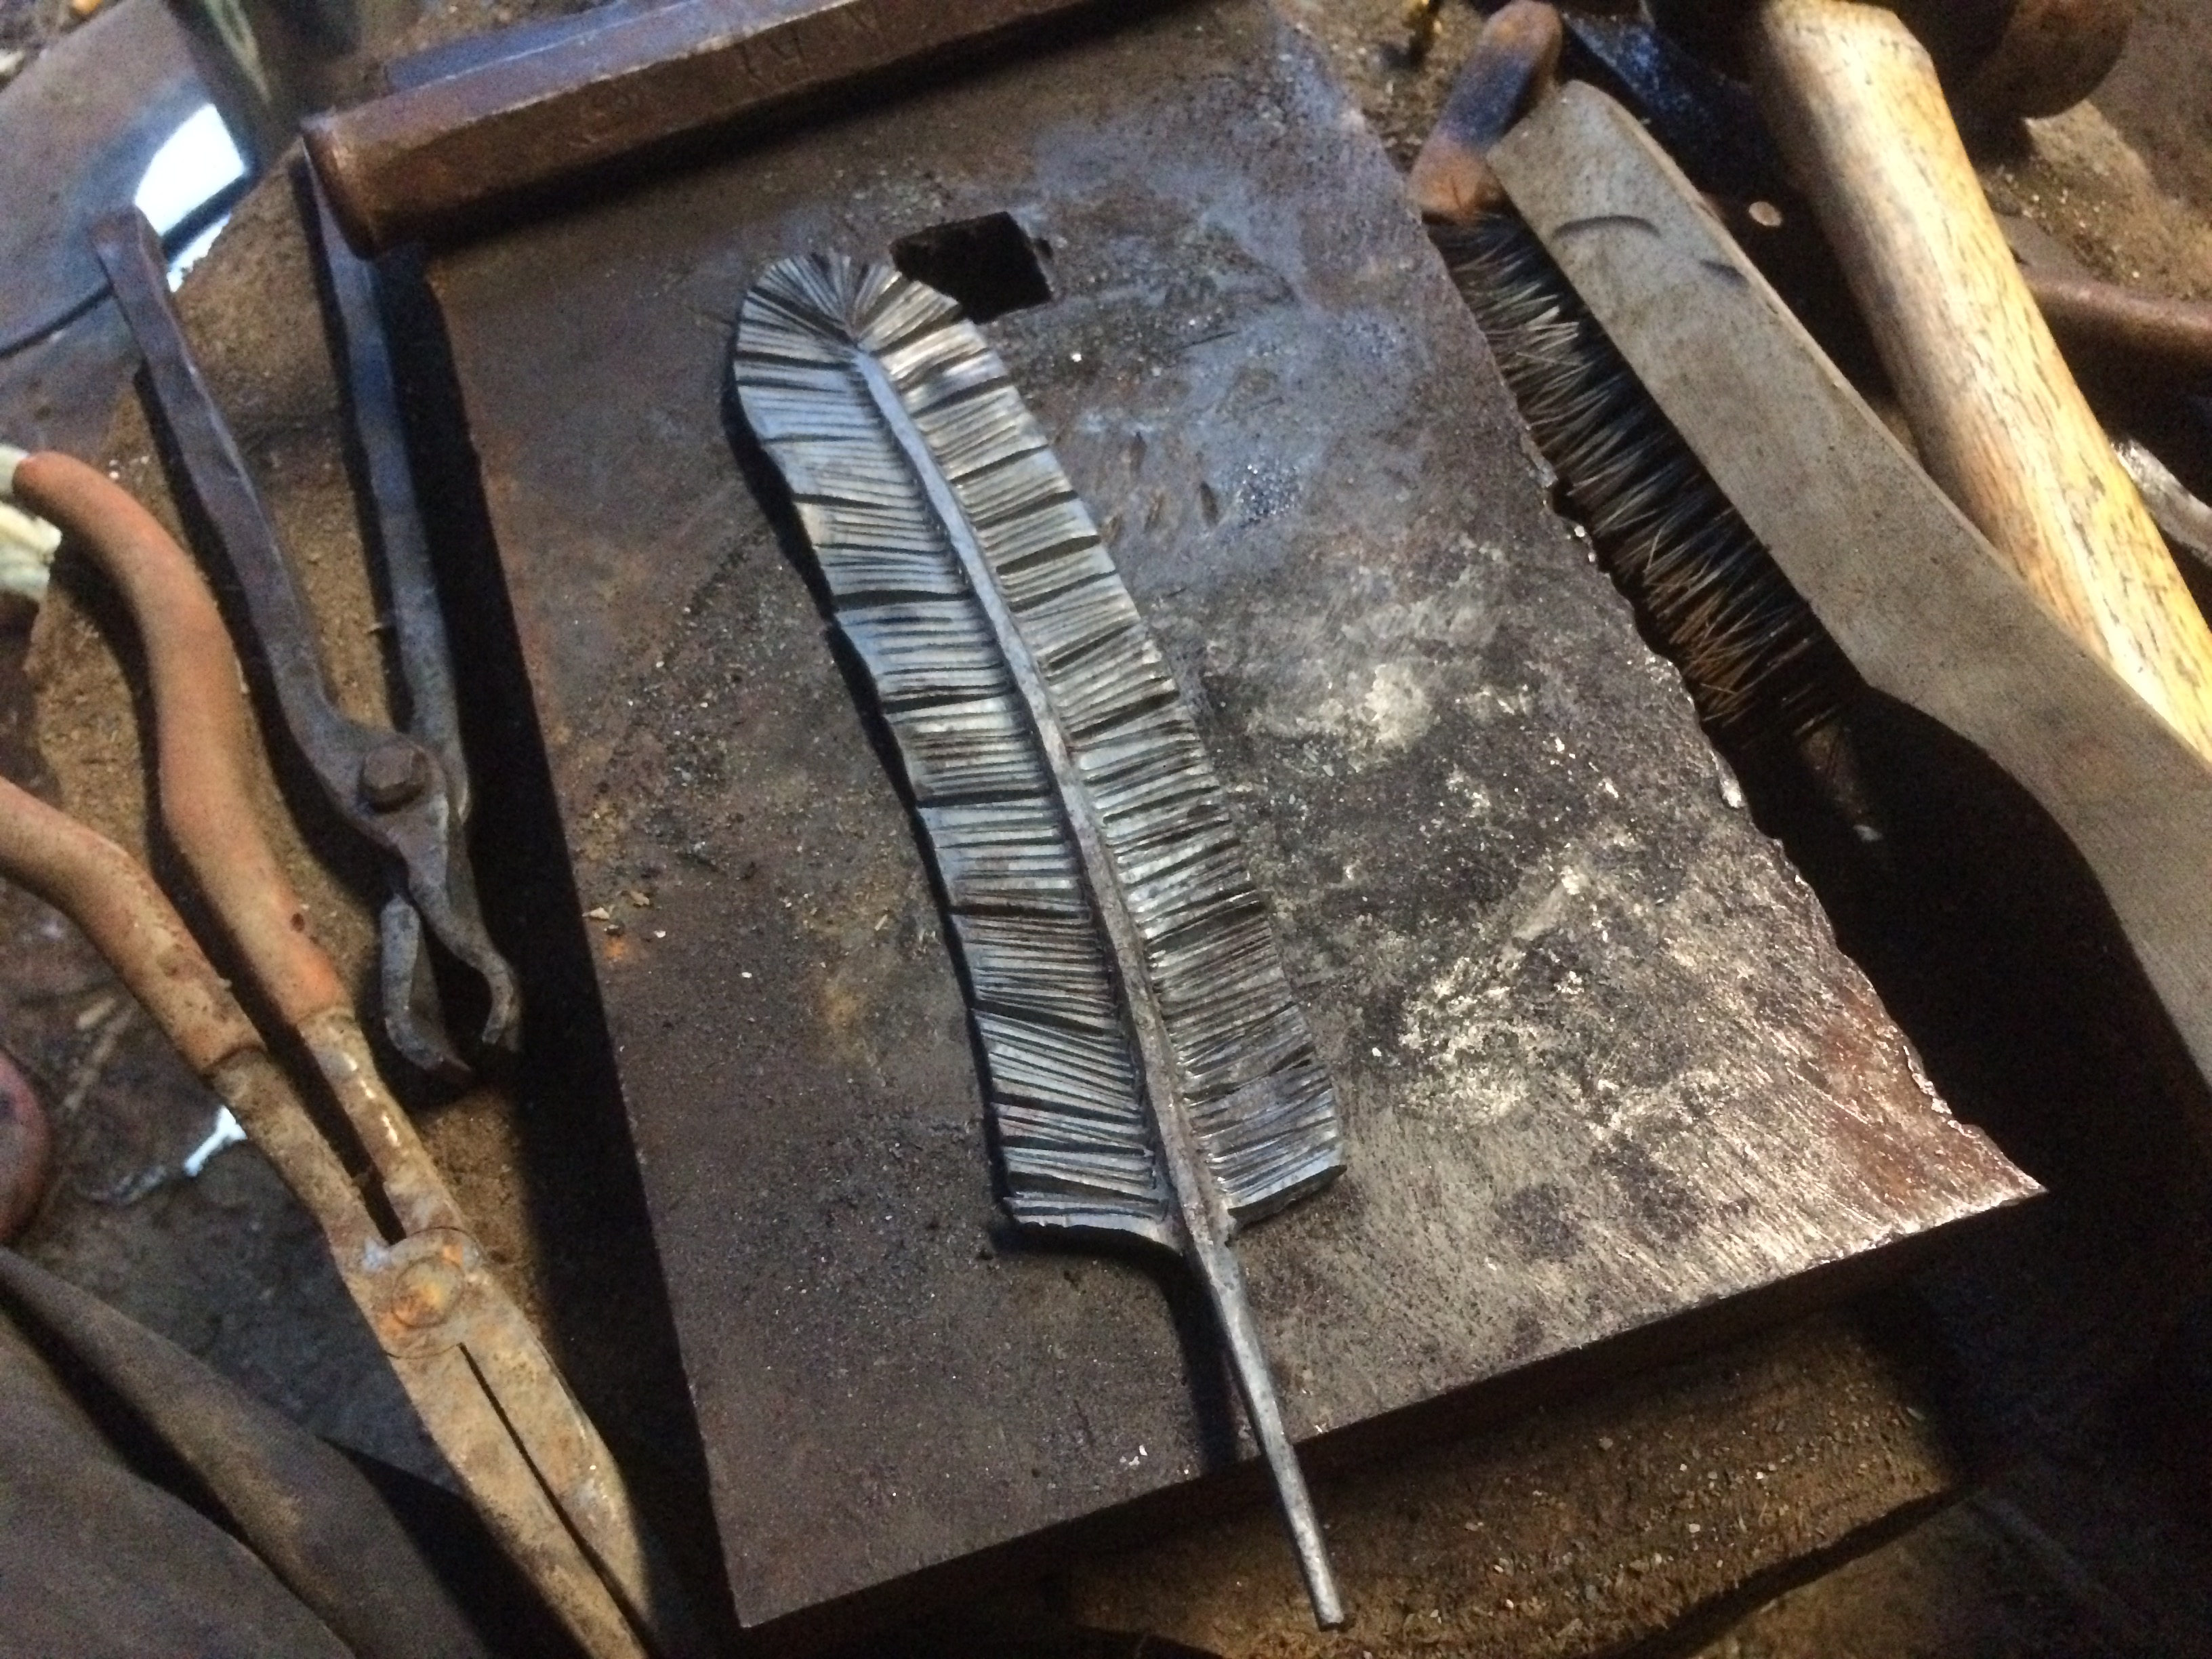
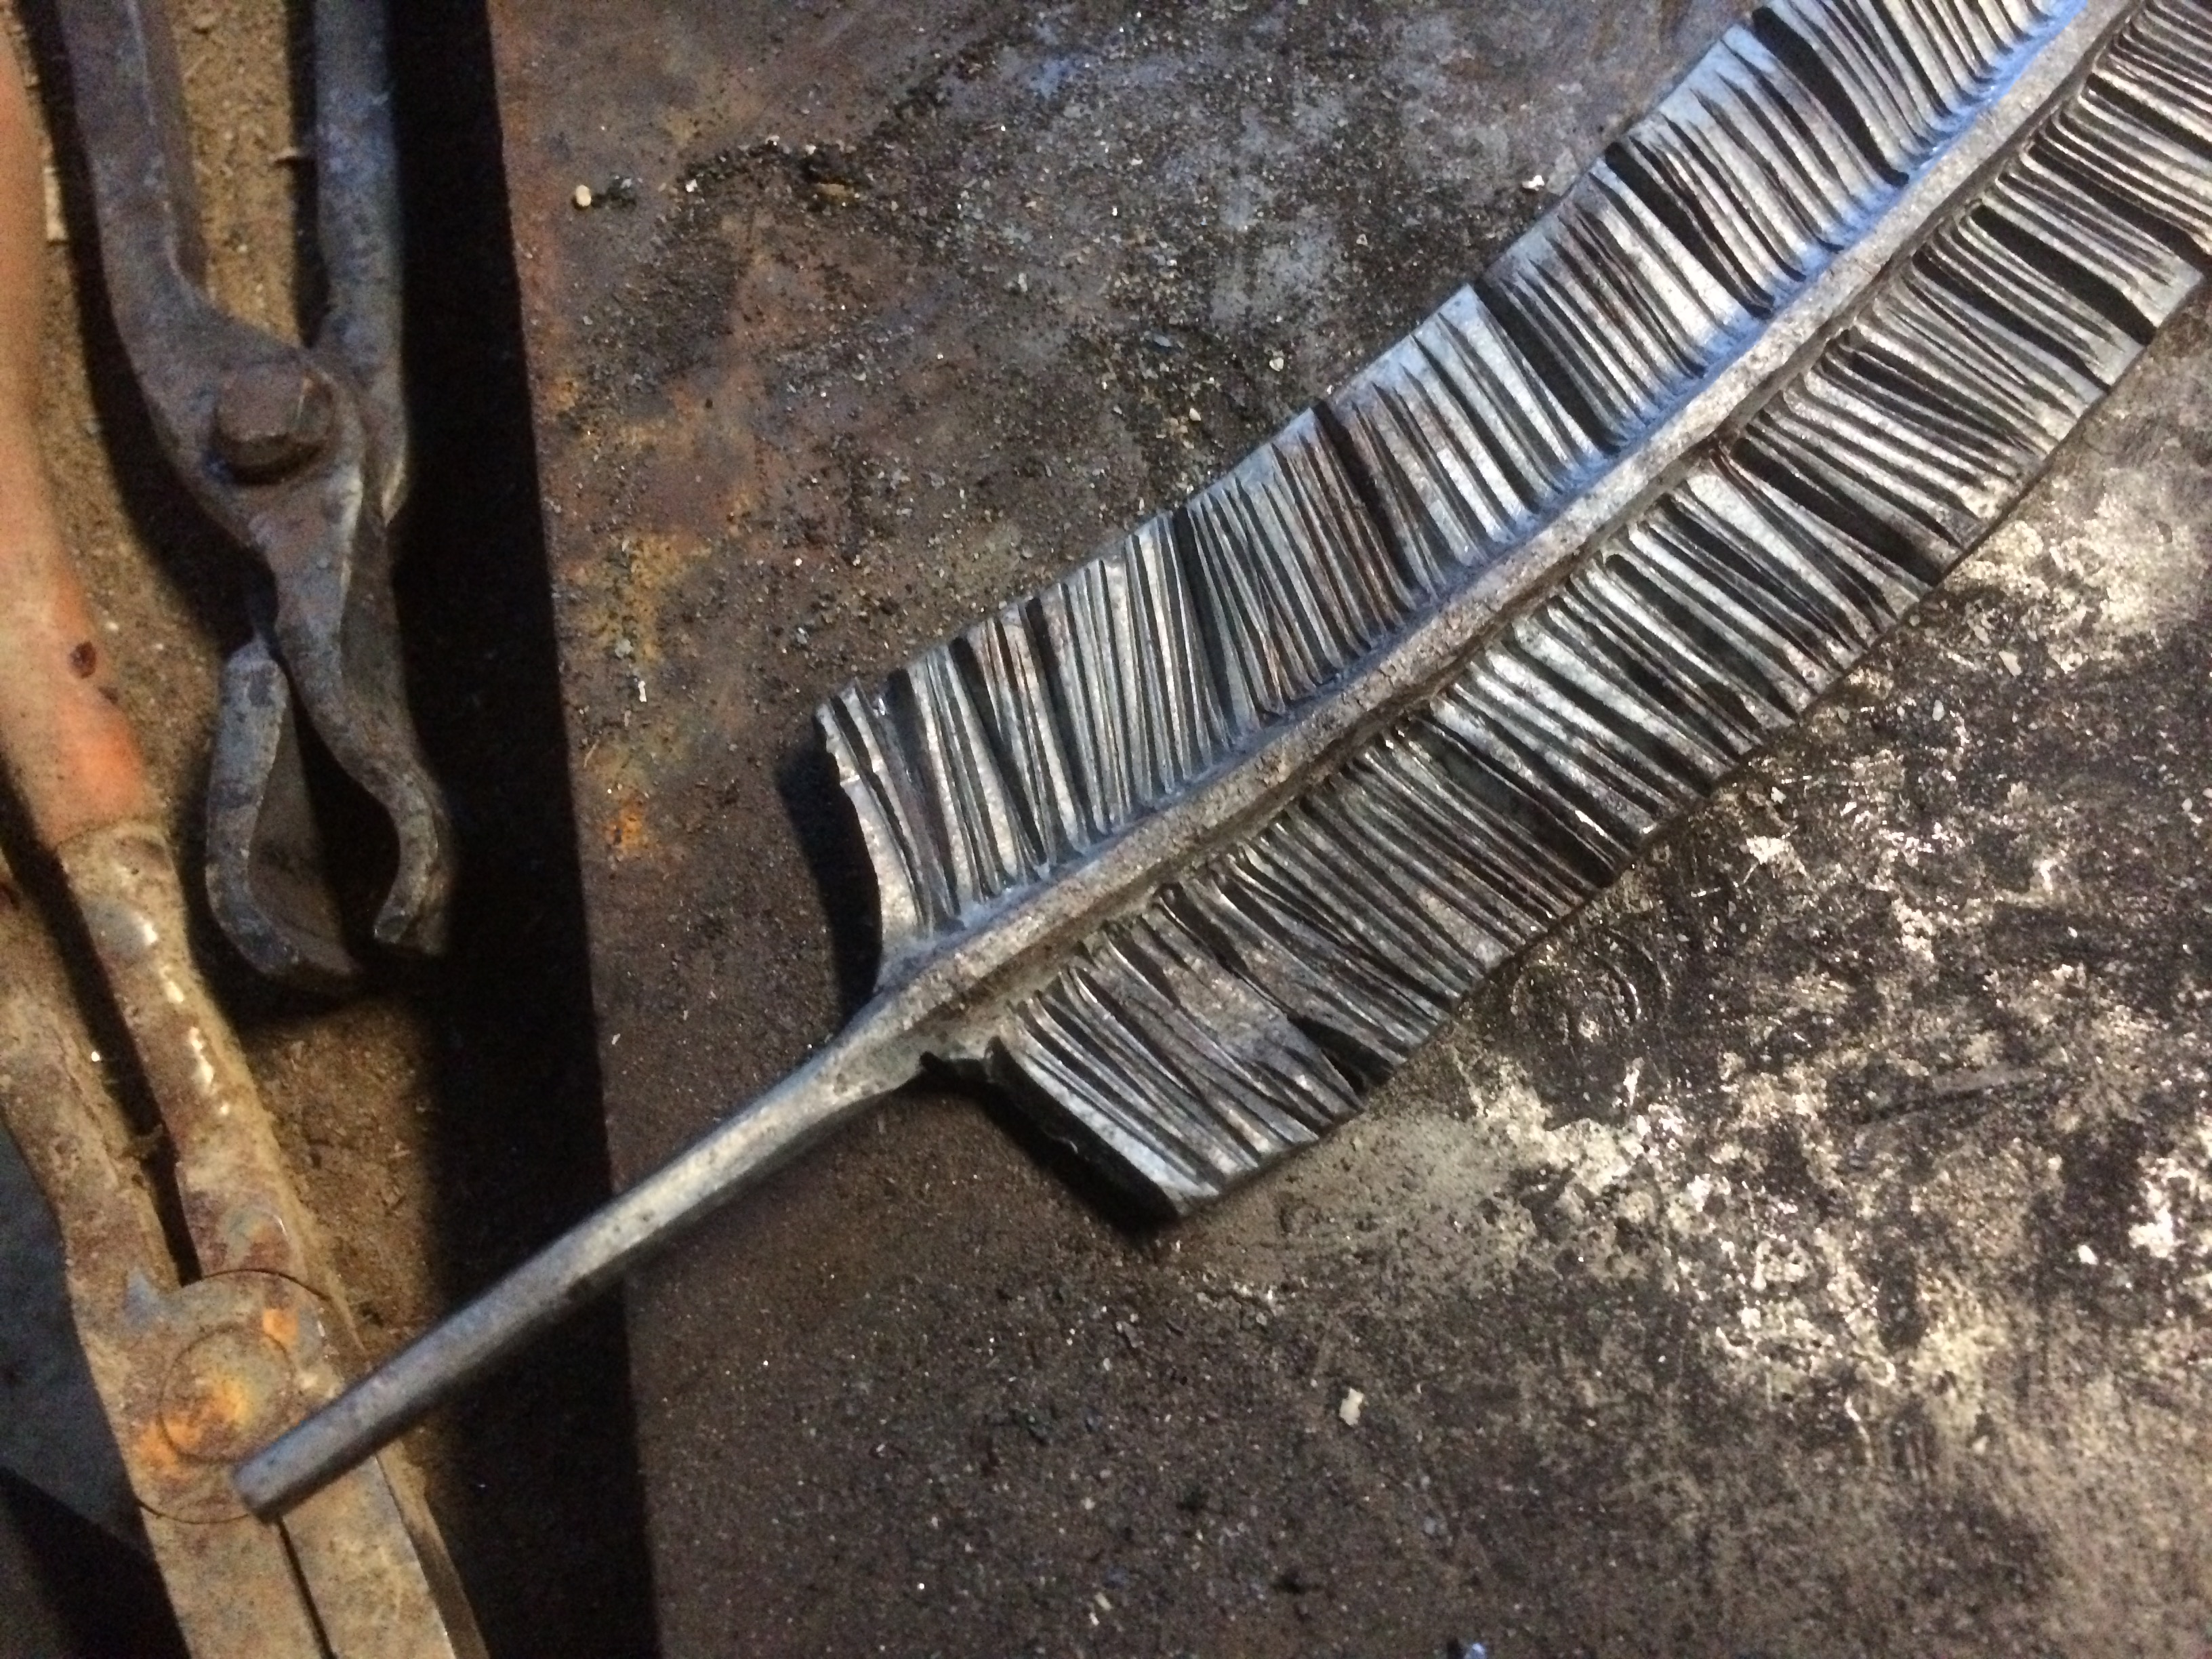
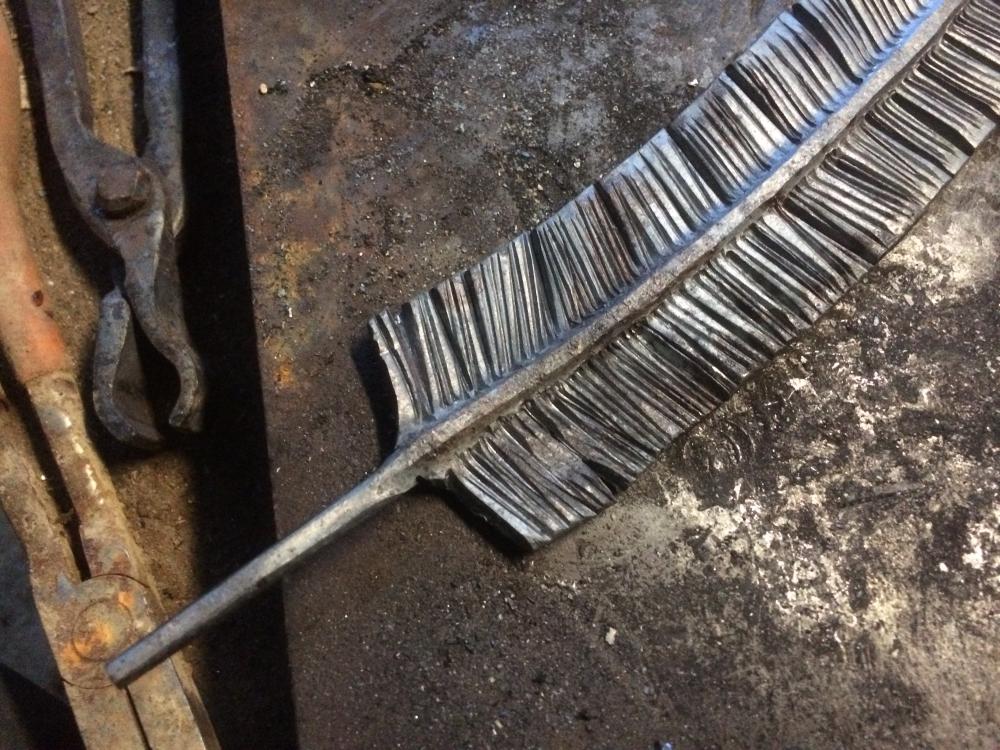
I tried that with mine but chiseled a little hard and a bit too cool and busted the peace from the quill. If you zoom in the lower right side of the feather you can see the bit that broke off. Next one I'll be sure to add that while much warmer as I agree it adds to the realism. I added my makers mark on this one and you'll see I deformed the texture a bit in the lower right. Next time I'll center it over the quill so not to mess up the texture. Learned a lot on this one
-
If it's too large you won't want to use it. It would be like driving a monster truck as an everyday driver. Nothing wrong with driving a gas hog but do you want 10 mpg or 3gpm. In my helium tank forge which is the smallest size helium tank I can heat 12" to welding heat and close to 14" to forge temp. Pretty difficult to work that long of a heat even on my best day. At welding temps my one 3/4" burner will burn a gal and hour. And tank freeze up is a battle with my 7 gal tank. One 3/4" burner will heat 350ci of forge volume to welding heat. I don't rem er the size air tank you mentioned but most the tanks I have laying around (7gal) would need 2 burners
-
Thanks. It's made from 1x1 angle iron
-
Thank you sir. I'm thinking about making a texturing die to speed these up
-
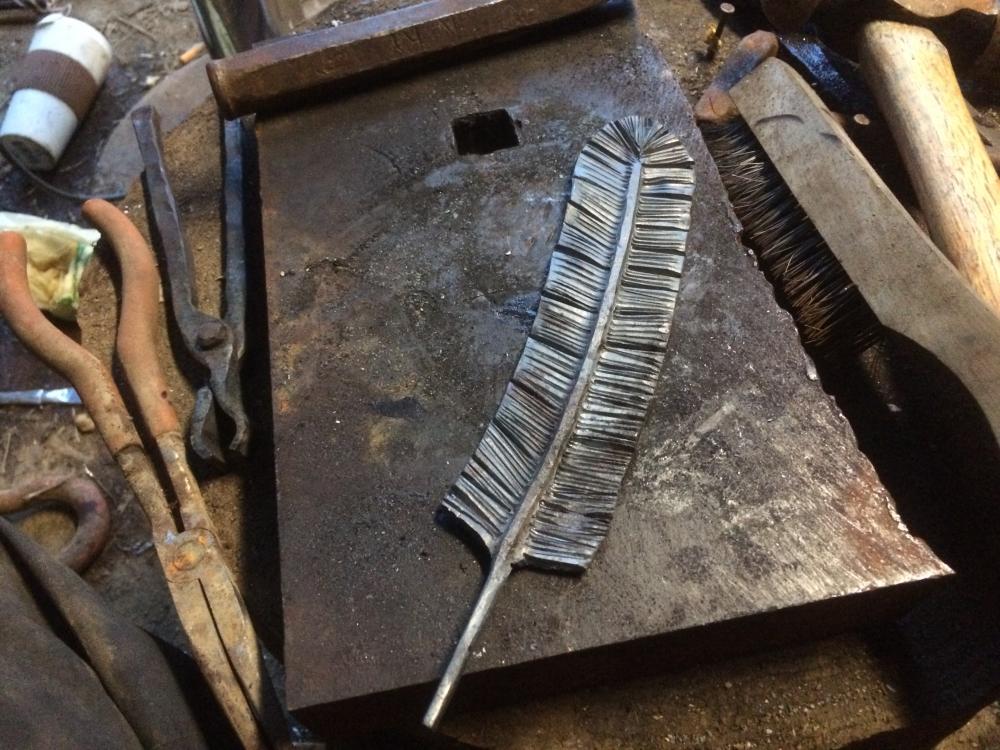
My first feather. Made from 1x1 angle iron

-
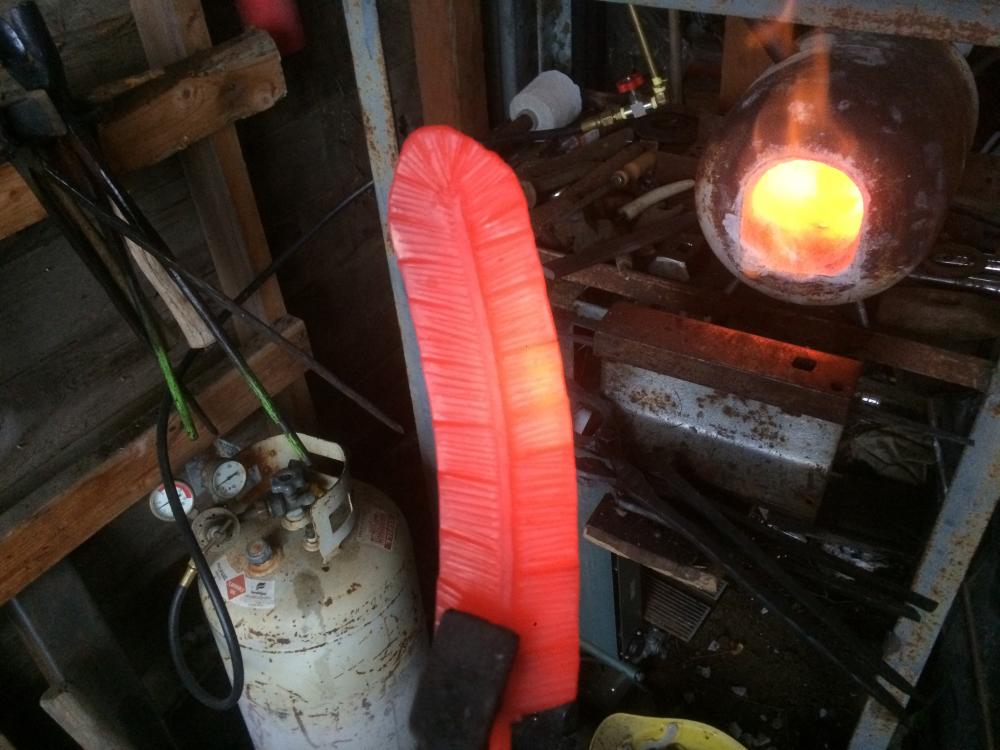
Did my first feather today. Started with 1"x1" angle iron. I'm happy with it. These are therapeutic to make. This is how it started.


-
@Canlib where are you located? Please edit your profile to show a location. Many answers will be location dependant.
-
I'm playing with the same mix as monkeyforge. I have learned if the clay has not dried completely before firing then it shatters in to egg shell like peaces. I would recommend baking in an oven first to drive out water slowly like at warm setting 175f ish. I will continue to test with it as I would like to use as a refactory aswell
-
Thanks again jlp. I like this method
-
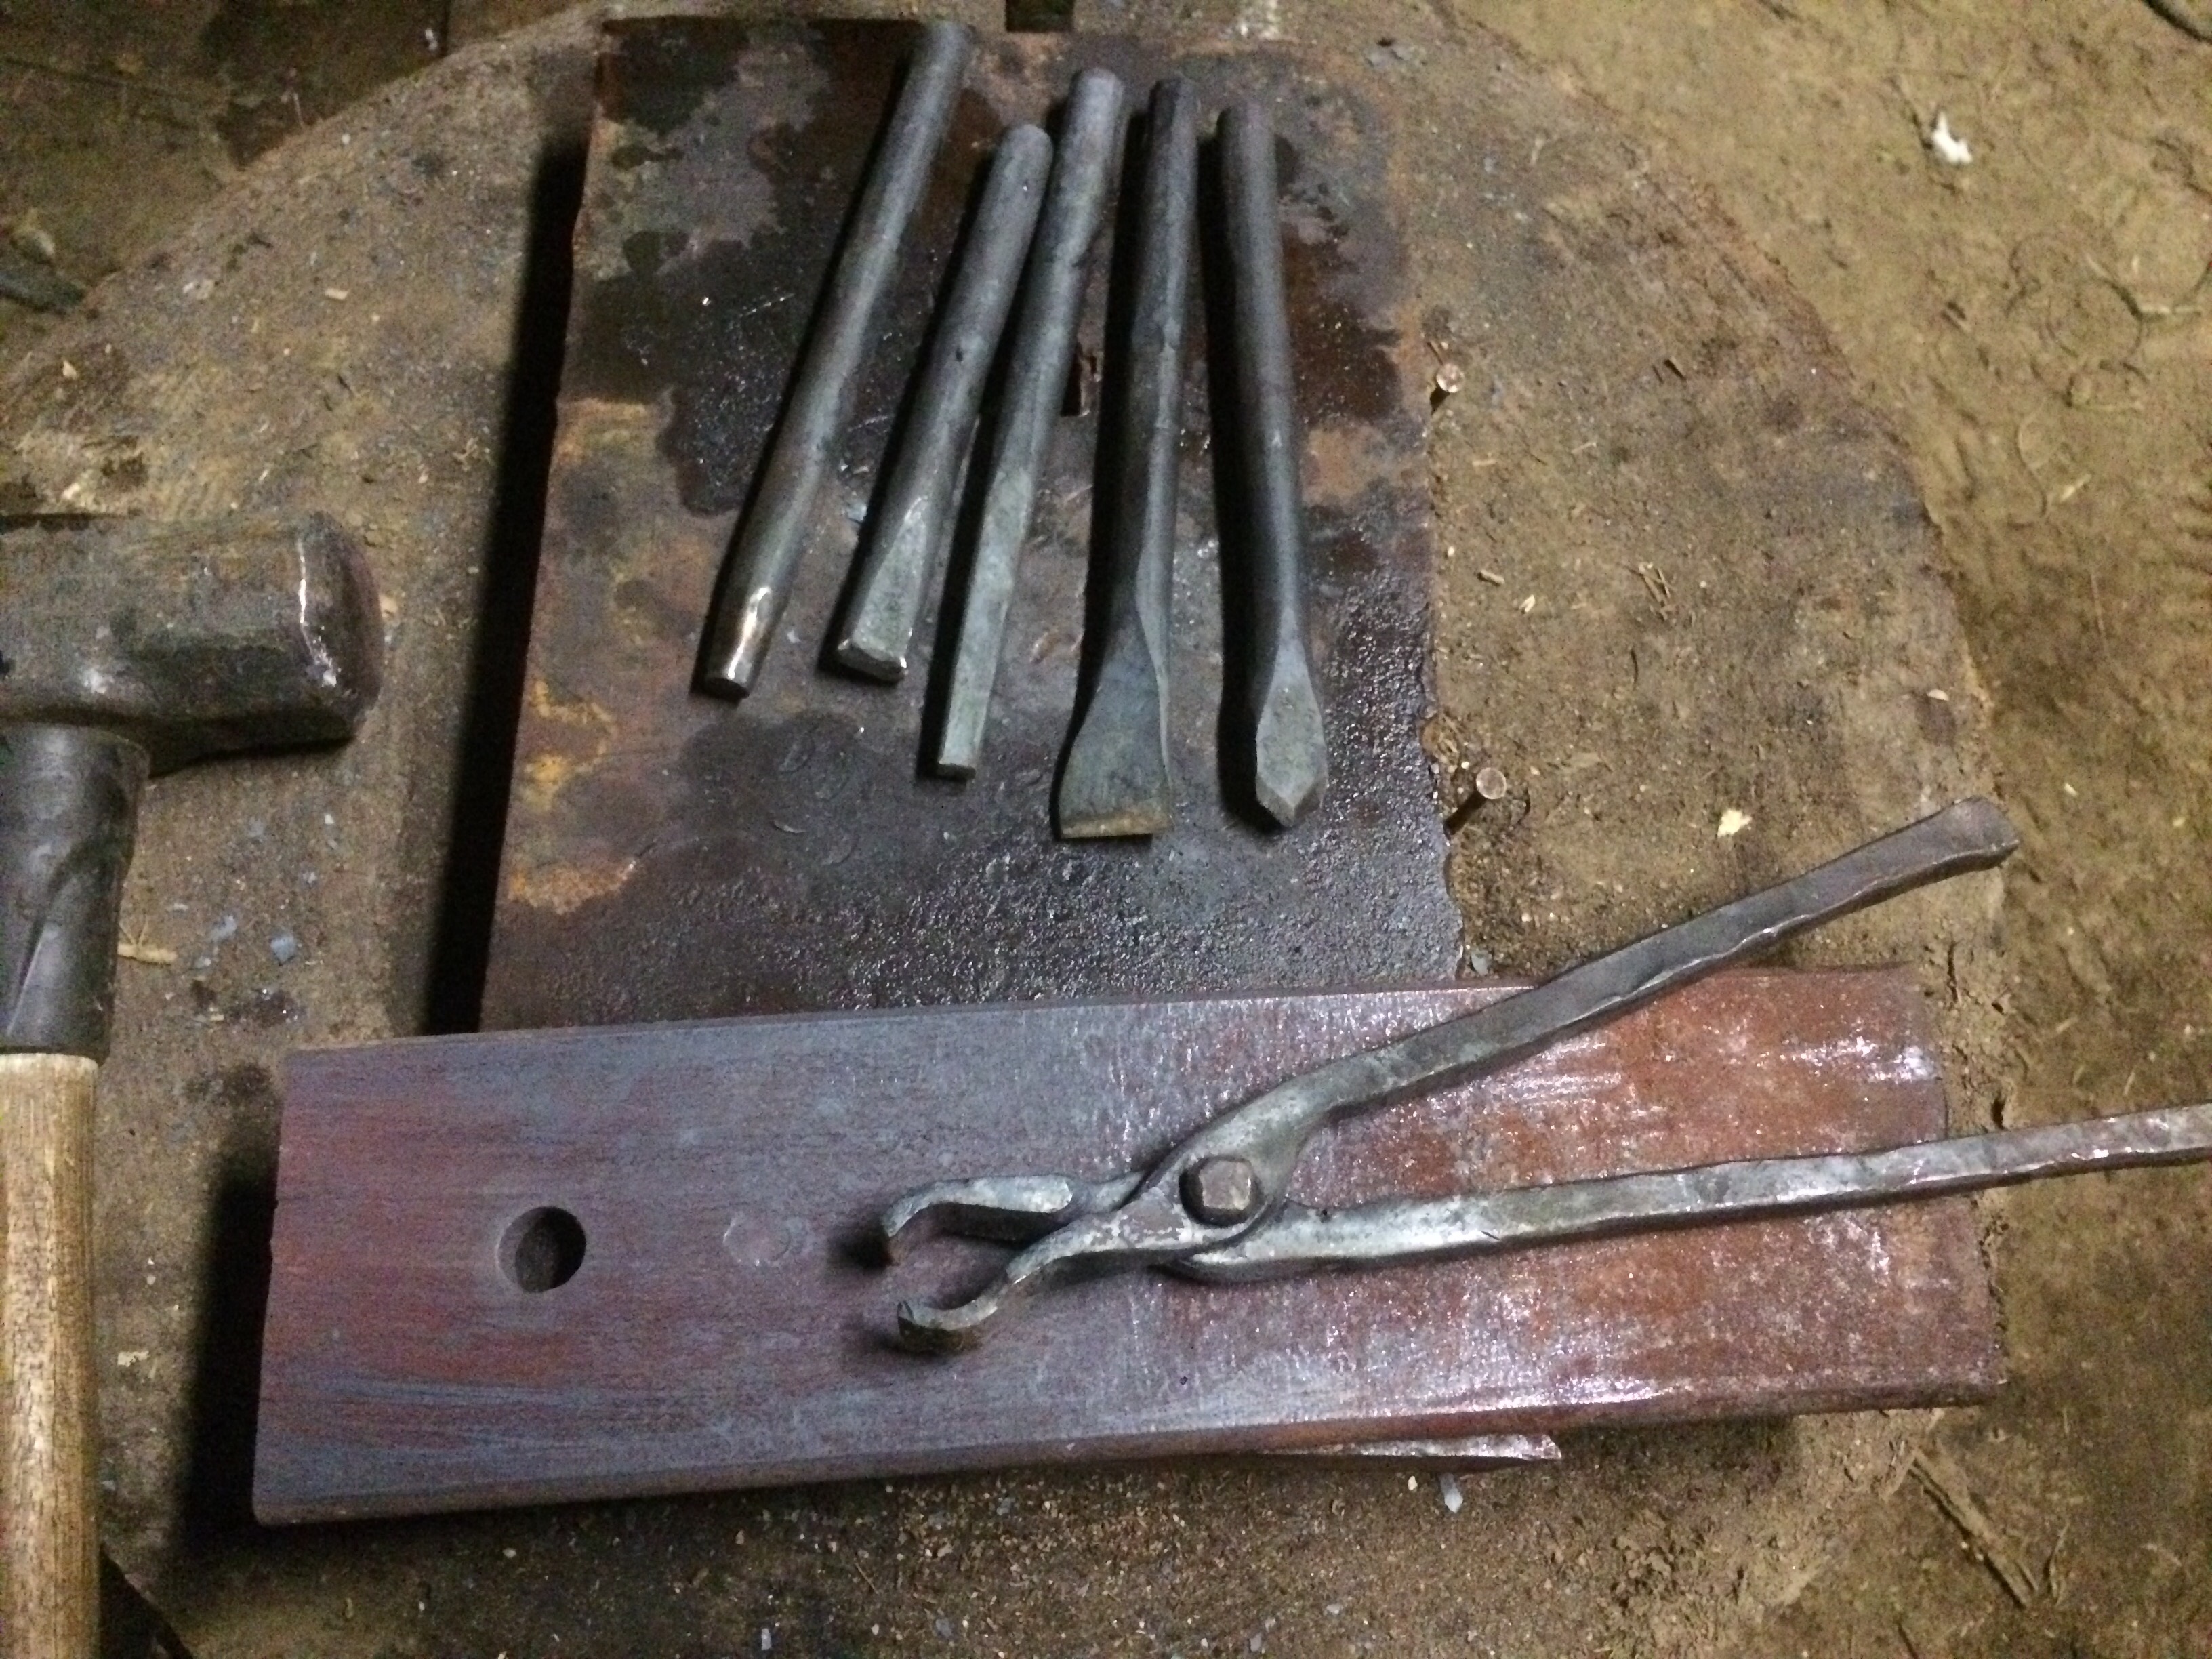
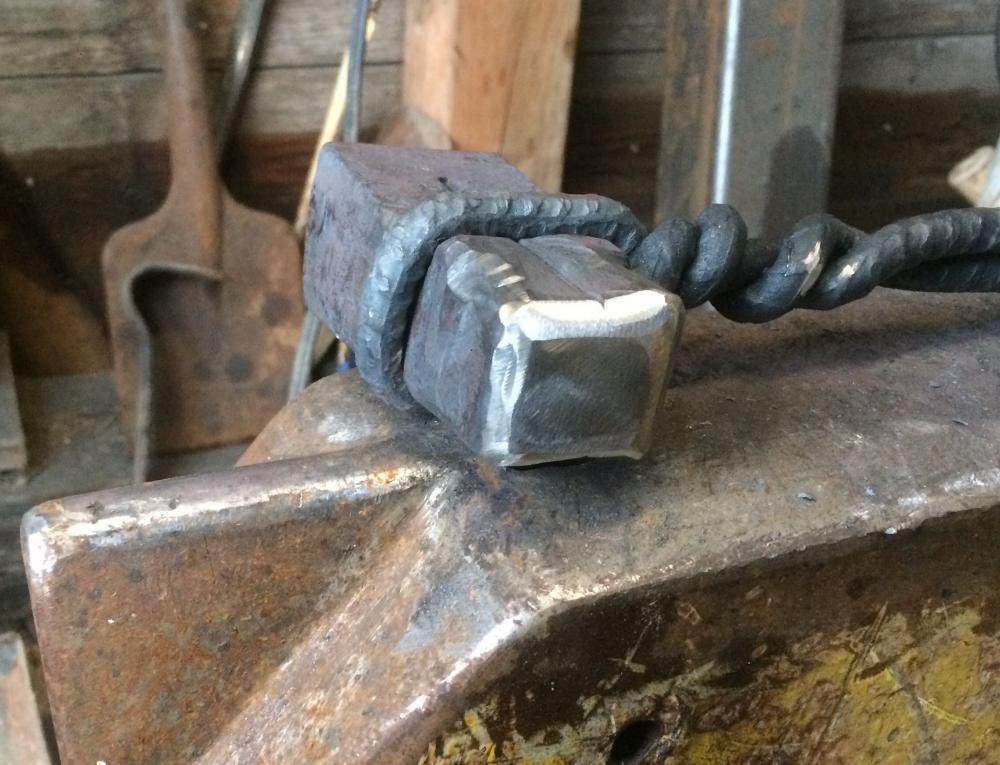
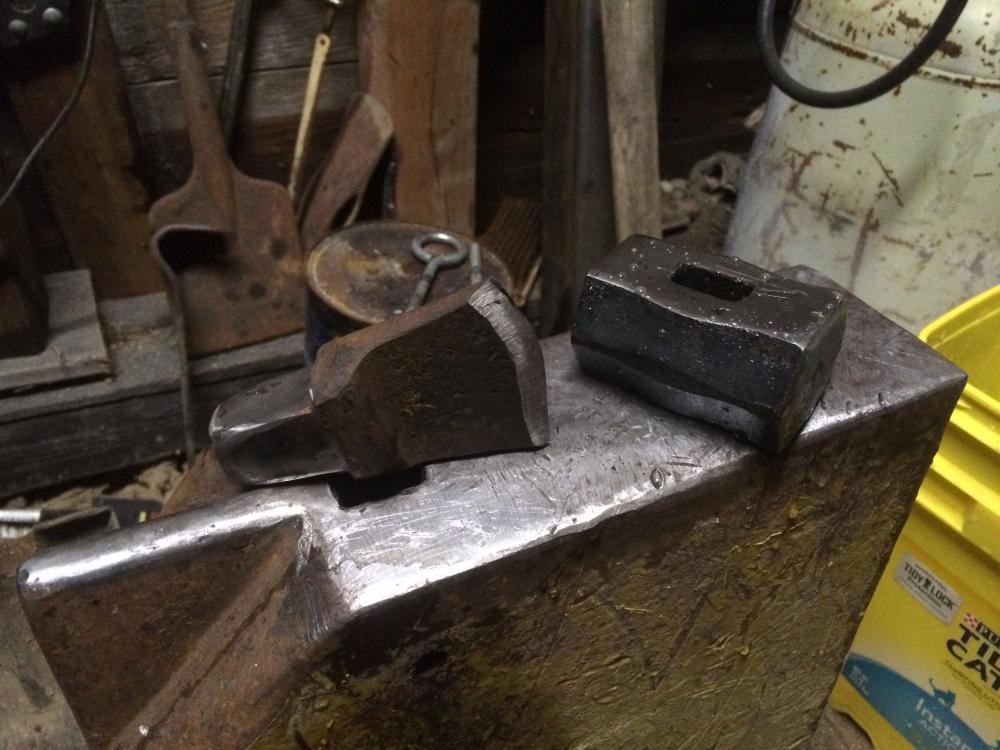
Got some work done today. Finished drifting my soft hammer. Fits the handles ok after a quick touch up with the rasp. I finially finished the hot cut I made at class. Started straighting some coil and decided to make some hot punches and a small fuller punch. Then figured I may as well make some punch tongs. Radiused the edges on the bottom swage and made my first rivet with it. Also made the rivet for the tongs

-
A collection of improvised anvils
Jasent replied to Charles R. Stevens's topic in Anvils, Swage Blocks, and Mandrels
What I would do if that's all I could find would to cut the top flange off 75% of it. Use the cut offs to support around the hardy and Pritchett hole. You only need a surface as wide as your hammer face to work steel -
What did you do in the shop today?
Jasent replied to Mark Ling's topic in Blacksmithing, General Discussion
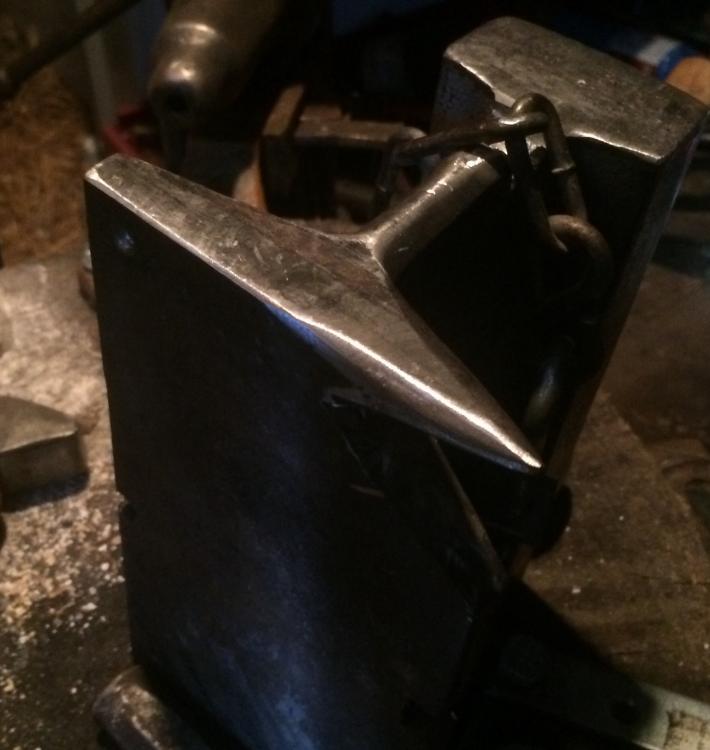
That stake anvil is a bit upsetting.