Chris Comtois
Members
-
Joined
-
Last visited
Everything posted by Chris Comtois
-
Could be a breeze, I'm working on it outside. Shop is kind of cluttered right now. Not set up to supply gas to both at once yet, probably work on that this weekend. Sputtering is more prevalent at low pressures, but at higher pressures it kind of acts like it's TOO high a pressure, if that makes any sense, like it wants to blow itself out. That makes me think I need to trim the mig tip back some more to get more air mixed in with the gas. I'm closing in on 'er, though!
-
Hadn't thought of that, I'll have to check it out tonight!
-
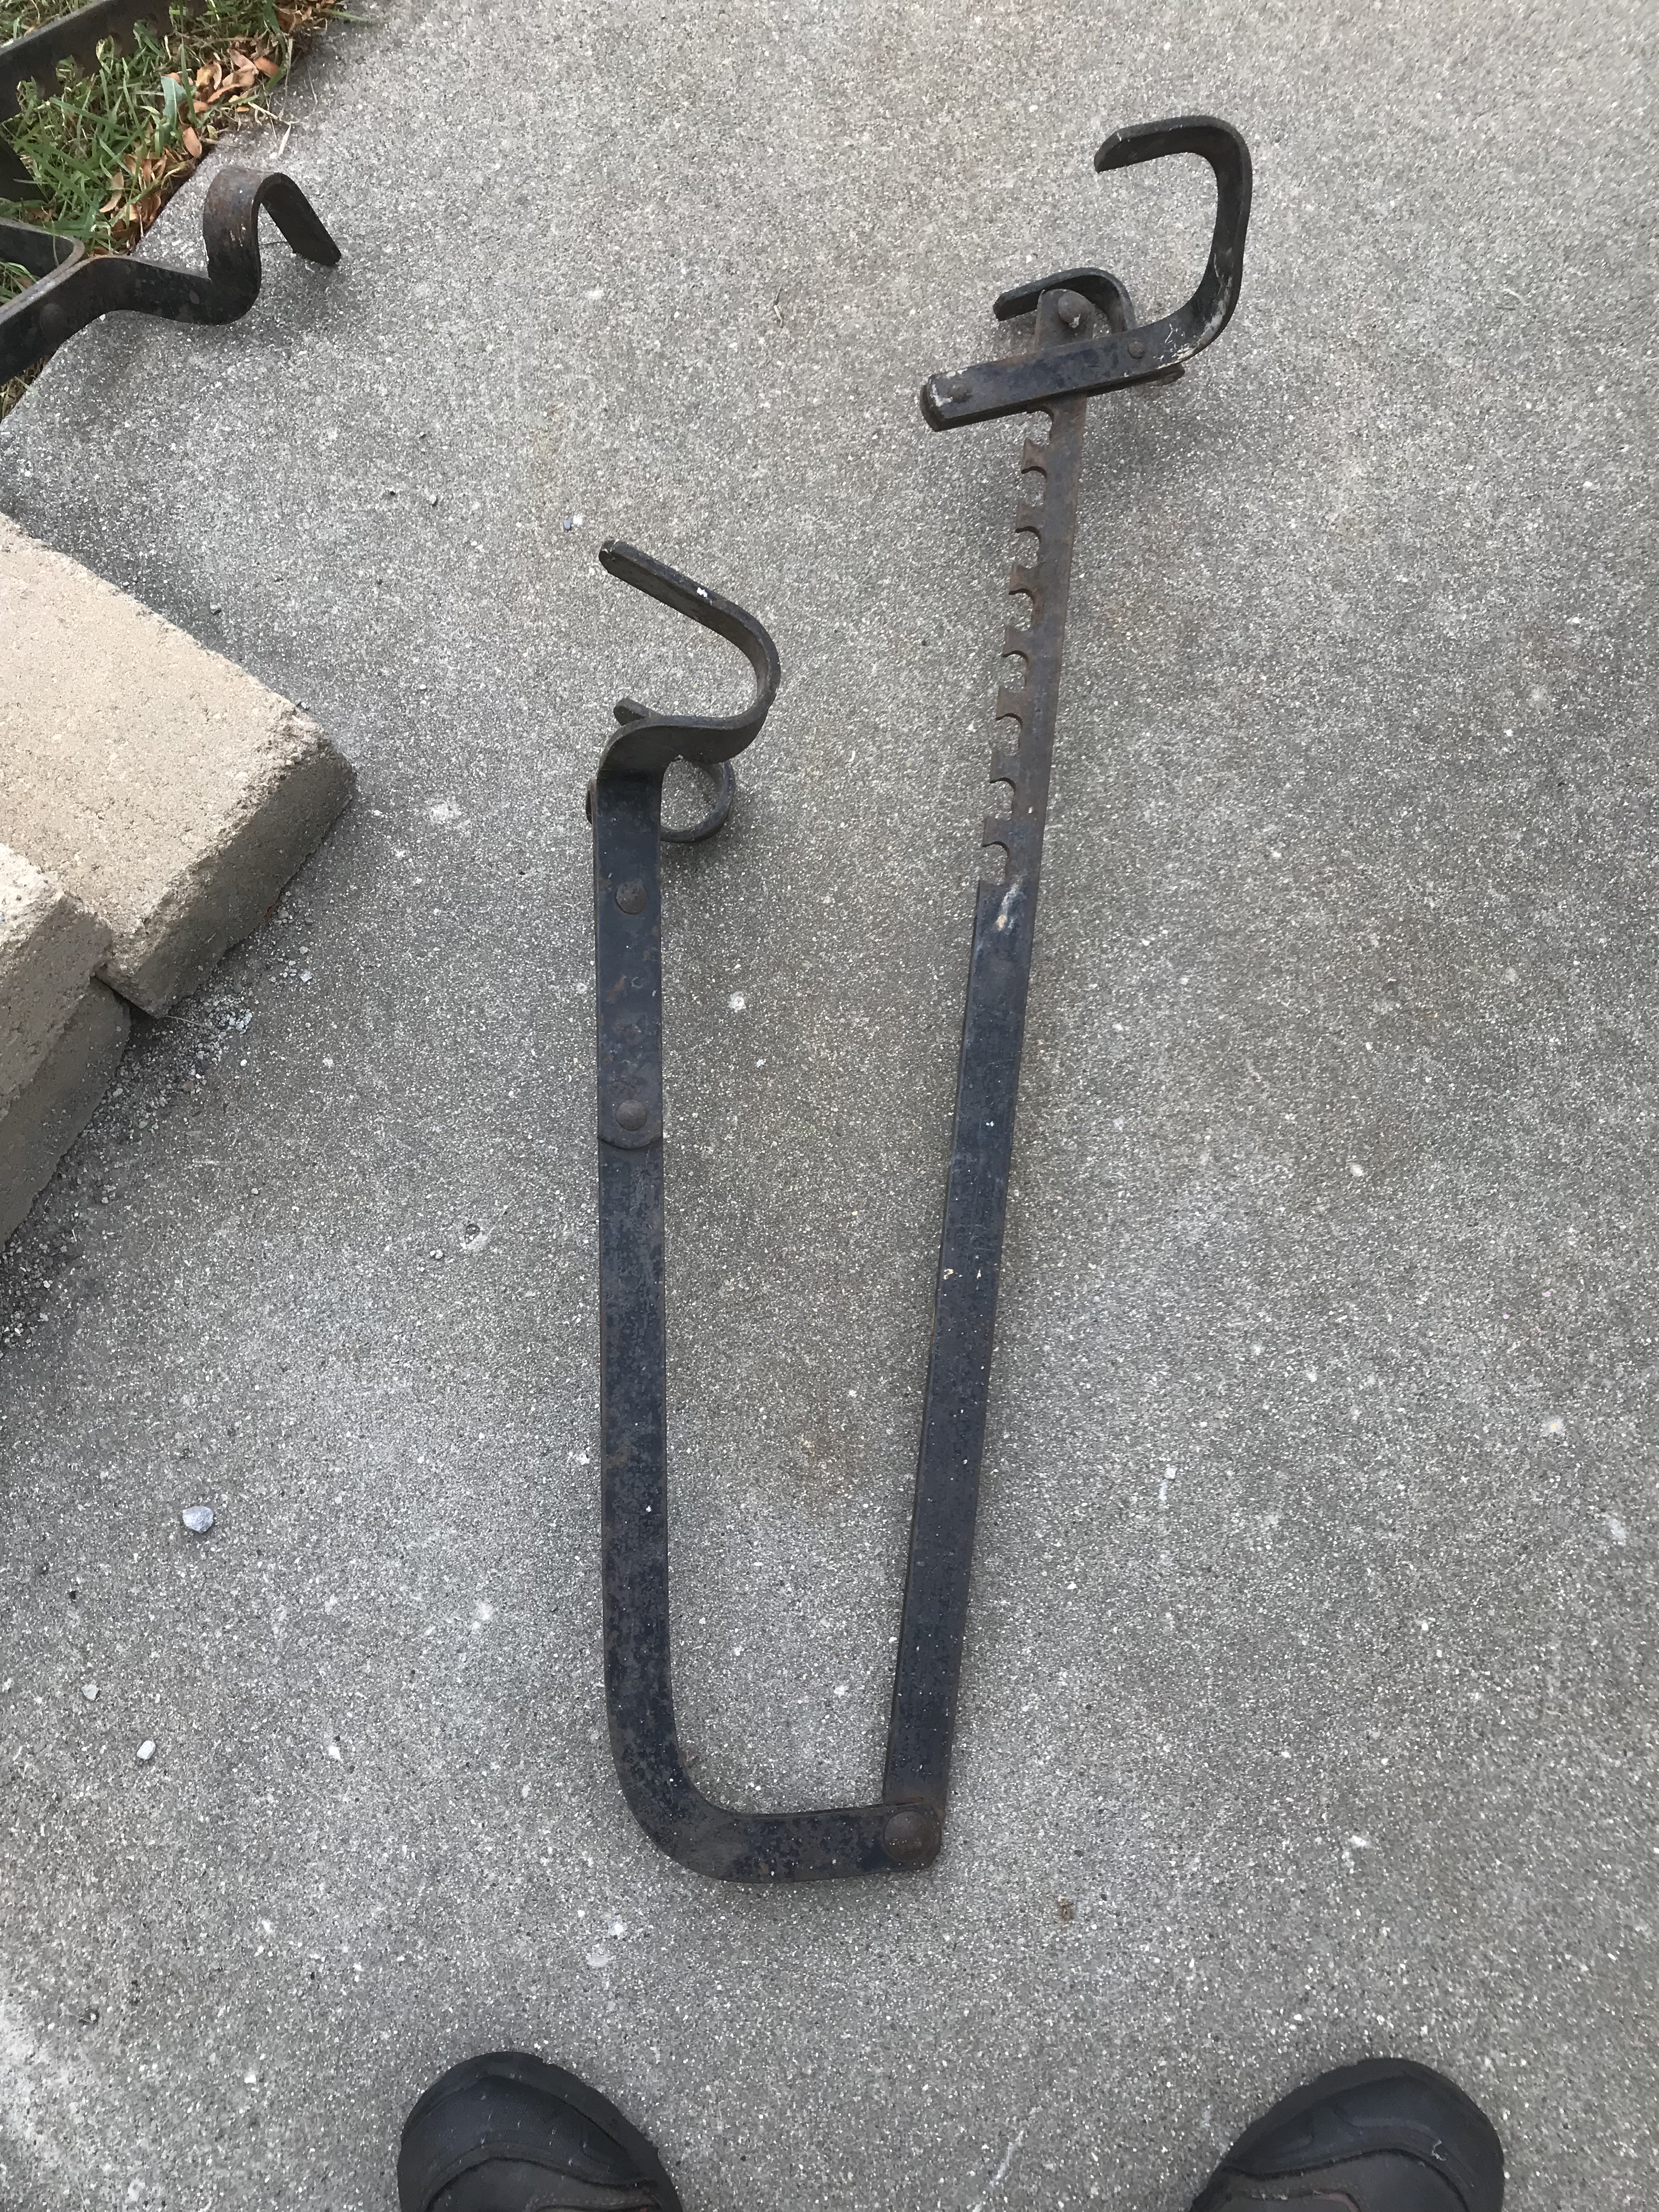
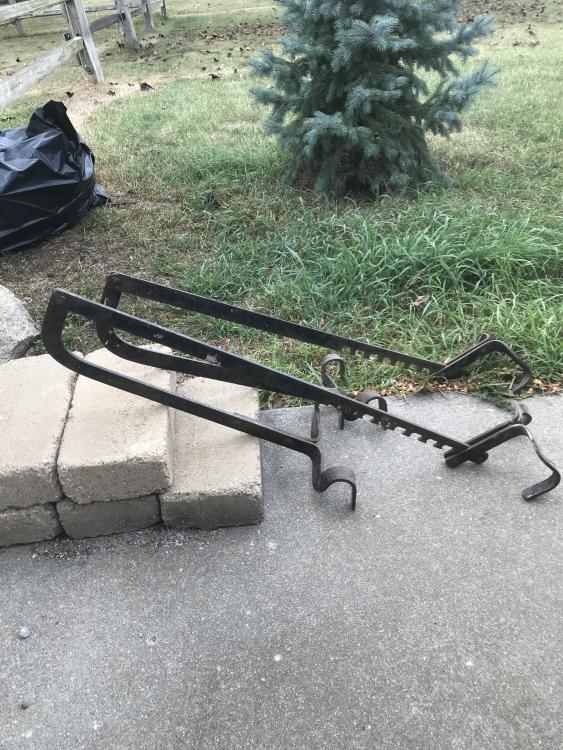
Came home yesterday to find my father in law had dropped off a couple of old ladder jacks. Not sure what they are going to turn into, I'm thinking some kind of campfire equipment.

-
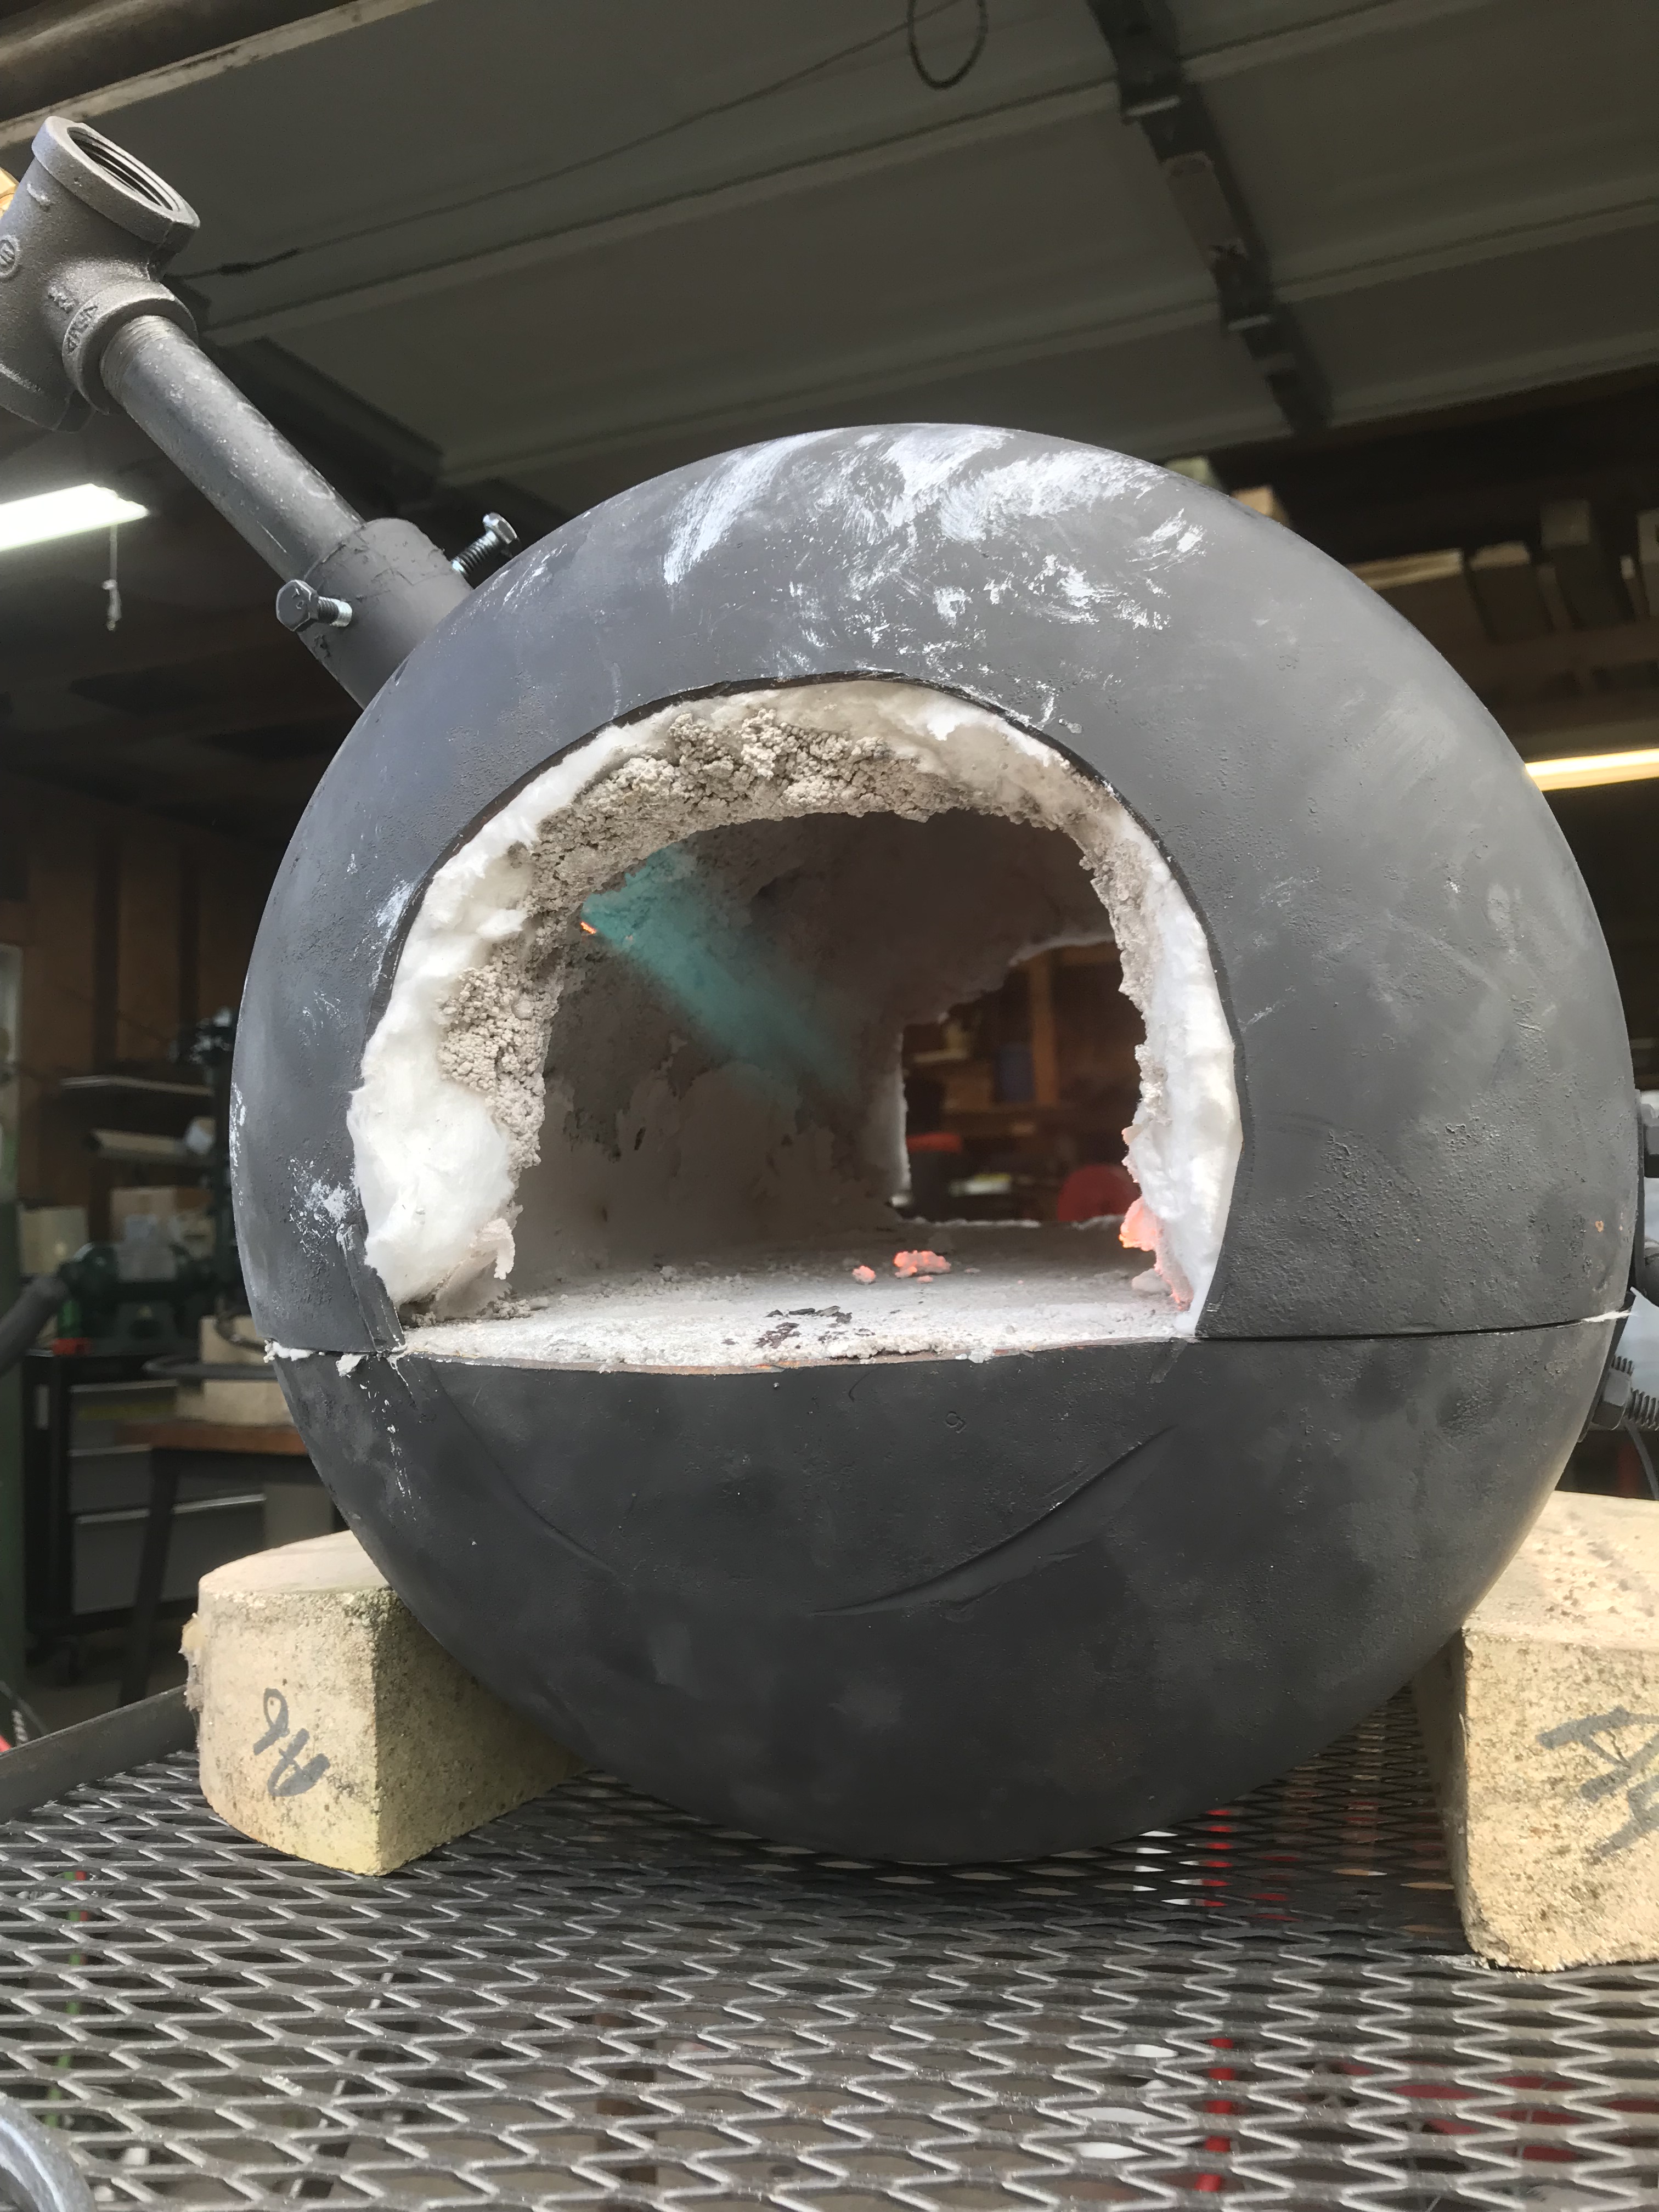
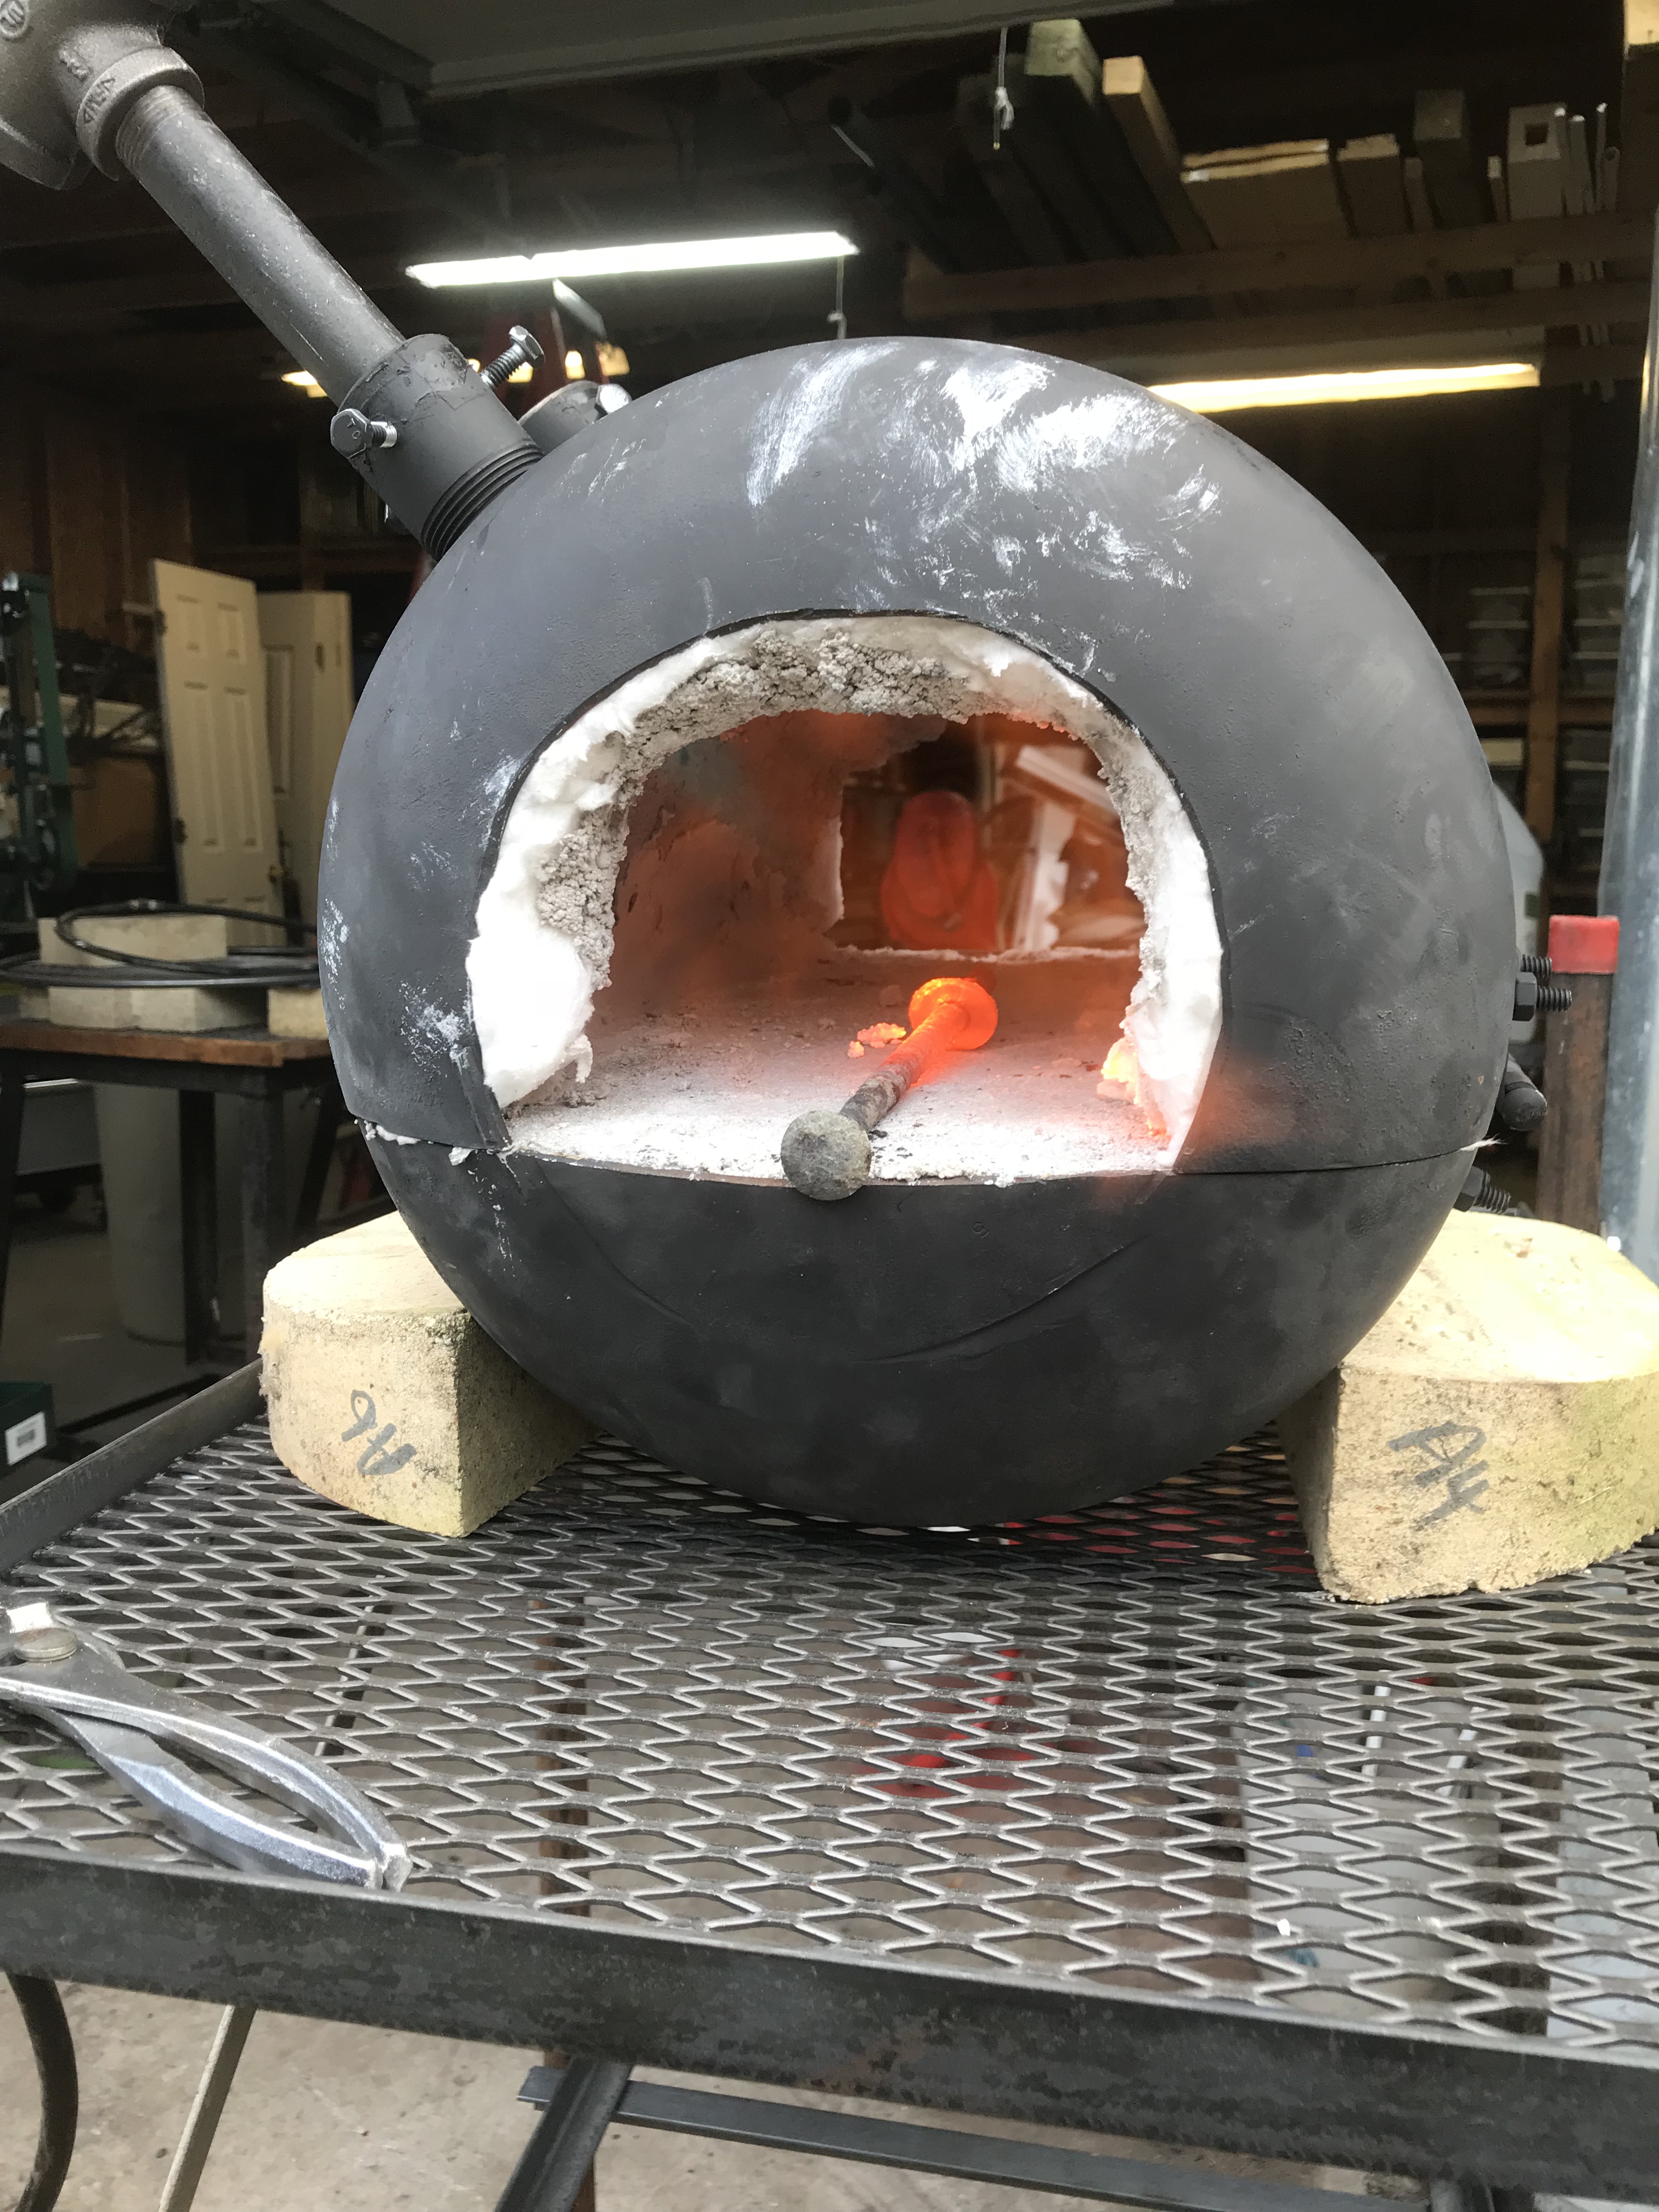
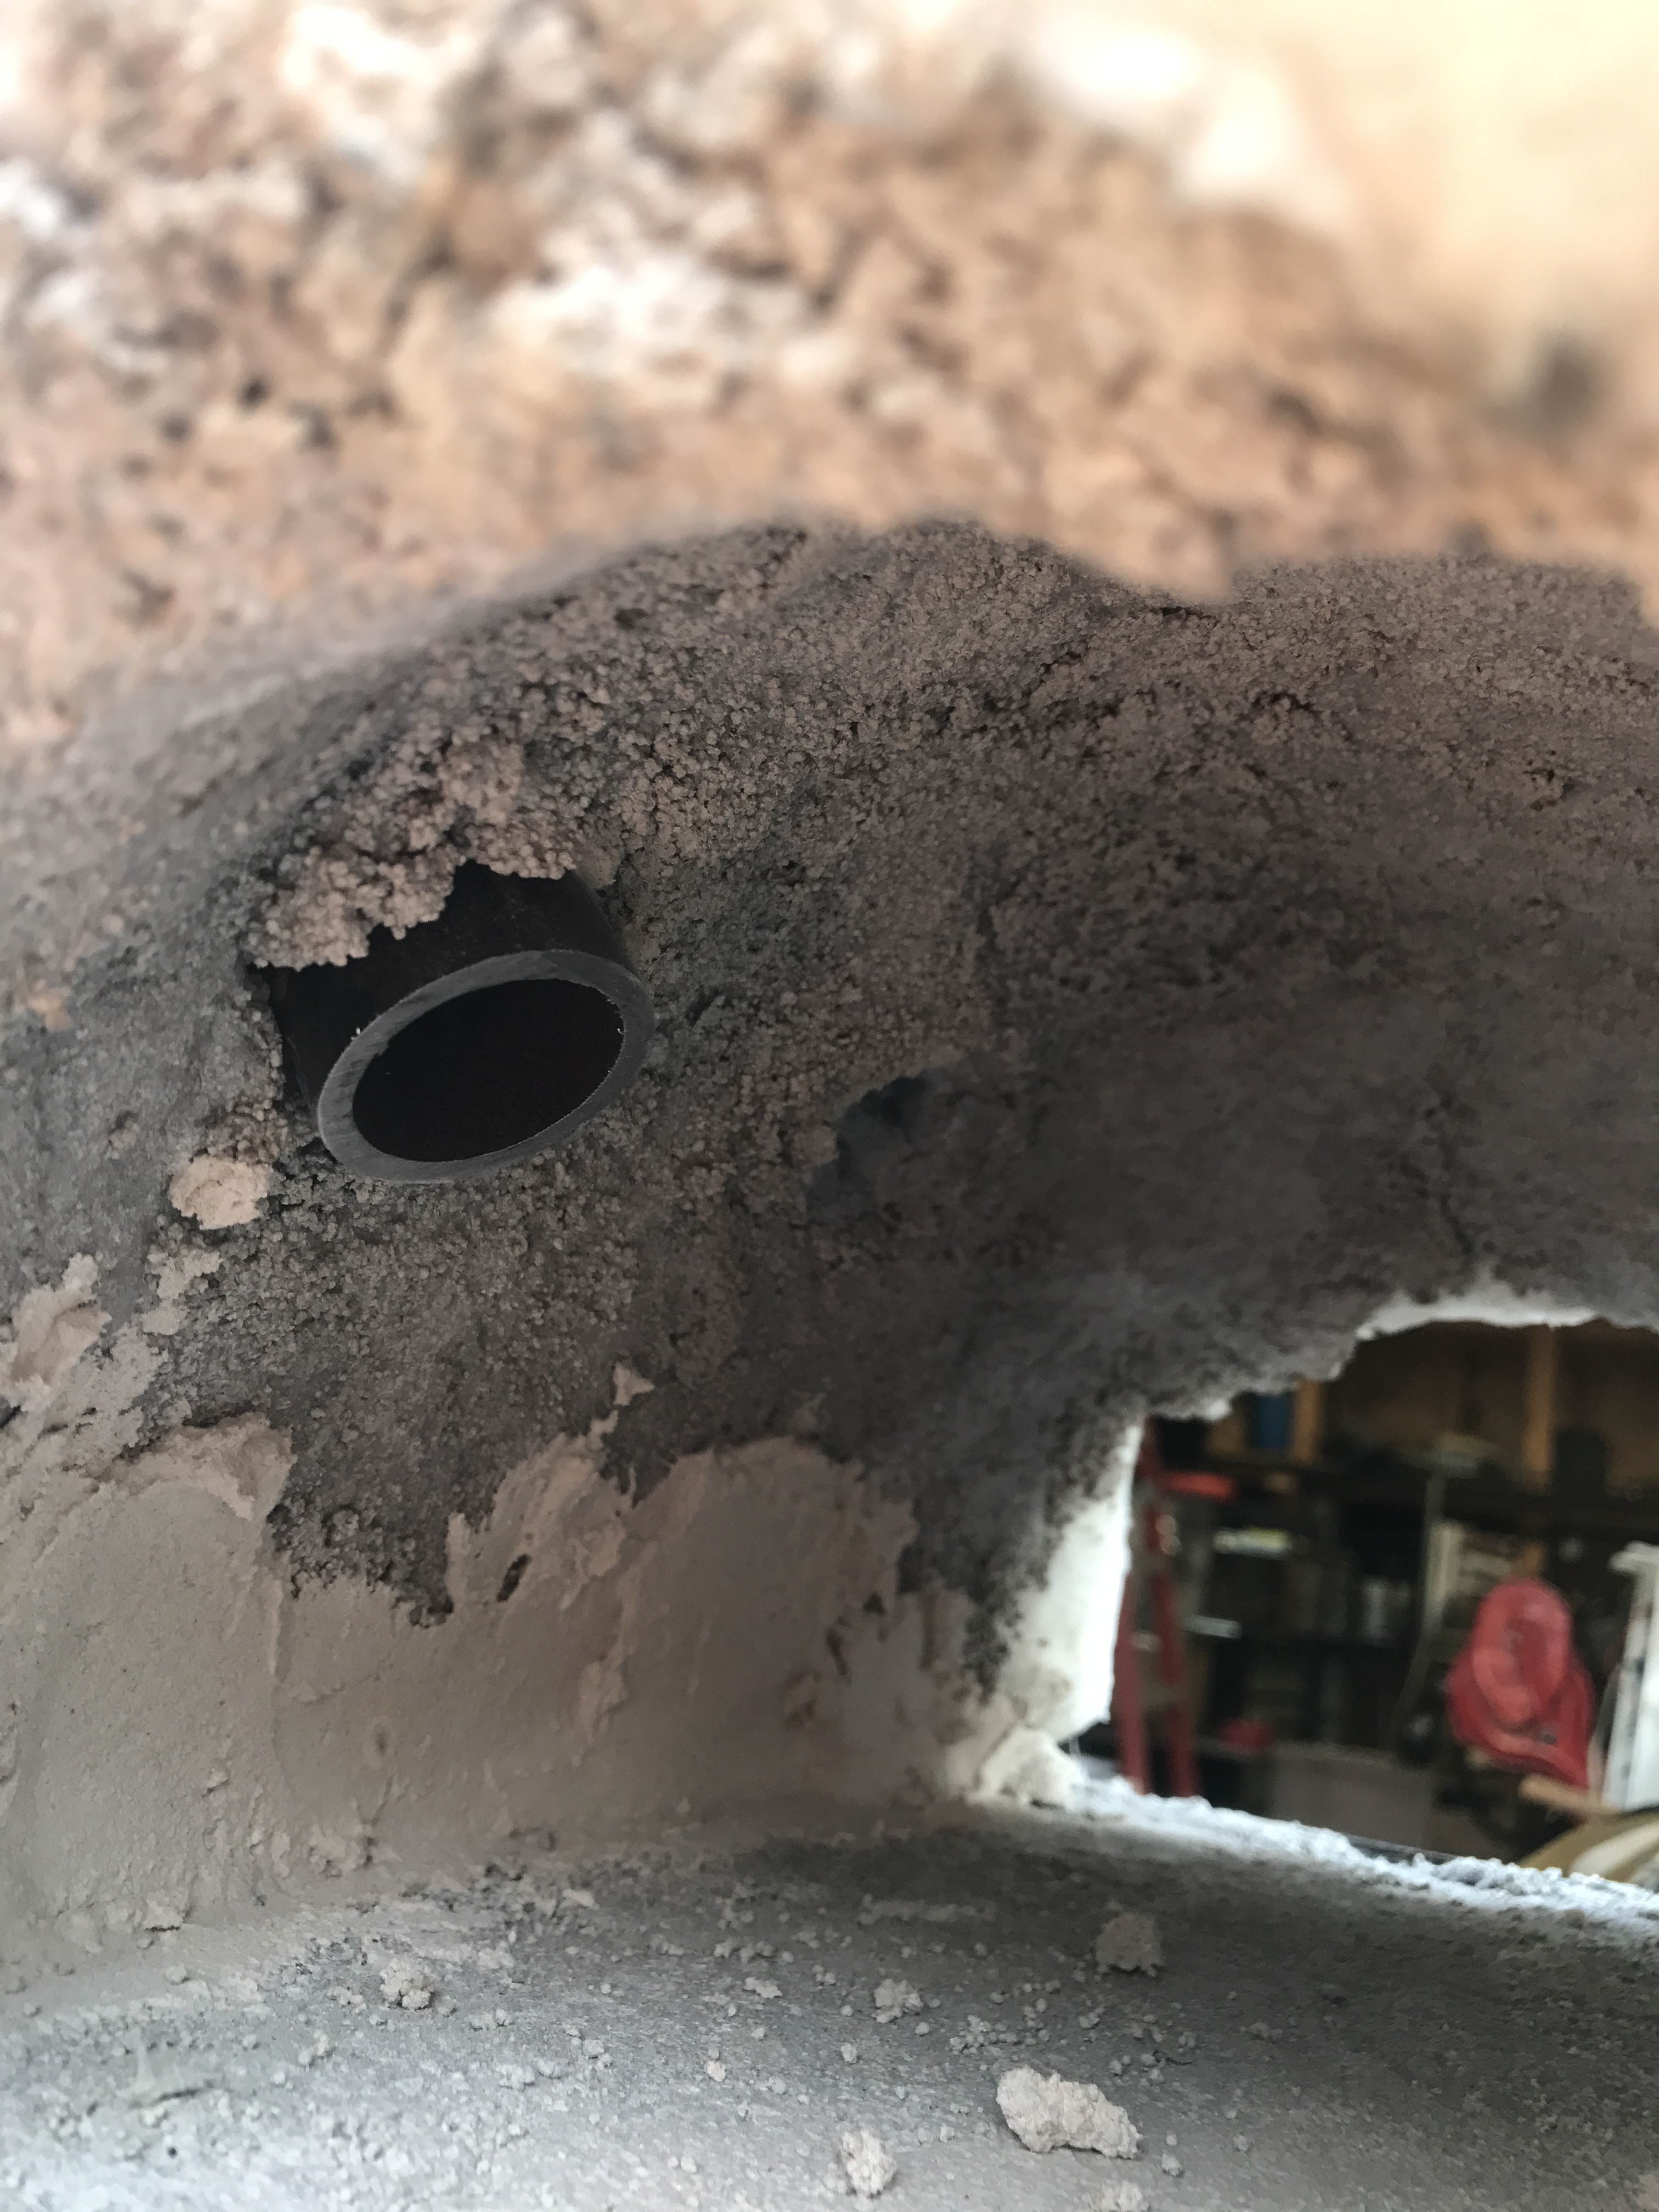
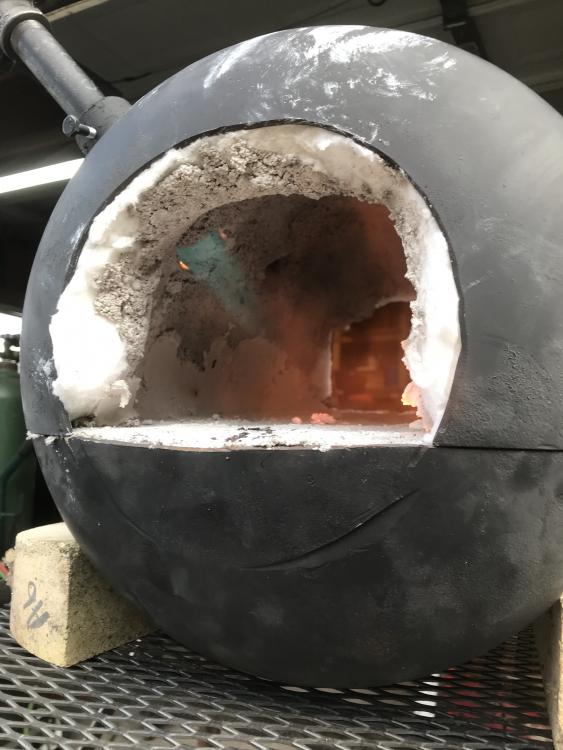
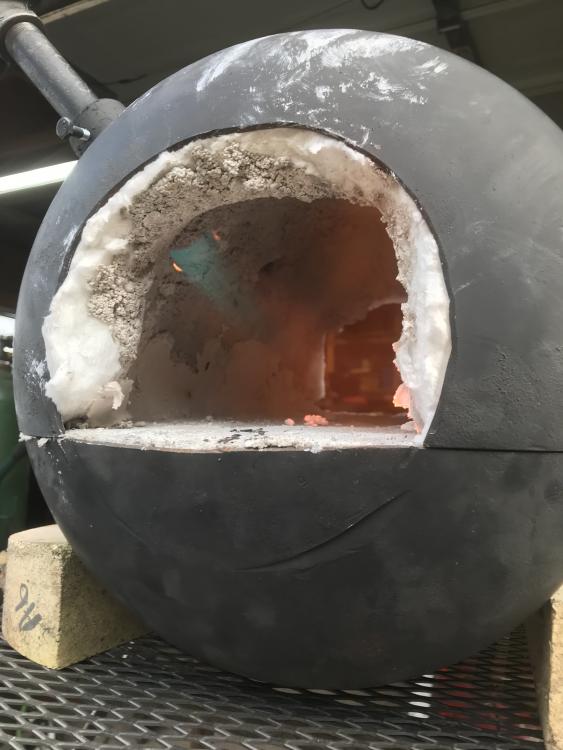
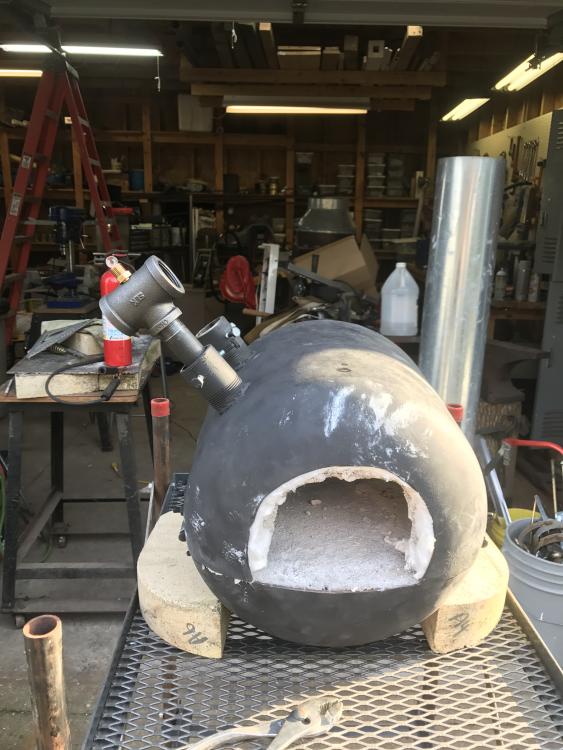
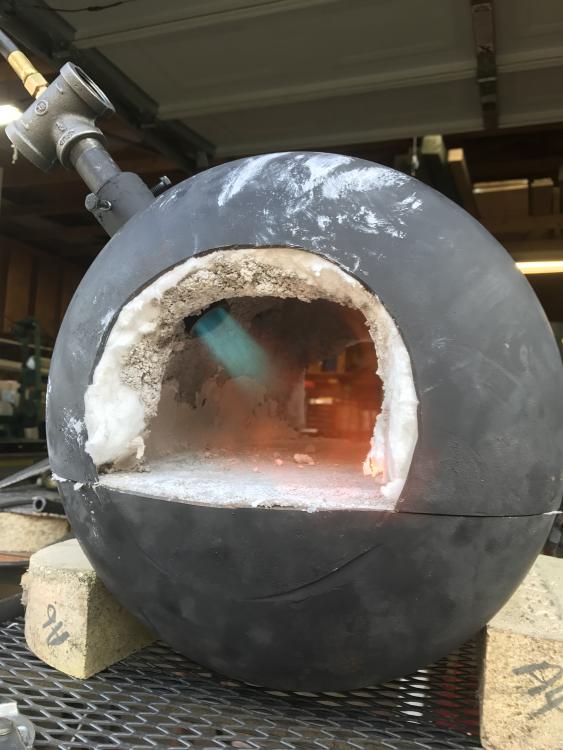
OK - pulled the flare back to just inside the steel shell. There is now about 1 1/2 inches of wool/cement between the end of the flare and the forge chamber. That seemed to help quite a bit (imagine that!). Still a moderate amount of sputtering. No backfires back into the T this time, but it kind of felt like it wanted to. Right now I'm just trying to get one burner tuned properly before installing the second; just occurred to me, it might make a difference having both burners going at the same time? Am I wasting time tuning one then the other? Here are some pics:


-
Fire management Proper tool use
-
Thanks Thomas, that's the one I was thinking of. I've browsed the forums on both sites just enough to be dangerous! Wasn't sure how the feeling was.
-
I'm not sure if I can link it here, I get the feeling there is some tension between the websites, but if you Google "blacksmith projects" you might find a long list of different things to try.
-
I don't have pics, but I helped a friend out with a demo and we made mini horseshoe game sets. We used 1/8" rod, mostly from political yard signs, flattened and bent it, cut it off and punched in the crease and "nail holes". The shoes were less than 1 inch. Two more short pieces of rod set into wooden blocks as stakes and 4 horseshoes and you've got a tabletop horseshoe game for $10. Not really SCA, unless you want to pitch the shoes as being from leprechaun steeds or fairy unicorns or something... I always thought it would be fun to do "bodice dragons" at a ren fest. Forge the head, keeping up a patter with some old blacksmith legends or something. The tail fits in the bodice of a young lady, the whole beastie guarding her assets. Find a lovely assistant and explain that you need to keep "checking the fit" and making adjustments, working up to eventually just taking the dragon out, taping the hammer on the anvil without even touching the piece, putting it back in, etc. Steel torcs or wristbands - a lot like flint strikers. A while ago I experimented with 1/2" x 1/8" bar stock, wrapped around a rod in a long, tight spiral, then flattened out. Makes an interesting pattern. Where is there a SCA event in Michigan? I've always wanted to check one out. Maybe I'll see you there!
-
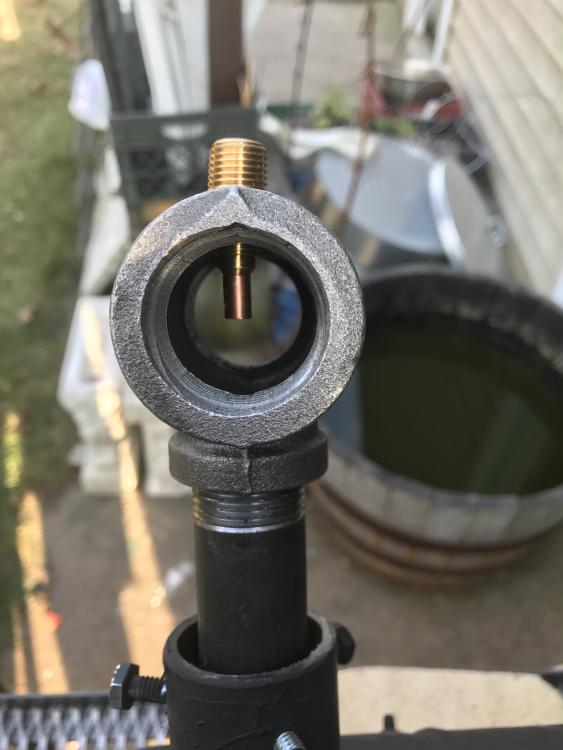
Ah ha! I had read about the tip being just inside the shell, and thought that meant the ENTIRE forge - e.g. INSIDE the forge. If I'm reading this correctly this time, the tip being just inside the shell refers to the steel tank shell, it should NOT protrude into the forge chamber proper. I'm currently using a 20 pound tank, it's full. I know the regulator is high pressure, I believe 0-30 psi but I bought it a few years ago. Before this last fire up I broke everything down and blew through the hose and regulator to see if anything was blocked. Sounds like adjusting the depth of the tube into the forge is a good place to start next. If the rain holds off, I'll be trying it again tonight. Thank you so much, gentlemen!
-
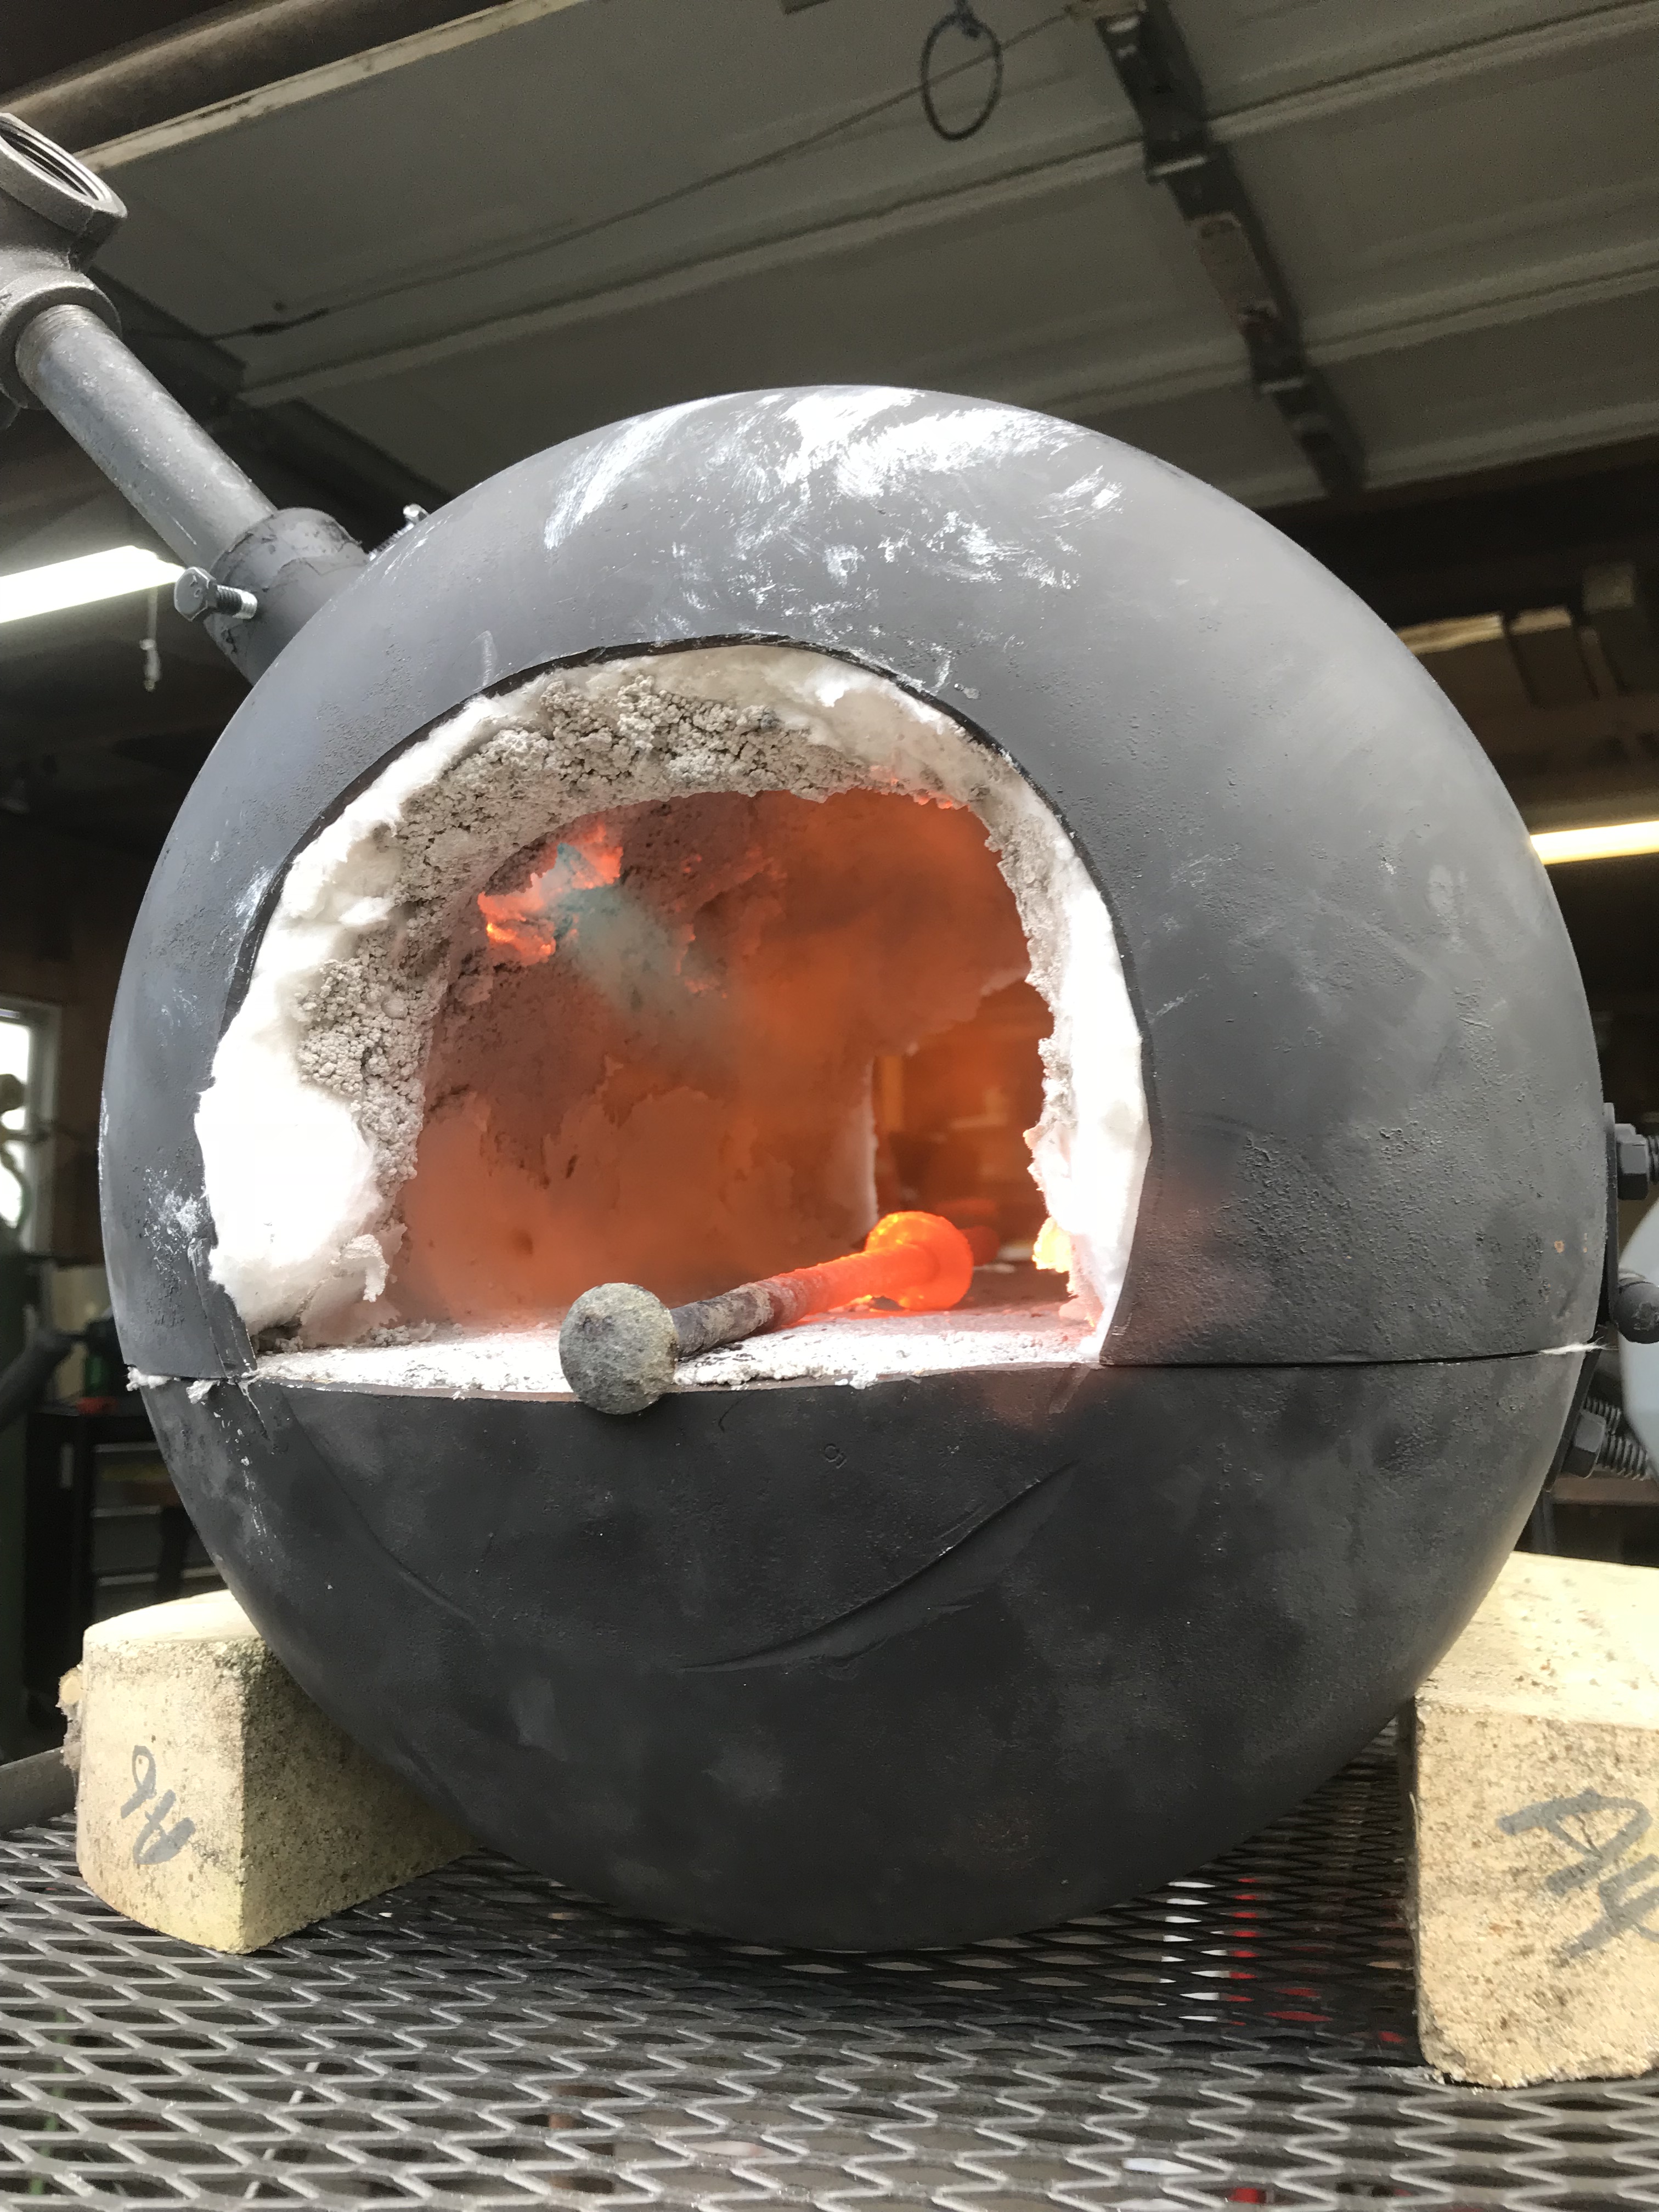
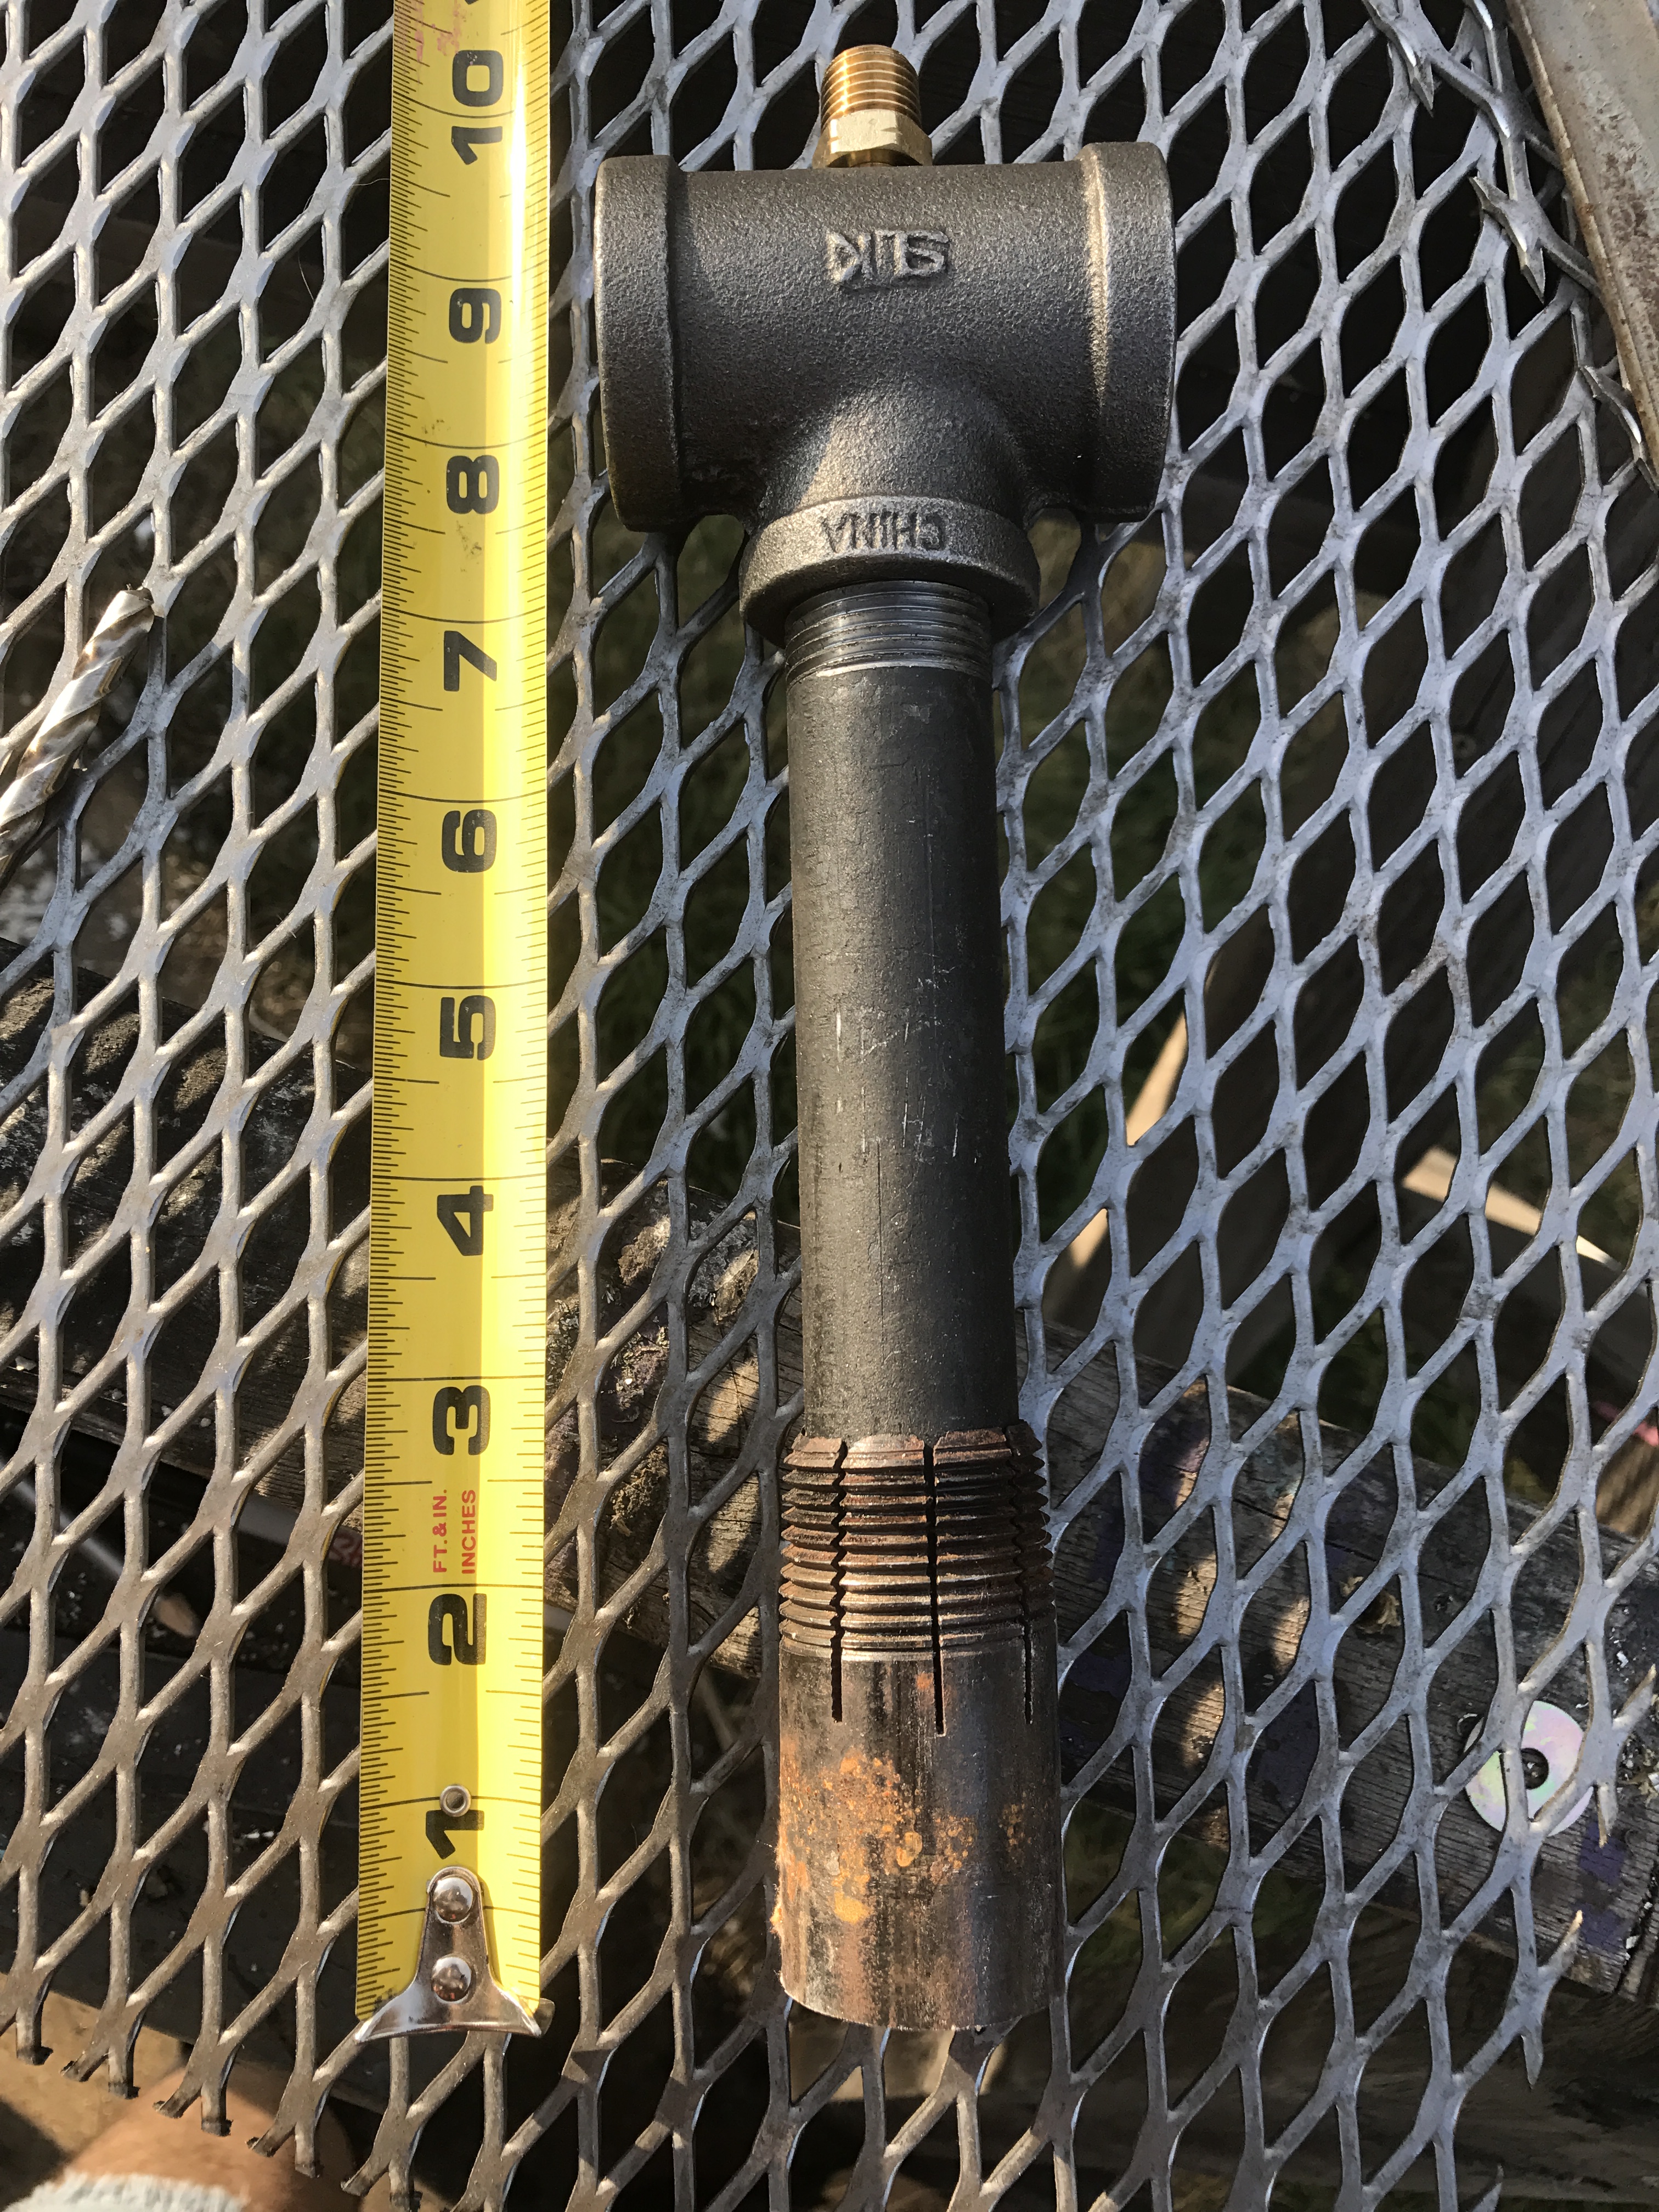
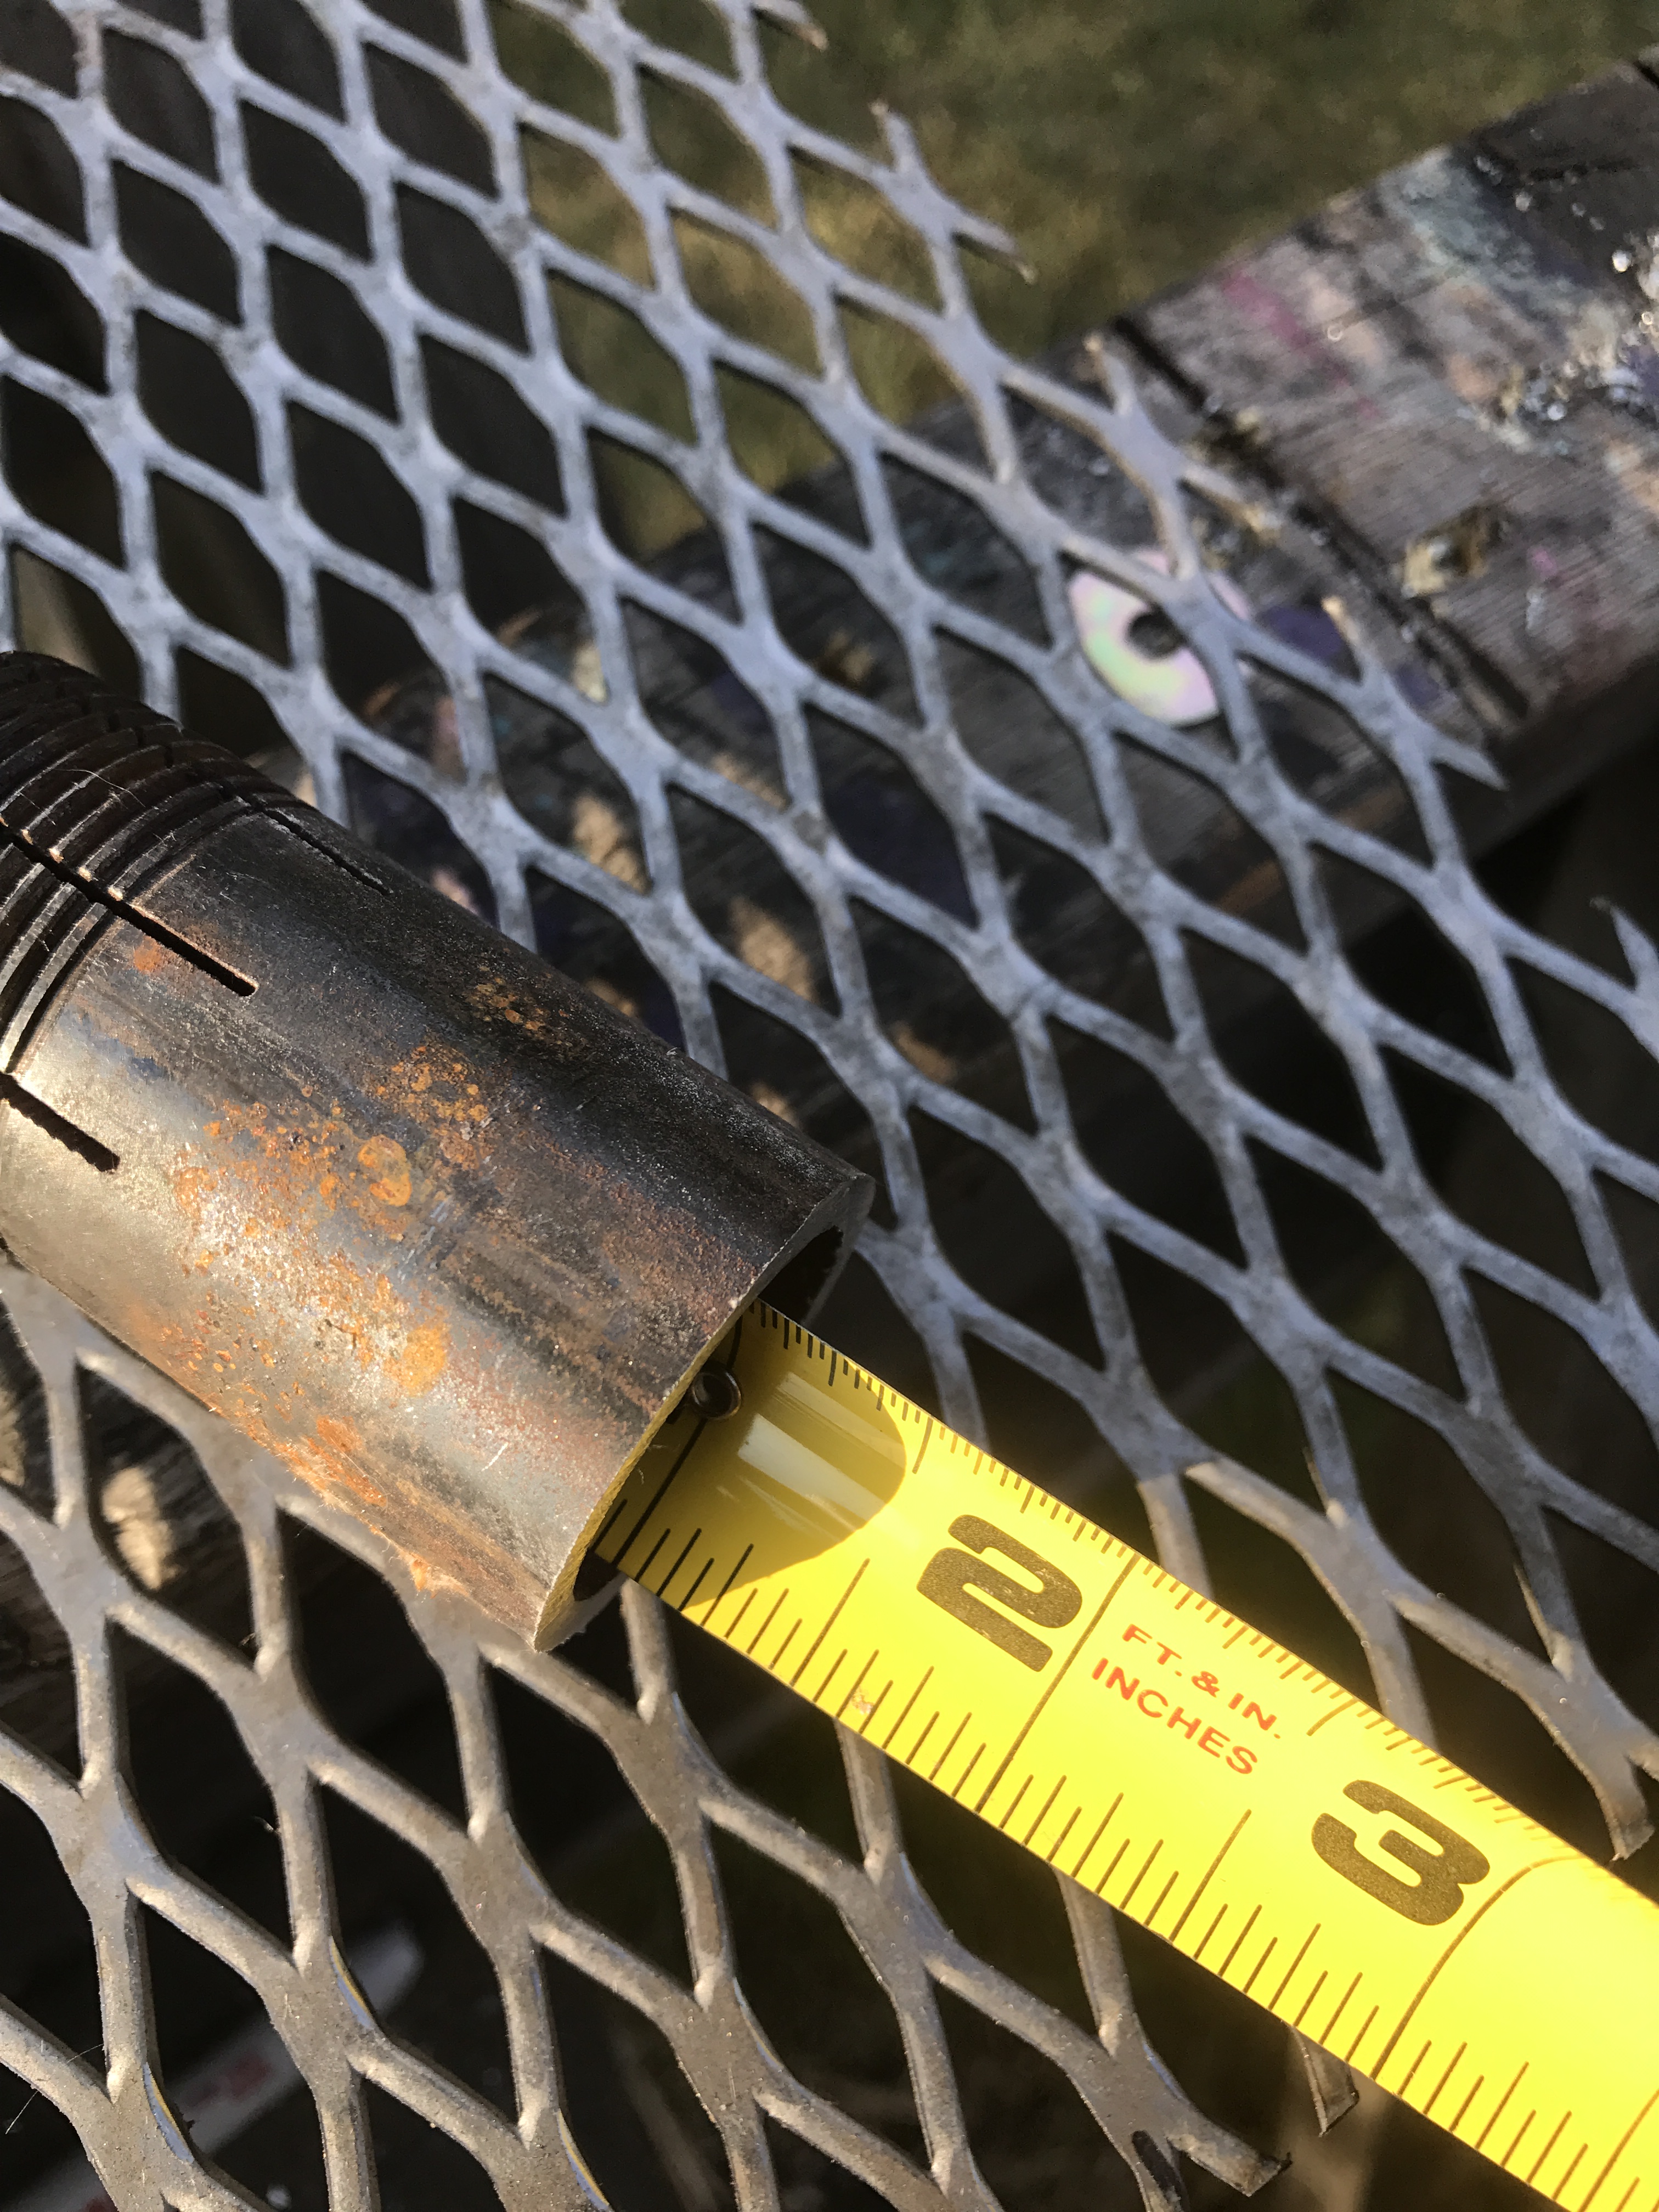
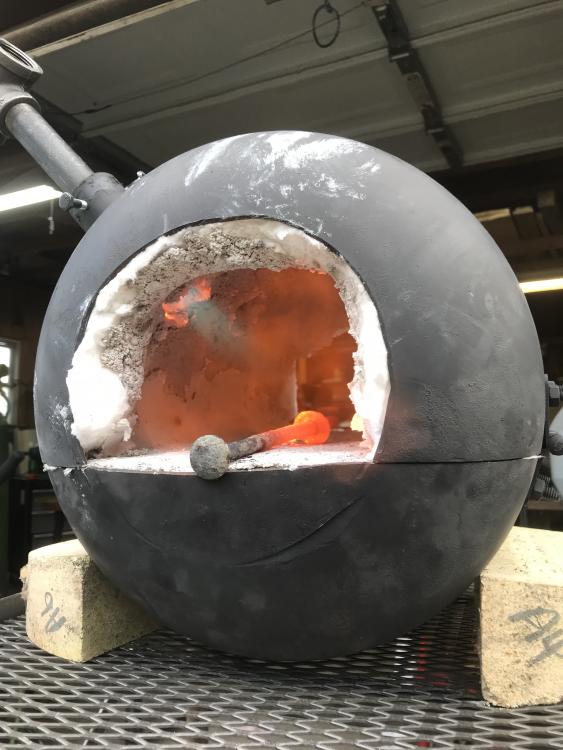
OK got some pics. I shortened the flare to about one inch past the end of the nipple, that seemed to help a bit. I got a steadier flame, but still not quite consistent. It looked stead enough I thought I'd try to get something hot, so I threw a 9-inch bolt I had lying around in there and it was just starting to get yellow when my flame started sputtering again, then backfired (?) back up into the tube and I had flames shooting out the sides of the T at the top! So I shut everything down and moved on to something less potentially catastrophic - cold bending some steel rod!


-
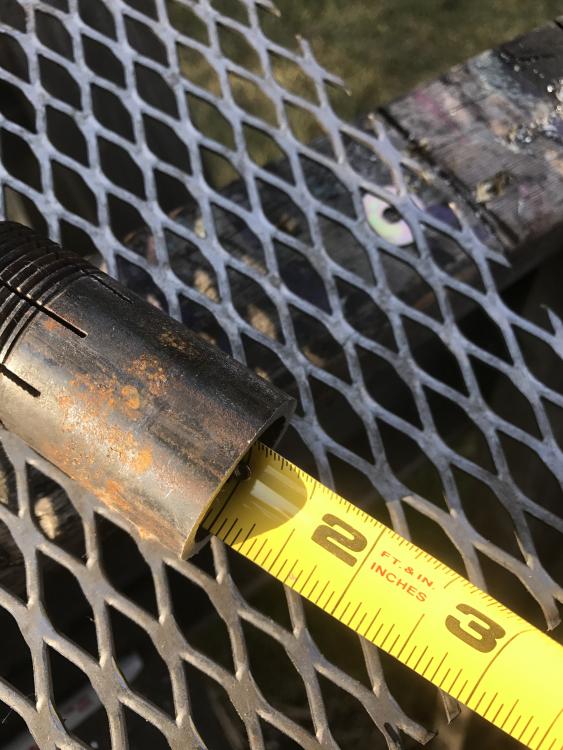
1/2 inch? Crud, I must have missed something. I used the .pdf linked in the very first post, it says 3/4 inch by 6 inch nipple? Completely possible I misunderstood something there. In any event, I'll get some pics tonight and monkey with the flare length, it sounds like it's too long anyway. Easier to troubleshoot that than go buy a new regulator! Thanks again Frosty, I'm always amazed at the collective knowledge on this site. Be safe.
-
Hey Frosty - thank you for posting these plans! Very simple to follow and understand. Built my first pair this weekend for a propane tank forge. I'm having a couple of issues tuning them, I'm still in the troubleshooting phase but I thought I'd post them here to see if anyone had any ideas or could learn from my mistakes! My problem seems to be gas flow or maybe pressure. I get a large blue flame in the forge that starts about 1 1/2 to 2 inches from the end of the flare. It doesn't seem very strong and sort of pulses with a "thwup, thwup, thwup" sound. Does this a few times and then dies out on me. I have the Ts oriented perpendicular to each other and the long axis of the forge. Currently I am only able to test one at a time because I don't have the proper parts yet to run both off the same tank. I have trimmed one mig tip back to about 1/4 to 3/8 inch. Haven't trimmed the other one yet until I get a feel for the first one. Flares just enter into the chamber of the forge, about 1/8 inch or less past the refractory. I have what I think is a high pressure regulator, not sure of the specs but I bought it a couple of years ago to make a crucible forge burner. It worked fine for that at first, then I started having similar problems. This is going to be my first trouble shooting item. Figures it would be the most expensive part of the build! Also, upon re-reading of this thread, I think my flares might be too long. If I recall (I'm not at home right now so I can't measure) the flare extends about two or three inches past the end of the 6" nipple. Again upon re-reading of the thread, trimming the mig tip back to about half the diameter of the Ts is the minimum to start tuning, if I read it correctly. I may need to trim it back even further. How far is too far? Is it possible to have to trim the darn thing right down to the fitting it's seated in? Oh well, the tips are cheap enough and they come in a five pack... Any thoughts or suggestions from folks? Like I said, I'm still troubleshooting but I'd be happy to hear from others. Stay safe!
-
Thanks gents - I'm a safety auditor four my company, so I am quite familiar with ventilation issues! I do appreciate the reminder tho, it's nice that folks look out for each other. To use my current coal forge in the winter, I have to shovel a large spot on the apron of my shop, drag out the forge, set up the stack, etc.etc. I'm too much of a coward to cut a hole in the roof! Not bad in the summer when I can leave it out for a couple of days, in the winter it get's old fast. Looking forward to just opening the garage door and letting 'er rip! I expect the refractory materials to be here today or tomorrow (thanks Mr. Coe!) so I think I have my weekend planned. Question - Do I need to do anything special to adhere the wool to the shell? Does the kast o lite hold it in or do I need to use an adhesive?
-
So I just started building my first gas forge yesterday from a cut-down 20-lb propane tank. I'm using the plans and ordered refractory materials from Mr. Wayne Coe's website, he's been very helpful with the amount of materials necessary and the price seems reasonable. I'll be building Frosty's T_burners this weekend. Pics will follow as I progress. My plan is to run two of the T-burners off a 100-lb cylinder. Currently I have a hand-cranked coal forge that I built, it works great but it's kind of a production to drag it out of the shop in the winter. I'm looking forward to cookin' with gas!
-
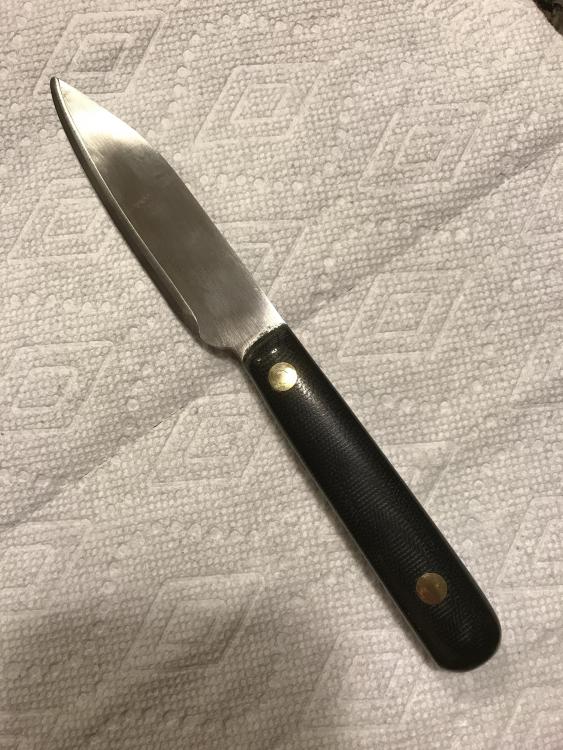
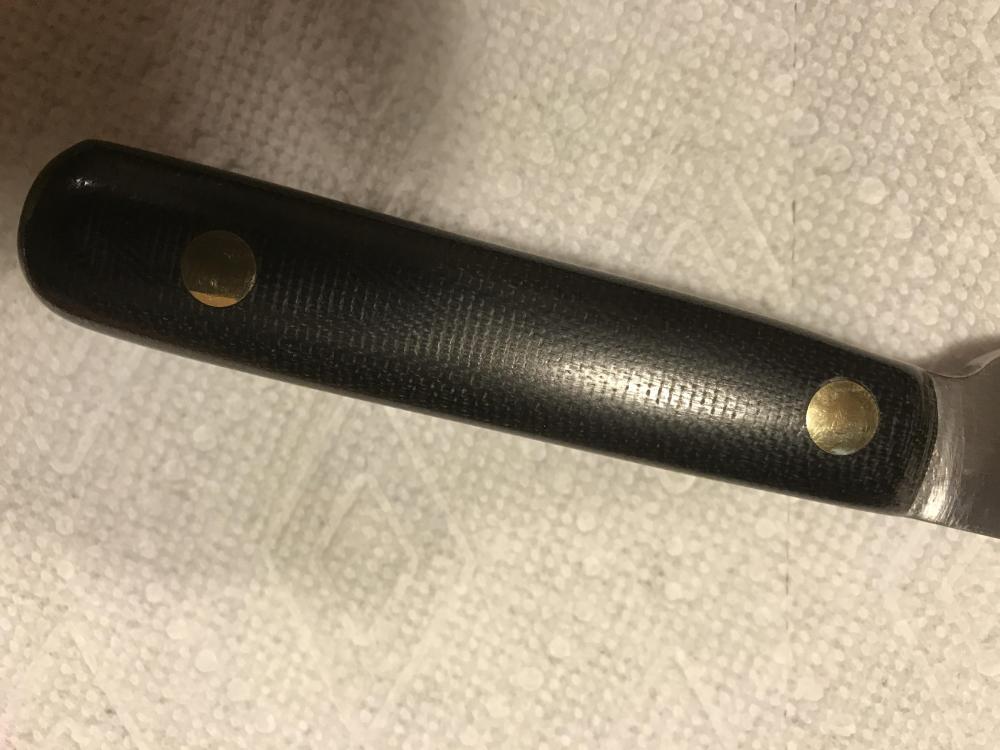
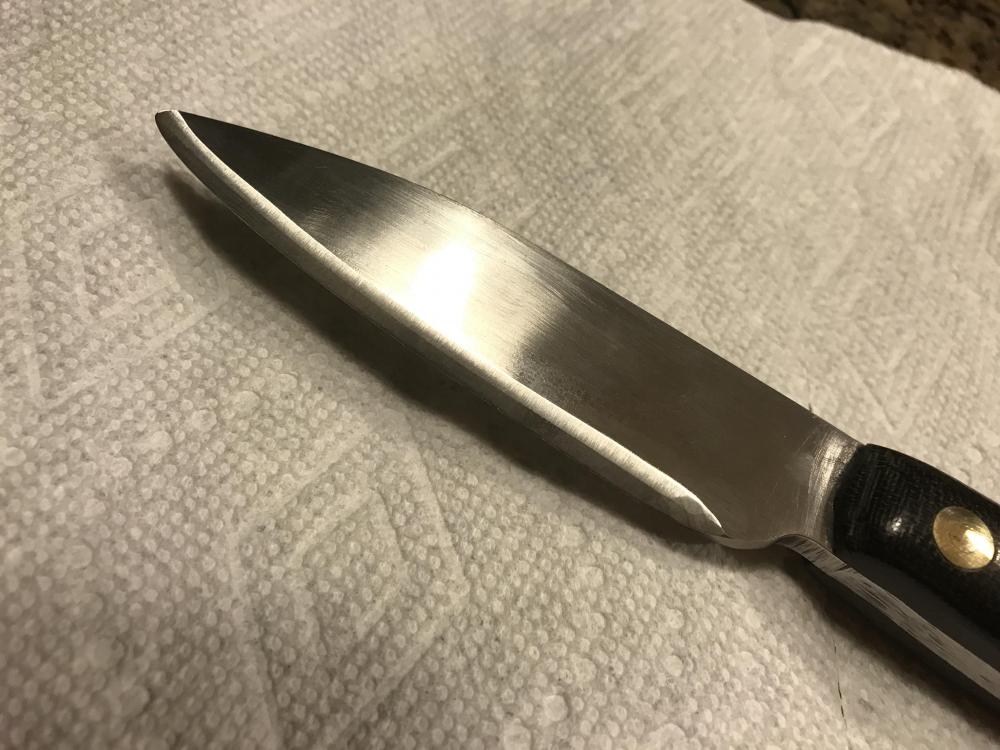
So I've made a few knife-shaped objects from RR spikes, but this is my first actual, hardened blade. I took a 2 day class at Tiller's International (look them up, they have a TON of great weekend classes, for the whole family) taught by Tim Carr. Tim is an excellent instructor. The knife was made over two days from a coil spring with micarta handles. Sorry for the poor pics. Blade is about 4 inches long, total length about 8 inches. Things I learned: 1. Basic hammer control is VERY important. 2. I hate sanding. See #1.
-
I wear mine because I got tired of my wife and daughter holding up my Tshirts and laughing at me through the holes around the belly.
-
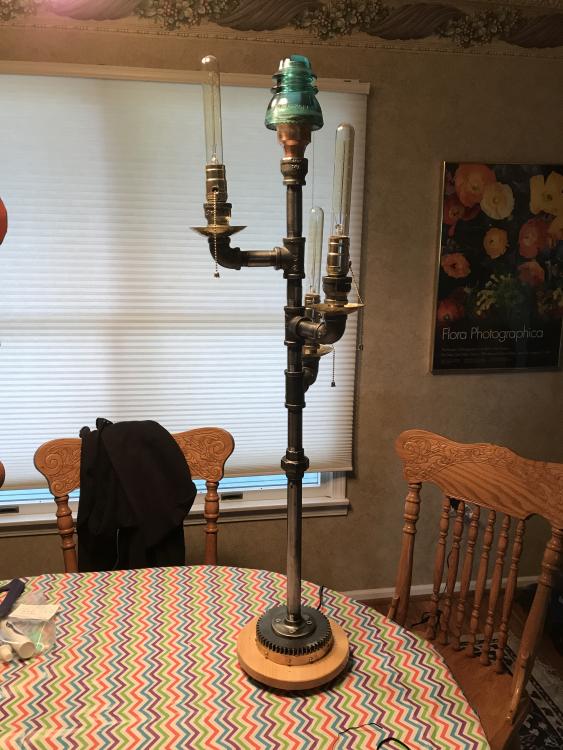
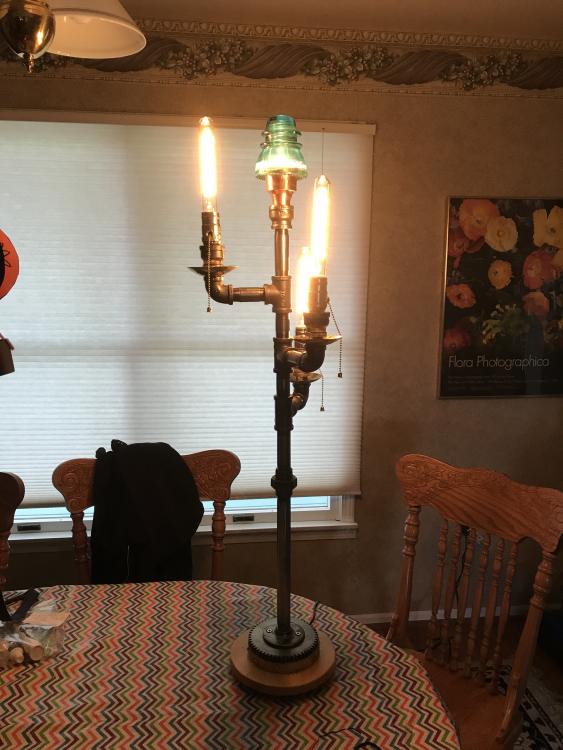
Daswulf, the insulator is just sitting on top of a copper reducer I flanged out over the horn of my anvil, so it's a large enough diameter to fit inside the grooves inside. I was going to silicone it in place, but you need to be able to remove it to change the light bulb inside.
-
No forge work, but finished up this lamp for a friend.
-
Ring forms - I have several industrial fire extinguishers of various sizes that failed their hydros and they are invaluable for making nice circles. I also use the bottoms for dishing.
-
Can you make me a sword?
-
Hey all. I live in Bay City, Michigan, right here (points at hand - if you're from Michigan, you get it). Anyway, we have a long history of shipping on the Great Lakes in and around my area. My father is a marine historian and has accumulated his version of a blacksmith's scrap pile. He has gifted me with a few ship lamps that I'd like to refinish. The body of the lamps is galvanized, very little brass fittings. The galvanized coating has gone kind of rough and chalky. Anybody know of a way to clean this up? I thought about a vinegar wash, but I don't necessarily want to strip the coating, just clean it up. Thanks!
-
When you get to Michigan, look up MABA, the Michigan Artist's Blacksmith Association. They have a listing of affiliates around the state, and it's likely there will be a nearby group you could go and check out. Many of the old timers in the groups have or can find specific tools pretty cheap, plus you might be able to use their facilities to make your own.
-
Thanks. THERE'S a visual I'll never get out of my head - An entire smithy full of shirtless blacksmiths....(If you knew the guys at the local blacksmith club, you'd shudder too...)
-
Well, looks like now I know who my competition is..... Yep, the next bid would have been $162. Sounds like you got a good deal on it. Are you part of the Midland group? I haven't been down there in a while, life keeps getting in the way. I need to try to make it back down. Enjoy your vise!
-
You're missing a marketing opportunity - some people will find the term "xxxxxx corkscrew" insulting. Market it as a LEFT HANDED corkscrew and you'll sell hundreds!