671jungle
-
Posts
455 -
Joined
-
Last visited
Content Type
Profiles
Forums
Articles
Gallery
Downloads
Events
Everything posted by 671jungle
-

What did you do in the shop today?
671jungle replied to Mark Ling's topic in Blacksmithing, General Discussion
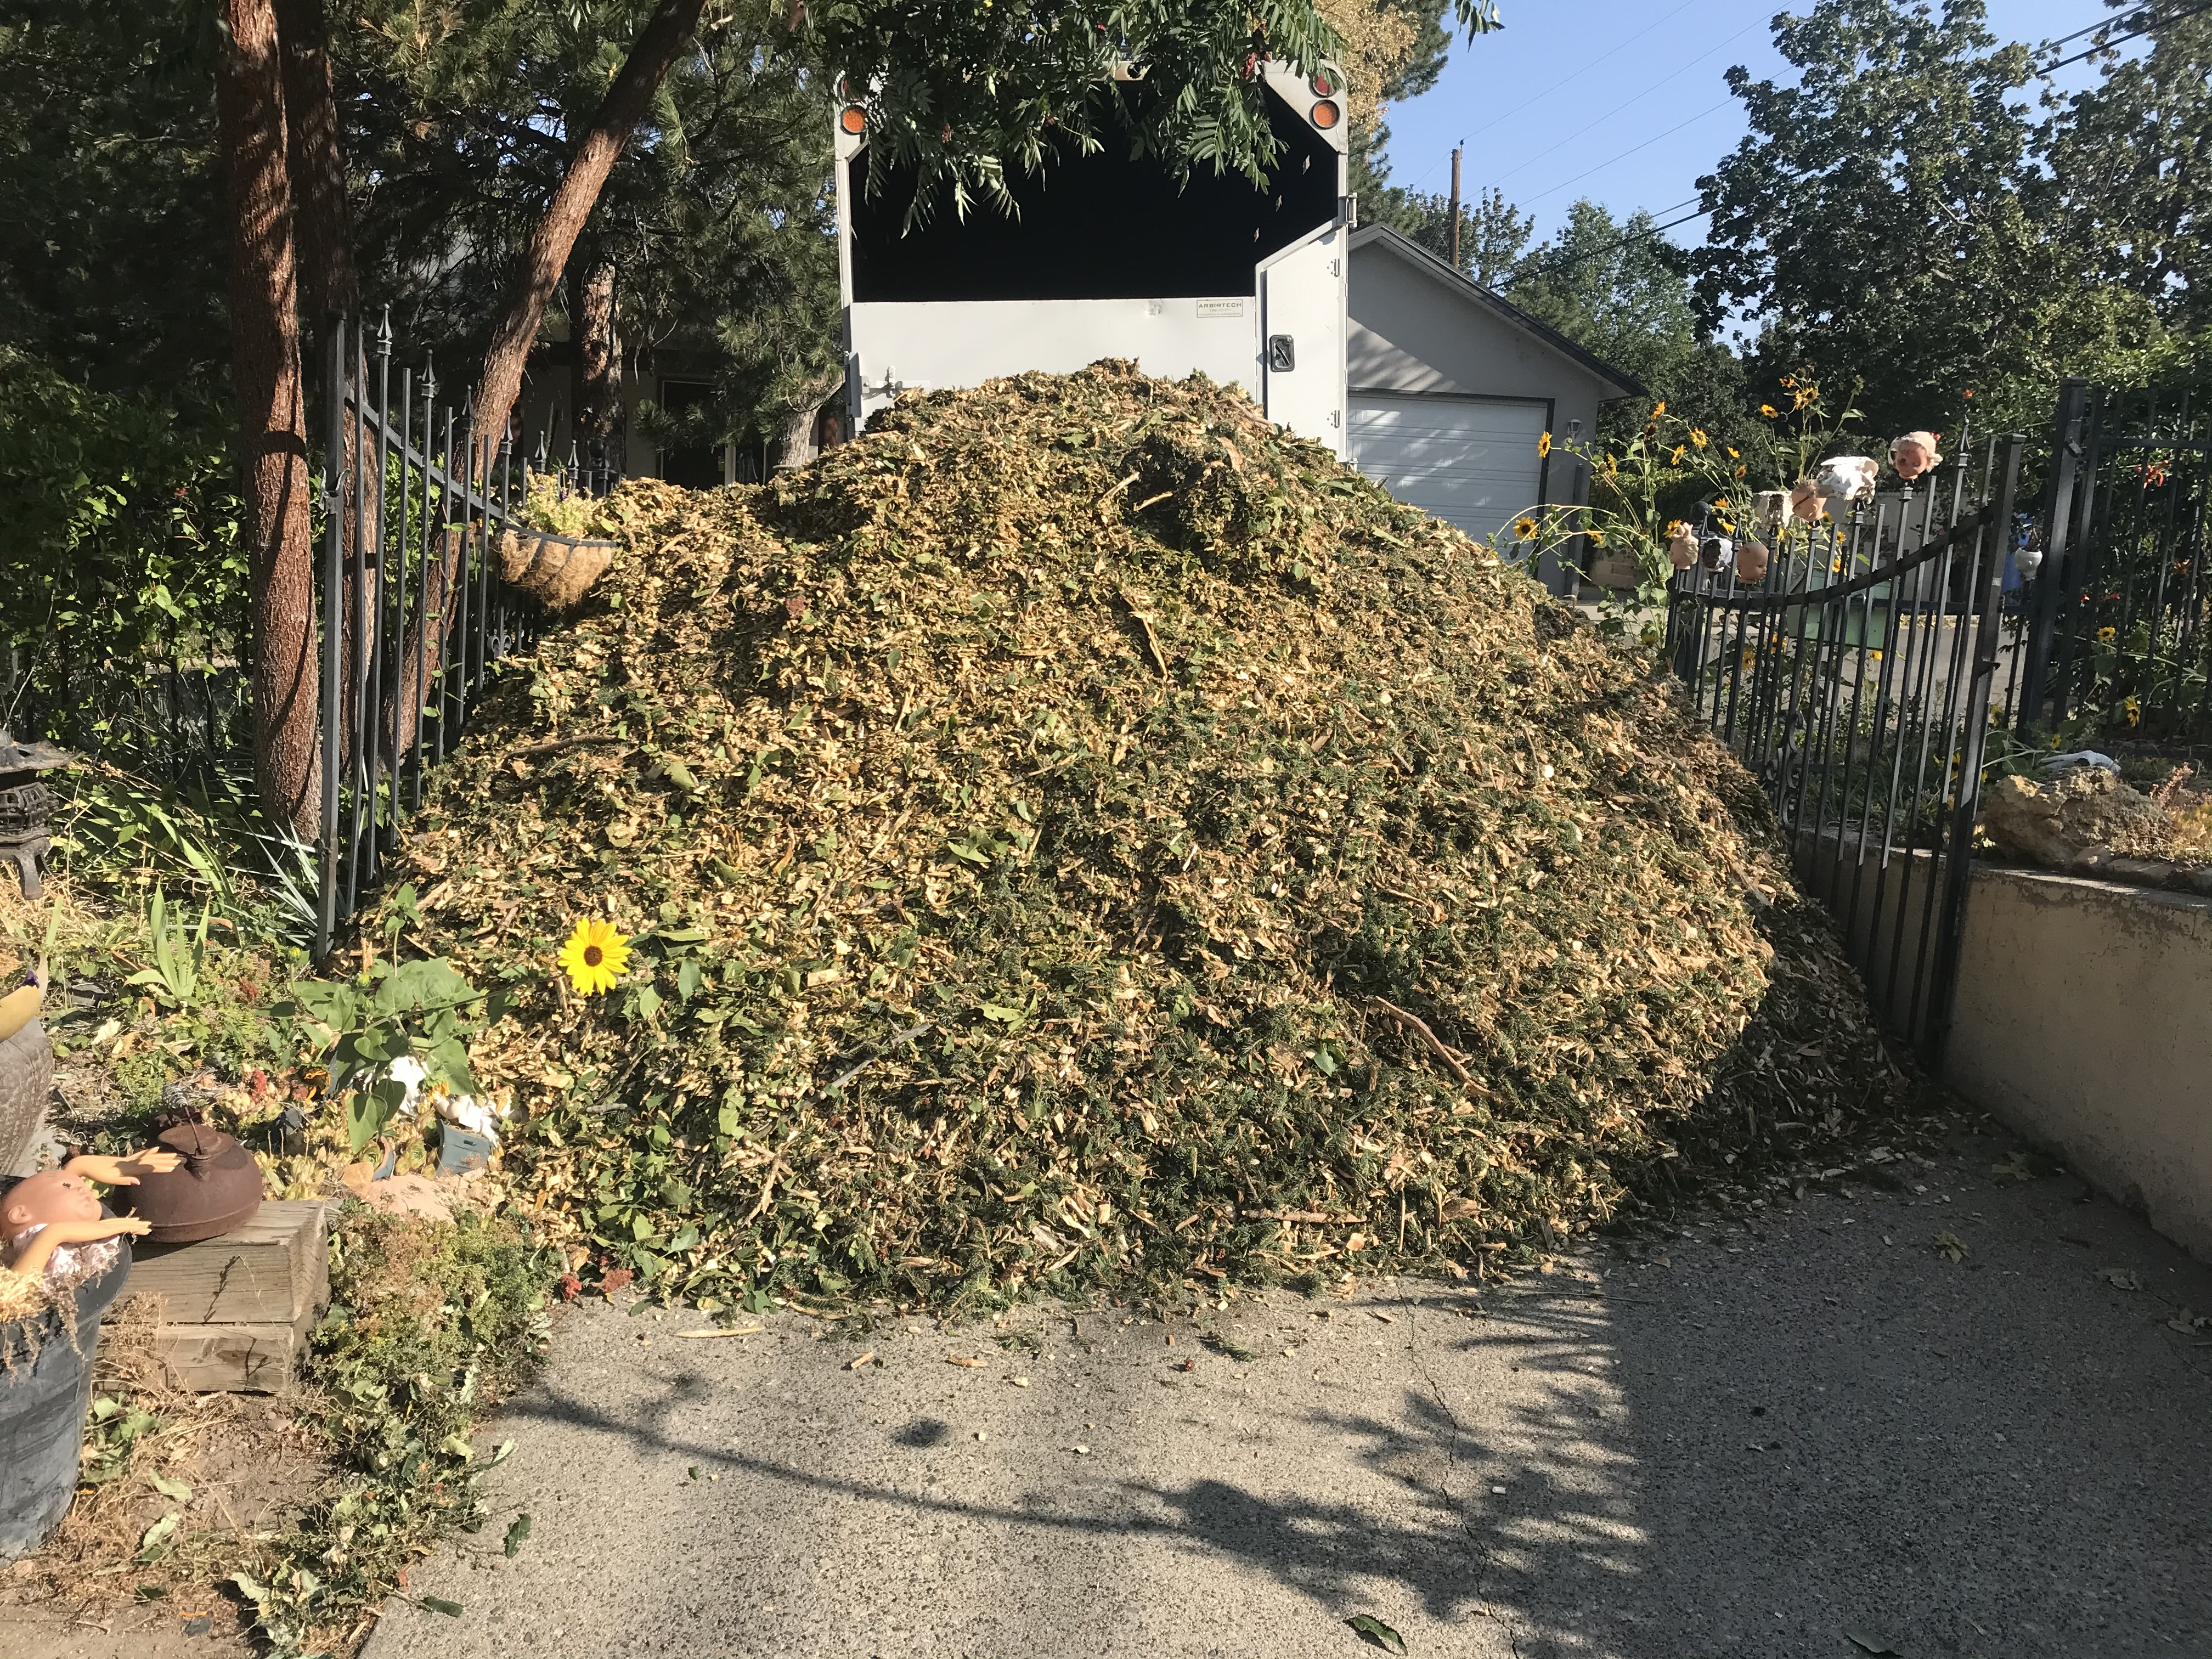
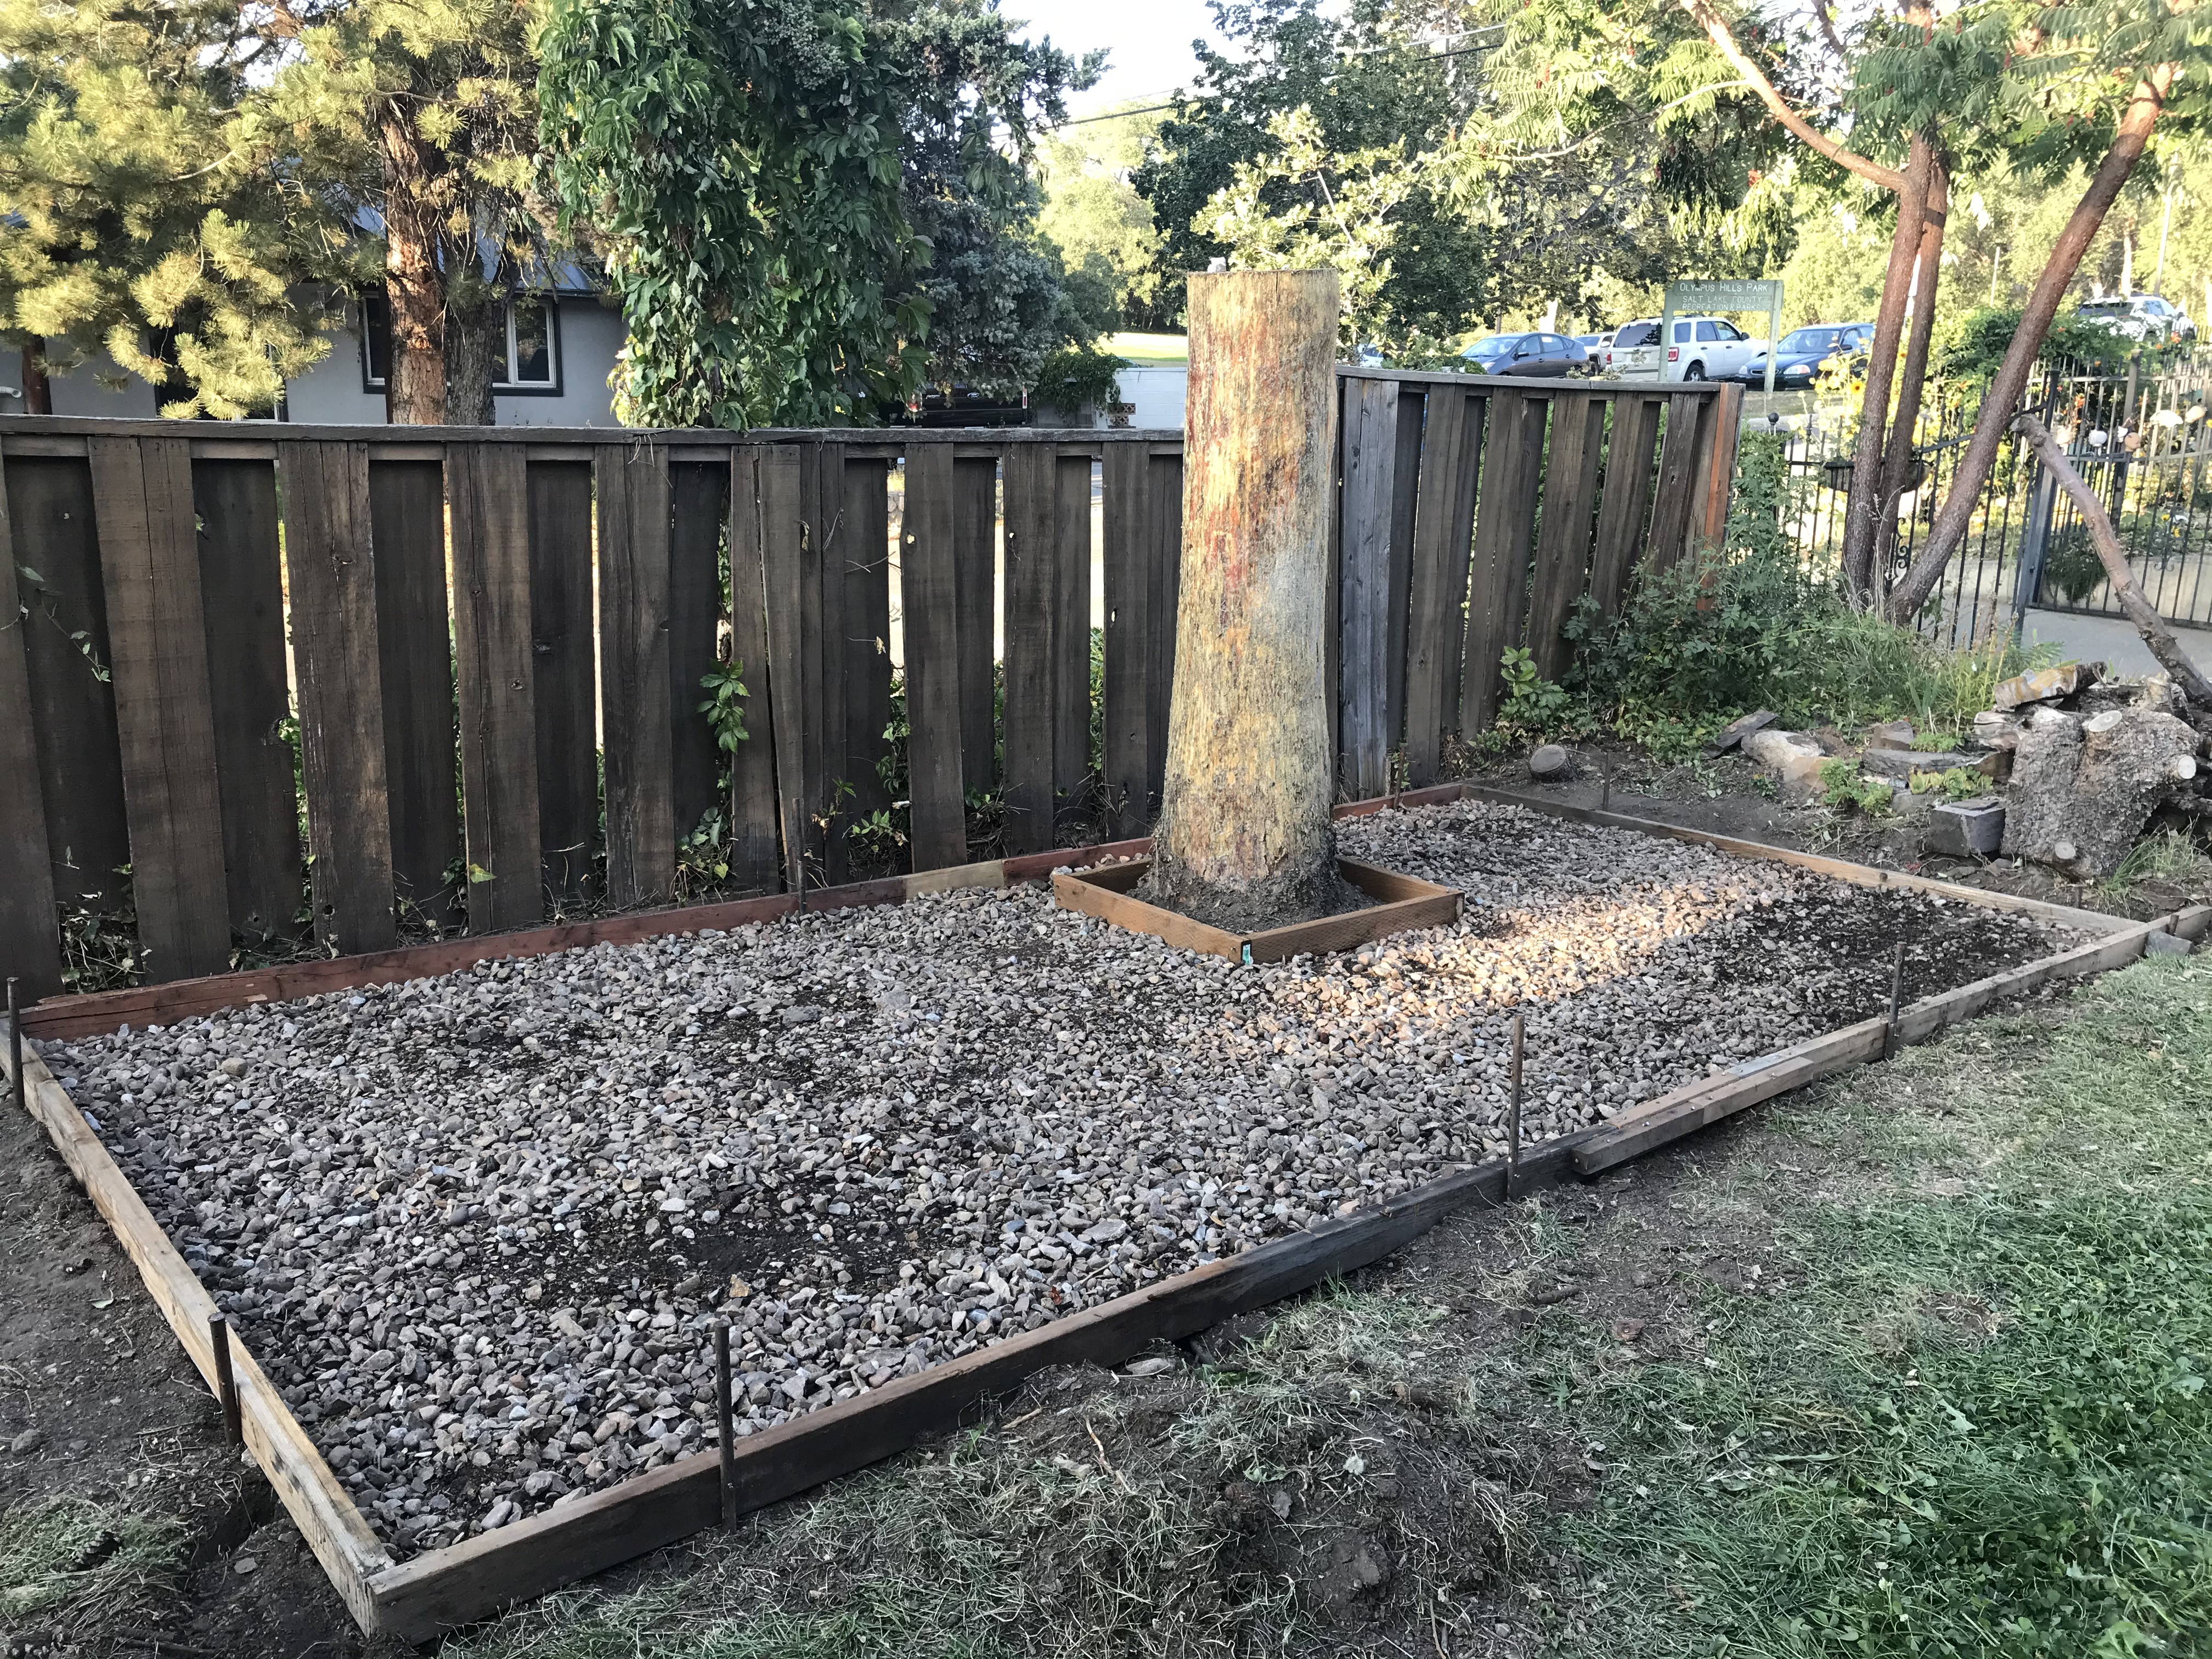
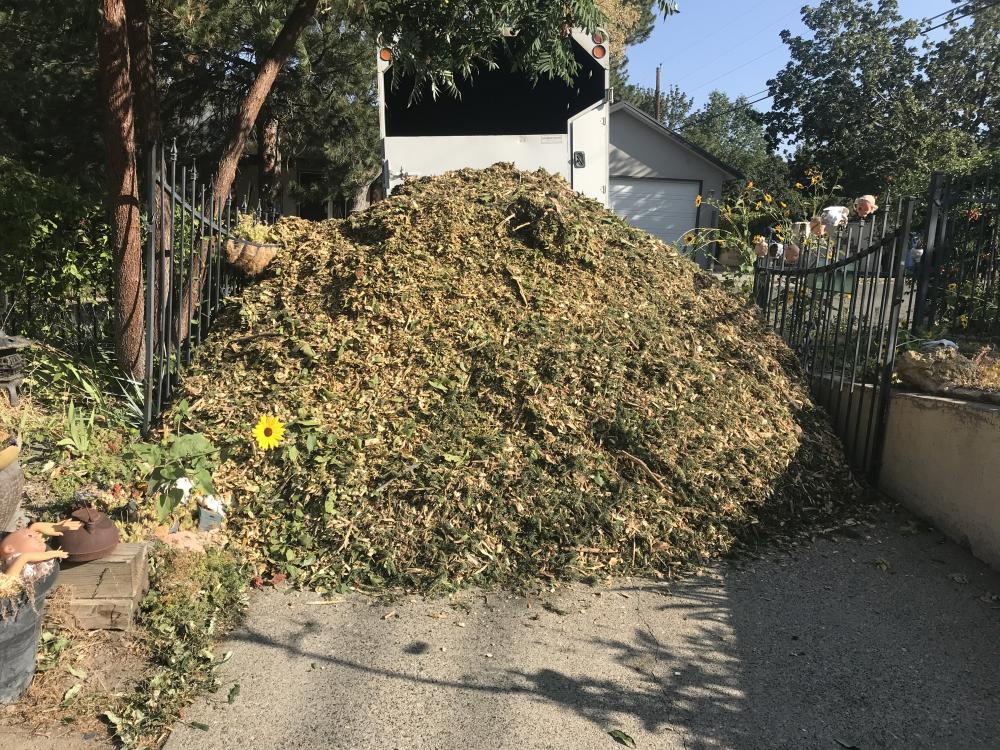
Nice work everyone has been cranking out! I have been busy with non forgings but shopish related. A few months ago I was bitten by a 11lb rat terrier chihuahua. The injuries left me out of heavy work with my hands up until a couple weeks ago. Anywho, with the recent wind storm here in Utah, we thought it a good idea to order a chip drop (online website that contacts tree services who need a place to dump their wood chips. Catch is you must take the whole truck load.) We moved the whole pile of english walnut throughout the garden and piled in various spots by hand in about 10hrs. Had one day to recover before fetching some free gravel and preparing and laying out the shop build. The Shop was originally going to have a dirt floor, but we decided to pour a slab. 8'x16' with a man door and a larger equipment door.

-
What did you do in the shop today?
671jungle replied to Mark Ling's topic in Blacksmithing, General Discussion
Beautiful as always. Do you torch the patterns out? -
What did you do in the shop today?
671jungle replied to Mark Ling's topic in Blacksmithing, General Discussion
Thanks Thomas! That was the first thought that came to mind without using both top and bottom dies, although that would be very convenient. The last couple of weeks have definitely been practice on the basics and I must say it has been very satisfying to get the shapes I want even if they are simple. -
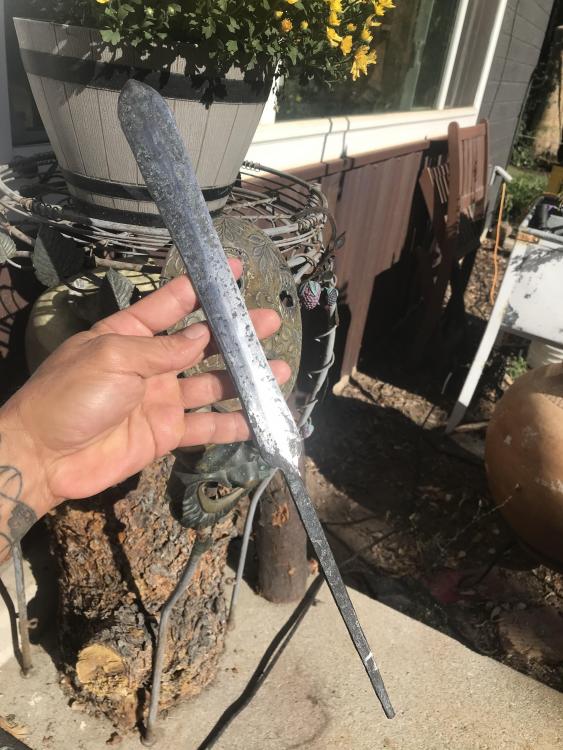
Been working on a Ida shaped bush knife. Any one have any tips on forging the medial ridge evenly on both sides? Got this one pretty close but its tricky with the blade's narrow width in the middle and widening at the tip. I saw someone using top and bottom dies.
-
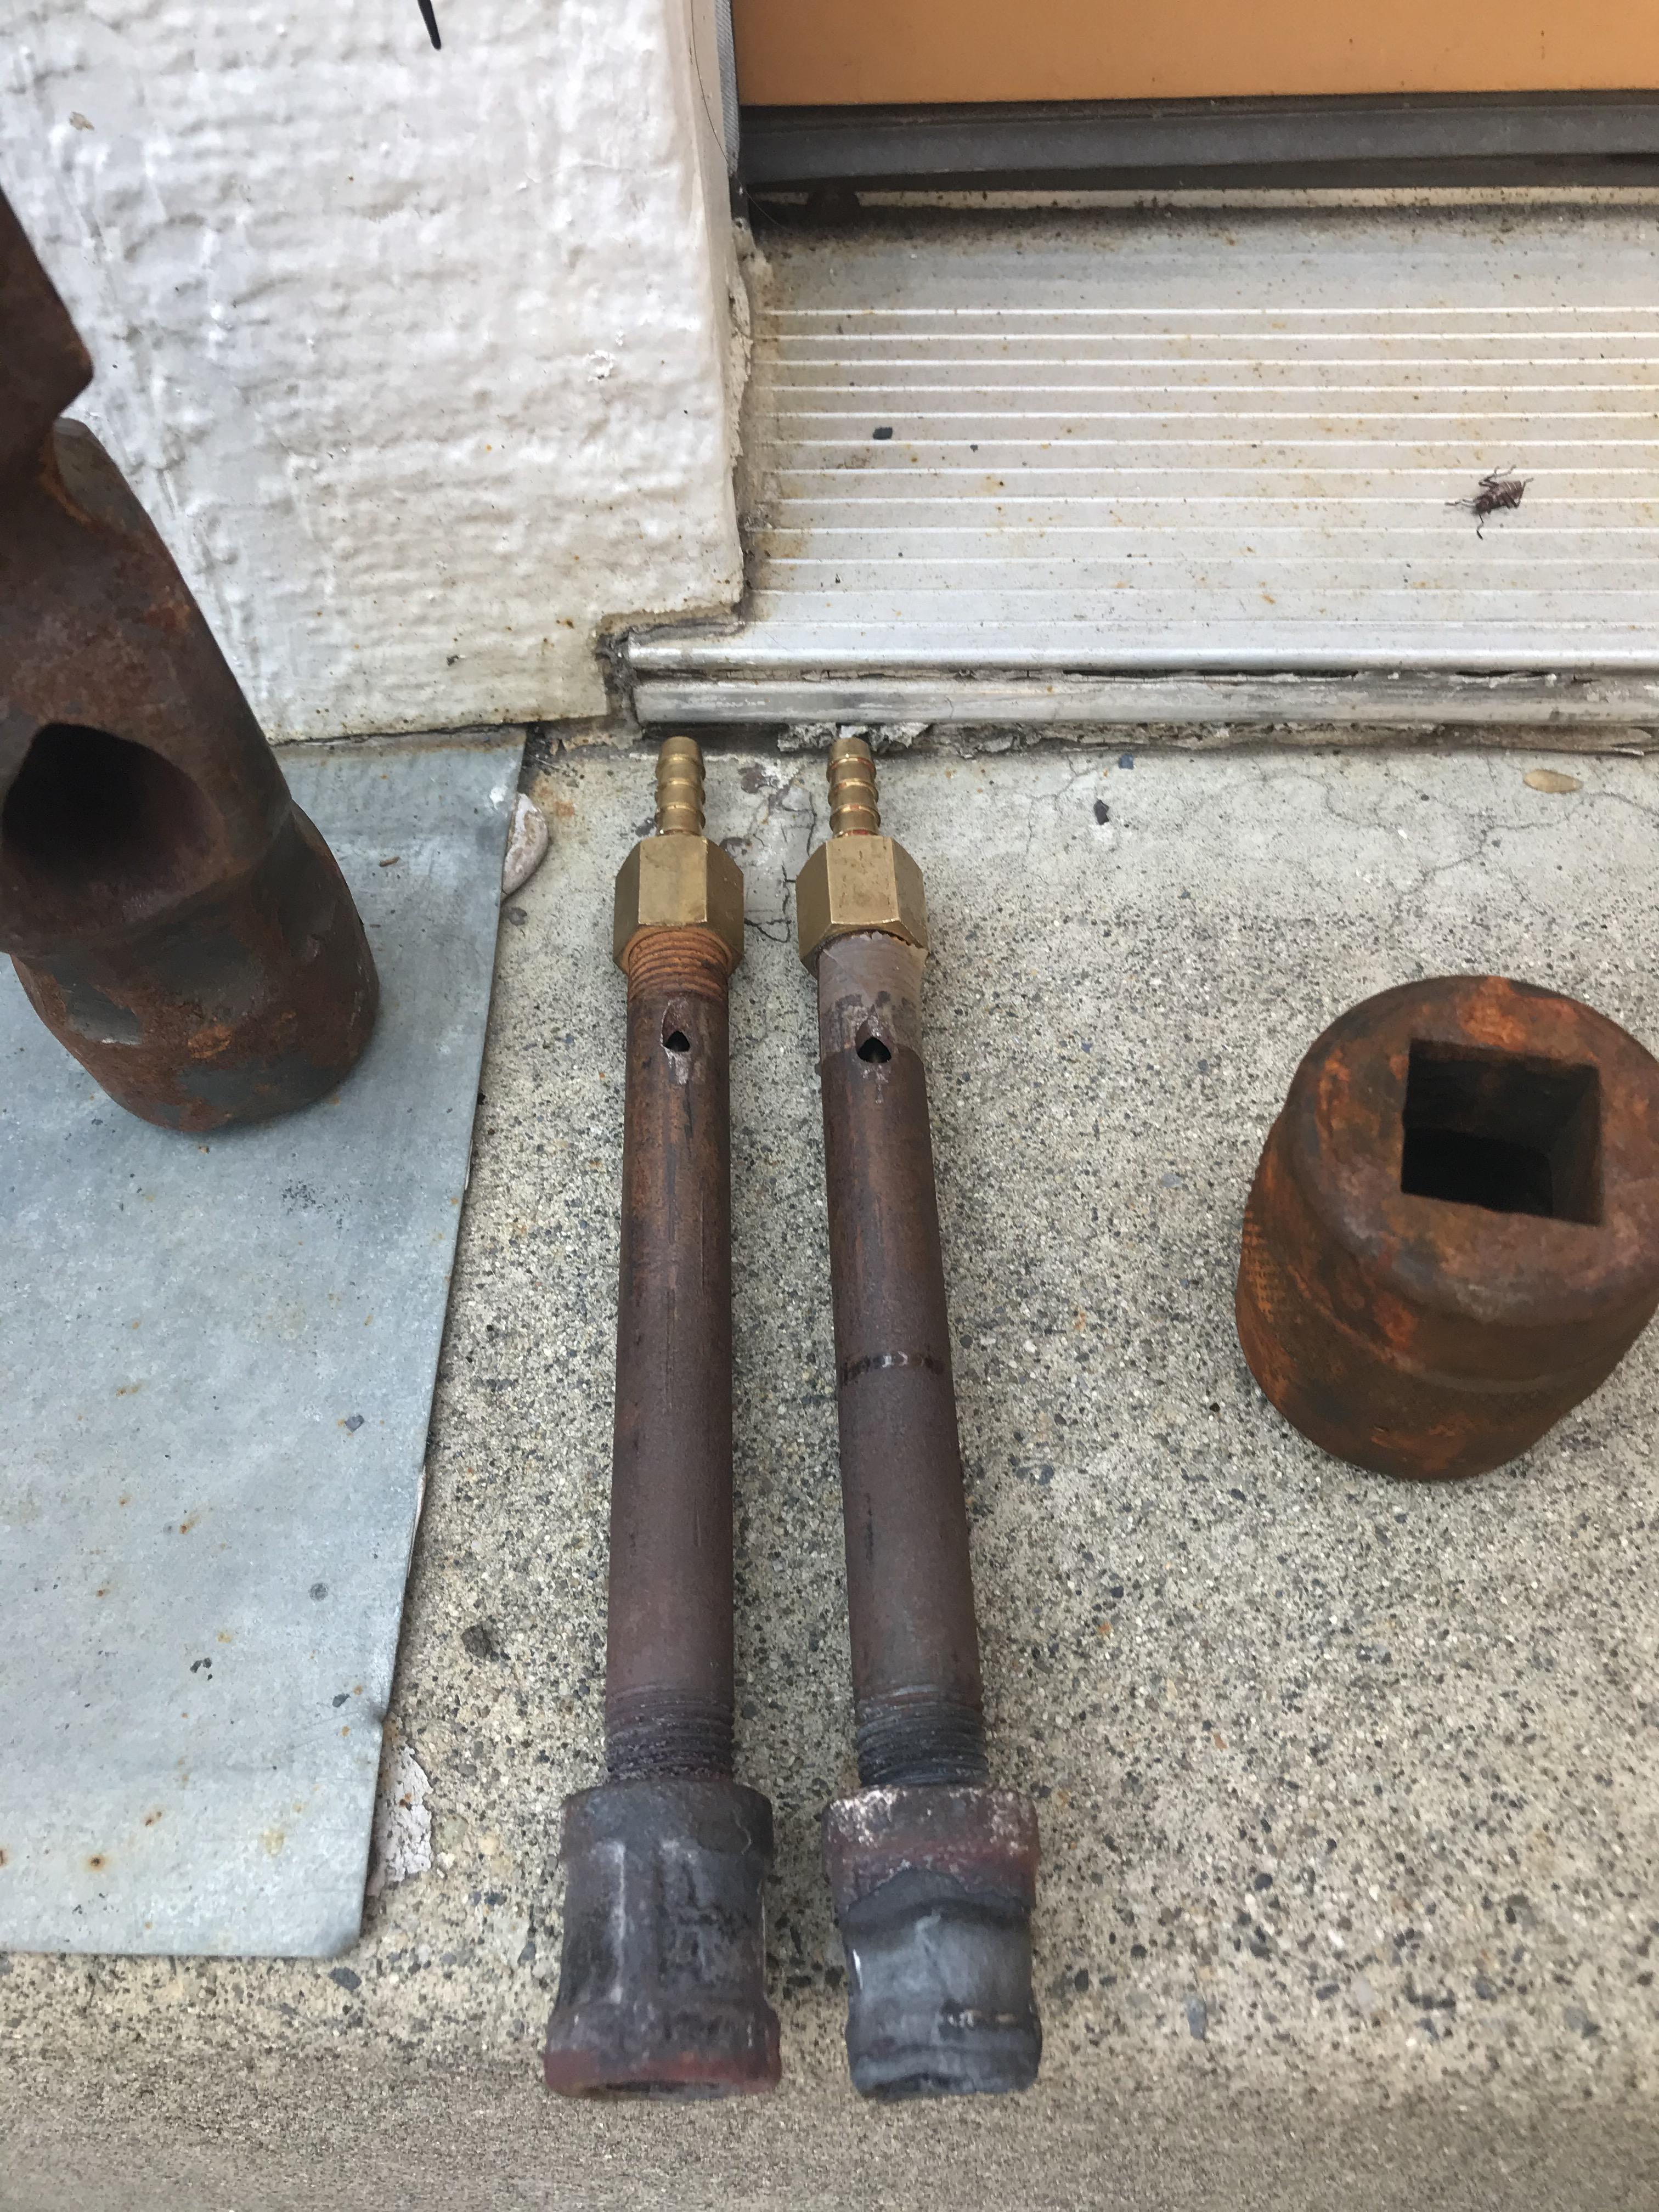
Thanks for the input everyone! I did not get any pics, but I changed out the nozzles on the existing tubes and it ran much better than in the previous video. The warp in the tube is still effecting performance to a very noticeable degree compared to when they were first built. Also the angle the burners come in still need adjusting. Today I will try to make the time and put another one together from scratch and document. I believe I made a mistake several months ago stating I used 6" long mix tubes when it should have been 5" lengths. My apologies to anyone who followed those instructions. One could have made the jet longer to meet the intakes but I think the extra drag in such small EDM tubes would result in malfunction.
-
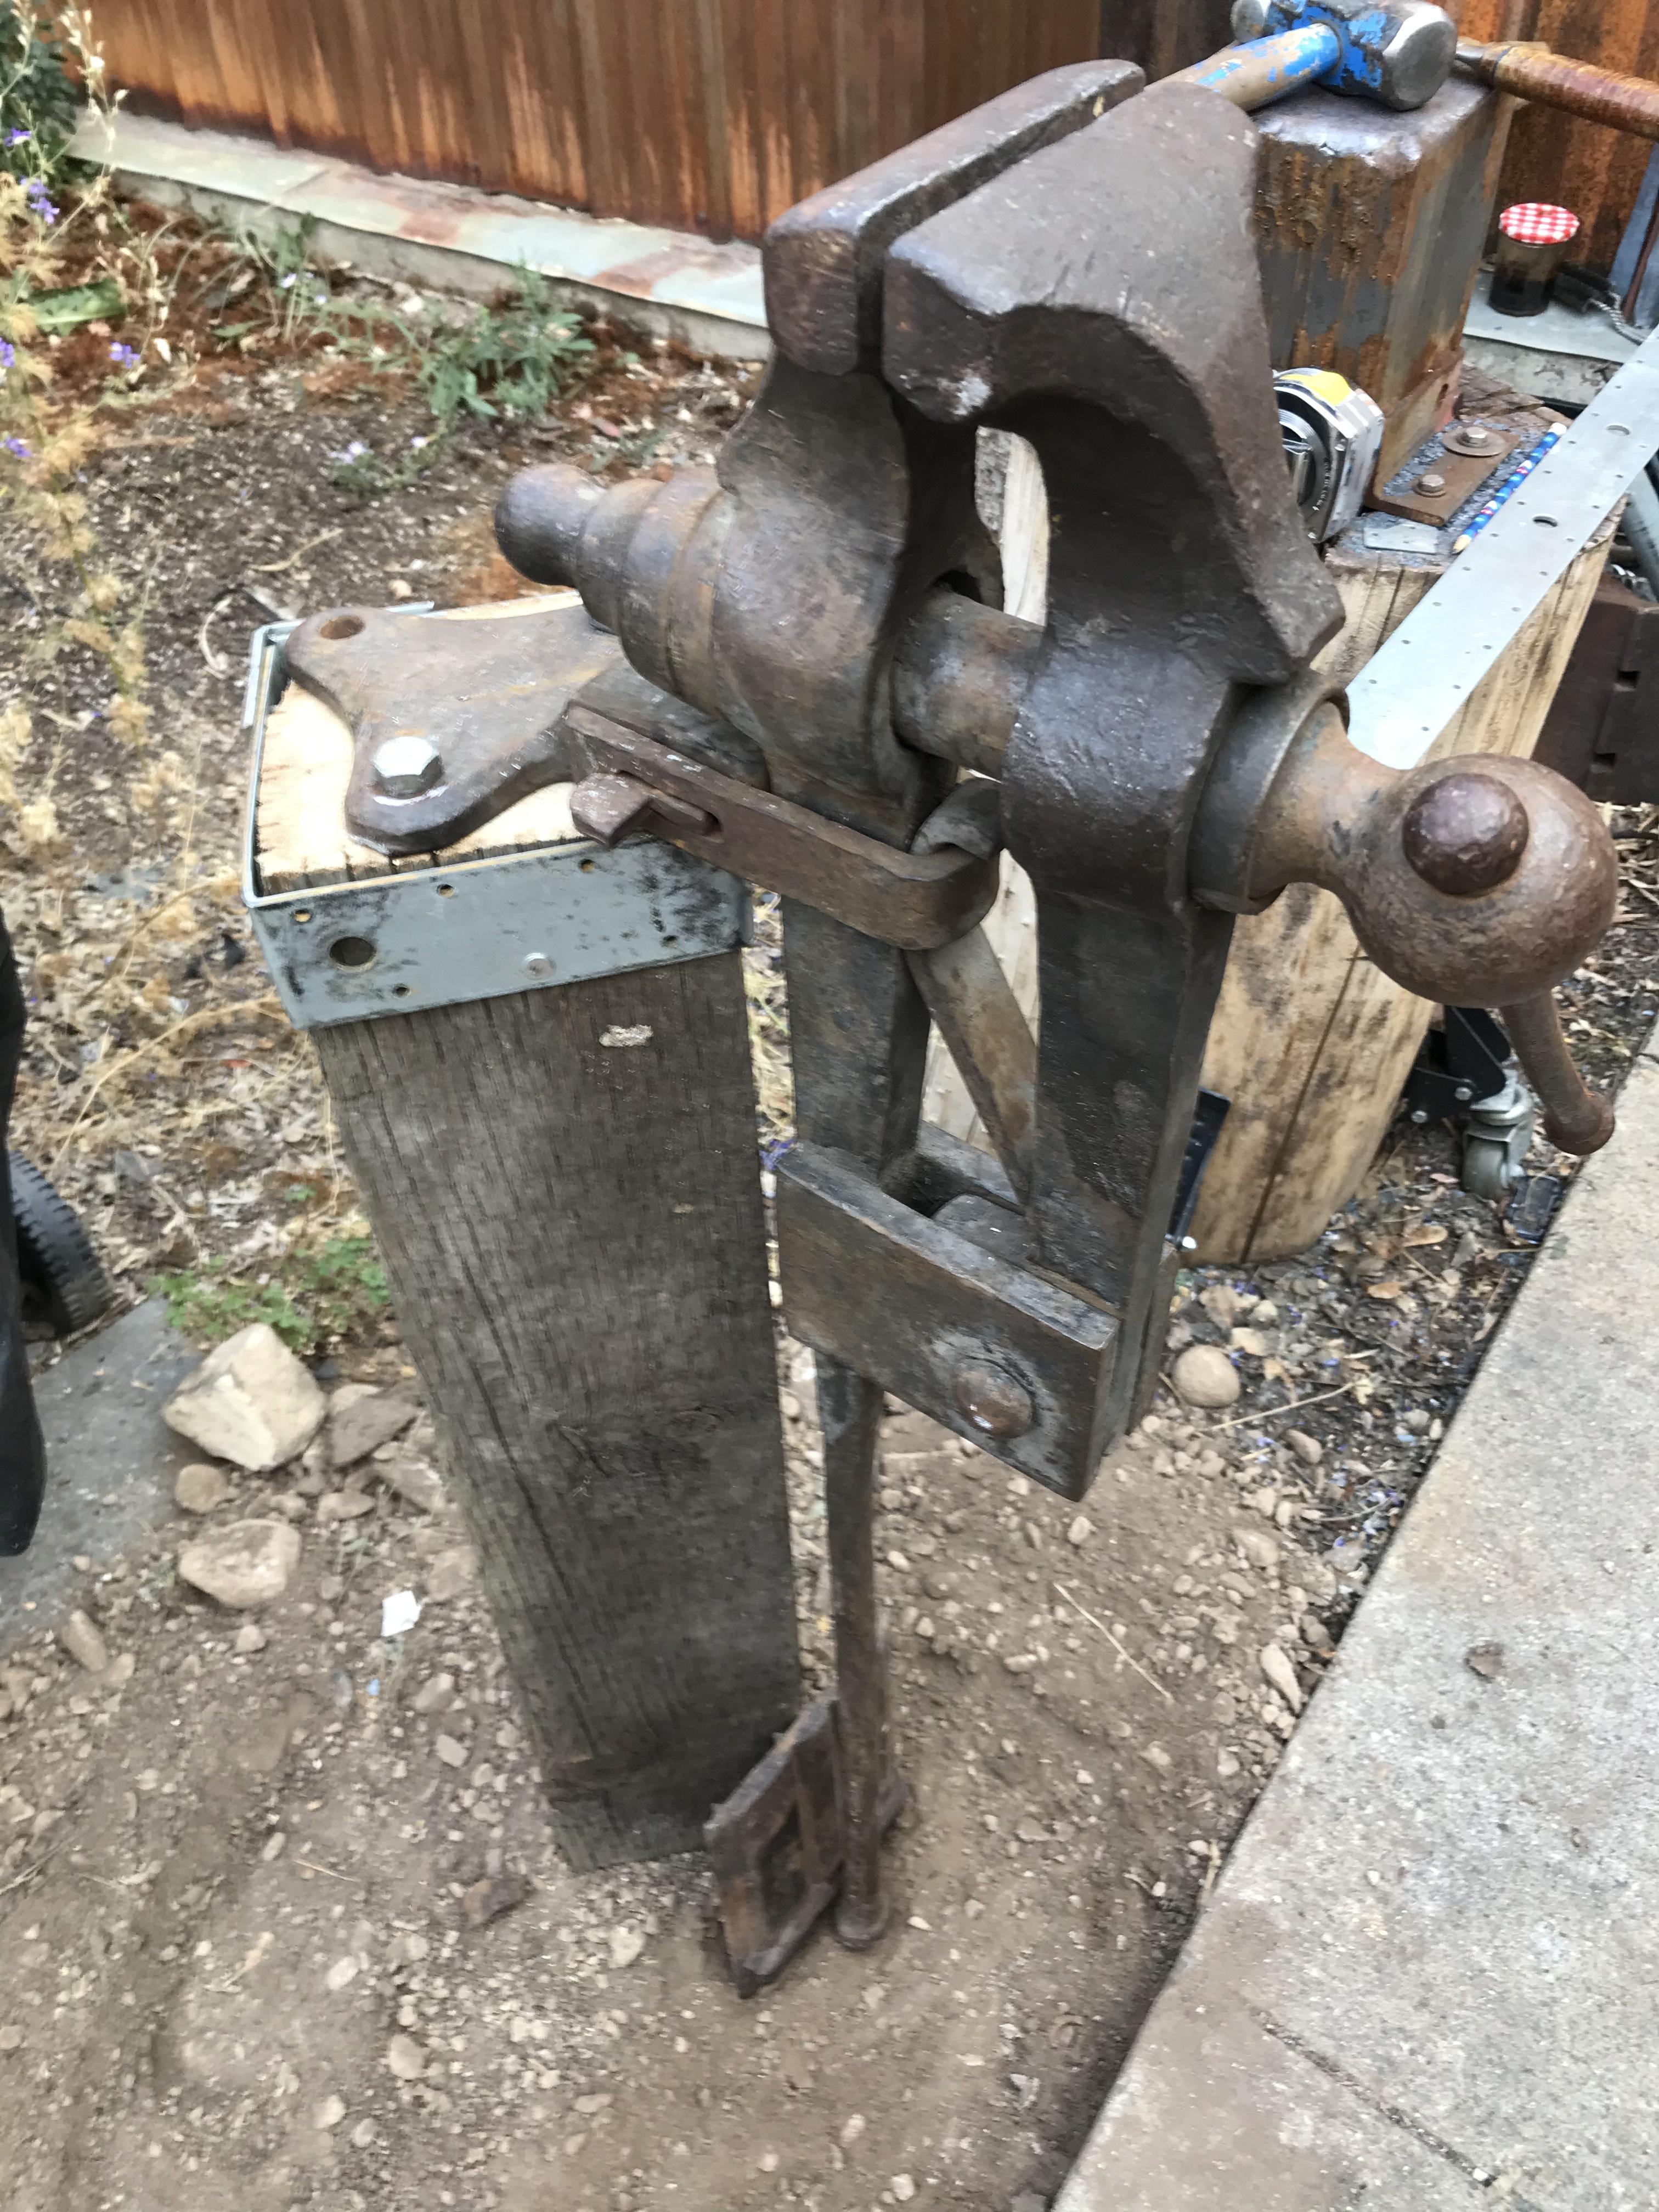
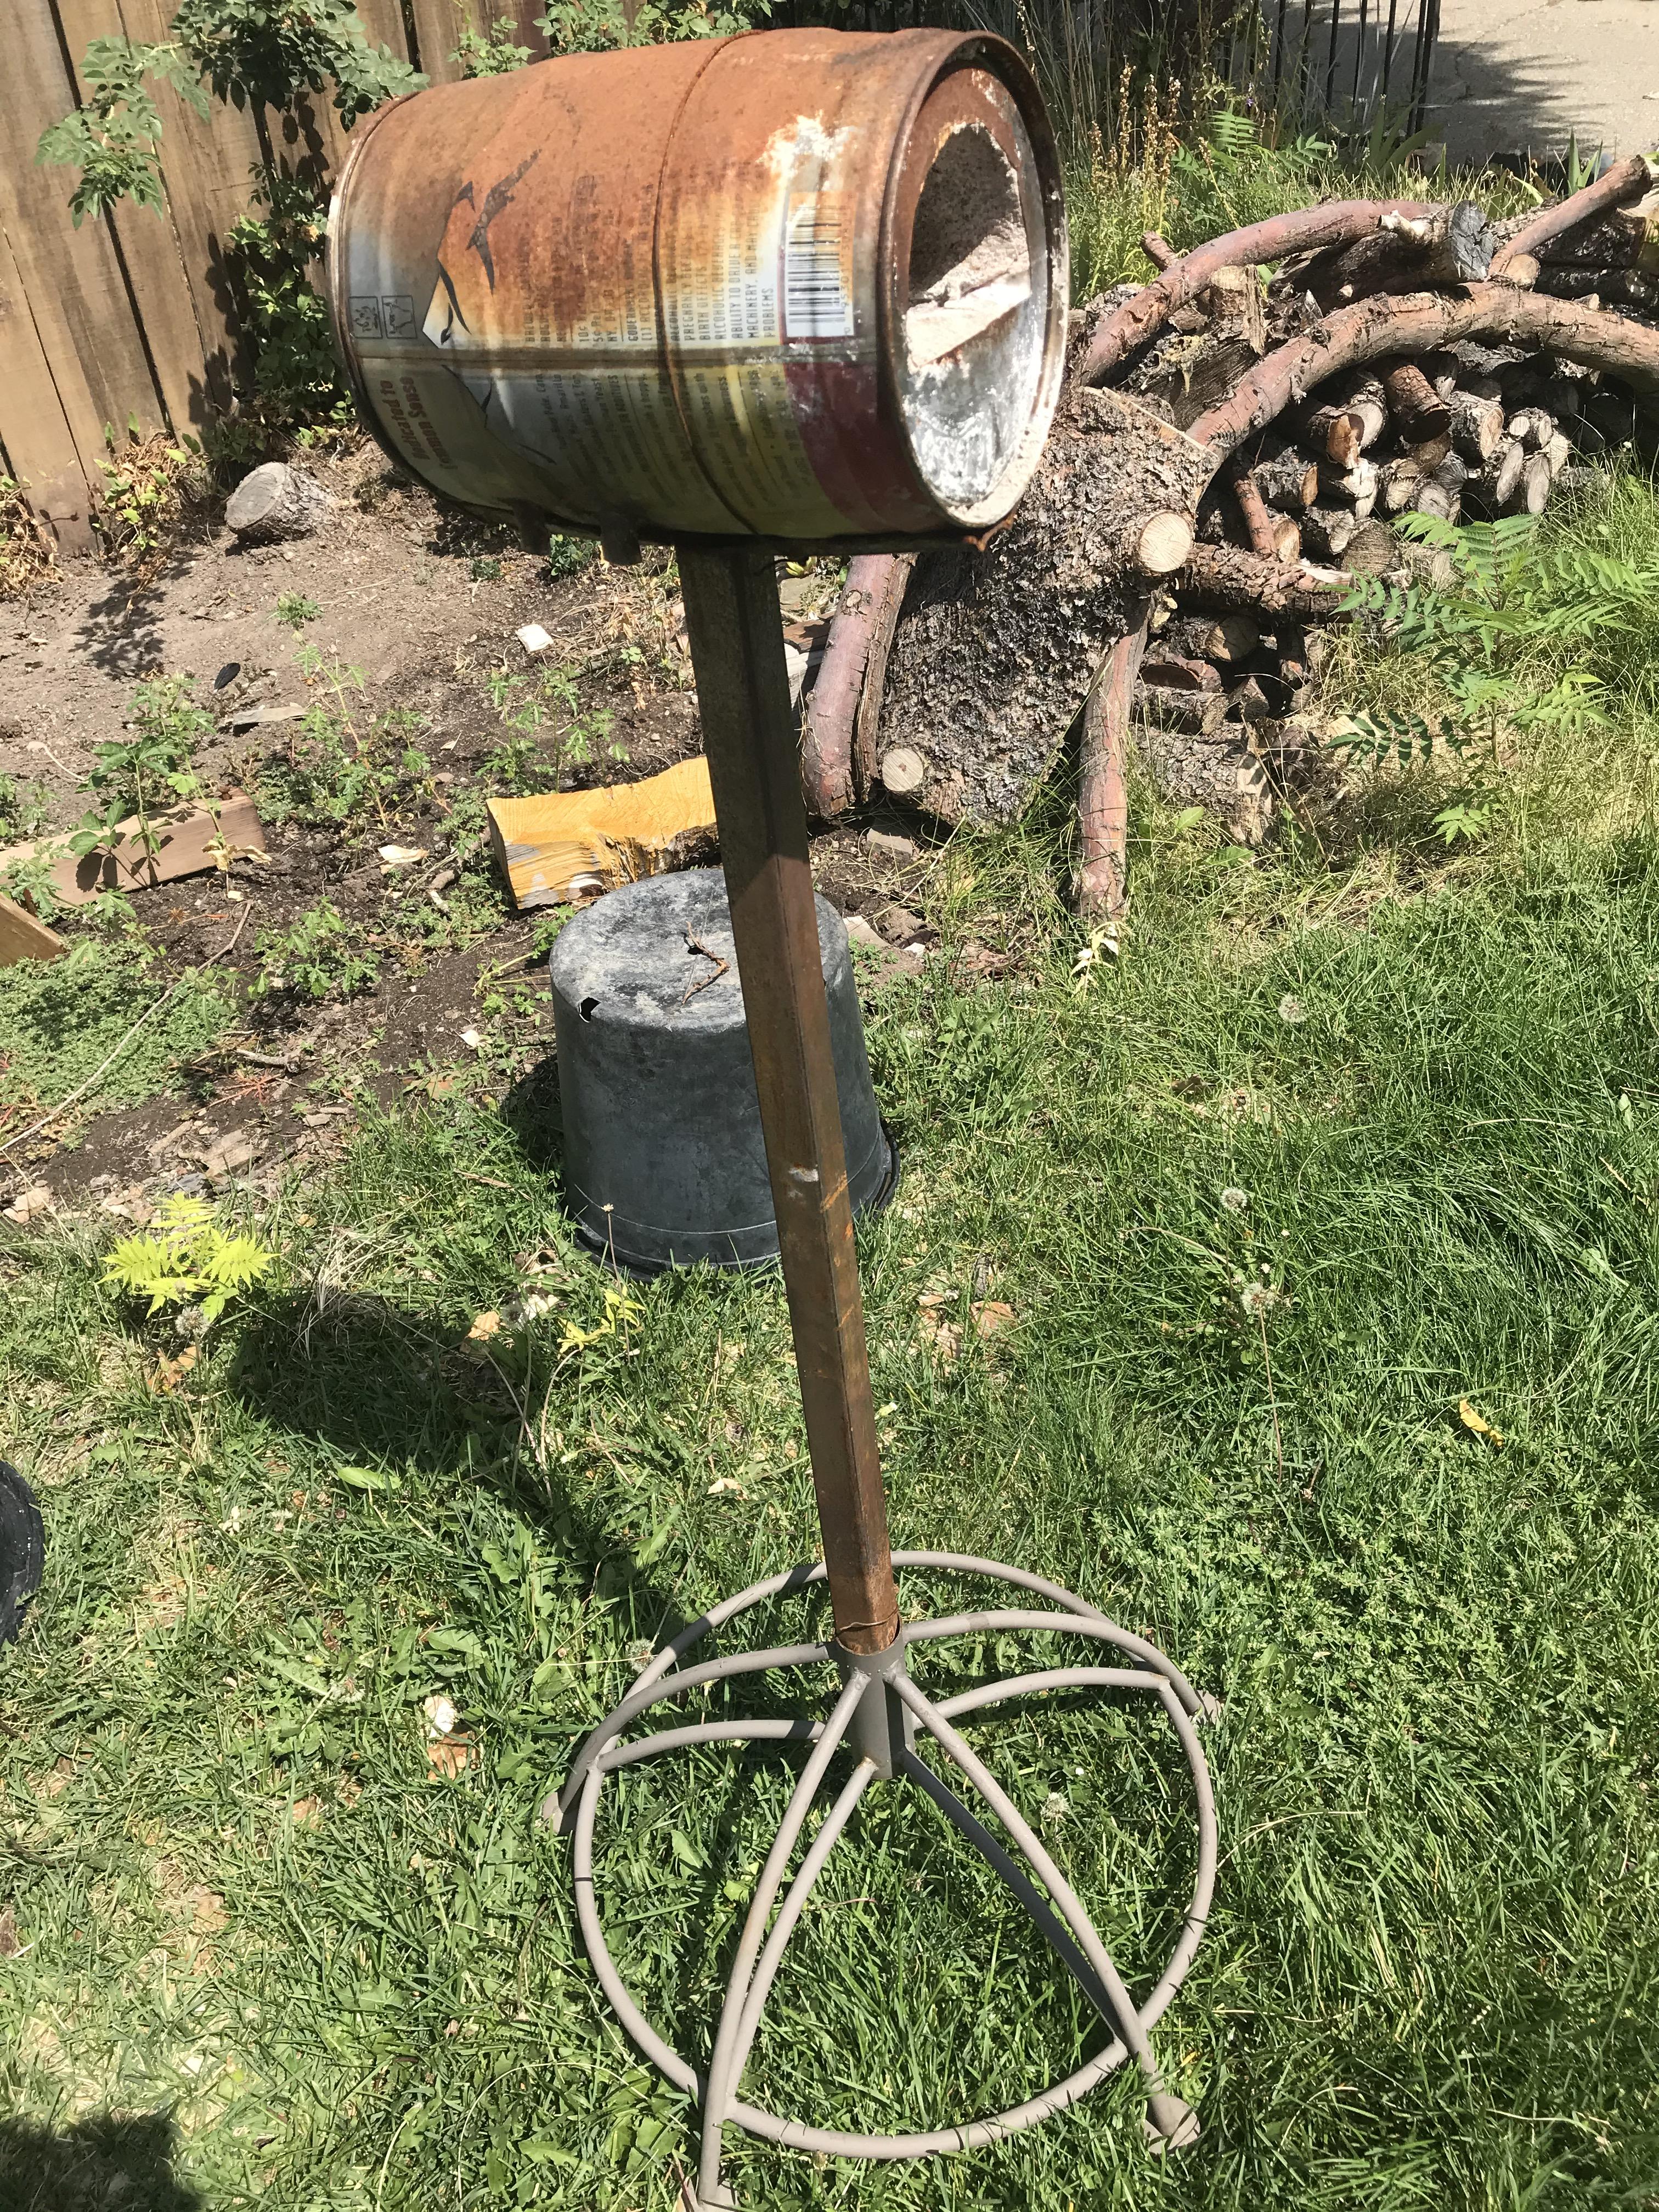
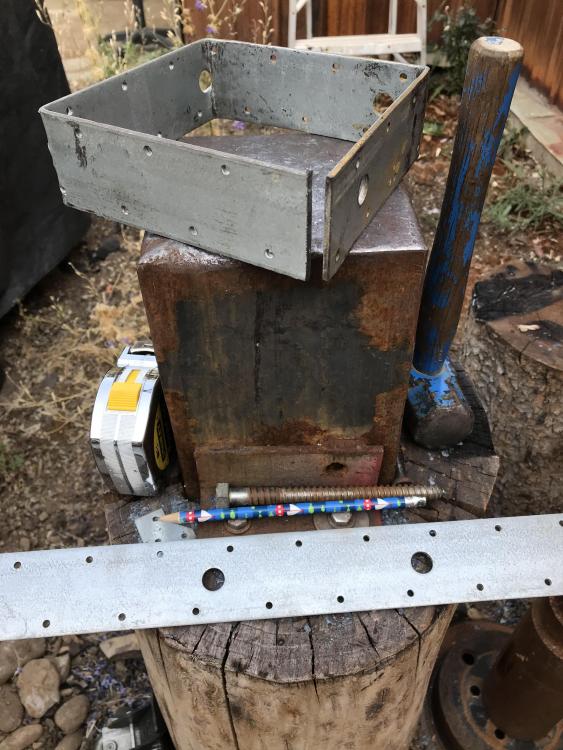
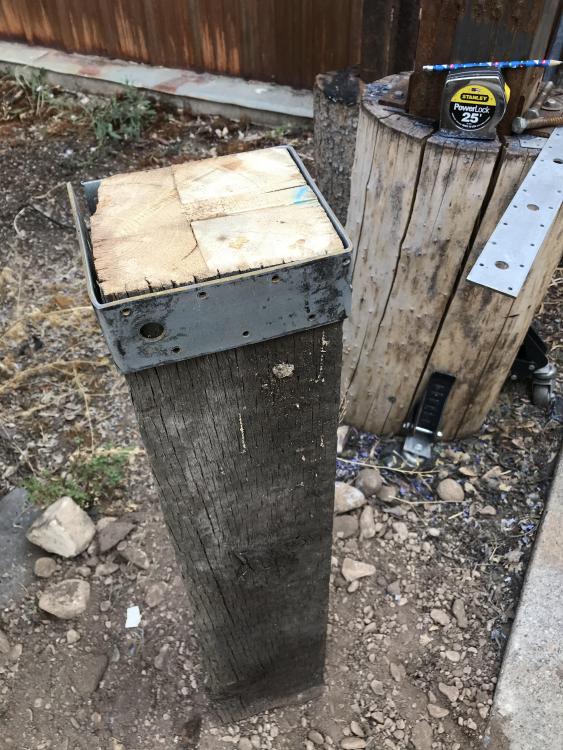
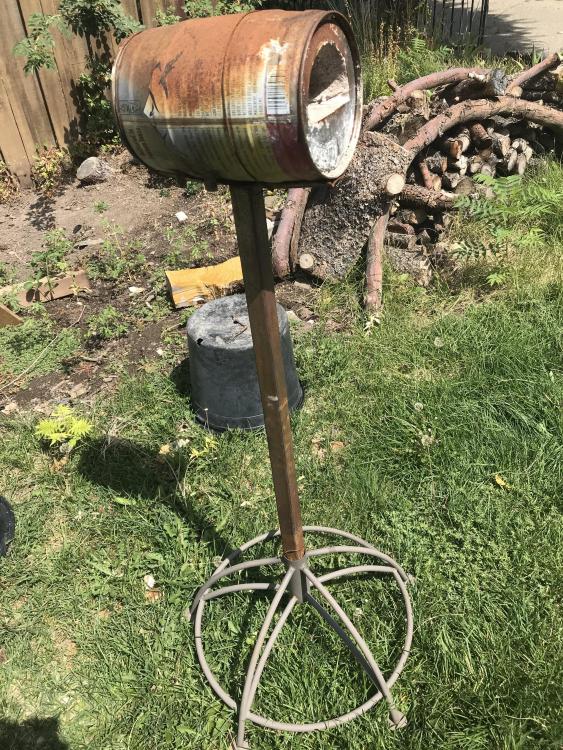
It seems to be fine but I haven't cranked on it yet. It is buried about a foot and a half then cemented in. I have yet to customize a foot for the leg. Any ideas? I was thinking of using the small rail tie plate with its existing holes but it would need to be cut to fit around the base. I do have an old sad bench vice that cracked it's swivel base, so it is sitting in the corner for now.
-
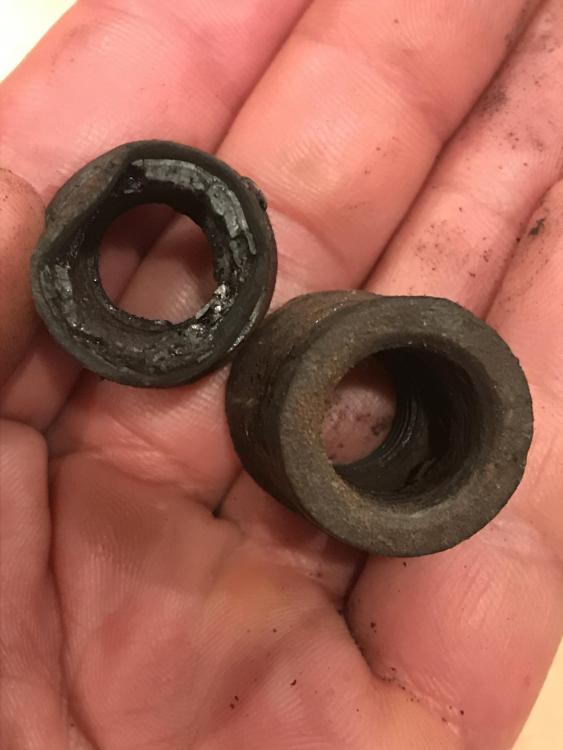
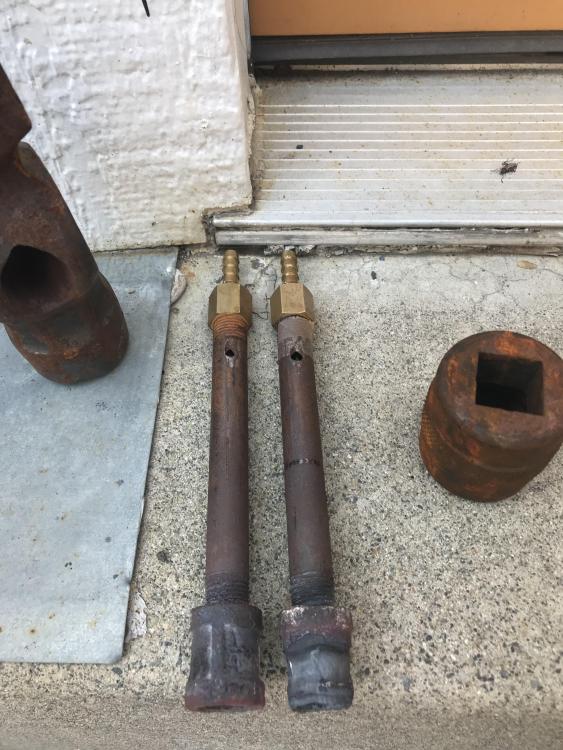
As I suspected the scale on the nozzle expanded the I.D. Causing the flame to lift. I tried to drill it out to a operatable (<is that even a word) size for a small improvement but not enough. One seriously needed changing anyway so I sprayed the nozzles with some rust loose stuff and twisted’em off but I also warped one of the little 1/4” mix tubes. So I went to the local plumbing supply and got a couple 1/4” couplings that I have been using as nozzles and pipe to replace the one I warped. Got home and realized I had bought the wrong length of pipe. Tomorrow I will trade them in for the proper length. But I am pretty sure the problem is the nozzle was all scaled up, almost to the same I.D. as the mix tube. I will take the time to make a more detailed build plan for anyone interested in smaller burners when constructing tomorrow. you can tell which burner was running lean. One of the nozzles is just pinched from the vice trying to get it off the mix tube. Oh and I meant contracted the I.D. causing the flame to lift, not expanded.
-
I meant to say ejector. It’s a take on the Mikey burner. So are Mikey’s And Frosty T’s burners ejectors? And the Ron Reil burners linear inducers? But all of them are venturies?
-
Not sure if this is the place for this. A team doing a double V forge weld using wrought iron. They work incredibly well together. I would love to be a part of a family like this
-
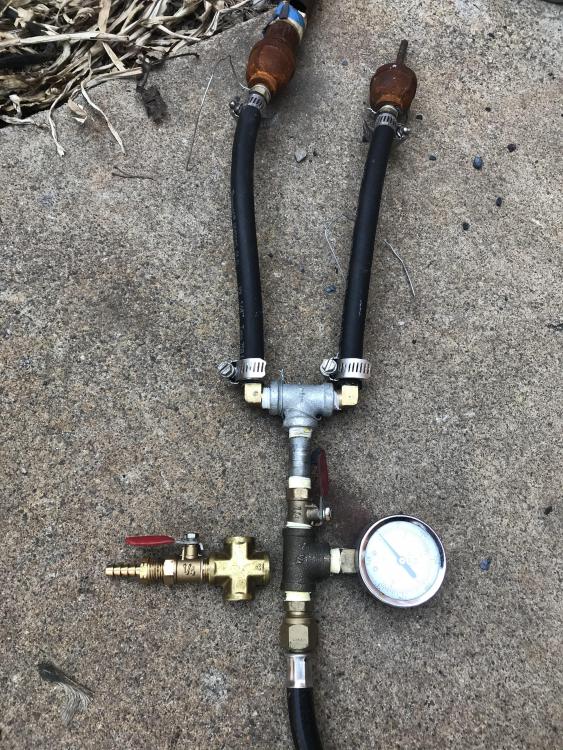
And quite possibly a nozzle to hold the flame once it gets turned up. The slow flame is due to the valve on the tank restricting flow in case of faulty equipment on a bbq or hose. The regulator will allow a controllable flow that can be turned up and allow the torch to do what its supposed to do. Only then can we determine what else is needed. right. And if funds allow, A pressure gauge too
-
Thank you IronDragon. Take the burner out of the forge and take some close up pics of the intake area and nozzle. Disassemble it if you can. Do you know what size pipe and bell reducer it is? Do you know the size of the nozzle? Size of the gas jet orifice (tiny hole in gas tube feeding fuel to the burner located in the bell reducer)? These are all critical to burner performance. Look for any debris within the mix tube and jet. Does the mixtube have a weld seam on the inside? If so, it will need to be filed out. A large rats tail (round file) will be good for that. take some pics of the burner running in low light so we can get an idea of what its doing.
-
I think the forum sells some. If not, message me and I'll send you the links to a couple places I buy my refractory from. Kasto lite 30 is what I use and what most others use as well. I wouldn't try to make some unless you really wanted to. I think Frosty and a couple others have done a bunch of experiments you can read up on to get a head start.
-
Agreed. It would be pretty disheartening and dangerous to get everything going and have the forge crumble. When relining, make sure there is at least two inches of rigidized ceramic blanket under the final layer of hard refractory. If the blanket is not rigidized (hard), you will need to do this yourself before putting the refractory cement over it. Use a respirator while working with both the refractory cement and ceramic blanket. The blanket is more prone to becoming airborne after it has been vitrified
-
It looks like the burner is much too far in the forge. It will need to be slightly recessed into the shell. Can we a get pic of the entire burner and its components out of the forge? Maybe even a pic of it running. Also, you will need to make a couple baffle doors to help trap the heat within the forge.
-
I really suggest reading up on the gas section of the forum. Especially since you just admitted you know nothing about propane. As far as the pictures are concerned, clicking on them after they have been uploaded but before submitting will give an option to resize.
-
Don't know. We need more info.
-
this is an adjustable propane regulator. You will need a psi gauge to go with it. This will be how you adjust the heat in your forge. It will hook up to the tank just like a bbq. Lets get some photos and diameter of the burner as well as the jet introducing the fuel. Also, if the other end of the forge is as open as the front you are losing a lot of heat and money. I, like others will recommend reading up on the gas forges section of the forum. From there you will be able ask more specific questions to help diagnose the issues on your build and the knowledge to fix what may come up later. I just realized I repeated what everone else said above. I should follow my own advice and read before opening my
-
I suspect the scale build up on the closest nozzle has made the I.D. a good bit smaller causing the flame to lift and improper combustion. Also the angle at which the burners enter is too hard against the liner preventing flow and swirl within the forge. Two 1/4” injectors in a gallon forge
-


-
What did you do in the shop today?
671jungle replied to Mark Ling's topic in Blacksmithing, General Discussion
cool design! Kinda reminds me disney's "fantasia". The old one of course. -
What did you do in the shop today?
671jungle replied to Mark Ling's topic in Blacksmithing, General Discussion
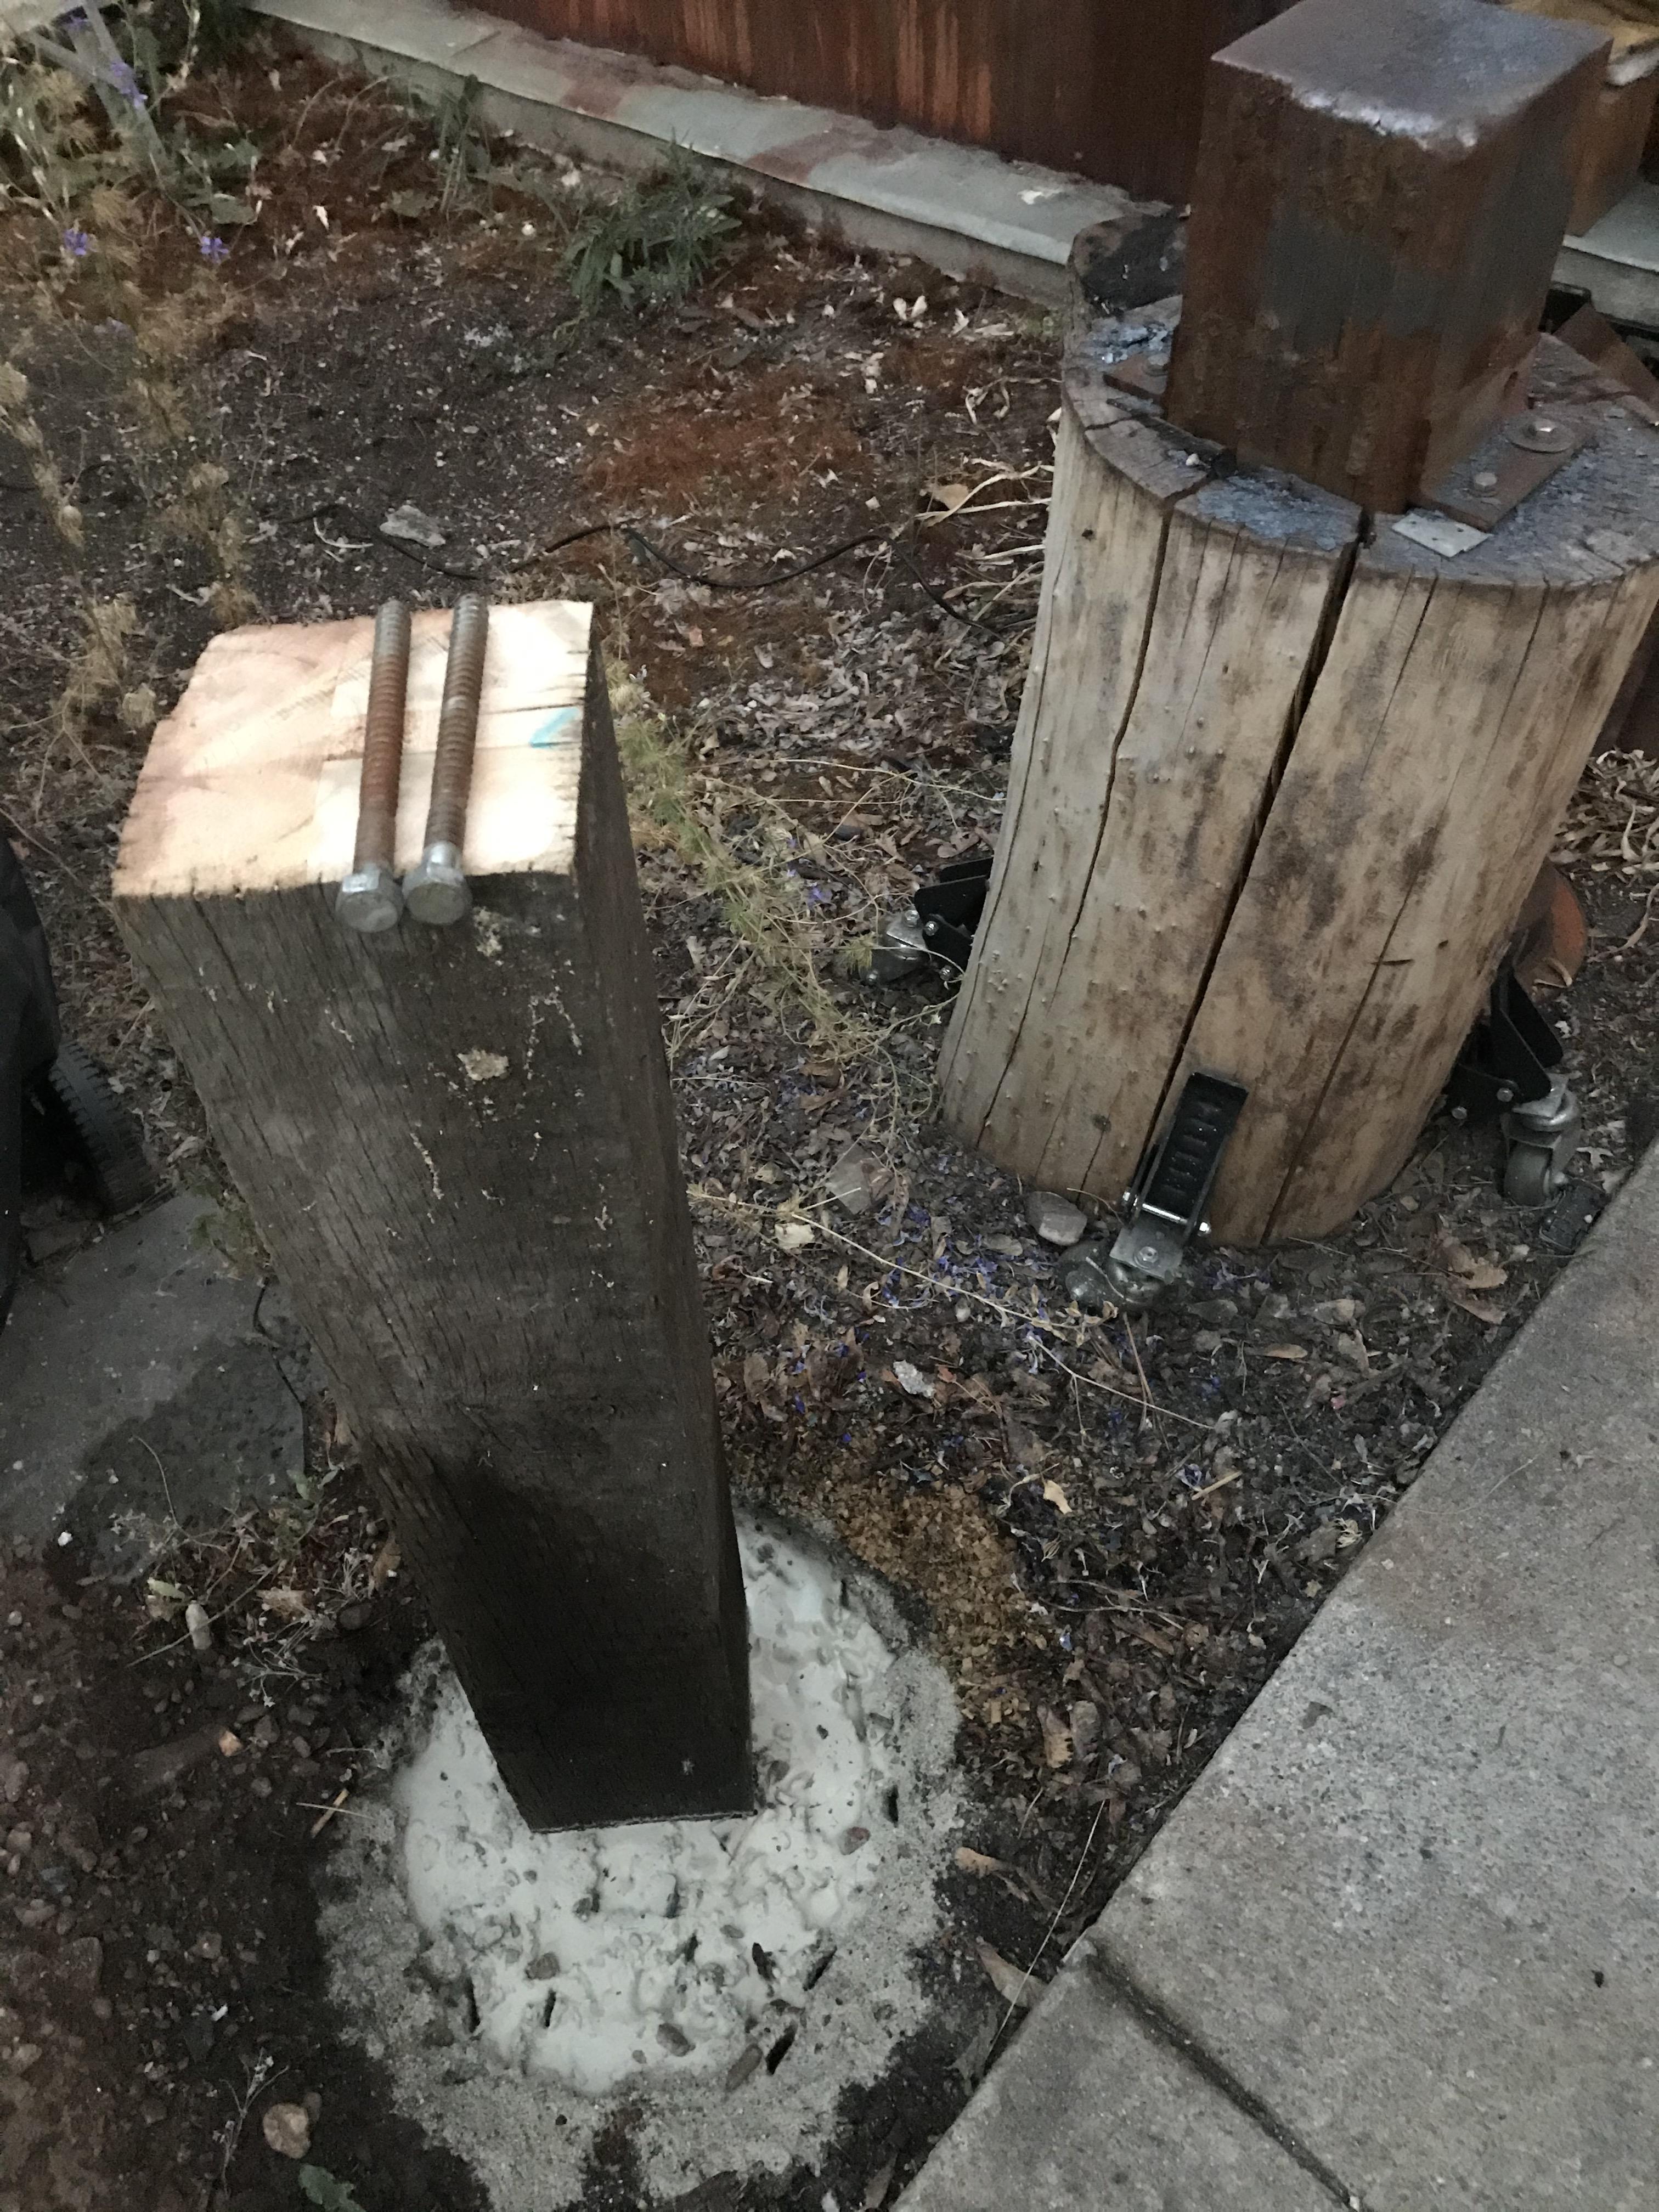
I was fancying a maintenance/upgrade day I guess. Spent yesterday doing a bunch of stuff. The big forge was needing a reline so i let the fire brick melt last session. Since most of my projects have been small practicing finer hammer movement, I thought I'd break out the two 1/4" burner gallon forge and save some fuel. The little guy needed a lining repair too, so I did that first thing. Started plumbing up the burners and thought I would throw a 3/4" hand torch in the mix. Also changed the mounting post for the legvise. The stump it was mounted to was not buried and couldn't hold up to heavier twists and other crankings. New mount is railroad tie buried and cemented. I will forge straps for the top to keep it from splitting before mounting. Unfortunately this setup is temporary. It will be moved into the shop once that is built.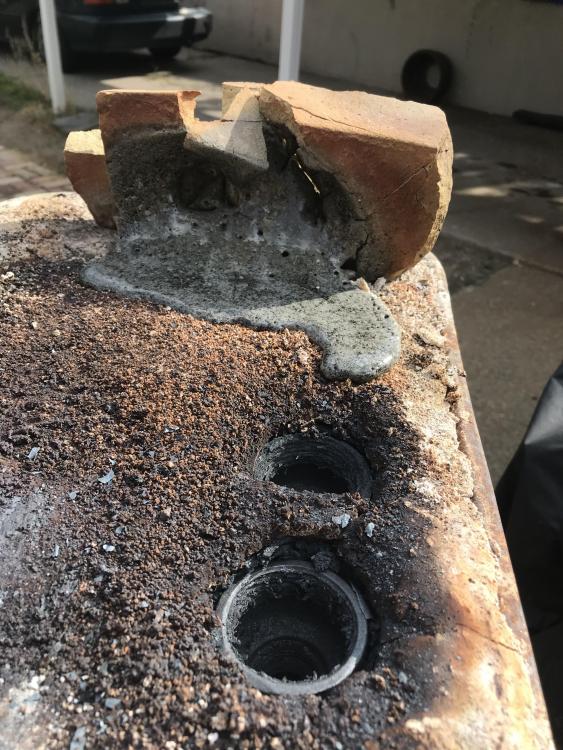

-
What did you do in the shop today?
671jungle replied to Mark Ling's topic in Blacksmithing, General Discussion
Is that Stainless? Forge scale will only be on what has come up to temp for forging, even stainless. But if that is not stainless I would refrain from putting it in the forge -
What did you do in the shop today?
671jungle replied to Mark Ling's topic in Blacksmithing, General Discussion
Daswulf, I would love to see it once its underway again. Especially since your creations are mostly animal from i have seen. -
What did you do in the shop today?
671jungle replied to Mark Ling's topic in Blacksmithing, General Discussion
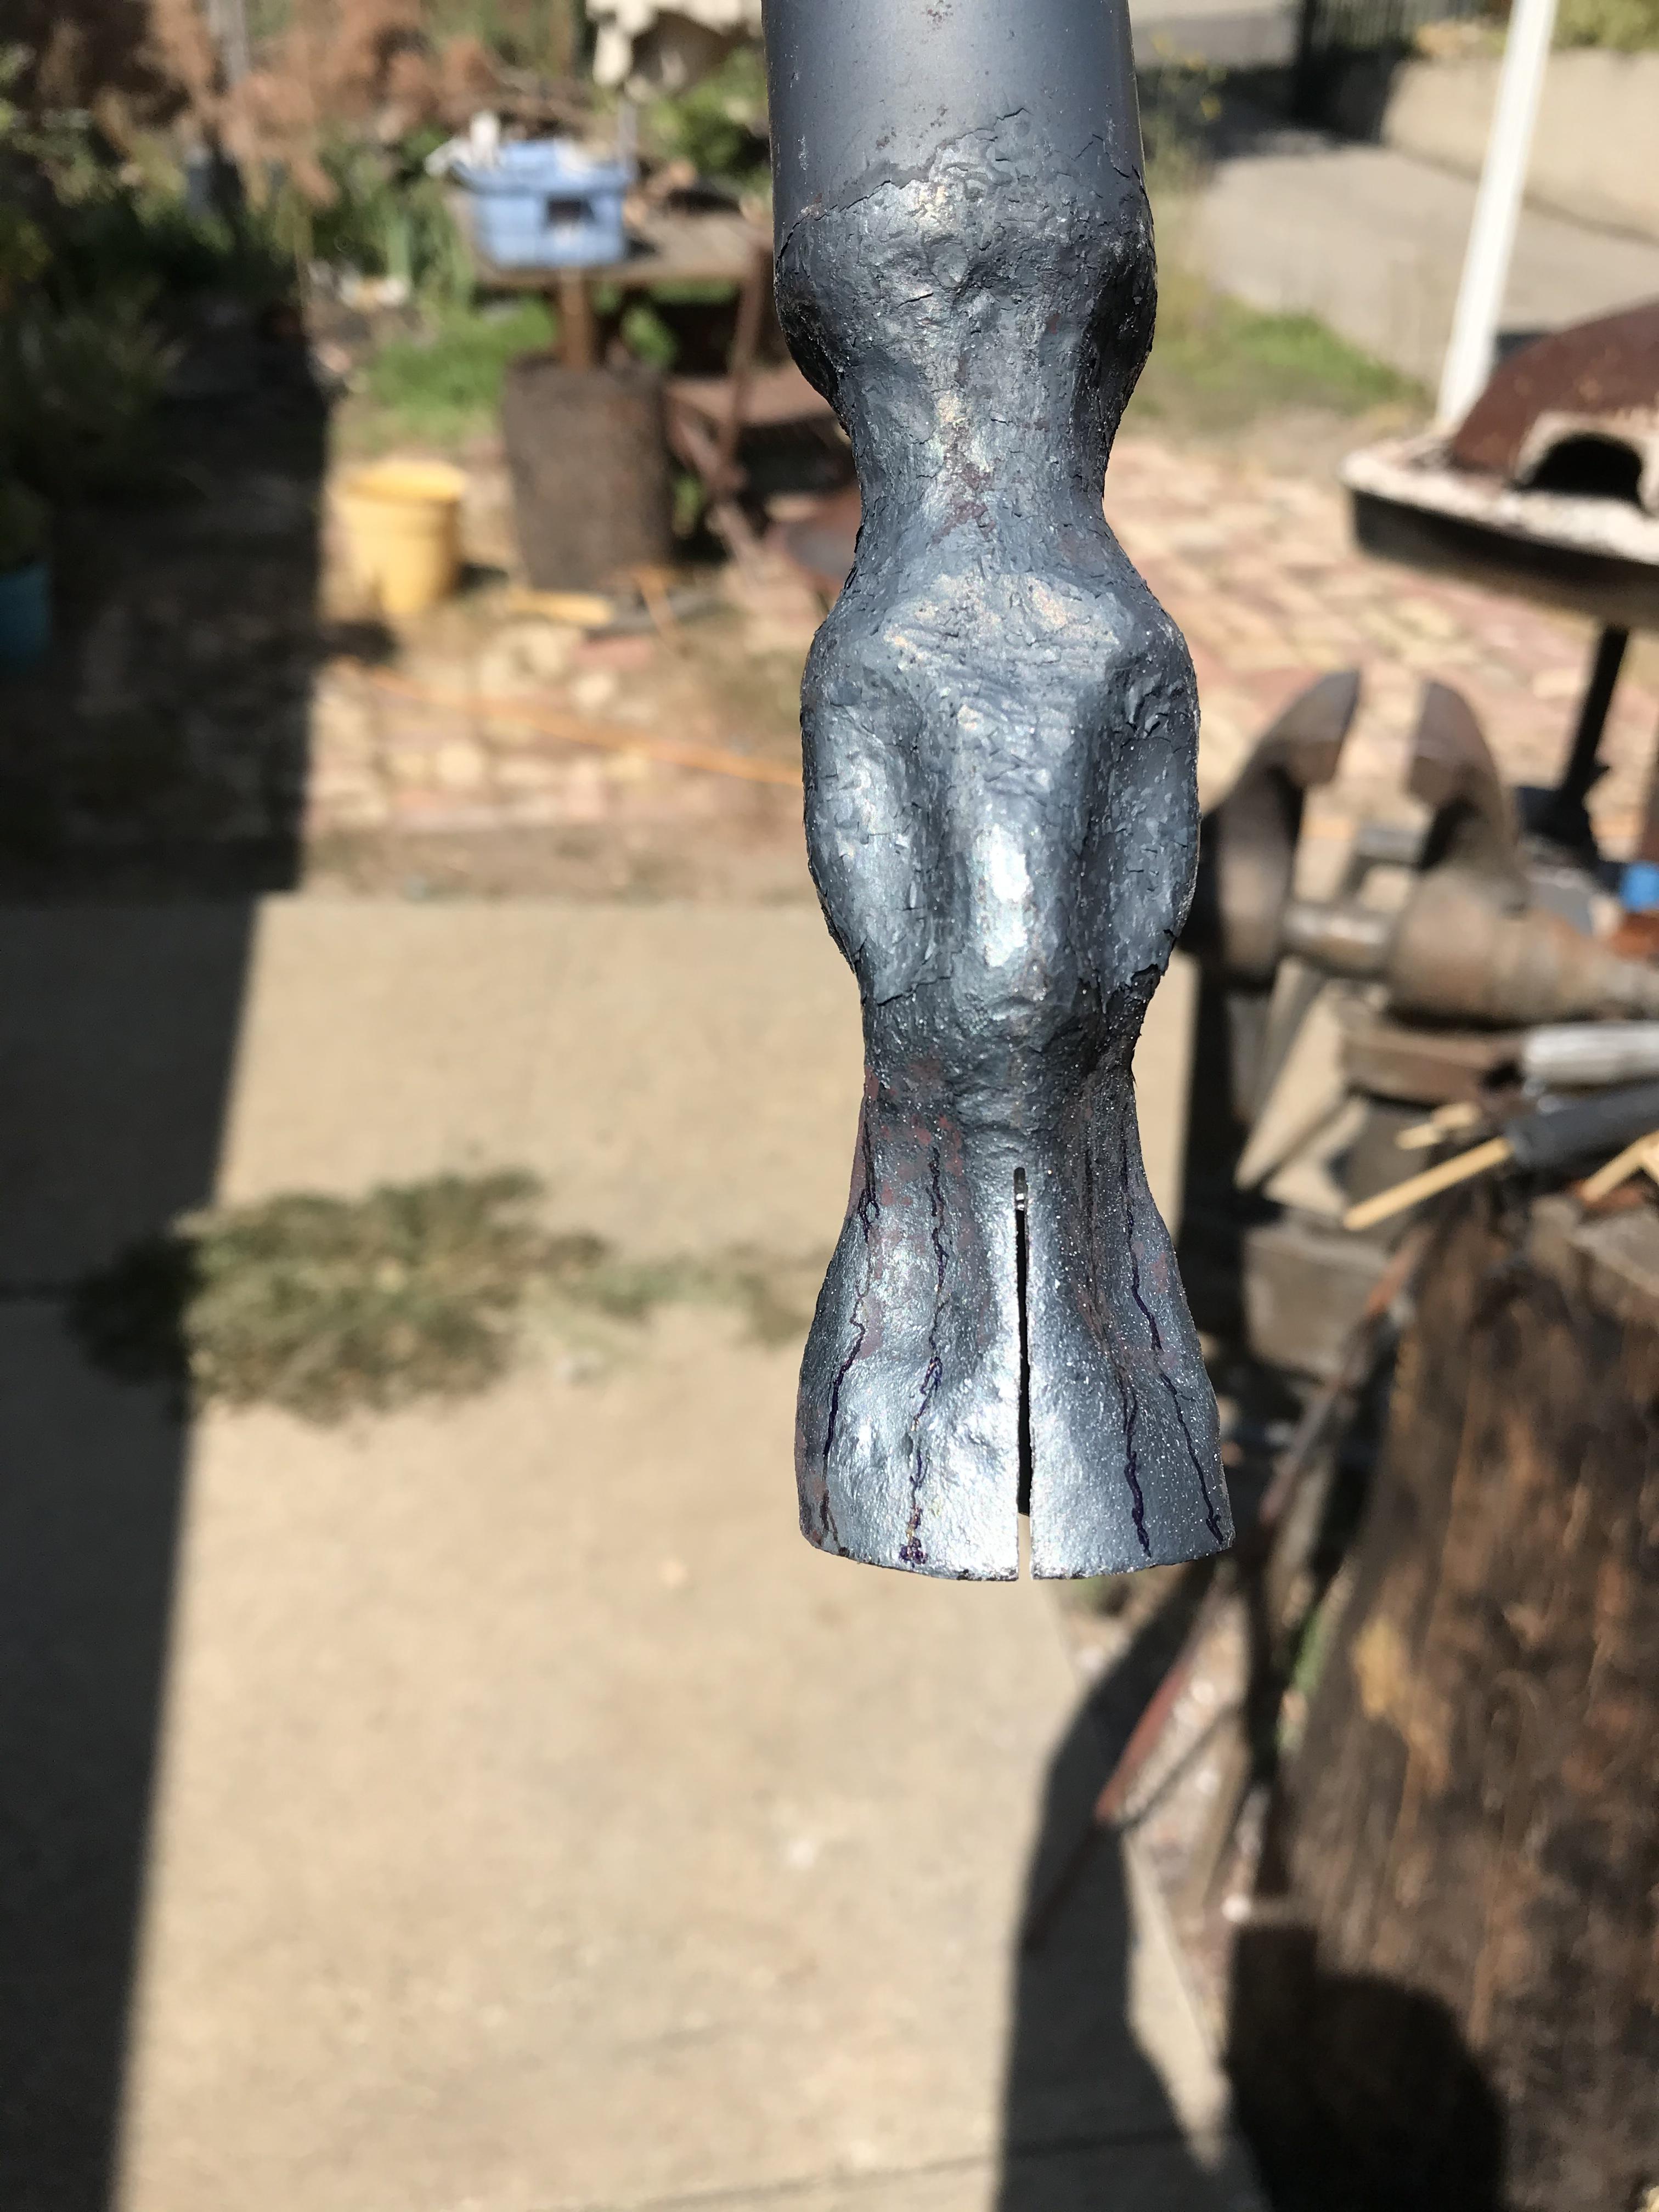
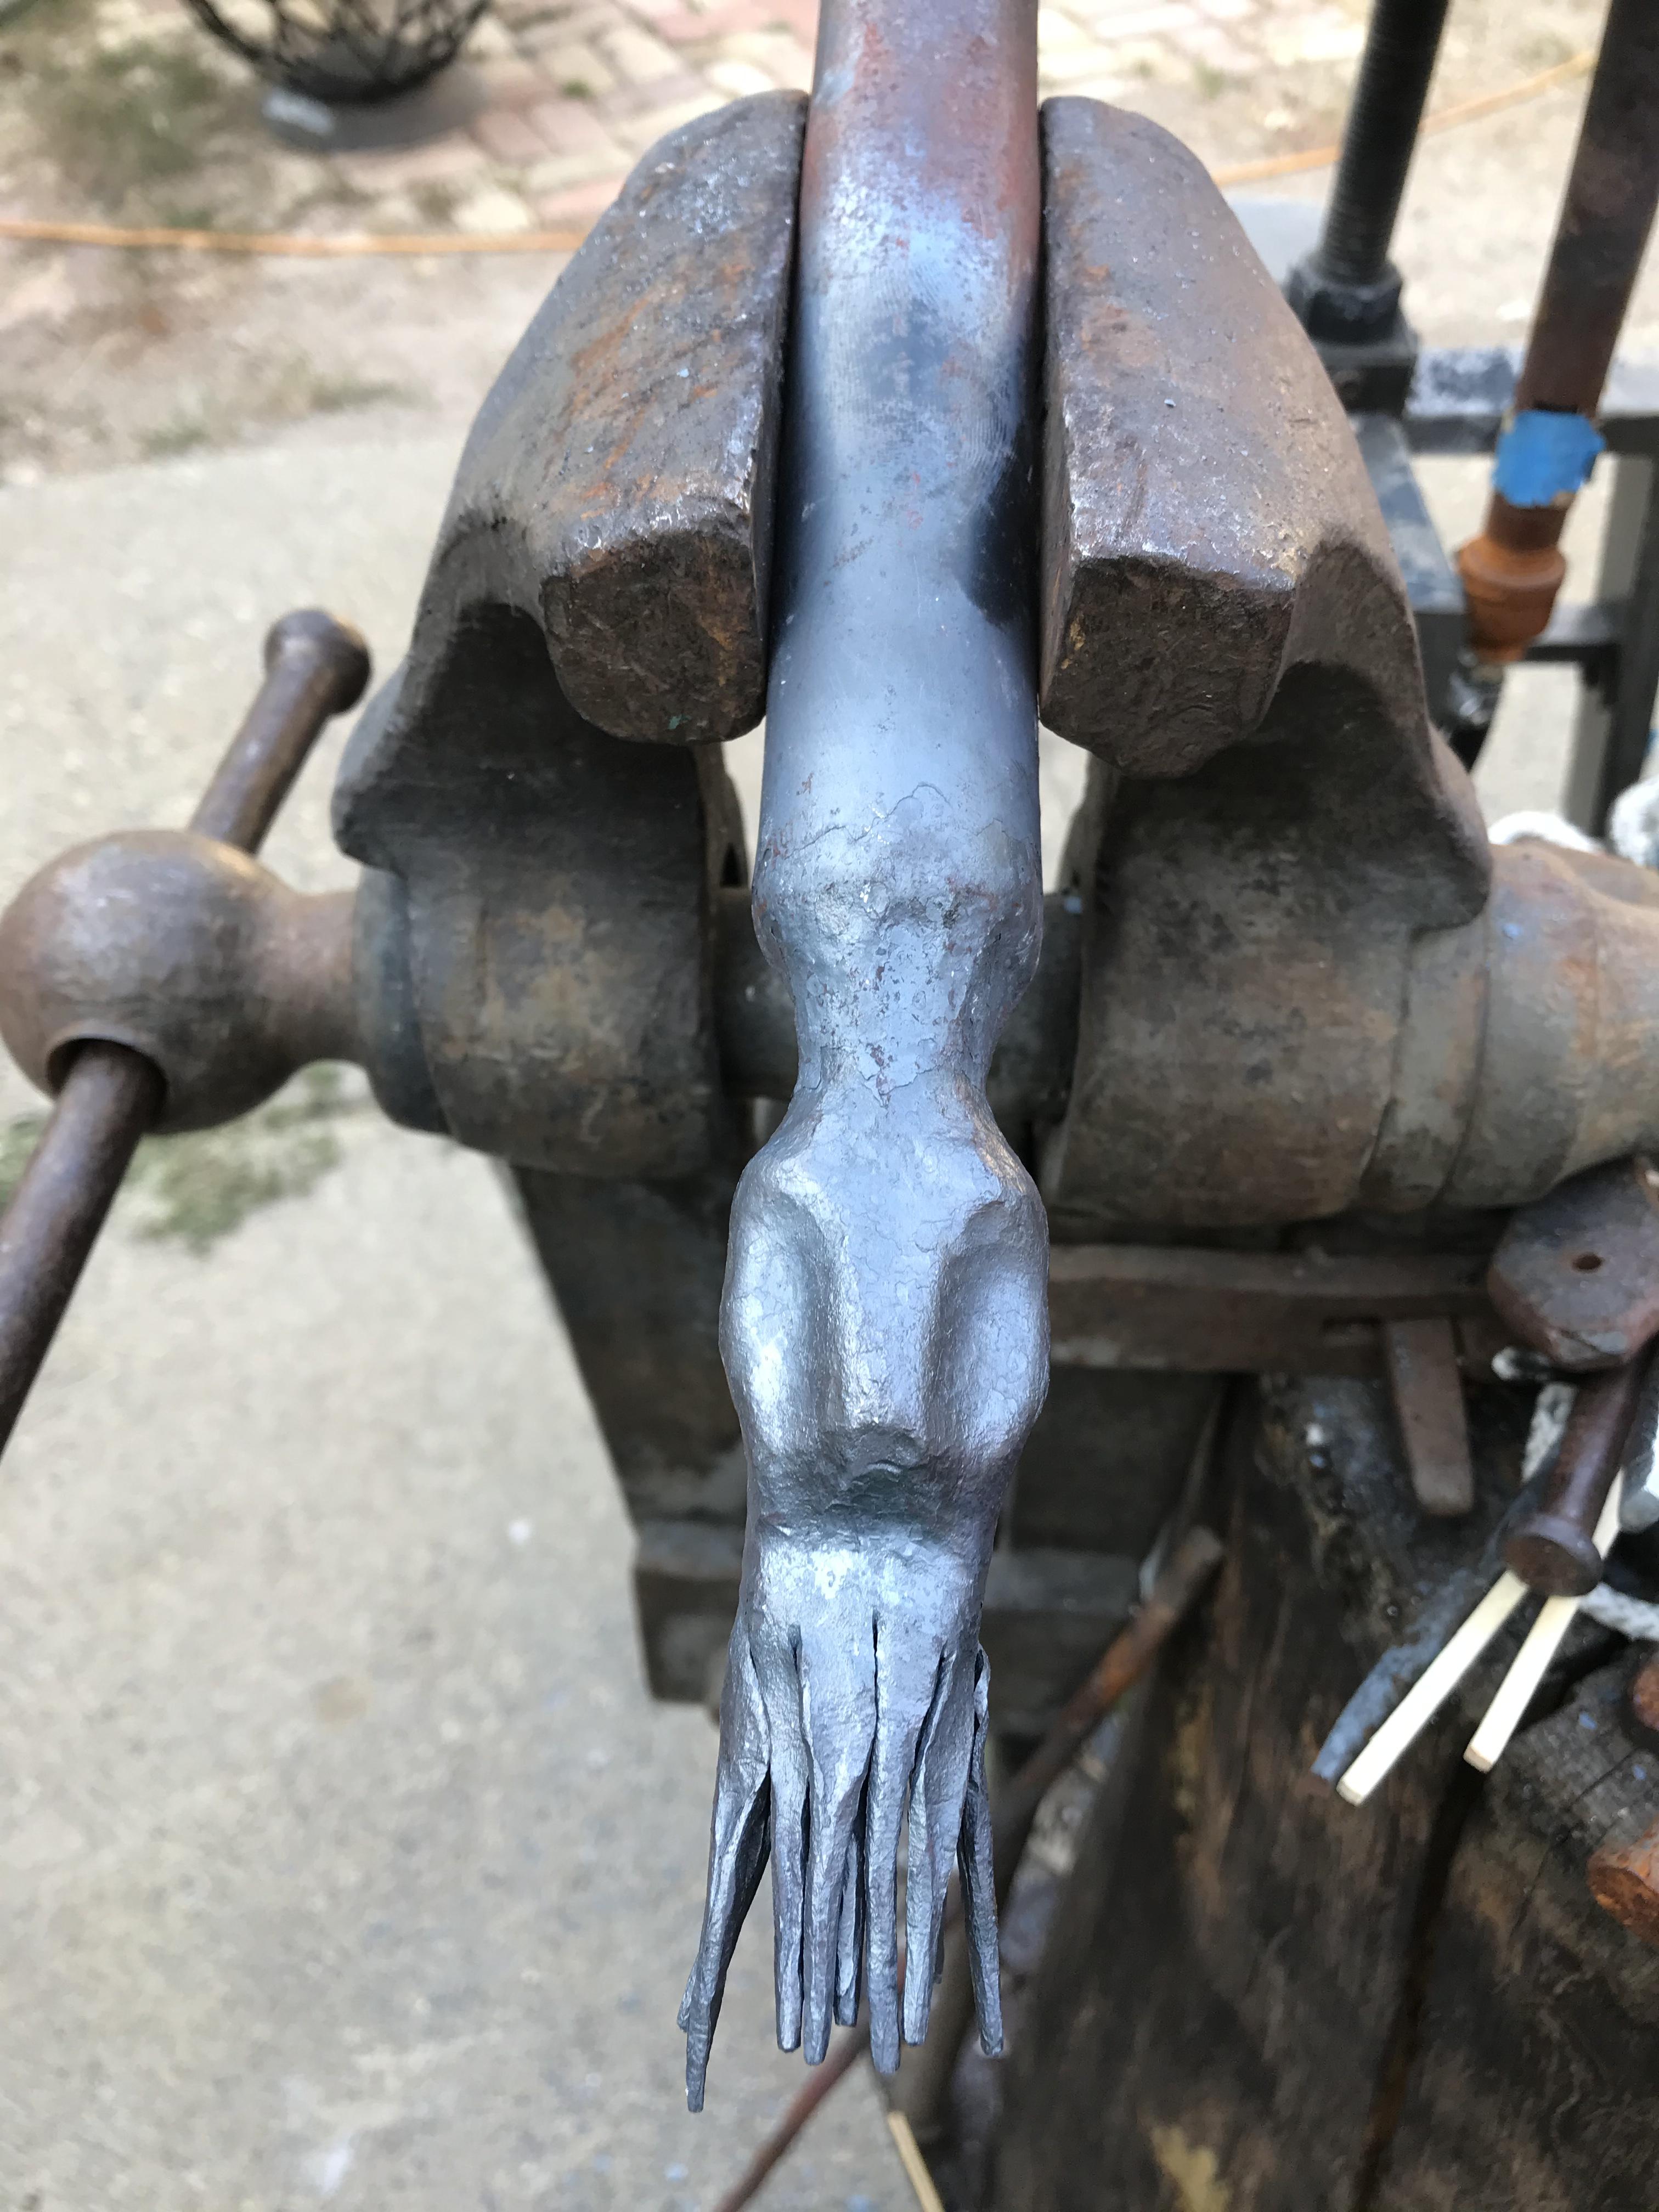
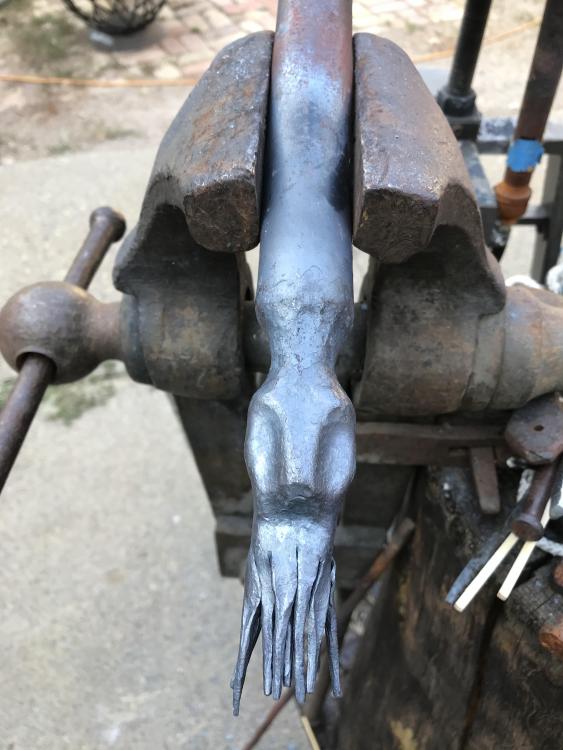
Did some work on a 1 1/4” pipe. Ran out of juice before finishing. Middle tentacles need a bit more drawing out to be longer than the sides and then dictating the curl of each one. Gonna try for a snarling expression. I already know what I would do differently and thought about going at it with round stock.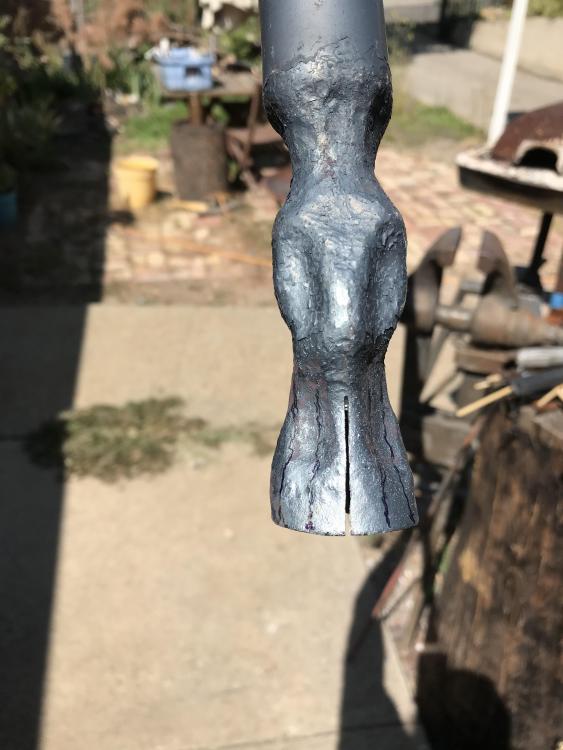
-
What did you do in the shop today?
671jungle replied to Mark Ling's topic in Blacksmithing, General Discussion
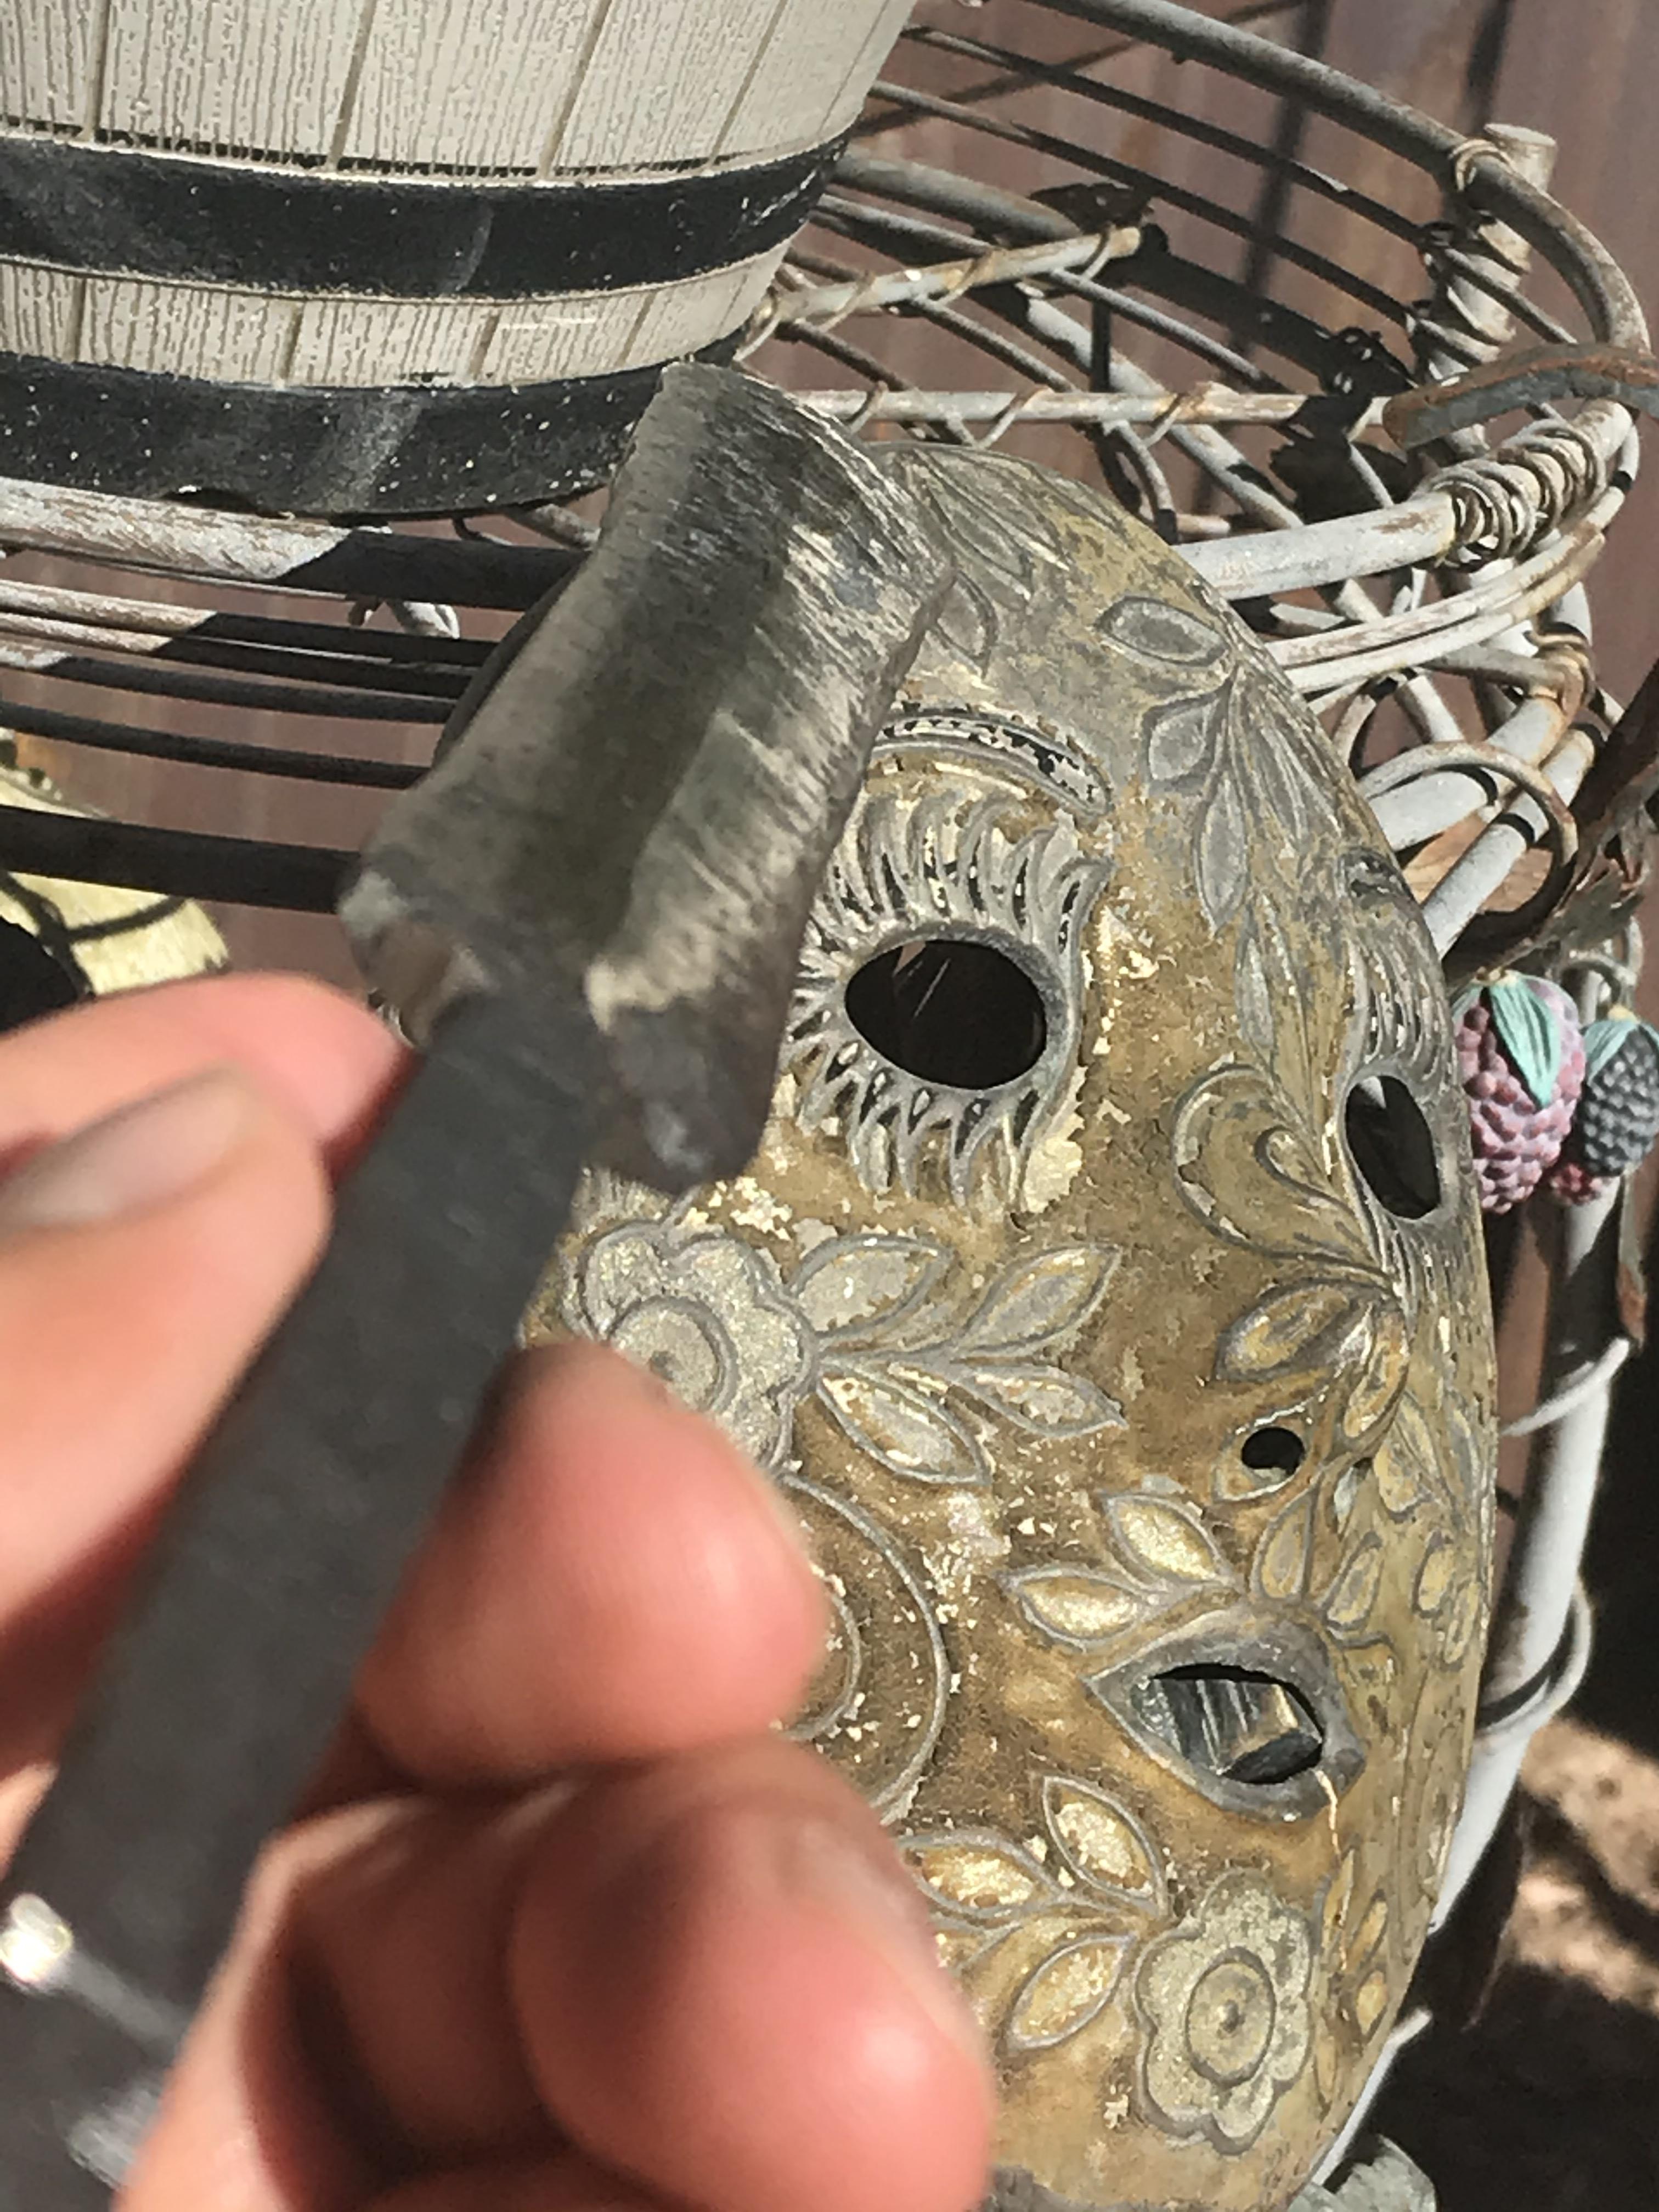
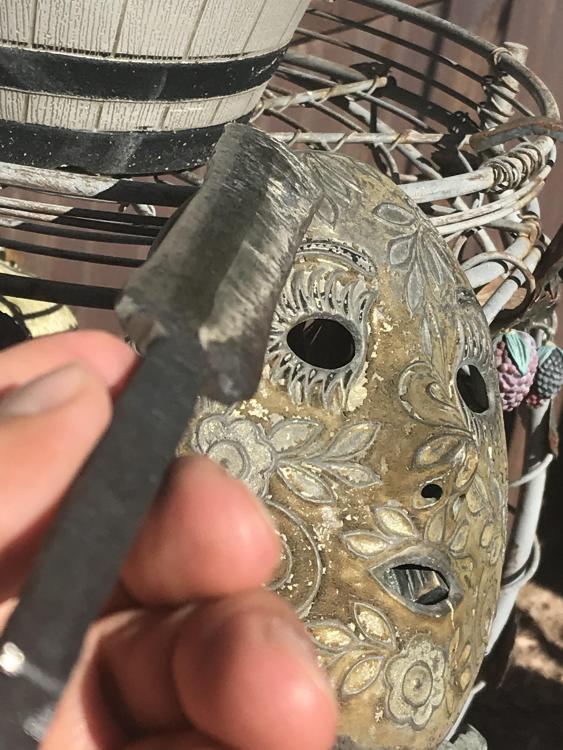
Thanks for the tips and book recommendation Thomas. I have been studying up to try my hand at copper inlay. I really thought the post by VaughnT "Carving letters in steel" was a great tutorial that can be applied to any pattern.