671jungle
-
Posts
455 -
Joined
-
Last visited
Content Type
Profiles
Forums
Articles
Gallery
Downloads
Events
Everything posted by 671jungle
-
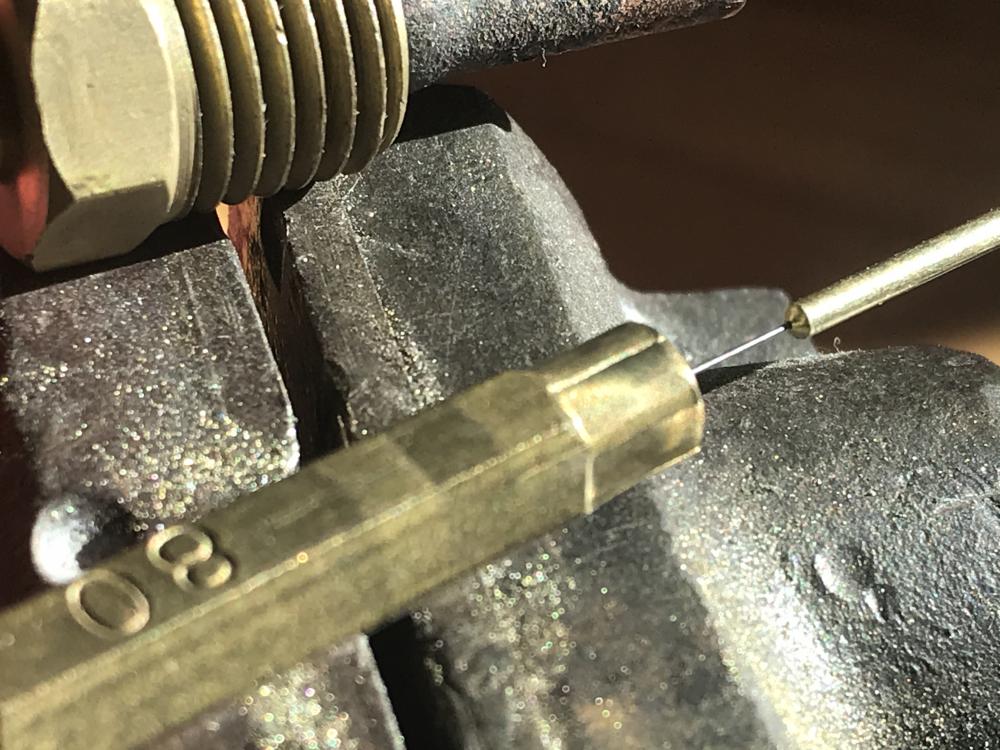
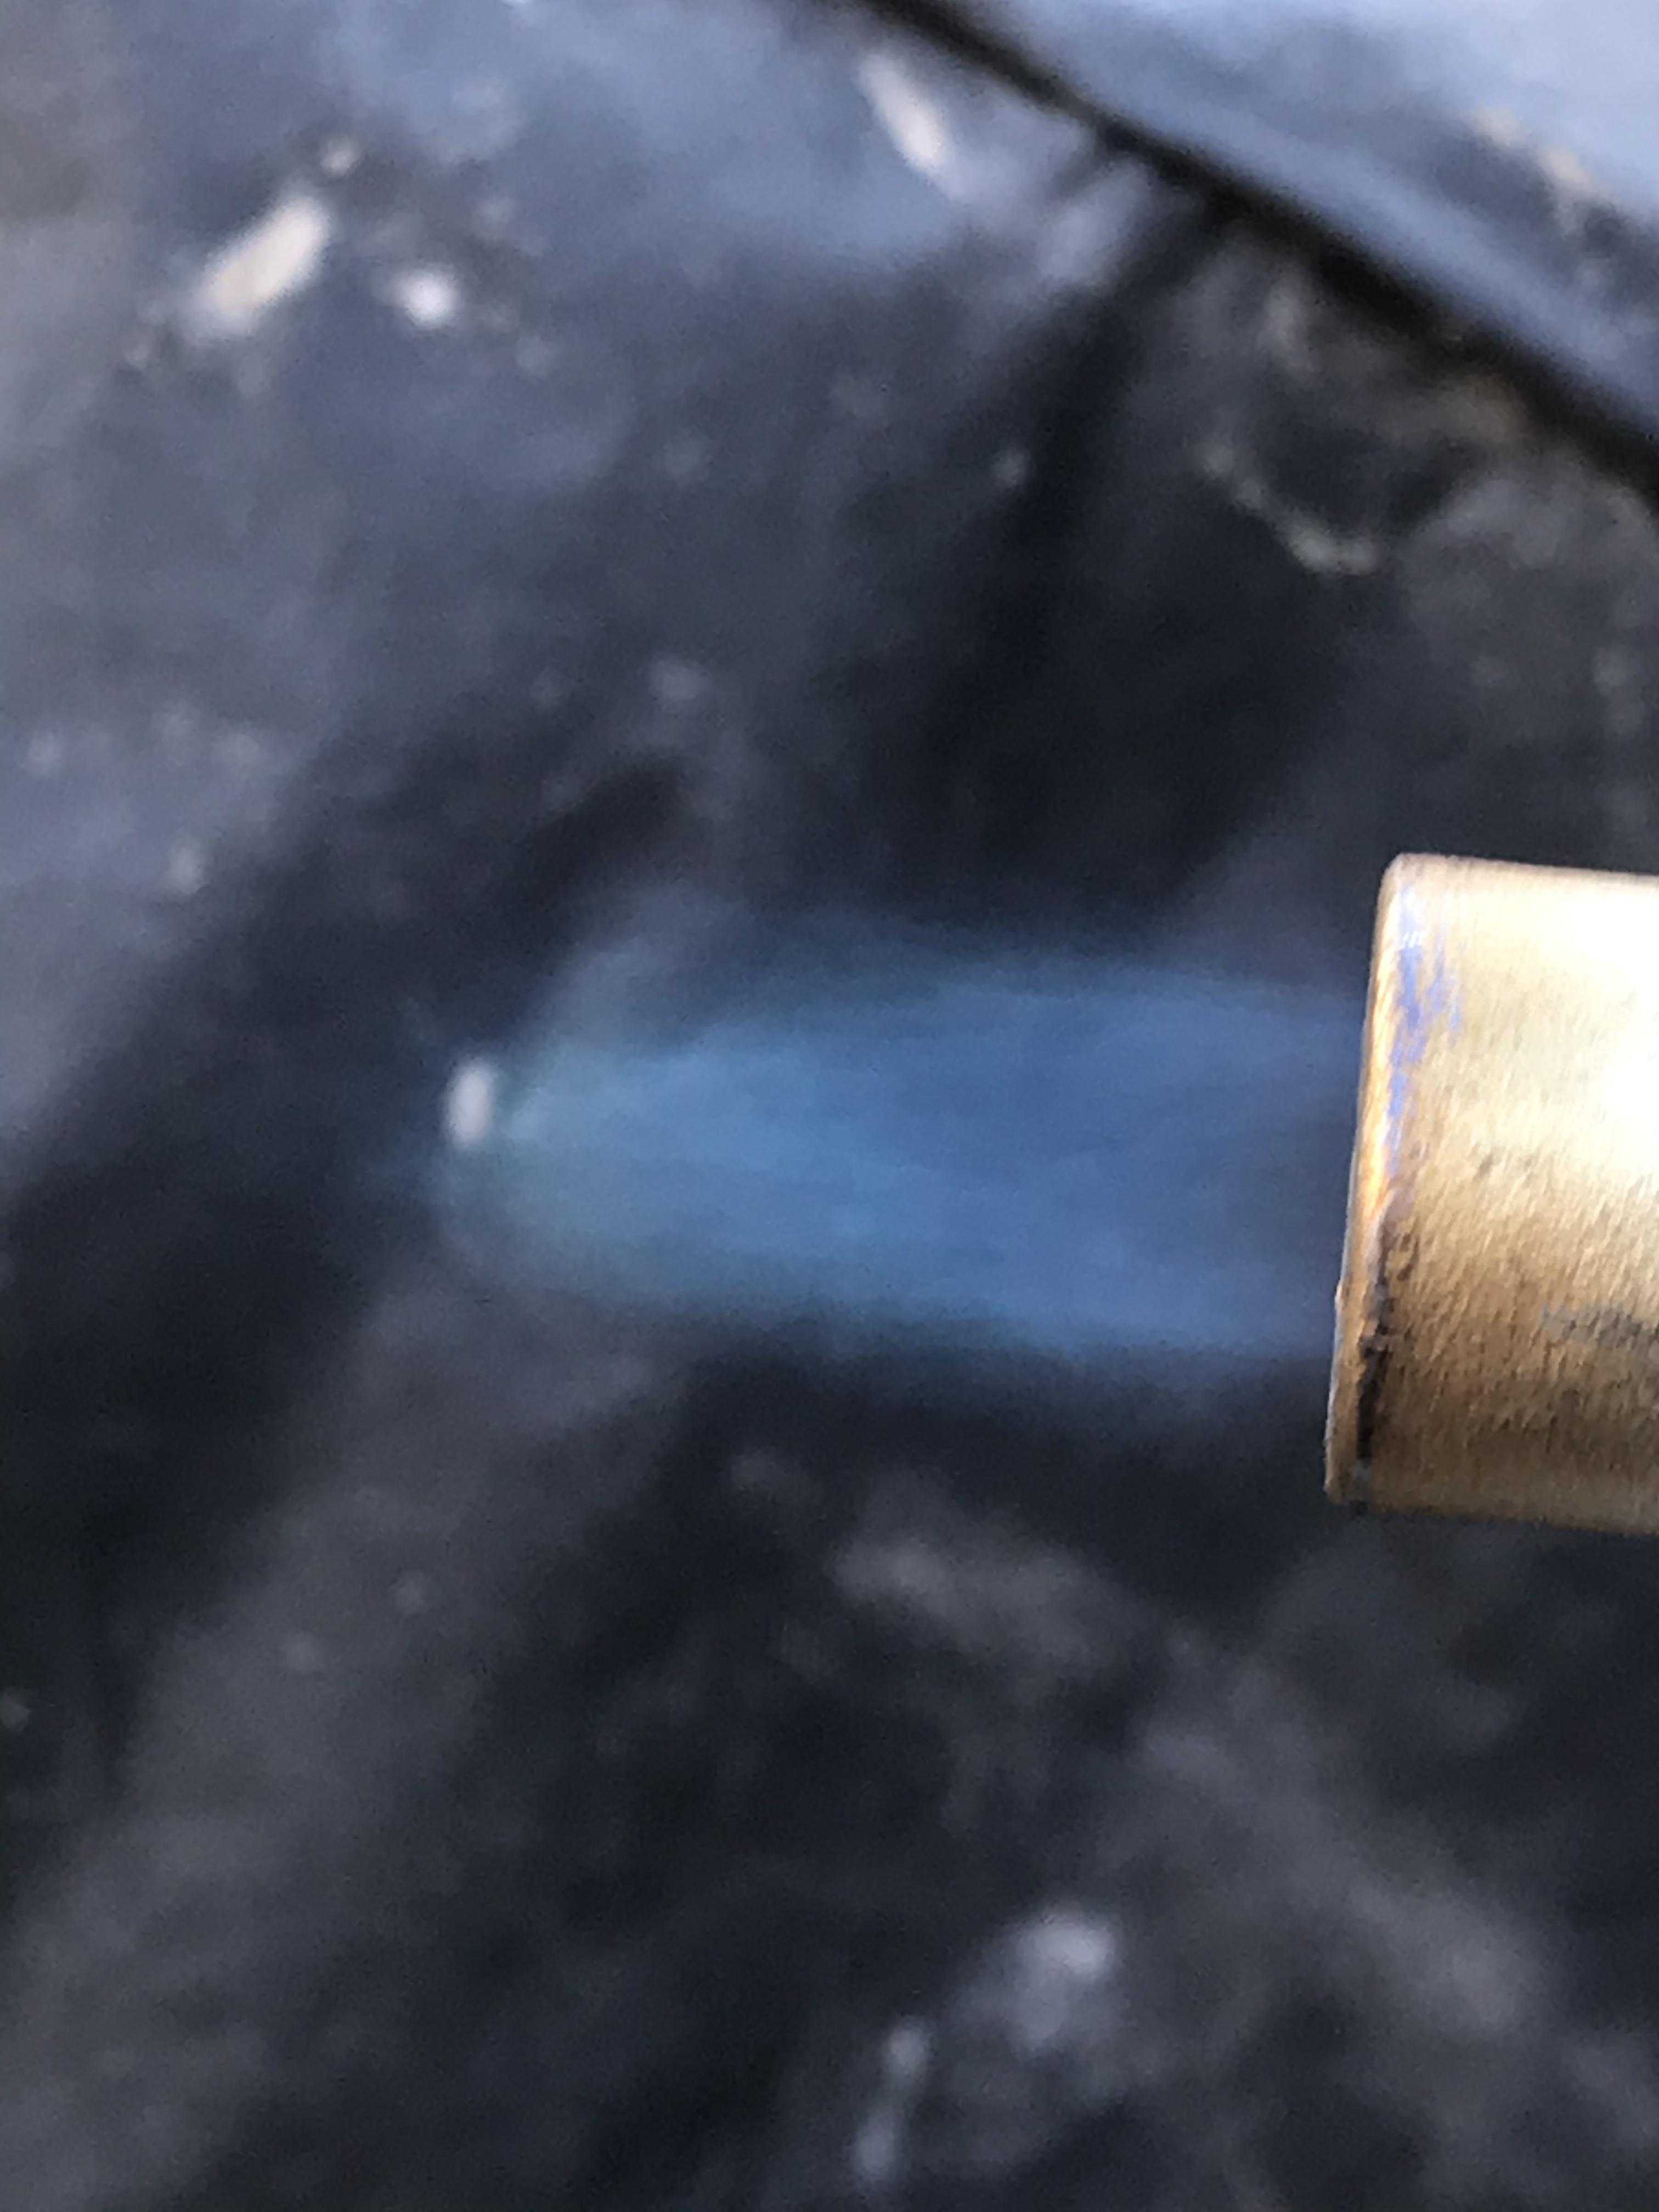
Correct. I did not use the nozzle in the first photo. It was just to show number components. Dispensing needles can also be used, but I have found EDM tubes to be much more economical and easier to braze to the pig tip which almost fits into refrigeration tubes(1/4” copper tube) that can be purchased at most big box hardware stores. The couplings were bought in bulk on the “Bay” for a reasonable price. I must say that two of these burners are extremely fuel efficient for forging. Maybe one more will be needed for forge welding or I need to reconfigure my forge chamber. Bottom mounted burners in a D shaped forge are great at keeping the flame inside the forge longer to transfer its heat to the liner but the wide opening to my forge also let’s a lot of energy out. All in all, these burners are amazing on fuel savings. I think I may be able to forge weld with the two burners if I can keep the heat longer in a given space
-

What did you do in the shop today?
671jungle replied to Mark Ling's topic in Blacksmithing, General Discussion
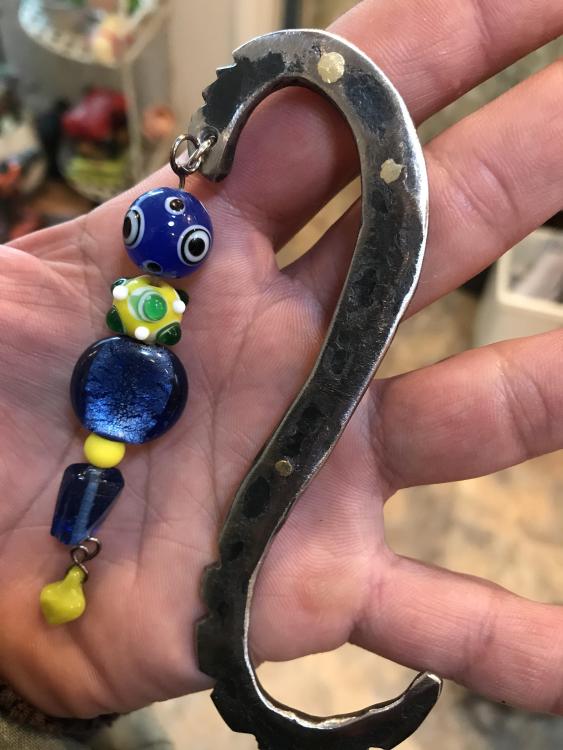
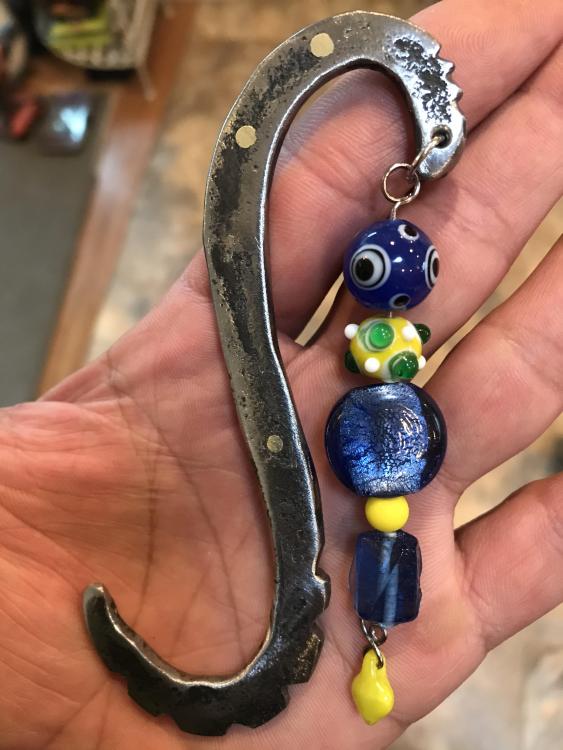
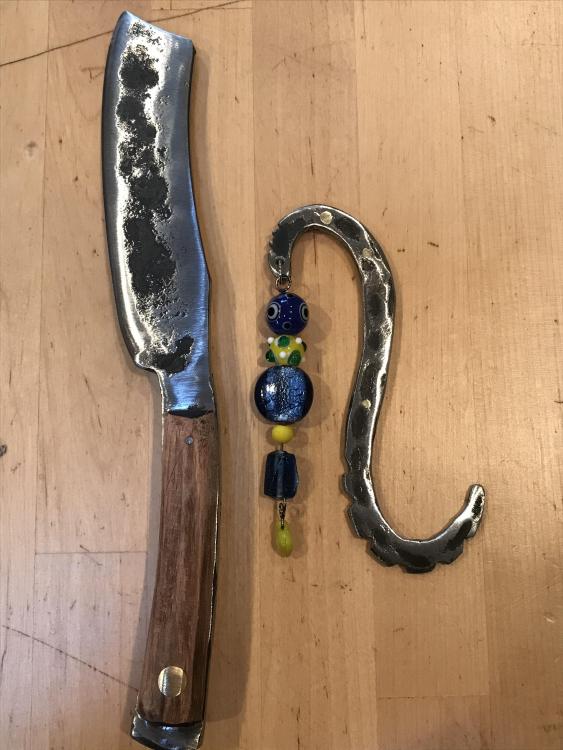
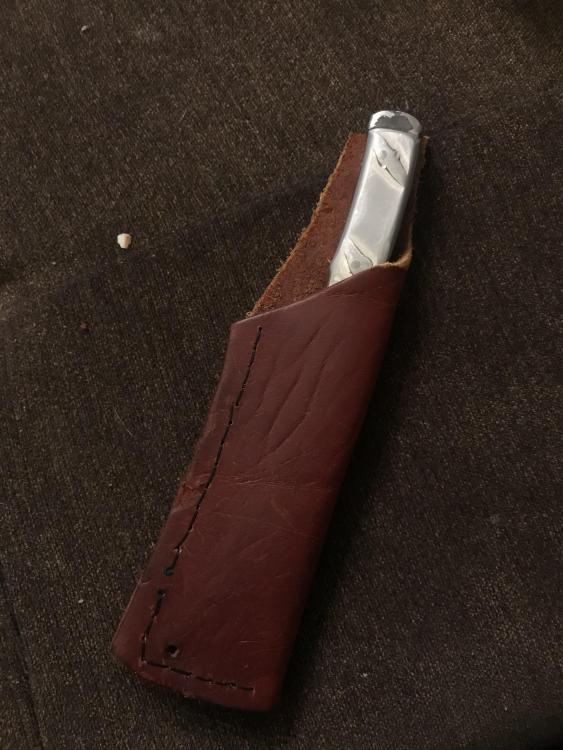
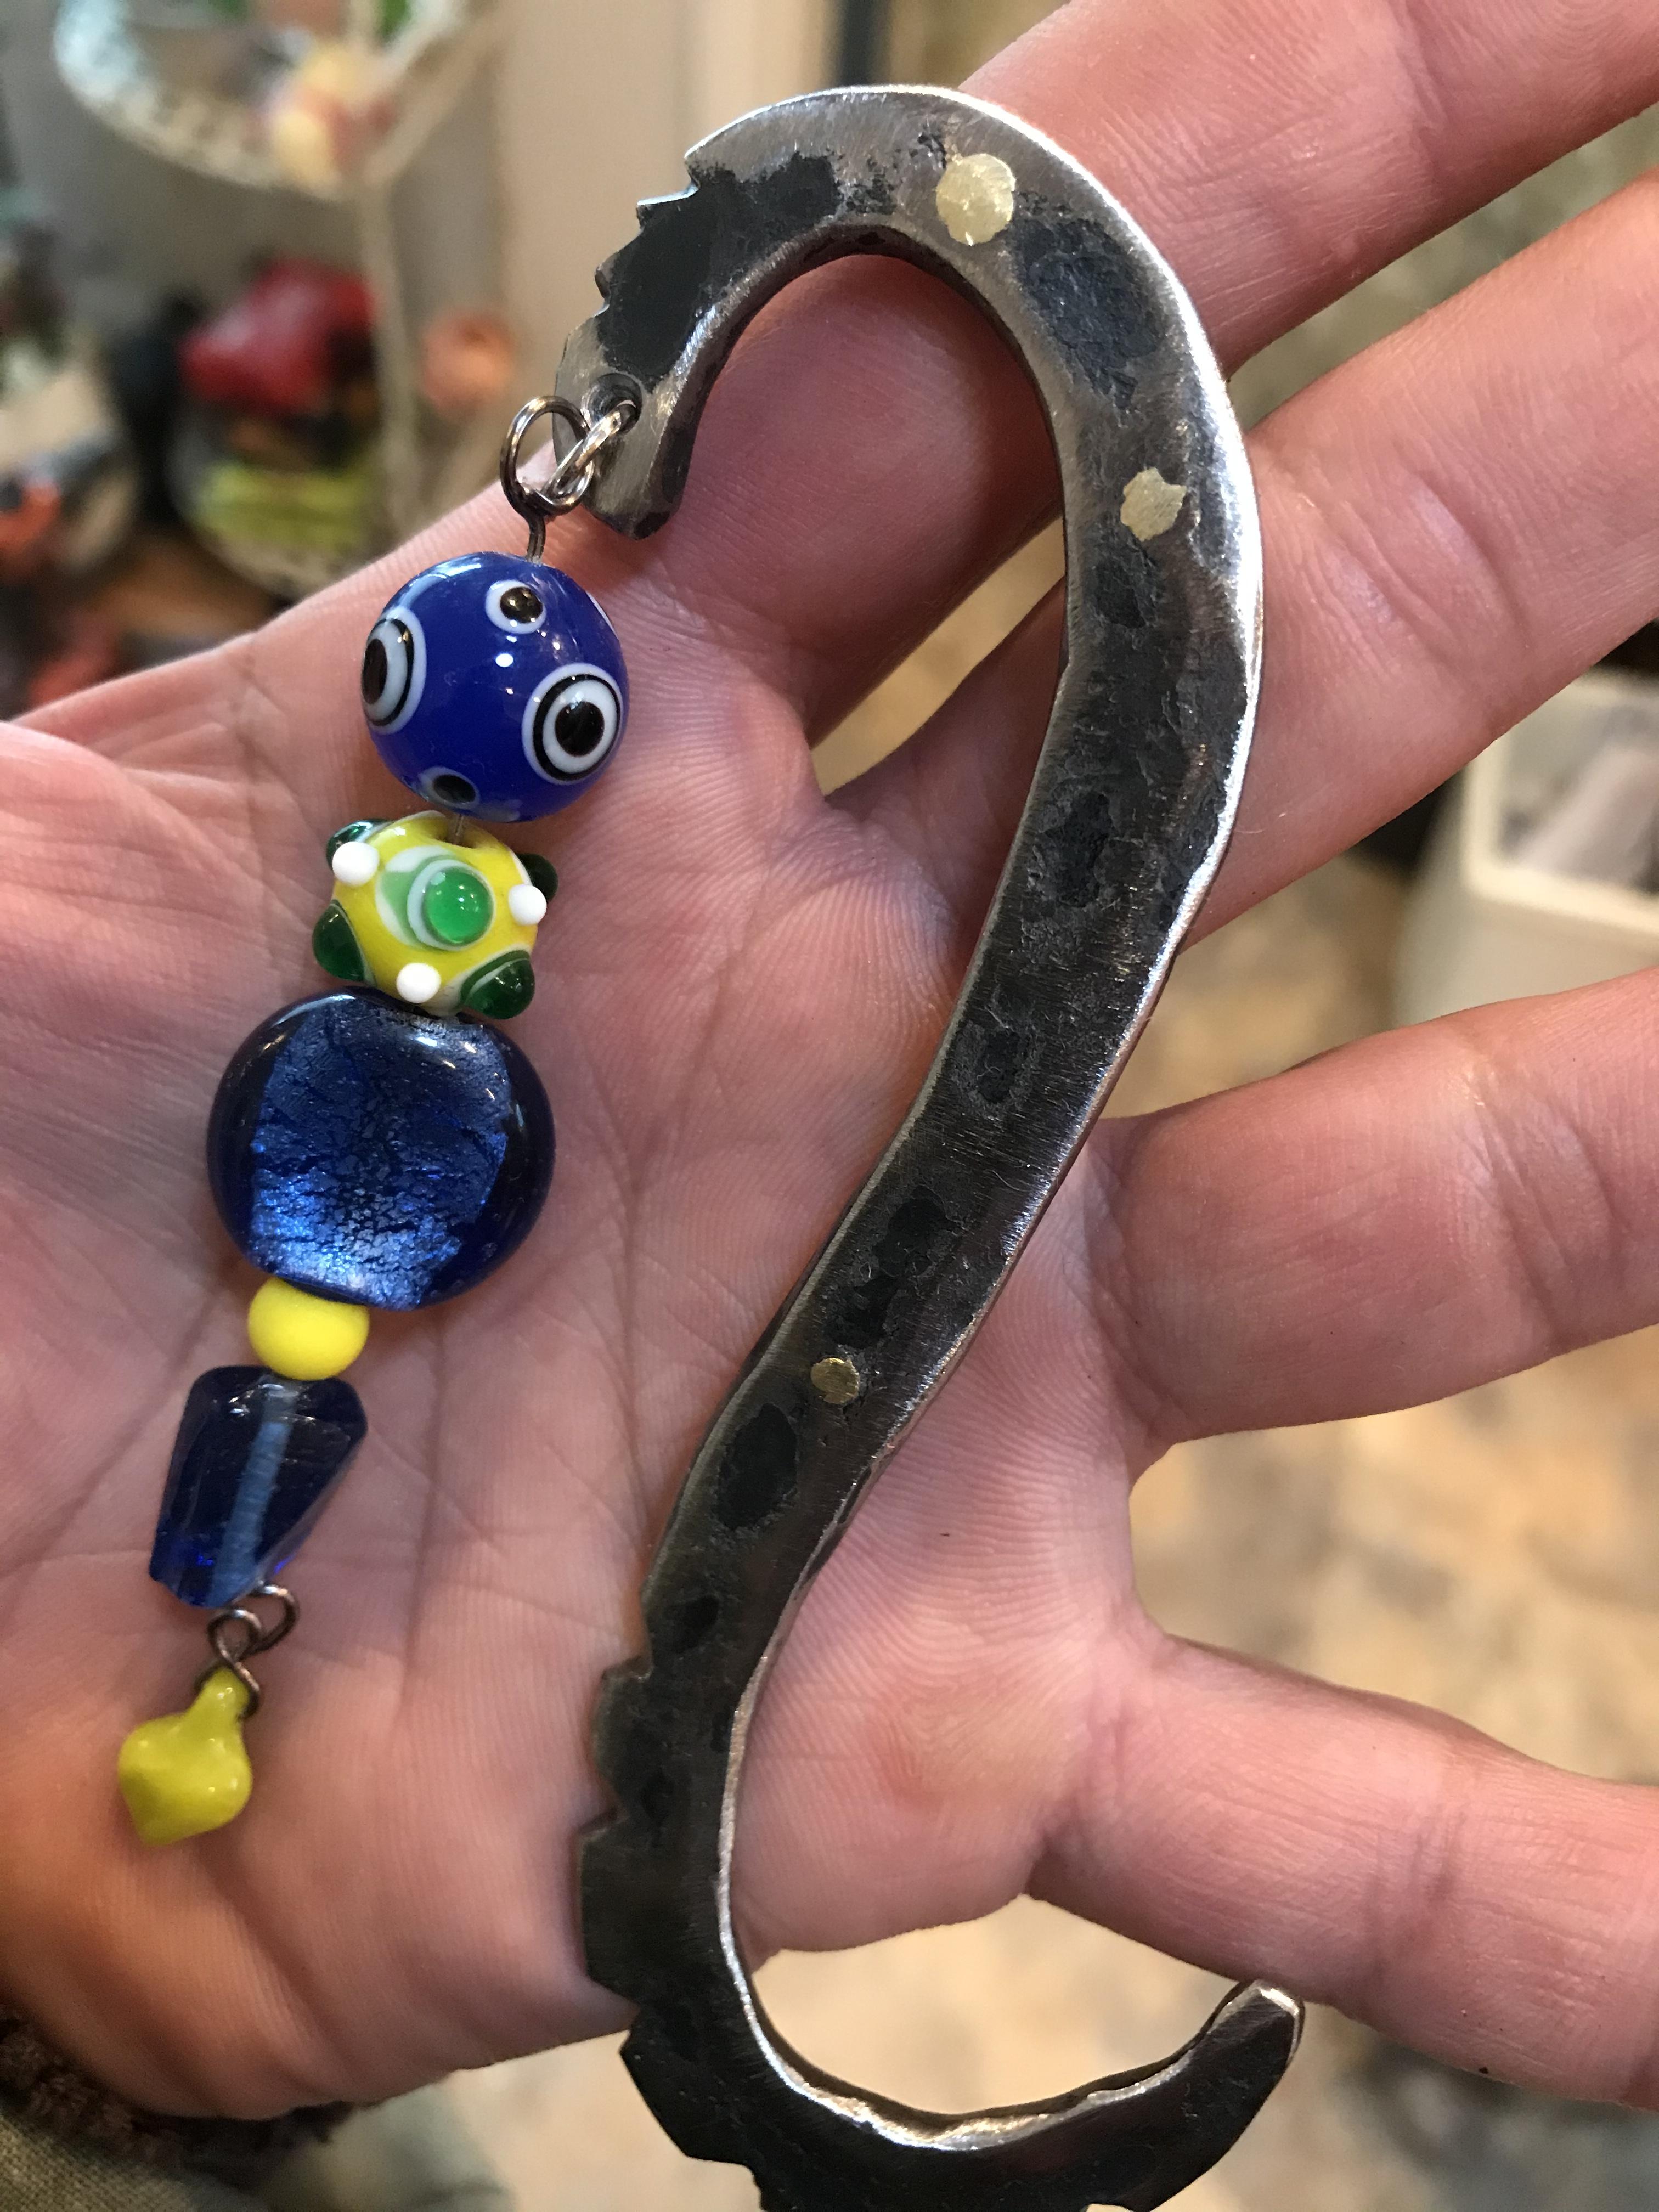
Made some gifts. I’m really enjoying setting pins and working with different materials. I just started experimenting stabilizing wood and bone.
-
What did you do in the shop today?
671jungle replied to Mark Ling's topic in Blacksmithing, General Discussion
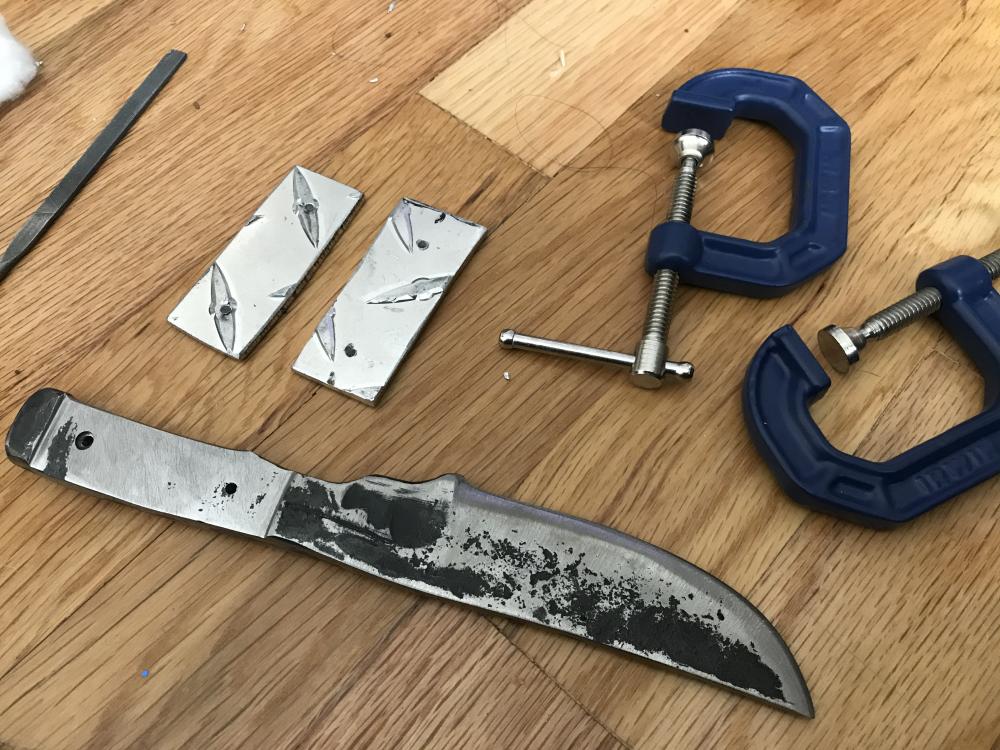
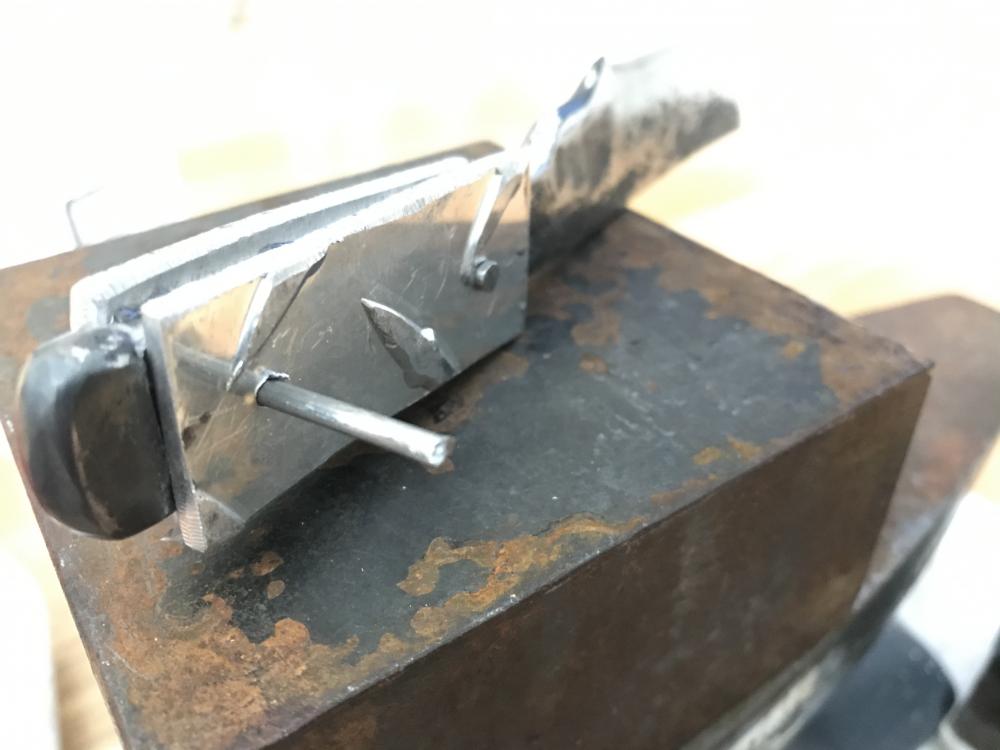
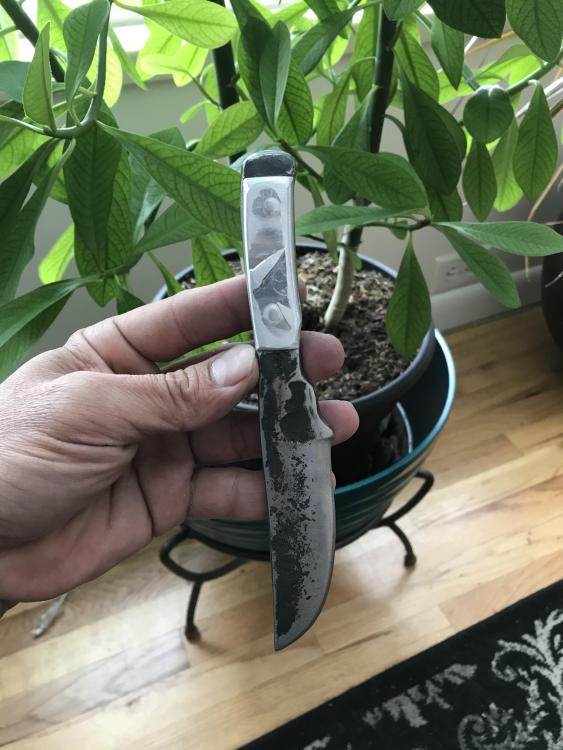
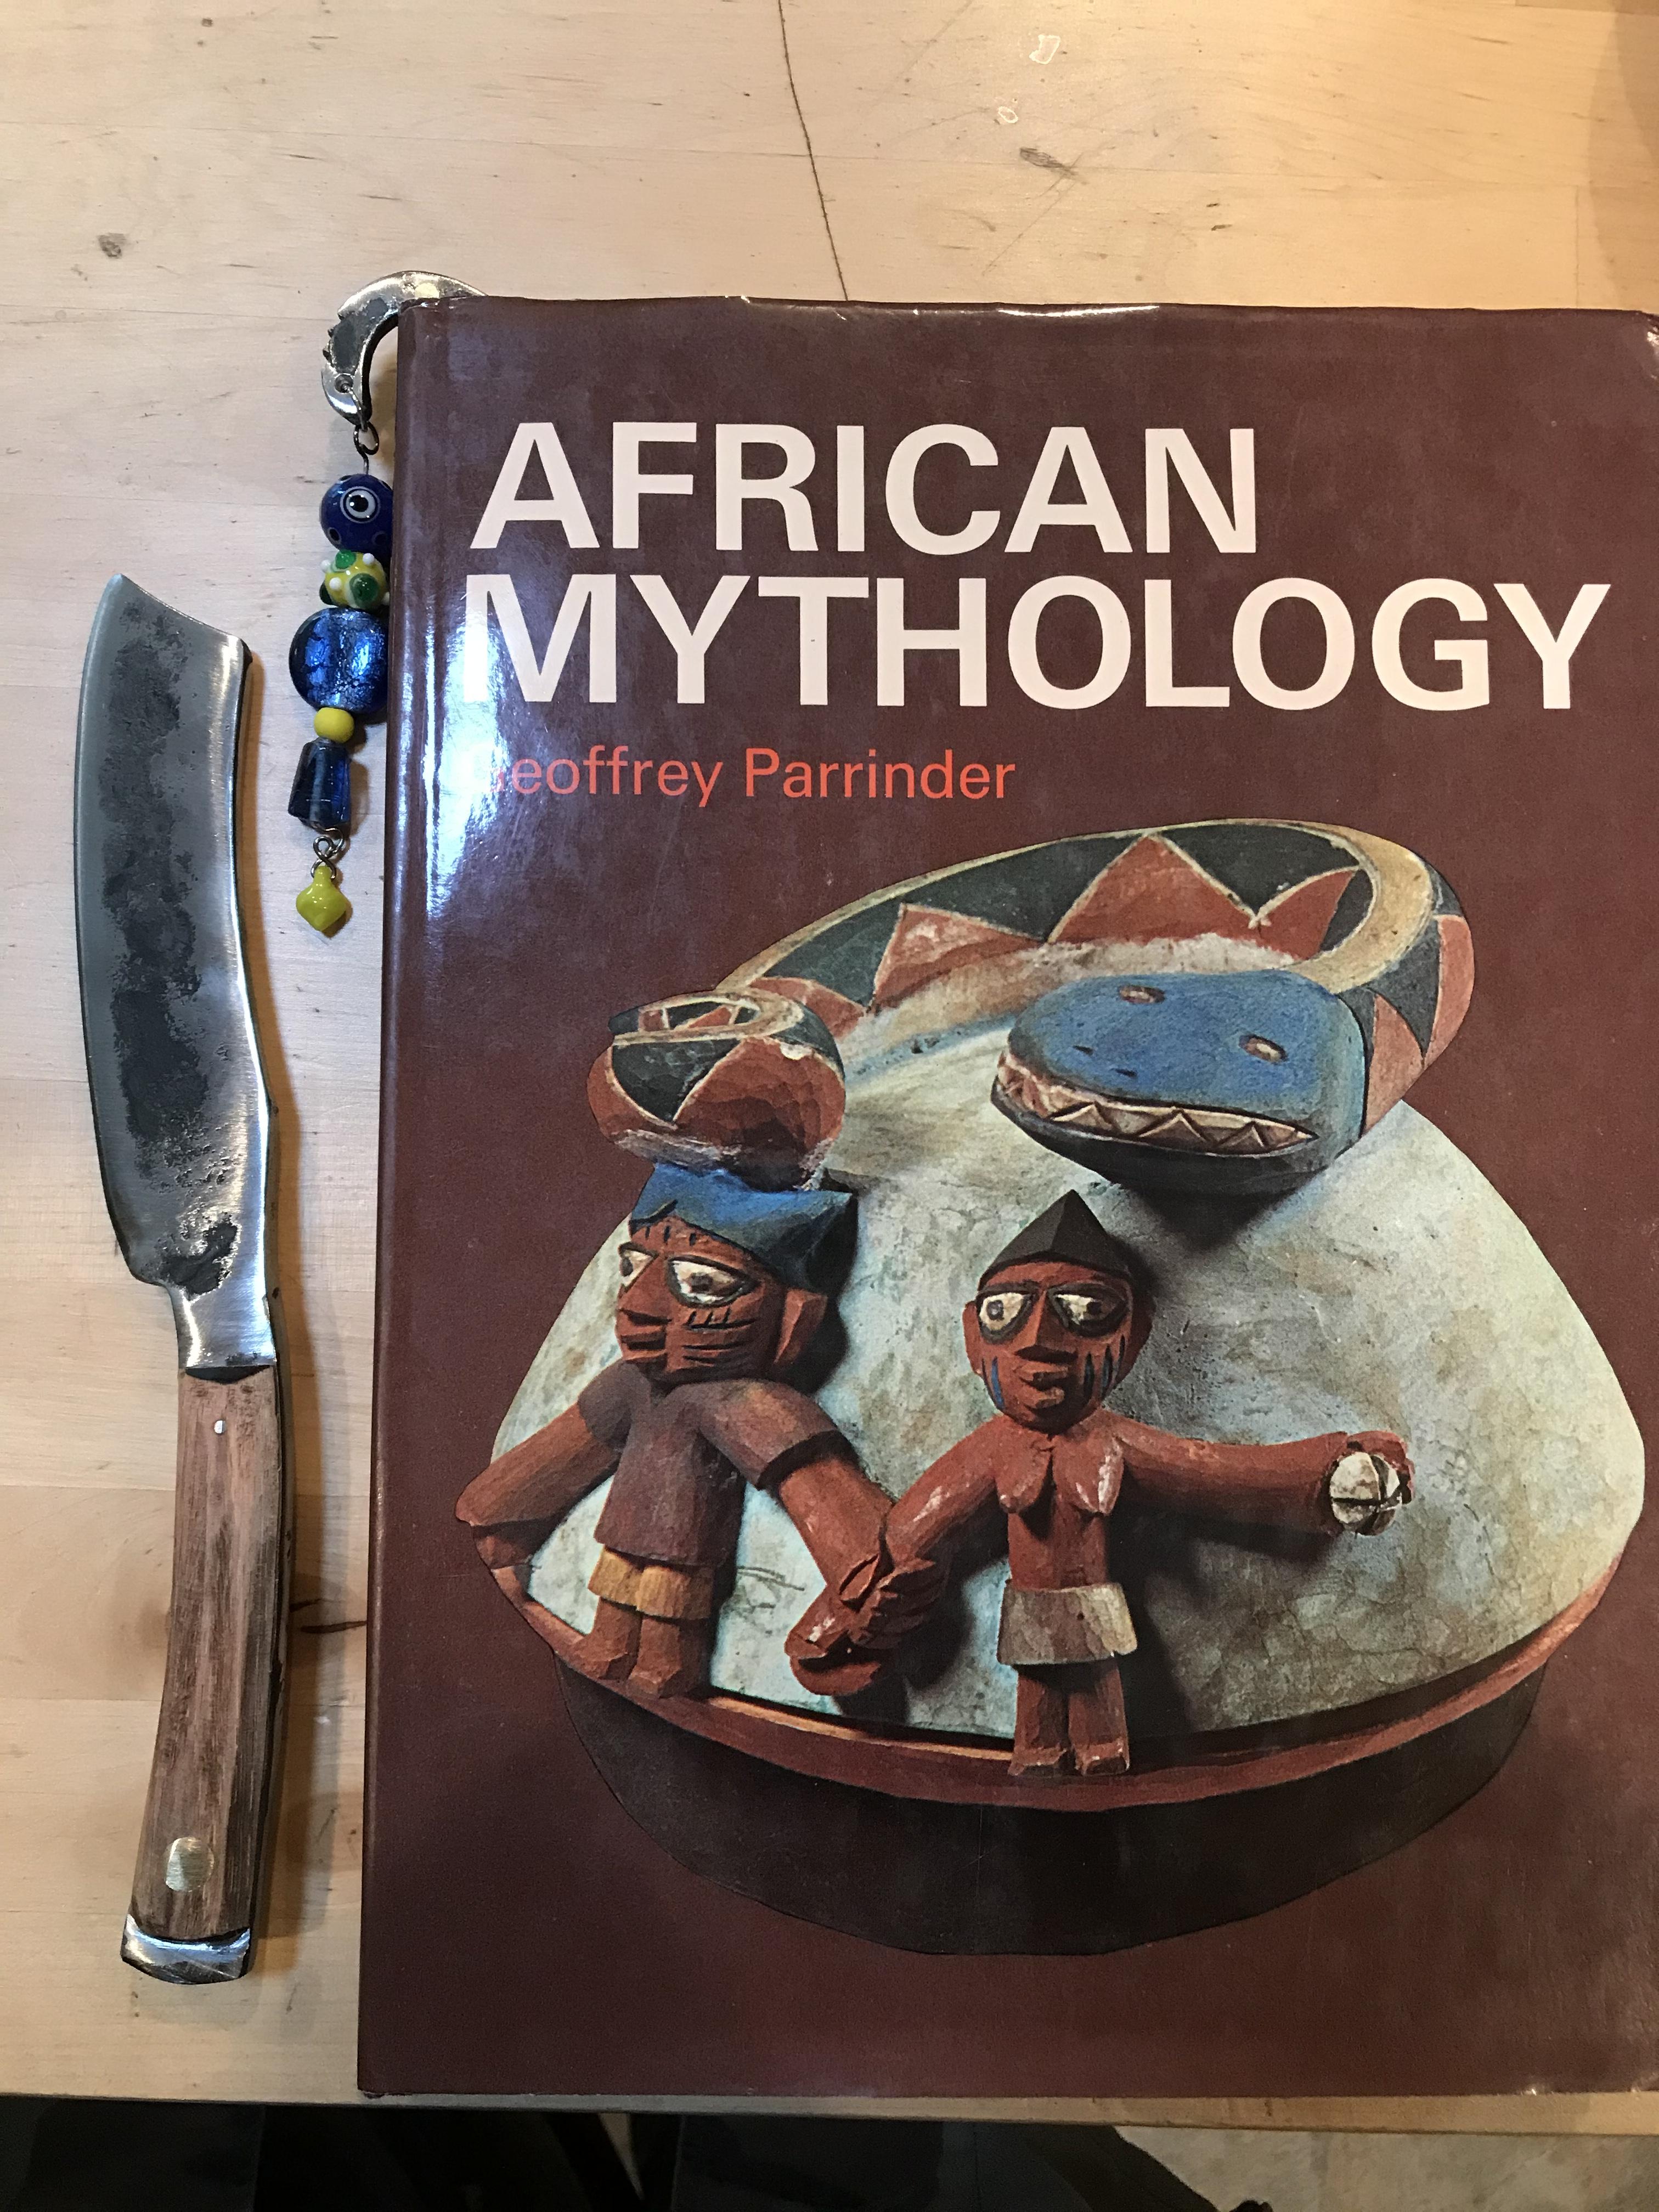
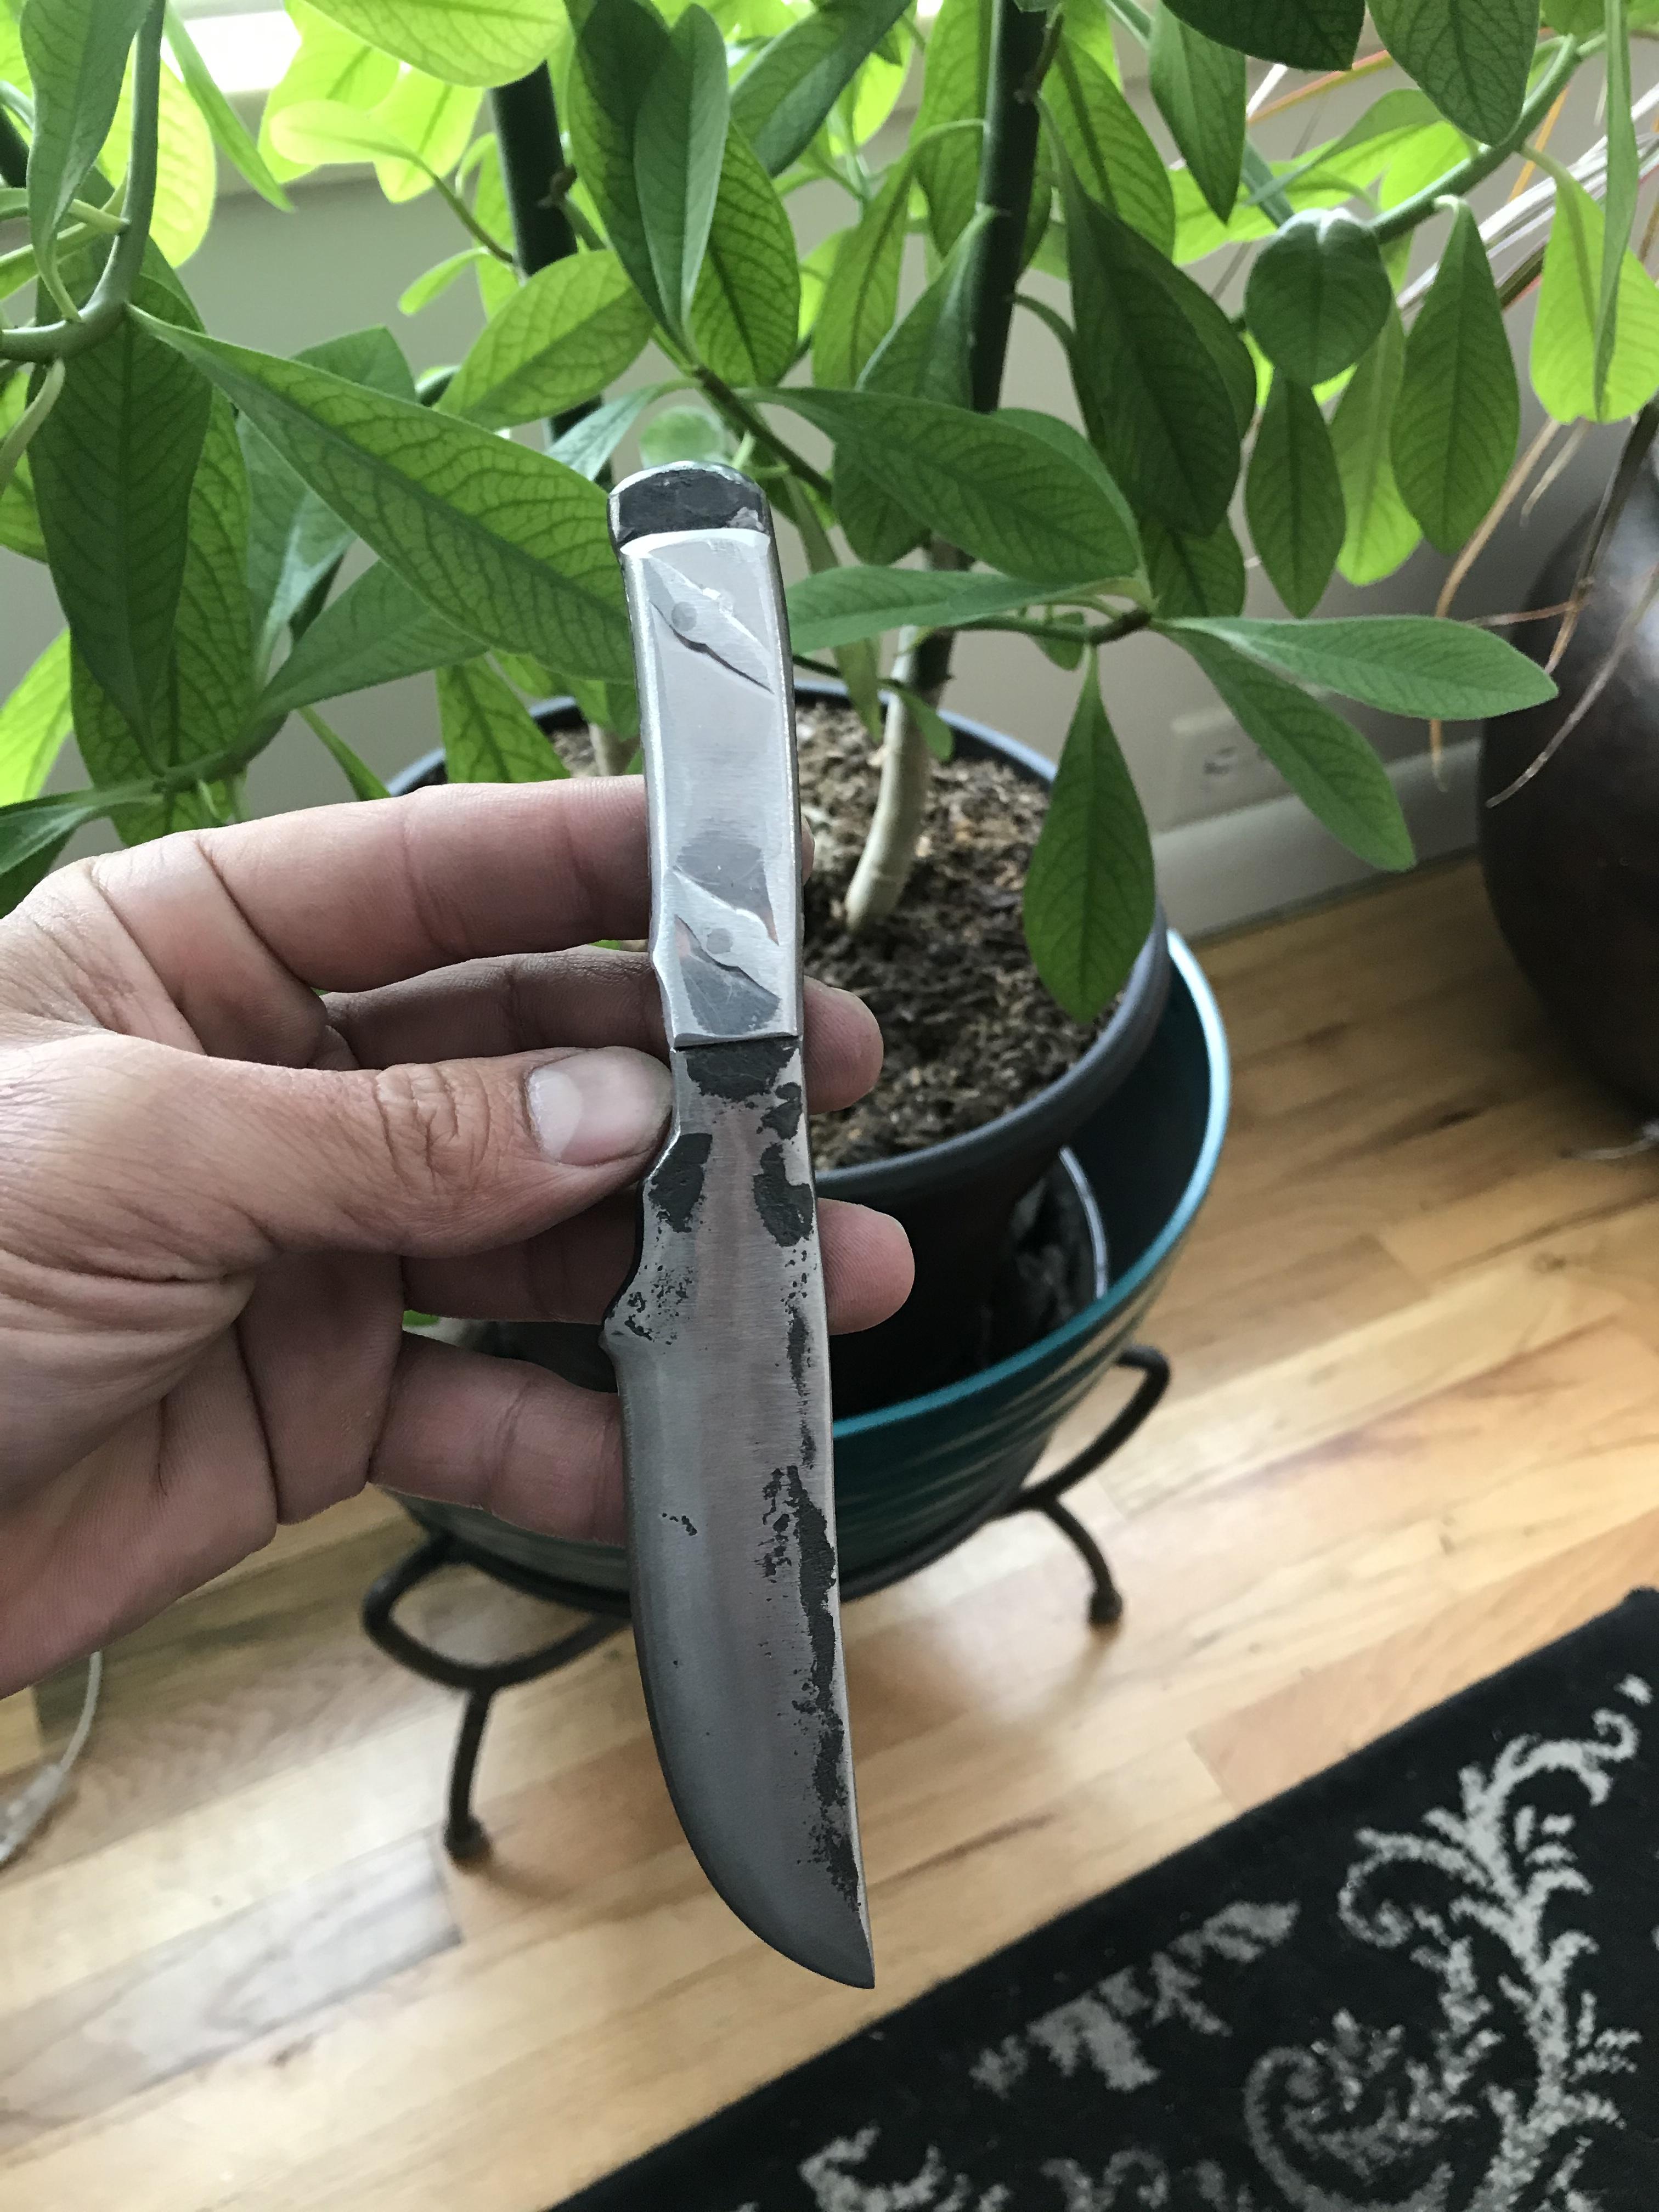
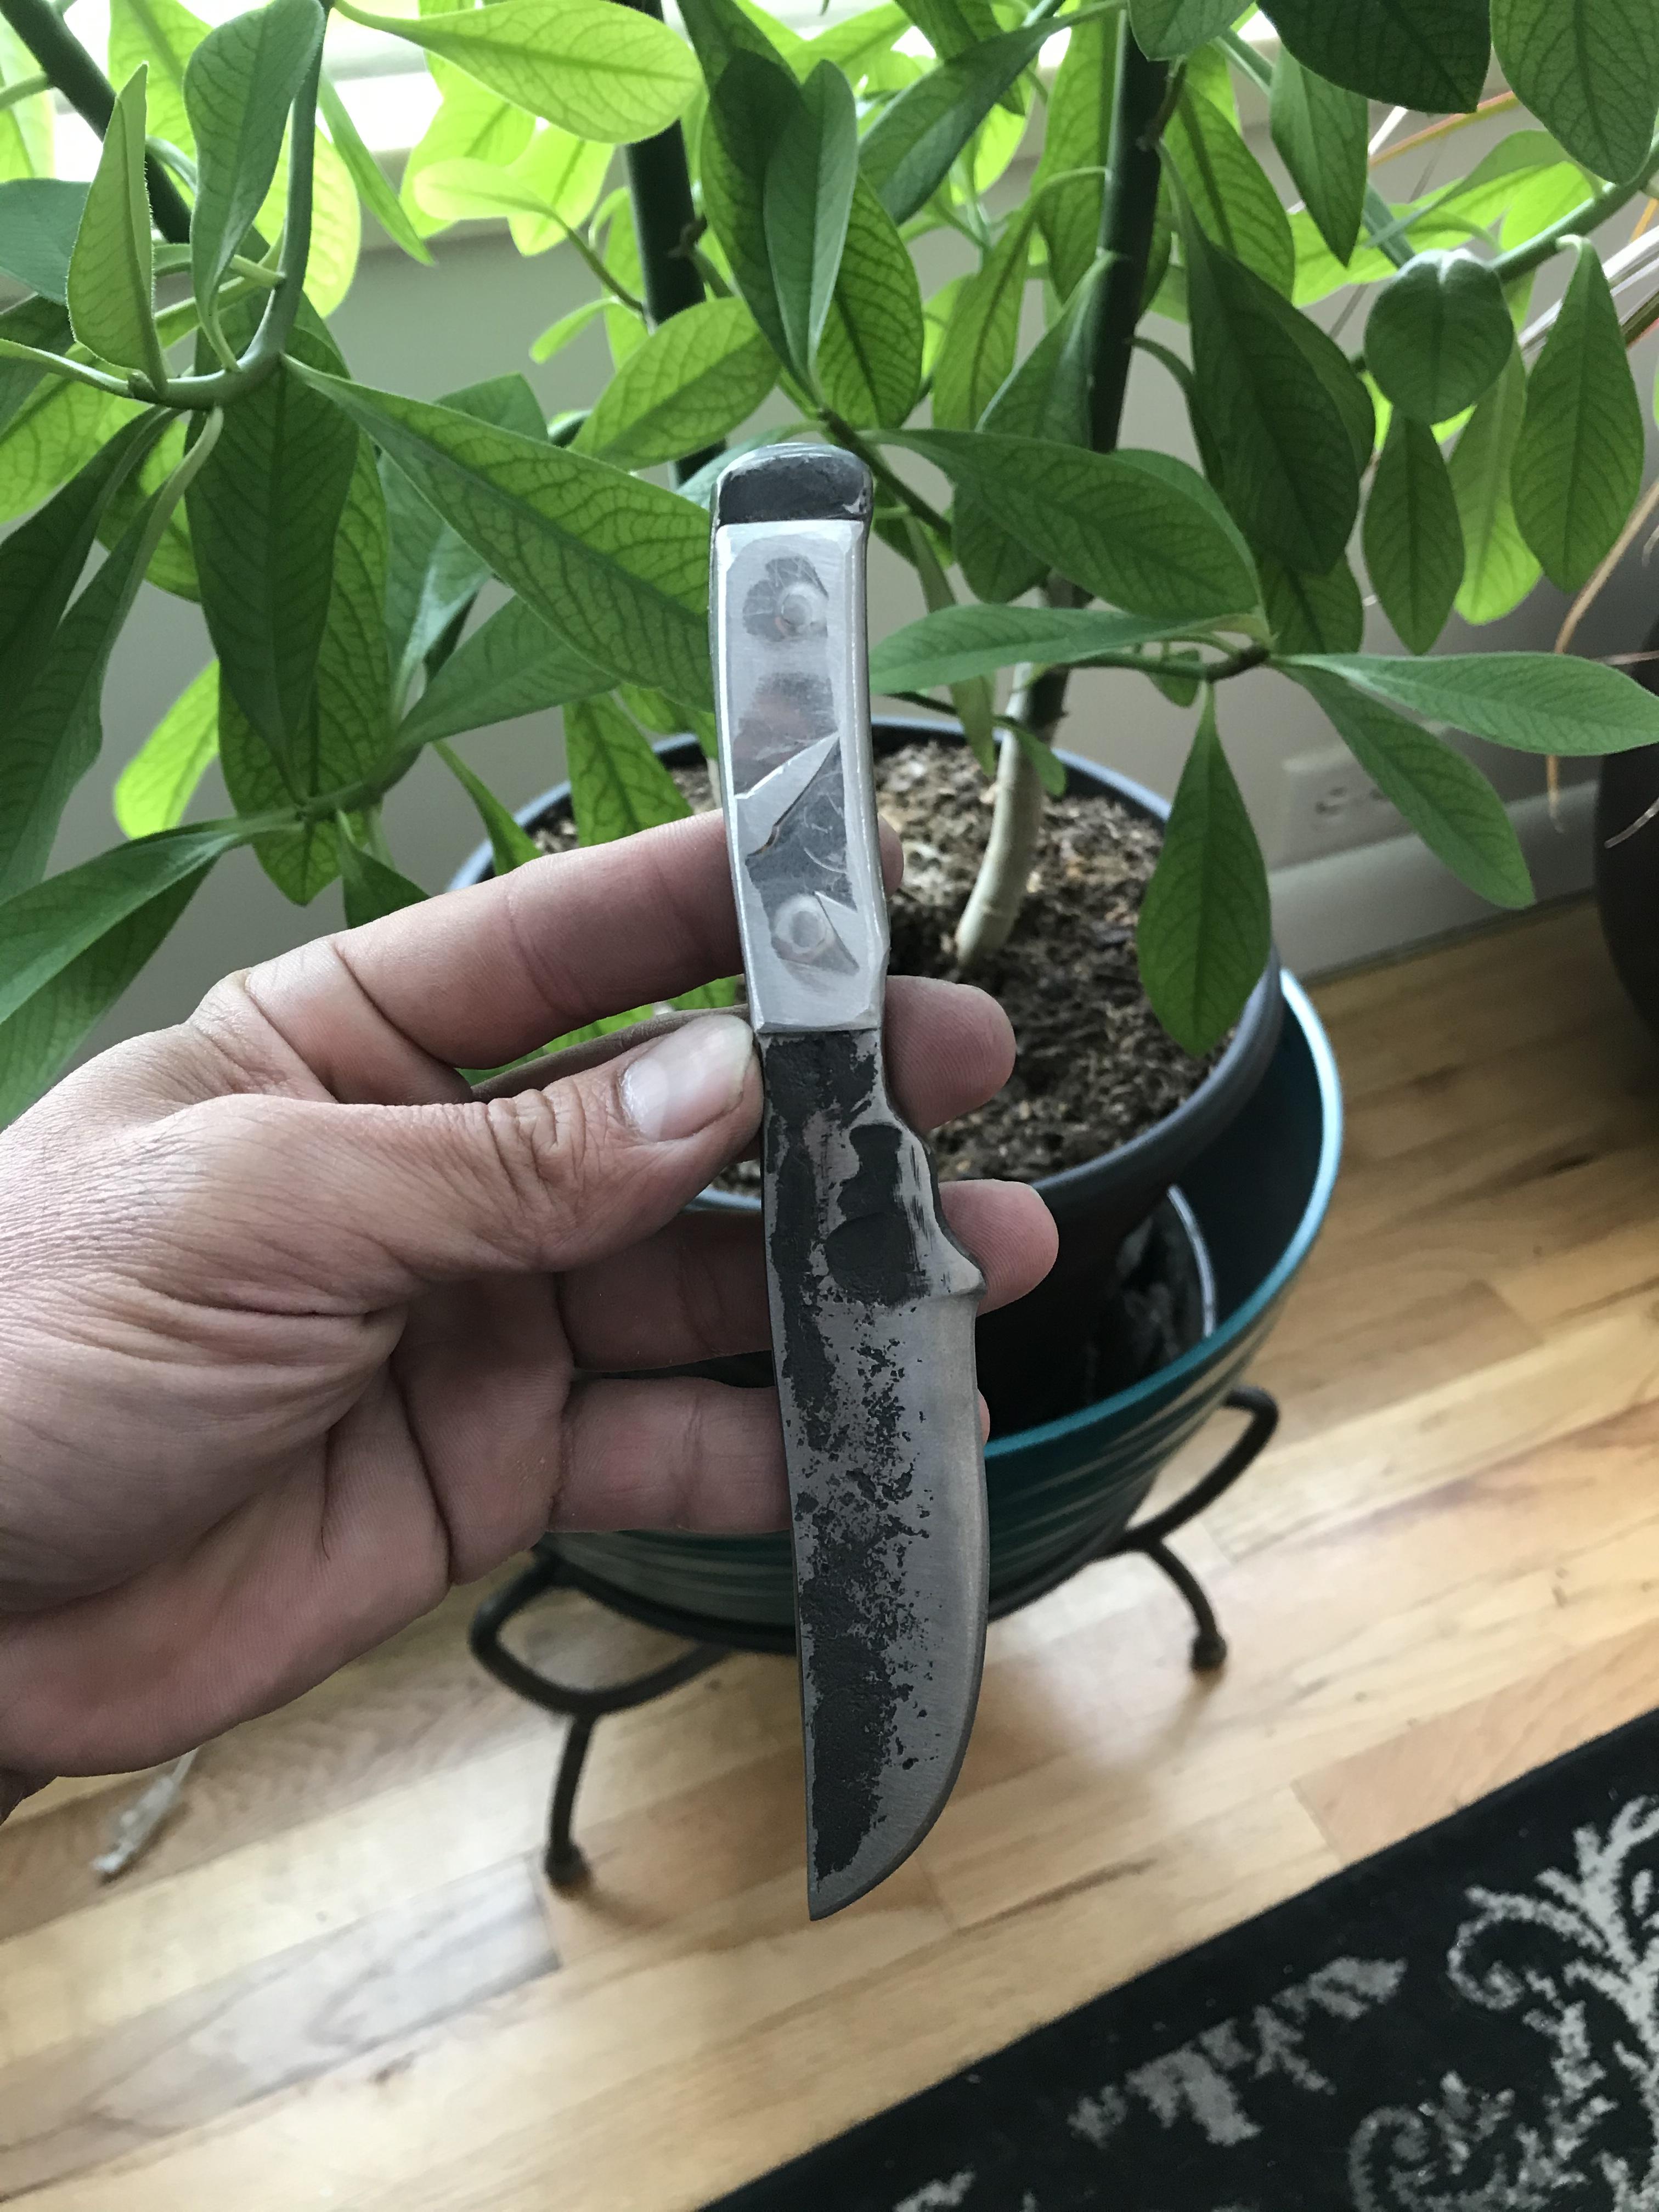
Made first scaled handle knife the other day. have’nt been on in awhile, I hope everyone is fairing alright.


-
What did you do in the shop today?
671jungle replied to Mark Ling's topic in Blacksmithing, General Discussion
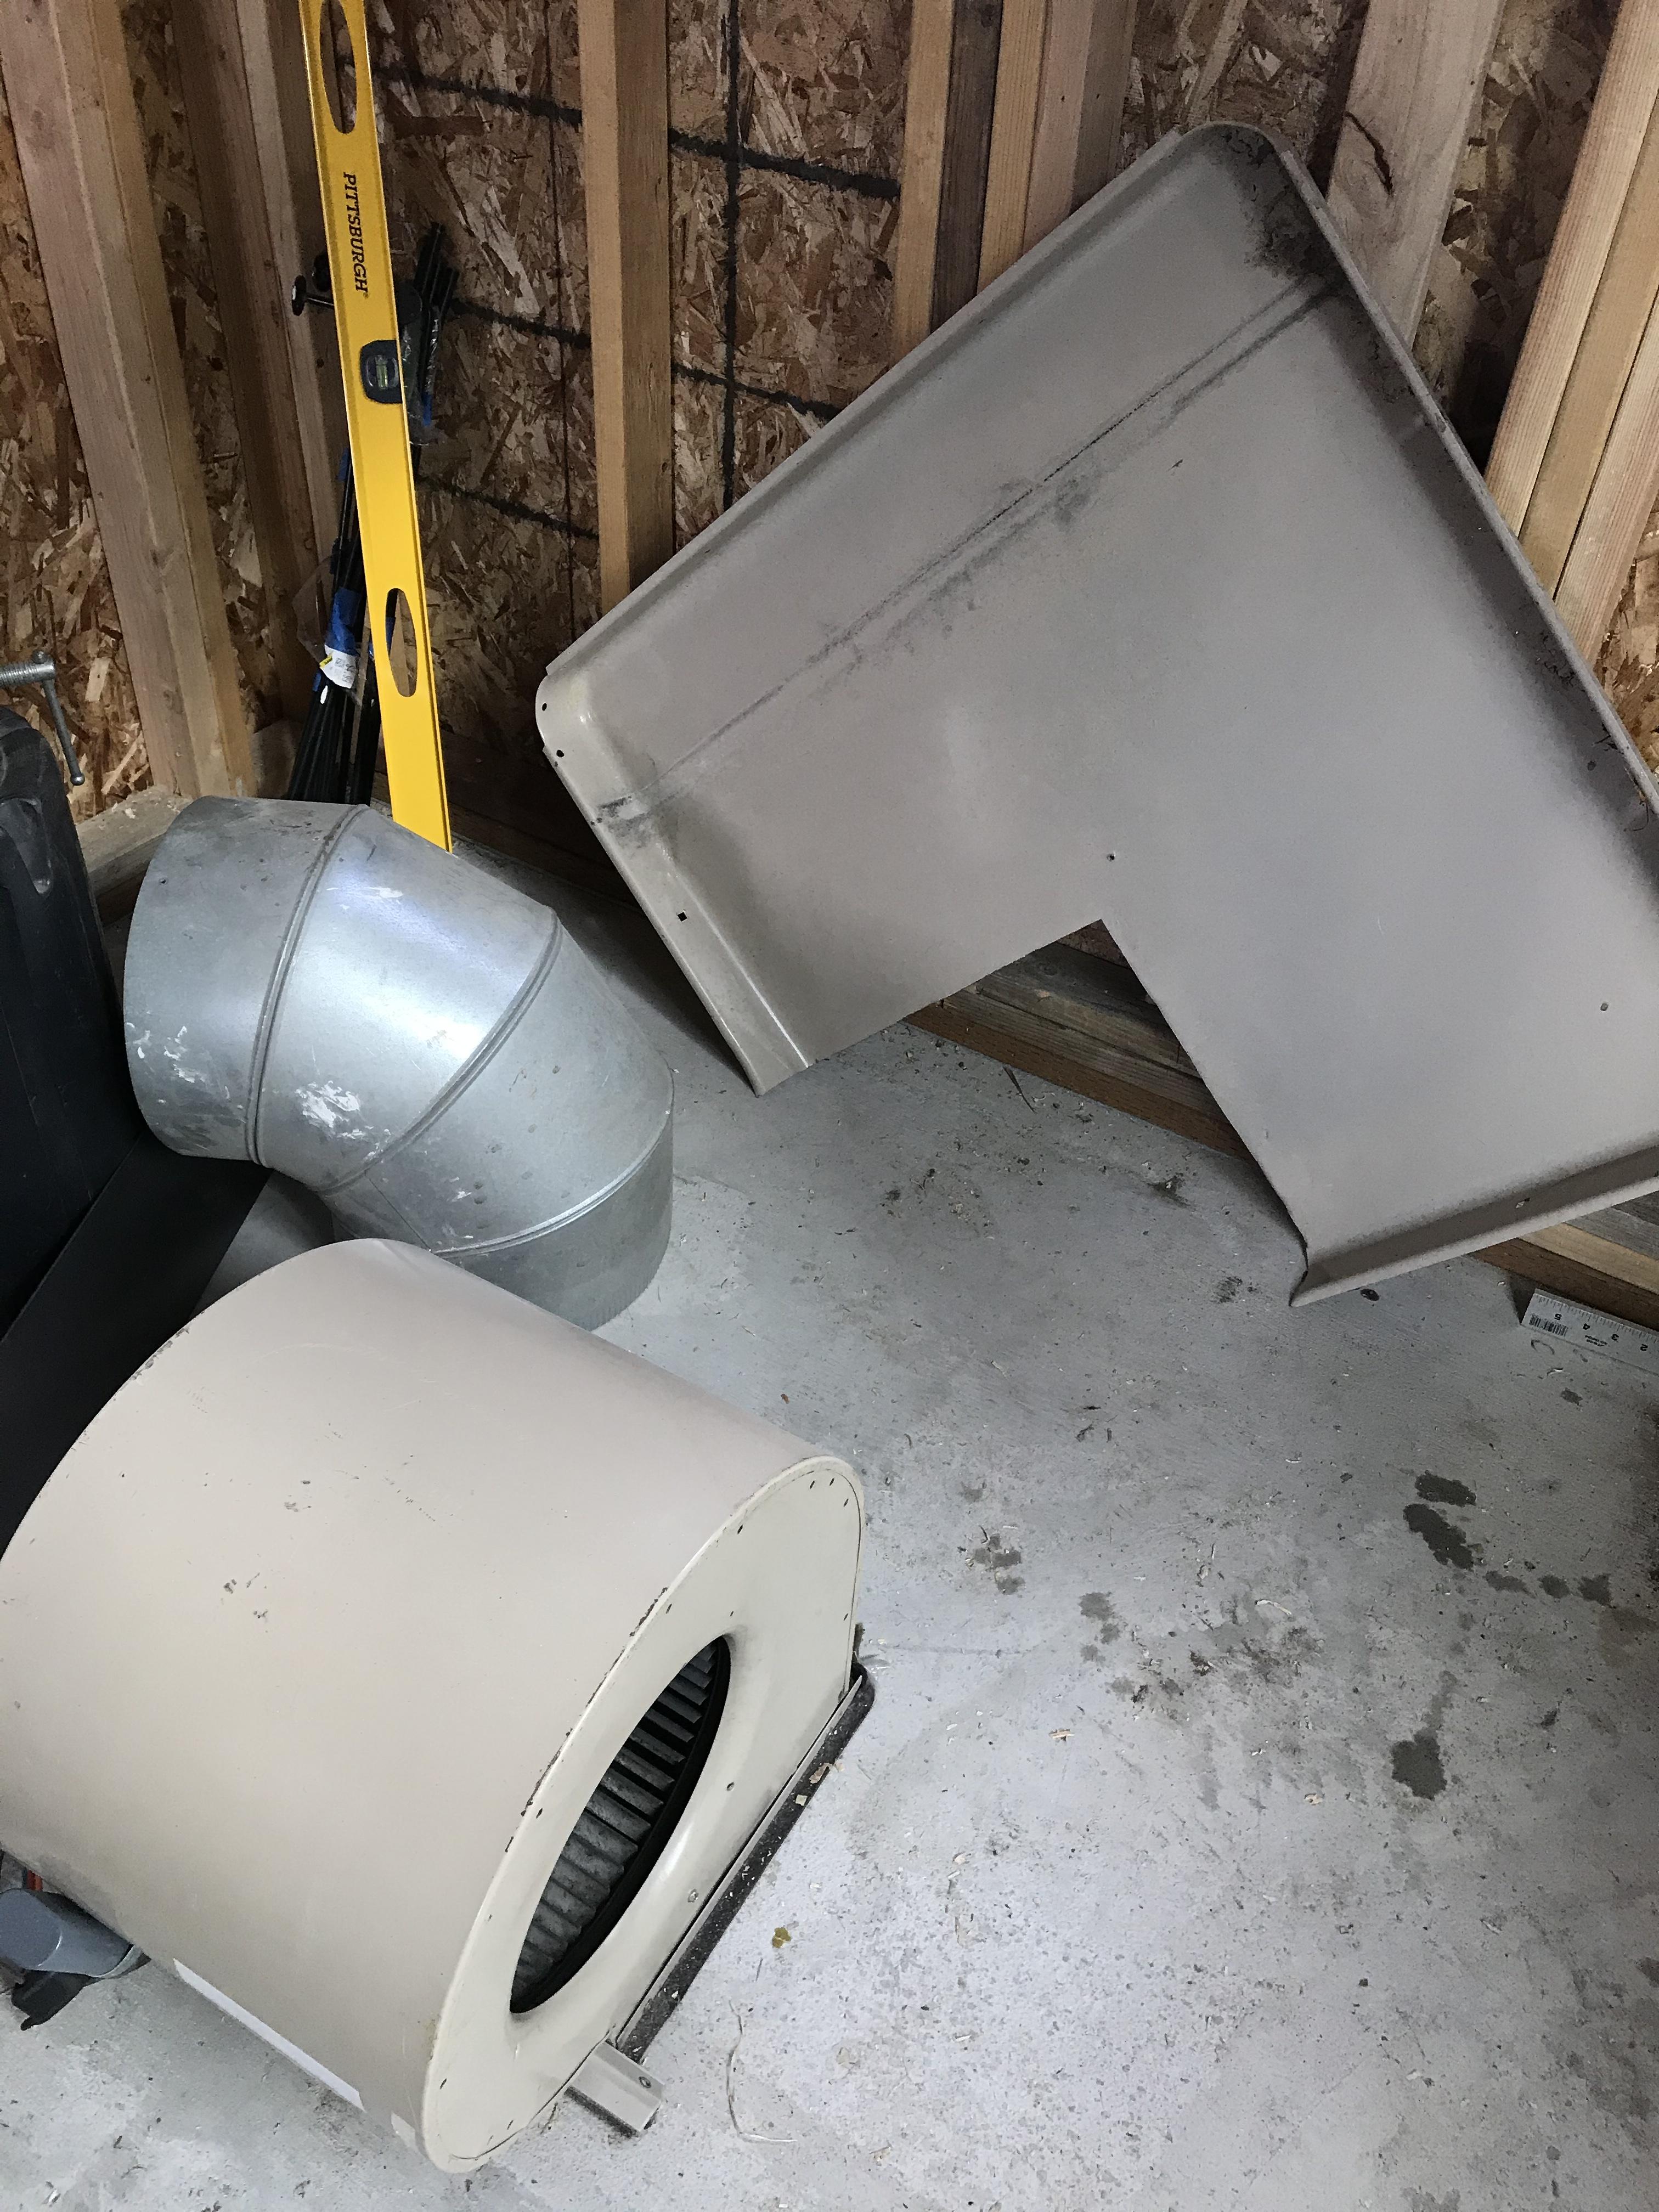
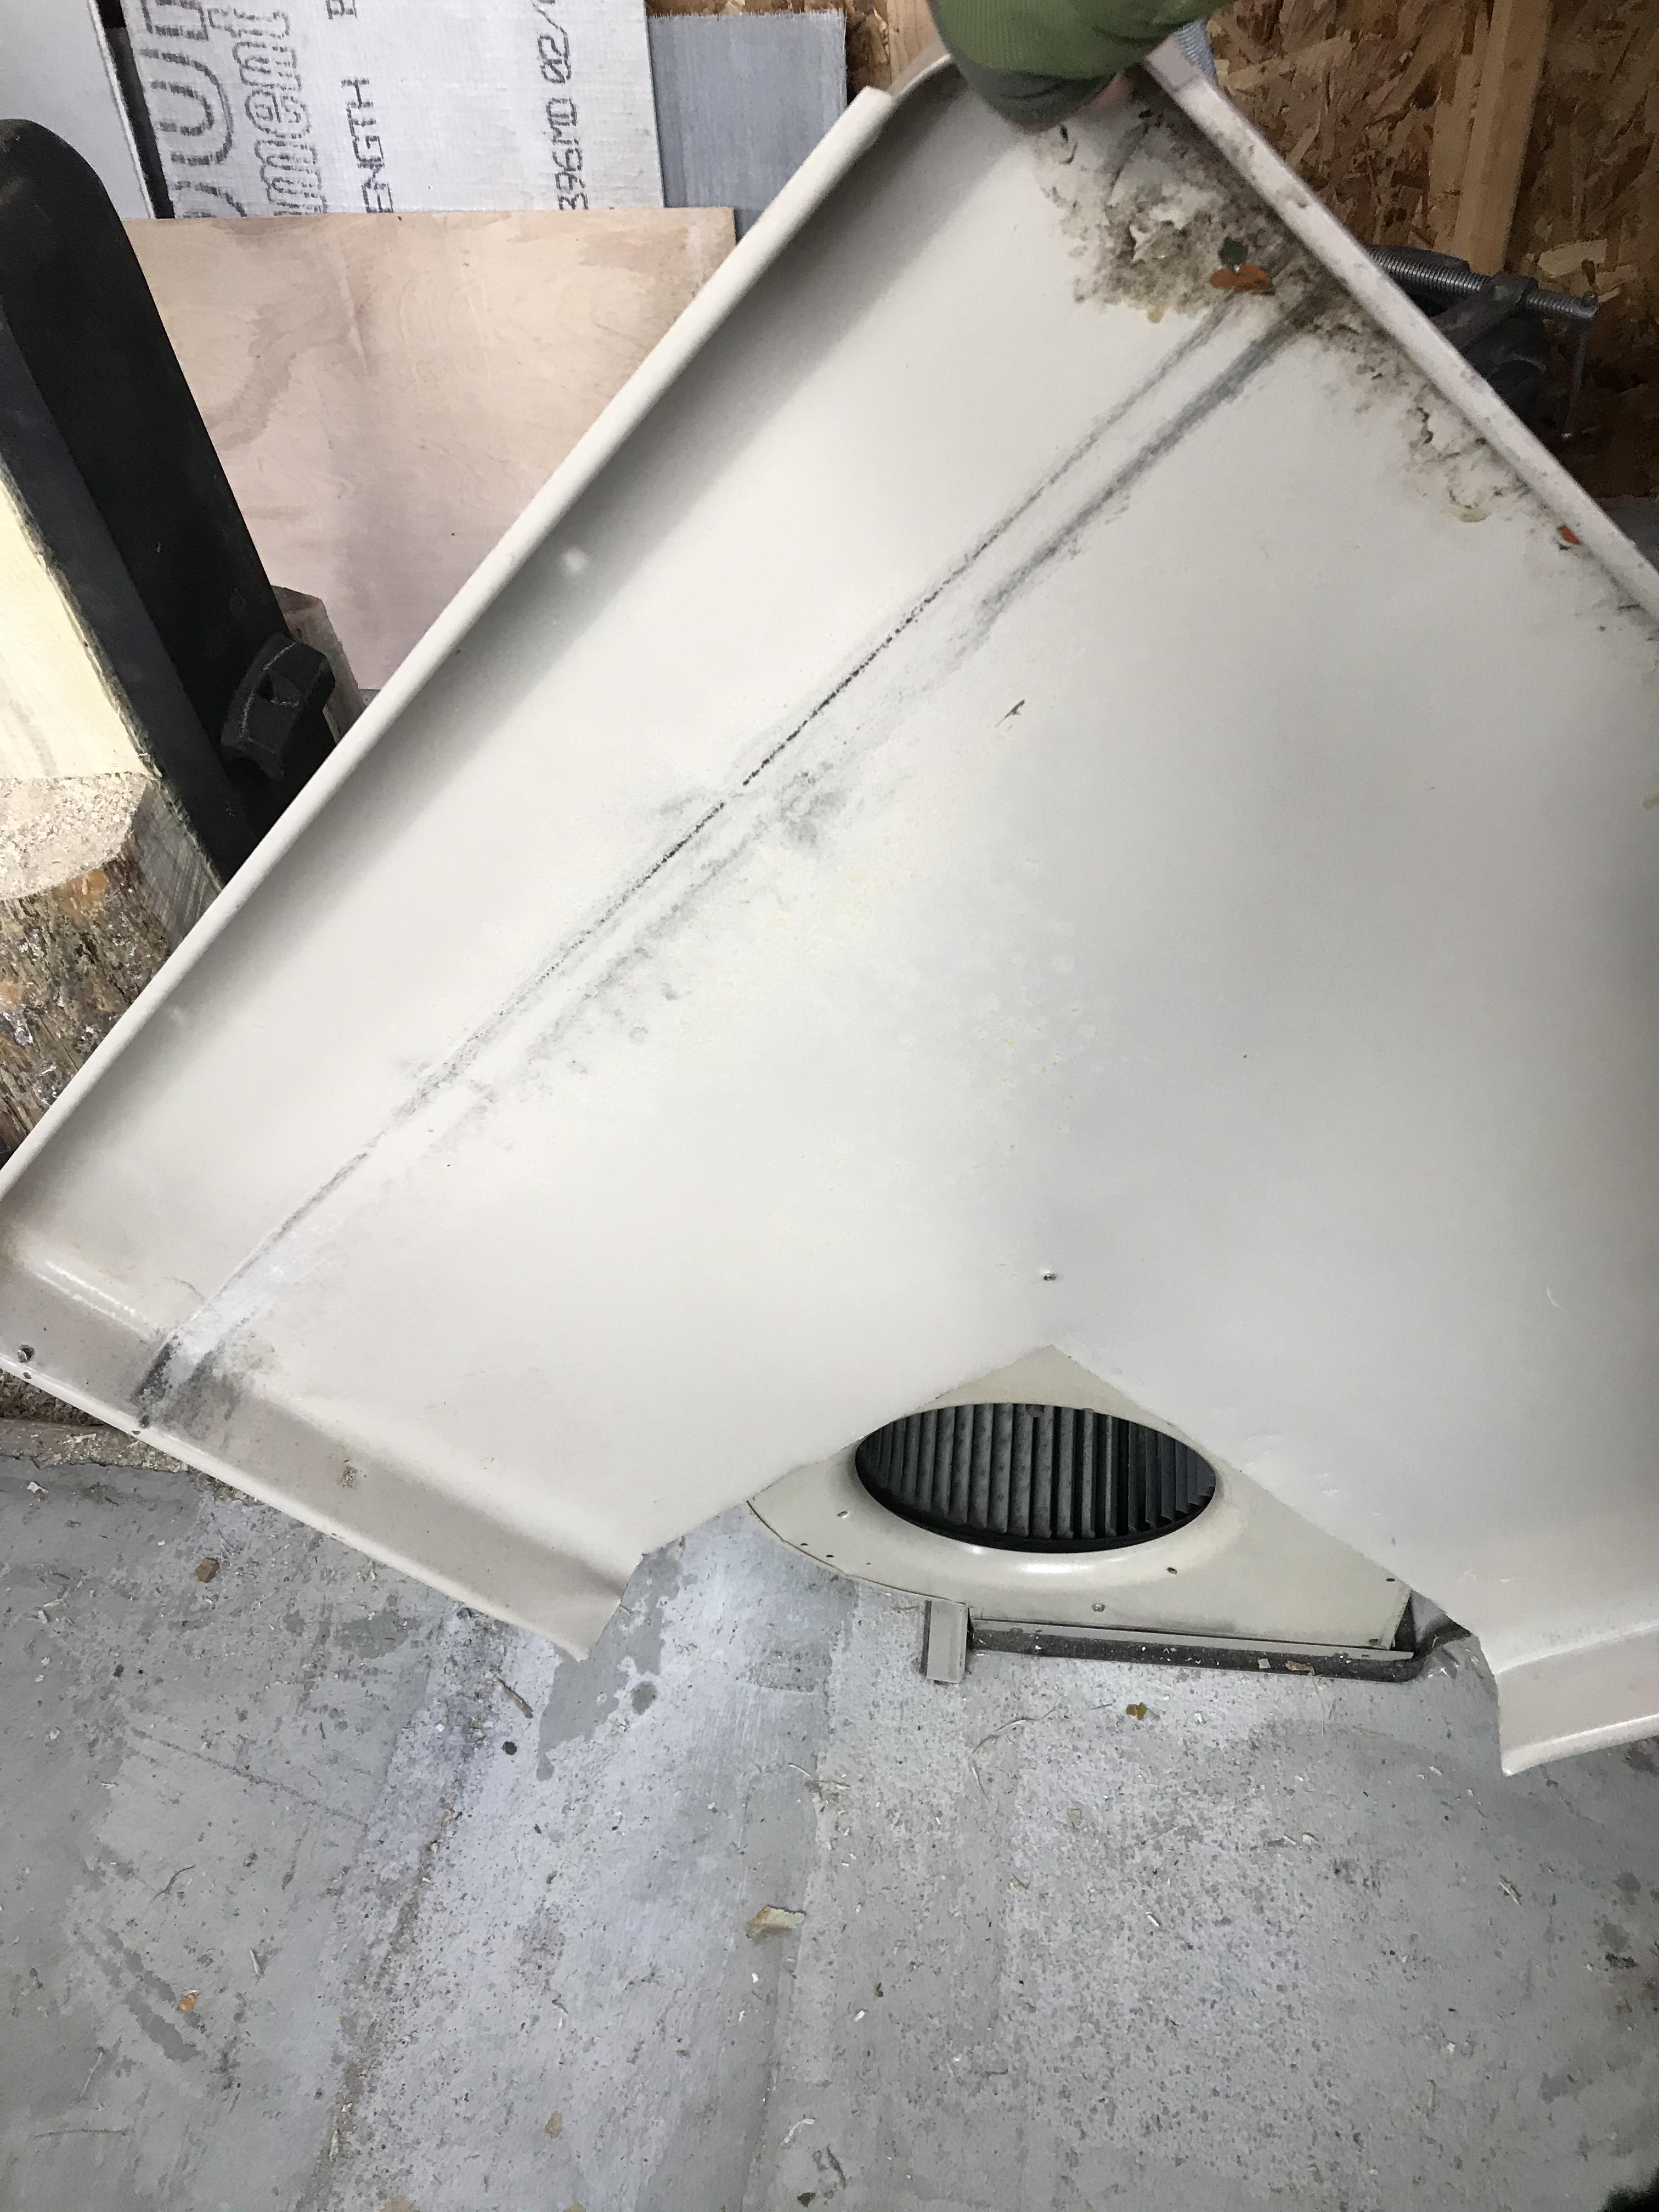
Taking apart cleaning and tuning the leather patcher. Maybe paint it. Also been reading some of the ventilation threads. With that said, I know there are some ventilation professionals here. Will these materials build a proper vent hood for a gas forge? Should the squirrel cage be used as positive pressure on the opposite side of the shop or should a extracting fan be installed in the vent duct? Thanks for any info. There will be a detector installed as well. The shop is 8’x16’ and 10’ tall with vents all along half the length of the ceiling above where the forge will be. There are windows on each length of the shop as well as a large one next to the double doors. Thanks for any info. I will continue to read the vent threads.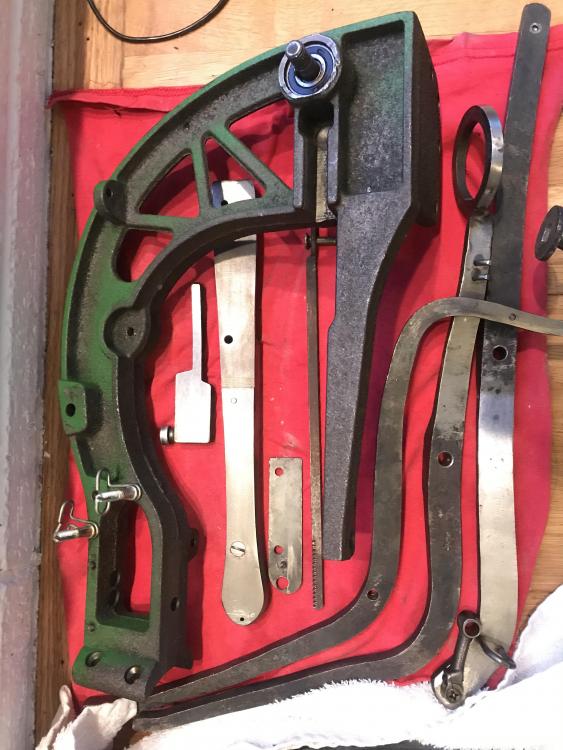


-
What did you do in the shop today?
671jungle replied to Mark Ling's topic in Blacksmithing, General Discussion
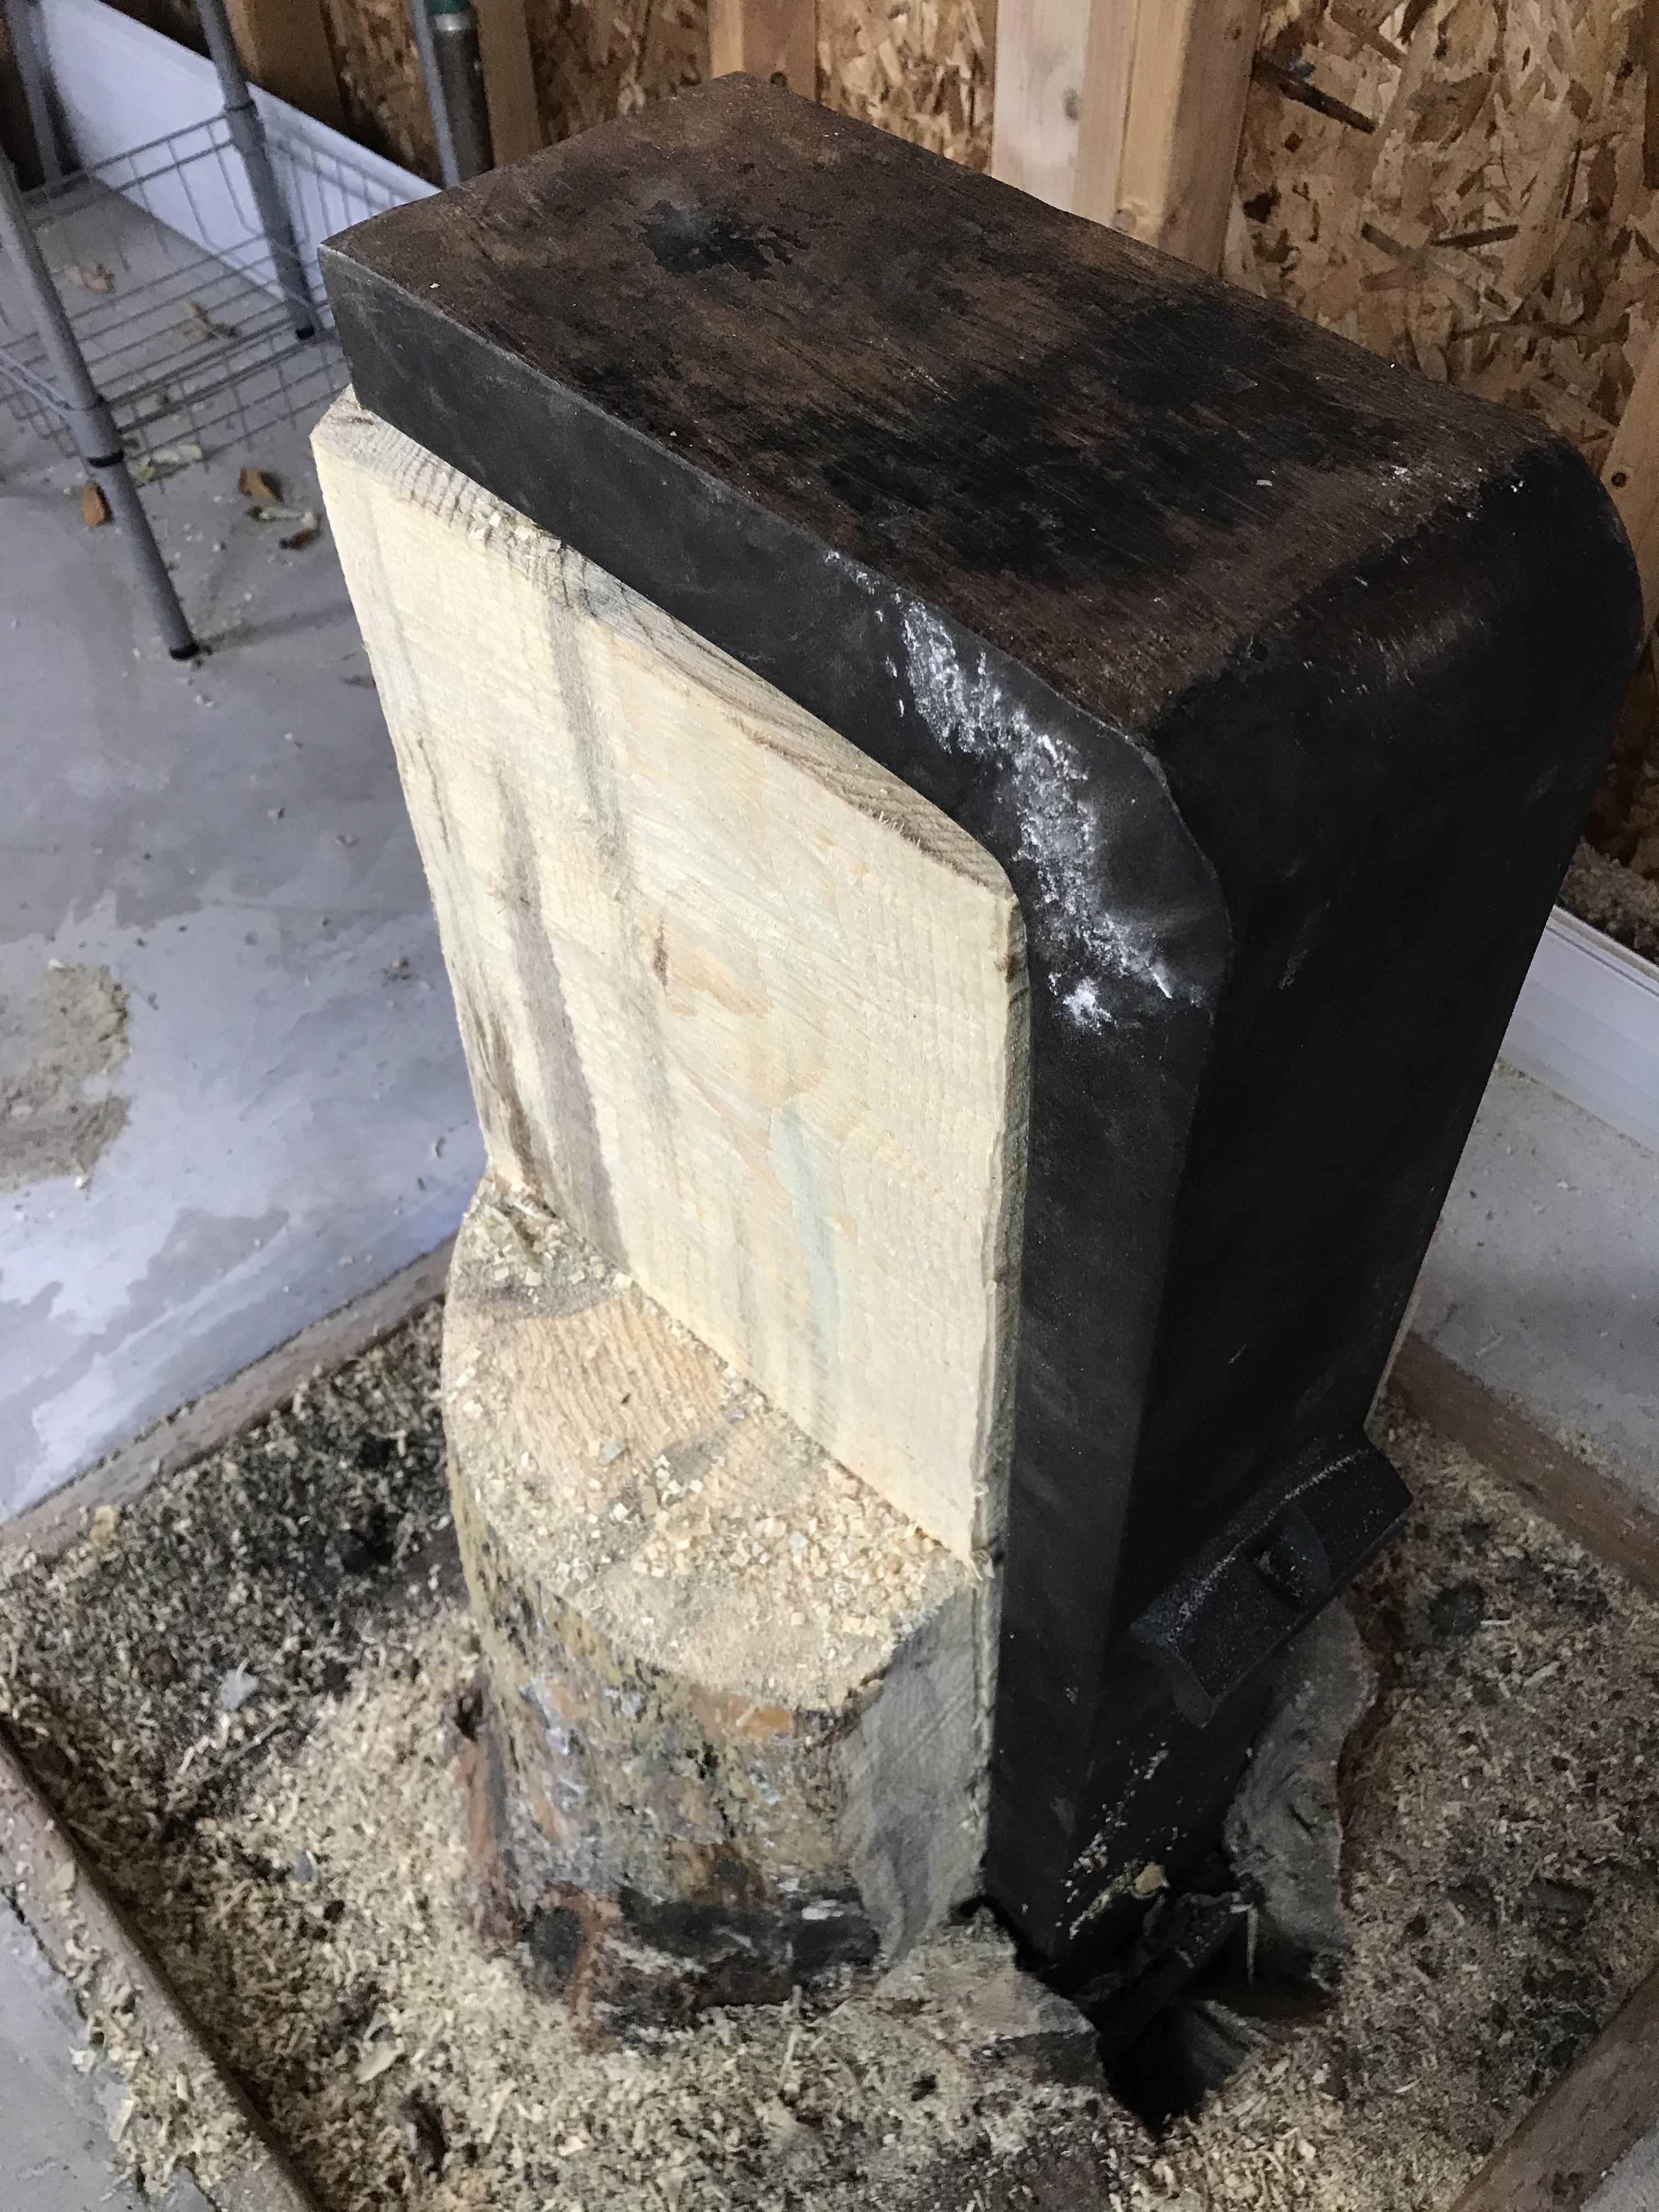
Installed a two point latch on the shops door, made some shelving and mounted the 183lb forklift tine anvil to the stump over the last several days. the double door kit we got at the local online was incomplete with the middle where the doors meet missing. So I got some 1/8” x 6” x the height of the door to bridge the gap and act as a pry shield. I also forged a simple handle/lever for the latch mechanism. The anvil seems too close to the wall on one side but there is enough room for what I need. For now. I also practiced some more shapes and made keychains for friends.


-
I took an avulsion fracture to the ankle back in a high school fight. The first Doc failed to see the injury. I walked around on it for almost a month before a foot specialist saw the xrays and had to go in for surgery. Power tools scare the heck out of me.
-
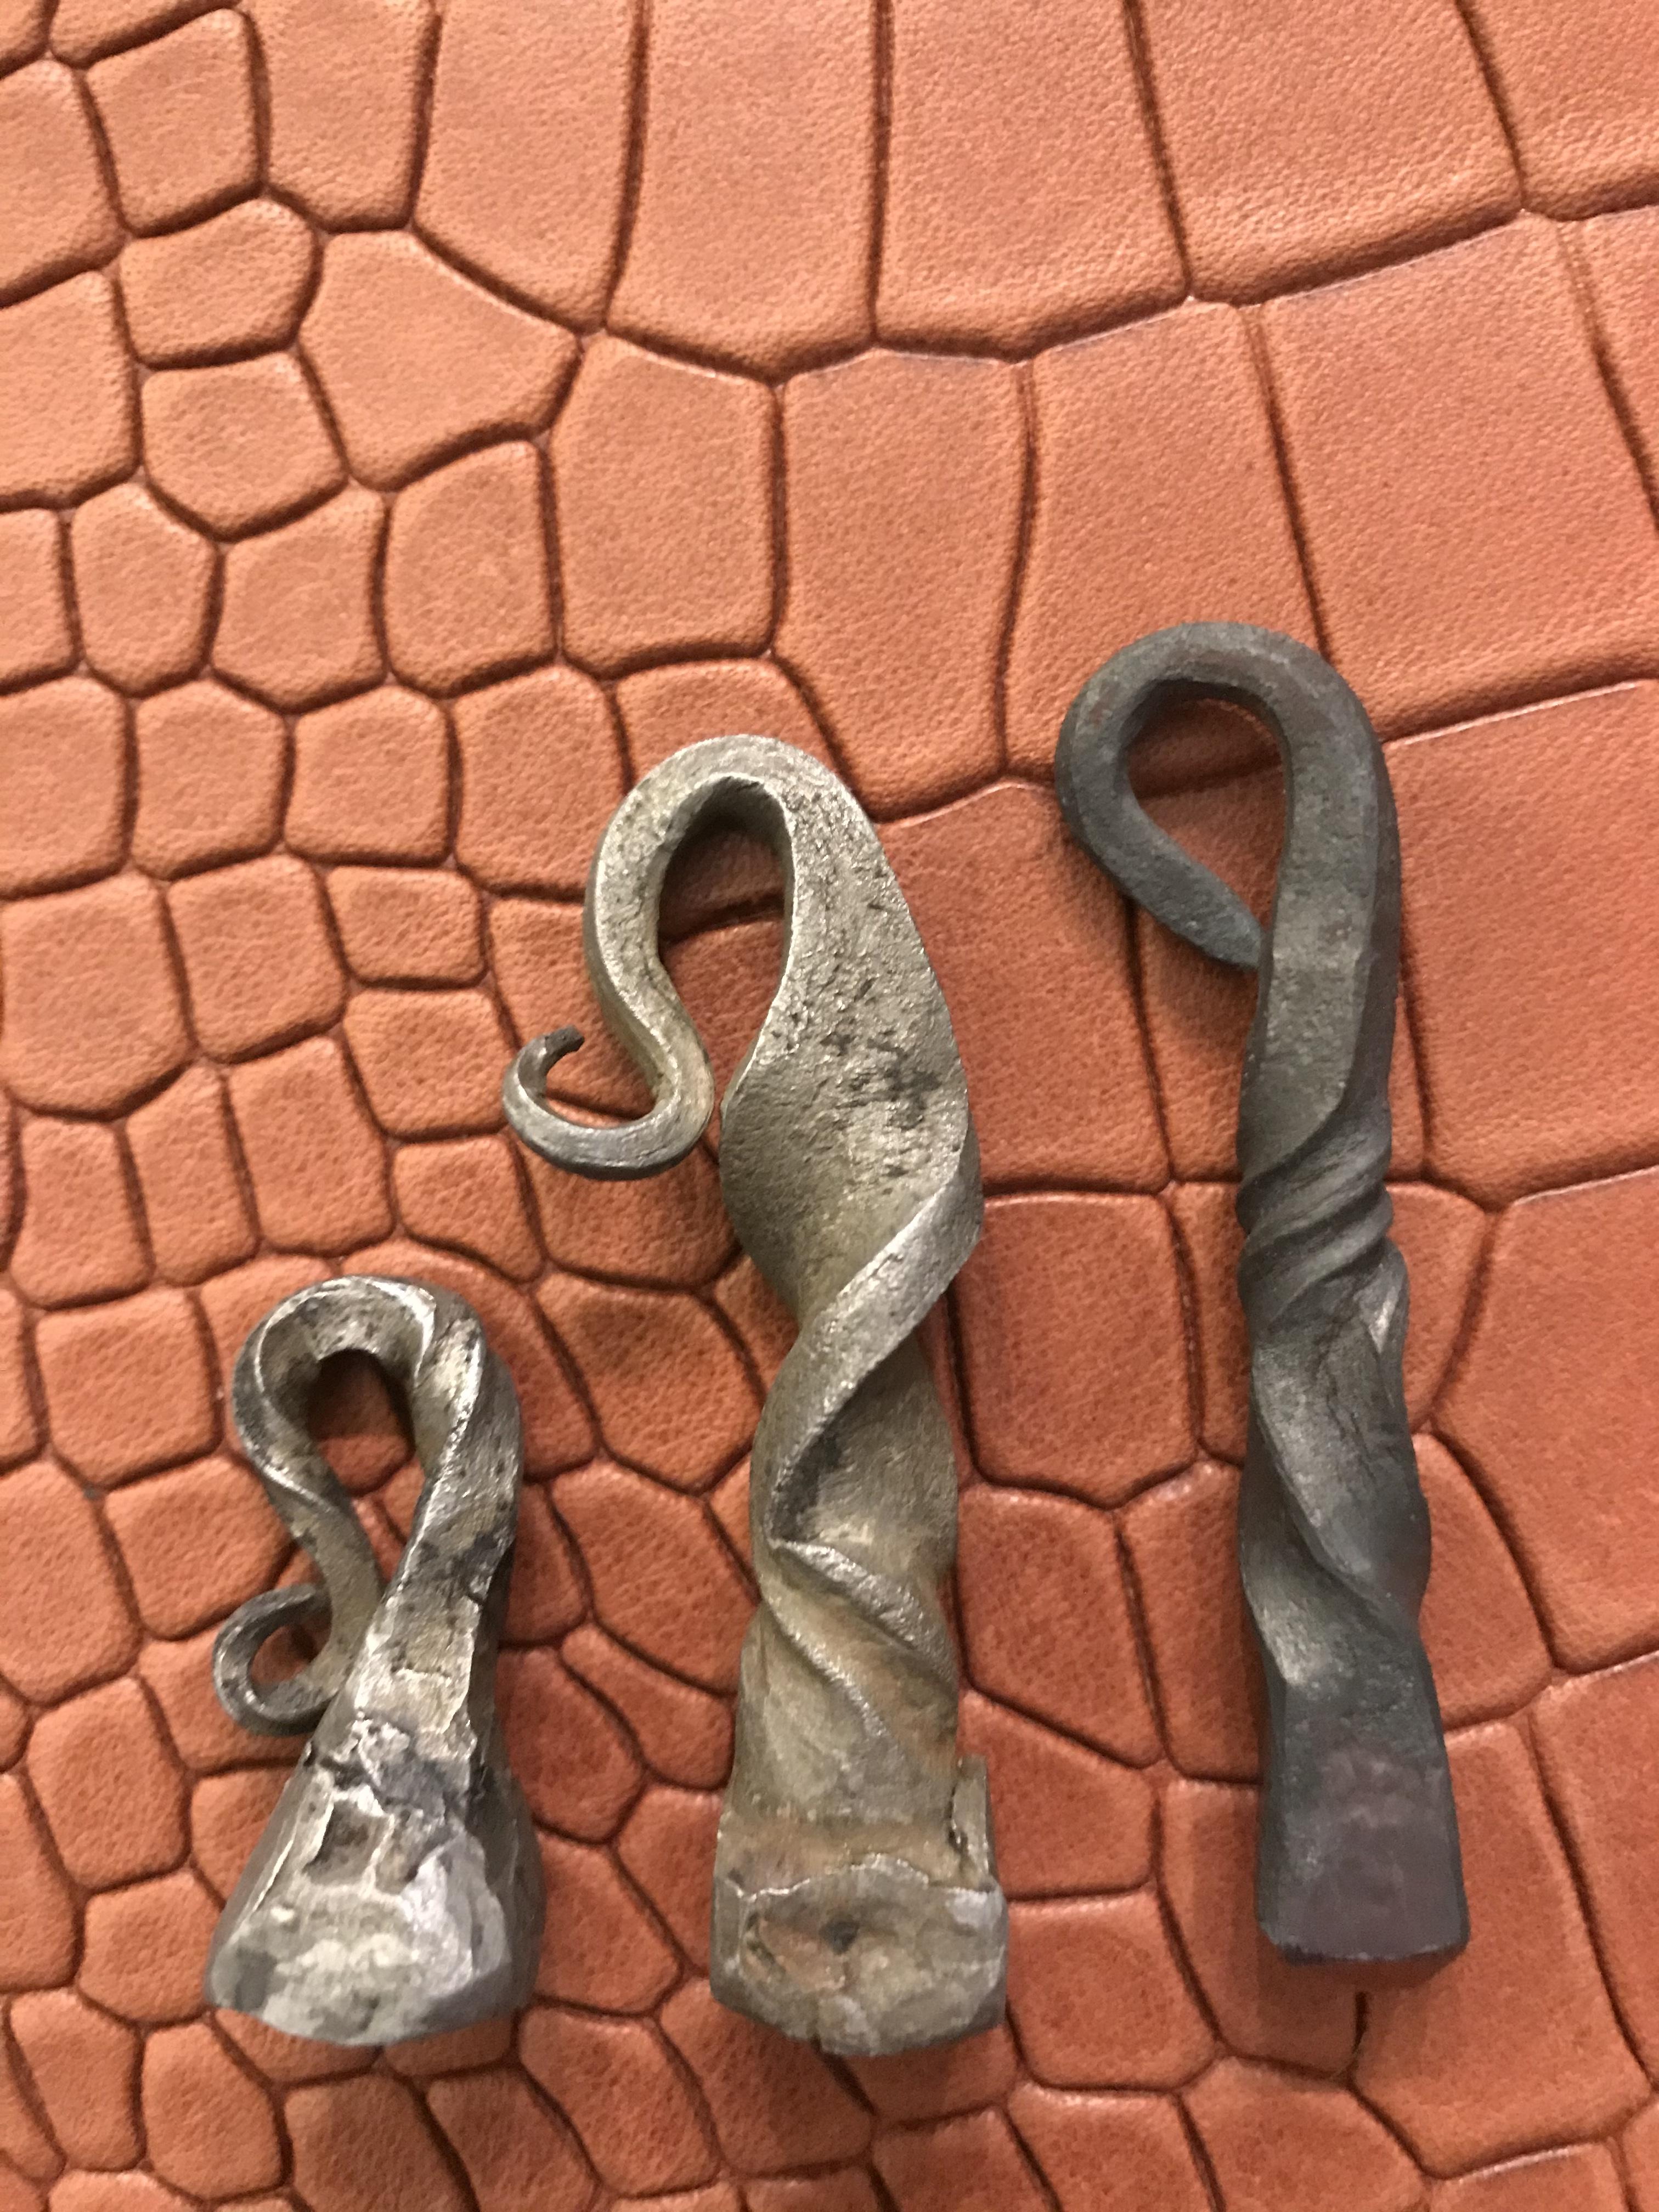
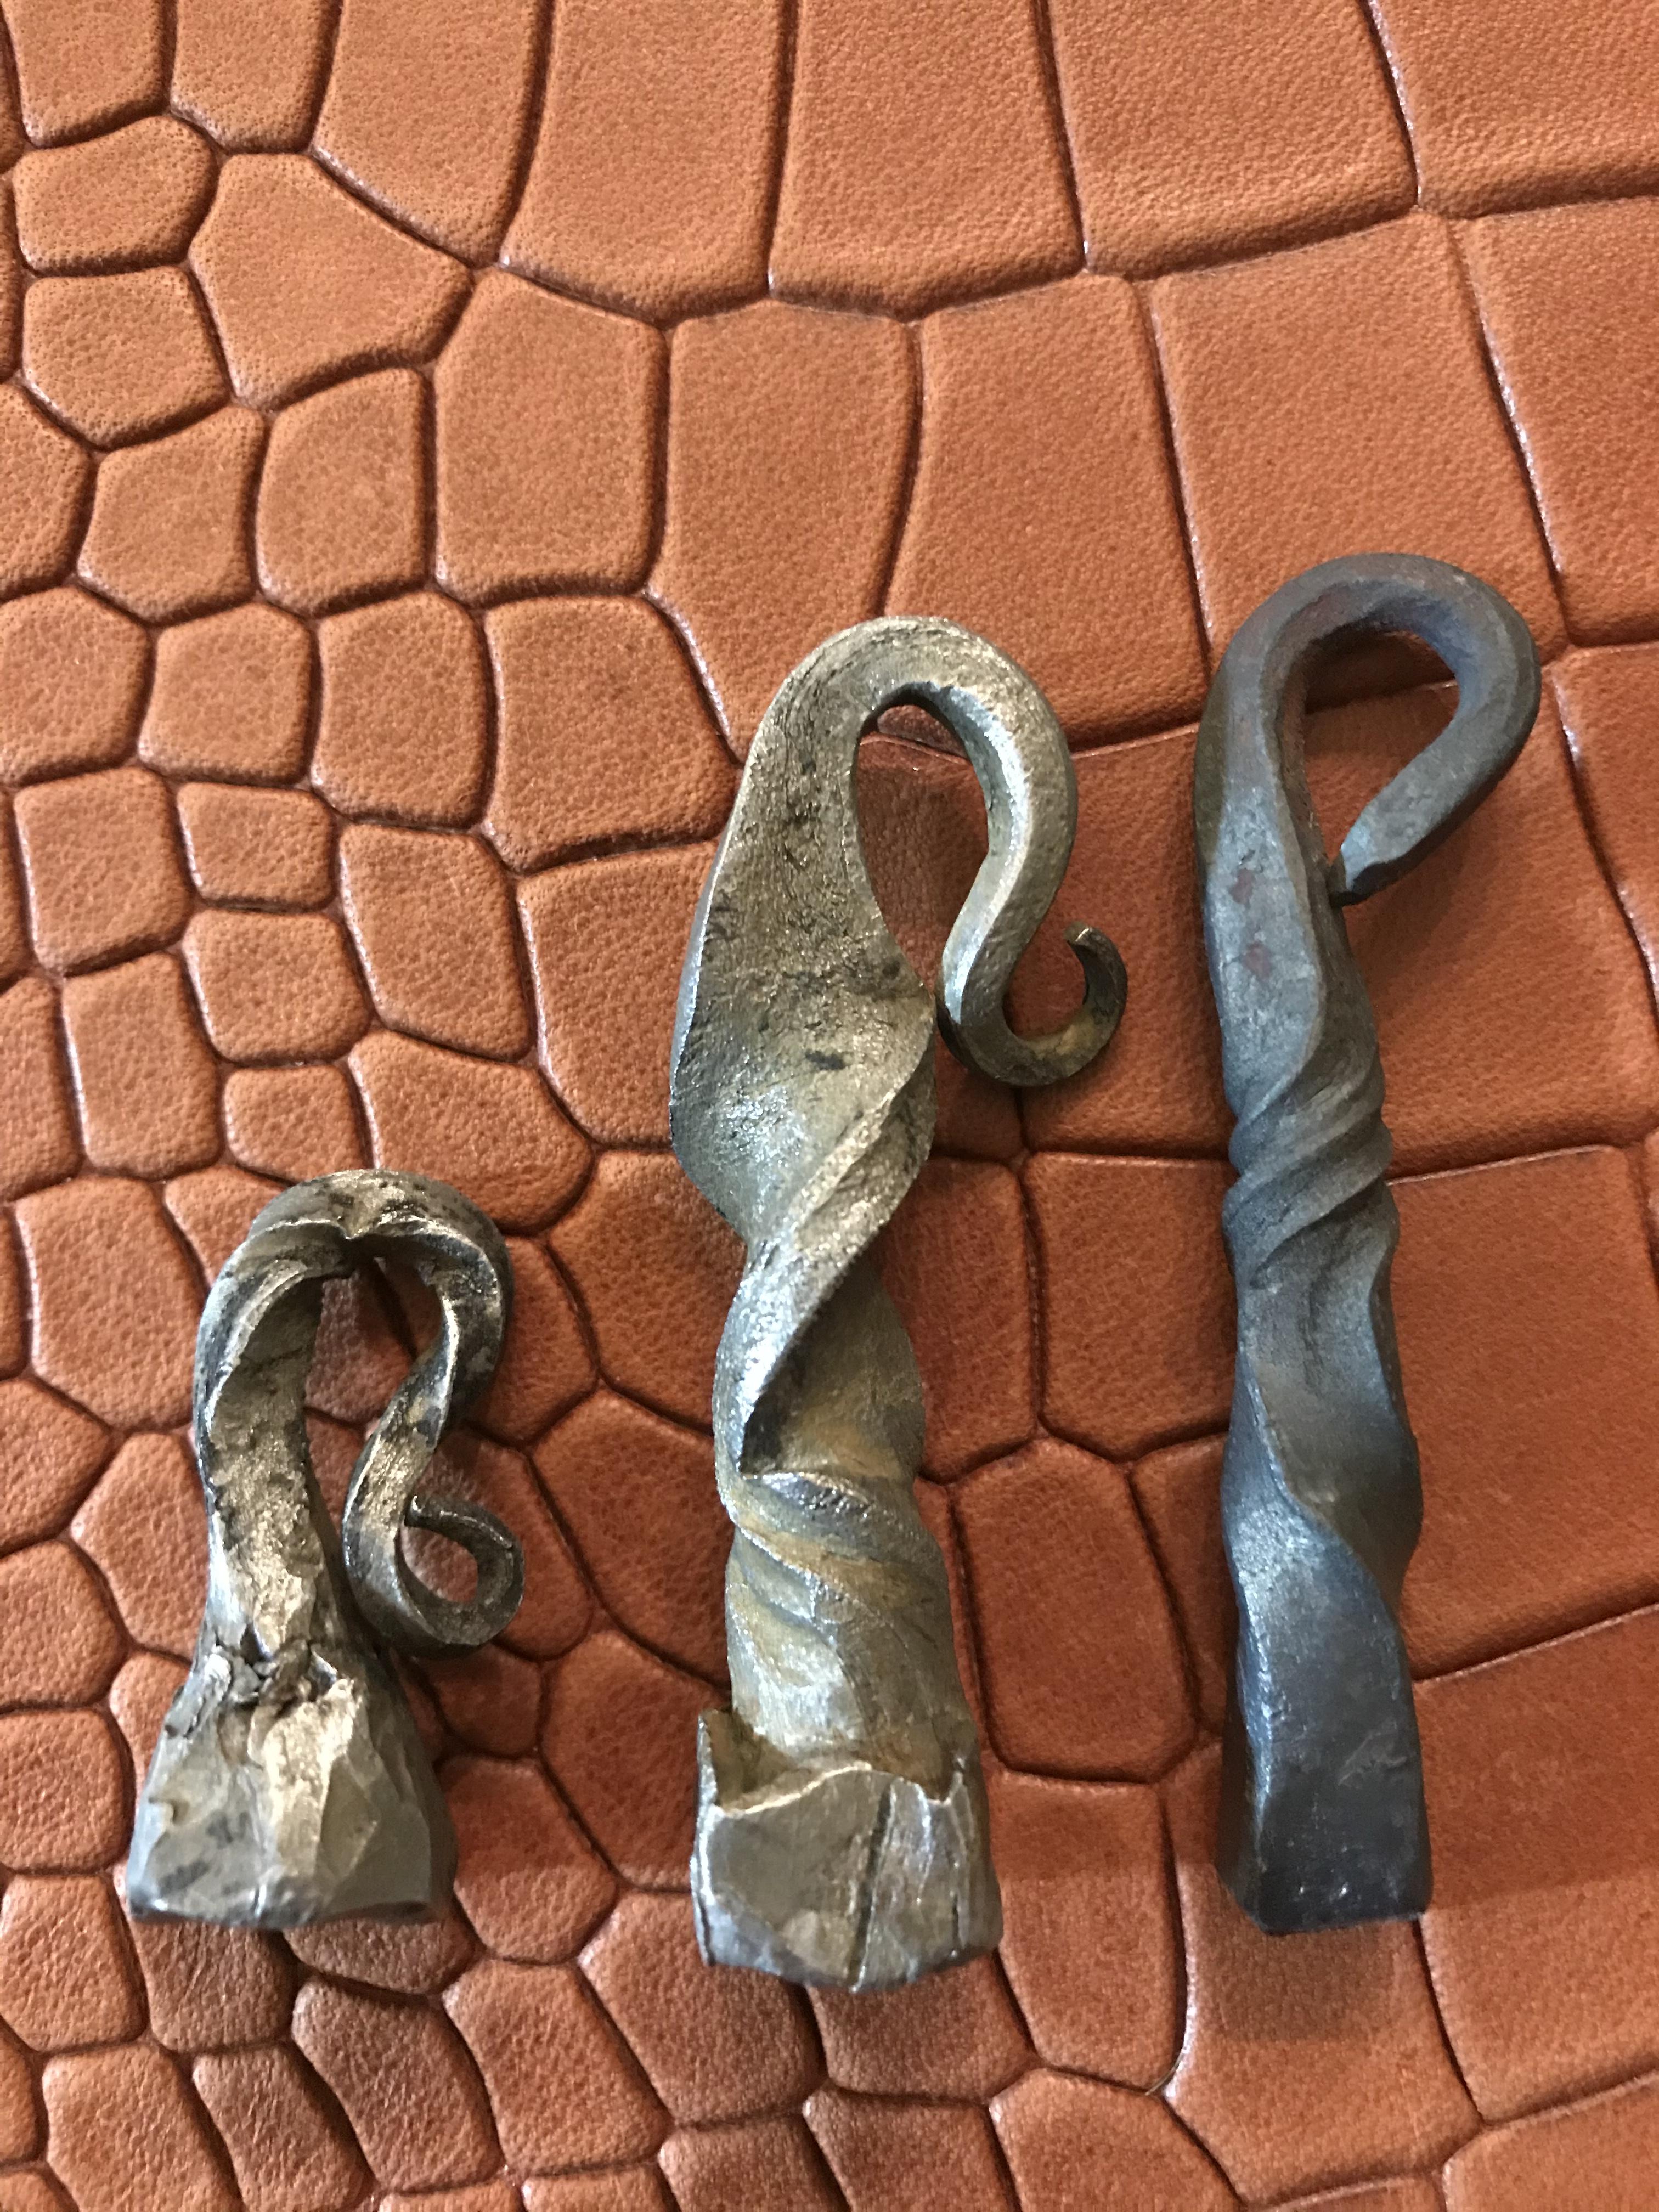
shucks, thanks y’all. I have fun makin’em. How many of these do you think it would take to get to welding heat in an appropriately built forge. BTW, the two burners in the gallon sized forge go quite a ways on a bbq tank.
-
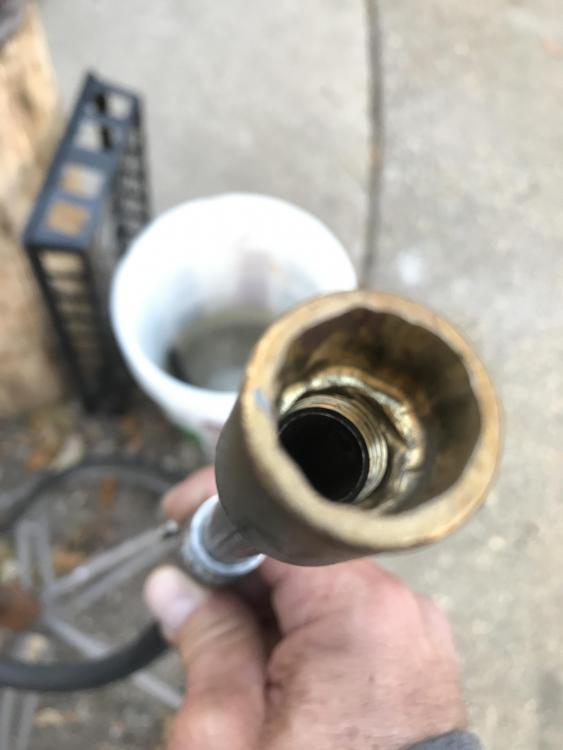
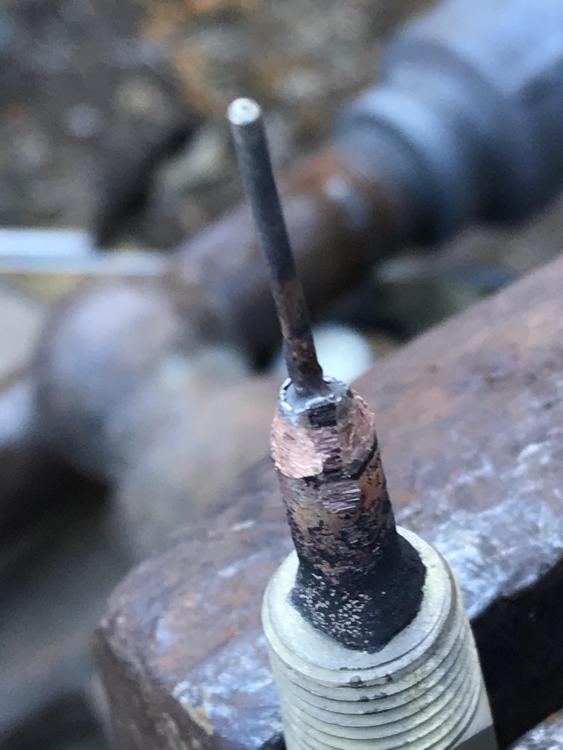
Stainless couplings came today so I turned one into a nozzle. Also enlarged the intakes per Mike.

-
What did you do in the shop today?
671jungle replied to Mark Ling's topic in Blacksmithing, General Discussion
Made more hooks. Needs some smoothing.
-
Thank you Mike. Will do. I read somewhere here that wider openings dump more air into the system than longer openings. Any thoughts on nozzle types for this small a burner? I would like to try and keep it as fast as possible. 316 Stainless couplings for nozzles are in the mail. Sorry the post is all over the place. I posted with my phone.
-
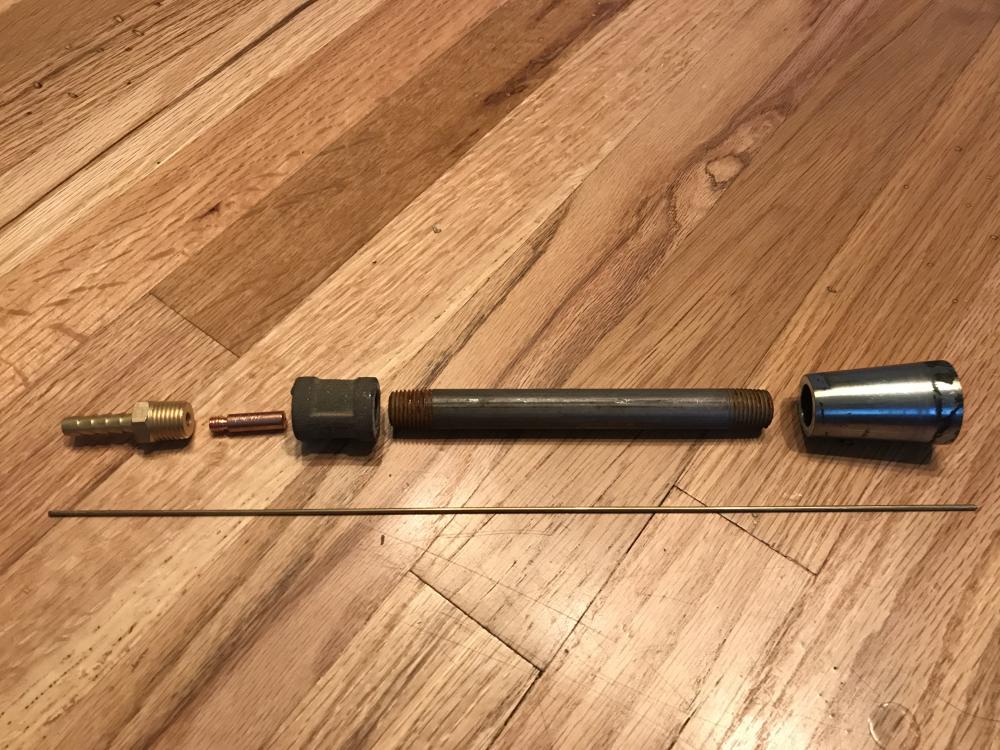
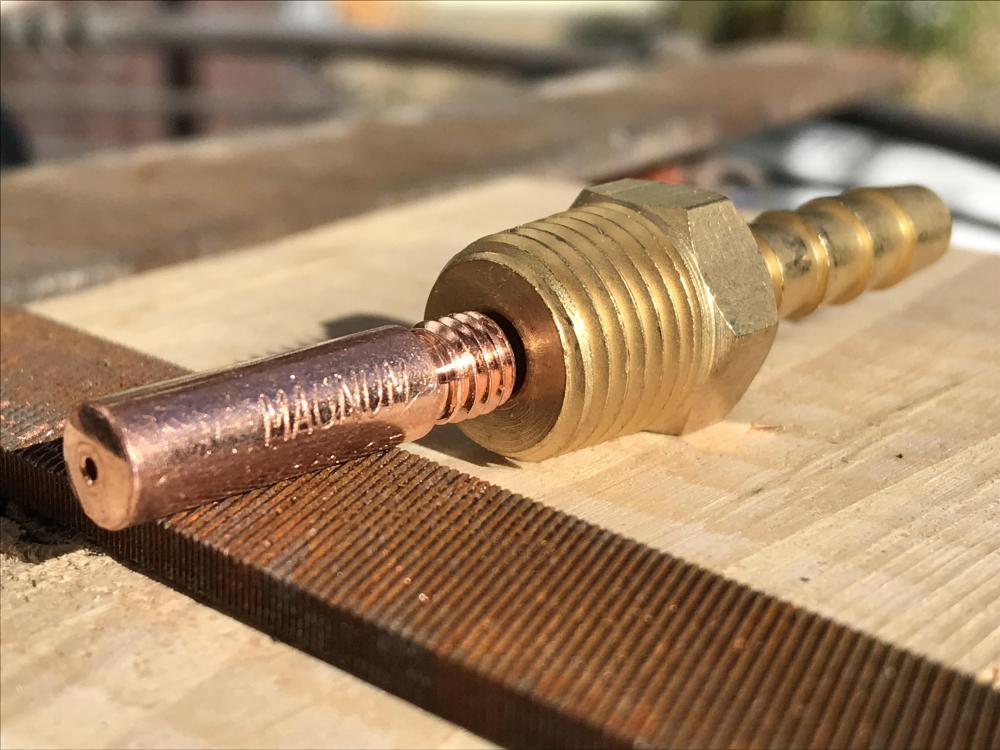
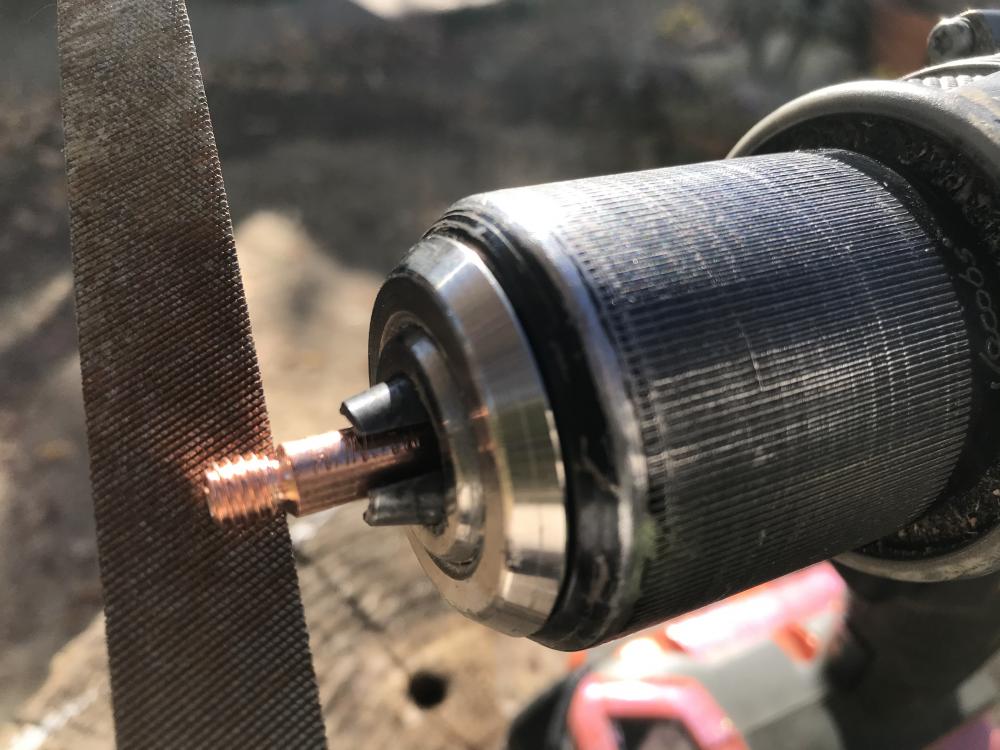
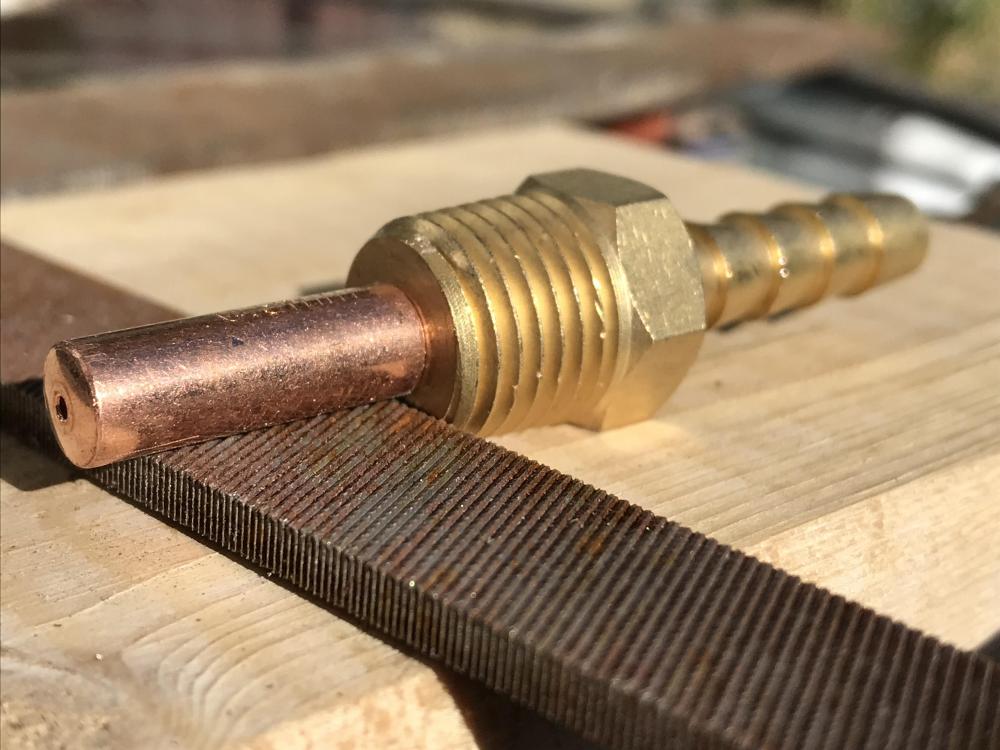
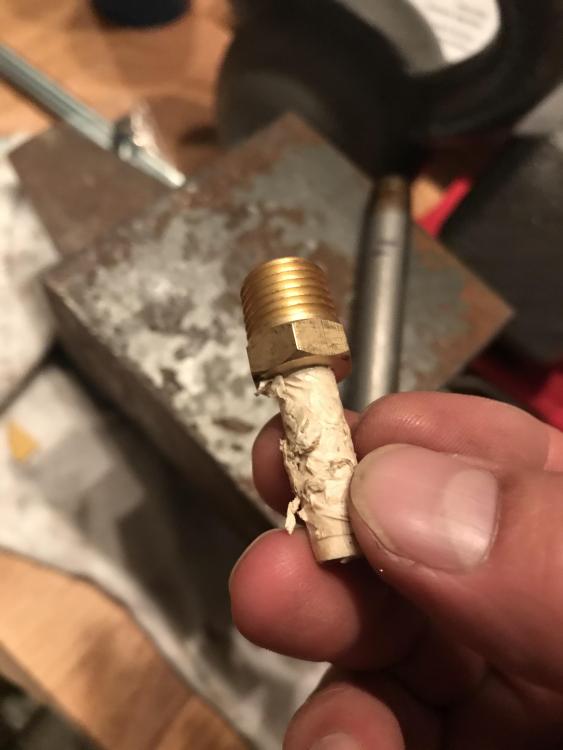
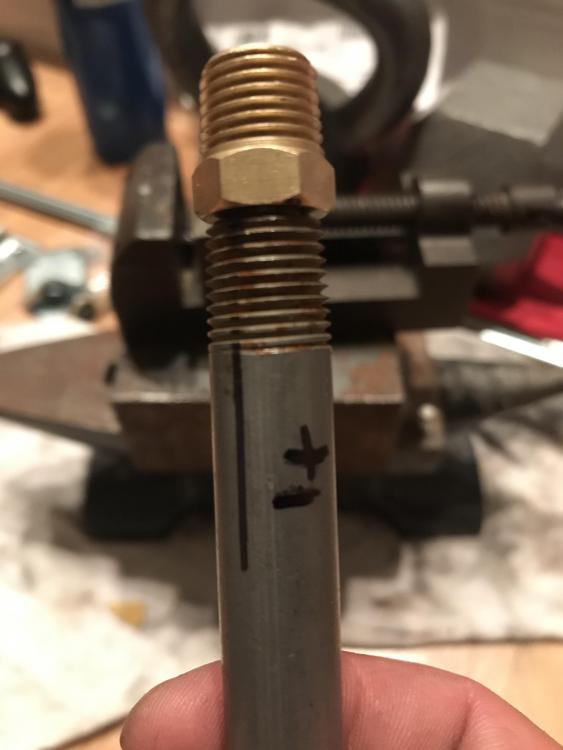
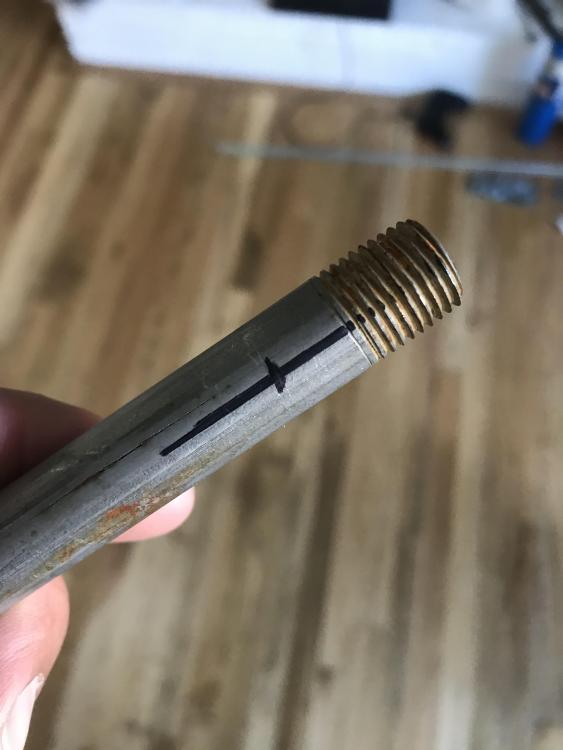
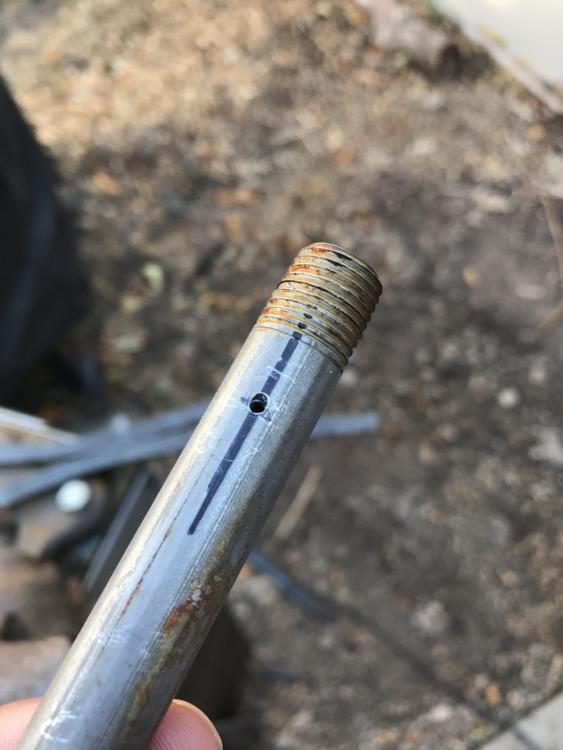
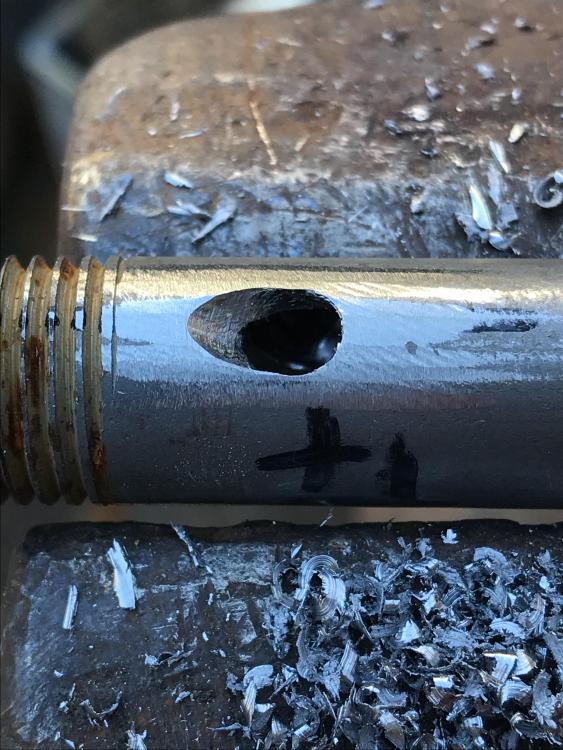
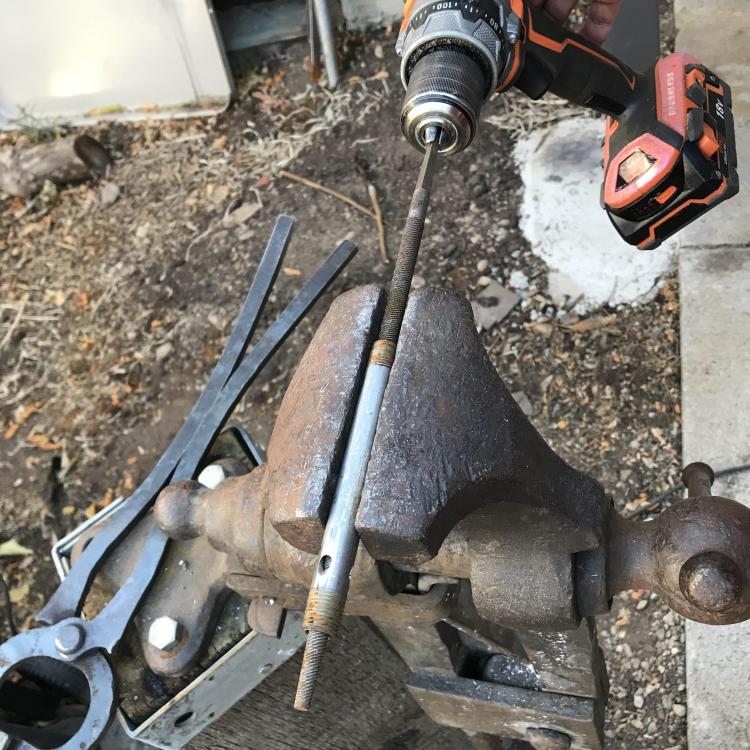
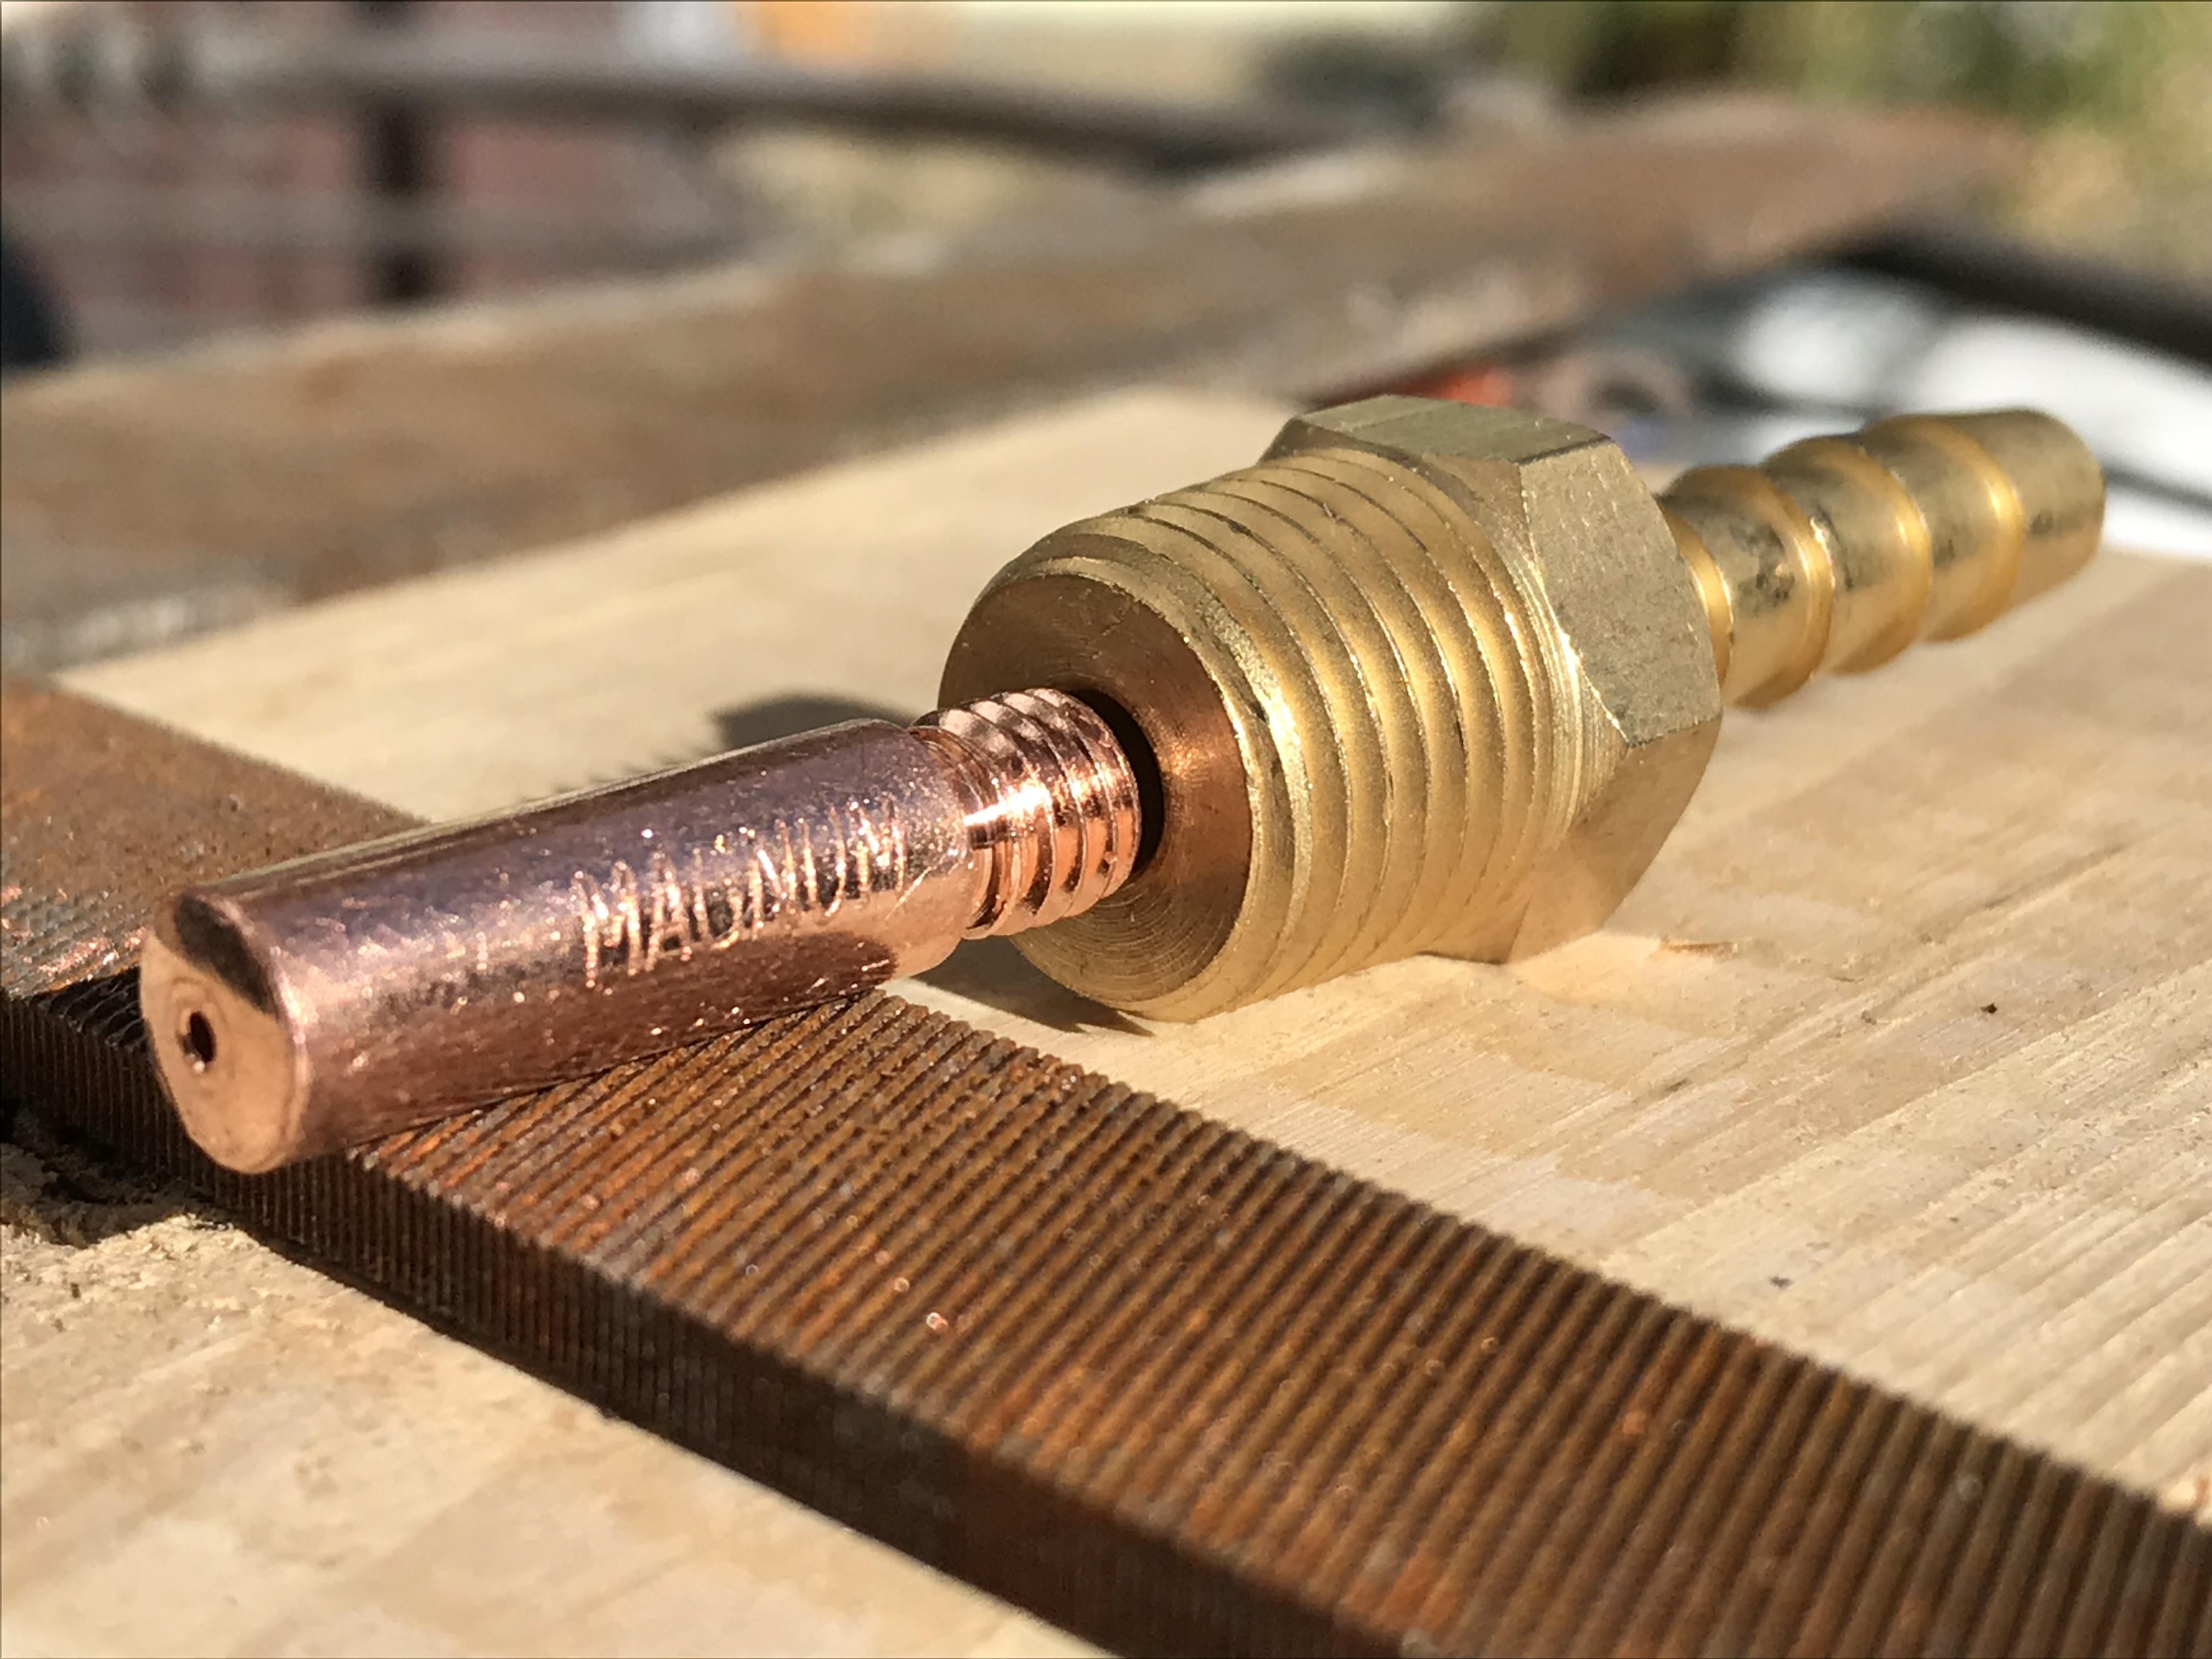
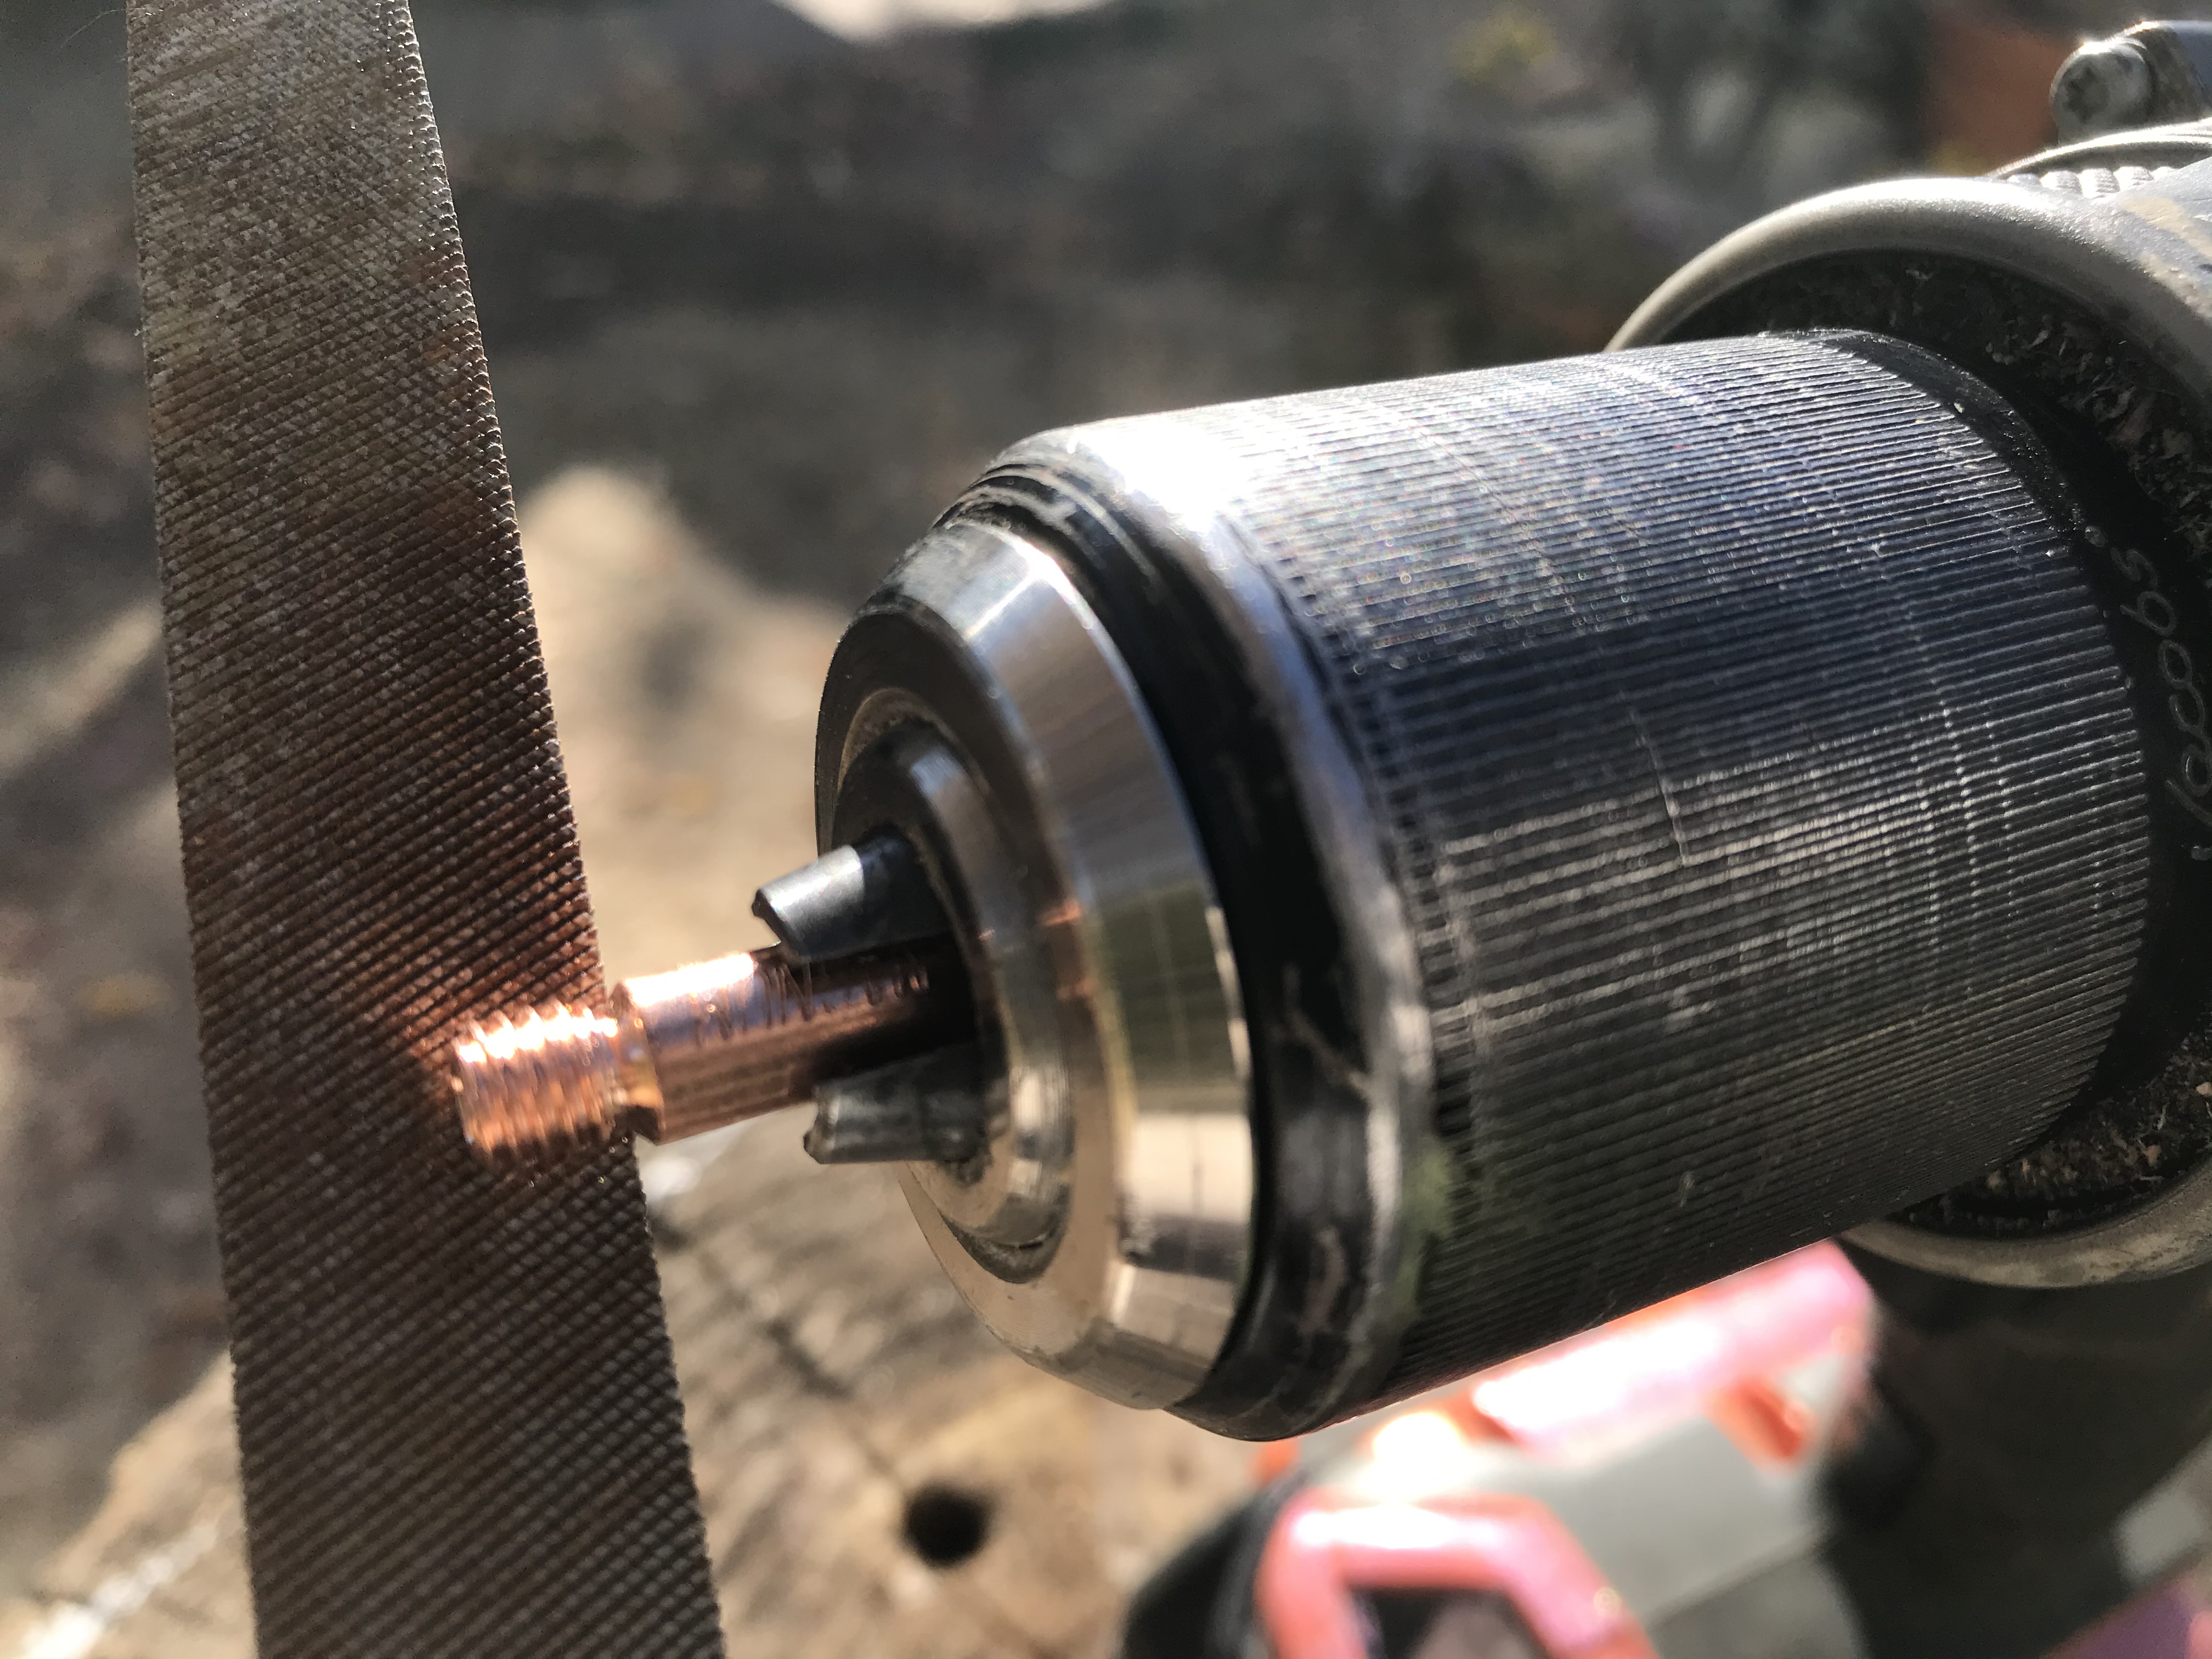
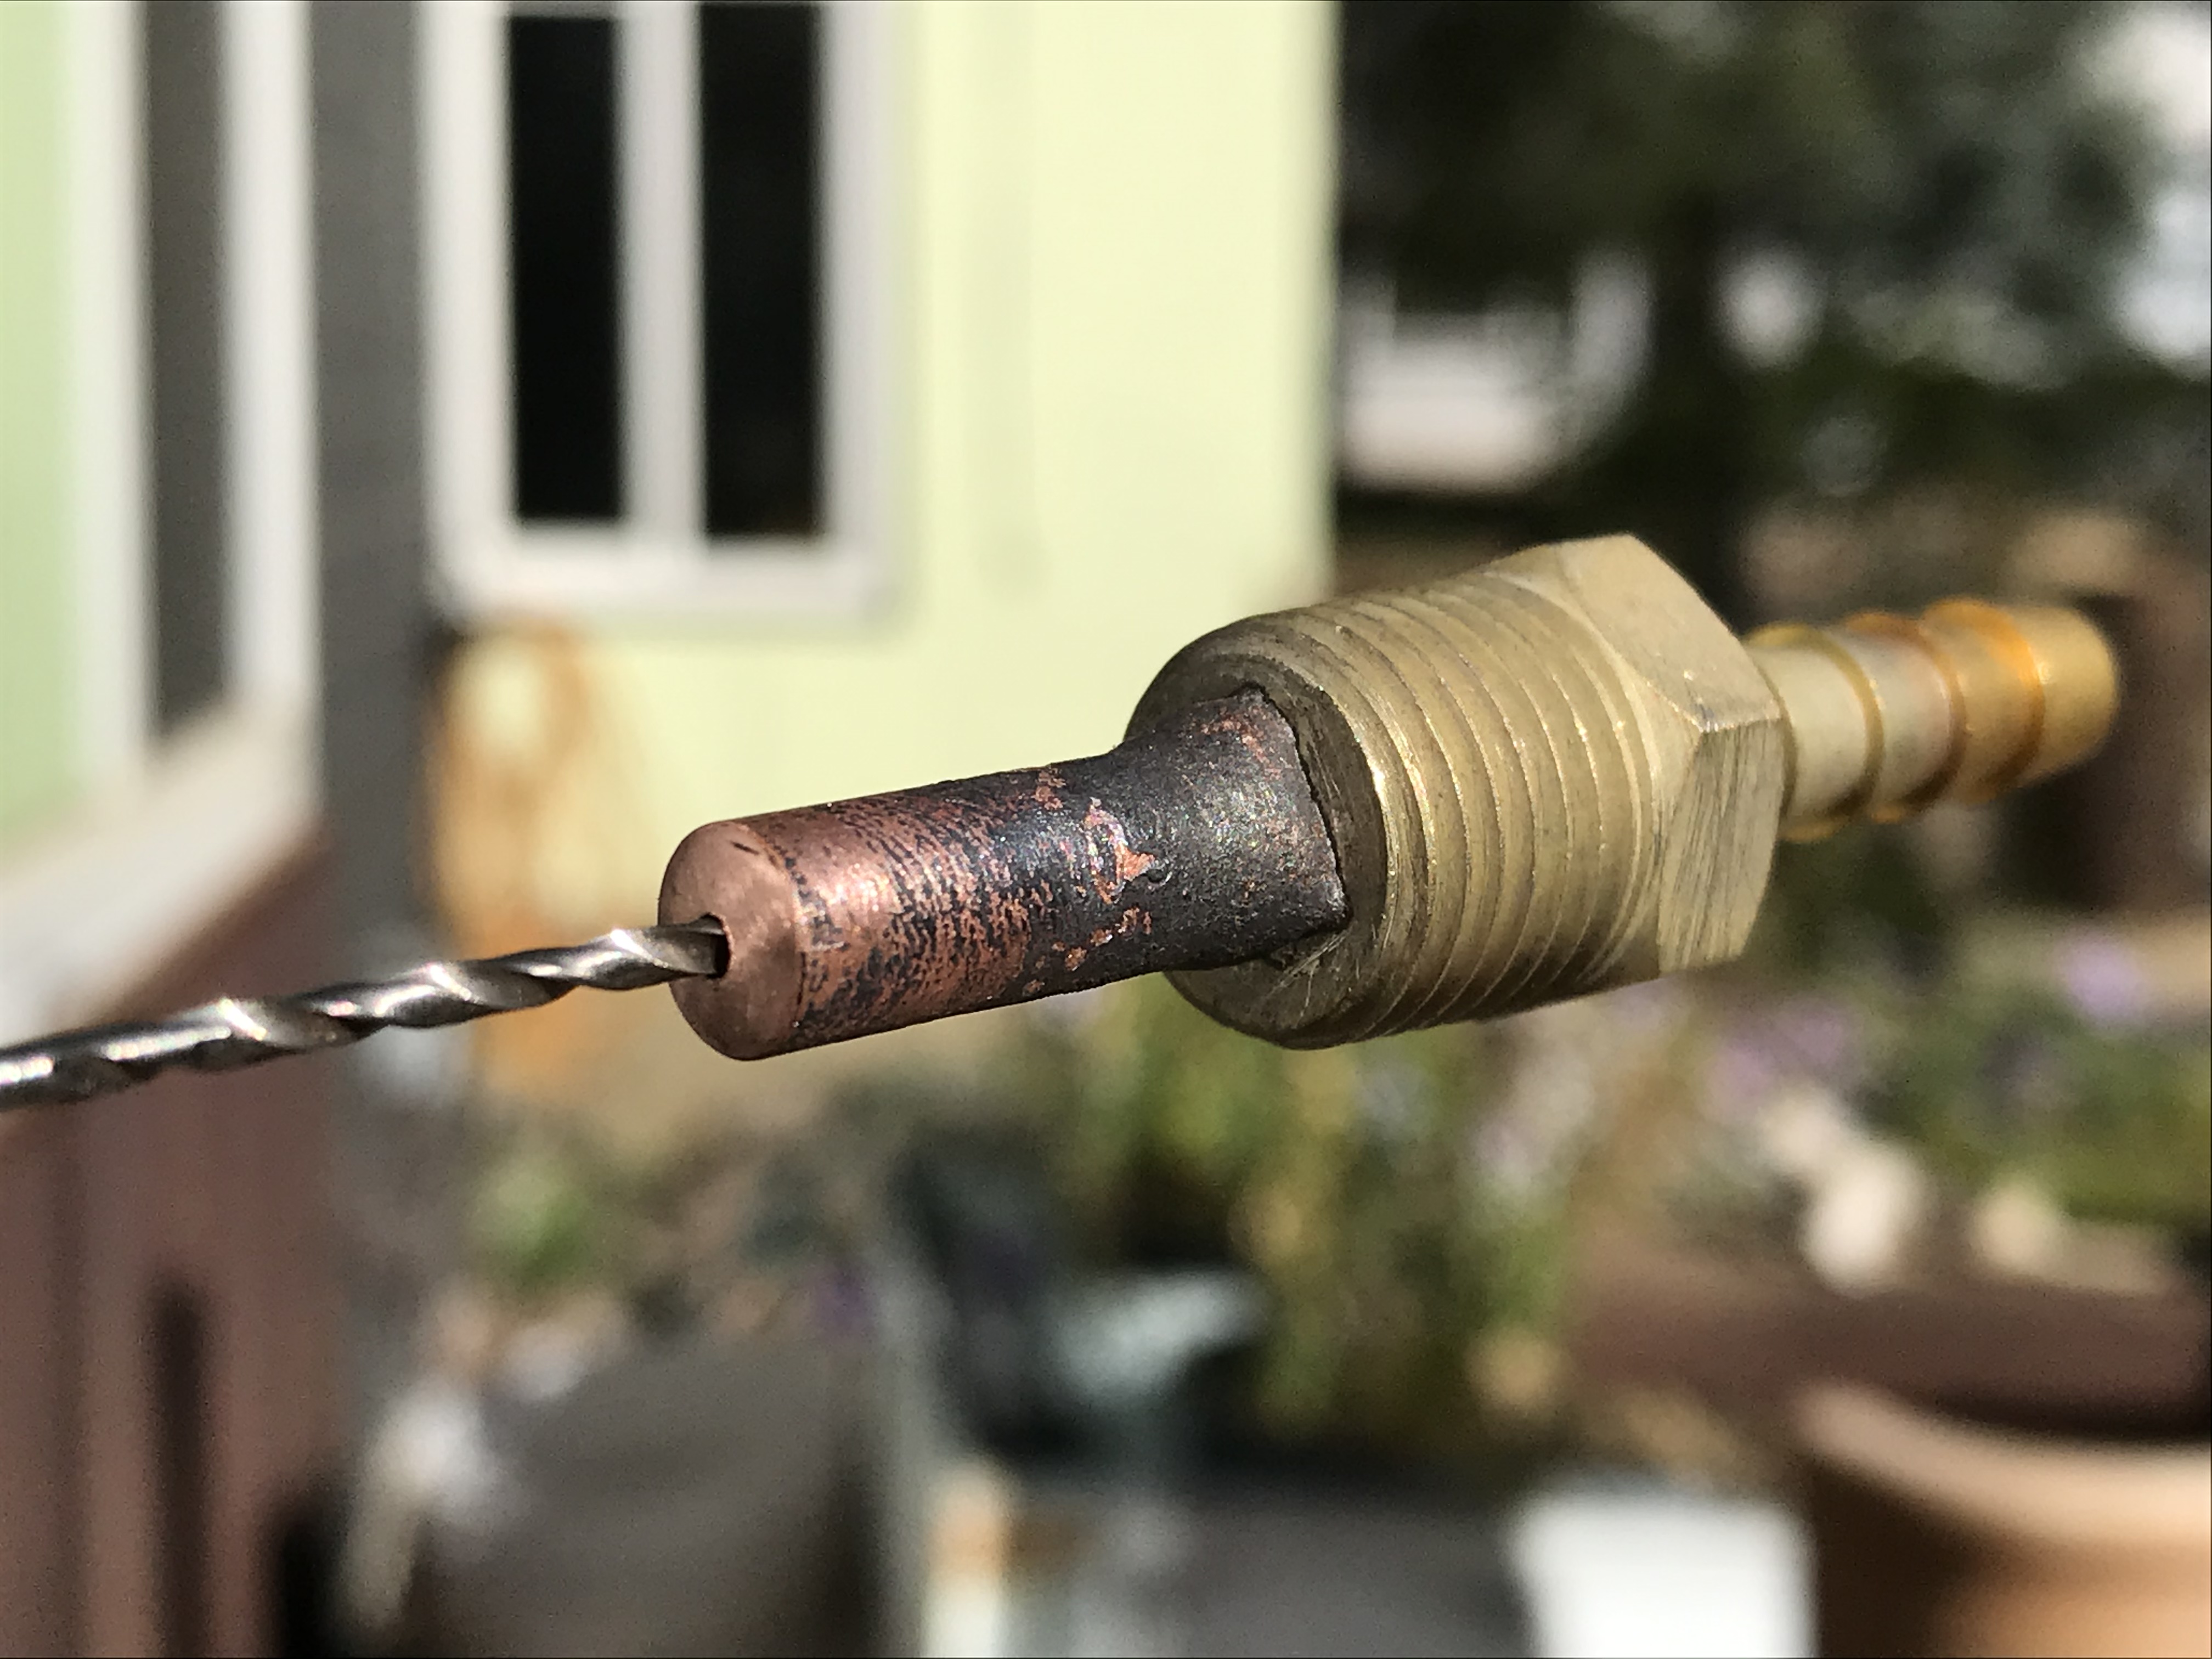
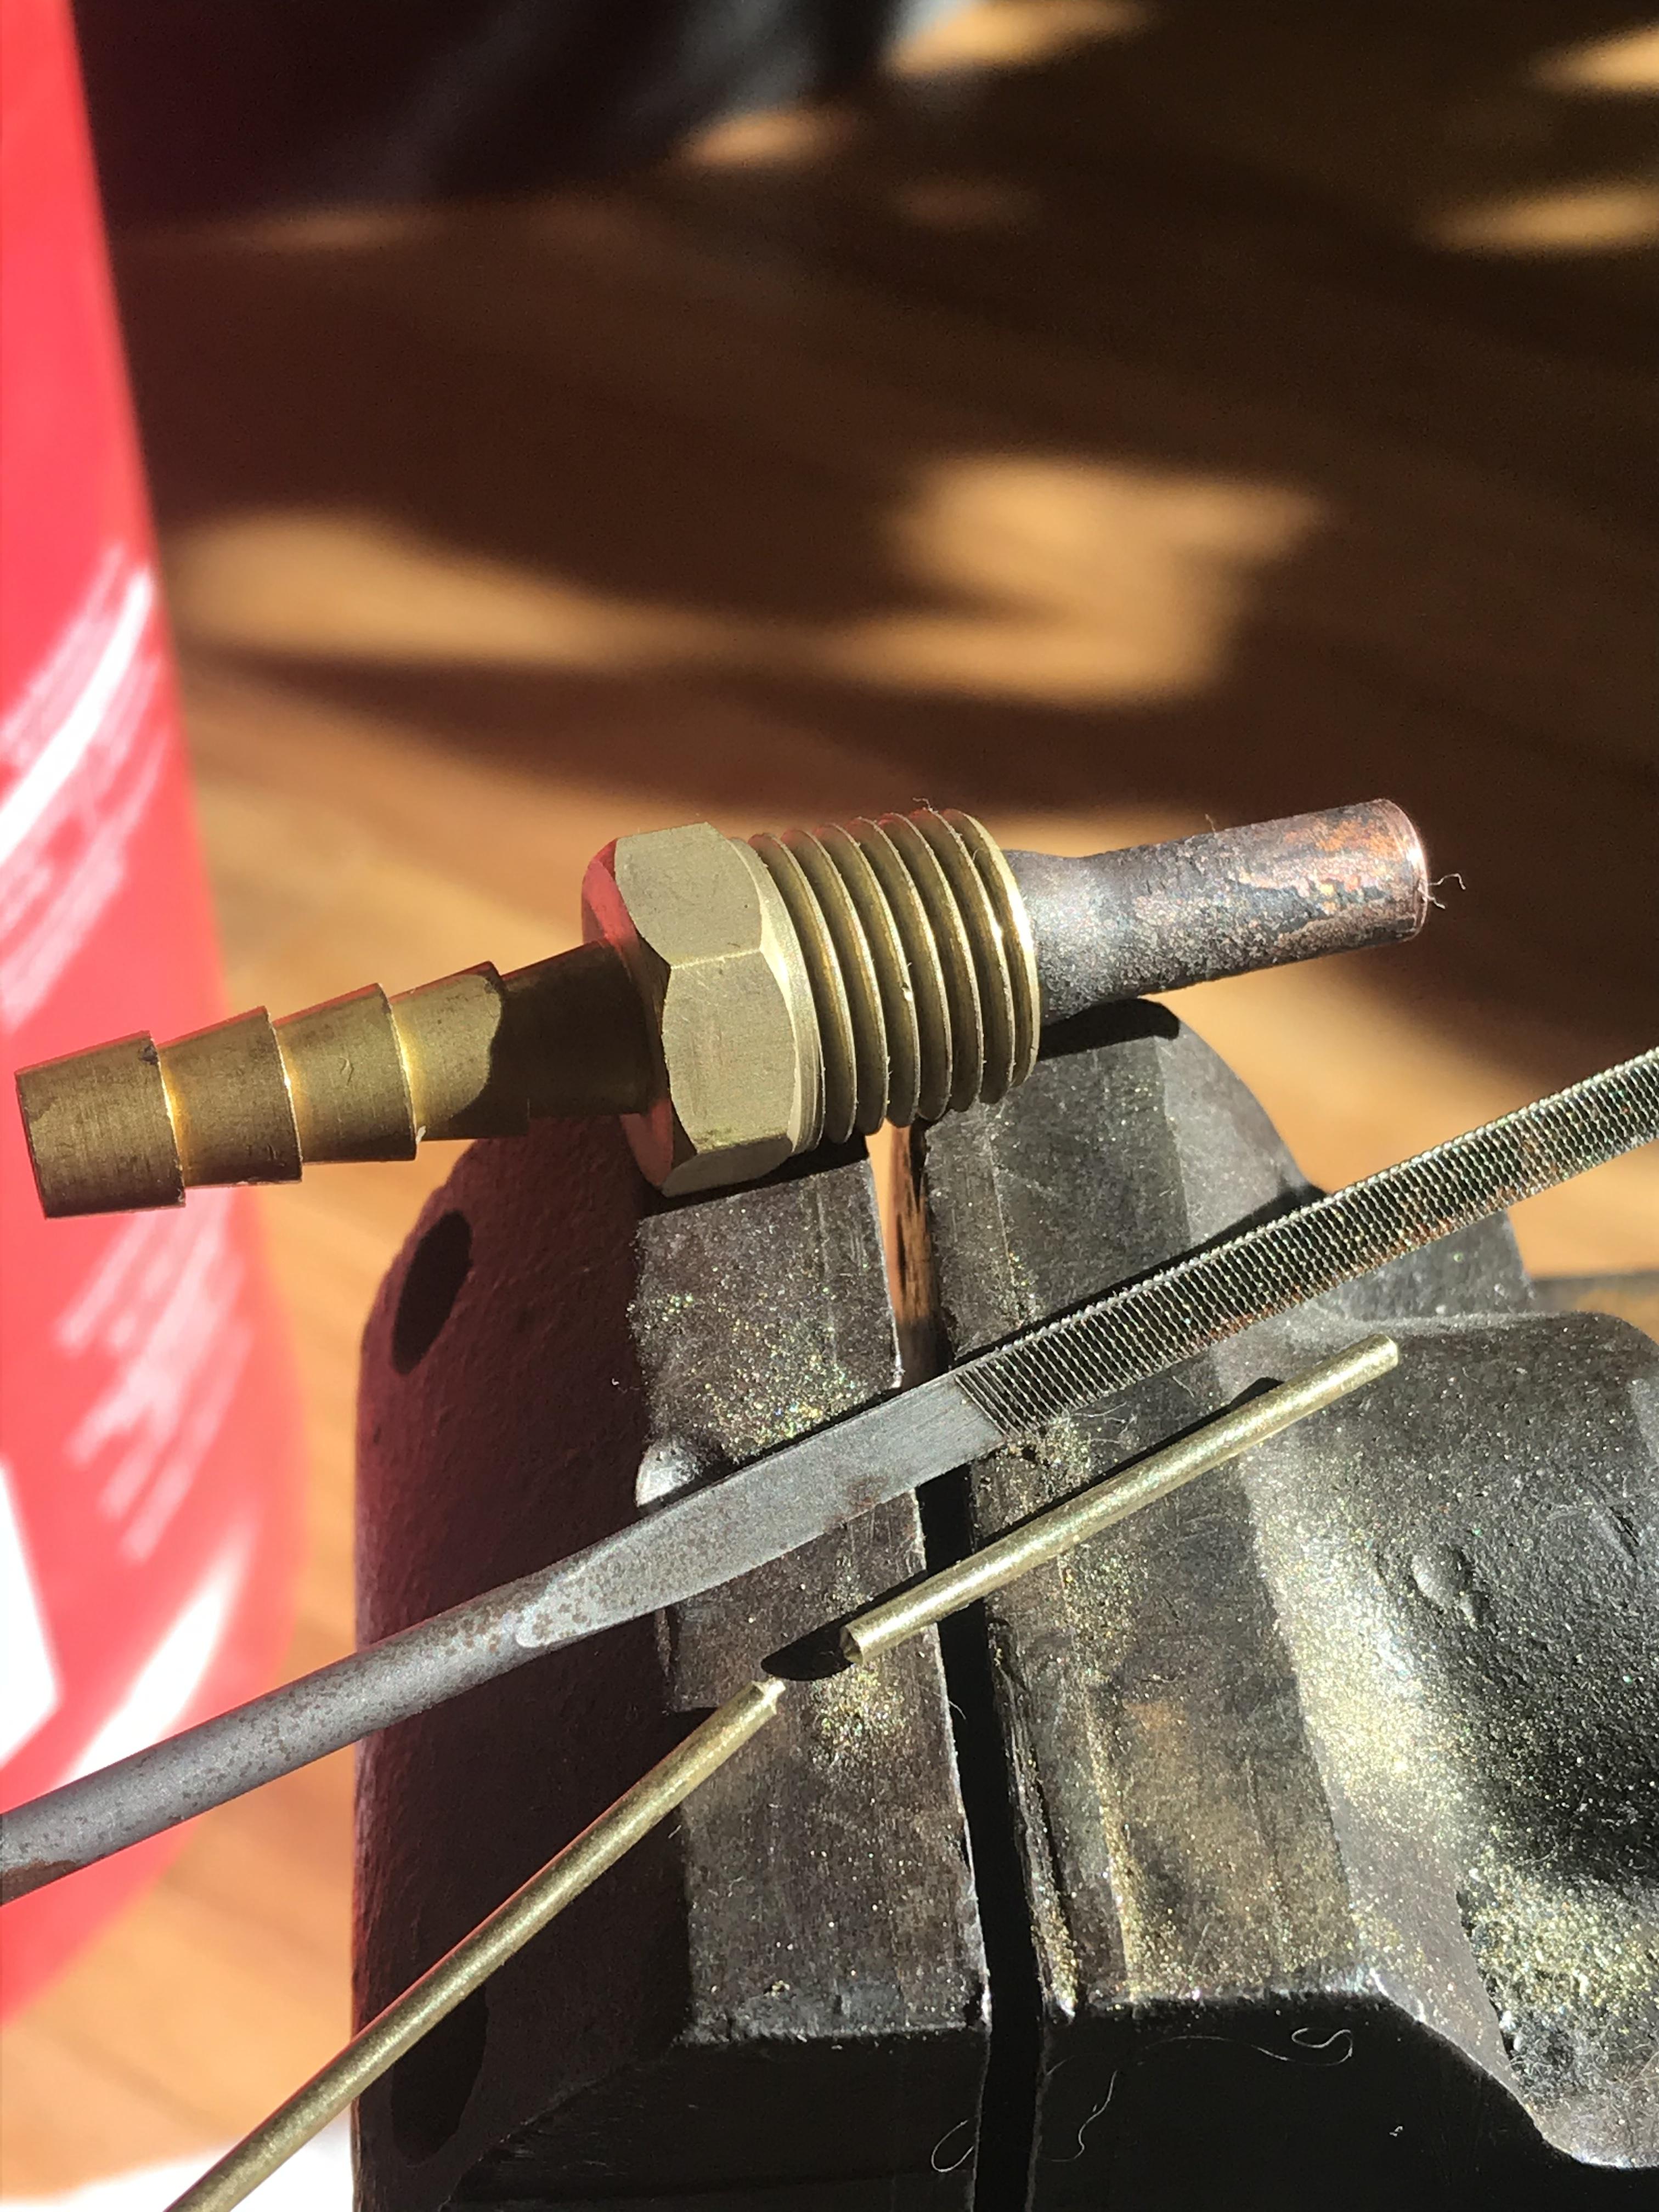
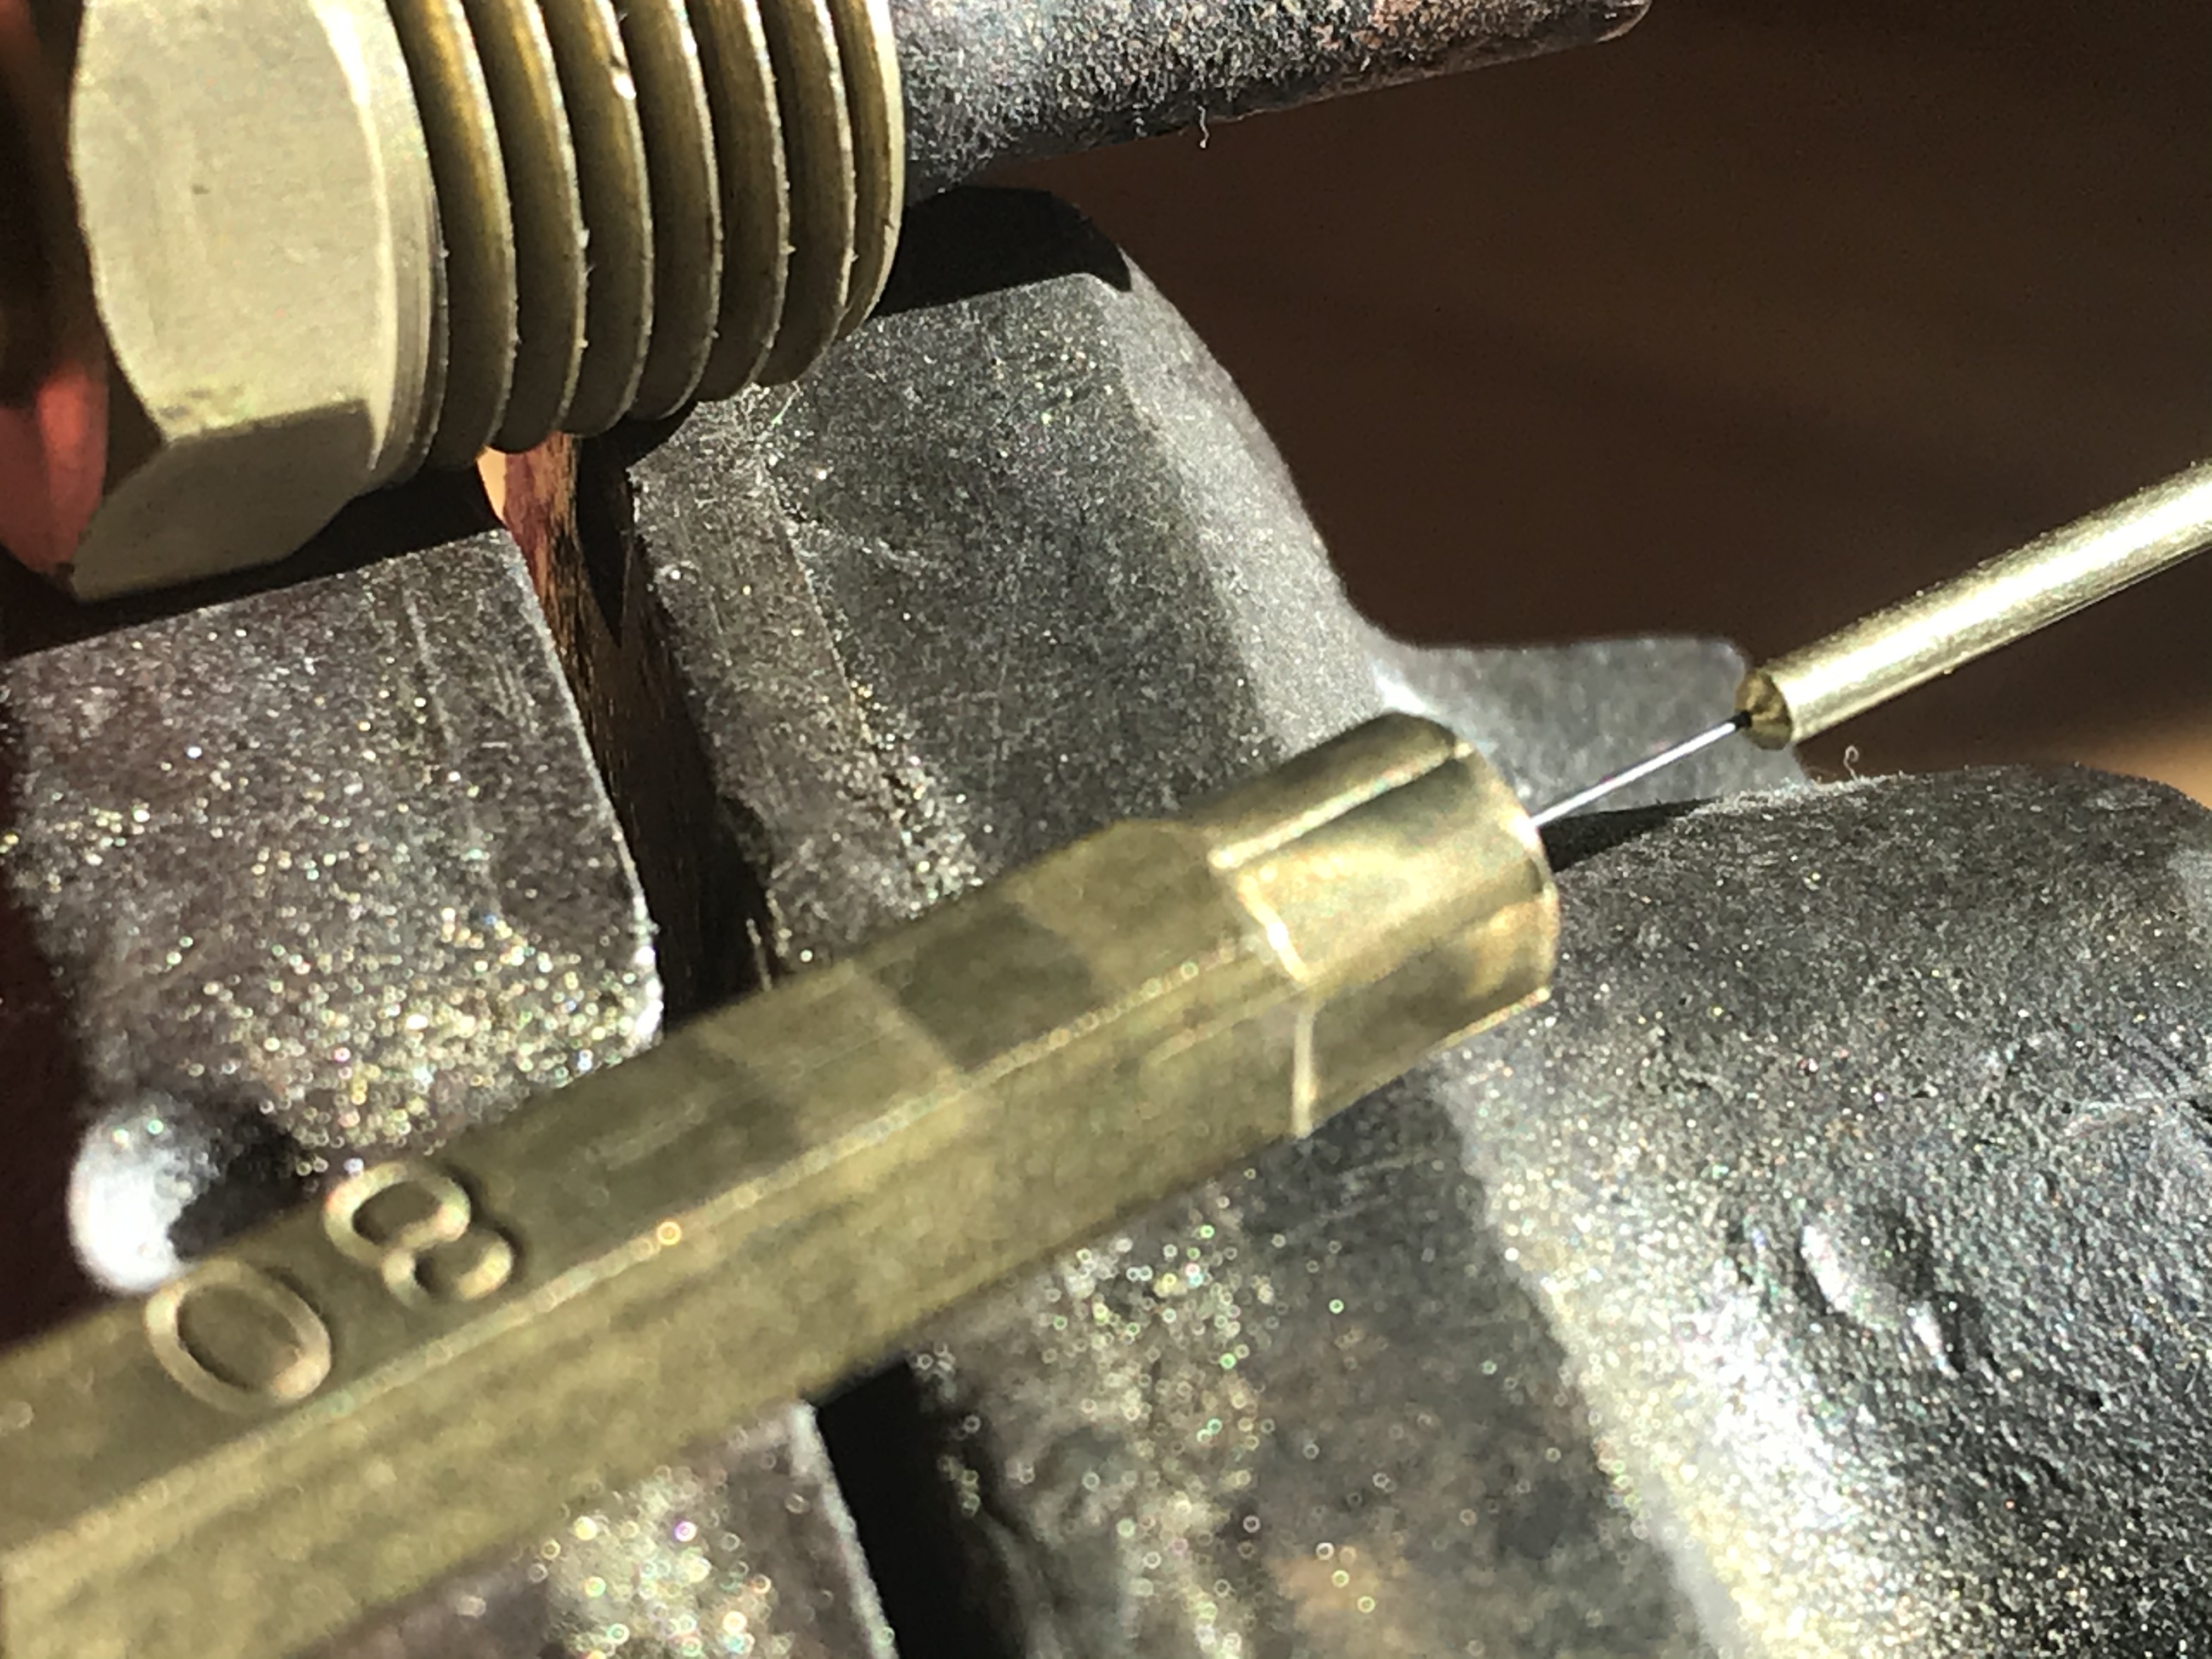
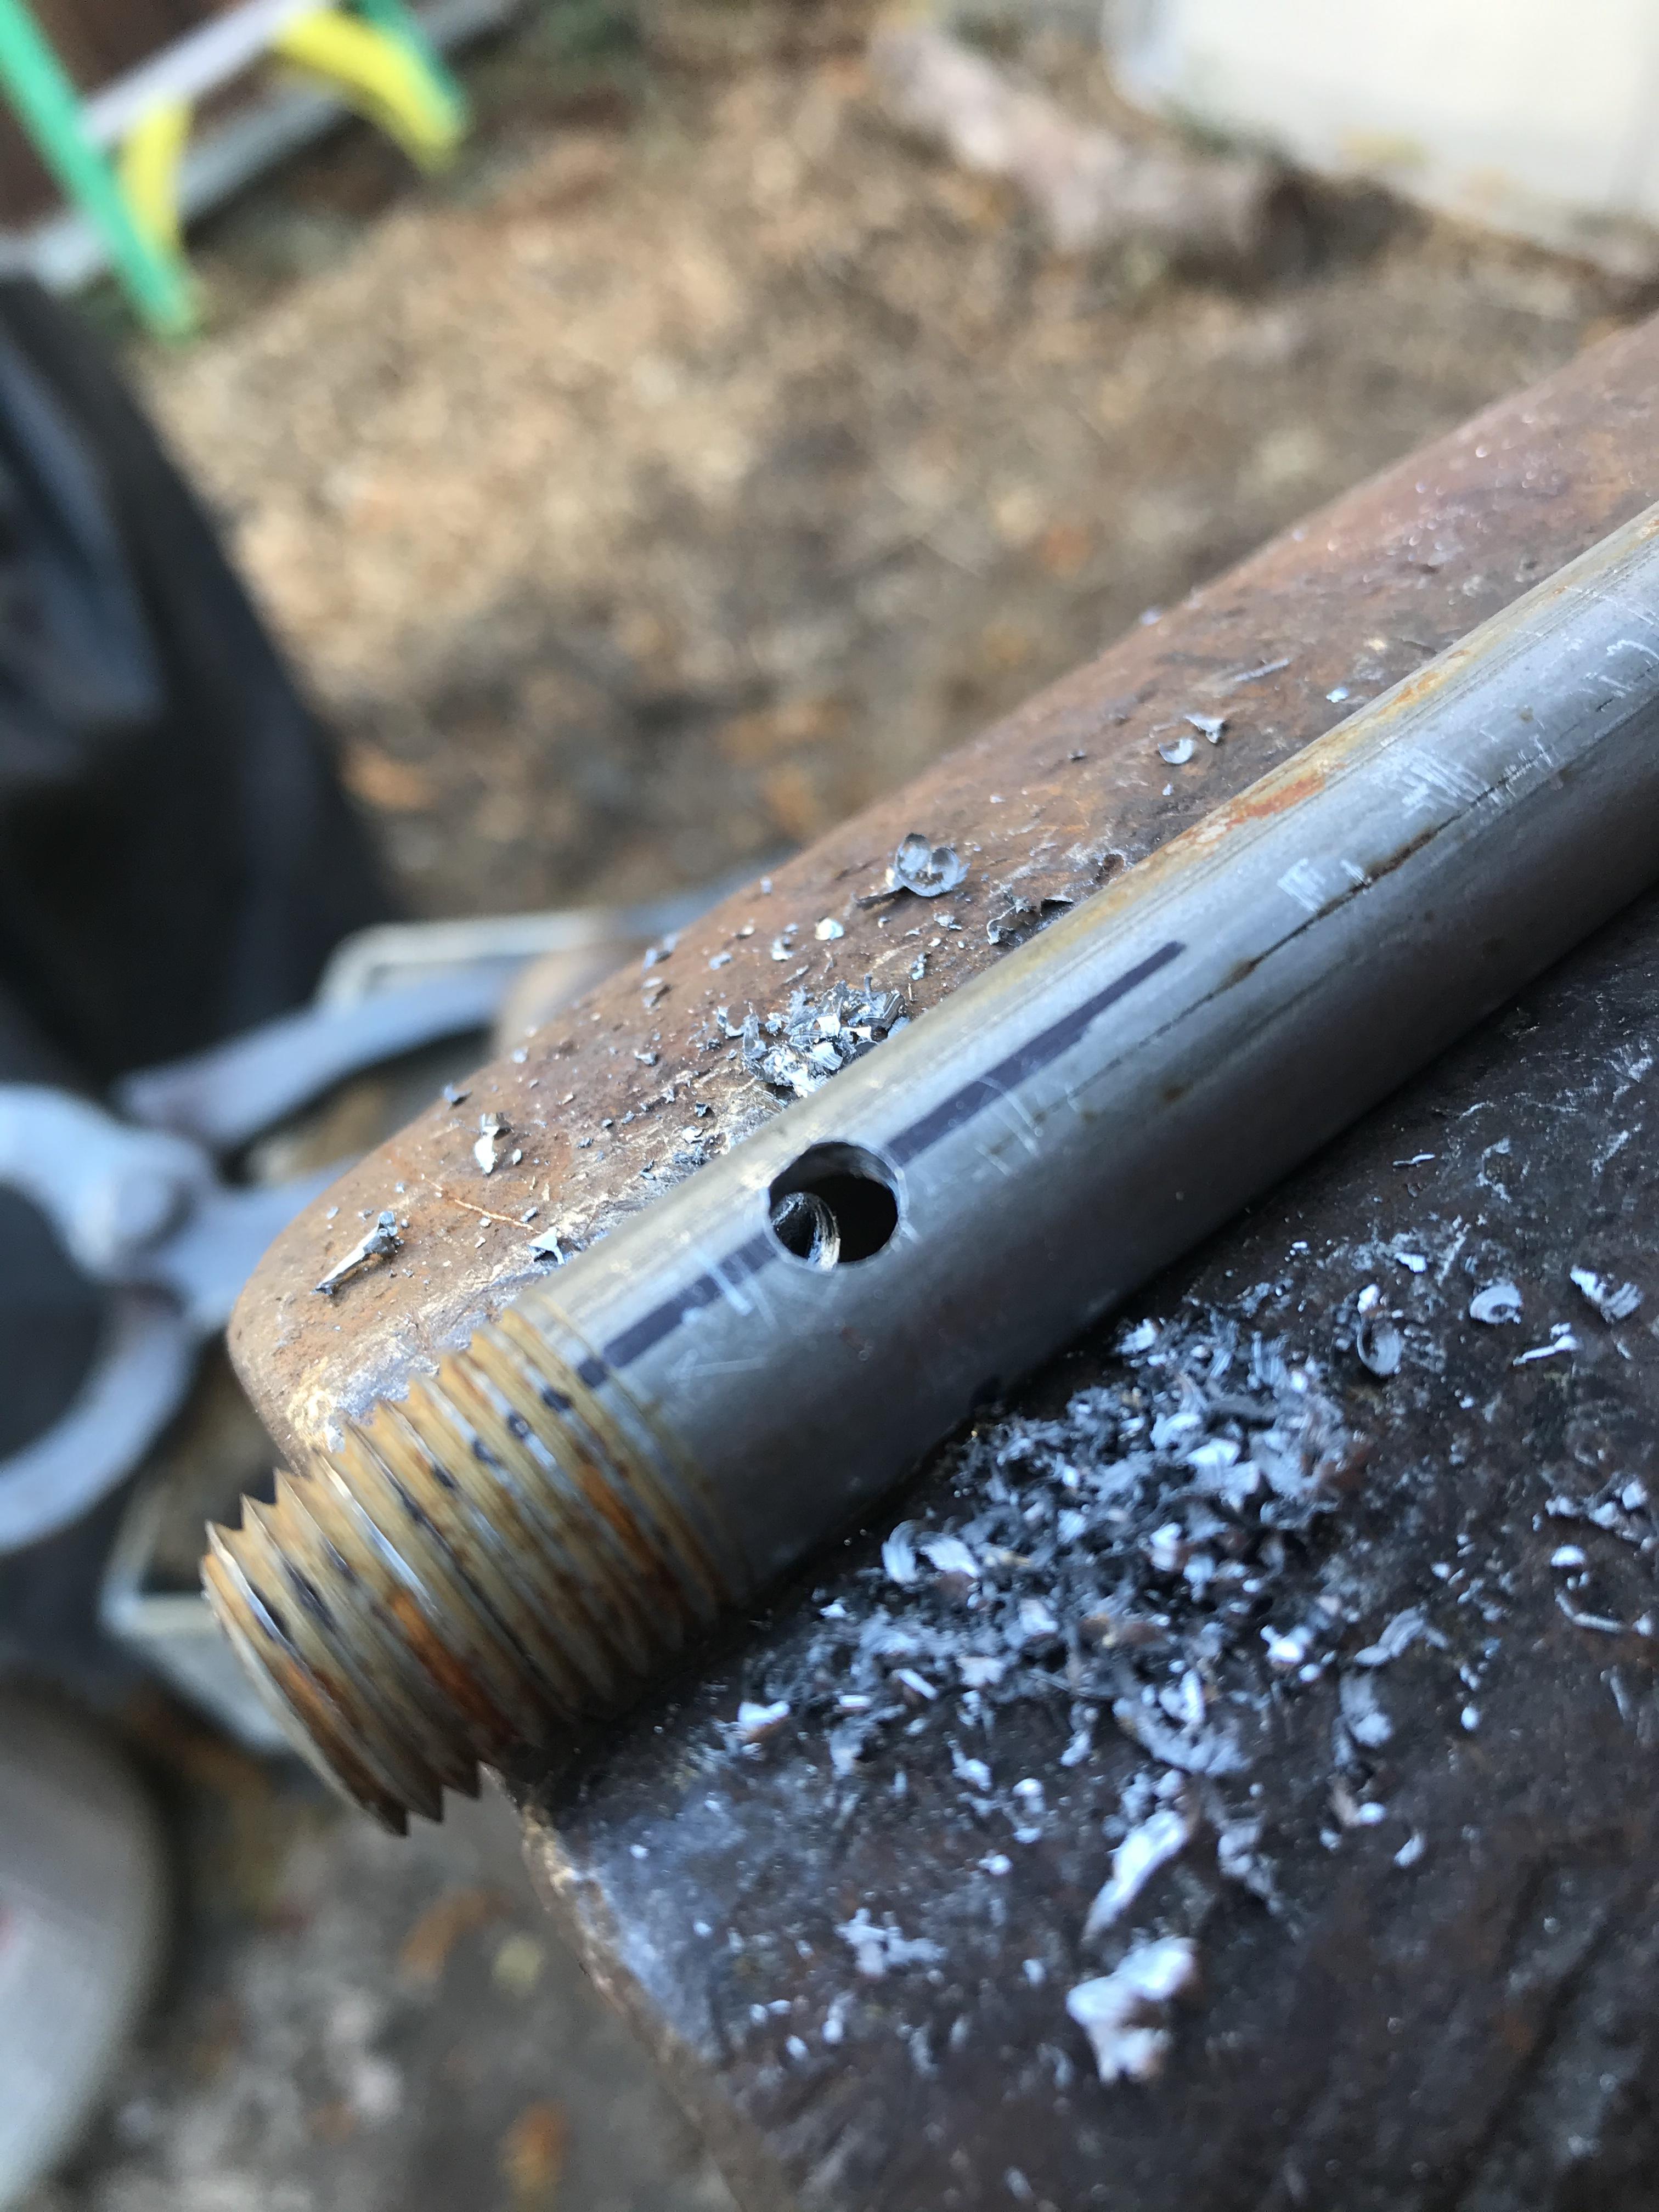
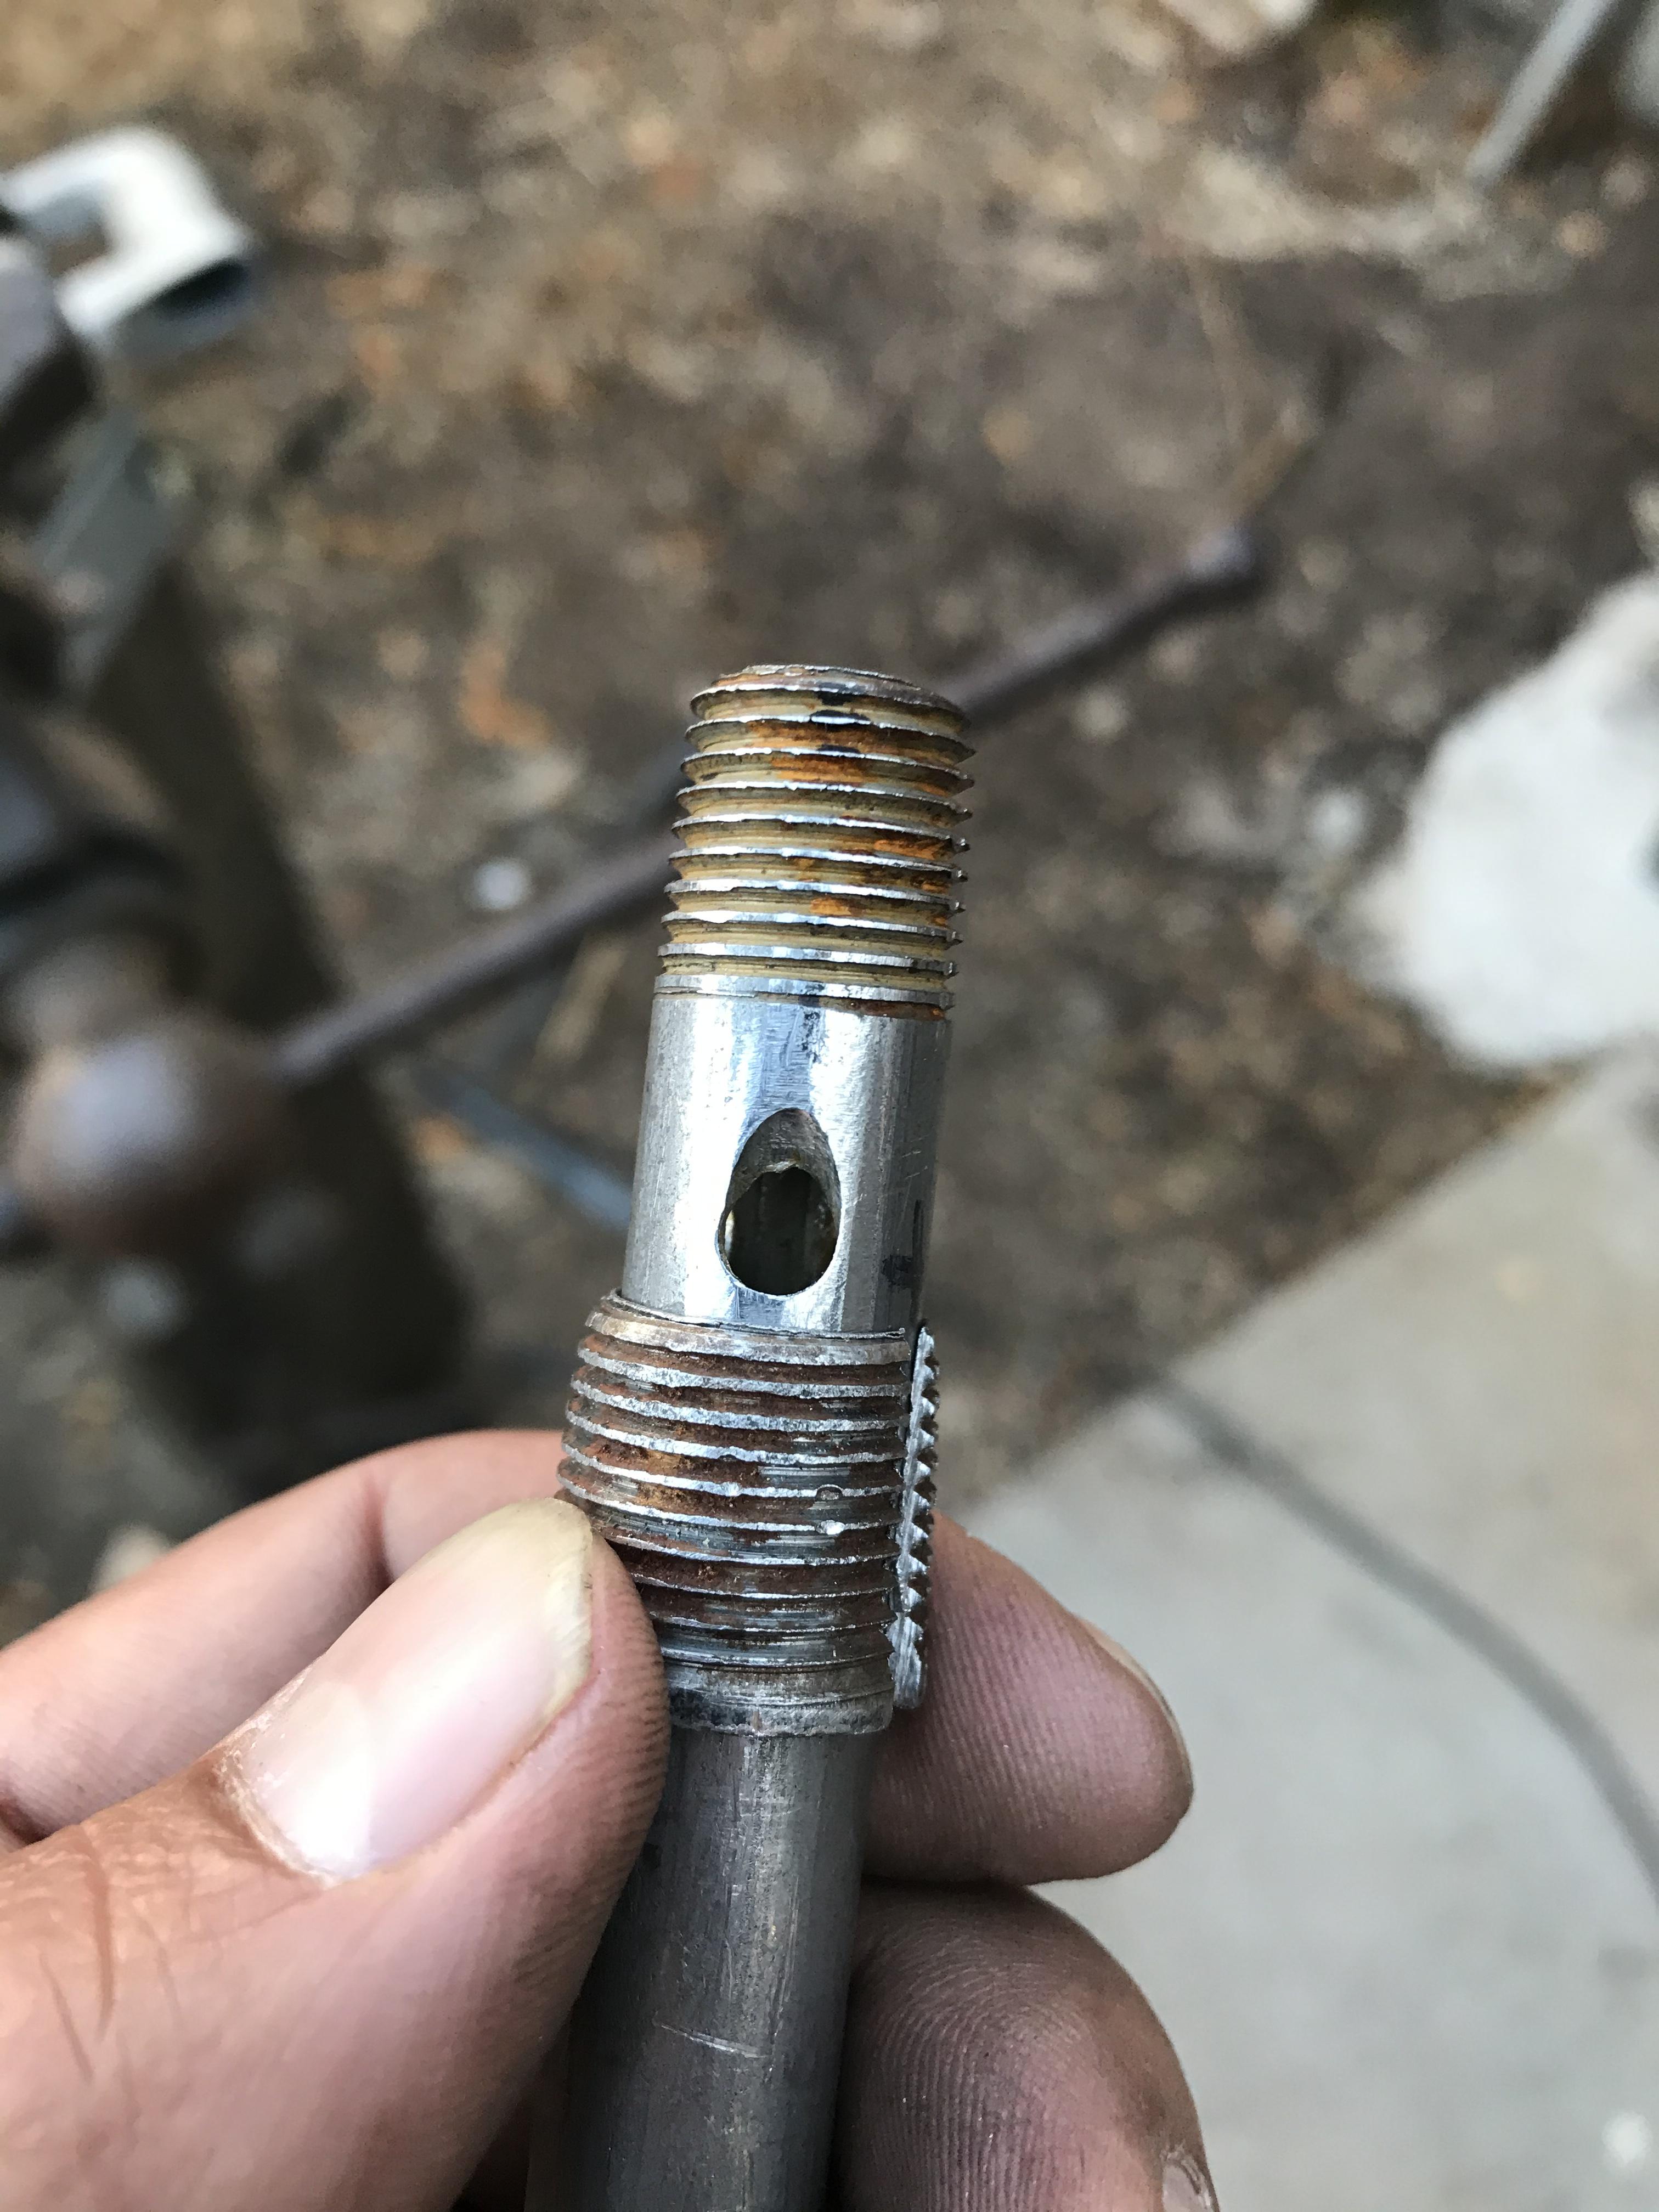
Burner parts: 1/4” hose barb, mig tip(.035 or smaller), 1/4” coupling x 2, 5” long 1/4” nipple, .015 ID edm tube.Mig tip will not fit in hose barb as is.chuck the mig up in a drill and turn the threads down with a file.just enough to press fit into hose barb.braze the joint.use tiny drill to drill out the mig enough to fit the edm tube.drill only about 3/8” deep.approximate length of edm tube and cut using a jewelers file. use tiny drills to clean burrs off the edm tube then gently sand smooth with fine grit paper.press tube into mig tip.carefully braze tube to mig. (I did a horrible job here). And that is the jet!use a bolt or another hose barb and tape the barb or threaded part of the screw enough to make a snug fit into the 1/4” nipple.mark every other corner on the nipple. This will indicate location of intake holes.measure 4” from end of nipple and mark.drill pilot hole.drill a bigger hole. I used 3/16”.angle drill bit towards the flame side of the burner.Chuck a rat tail close to the ID of the 1/4” nipple and clean out the inside. Warning: this might hurt your drills chuck. For a choke, I cut the threads off a 1/2” nipple and cleaned out the inside till it slipped over the burner. I also cut a line through it to make it more smooth moving. Below is video of the goods. Notes: the 1/4” may have a seam on the inside. The rat tail technique will take care of this but the seam must be removed. Burrs on the end of the burner and around the intakes must be cleaned up as well as microburrs on the ends of the edm tubes. Use a magnifying glass to see these. Also I used an old 1/4” coupling for my nozzle. This particular build needs minor tuning in the nozzle area to lean the flame out.


-
That sounds terrifying!
-
What did you do in the shop today?
671jungle replied to Mark Ling's topic in Blacksmithing, General Discussion
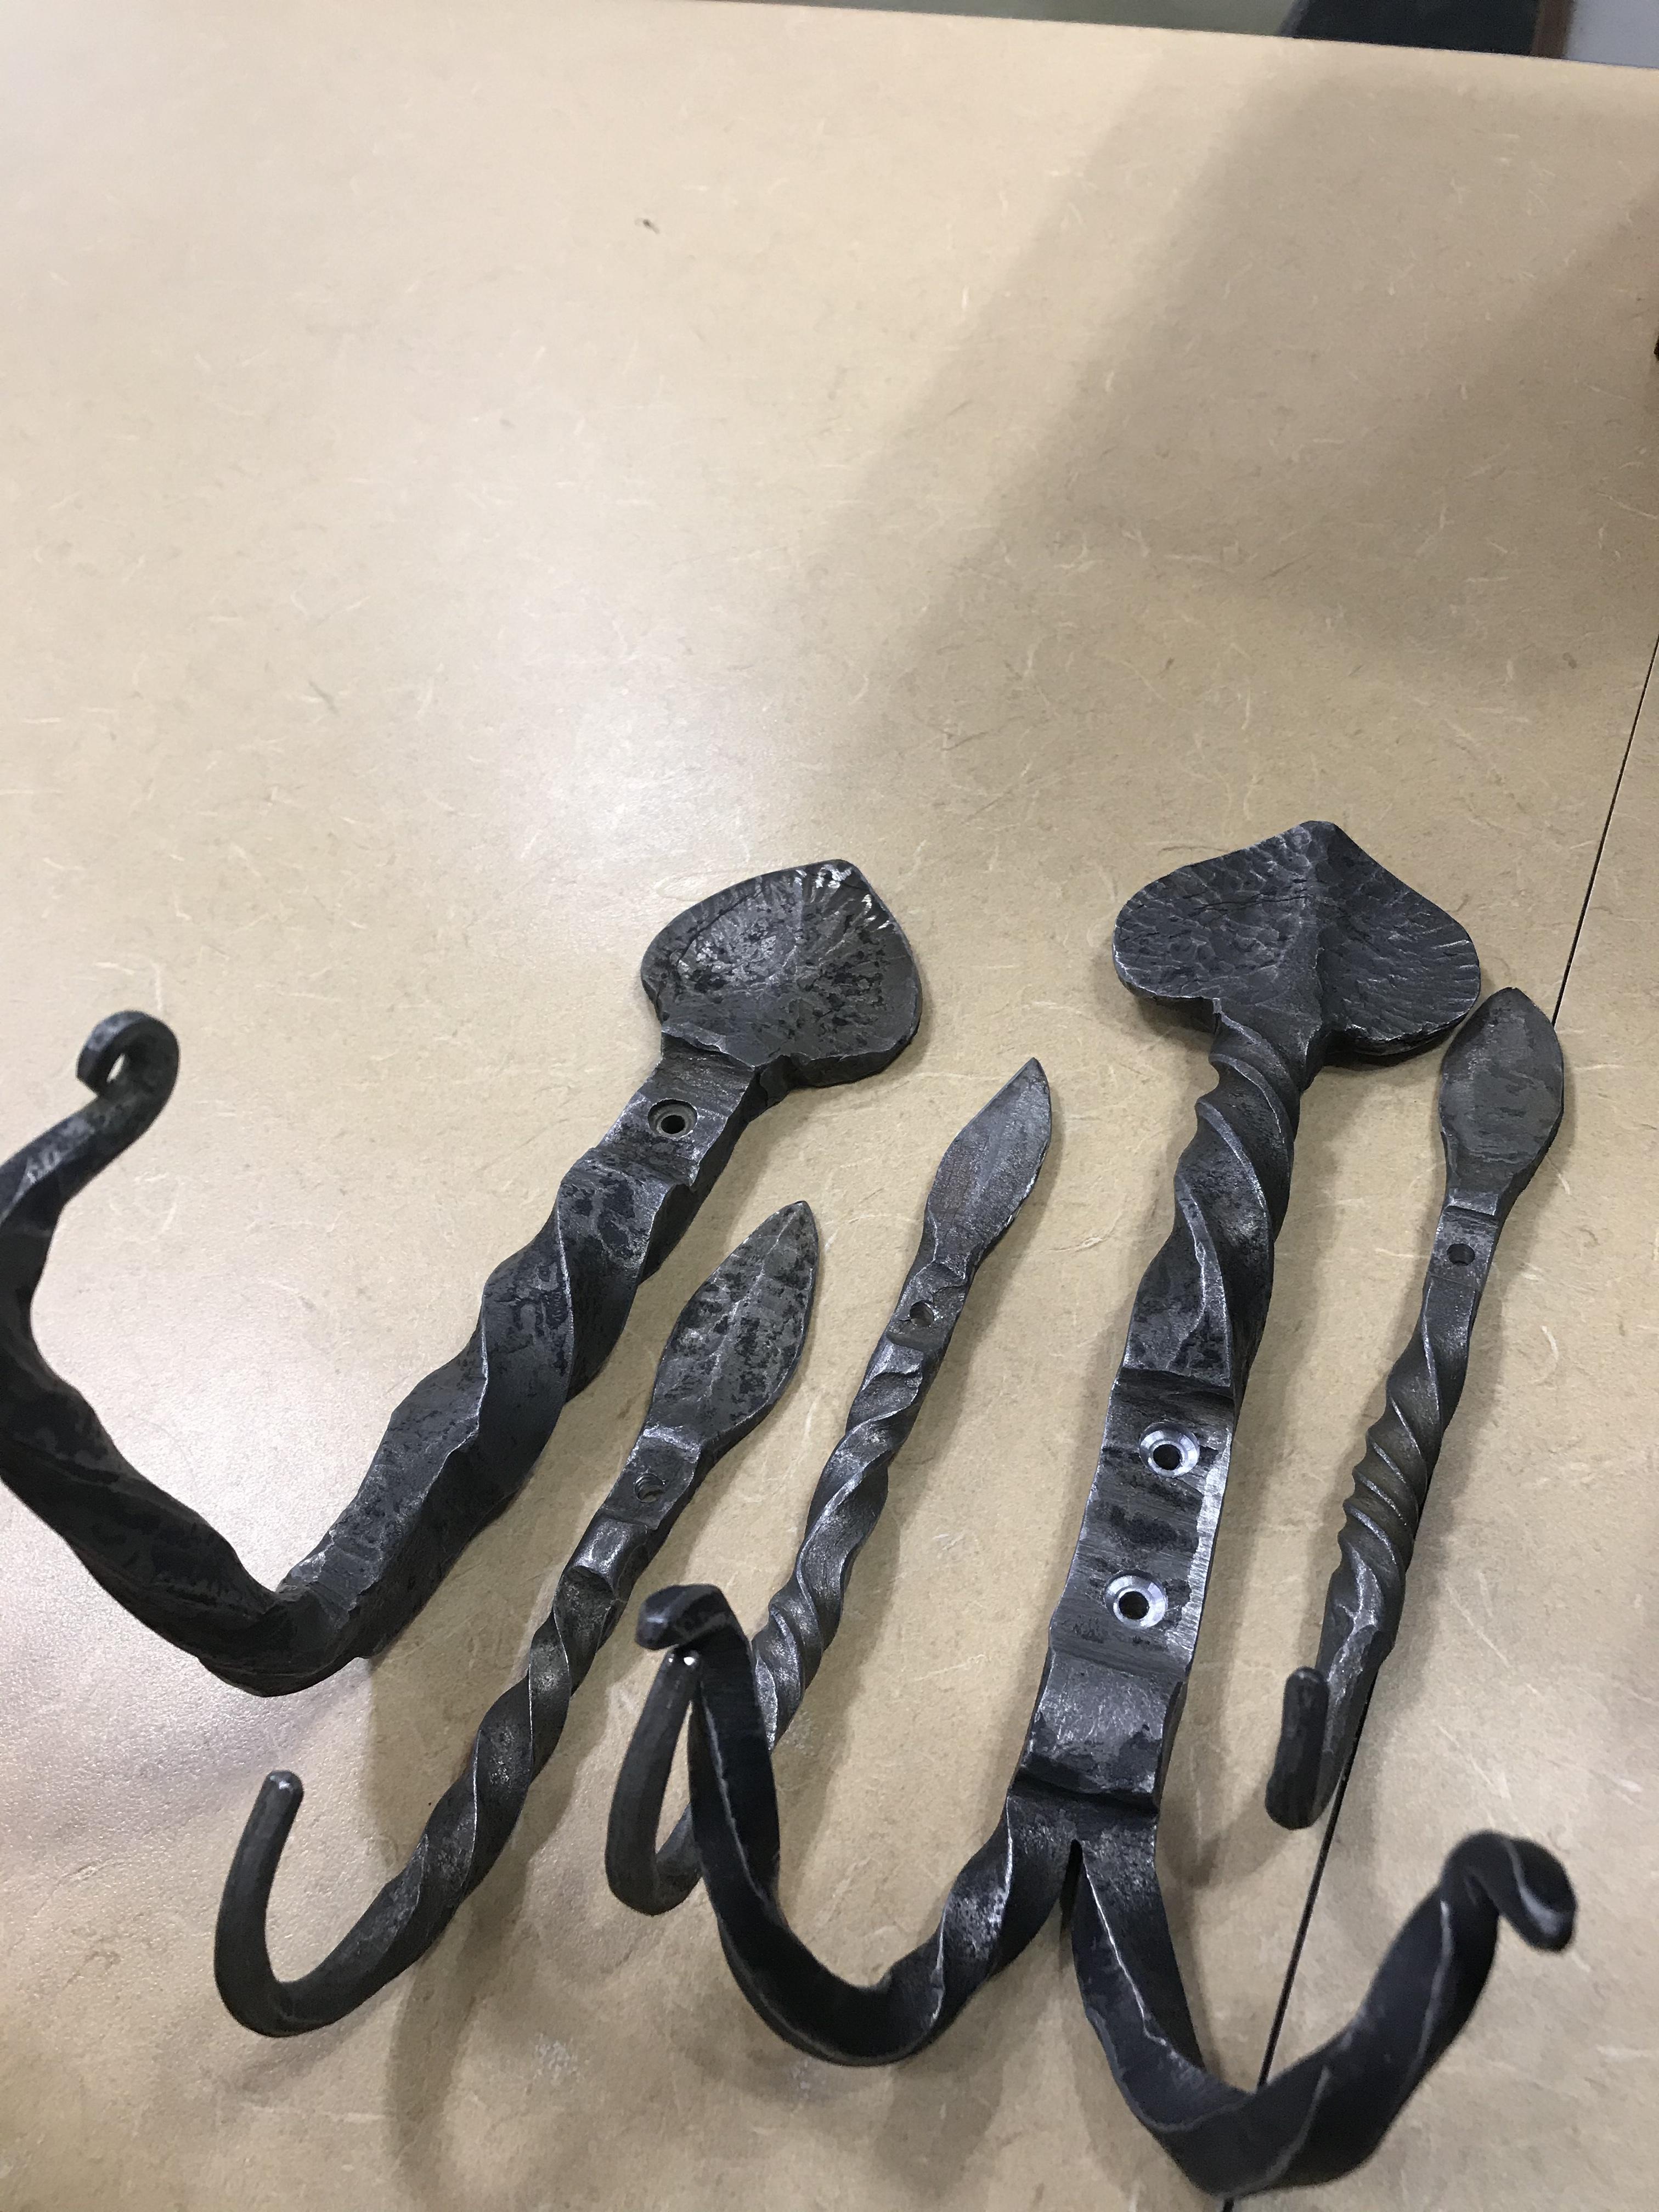
Thanks Thomas, already done. I went through with a file and rounded all the lines. Next go, will be a shorter body length while extending the hooks to be deeper with a scroll at the tip. I feel the upcoming challenges will be of consistency in design and dimensions. -
What did you do in the shop today?
671jungle replied to Mark Ling's topic in Blacksmithing, General Discussion
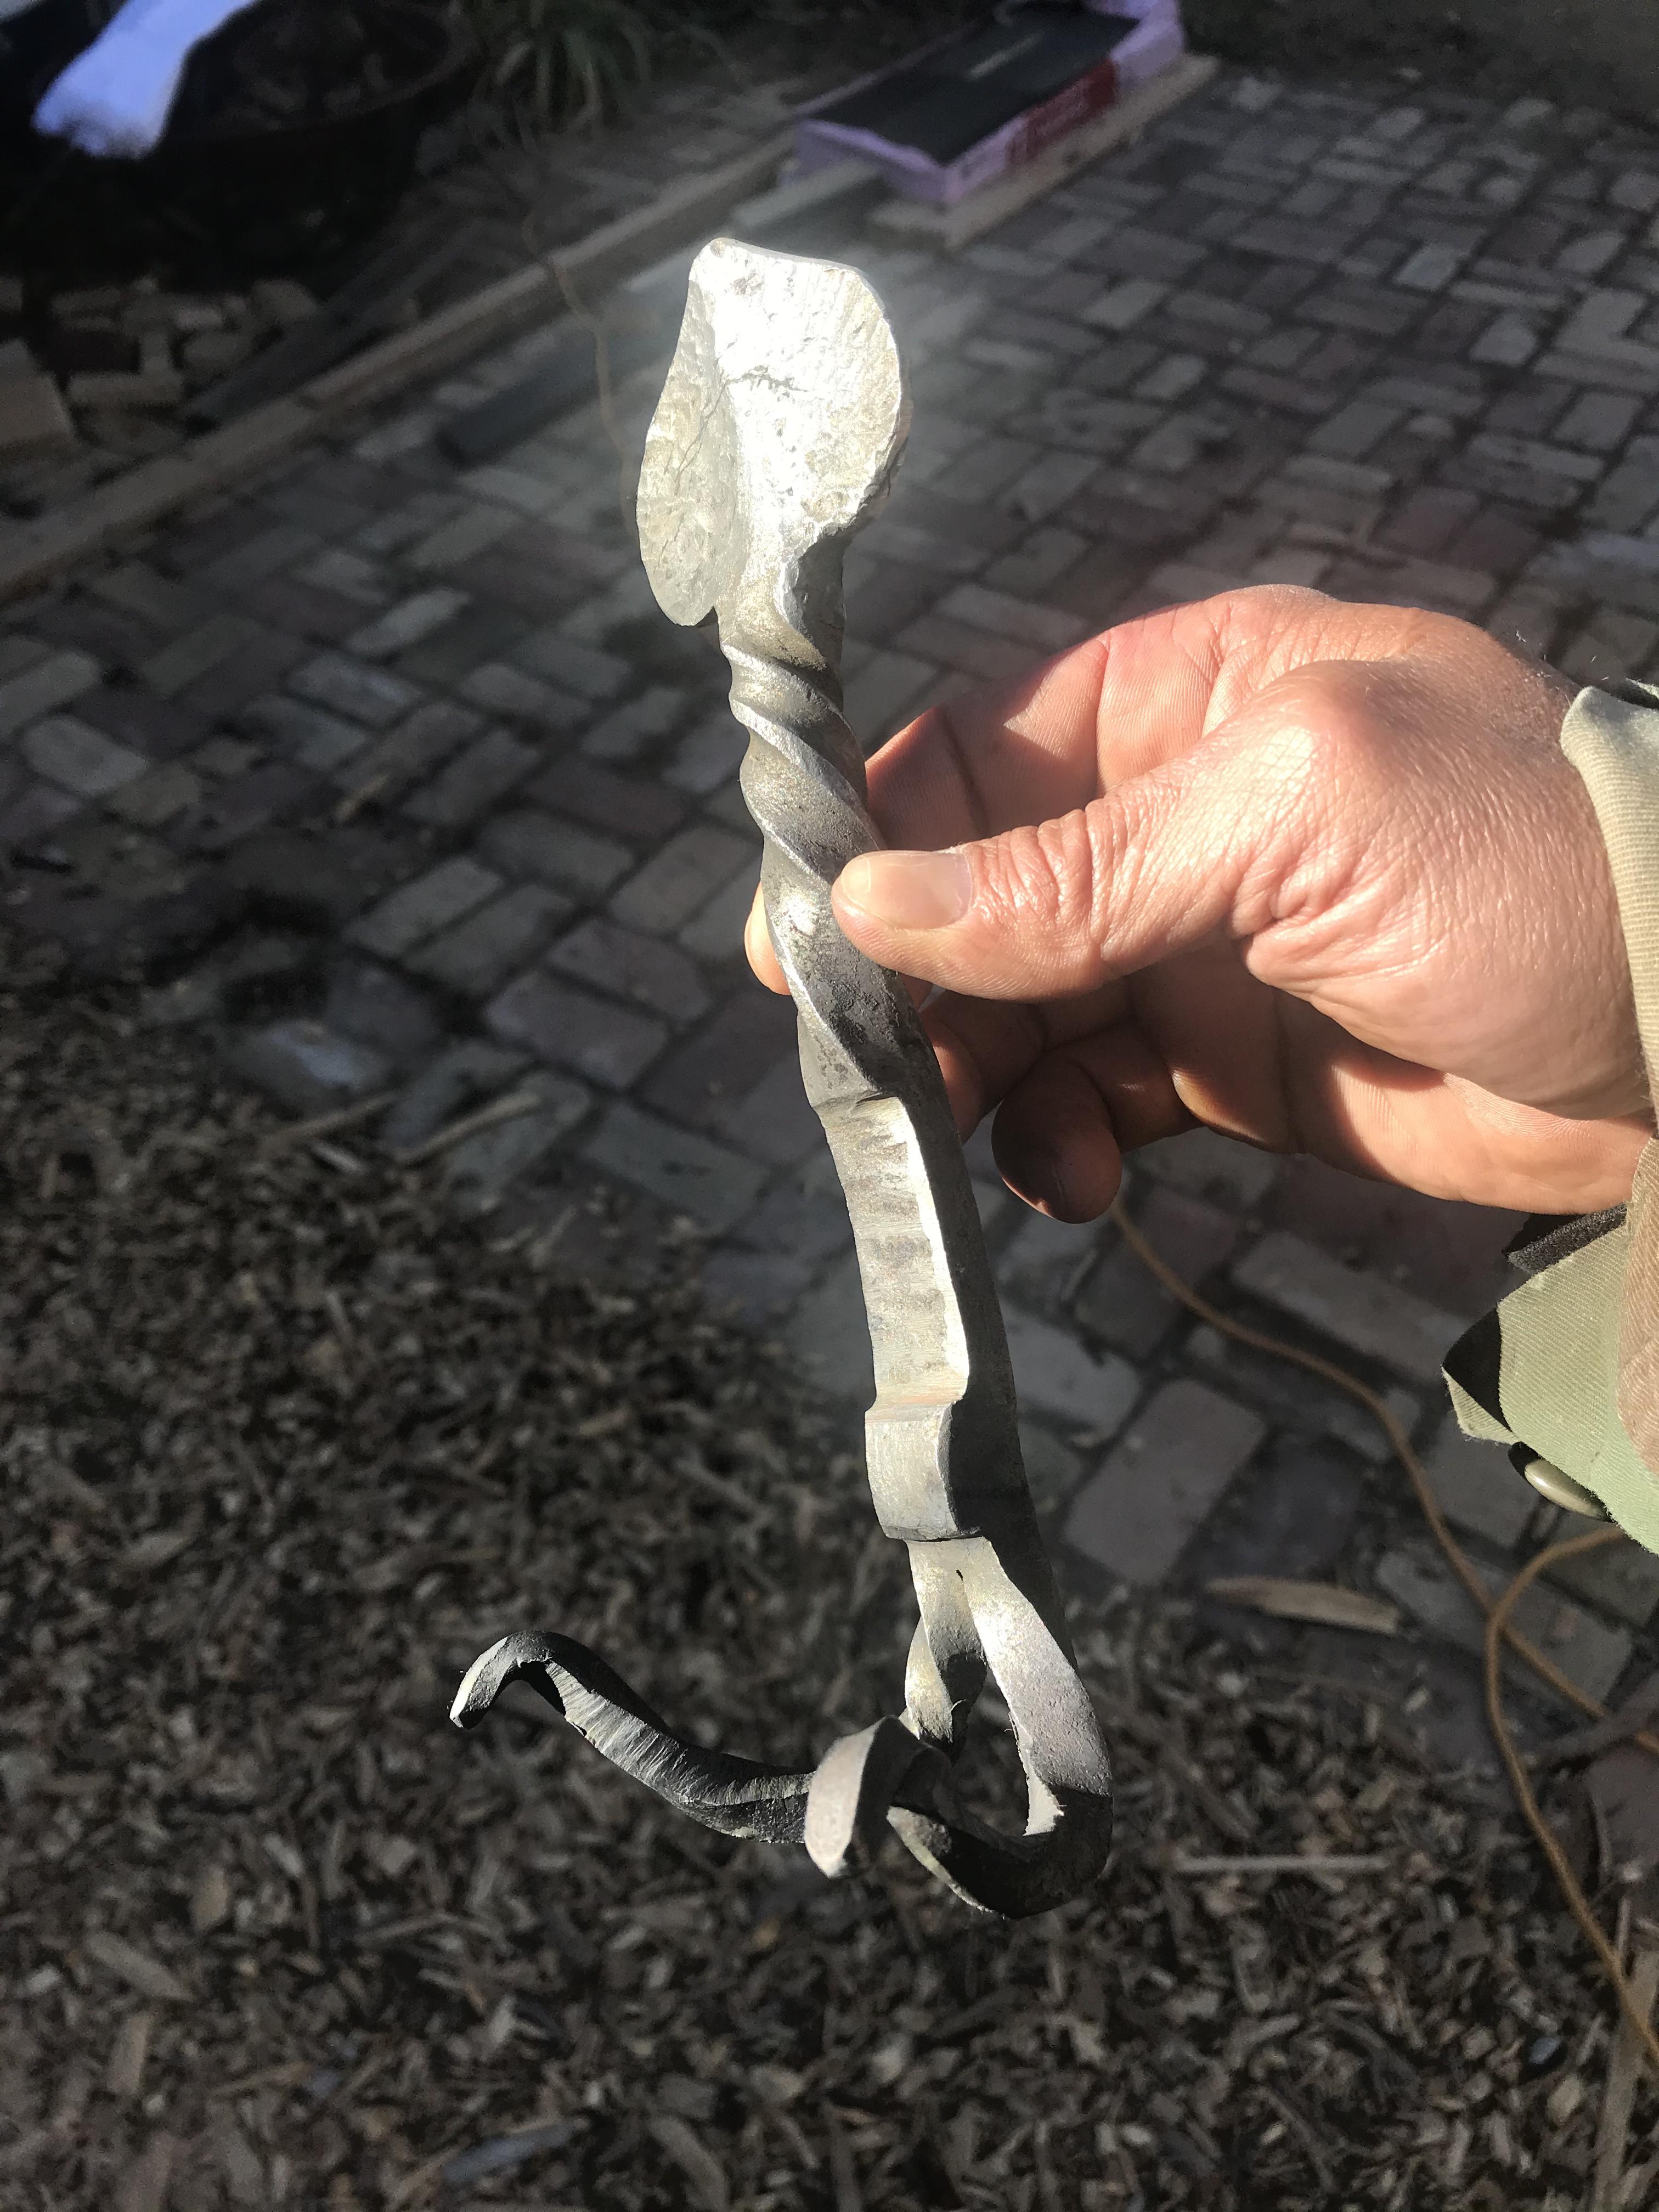
A friend of mine who owns a wellness clinic asked me to make some coat hooks. This is the first/prototype. Made from a rail spike, this took me some time to make. Mostly because I had no direction or design in mind.

-
What did you do in the shop today?
671jungle replied to Mark Ling's topic in Blacksmithing, General Discussion
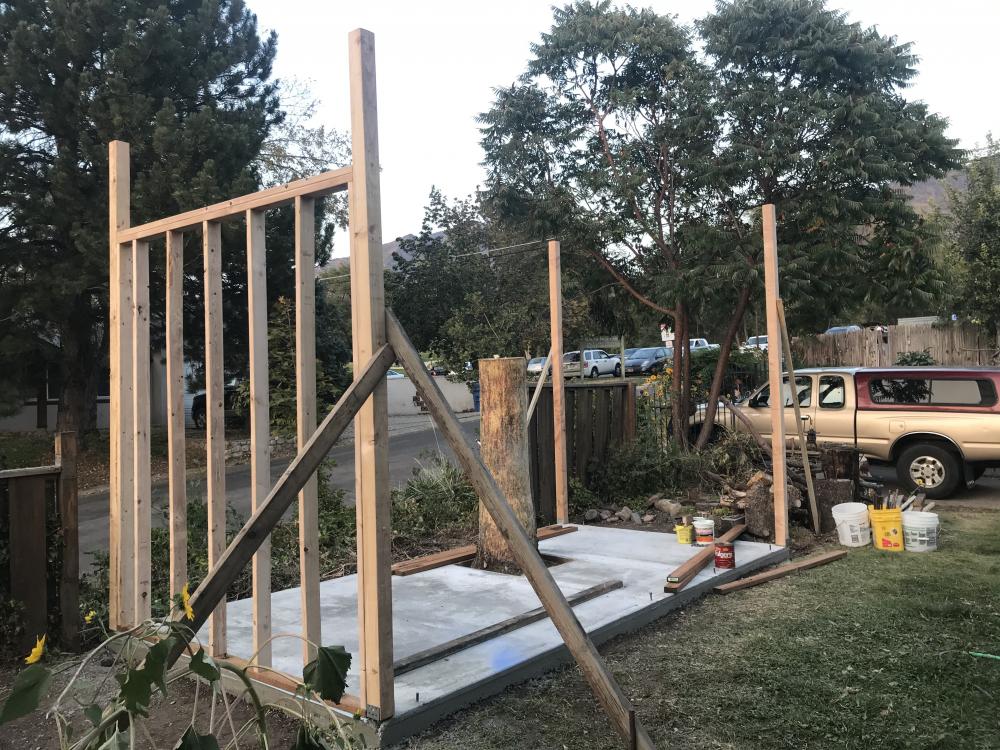
very inspiring work, Alexandr. I want to do what you do, make rails and gates. I would love to see your jigs and other setups. Sweet table Billy. Tweeking for level can be a pain for me at times. "It's level but out of plumb", "it's plumb but not level", It's plumb and level but short/long. Which brings me to the door jam for the shop that took me half a day to install. I have never installed one before. I am proud to say it is level and plumb. The shop...not so much. But it is coming along. 8'Wx16'L,.thumb.jpeg.d4044941f92cdcae3cafebf429ce5c15.jpeg)
-
What did you do in the shop today?
671jungle replied to Mark Ling's topic in Blacksmithing, General Discussion
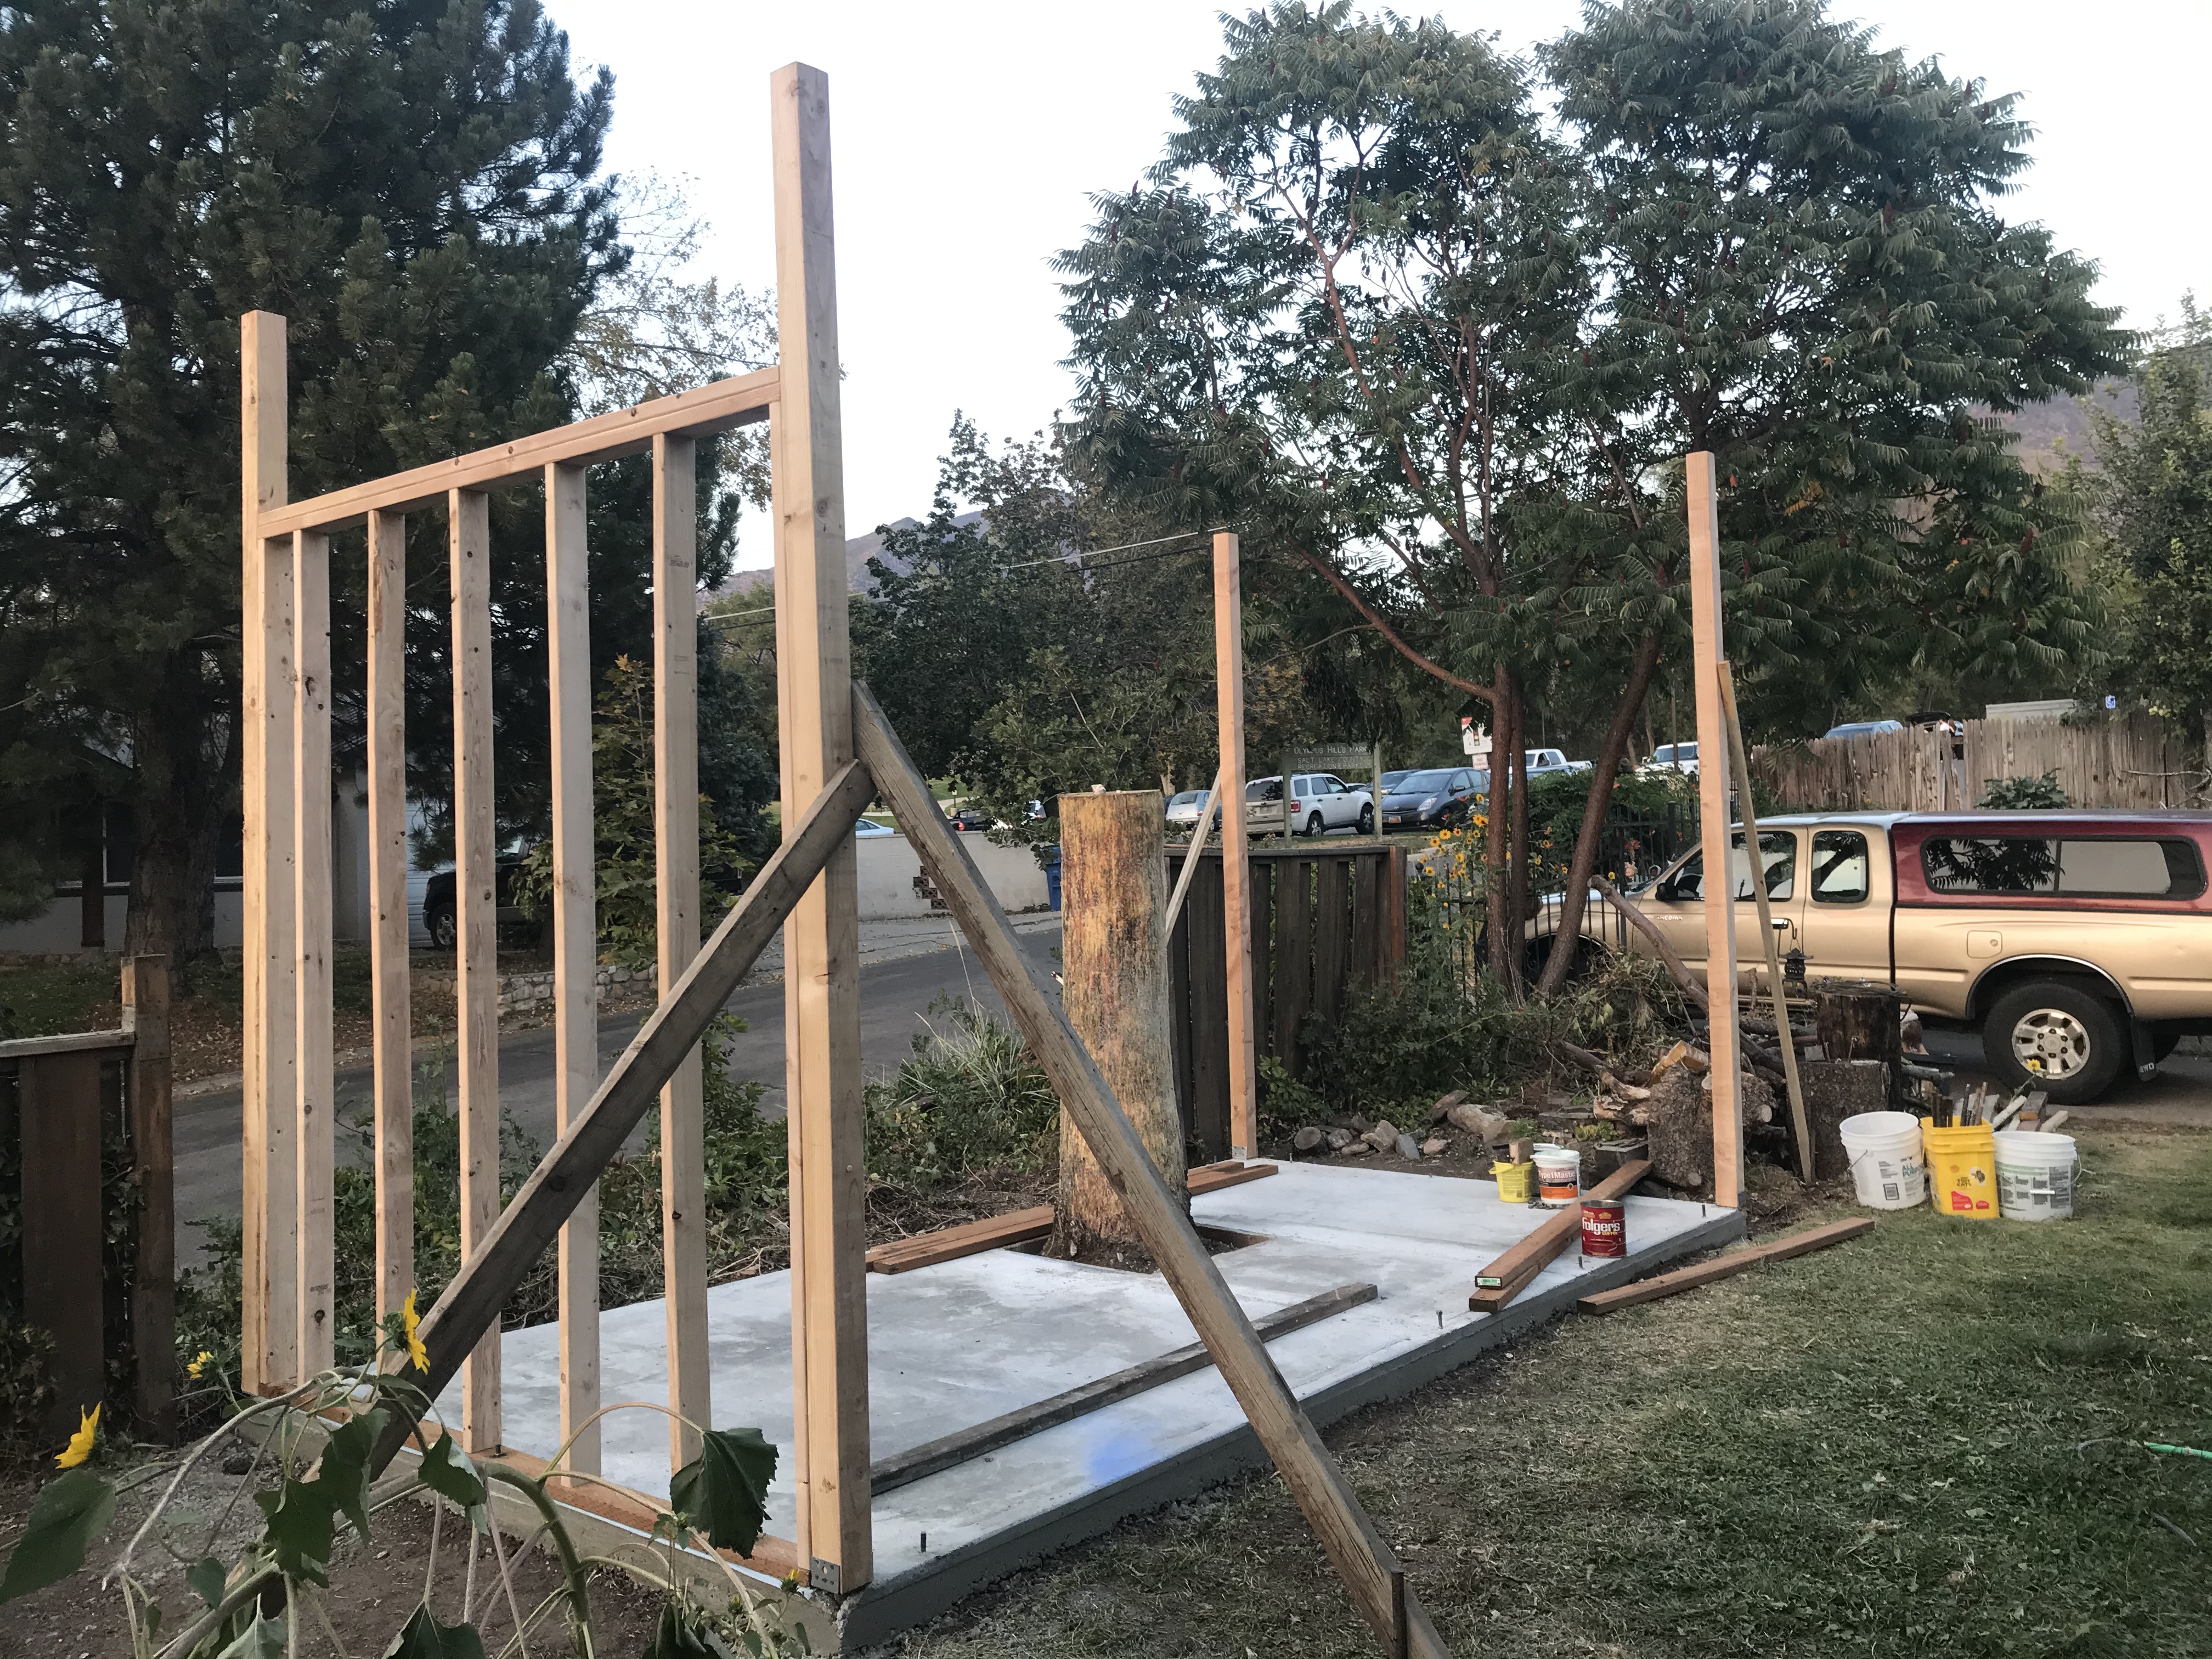
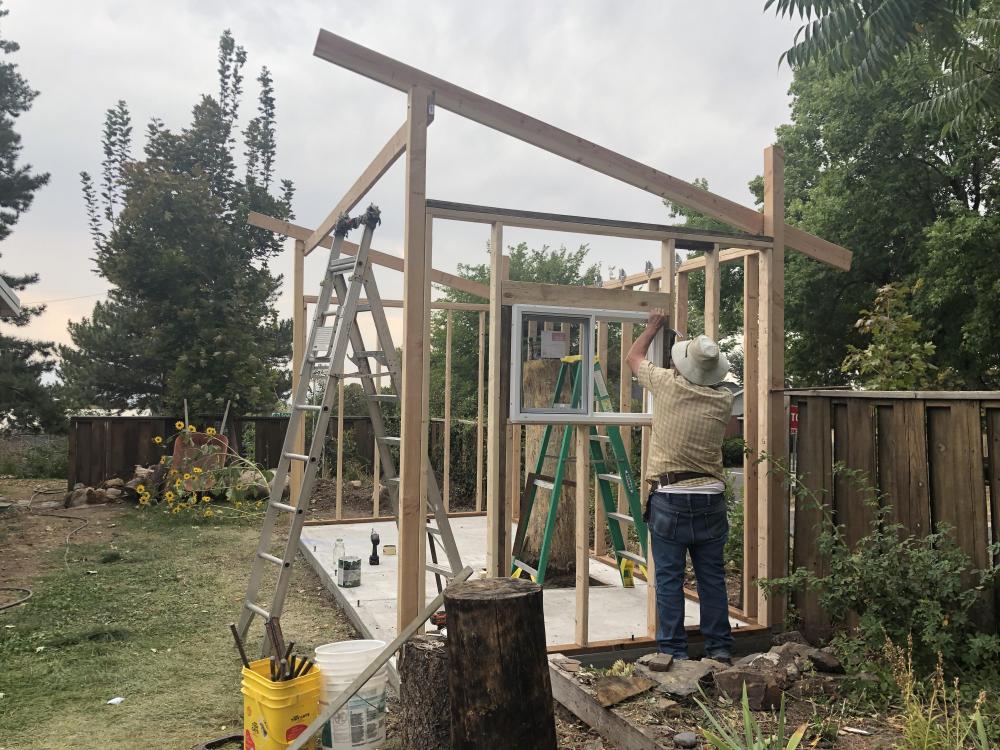
Slick tongs JHCC. Been at it with the shop the last several days. Trying to get it done before the snow flies. While I am no framer, there are a million things I would've done different, I am happy. If I were to do this by myself, at this scaIe, it would've been a disaster.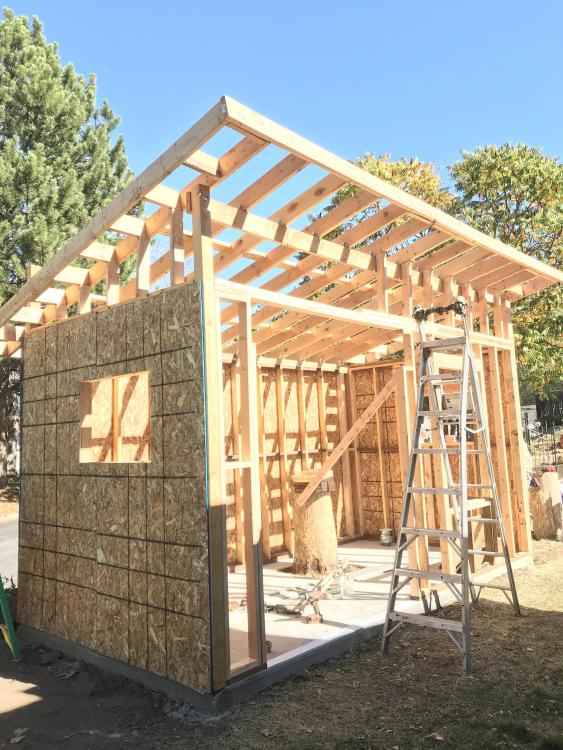
-
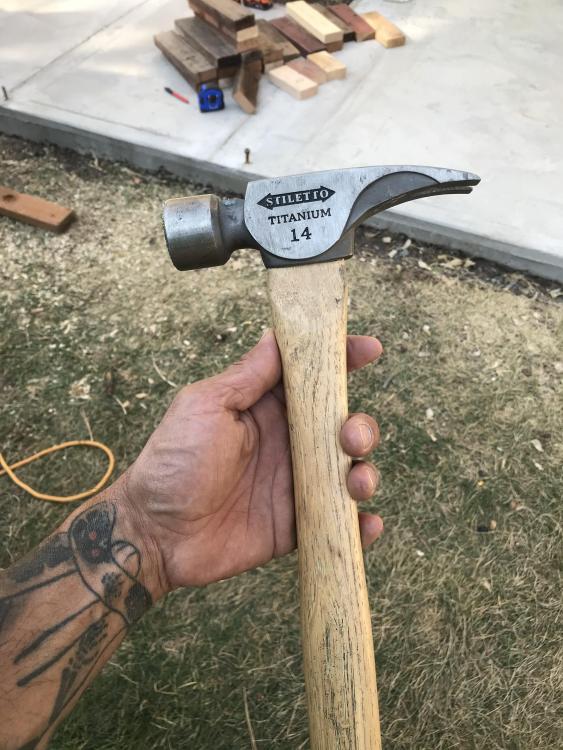
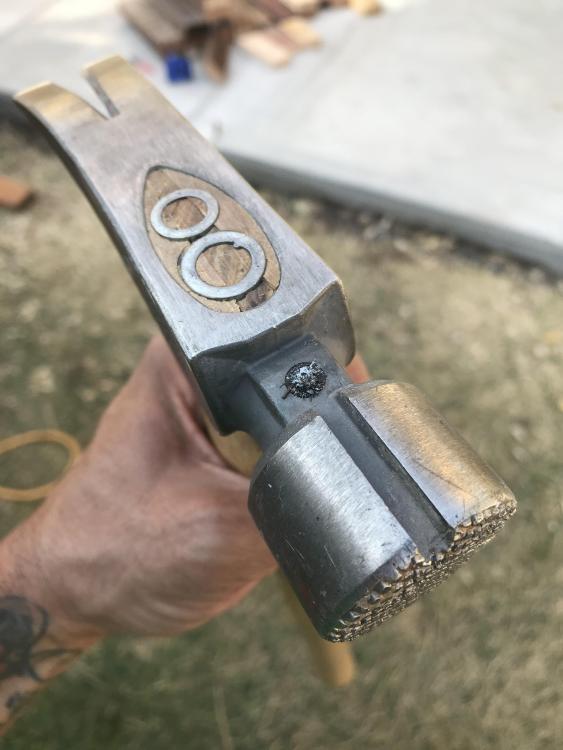
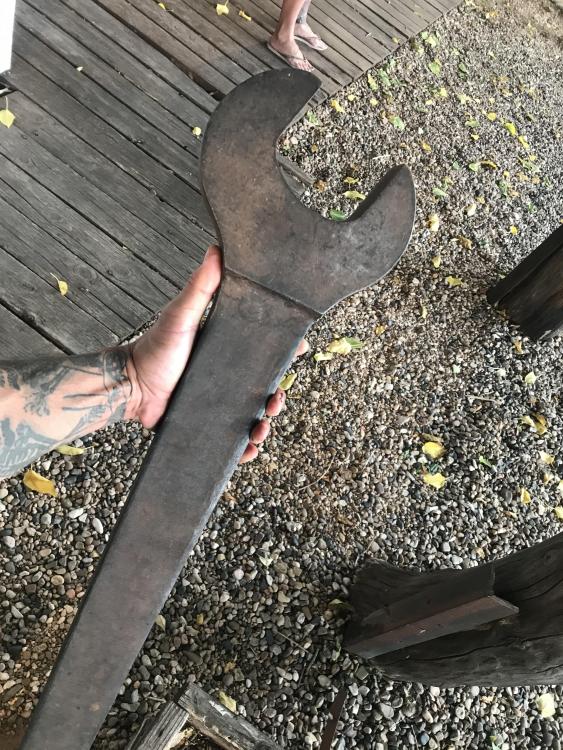
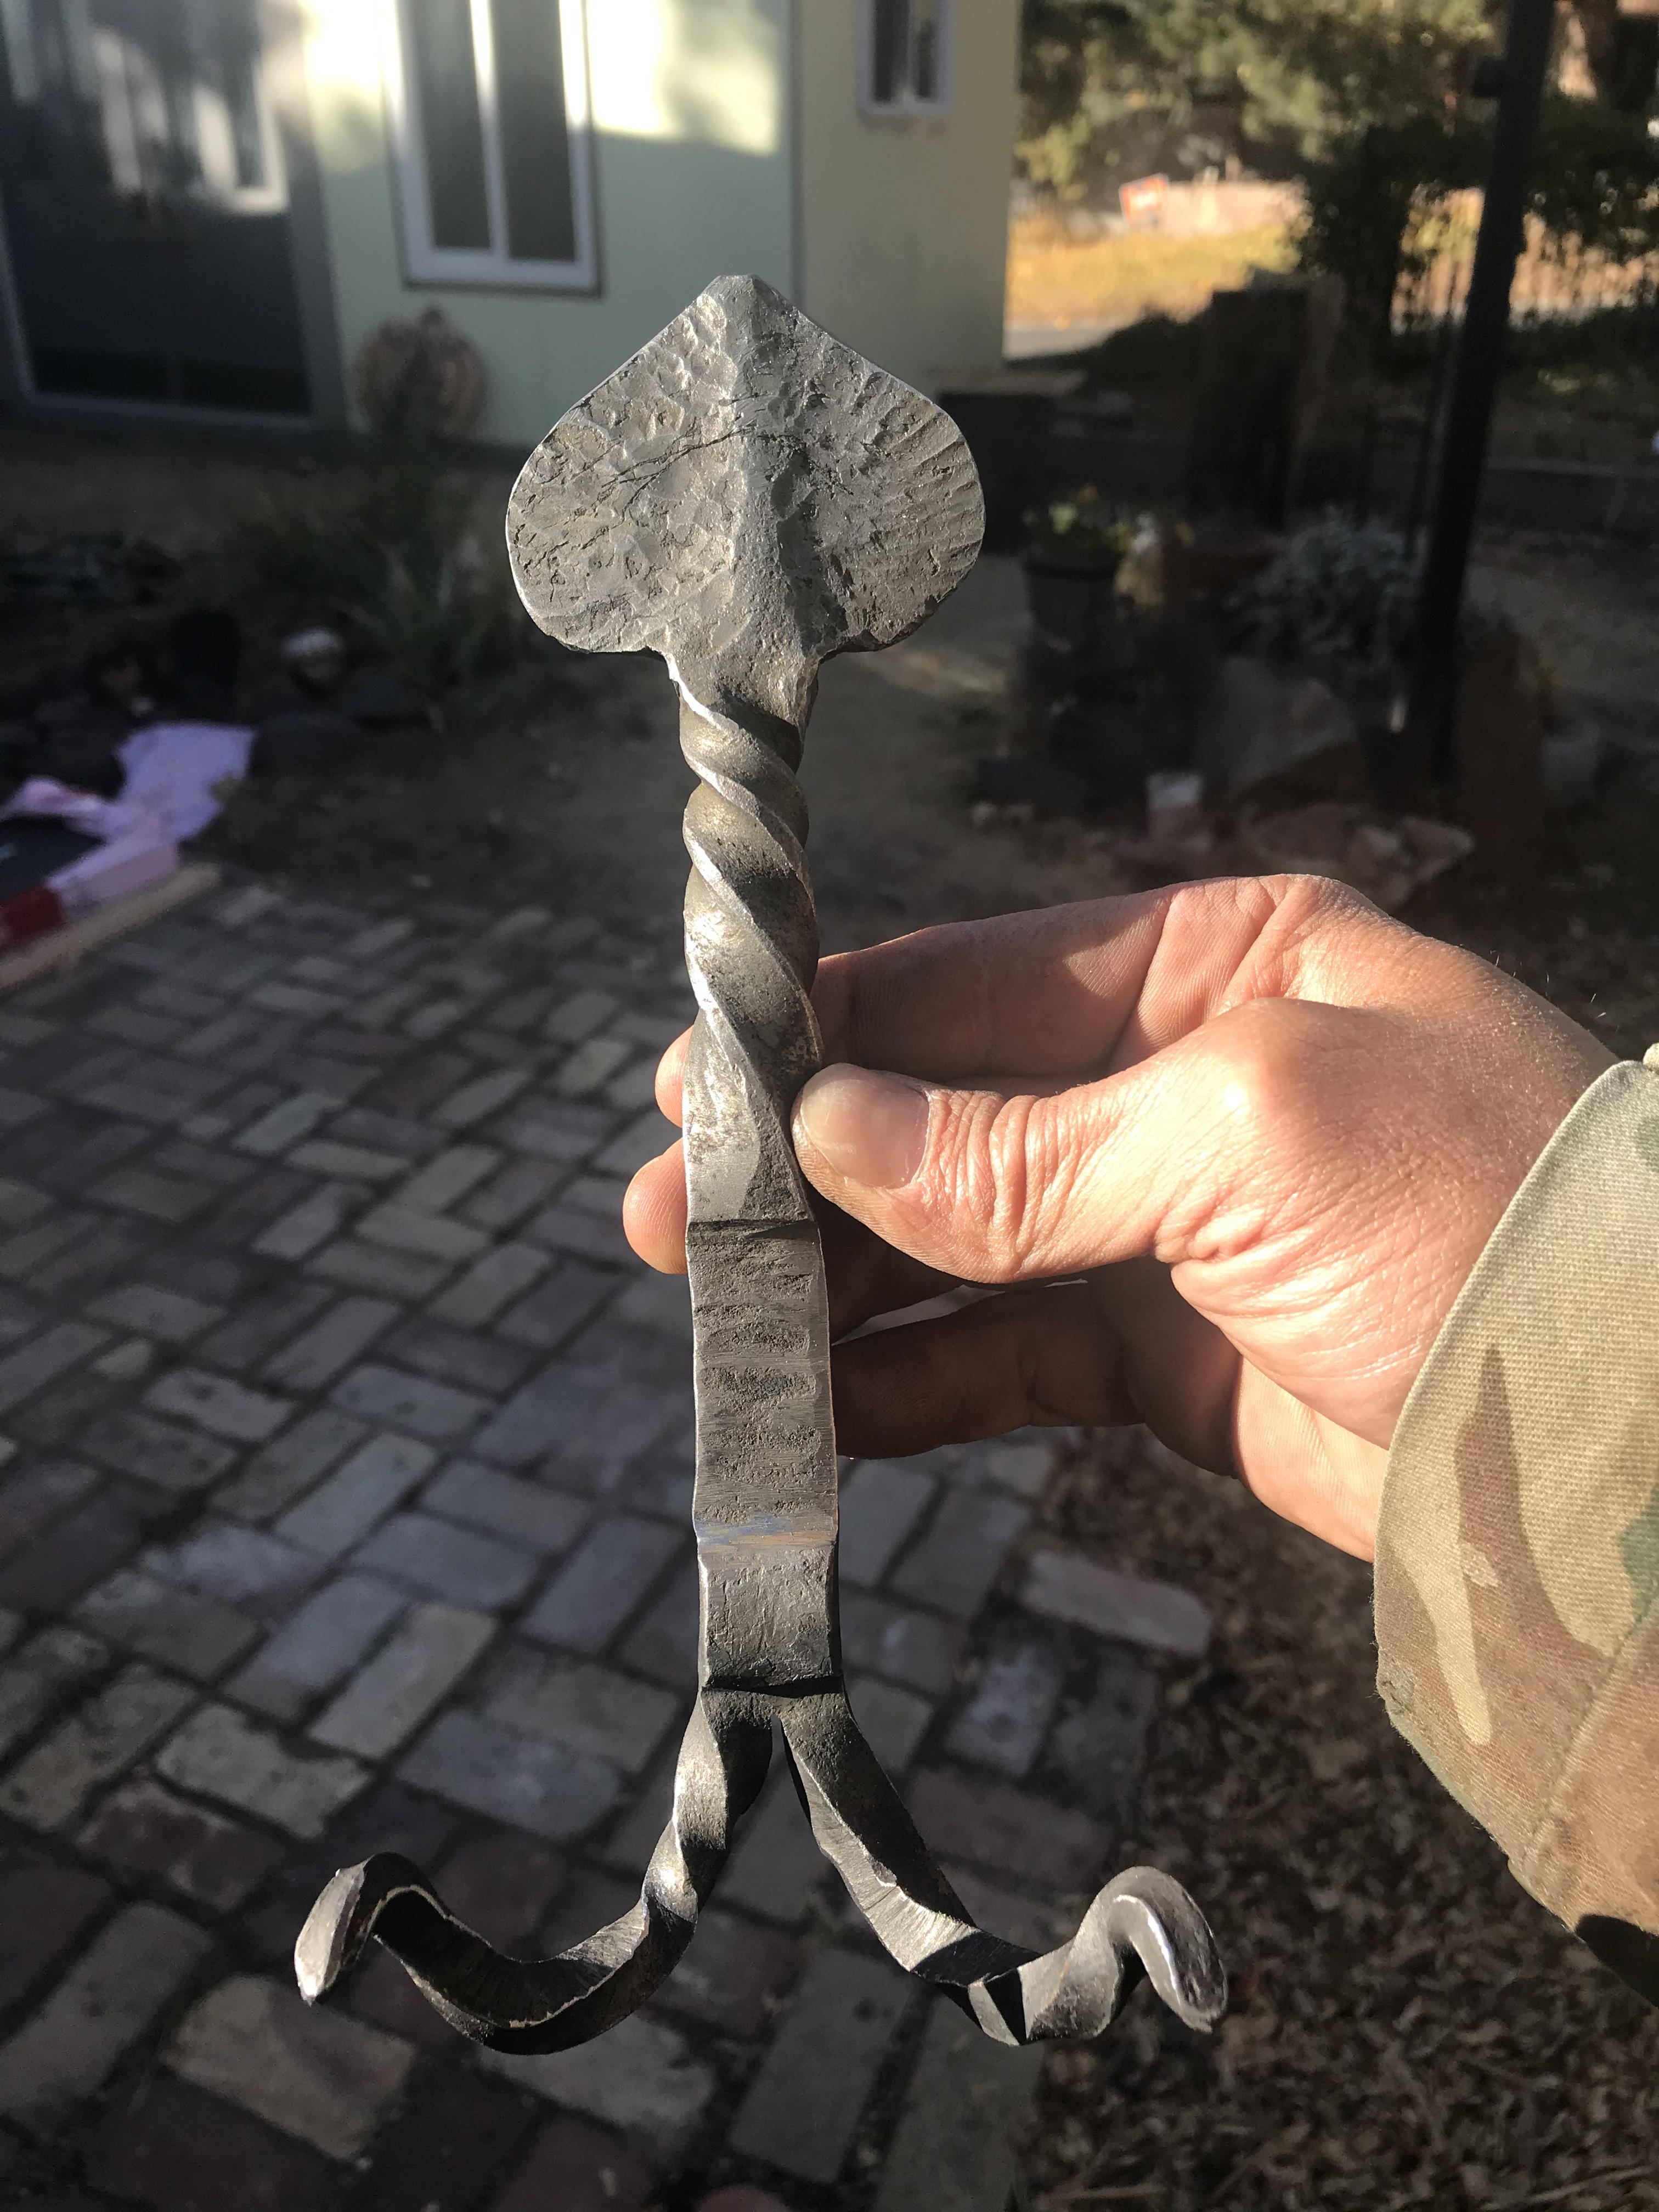
Dang! that'll make you strong. When I was in my mid 20's I worked with an old Filipino man who had me dig a crawlspace foundation through limestone. This is where I learned the "slow and steady wins the race" lesson. I will spark test them before forging. This hammer was found on the intersection in Grand Junction Colorado. It has been a treat to work with framing the shop.
-
I don't know. The stock I plan on using most for twisting will be for gates and rails once I get there. It doesn't get any simpler then the machine John posted above. I am sucker for simple but overthink quite often. I had plans all drawn out in my head that would require excessive welding and heavy duty blah,blah,blah, until I understood what i was looking at in the pictures above. Sometimes my brain is slow to interpret what it thinks my eyes see.
-
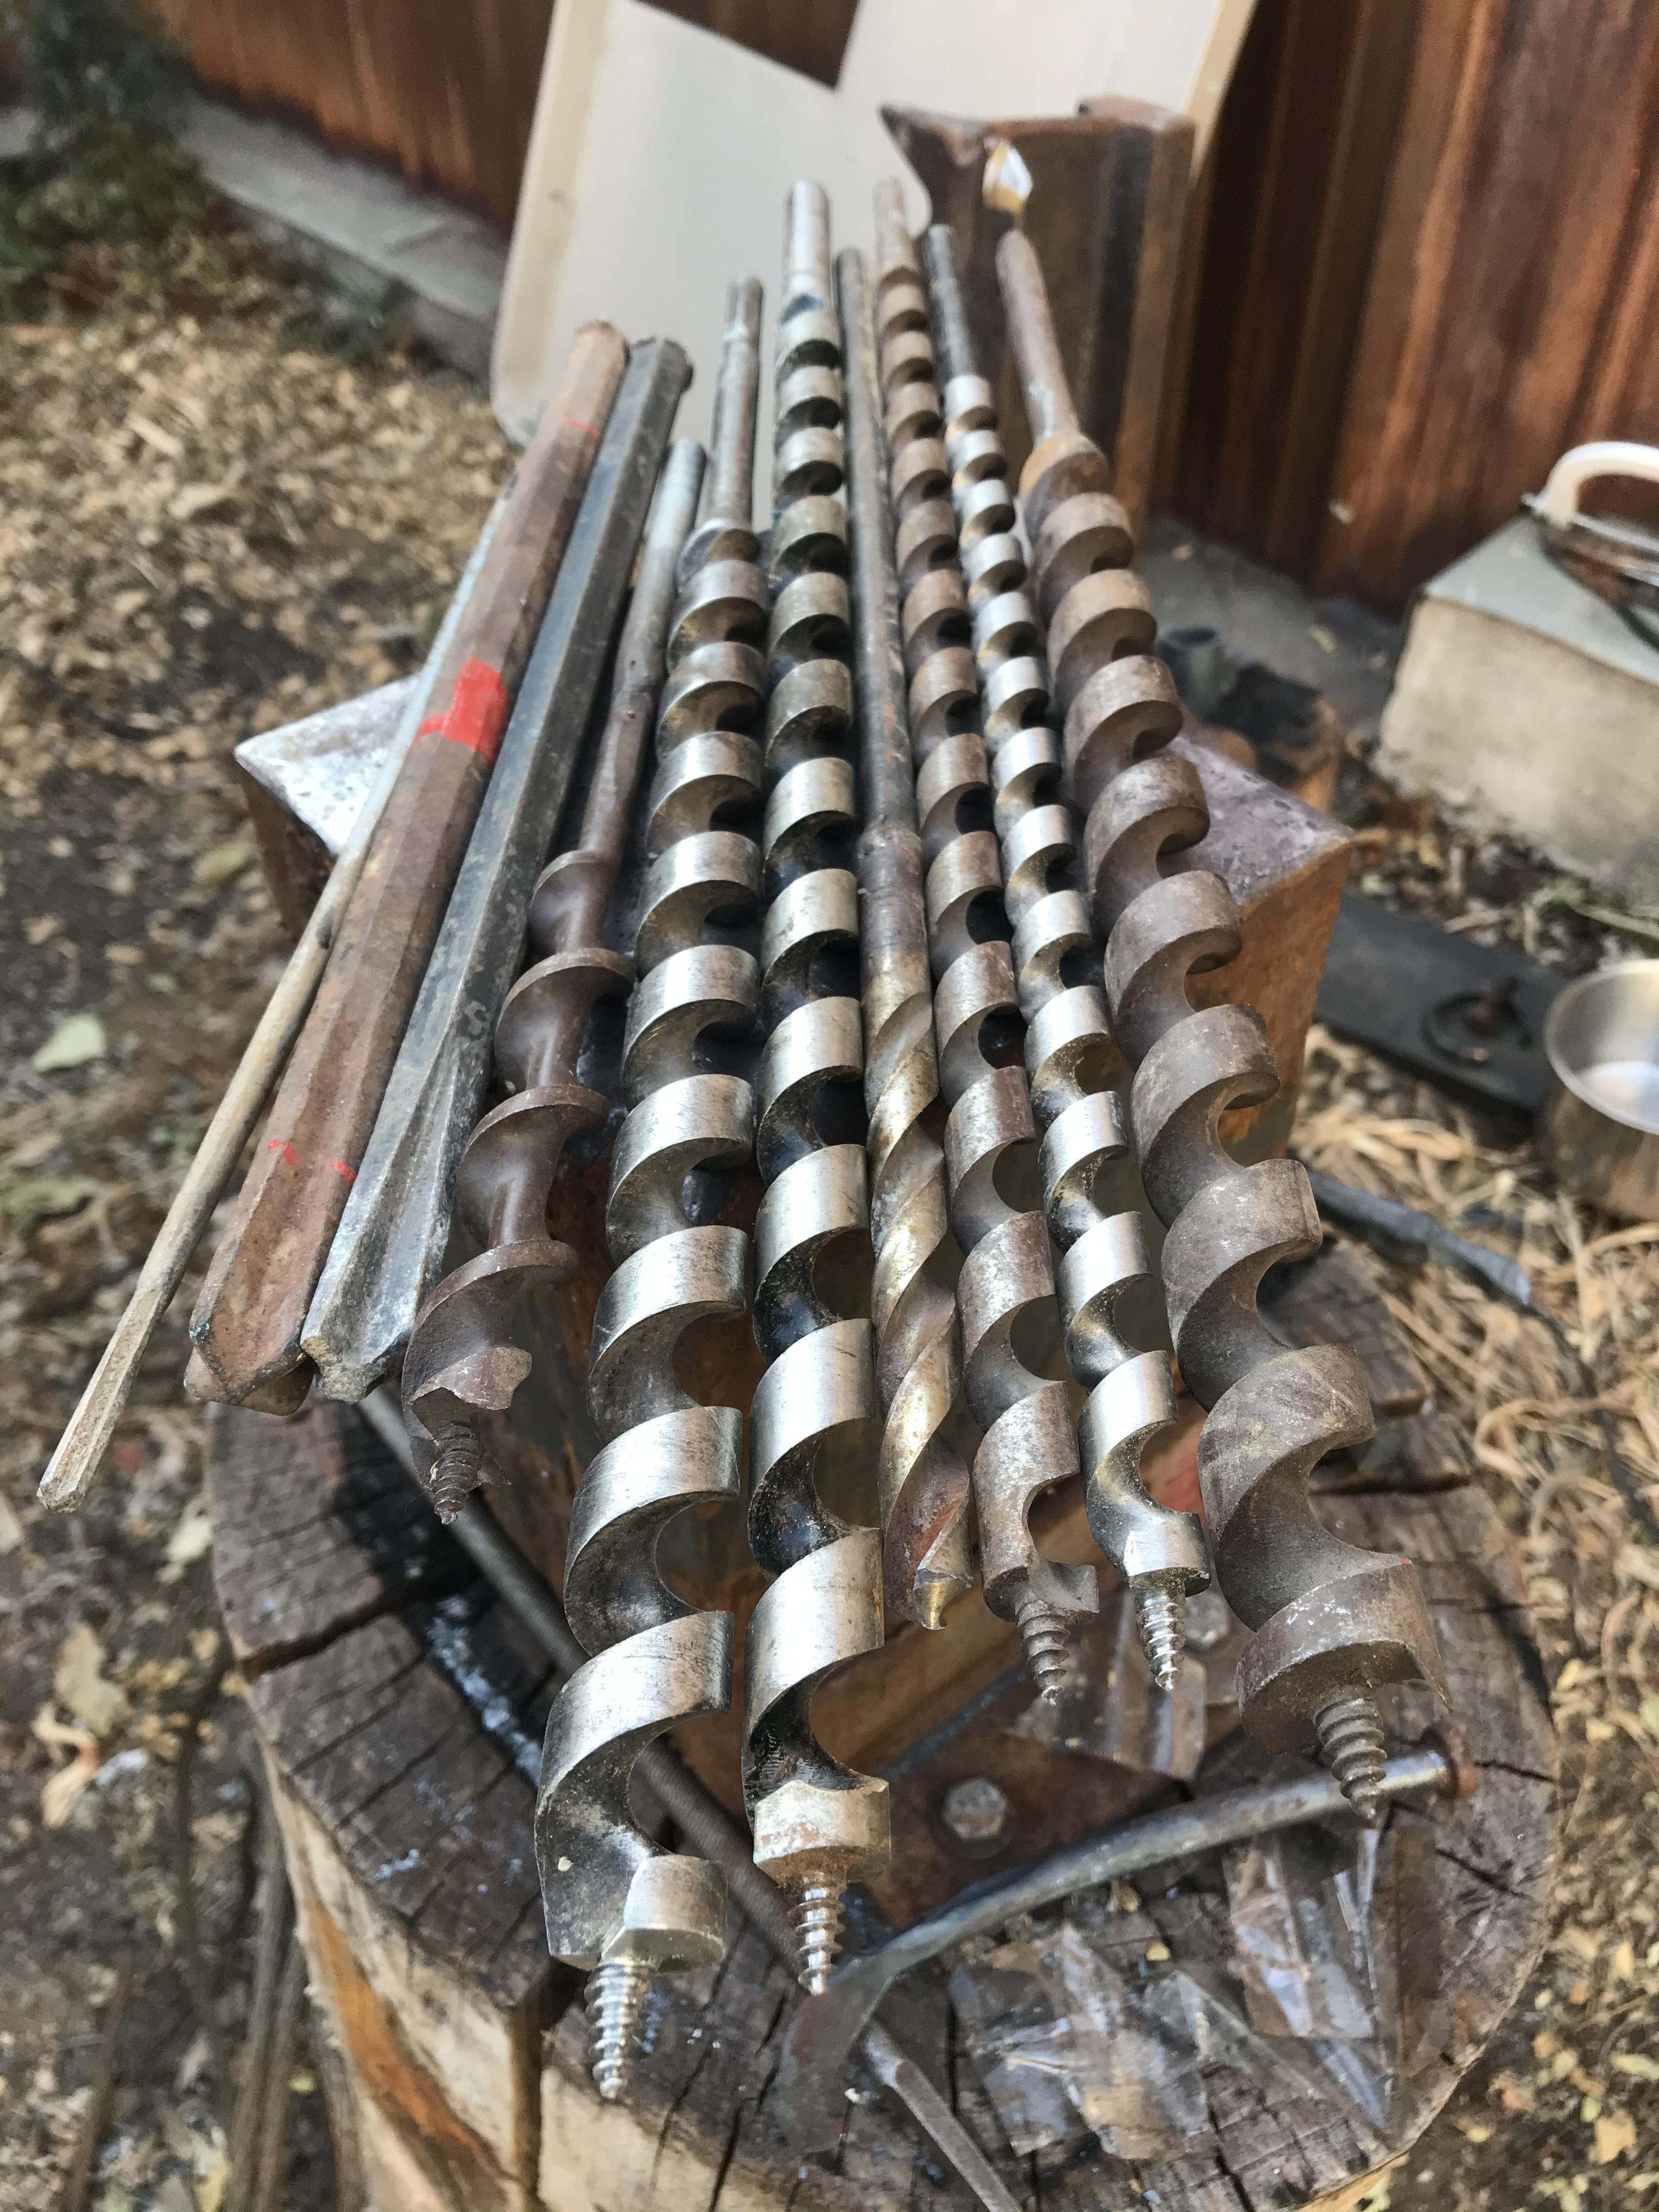
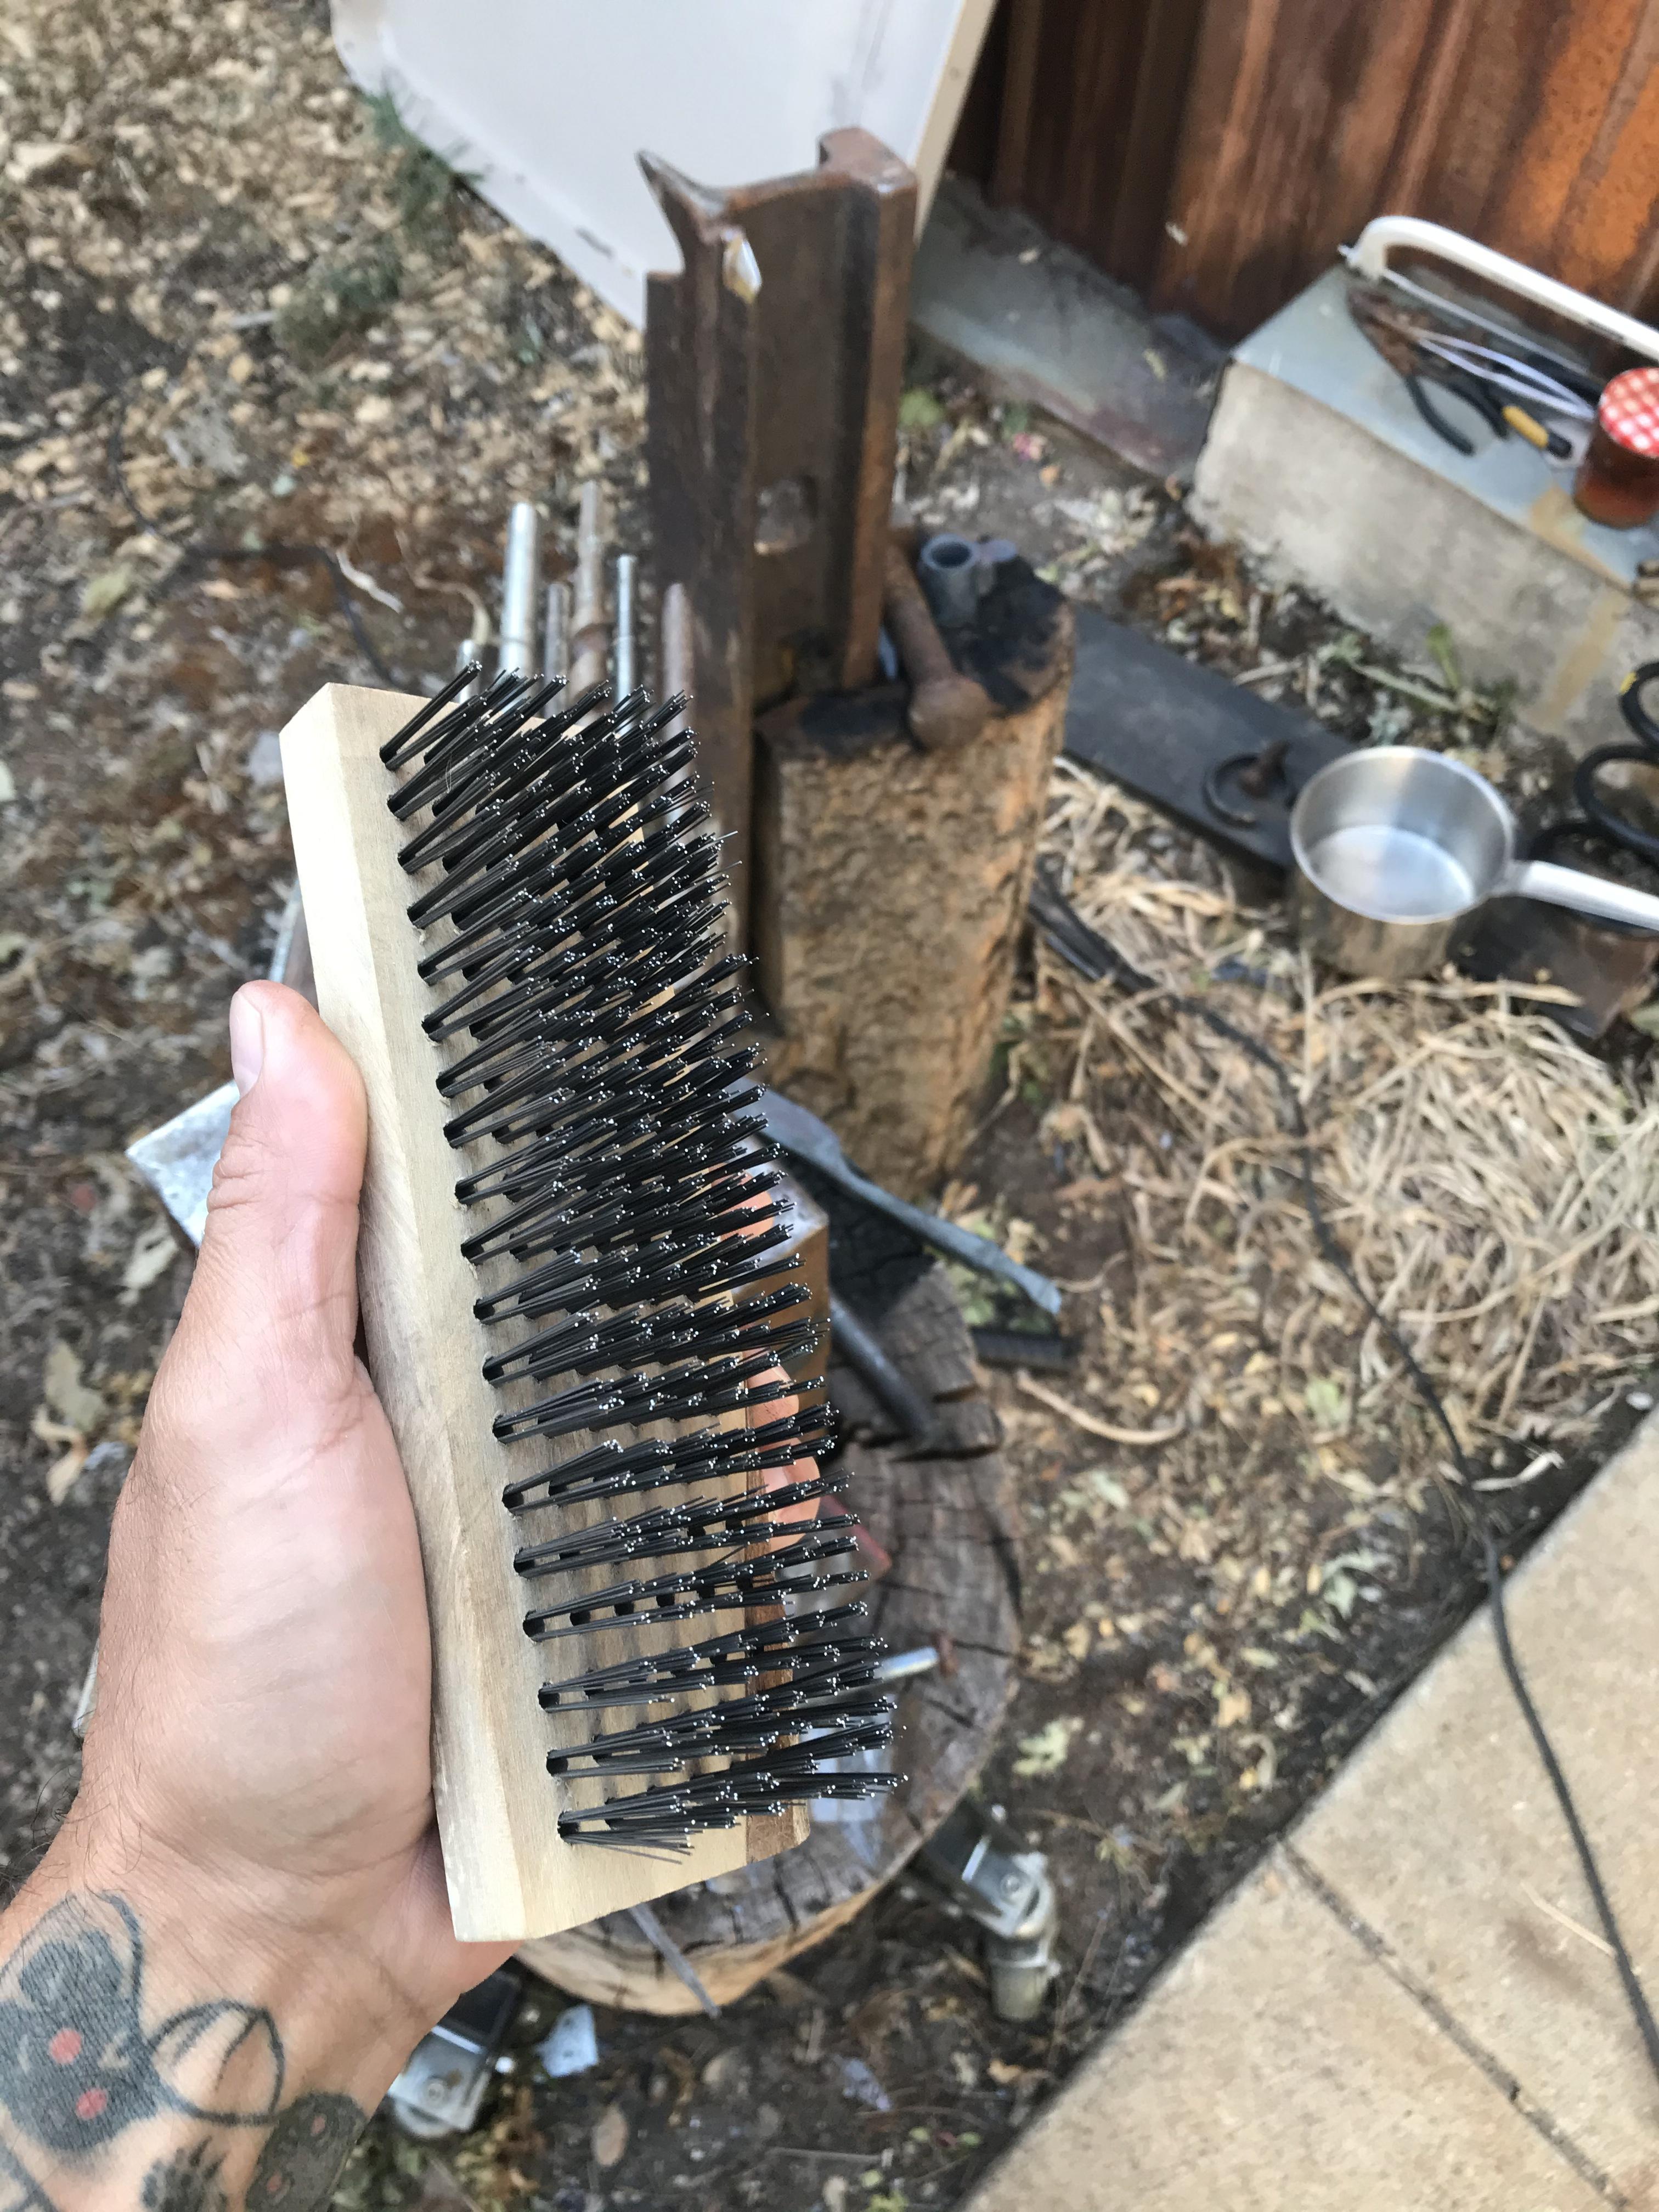
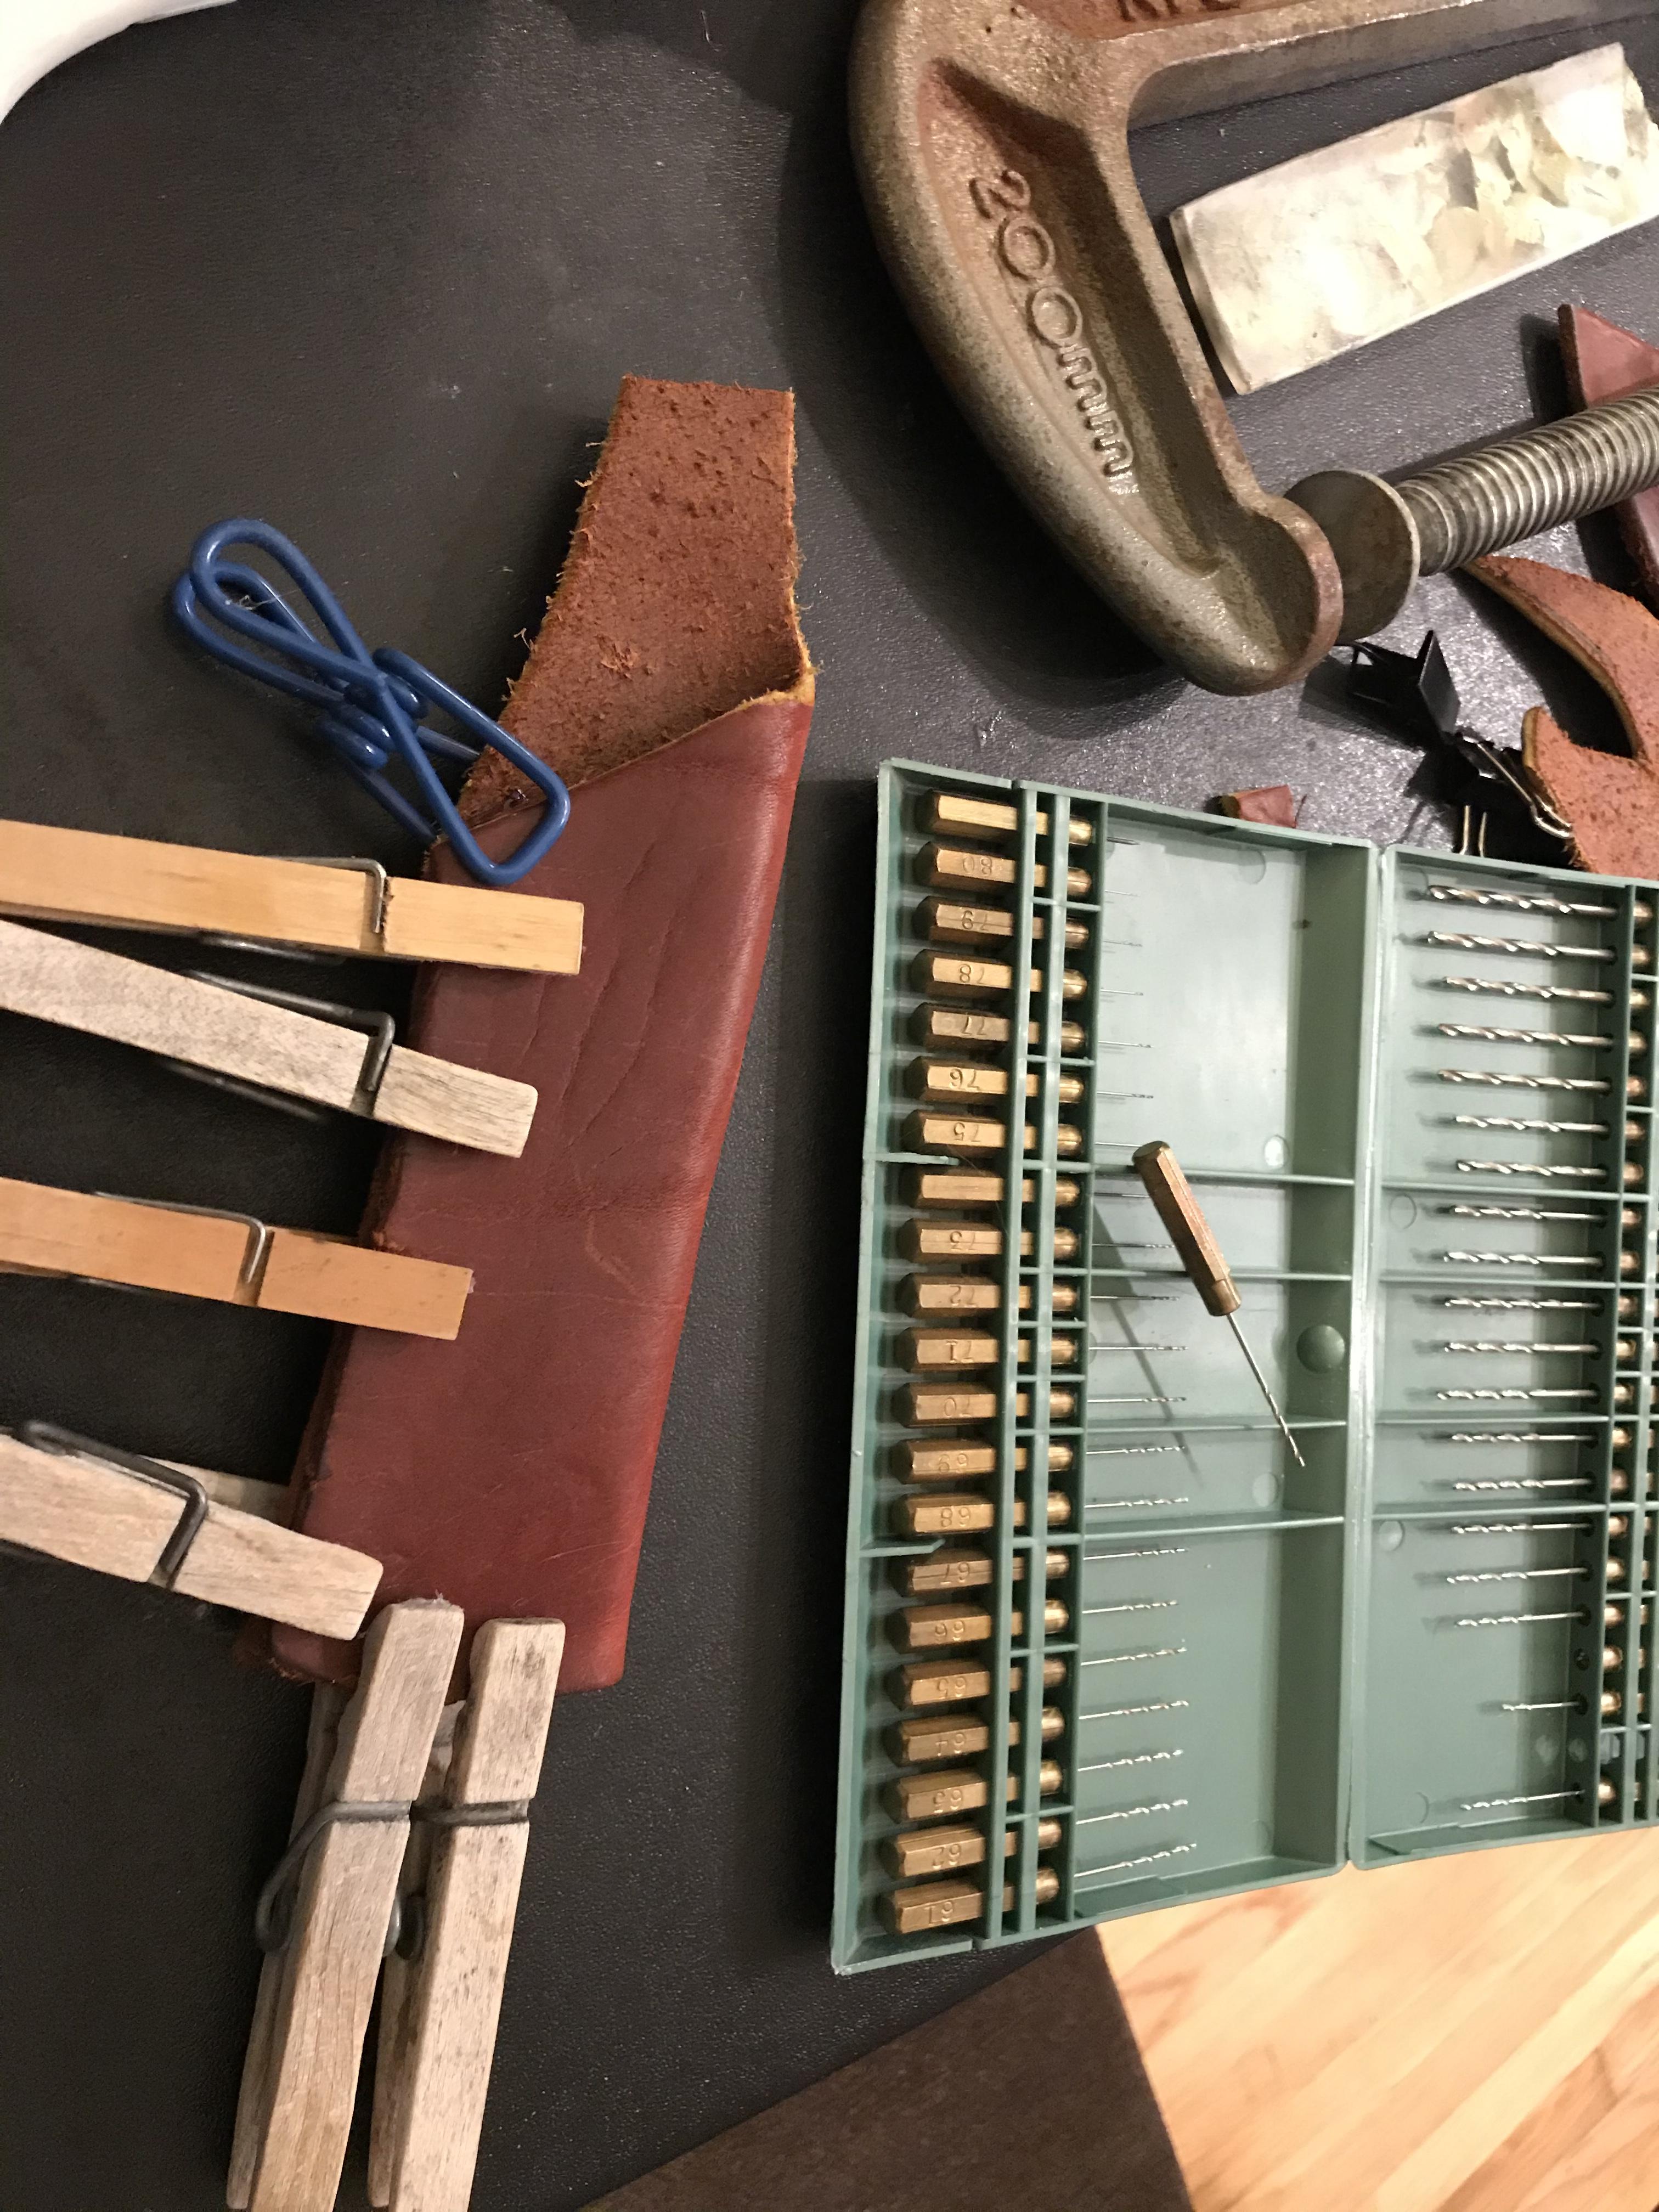
I really need a scrapyard like Thomas’s. My local metal hole rarely gets big heavy things. Anywho, my Love’s dad brought me some auger bits. Anyone know what the bits on the left are used for? What would y’all make out of them? I finally bought a brush. Pretty cheaply built but I got it for under $10 including shipping. It’ll beat the bbq brush I’ve been using though.


-
Old thread, I know. Had to look it up but that machine is a cheater if I ever saw one. Is there a recent thread with existing pictures of homemade powered and manual twisting machines? Would love to get some ideas. Maybe start a "Show me your twister thread"?
-
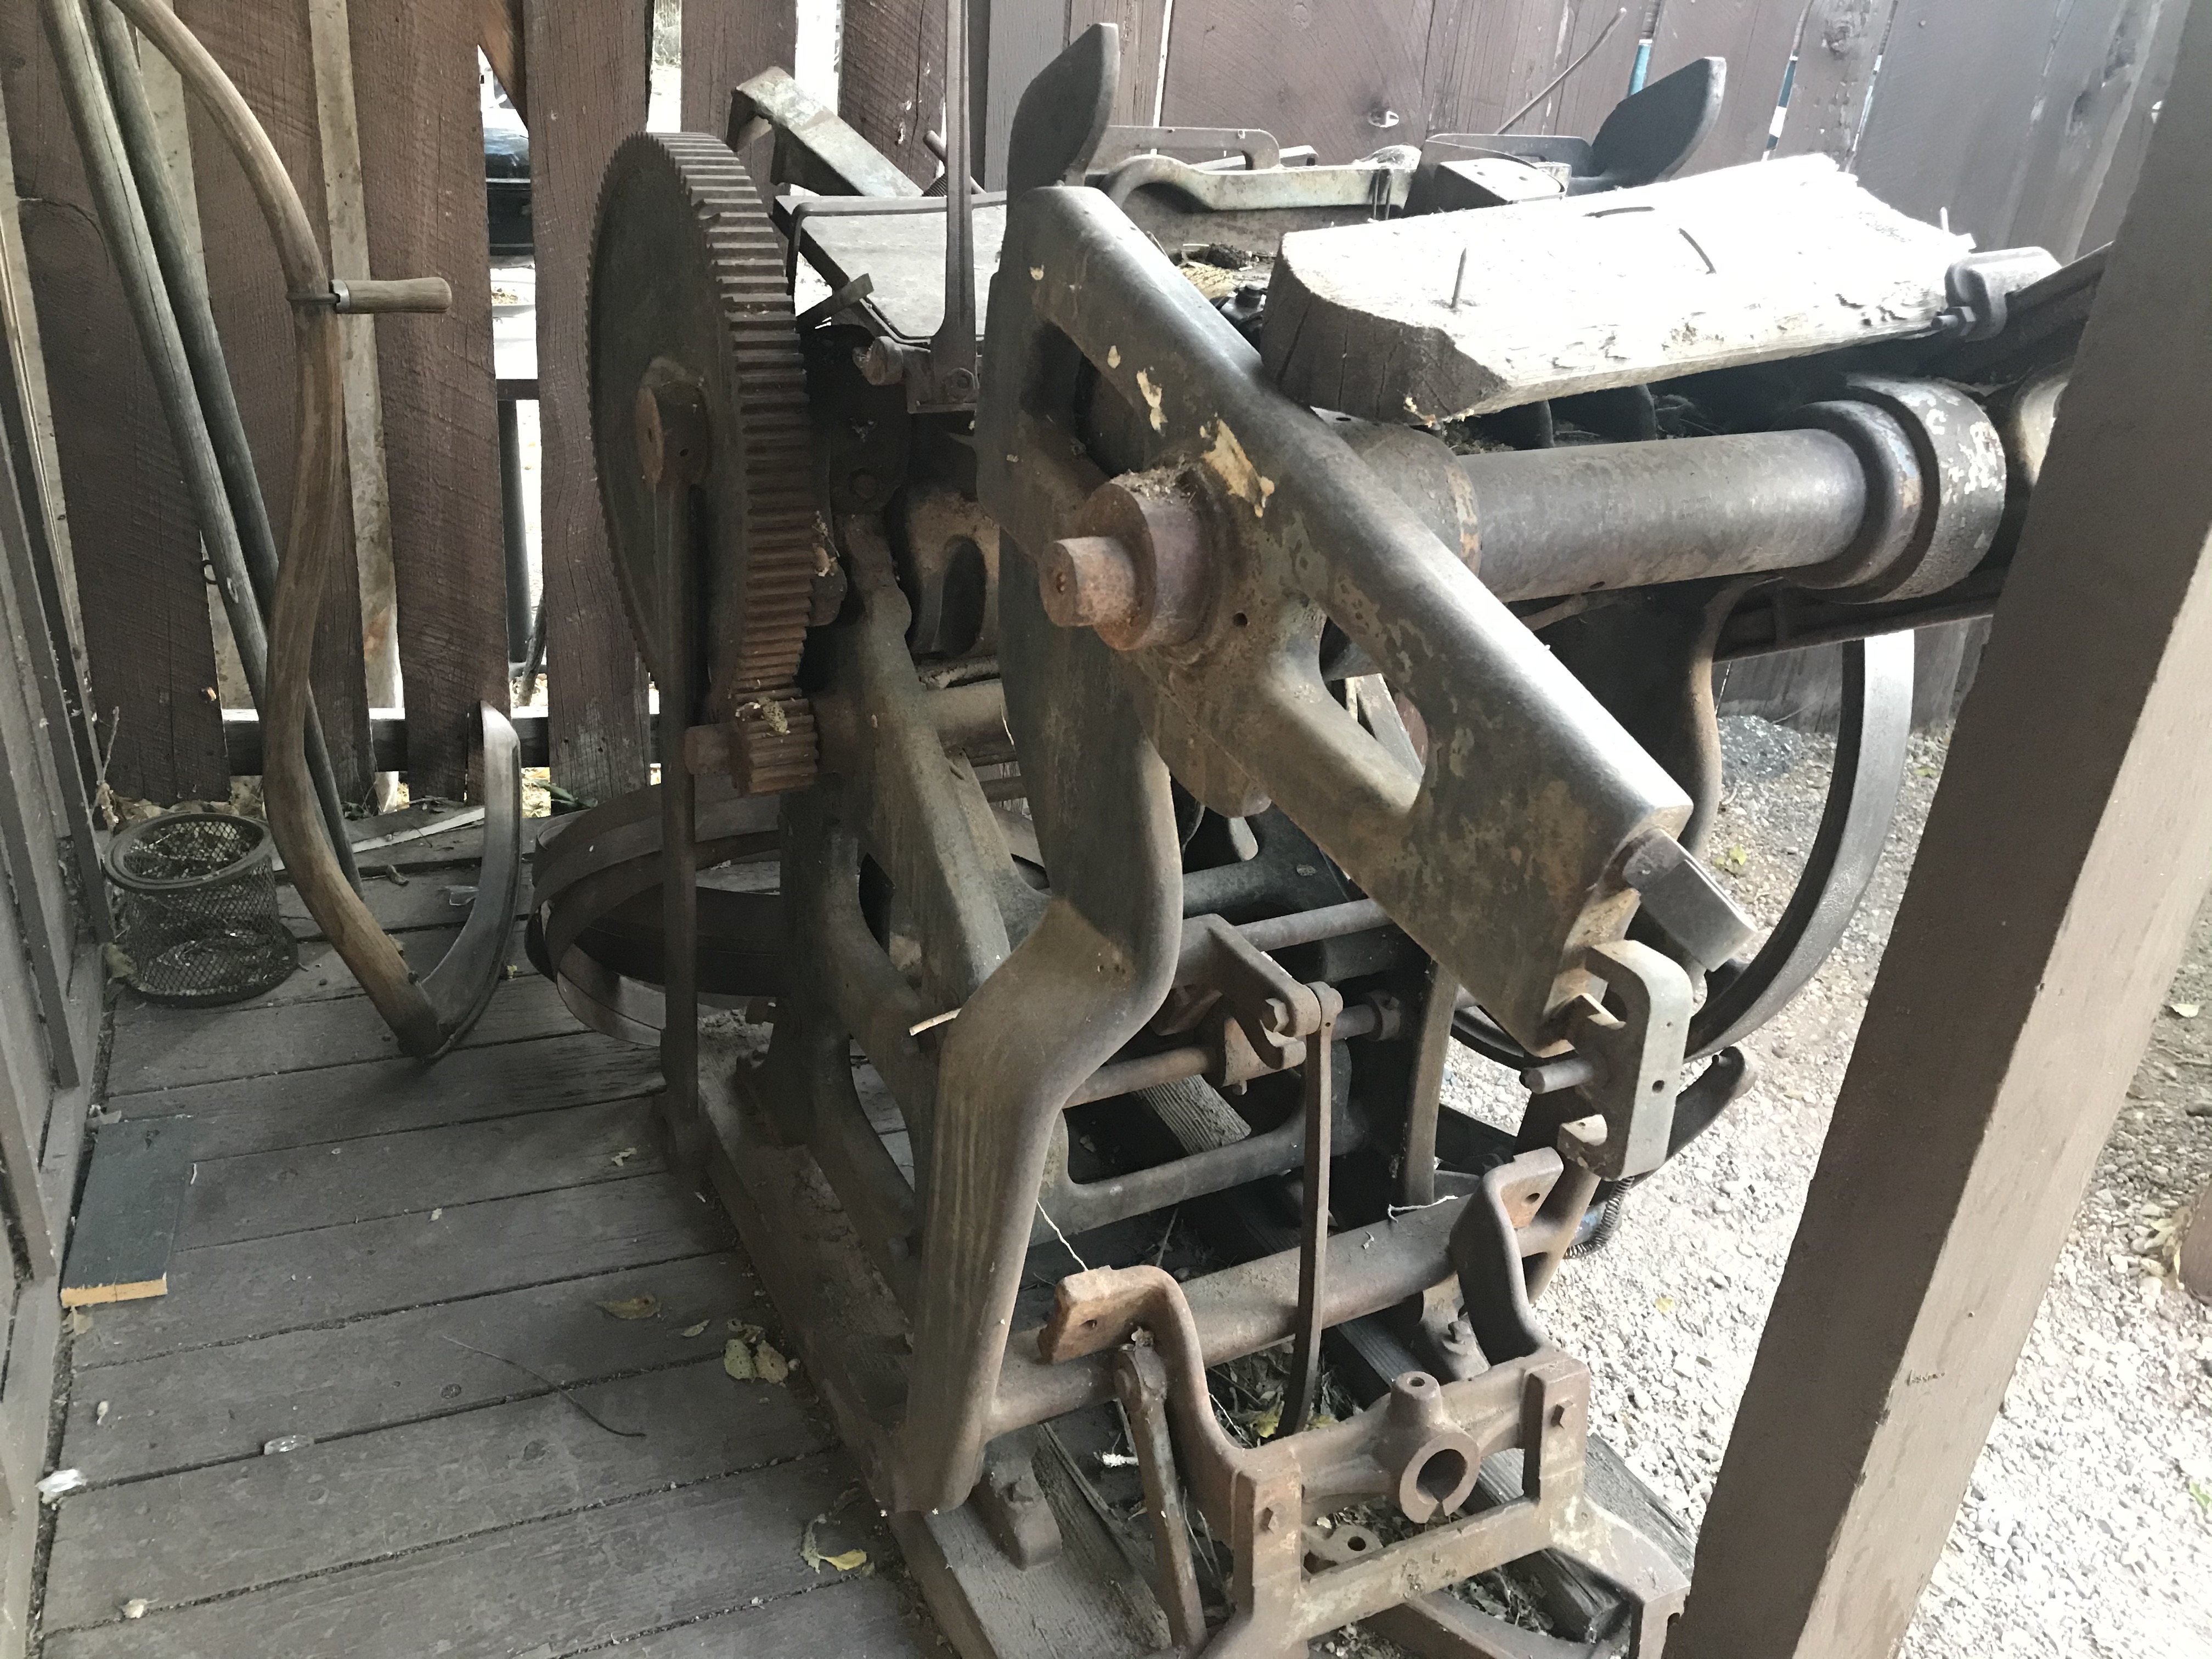
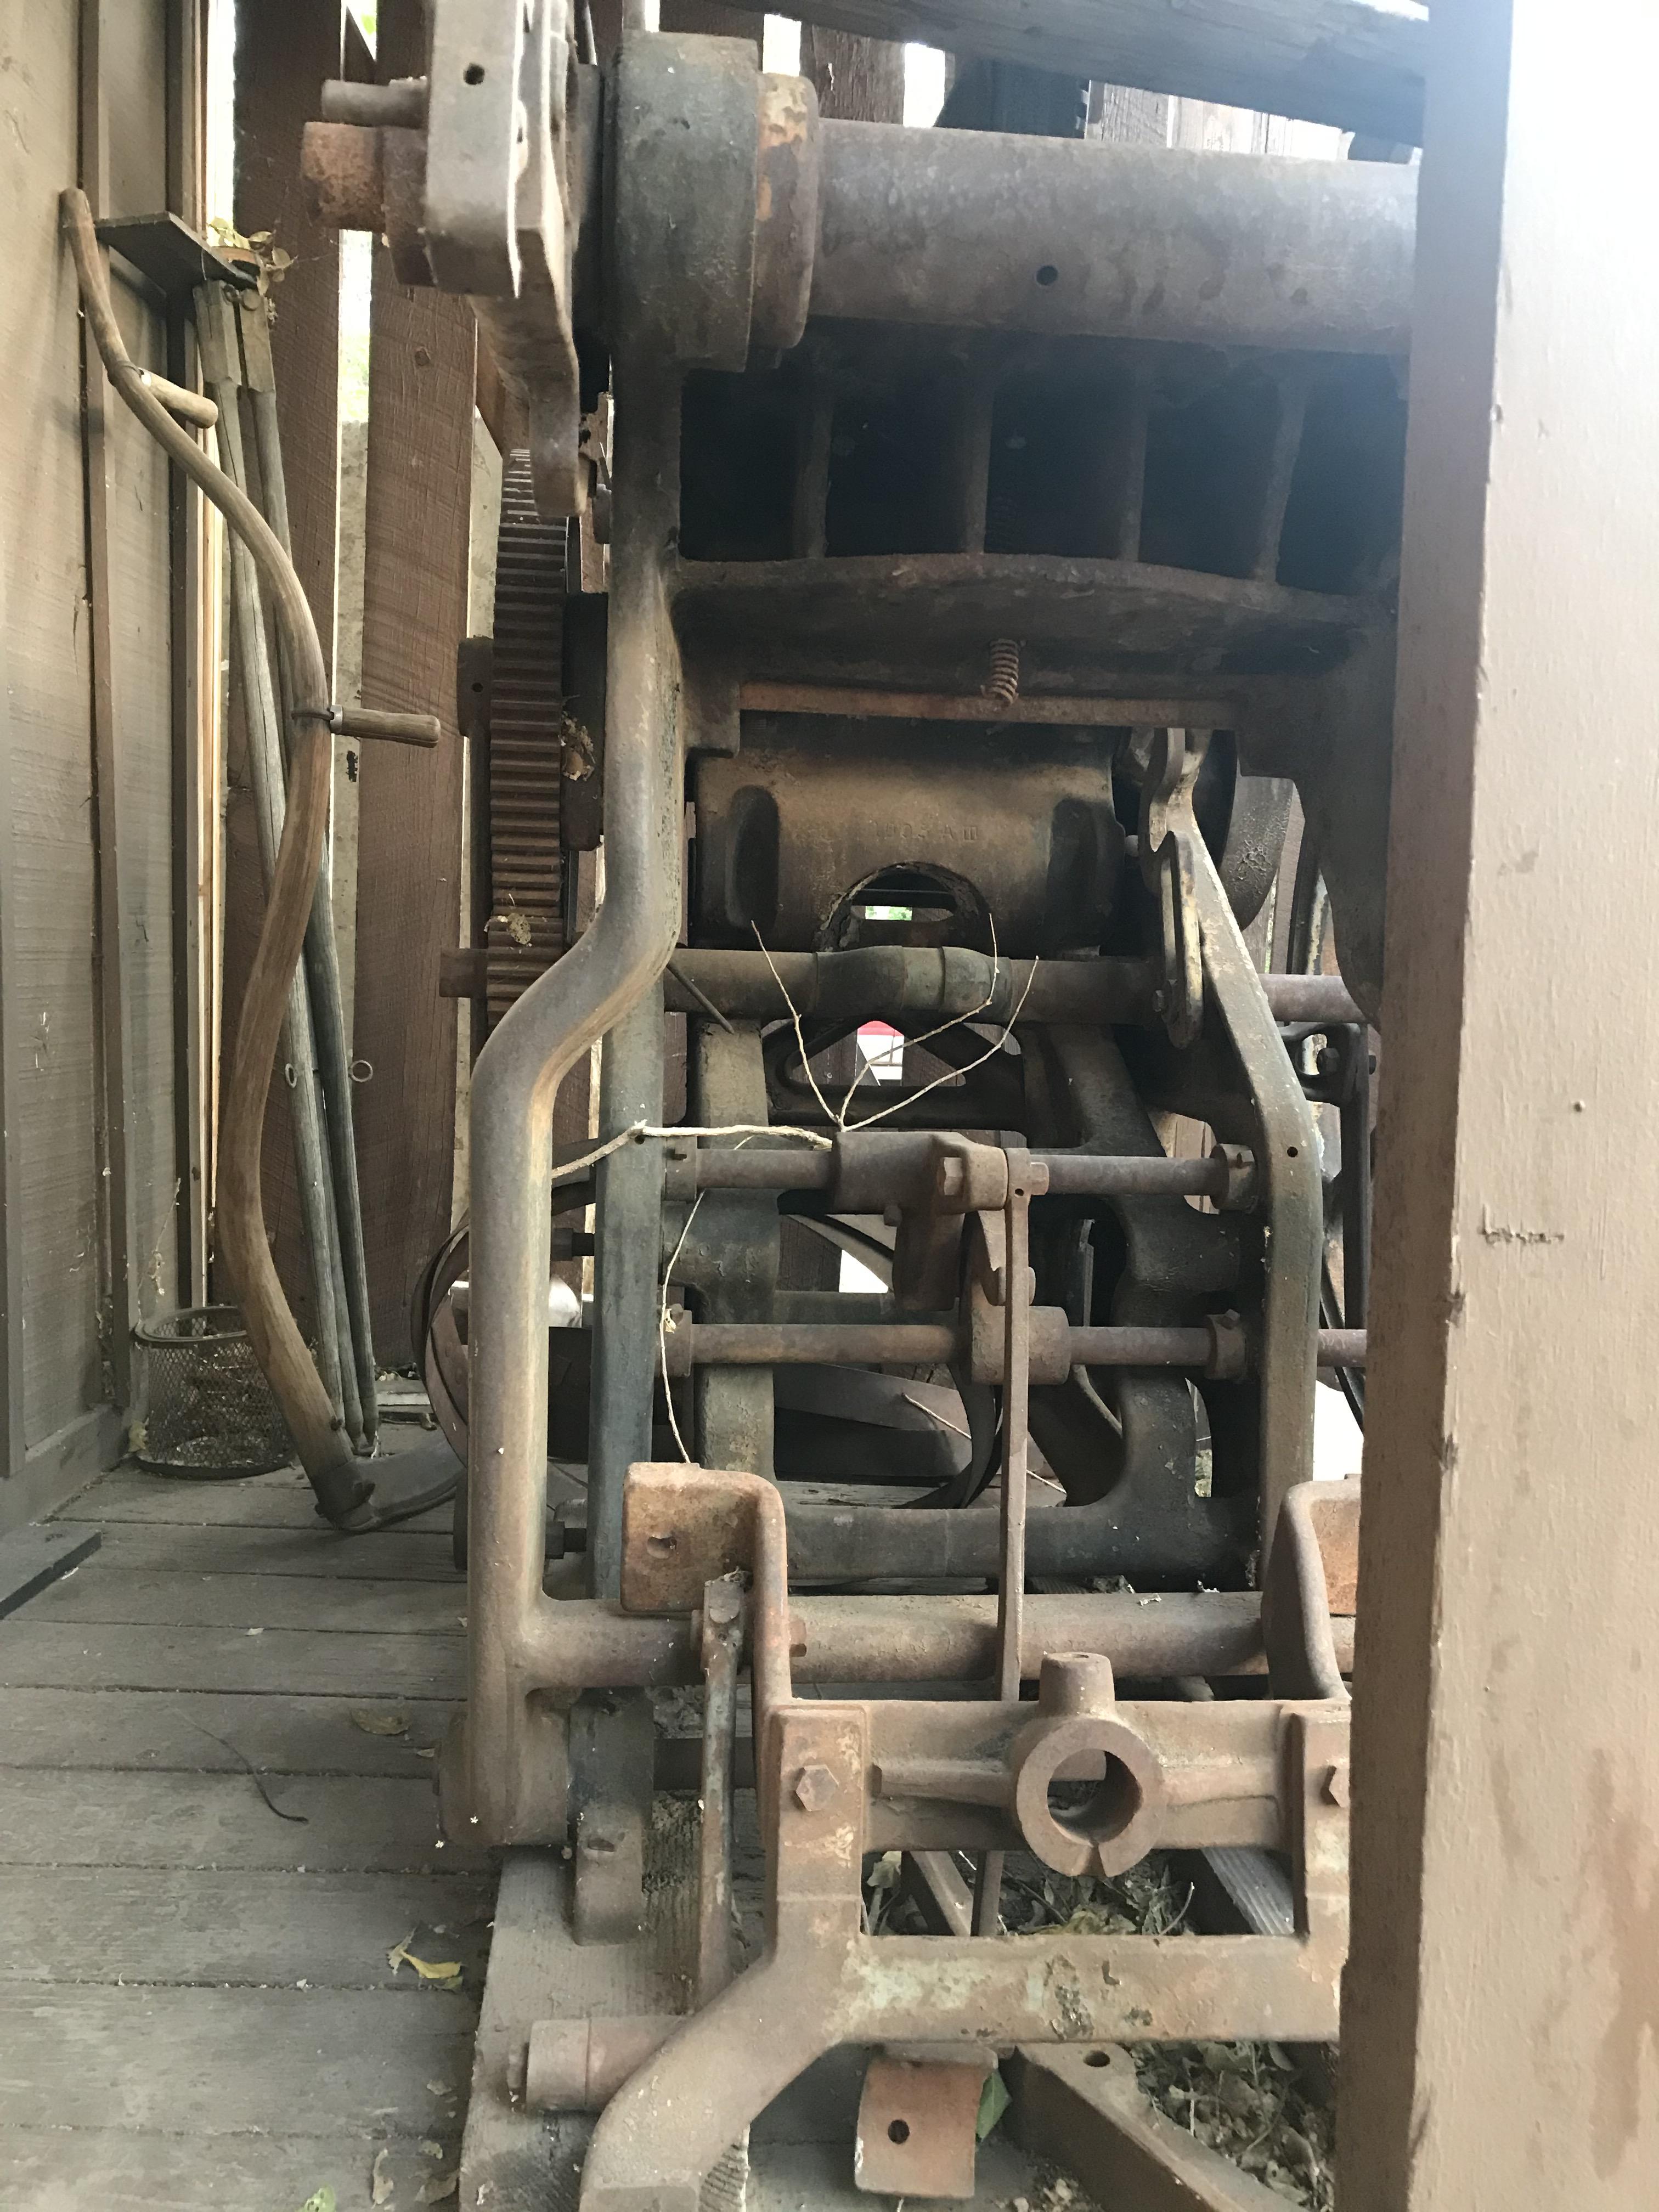
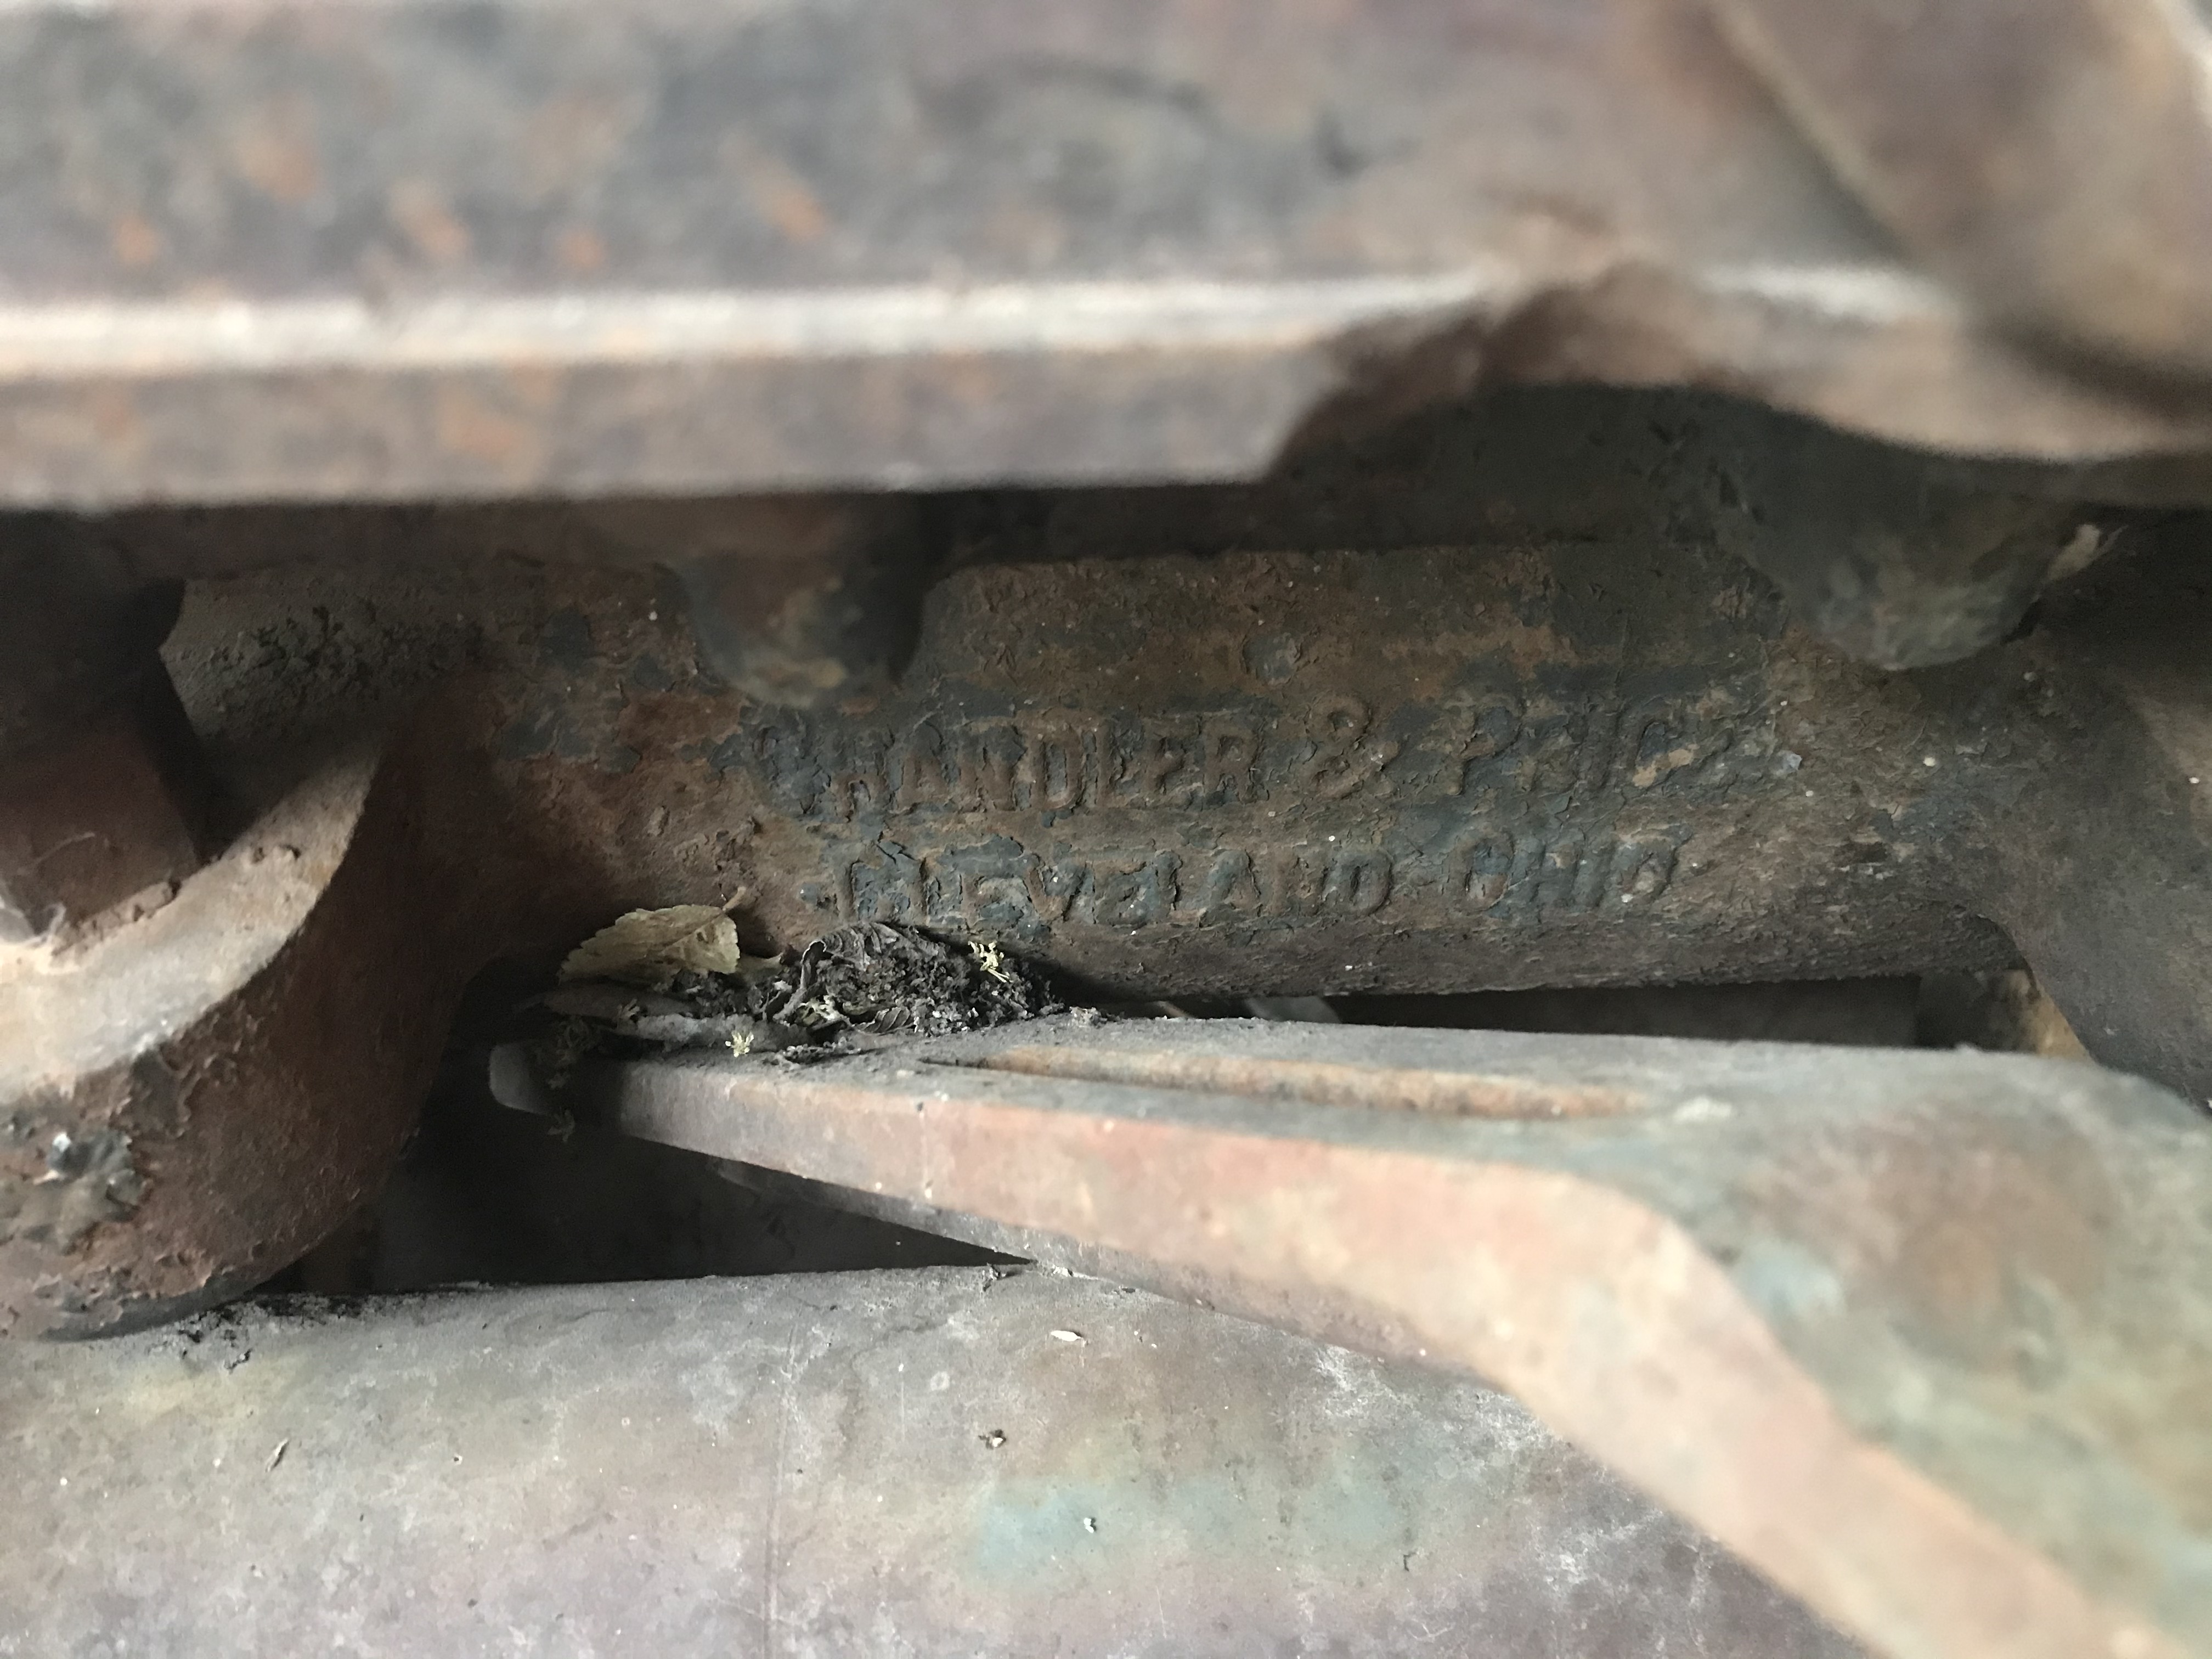
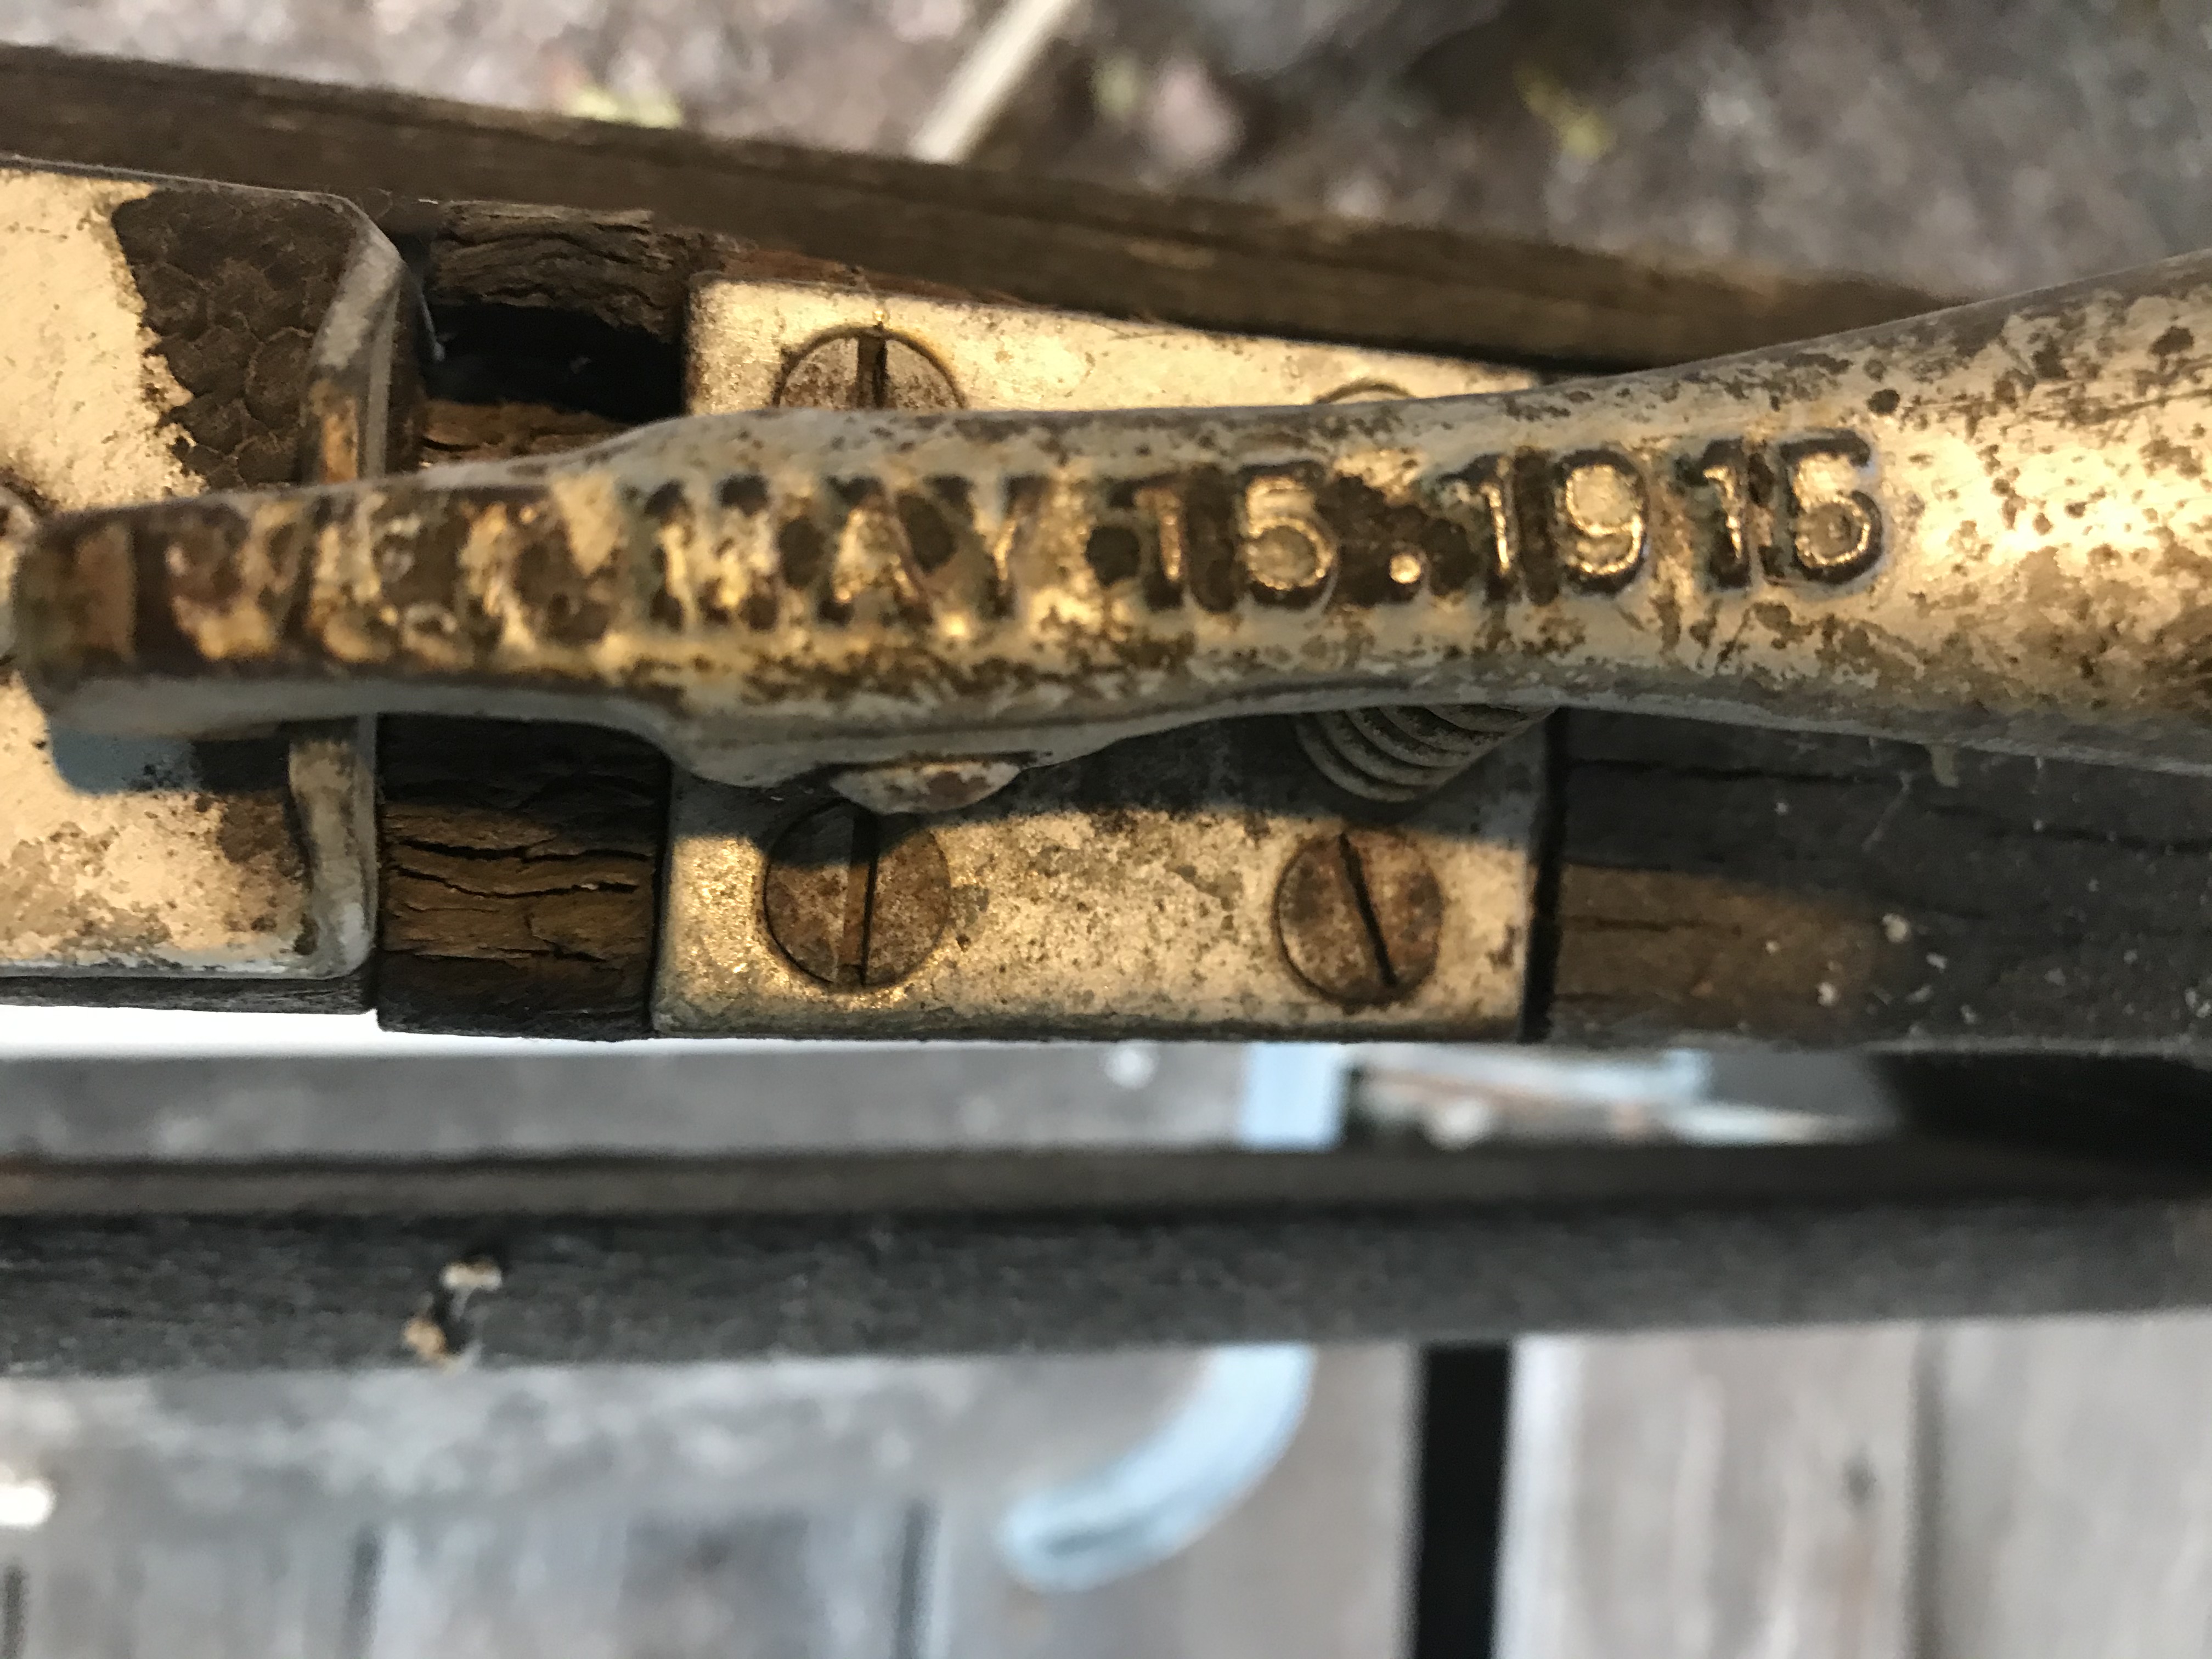
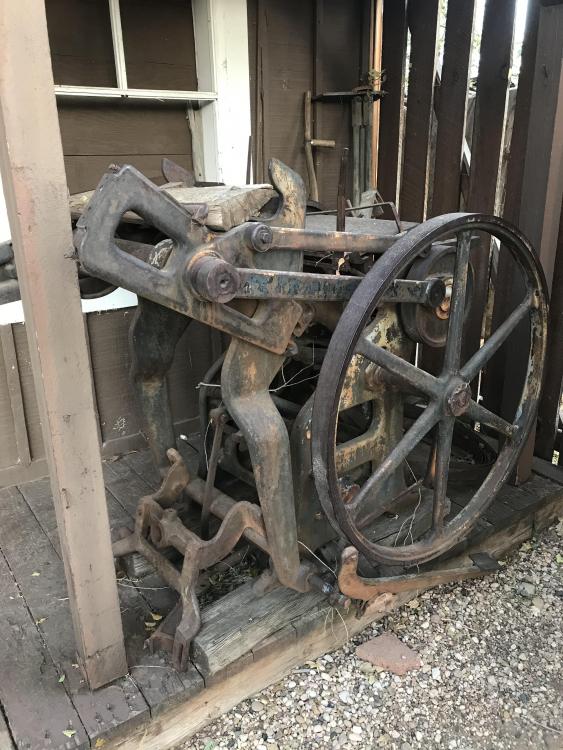
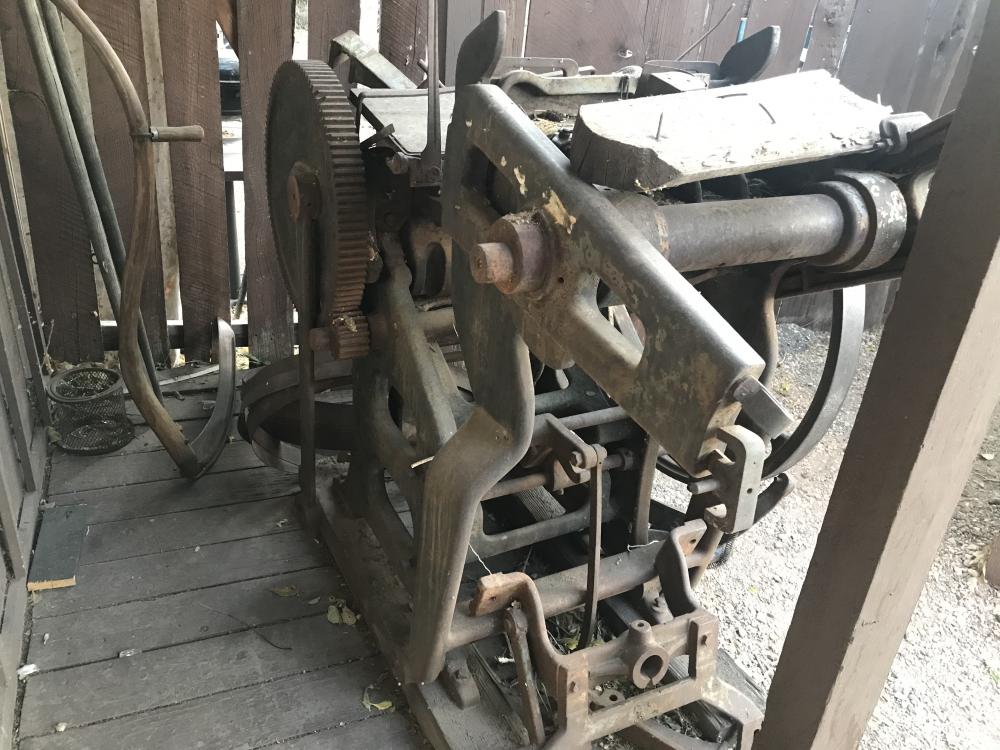
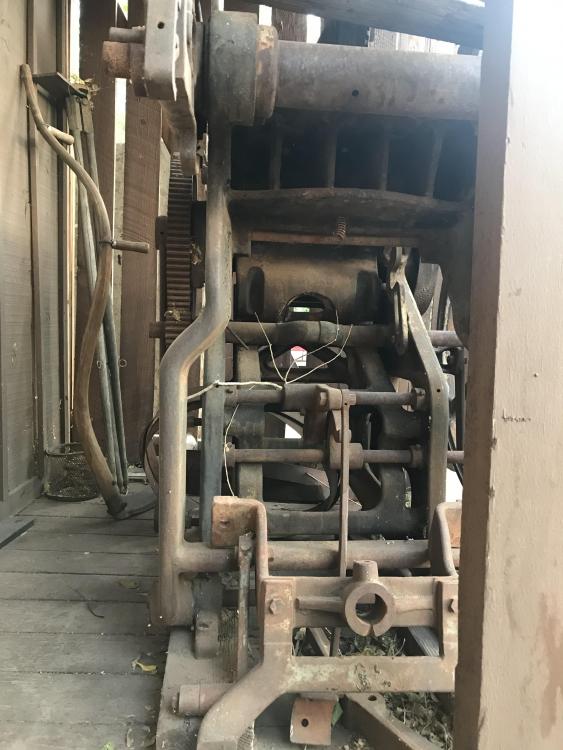
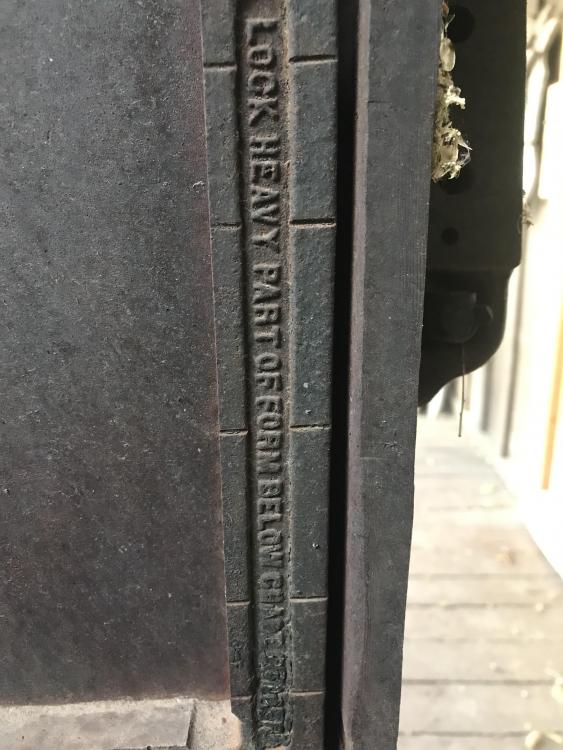
Thanks for the tip Thomas. It is a letterpress.
-
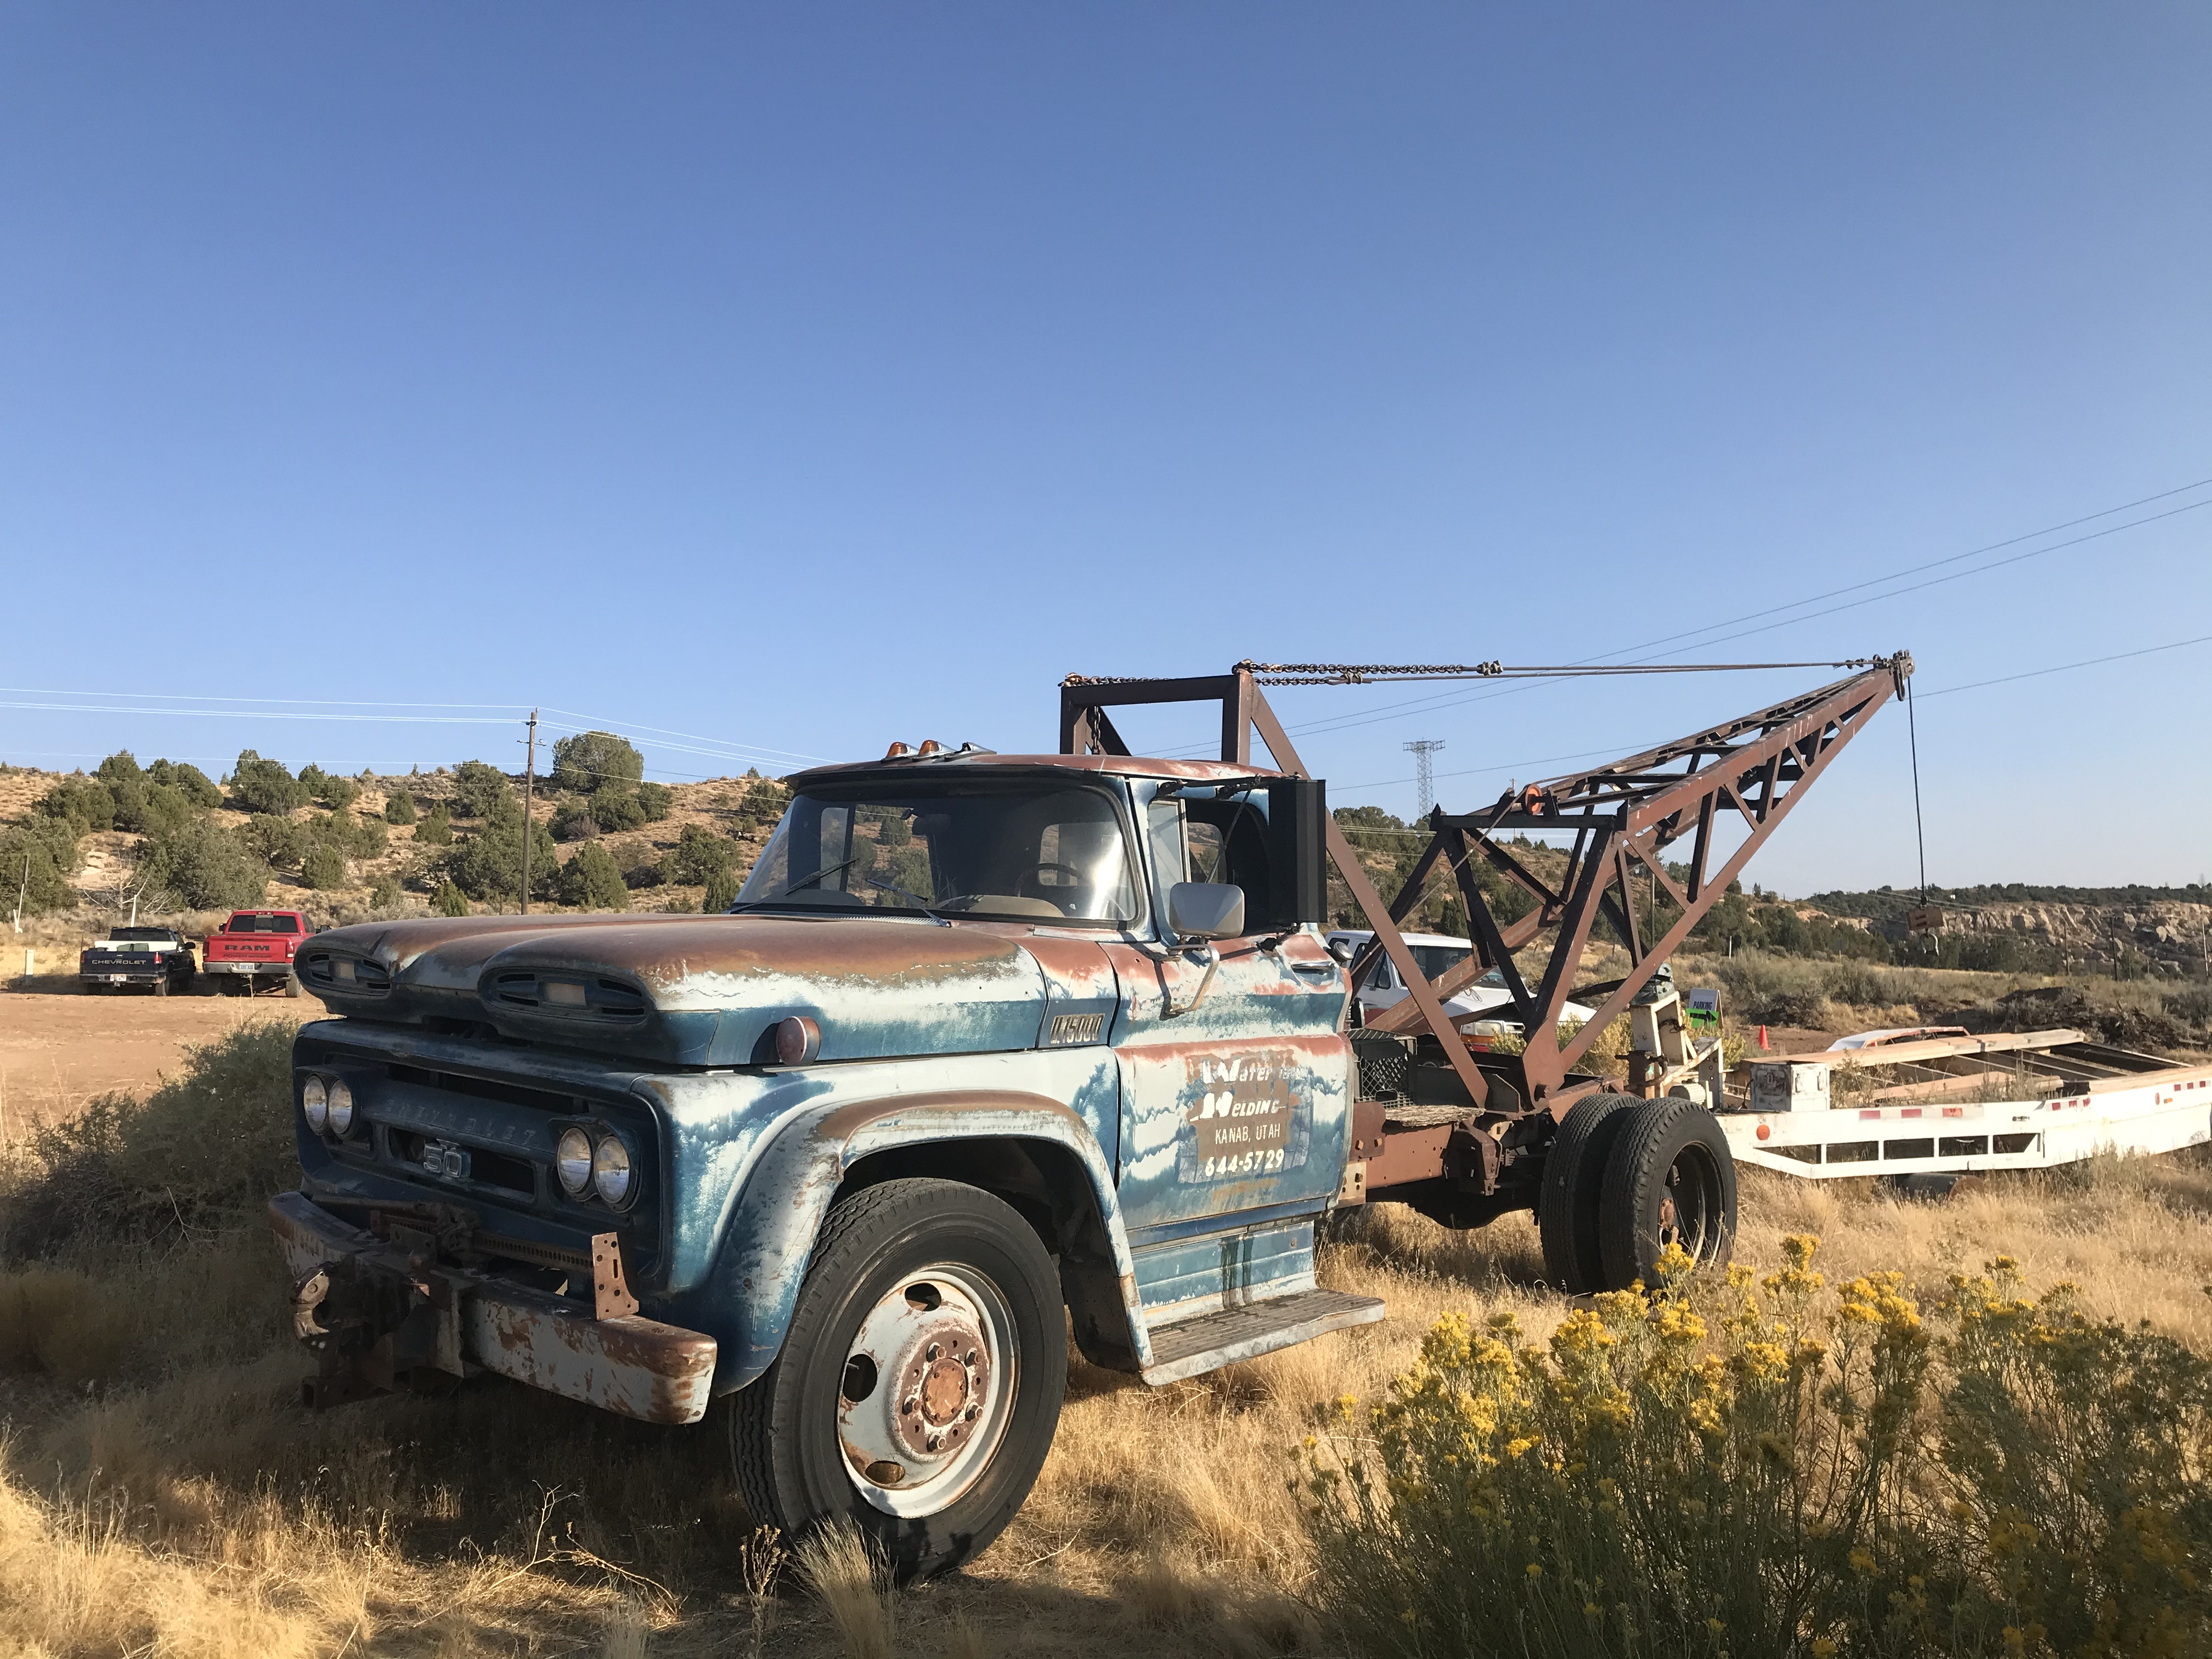
Good finds everyone has been sharing. I am especially interested in the pitch experiment. These machined out tong kits came home with me from the event in Kanab UT. $15 each.

-
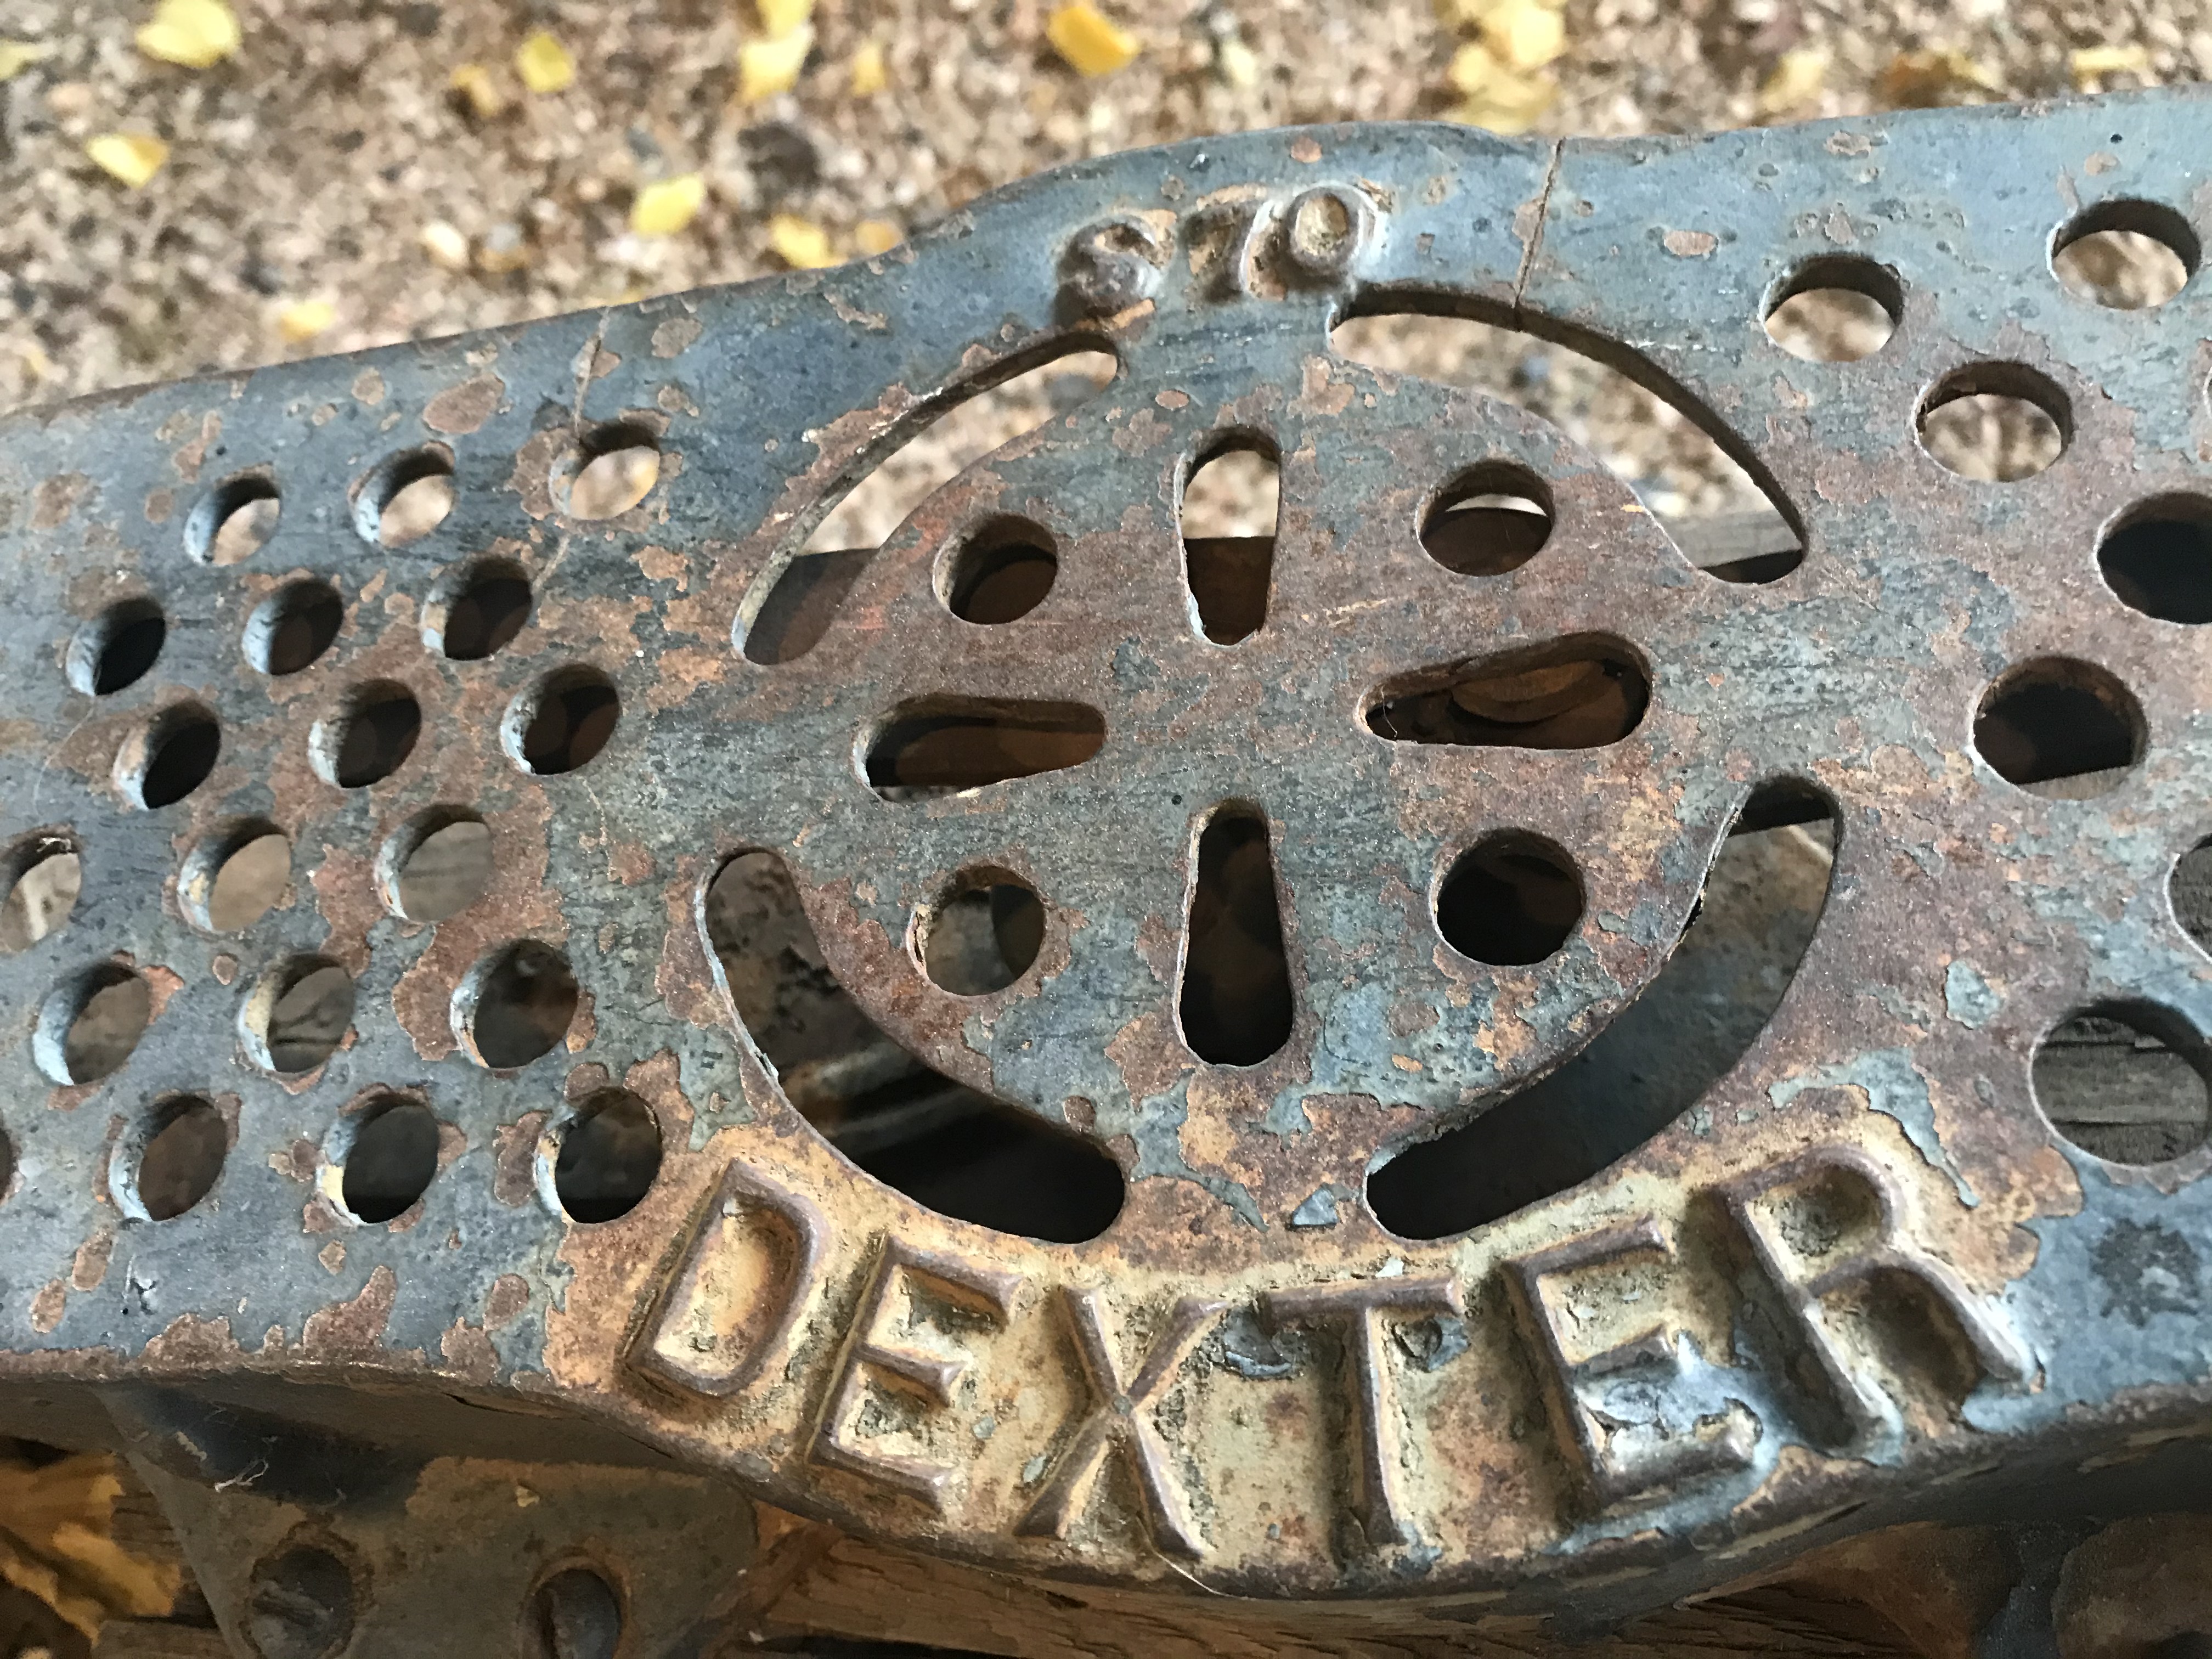
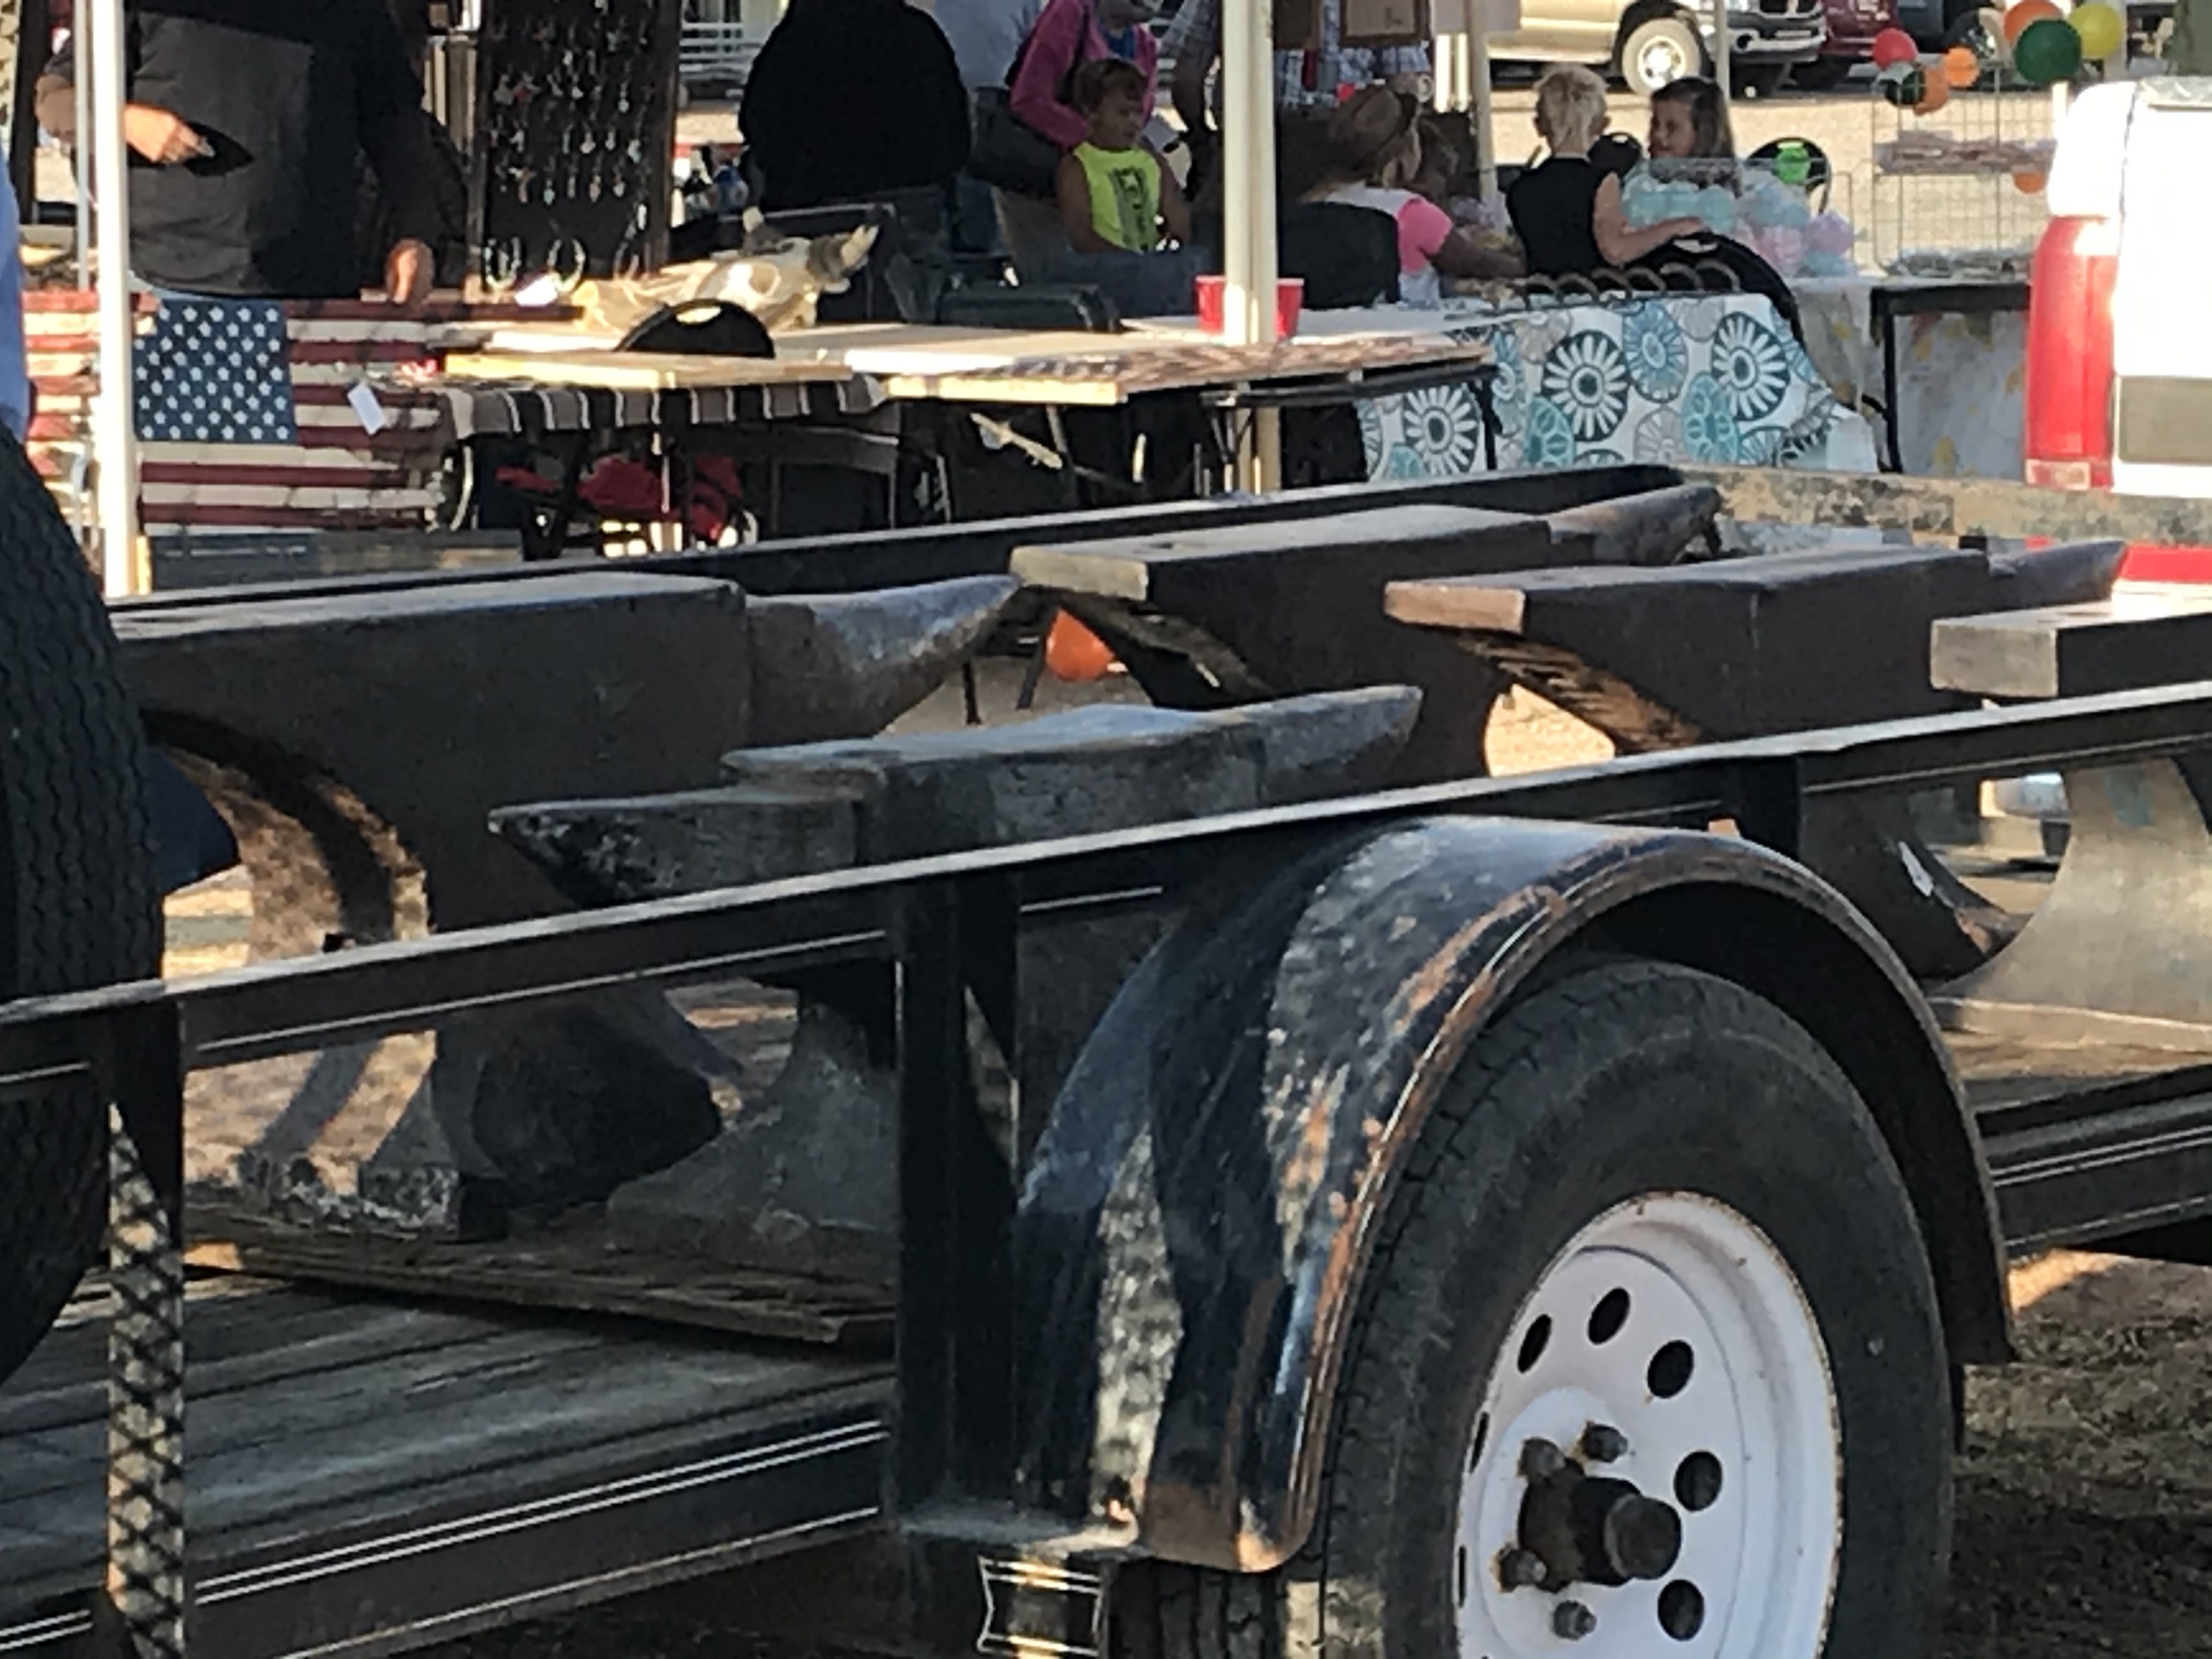
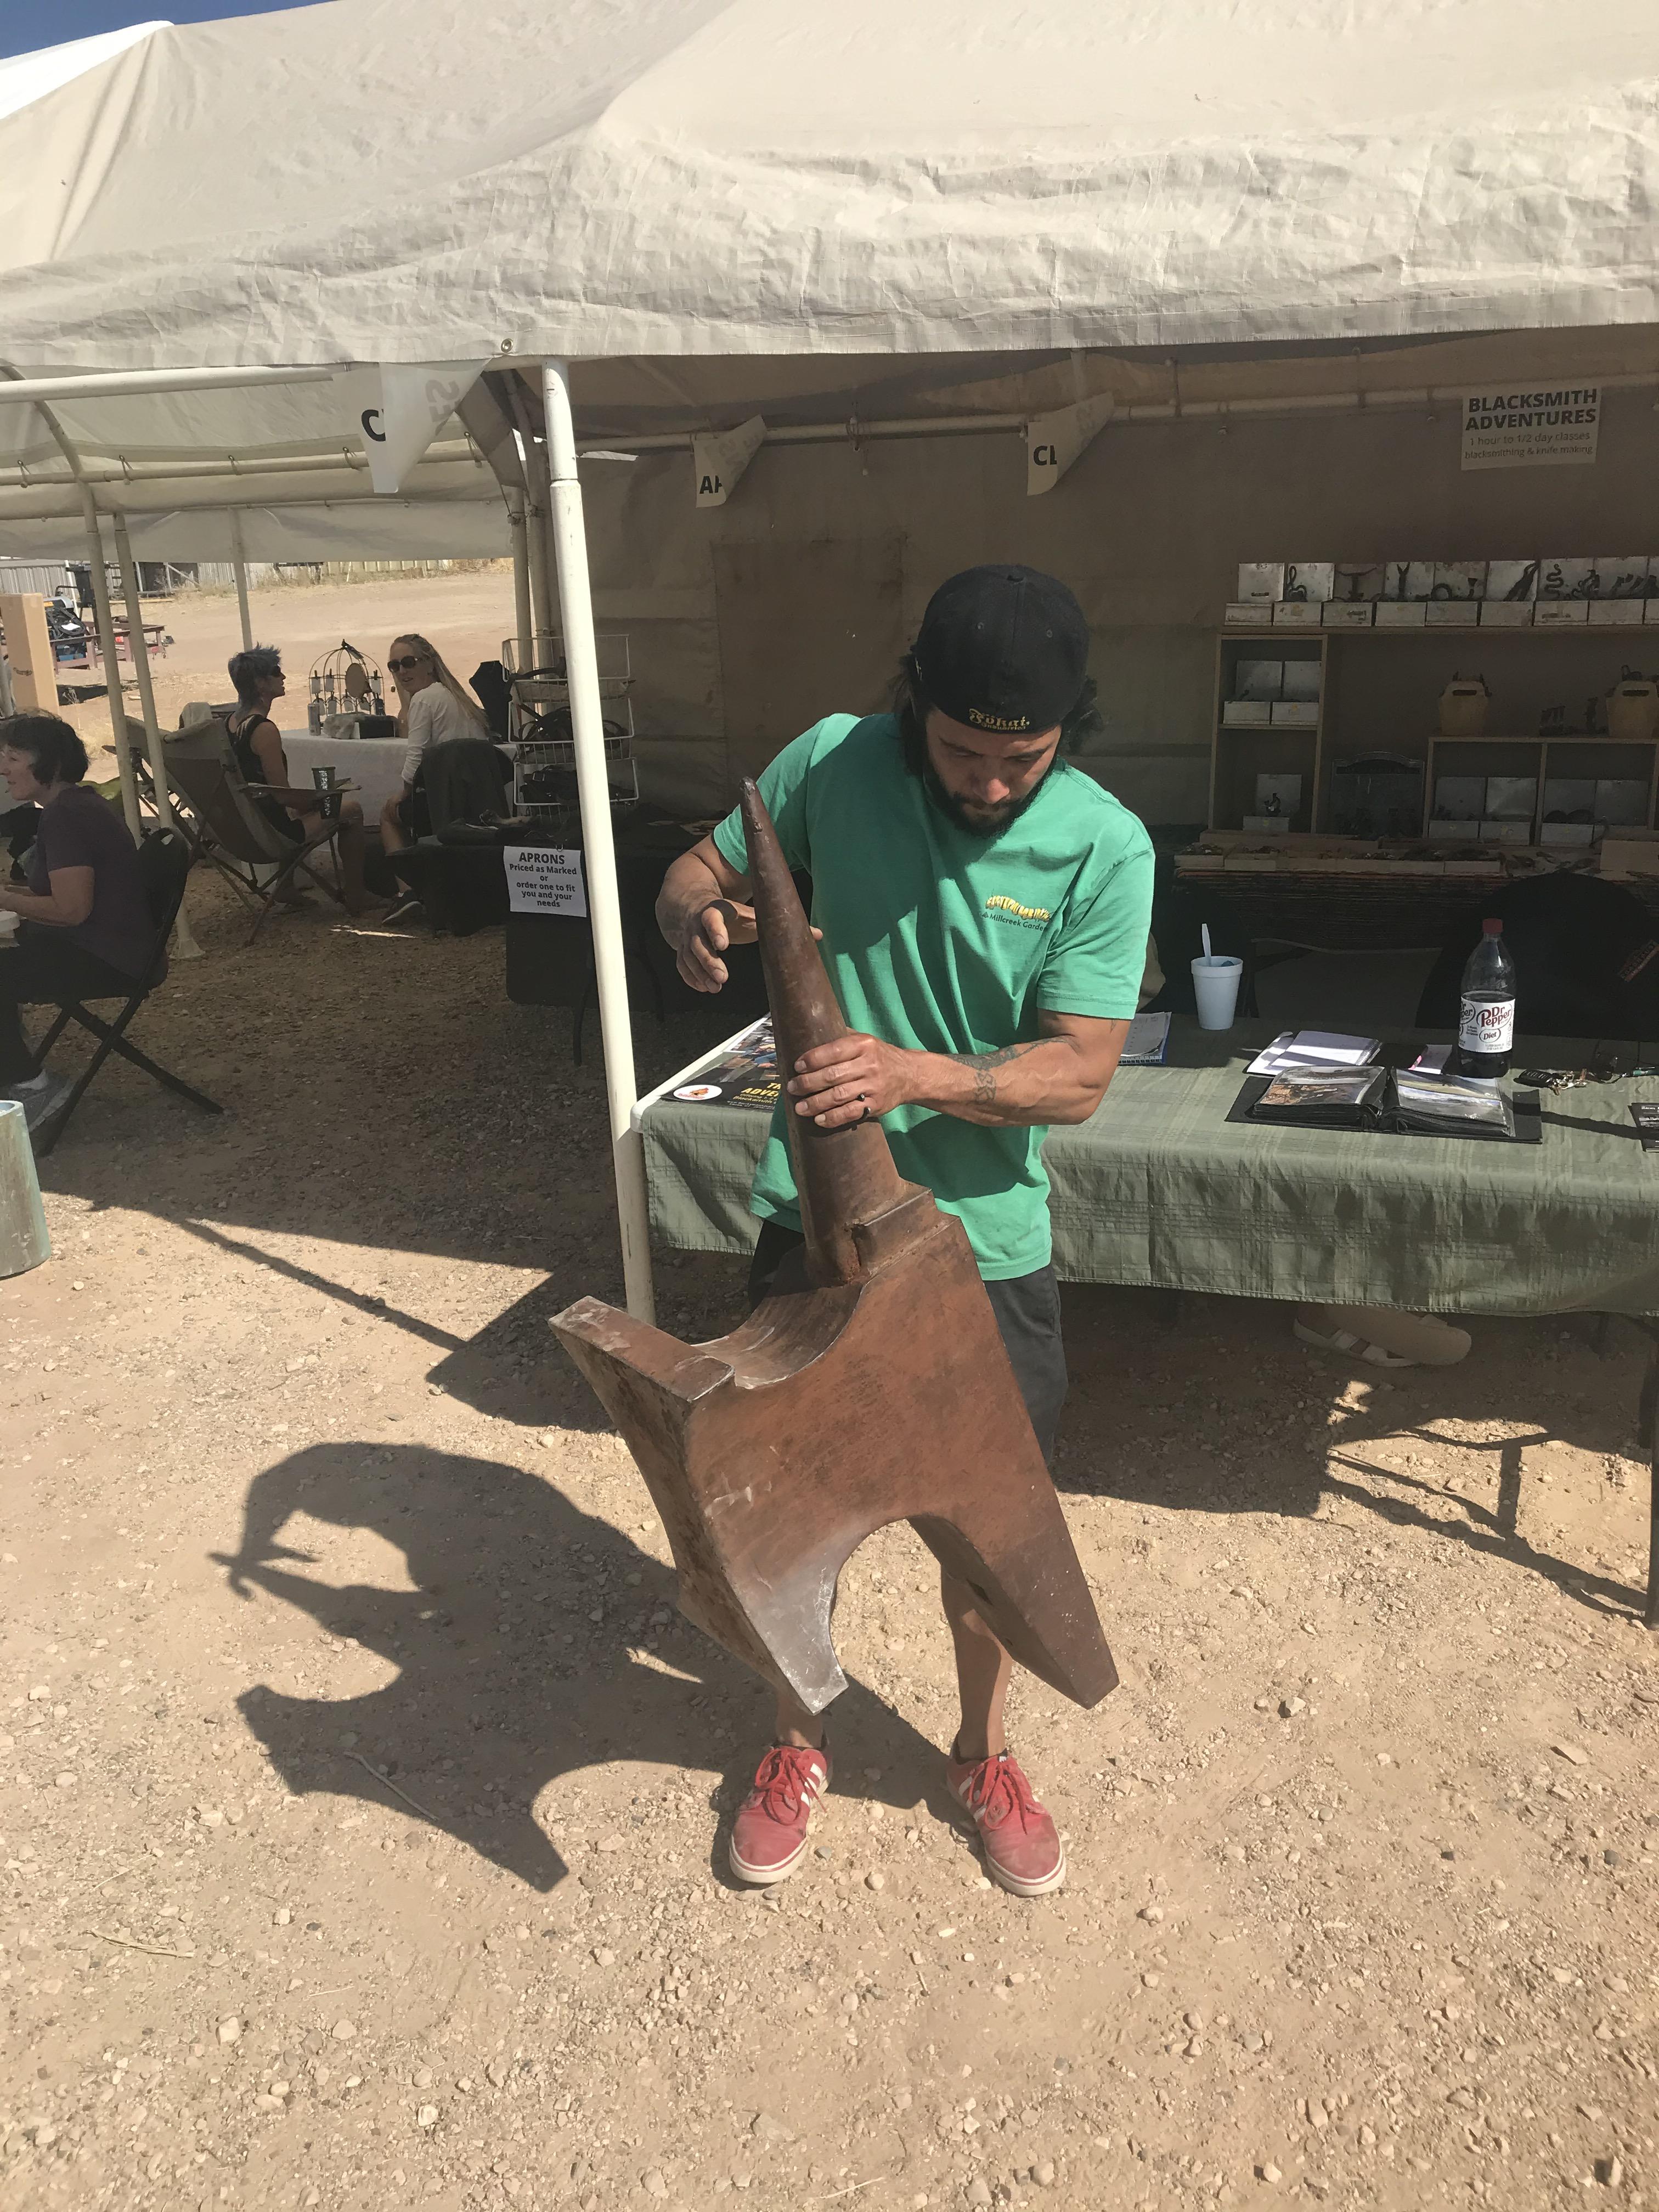
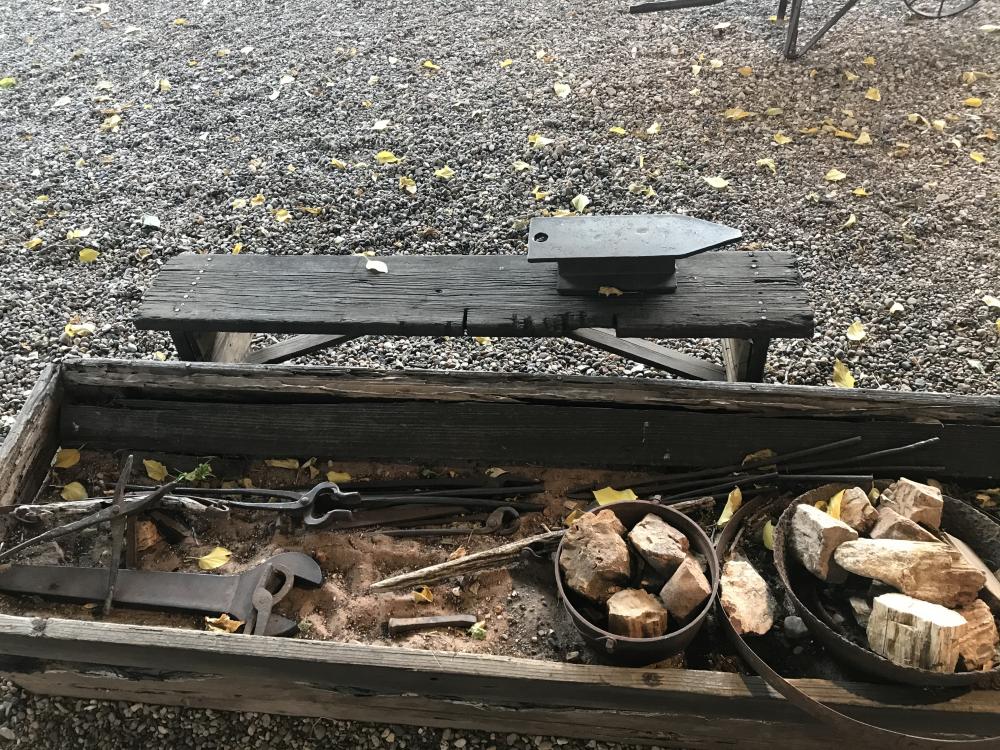
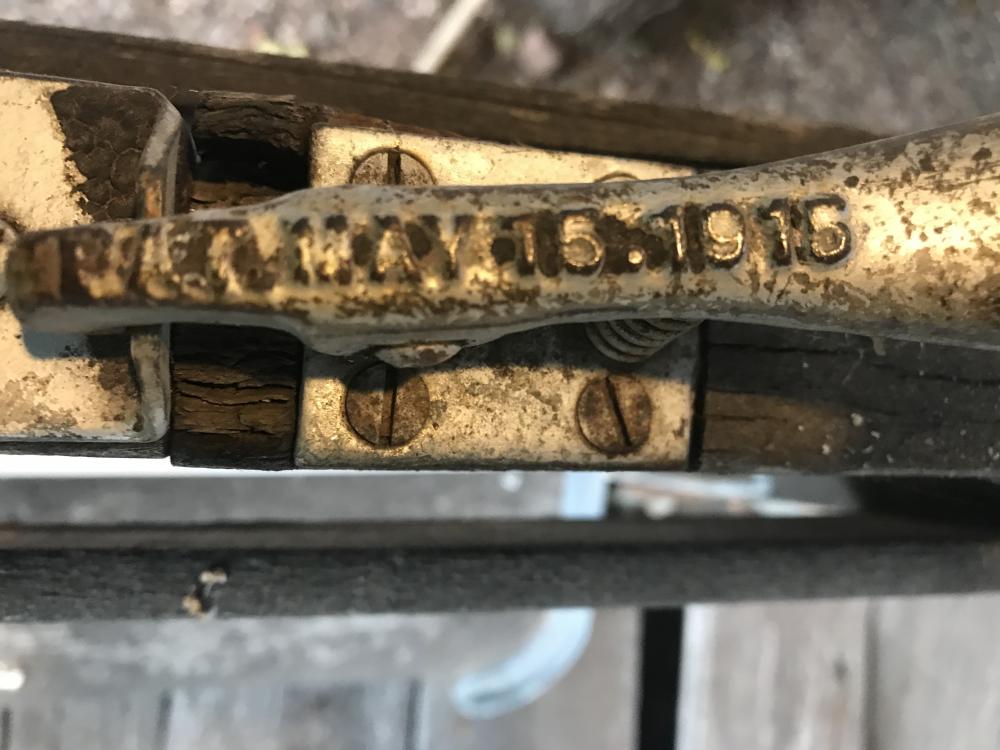
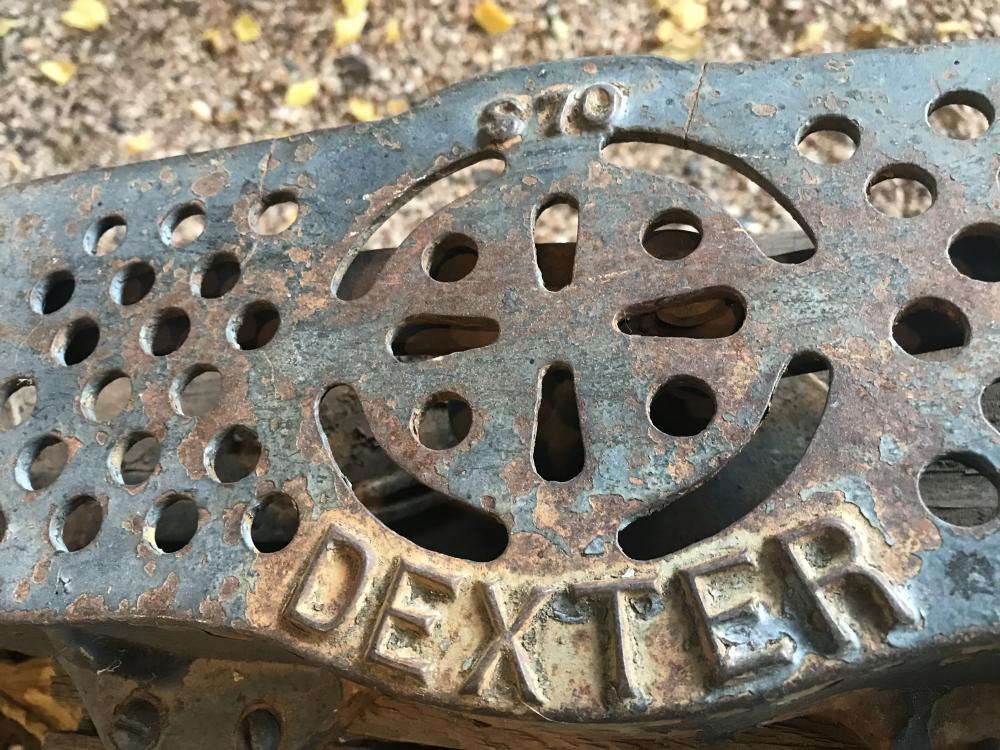
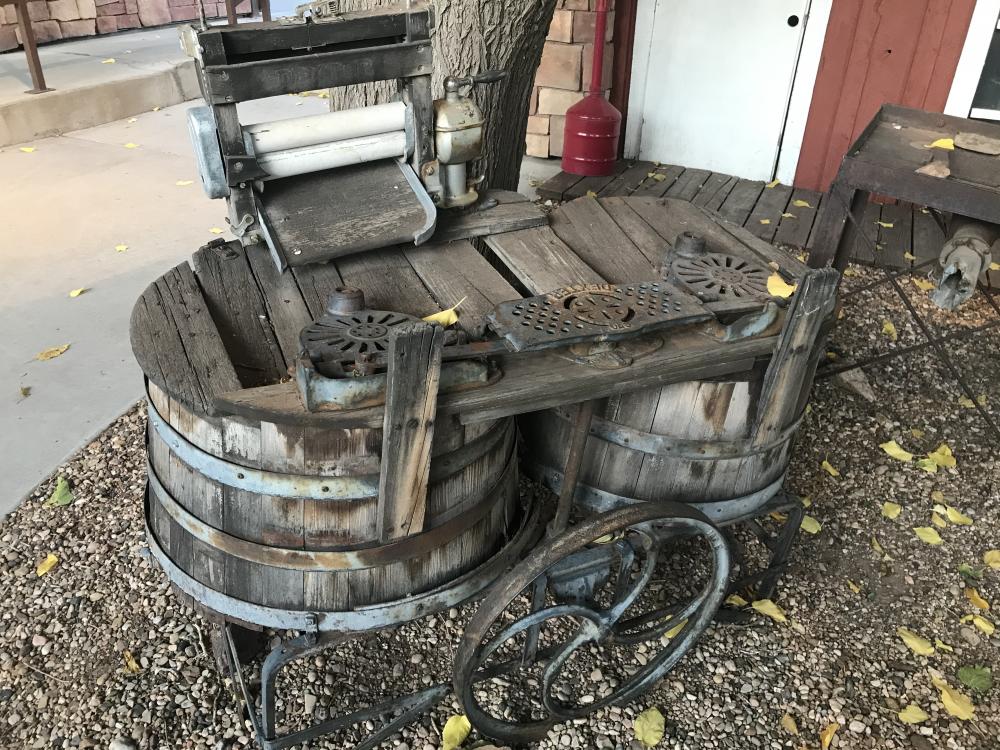
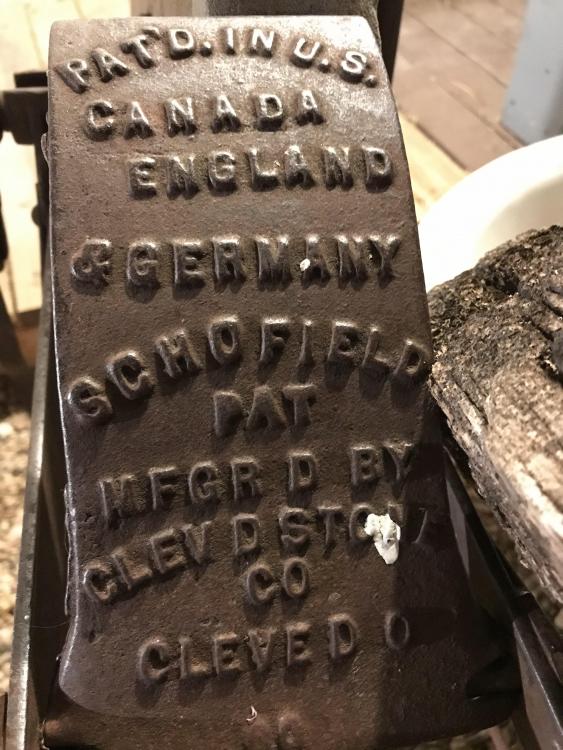
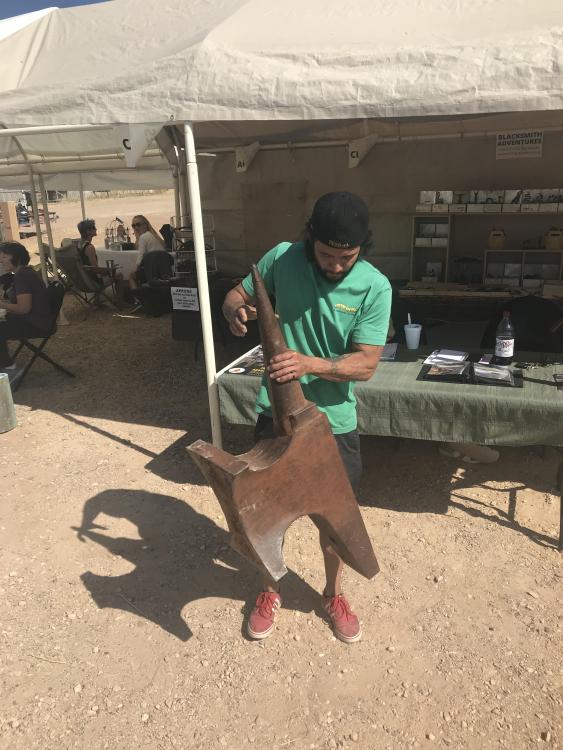
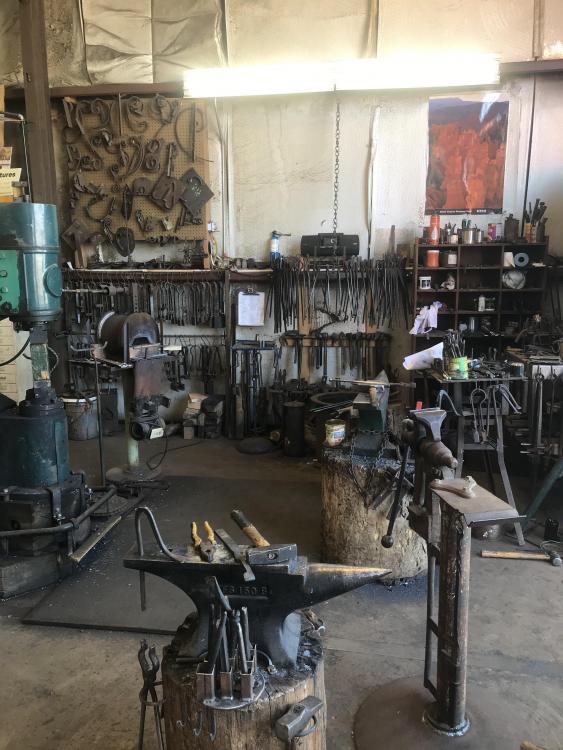
PHOTO HEAVY. The Hammerfest Event in Kanab UT turned out to be quite the time. Met some great people and learned a bit during our stay for the weekend. There were several demonstrations, vendors, auctions and people from all over who attended. It was a 5ish hr drive for us but well worth it. A small town vibe with the event being run by some of the local families. The first several pictures up to the grinding wheel were taken at one of the local restaurant/watering holes. Is the machine with the big wheel a "bander"? Is the machine with the what look like "rollers" a clothes washing station? The rest were taken at the event. The heaviest anvil on the trailer is a +400lb. The vendor was selling them for $4 a pound.


-
What did you do in the shop today?
671jungle replied to Mark Ling's topic in Blacksmithing, General Discussion
been busy with the shop build. Loves dad has experience framing and building so the in-laws came to town to help/take over the build. I have learned a lot from him during this but it has been tough. His communication skills and stubbornness rival my own. I am Grateful.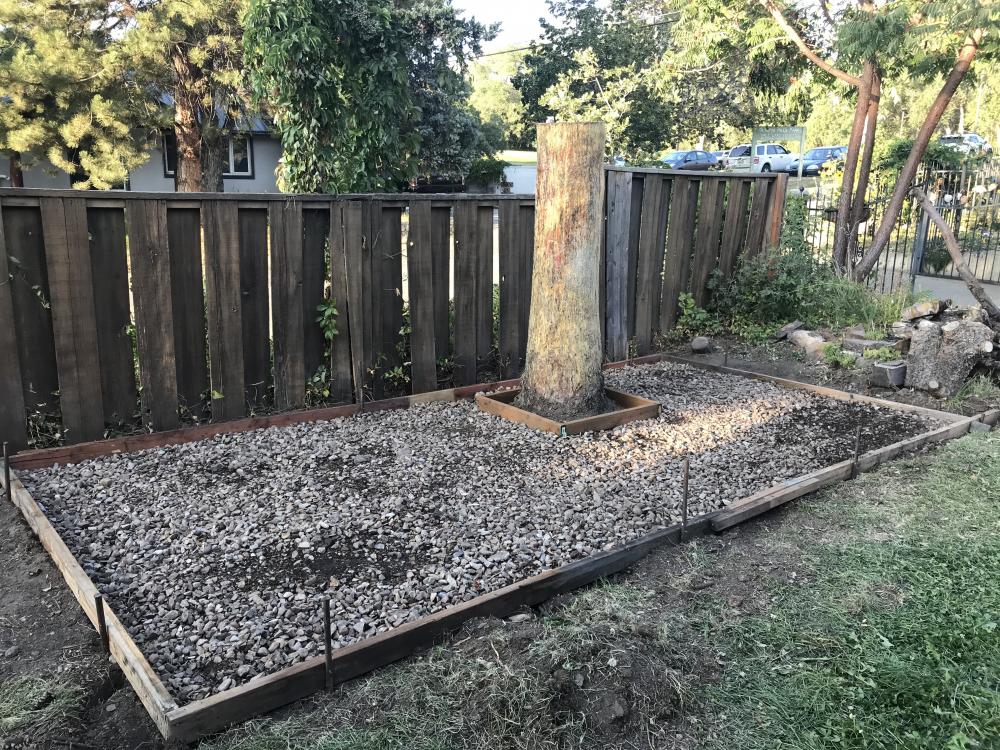
-
What did you do in the shop today?
671jungle replied to Mark Ling's topic in Blacksmithing, General Discussion
Just about made pants pie when I read this. For some reason I thought it was "black locust" I read not to use but it was actually "black walnut". So I did some research. The toxin is highest in Black Walnut trees. English Walnut produces less than a 1/4 of juglone than the Black Walnut. And fortunately, a healthy soil system breaks down the toxin much sooner than a barren soil. We have a pretty alive soil. I would just avoid it in the future. Thanks for looking out, Stash and Thomas! In "shop news", the slab gets poured tomorrow morning. I must say I am pretty excited to "cement" the deal and get this thing built!


.jpeg.9a40221a3cfbeb07c76fc0f6f3e1027e.jpeg)