HojPoj
-
Posts
290 -
Joined
-
Last visited
Content Type
Profiles
Forums
Articles
Gallery
Downloads
Events
Everything posted by HojPoj
-
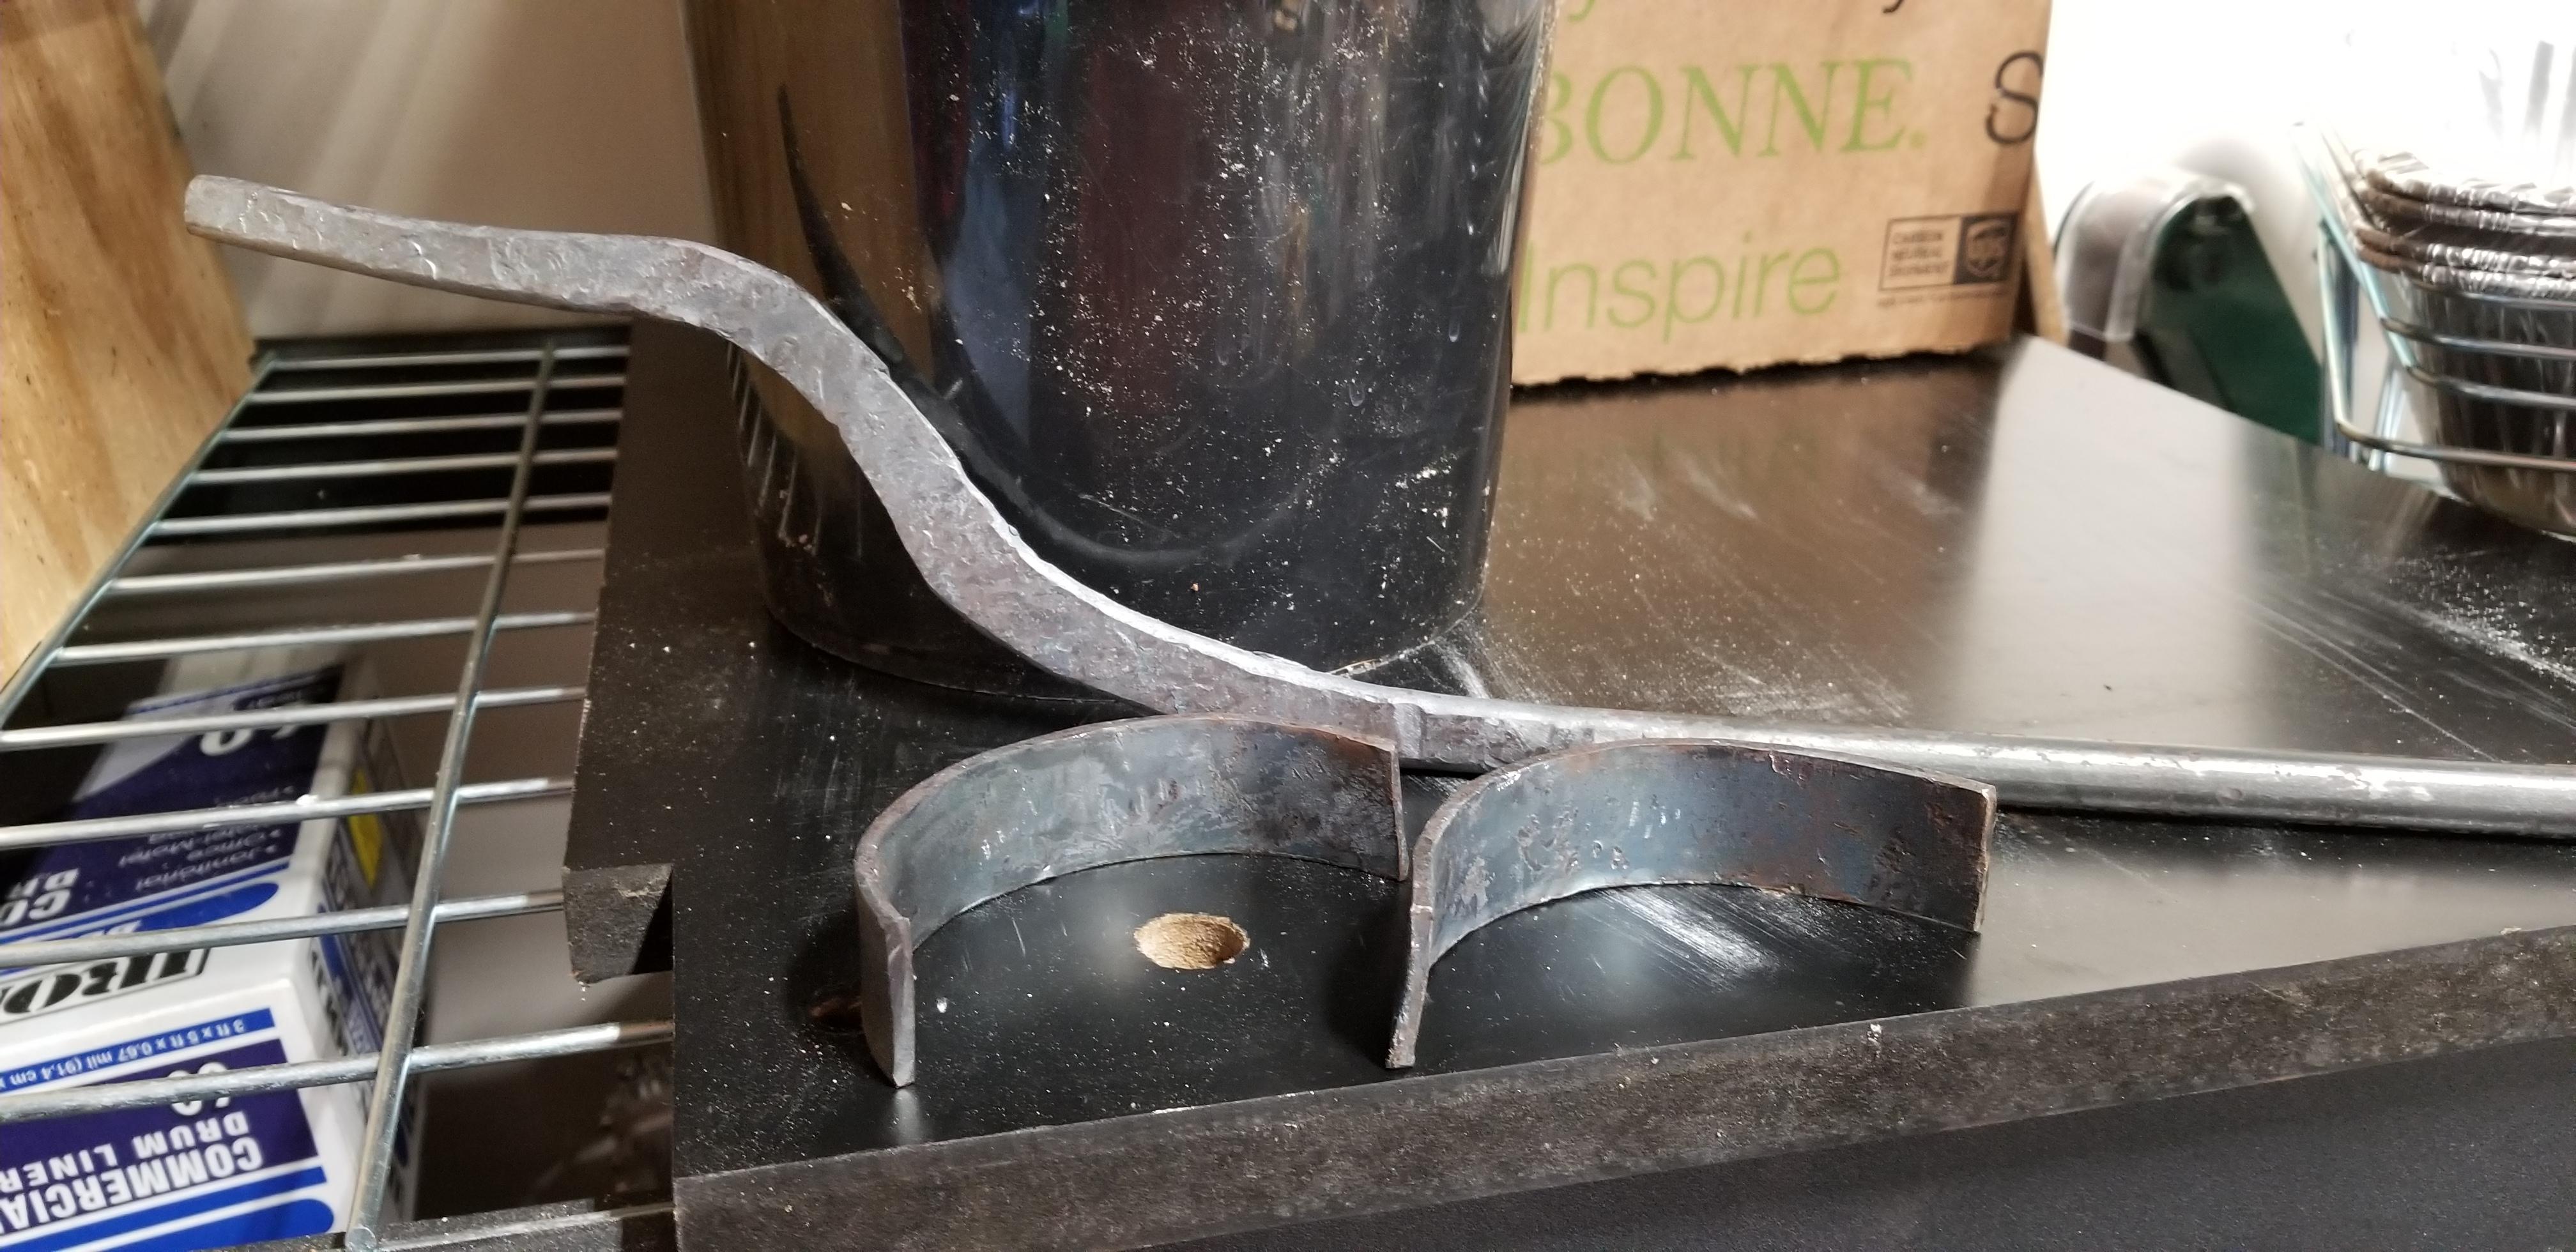
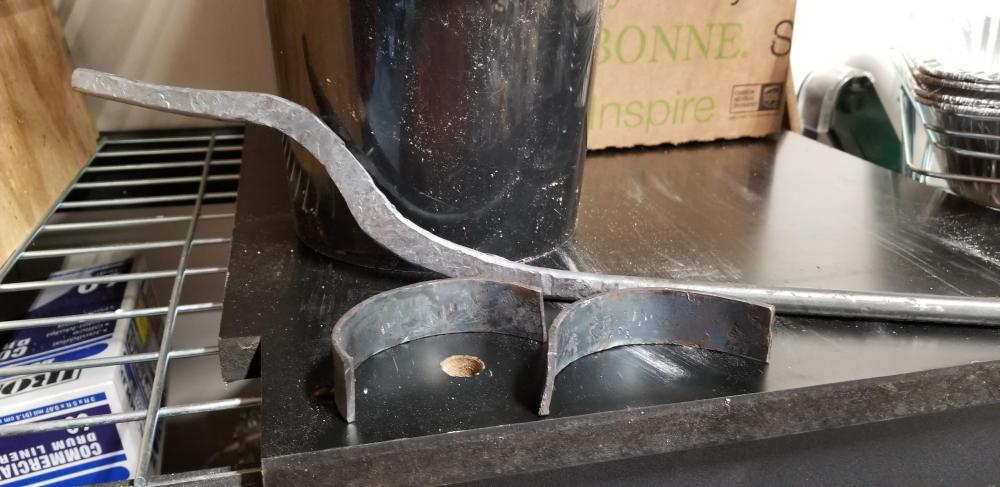
I'd be curious to know what the use case is for this design, as well. Were I venture a guess, it's probably good for spindly items that need to wrap around the anvil (on the underside) in order for the portions that need to be worked to sit atop the face. Originally I thought it'd be for assembling things that had to be riveted of that type of geometry, but couldn't the horn of a London pattern anvil be used for that sort of thing anyways?
-
I know this is more than a few months late, but I'm interested if nothing more than to learn about something else.
-
It's likely that you'll spend more time getting stuff lined up, as well as the attendant losses in adding more parts for the hammer energy to transfer through to get to the work.
-
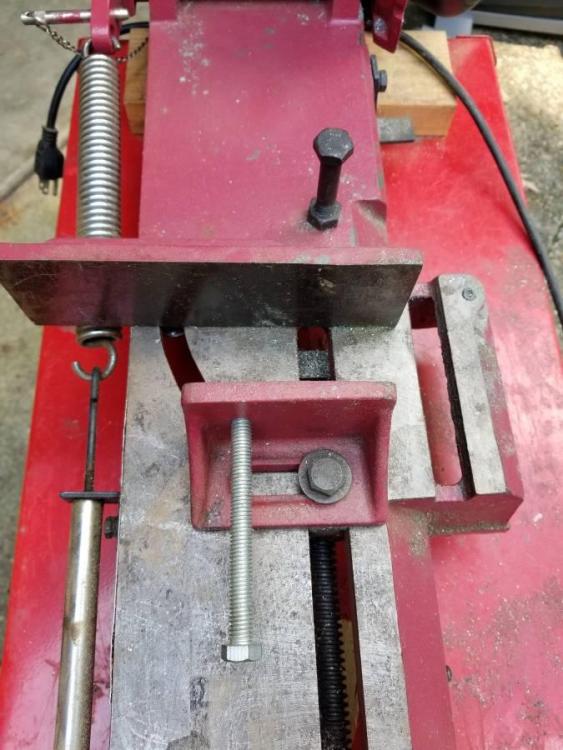
Has anyone seen the jackscrew method to accomplish the same thing? I just drilled and tapped a hole for a 1/2" bolt through the side of the clamp furthest from the blade.
-
Well, that's my problem! My misanthropic nature keeps my human interaction to a minimum. Maybe I can teach my 4 year old to ask people, they might respond better to her than me.
-
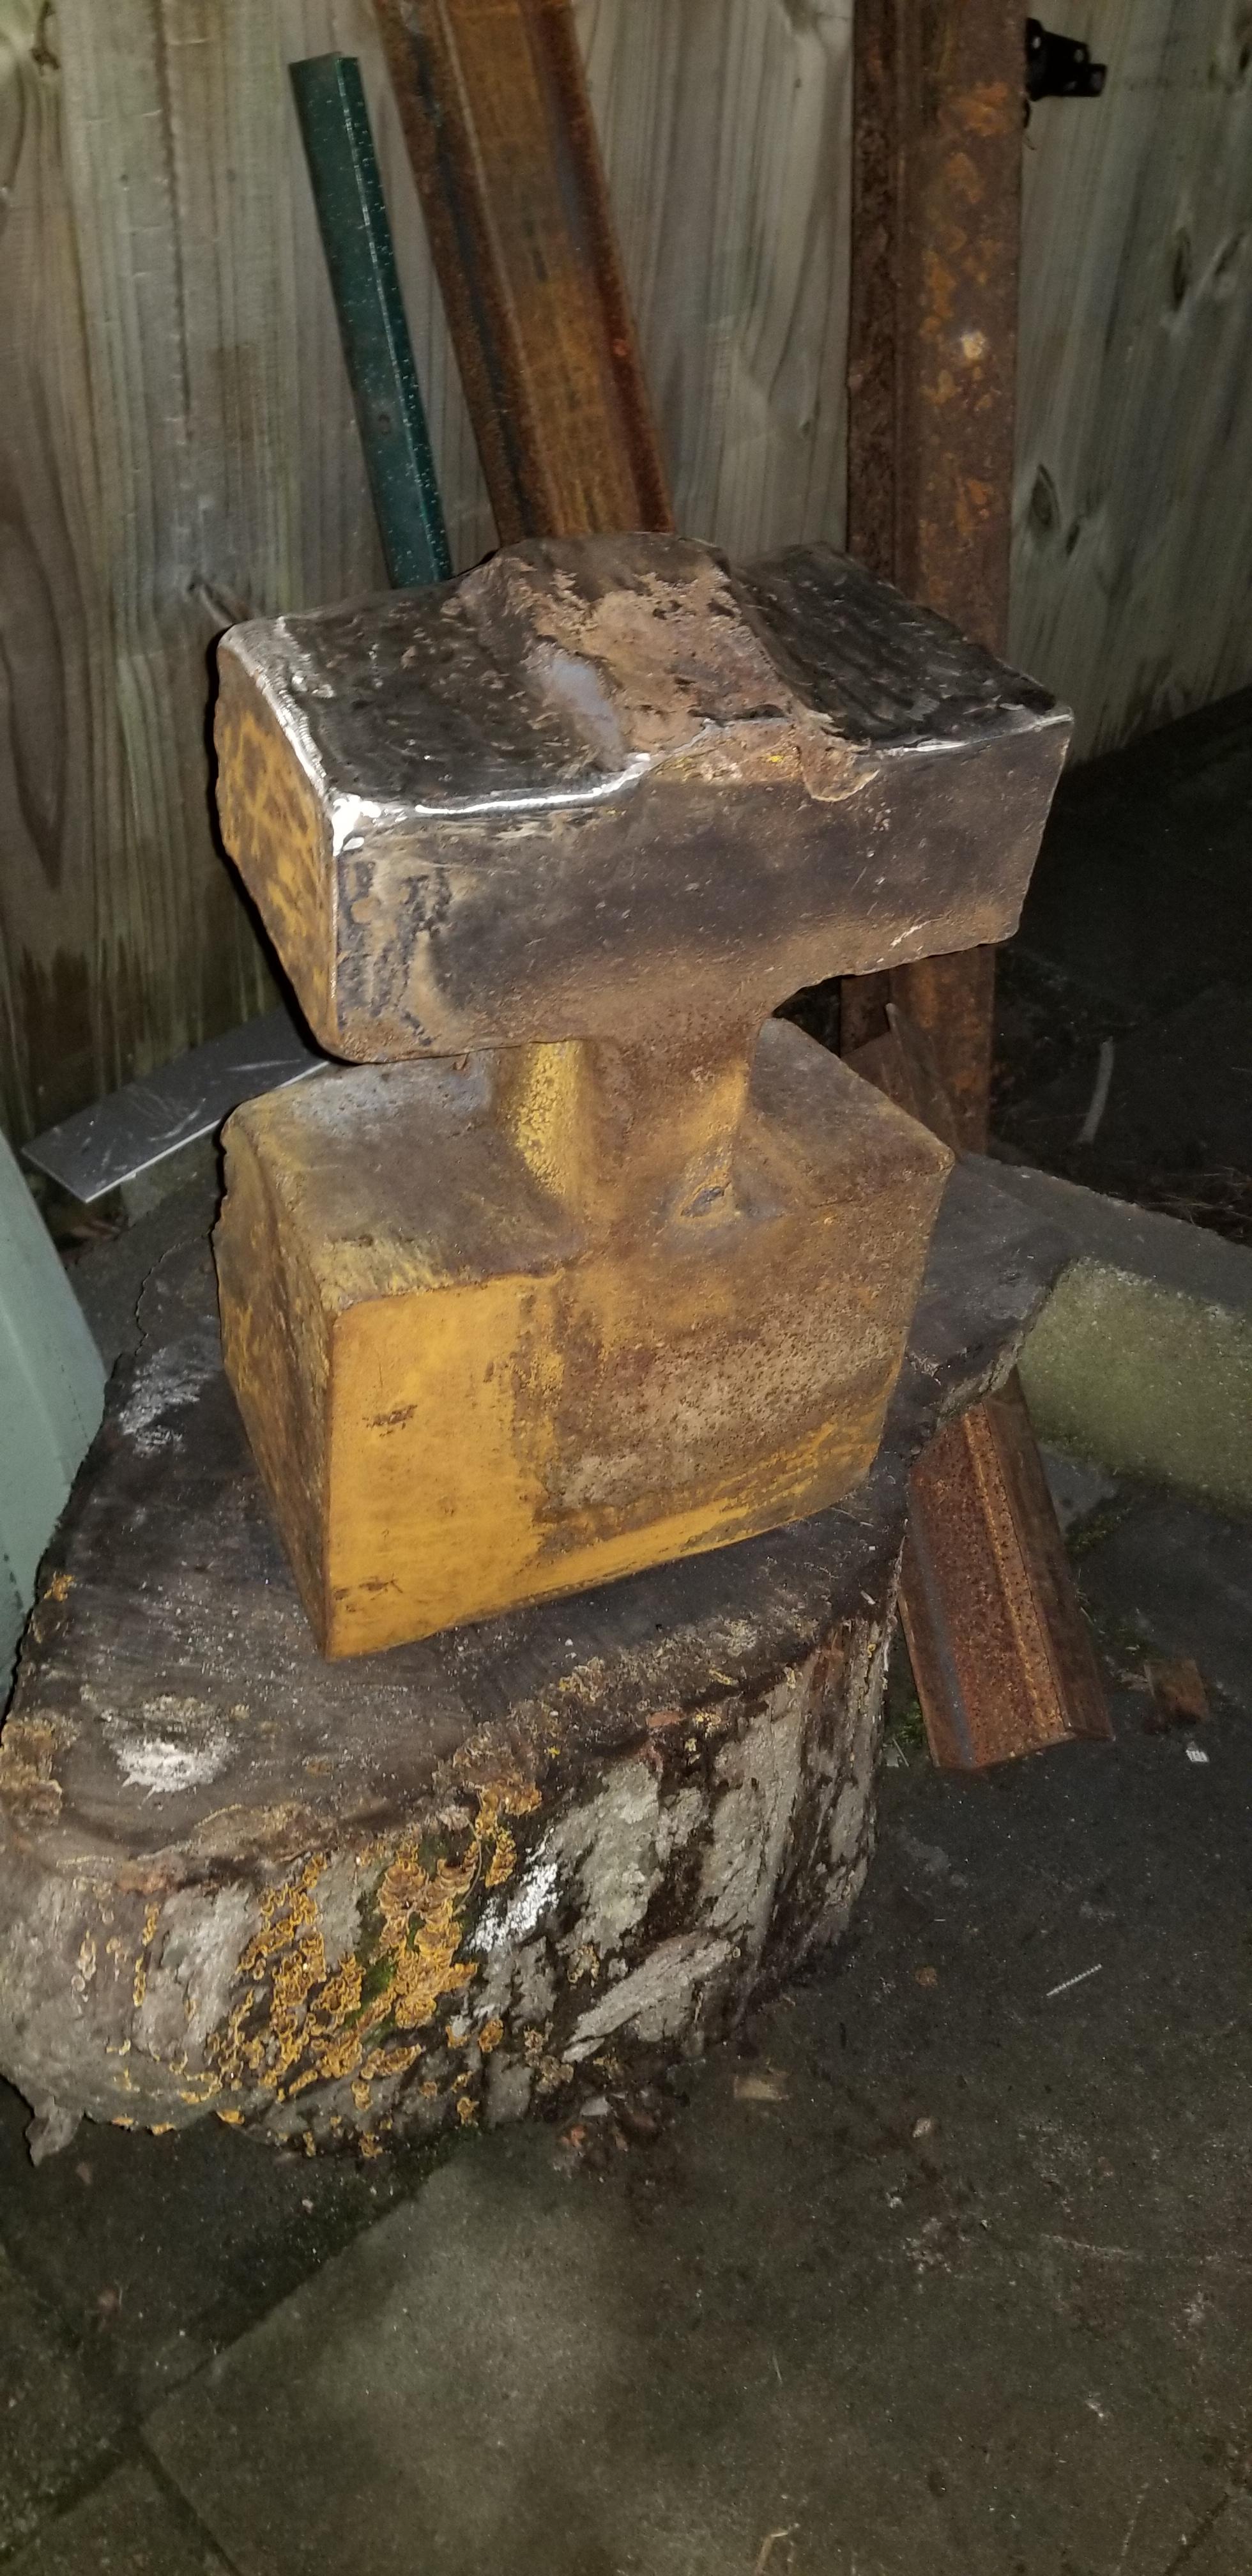
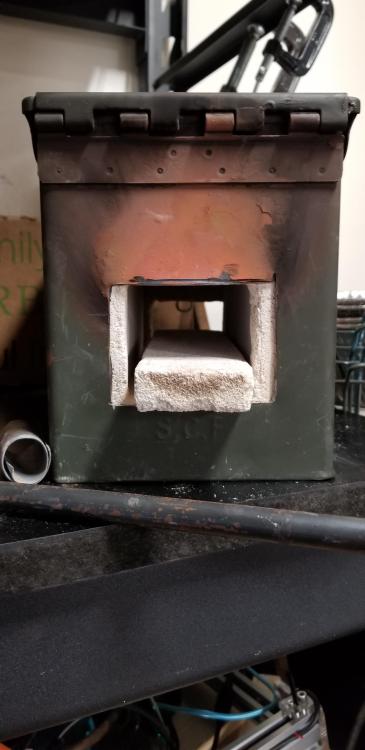
Thanks Frosty, I agree with the H orientation being optimal, I'll get there eventually. When I said I wanted it milled flat, it's mostly because the draft angles from casting cause it to lean too much, and it'd take a heck of a lot of shims to correct... the other part is that near the corners it has been dropped and deformed to the point that most of the faces have some level of cupping to them, so anything I hit on there could end up bowed. Mostly I want to knock down the high spots (which at a variance of over a 1/4" over a few inches makes for a LOT of material to remove). Plus, with a few squared faces I could more easily make a welded stand with all the I-beams I've got. Smithing or not, having seen the utility of the post vises I have to say I WANT ONE. Would be quite handy for some of the other workshop endeavors. Finding one may be a challenge since I don't get to wander about applying TPAAAT, might have to make the 1.5 hour drive to the other side of Richmond where I've seen someone listing an assortment of smithing tools (challenge is still getting a kitchen pass to do so). That ammo can forge is only a temporary measure, and its the insulating brick, not hard (still a lot of thermal mass compared to a fiber blanket, though). The burner was actually angled about 20 degrees off vertical, and as a starter I wasn't terribly concerned about the hotspot since my neophyte status means I won't properly work more than 2-3 inches of material per heat anyways. There was a hole cut in the side where I'd originally stuck in the hand torch, but I plugged that with a chunk of IFB. Likewise, I experimented with restricting the openings or opening them up, but it didn't seem to make a difference. I appreciate the feedback on orifice size, looks like I'll have to break out the tiny bits to make a new orifice instead of using the mig tips. It's quite likely that there's too high a propane velocity for the size of mixing tube, and that's what's giving me the sputtering, makes sense that a smaller orifice would help address it. Once I get more comfortable with the hammer techniques I'll build a proper forge, since already have some materials and the shopping list assembled.
-
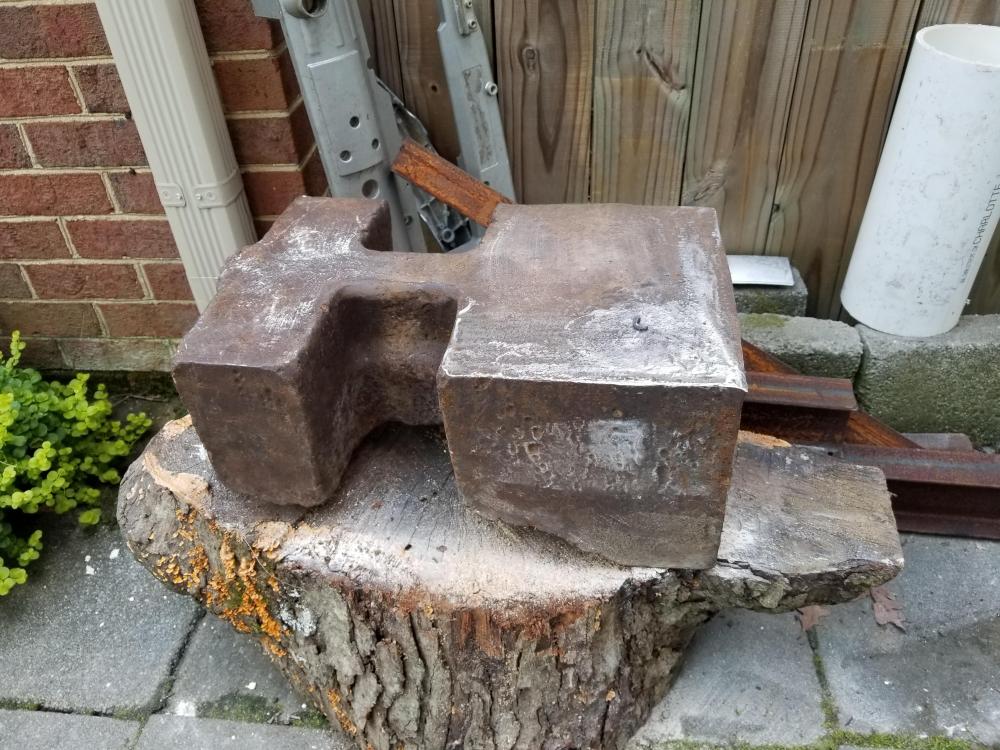
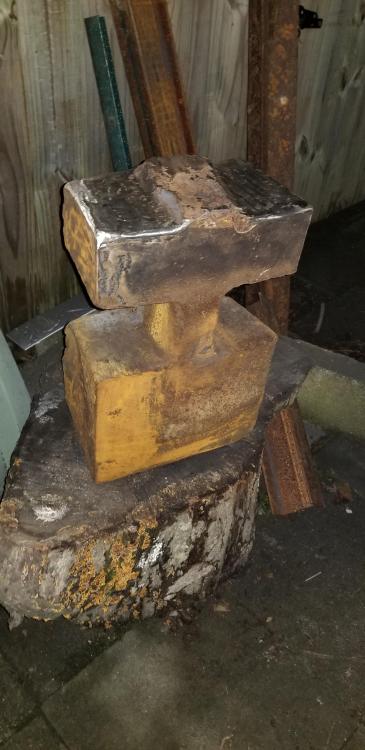
Thanks all. I'd already checked out the webpages for the nearest groups, the lack of updates made me question whether their google calendars were still valid. The Tidewater group appears to have updated their facebook recently, so I'll get in touch with them about attending some of their meetings. Lou, with the Lump O' Steel on its edge (the orientation I'm hoping to use), the Dimensions of the face are roughly 4.25" x 7" - that seems like it'd be more than sufficient for a beginner anvil. If I were to separate the T section along with the web from the larger chunk, then I could modify the web to make a horn, too. The larger chunk on edge is about 9"x9" at the widest, that seems like it's a little too big for the smaller work I'd be doing. Setting it flat, however, would make for a spiffy striking anvil! Overall length is 18", width is 12.75". I'd do more to manipulate its position, but at shy of 400 lbs I simply can't move it easily. I'm either going to have to construct a quicky gantry to use a chain hoist on, or see if there's someone I can borrow an engine hoist from. I could potentially bring it to work to get the surfaces faced, but just getting in my truck or up on a mill is more than a 2-man lift. Once I can find a mill big enough to do the job I fully intend to get a couple faces milled flat- this counterweight has seen its fair share of rough handling, so many of the surfaces that should be planar are instead a bit on the wavy side. With that much material it's simply impractical to try and grind it off. Regardless, I know what I'll need to do to make a more useable anvil out of it, it's just going to be a matter of accessing the right tools and getting my hands on enough materials to fabricobble up a good stand for it. ThomasPowers, the one I was using this go round was 0-30 psi regulator with only an output gauge. I tried varying the pressure from 1-10 psi, didn't really improve anything when it got hot. There was no issue with the cylinder freezing or reduced propane output, I believe the culprit is just that the effective backpressure in the forge increases once everything's up to heat, and with the marginal air inlet cross section there probably wasn't enough induced air to overcome the overall backpressure. Truly I was surprised that the 3/8 burner worked at all, my initial searches for a pipe burner that small didn't turn up much information on general design guidelines (I was really just winging it with what I had on hand). What's good for a 3/4" burner doesn't linearly scale down since things like pipe roughness and all that jazz actually start to become far more important. I'll probably give it another go with some stainless tubing I've scavenged, and will try to see if there's any improvement. If I can make a quickly mandrel, I may try to do an integral flare to the tube to make life easier. As far as hammers, I've got a drilling hammer, various ball pein hammers, and one of the cheapo cross-peens from Harbor Freight. I definitely noticed a lot of the issues that have been brought up in the threads regarding the Hofi hammers and technique (death grip, tendonitis, etc.) that would definitely manifest in some issues for me. For anyone that uses the Hofi style hammers, particularly the slab-side handles, does anyone have a sketch of the overall geometry or cross-sectional slices of that handle style? I'm trying to determine what size chunks of appropriate wood I need to get (5/4 sawn, 1" nominal, or resort to firewood) to make up some handles. Also, if I can get it modeled up I may just the rough handles out on a CNC router I have occasional access to.
-
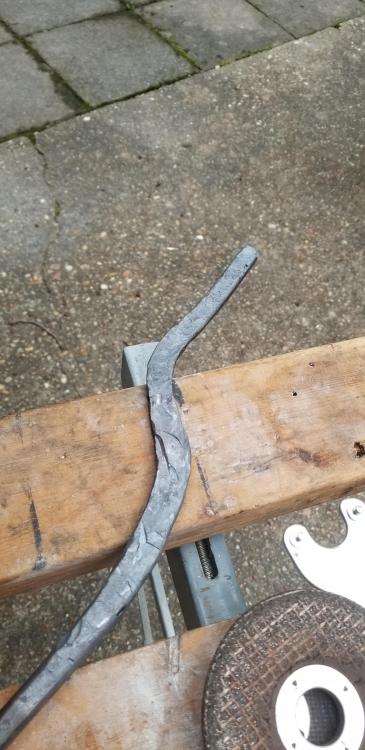
Greetings all, I've been lurking here for awhile spelunking the archives to learn what I can about the processes involved with smithing. I'm a mechanical engineer by education, though I work in in aerospace (helicopter) technology doing program management By and large my hobbies have centered around learning new things, and I've been slowly working my way through the various metalworking processes. I've come to the point in metalcasting where I'm upgrading some of my gear, and the need for proper lifting and pouring tongs has arisen. While I can probably do an ugly job of cobbling together some equipment, I figured I'd make a foray into heat forming processes to get some of the bends and curves to make close fitting crucible tongs and pouring shanks. I procured a hunk o' steel to serve as an anvil last week at the scrapyard that weighed a bit more than I expected (387 lbs). I'm guessing it was a cast steel counterweight for something, because what appears to be the sprue location has a shrinkage void going into the center of the 'T'. I know it's at least steel, because in some locations I'm getting 60-70% rebound, no fracturing. My time with a grinder on it makes me think it's just mild steel. I was hoping to cut the 'T' off to make a separate anvil, but my oxy rig either isn't up to the task, or I need some more training to make the #4 tip work. Unfortunately with the draft angles on the casting I can't get it to sit solidly on its side, and as can be seen with my first go at bashing metal for some lifting tongs,it's way too low sitting on the only stump I had at the time. Turning upright seems to put it at the right height, but that orientation is sub-optimal for this particular application. (The rebound seems pretty good, I had a missed hammer strike that bounced back and knocked me in the safety glasses) Given the headache of dealing with the overly large lump o' steel, I may just go to the sledgehammer head anvil until I can find a way or access to equipment that'll let me do some big cutting or surfacing of the Lump o' Steel. As for how I'm heating stuff, I had a box of insulating firebricks from when I bought stuff for the foundry a few years back. I ginned up a quick n' dirty ammo can forge thinking my hand torch would be sufficient to get things going, but I was a tad disappointed in the ouput. The 3/4" Z-burner have for the foundry would be way overkill for this diminutive experiment, so I dug through my boxes of junk and could only come up some bits for a 3/8" NPT based burner. Only fitting I had for the rear was a four-way brass body, and I used a .023 mig tip for an orifice. While I could get it to burn fine outside the forge with coupler on the end as a flare, I couldn't get particularly stable performance when inserted in the hole that was cut in the top. Hoping maybe it was a flare problem, I banged up a super-ugly flare from some thin titanium sheet (I occasionally get some nifty things from the scrap bins at work, though most isn't steel). While not optimal, at least when the forge was cooler it seemed to run alright, but after about 20 minutes the output dropped/flame was no longer stable in the forge (no other parameter changed). I'll probably just buy a 1/2" Z-burner and be done with it, as a final forge likely won't have a chamber much bigger than my current one (2.5x3.5x9 in). Either that or start exploring a blown propane configuration. Or better yet, maybe try 3D printing a mold for a small ribbon burner! I'd like to meet up with the local ABANA chapter, but all social media or webpages seem to be out of date, so I'm not sure if any of the calendars are actually correct. That's it in a nutshell. Cheers, Eric
-
ThomasPowers, that's the dense (non-insulative) type. It'd only be practical for a hotface application (cast to the thinnest shell practical) and backed with something like Kaowool for insulation. Even then it would still add appreciable thermal mass, but would stand up a lot better to fluxes and carelessness with insertion/removal of stock. Only really relevant if you do a lot of fluxed forge welding, I'd imagine. Of the United refractories products, you'd need the stuff that has 'LW' in the name for the lightweight insulating refractory. Compared to the fiber blankets, though, they're still sizeable heatsinks.
-
Huh... try hitting one of those chips with a hammer to be sure they're rocks? Grog could be from a myriad of sources. Regardless, I wouldn't advise pulling out what the company puts in without talking to one of their application engineers. They can tell you the function of the aggregate as well as provide end-user information (minimum recommended thickness, for instance). Fortunately the application Lou L mentioned (high heat foundry applications, likely a direct-melt furnace) sees a lot of abuse and should resist fluxes for quite awhile.
-
I spent a lot of time in metal casting forums (alloy avenue), one of the moderators had extensive ceramics knowledge and shared it freely. There's some interesting chemistry that goes on in the refractory and heat- much like the right combination of alloying agents and heat treatment gives the intended properties to a metal.
-
Is it true gravel, or is the aggregate all the same color? What you're thinking is gravel may actually be grog (smashed up bits of already- fired refractory). This actually helps with the refractory performance and reduces shrinkage. It may be the kind that needs to cast or rammed into a form, and not painted onto a surface.