Jasent
-
Posts
954 -
Joined
-
Last visited
Content Type
Profiles
Forums
Articles
Gallery
Downloads
Events
Everything posted by Jasent
-
Looks good . I've always liked daggers
-
This is my 3rd,4th,and 5th pair. They are getting better and easier each time.

-
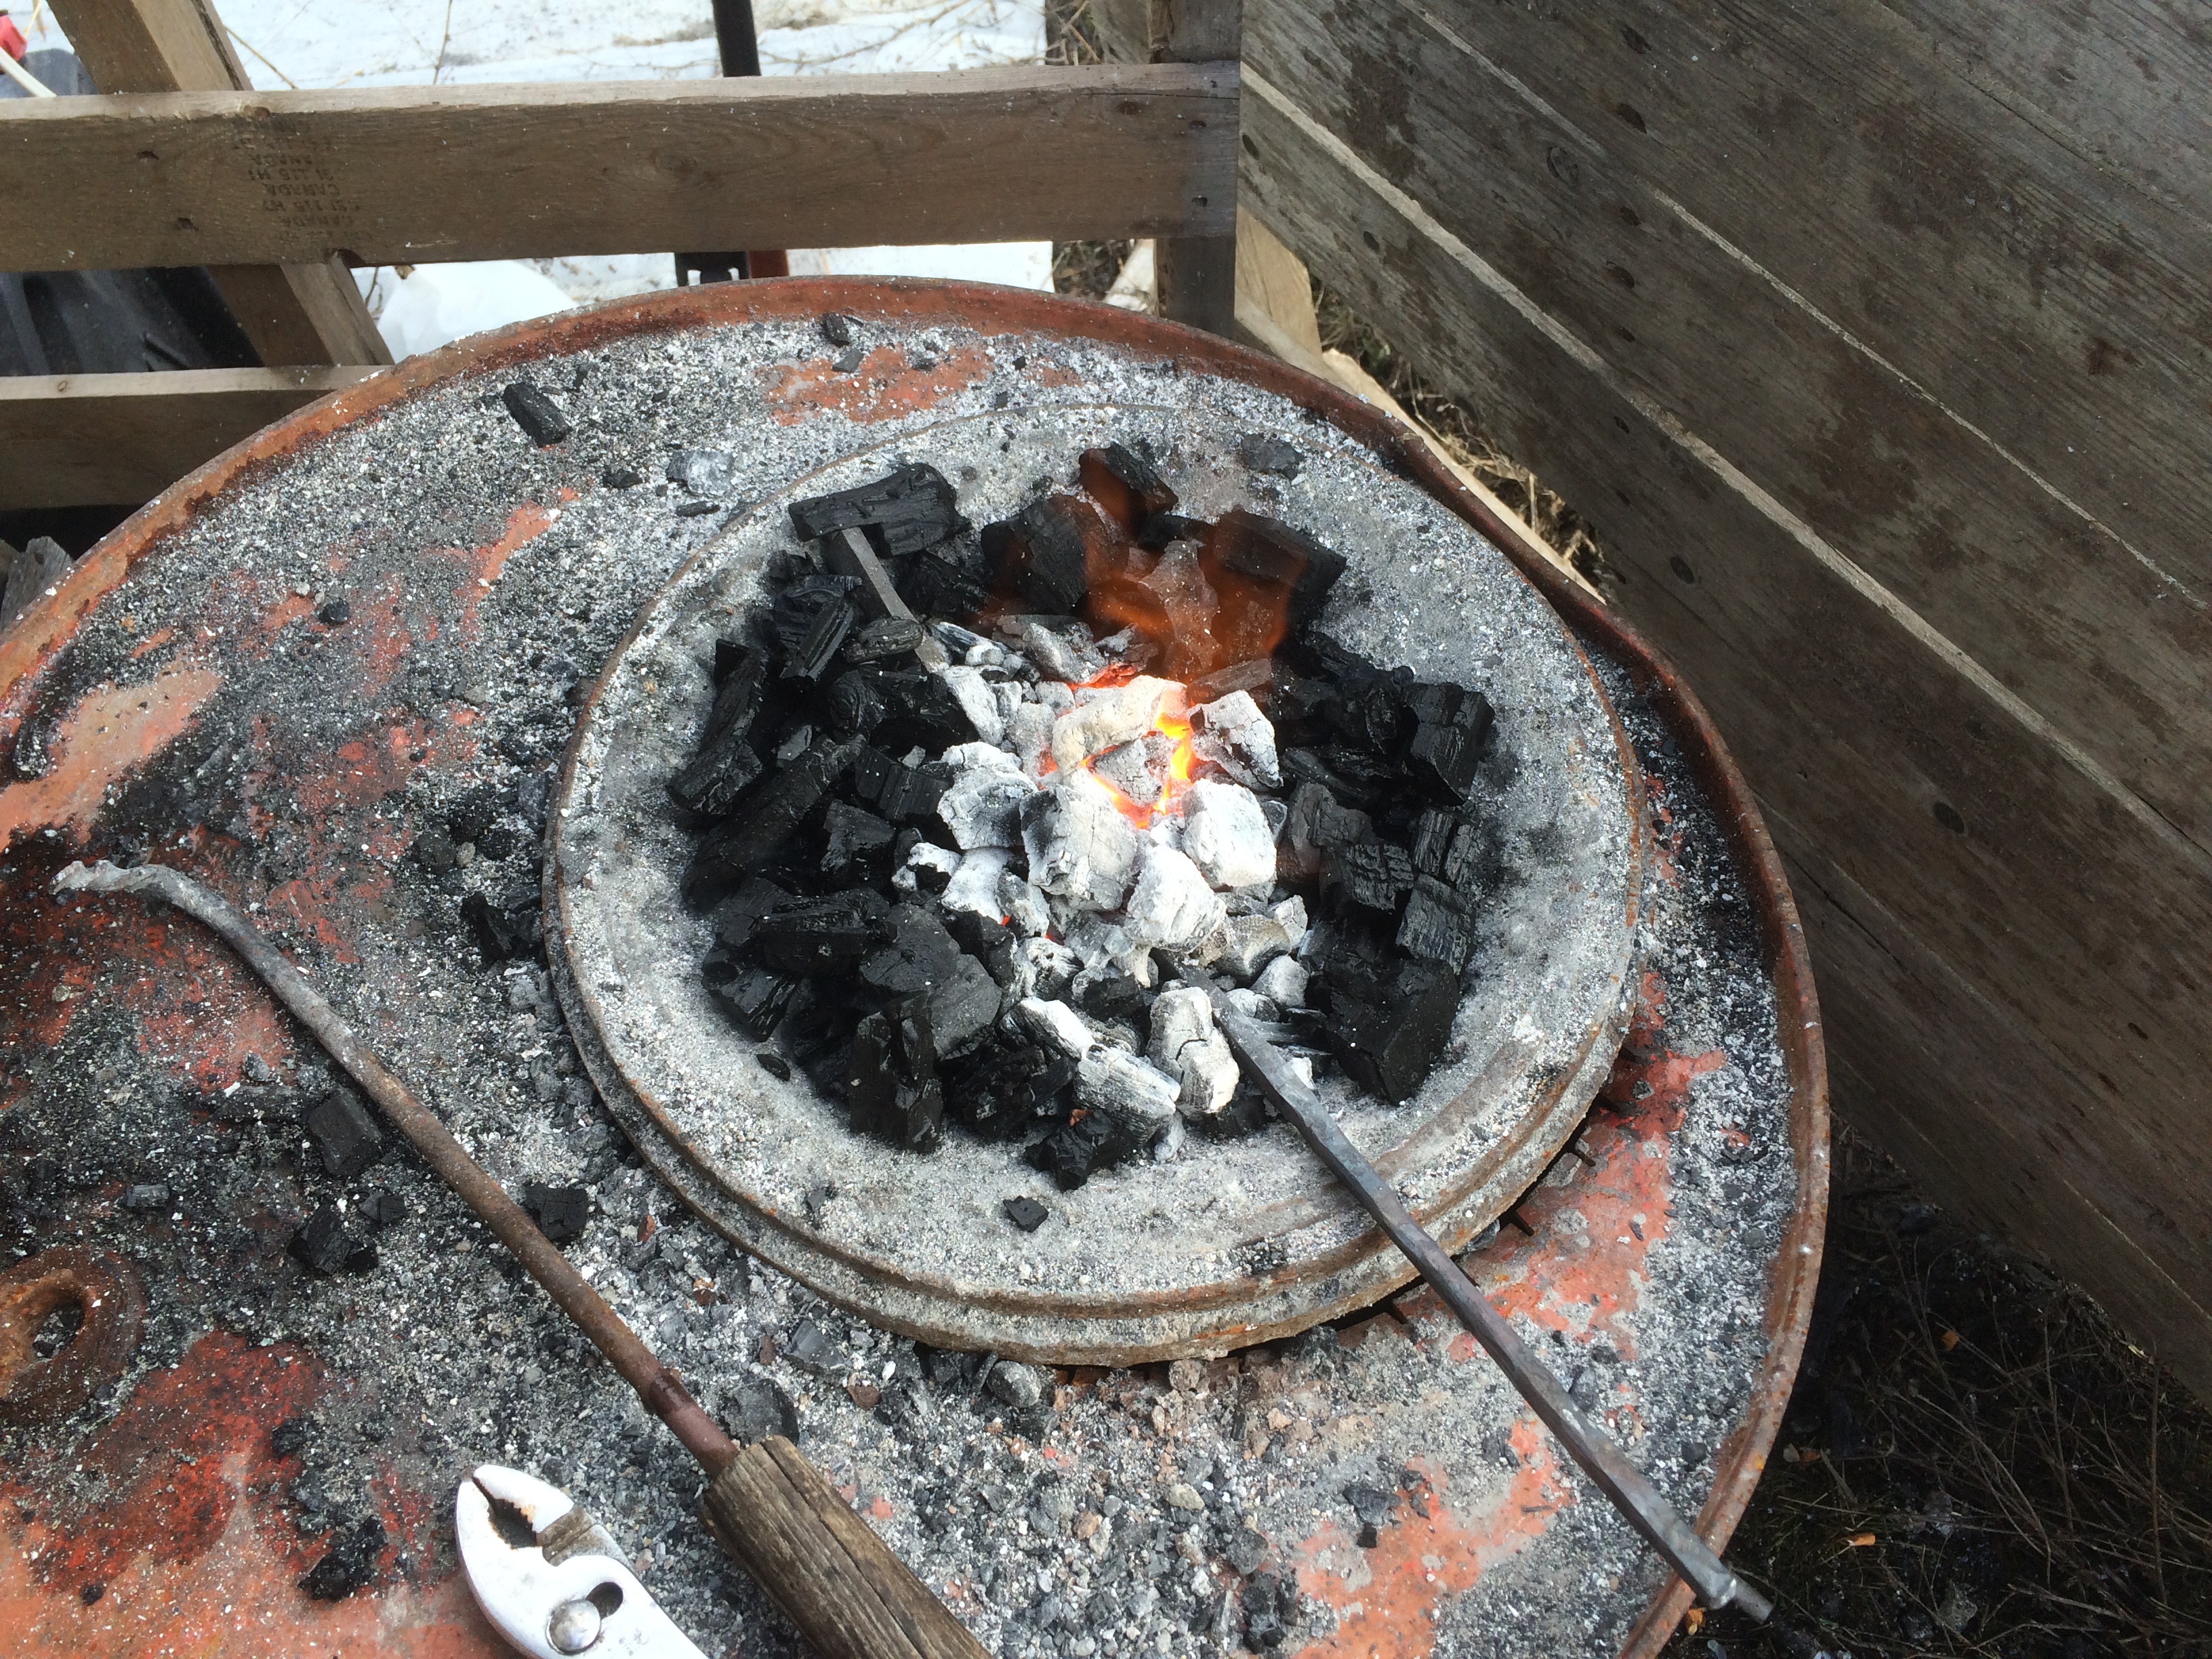
Only trouble is with charcoal you get almost no clinker ( I normally find tiny stone like chunks about pea size) and would be very wasteful to keep air on continuously
-
You have a much better way with words than me frosty
-
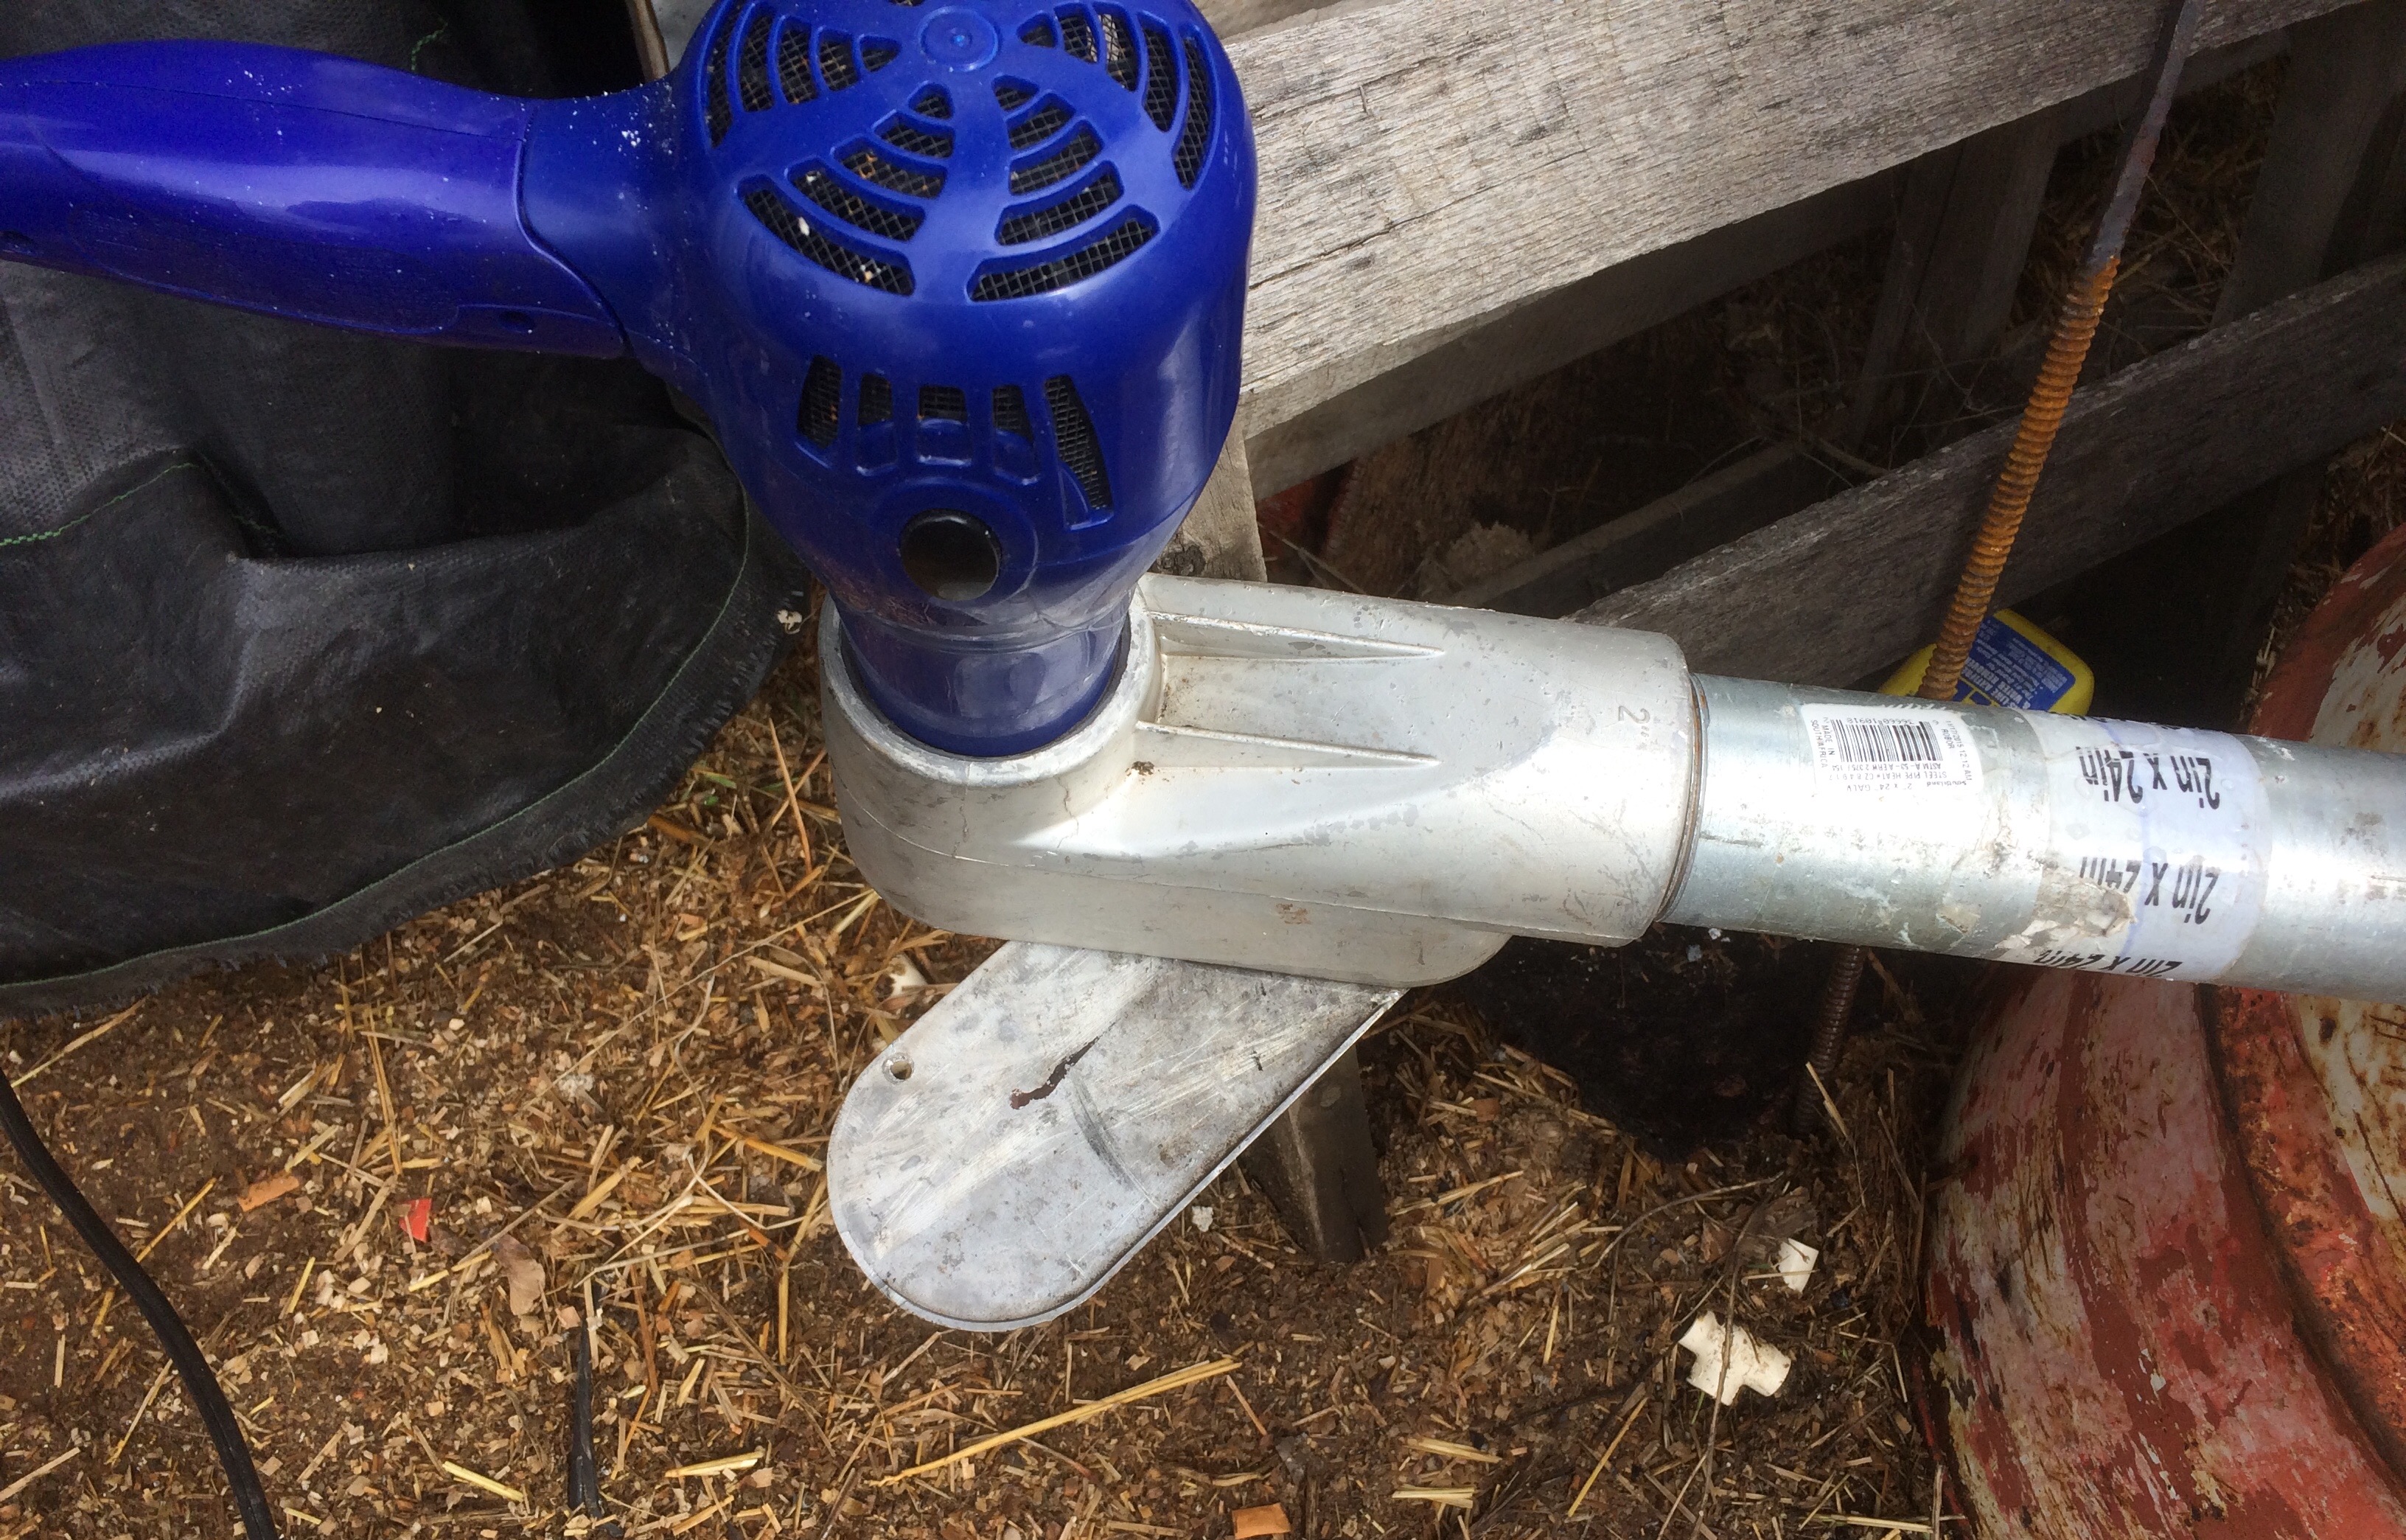
My hairdryer has a gfi style plug. I hit test to shut it off and reset to turn back on.
-
Had a good time at Morgan Jade iron works
Jasent posted a topic in Blacksmithing, General Discussion
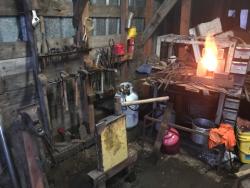
Took Daves beginers class sat. First impression was good, shop is well organized and clean. It was easy to see he takes pride in his work. It was me and one other guy ,I was glad it wasn't crowded. After some discussion on what I had done and what I wanted to learn we decided we would make some tools. I have a slight obssesion with hammers so we set out to make a handed hammer punch, hardy dish for facing rounding hammers (hope that's the proper term), and a hardy hot cut. Hammer punch would be 5160 1 1/8" round. He explained how to figure out stock length for 2D tapers and 3D tapers. After deciding stock lenght he cut half a dozen peaces and fired up the ribbon burner.we then squared up our stock on the power hammer, measured and center punched the eyes. We took turns running the punch and striking over a striking anvil. Once punched we began drifting the eyes with 2 drifts and drawing out the checks. Then back on the power hammer to draw out the punch. Finished up over the papa Rhino and cleaned them up on a 2"x72belt grinder. Wow could that thing eat steel! We made the hardy tools from some 2" truck axel. Used the power hammer to take it down to 1" square. And upset in the hardy again on the striking anvil with both of use striking while walking around it. Took turns striking and calling with the handled round die. Finished the hot cut on the power hammer. Didn't have time to finish grinding on the hot cut but I can do that at home. Daves style of teaching worked very well for me imo. He would show use how to do it while explaining the Whats and whys then step back and let use work threw trial and error correcting only when we were starting to really head south. It was a great experience for me. I felt like I learned quite abit and that we accomplished a lot in the 8 hours. He also invited me back for a hammer in later next month

-
Thanks frosty. Stupid simple is my style
-
Yes Thomas I'm melting steel if I don't watch it close
-
This is my set up. I use 2" pipe. You need high flow/ low pressure for air. I like my charcoal acorn size. Smaller peaces seam to burn fast but put off way more heat. Hope this helps. Been forging since February


-
I didn't see that mentioned. I'm a newbie but don't see a reason for that. From the lb the pipe goes 24" in to a T. There is a 14" ash trap below the T and another 14" above the T before it goes in to the fire pot. All my air control is right at my knuckles when standing at the forge.
-
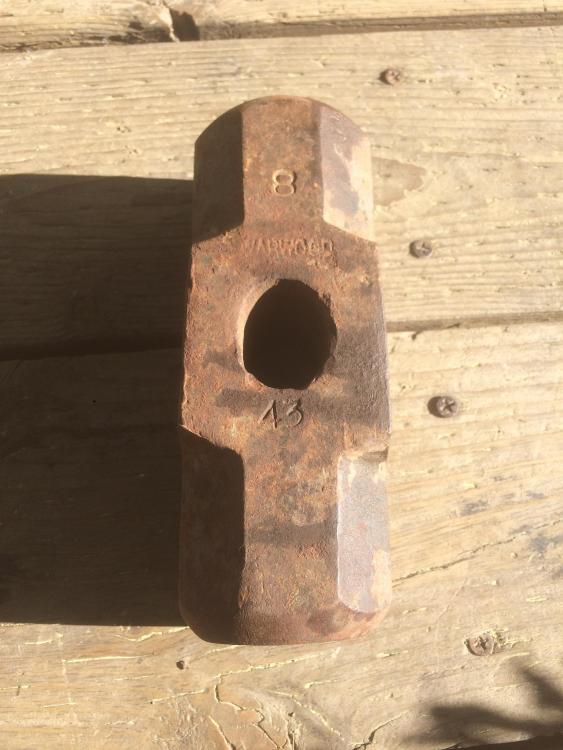
Warwood double faced 8lb'er followed me home today. Faces are almost brand new condition minus the rust. Just needs a handle and dressed and it's ready for work
-
I wondered about that too. But the bottom of the fire pot is the gap. Charcoal dosent touch the post, just the fire pot does. So far I have used it to heat treat one blade that was too long to fit in my normal forge. Worked great
-
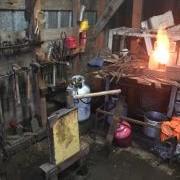
The heat treating forge I'm doing is made from a long double wall (1/4") fence post. I plugs one end and cut a 3/8" groove up the center about 24" long. My forge is done in 2" pipe so I can slide my blower pipe in the post. If I need it shorter I just slide it in farther. It's in the ground right now but I'm working on making it in to a table. The fire pot is a long V trough. It can be a tiny fire or a 24" fire. I'll post pics when I can
-
Guillotine tool you should have one DIY for under $30.
Jasent replied to David Kailey's topic in Tools, general discussion
Tagging along. I want one -
What do you think of my slitter?
Jasent replied to Xavier F-C's topic in Slitters, Punches, Drifts, etc
Thanks for the inspiration. Nice job -
Hmm no pics?!?
-
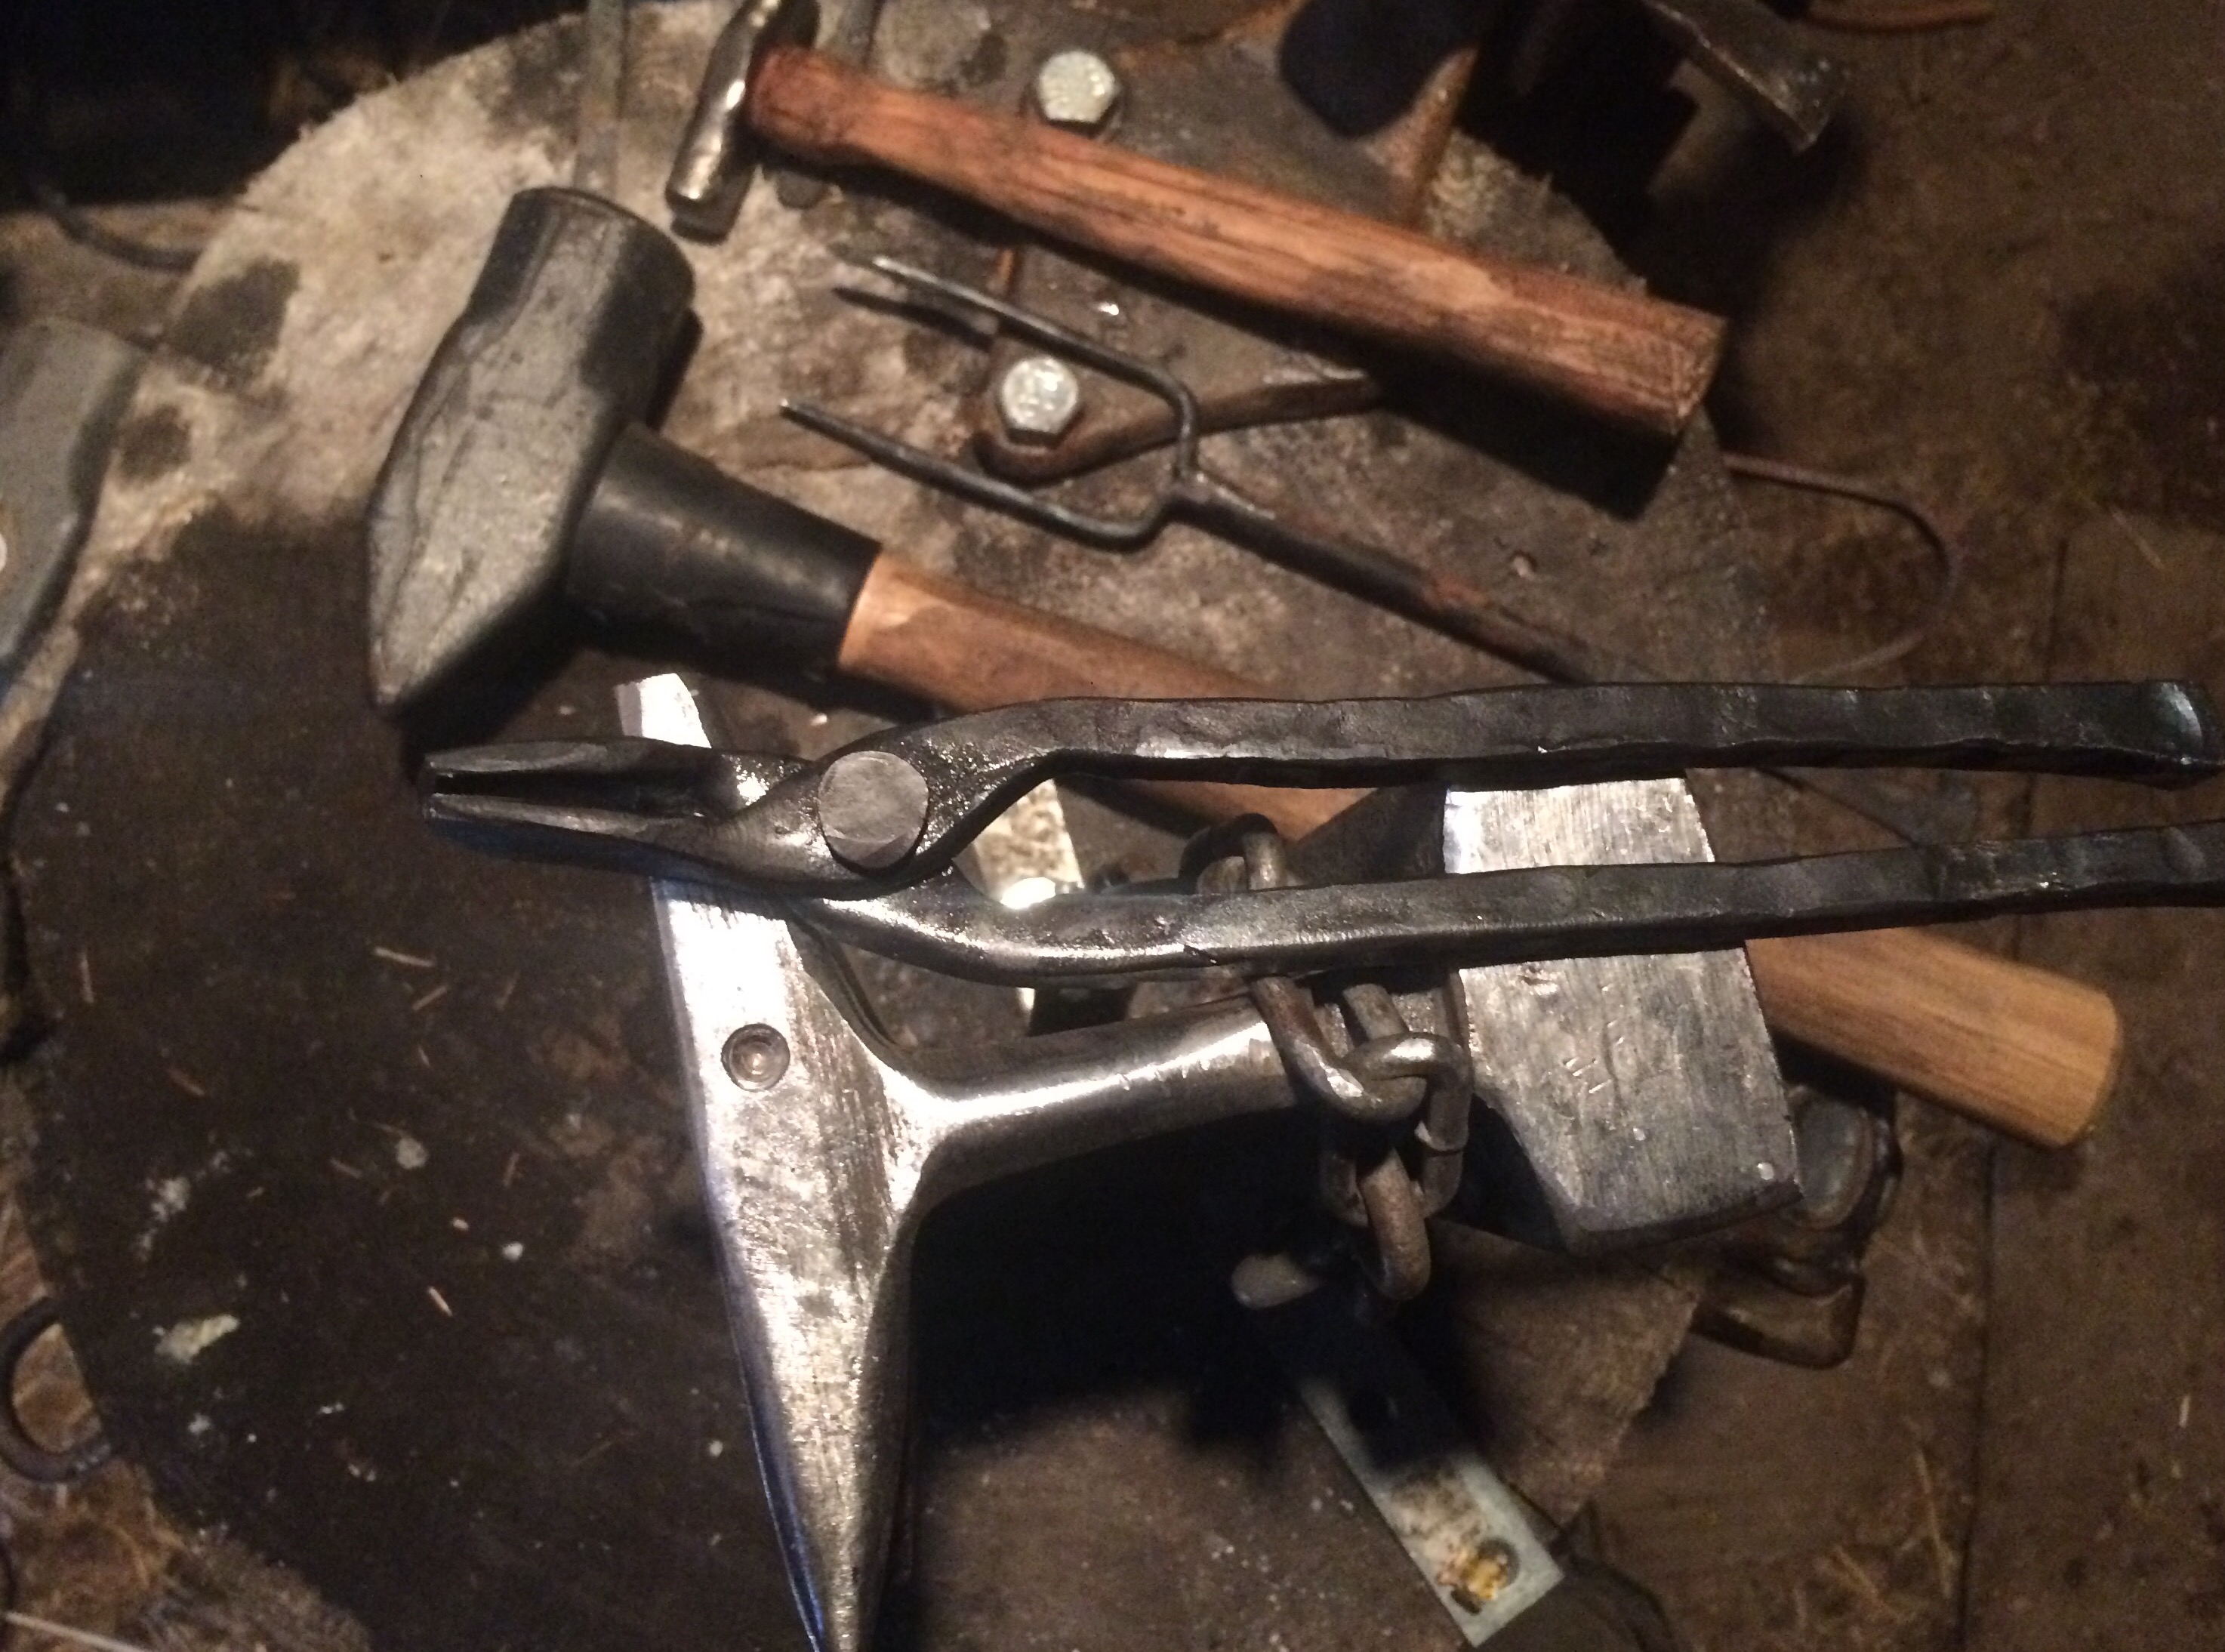
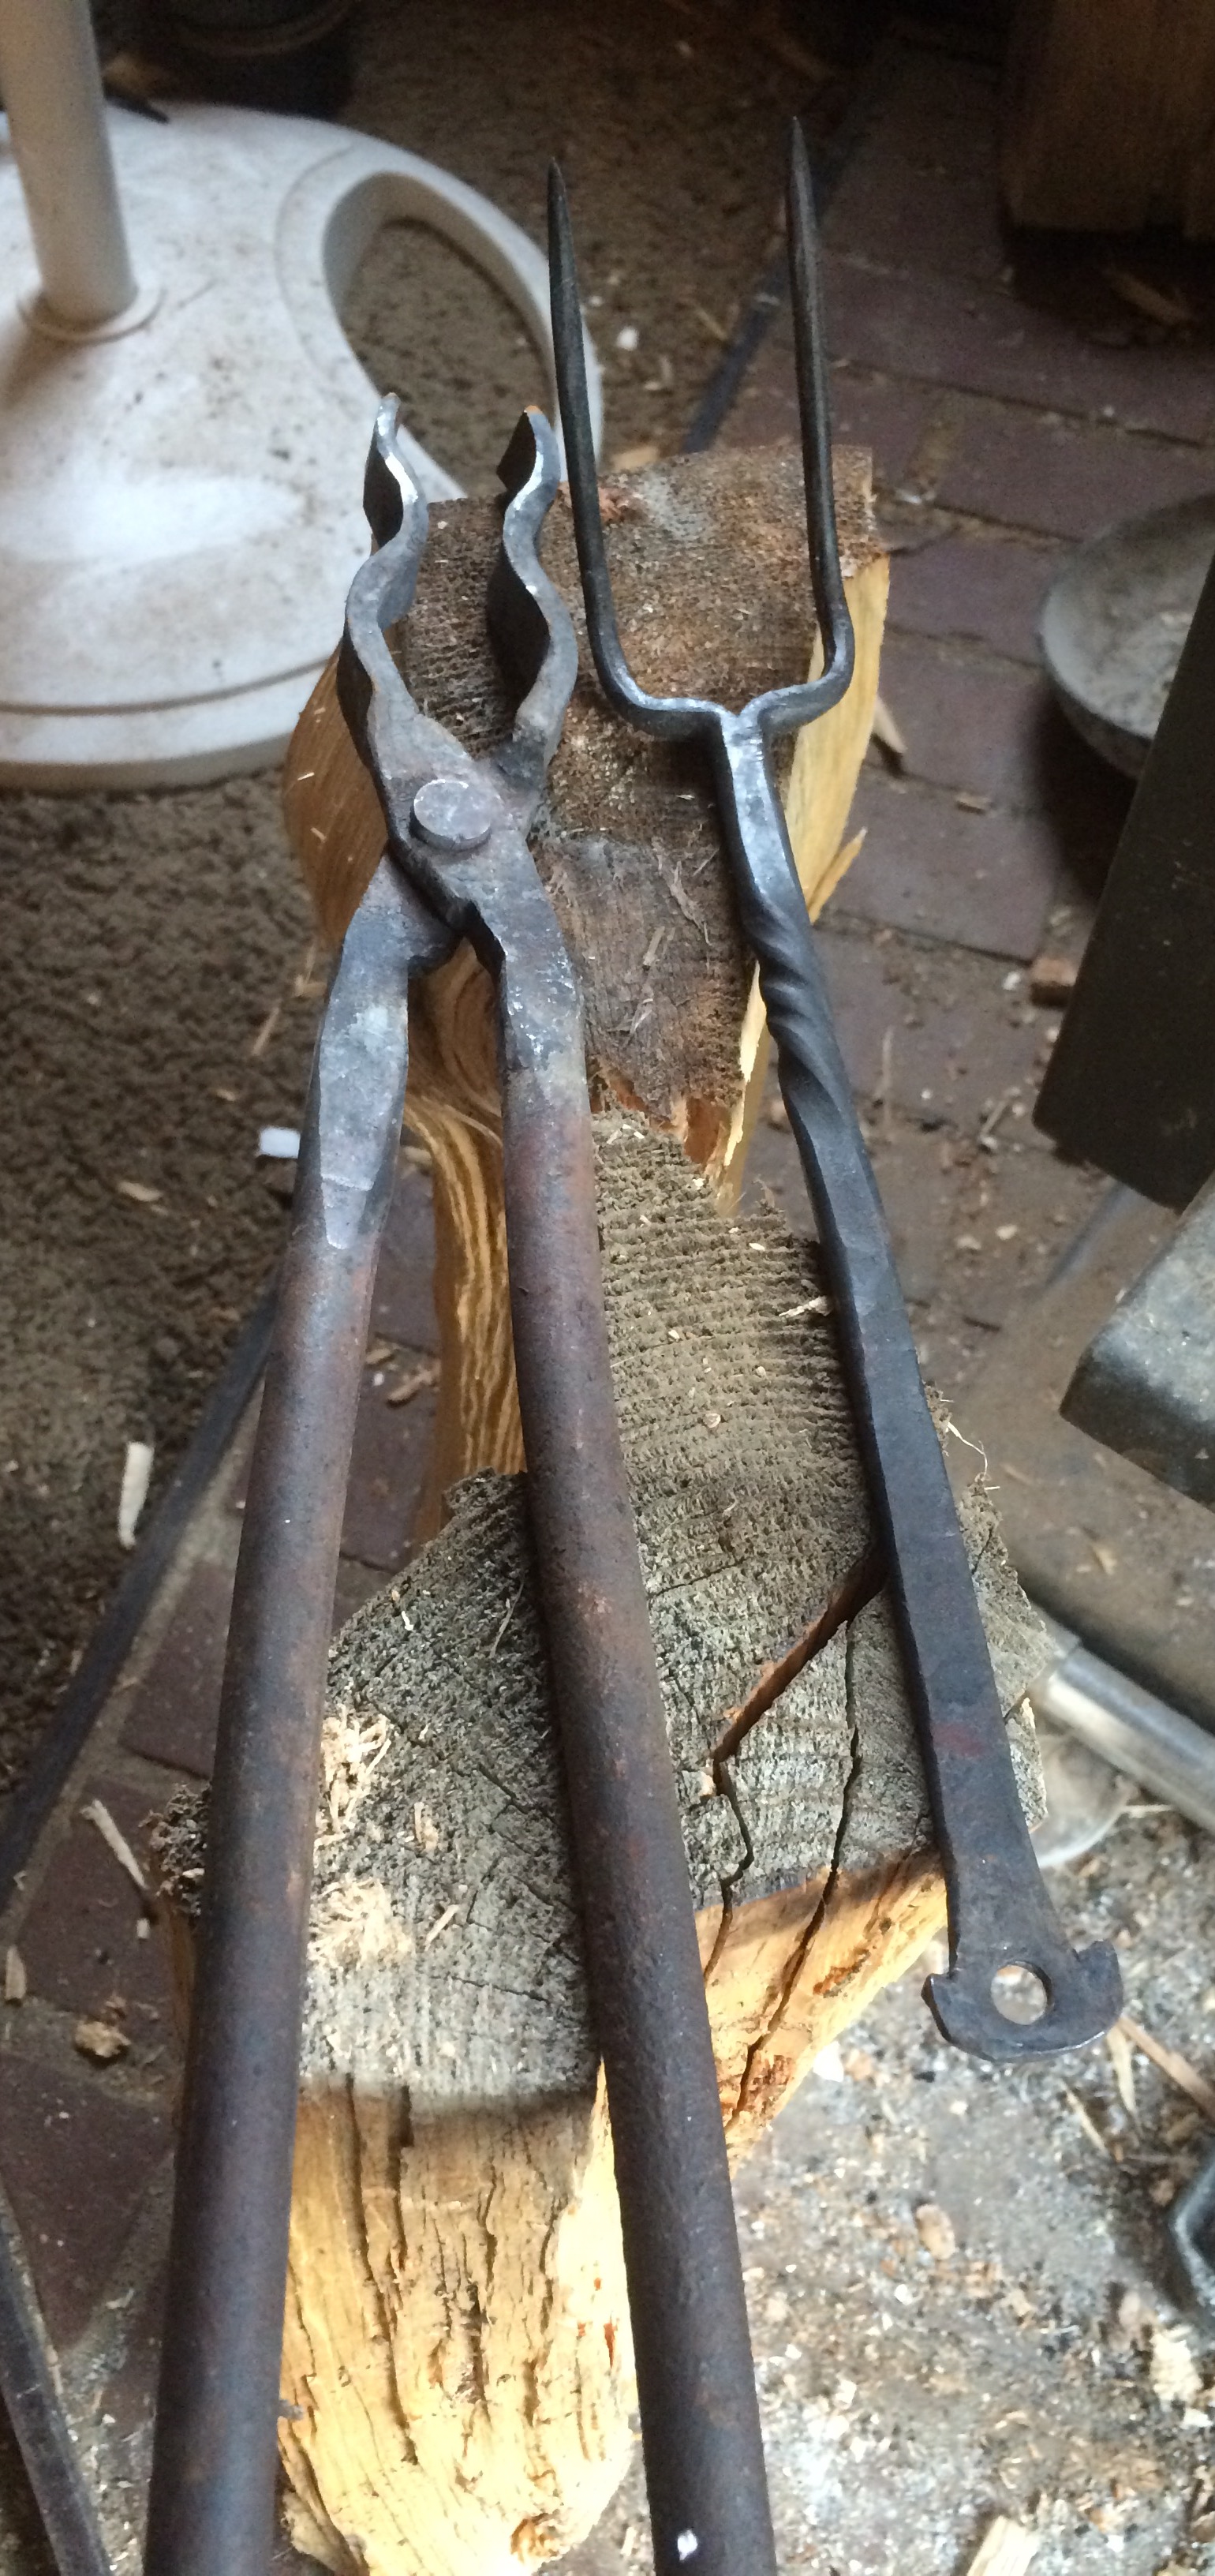
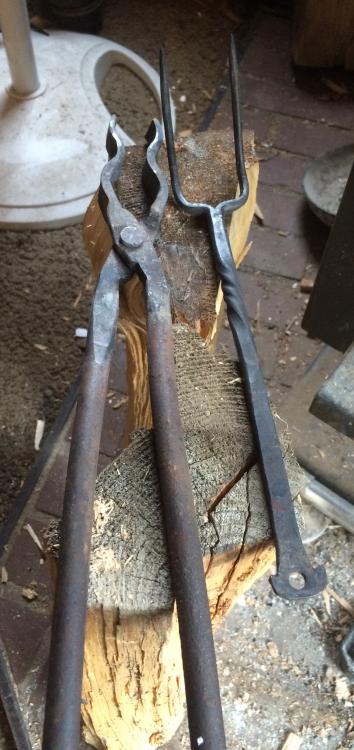
Tagging along. I too have developed a tong obsession.
-
Stupid simple! Thanks that's a good tip! I'll be remembering this one. Ill start a new thread for my current builds. Building a new forge and also a long narrow forge for heat treating long blades like daggers which is about ready to use. It is in the ground right now but plan to put it on a table. Haven't found a coal supplier around here yet but I just got in touch with David from incandescent ironworks and will be taking his beginers class on blacksmithing this coming Saturday. Thanks again folks. Sorry for the thread jack rené A
-
Razz all you want. Dosent bother me. I used pop because I had it and wanted to used the forge that day. It's still working and cost me nothing. That was back in January when I was layedoff and broke and the garden soil was froze solid. I'm currently building a new one. I used the pop because the drum I had was way too big and deep. Needed to fill the space. My plumbing has a T and an ash trap/dump. Total cost at the time of first build was about $3 for a few bolts. Thanks for the tips and the razzing.
-
It's what I had on hand. Hasn't cracked crumbed broke down yet. I know it's not ideal but it got me pounding steel
-
Been hanging out here absorbing all the info I can. Figured I should introduce my self. Ive lived north of Spokane most of my life and enjoy hunting fishing and trapping, and recently took up smithing. I've always been good with my hands and making things. Love tools and that is my main focus right now is learning to make my tools. I grew up in the masonry biz (3rd generation) and now work for a landscaping company doing hardscape( paver patios, rock and block retaining walls and equipment operator). Looking forward to learning all I can from you folks. Thank you to all you kind smiths
-
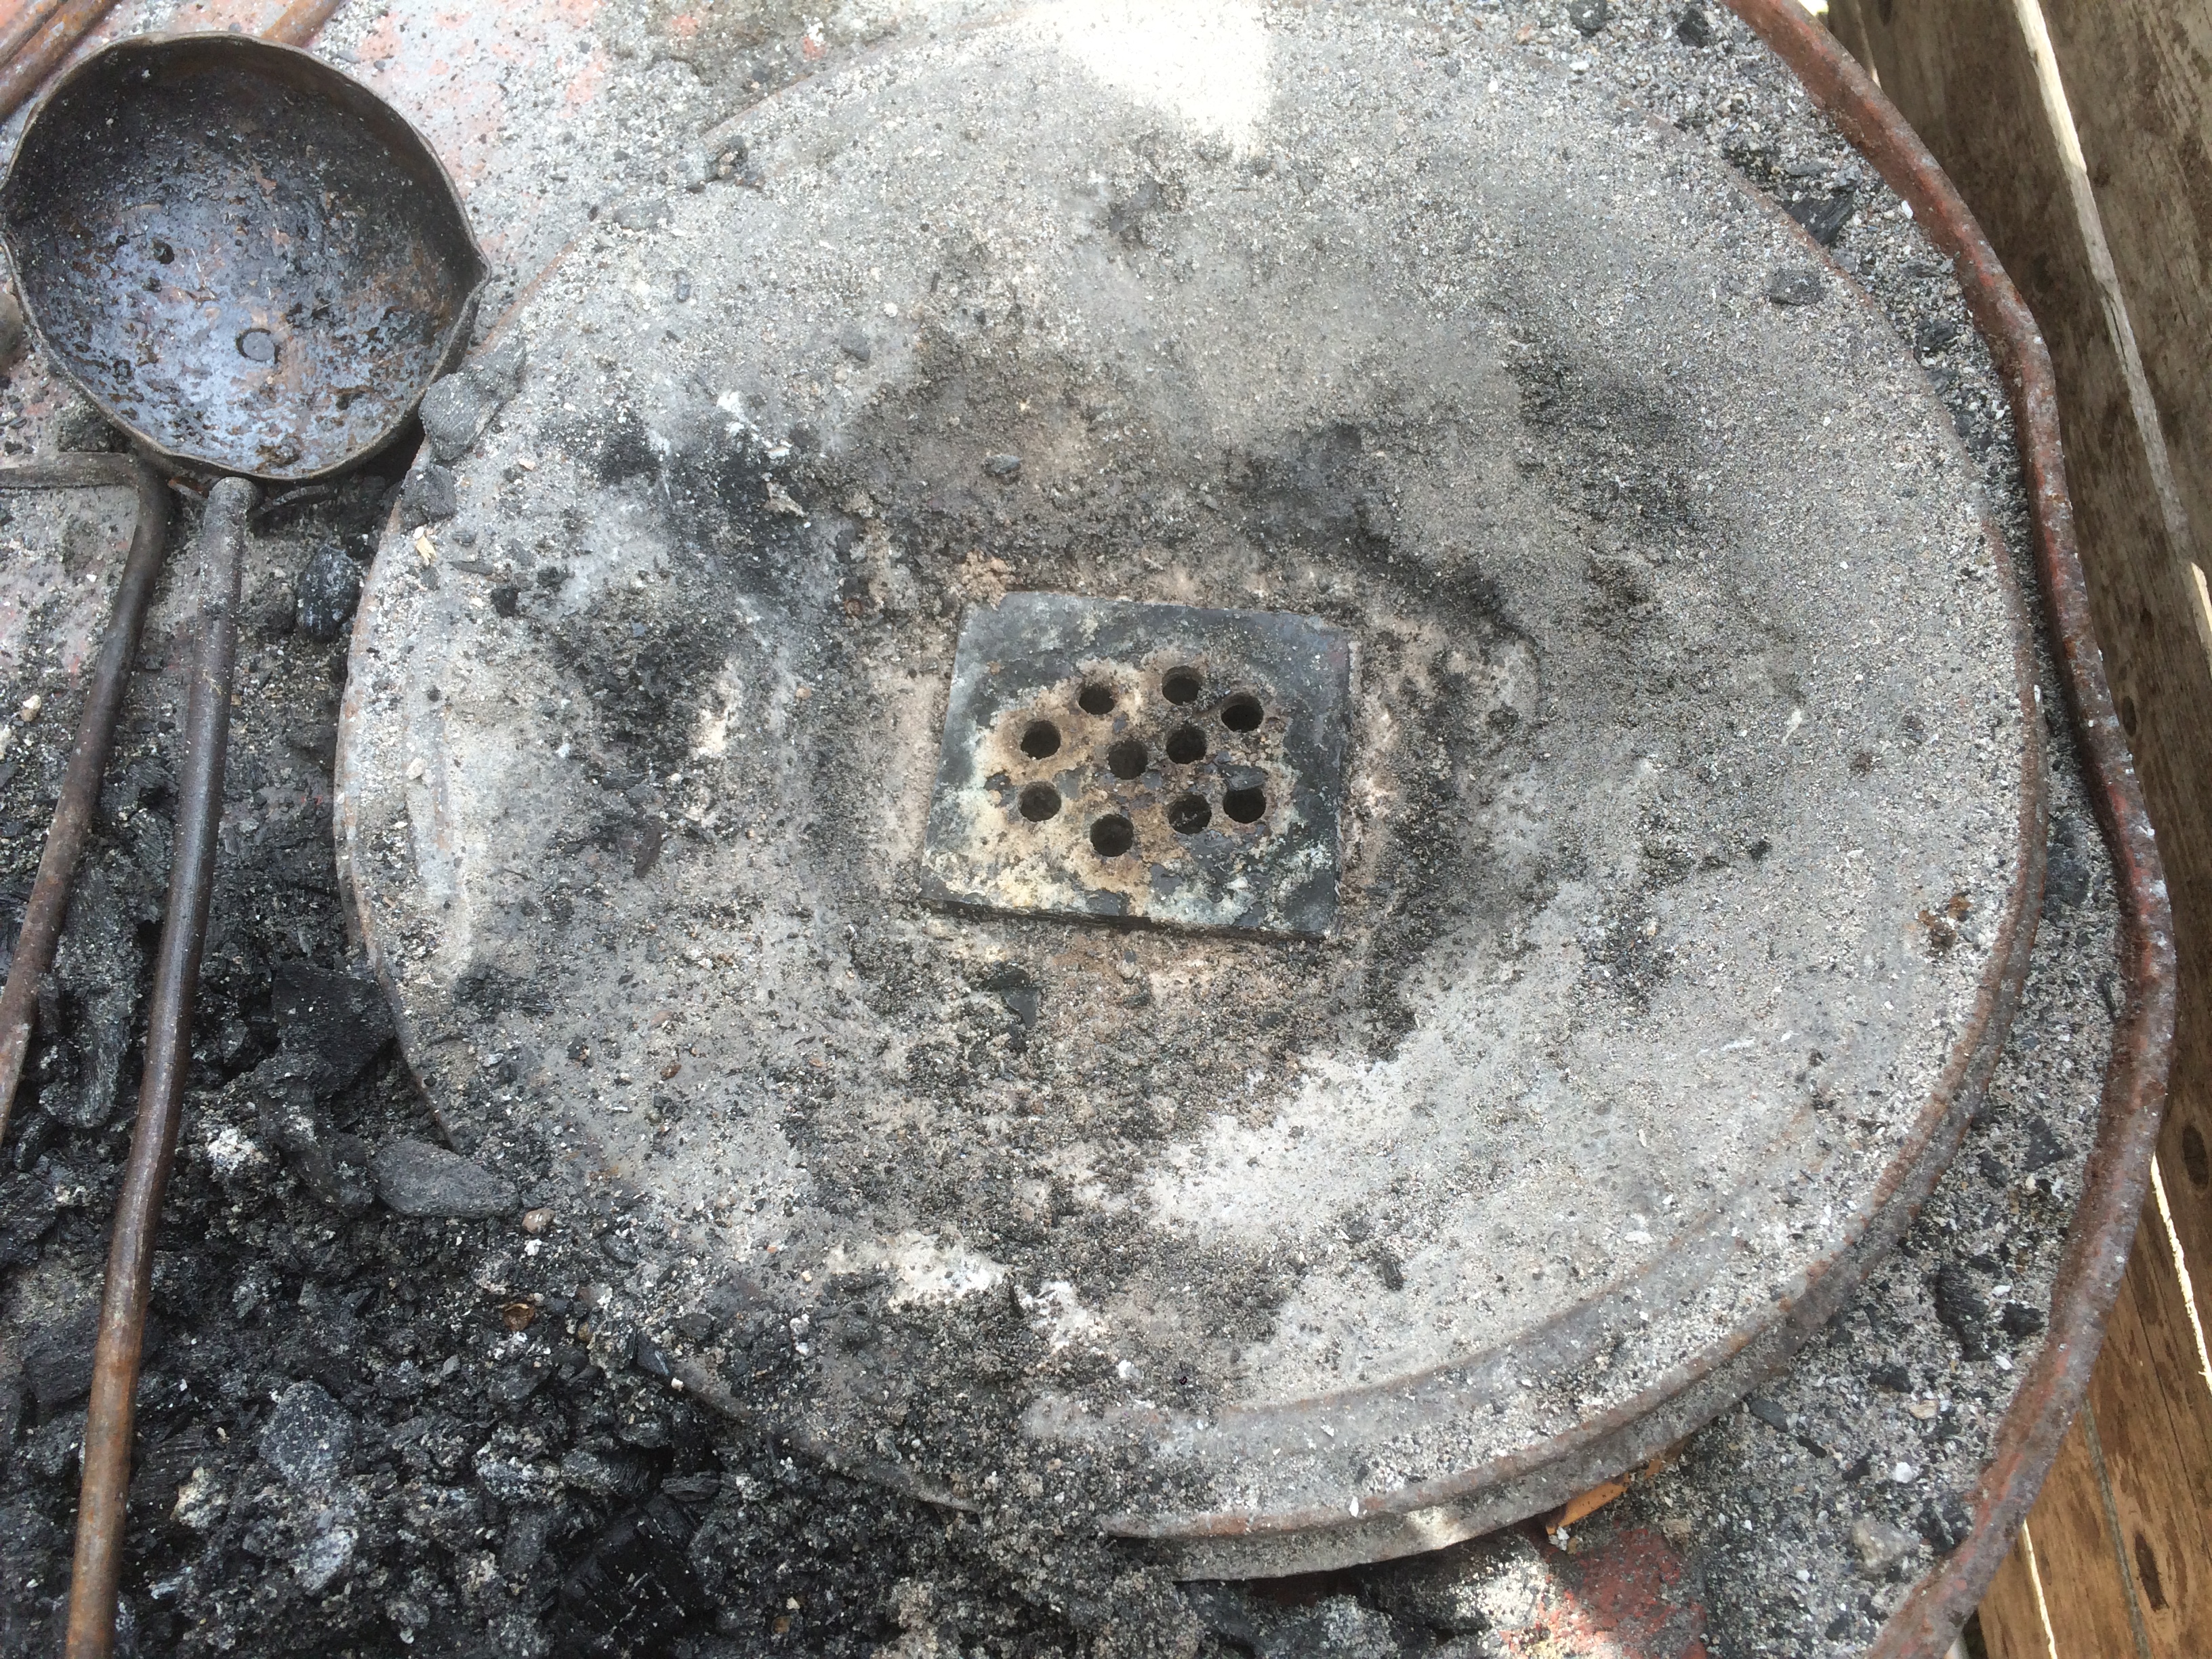
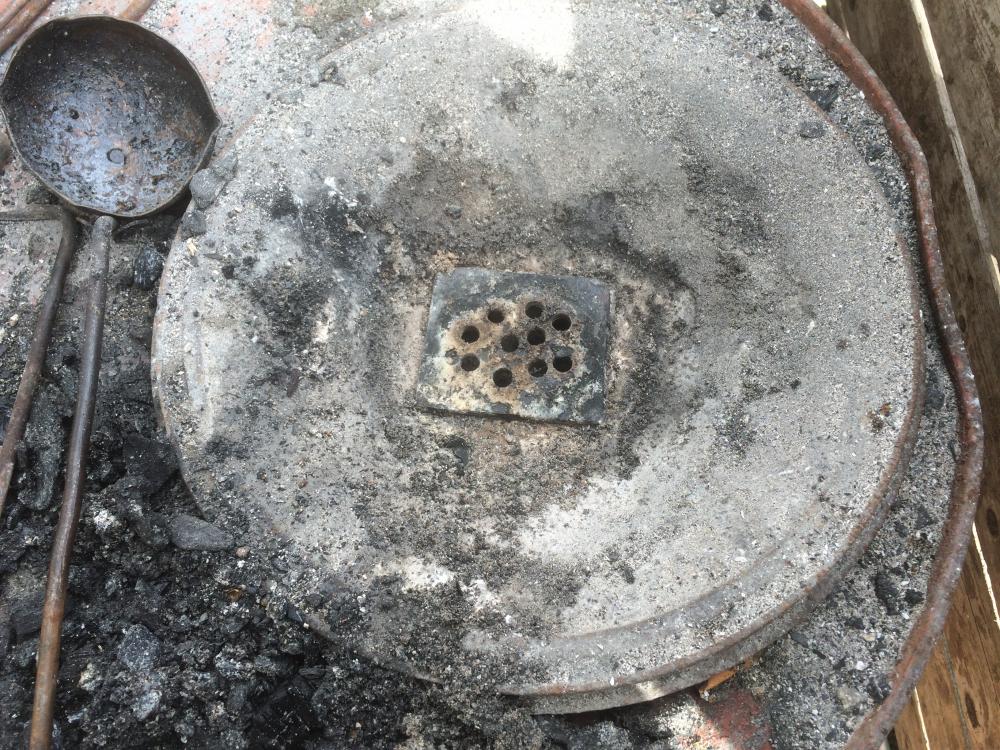
This how I control my charcoal forge. Mine is made grime a brake drum and made cone shape with plaster of Paris and sand mixed. I think I'd like it a bit deeper and steeper sides but it's working good as is. When working little stuff I keep the edges watered down. Also when firing it up I just use paper. Once it's burning hit the air on low and add the charcoal. Hard to see in the pic but my pot is 4" deep


-
Break your charcoal up in to smaller chunks and you'll have better results. I like 1/2"-1" best
-
Thanks for the tips fella's
-
Neither of those are my issue. My only issue is the lack of personal time these days to play in the shop! But winter is only 5 months away where I will have tons of free time and no money to spend. I will continue stocking my scrap yard and fuel till then and working (playing) when I get the chance. Haven't paid for a peace of steel yet Winter is coming.....