lanternnate
Members
-
Joined
-
Last visited
Everything posted by lanternnate
-
That spalted beech sure is purdy. Superb job on the Scandi grind on this one.
-
So you made something that ultimately won't totally work out because the steel you started with. Guess what? We've all made stuff that ultimately didn't work out even when we started with the proper steel. You managed to make something that looks pretty good and you learned some things in the process, so don't get discouraged. Hang that guy on the wall in the shop and have another go at it with some higher carbon steel. If using repurposed steel take a look at some of the threads on here about testing carbon level. There's the spark test method described in some threads. I've personally never gotten the hang of that, so I just take a small piece and sample harden it and try breaking it. Even a simpleton like me can tell a snap from a bend
-
Obviously for when he doesn't do a good enough job grilling the steaks
-
Hmmm sounds like a lot of fuss that could be solved by just drilling the holes before heat treat With a small knife it may not be really possible to get the blade entirely to desired heat without also getting the tang heated. Trying would also make me a bit worried about the difference in heat from tip to ricasso where I'd prefer that be as uniform as possible. If the tang is heated but not quenched, you still have a heat mass when you remove from the quench that could creep back into the blade and possibly temper it higher than you want. I get the benefits on larger longer blades or things like axes, but on small knives are the potential forces involved worth the potential undesirable side consequences? I would think modern steel uniformly heated, quenched, and tempered would provide sufficient toughness with least chance of something unwanted occurring. Is this incorrect thinking?
-
Don't screw it up in the first place is great advice, but advice I personally am rarely able to abide by Once you're to the point you are with these, yeah it's kind of grind the crud out of them. Next round after doing the main forging you can do some "flattening" forging to fix up where you've over hammered some to reduce how much you have to do at the grinder. I'm jealous of those who have a proper flatter for this, but I do it with a small ball peen hammer. Using lighter more accurate blows I'm able to work down some of the high spots and bring things to a better place for grinding. If anything is way out of whack flipping the hammer over and using the ball end can help push down a mushroom etc. then go back over with the flat side to even out. This is also where I try best as I can to fix up any thickness or twist issues to again reduce grinder fixing needs.
-
Looking good. Glad it turned out to work. I have read but not tried using a buffing compound like Zam post etch instead of going sandpaper can knock off the loose oxides with a little less worry of having the sandpaper get into the spots you don't want. That looks like a monster of a billet! Good luck, look forward to seeing it as it goes.
-
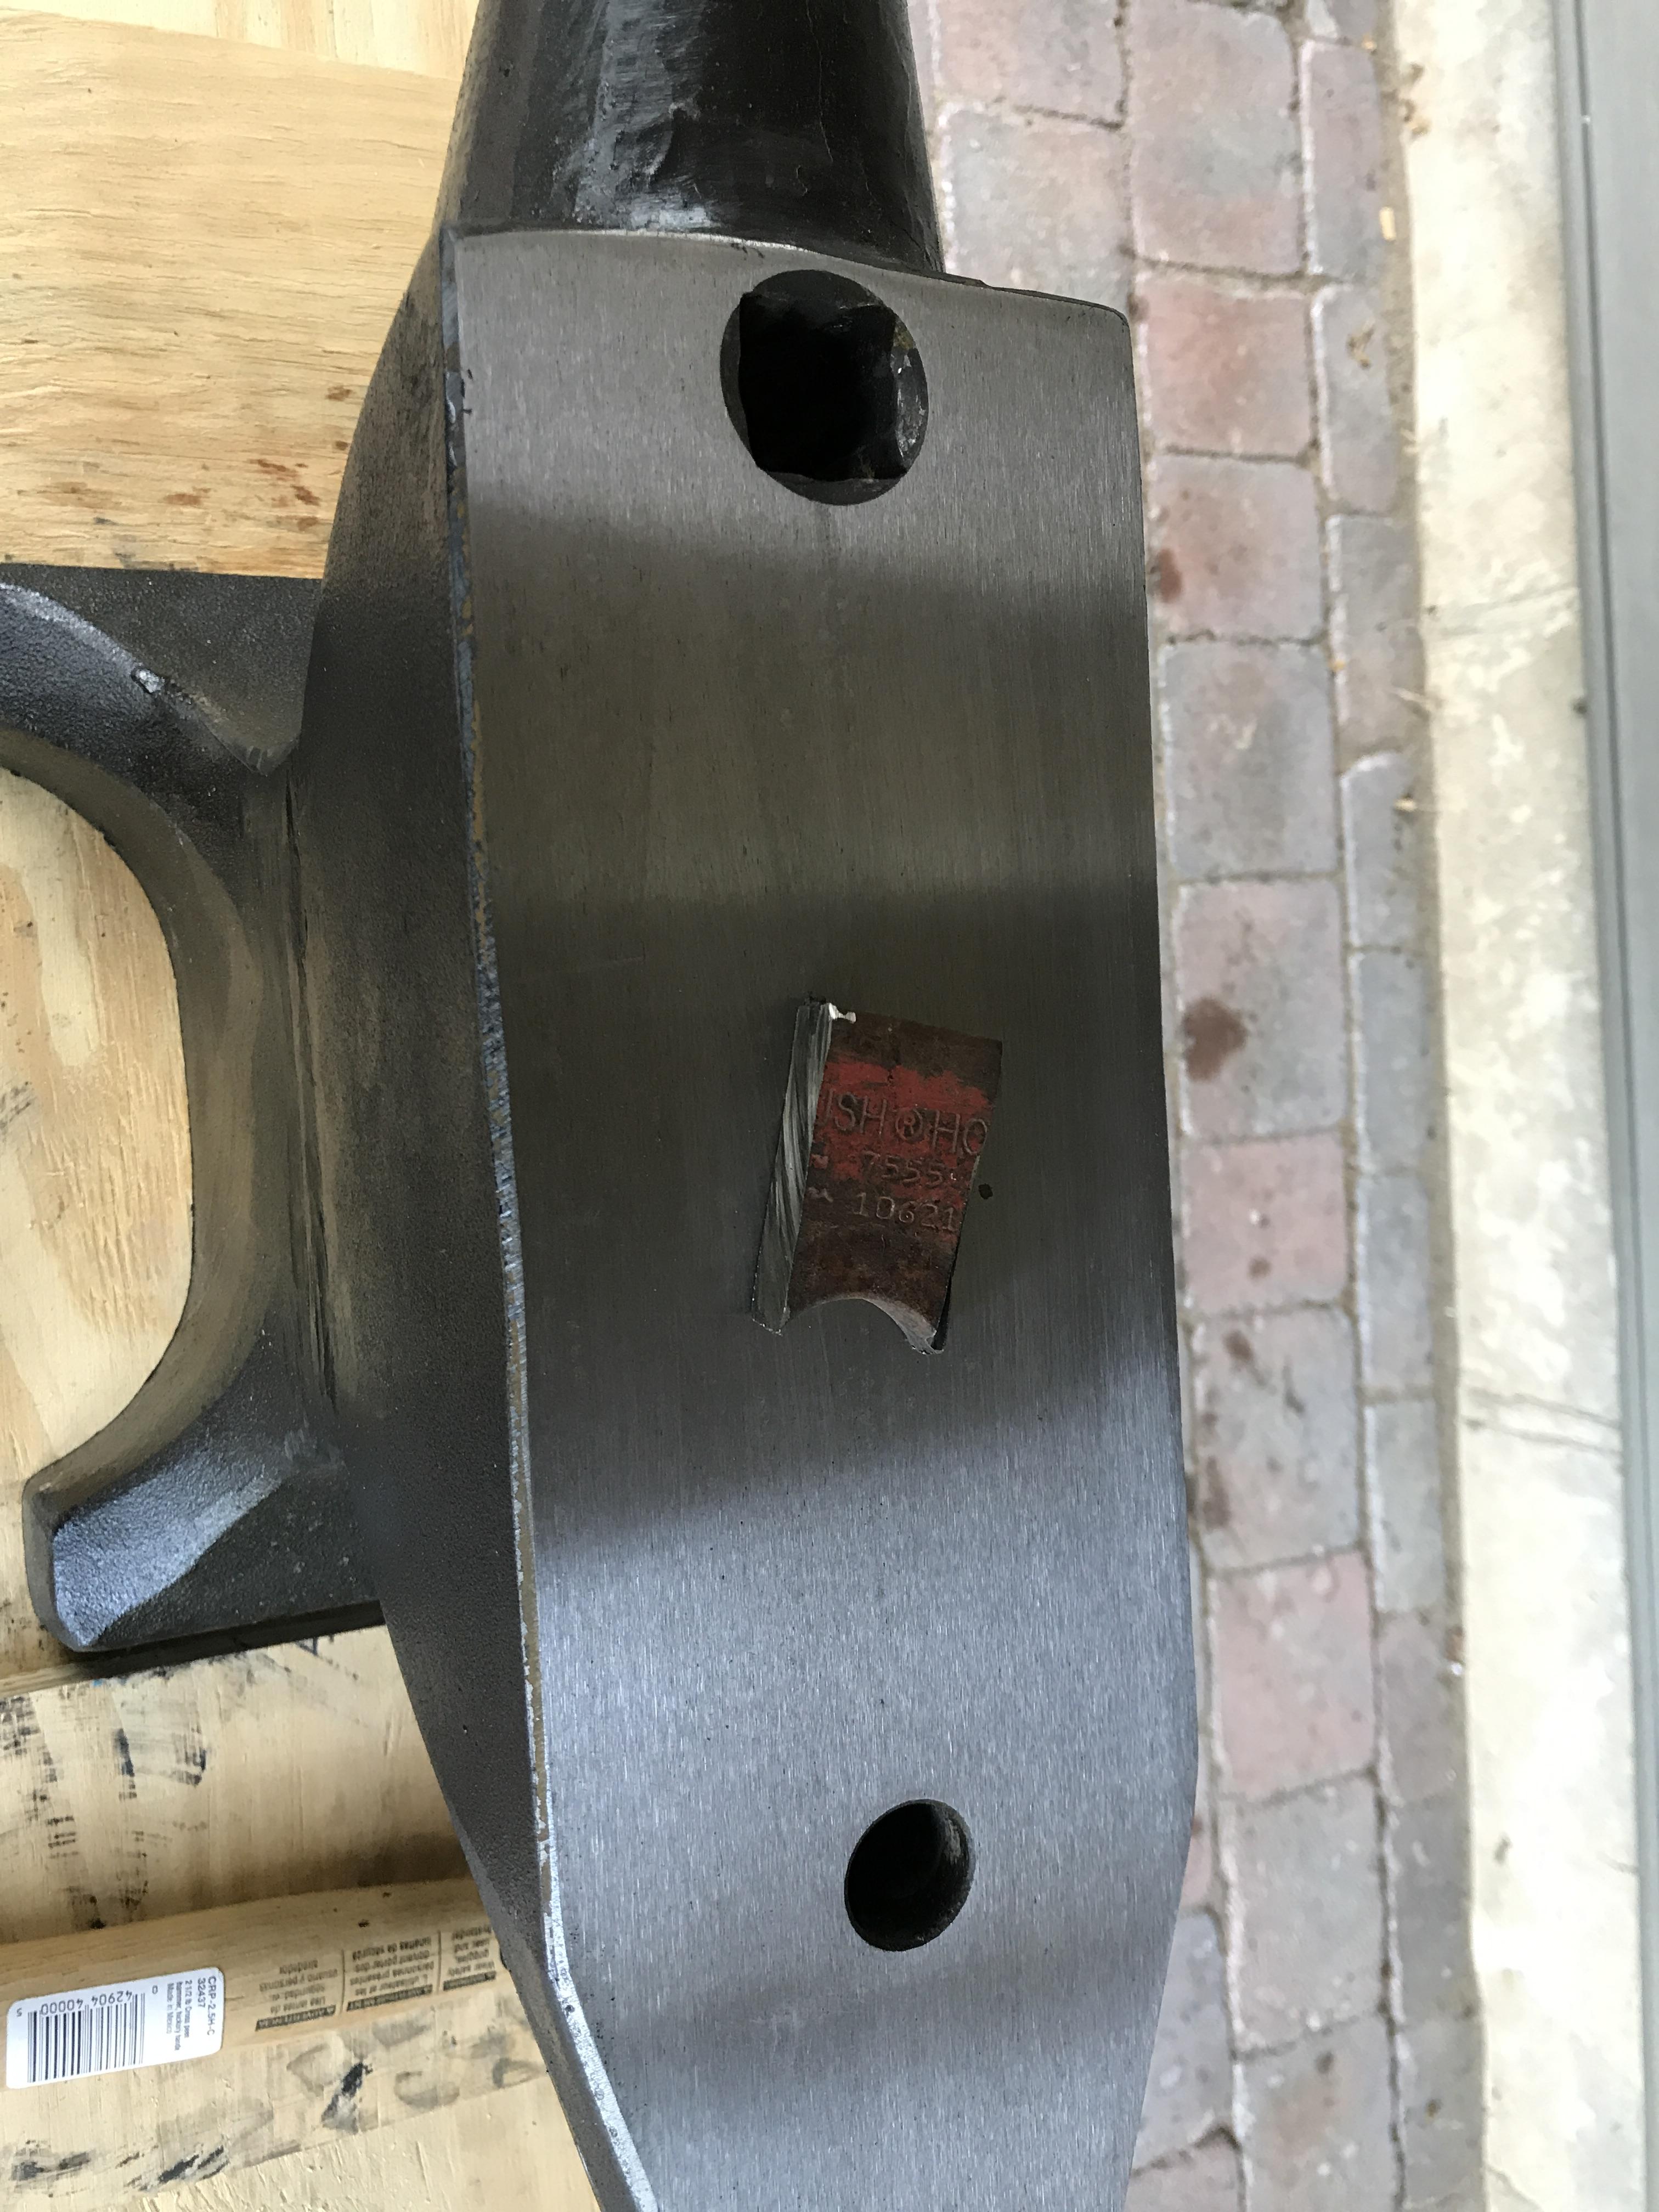
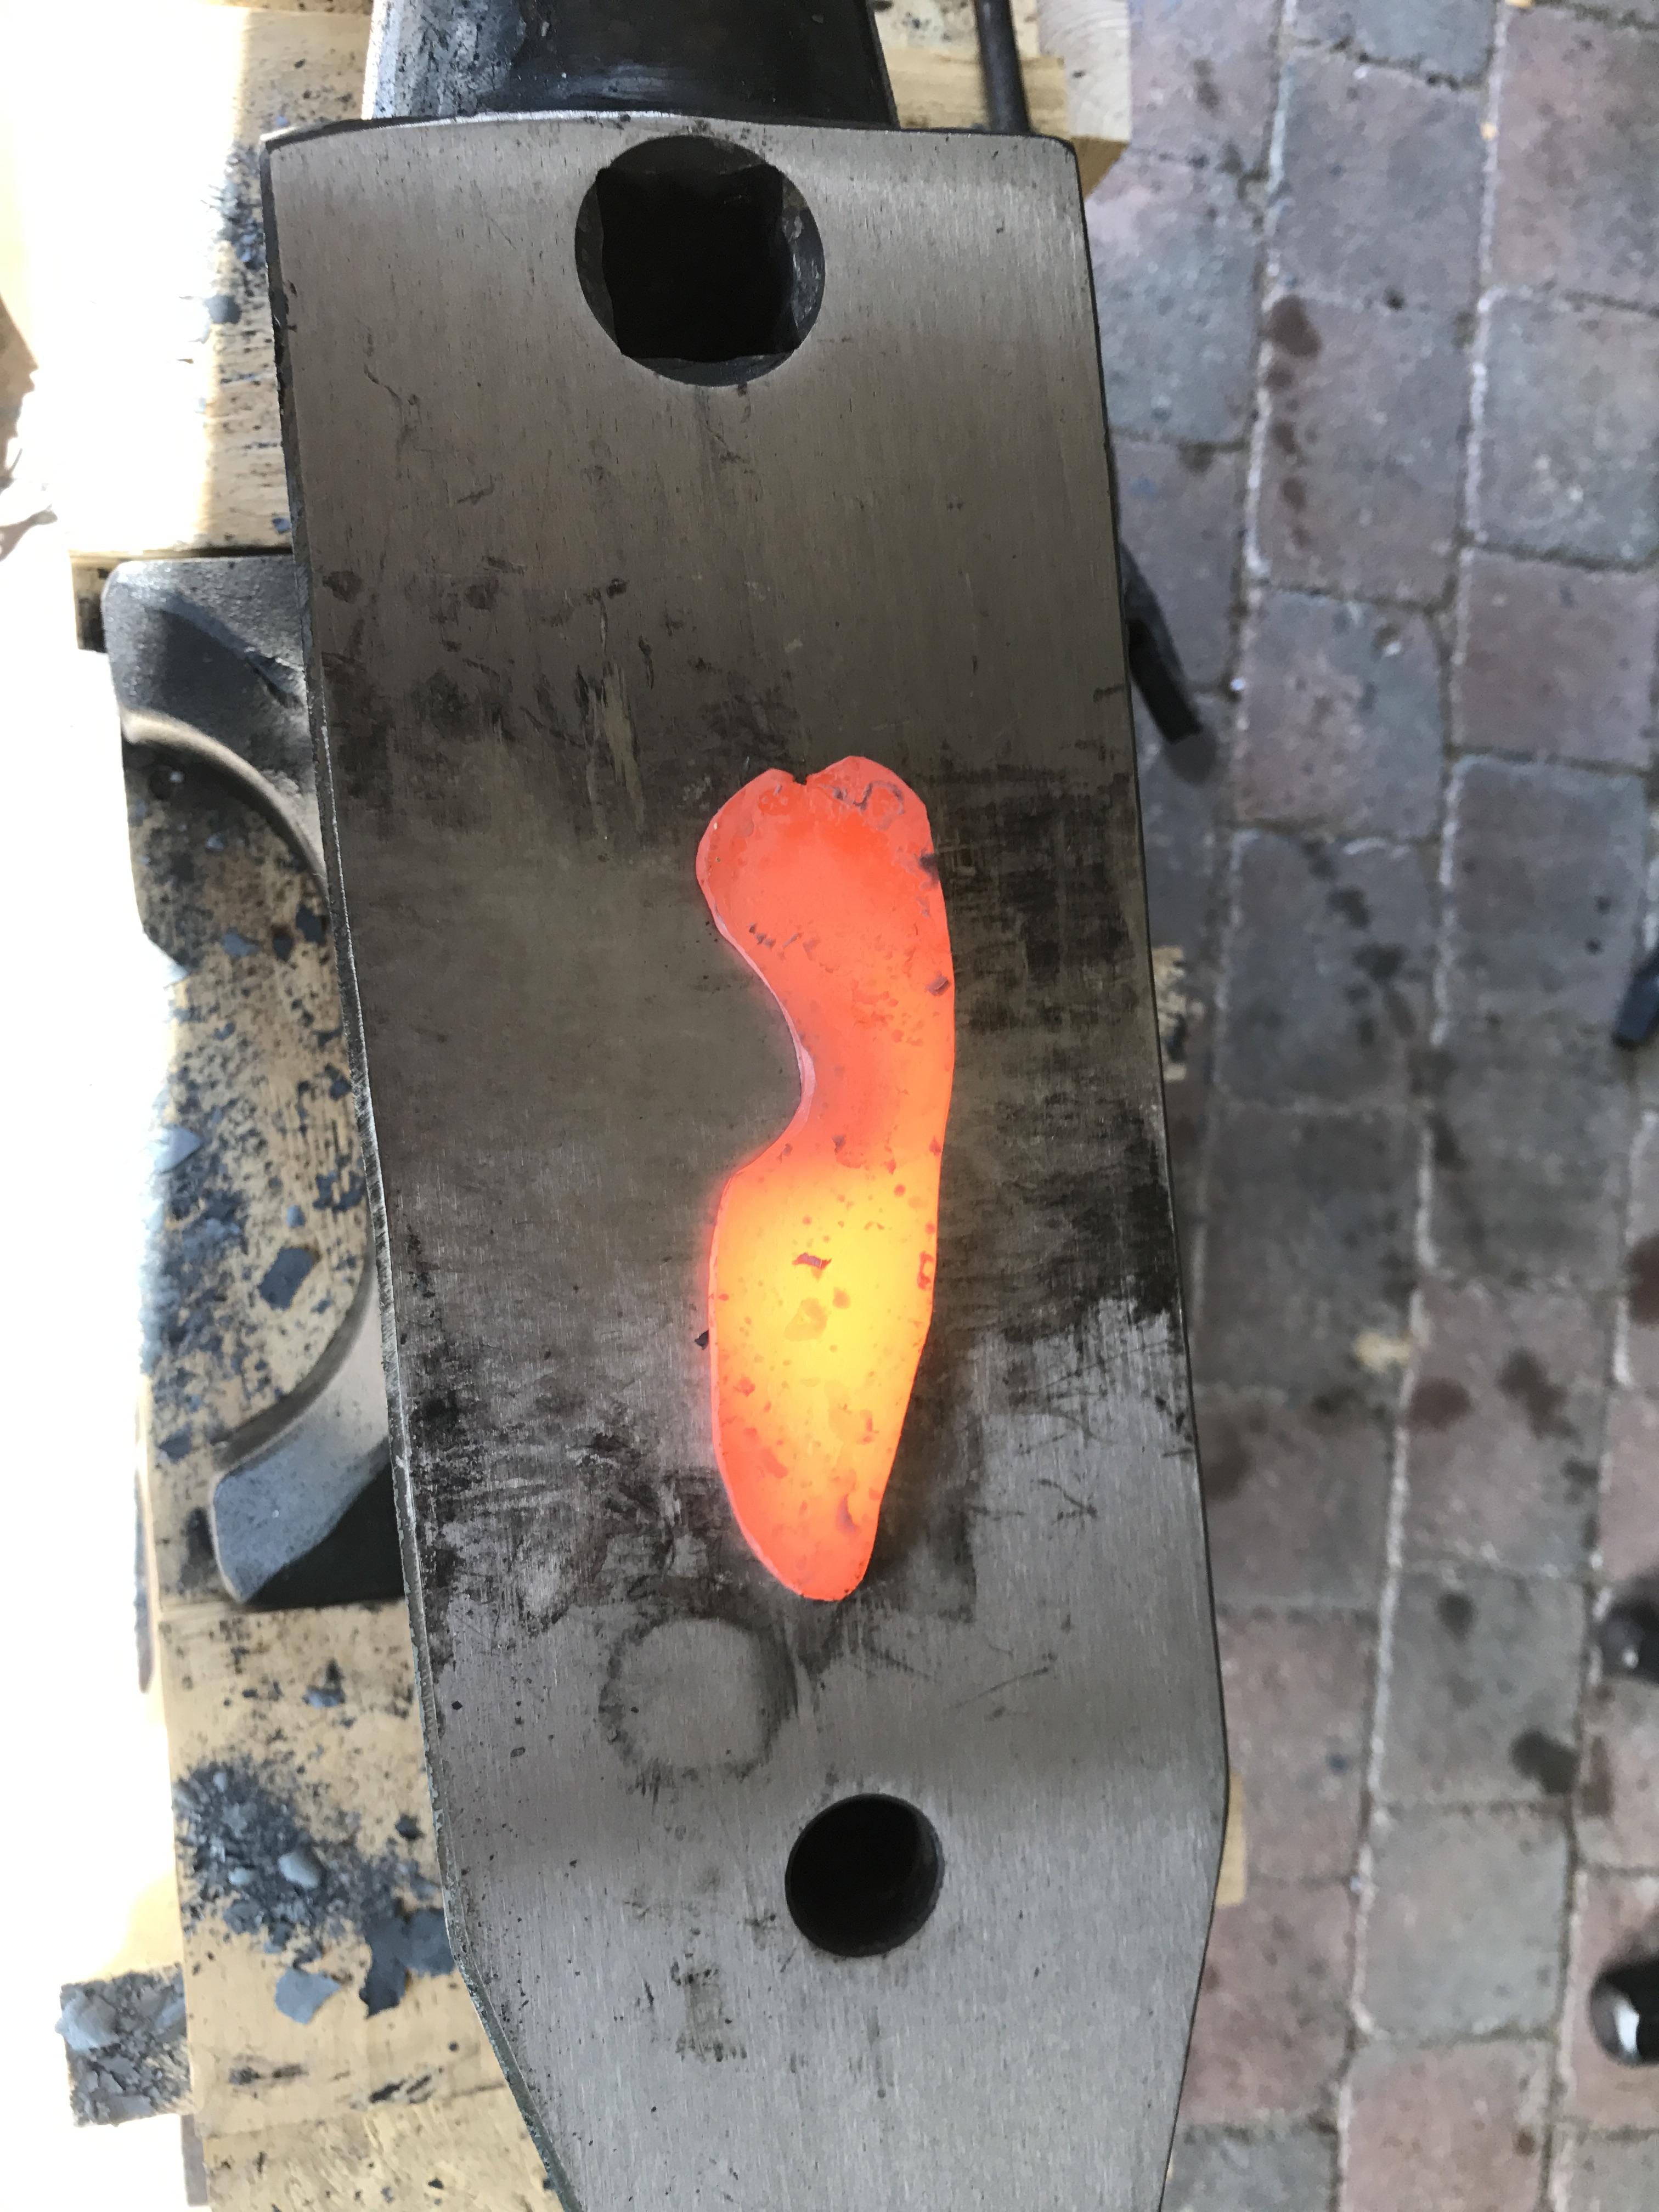
My wife bought me a new anvil back in March, but I hadn't used it yet due to lack of an appropriate stand. For some reason I just got the irresistible urge to finally use it, so I rigged up a completely inappropriate stand for it. It let me get some hammering in on it though. Just finished forging to shape a quick little neck knife out of a nub of steel off a bush hog blade. Using this vs my railroad track really makes me wish I had gotten up the gumption to figure out a stand sooner. Everything just worked better, and having a legitimate horn was world changing when it came time to shape the tang. The steel moves so much easier as well.
-
Ugh, sorry to hear that, hope you feel better soon. Don't know where the 52100 will land in the spectrum, but I've seen Don Hanson damascus of W2 and 15n20 that does a nice subtle contrast with the W2 not getting super dark. That's has me thinking between the 1095, 15n20 and W2 at least there should be an interesting tri color thing going on there. As for smashing it out sideways, Alec Steele does call that the most evil thing you can do to a piece of damascus in one of his videos, so I'd say if your weld holds up to it you've done a good job
-
How'd your test turn out? Interested to see just what kind of contrast it yielded in practice.
-
Here's metal info on 8670: https://www.alphaknifesupply.com/zdata-bladesteelC-8670.htm Not one of the steels being discussed for use, but provided as an example stating the .88% nickel content is insufficient for a good shiny layer in damascus. When you look up 52100 you get no nickel and W2 has .20%, so we aren't finding a nickel champ here. The two steels are also fairly close in manganese that is also cited regularly as a factor of how a steel reacts to acid etching. Will there be a slight difference? Maybe, but I think the testing of small piece first is wise. I've seen where smiths weld the same steel to itself and get a "pattern" of the weld lines, but the damascus look where the layers themselves are different appears to require metallurgical differences, notably nickel content. If his friend wants that stark contrast, he may not be happy with a pattern that shows weld lines but can't discernibly say this is the W2 layer and this is the 52100 layer. Also, please note I never said it wouldn't work, just that the resulting pattern may not have the contrast the friend desires. Mr. Sells, do you have a reference to cite that W2 and 52100 will etch to a significant contrast such that doing a test etch first would be unnecessary?
-
My question would come before even worrying about the heat treat. The entire point in damascus is to have the visual effect of two different etching steels. I'm not sure that even if you succeeded at everything involved that those two steels would even etch differently enough to show the pattern. I'd think it would all muddle together and look like homogeneous steel. That would beg the question, why go to that much work for something that won't look like anything. He'd be better off having you make two different knives. Or if he really wants damascus have him get some 15n20 to go with that W2.
-
It's not a perfect method, but it works until I have things refined enough to order proper stencils. I print out the image in the size I want (can't be taller than a piece of electrical tape is wide). Then I cut the image out of the paper, not right to the image just cut a square/rectangle somewhat close around the image. Then I put a piece of electrical tape down on some scrap metal or wood. Next use scotch tape to tape the image onto the electrical tape. I cut the image out carefully with an exacto knife. Take off the scotch tape and paper, and gently peel up the electrical tape and you have a stencil you can place on the blade. I've tried both q tips and wads of old cotton t shirt as my etching pads. Seems the q tips do a better job etching and the t shirt does a better mark.
-
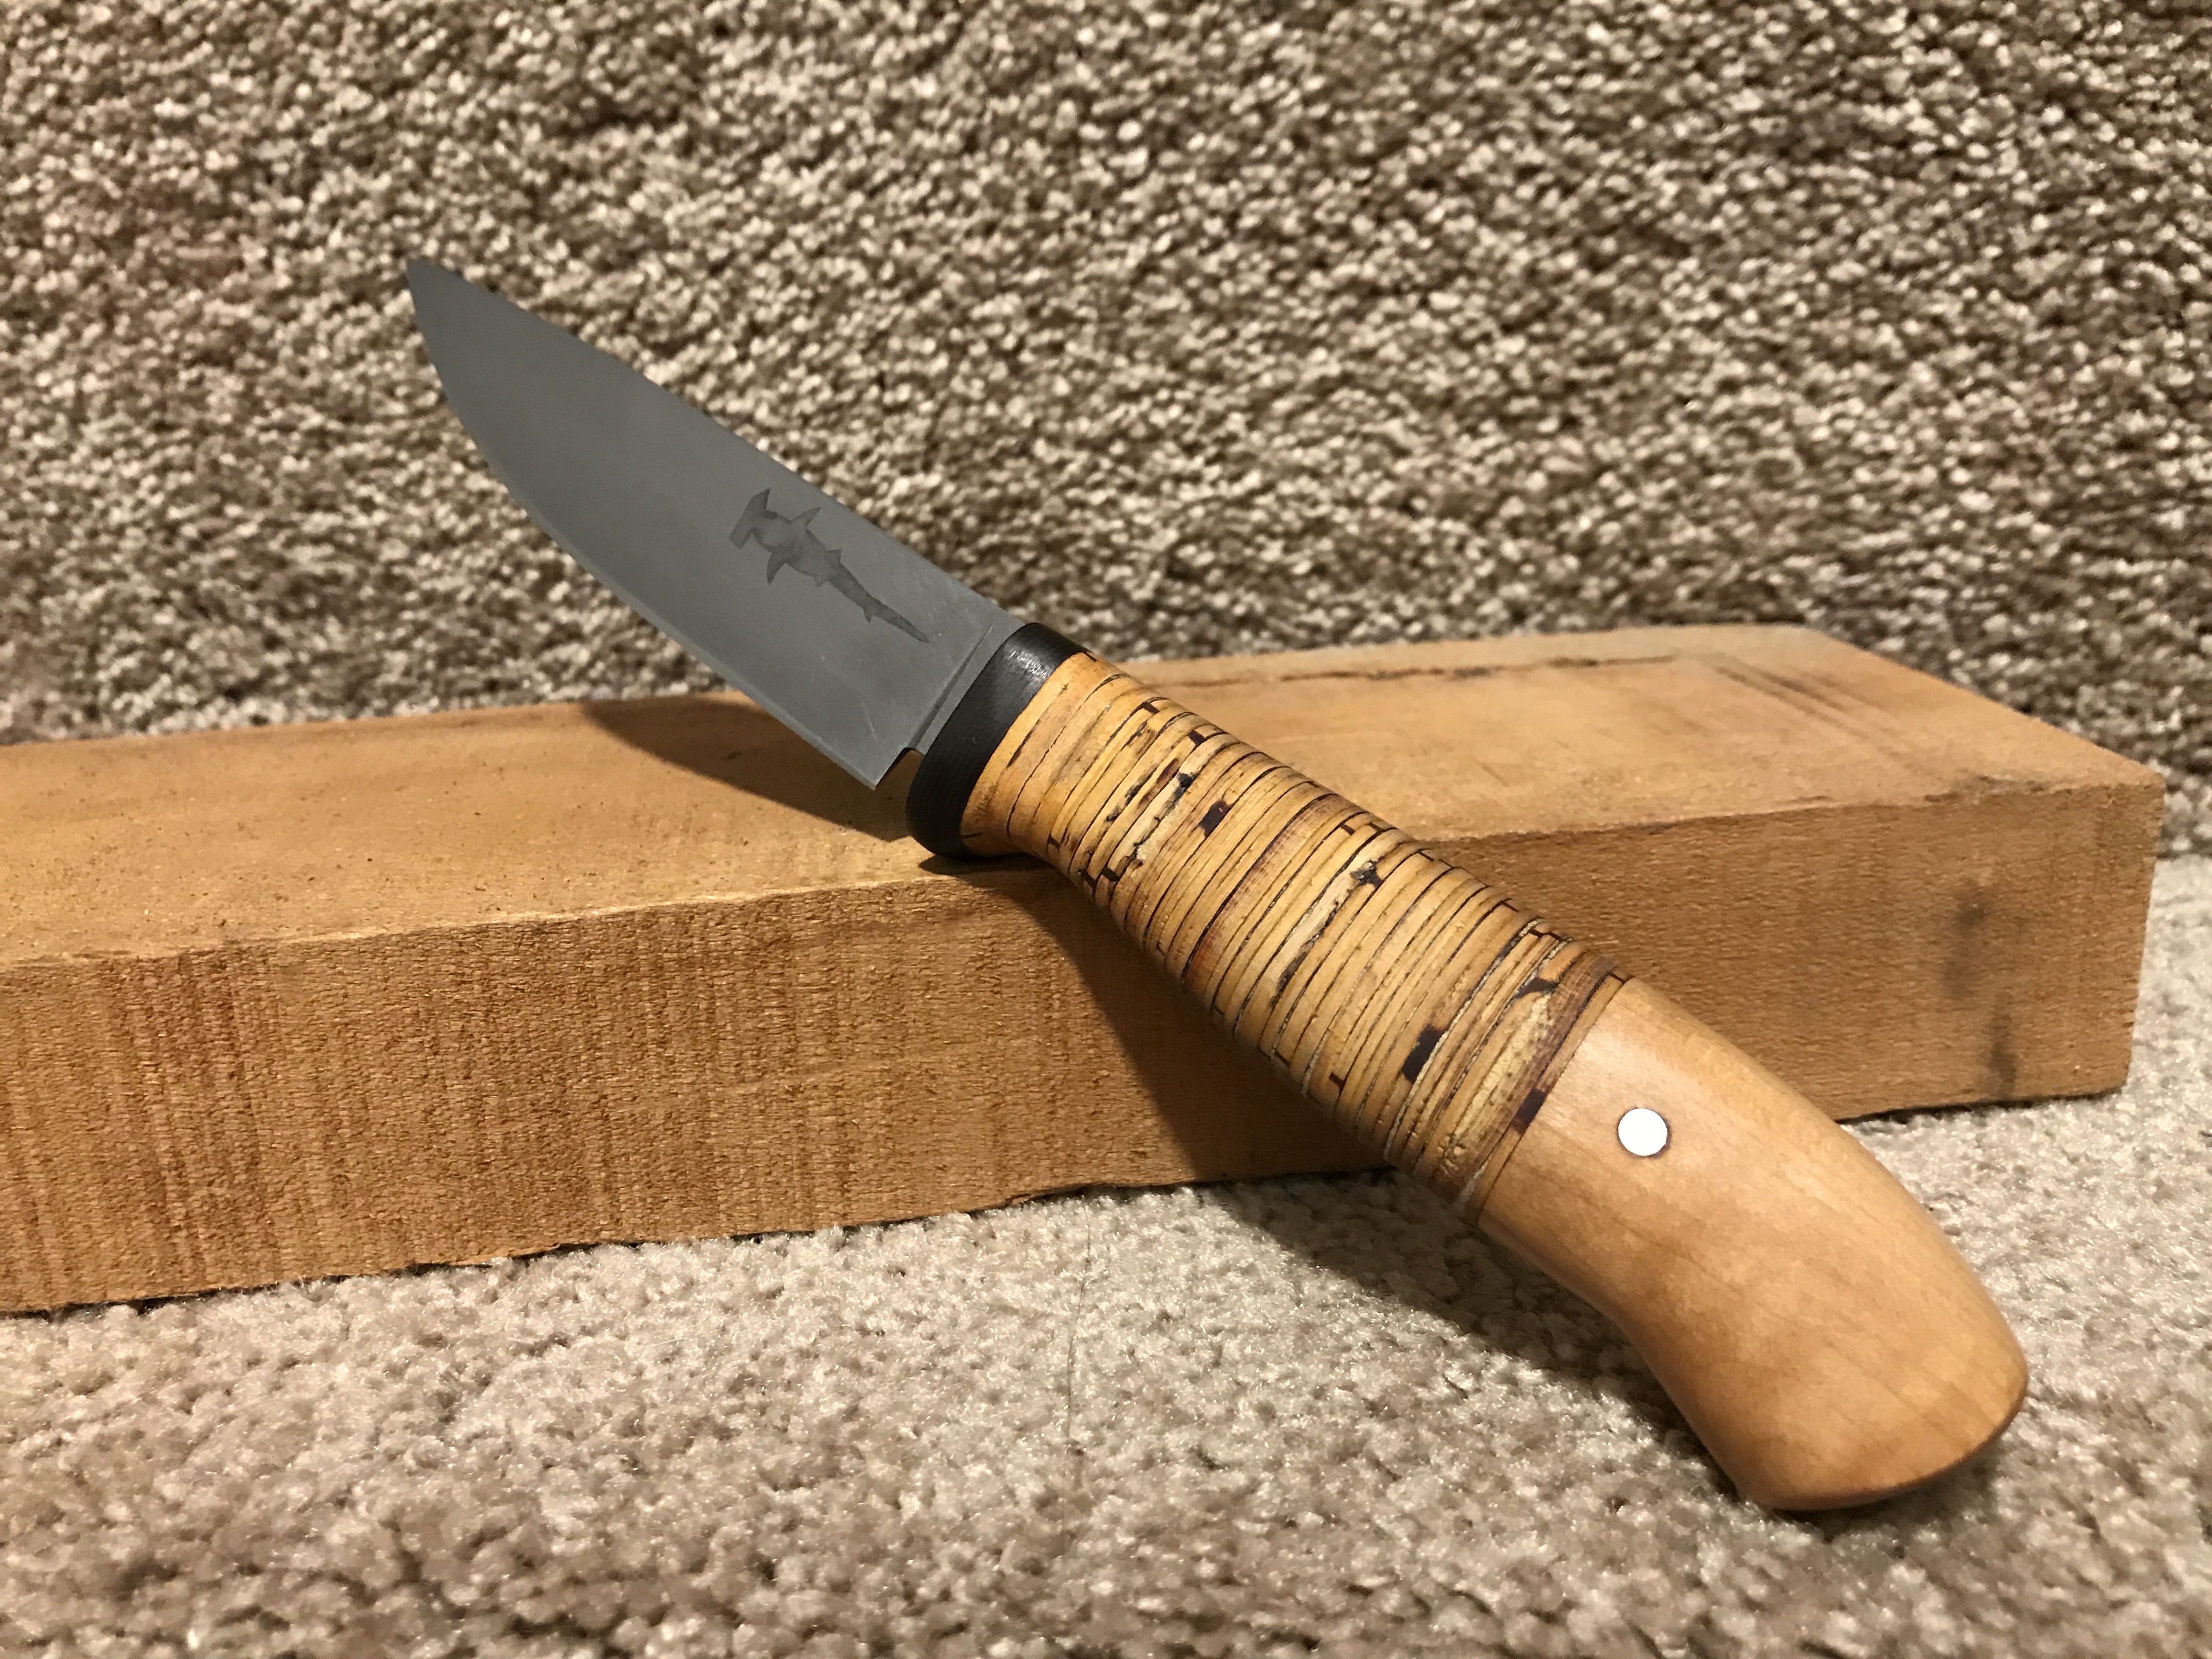
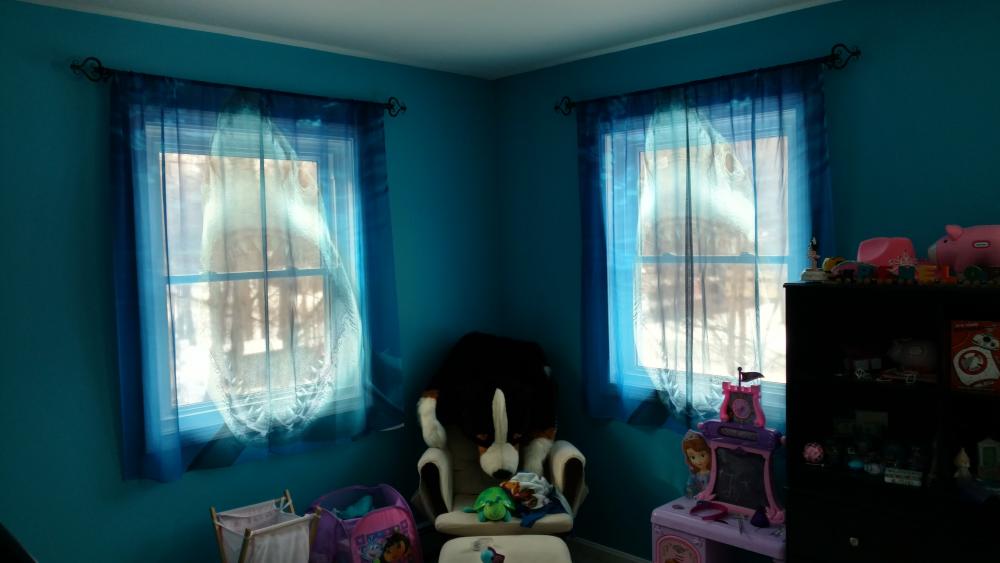
Haha, you guys are always good for a chuckle. They're married with a son now, so I think the ship has sailed on the more threatening surprise Now any boys coming around my daughters may get a different type of surprise! Luckily I have a few years before that (boy I hope I do at least). I appreciate all of the kind words. He was very happy with it. He's had a go at making a birch bark handle himself for a fly rod he's making, so he appreciates the level of pain in the tookas that is. I promised him a sheath once I teach myself the next part of this learning journey, leather work. I've got kydex sort of figured out, but kydex didn't seem right for this knife. Templehound, the hammerhead shark is from my daughters. My 8 year old informed me you are supposed to sign your "art projects". I told them about maker's marks and how bladesmiths often sign their work with pictures. My 5 year old daughter thought it should be a picture of a shark because she's obsessed with sharks. I thought it would be a fun idea to use a hammerhead shark and swap the head with a cross pein. My wife actually drew the shark for me on the computer. Then I printed that out and transferred it to electrical tape as a resist for the the electro etching. I guess in the end you could say the entire family played some part in the creation of this knife, which is kind of neat in itself. By the way, when I say the daughter is obsessed with sharks, I mean it. These are the curtains she picked out for her room (yeah I'm proud of my zany little girl):
-
Just finished this one up for my brother in law (as a surprise). Blade is forged from a John Deere mower blade, which seemed appropriate because he is a large John Deere fan. His two favorite hobbies are shooting clays and fly fishing, so I patterned the blade after a bird and trout. He builds race cars for a living, so I used red and black g10 (the fiberglass connection) for the front of the handle. His last name translates to something about birch, so the main part of the handle is stacked birch bark. The handle is backed with a piece of cherry that I've treated with hardener then sanded, treated with danish oil, then hand buffed with steel wool. No sentimental reason for the cherry, just thought it worked color wise Hopefully he likes it. My sister had let me know she thought he'd like one based on things he said about knives I've been giving others, but he didn't feel comfortable asking me to make him one.

-
Another cheap source of wood "scales" is hardwood floor excess. If you can find an installer or a seller you can check if you can acquire their scrap pieces and shorts. That can get the classic oak, but also sometimes some of the more interesting stuff.
-
Plunk a firebrick in the toaster oven and preheat it. The brick is going to absorb the heat and regulate the fluctuations. Simple but effective. On the original topic, I'd much rather dedicate a toaster oven to tempering than a deep fryer. Toaster ovens are cheap, even a new one, and it'll just overall be a cleaner endeavor.
-
I'll need to take better pictures once I can work up a better lighting situation, but here is the initial "collaboration complete" shot. Thanks for giving me the opportunity to work on this project Theo.
-
Sorry Theo, I thinned it out a bit too much to risk another round of heat treat. I did some playing around with etching and sanding, and I have it at basically a 600 grit satin right now where the hamon kind of ghosts through just at the tip. I'm kind of liking it, I may play with it some more, but I've moved to the handle for now. Went with curly koa and hidden pins so you just see wood. Just finished shaping on the grinder. Need to blend by hand still then do some danish oil wet sanding to bring out the curl.

-
-
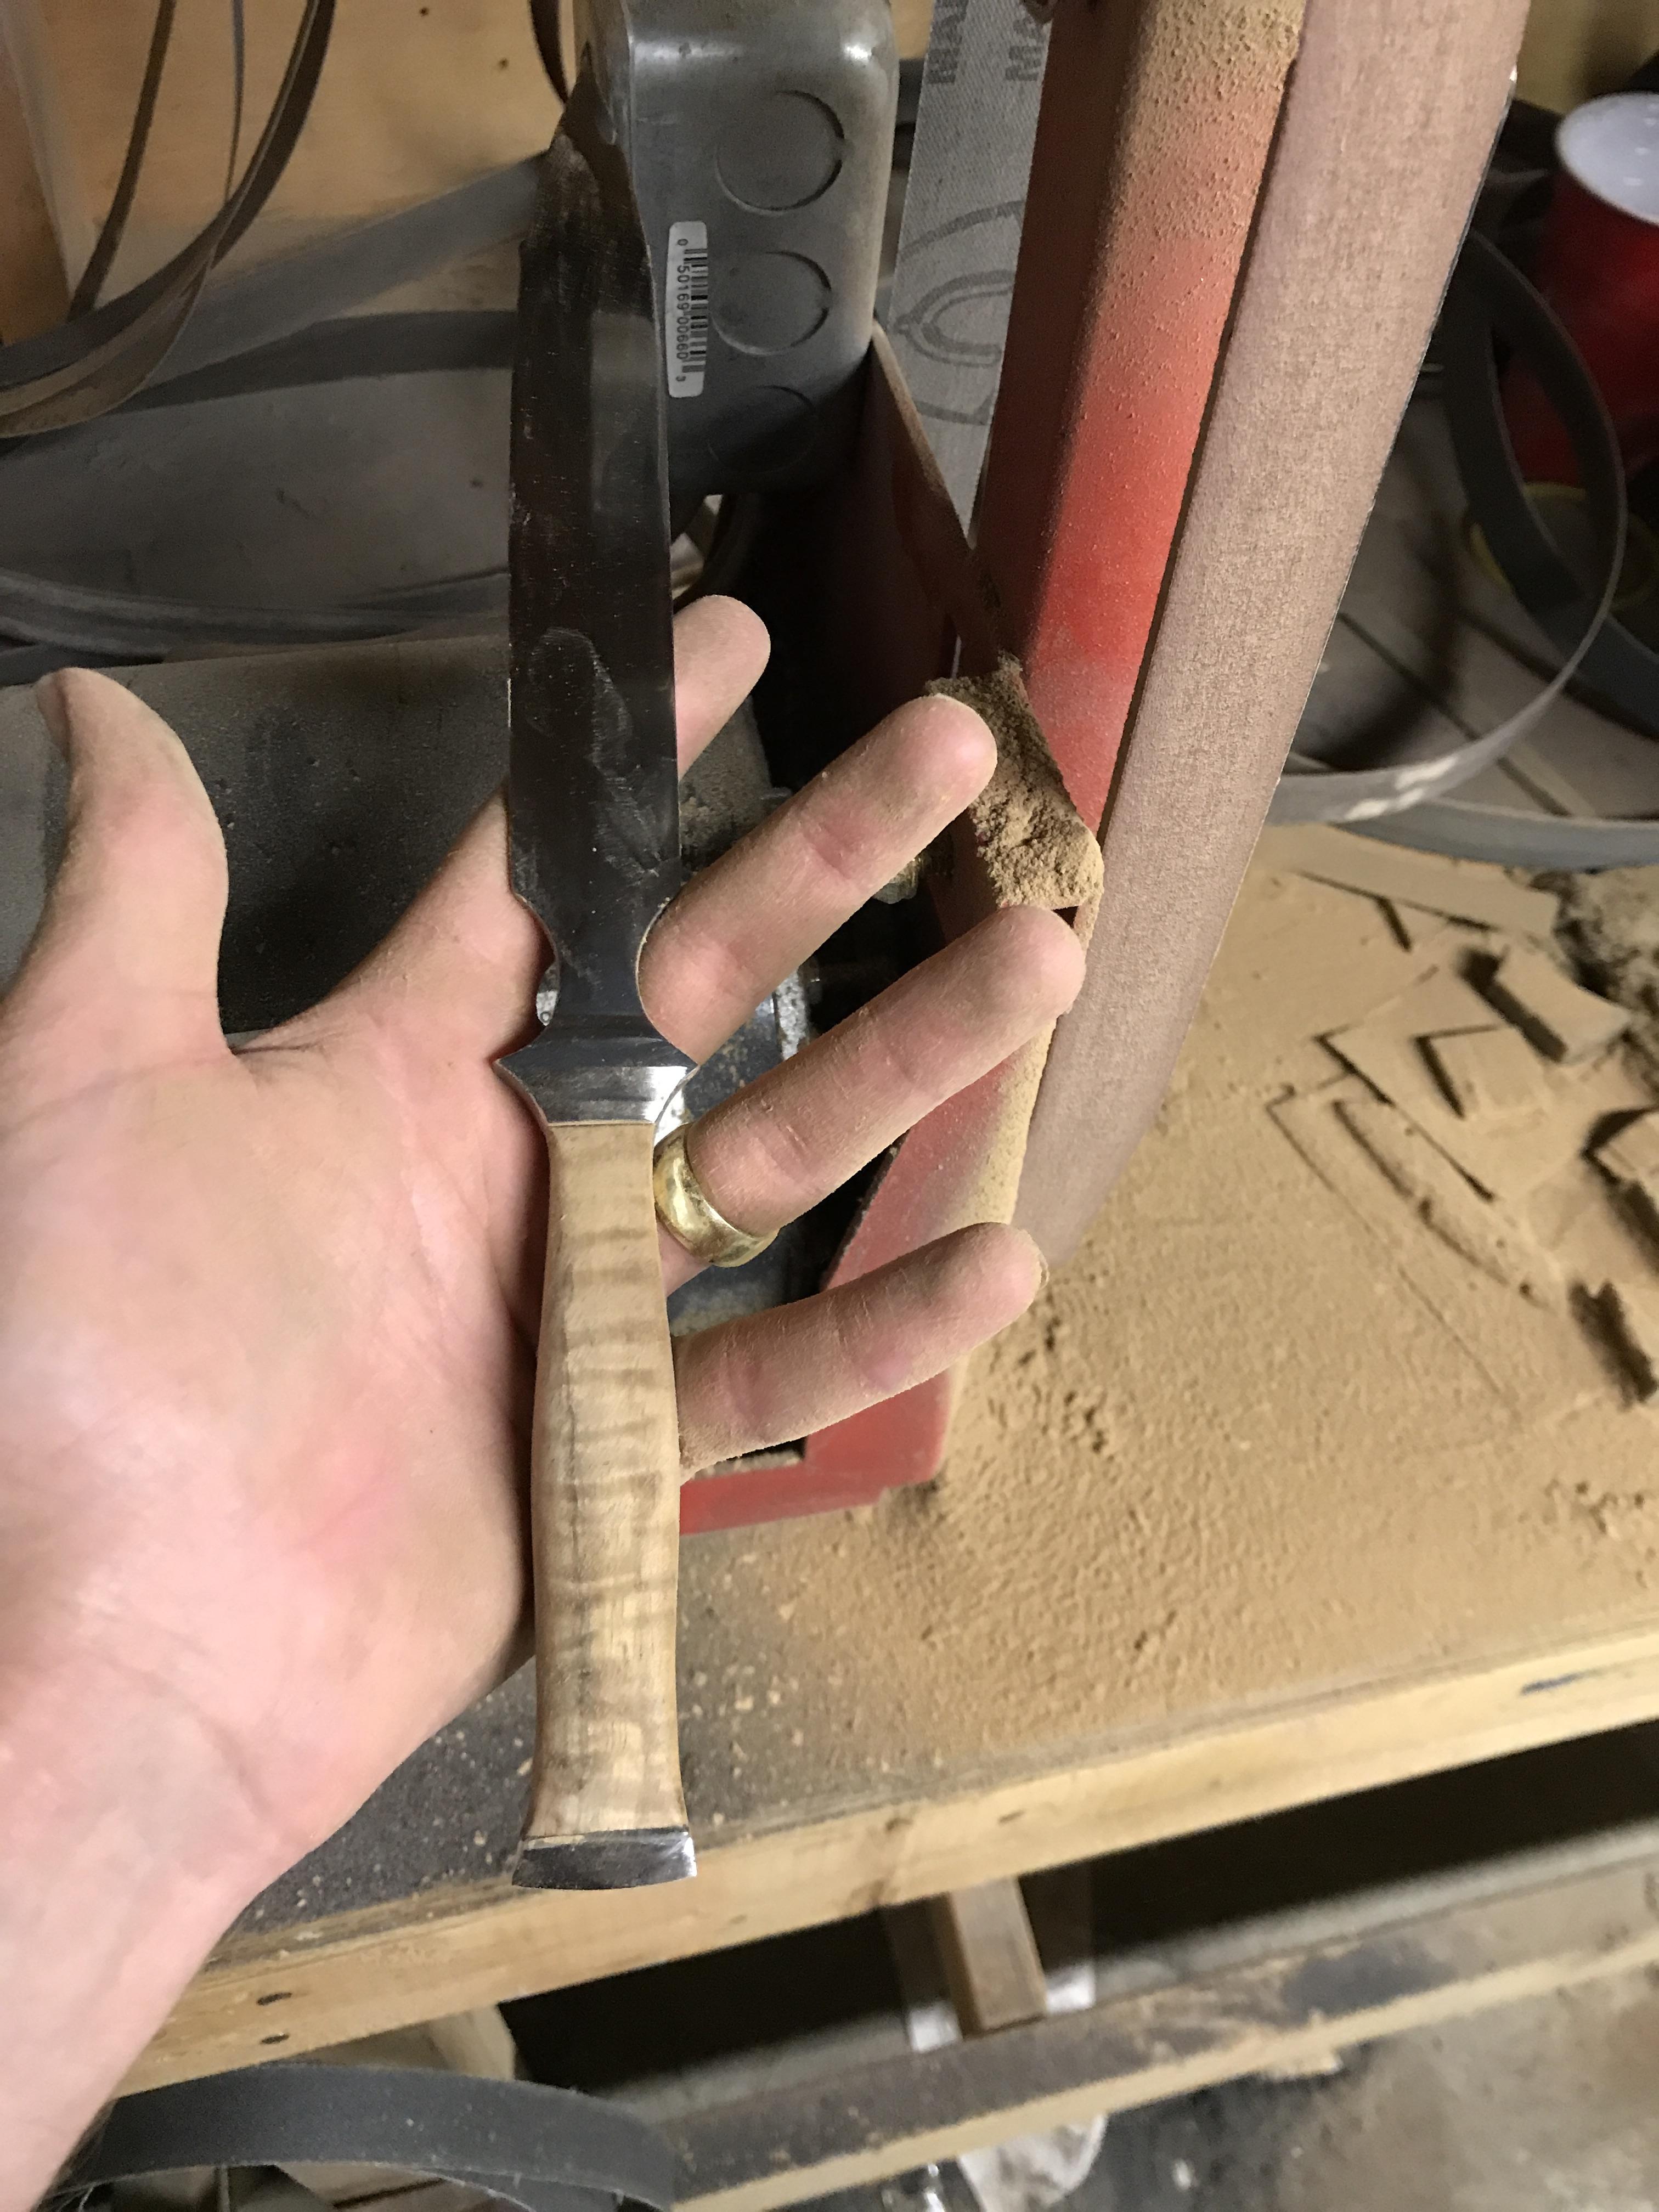
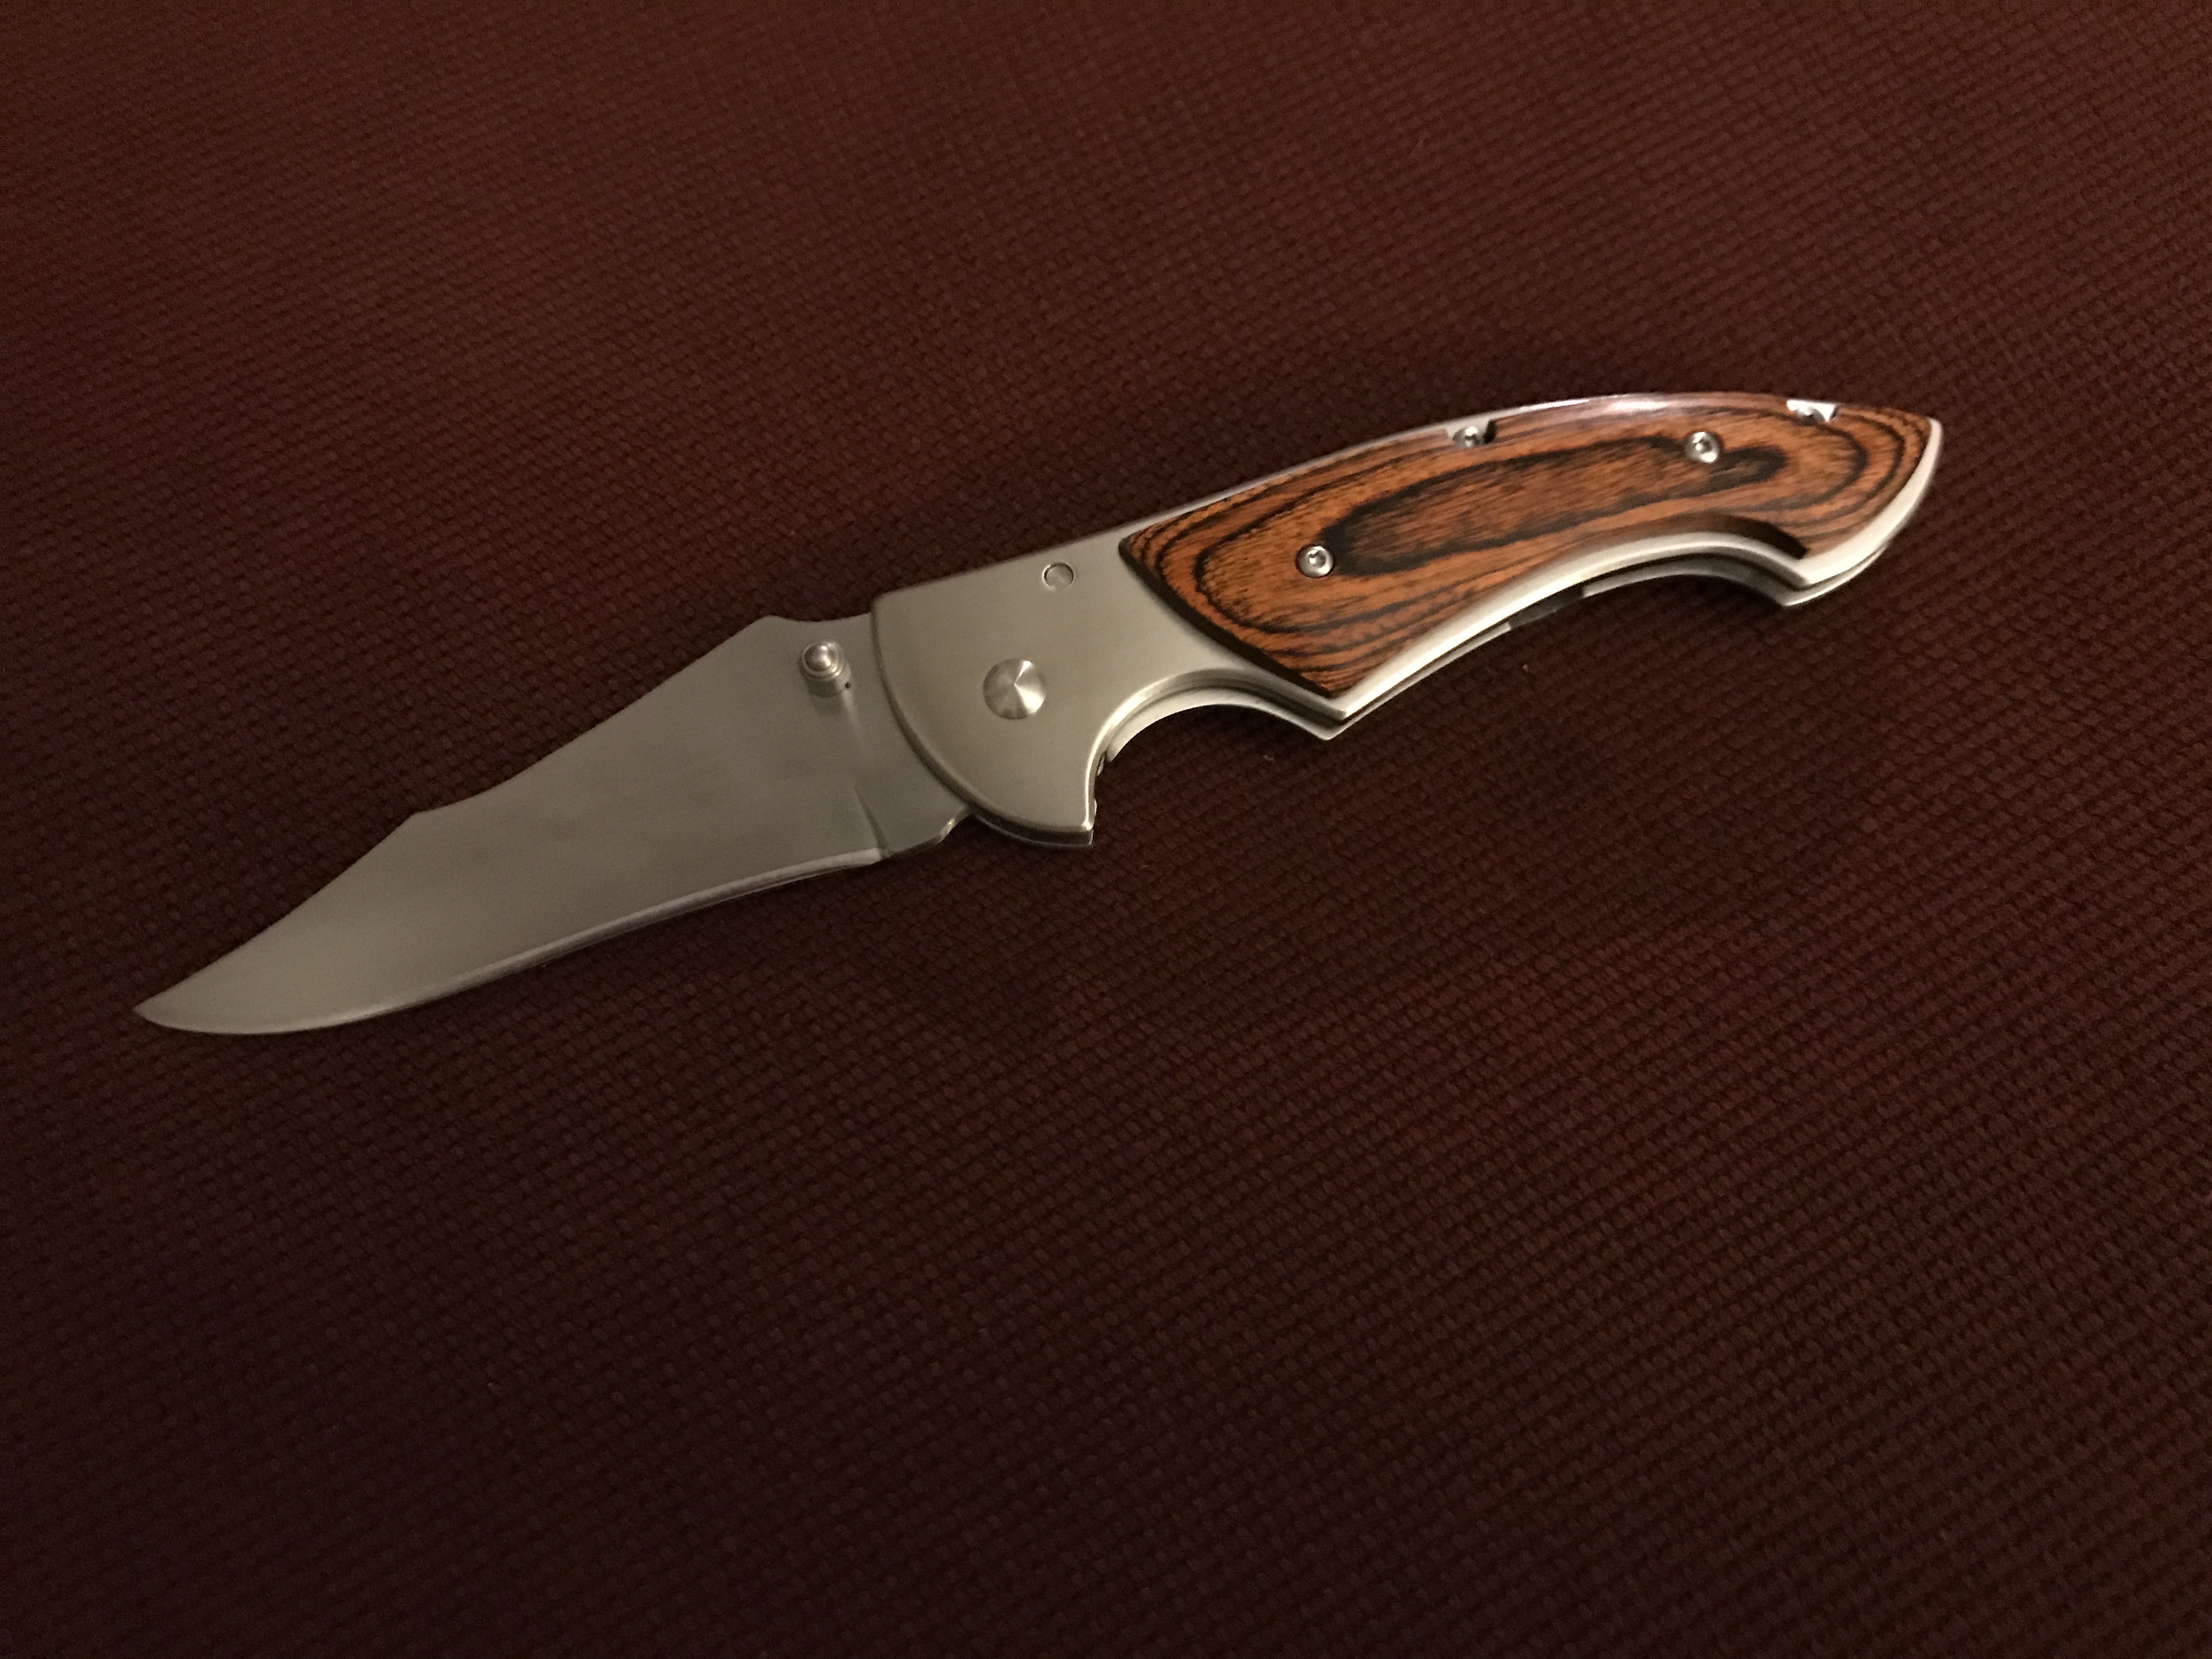
This Friday will be may last day at my current place of employment before I move on to a new job. I wanted to make something as a surprise parting gift for one of my employees I'll be leaving behind as an acknowledgment of the work he has done. I know he prefers folding knives, so I had a go at making my first one. The frame and handle scales come from a kit. I wanted to make my own scales for it, but after catastrophic failures on two sets time got the better of me and I had to opt to stick with the kit wood to be done in time. I forged a new blade for the knife from a piece of 1080 that I had. The kit knife blade was used as a template to make sure all of the holes and spring rest points lined up, but the blade profile itself is very different than the original blade. This was my attempt at something "Persian" inspired for a little something extra. The first ridge serves as a thumb rest, the second ridge is purely pointless pizzaz Tempered a little shy of 400 to keep the hardness up a bit because I know he goes long stretches between sharpening. Hand finished to a 400 grit satin after grinder cleanup. Bevels were put in post heat treat (another first for me) because this was the thinnest blade I've quenched so I was worried about warpage. I was really careful about thermal cycling before quench though and it came out straight as an arrow. Hopefully it serves him well.


-
What if you took a piece of 15n20 flat stock and laid down a layer of strings on that running lengthwise. Run a weld to hold the strings to the flat stock on each end. Close that in with another piece of 15n20 and tack weld in place. Then do another layer the same then forge weld that billet. If you ground the bevels after you should have a 15n20 flat and edge and in the middle of the bevel you should expose the lines of the strings. I'm not sure how many strings that would take in comparison. Maybe fully weld the edges before to keep air out like folks do with stainless forge welds to compensate for the fact you wouldn't be able to get flux in there well.
-
I would think when drawn out you'd basically have a San mai with the Damascus in the middle and your carbon steel as the jacket. If that's the case you're only going to see some of the pattern towards the edge from where you grind the bevels. Now when forging and drawing out there is also a good chance everything doesn't just stay nice and square and in line and you might have some "squeeze out" type things happening. Then you might see more of the pattern, but that would be unpredictable and still just be splooges of pattern amongst the big solid areas of the "canister". On another note, you can buy powder steel, so if you want to try that might be a better bet than grinder dust.
-
My uneducated guess for why not to make a canister outside out of high carbon steel is because then I don't think you are going to see any pattern (and that's sort of the point). To see the pattern of the inside you'll need to remove the wrapper. At that point you might as well remove cheap mild steel that was already the right shape vs watching expensive blade steel turn to crud under the whir of an angle grinder.
-
My first hammer was one I picked up used that I assumed was 2.5 lbs because well every cross pein I'd ever seen in a store was 2.5 lbs. I subsequently bought a new 2.5 lbs hammer and realized that first hammer was well lighter than 2.5 lbs. The little guy really didn't have trouble moving metal, and I found it more enjoyable to use (sadly that one has been relegated to other work due to face damage I didn't know better than to look out for when buying). I had also bought a 4 lbs hammer thinking "I'll really move steel with this!" I really don't care for using it, and I think I actually move less metal because I just get tired using it too quick. Others might feel differently, and you may as well. If you can get some cheap ones in different shapes and sizes you can figure out what works for you. I've mostly used cross to date, but I'd like to try a rounding right around that 2 lb mark. I actually use a 24 oz ball pein for light finishing work and flattening.
-
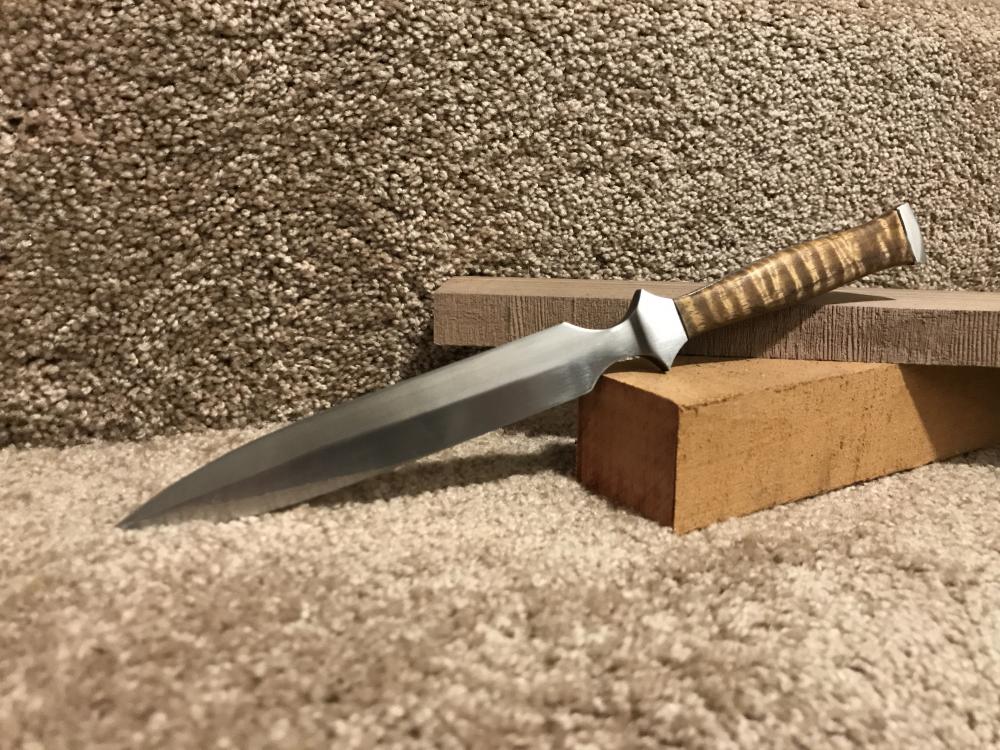
The hamon actually hits the edge in some spots. I'm thinking of finishing it off more main gauche style with a sharpened tip for stabbing but rounded edges for parrying. It will make it look like having the soft section creep out to the edge in the meaty bits was intentional I think I'm going to order some FC to etch with. I did my lemon juice etch again after sanding prep, but between the length and having four bevels to work, I wasn't pleased with my own ability to keep the etching even.