Ted Ewert
Members
-
Joined
-
Last visited
-
I wanted to try a couple of different things on this rack. I attempted to create a rising sun motif on the hanger with limited success. I also wanted to use a single 1/4" brass pin to secure the hooks. I cut about a half inch off the front of the board, cut the slots out, then glued the face back on. The seam is invisible after sanding. Then I drilled the holes for the pins with the hooks in place to get accurate alignment. I used clear epoxy during final assembly to hold it all together. The hooks are made from 1/2" square stock. The hanger from 1/4" X 2" flat bar. Round stock is an easier option for the hooks as drilling holes in wood is much simpler. However, drilling a pin hole so that the hook is straight is a bit trickier.

-
Billy, I salvaged that wood from a shelving case my neighbor was getting rid of. I would guess some type of tropical hardwood. You're right about developing skills from basic projects. I've done a fair bit of woodworking so combining the two is a natural for me. I've put scales and pins on knives, fireplace implements, and back scratchers. They add a lot to the overall appearance. I've been thinking about doing some glass work too, but I haven't opened that can of worms yet.
-
I've gotten to the point where I've made plenty of leaves, bottle openers, fire implements, knives, back scratchers, hooks, key rings, candle holders, etc... All the standard stuff and much more. It gets boring unless you can figure out new stuff to make. Something that's useful and unique. Incorporating different materials to create things beyond the traditional blacksmithing menu expands this hobby significantly. Why feel held back from making whatever you want? Think outside the box.
-
Hi Larry. I don't use brass pins much but I thought they'd look nice here. The ones in the middle hooks are only decorative since I blind welded the hooks in place. There's no easy alternative for attachment into wood. I got away with using pins in the cross bar since there's already a good mechanical joint.
-
Finished this rack today. I'm trying different combinations of elements to see what works. Brass, wood, and steel go well together.

-
Melted socks, been there and it smarts. Wire wheels are unforgiving. I bought a sand blaster because it's to dangerous to de-scale small pieces. Frosty, I like the idea of dancers in the shop. The wife may have other ideas about it though.
-
Been going through a dry inspiration spell lately. It comes and goes. I needed a mop hanger so I made this. The tines could have been a bit longer, but it works.

-
The 1" isn't bolted down and can be angled to accommodate larger pieces if necessary. I generally work a longer piece to the open side anyway. I agree with the need for space around these tools. Unfortunately, I have more tools than space.
-
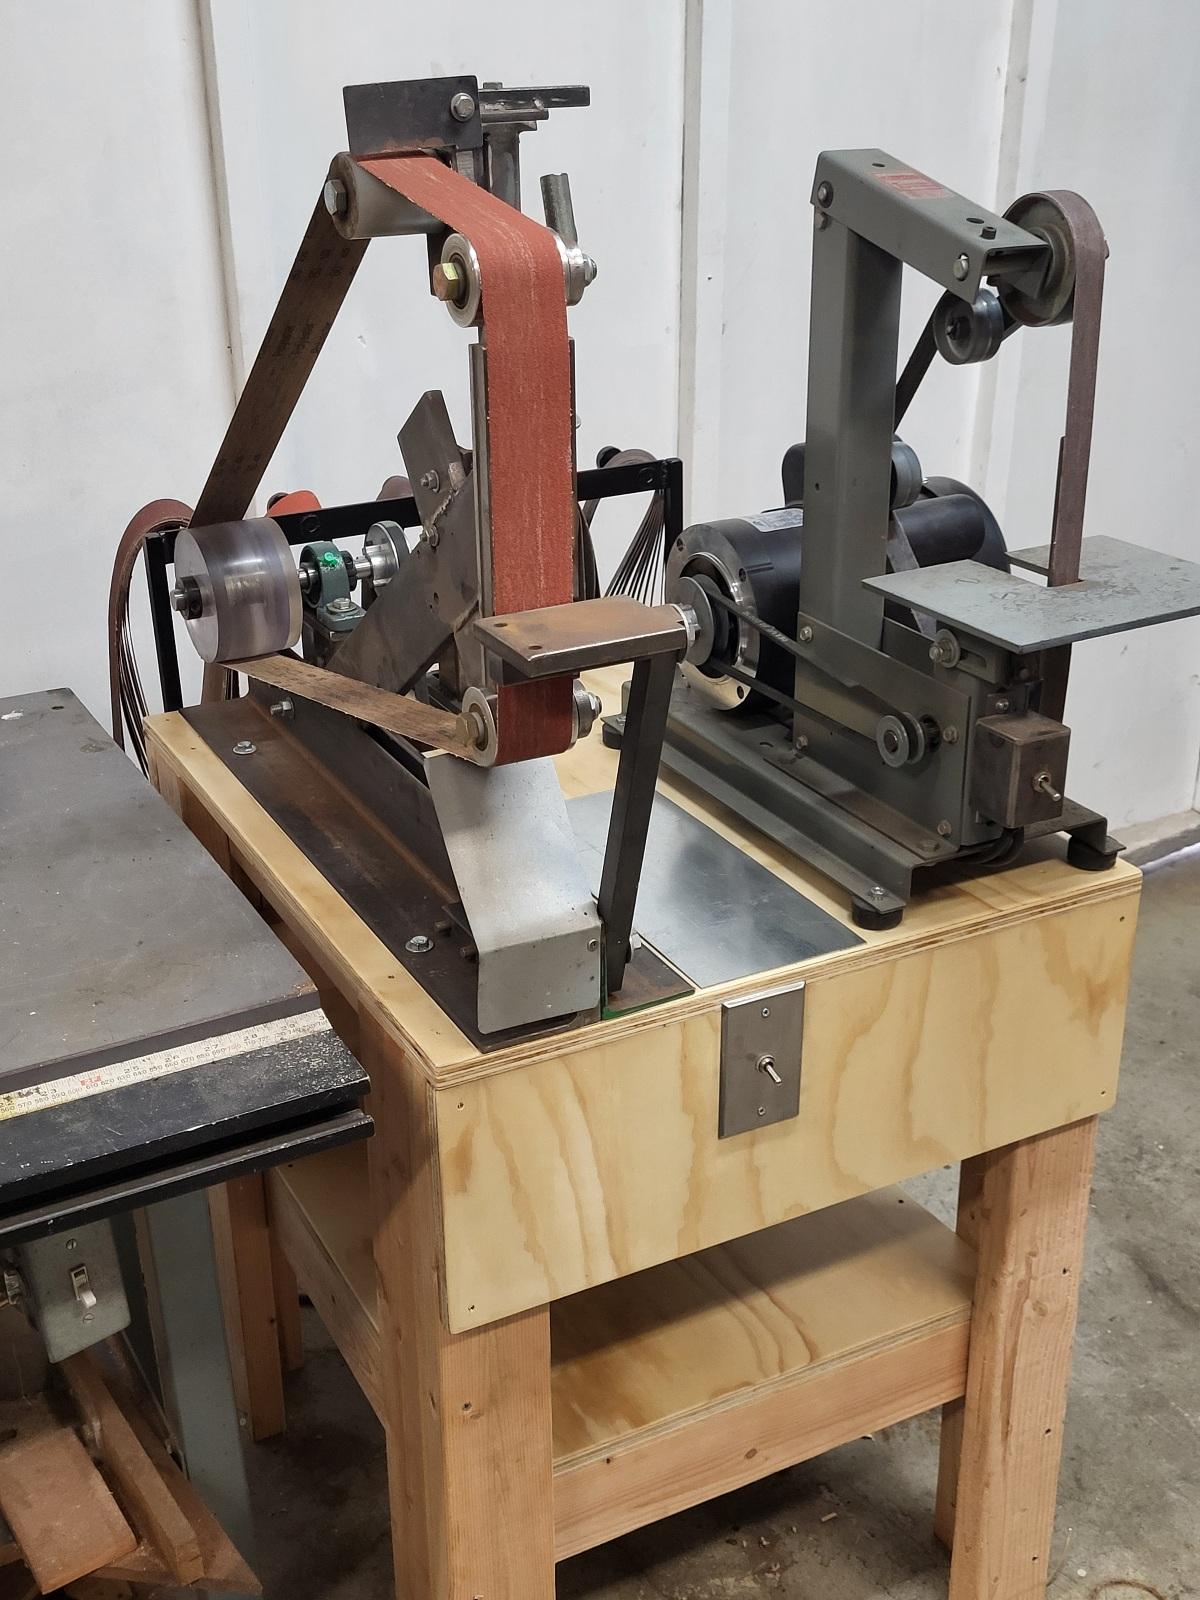
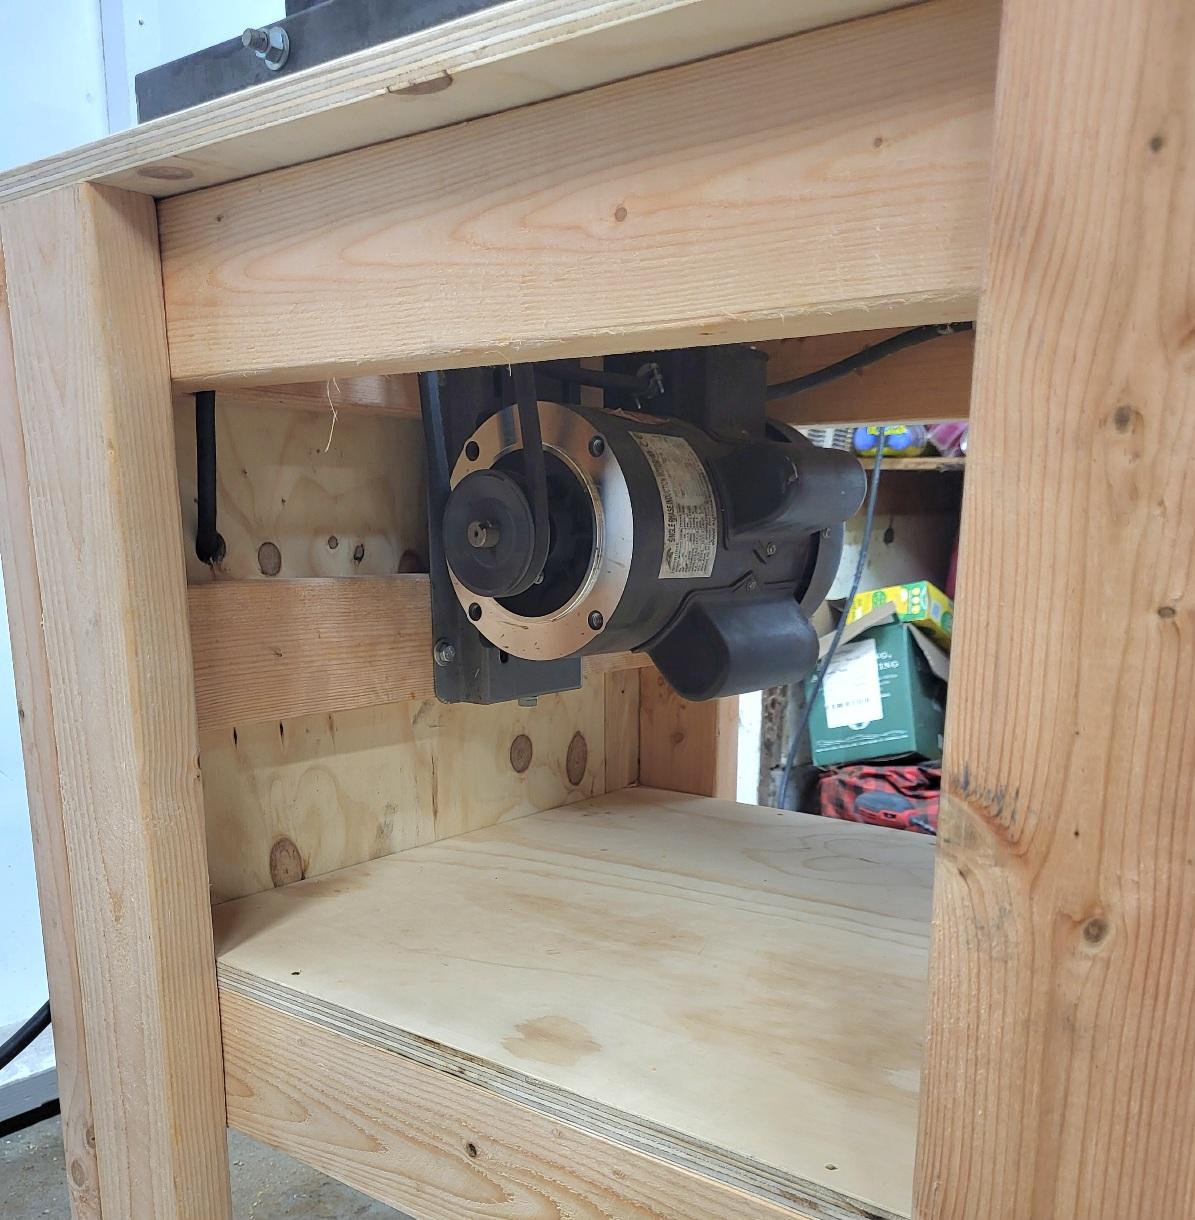
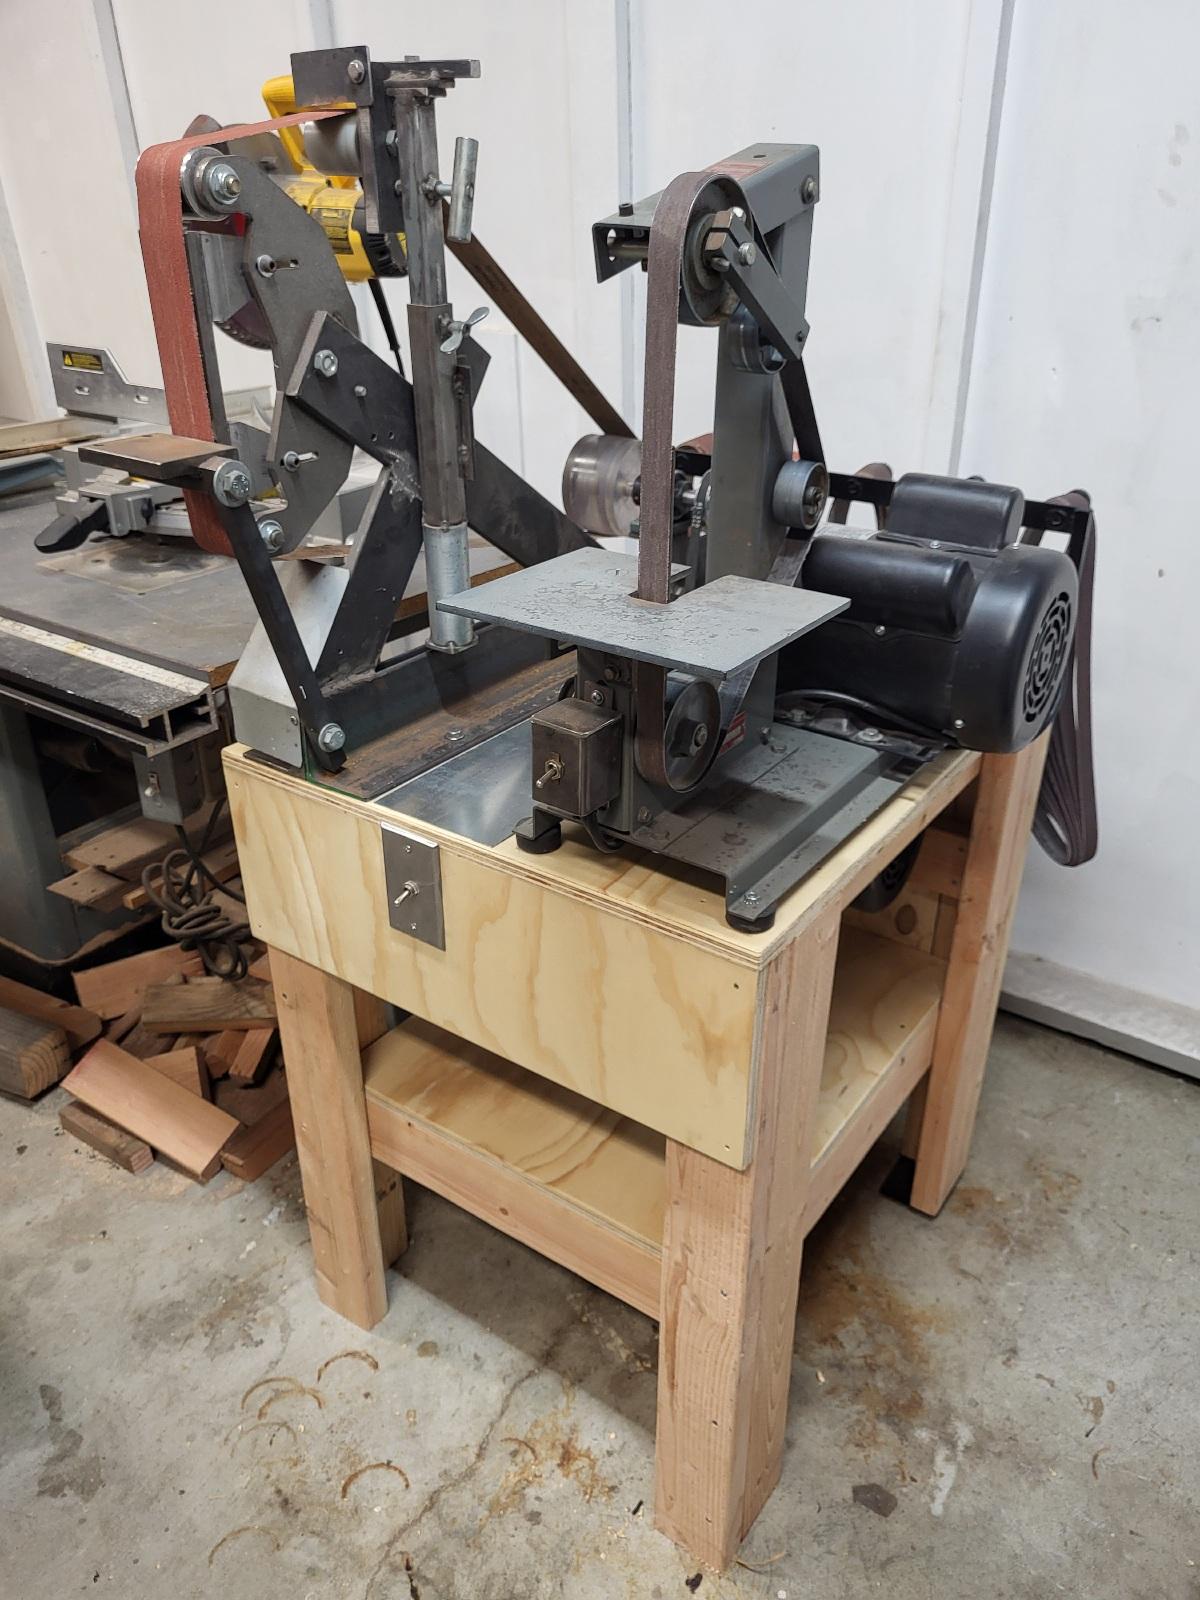
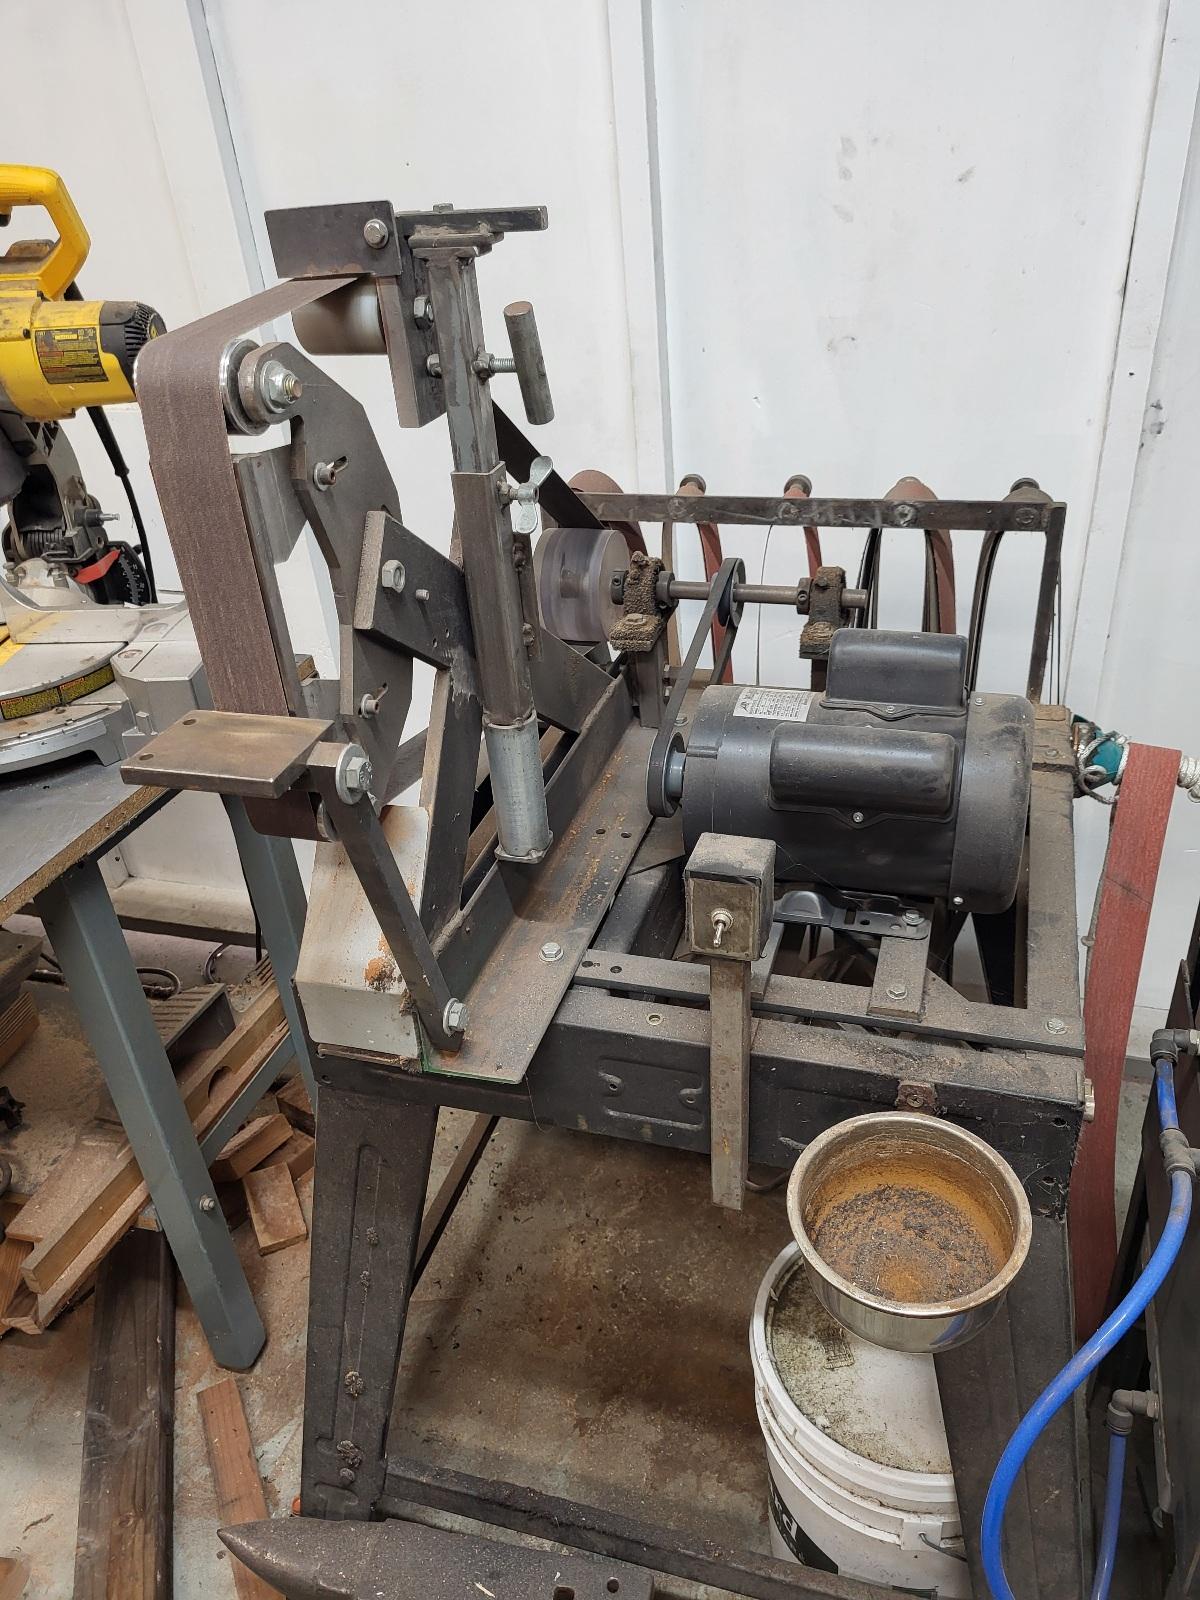
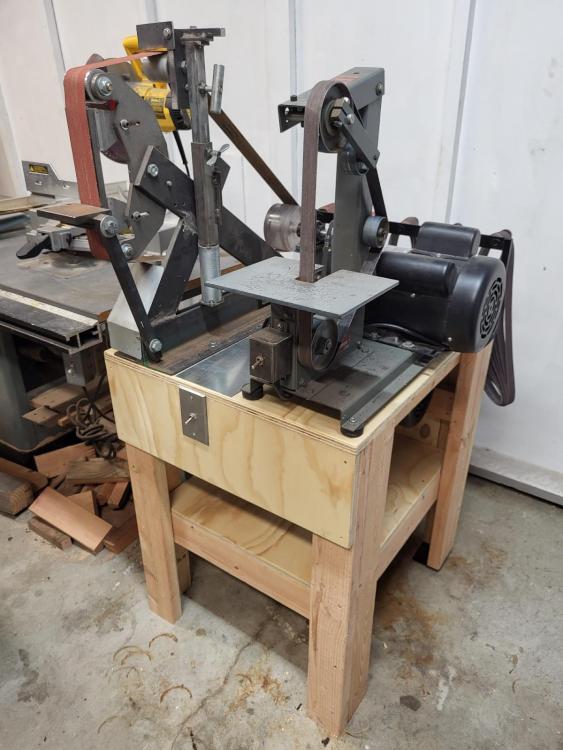
I went ahead and built the bench for my two belt grinders. I was originally going to run them both off the same motor but decided against it. Too noisy and distracting! My 2" grinder motor runs on 220 volts so I wired the 1" motor the same. Motors always run better on a higher voltage anyway. I mounted the 2" motor below and ran the belt up through the top to the drive shaft. Much better. This bench saves a lot of room in my over crowded shop. It cost me around $200.00 but well worth it.


-
Good points. I still think I could build a smaller, lighter, more compact hammer that would be better suited to my personal needs. Not that I would. This hammer does everything I require of it. It's fun to think about though. I run this hammer at around 40psi. That gives me plenty of control for lighter blows yet enough punch at full throttle to move metal. I would rather move less metal with more control than the opposite. I've squished too many pieces beyond recovery with a heavy foot. My arm is getting old and tired (along with the rest of me). Pounding out long tapers, flattening out big leaves, or drawing out the stems on the anvil is behind me. Besides, I like power tools.
-
Very nice! I'll keep that in mind if I decide to do the conversion (and even if I don't).
-
Thanks Frosty. If I had to do it all over again I'd build a much smaller hammer. I don't build hammer heads or axes. I don't need to move large amounts of material. A small C frame hammer with a 15-20lb ram would be fine for what I do. We live and learn.
-
Dust is a headache. I have a layer of black grinding dust on everything in the shop. This belt grinder came from a wood shop. The thing was covered with sawdust, especially the motor. The windings were caked with it. I may rebuild the platform my 2" grinder sits on and incorporate the 1" off a common shaft. I've got a 2hp motor running the 2" which should have plenty of power for both. I'd move the motor underneath and put the 1" next to the 2"


-
I rebuit the ram section of the hammer about a year ago. I lightened the ram from 50 to 30lbs. I also replaced the single side cylinder with two cylinders, one on each side. This resulted in a much more responsive range of control as well as a smoother action in the rams travel. Single cylinder side mounting on the ram was problematic. The stresses on the cylinder and support hardware caused repeated wear and failure. Nuts and bolts were constantly shaking loose. I've had none of those problems since the conversion.

-
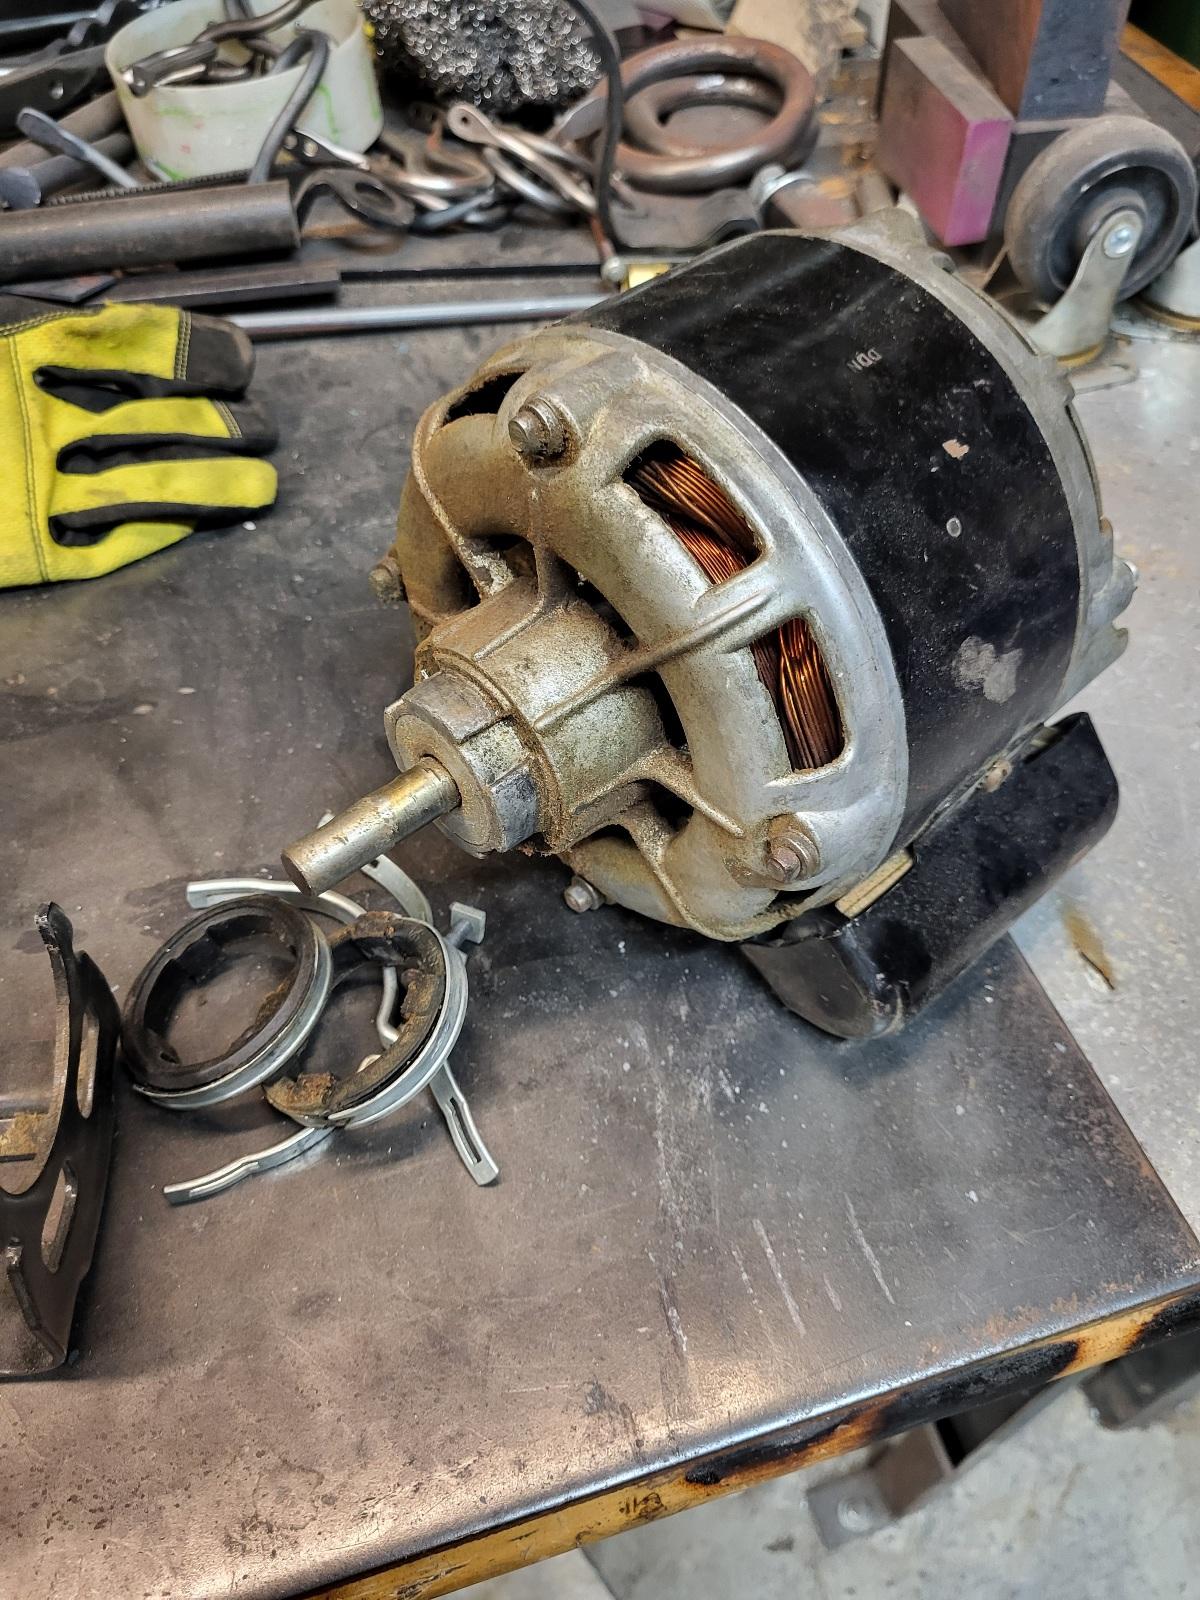
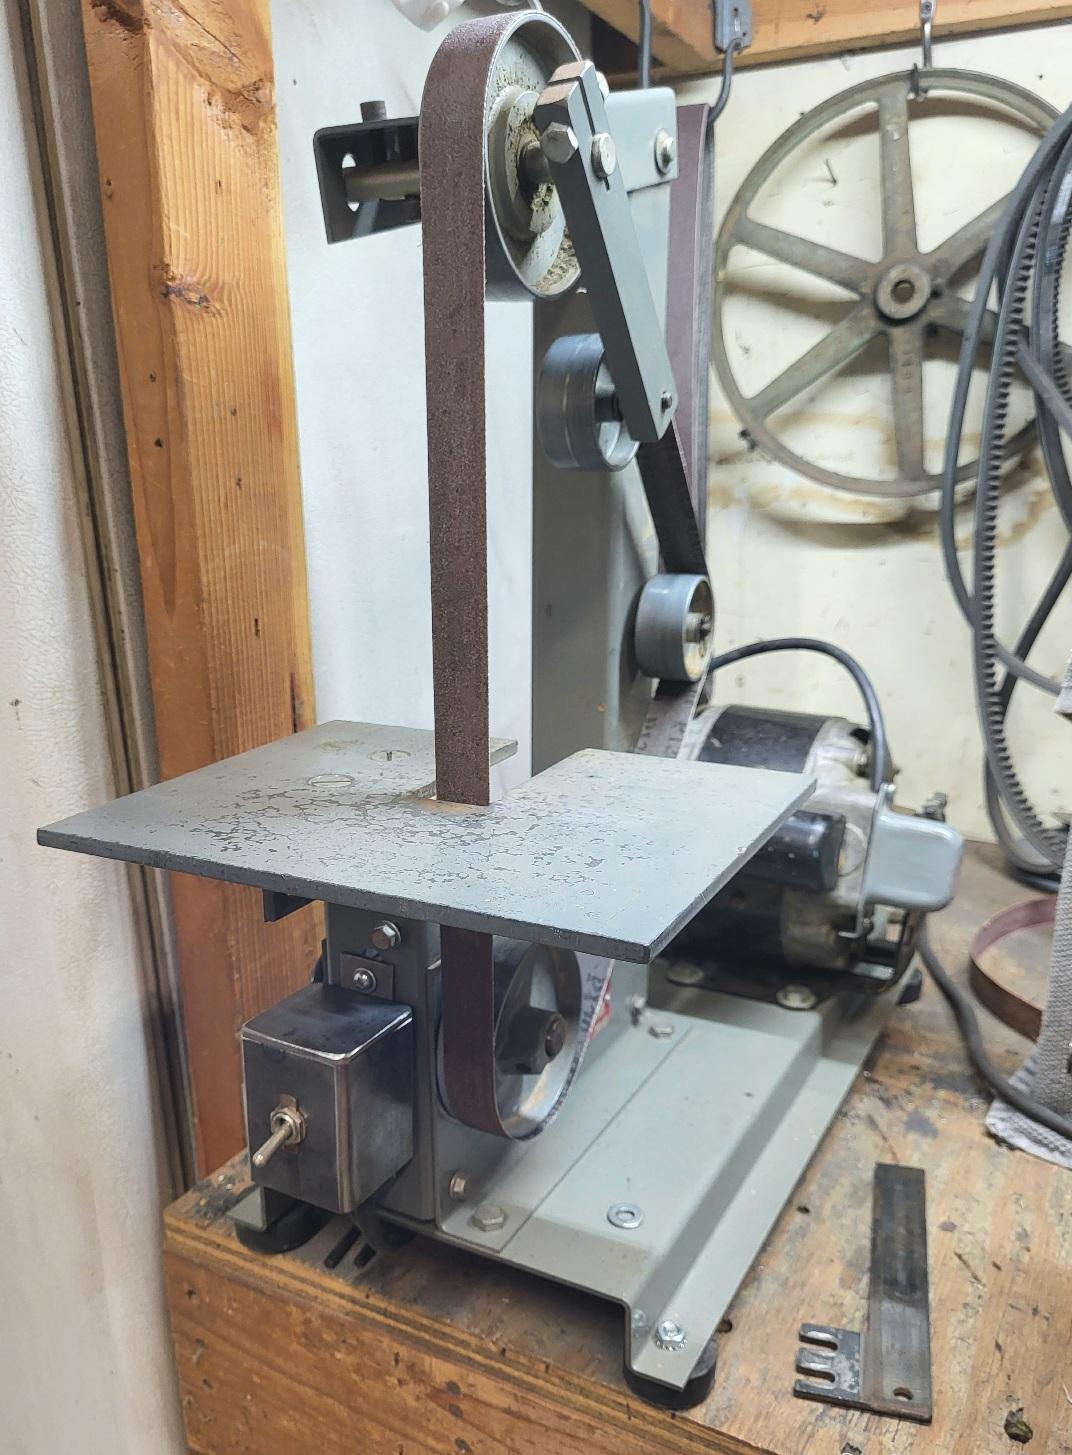
I bought an old Dayton 1" belt grinder recently. I've always liked this particular belt grinder for some reason, maybe because we had one in a shop I used to work in. It was old and tired, so I cleaned, lubricated and adjusted everything. The bronze sleeve bearings were pretty worn on the idler pulleys so I replaced those. I also moved the power switch from the motor to the front, where it was easier to reach. New belts, too. The only issue left was the motor itself. It ran OK, but at 1/3 hp it lagged if a moderate load was put on it. Now, I had a perfectly good 1/2 hp motor that would have been an ideal replacement. It was out of an old drill press and had been collecting dust for the last 15 years. While cleaning my shop out about a month ago I decided to get rid of it, since I would never need it again. Fortunately, I did manage to keep another motor I had. It's slightly bigger, but it fit the mounting holes and I also just happened to have a 3" pulley for the 5/8" shaft. It works perfect. At 1.5 hp some would gaze down their nose and mutter things like overkill, but that would be a misunderstanding of the efficient use of avaliable resources. Besides, this motor not only has ample power reserves, but runs far smoother than it's predecessor. I have a 2" x 72" belt grinder for the majority of my course grinding needs. I use this one for finishing and touch up work. It replaces a Harbor Freight unit I had that I was never happy with.