Ranchmanben
-
Posts
697 -
Joined
-
Last visited
Content Type
Profiles
Forums
Articles
Gallery
Downloads
Events
Everything posted by Ranchmanben
-
I did measure a cheap rocking chair we’ve got in Pinecone’s room. I’ve always thought it was comfortable. The seat is going to be a very heavy layer of veg tan leather, stretched tight, with another layer of hair on hide over that. It’s not ideal and will eventually have to be restretched or replaced but it’s what I’ll be able to do on Wednesday.
-
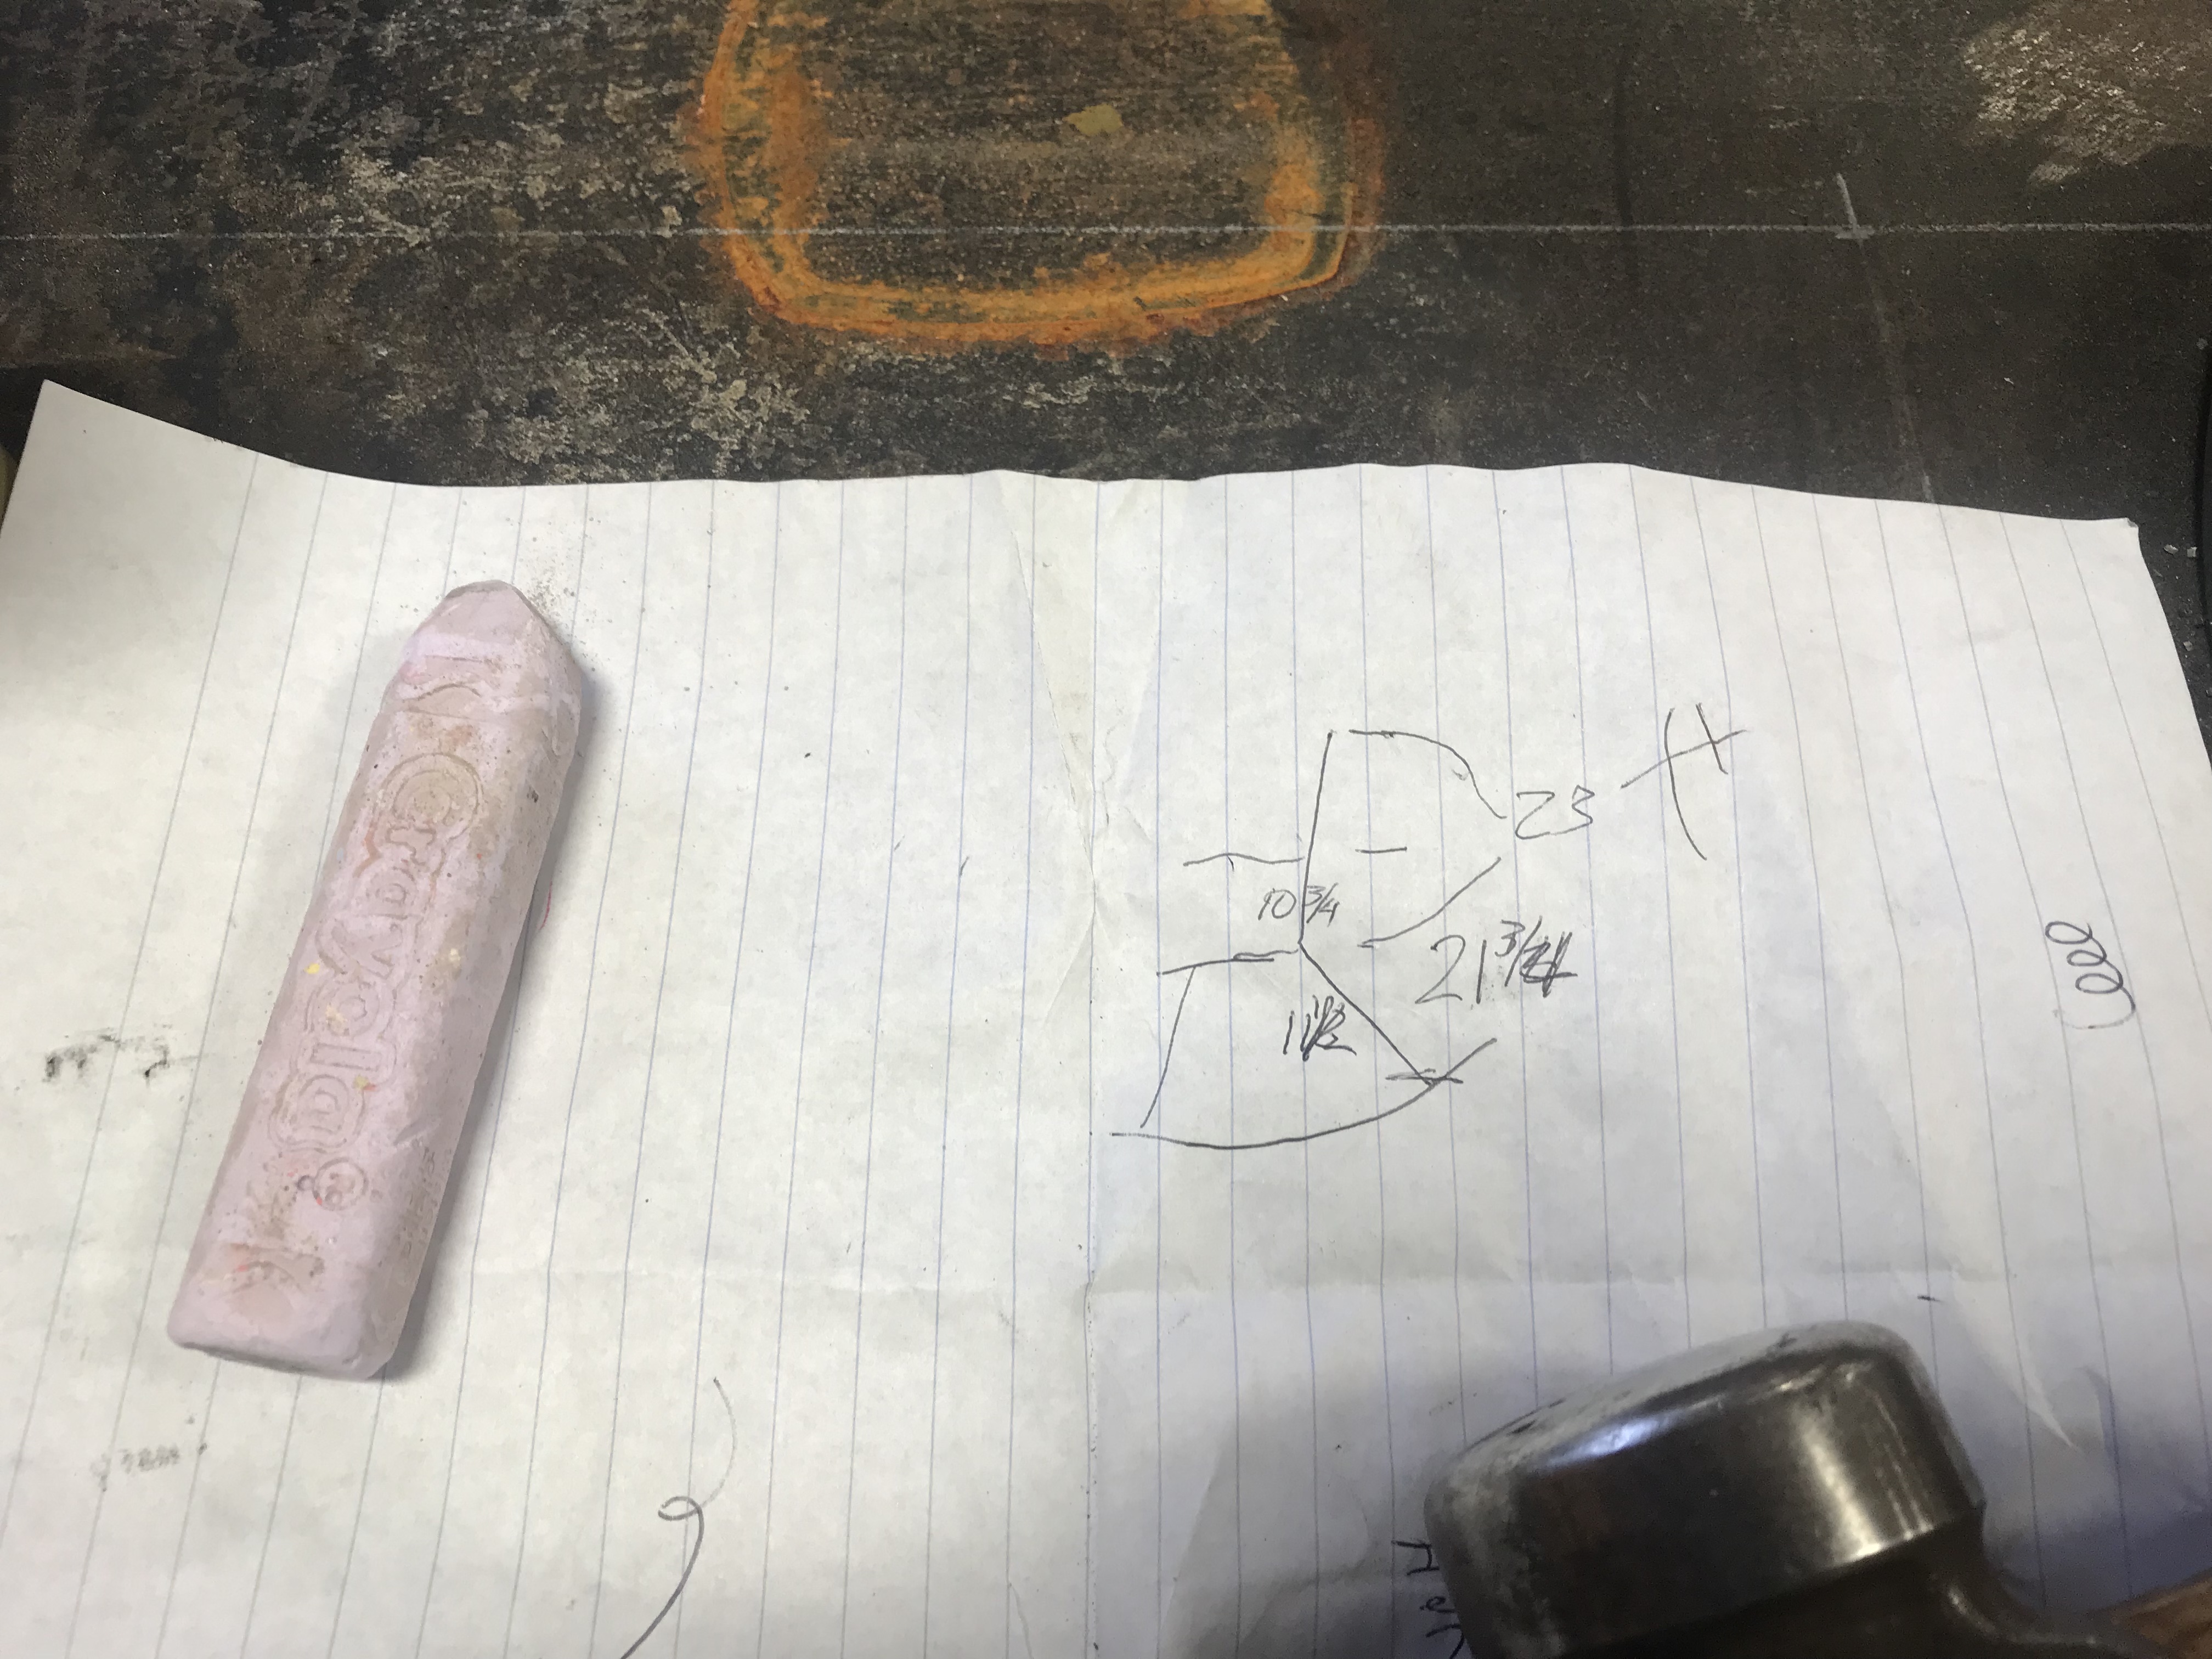
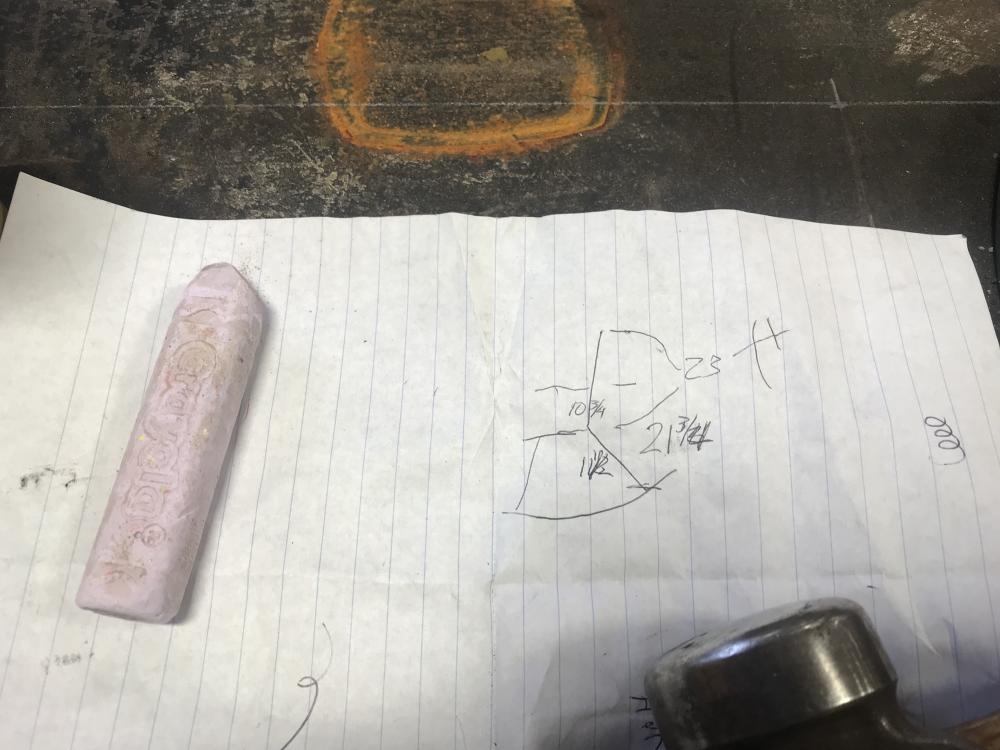
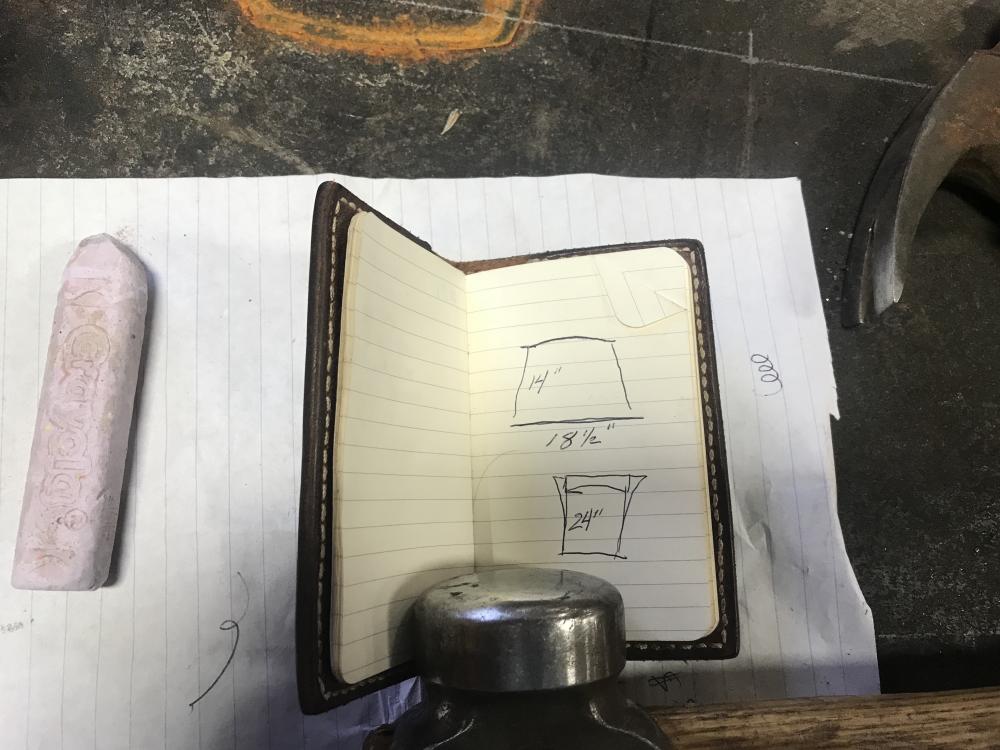
Some pictures for jplservicesinc. These are the types of drawings I work from.
-
Don't ask how we know these things
Ranchmanben replied to Glenn's topic in Blacksmithing, General Discussion
Do your thinking while your irons in the fire, not on the anvil. -
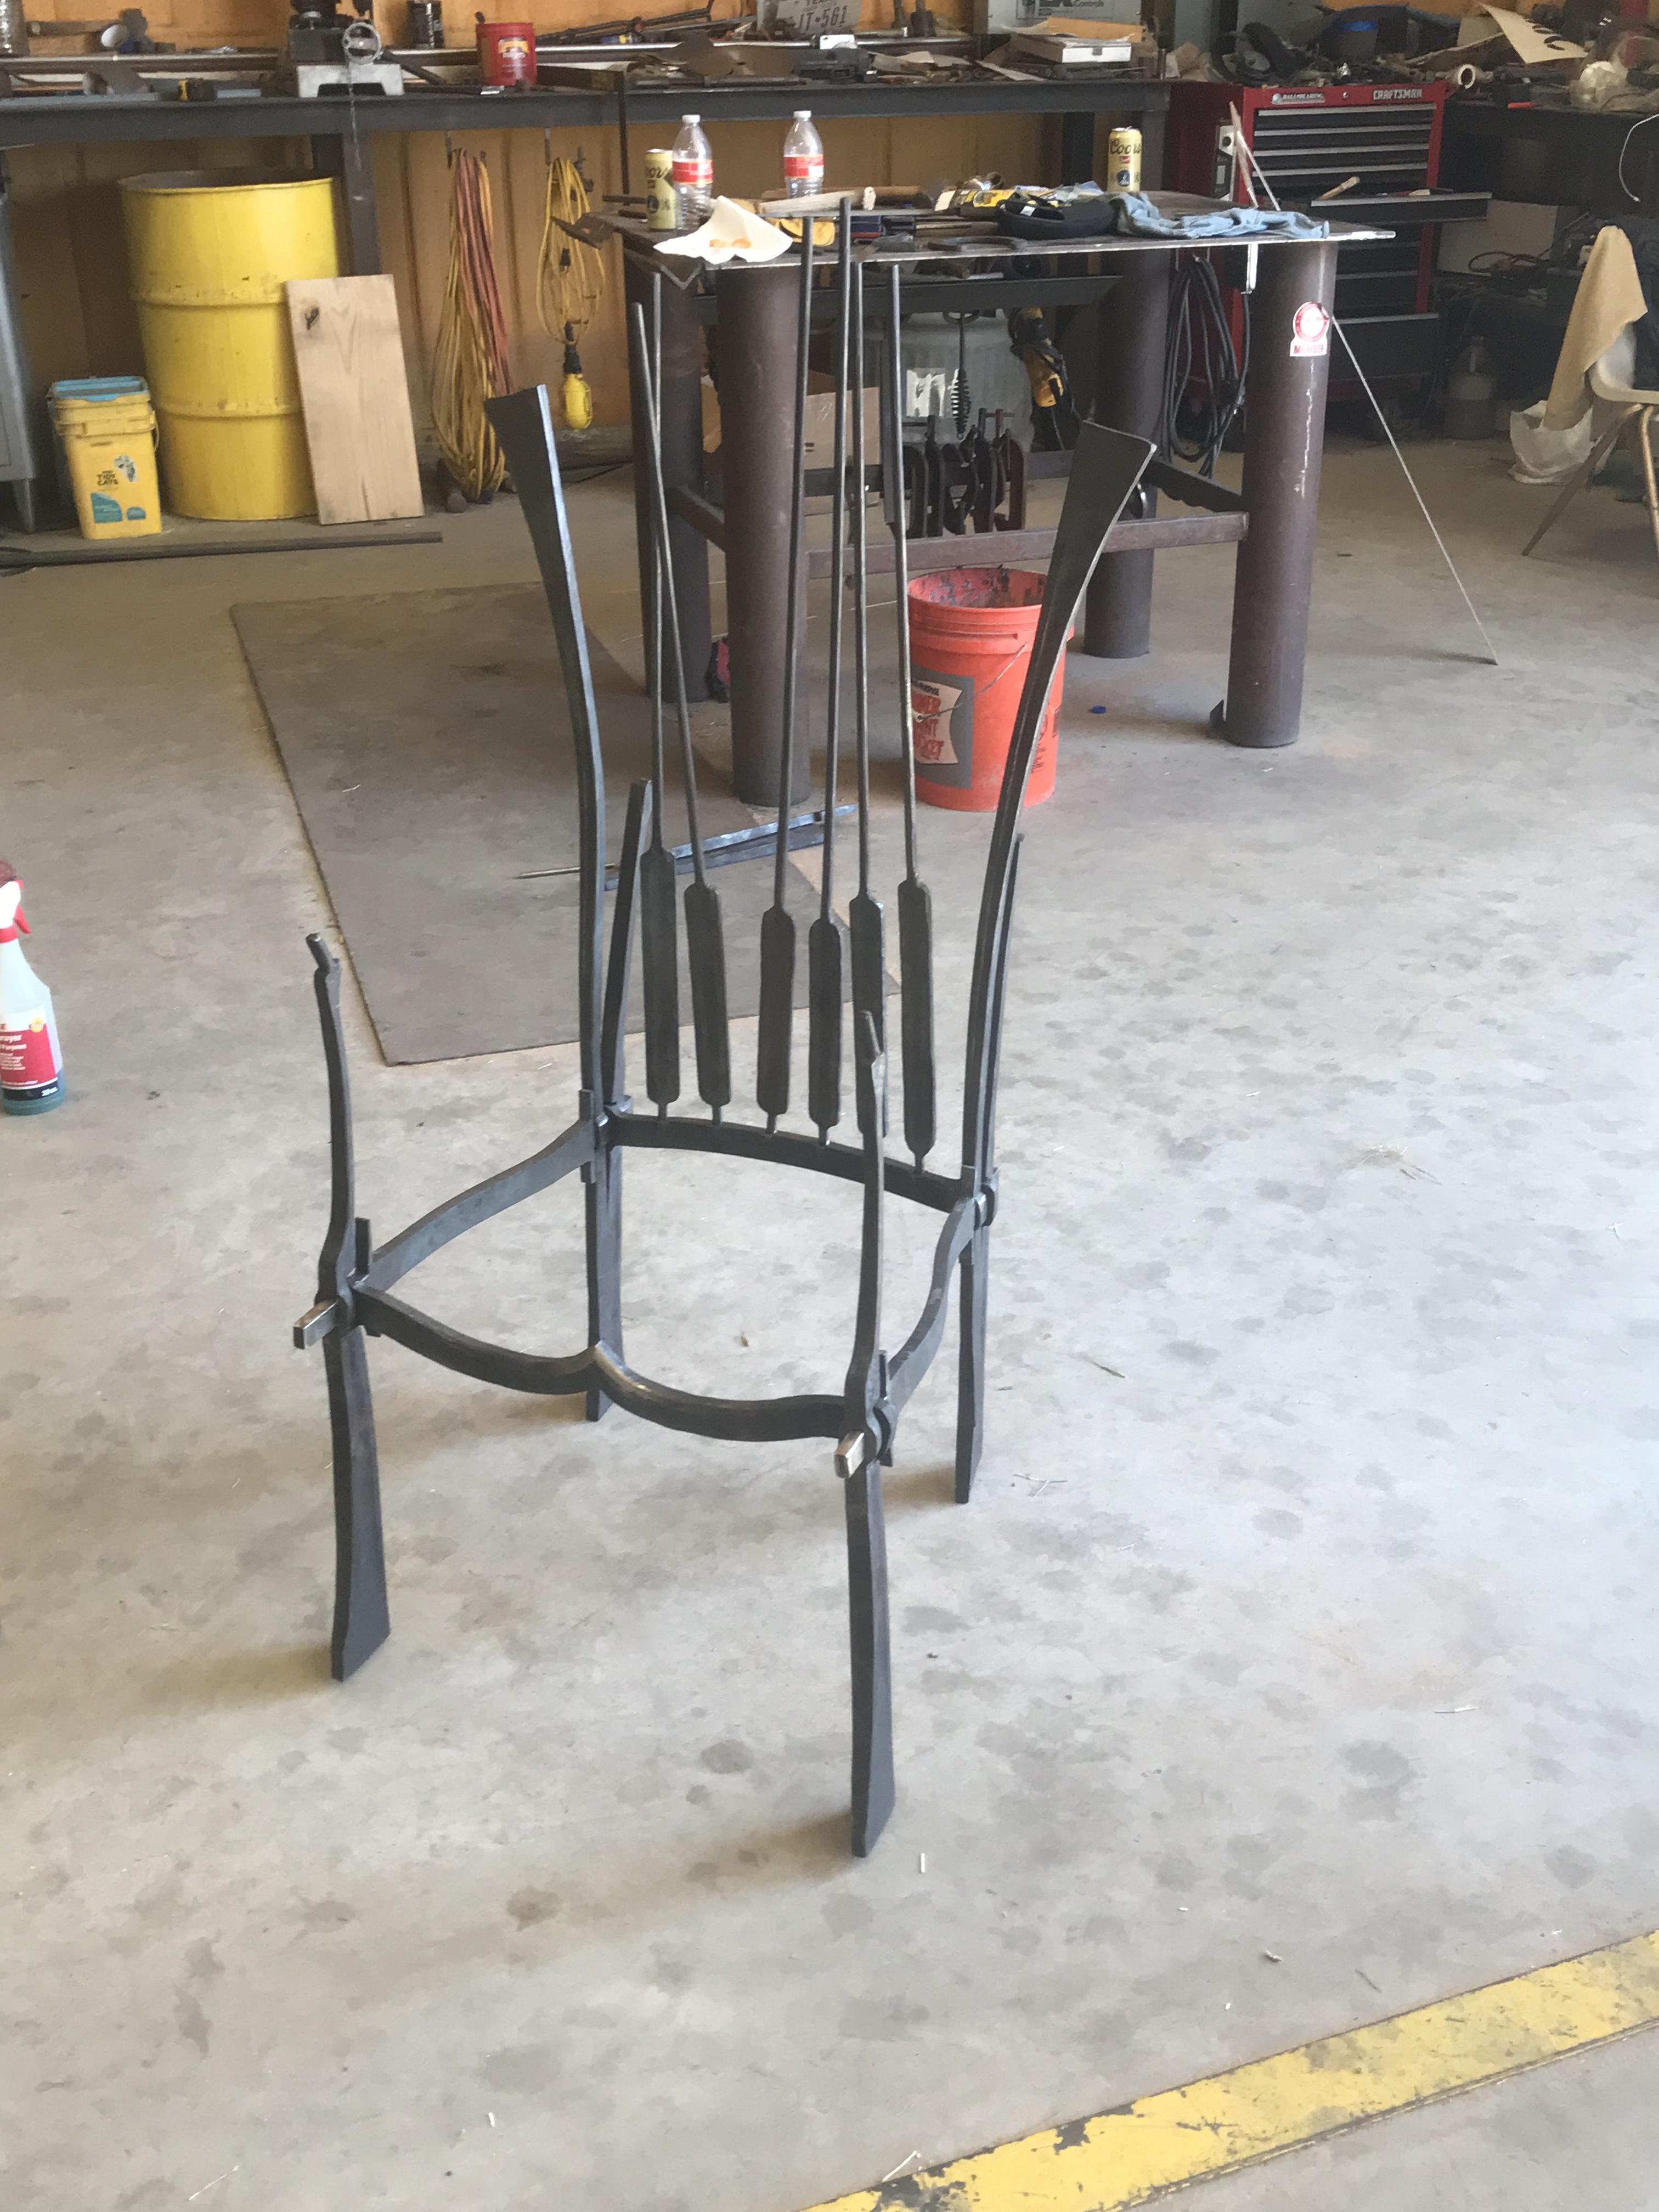
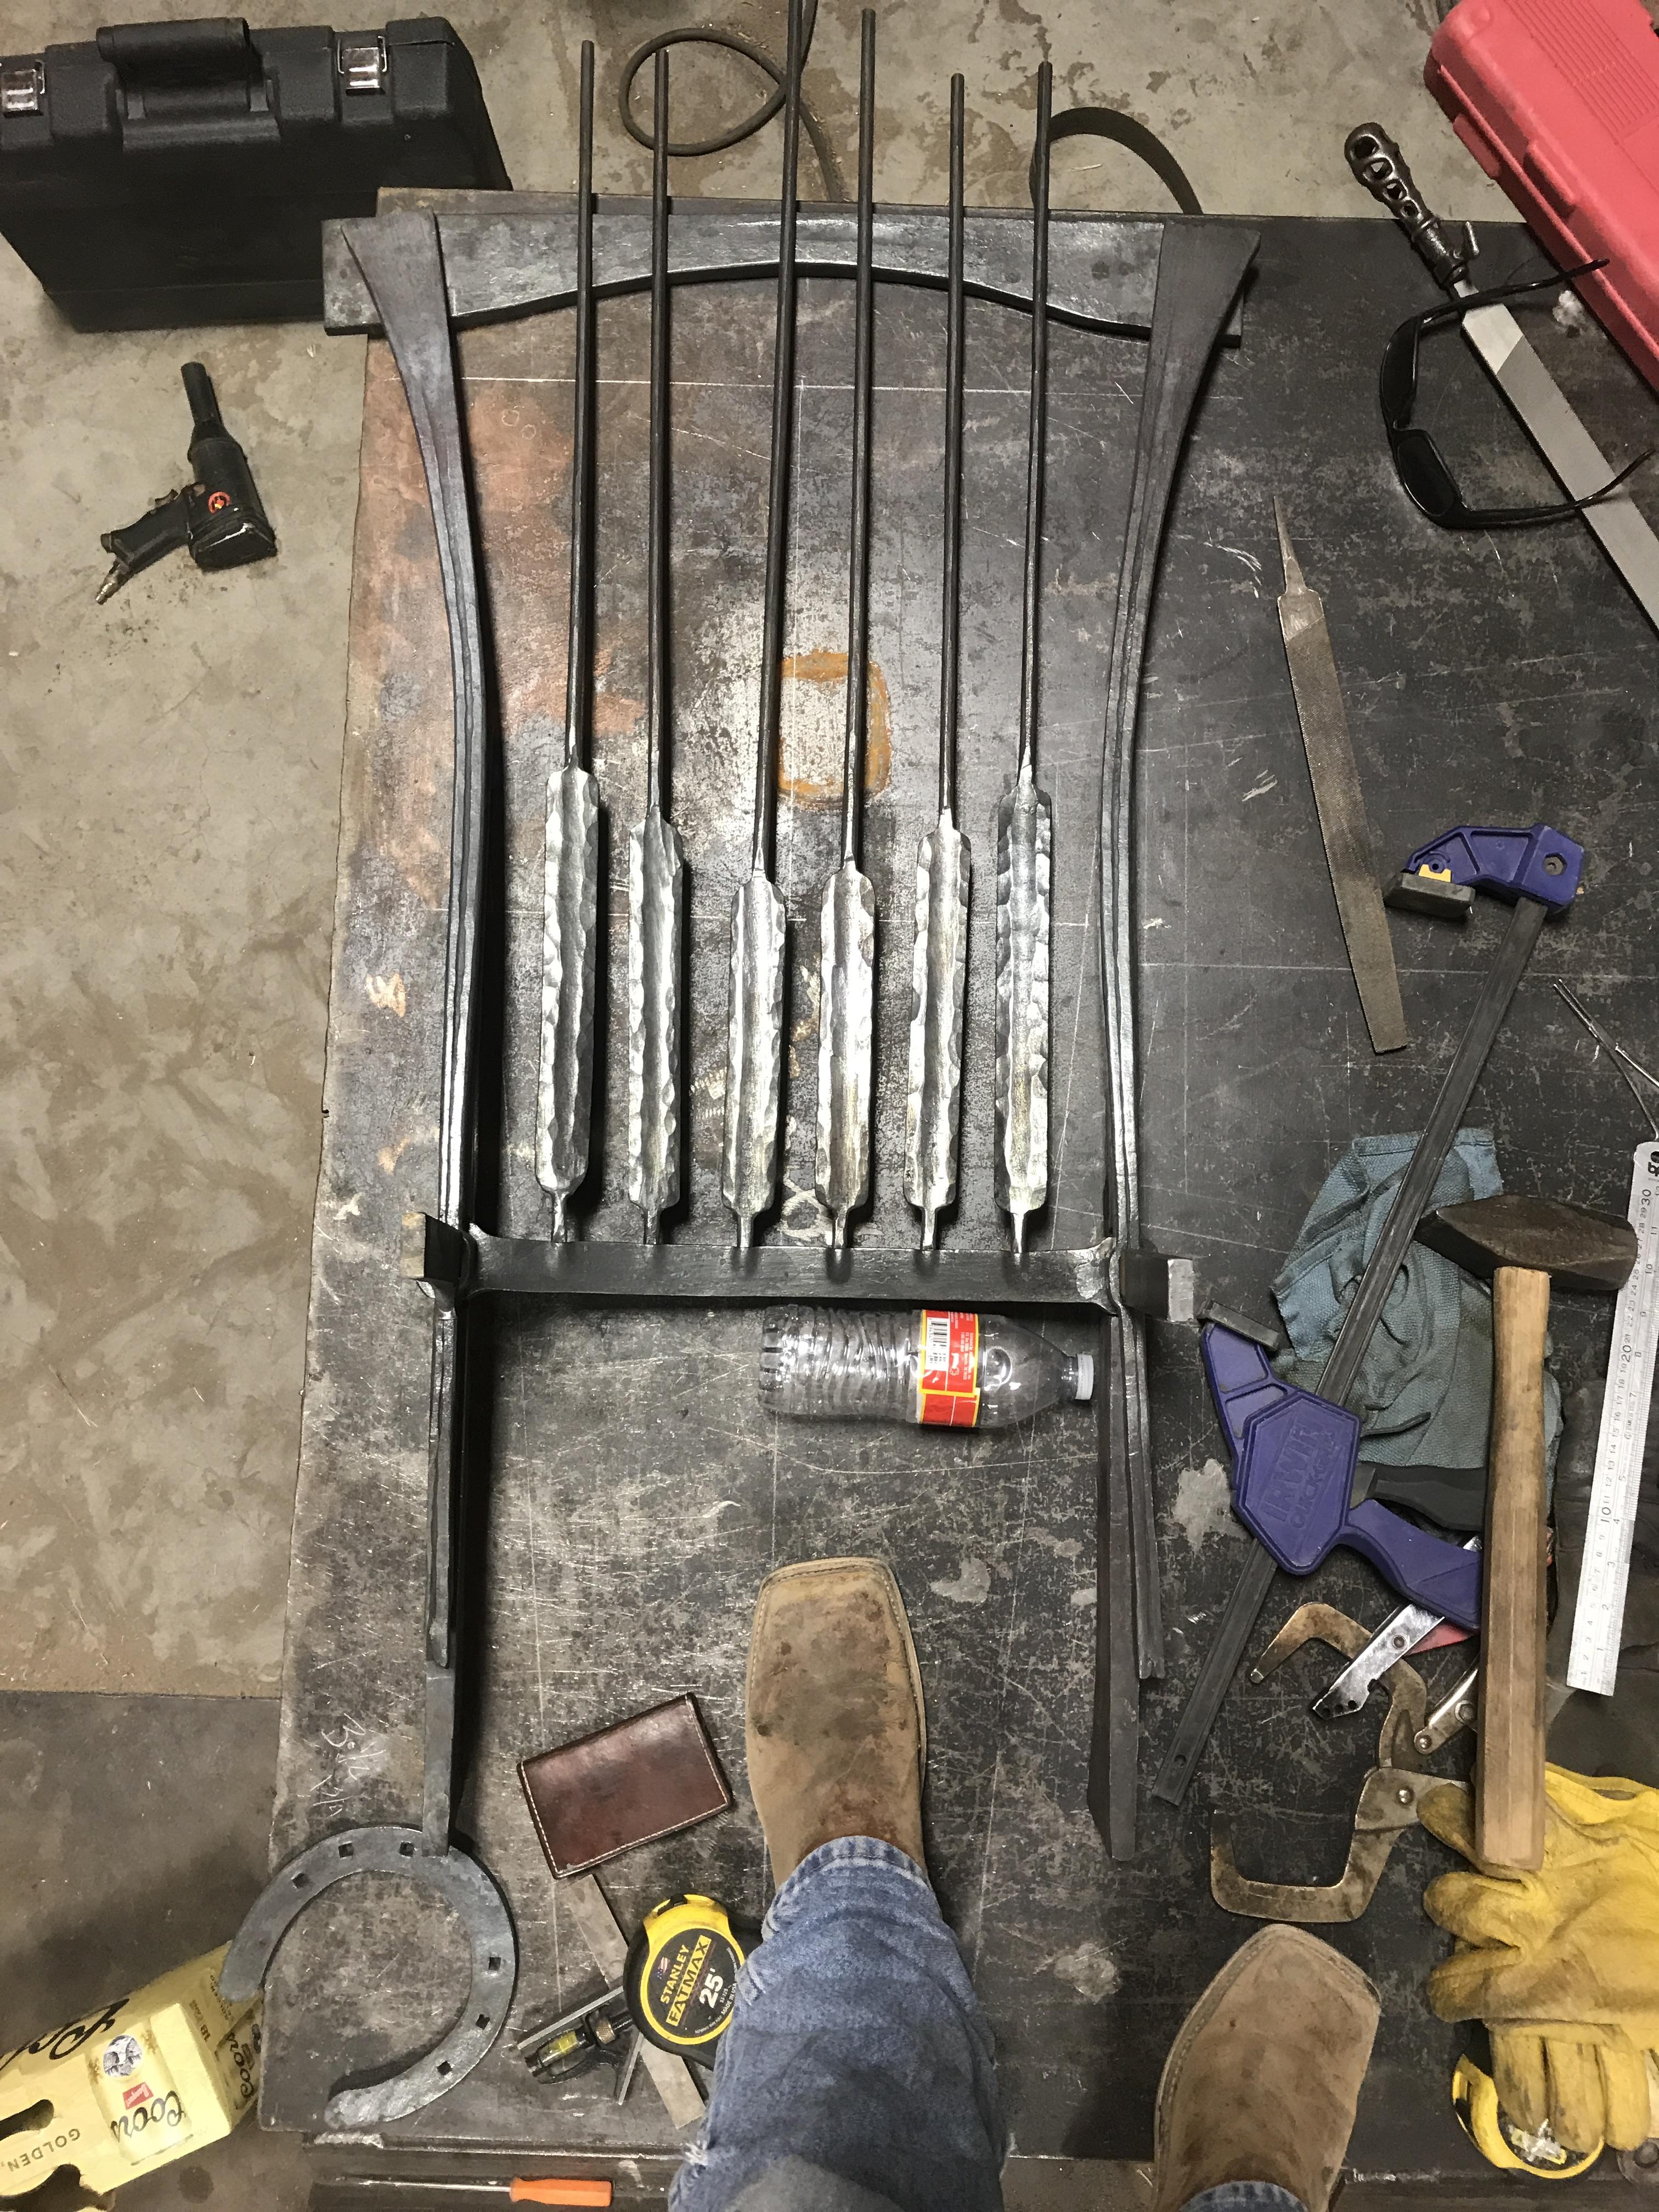
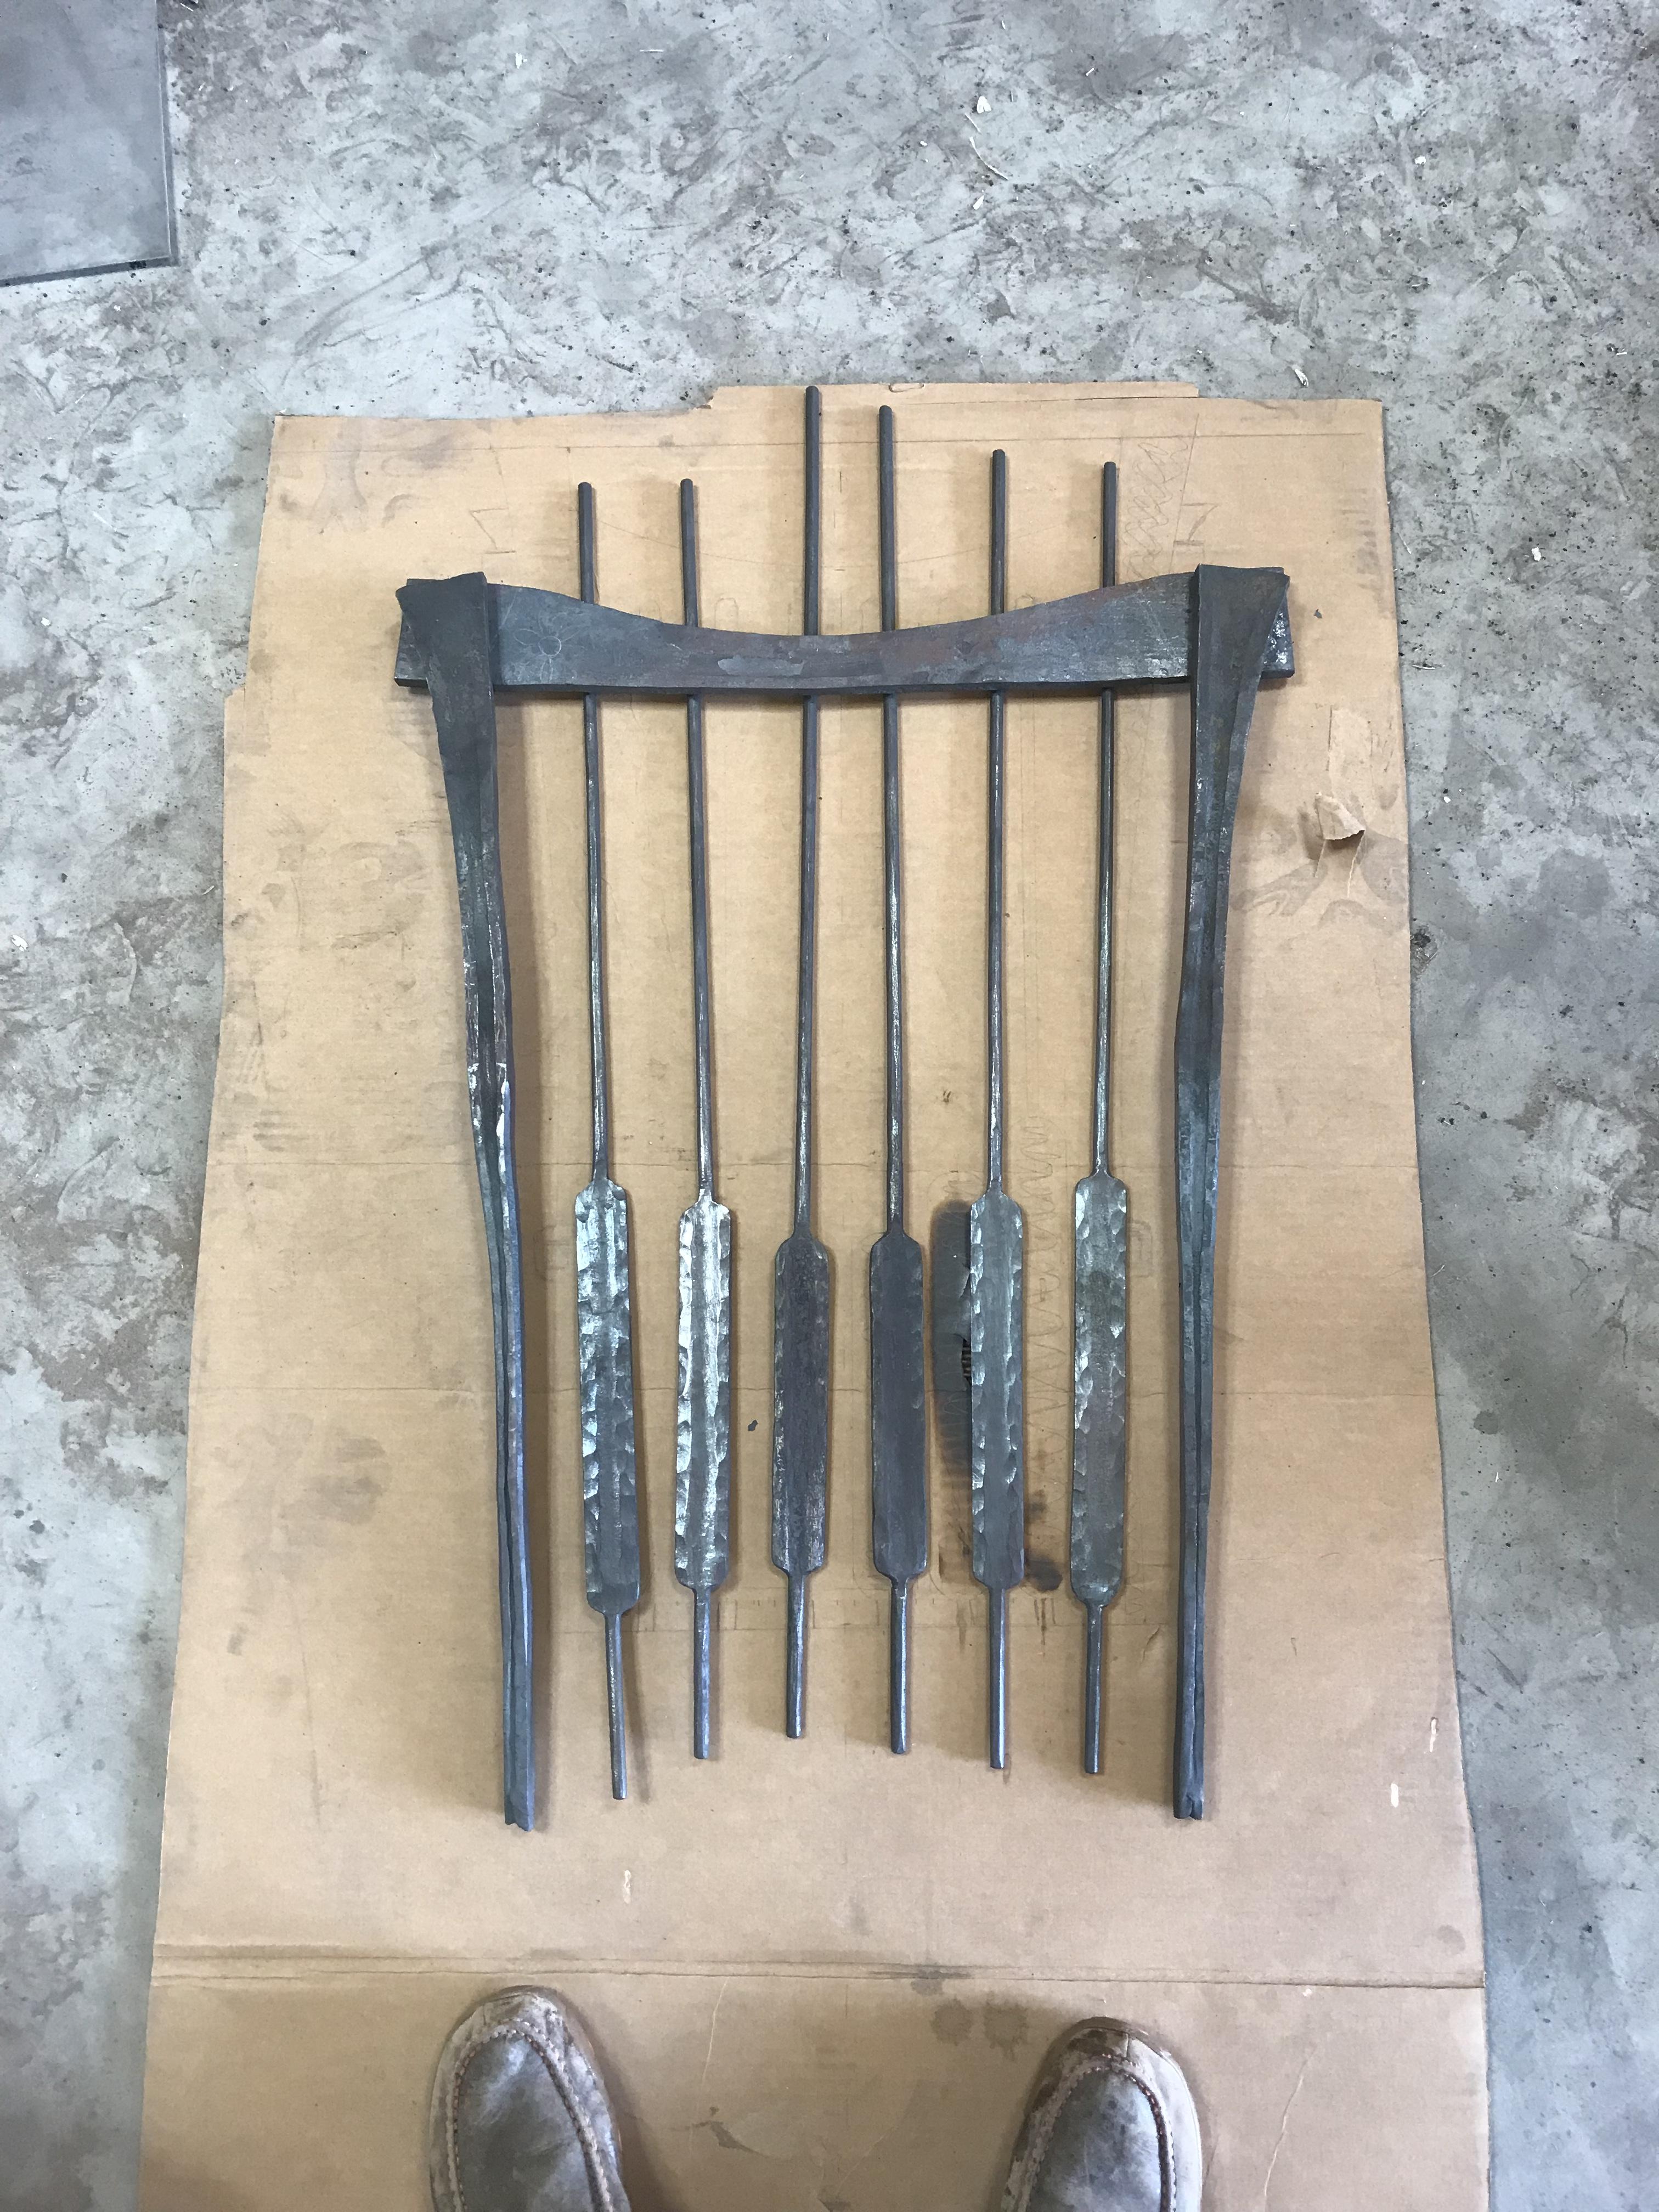
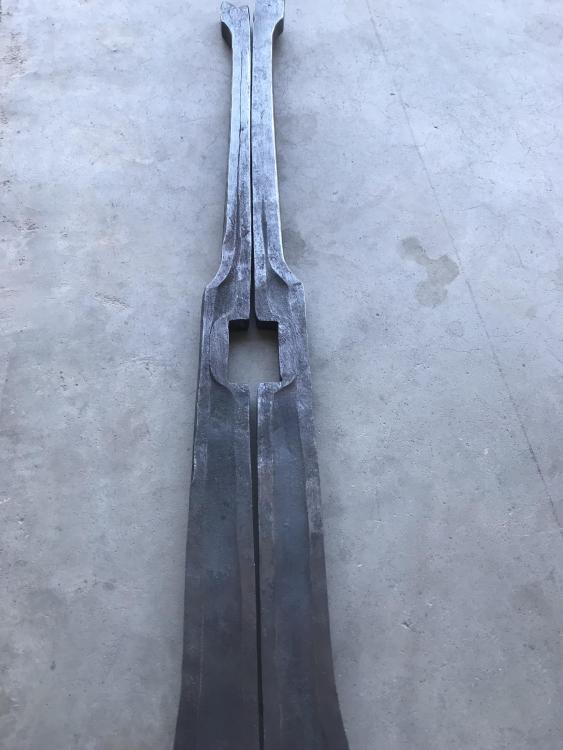
Starting to take “chair” shape.


-
What did you do in the shop today?
Ranchmanben replied to Mark Ling's topic in Blacksmithing, General Discussion
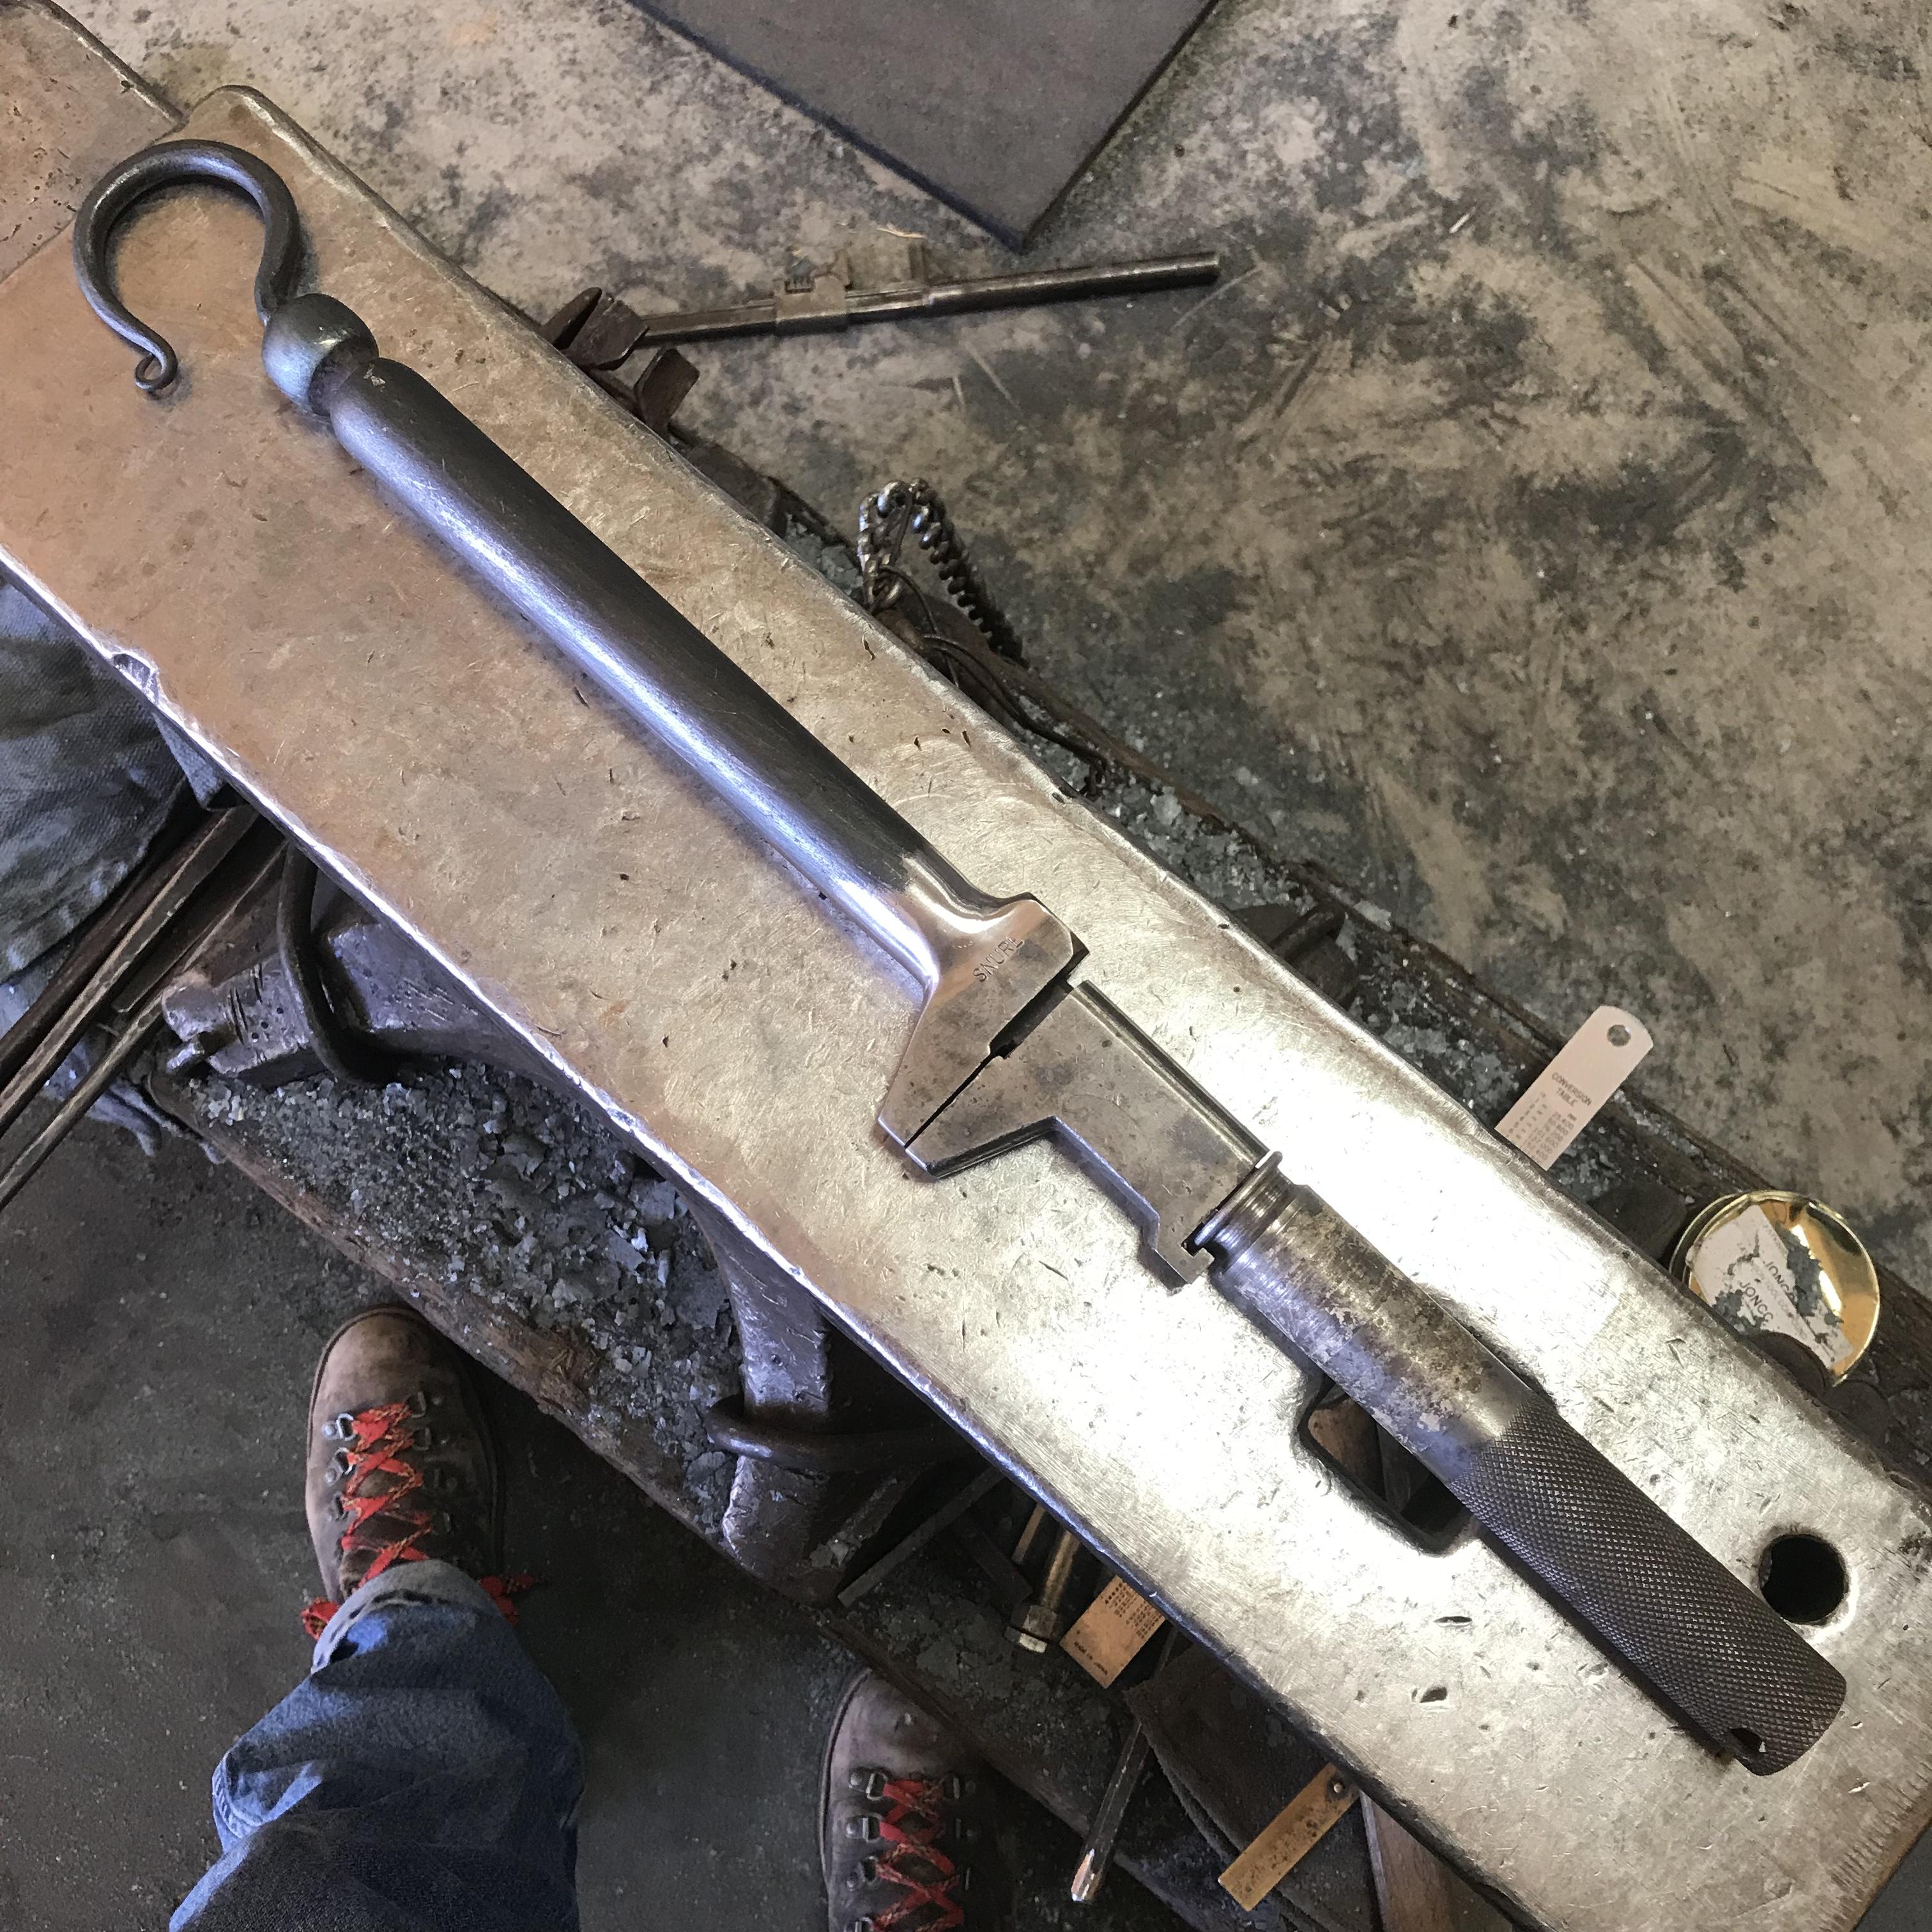
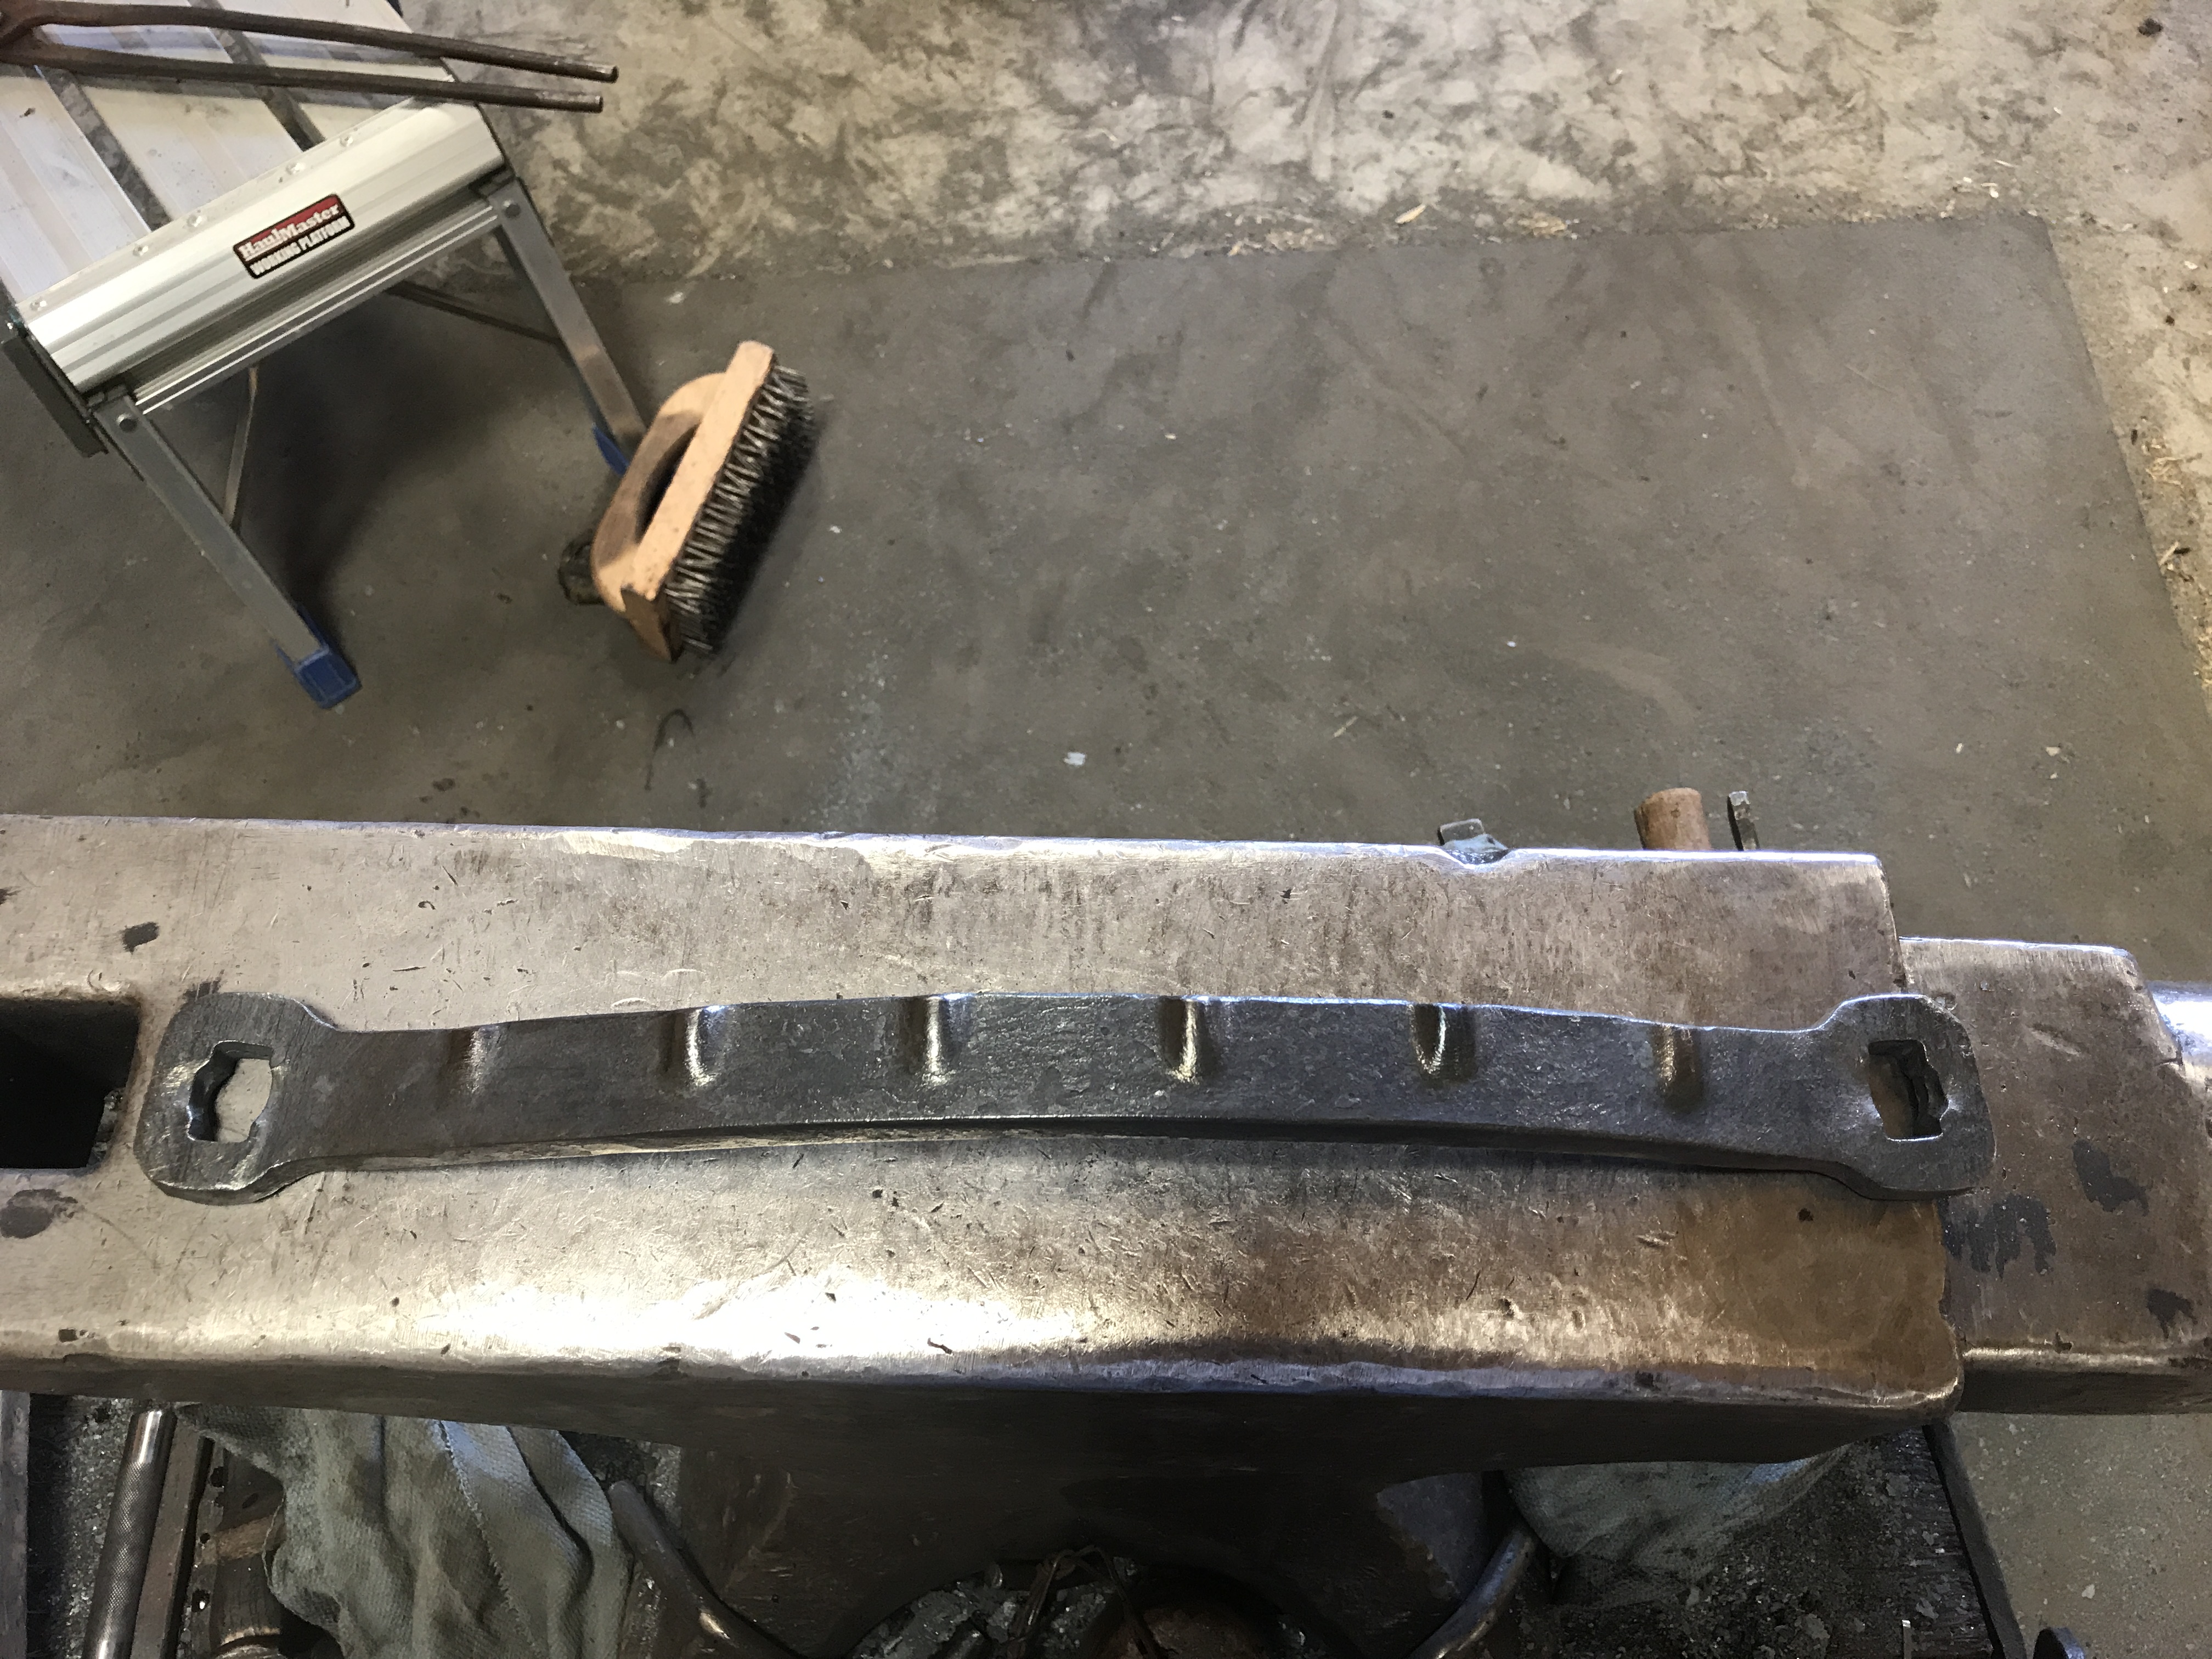
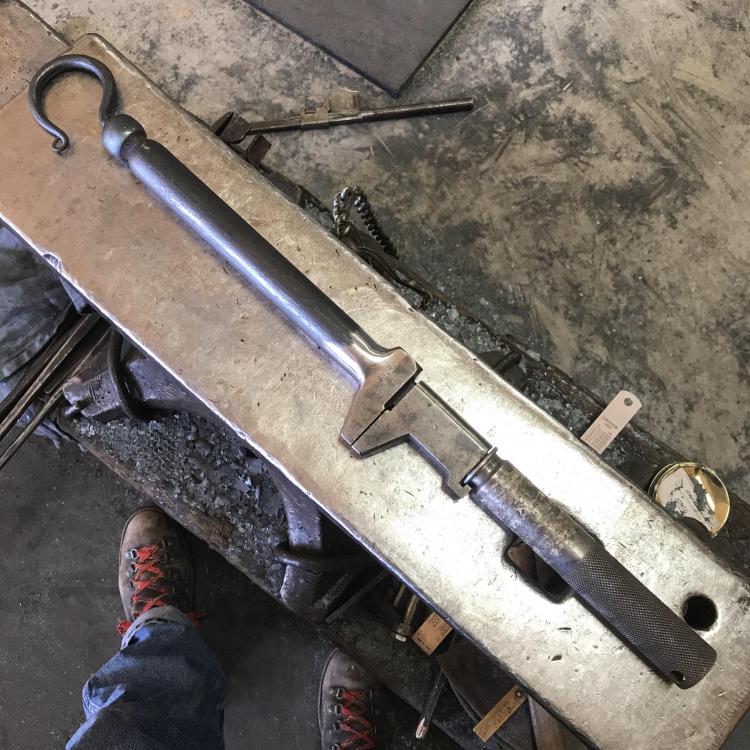
I saw another smith using one of these evergrip wrenches and became mildly obsessed with finding one. Took six months of watching the auction site for one to turn up. -
Thank Y’all! I know it’s a little bit tough to envision since it’s just pictures of random parts as they get finished but I’m down to the wire so hopefully things will start coming together both literally and figuratively.
-
I was thinking along the lines of the old folding tripod hunting/camp stools with the leather seats. It took a very long time for the double layered leather of those the stretch to a point of needing replacing. Hopefully this chair won’t see the neglect, abuse and elements that those stools were subjected to and the leather will last even longer.
-
The tell tale signs are there for a Pete. Those edges don’t look horrible and the face looks pretty clean. Get it mounted at a proper height and start beating glowing metal!
-
Boy am I jealous! I don’t necessarily need a vise that big but I want one in a pretty bad way. Can’t help you with the maker but is sure looks good.
-
What did you do in the shop today?
Ranchmanben replied to Mark Ling's topic in Blacksmithing, General Discussion
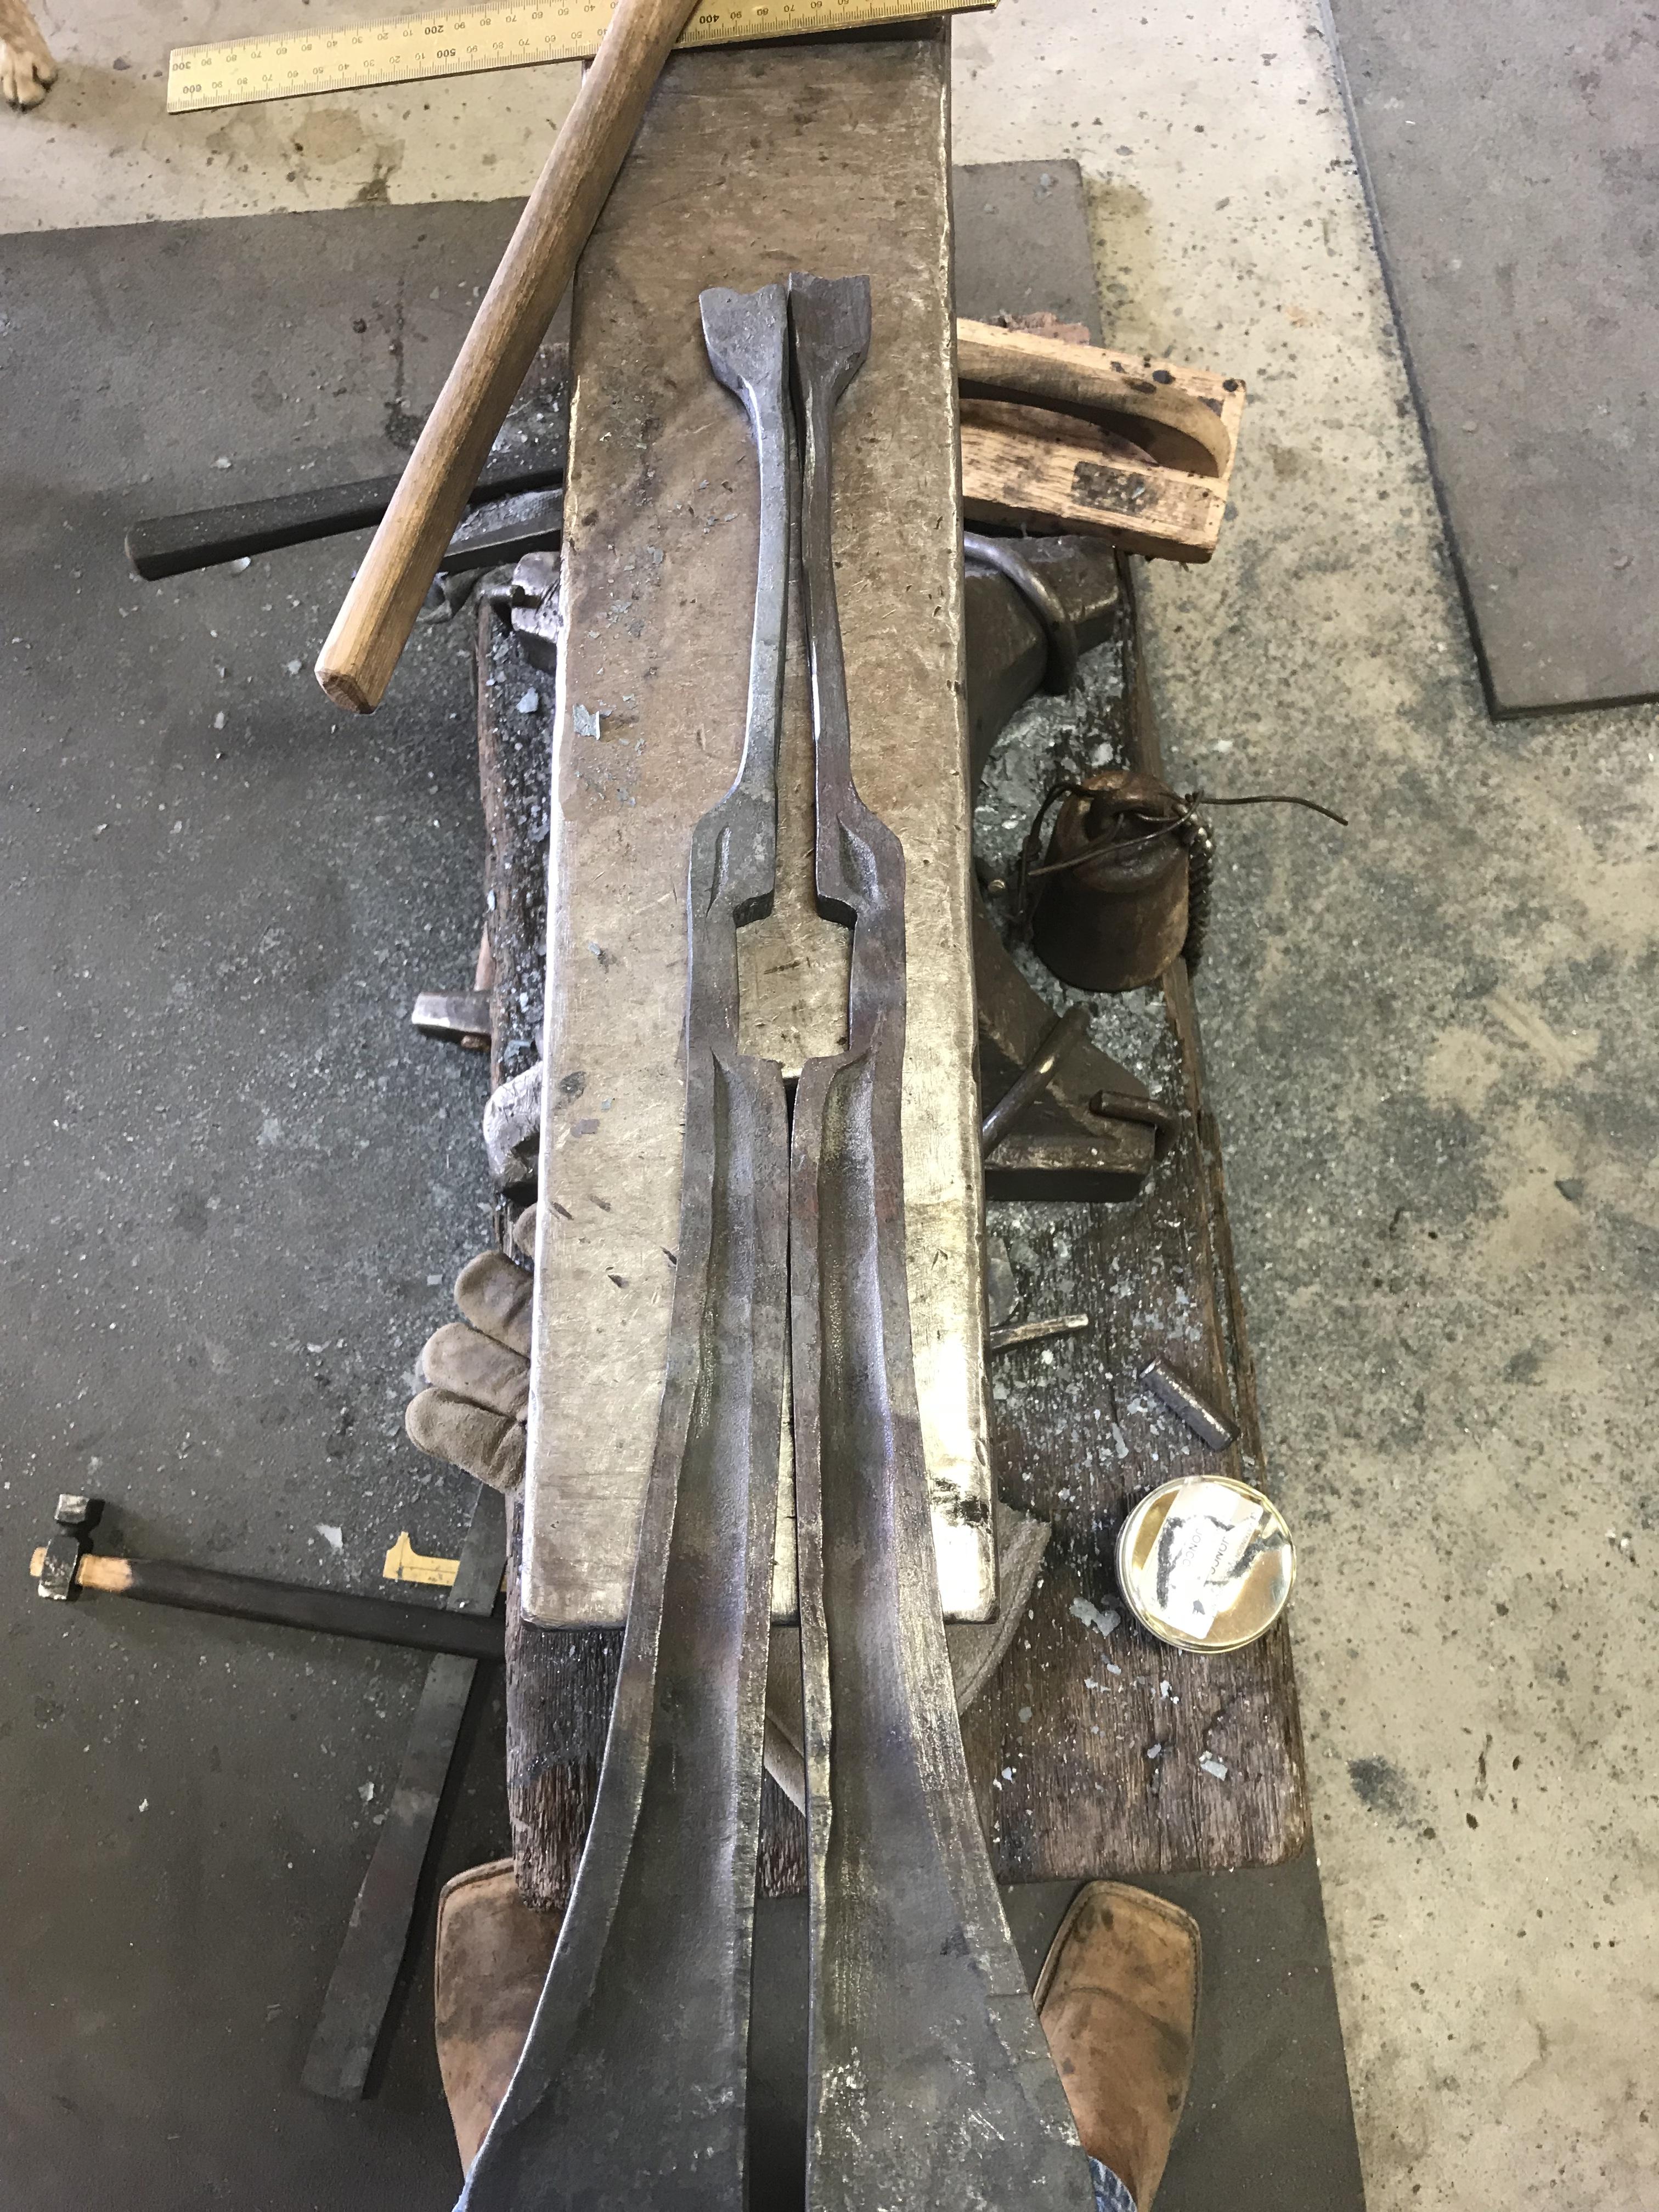
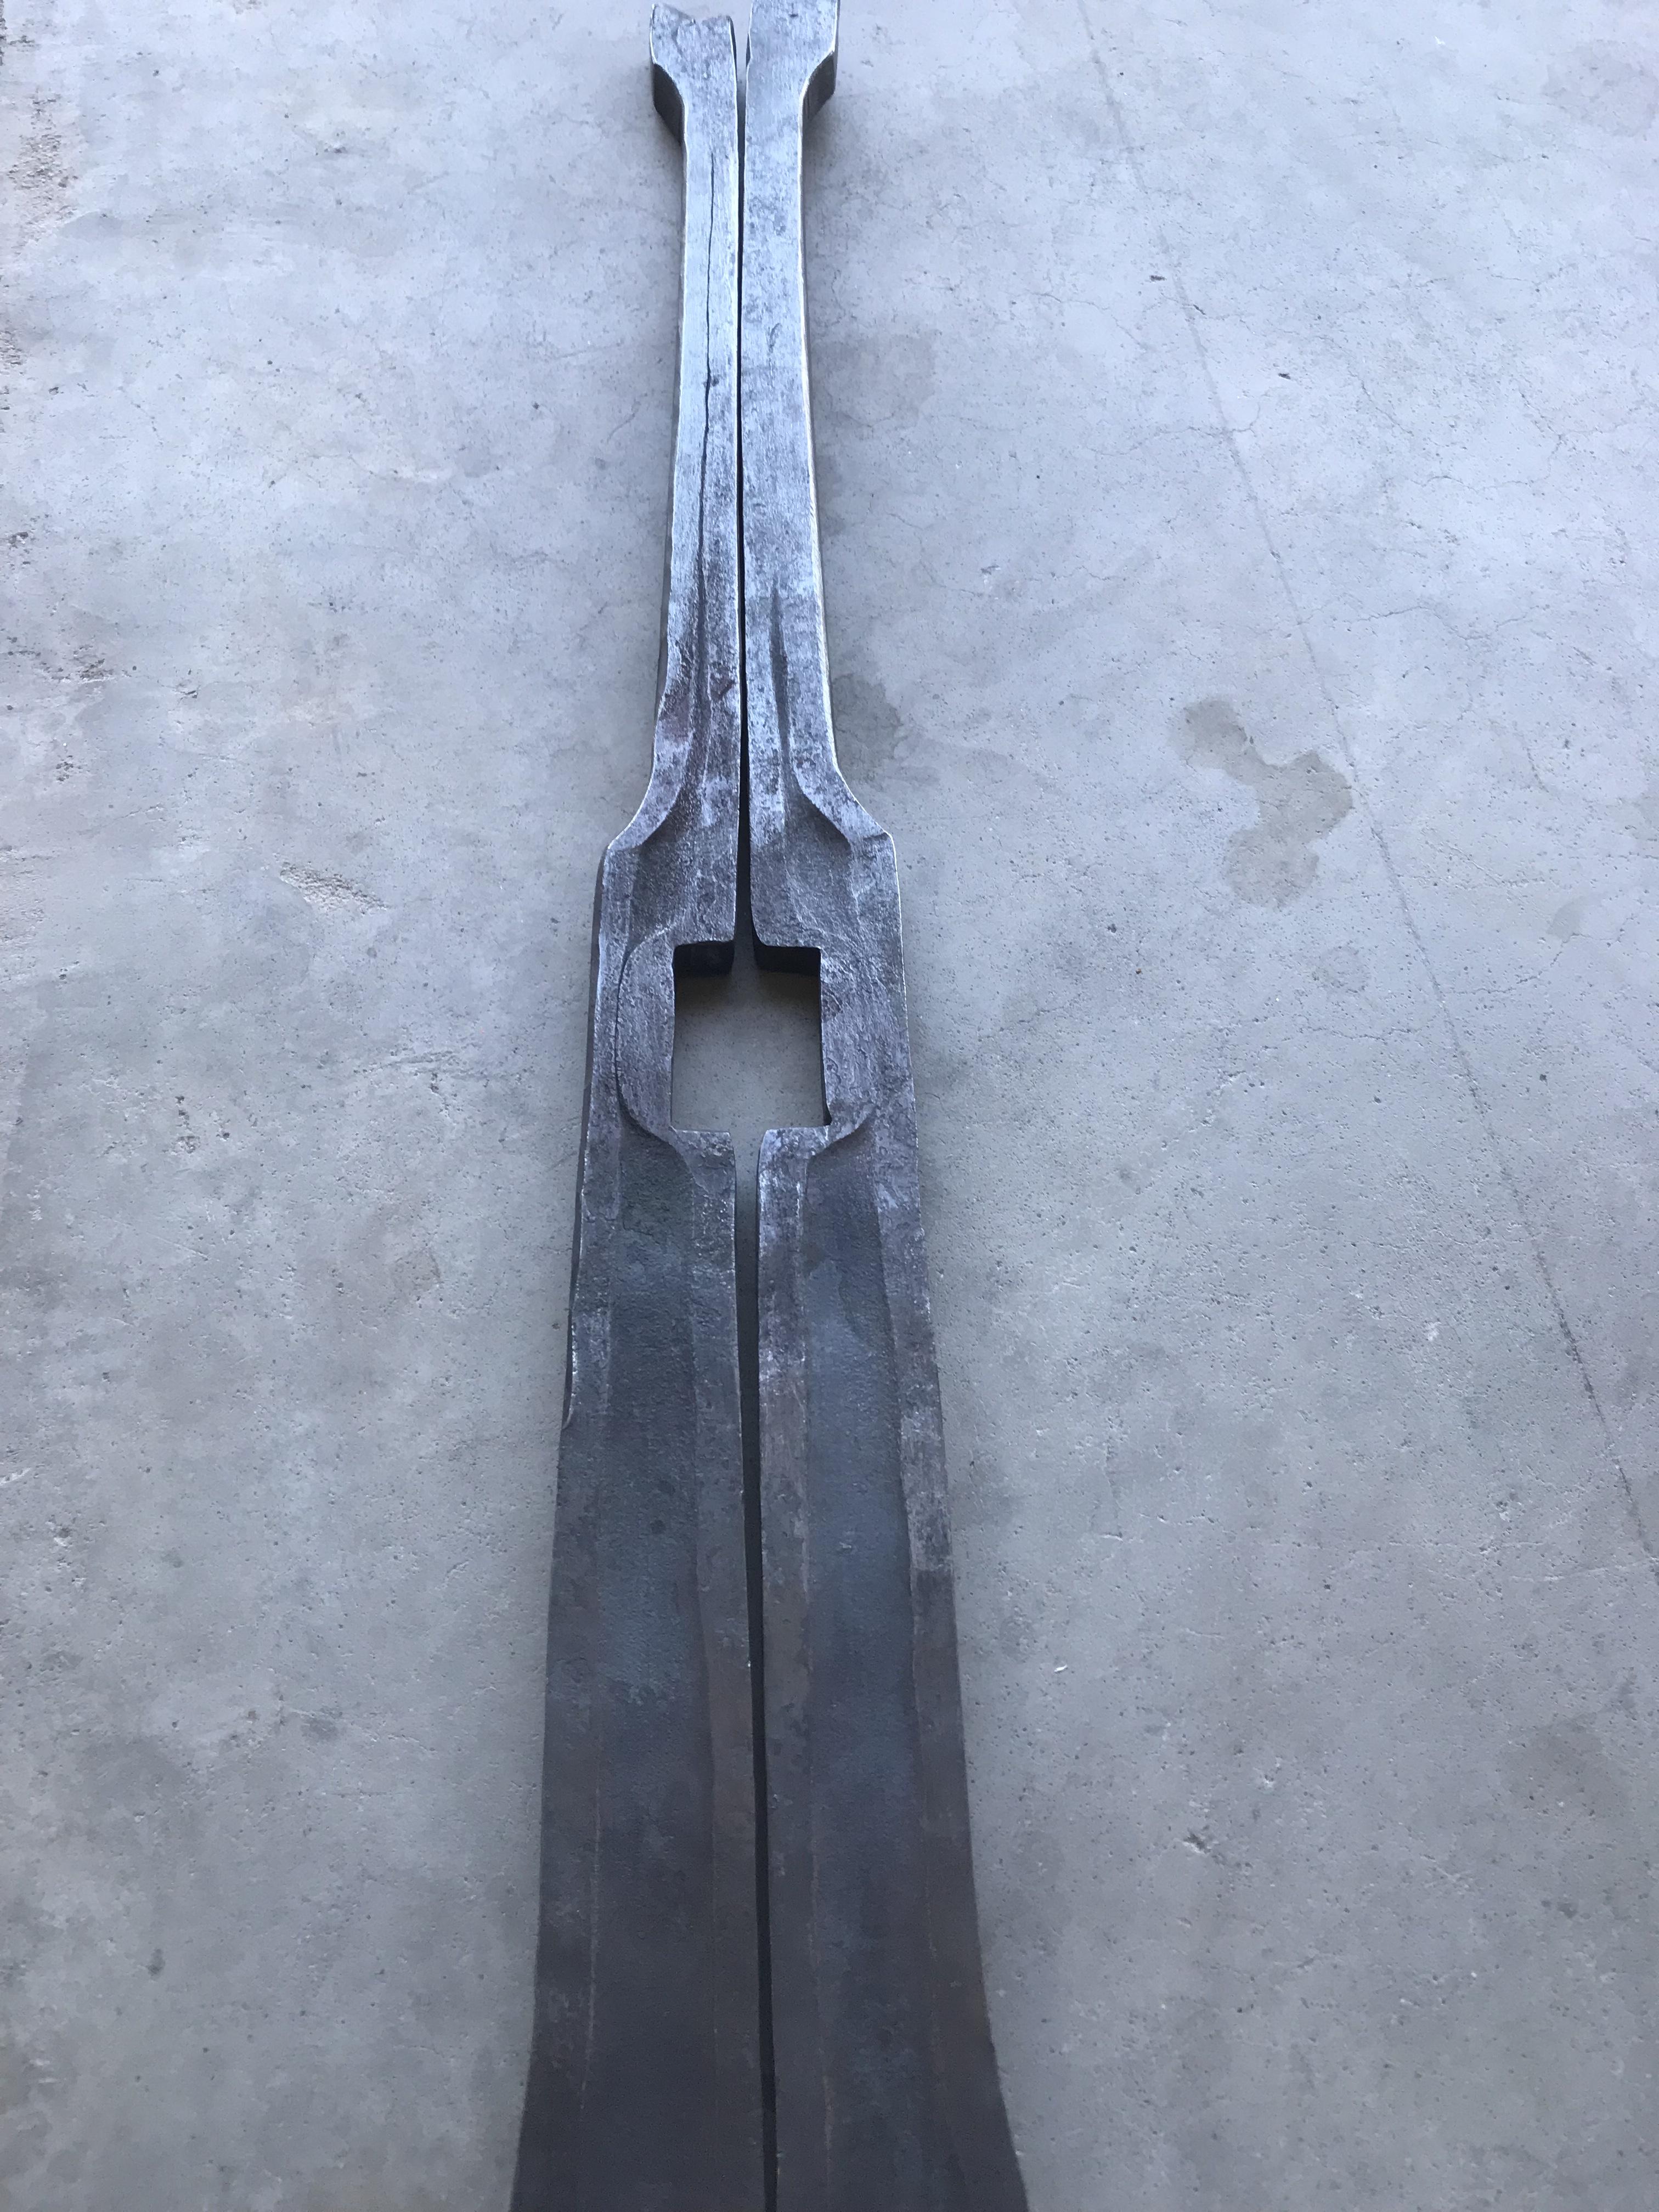
After being worn out from swinging a heavy hammer I took a little time to put together an adjustable twisting wrench.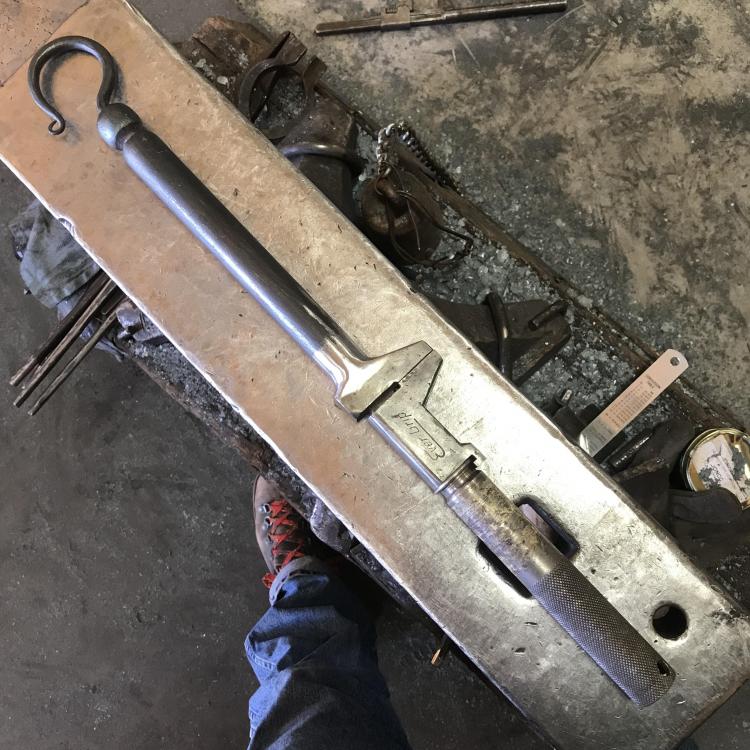
-
Thanks Frosty, feeling better but is amazing how much be sick for a couple of days take out of you. Got worn out faster than normal. Should do a little better tomorrow. The pointy part is going to get angled back and be 1/4” or so below seat level. I’m going for comfort not violation. Originally the plan was to be a maple seat with the booty contour carved out but due to time constraints I’m going to with a two layers leather. The bottom supporting layer will veg tan and the piece that makes contact will be hair on hide. Hopefully the double layer will resist stretching for a good long while.
-
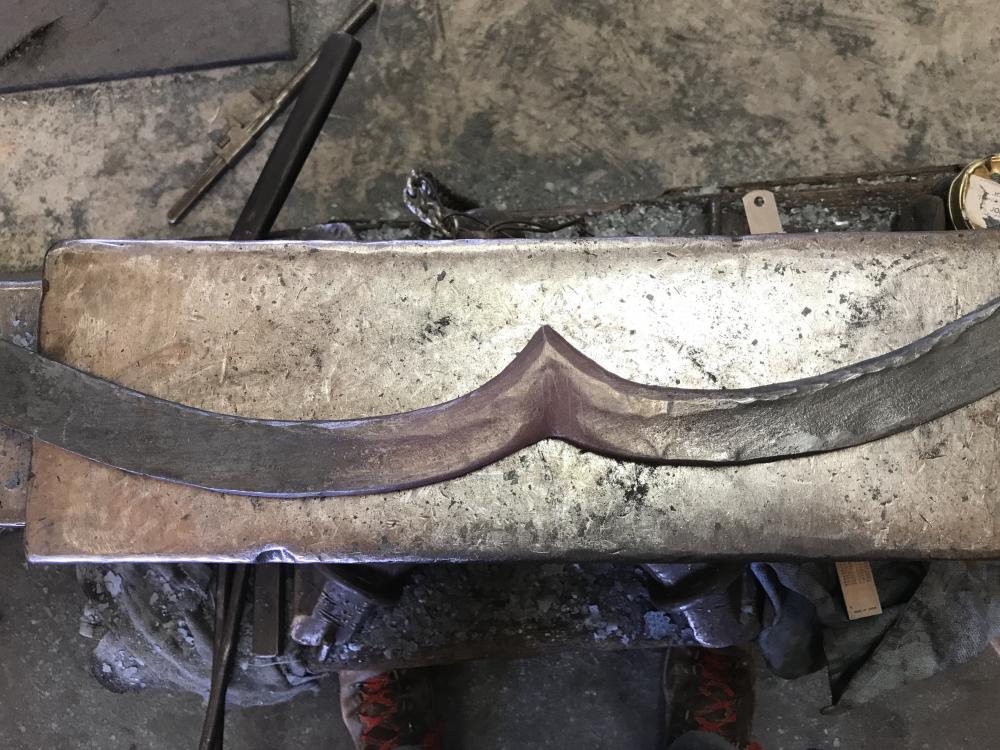
Front of the seat in the works.
-
ALL RIGHT! Congratulations!
-
Unfortunately I’ve been under the weather the past couple days, strep throat. Hopefully by tomorrow afternoon or Saturday I’ll be able to do some more work.
-
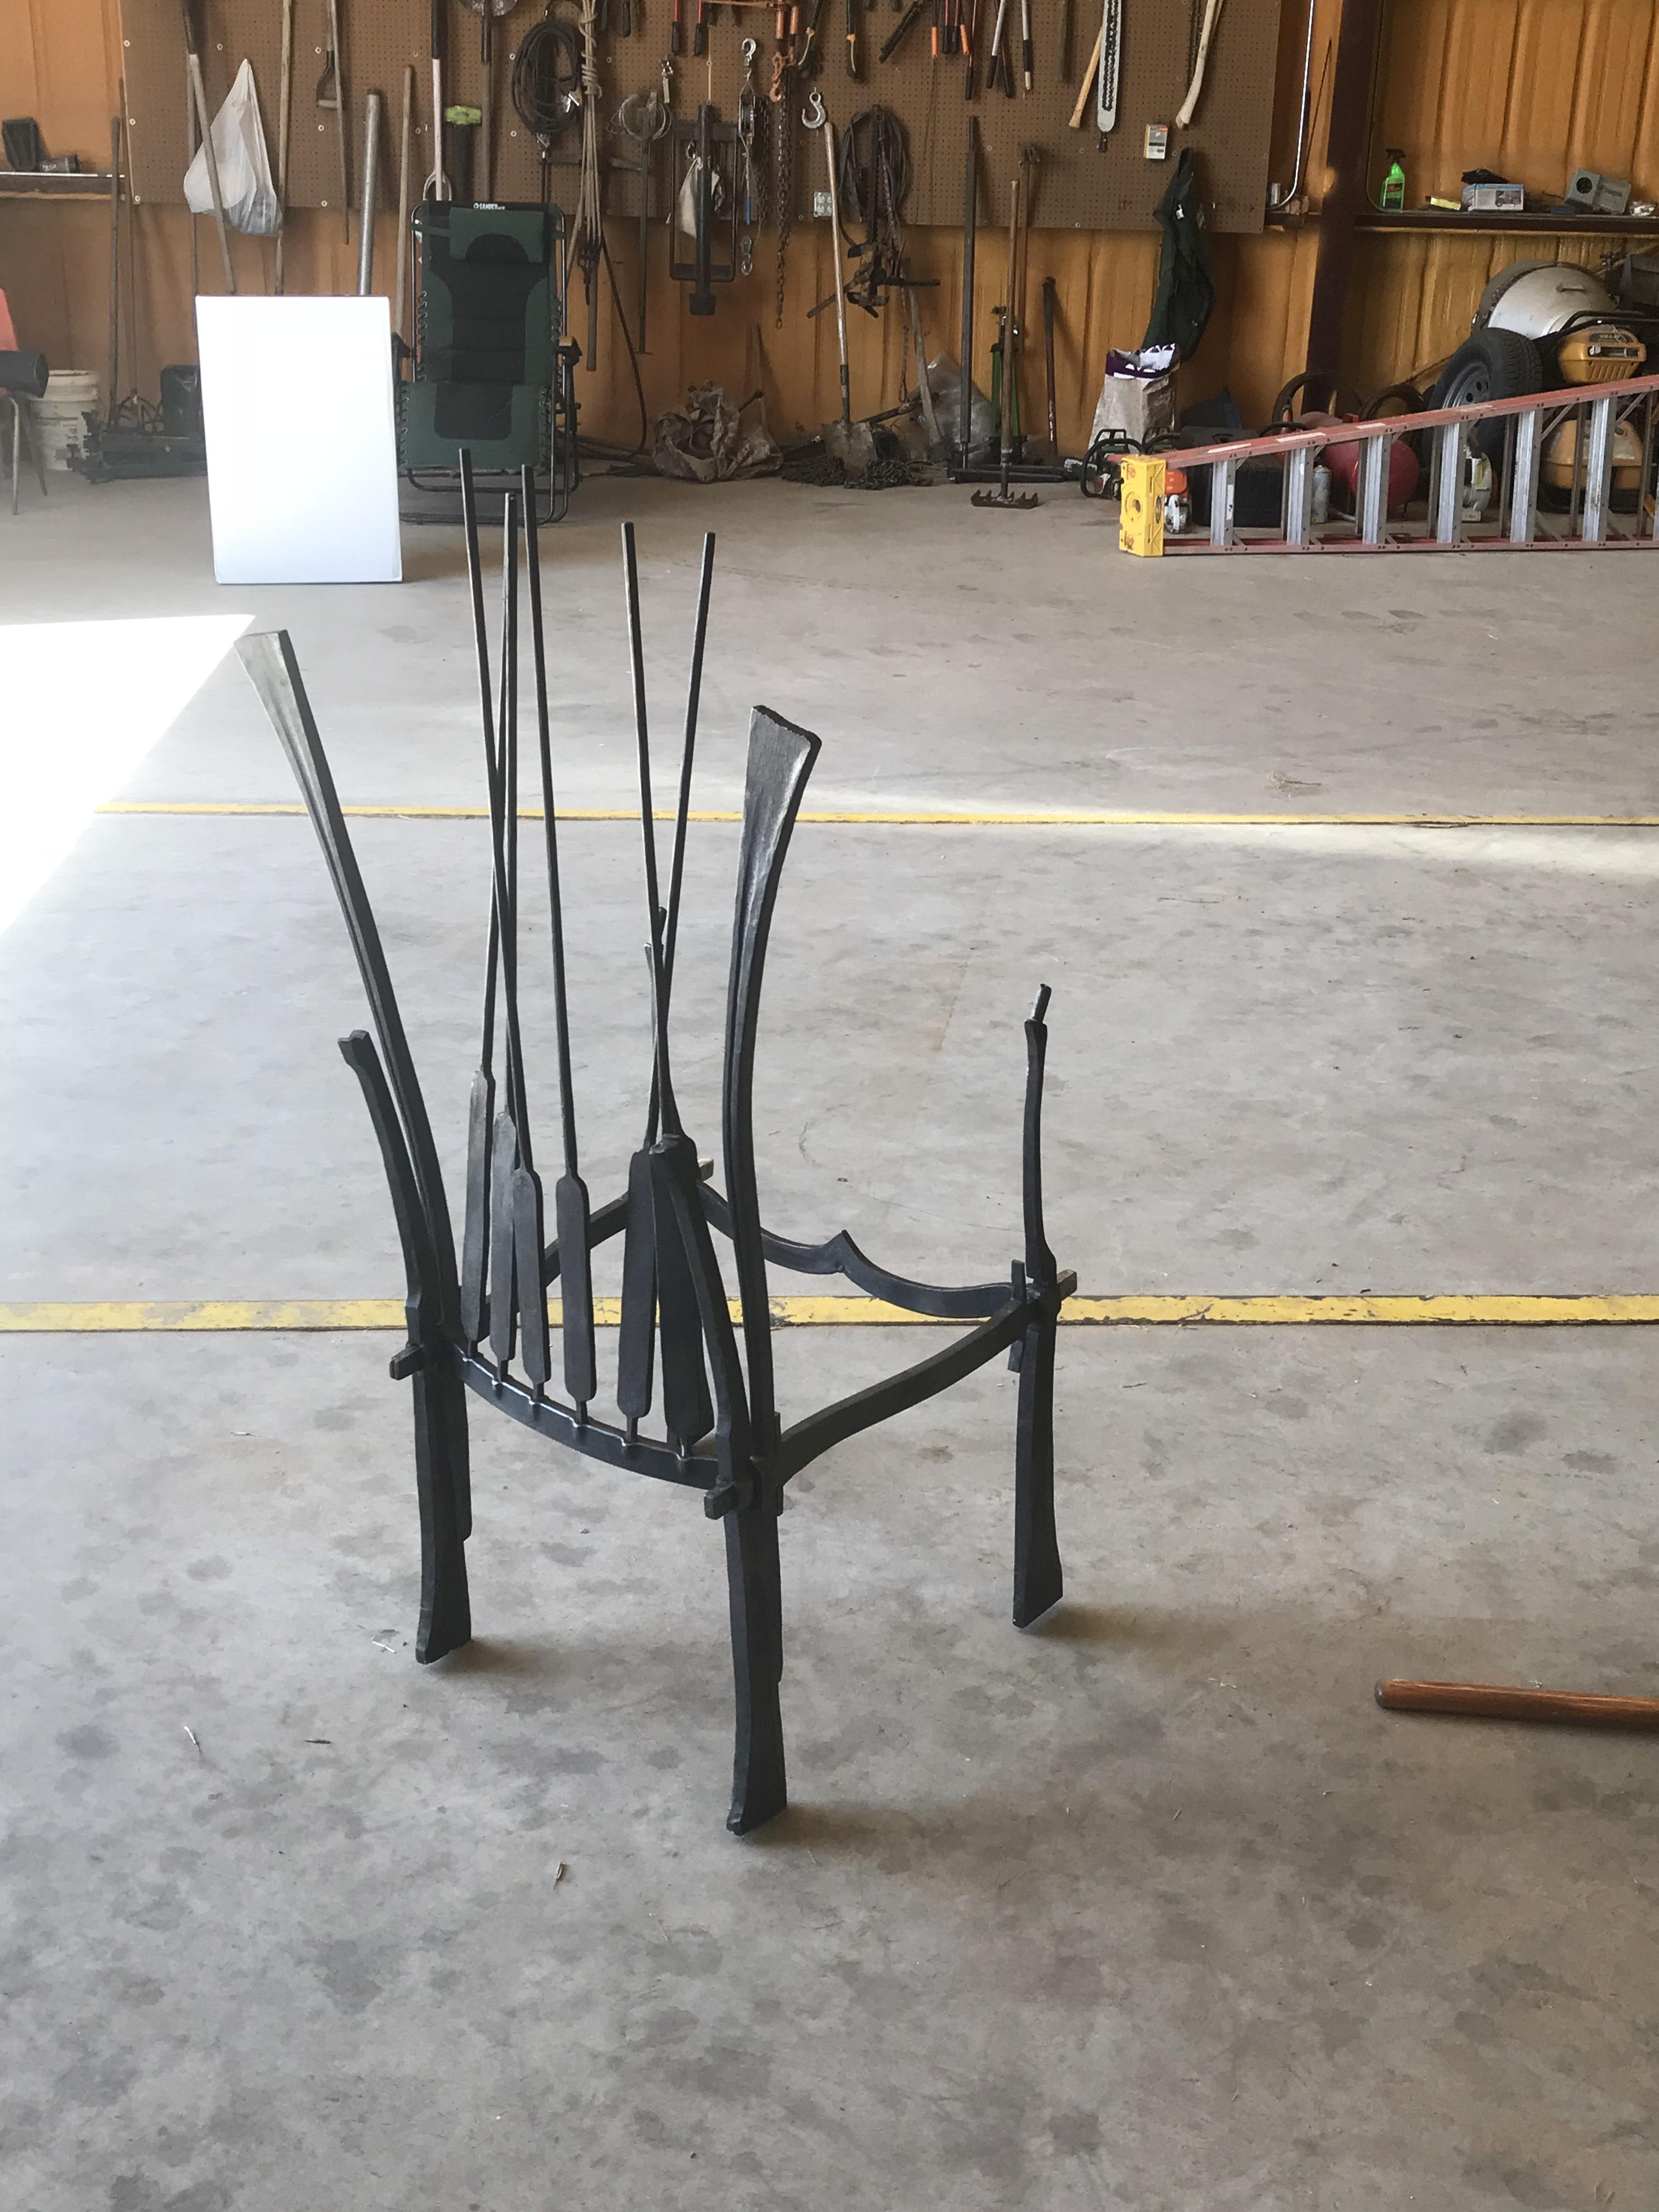
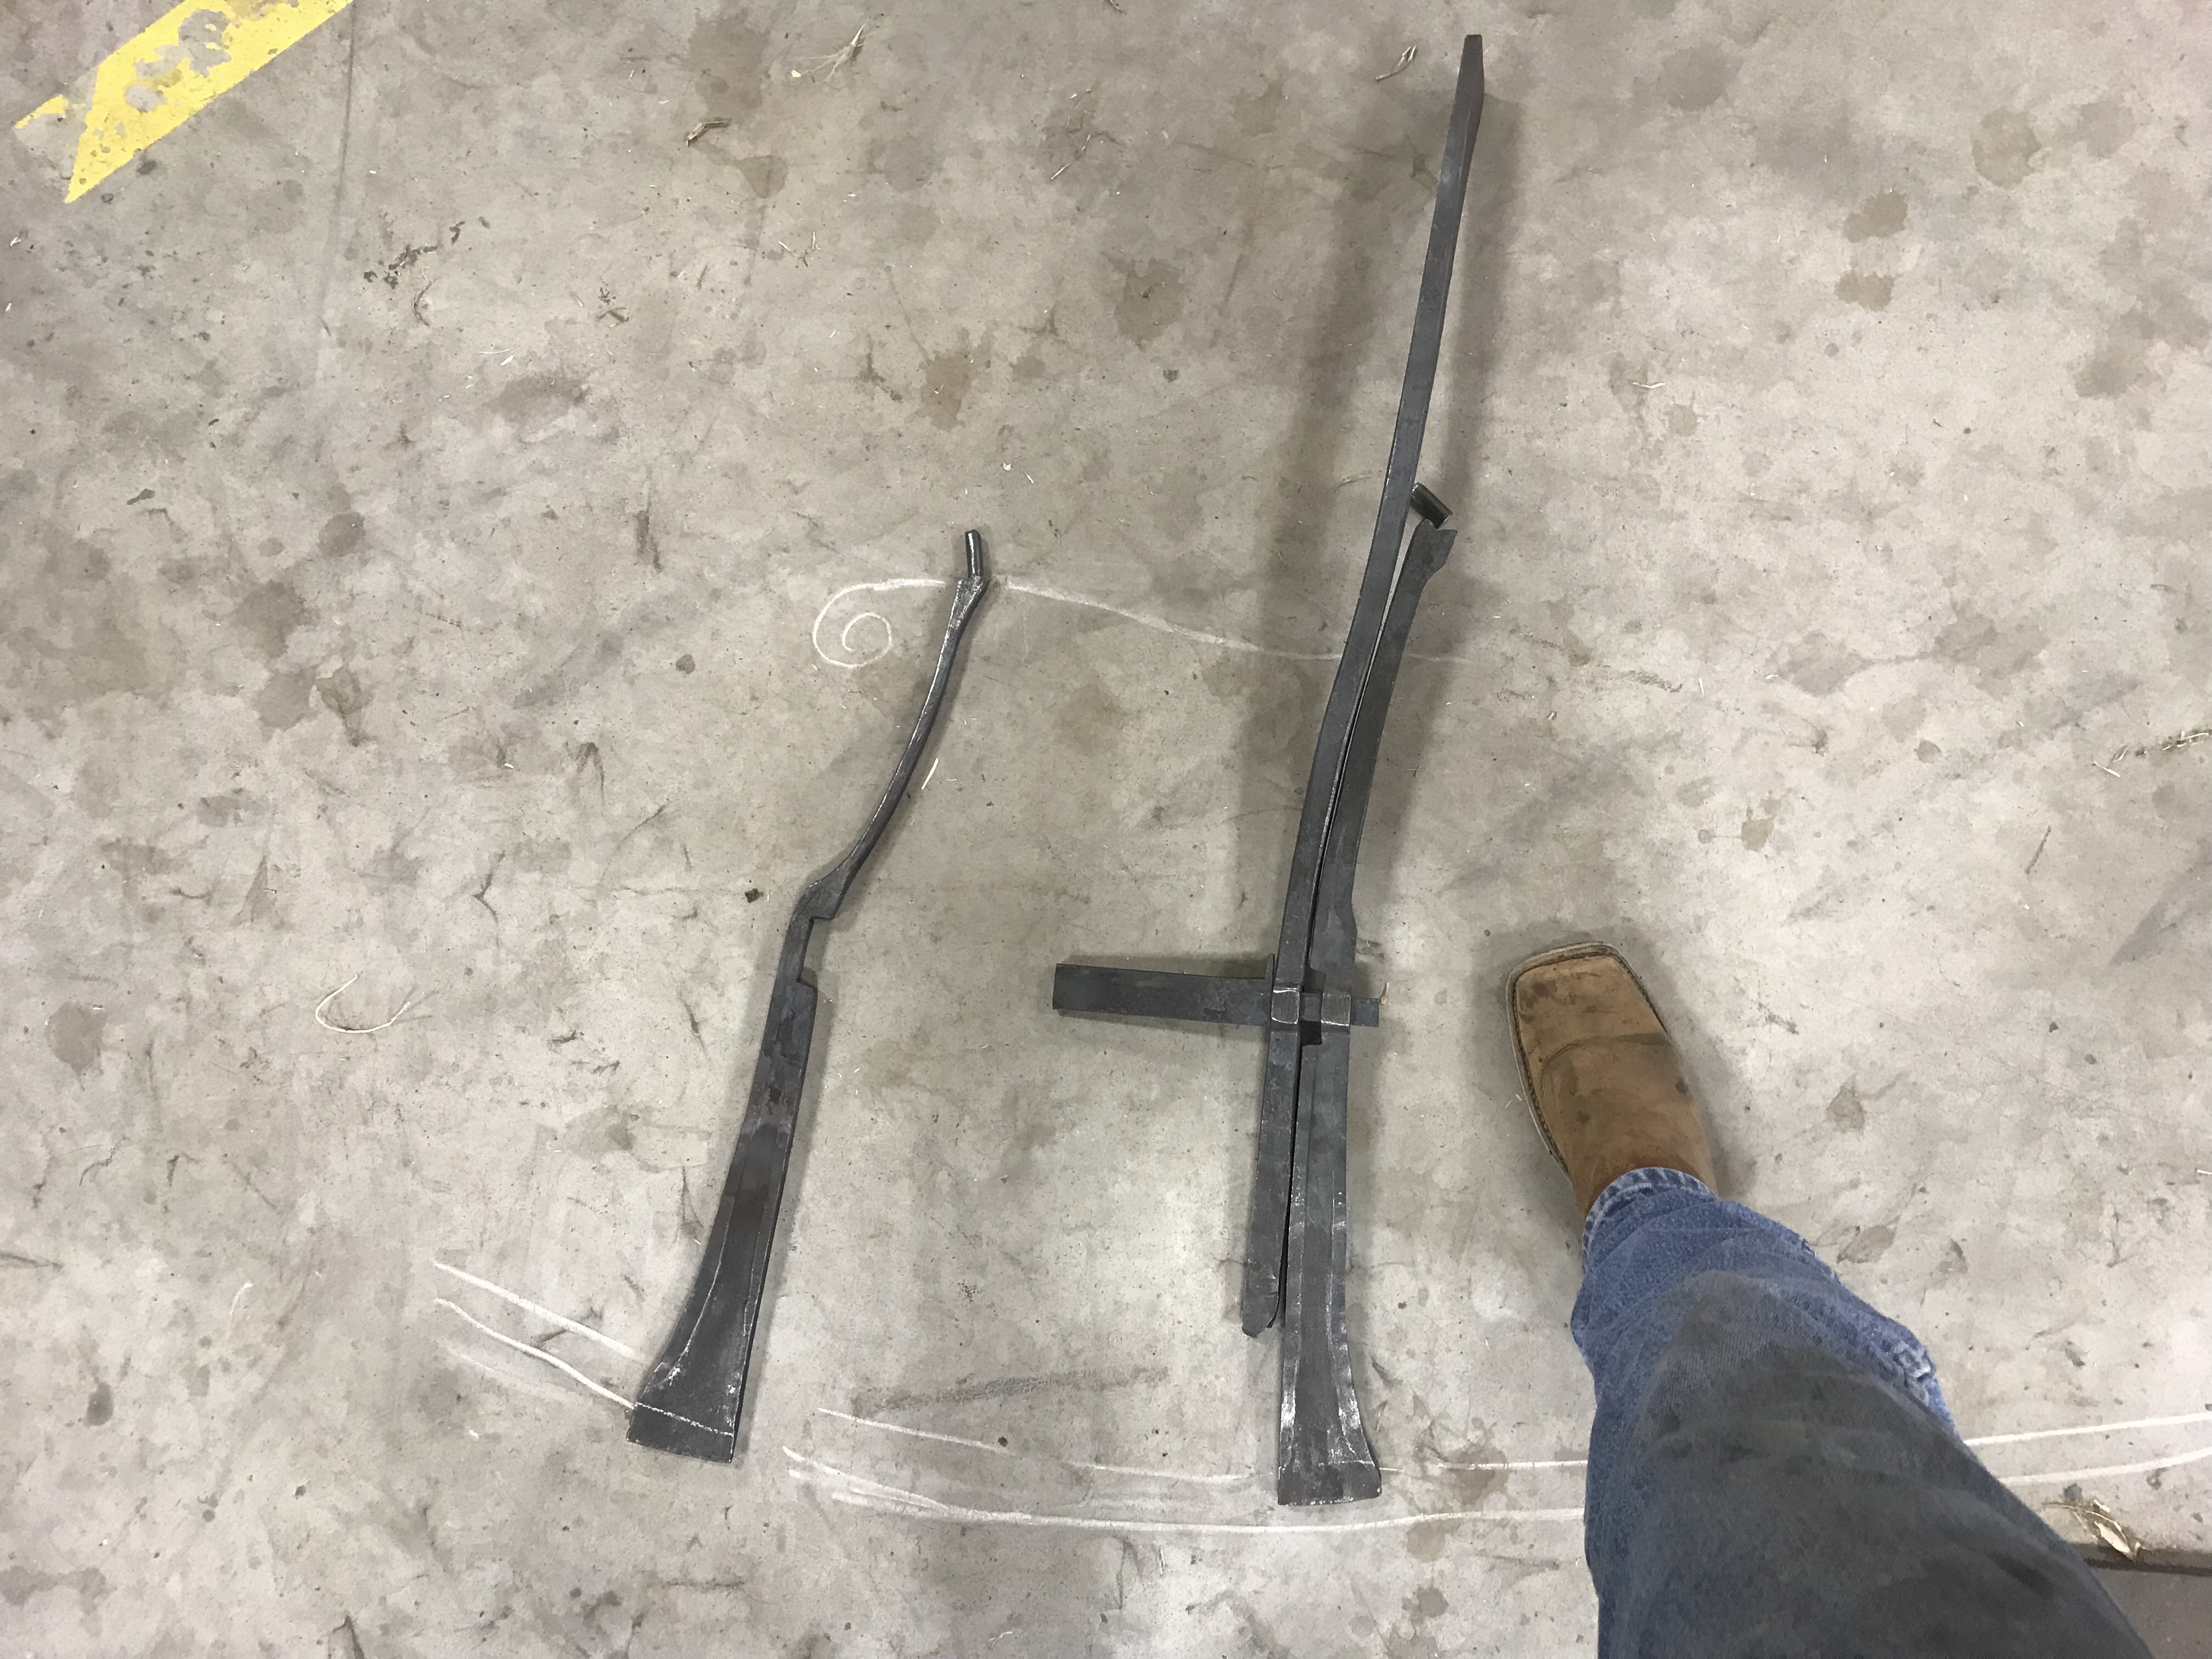
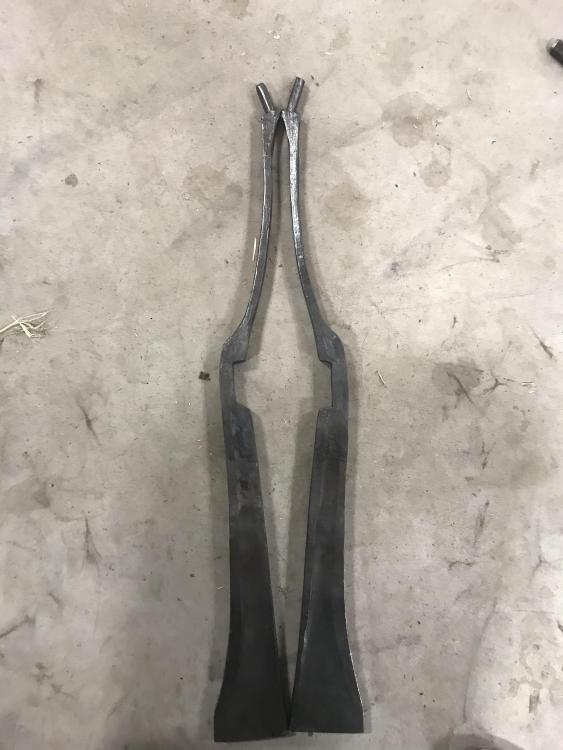
Got the front legs close enough for the time being. Built up another cherry donut and borrowed some of Pinecone’s chalk to give an idea of the chair profile.

-
Got the front legs pretty roughly forged this afternoon. Time for dinner and putting kids in bed. Hopefully I’ll get a little more work done this evening.


-
Basically no progress made in the past few days. Been working on getting ahead of work for my day job so I can get a couple of quality days of forge work in. Hopefully I should have some visual updates tomorrow.
-
Mighty fine Anvil! Of the variety of anvils I’ve owned, my 150lb Koleslaw is my favorite. Mount it solidly and enjoy.
-
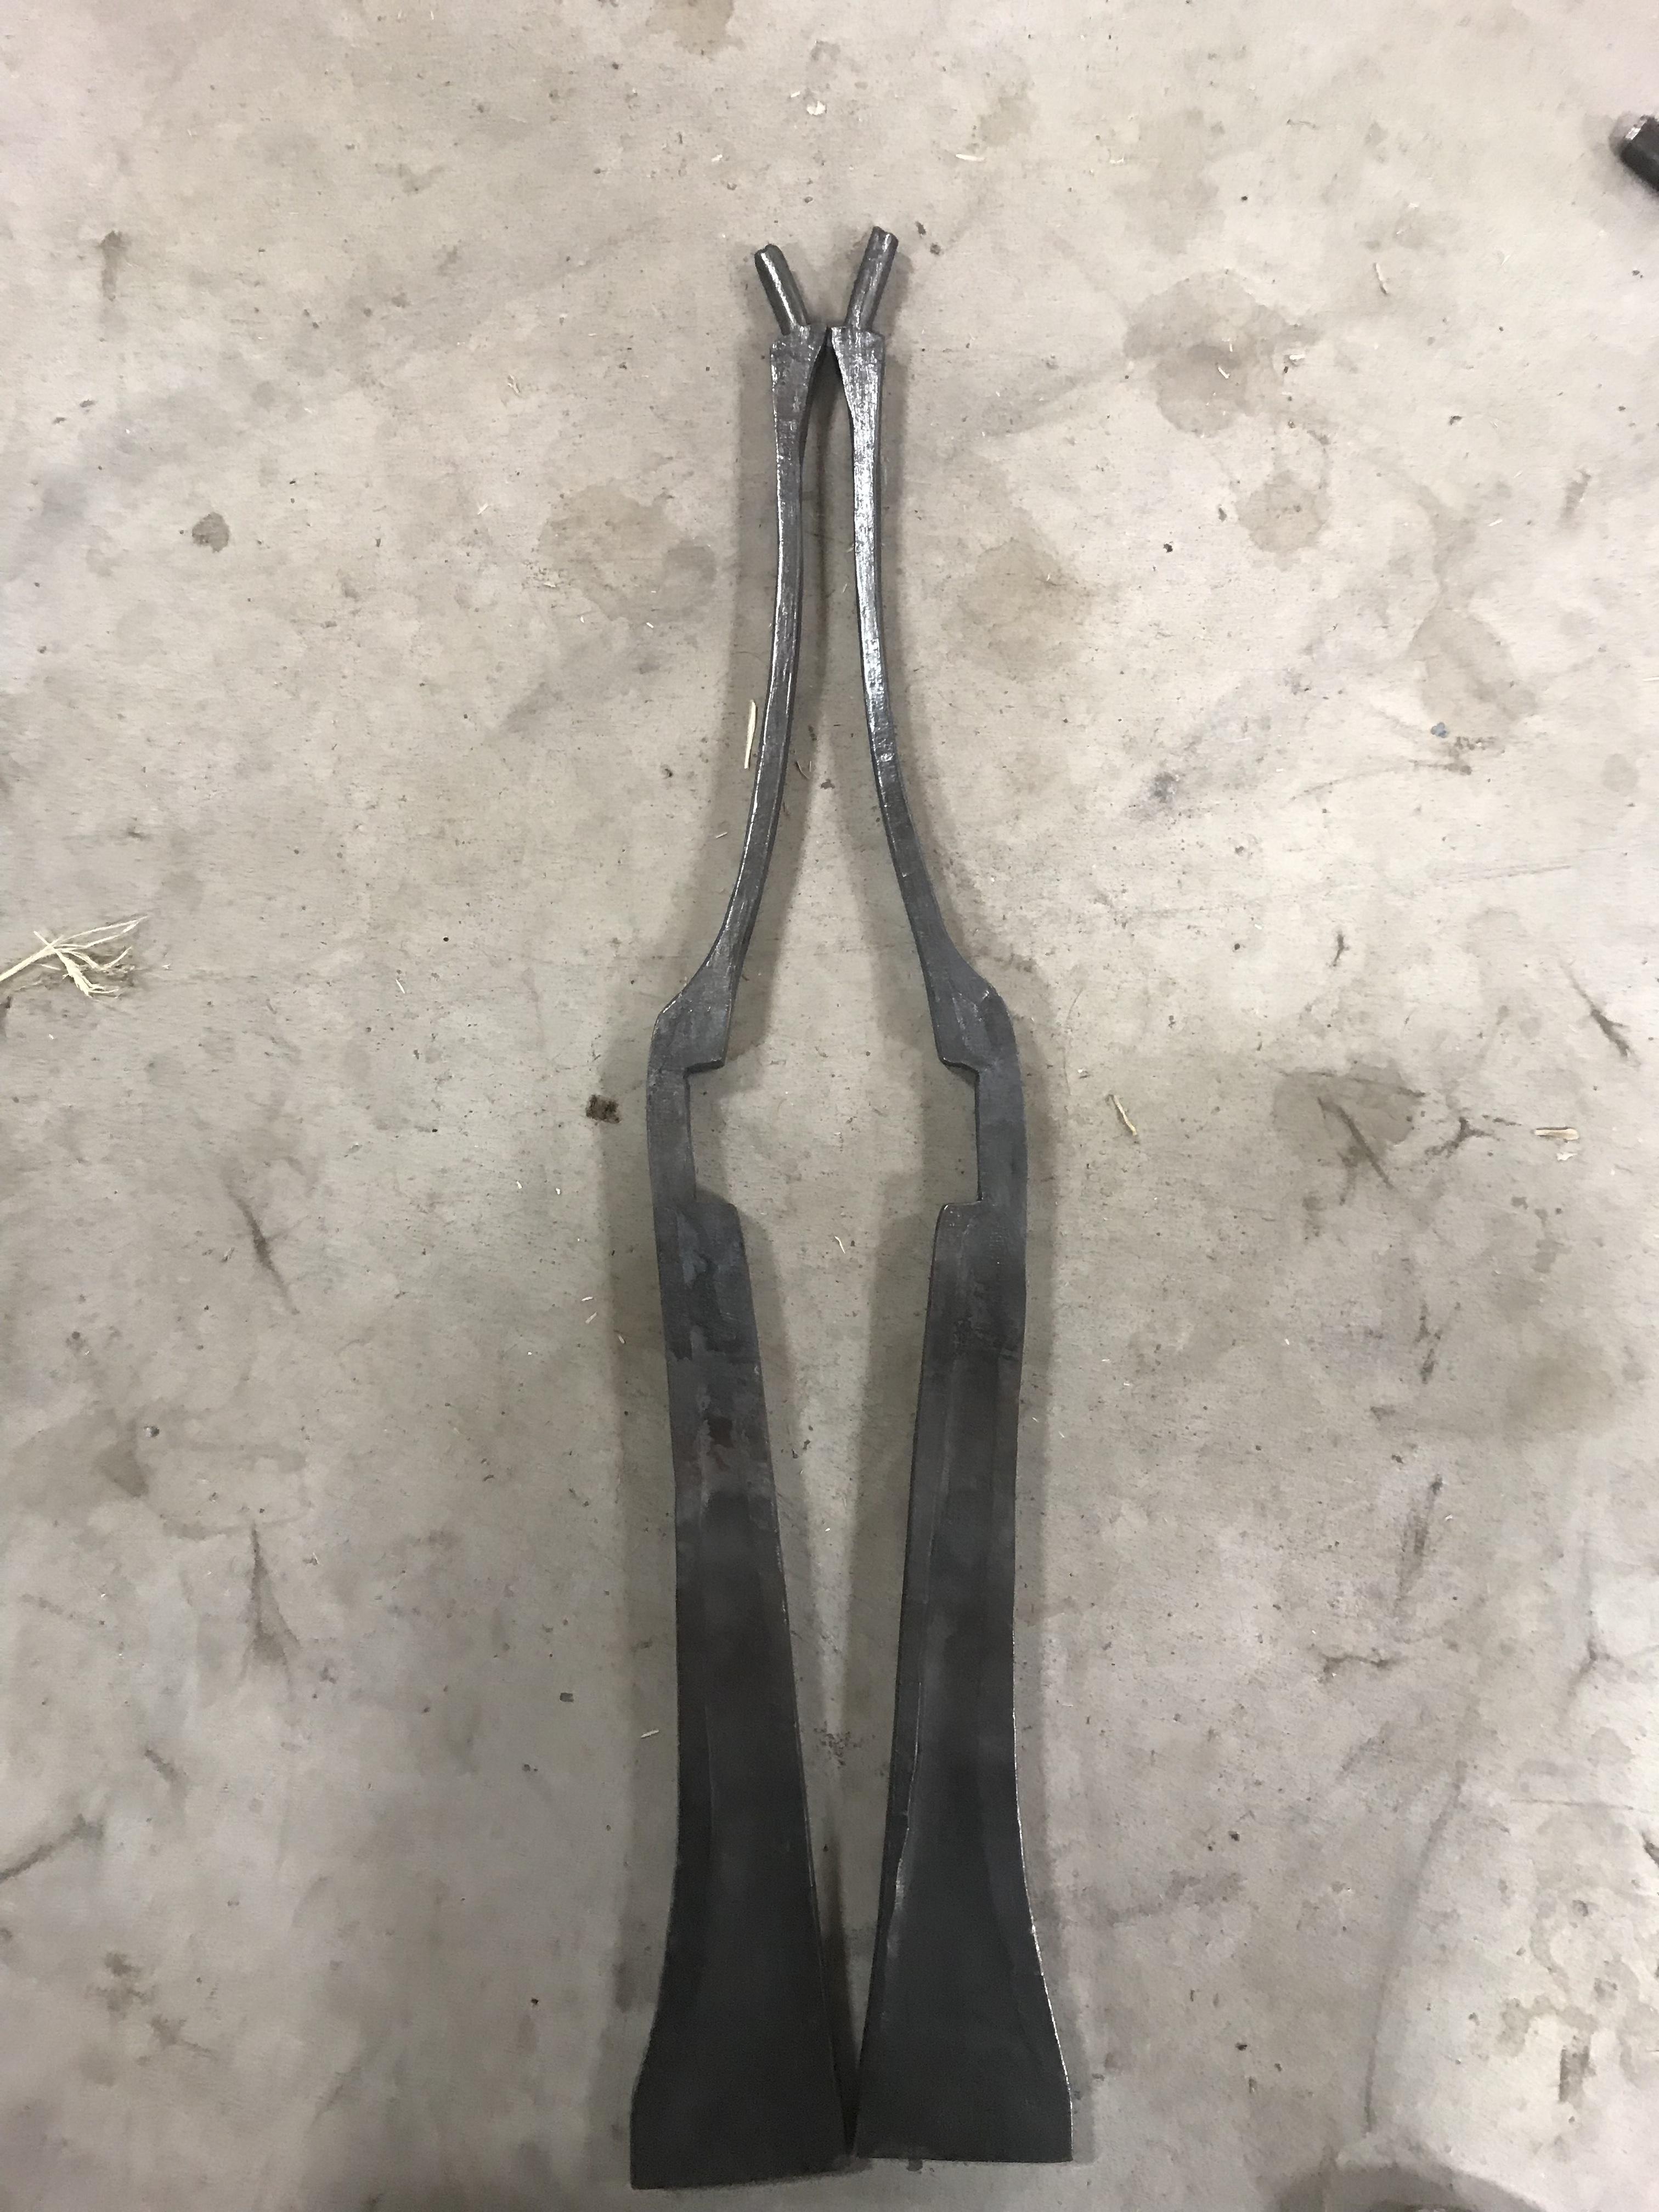
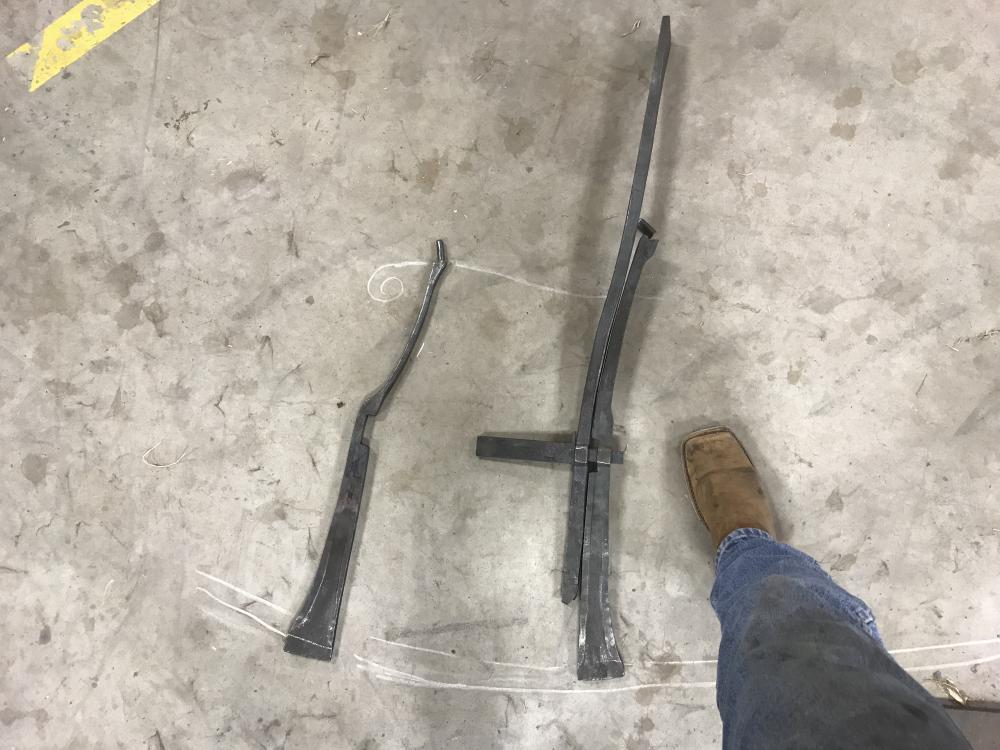
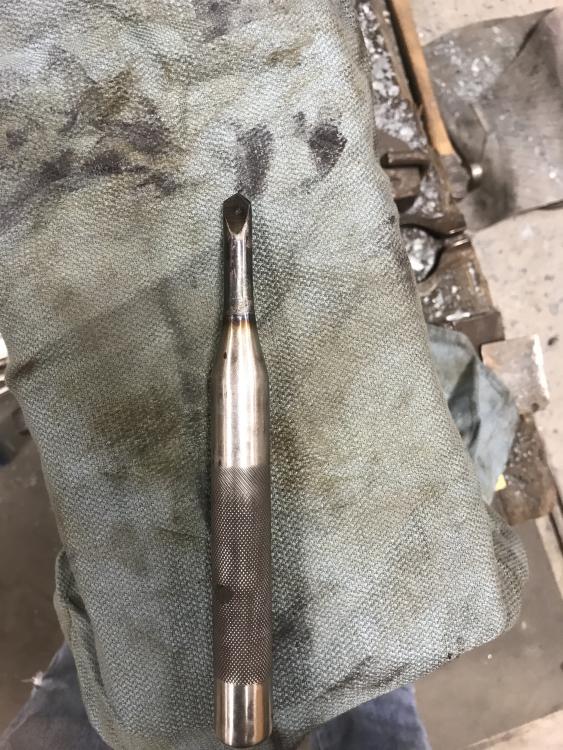
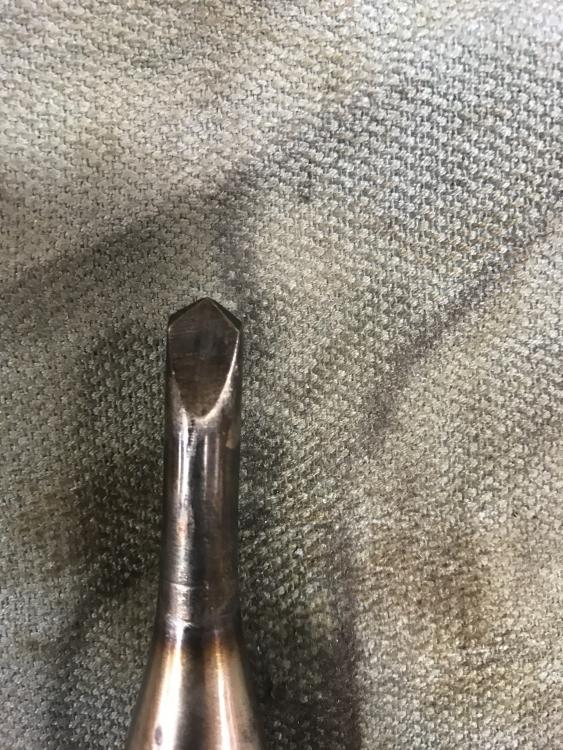
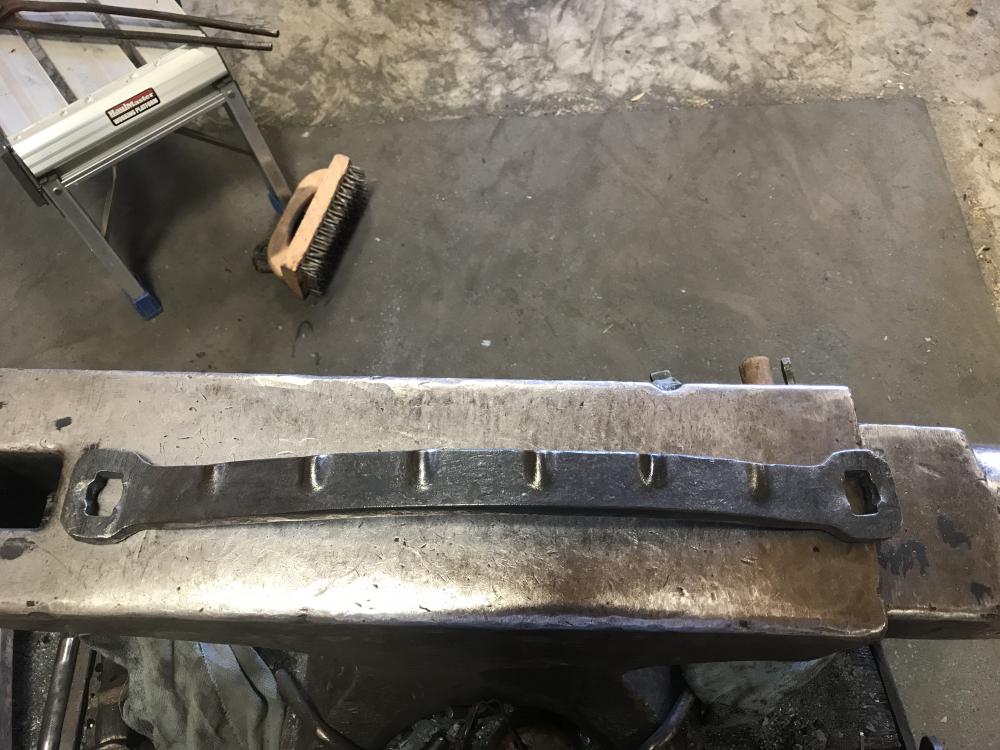
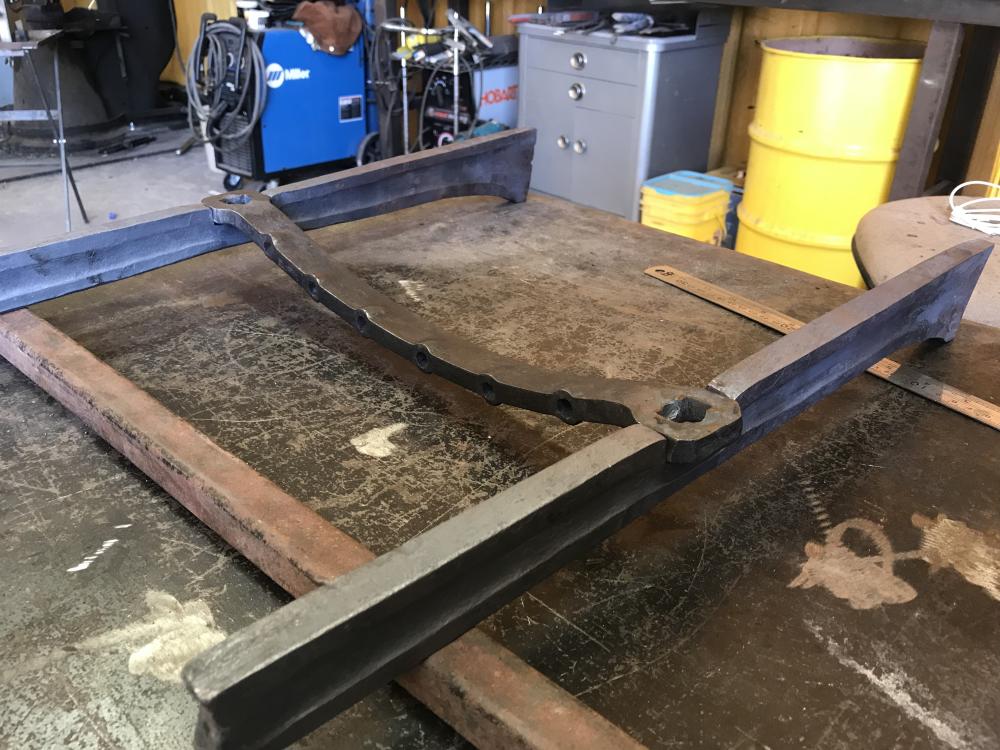
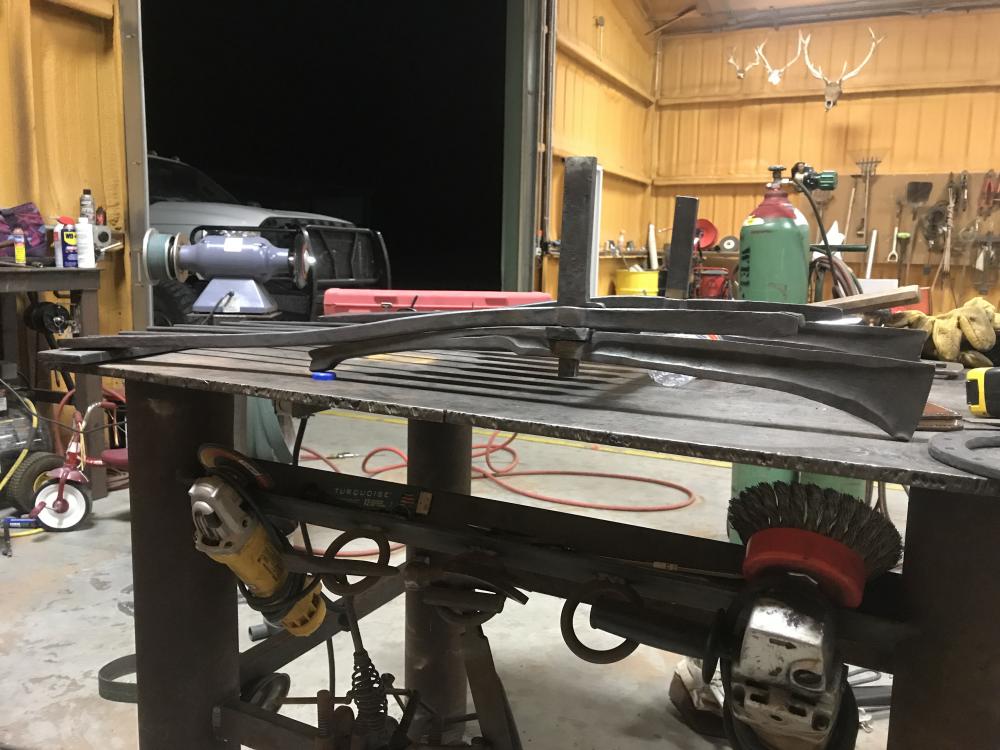
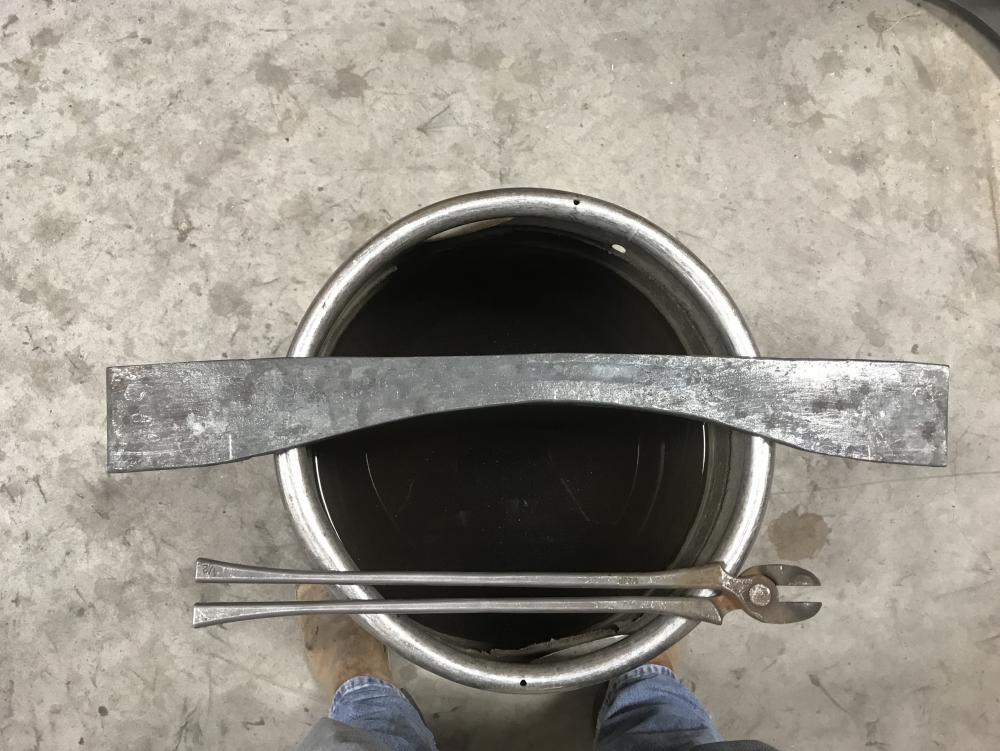
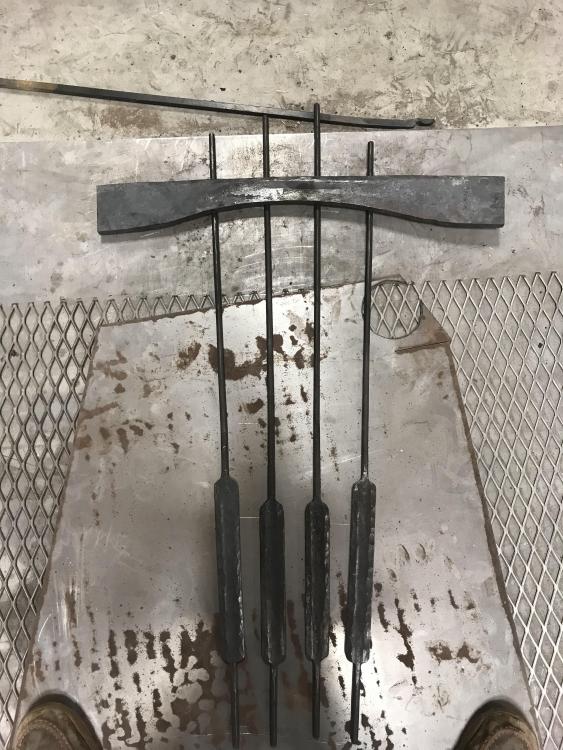
Next I started working on the back piece of the seat that the slats will attach to. I used a slit and drift punch a friend made from S-7 for me. I had to make a 1” slitting chisel and matching drift for the holes in the ends. Starting stock 18” of 1 1/4”x1/2” Next was the back legs which will attach to the rockers on the bottom and the seat and back on the top end. Starting stock for legs 11” of 3”x1/2” Holes have been punched and drifted through both the legs and back stay. Also back stays and back legs have been bent close to final position. No point getting nit picky when I’m so far from being done.

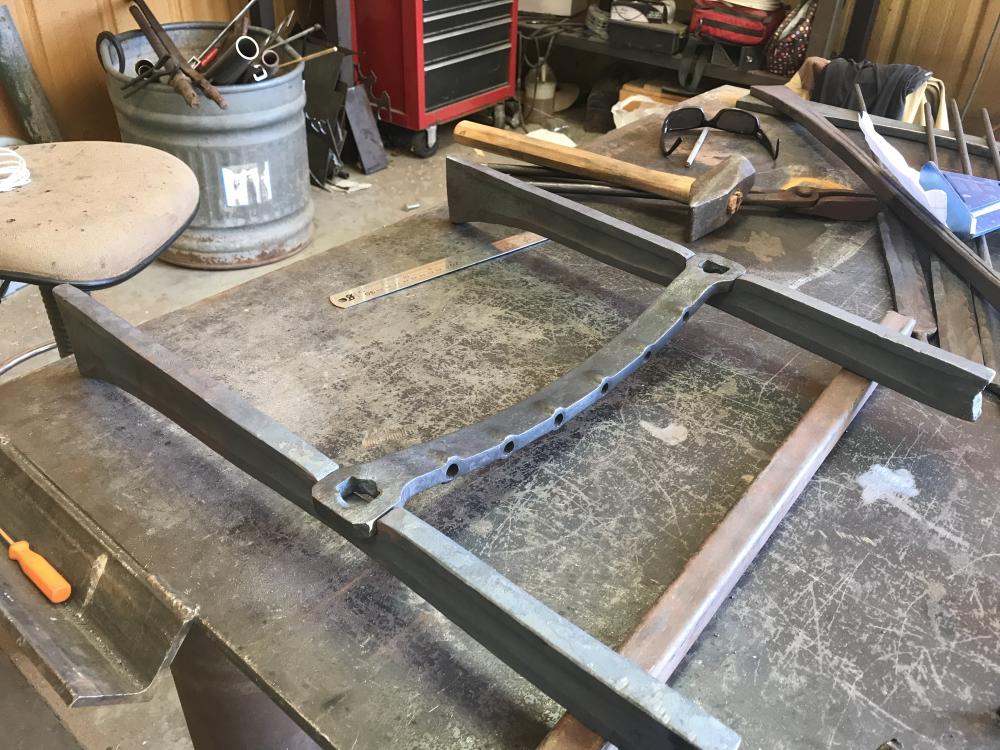


-
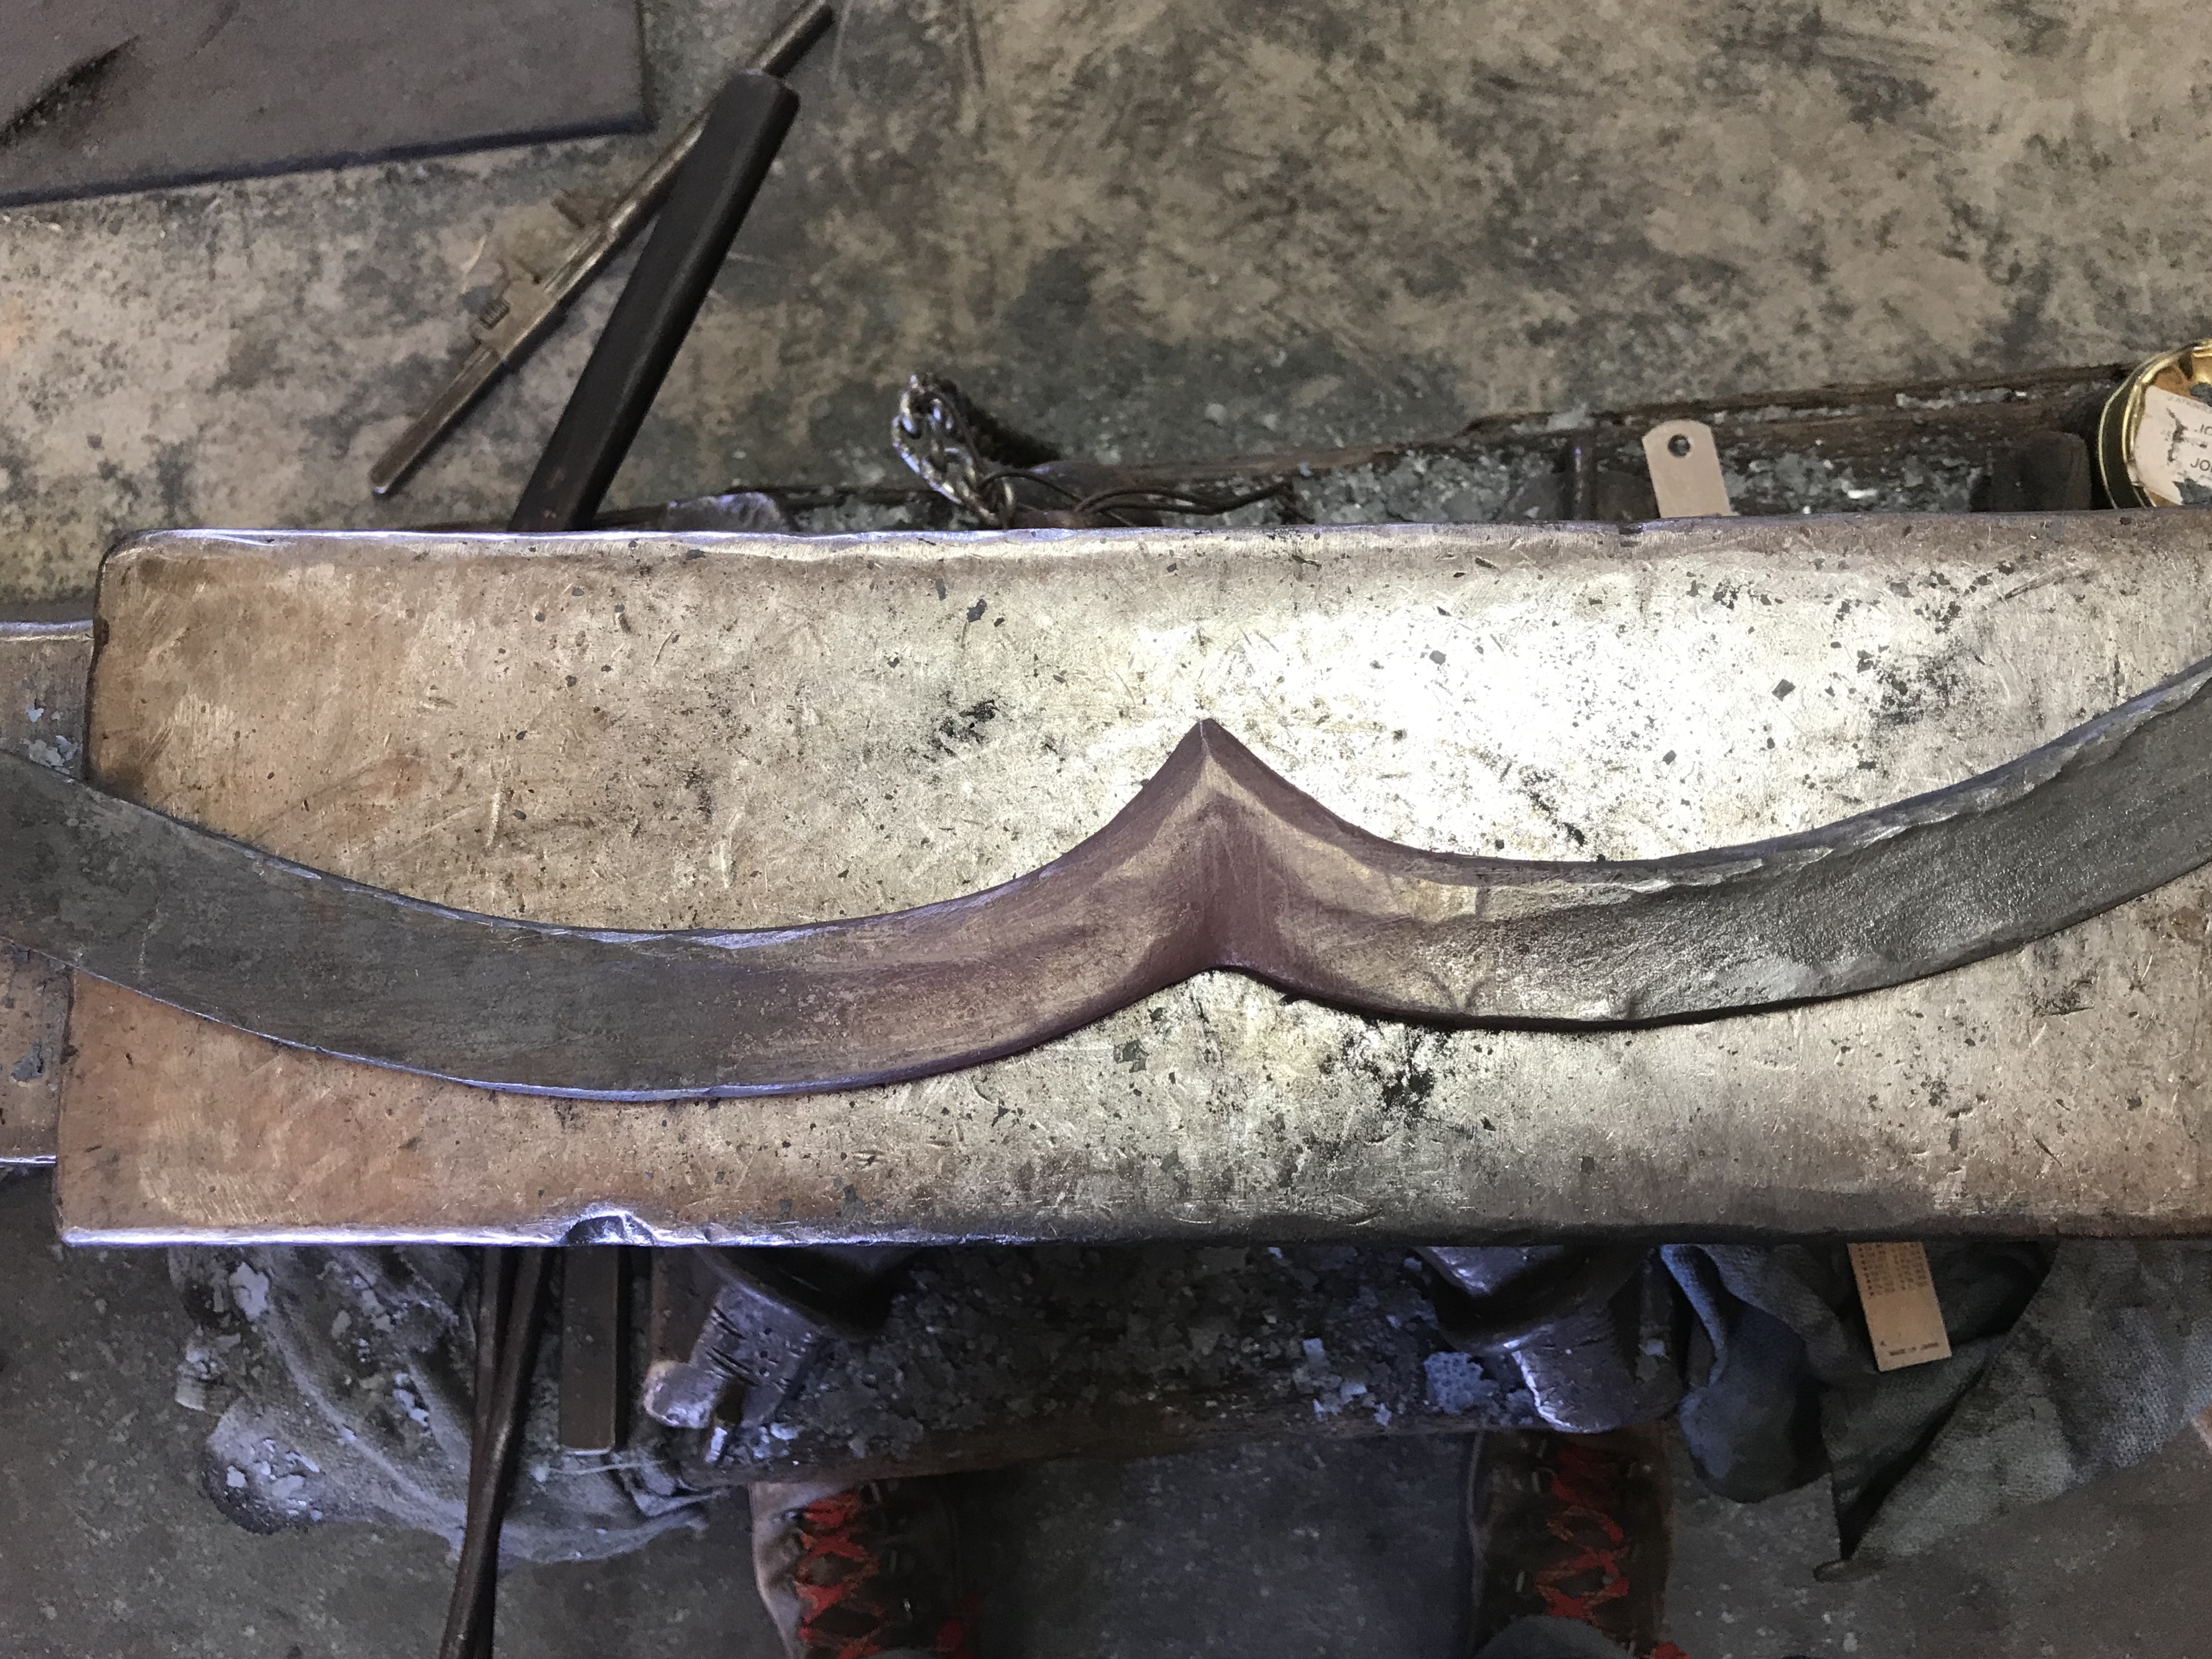
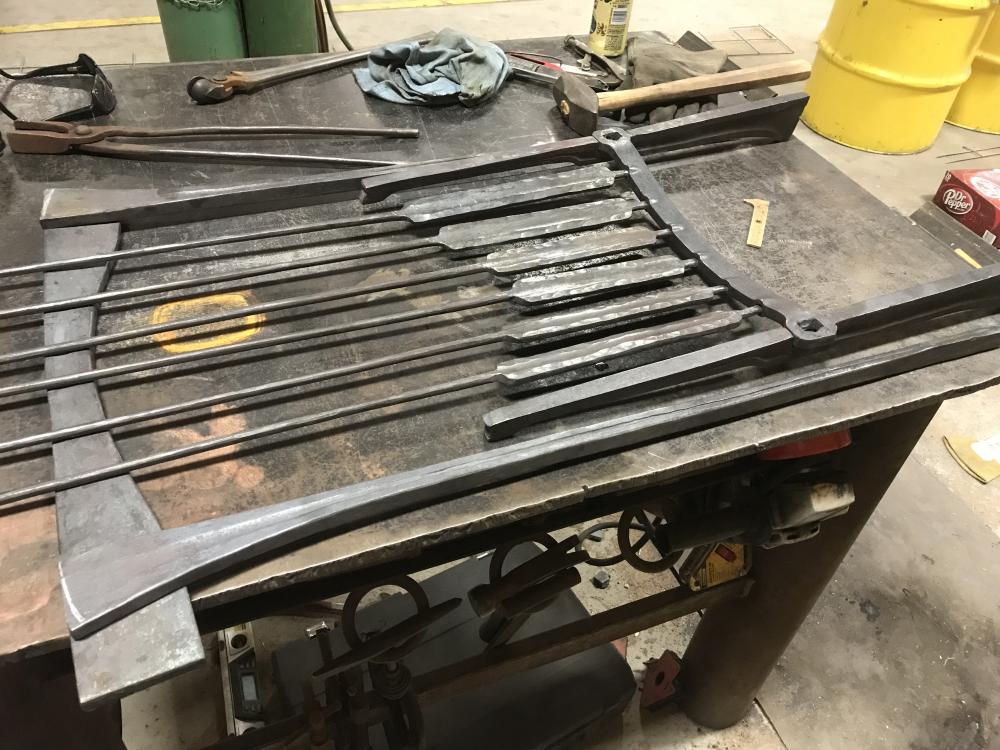
On the recommendation of JLpservicesinc, I’ve decided to make a work in progress thread as I build a forged rocking chair using primarily traditional joinery. The reason I’m building this chair is for a blacksmithing contest being held May 5-6, 2018. I was sort of press ganged into this contest by some friends but once entered I plan on making the very best go of it that I can. This is by far the biggest and most complex smithing project I tried and to be honest, it is above my skill level. I’m doing my best to rise to the challenge. I’ve had to learn a new process or technique for nearly every part. For some processes I’ve gotten it just right on the first try. For other, it has been numerous days of extremely aggravating, discouraging failure before I’ve gotten the desired result. Unfortunately for everyone, I haven’t got a sketch or drawing to show the desire result, got an idea in my head and working with that. This project is inspired by a chair built by Brett Moten and Tim Cisneros who were inturn inspired by Sam Maloof I’ll add pictures as things become post worthy and a brief description on occasion. Since I’m on a time crunch, it should get updated every few days. Not really knowing where to start on some thing like this I decided to start from the top down. Conveniently, I had just purchased a power hammer and we got to know each other working on the top of the chair back. I don’t remember the starting length of 3”x1/2” Next I began working on the sides and slats of the back. The slats gave me an incredible amount of trouble. Failure after failure to get the look I was after. I think I had 8 or 9 rejects, some of which are still around the shop. The others were thrown as far as I could and one was intentionally burnt up in the forge. Part of my problem was inexperience using a power hammer. Chair back sides starting stock was 15” of 3”x1/2”. Starting stock for each slat was 11” of 3/4” square.

-
The Thomas Powers method has worked for me before I knew it had a name. The hardest part is being patient. The only other piece of advice I’ve got is don’t be afraid to start small and start trading up as they come available. If you follow the TPAAAT, they’ll keep finding you after you’ve already got one. There’s no shame and buying low and making money when you sell to work your way to your dream anvil.
-
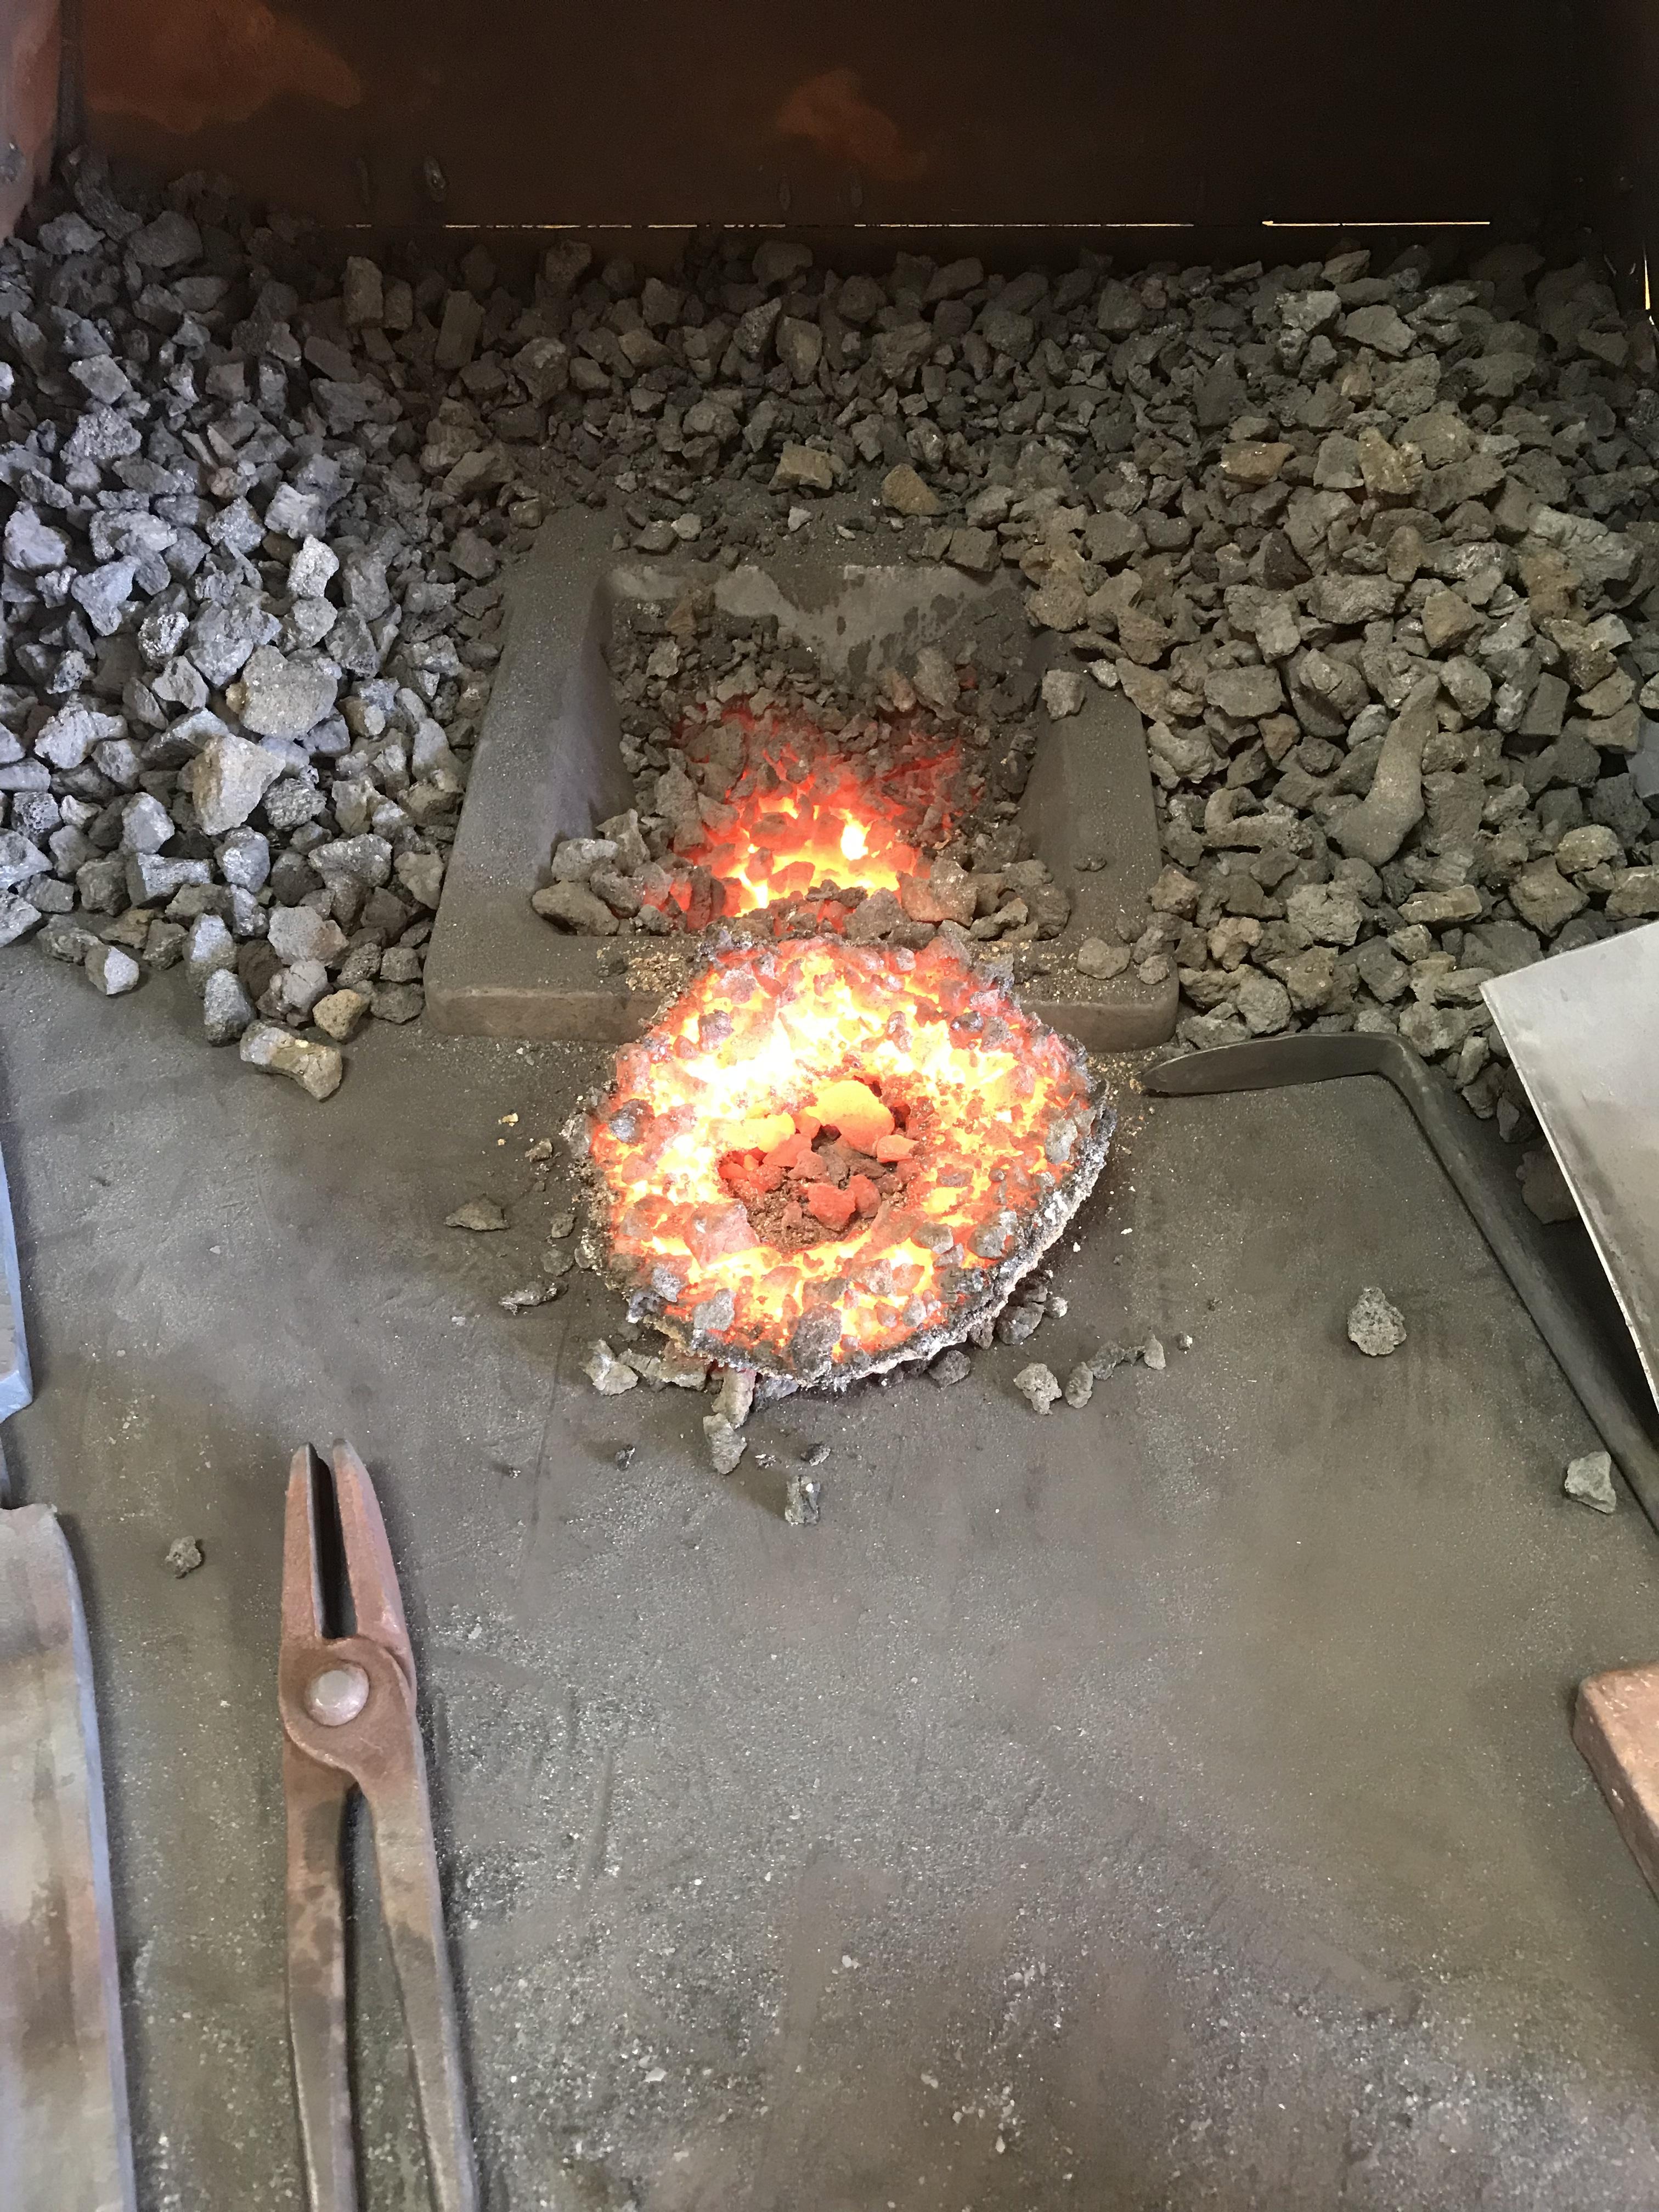
I use coil spring and let it normalize. Doesn’t take long once drawn out.
-
What did you do in the shop today?
Ranchmanben replied to Mark Ling's topic in Blacksmithing, General Discussion
That’s a fine looking gift! Anybody would be happy to receive it. -
What did you do in the shop today?
Ranchmanben replied to Mark Ling's topic in Blacksmithing, General Discussion
Black would be suit me alright -
I doubt that, it hurts so good.