Ranchmanben
Members
-
Joined
-
Last visited
Everything posted by Ranchmanben
-
I’ll make it to one eventually. It looks like that northwest region is usually closest to me.
-
There are two things here I’d like to do, forge a post vise and make it over to one of the salt fork meetings.
-
Man, that’s a really sweet piece of work! Good hustle.
-
That’s a great video. No elaborate explanation, only what’s needed to describe the process. You made each look exceedingly easy.
-
I’d really like to go do some work with Mark but I don’t often get a chance to make a 7hr drive just to go play for a couple of days.
-
The farrier style is my preference to build as well. They take a little longer but they function well and look nice.
-
That hammer looks great, Can’t wait to see it finished. How long of a handle are you going to put on it?
-
John, you summed up that video nicely.
-
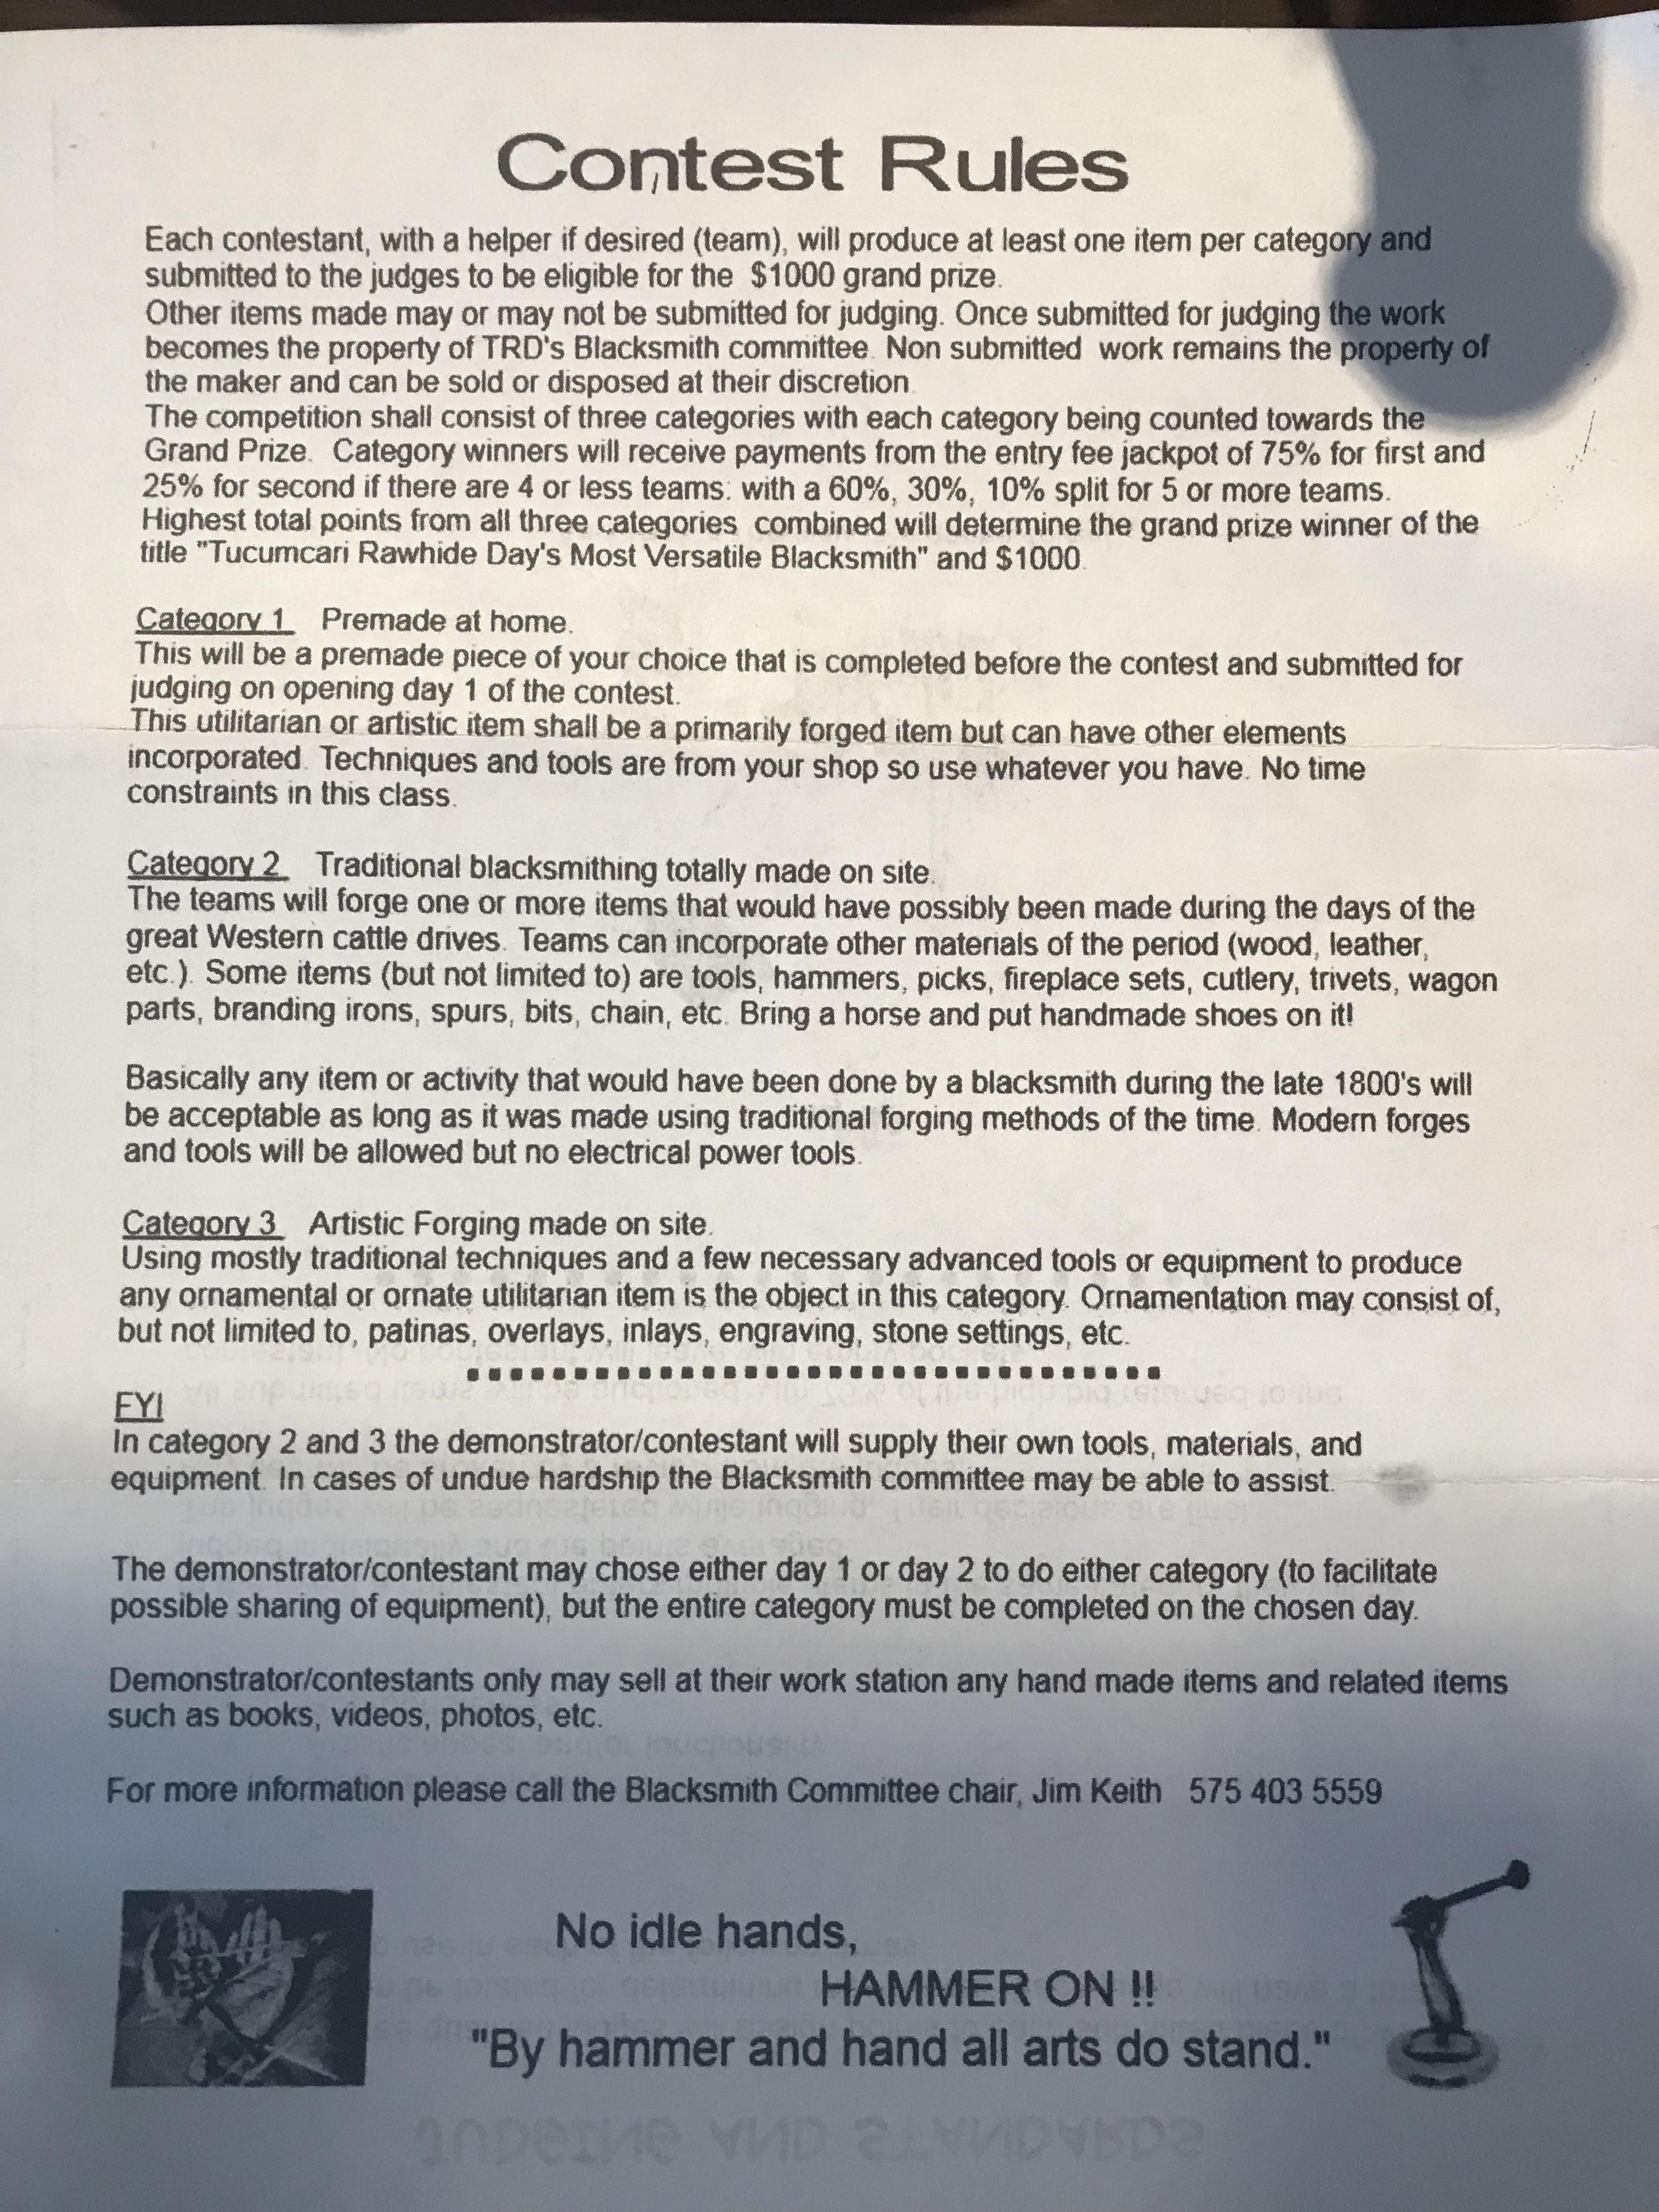
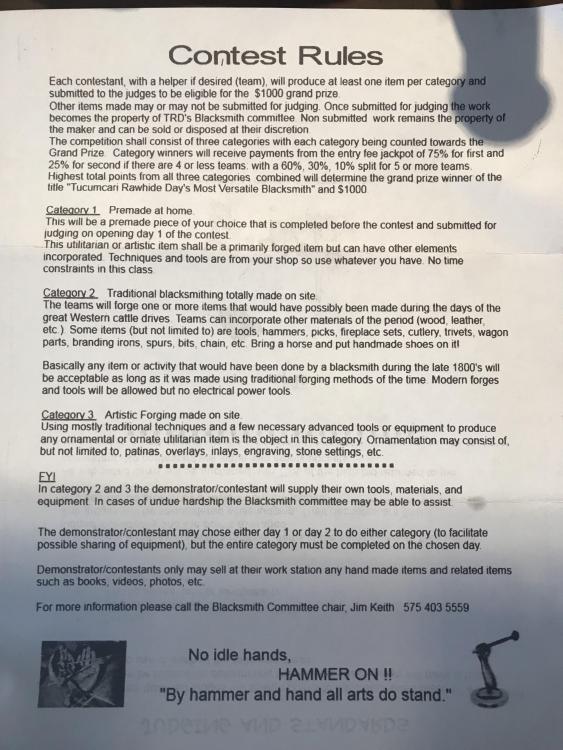
Frosty, Iike the kindling splitter too! I’m going to build a couple more but using power tools and taking my time. Jennifer, funny you should mention the shoeing competitions. I was the only contestant that’ hasn’t been a competitive farrier. I don’t know if you follow any of that but there were some pretty big names there as well as being put on by Jim Keith. Here’s the flyer for the contest.

-
I didn’t notice anyone else say it so I will. If you work on both halves at the same time, doing the same step to each side every time and comparing them to make sure they’re the same, you’ll end up with tongs that are easier to assemble and require less adjustment. You’re headed in the right direction. What size steel are you making them out of?
-
3/8”x 1” and 5/8” square are great sizes for tong. I know that video you’re talking about and I know the guy who was doing the building. He made that look so incredibly easy it’s ridiculous. You’ve got to keep in mind that he’s currently one of the very best farriers in the world and personally I think farriers swing a hammer better than anyone else. I’m not saying that to dissuade you from giving it a try, just telling you to have realistic expectations from your first try at a farrier style tongs. They’re not as easy as a more traditional style bolt tong. If I had my tong learning experience to do over, I’d make a couple of smaller lighter practice runs with 1/4”x3/4” material before trying some full sized tongs. All the principals are the same but it’s easier material to move and, ideally, you’ll end up with a usable tool for smaller stock. It would also be in you’re best interest to try tradition tongs before diving into the farrier style. jlpservicesinc has some great YouTube videos on making tongs that can be found in the tongs section of the hand tool category of this forum.
-
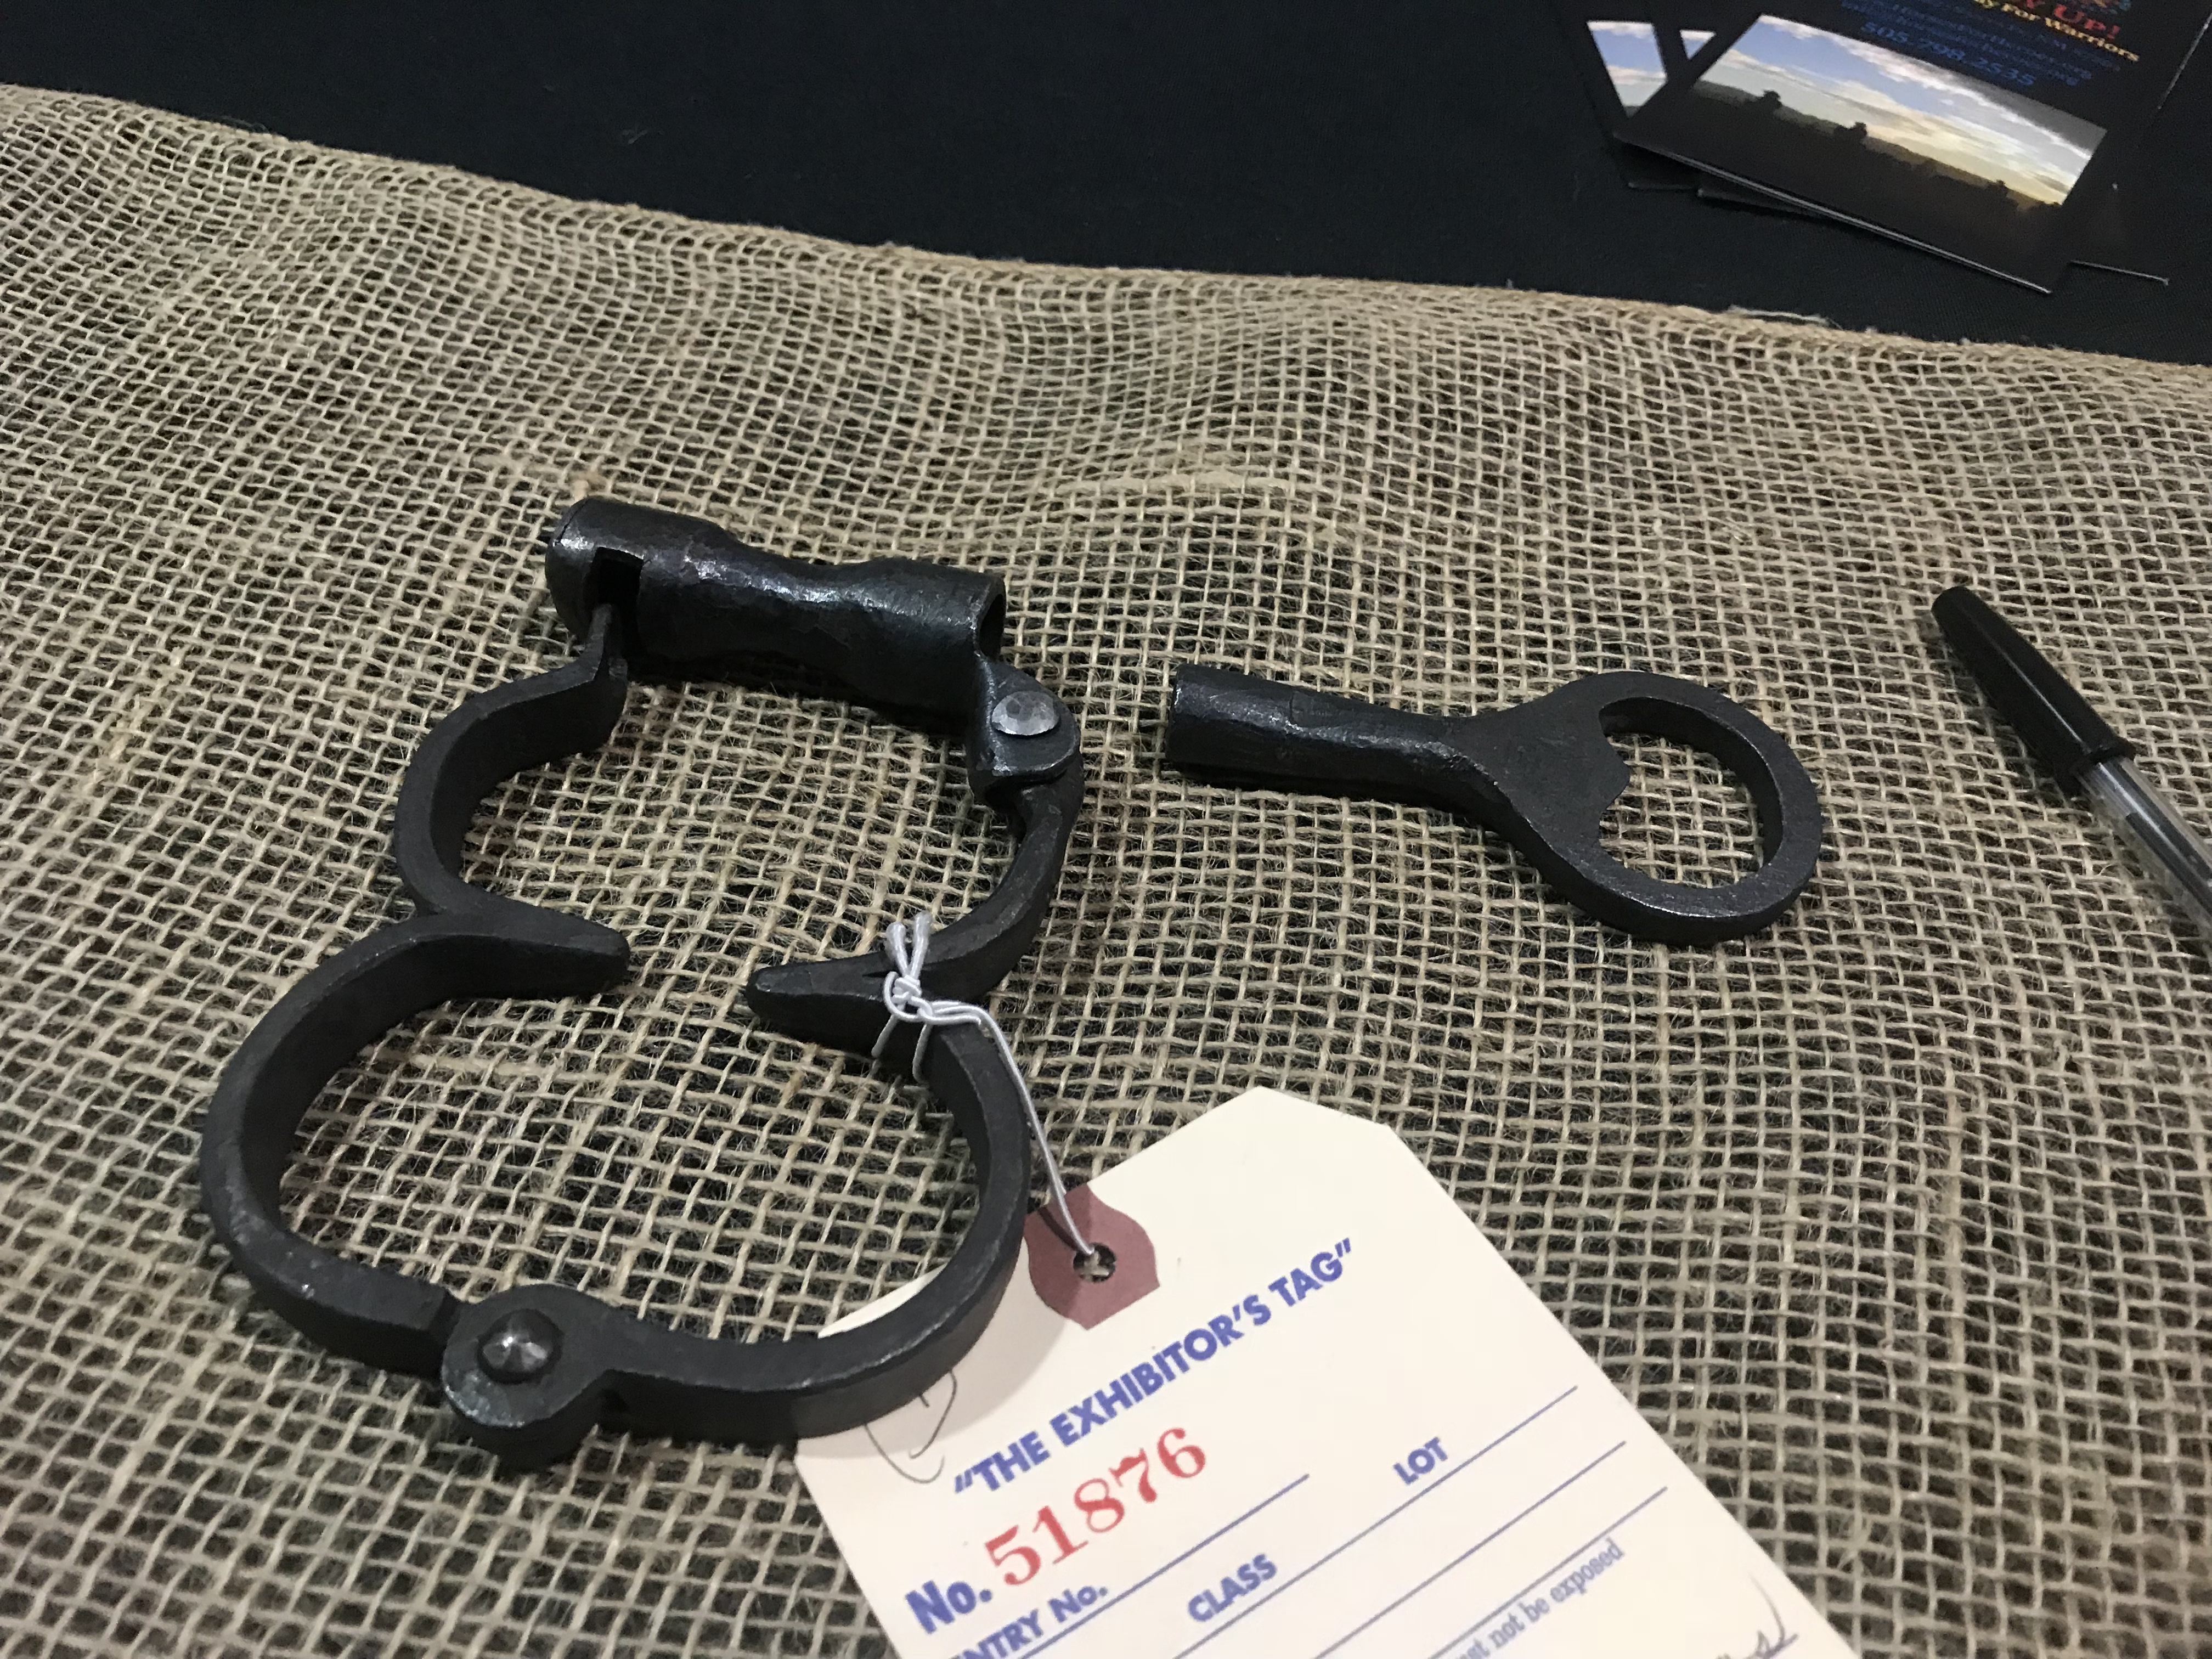
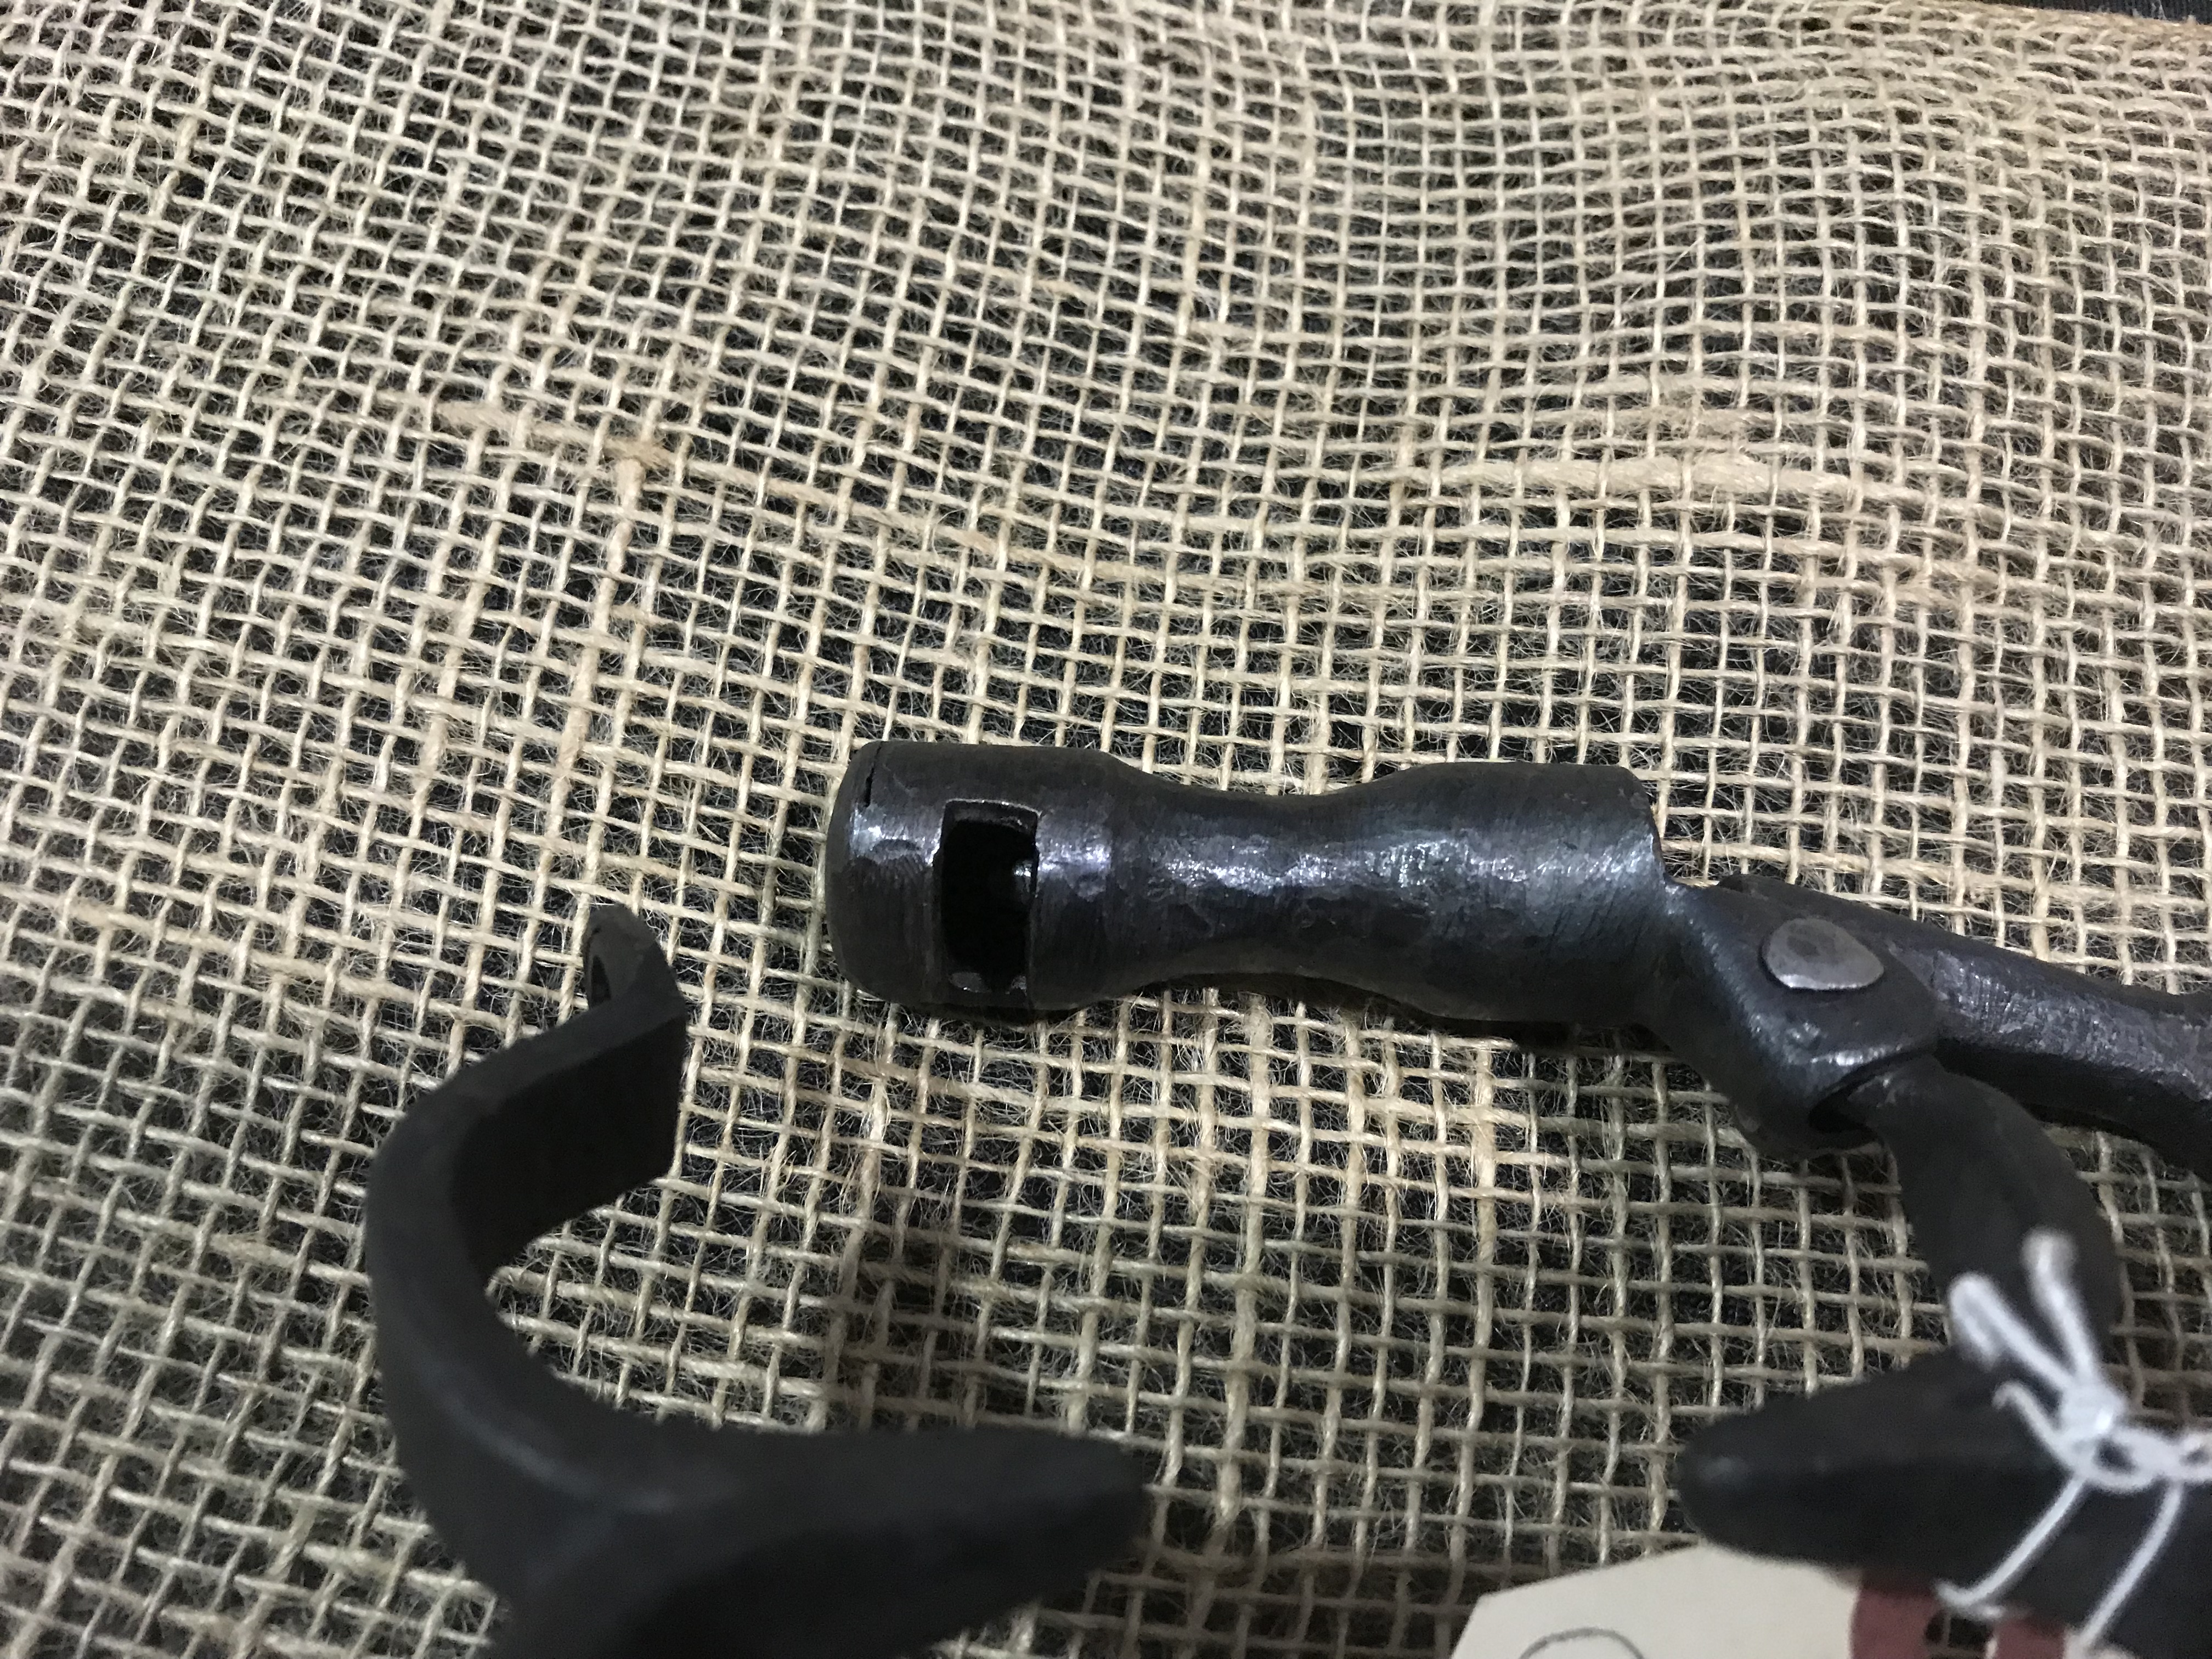
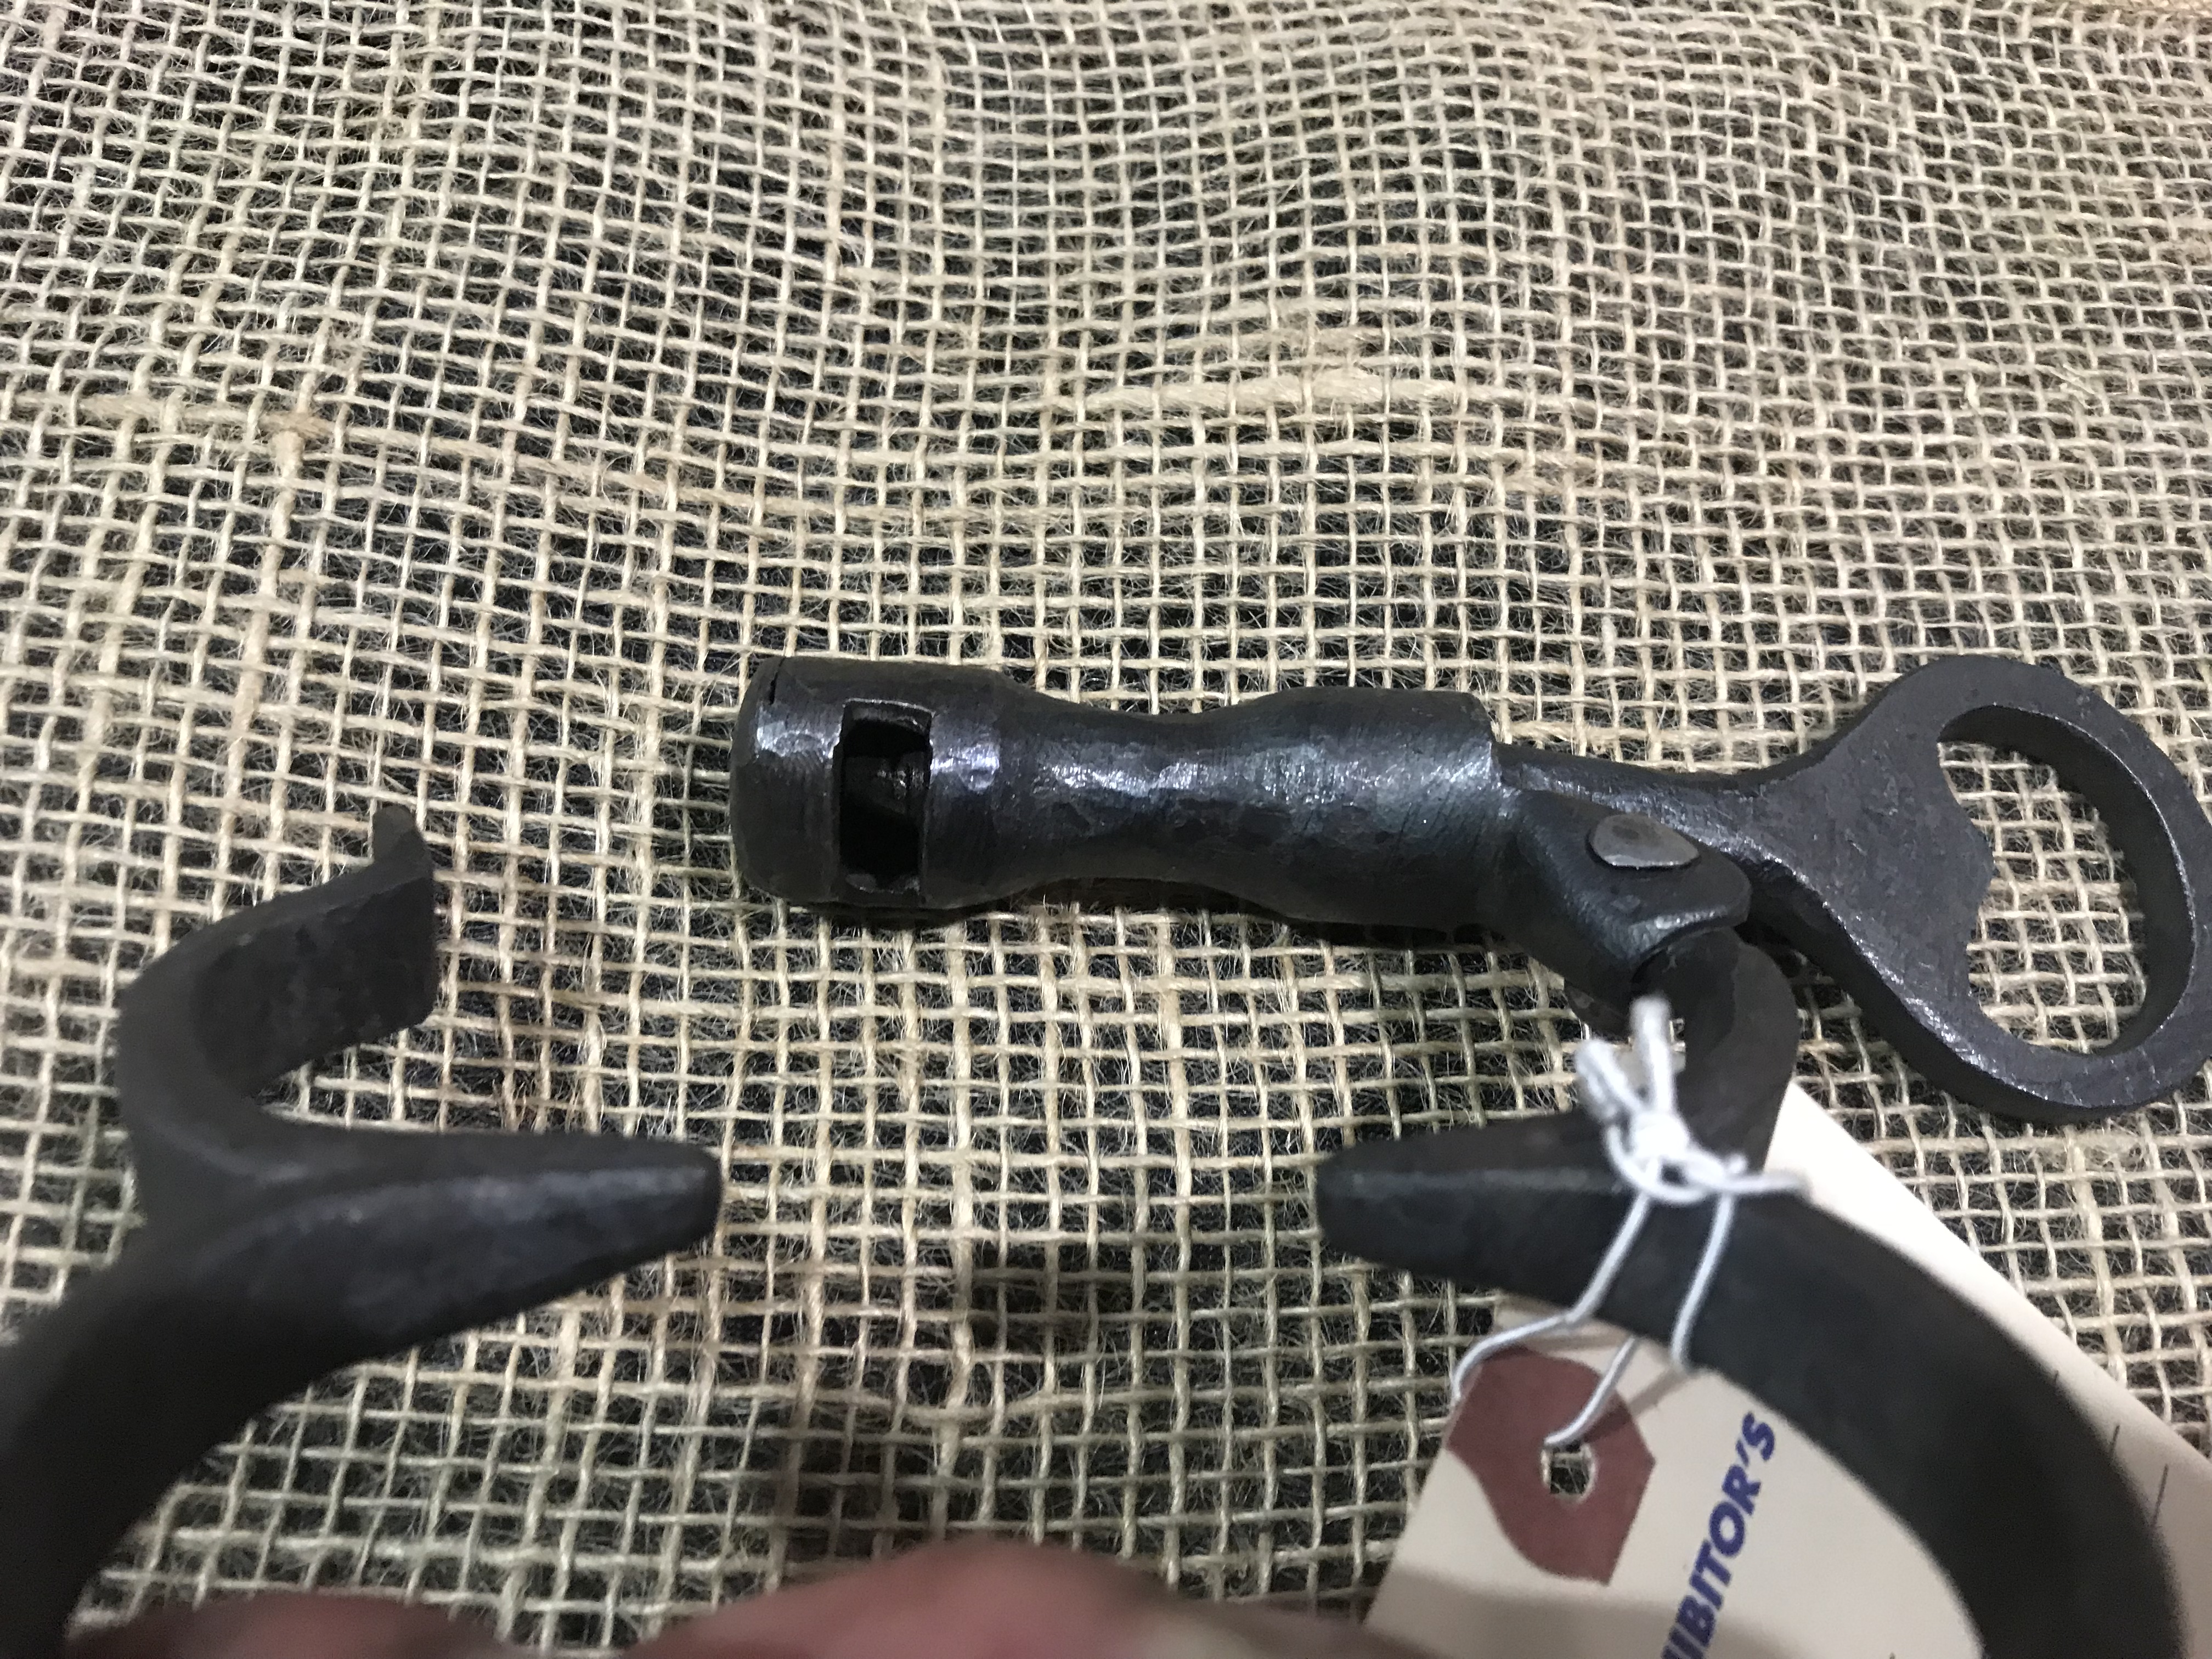
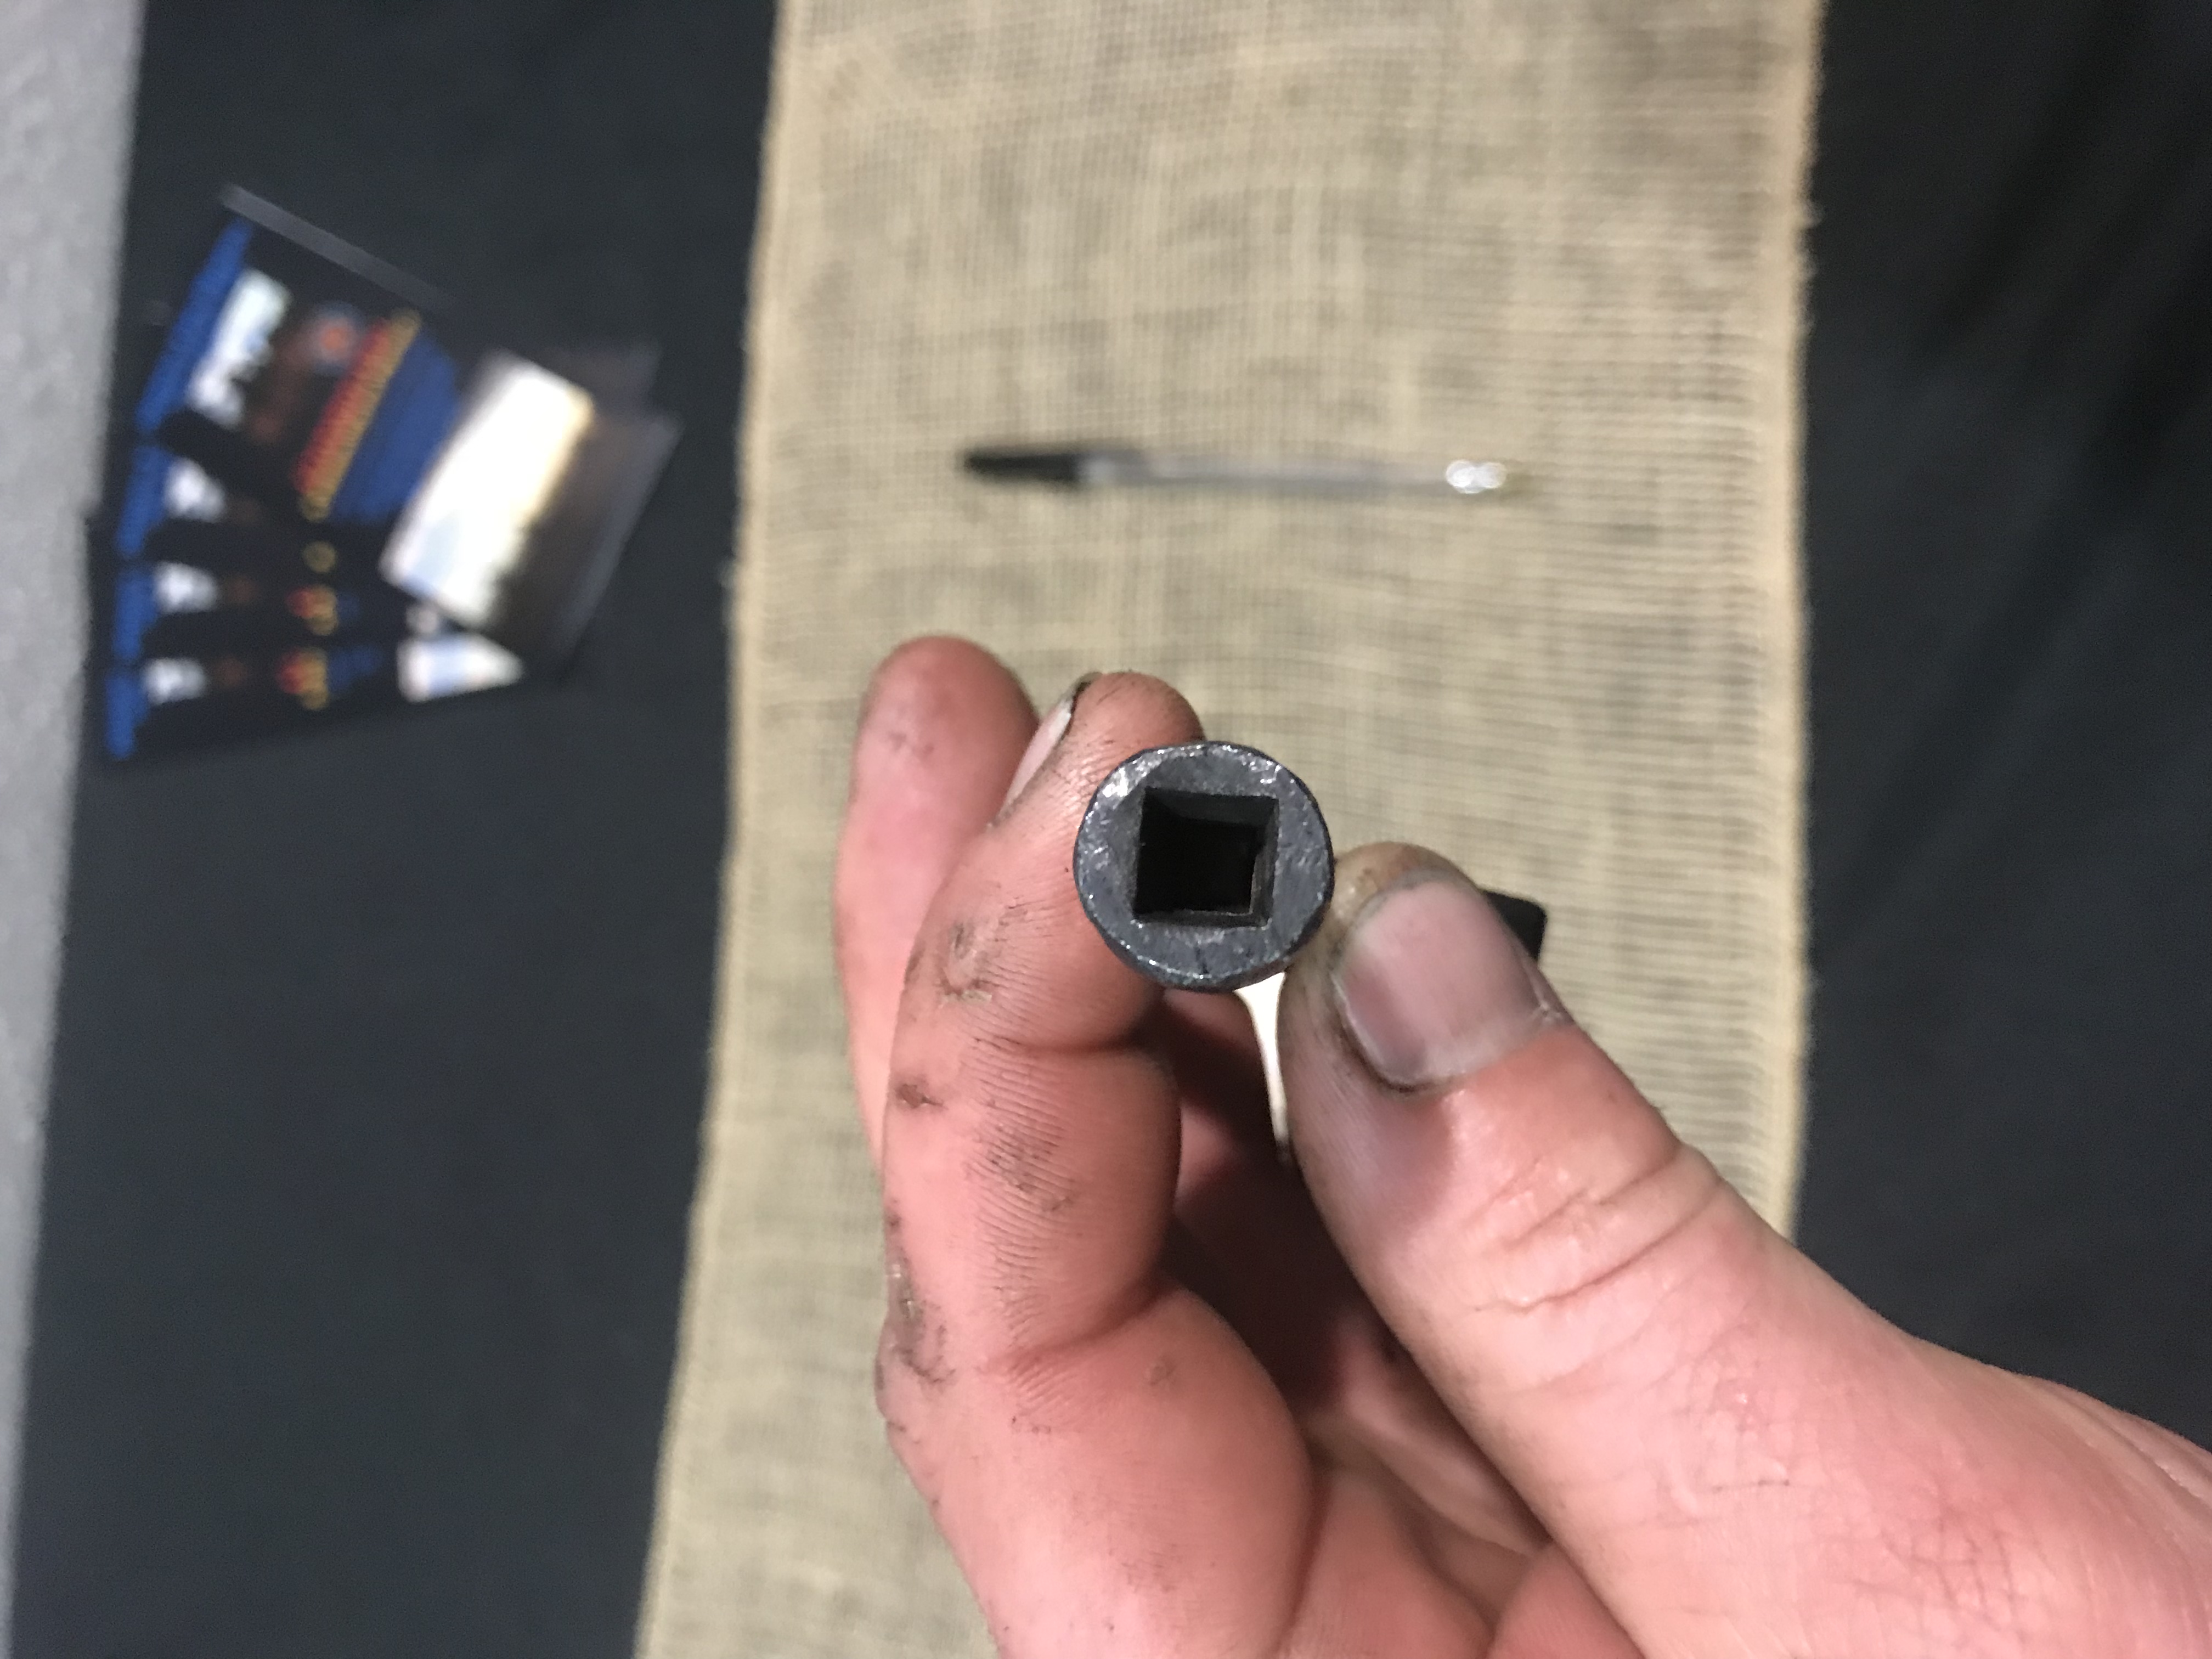
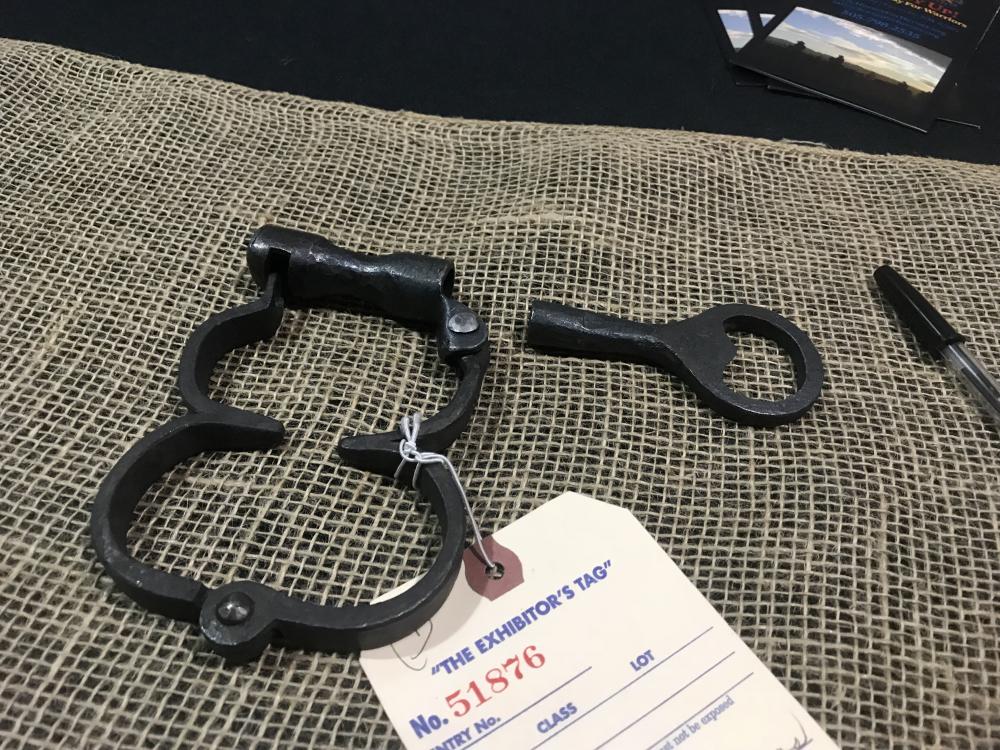
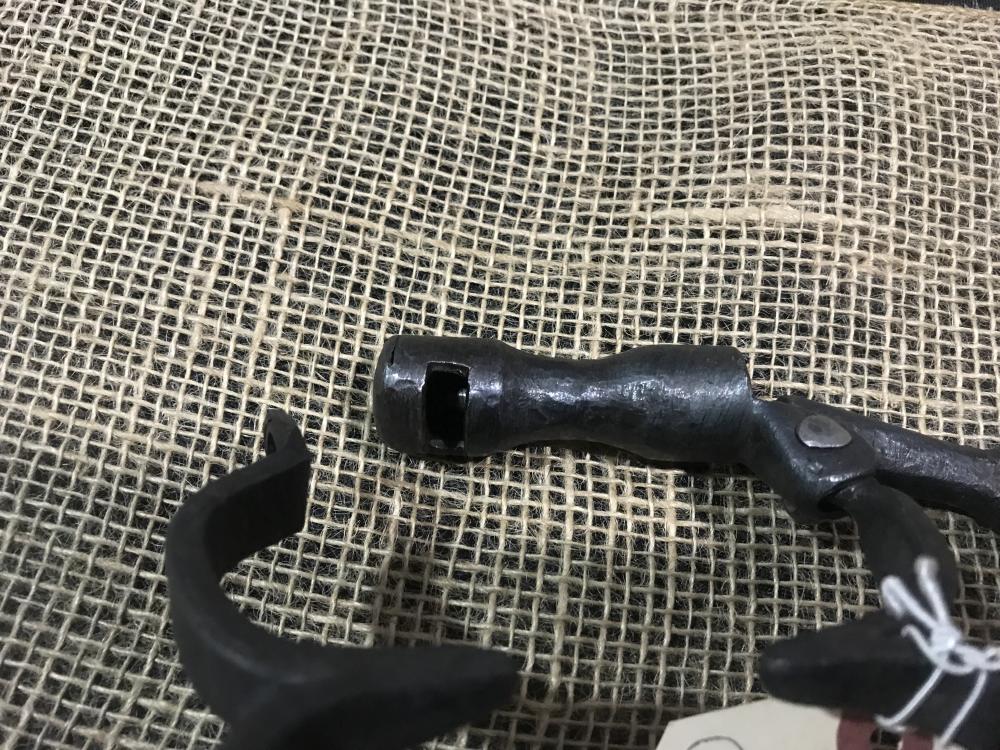
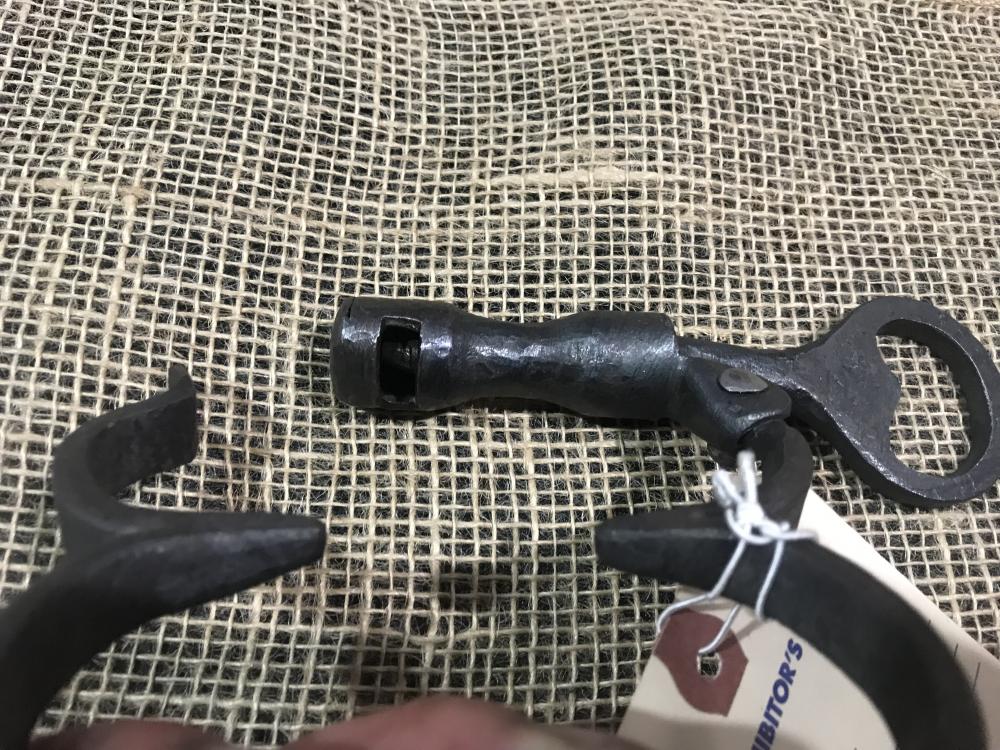
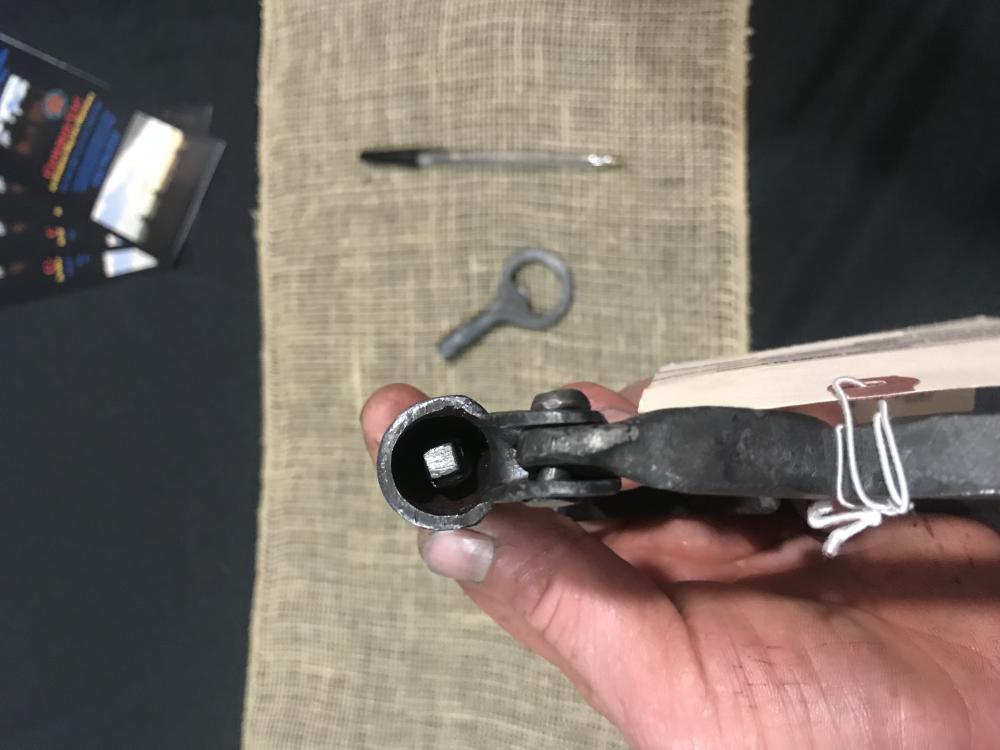
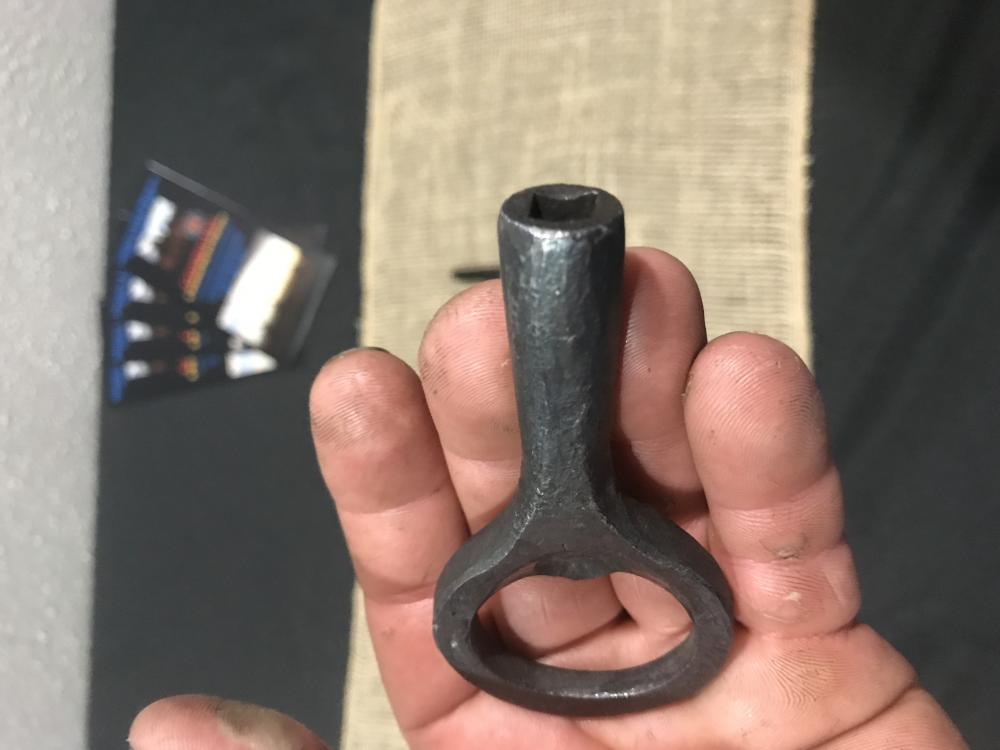
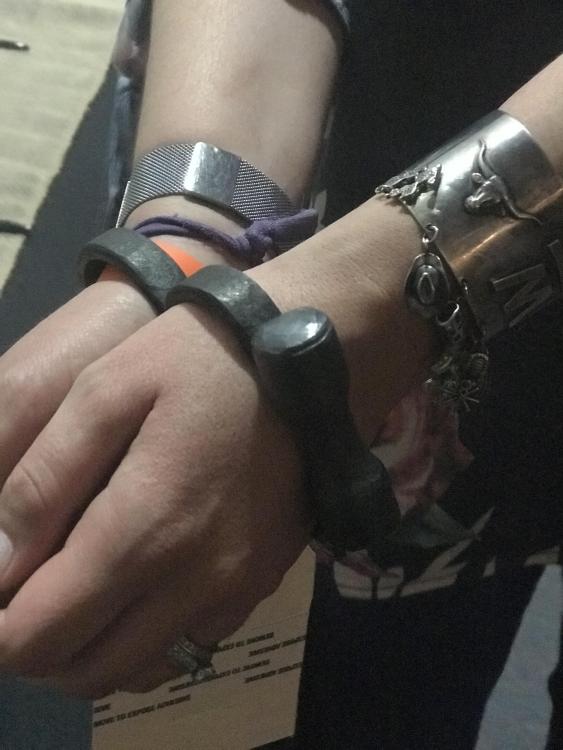
Thanks everybody. I was quite a learning experience. My striker and I were pretty burnt out by the end. All my stuff sold at the auction so I’ve got that going for me. Thought I share the coolest bit of forging done over the weekend. A fella named Austin Edens and his dad built a set of working handcuffs using only hand tools and they made it look easy.


-
Well, the contest is over. I lost each category. I did have a great time, learned a bunch and met some really great people. There was some really stellar work cranked out.
-
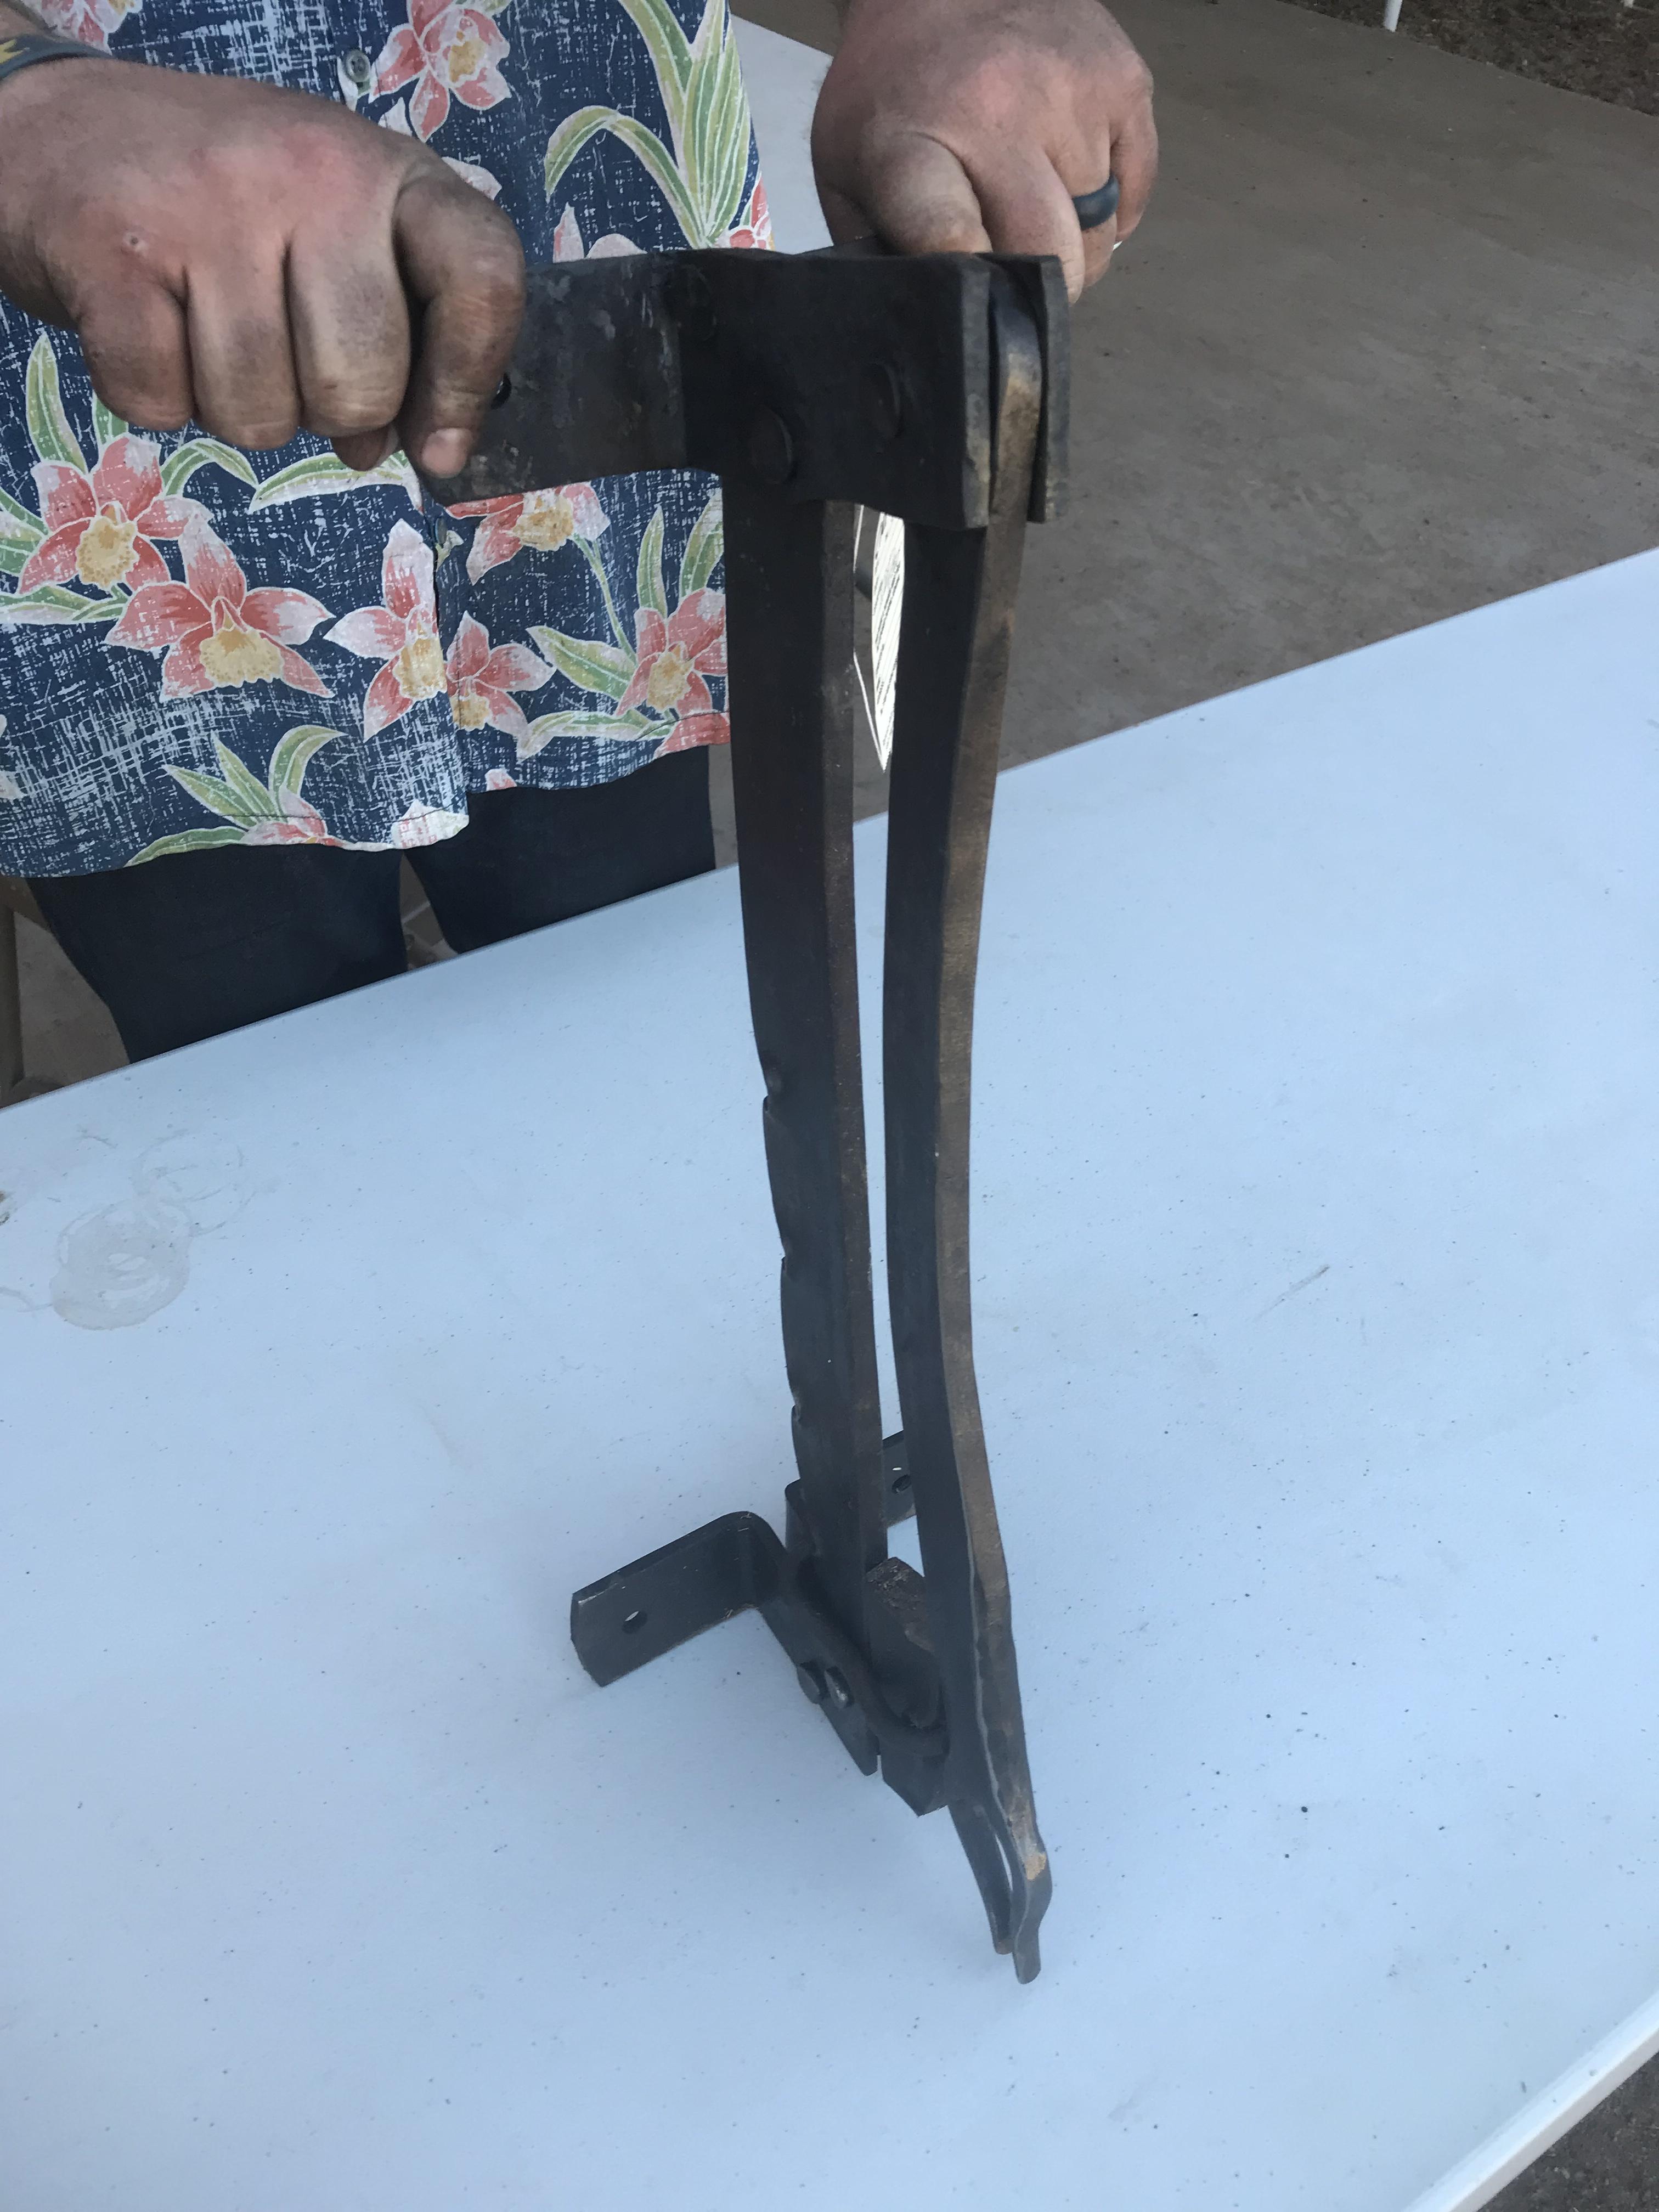
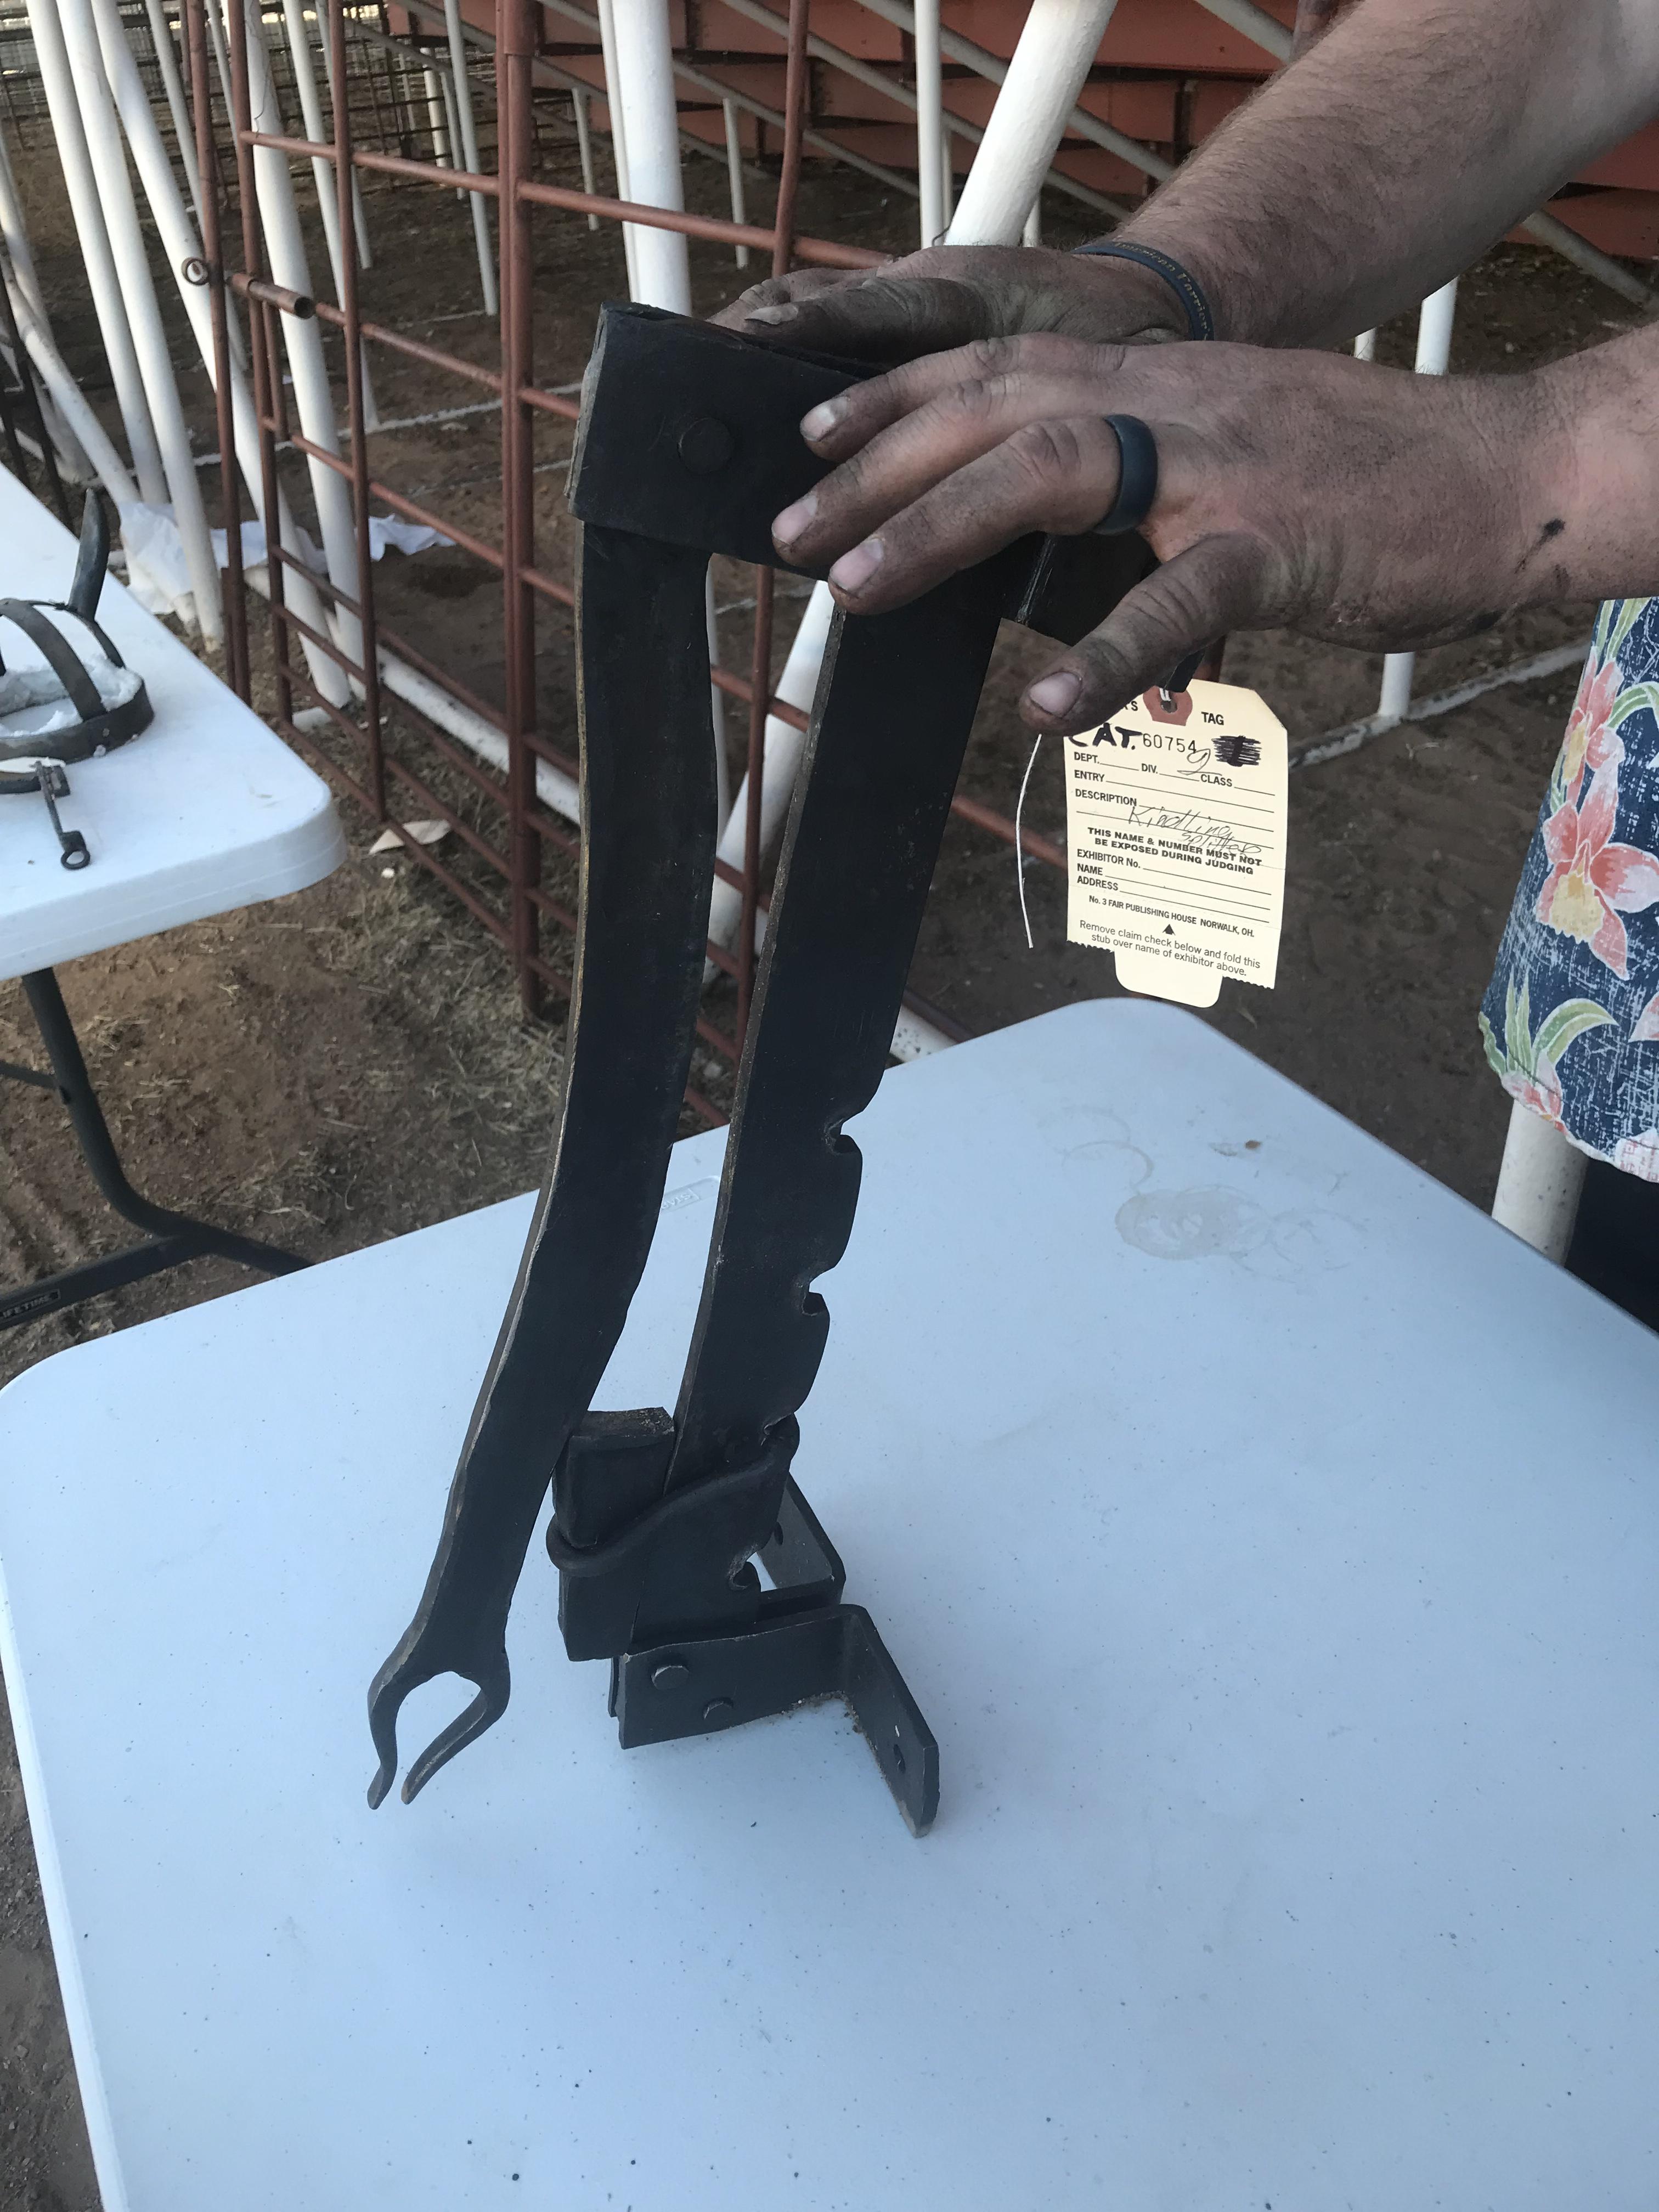
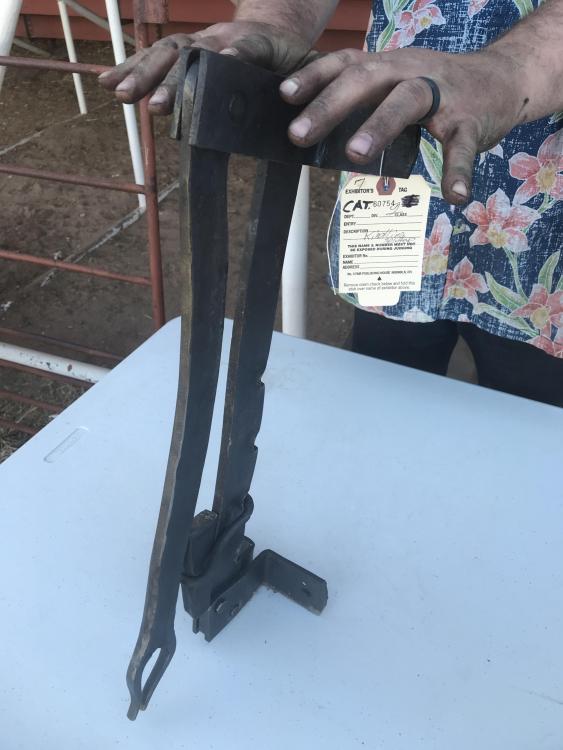
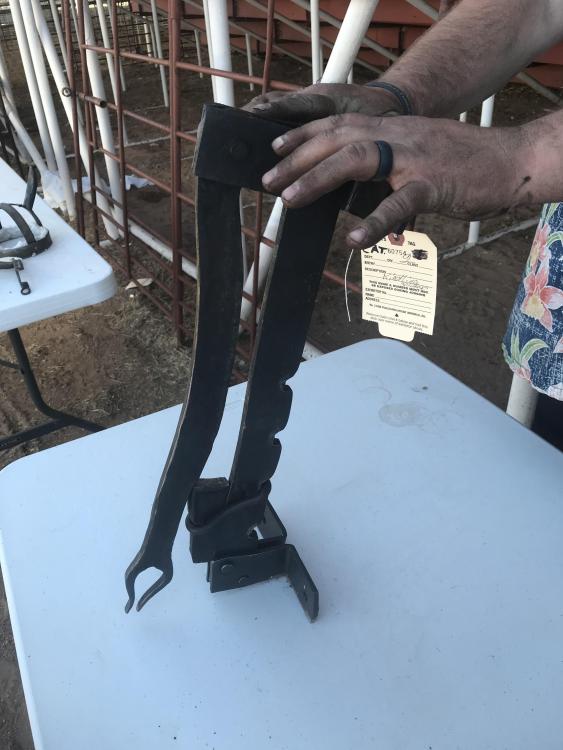
Yesterday we did our traditional category, meaning no power tool at all. It wasn’t easy and it wasn’t pretty be were able to make an adjustable kindling splitter. We got it done 5 minutes before the 4:30 deadline.

-
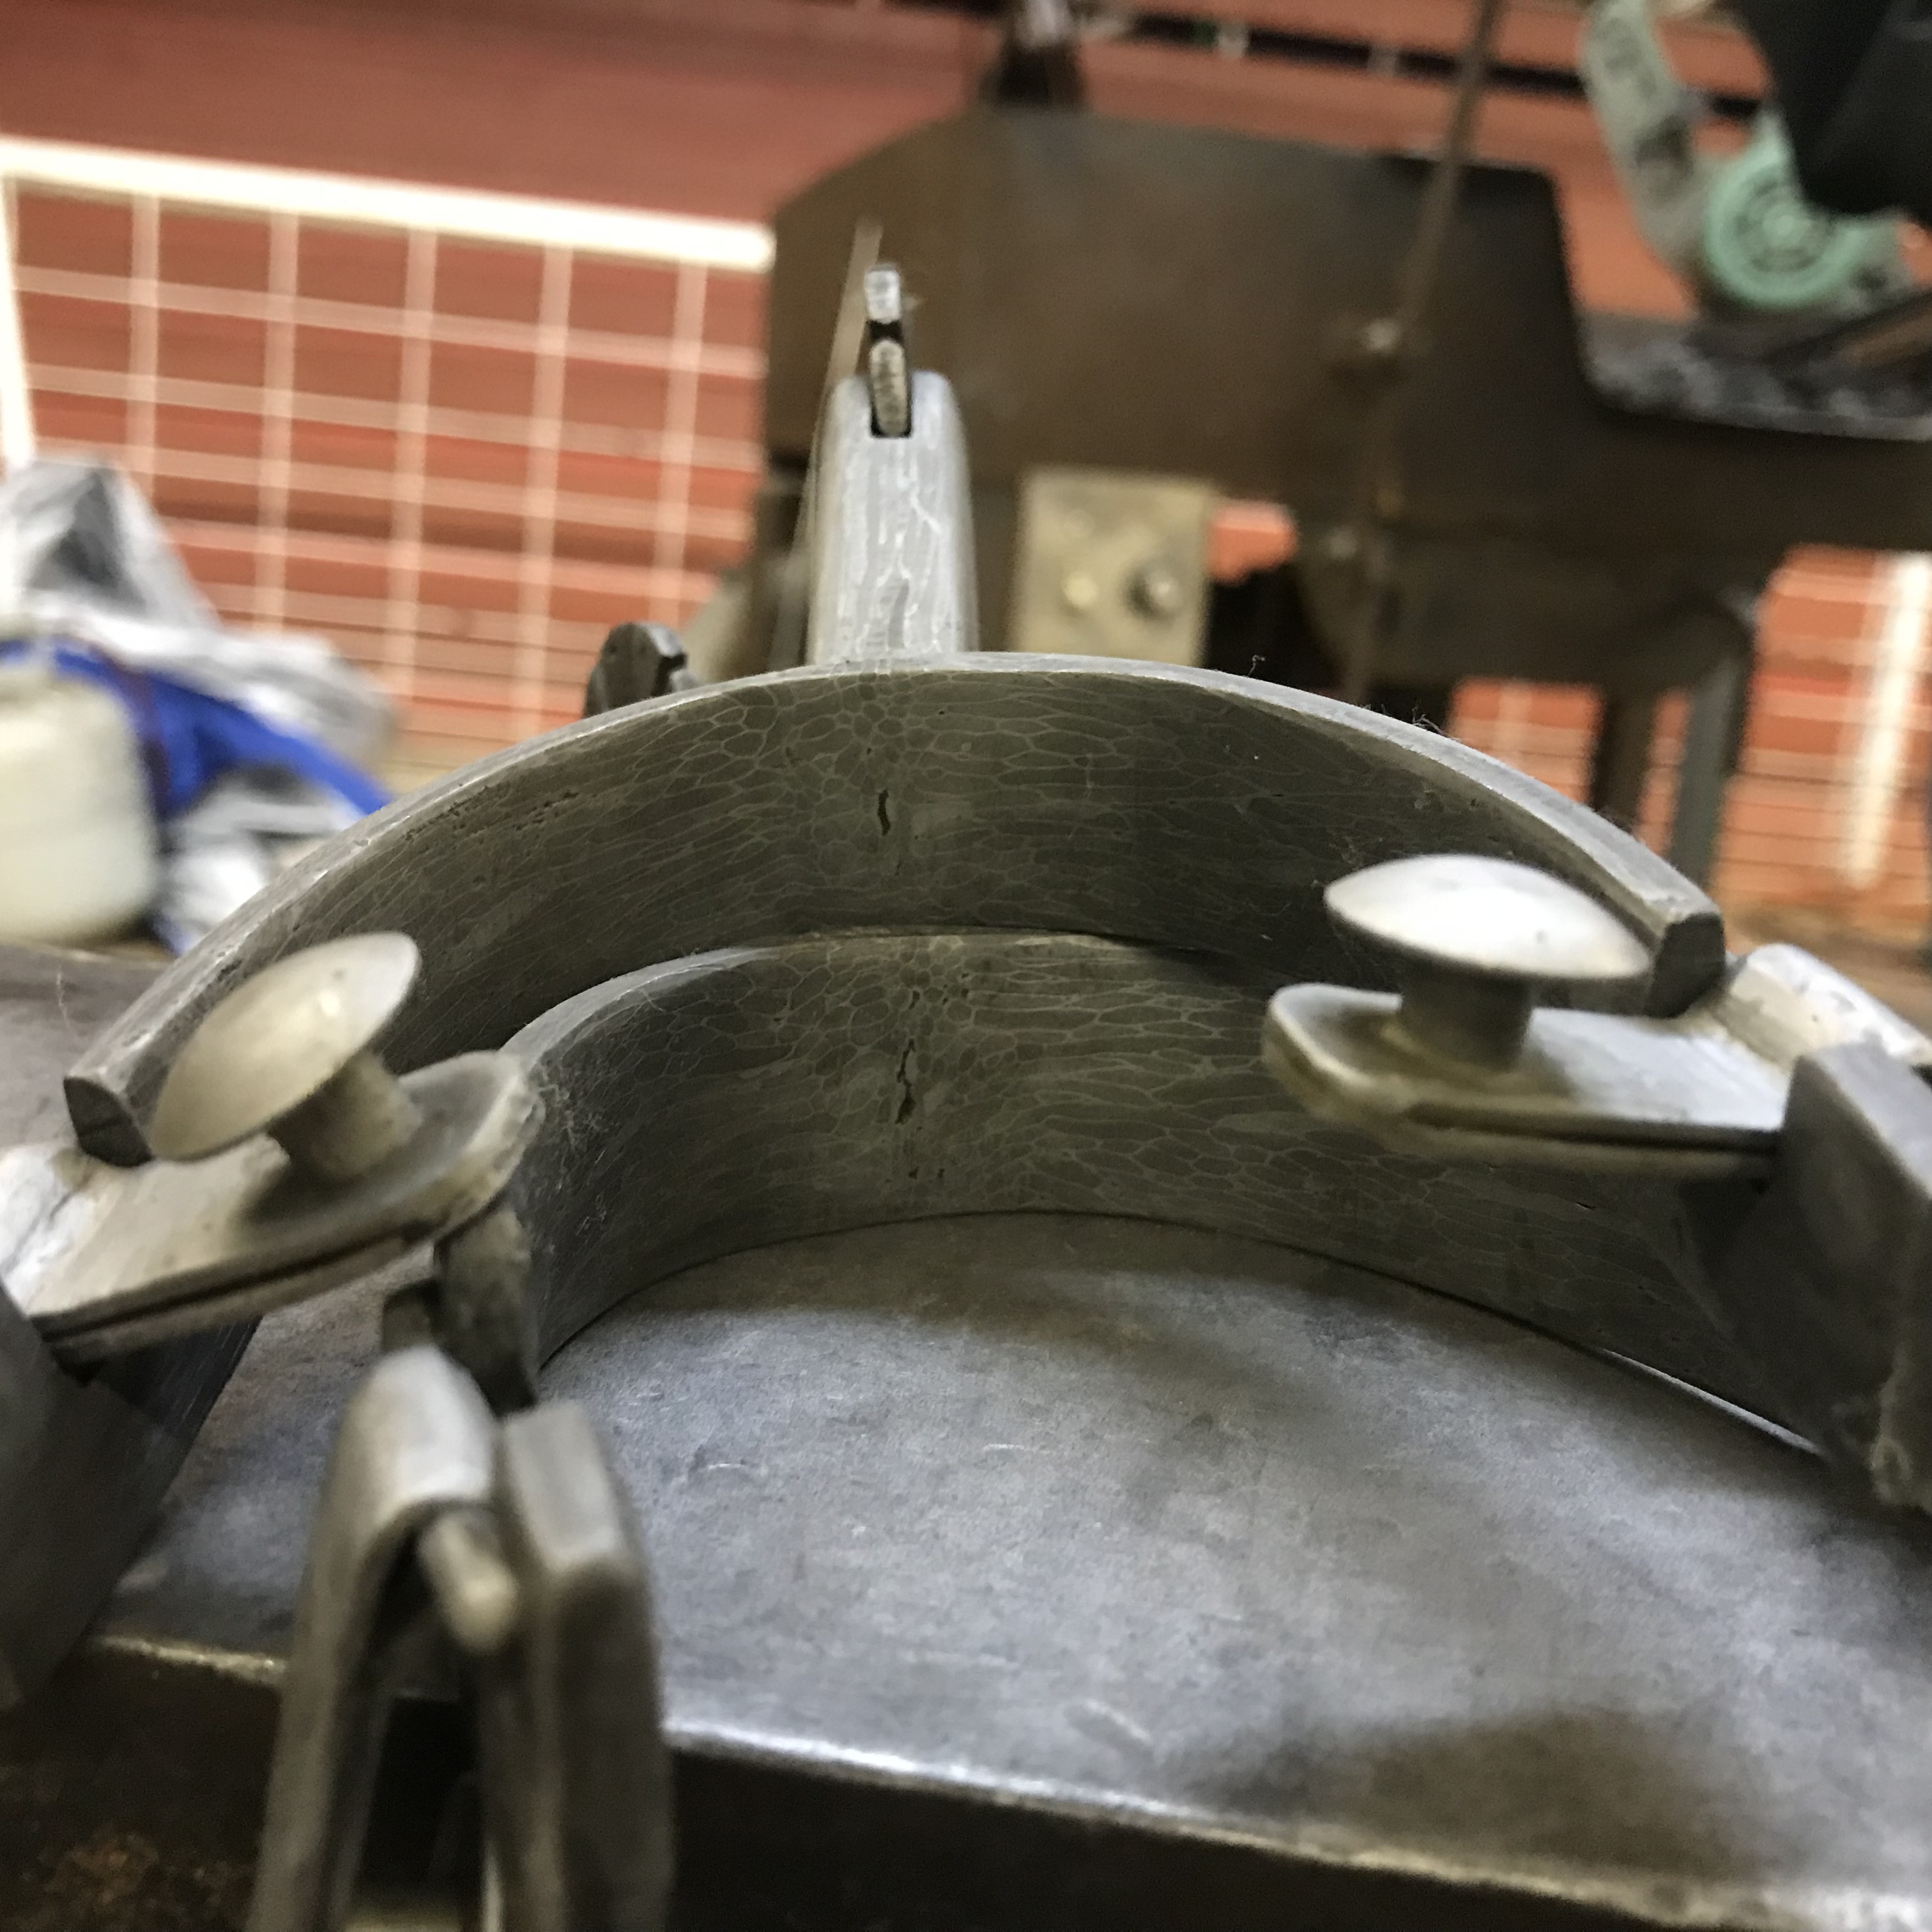
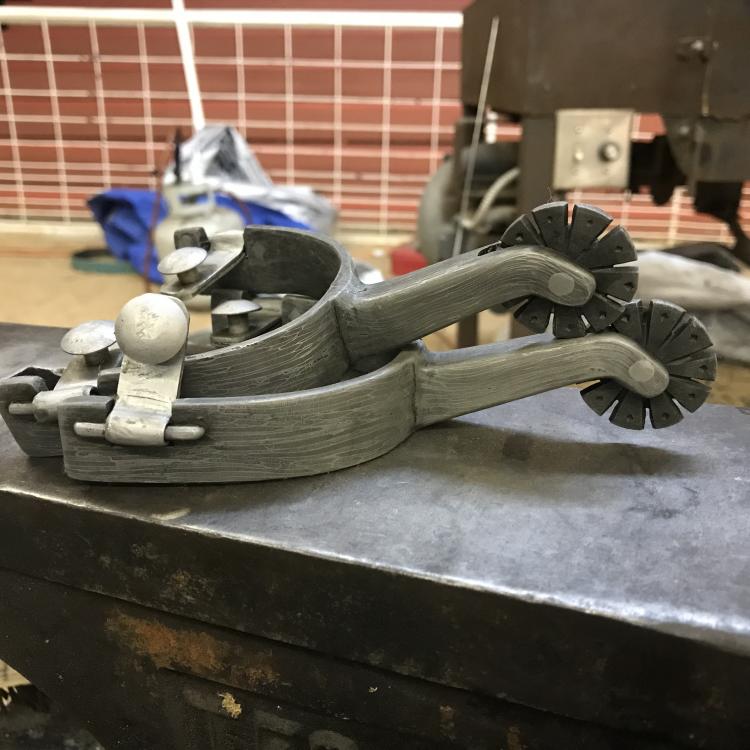
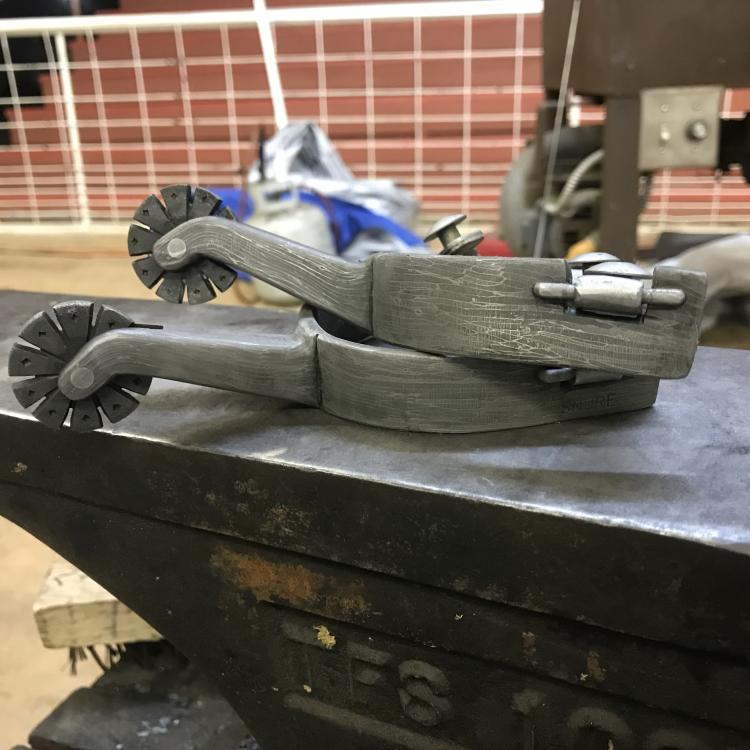
Day one of the on-site competition is over. For our “artistic category”, meaning you get to use modern power tools if needed, we built a pair of one piece cable damascus spurs. I’m awful proud of what we turned out. My striker and I never even got close to something that would be acceptable as a single spur when we practiced. We did forge the billet beforehand and the buttons were purchased, all else was done on site. I had planned to just soak them in acid for a bit then rinse them off in water. Luckily, there was an experienced damacus maker there to let me know all the additional and unexpected steps that are involved with finishing damascus so it looks decent and doesn’t end up being a wad of rust in the morning

-
Thanks Dragon. It’s been brutal. Finally got the the thing 100% today. Had to do a little work with the flap disk to even a couple of spots out then heat the shiny spots up with the cutting torch before brushing them. Then heated the whole mother hunker up with a weed burner to apply wax. Last was the final seat install. I’m happy with it, not 100% satisfied but I’m proud to put my name to it. Packed eveything up for the rest of the on-site competition. We’ll see how it goes
-
Thank you, I think it’s around 80-90lb range.
-
This gave me a much needed chuckle.
-
Time to vent a tiny bit of steam. As I’m sure every single person on here does, I regularly check craigslist for things I might like to have like anvils, tongs, blacksmith related kit and of course vises. Every time I search for vises in my area only one or two show up. Without fail, if I search for vices there are five or six vises for sale. I’m not generally a grammar person or a spelling person but this misspelling stomps on my last nerve then squeezes lime and salt into the cuts. You are selling a device to hold things! Vices are sold by bartenders, hookers, bookies and drug dealers. End gripe.
-
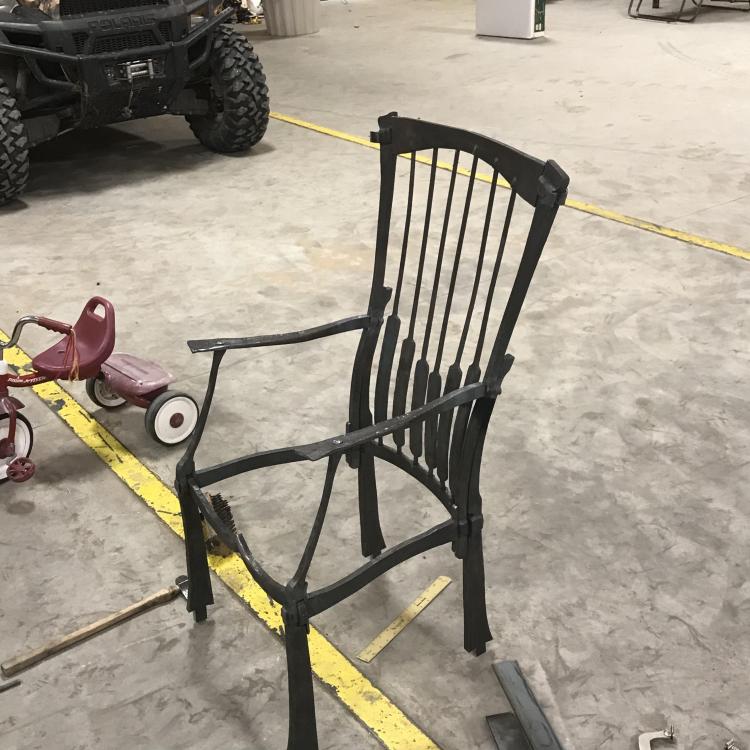
Thanks Das and JHCC. It means a lot to me to have people apreciate something that I put so me effort into. Jennifer, every hole/mortise was punched then Drifted. The only holes that were drilled were the ones on the tabs that are welded underneath the seat to secure the wood to the chair. I plan on going more into depth on what I would do differently when I post the pictures of the flaws. One big thing I’ll try to do differently is not be so hard on myself. I’ll keep in mind that I’m a hobbiest who’s got a wife and kids, a more than full time job and hasn’t been at this all that long. If I try something that pushes my experience level to the limit, it’s ok if it doesn’t turn out perfect. I wrote a pretty sour description of the chair last night and I sort of wish I hadn’t but that post just shows the same discouragement that every person here feels at times. After a little encouragement from the kind folks here and a lot of thinking today, I realized that I forge over 20 pieces of metal, some quite heavy and complex, into shapes that fit close enough together that they could to be assembled into a functioning rocking chair. That’s a feat!
-
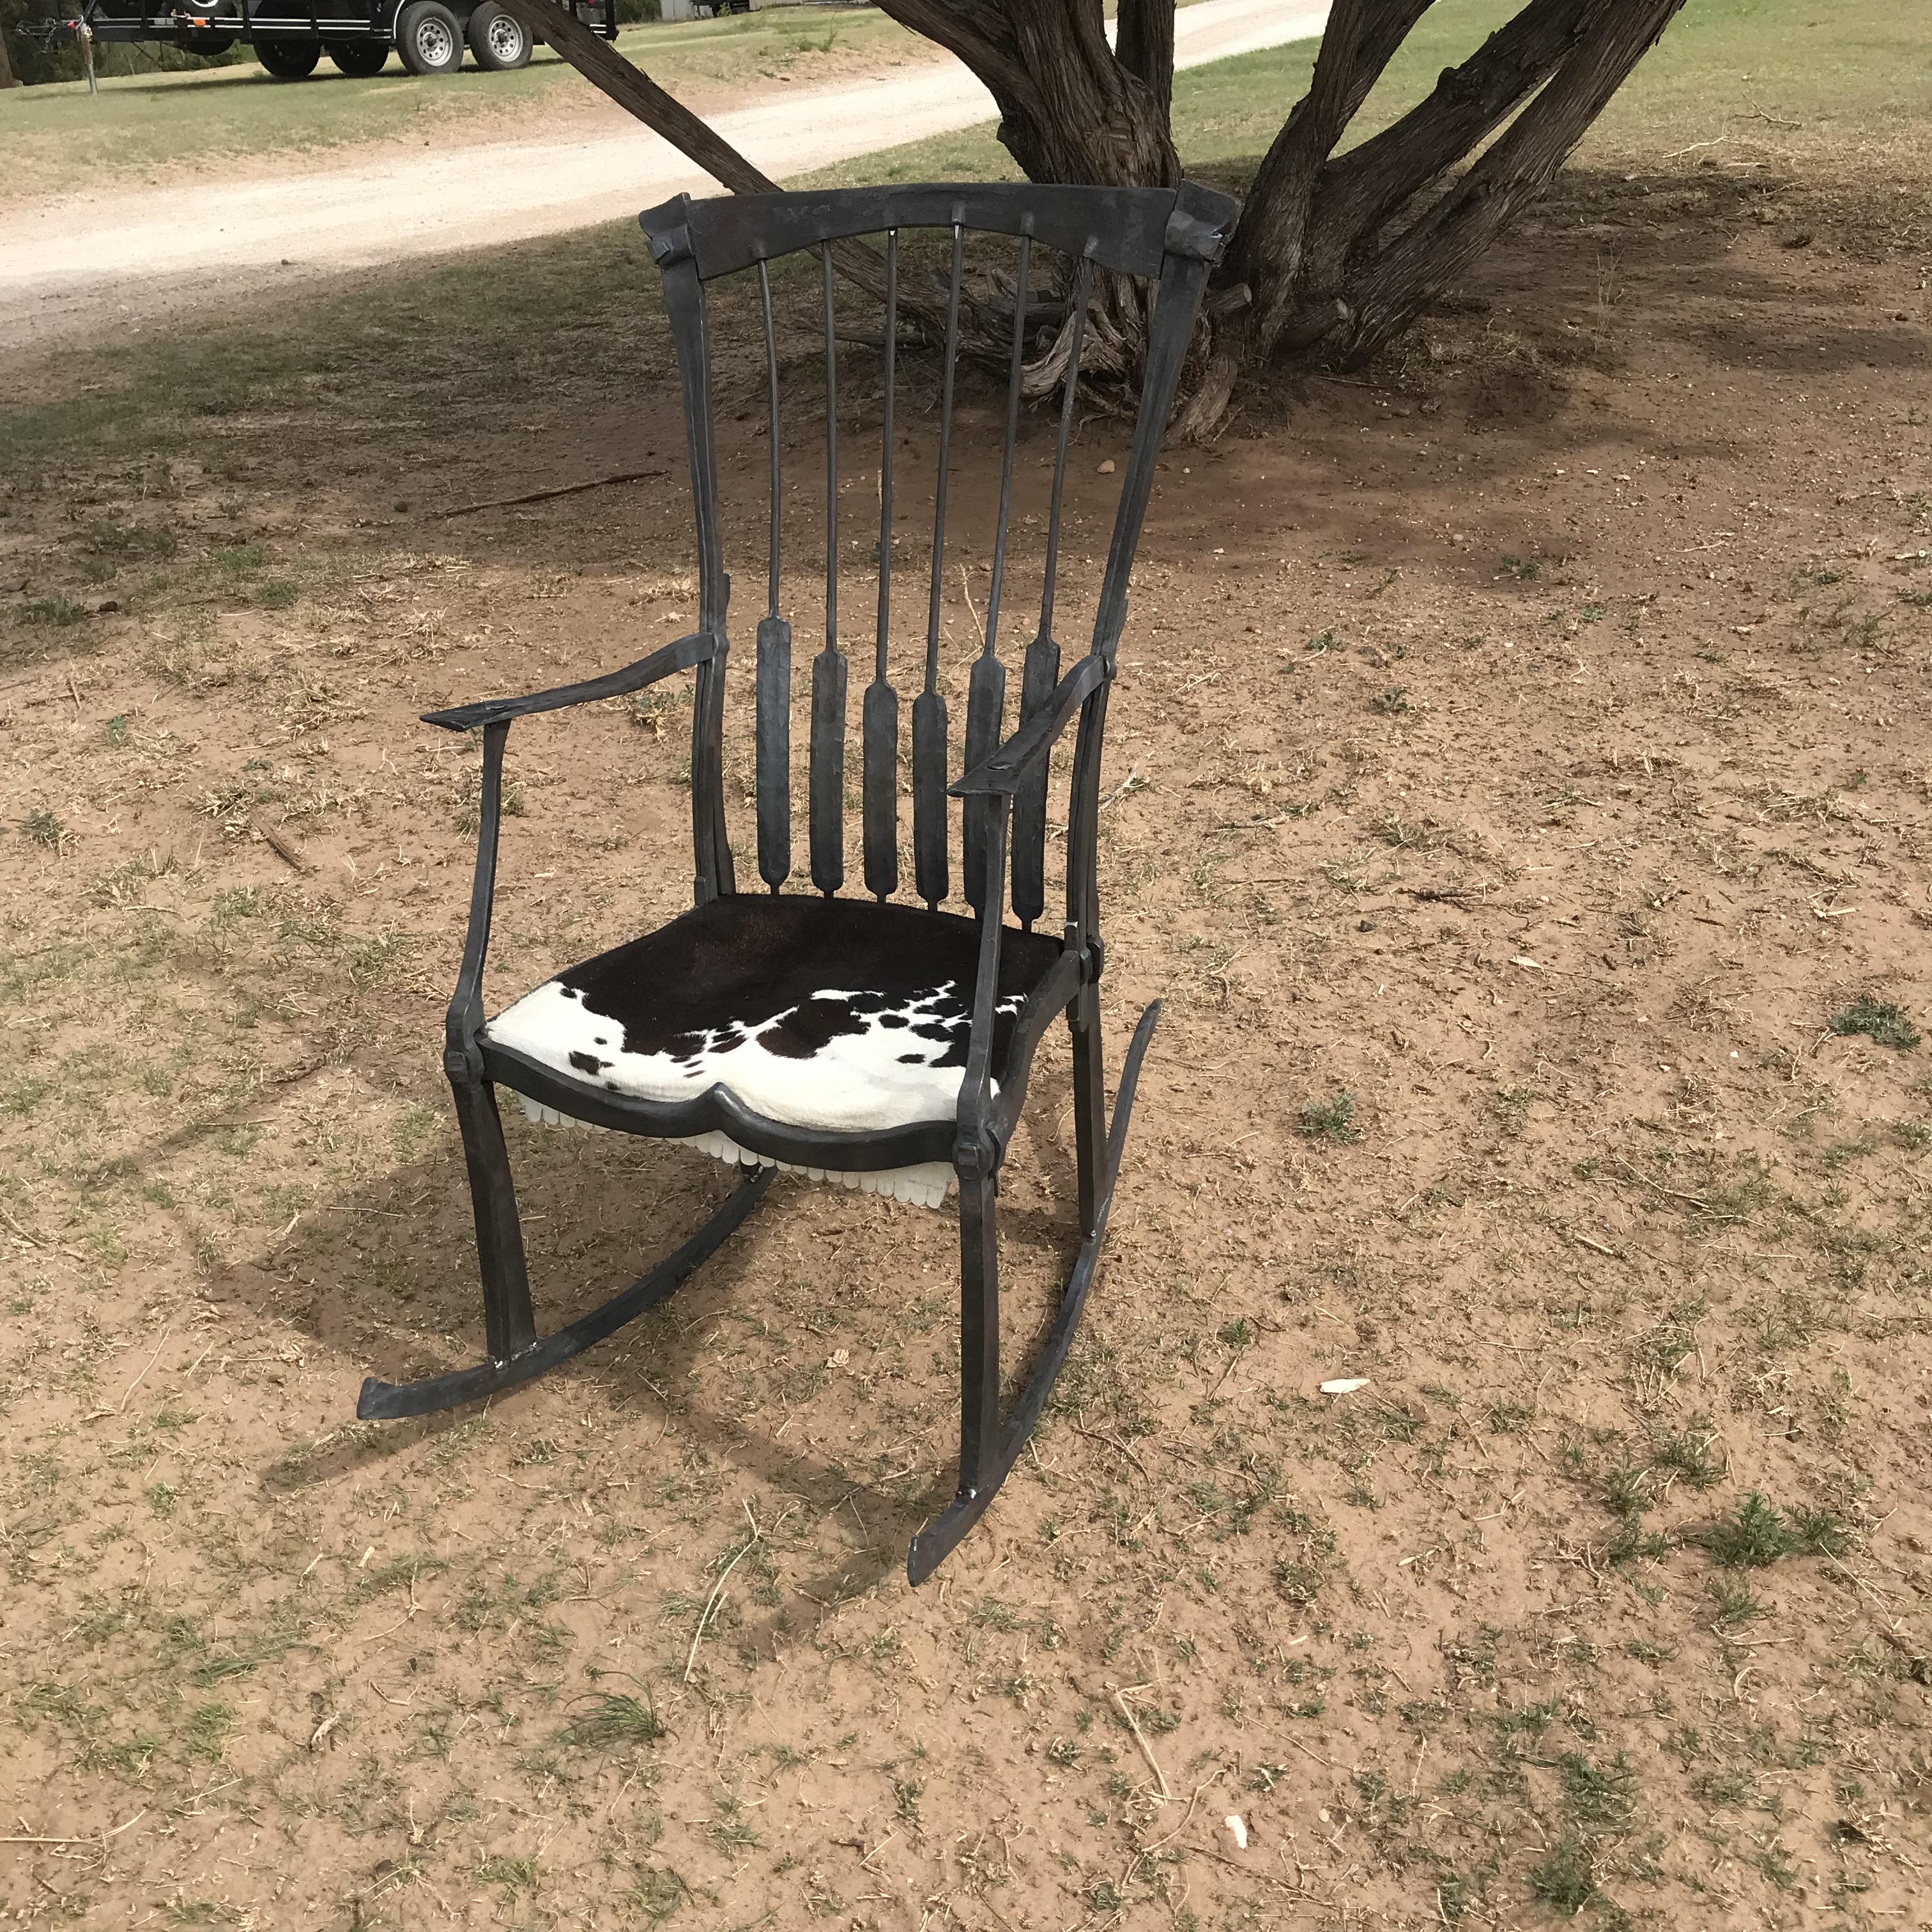
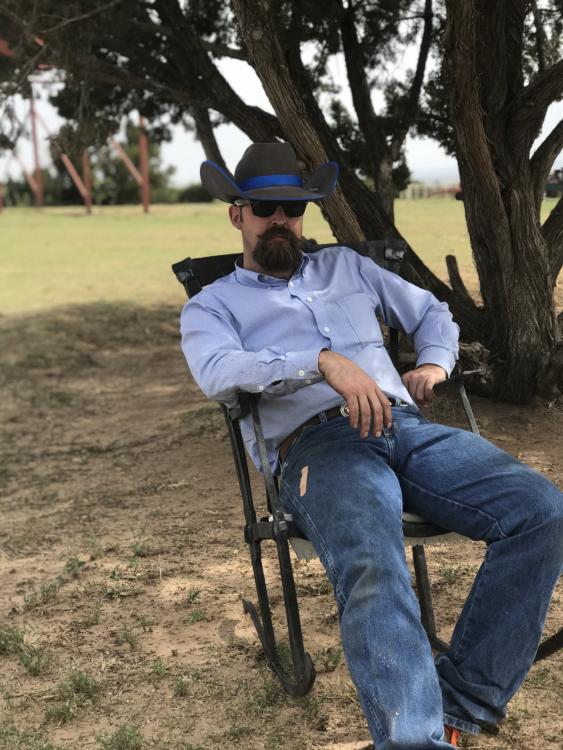
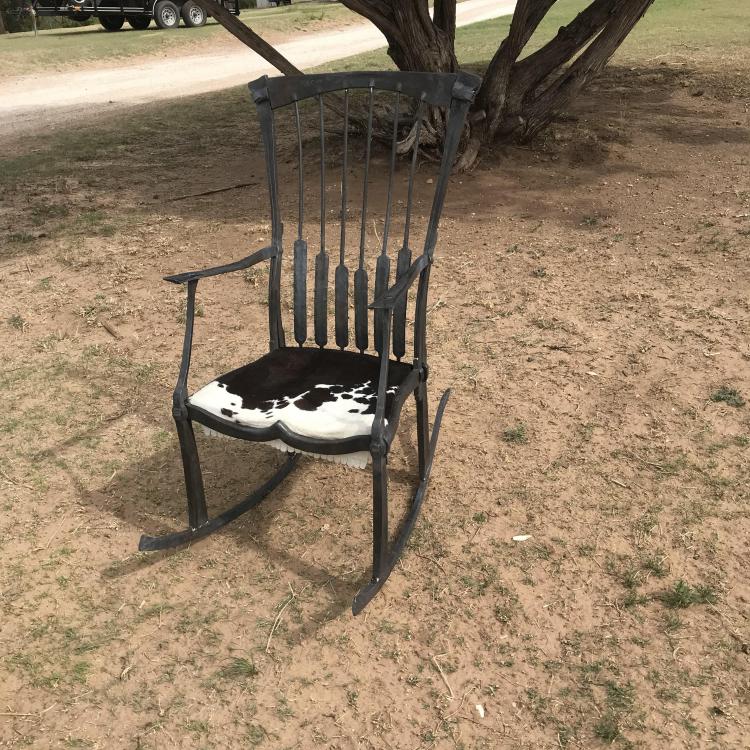
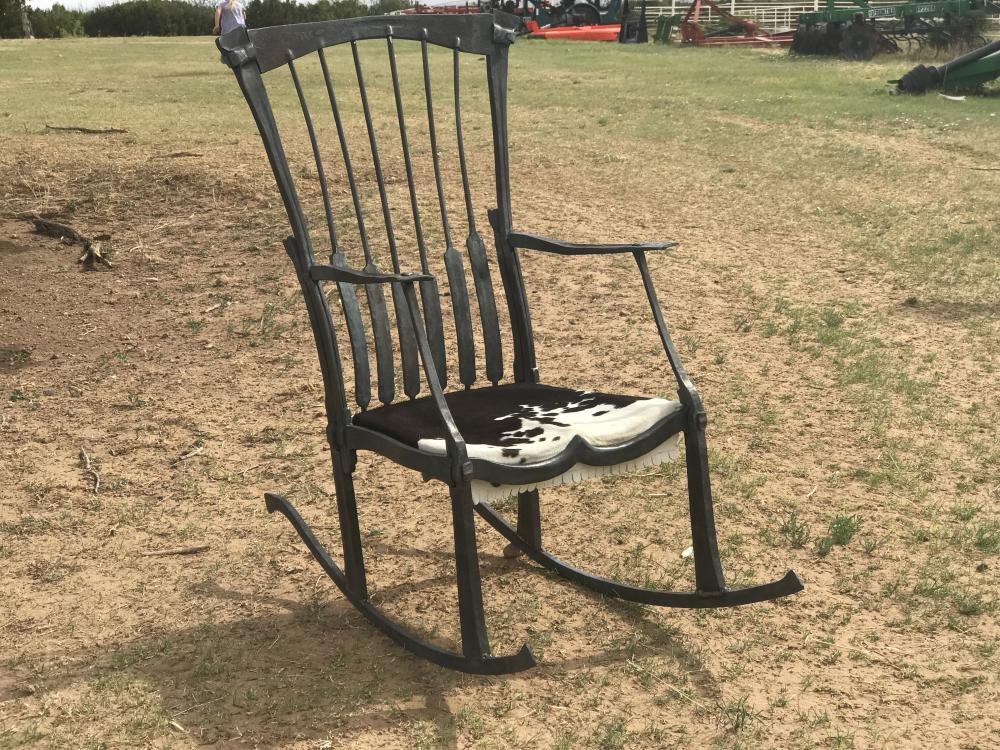
Thank you very much Jennifer! That’s me. Figured if I’m going to show it off I’d better show who made it too. It’s a pretty fast rocker, good for the adhd types. When I build another, I’ll do longer rockers with a larger radius. I like a nice, long, slow rock. I haven’t weighed it but I’d guess it ended up around 80lbs, well under what I had hoped for! There’s not a creak in the thing. That’s one of the benefits to having to force everything together before it’s quite ready, everything is in a bind so there’s no give anywhere. I’ll get some more pictures tomorrow showing the good, the bad and the ugly. It’ll probably be a day or two before I get a chance to post them.
-
Thomas, you’re exactly right about the first and the final. I need to keep that in mind even if I only ever build one more of these. Rockers and seat installed. I ended up doing a wooden seat carver out and covered with hide.
-
Thank y’all. I was pretty worn out when I wrote that last night. Do to the time constraints I’m under, I had to scrap some of the things I was going to do and get absolutely as much as possible done. I had planned on putting wedges through the tenons to hold everything together but after we punched and drifted the first two we realized we didn’t have enough time for that. There were a couple of other small changes that add up to a slightly different chair than I had envisioned. I’d have liked to had about two more weeks to get this done but life happens. Gonna make a few small tweaks today but not as many as are really needed. Also install a seat.
-
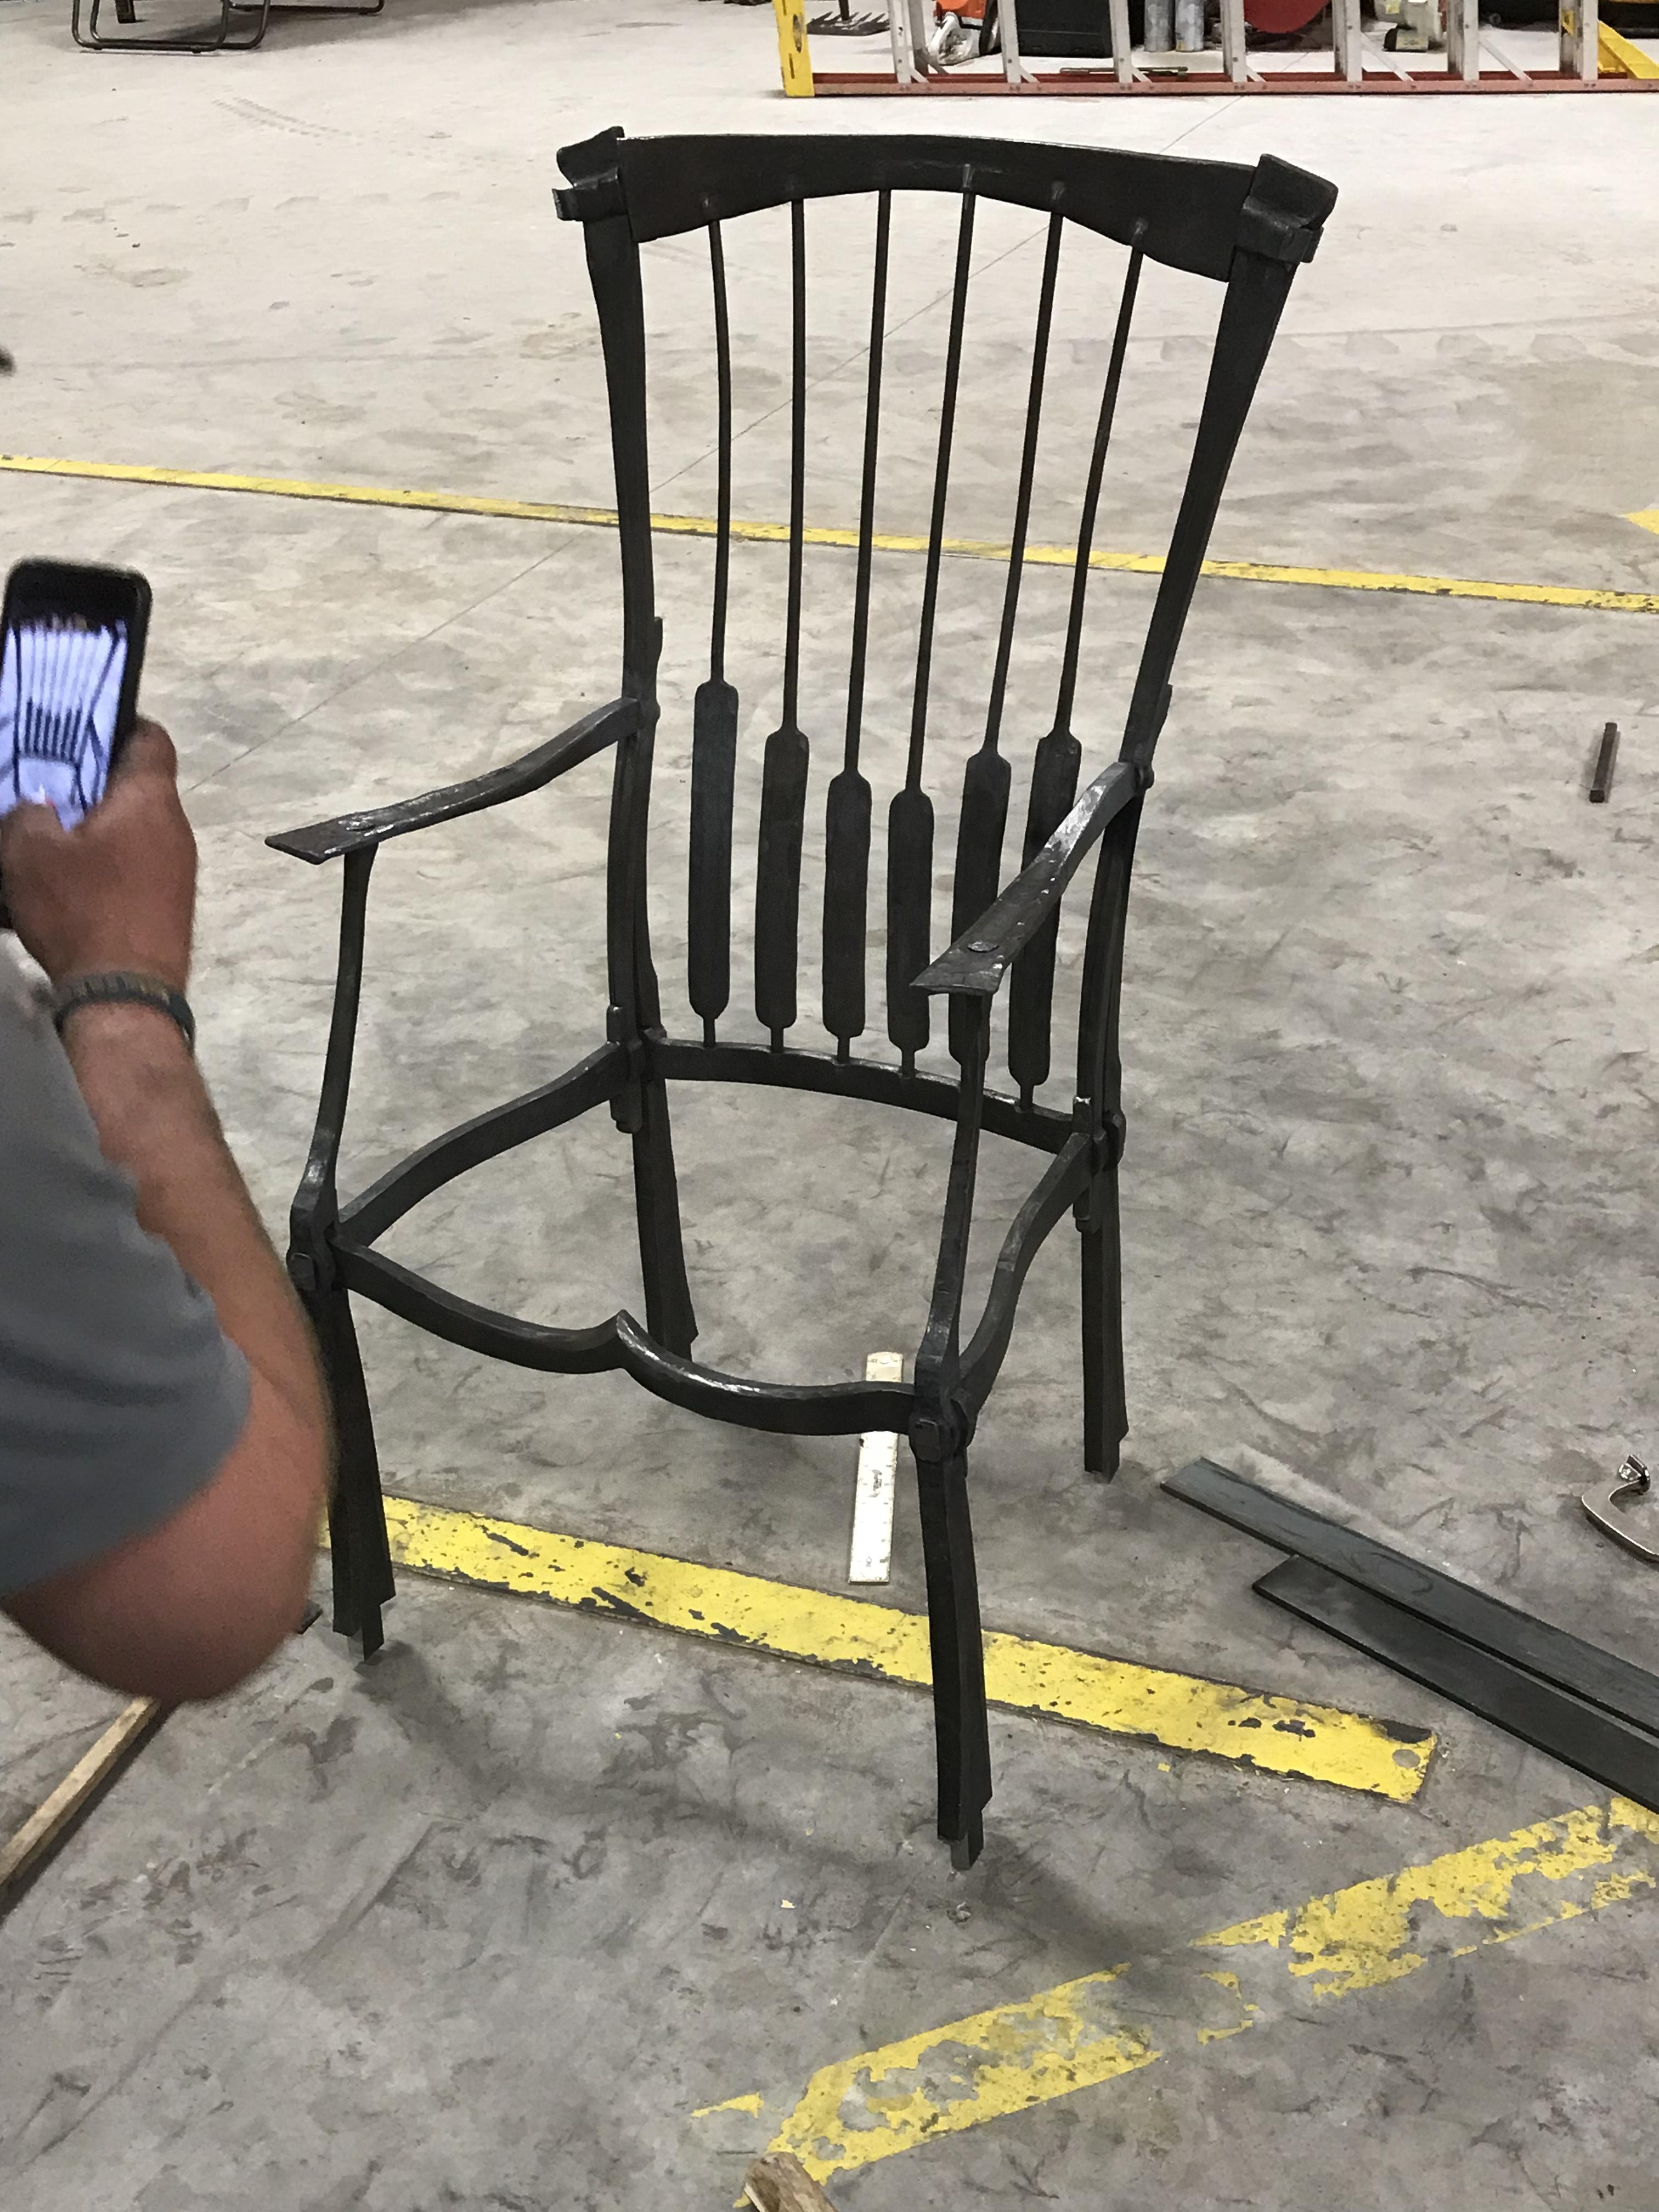
Put in 16hrs on this chair with help from a buddy. I pleased it’s to this point but not happy with a lot of the craftsmanship. I sort of feel like I did a ground up restoration on a deuce coupe then shot coat of primer and put bald tires on it to finish it off. I took the pictures from a flattering angle.

-
This is something that took me, and it seems like everyone else, a long time to figure out and did more for me than anything else. When you’re new, fewer but more deliberate and precise stokes will do far more than getting as many imprecise blows in as you can just because the metal is hot. Practice being precise and speed will come. I still have a hard time with this at times.