jlpservicesinc
-
Posts
5,758 -
Joined
-
Last visited
Content Type
Profiles
Forums
Articles
Gallery
Downloads
Events
Everything posted by jlpservicesinc
-

What did you do in the shop today?
jlpservicesinc replied to Mark Ling's topic in Blacksmithing, General Discussion
If you ever want to.. Just come for a visit.. I can get you under as many horses as you'd like.. After the first foot.. You'd be overjoyed never to do it again.. it takes a certain type of person and mindset.. -
What did you do in the shop today?
jlpservicesinc replied to Mark Ling's topic in Blacksmithing, General Discussion
Your welcome.. Very neat work.. That is a great point.. I stay away from horse shoeing videos.. Makes sense now though I forget we live in the information age.. Or at least the easy information age. -
What did you do in the shop today?
jlpservicesinc replied to Mark Ling's topic in Blacksmithing, General Discussion
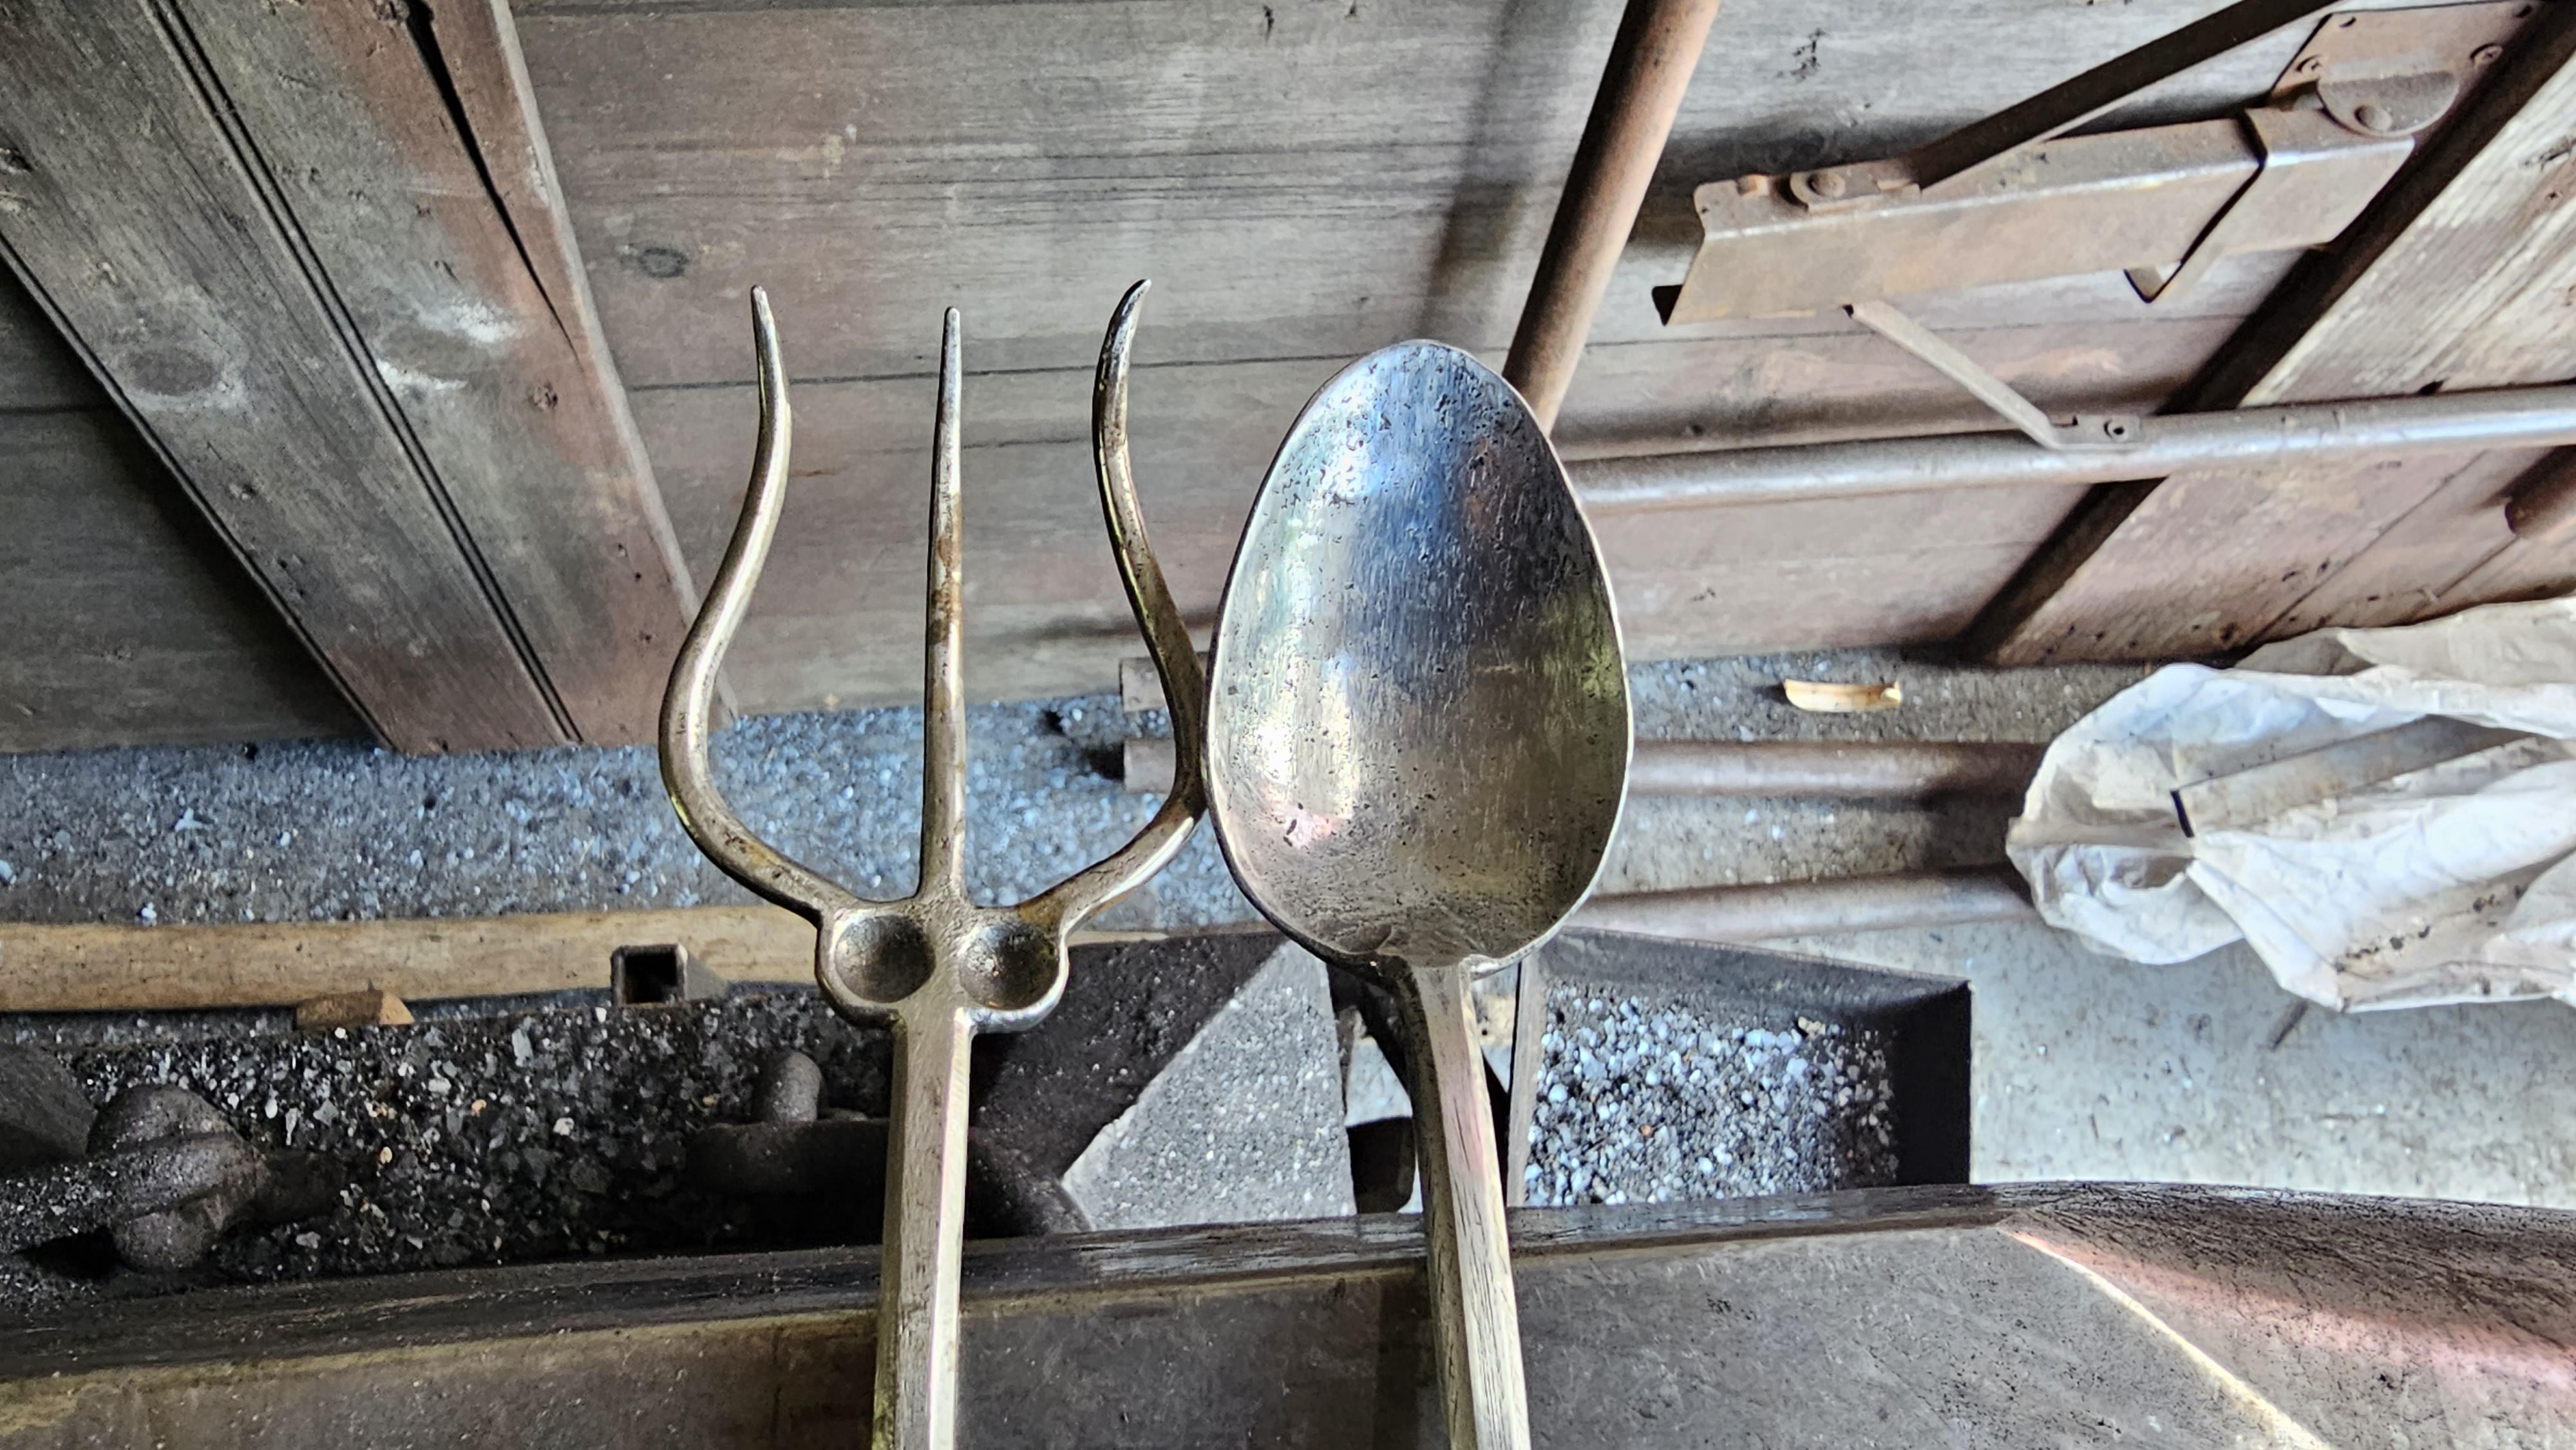
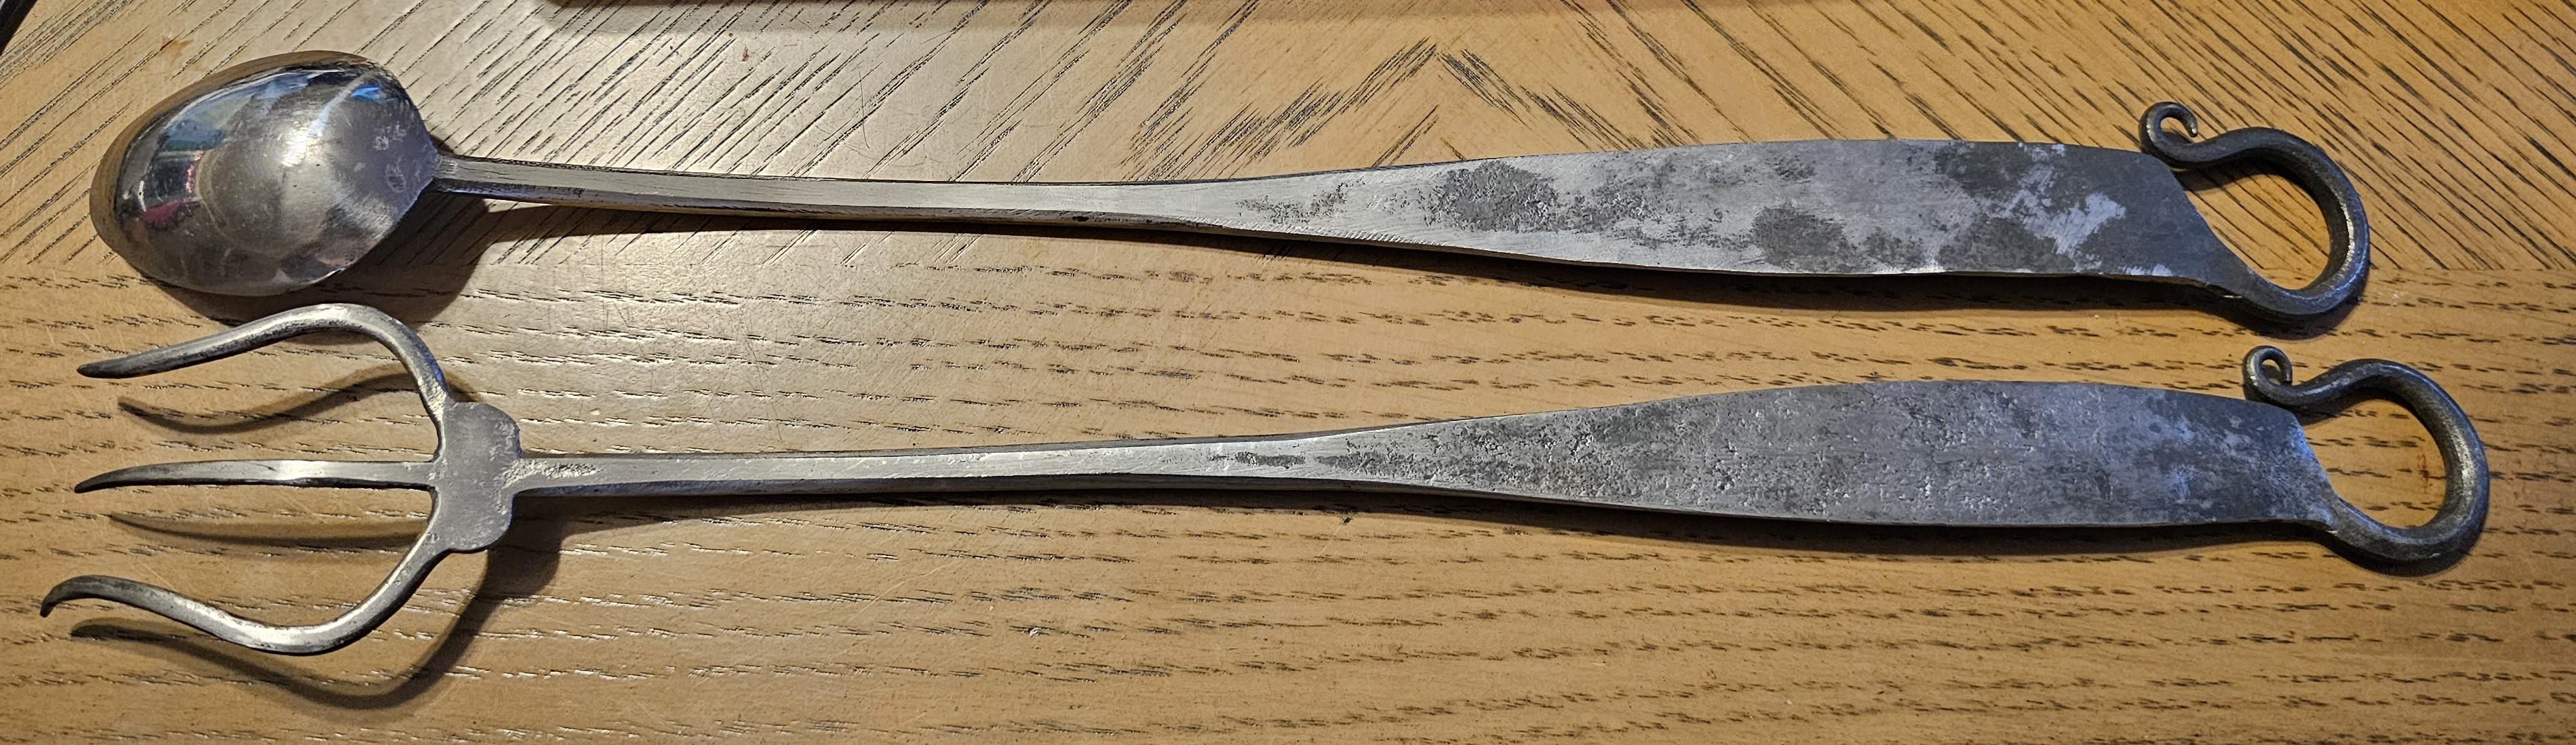
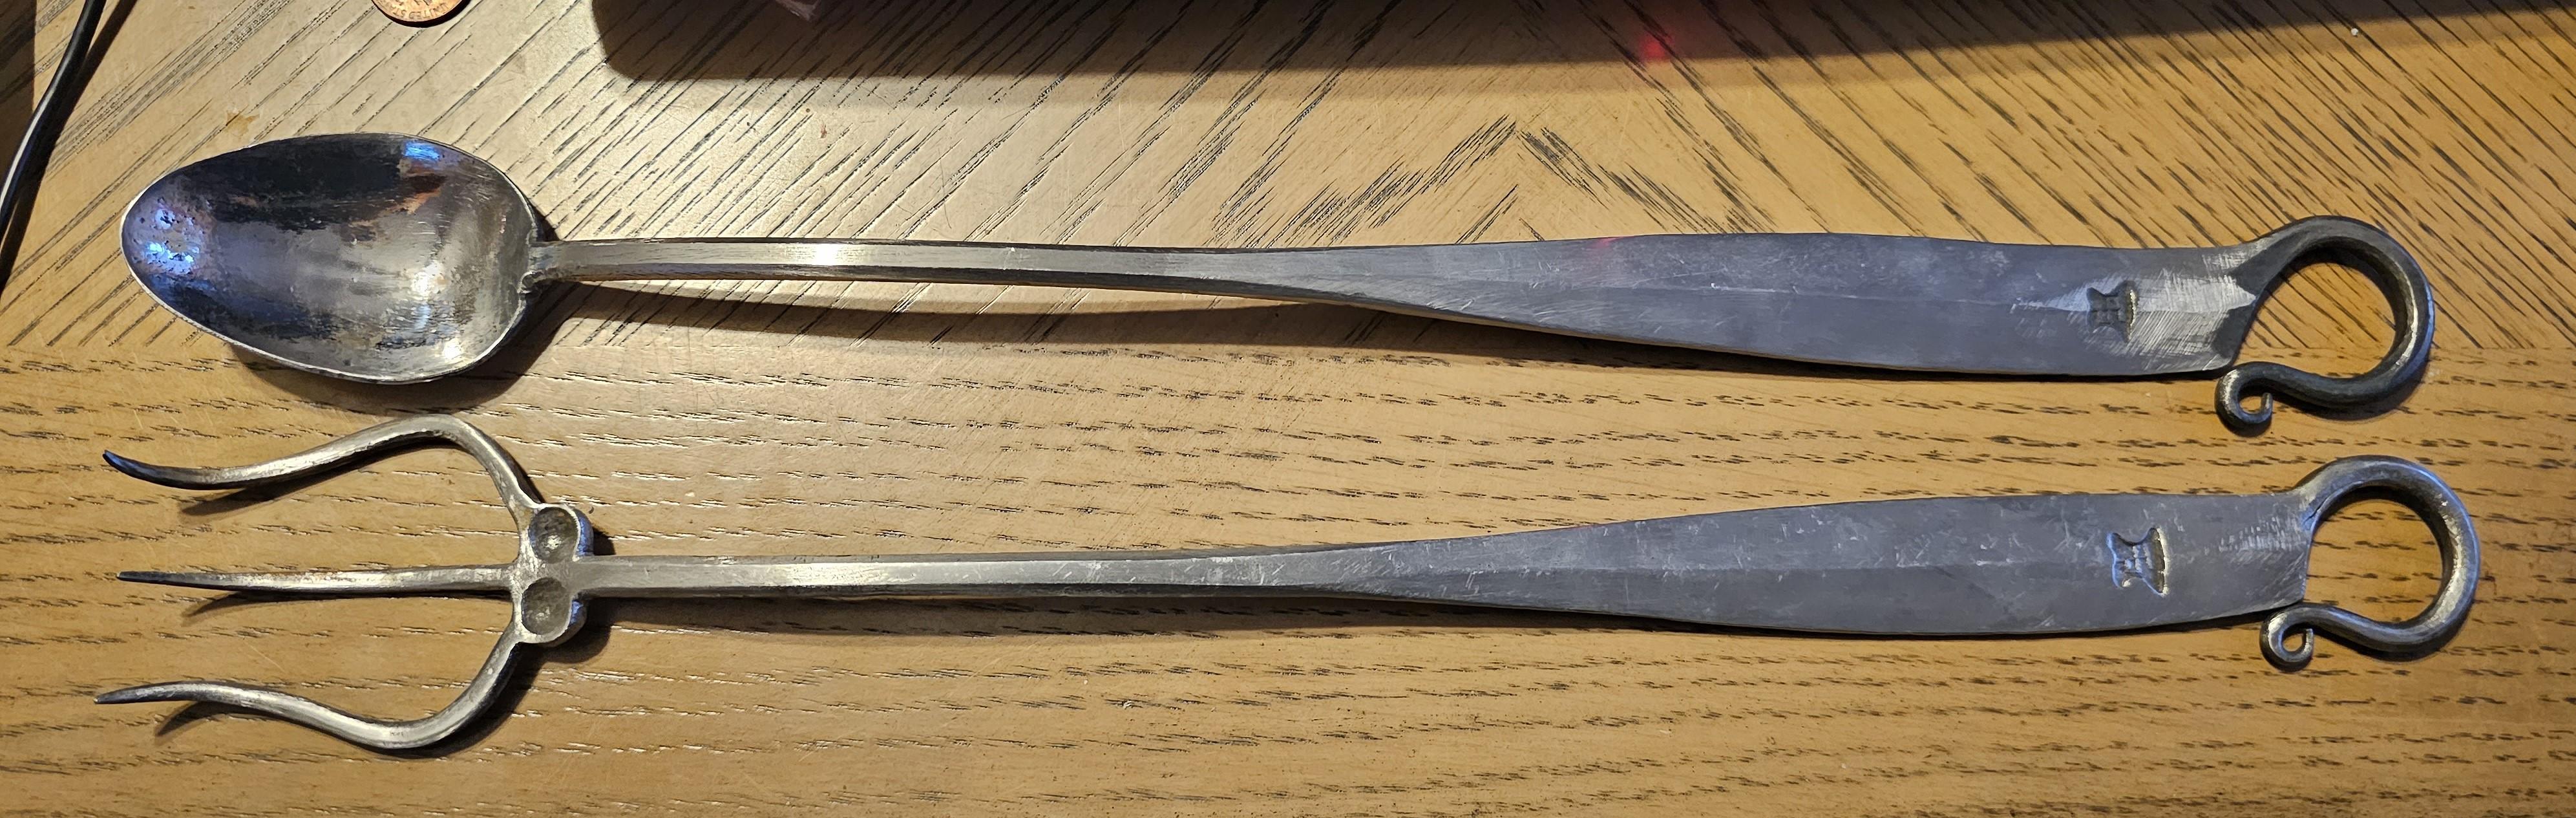
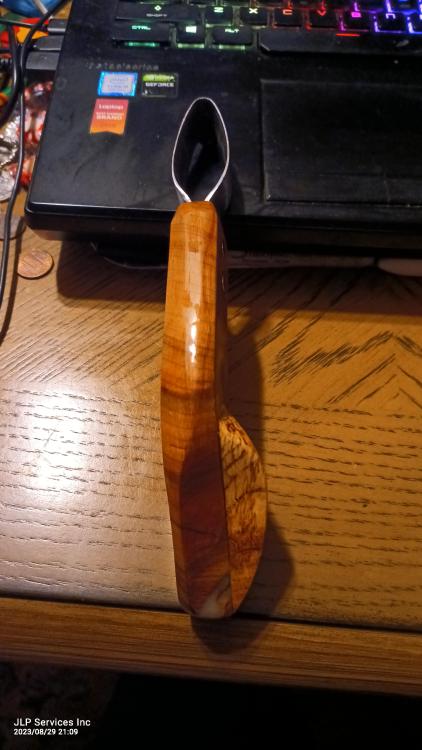
Frosty most have never seen a loop knife.. Never mind used one. Your in a select few then. Cowboying up is needed if you ride off country. Having the basic ability to pull and nail on a shoe when needed is a basic skill.. It's old school but also should be learned today by those that work the horses. A horse owner will do far less damage then most professional farriers.. The owner is much more conservative. No need for a hoof pick with these hoof knives.. That's what the bill off the back side is for. I used a wood stump the first go.. I did not like the size of the spoon so flattened it out more. then used a swage I have in the trailer. Scoops can be tough to do.. I've made several types.. The oldest time was from a flat piece of plate and the edge seem is welded in the forge. This can be tricky for newer smiths until they figure it out. for scoops it's always easist to make a form to go over or into.. Depending on the depth of the scoop plays in the most me thinks. I specialize in barefooted horses.. Have for over 25 years now.. I'm with you for barefoot.. But shoeing today is still big business. Most people have not even seen a loop knife.. Or a flat knife.. I don't use a flat knife because I use a straight knife and loop.. I do have an extra pocket on the apron and the flat knife can be handy though. Thanks on the utensils.. Thanks and yes, the handle are plenty long enough to sneak across the table.. Thanks.. JHCC love the hardware on your pitch bowl.. Very spiffy.. -
What did you do in the shop today?
jlpservicesinc replied to Mark Ling's topic in Blacksmithing, General Discussion
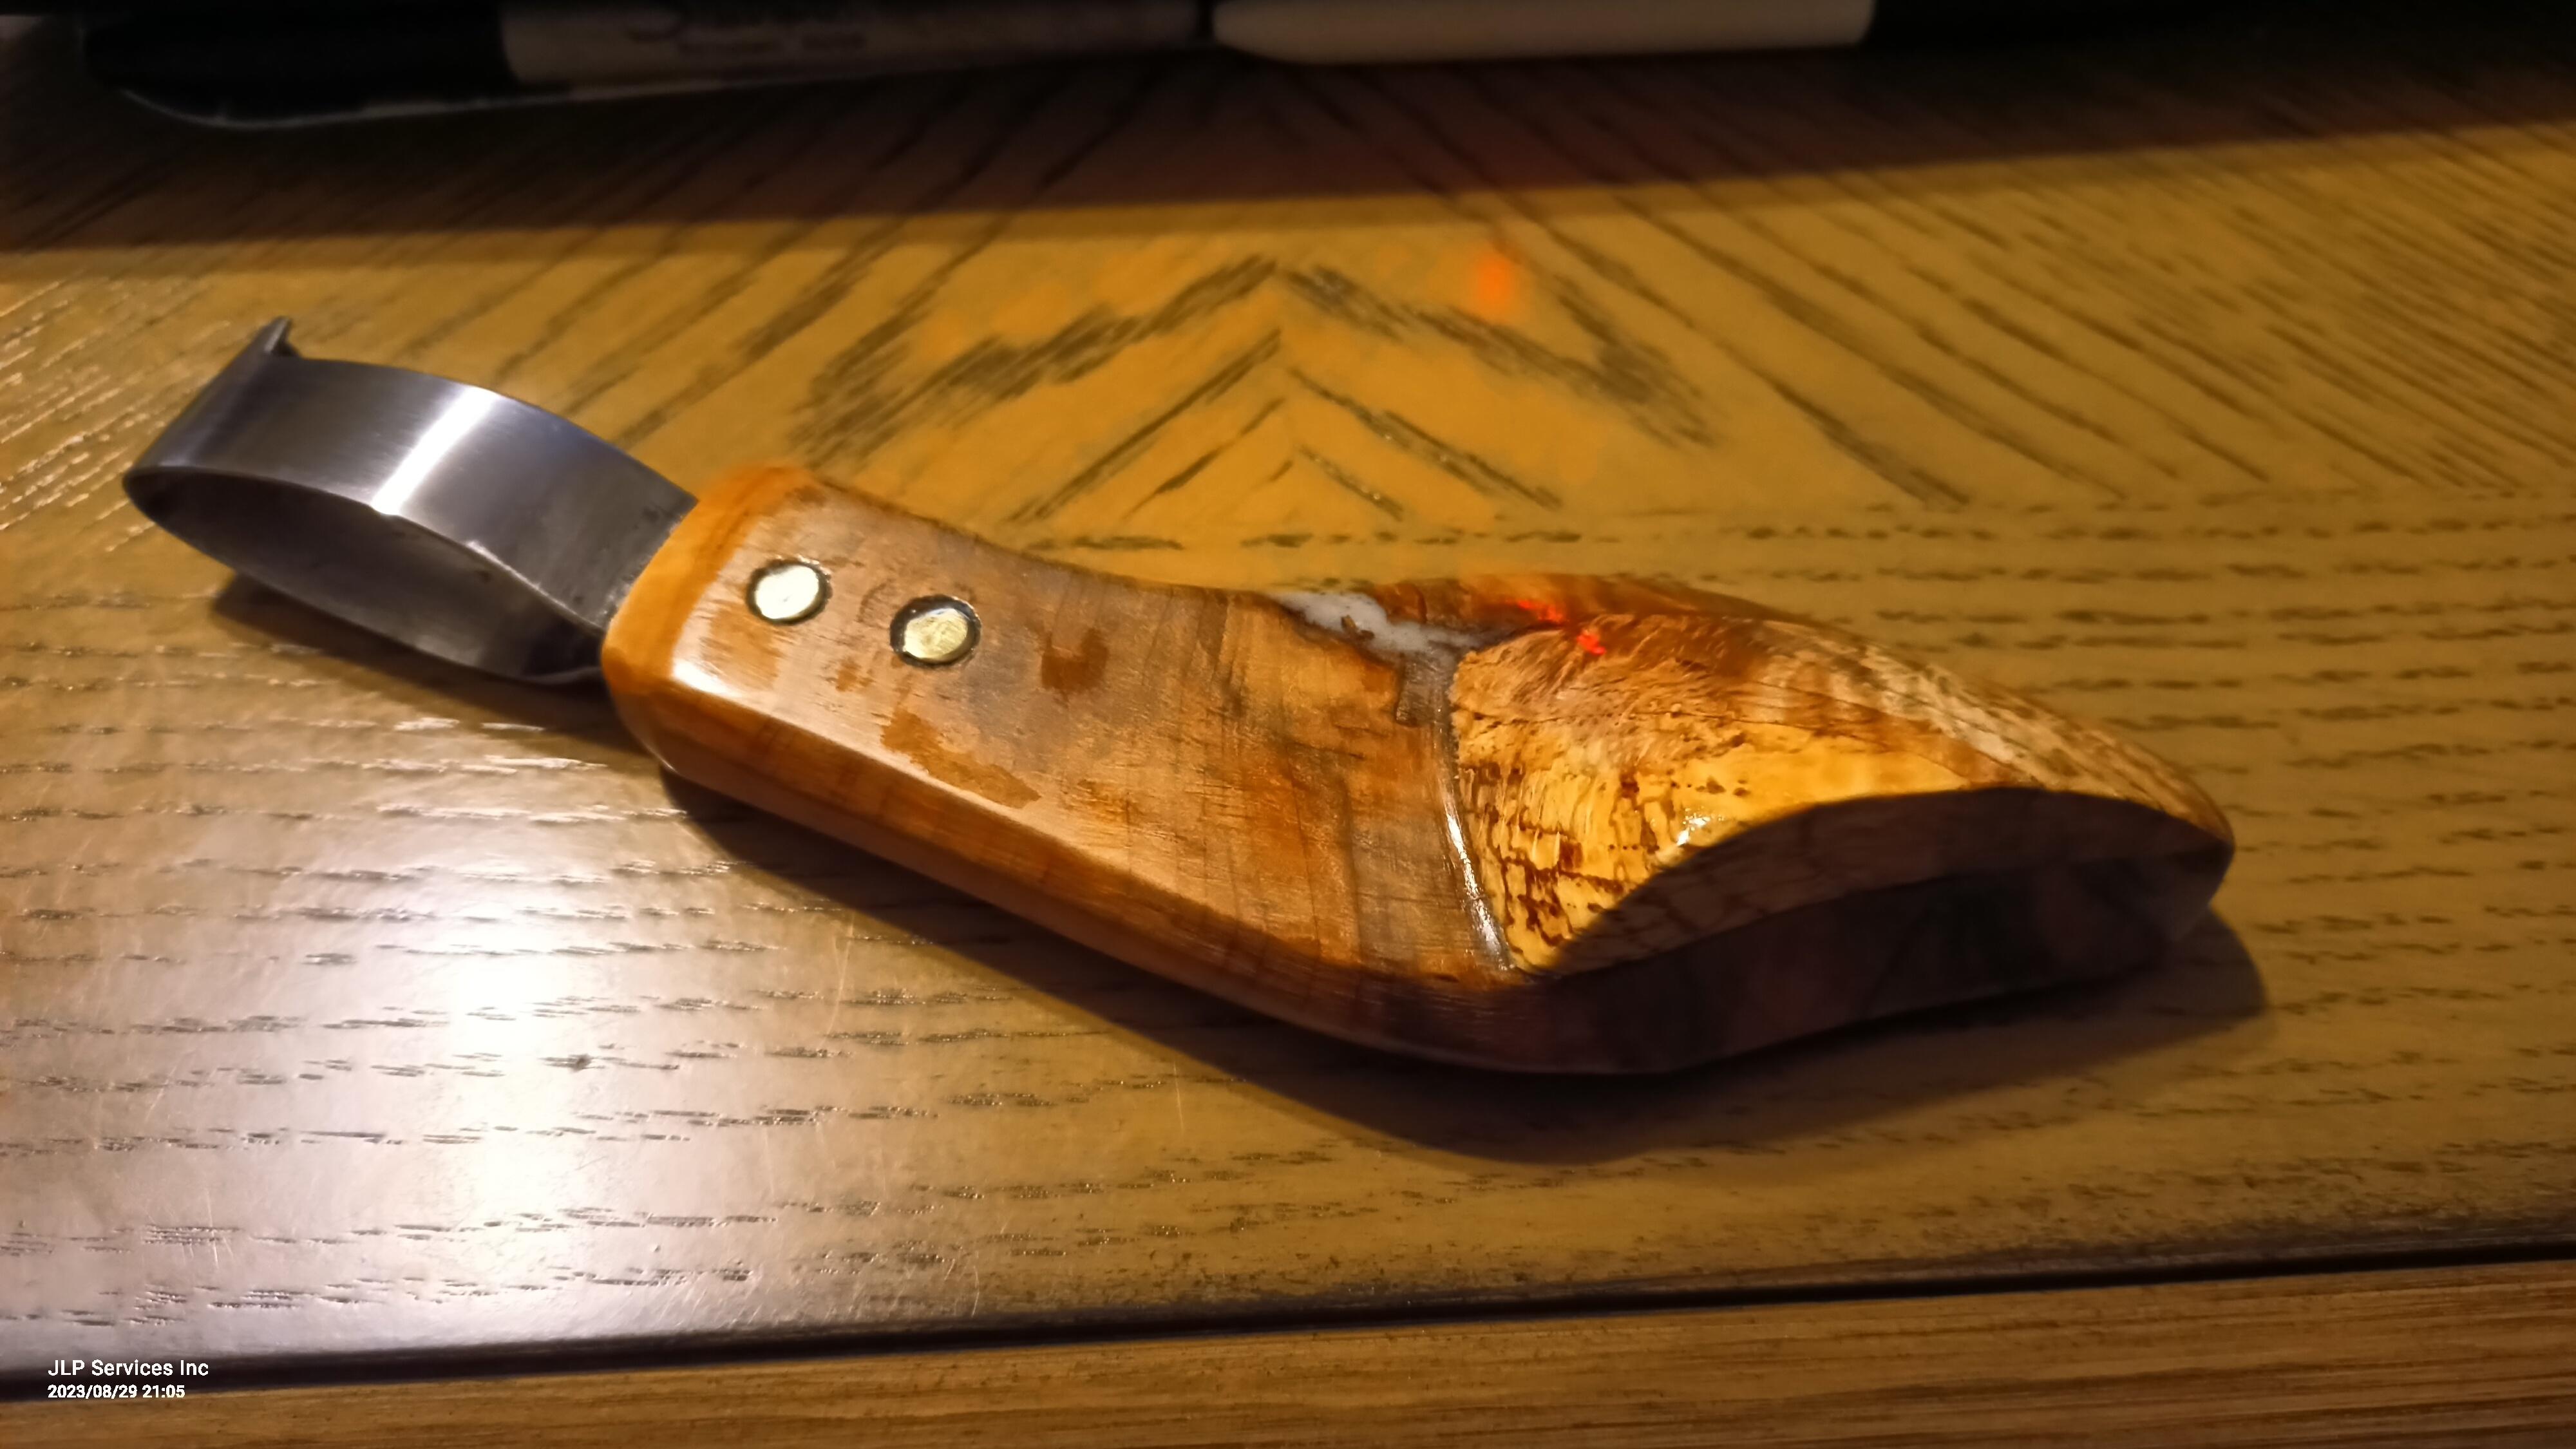
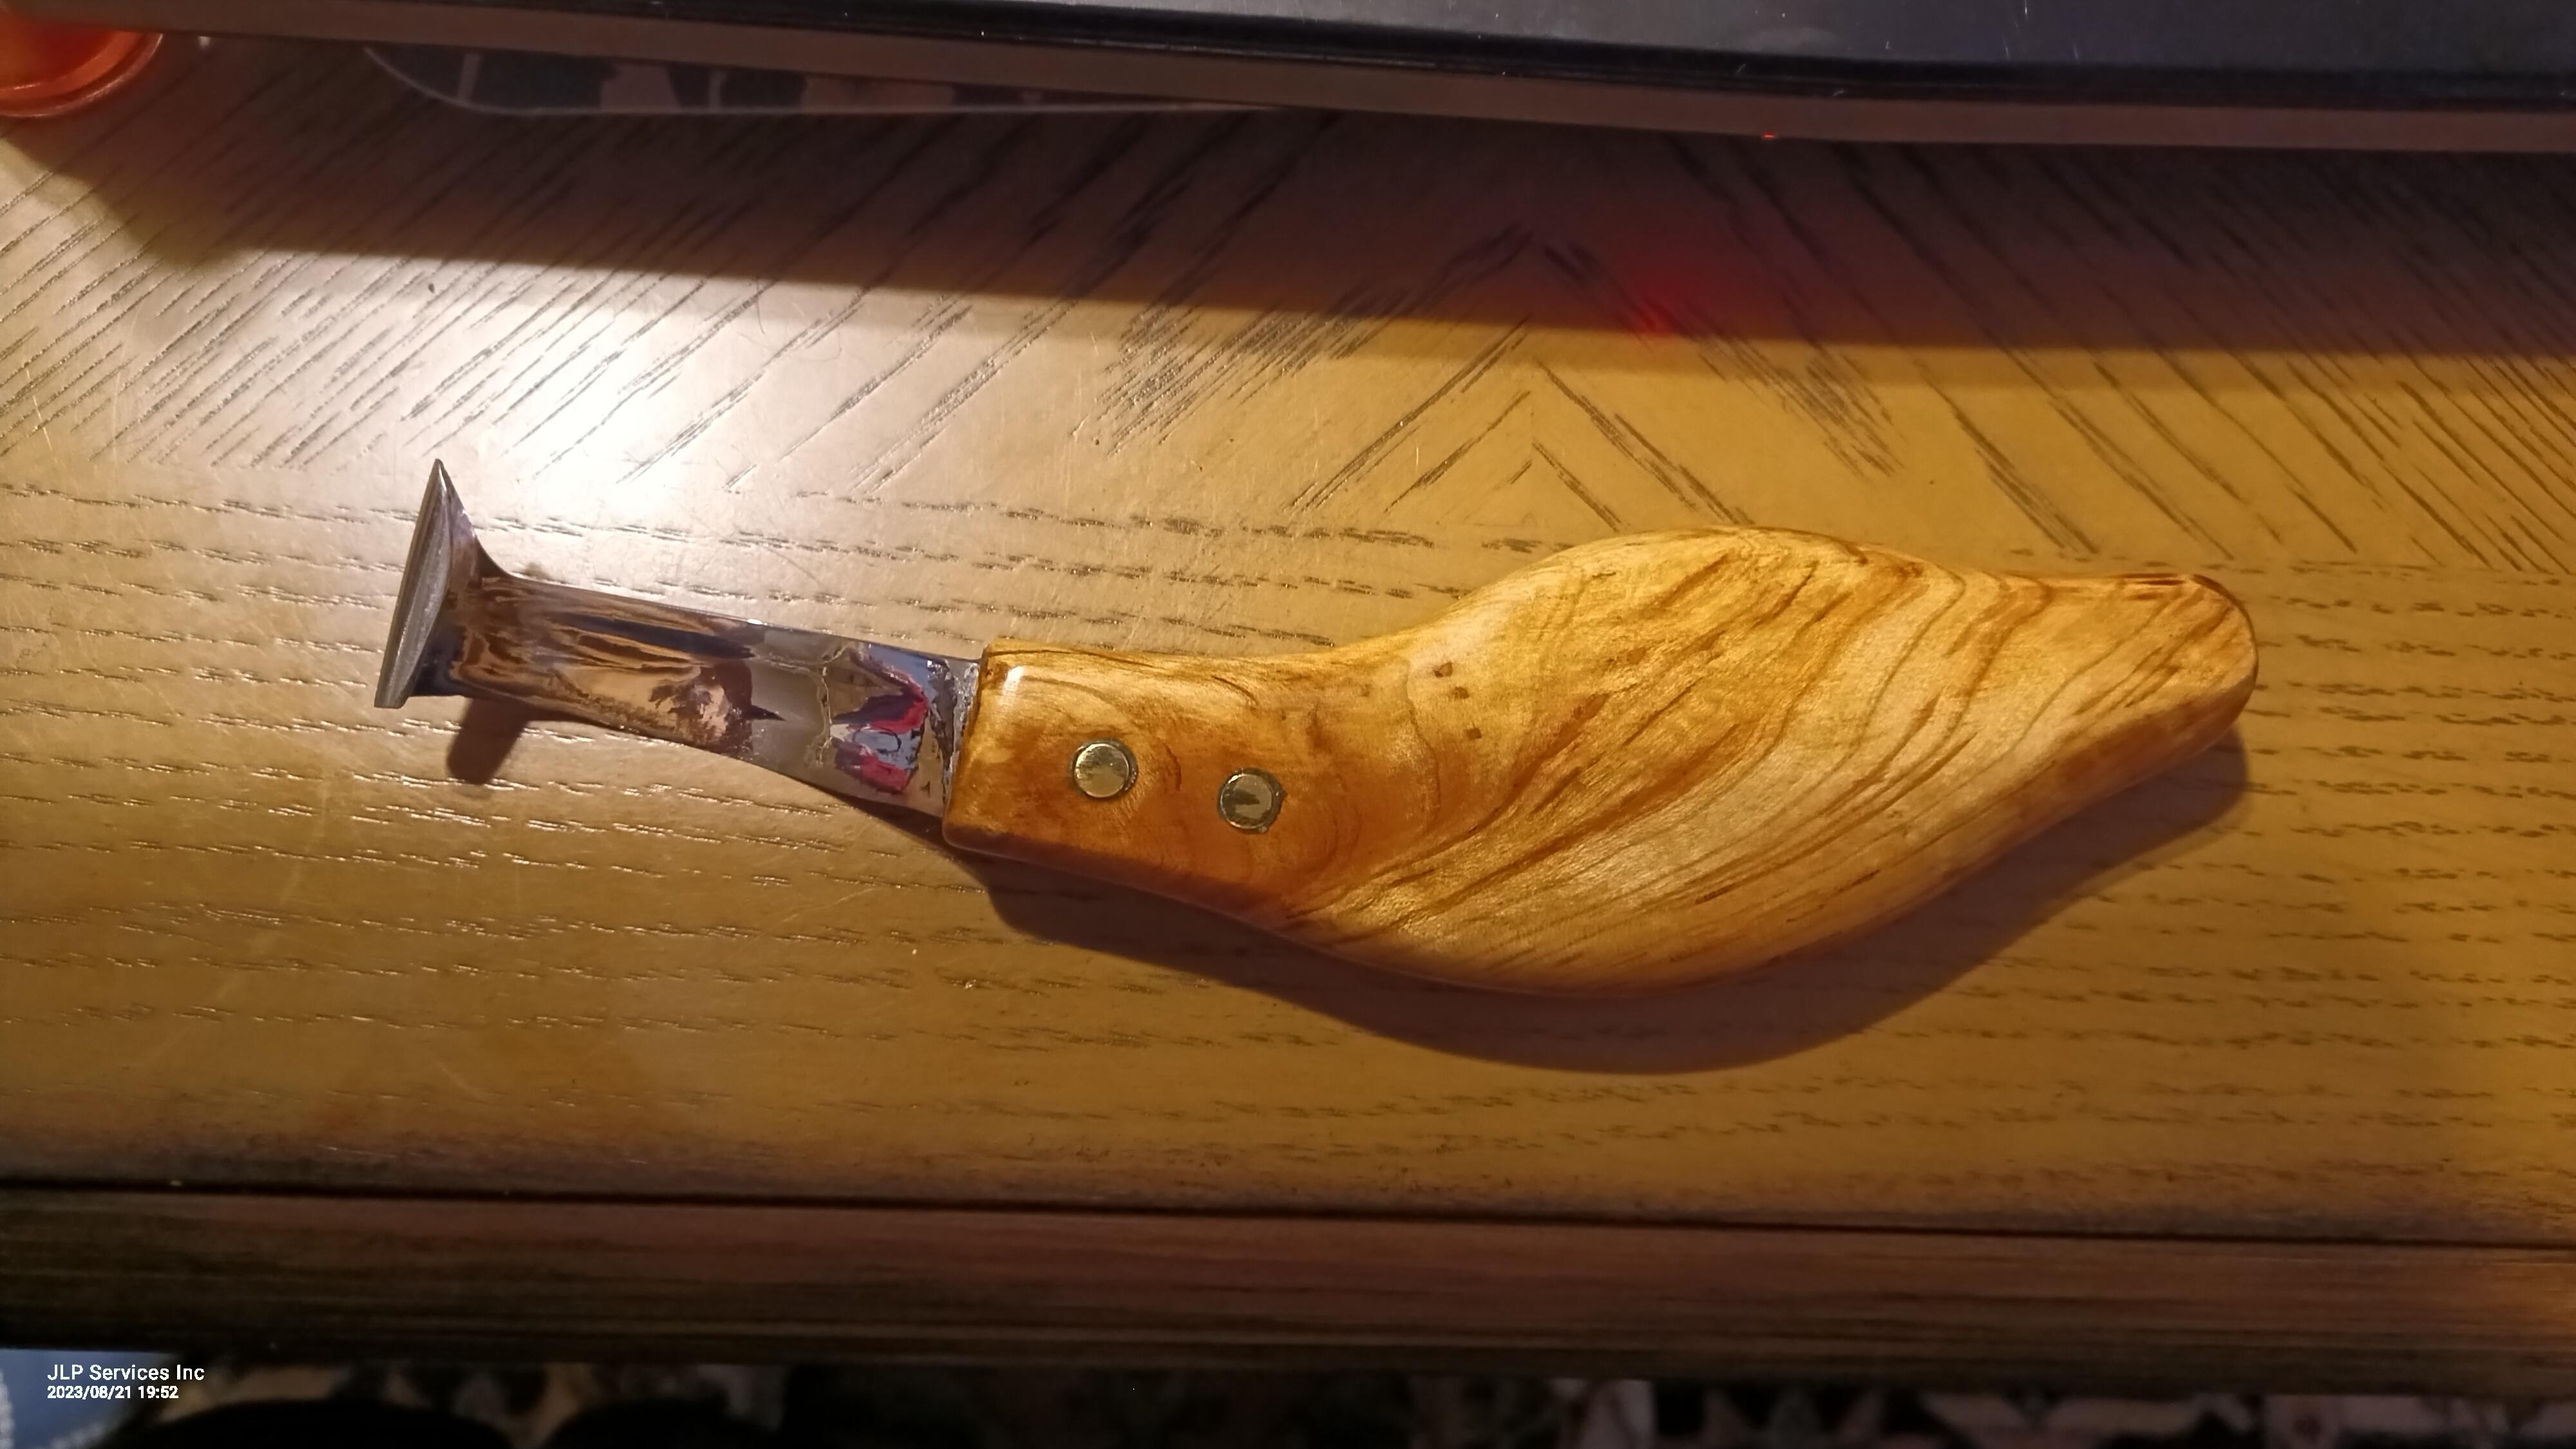
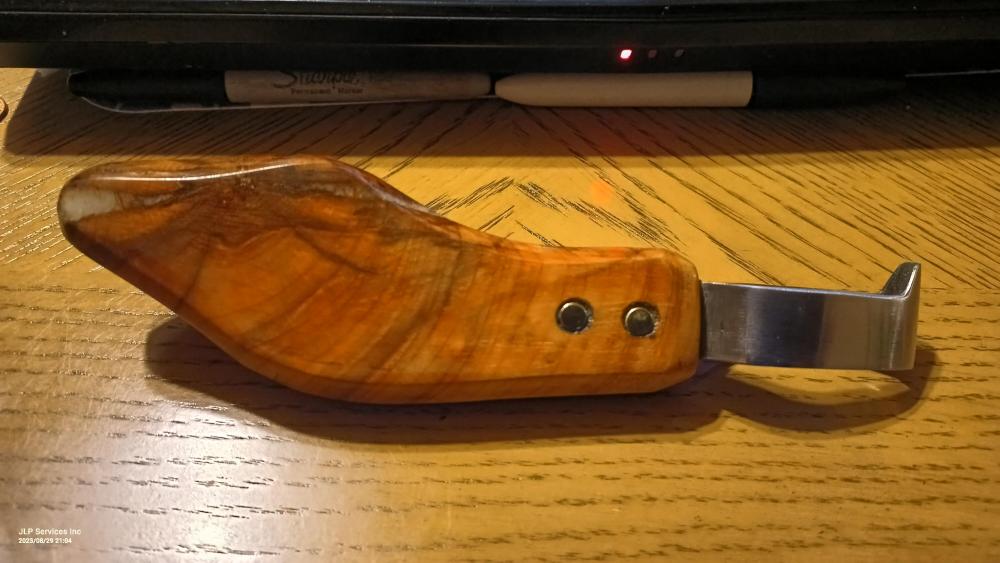
Frosty thanks. The tines are long enough / tall enough for a traditional knife when it comes to carving. No go on modern chef knife just to tall. It's a carving fork vs utility fork for sure. Aka not used for heavy work. Could lift/move a 20lb hunk of meat. Hoof knives. As with all things I'm always looking for better ways. Never happy with status quo. The blade shape I developed 20 years ago. Now I'm messing with handles. I'm trimming between 30 and 70 horses a week. At my age I have to find everything I can to make every action more effective. Comfort and ease of applying useable power is getting more important. The basic handle shape was copied from Brett Miles. A farrier in PA I gave lessons to on hoof knife forging. I've changed it's overall dimensions some to fit my hand better and added the thumb swell. Have you ever seen or used a loop knife? -
What did you do in the shop today?
jlpservicesinc replied to Mark Ling's topic in Blacksmithing, General Discussion
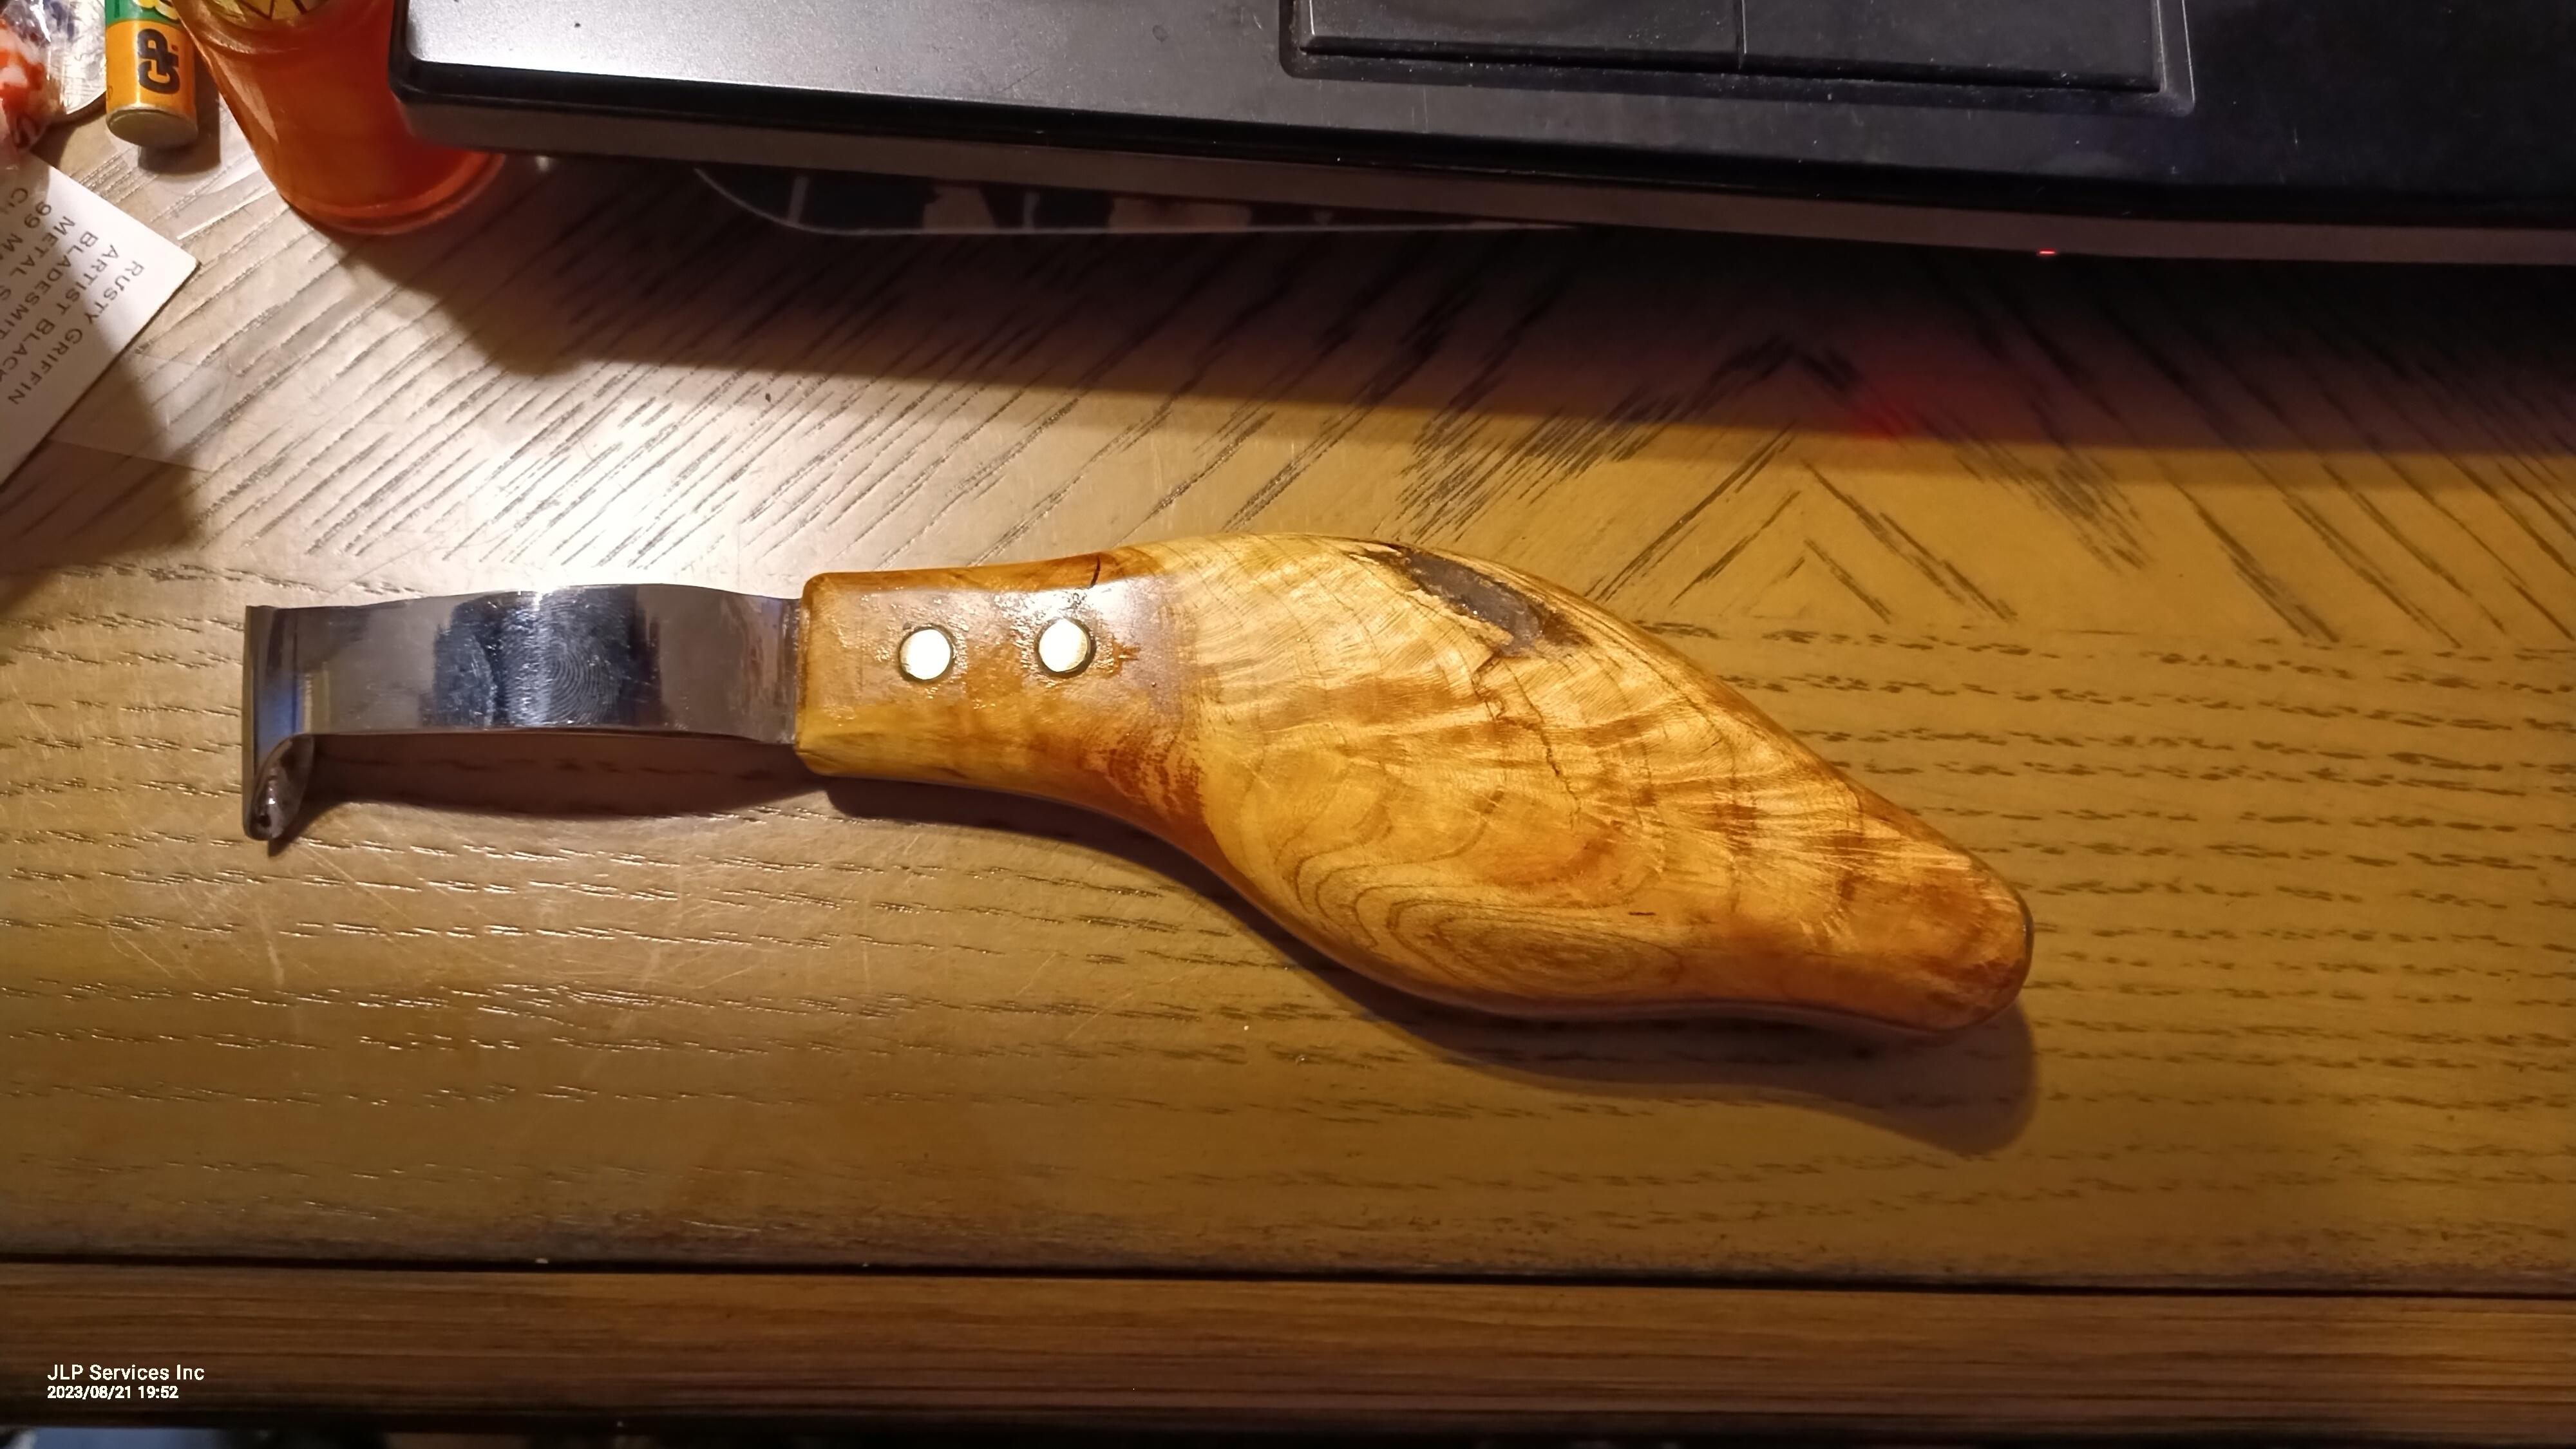
finished assembly of new loop hoof knife. I've been experimenting with handle designs. Also have the spoon nearly finished. Burnished the bowl but still not as clean as I like.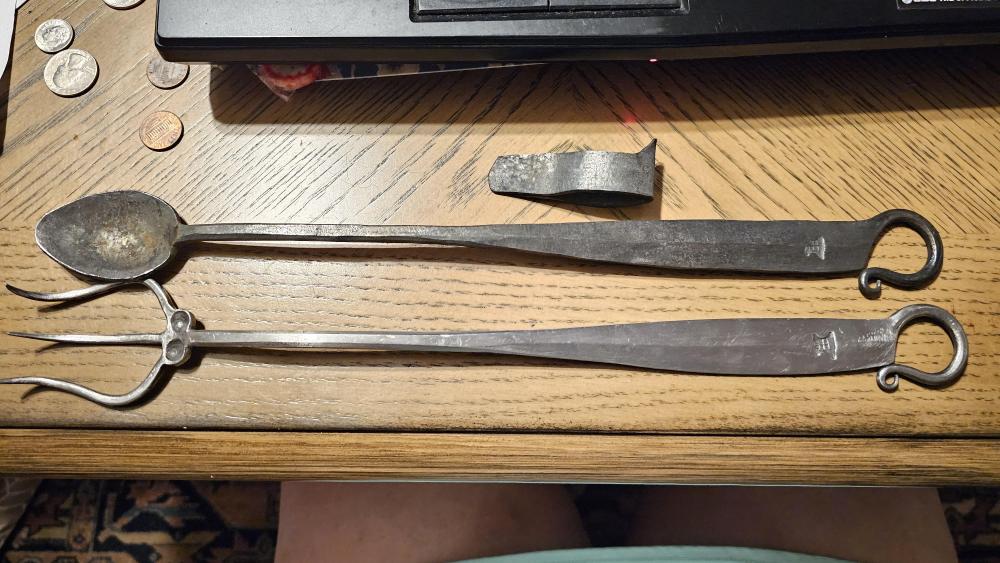


-
What did you do in the shop today?
jlpservicesinc replied to Mark Ling's topic in Blacksmithing, General Discussion
Looks like you are well on your way. Looking forwards to what you make with them.. -
660 downdraft Buffalo forge with a # 200 blower.
jlpservicesinc replied to Miami 13's topic in Solid Fuel Forges
So what usually happens is this. The person who owns it thinks it's worth a million dollars and rare.. It's just a forge.. The stuff is old and hasn't been made in 100+ years.. It's all rare until you find one.. Some things are much more scarce than others.. I have a few items I've only seen in catalogs yet I use them all the time. Anyhow, what happens is a tree falls on it or the barn falls in, Or water and snow freeze in it and completely ruin it either to sell or to use. Value is all based on what someone is willing to pay as it sits.. Not what it could be. If anything you will lower the value by doing a bad fix.. I made a very fair offer at 400.00 for the level of damage it has.. Very fair since the blower does not work either. If the blower doesn't work now.. Give it another couple of years.. The gear case and the bottom of the blower will get water in them and freeze.. Then what once was a great piece of historical equipment will be scrap iron.. Seen it hundreds of times.. You're still chasing after the carrot trying to convince someone it's worth more.. Not only that.. Your missing parts.. The shutters are missing and is the deflection plate. -
Yes, yes.. juts more complex.. Shutters in the hood, Venturi stack assist, smoke sucker to feed back into fire.. and adjustable butterflies for both... The Forges for the school will have a system like the Buffalo.. but I might also include a preheated firepot air system that feeds heated air into the tuyere..
-
keep in mind, it's the unburnt gases you want to send back.. Not the heated gases that are lighter.. There are butterfly valves to change the way the air is both taken in from the lower port or lower tuyere and pushed thru into the firepot.. There is also a butterfly valve for the upper discharge valve that pushes air out the top.. This creates a venturi effect and blows the smoke up the chimney as an assist. you have what I like to call the "throttle Valve" this controls 2 aspects at once from what I can tell.. These units are more troublesome to to use if you don't have experience as they need to be adjusted in use to be used to maximum efficiency.. The heavy smoke when first starting the fire is the smoke that will be drawn into the lower smoke reclamation intake.. The flame once established is supposed to go up the chimney and not recycled thru the blower. I'm excited for you.. But it will give you fits until you figure it out.. An 8" flue is very small considering the amount of volume and velocity it will need.. That is why it has the air or venturi assist. There is are some minor differences between the 6660 models and the 660 models.. from the photos it's hard to tell if you have the secondary butterfly valves but from your clean-up photos I believe I had seen one of the valves in the photo..
-
Nice.. Be great to see how the shutters and controls for the pressurized air and the intake air make a difference..
-
The blower blades are markedly different than the standard 200 blower blades.. It's neat that they reinforced the blades to deal with the extra heat of the incoming hot air, smoke, etc.
-
What did you do in the shop today?
jlpservicesinc replied to Mark Ling's topic in Blacksmithing, General Discussion
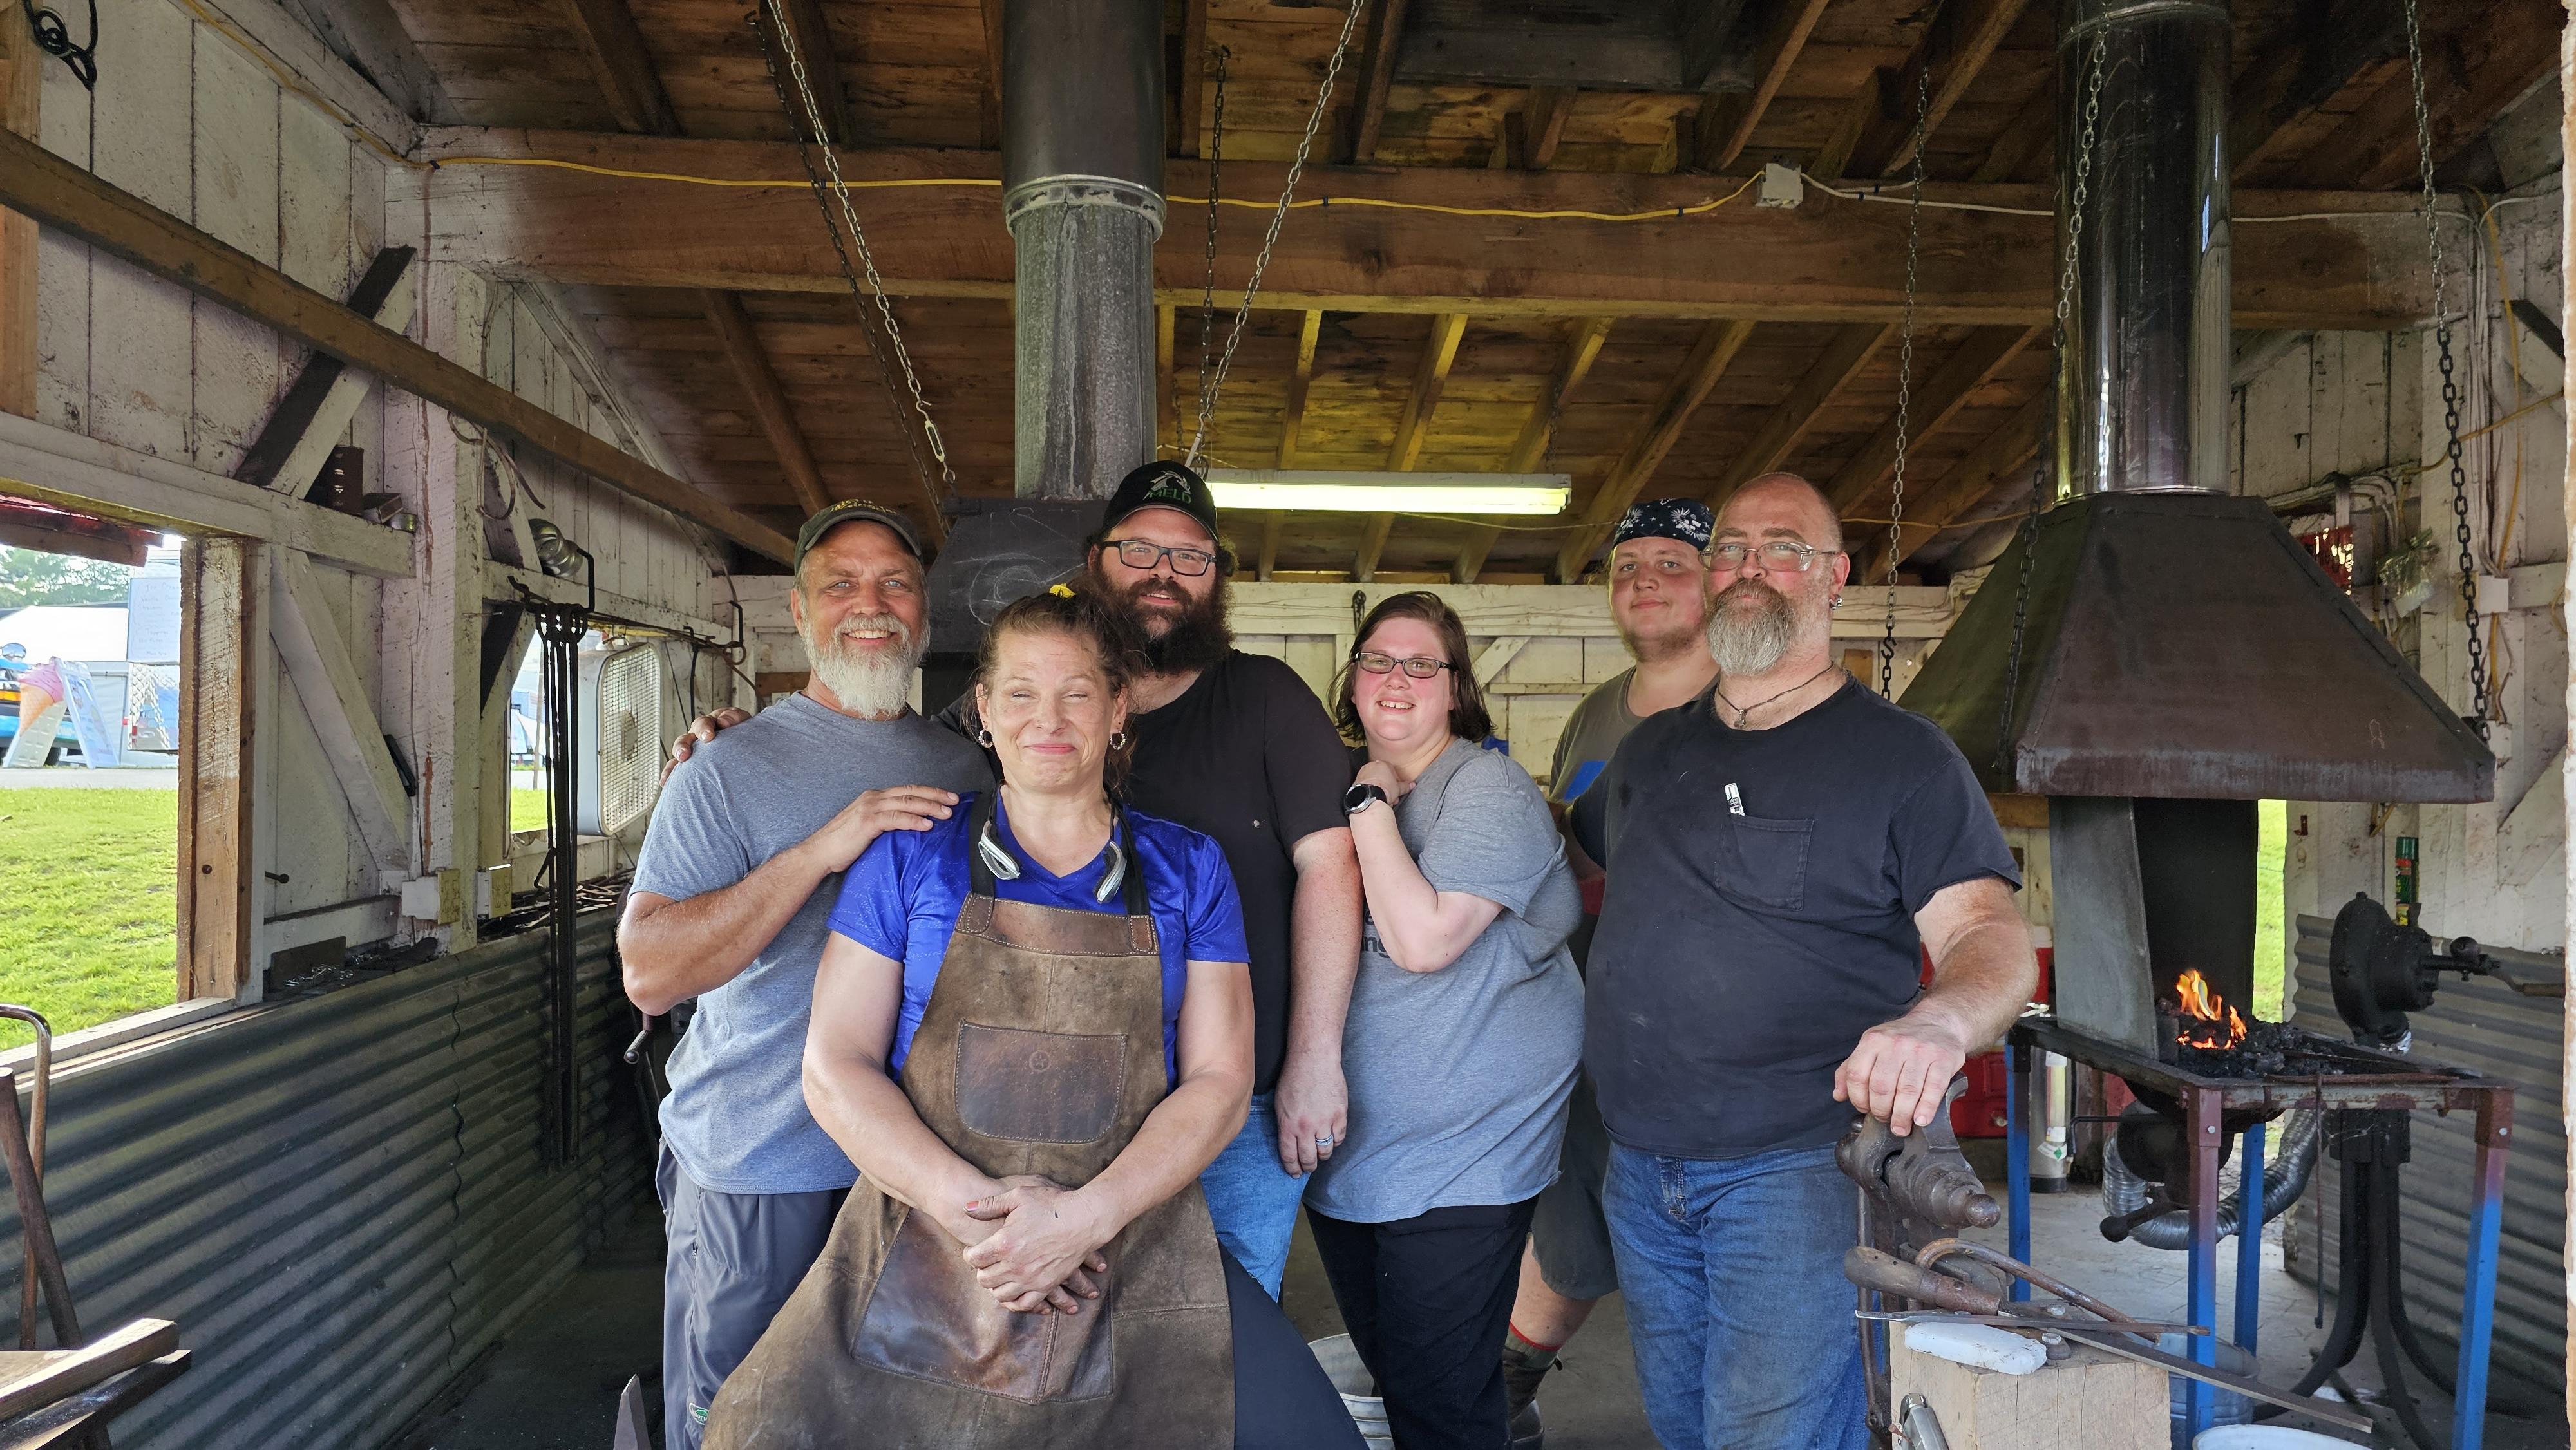
Had a great time today demonstrating down at the Brooklyn Fair in CT. I knew one of the guys. Person in charge thru out an invite to the CT blacksmithing guild so I reached out. Such a great group of people. The Fair is huge.
-
/That is so cool.. Do you shutters work too? Nice job.. Looks great.. Remember to be careful with watered Coal in the forge bed.. Also remember to add some clay before firing around the firepot.. You don't have to fill it up but going tot he height of the flange on the firepot will help out a bunch.. Many of these forges were cracked from watered coal and no heat absorber/dispenser.. The clay acts as a buffer.
-
660 downdraft Buffalo forge with a # 200 blower.
jlpservicesinc replied to Miami 13's topic in Solid Fuel Forges
What would you think is a fair price for a used forge with broken parts.. -
The blast pipe needs to have a drop in front of it.. about 3" is about right, This is then filled with coal dust or clinker or sand. This area is to collect the clinker and slag that comes as the fire burns.. Your best option is to reach out to Williamsburg since that is what was copied. I would imagine they have a complete schematic of the forges used and any hardware they implemented to get the forges going. Things back then that were considered normal, now are not really done.
-
What is the exact date you are after give or take?
-
What did you do in the shop today?
jlpservicesinc replied to Mark Ling's topic in Blacksmithing, General Discussion
owl without a beak -
What did you do in the shop today?
jlpservicesinc replied to Mark Ling's topic in Blacksmithing, General Discussion
sorry John. thats a bummer.. They say it's back and growing faster in the population. I really miss the days of no one on the road.. LOL.. Not funny but certainly was great traveling.. Being involved with animals and farming I was able to travel.. -
660 downdraft Buffalo forge with a # 200 blower.
jlpservicesinc replied to Miami 13's topic in Solid Fuel Forges
It depends largely on how much damage there is and whether it's a usable unit.. In great shape and in useable condition. The price can be higher depending on the value to the purchaser. Does the forge have any damage? More photos? -
What did you do in the shop today?
jlpservicesinc replied to Mark Ling's topic in Blacksmithing, General Discussion
I've always forged solo. I find when exposed to a group I'm less productive and spend more time talking vs real forging. For some the social aspect is huge part of it. When I'm feeling humdrum about a project it's usually because I am experiencing a lack of skill. Yes, even after all this time I still experience problem areas. For me it's usually because I don't forge enough. So a project will come up like making welded hinges and the first 1 or 5 won't be great. I used to get disgusted and throw it in scrap or would say I'll fix it later. I learned if the first one is not what I'm looking for that I need to practice that one step that's leaving the rest of the project lack luster. So will pick up a piece of stock and just practice as an example a clean shoulder, or a better weld on a hinge barrel. It doesn't matter what the item is. I just focus on that one skill. The blah, turns to Wow, and the rest of the project and my skills benefit. Helps reignite. It takes me 5 or 7 hinge barrel welds now nearly Everytime I make a pair. My awe comes each time I hit the metal and it moves. . There is so much video content on metal working now it's hard to believe just a few sort years ago the selection was thin. By the way. It's ok to explore a subject your interested in a and then put it on the side. Finding that thing that is interesting to the individual and creates desire to do is what's important. The things that drive me: consistency, trouble shooting, and seeing things that I could do better. Also limiting outside tool use to make things easier. Grinding vs forging, drilling vs punching. I really like to use the main blacksmith kit. Anvil, hammer, forge, vise. That's just what I enjoy doing and helps keep me motivated. As a side note. Weather seems to play in more as I've got older. Go figure. -
What did you do in the shop today?
jlpservicesinc replied to Mark Ling's topic in Blacksmithing, General Discussion
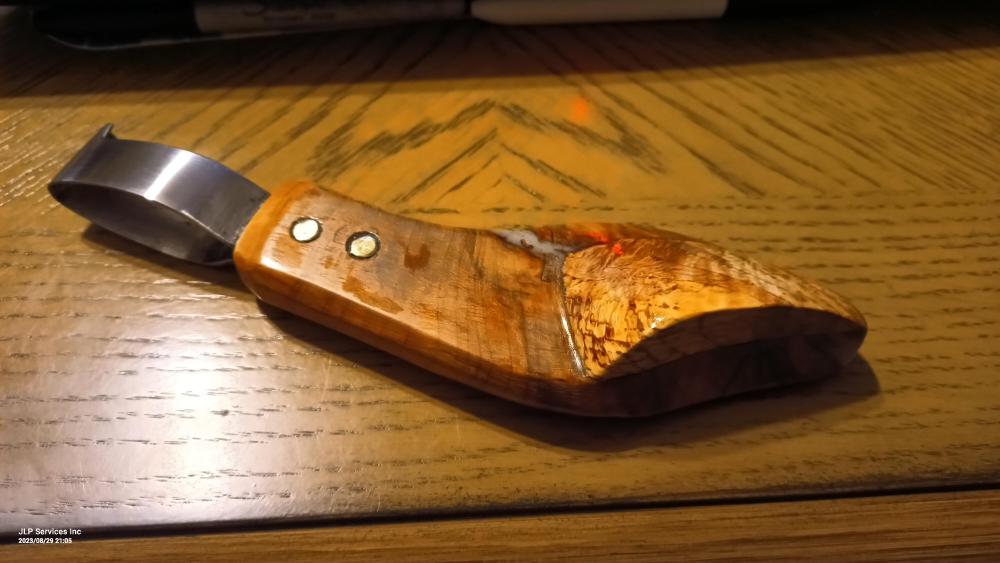
Thanks. it's high polish 5160. High polish helps to keep stuff from sticking like mud, foot, and wet hoof. -
What did you do in the shop today?
jlpservicesinc replied to Mark Ling's topic in Blacksmithing, General Discussion
Finished my fancy hoof knife.

-
What did you do in the shop today?
jlpservicesinc replied to Mark Ling's topic in Blacksmithing, General Discussion
Of note on the weld.. Flat to flat will always give you the best seamless weld as long as the sides are aligned. Flat to flat is the surface area not the stock dimension. Flat to flat is the best and easiest.. Round to flat, round to round.. In these last 2 types of welds.. There needs to be filler material that basically makes the round stock into flat stock or an additional piece with the correct scarf added in. Or enough material reduction to get them both into the flat to flat relationship again, not in dimension but in surface area. There are ways to negotiate this type of problem without additional material, but it's not a beginner technique.. I often find when teaching forge welding that people get confused by the misinformation they read online. Forge welding is a very simple process.. Literally, anybody can and should do it. Something to keep in mind and also why having a good hammer face is important. When you are forging the metal, it will generally move lengthwise the most.. It also moves to the sides and also back towards your hand or tongs to a much lesser extent.. With this said.. When your hammer lands on the hot metal, the area in contact with the anvil and face of the hammer are held or squished in place at the center of the hit area.. This means that if there is a hollow the hydraulic force within the metal upon hit will be forced into all directions including sending the low spot towards the hammer face and the anvil if the temperature is correct. kinda like squeezing playdough in your fist.. It will work thru and into any cracks.. -
What did you do in the shop today?
jlpservicesinc replied to Mark Ling's topic in Blacksmithing, General Discussion
Billy Nice work.. The ABANA curriculum addresses the issue you mention.. The curriculum is a great way to address skills without having to learn it on your own. There are tons of videos on it and the methods are extremely well thought out and explained.. -
What did you do in the shop today?
jlpservicesinc replied to Mark Ling's topic in Blacksmithing, General Discussion
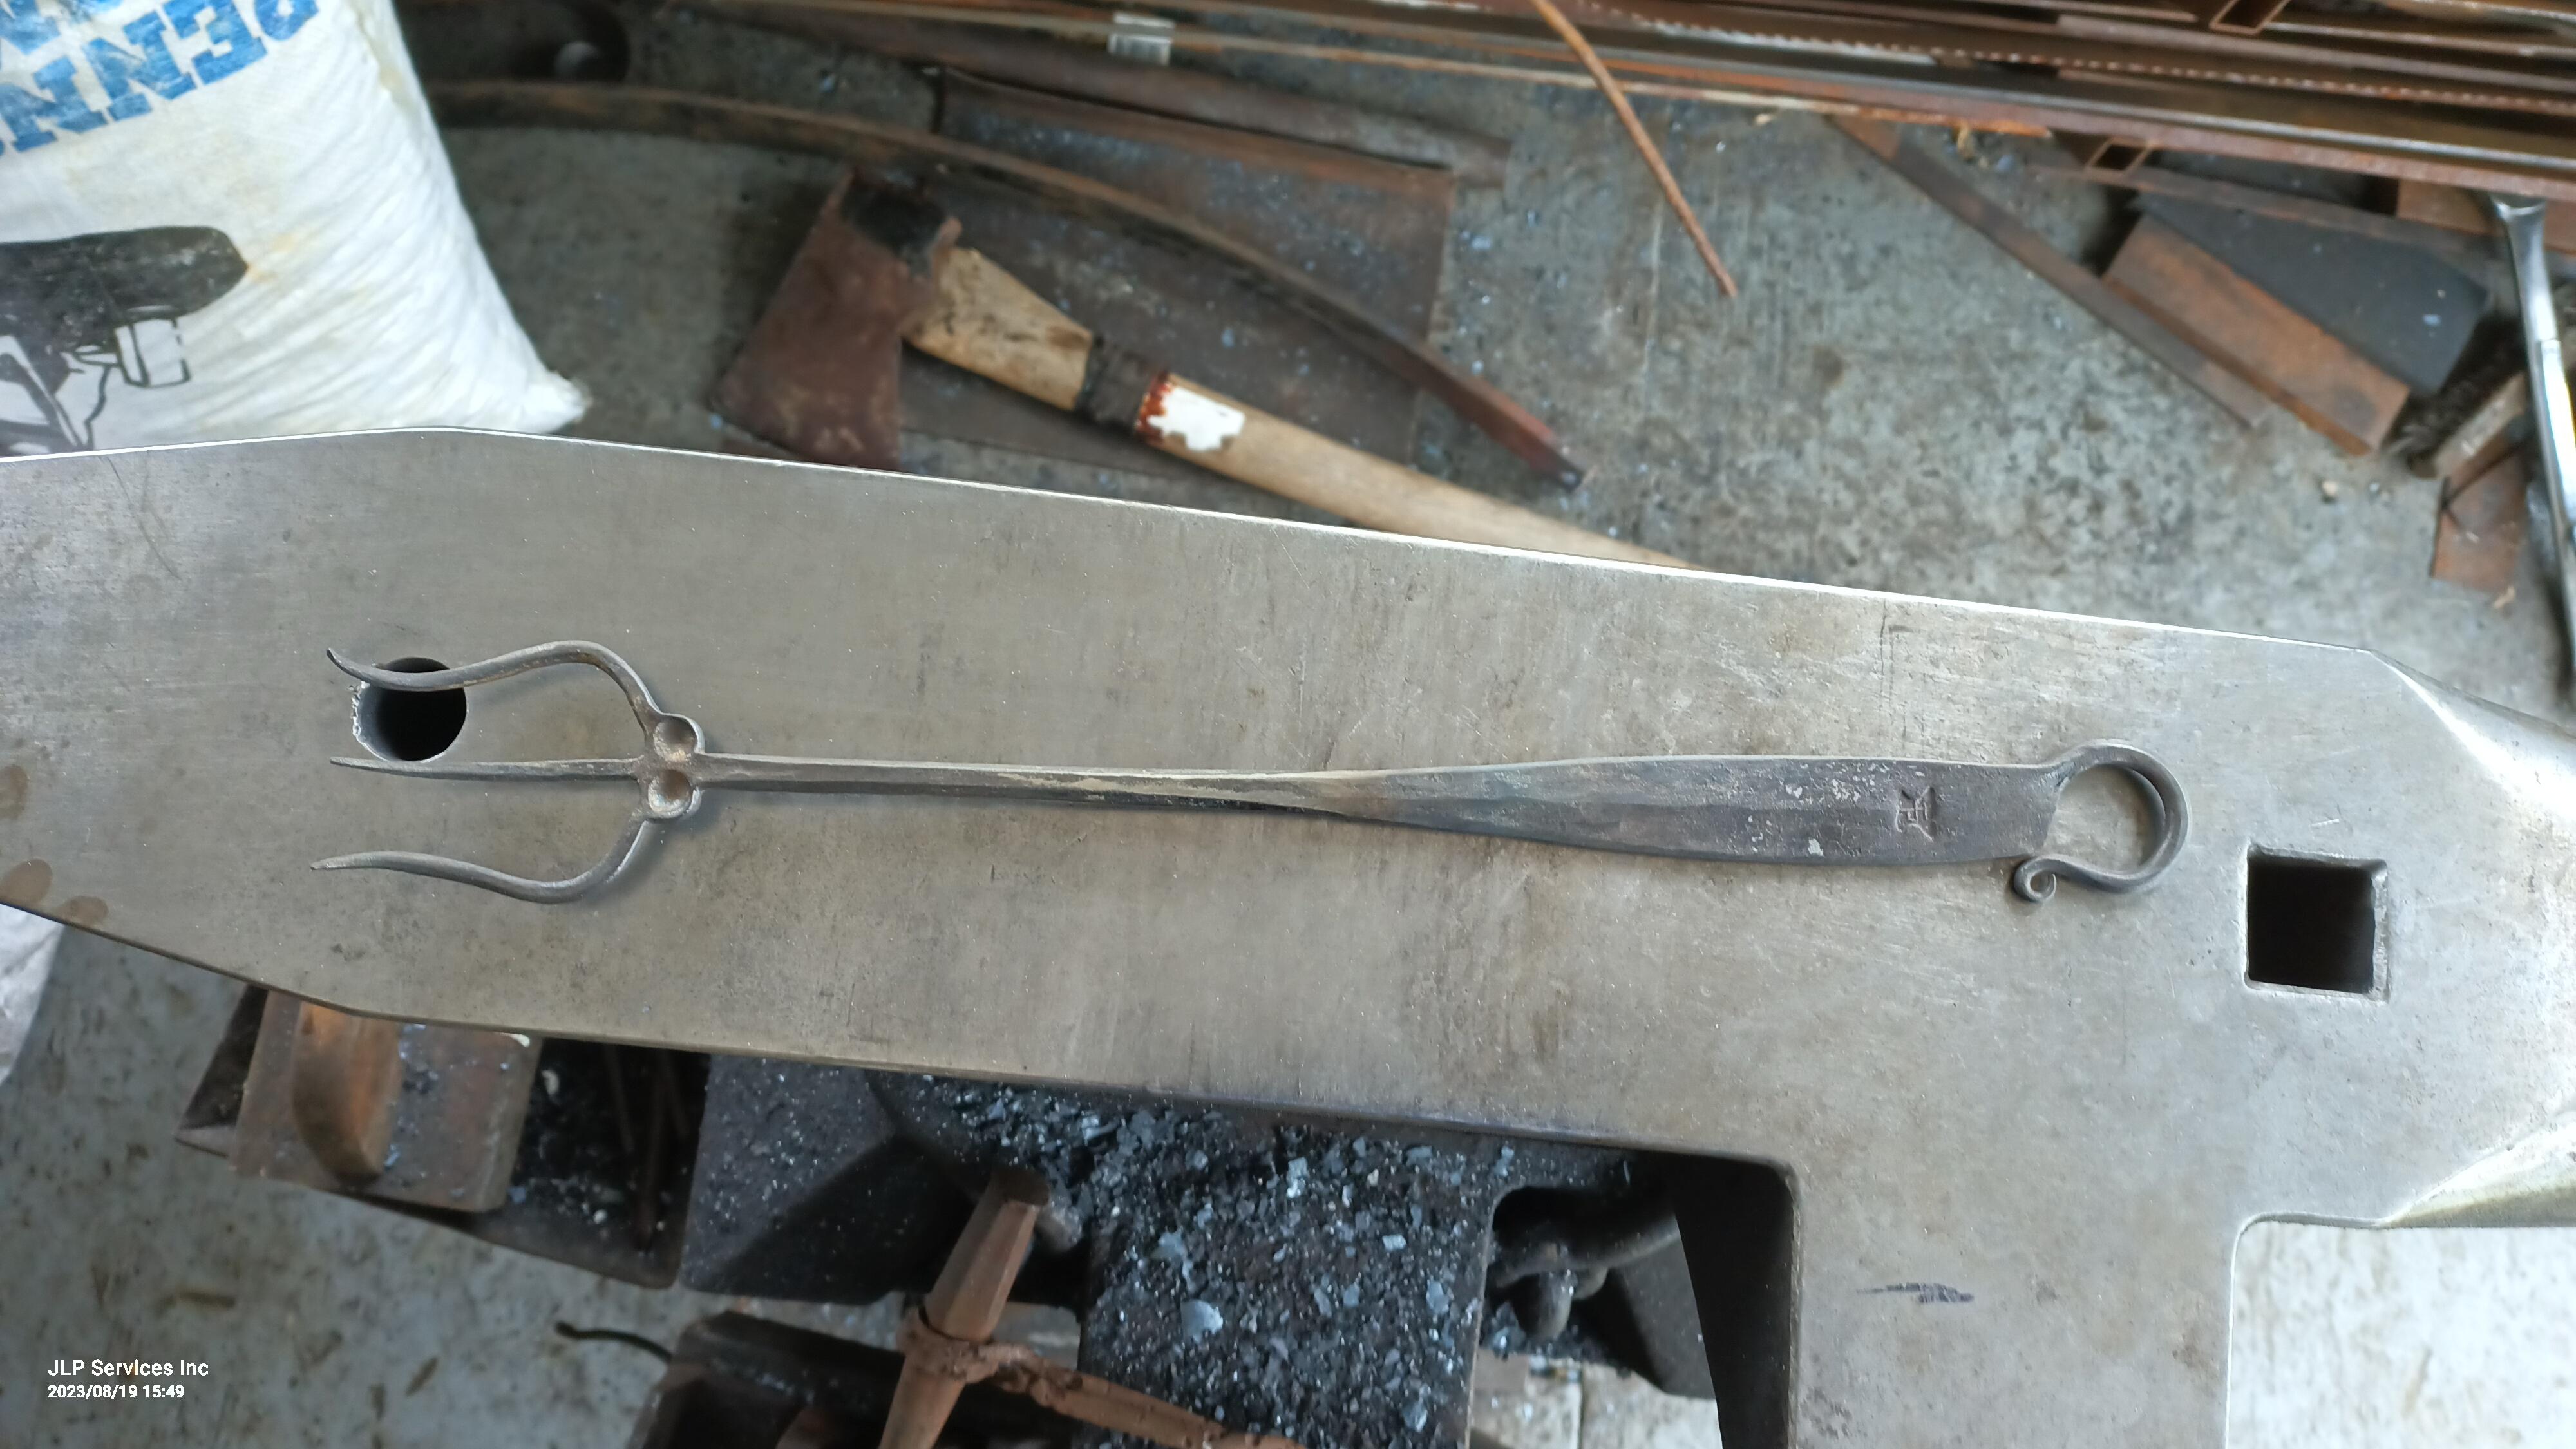
Forged a Trident at today's demo.