jlpservicesinc
-
Posts
5,783 -
Joined
-
Last visited
Content Type
Profiles
Forums
Articles
Gallery
Downloads
Events
Everything posted by jlpservicesinc
-

JLP Blacksmith Teaching Center.
jlpservicesinc replied to jlpservicesinc's topic in Building, Designing a Shop
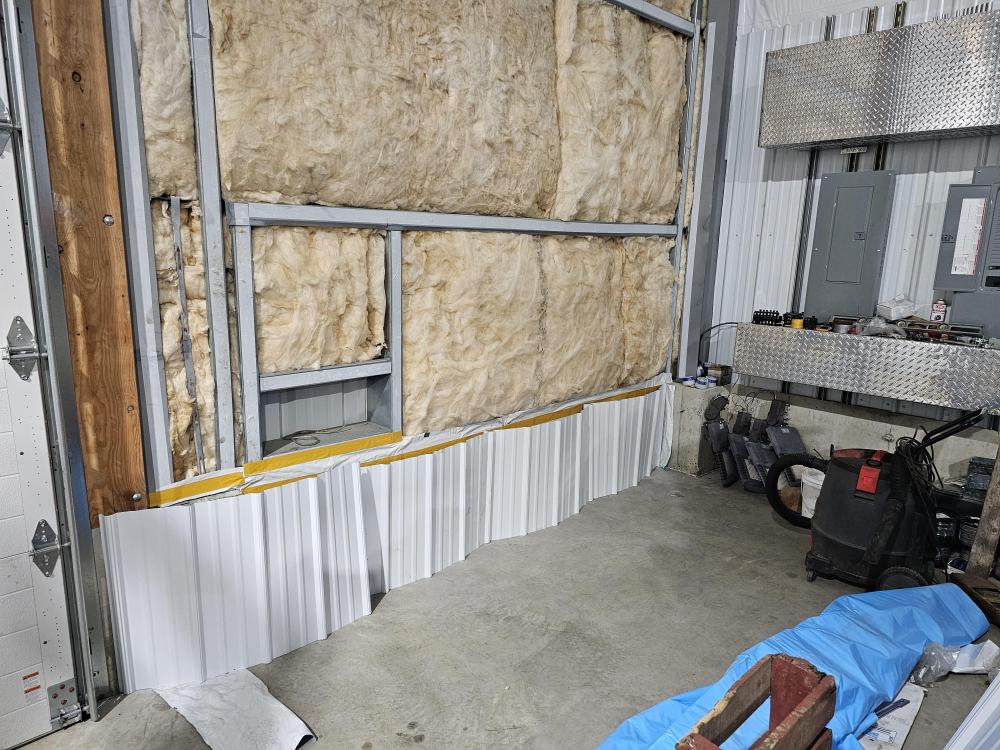
The white tarp like material is part of the insulation system. here in the USA OSHA regulates what is done on/in job sites. The white tarp material is part of the insulation system and fall restraint. the system is known as Bay Liner or Skyliner depending on the company. Its a long story but was told by the metal building mfg to not do Bayliner when I talked to the insulation company. Well, when I talked to the insulation company I told them I don't want a Bayliner type system but wanted something semi finished. They swore their Skyliner system was nothing like Bayliner, but it's exactly the Bayliner system. It's a huge time suck to install and makes the building OSHA compliant for fall prevention measures. So the workers who are doing insulation or roofing don't have to wear the harnesses with limit straps. The membrane increases the insulation ability so I'm thankful for that. 38 roof and 29 walls. The largest problem is none of it is easy to install. The stuff is burn resistant. Not concerned with holes being put in it. the metal siding goes about 9ft up the sides of the building. Its all money.. Originally I could not afford the extra inside metal so wanted something that would be semi finished. It's a superior insulation system vs the plastic or vinyl backed insulation. https://bayinsulation.com/products/skyliner-systems If I could afford it, I'd cover the inside with the 2" pink form board everywhere and then put the white steel siding top to bottom. -
JLP Blacksmith Teaching Center.
jlpservicesinc replied to jlpservicesinc's topic in Building, Designing a Shop
made some good progress today. Plan is to move the 3ph converter over Saturday. That will give me welding and such in the school in preparation for forge fabrication day.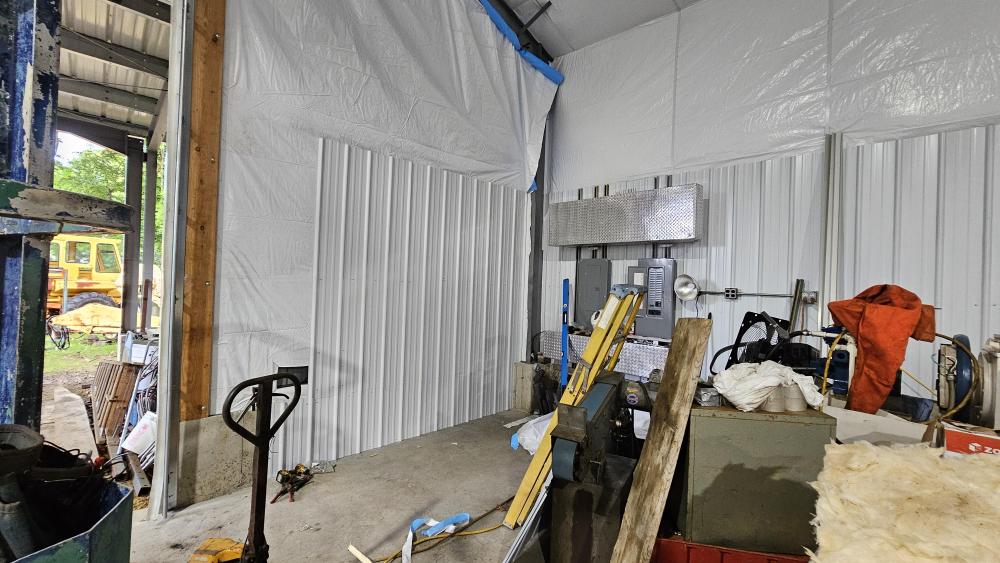
-
That's great. Nice knife. You guys seem to work well together. Enhancing each others ideas and work. So wonderful.
-
JLP Blacksmith Teaching Center.
jlpservicesinc replied to jlpservicesinc's topic in Building, Designing a Shop
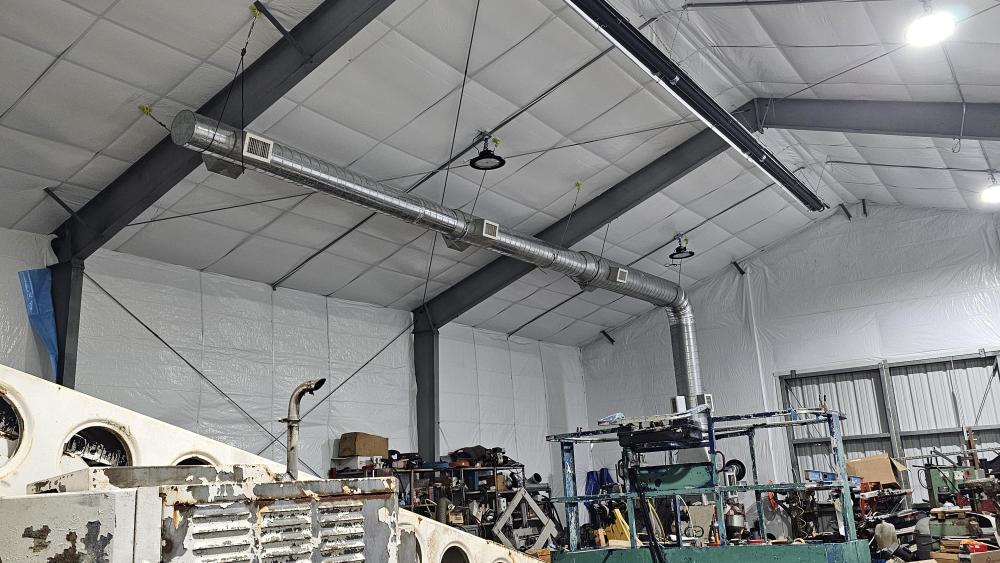
Added another grinder to the schools grinding potential. I was also able to get the last section of duct that came with the furnace up into position. I tried to bend the threaded rod cold but it's to hard and just snaps. So that will have to wait.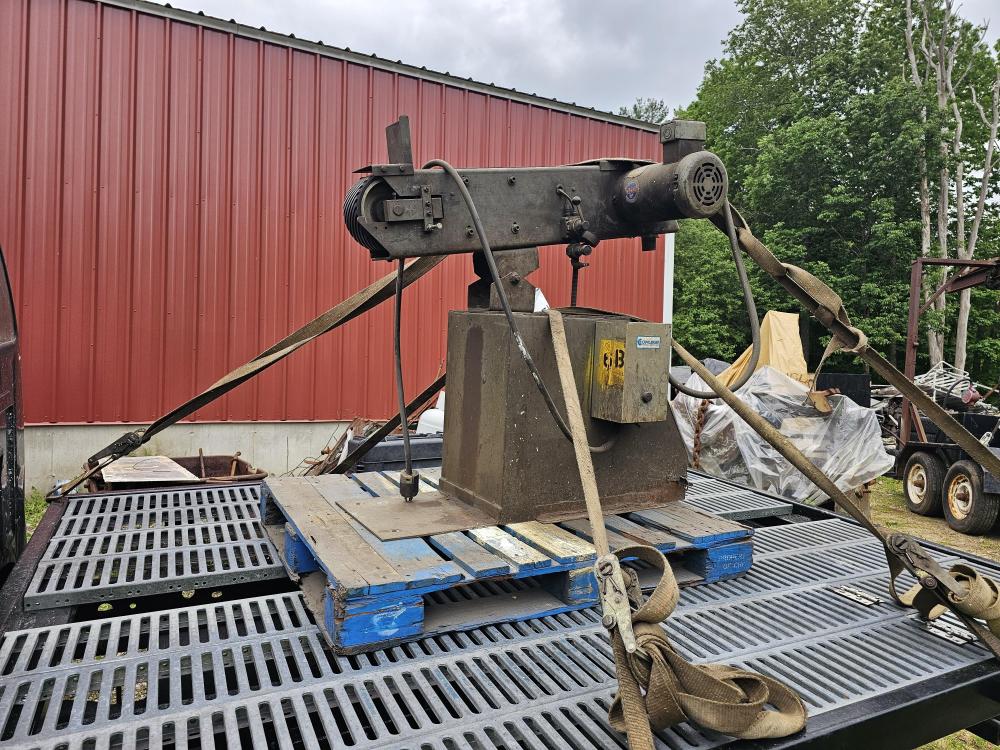
-
Hey, that's cool. Have you put it thru it's paces?
-
JLP Blacksmith Teaching Center.
jlpservicesinc replied to jlpservicesinc's topic in Building, Designing a Shop
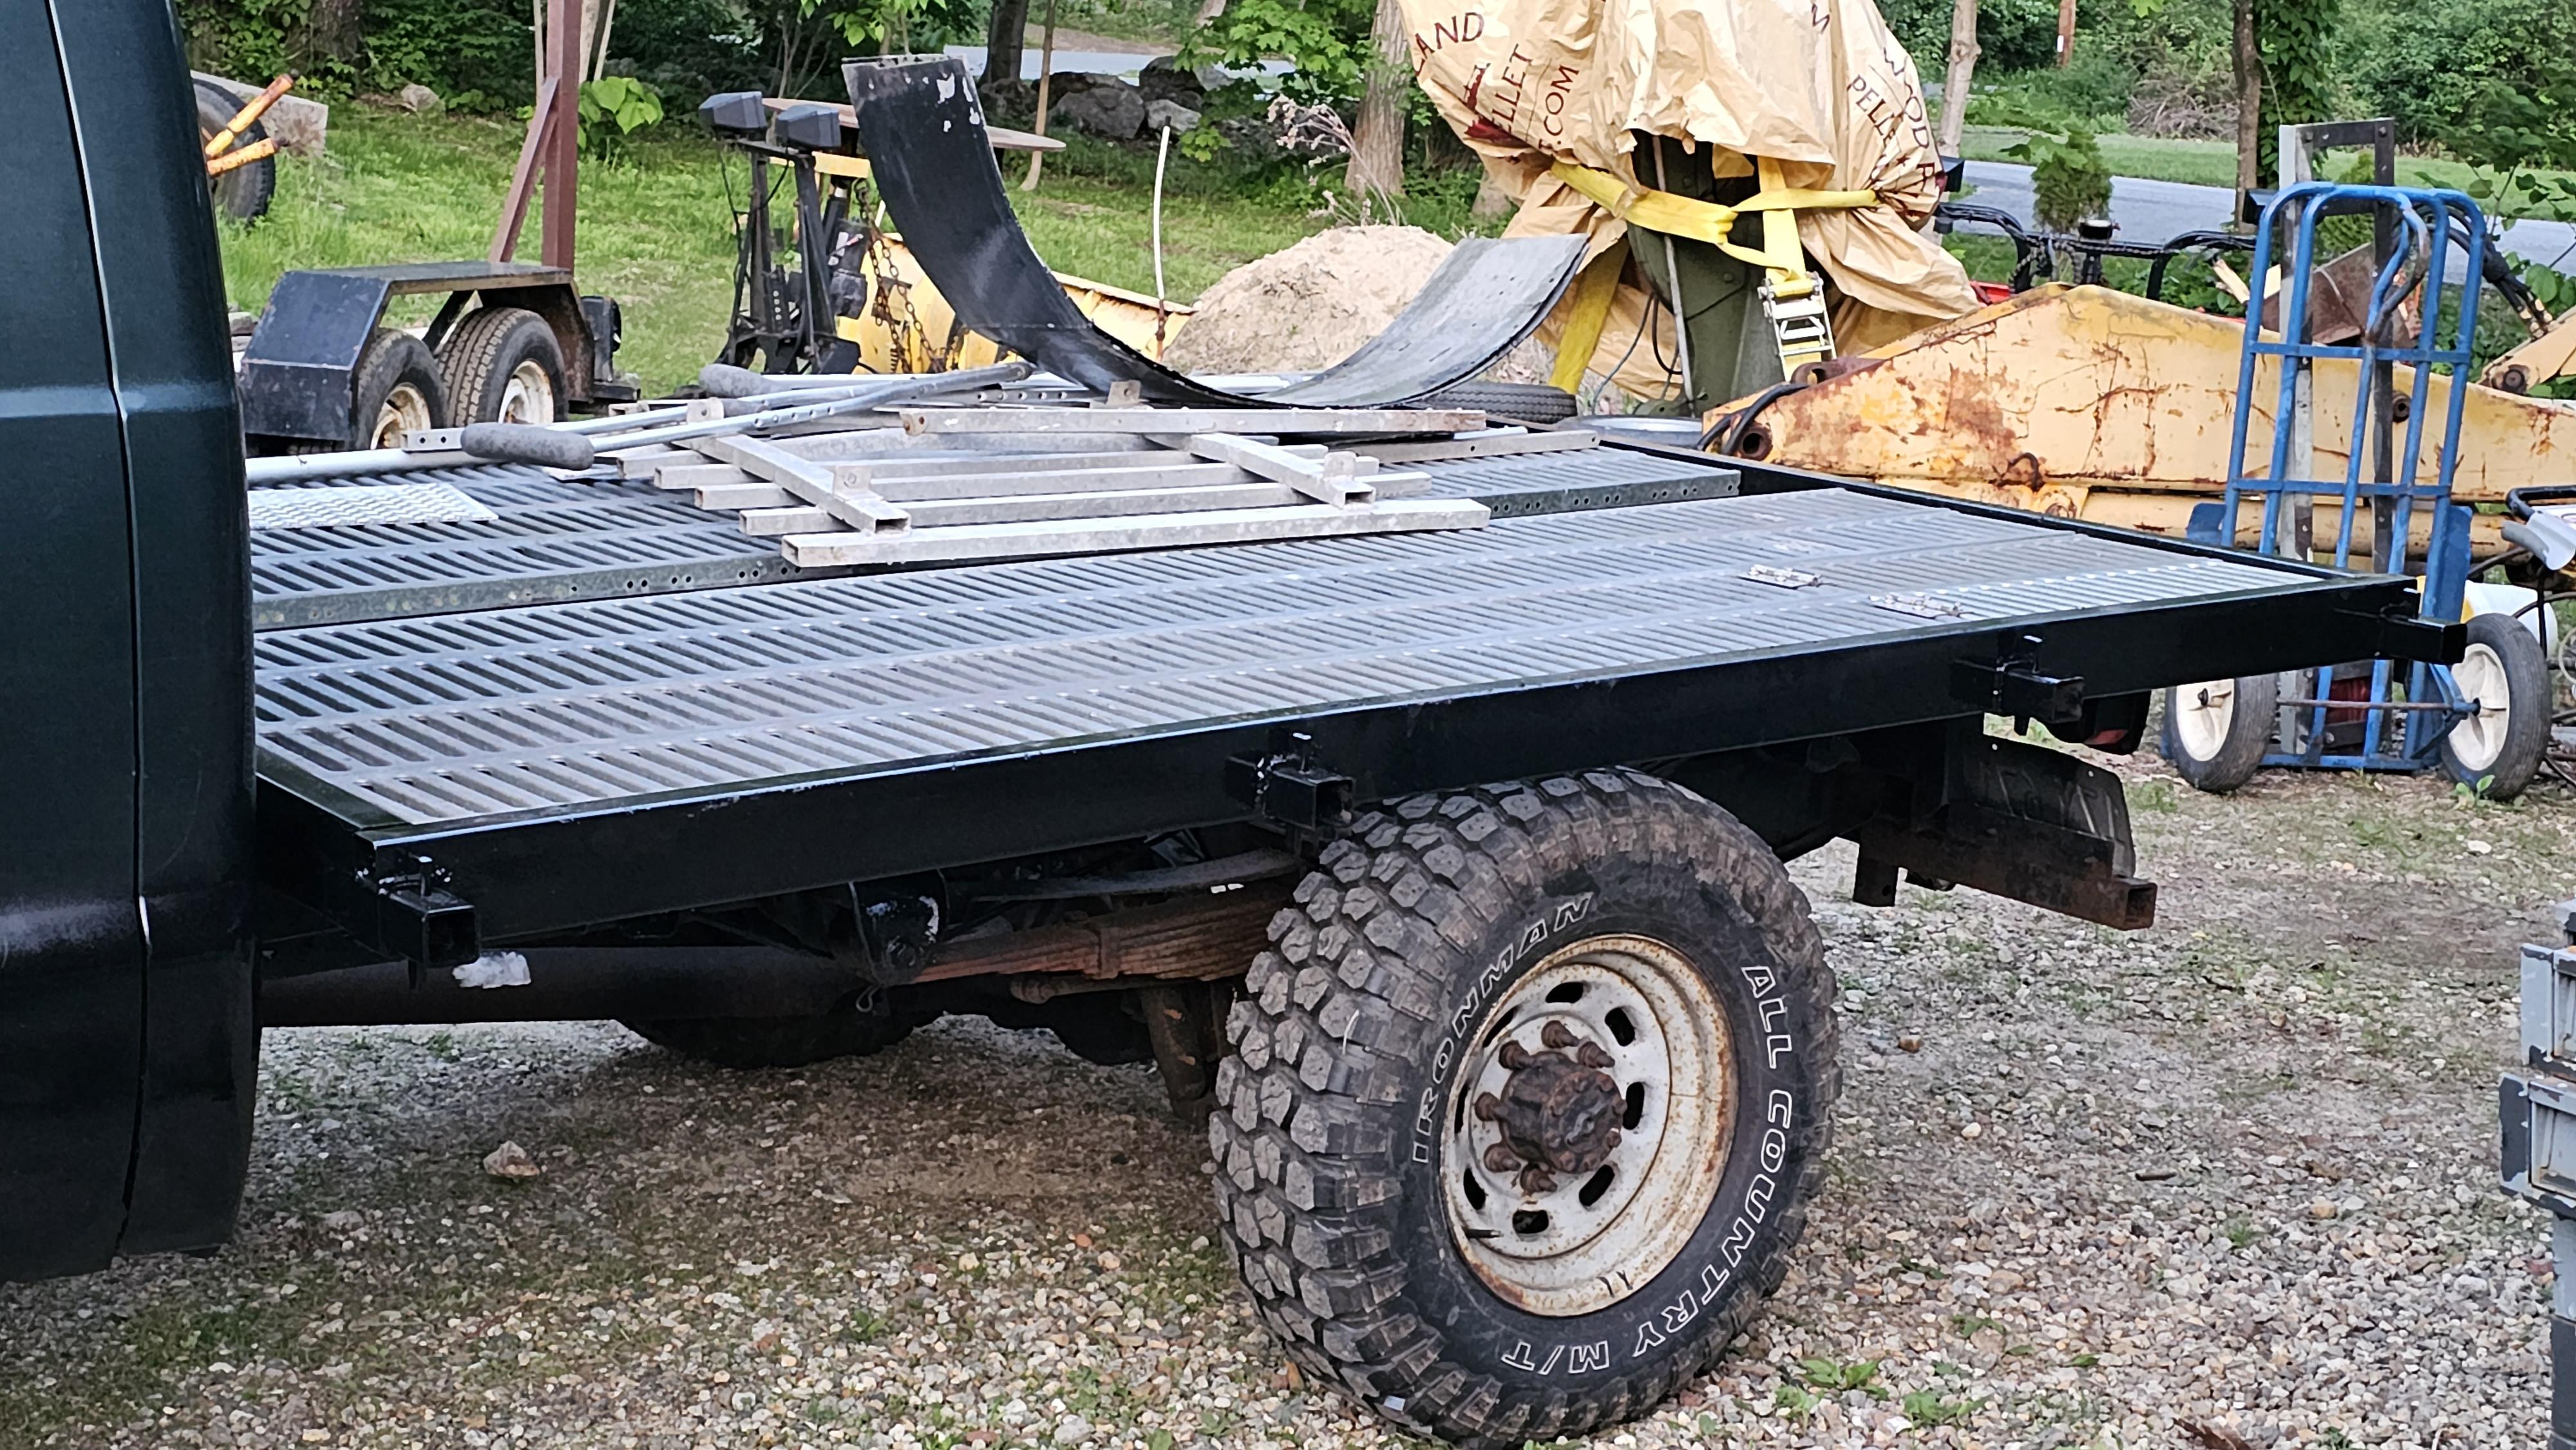
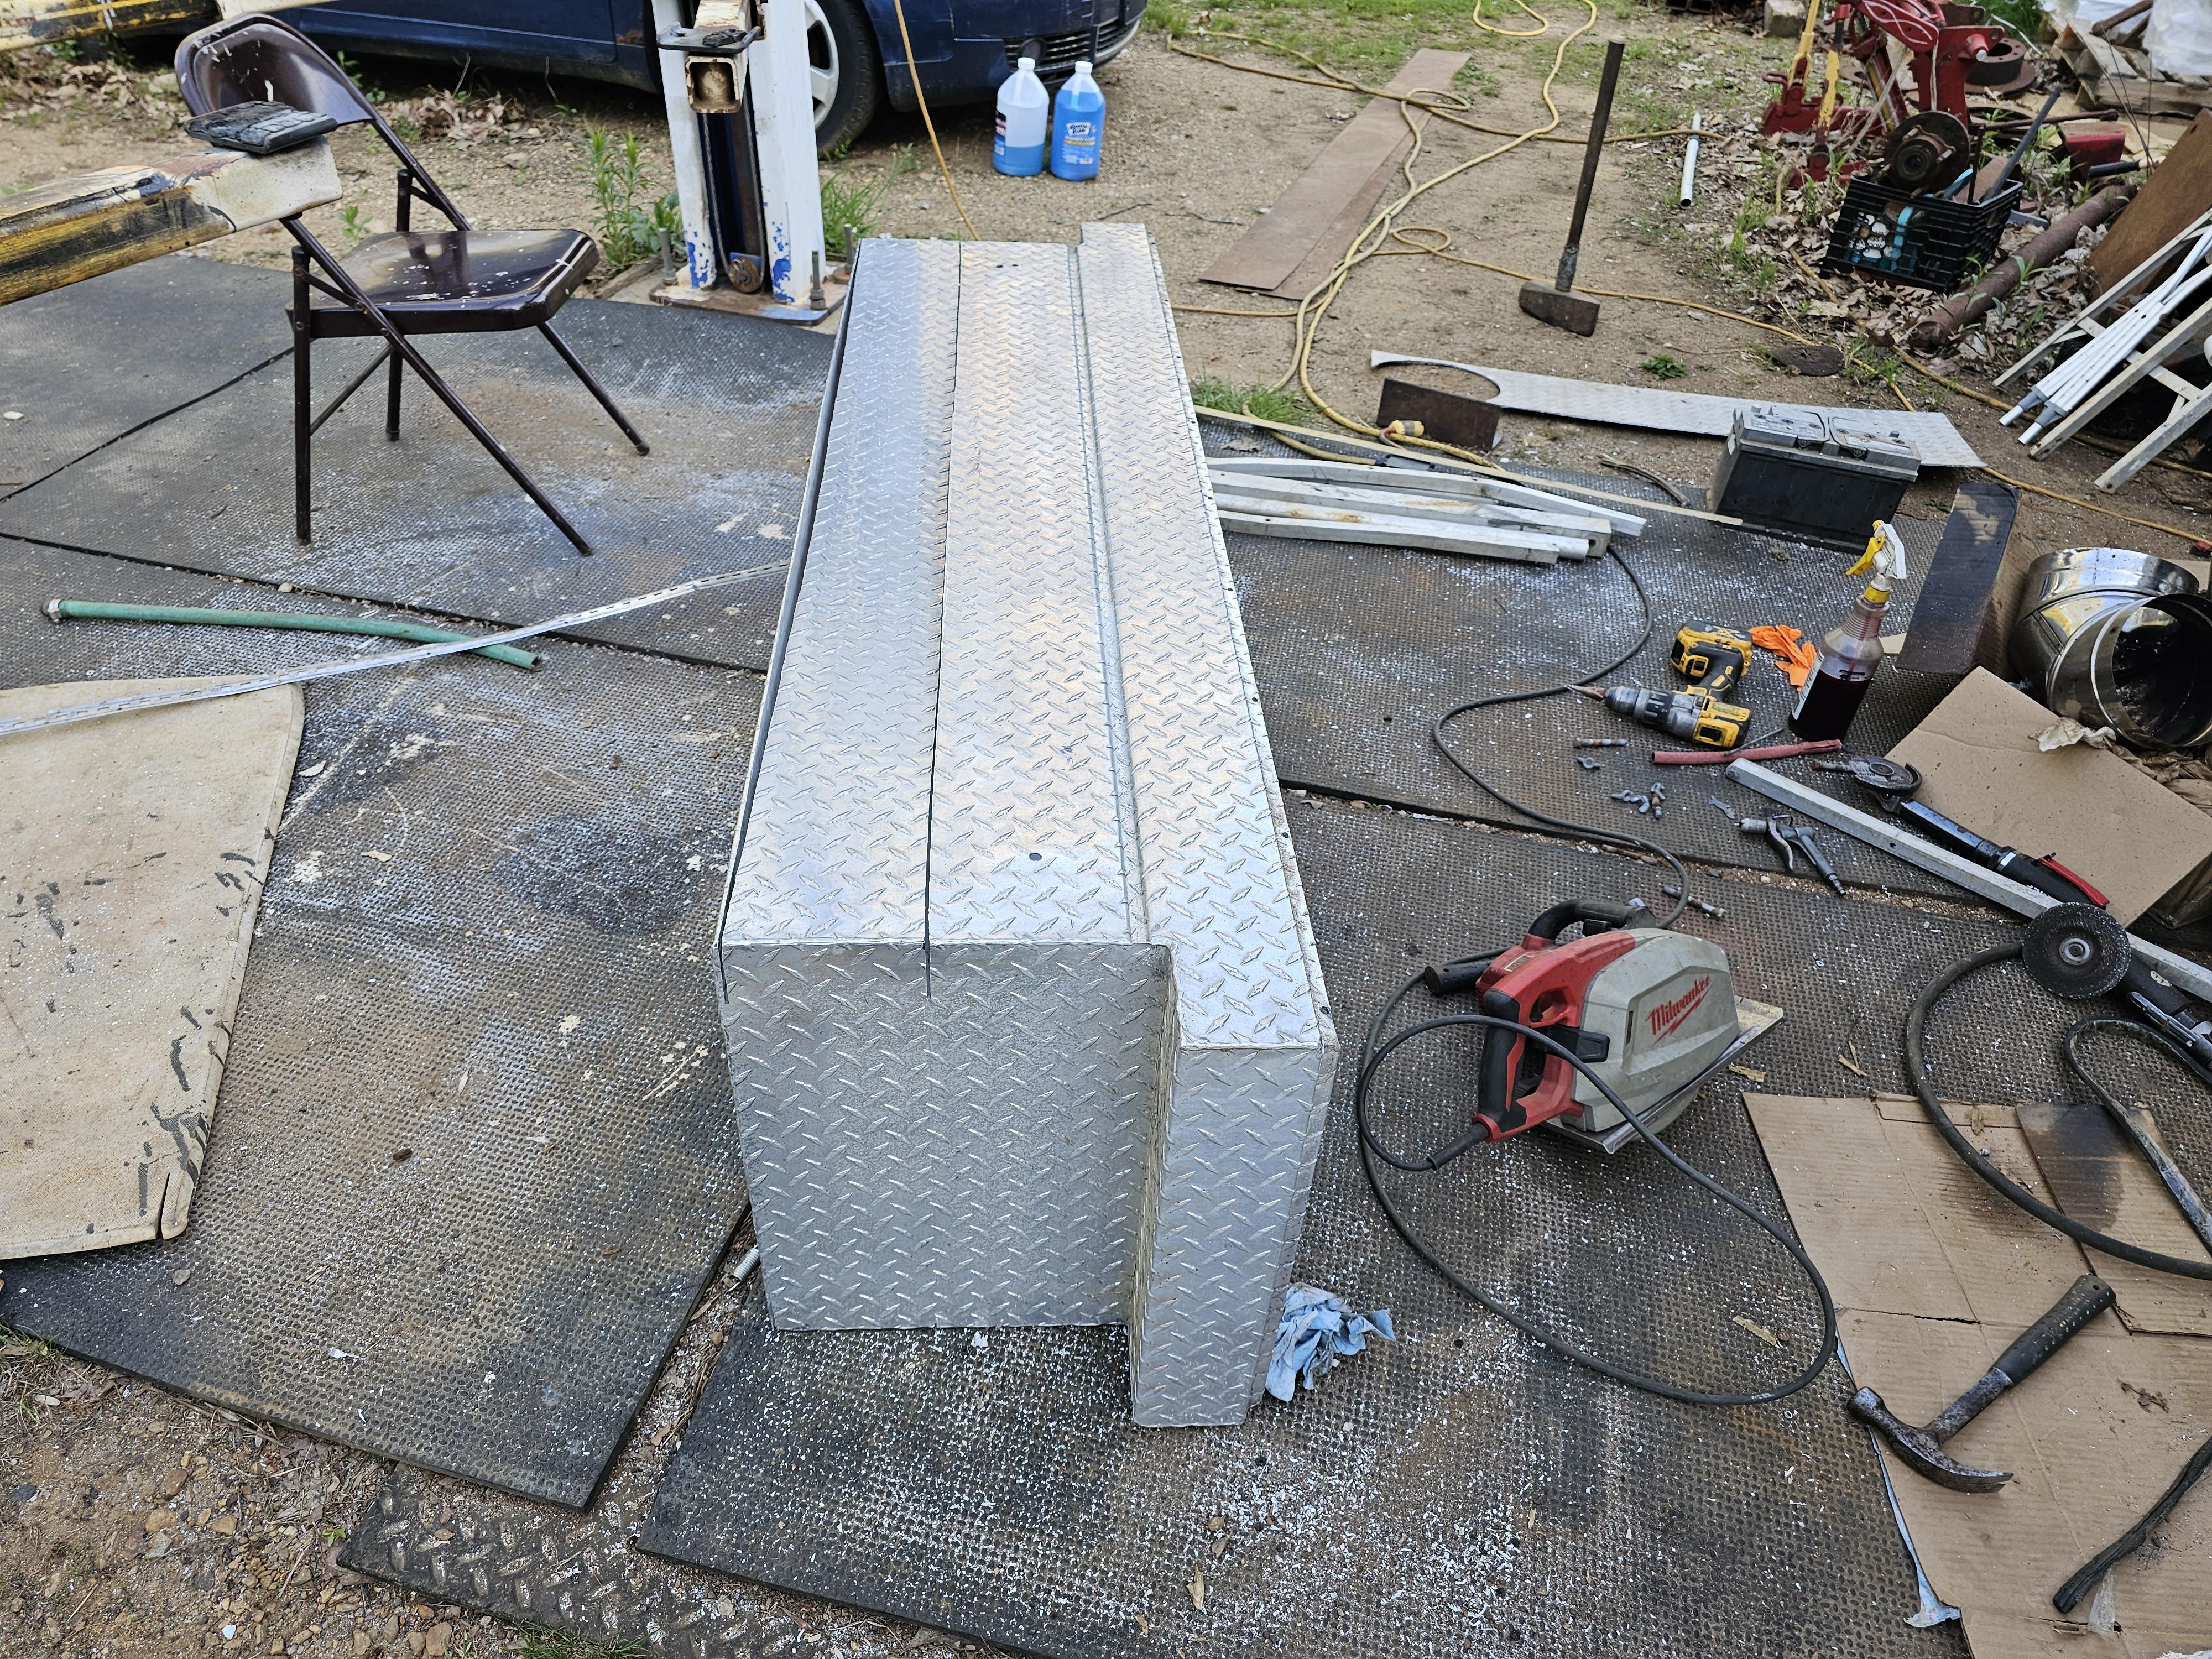
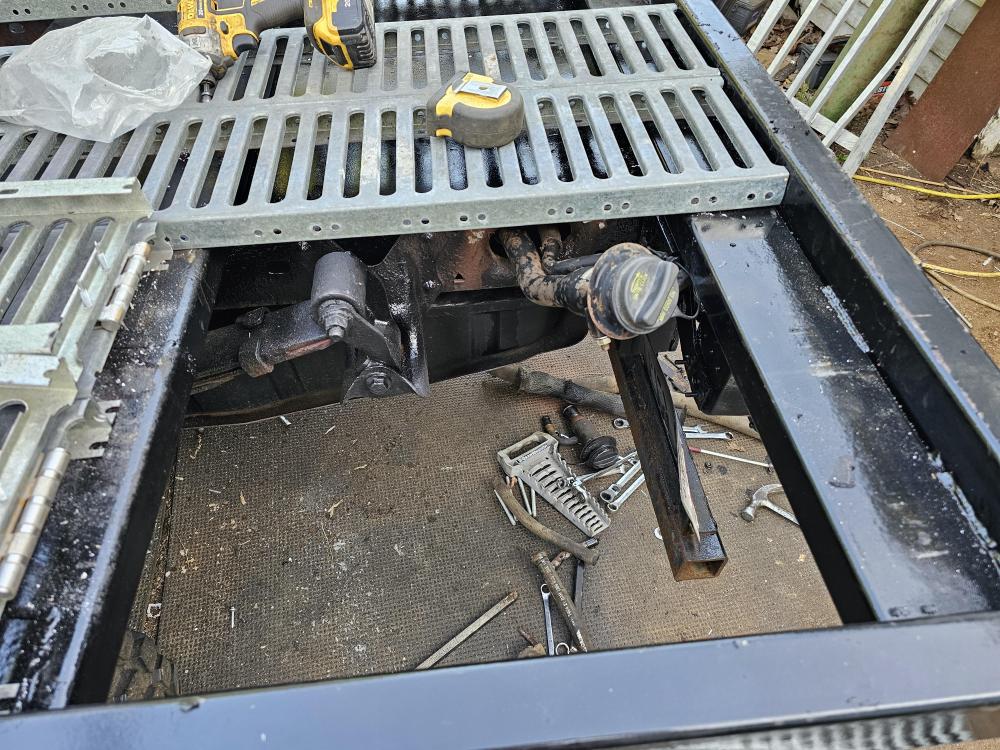
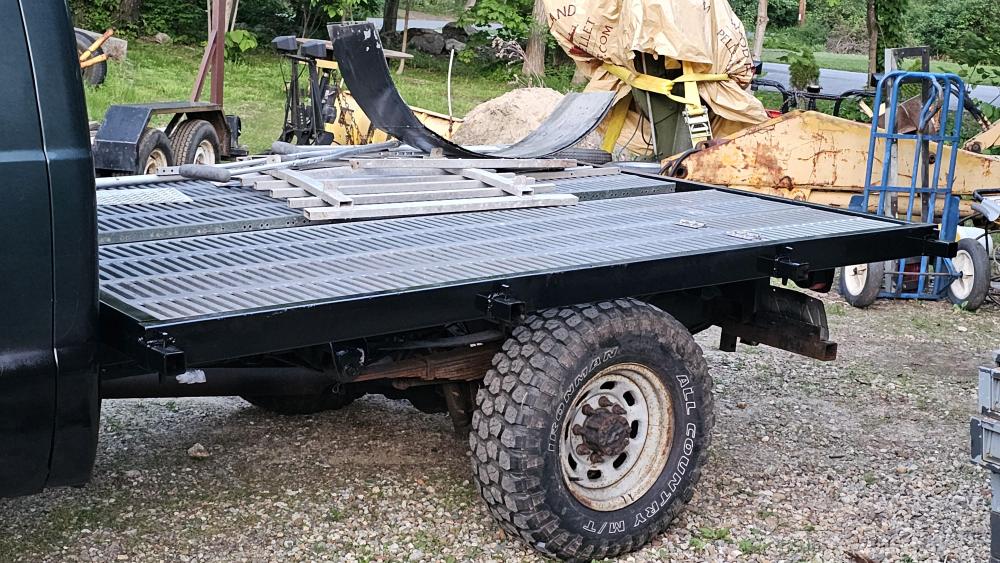
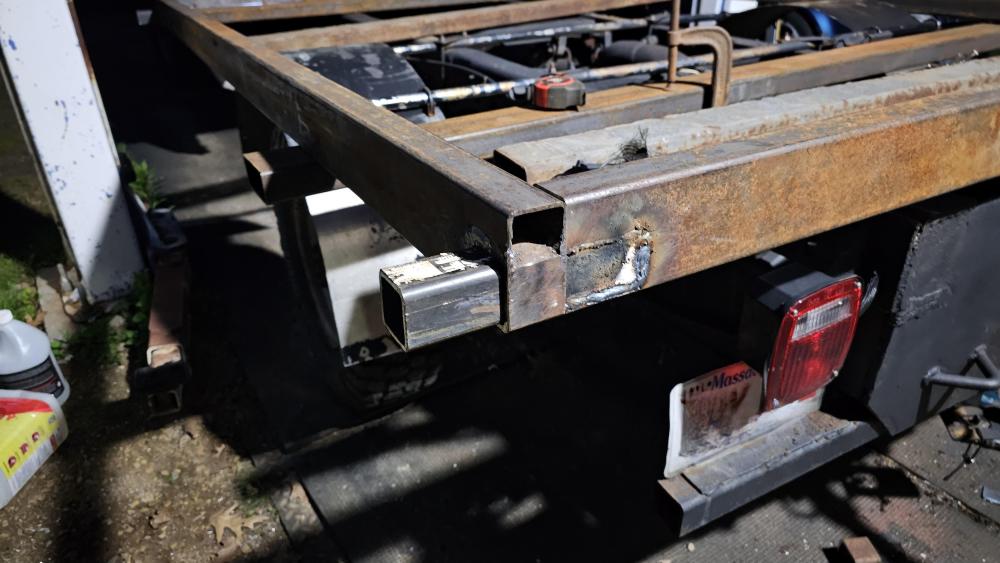
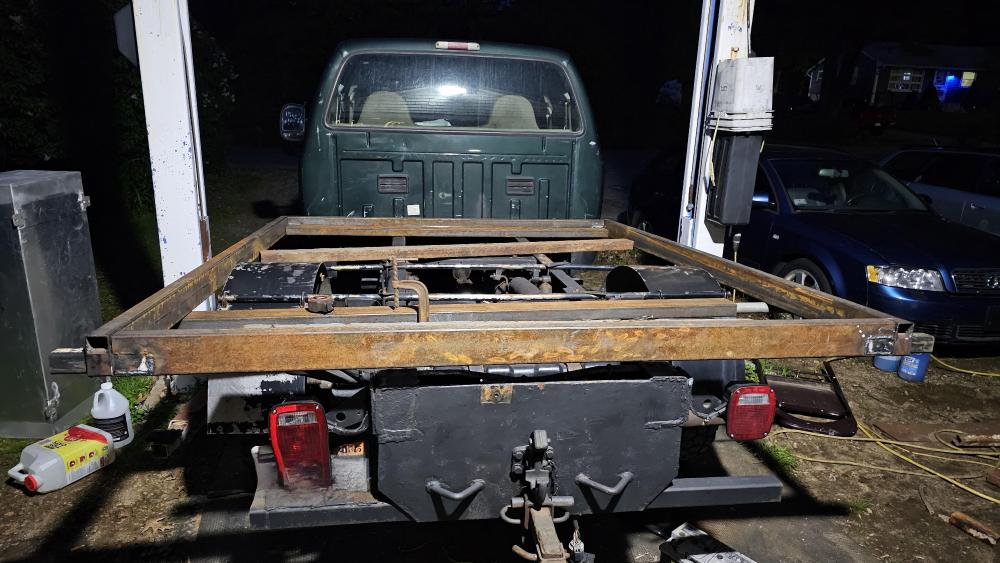
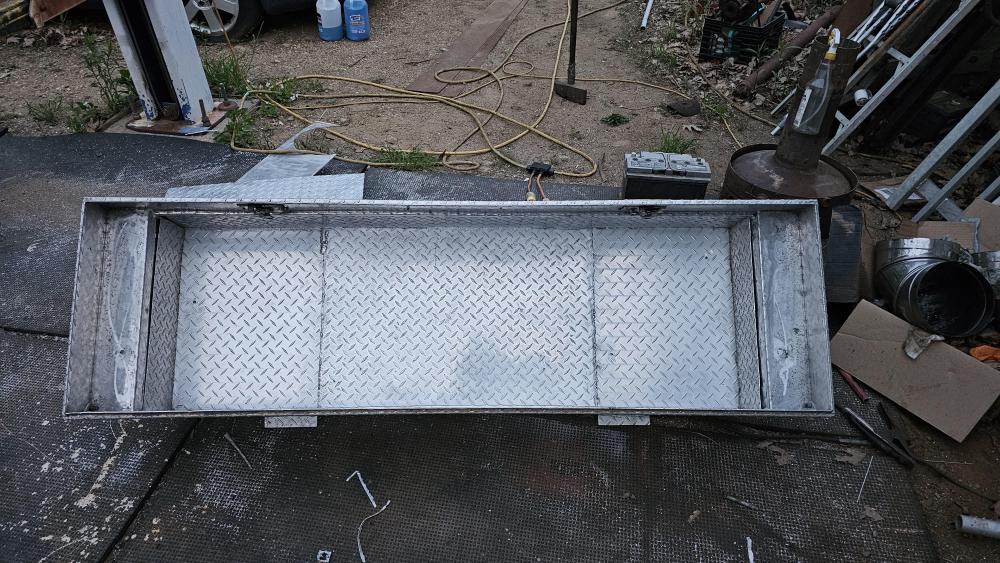
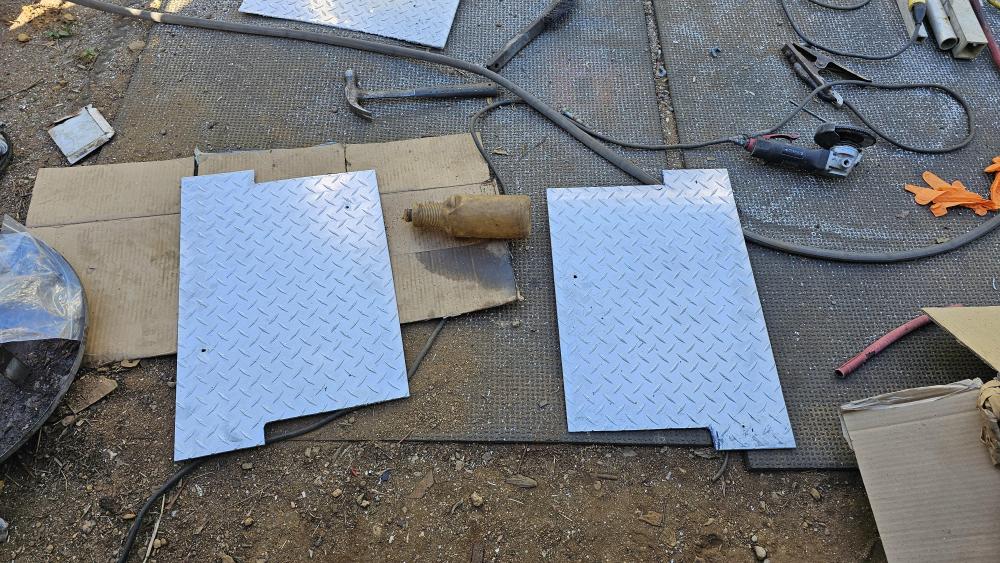
I will keep that in mind should the sails of DVD's or Mpeg video disks become required. LOL. AC160, thanks. It works a treat.. I went with slots because I hate cleaning out the back. We have rain, snow, sleet, leaves in the fall and all sorts of other stuff that goes in when items are loaded on the back of the truck. (dust, dirt, etc, etc). Now I don't have to do anything when it snows or the leaves come off the trees.. Really if all goes as designed I won't ever have to clean anything off or out of it. Also I can use the slots for tie down areas for lighter items if need arises. In the Northeastern USA the beds rot out under the liners. So no moisture with slots. If I need to carry dirt or loose materials a few sheets of plywood will work and when done what ever is left just falls to the ground. There is still a slot in the middle which I have not figured what I want to do. Its a toss up as to using the ratchet strap rails, a piece of white oak with pull rings in it, or just more grating of some sort. -
JLP Blacksmith Teaching Center.
jlpservicesinc replied to jlpservicesinc's topic in Building, Designing a Shop
LOL. I sure will. If someone does get sucked into the fume extraction system I'll be filming for sure. Once I get things in place and running I'll shoot video of the different aspects of the school. -
JLP Blacksmith Teaching Center.
jlpservicesinc replied to jlpservicesinc's topic in Building, Designing a Shop
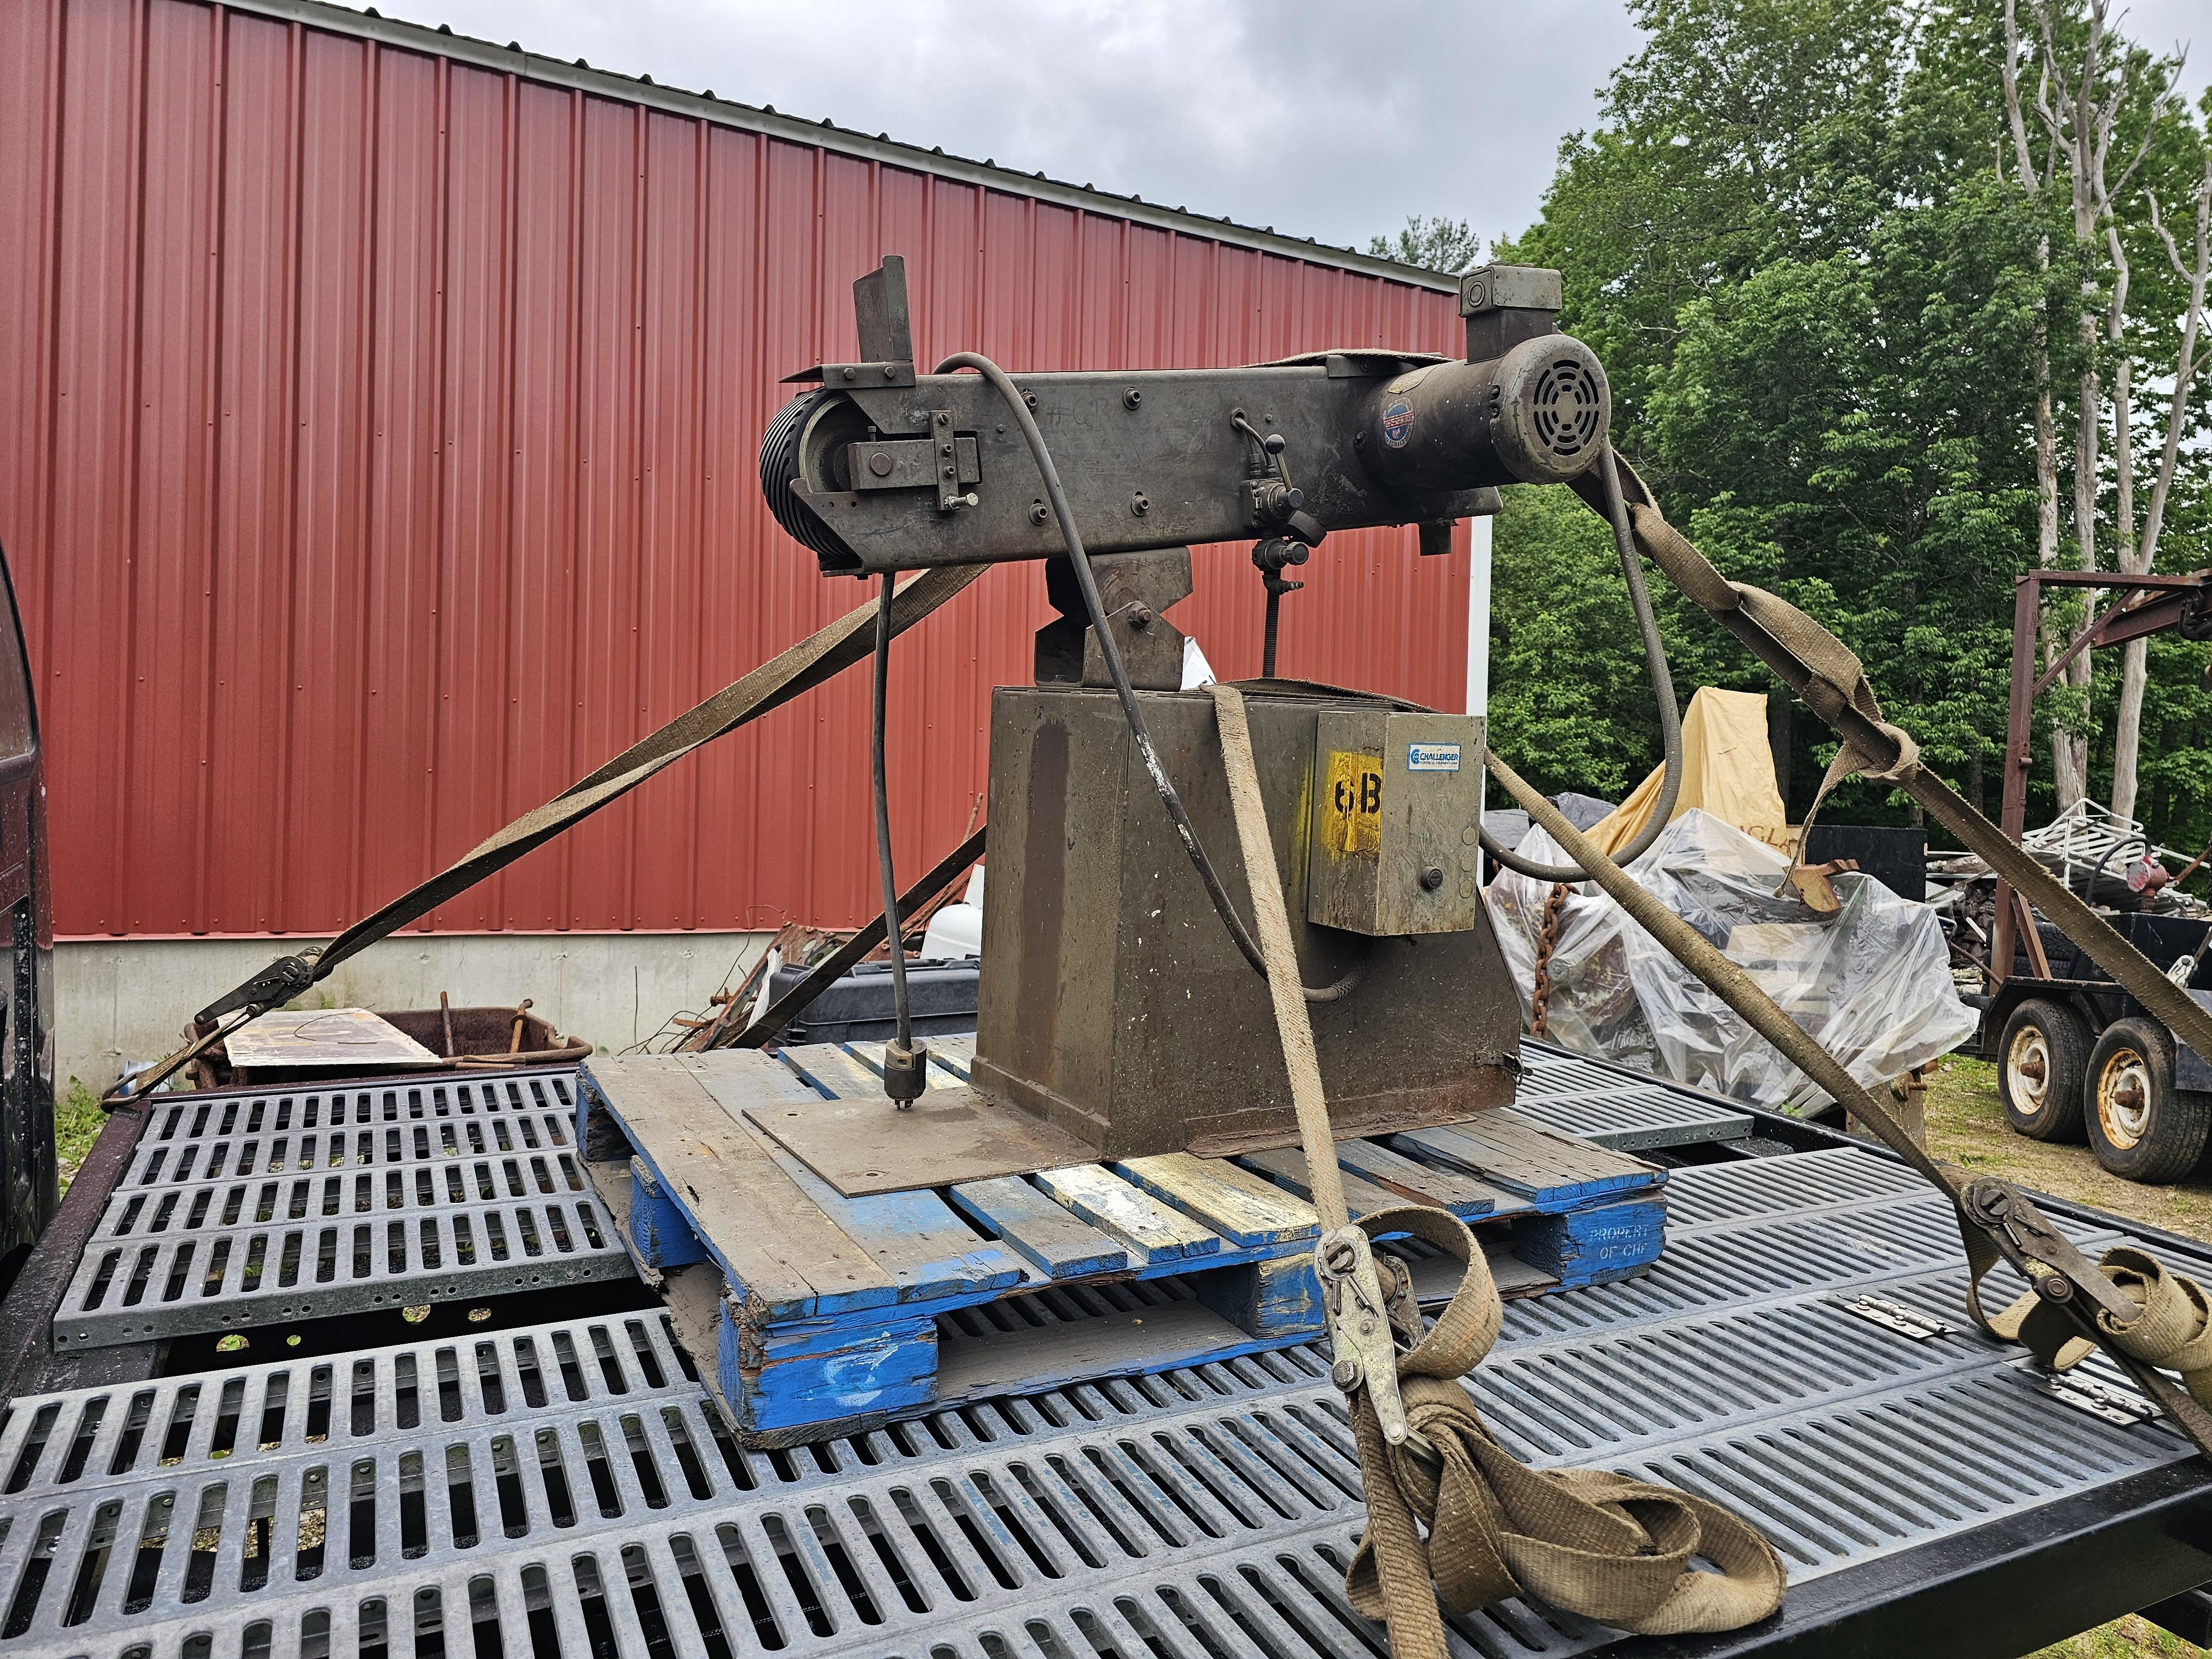
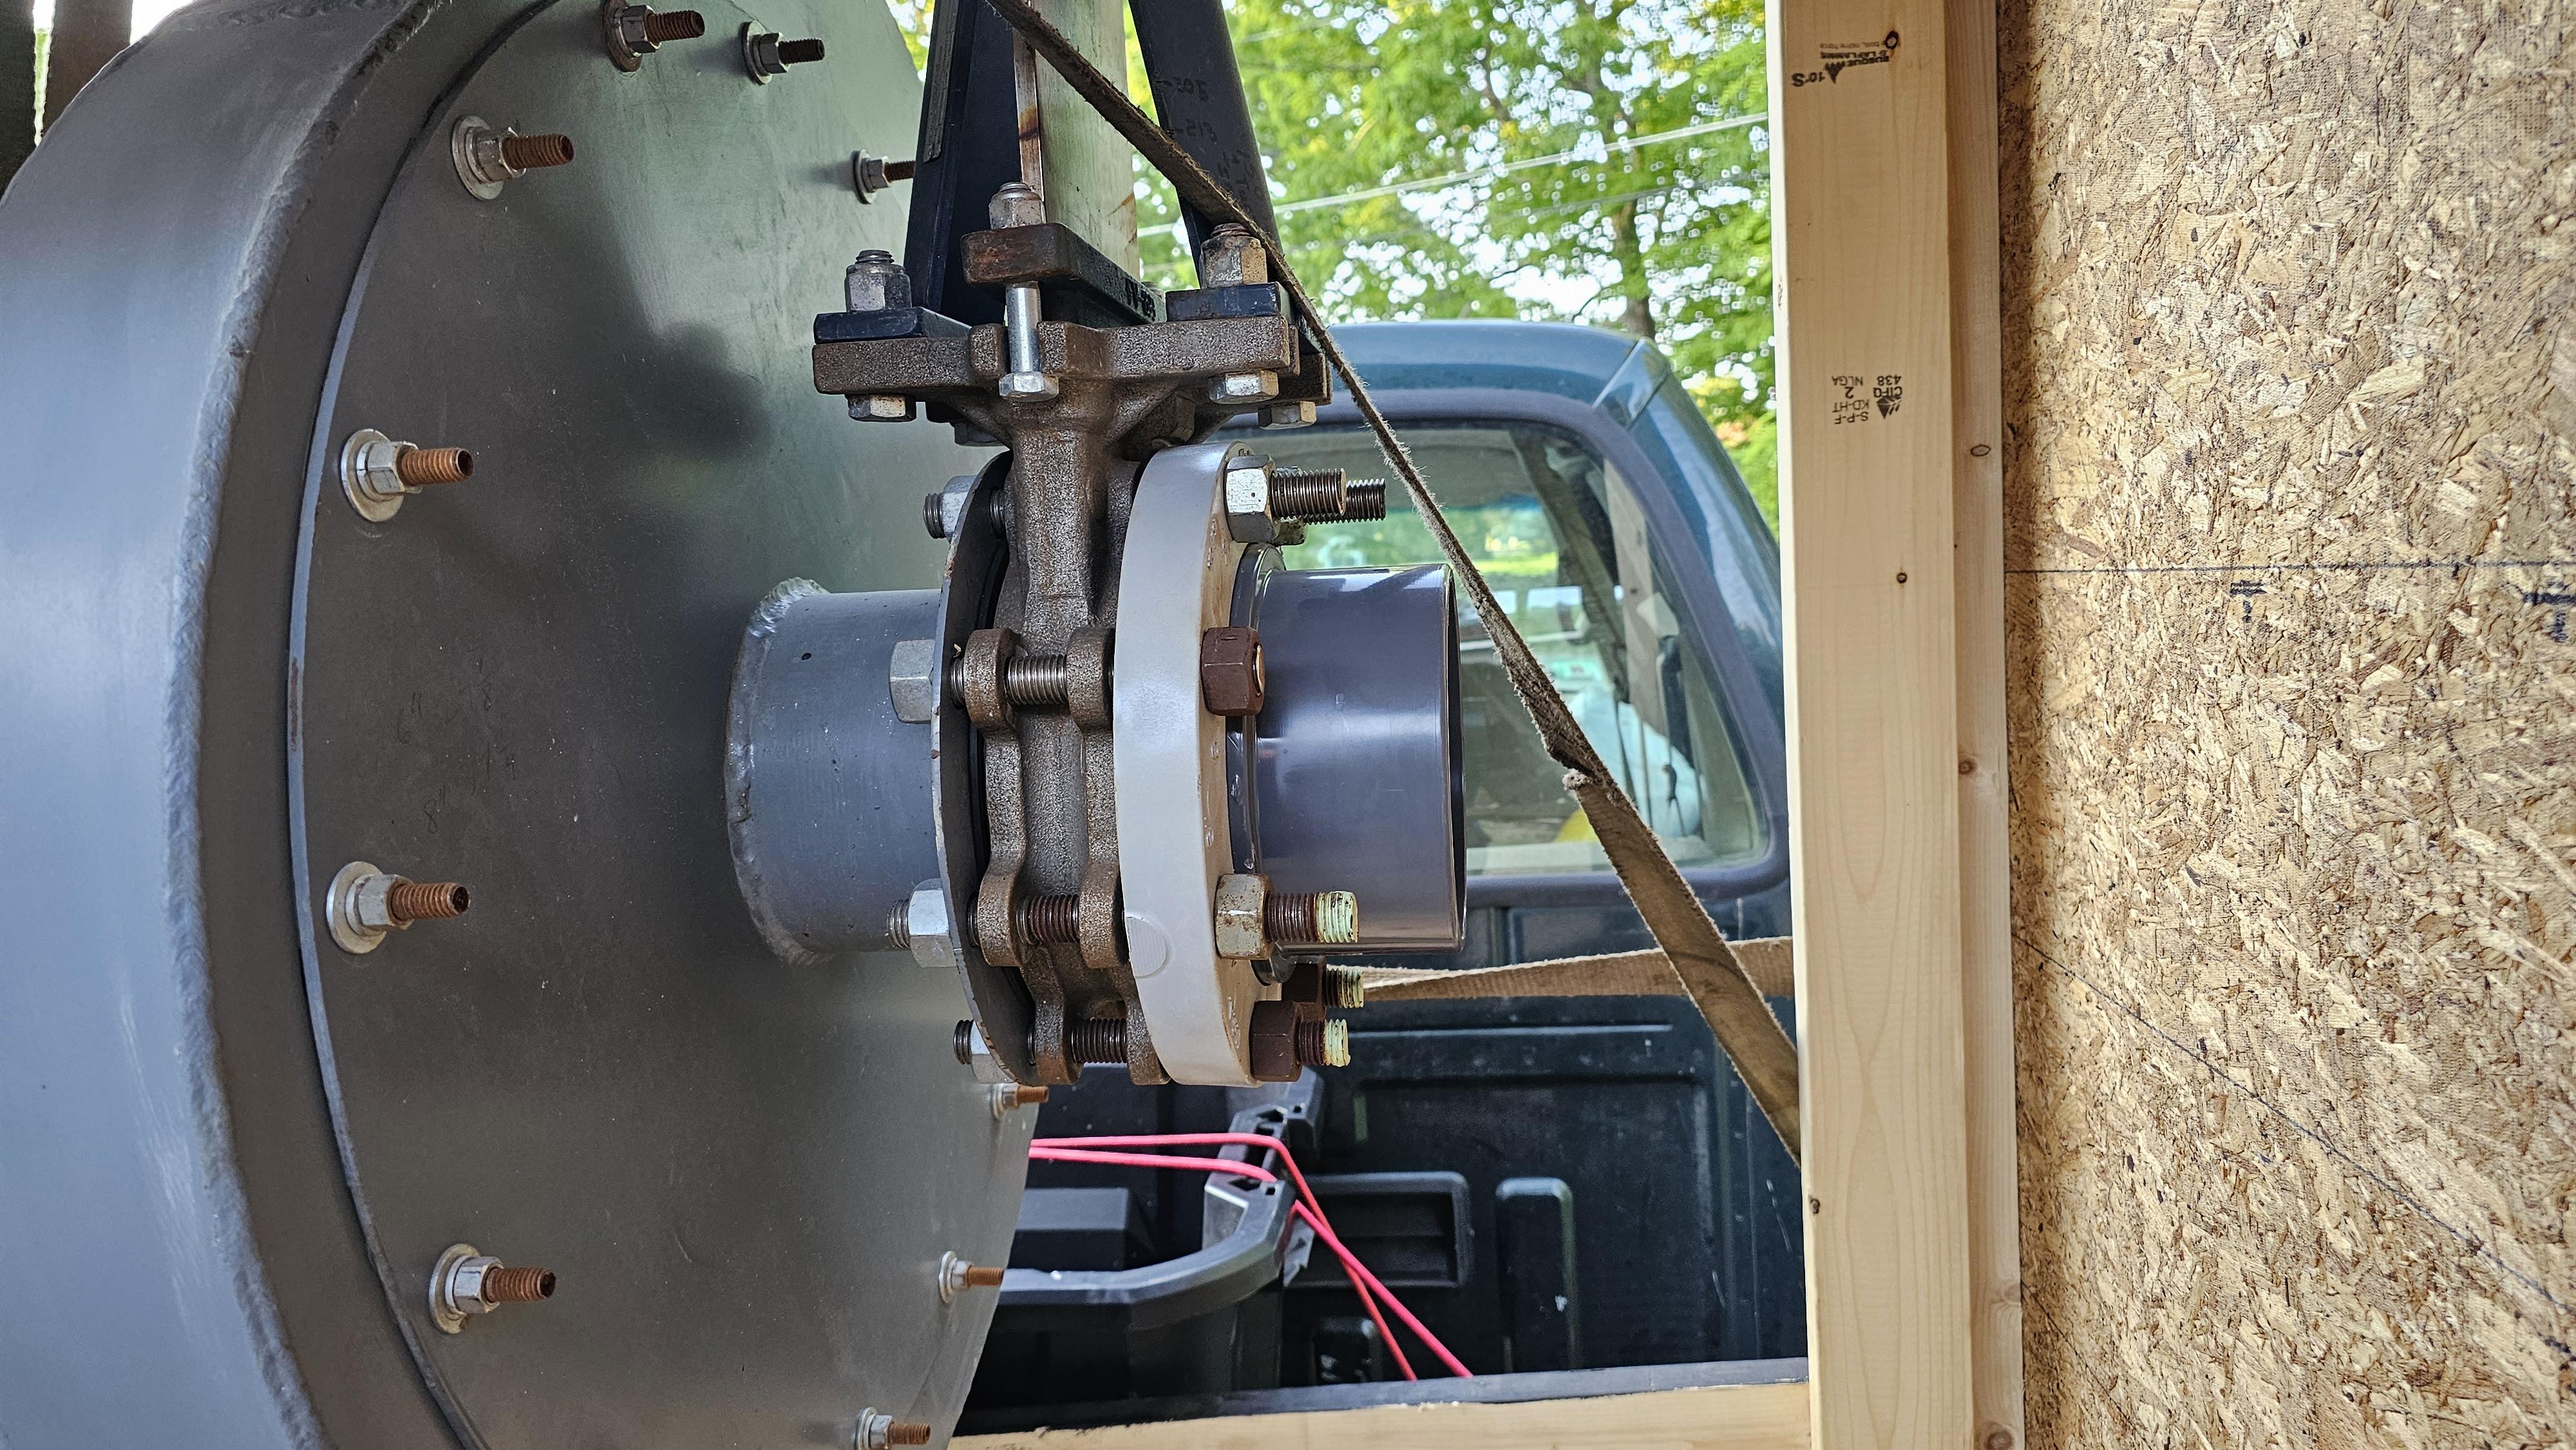
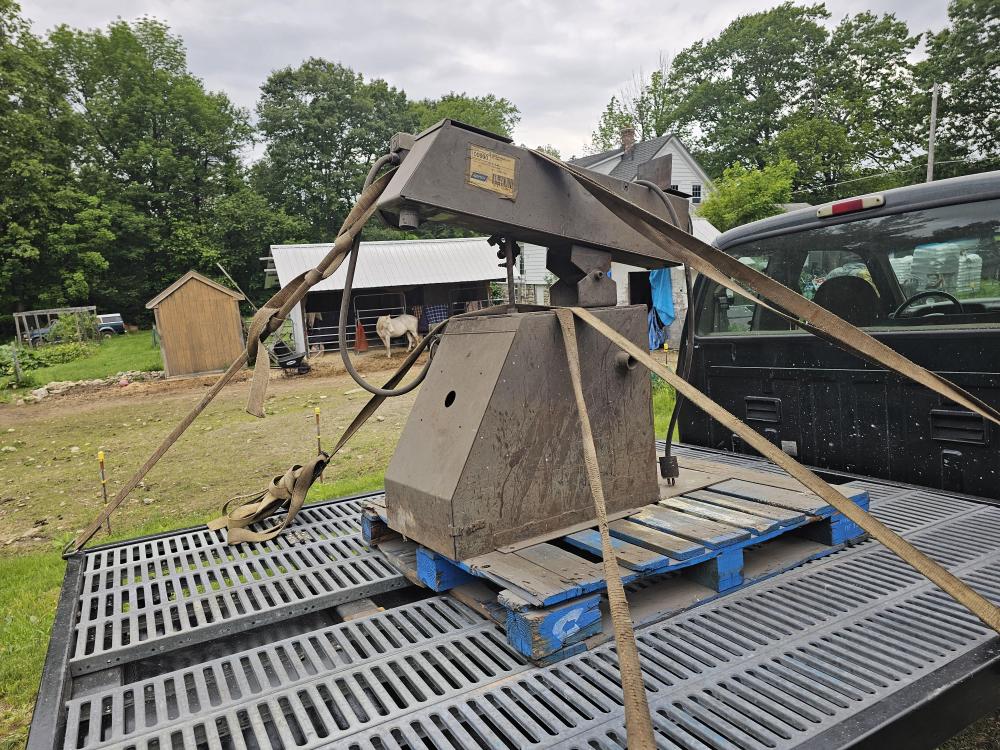
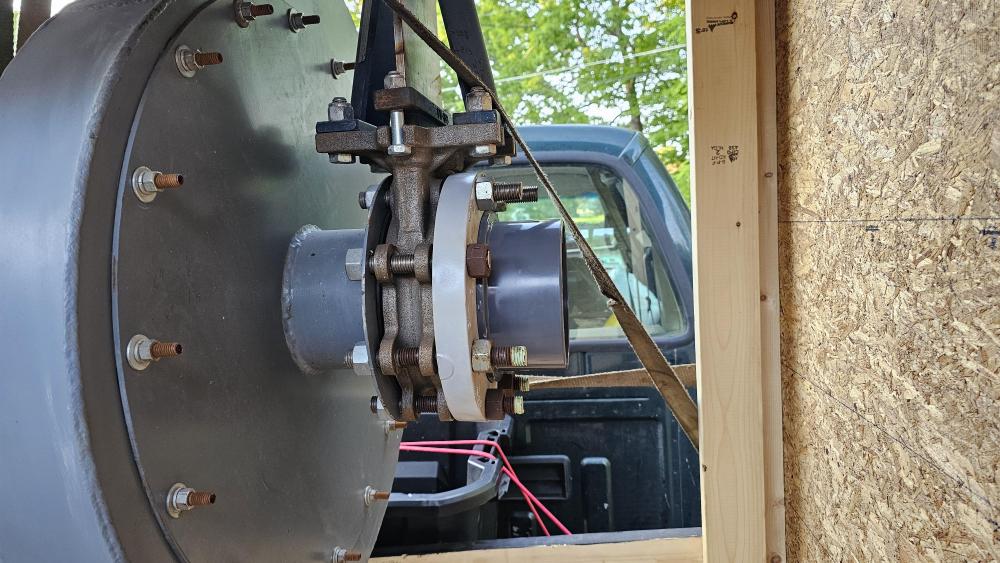
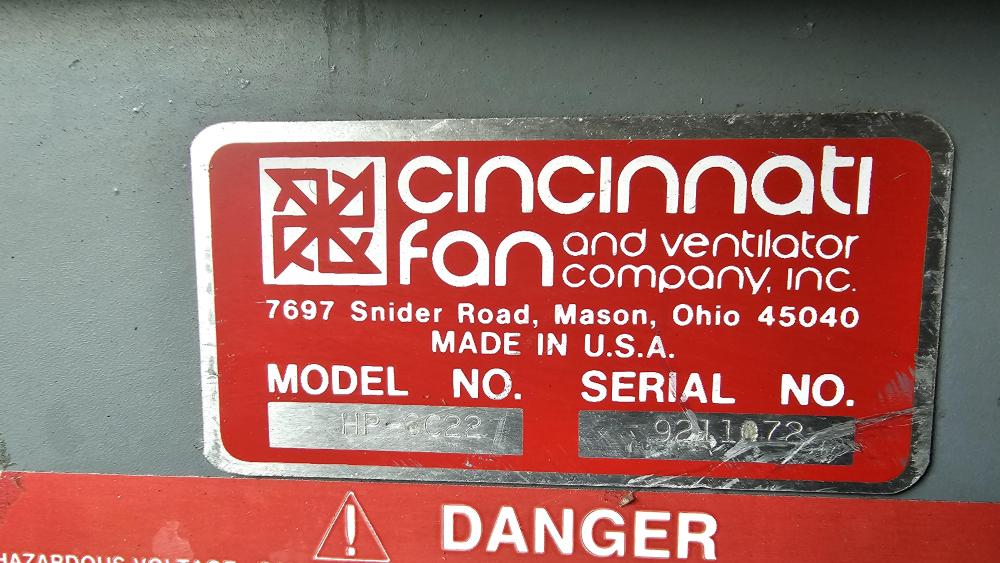
So went and picked up this unit for the infloor fume extraction. 7.5HP 3540 3ph with VFD It should produce enough vacuum and pressure in excess of what is needed so should be useful for other things as well.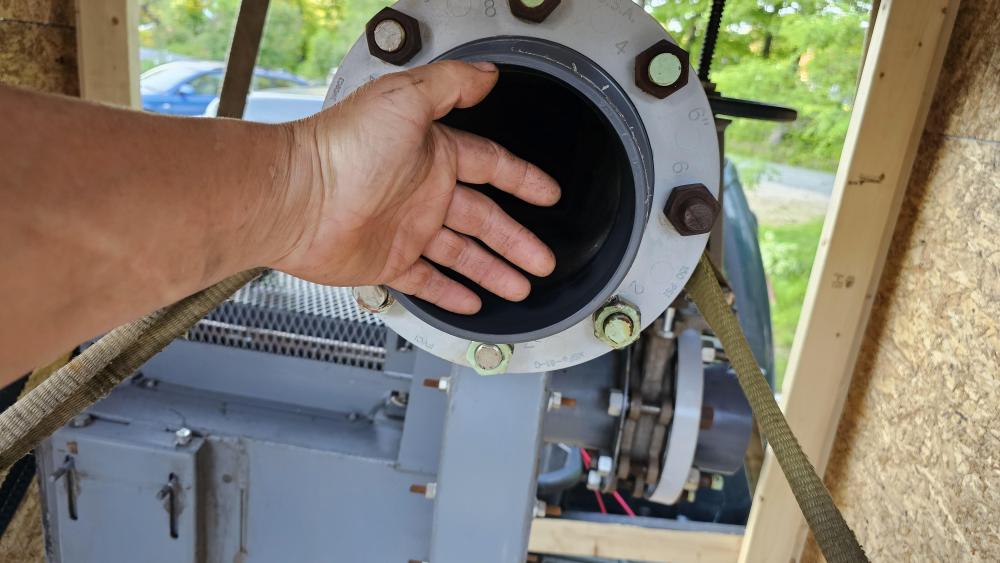
-
JLP Blacksmith Teaching Center.
jlpservicesinc replied to jlpservicesinc's topic in Building, Designing a Shop
Rattle cans work great.. Now they offer quality paint in rattle cans. I'm a rustoleum oil based user so buy it by the gallon.. I have the 9.99 HF spray guns and run the paint threw them.
-
JLP Blacksmith Teaching Center.
jlpservicesinc replied to jlpservicesinc's topic in Building, Designing a Shop
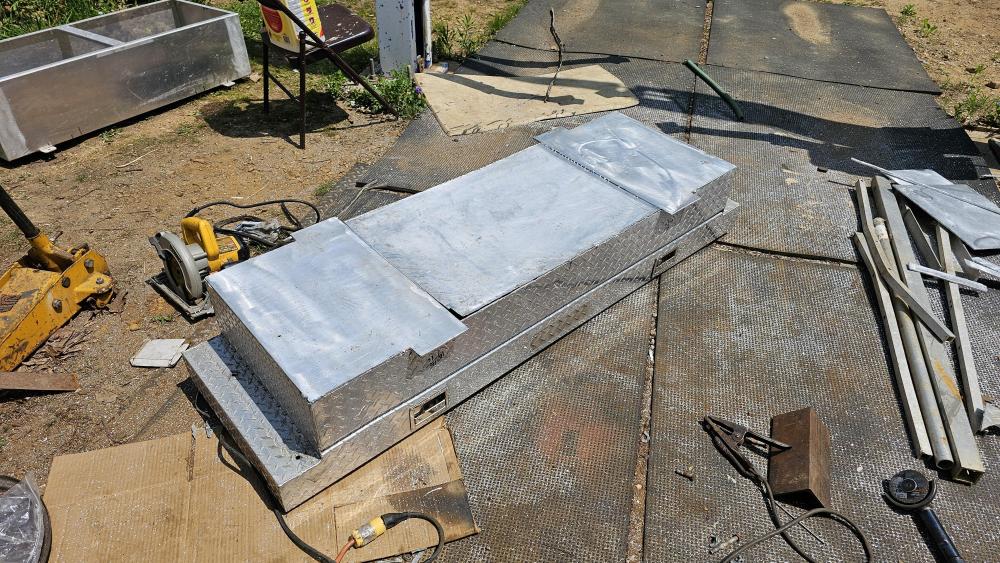
Here is the bed frame complete and painted..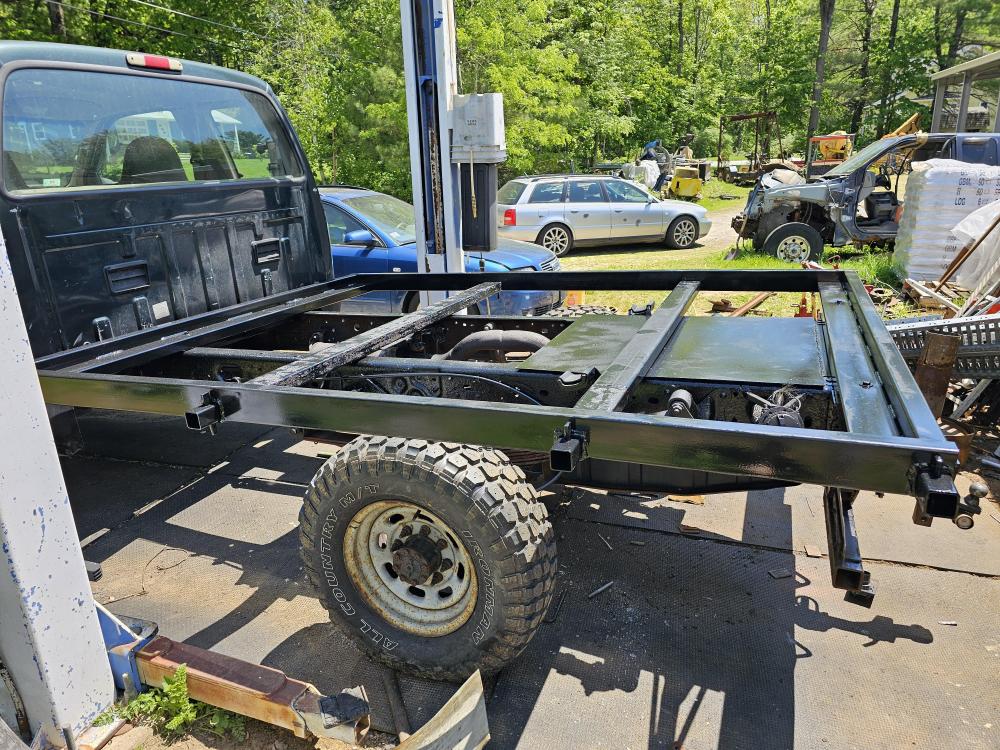
-
JLP Blacksmith Teaching Center.
jlpservicesinc replied to jlpservicesinc's topic in Building, Designing a Shop
Frosty, I'm not a painter.. I only paint because I have to.. Some people really enjoy it and have that ability and precision. My favorite method for applying paint is a spray gun without taping anything off. LOL.. In 54years of life I know the things that I'm not especially good at. Tight spaces like under a dash board in a car or any tight space that I have to move around in.. Like on the floor under a dash or inside an engine compartment where that hose fitting is tough to get at. I do it, because it has to be done so I manage. I did paint the new wedge together flat bed.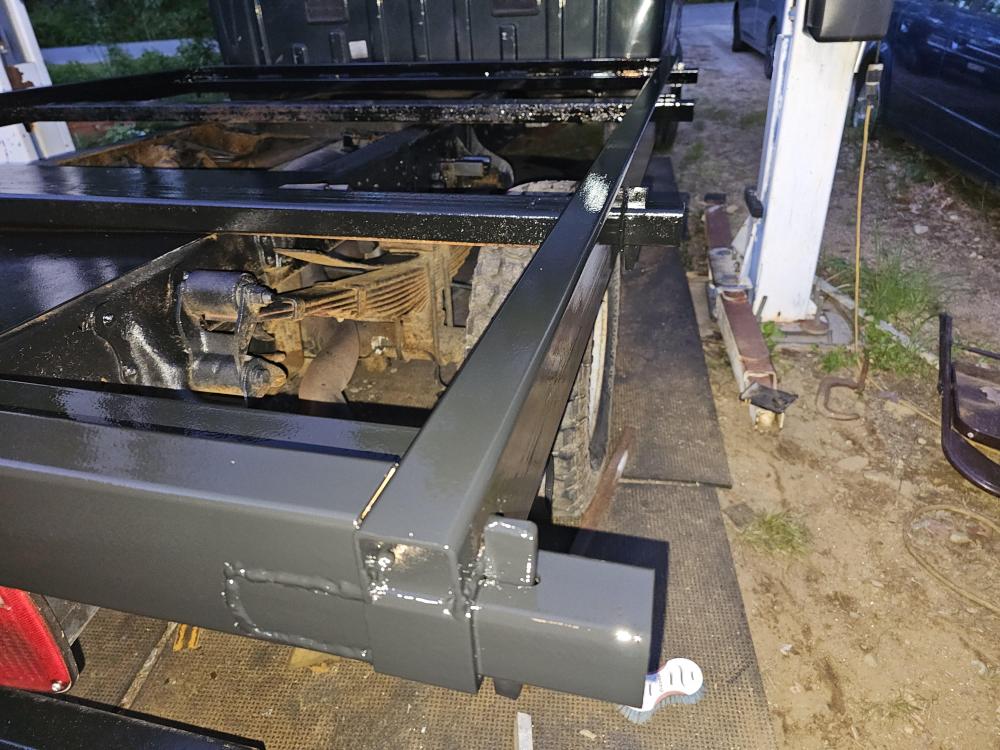
-
JLP Blacksmith Teaching Center.
jlpservicesinc replied to jlpservicesinc's topic in Building, Designing a Shop
Frosty, your welcome to come down and paint them.. The non blingy box will get mounted on the far side for the branch run.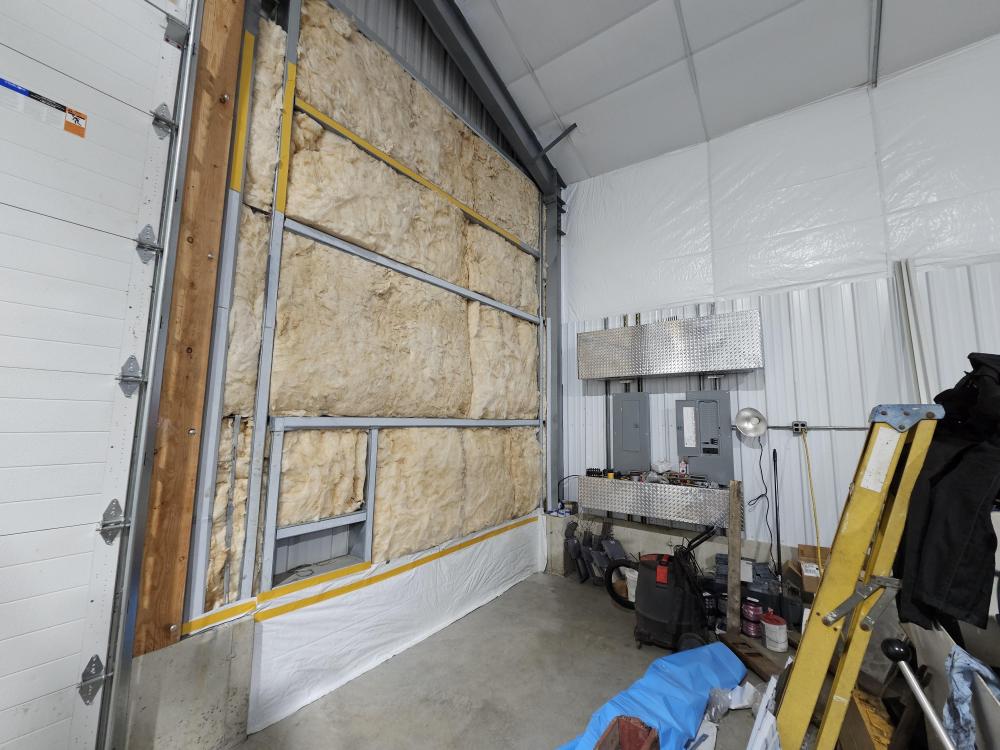
-
What did you do in the shop today?
jlpservicesinc replied to Mark Ling's topic in Blacksmithing, General Discussion
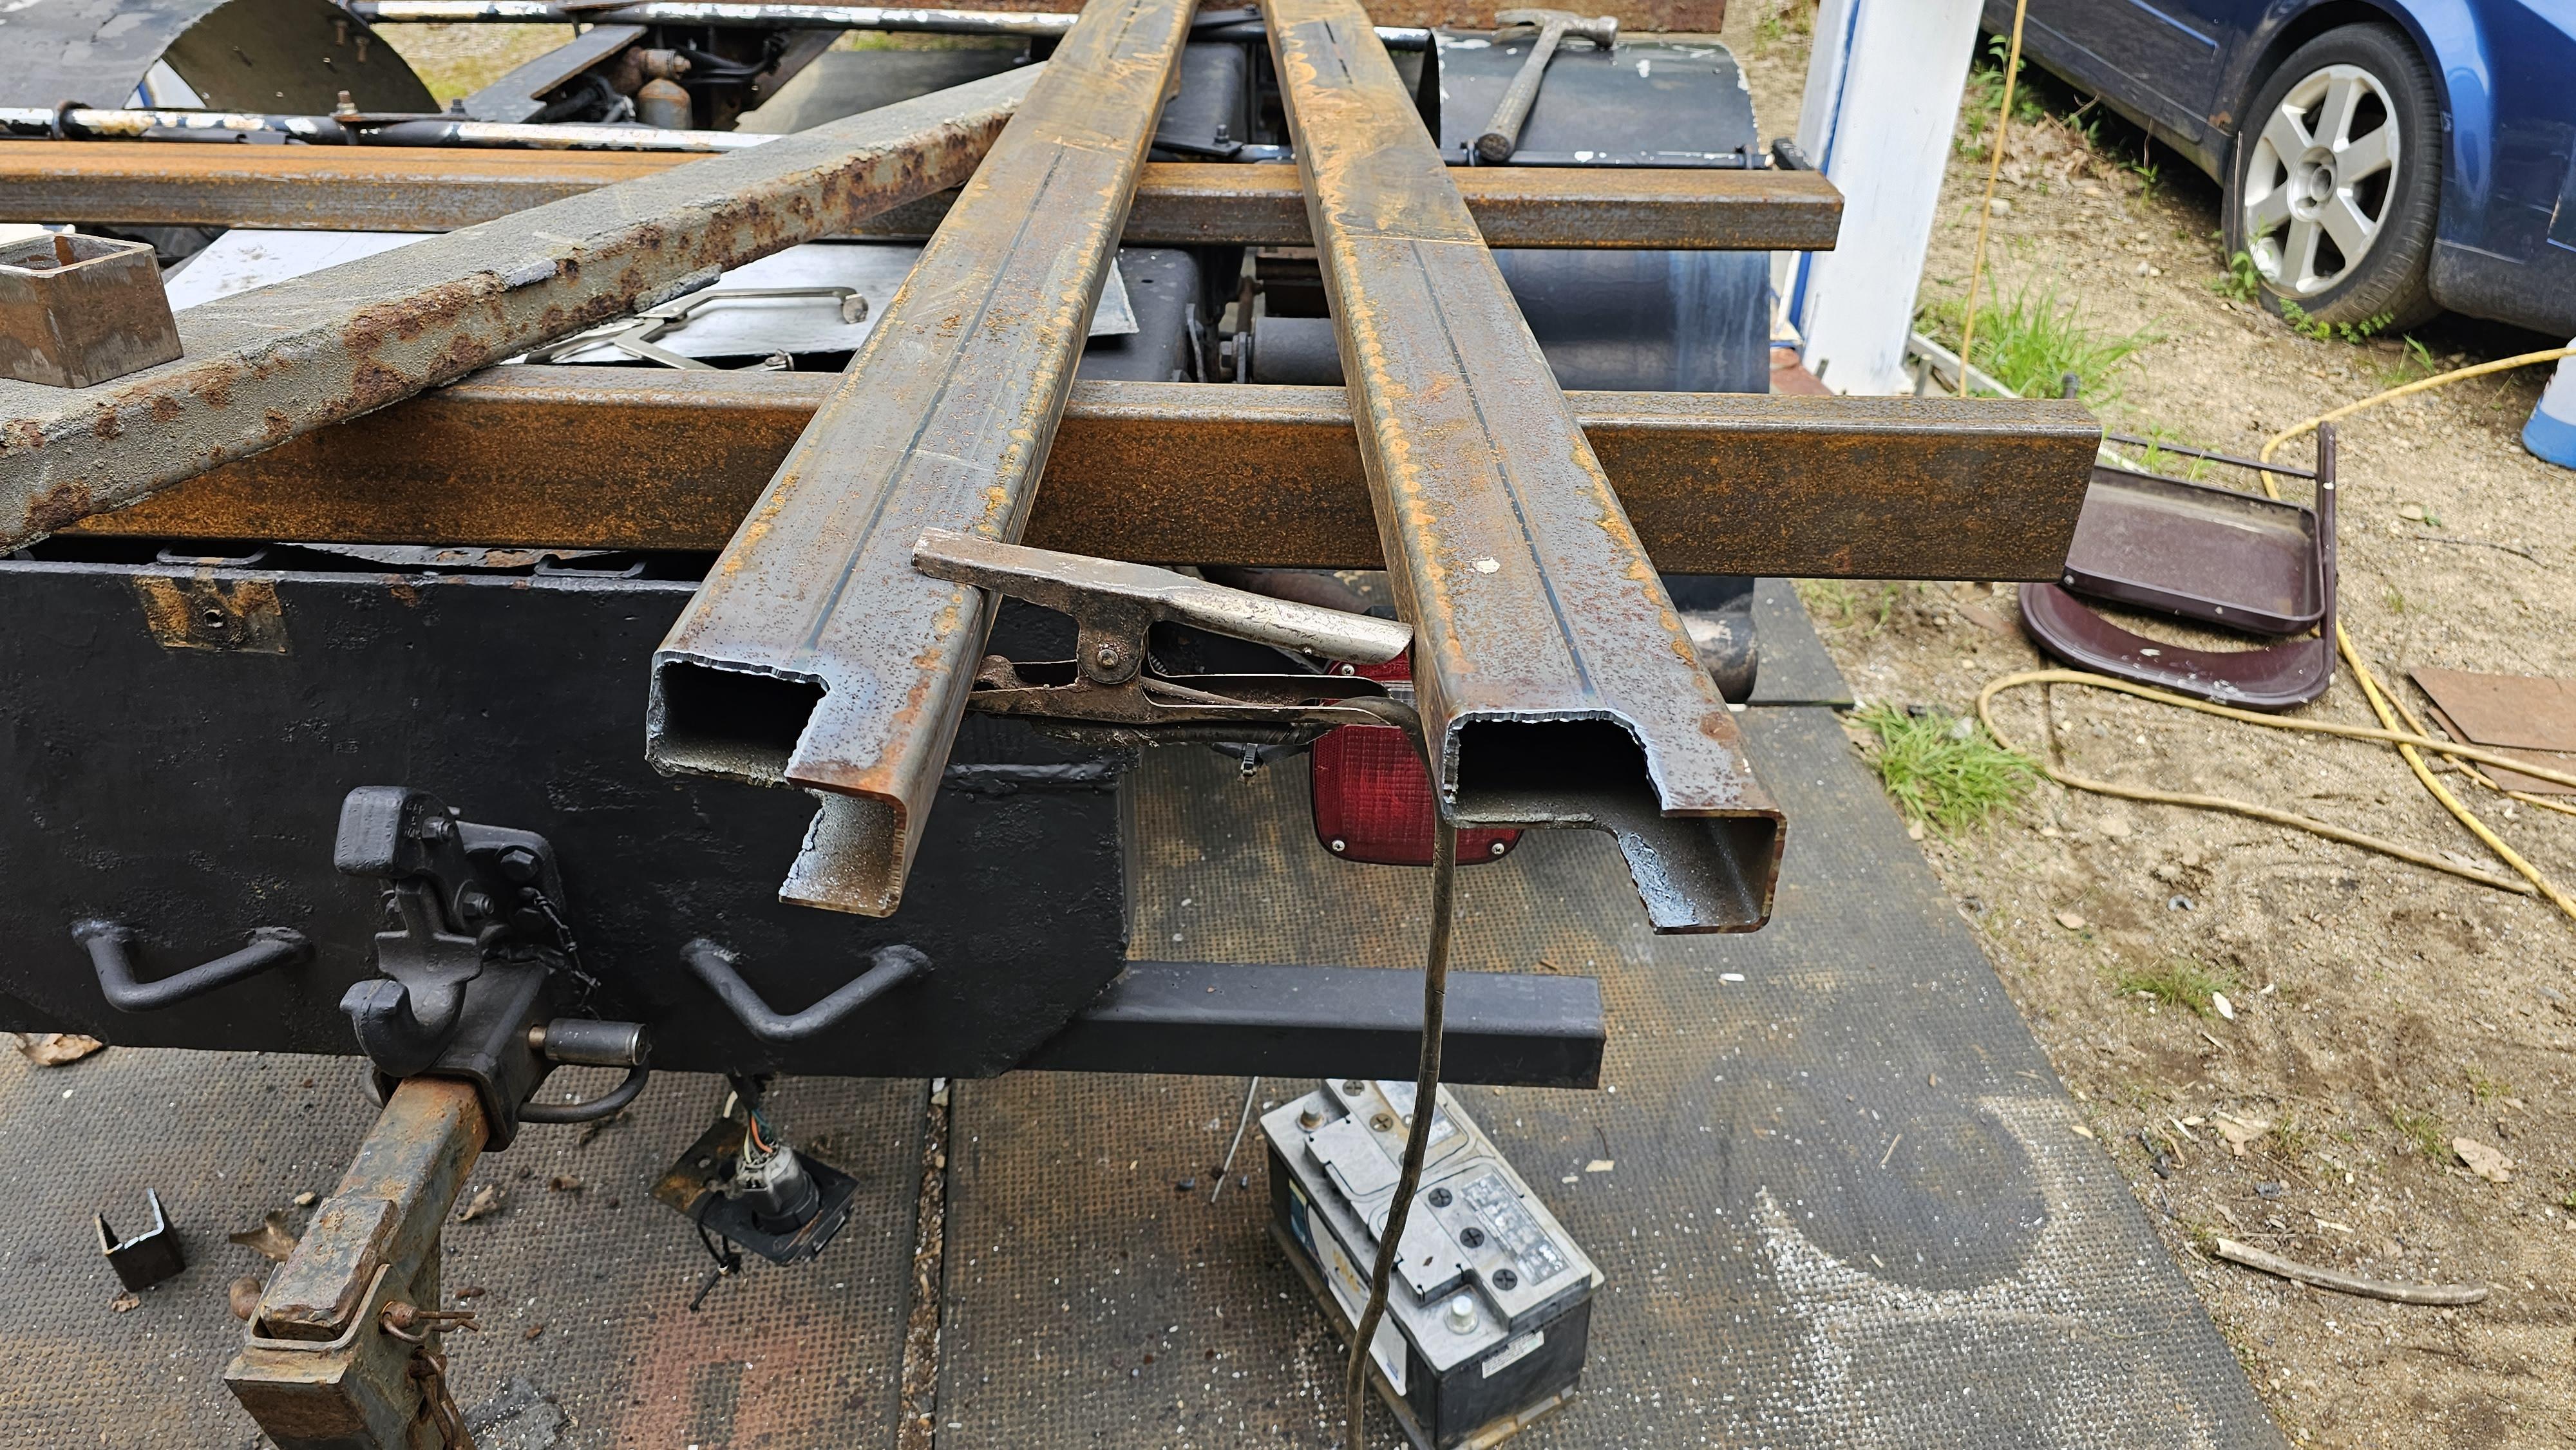
Alex, great work as usual.. Seeing quality work time in and time out is a testament to the maker. There are good and bad people in every country. Just too bad the people who would do the most good don't have the desire to be power-hungry and take office. As for the activity. I finished the wedge together flat bed yesterday and got some paint on it. Night and darkness came in way to fast so missed a few spots. The holes in the ends are for adjustable stock racks. 1.25" square tube fits in the holes and can be 9ft long. The bed itself is about 9ft 6in so technically the extensions could be about 7ft long so a total of 16ft long bars and such could be loaded onto the flat bed and still be supported for transport. Learned a lot on building this one. R&D build.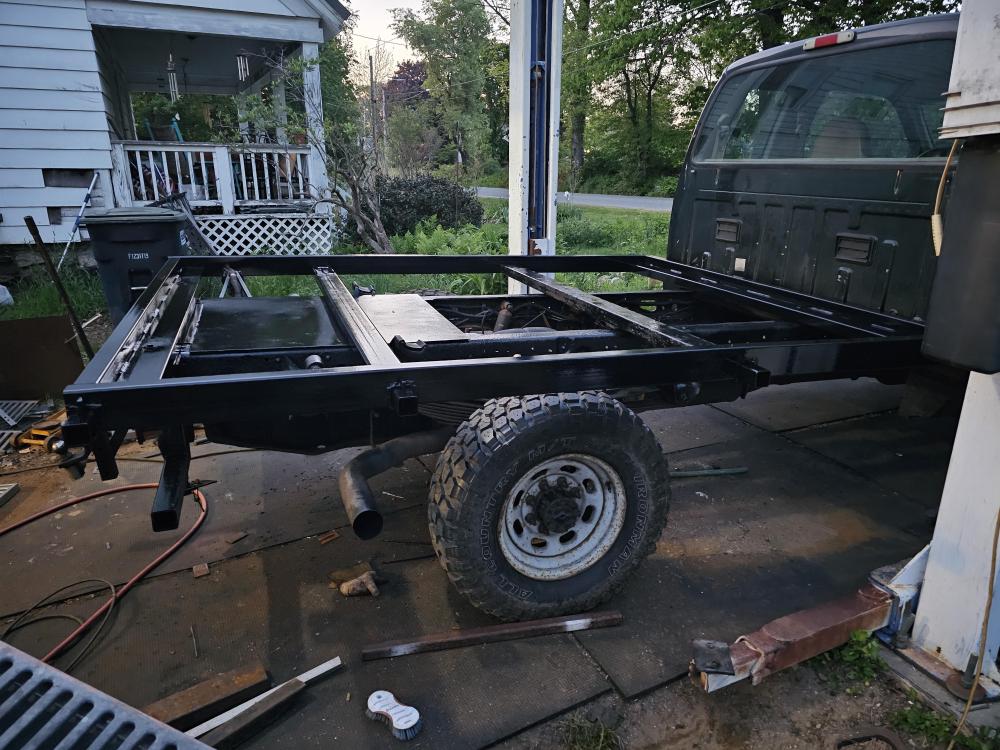

-
What did you do in the shop today?
jlpservicesinc replied to Mark Ling's topic in Blacksmithing, General Discussion
That is cool. Great job. 175CC? -
What did you do in the shop today?
jlpservicesinc replied to Mark Ling's topic in Blacksmithing, General Discussion
I started a new flat bed for the pickup. Will be held together with slots and wedges.
-
JLP Blacksmith Teaching Center.
jlpservicesinc replied to jlpservicesinc's topic in Building, Designing a Shop
Much better than..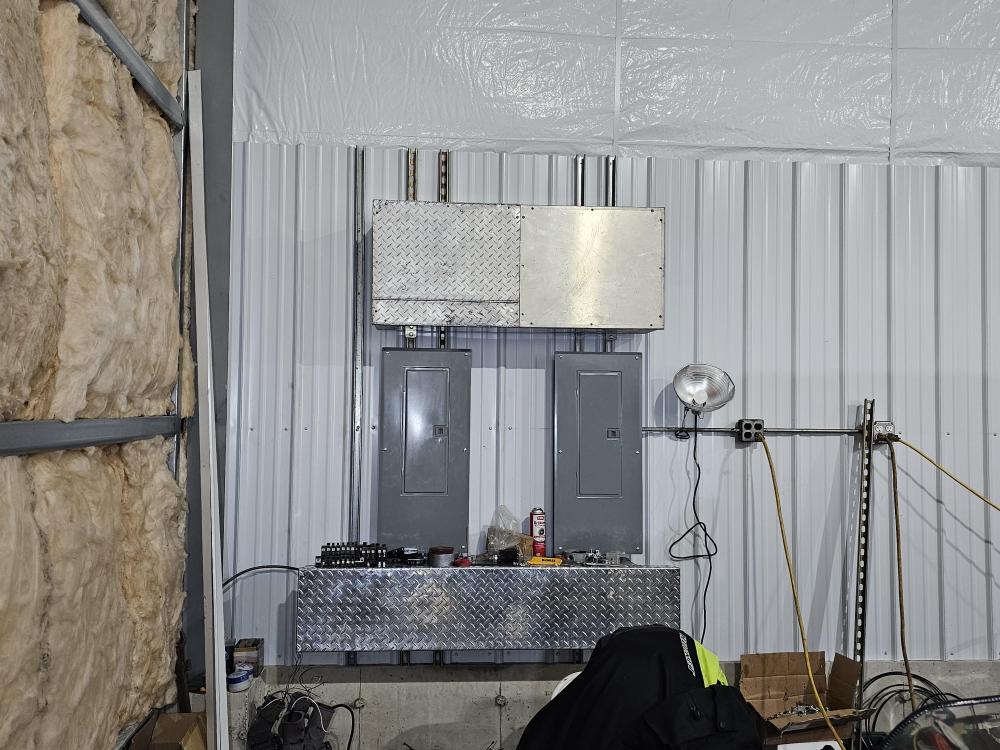

-
JLP Blacksmith Teaching Center.
jlpservicesinc replied to jlpservicesinc's topic in Building, Designing a Shop
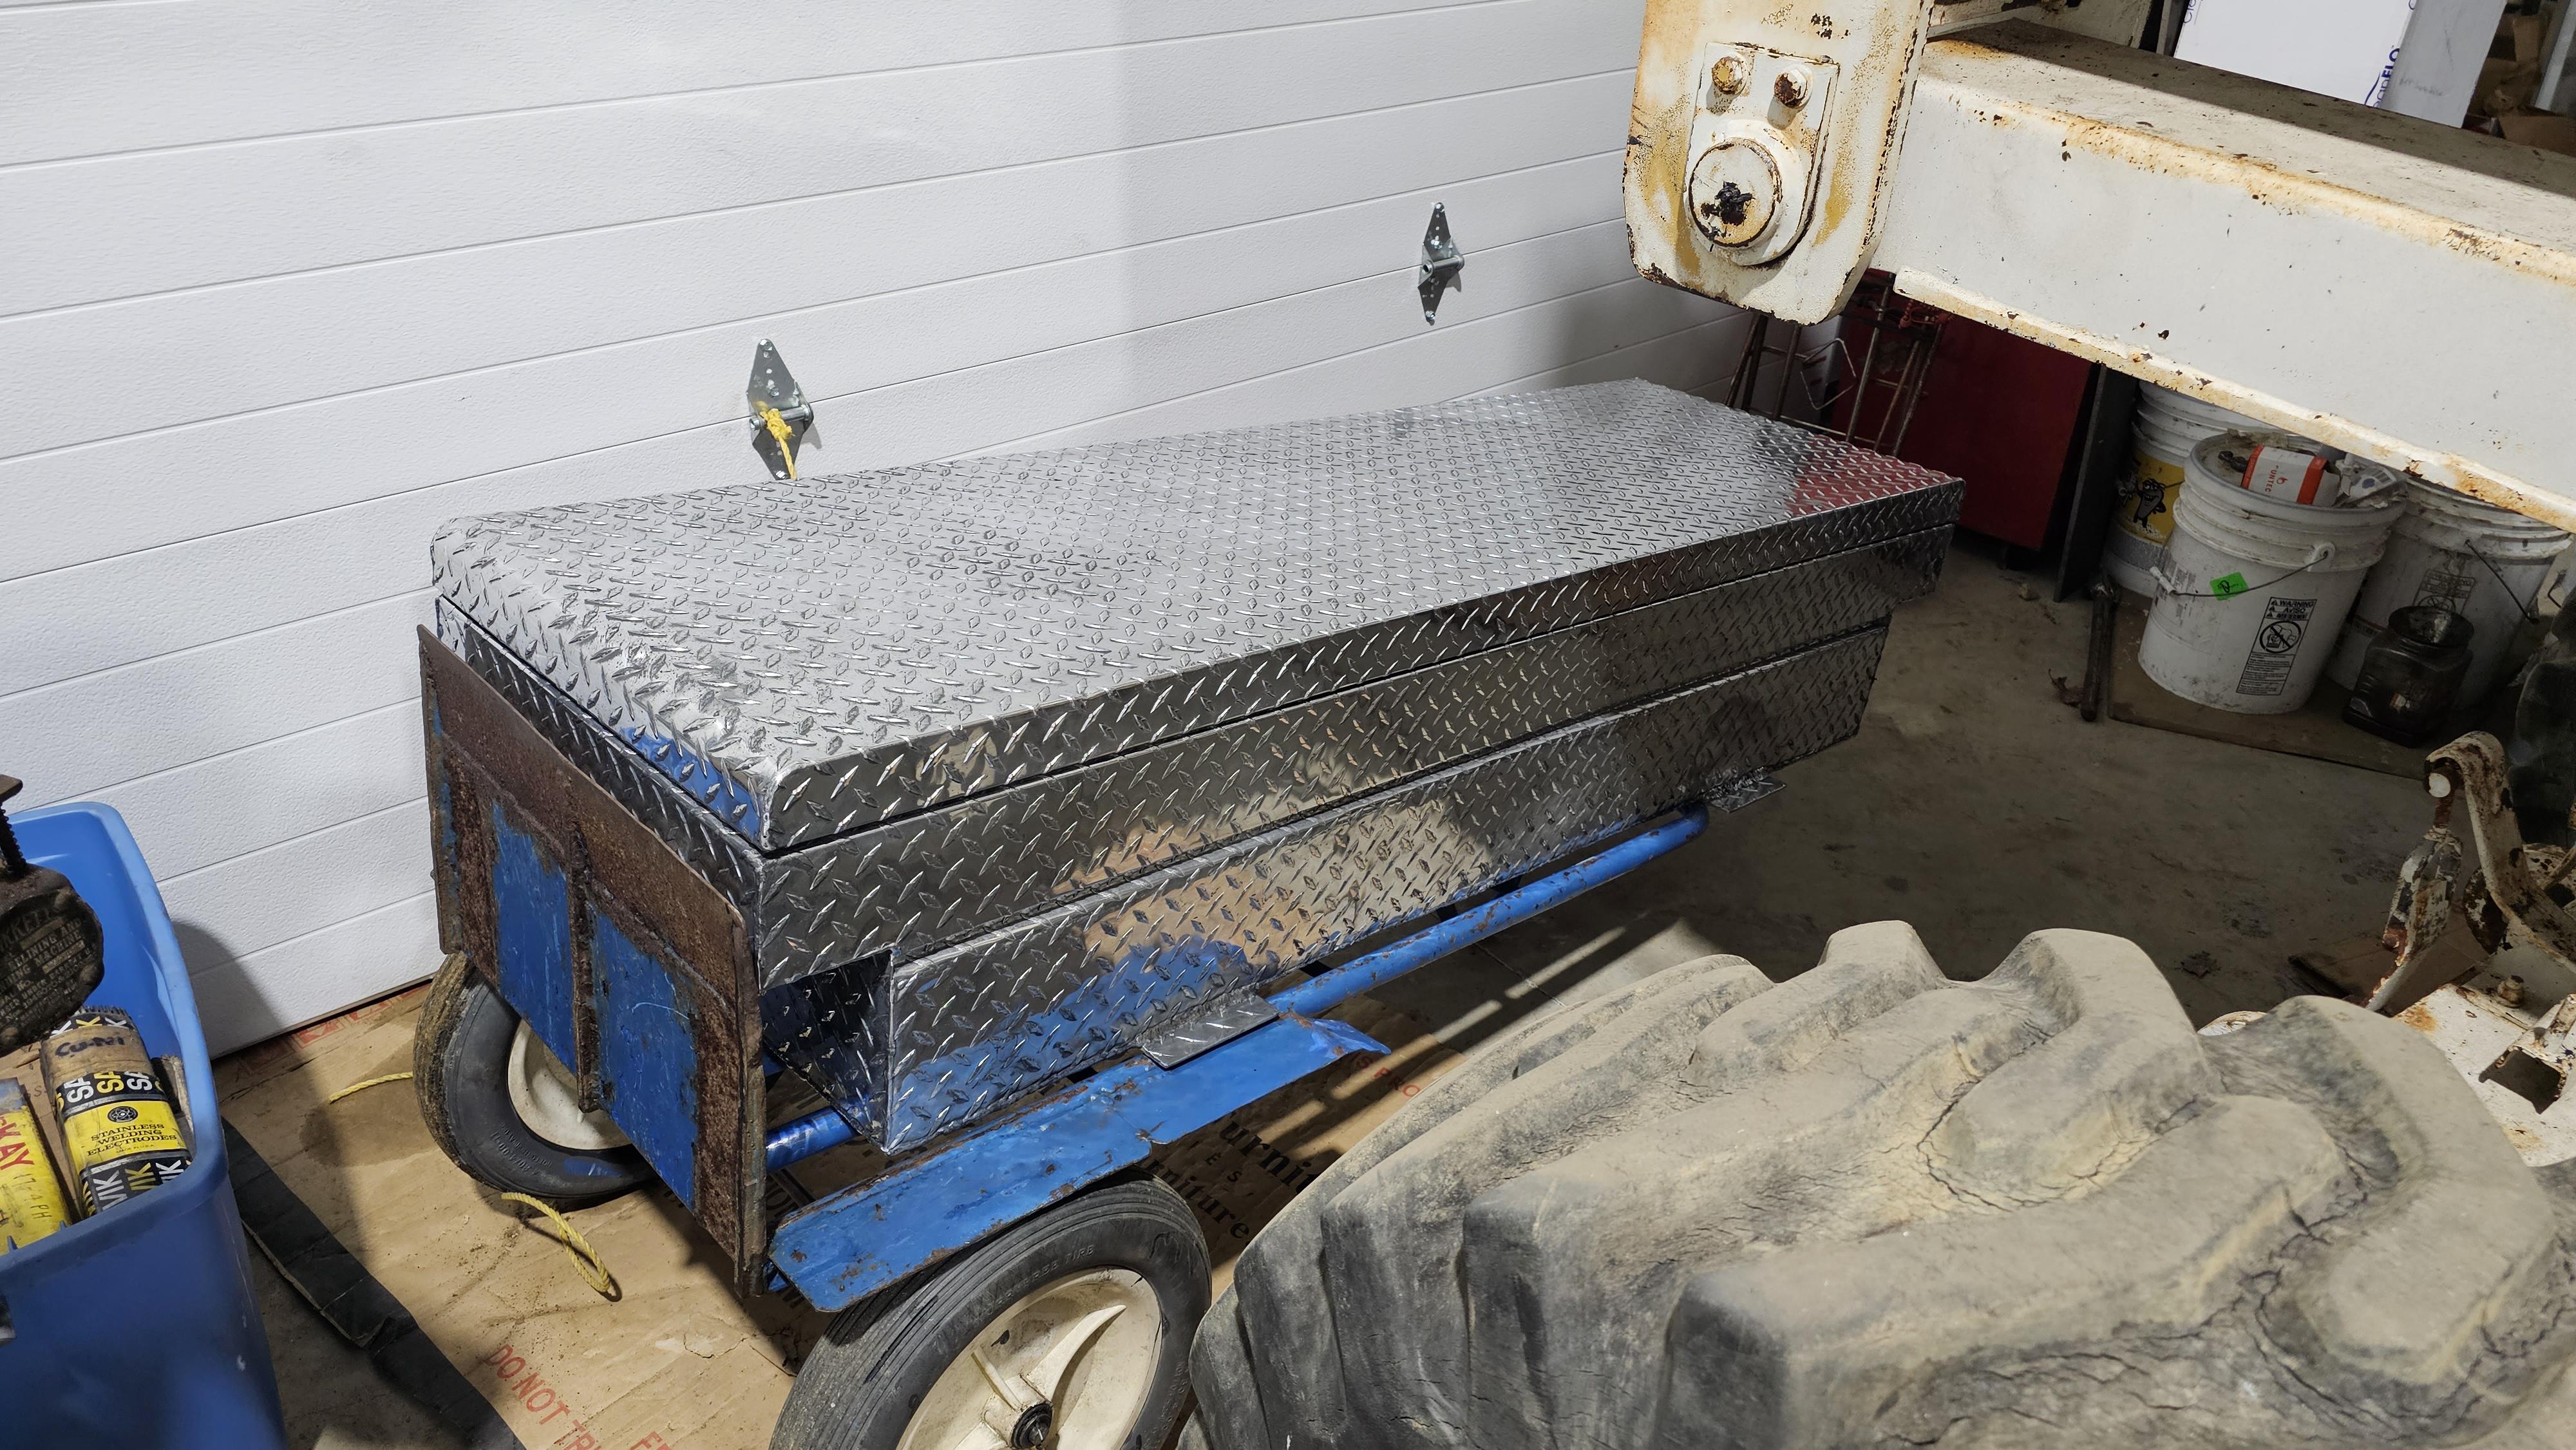
See that is what I'm talking about.. Dang that looks good.. Plenty of zhuzzzz..

-
JLP Blacksmith Teaching Center.
jlpservicesinc replied to jlpservicesinc's topic in Building, Designing a Shop
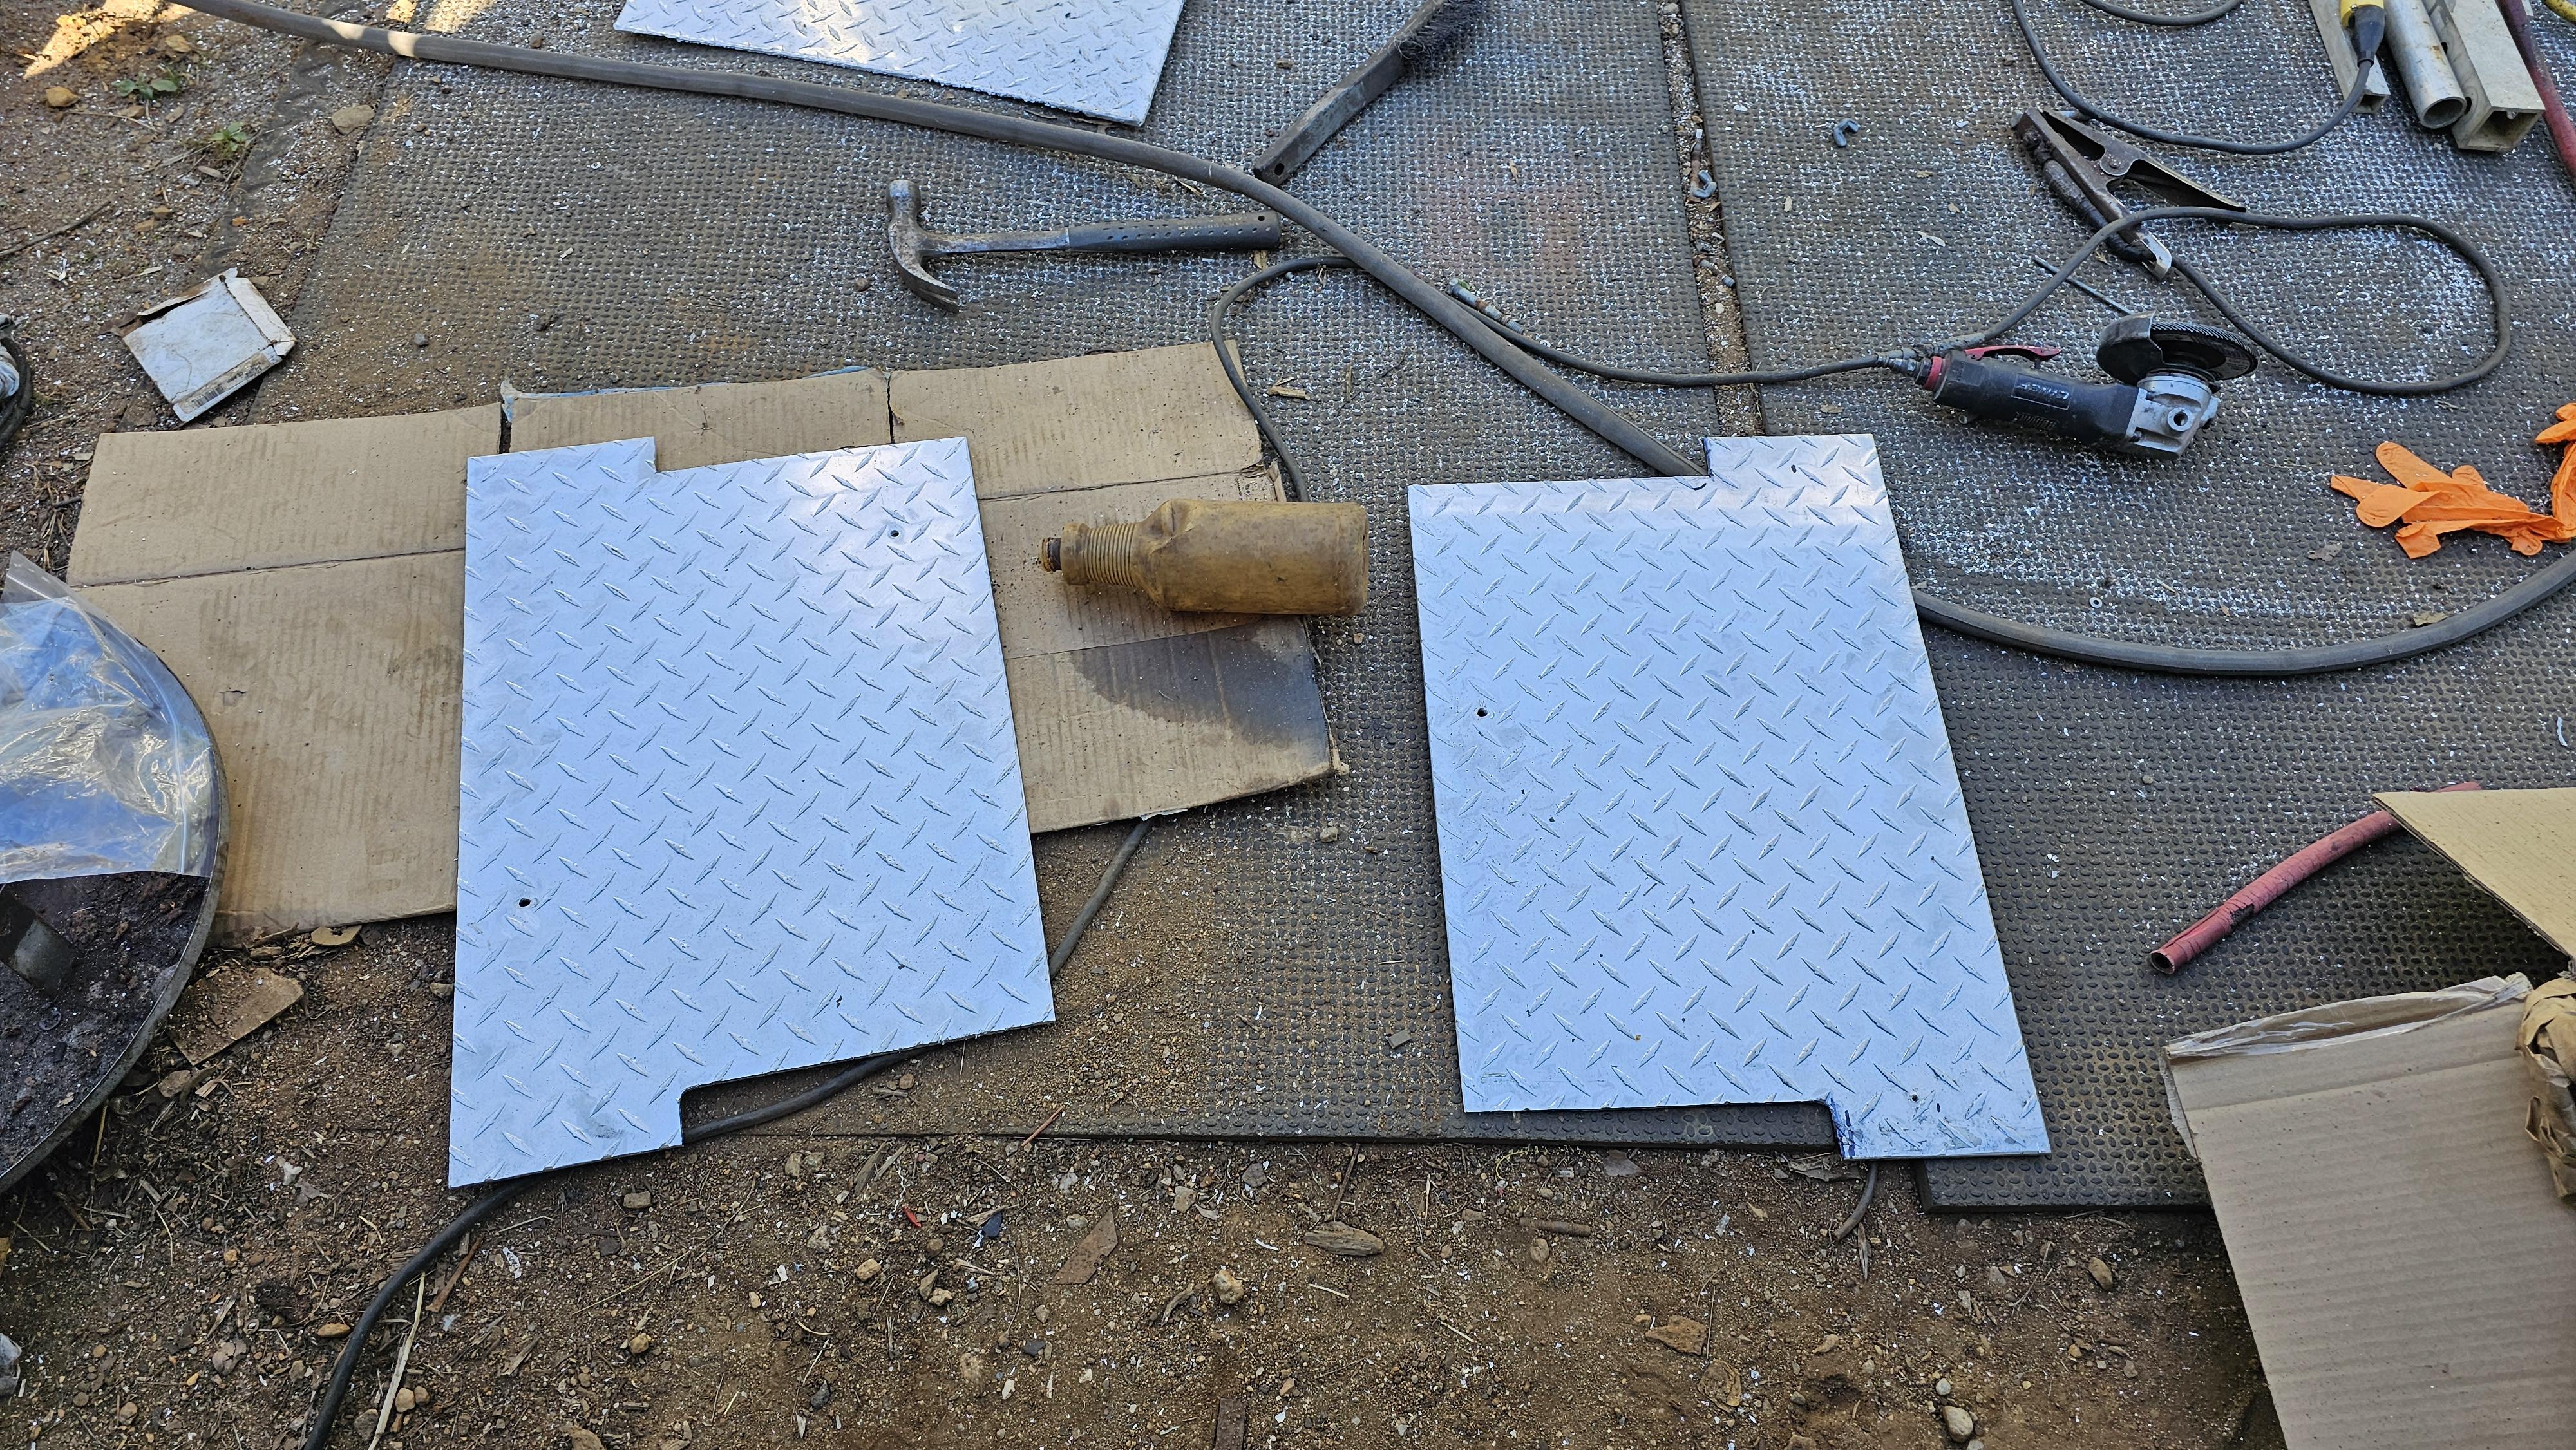
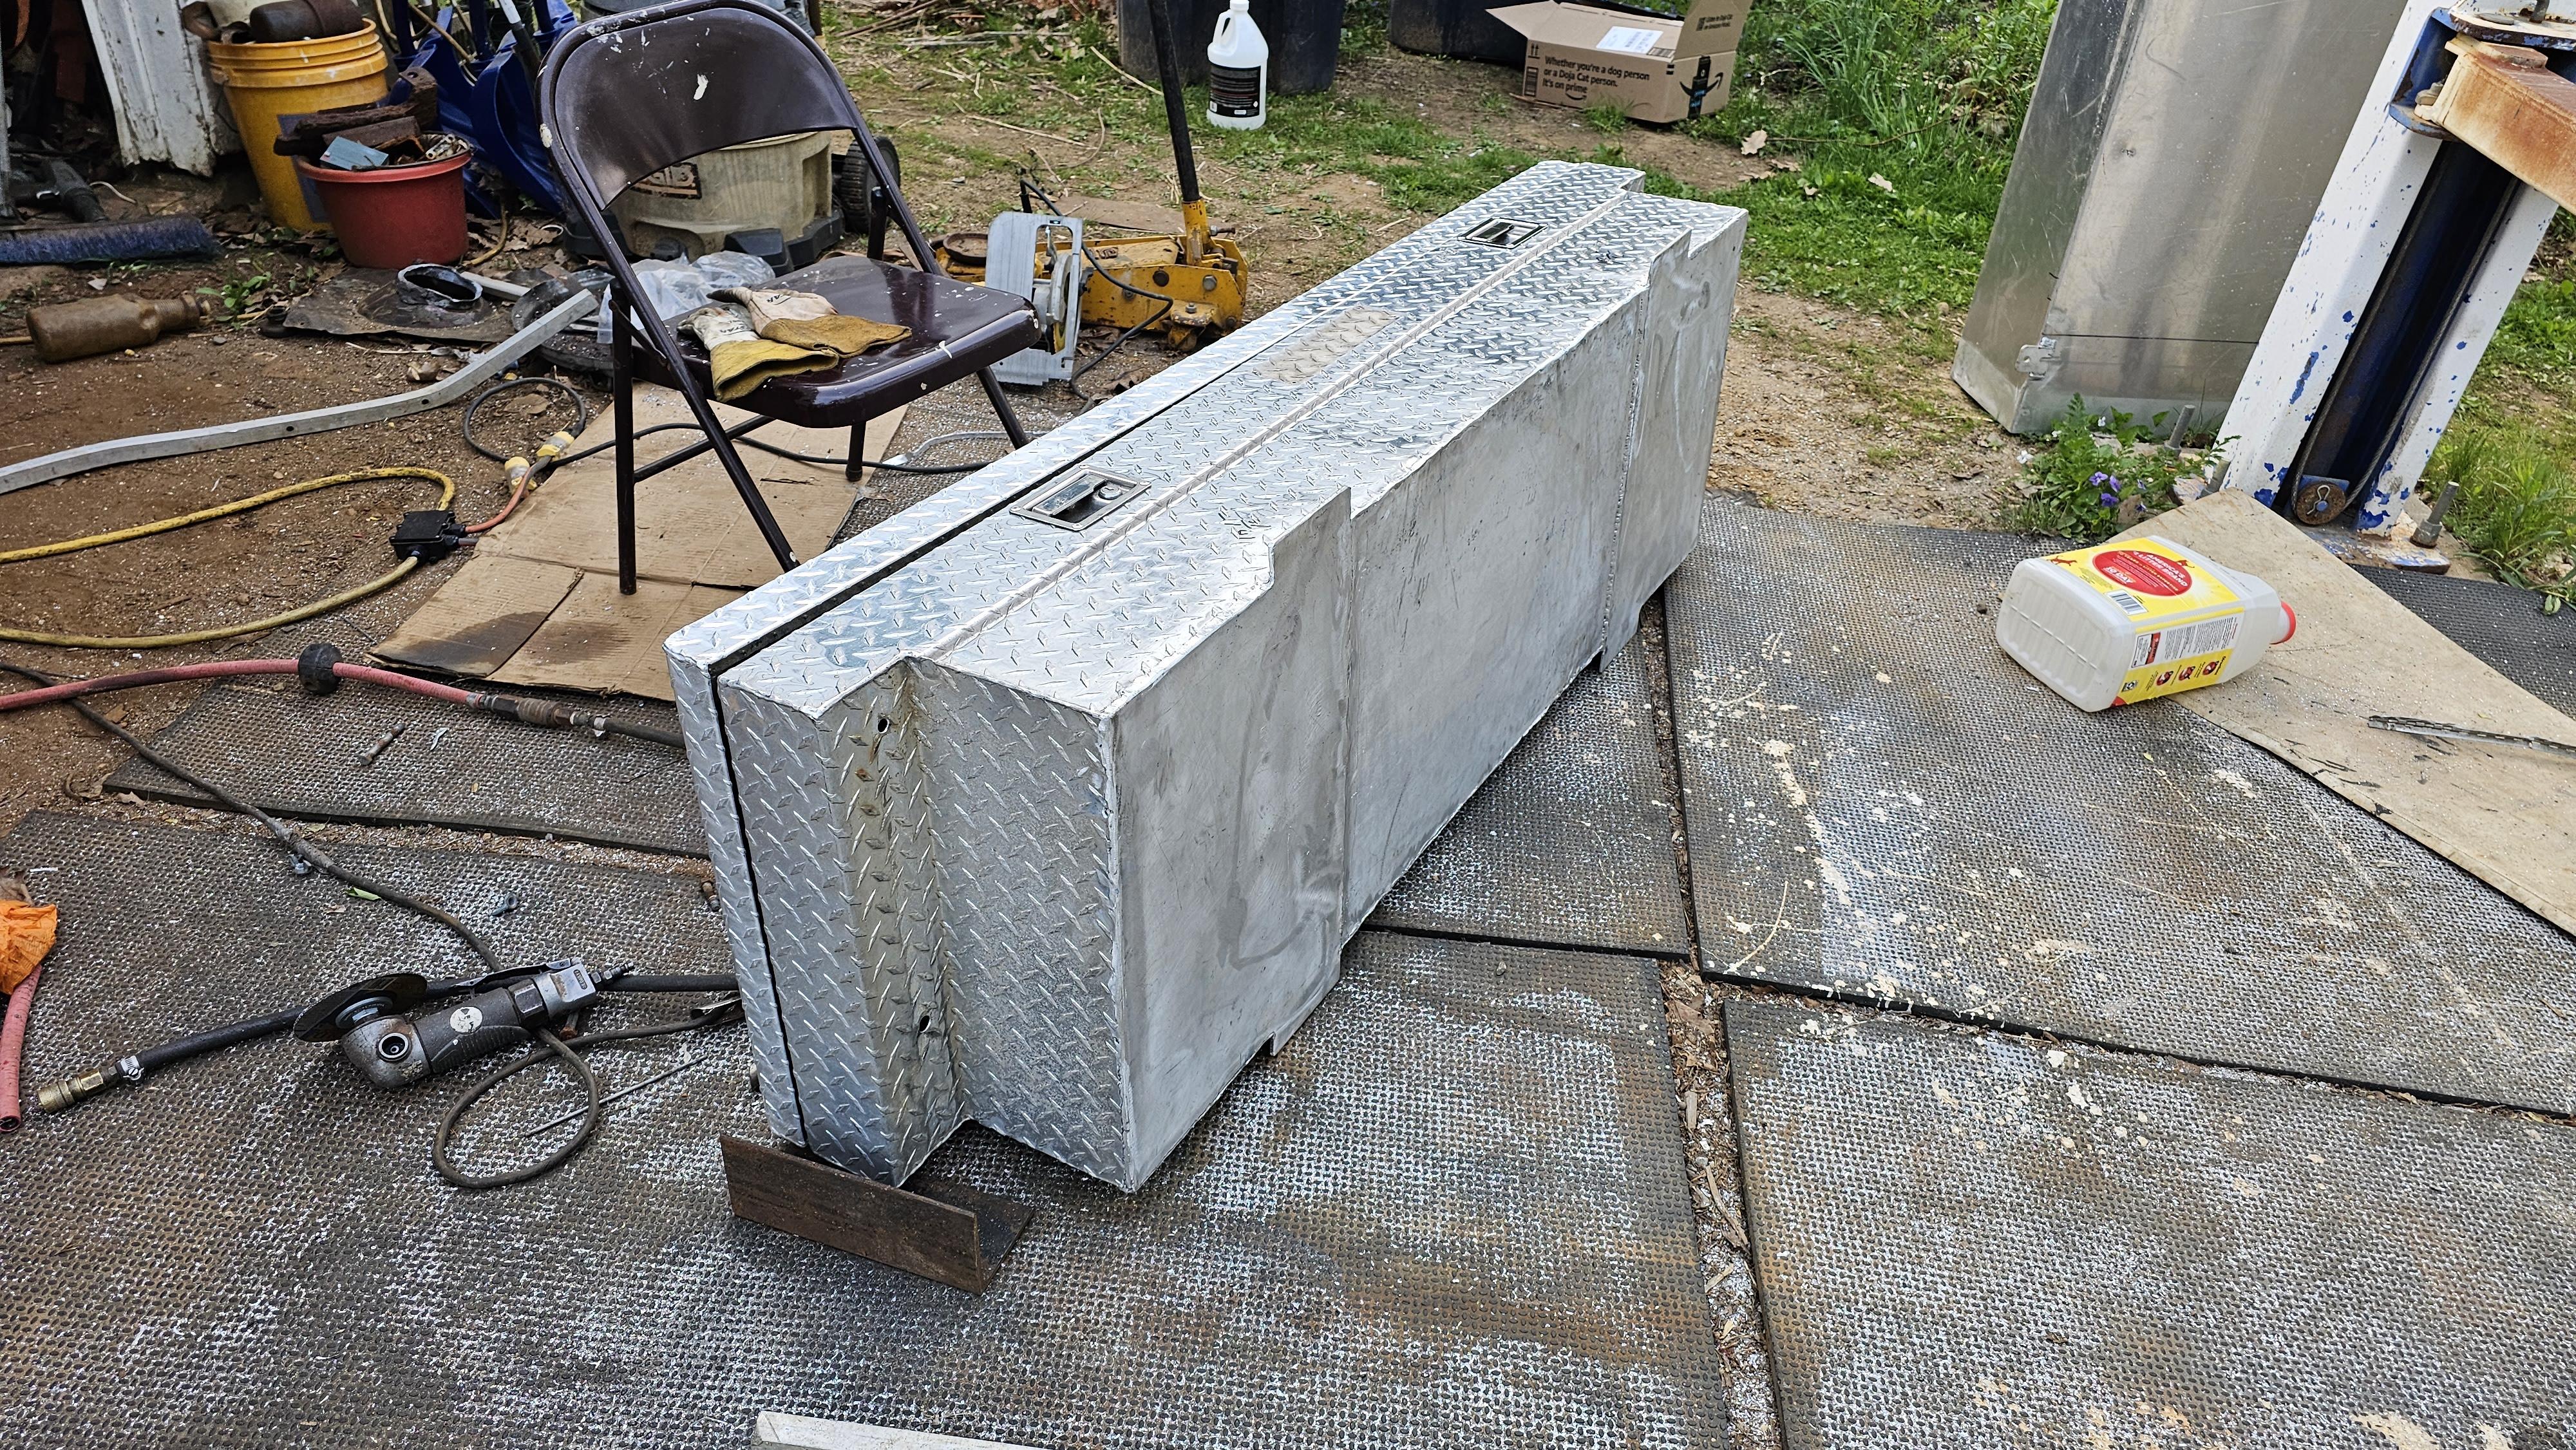
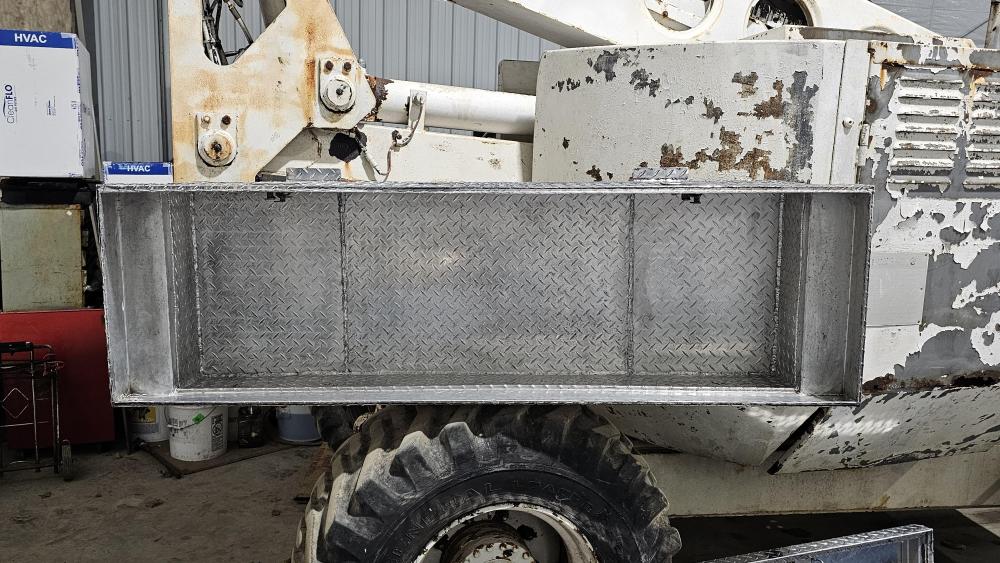
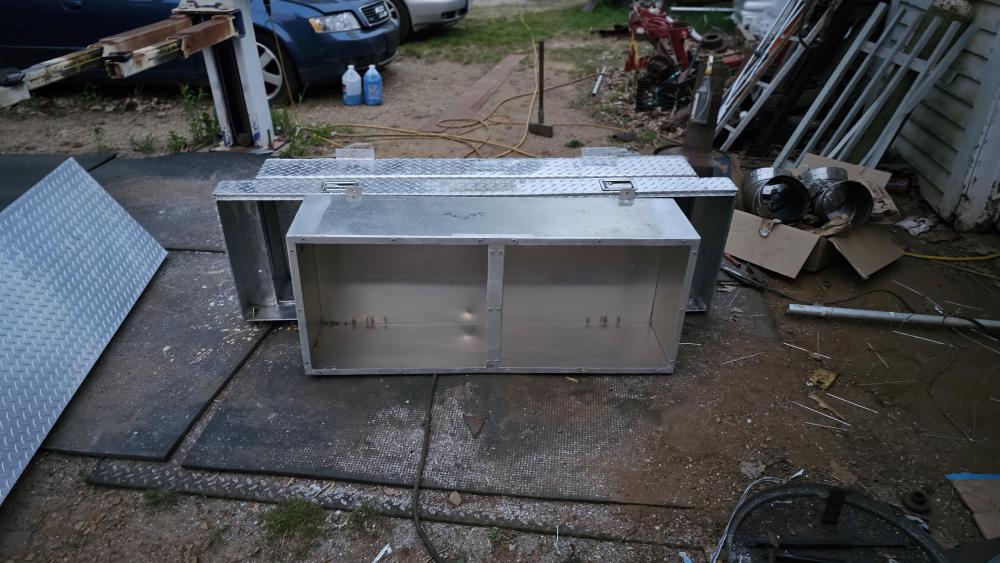
Stainless steel brush for sure. That and acetone.. clean, clean, clean.. I ended up getting some commercial alum cleaner and it works a treat. Nearly done with it. Few more hours. I have alum polish coming too.. It's going to looks cool. You can see its just a tad longer and with the 1/4" diamond plate for the mounting tabs and over 50% of the back it's pretty rugged. Weighs a little more than when I started..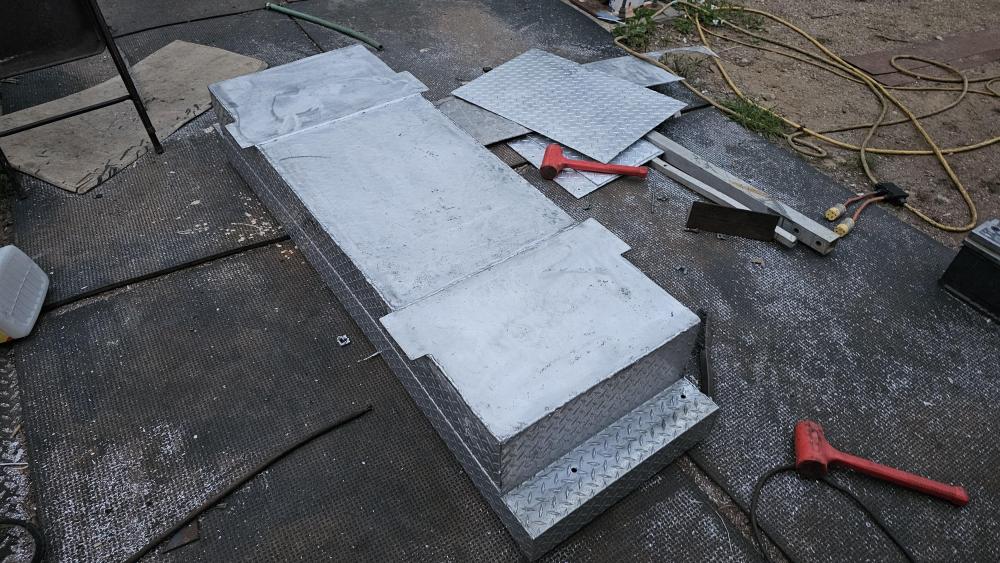
-
JLP Blacksmith Teaching Center.
jlpservicesinc replied to jlpservicesinc's topic in Building, Designing a Shop
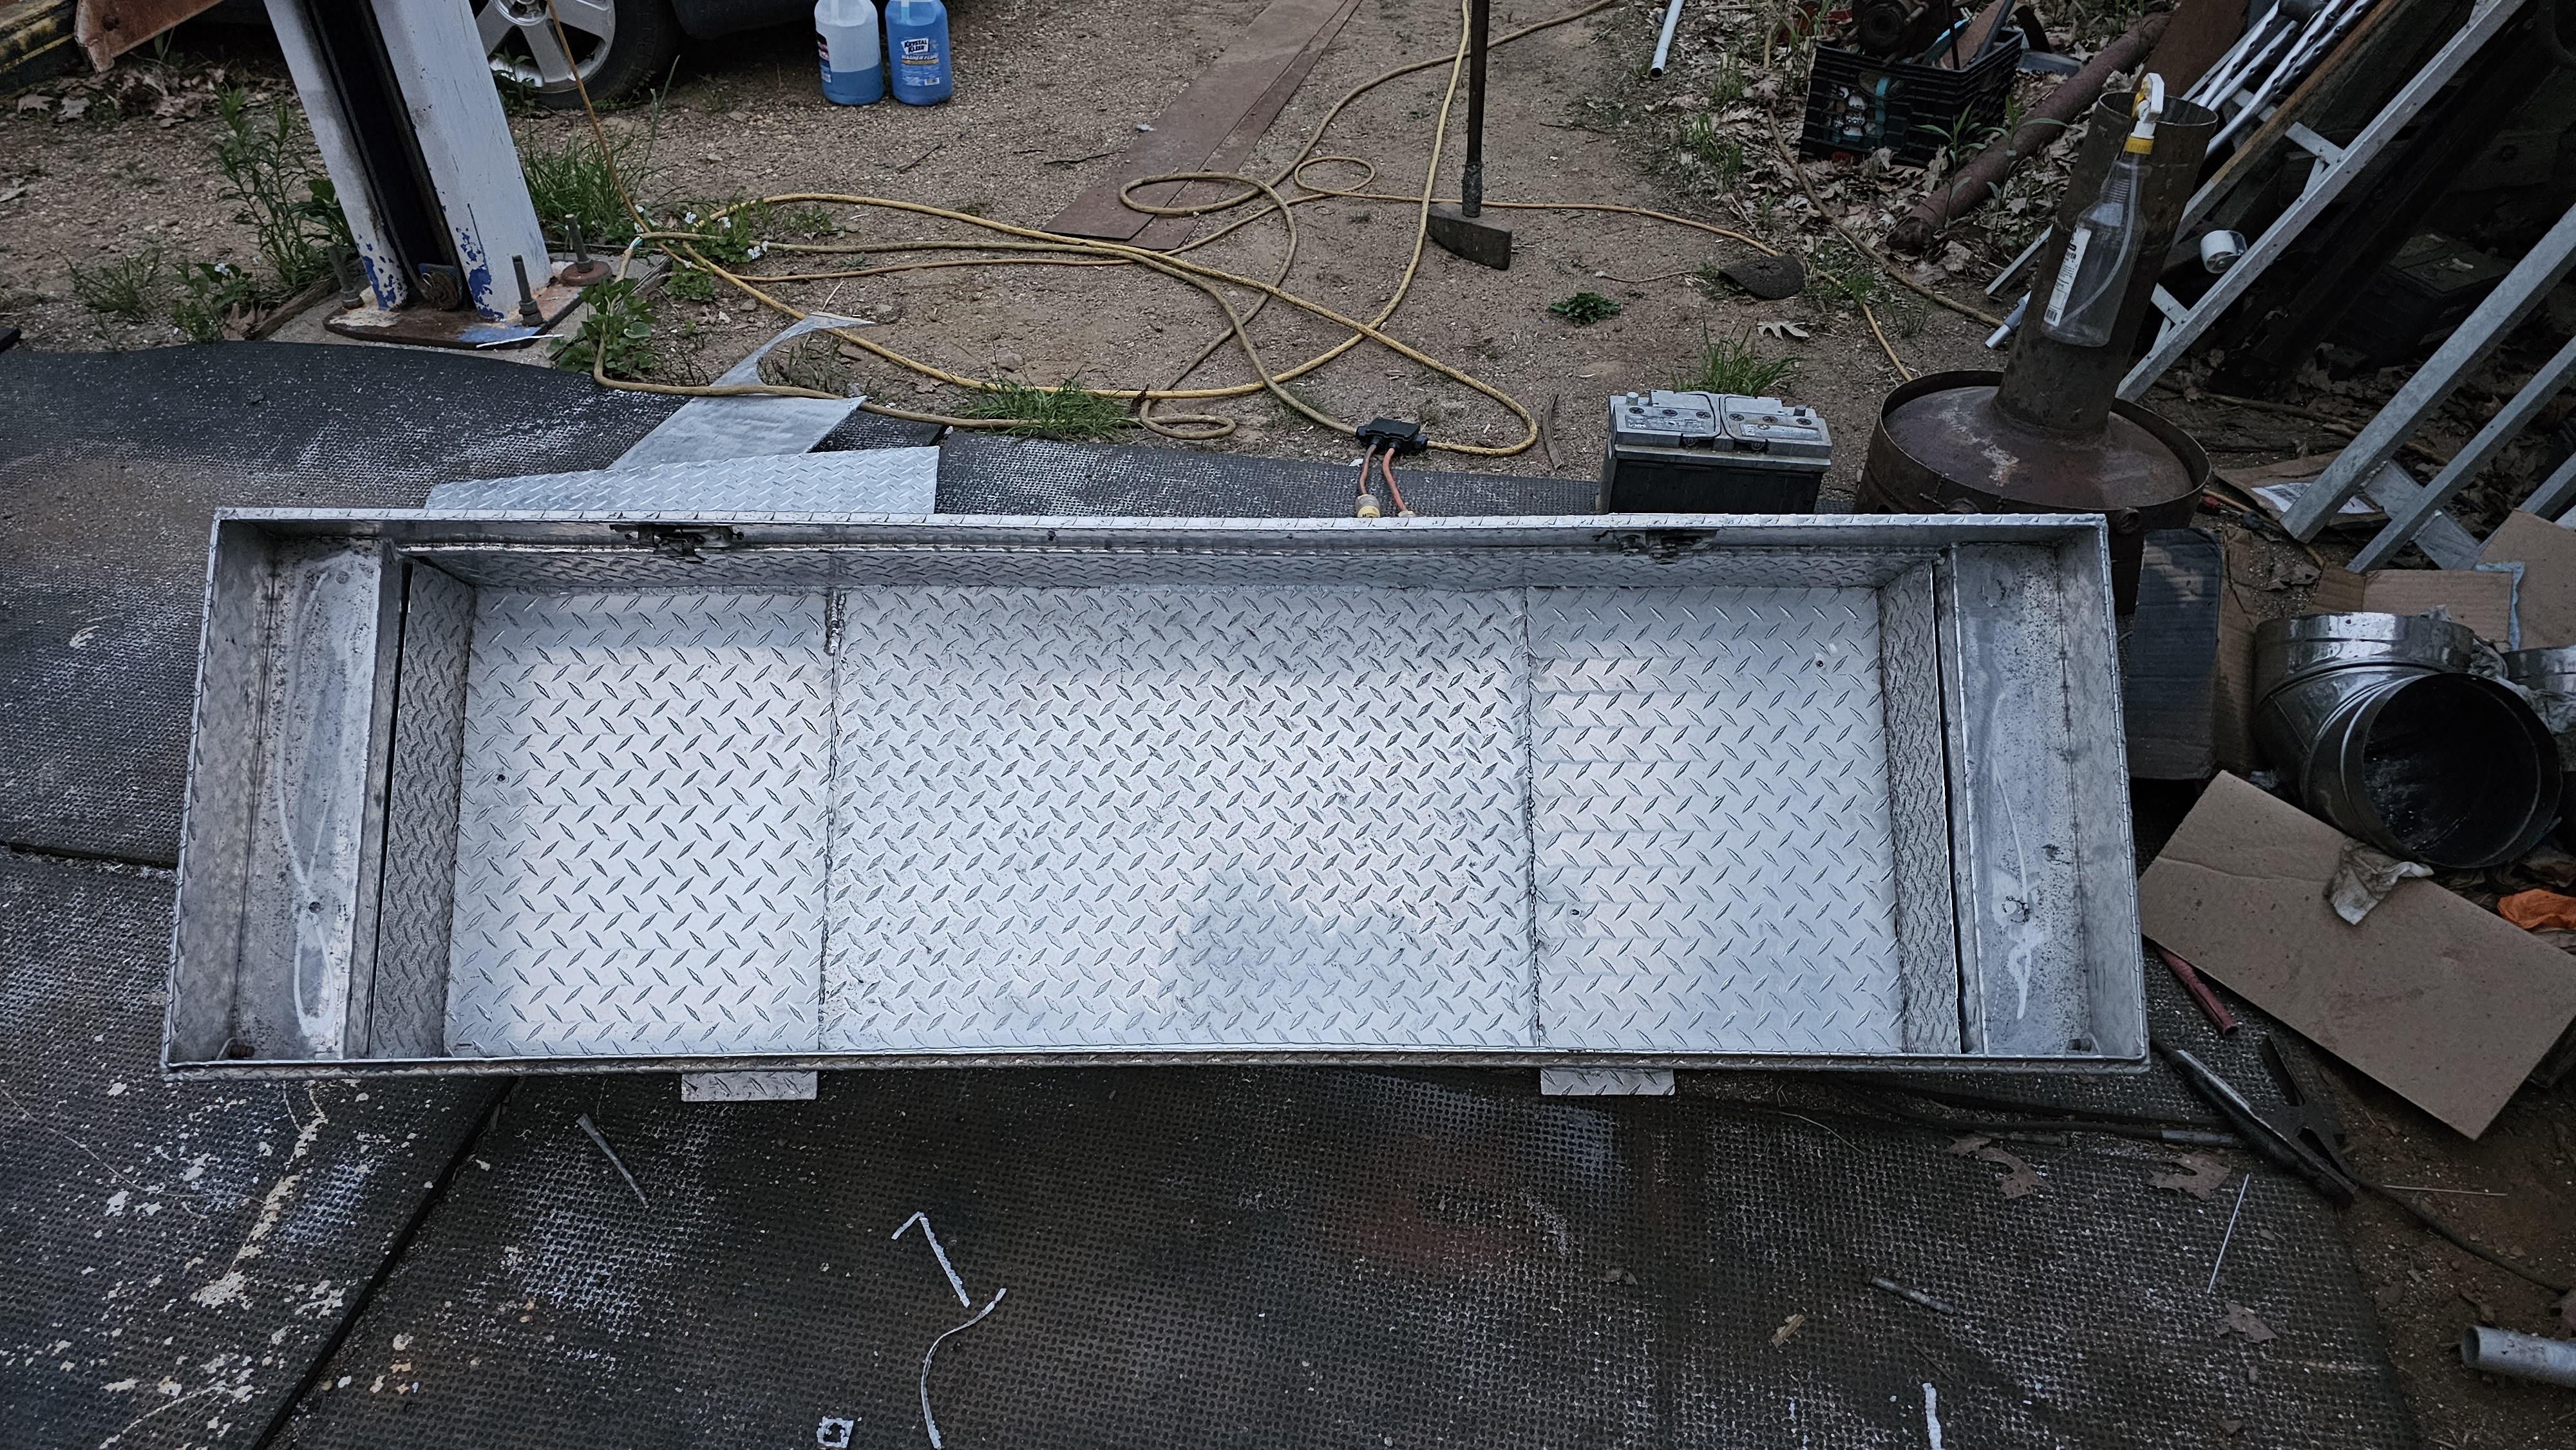
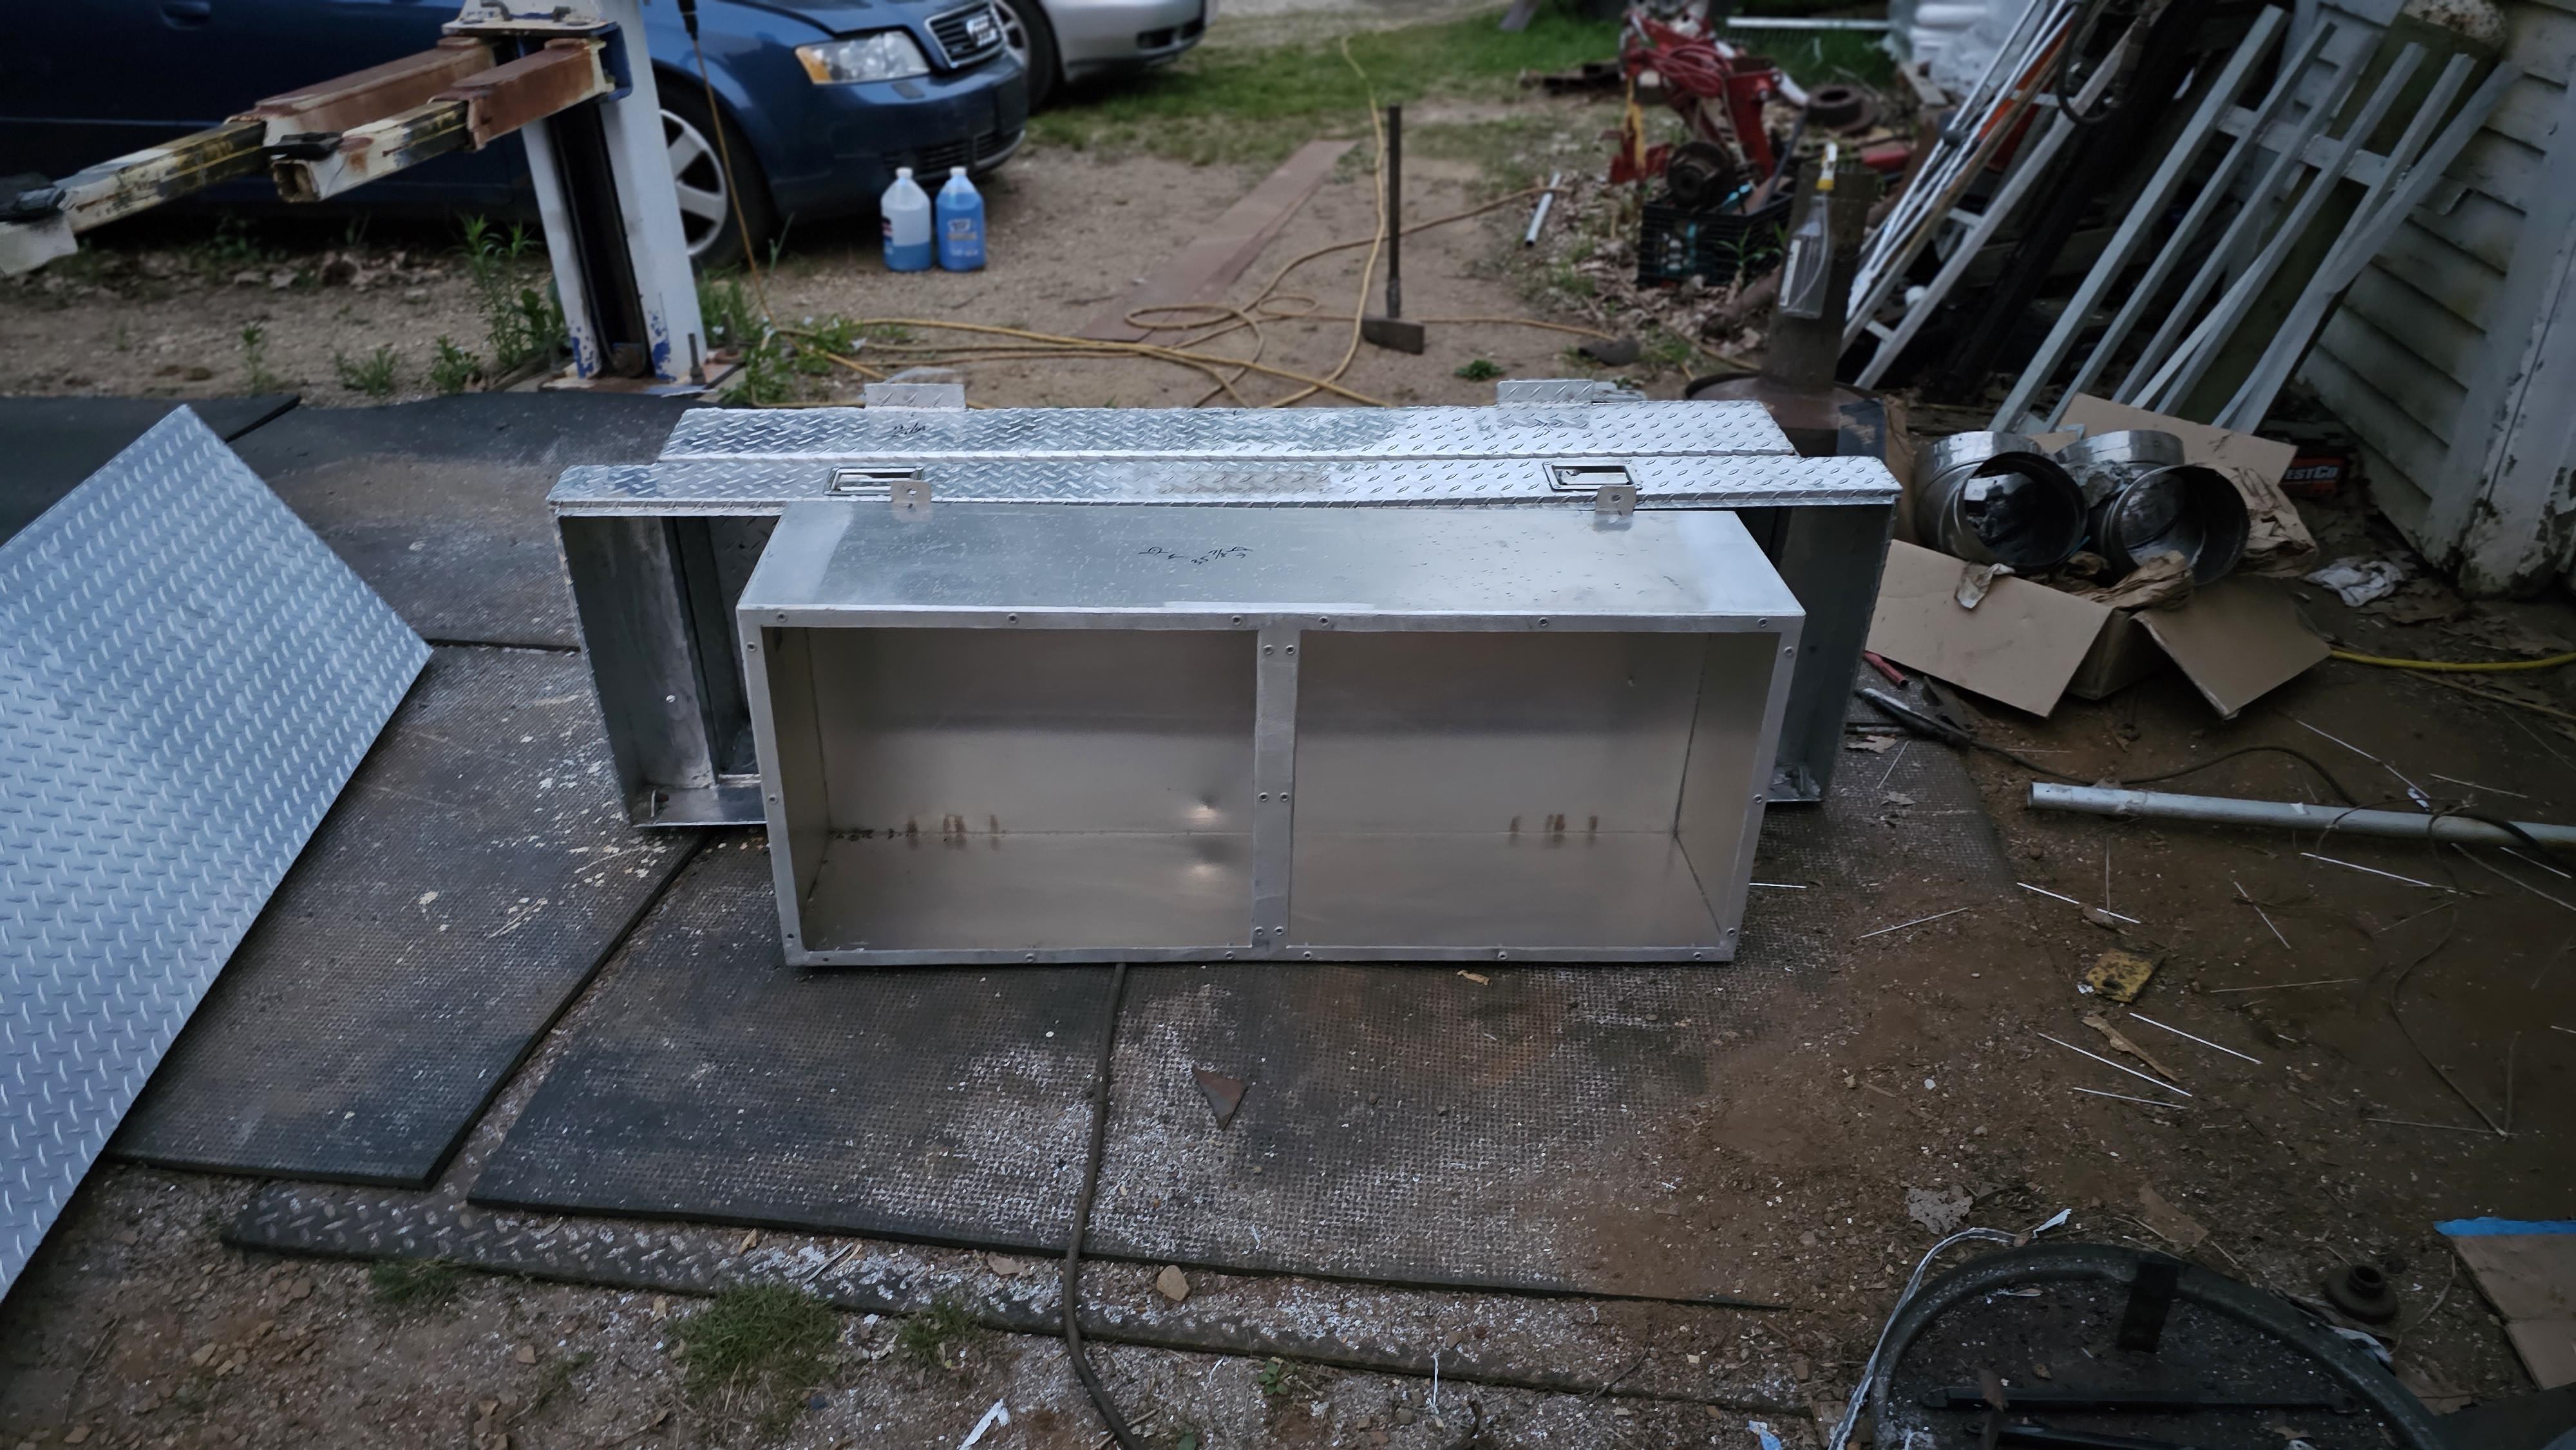
Well after being disgusted by the way it looked I decided to spend the time zhuzhing it up. Well a whole new one with the added benefit of seeing how the original was made. I cut 4.5 " off and added 1/4" diamond plate as the main support plates. This box was 1/16" diamond plate and the factory trough was 1/8". I doubled the 1/16" for the sides and welded it all back together. Little more woek to do but it's coming out decent. Aluminum or I should say used aluminum can be tough to get welded up right.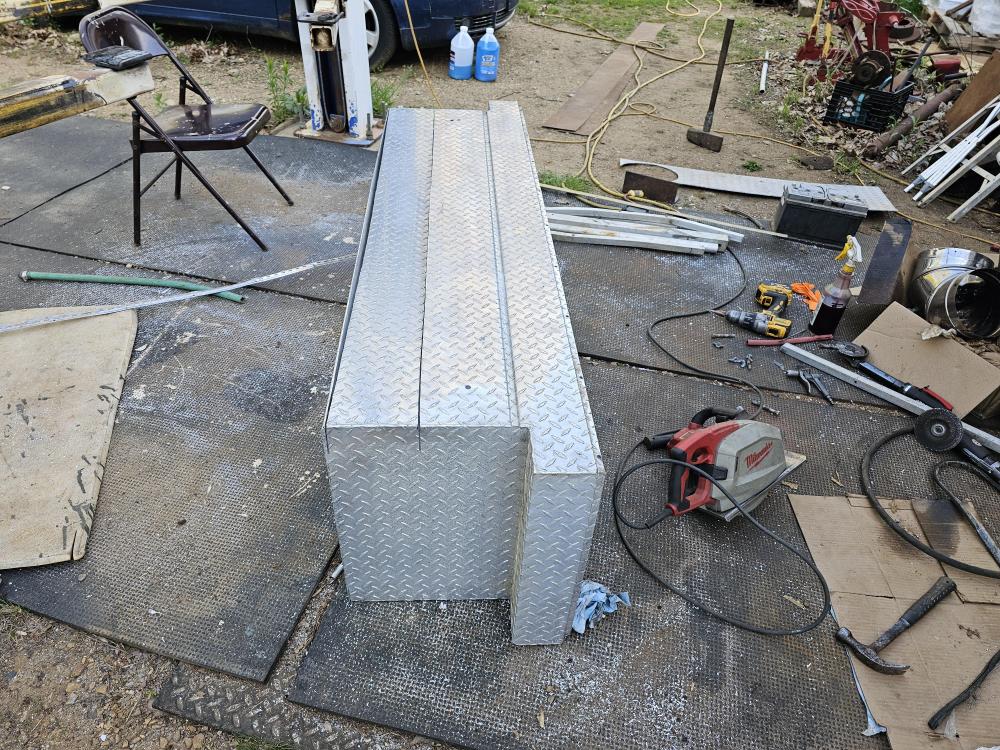

-
Welding cart/torch stand for my oxy-propane rig
jlpservicesinc replied to JHCC's topic in Welding Equipment
That's cool. Great idea. -
JLP Blacksmith Teaching Center.
jlpservicesinc replied to jlpservicesinc's topic in Building, Designing a Shop
LOL.. So true, so true.. -
JLP Blacksmith Teaching Center.
jlpservicesinc replied to jlpservicesinc's topic in Building, Designing a Shop
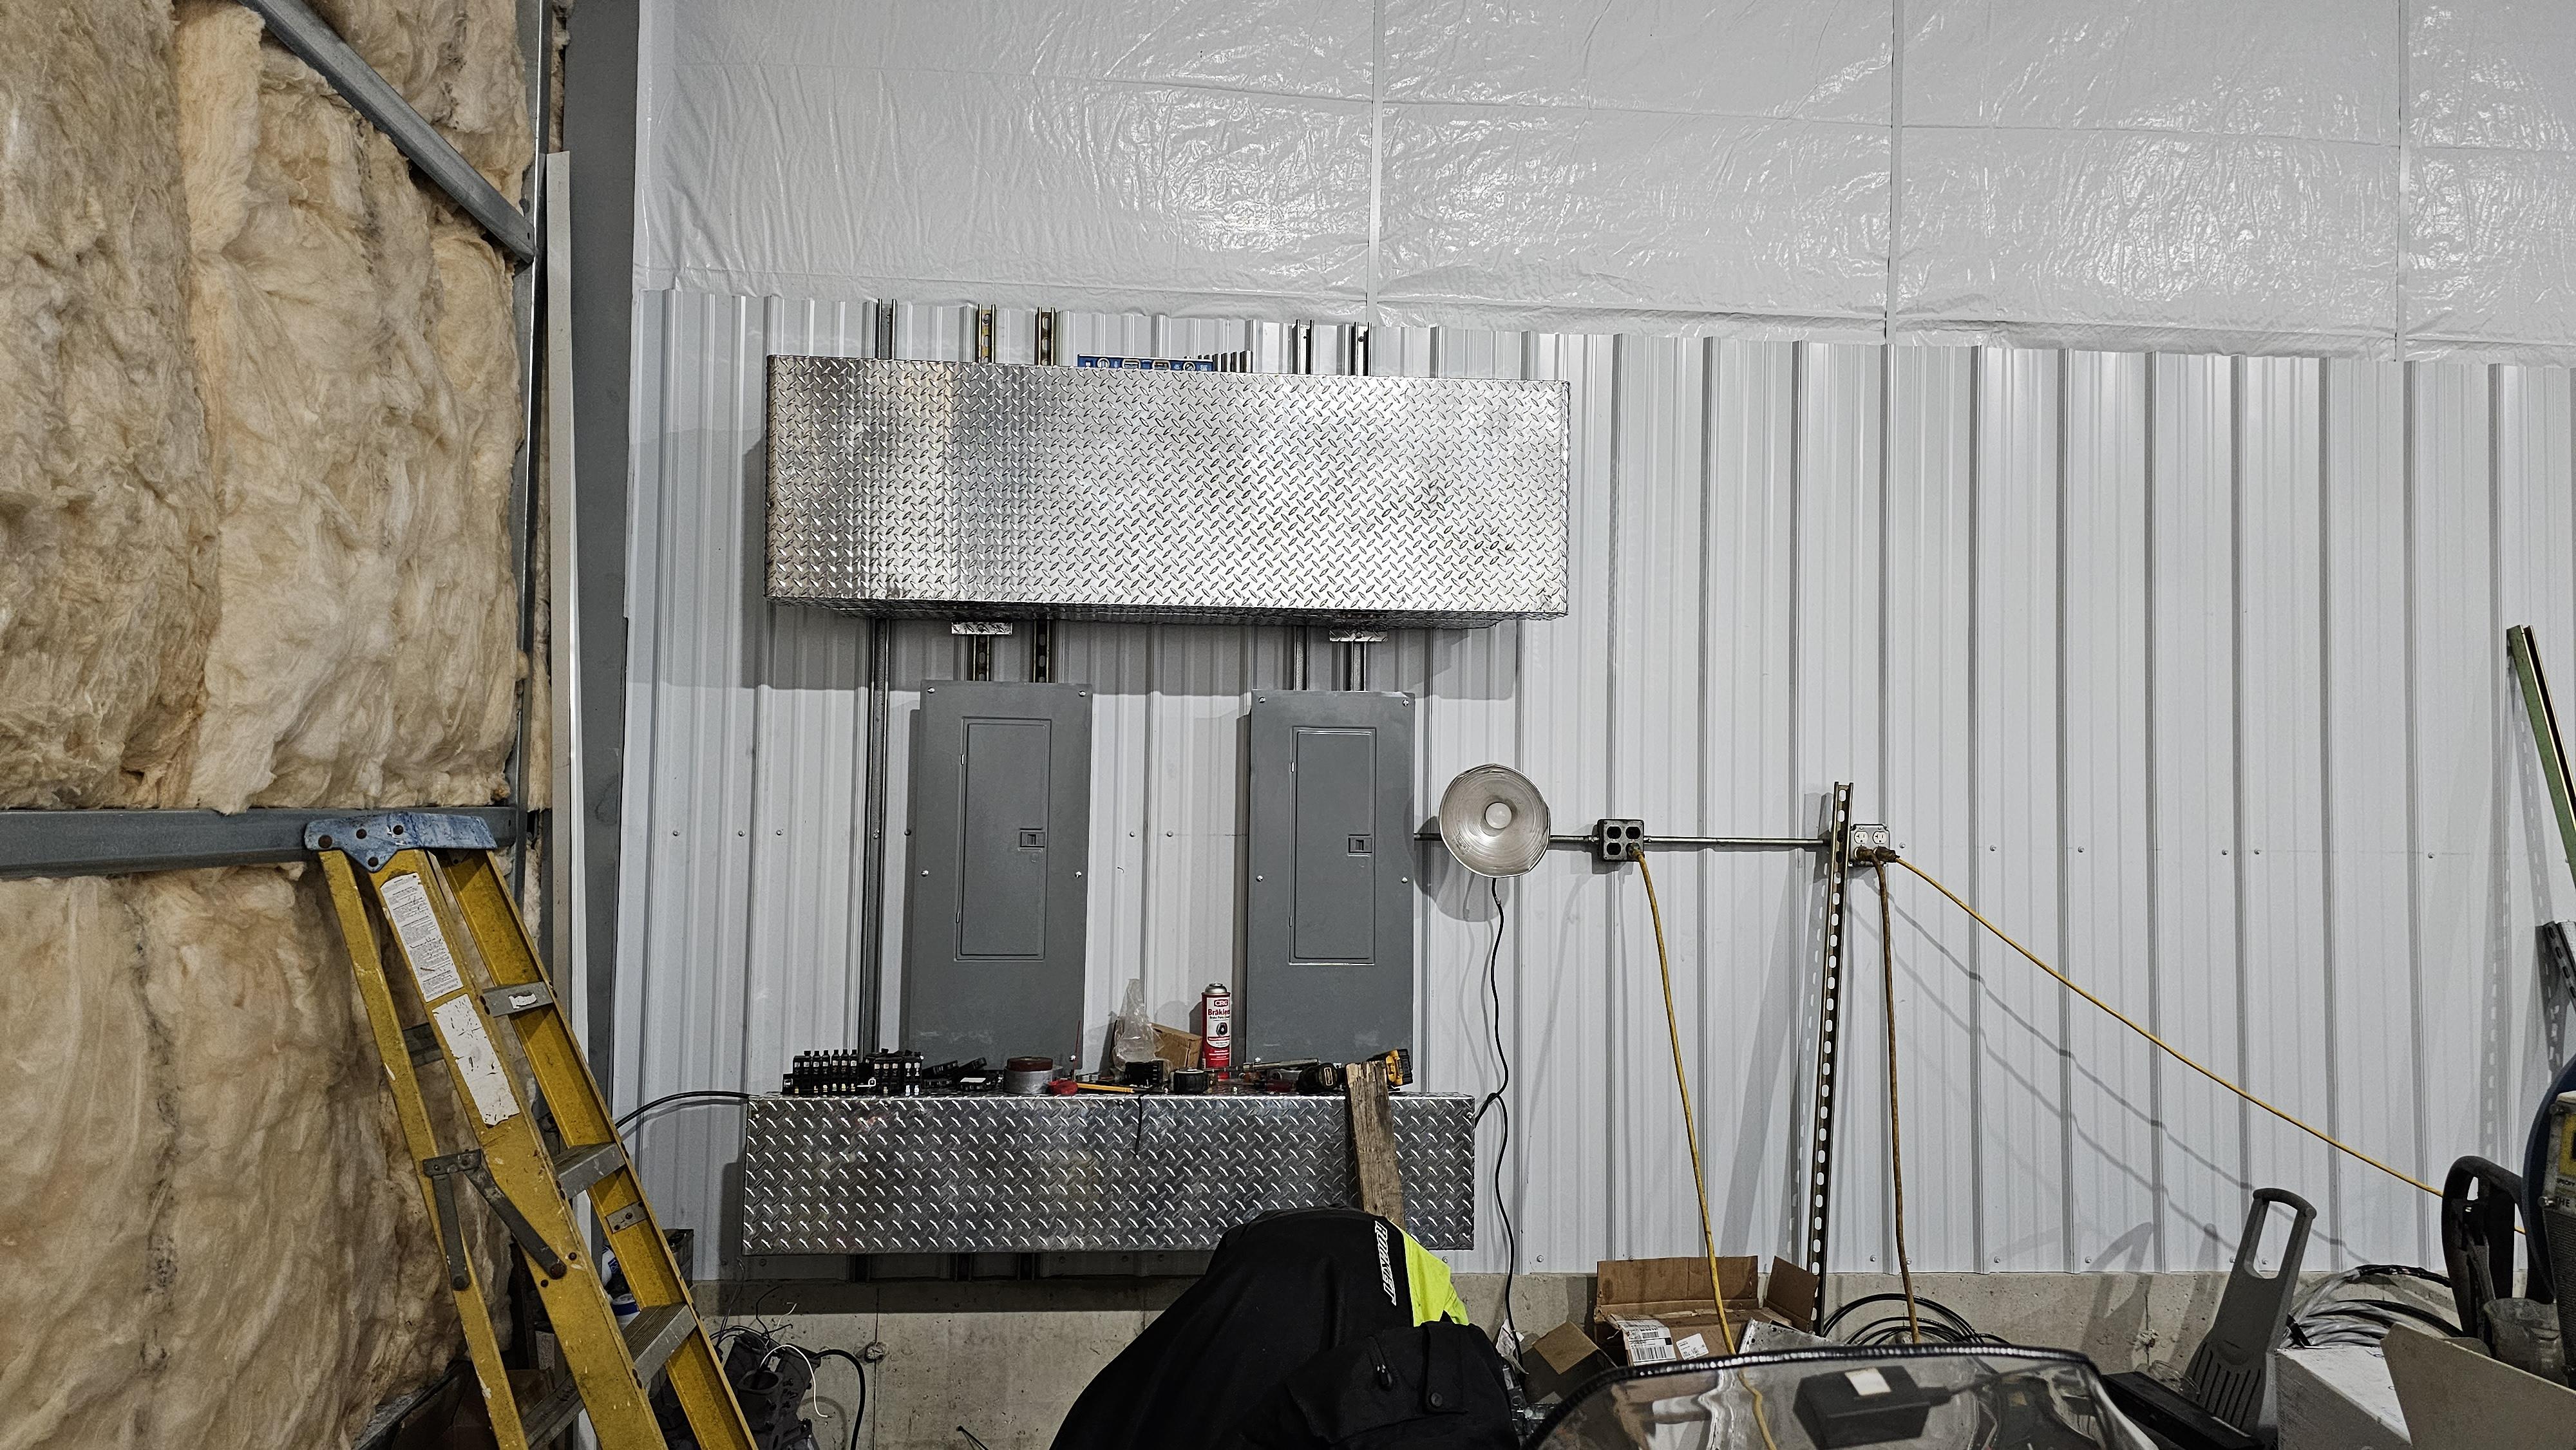
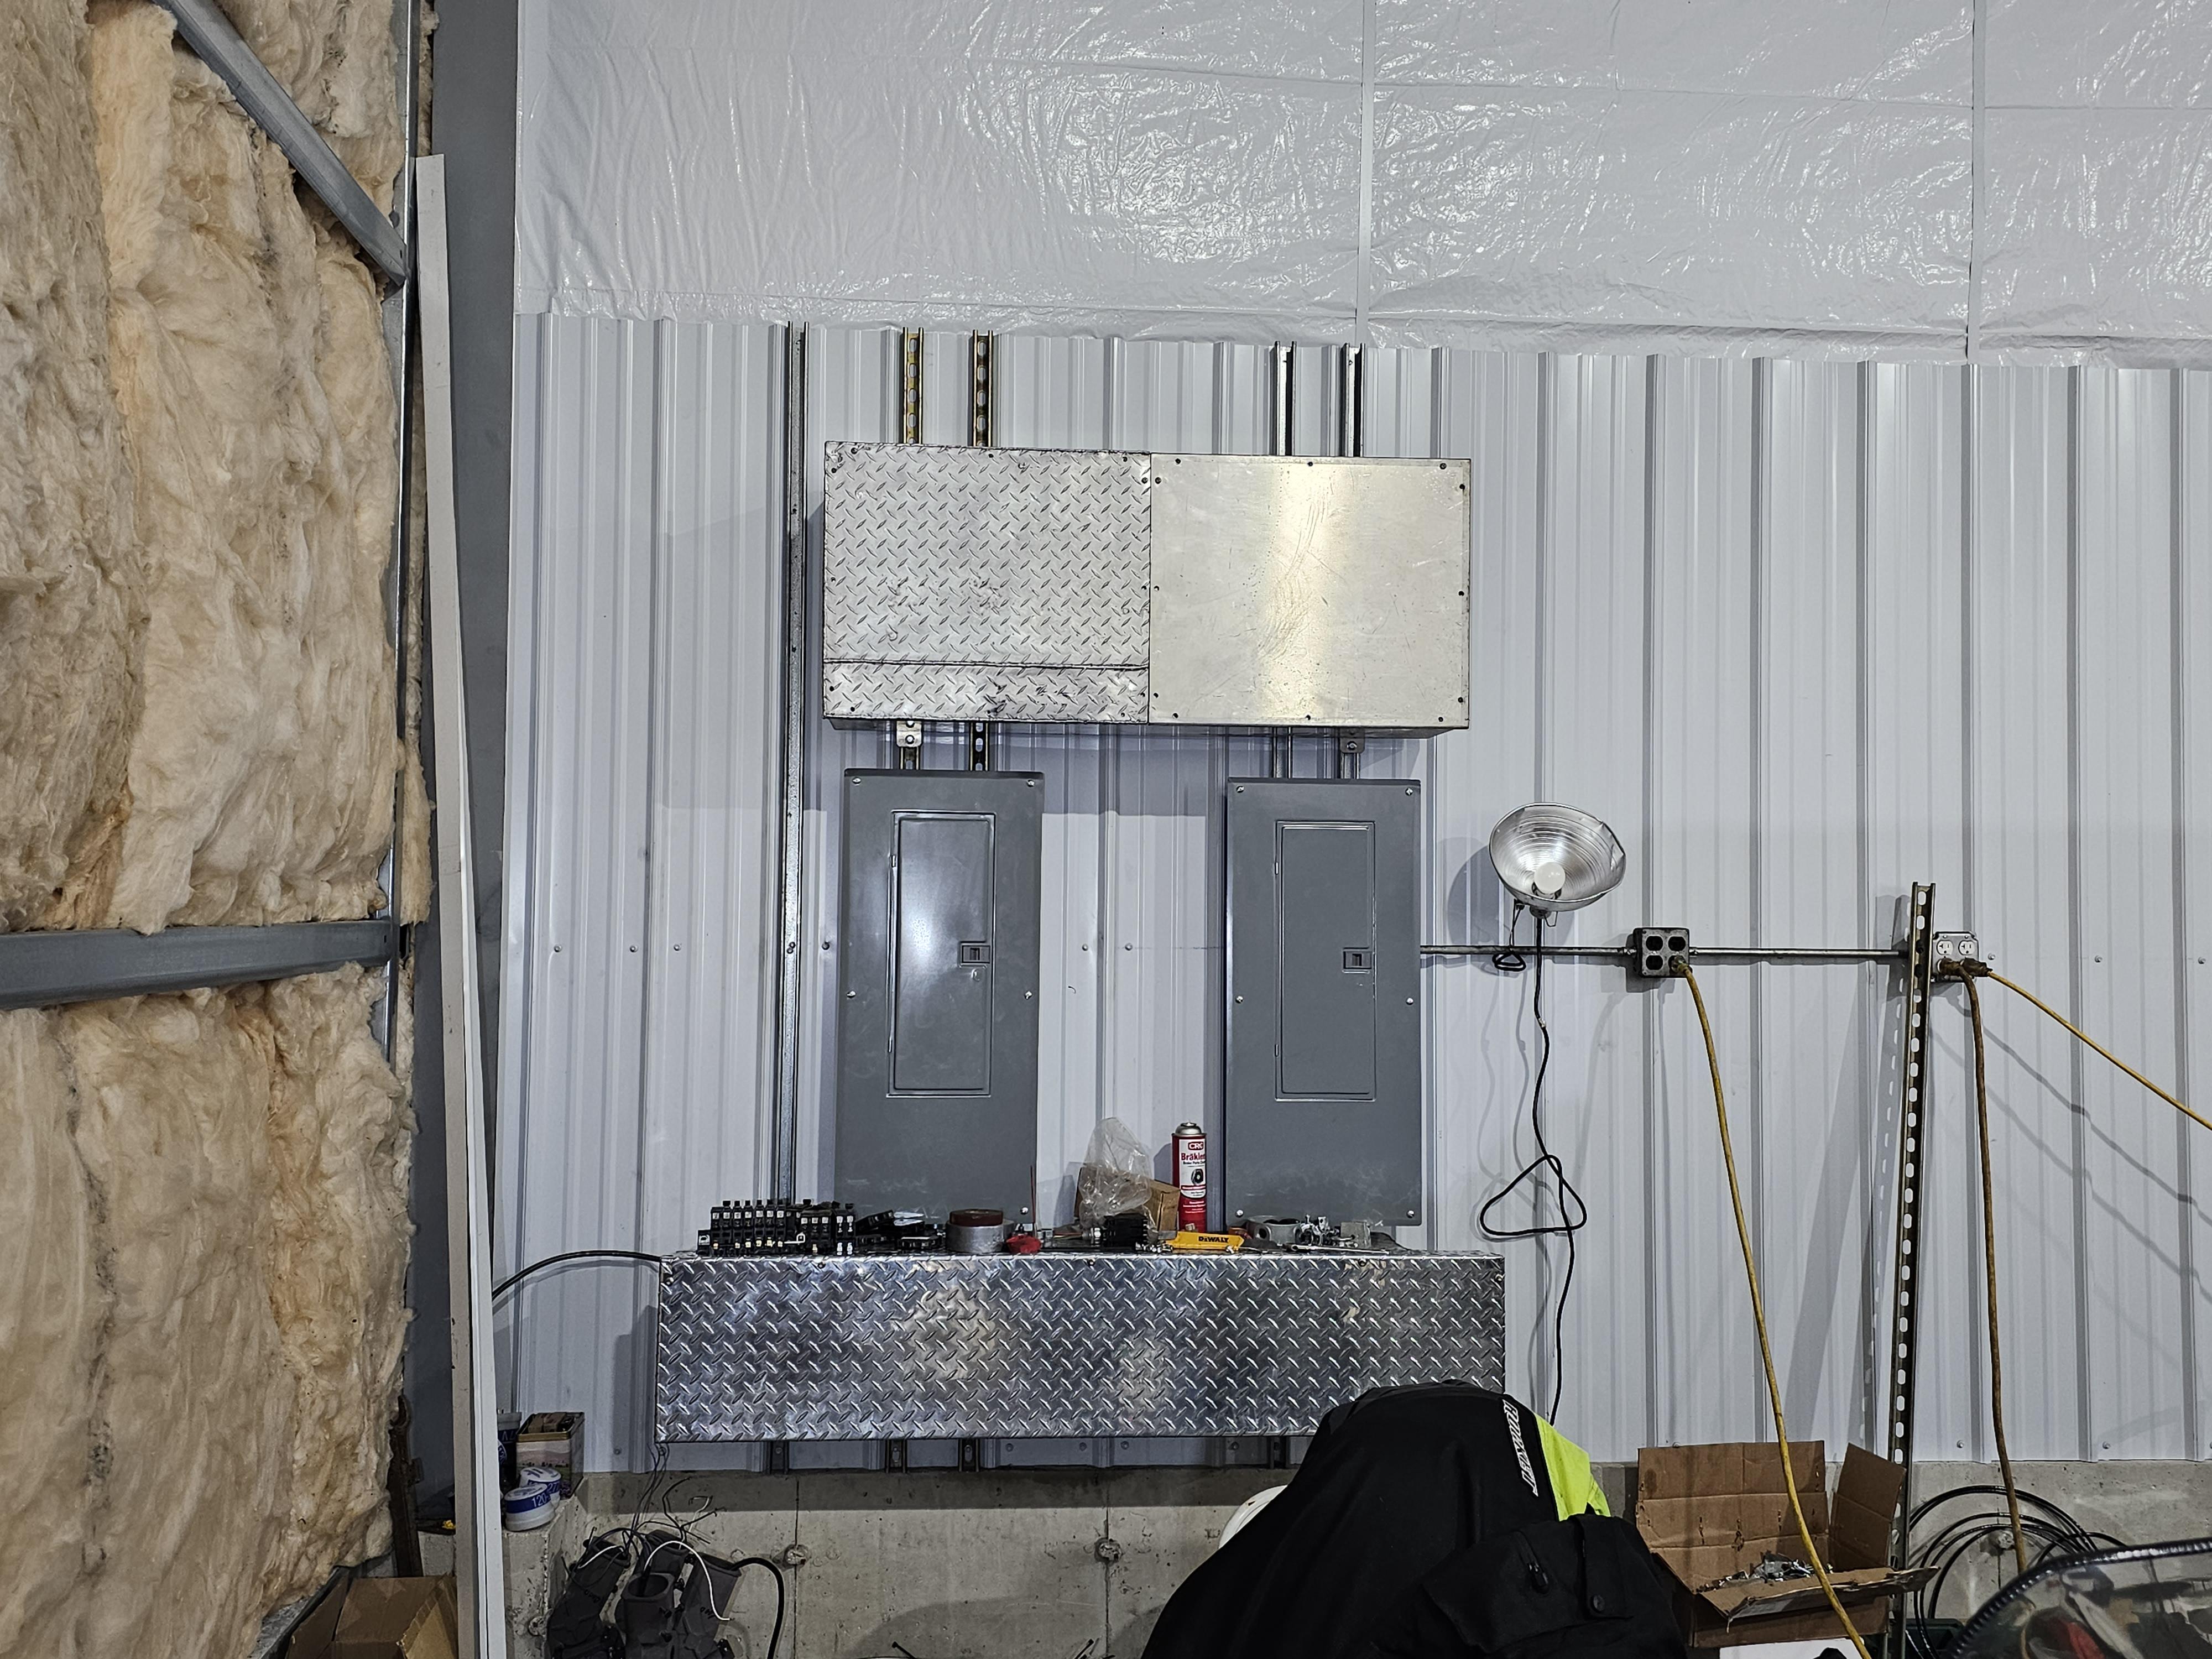
Ok, I didn't express it well enough.. The bottom box is way cool and looks blingy. The electric panels.. Well retro right.. But that top box is rather plain and I thought that with the diamond plate, it would give it some zhoohzz. but I was wrong.. I have the other box and will get it welded up with the correct mounting points and remove the door since it has to be screwed shut. My electrician friend Bence mentioned the lid/door will get in the way of installing wire and such. I also added a new to me Plasma cutter.. a Hypertherm 1650 G3. 100amp plasma (50amps draw at 240V) Yes, yes for sure.. I log the conduit numbers from the wireway/trough as well.. I'll put it in an envelope and tape it to the top of the box. I'm hopeful I won't have to spider the conduit over itself in cross runs. 6 or 7 runs on the left side 2 runs over from left to right. and since I have the 4/0 alum XHHW-2 I was thinking of sub panel on the right hand wall and pull some of the wires from there. -
JLP Blacksmith Teaching Center.
jlpservicesinc replied to jlpservicesinc's topic in Building, Designing a Shop
Was able to get the trough put together and on the wall. I'm not sure I like the way it looks.
-
JLP Blacksmith Teaching Center.
jlpservicesinc replied to jlpservicesinc's topic in Building, Designing a Shop
So I always wanted a hypertherm plasma cutter and since I'm a buy one cry once AKA go big or go home. I found a used hypertherm 1650 G3 and decided to roll the dice since it was not connected and working at time of purchase. The unit when removed from service a few years ago was told it was working. I figured untested I could afford X $$$ as a loss. So took the leap. Loaded it into the car safe drive back and then noticed it has a 50amp 3ph plug. I scrounge thru my 3ph stuff and found a new receptacle matching the plug so had to do some wiring and run conduit and boxes for the outlet. I run my welder on a 50amp 3ph breaker but have it hardwired. So ran the wires from this breaker to the outlet and installed a new plug on the welder. Fired up the phase converter and Shazam, the power lights came on. Since then I've gone and downloaded the owners manual and talked with people in the know. -
What did you do in the shop today?
jlpservicesinc replied to Mark Ling's topic in Blacksmithing, General Discussion
Very nice. Love the design.