
JHCC
-
Posts
19,312 -
Joined
-
Last visited
Content Type
Profiles
Forums
Articles
Gallery
Downloads
Events
Everything posted by JHCC
-
Good. How's the rebound?
-
So, does the anvil's elasticity change as it absorbs heat from the workpieces over the course of the day?
-
Okay, now let's talk about that ASO. Cast iron, I assume? Strongly recommend that you get a chunk of decent steel instead. It doesn't have to look like an anvil: Japanese swords were made on a basic steel block, and lots of folks have had good luck with a chunk of railroad rail or a truck axle stood on end. Even a big sledgehammer head set in concrete would be okay.
-
You don't need a weatherman to see which way the wind blows. Besides, any way the wind blows, doesn't really matter to me.
-
Preferably before mounting it on a stand.
-
Hard to see in the photo. What is it that's stuck in there? I'd be cautious of anything that might spoil the temper of the hardened steel plate. If this were mine, I'd hit it with penetrating oil first, then see if punching can dislodge it. If not, drilling and punching out the fragments might be a good way to go.
-
And the three legs are essentially identical (apart from needing different beveling on the flanges), so easier to mass produce. If you have a flat top plate instead of I-beam, you can simply cut that to shape, weld it on, and drill bolt holes to mount the anvils in place.
-
If it's rancid, it's not seasoning; it's just leftover oils. Scrub vigorously with hot water and a little detergent to get the unpolymerized gunk out. If you want to remove the seasoning, oven cleaner (such as Easy-Off) is good, especially if you seal the pan up wet in a plastic bag after spraying and let it sit for 24 hours. Sandblasting also works well. I know people who've put their cast iron in the oven and run a cleaning cycle, but there's some small risk of warping. Whatever you do, I always recommend sanding down the bottom of the pan. The smoother the surface, the easier it is to season and the slicker the seasoning layer will be.
-
I believe California artist-blacksmith Heather McLarty (one of Alfred Habermann's students) forges out of a teepee as well.
-
Thank you! (And to think folks accused me of overbuilding....)
-
There was a thread last May started by a guy who had a very thick top plate into which he'd milled the tool holders. Check it out, especially the photos in the first post.
-
The top of my stand is a piece of the same I-beam, notched in the corners to fit around the anvil's feet. I don't think it's superior to angle iron, certainly, but it certainly made a difference in fabrication, as I could run welds along the entire width of the legs' flanges and webs where they intersected with its underside. (And given my significant inexperience with welding, that was a very good thing.) That gave the whole thing a lot of resistance to torquing under load.
-
That's the height of my current stand. With a solid block of steel, I wouldn't have to worry about leg design!
-
If money was no object, 24"!
-
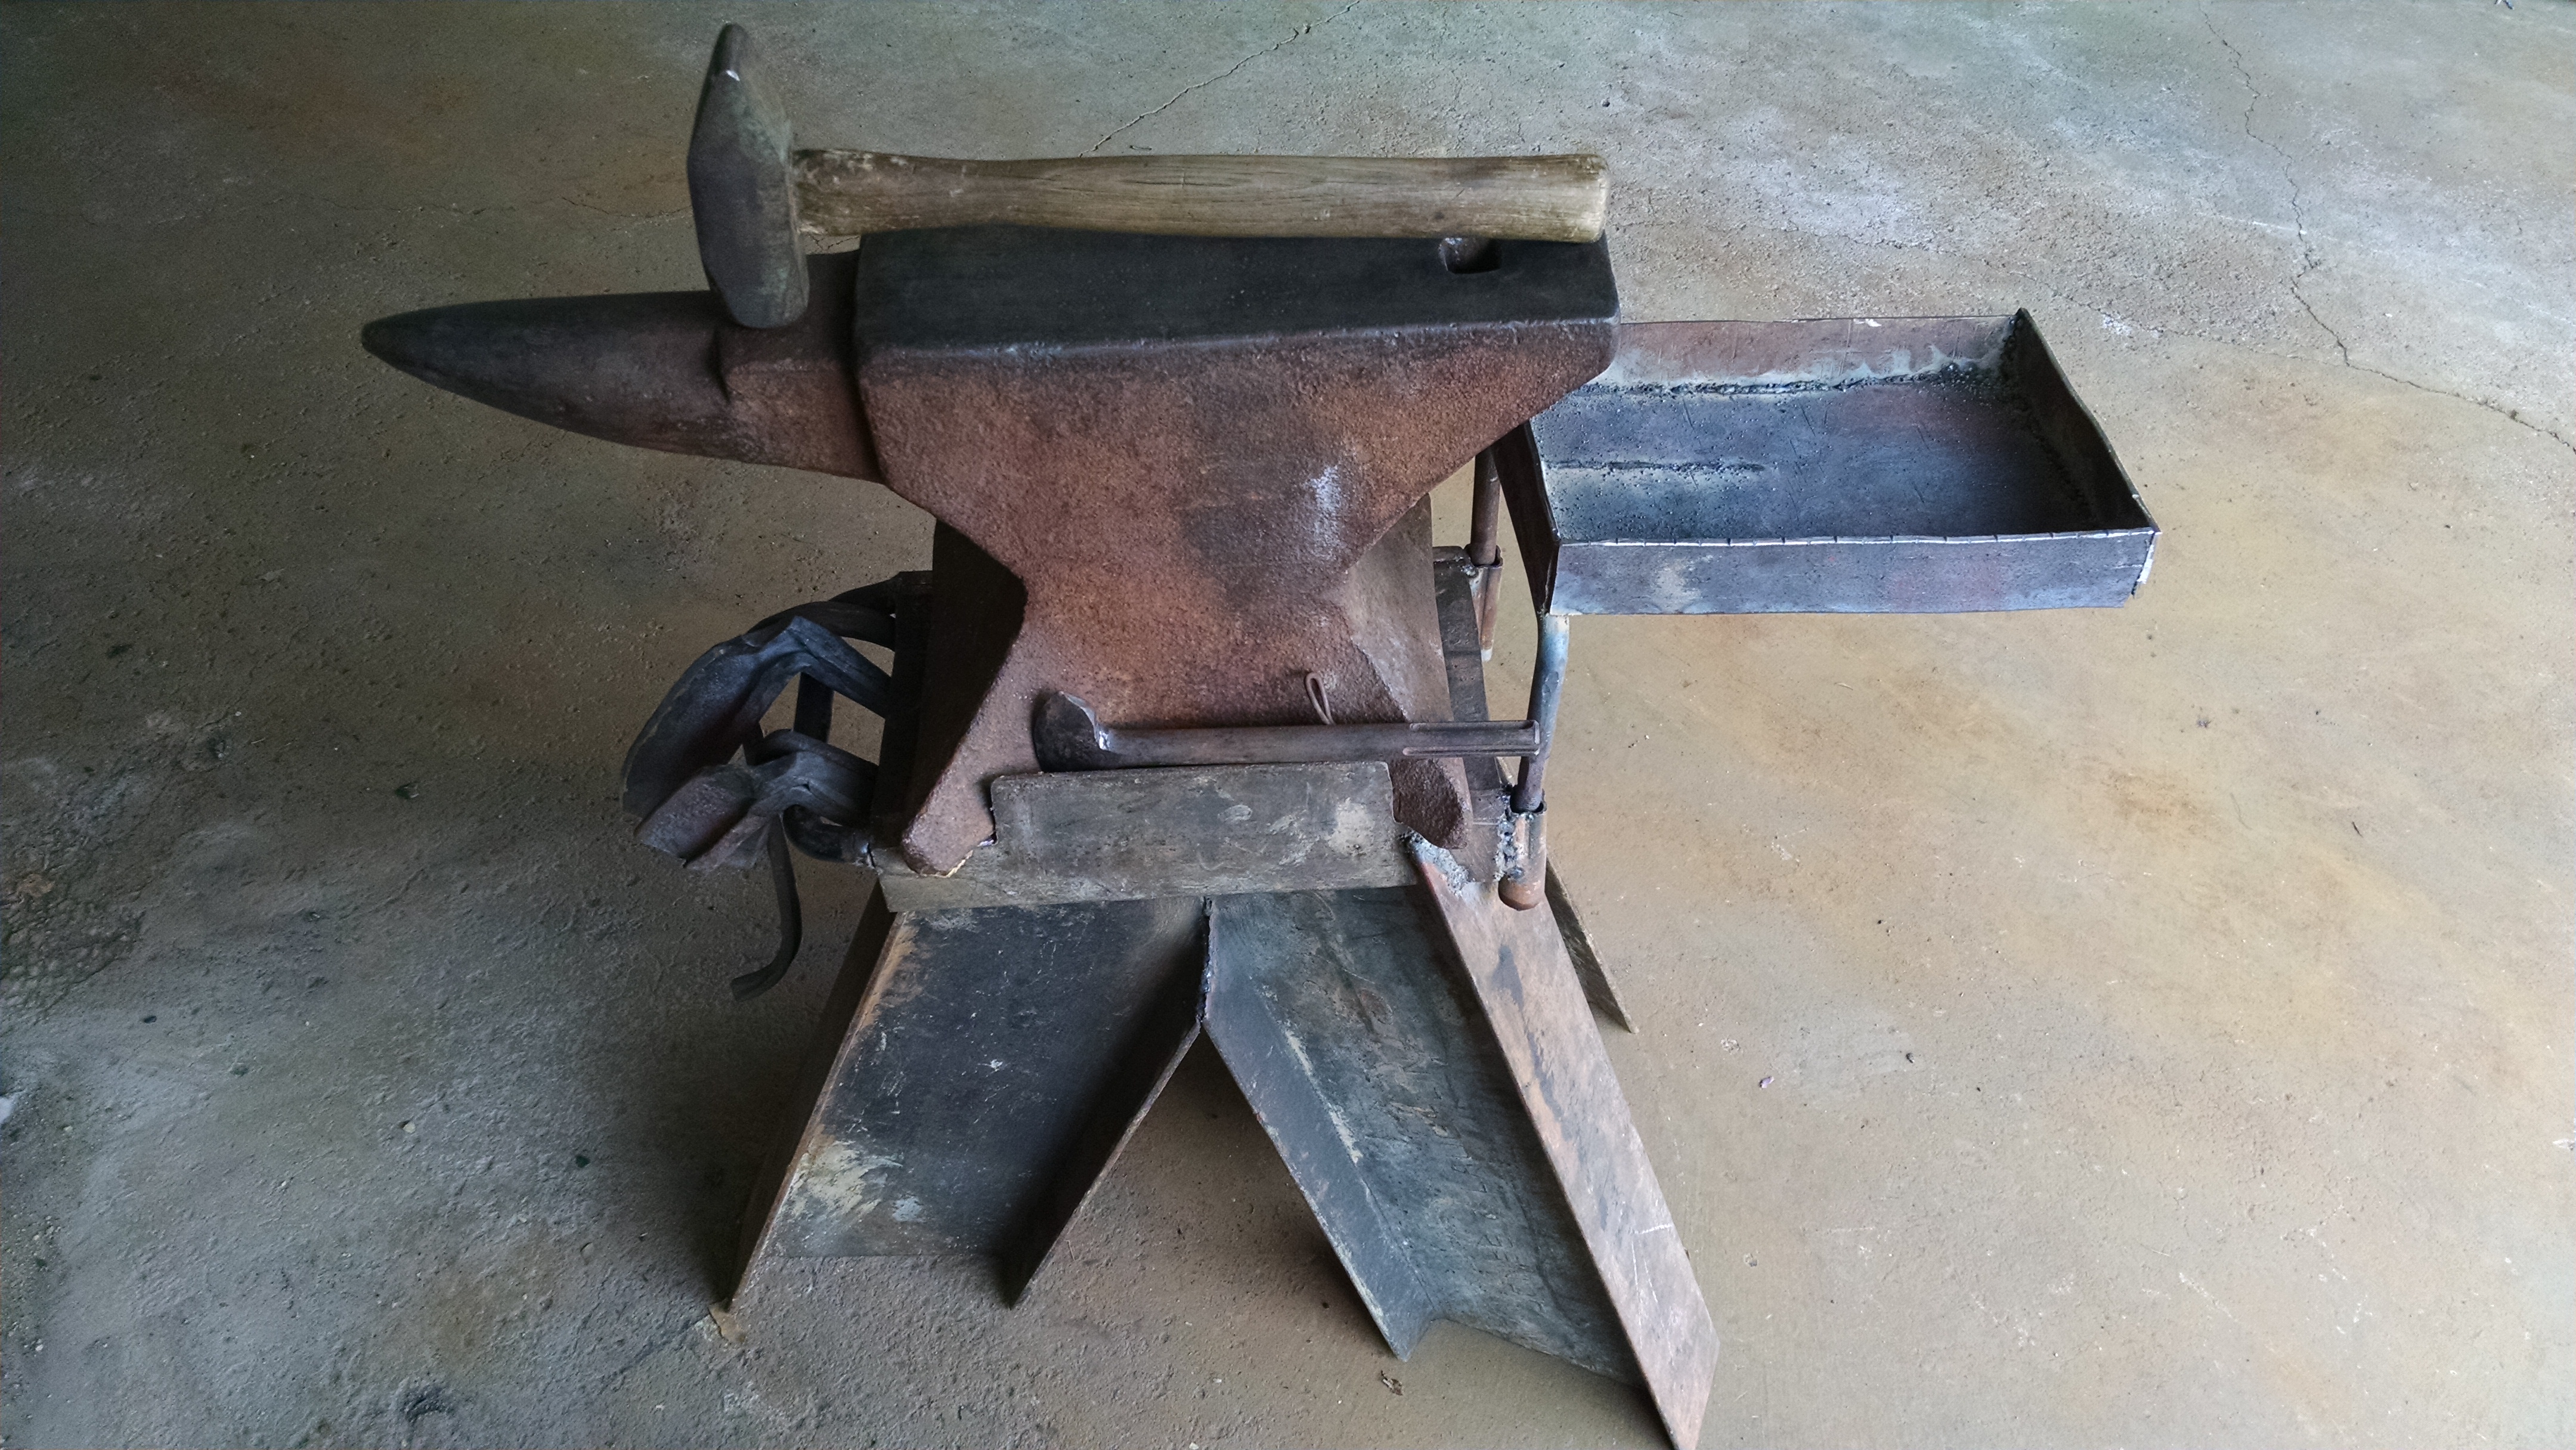
Excellent score. I have a practically identical 148 lb. Mousehole (AKA "The King of Anvils") that has served me well for over thirty years. Use it in good health.
-

What did you do in the shop today?
JHCC replied to Mark Ling's topic in Blacksmithing, General Discussion
Sorry, "wildly". Yes, even the Grammar Hammer makes the occasional typo. -
What did you do in the shop today?
JHCC replied to Mark Ling's topic in Blacksmithing, General Discussion
@EJRailRoadTrack: no, he's on the autism spectrum with attention deficit, and he was very distracted yesterday. He actually was doing pretty well for a while with the hammer he calls "The Mastadon", which is a 16 lb. Atha stonecutter's maul on a short(ish) handle. (His accuracy is pretty good, and he gets decent striking force with a comparatively gentle swing. He doesn't do as well with a lighter hammer, because it's easier for him to swing windly.) He just hit the wall after about 6-8 heats, and it was safer for everyone to send him back inside. -
What did you do in the shop today?
JHCC replied to Mark Ling's topic in Blacksmithing, General Discussion
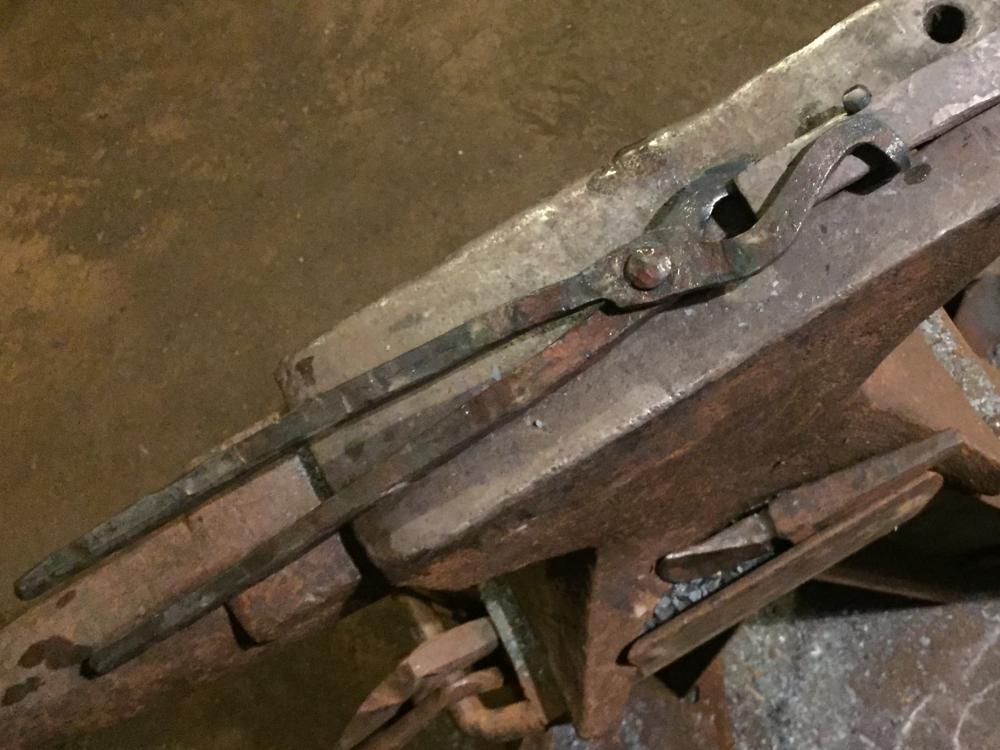
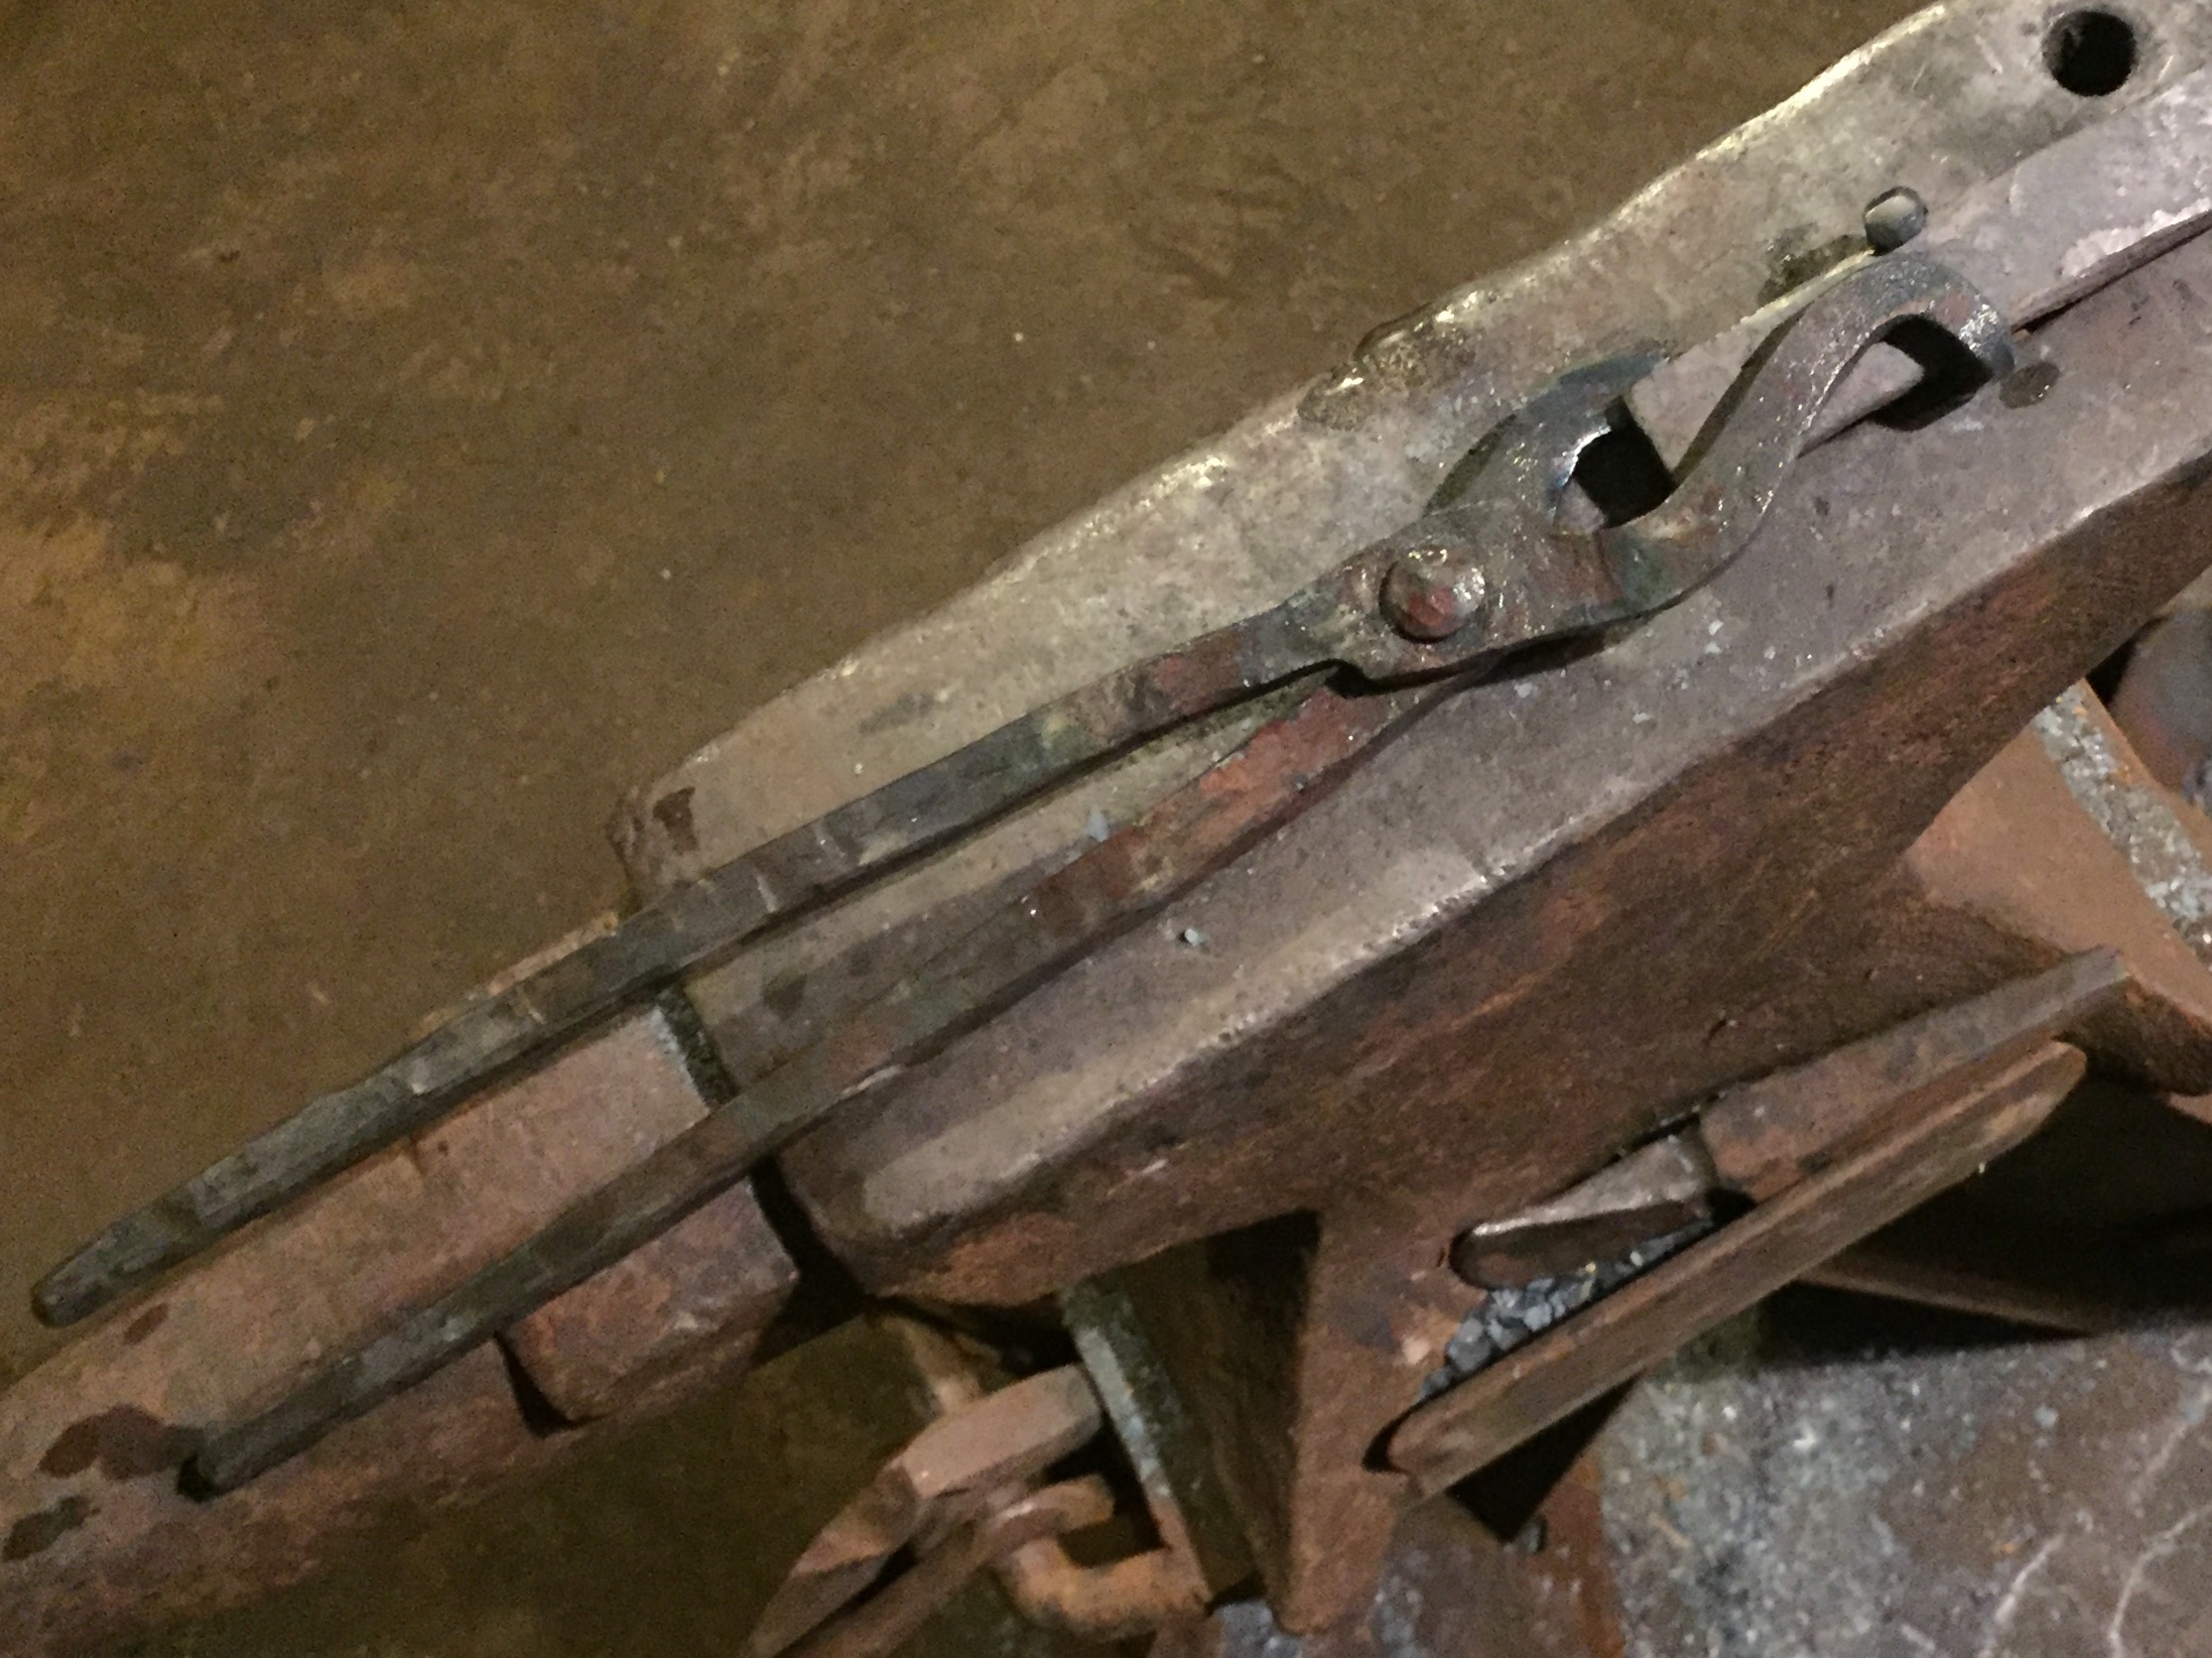
(There was also the little matter of one of the jaws burning a bit....) -
Another rail road iron anvil
JHCC replied to Charles R. Stevens's topic in Anvils, Swage Blocks, and Mandrels
Very nice! -
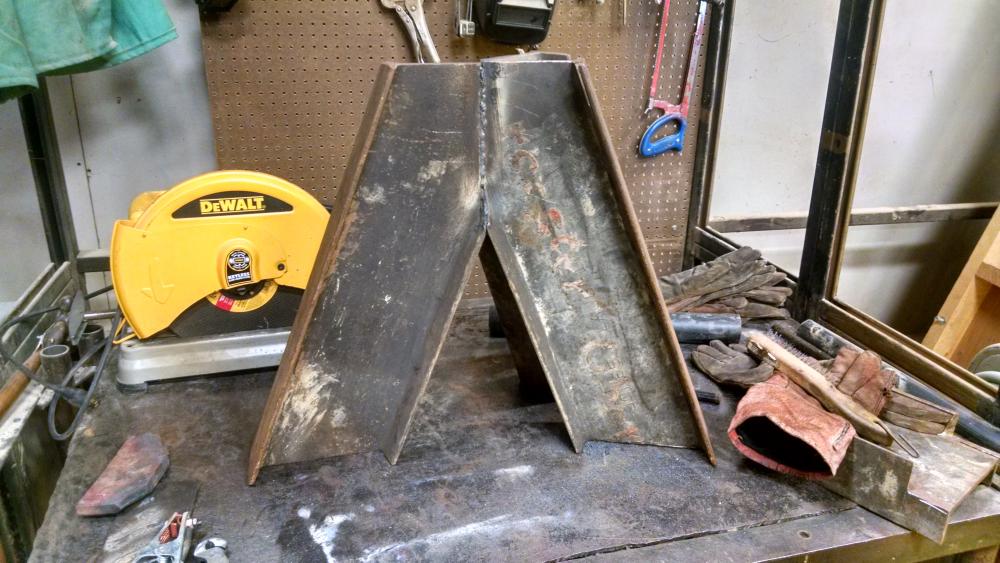
You including mine in that? It's a tripod of 4" x 8" I-beam with the webs joined in a vertical seam under the center of the anvil. I suppose that theoretically there's some infinitesimal degree of flexing, but that thing is a rock. Here it is during fabrication, before the top plate went on: (Please excuse the messy welding.) (Although it is worth noting that the legs are wide enough that their inside faces are within the footprint of the anvil, so there is at least some force going straight down.)

-
What did you do in the shop today?
JHCC replied to Mark Ling's topic in Blacksmithing, General Discussion
That's why I'm not going to post a better picture. -
A fuller is basically something with a round top that is used to create a hollow in a piece of steel. The "fuller" in a knife blade is shorthand for "fullered groove" or "fullered blade", because forged blades often have that groove made with a fuller. Here's what I'd suggest with your rail: starting about 1/2" or so from the underside of the top of the rail, grind a 3" section of the web into a steepish knife edge. This is your cutoff. (You could even do two sections: one with symmetrical bevels and one with the bevel all on one side (this is called a "butcher" and is useful for a lot of stuff).) Then, grind the remainder of the web so that the edge is smoothly radiused all the way. This is the fuller, and you can use it for all kinds of operations. If you're not familiar with how this should work, take a look at some of the other improvised RR track anvils here on IFI. In particular, take a look at what @Jasent did with his in this post.
-
CAP-italism? Sounds like it would make things quite SOCIAL[ist].
-
What did you do in the shop today?
JHCC replied to Mark Ling's topic in Blacksmithing, General Discussion
The stock I was using was pretty rusty, so I wasn't confident in its structural integrity. That's why I forged these pretty chunky, to be on the safe side. -
What did you do in the shop today?
JHCC replied to Mark Ling's topic in Blacksmithing, General Discussion
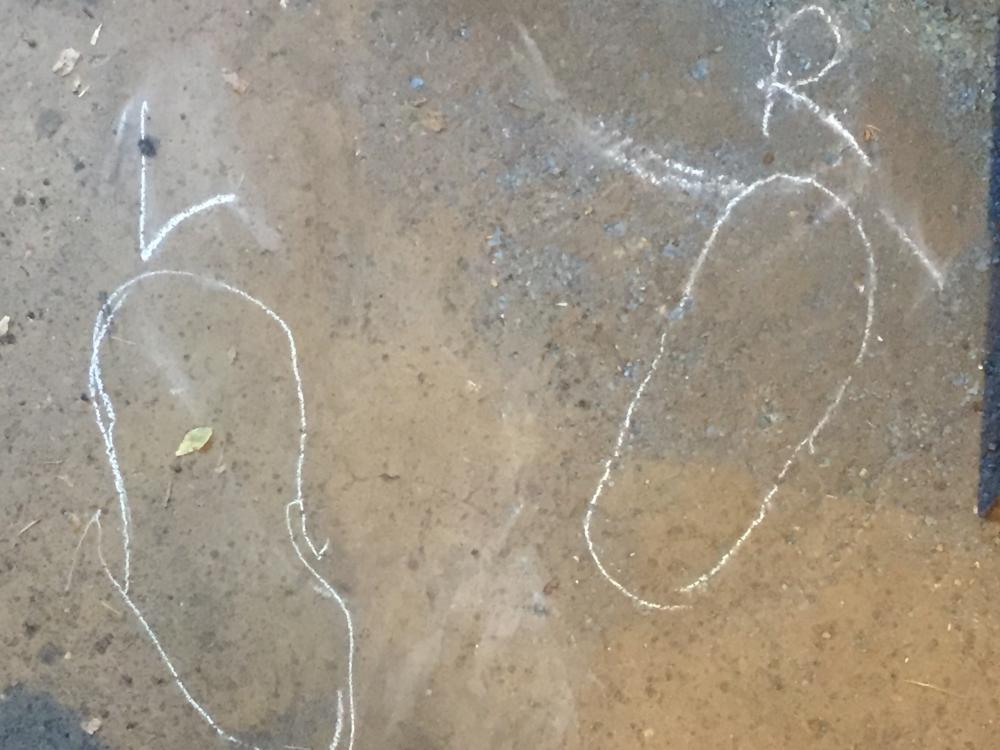
Finished a pair of ABS-style bladesmith's tongs: Also started punching the eye on a small hammer, with my son striking. He was having a lot of trouble focusing though, and needed a reminder where to put his feet.