PaulKrzysz
-
Posts
310 -
Joined
-
Last visited
Content Type
Profiles
Forums
Articles
Gallery
Downloads
Events
Everything posted by PaulKrzysz
-
Refacing a Anvil with Leaf Spring
PaulKrzysz replied to PaulKrzysz's topic in Anvils, Swage Blocks, and Mandrels
The reason I was asking about doing it with rods was because I think it would be awfully difficult to fit a mig tip between the two surfaces to get a good weld. The anvil will be 3'' wide. -
Refacing a Anvil with Leaf Spring
PaulKrzysz replied to PaulKrzysz's topic in Anvils, Swage Blocks, and Mandrels
I tried to illustrate what I am trying to do in the picture On the left you can see what I am proposing, on the right is NOT what I am proposing. I am not trying hack to this job, that is why I am asking you guys for help -
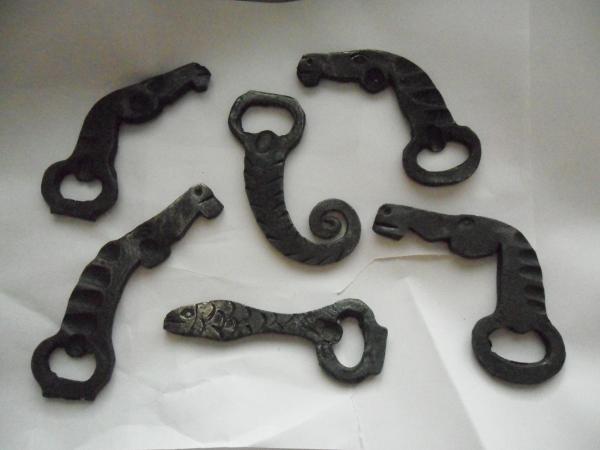
humming bird rivet
PaulKrzysz replied to Francis Trez Cole's topic in Blacksmithing, General Discussion
That's great, thank you for sharing. -
Refacing a Anvil with Leaf Spring
PaulKrzysz replied to PaulKrzysz's topic in Anvils, Swage Blocks, and Mandrels
I don't think you guys understood the original post If I were to do this, I would buy new 5160, and put a 3/8'' spacer between the top plate and the anvil, then weld that 3/8'' section. I would not simply weld the flat-bar onto the sides. The rest of the questions still stand. The most important questions I have are the concerning pre-heat, and the best rod to use. Imagine mild steel and 5160 are being welded, mild steel being hot rolled mild, and 5160 being annealed flat-bar 1/2'' thick (or thicker if necessary) I have searched the forum and have not found the answer to my question of preheat and rod selection -
For those of you guys who have repaired old anvil by re-welding a new piece of steel to the top, what procedures did you use? I know that a full penetration weld is needed, so one must add a small piece of square bar under the plate. My questions are the following What welding rod did you use? How difficult was it to remove the slag from the weld area? Did you preheat? Did you harden the anvil when you where finished? How has your repair held? If you had to do it again what would you change? Thanks
-
Video Forging a 90 degree Hardy Tool
PaulKrzysz replied to PaulKrzysz's topic in Tools, general discussion
Thank you, I'm glad you guys enjoyed the video. -
I made a video showing how I made a 90 degree hardy tool today. Video shows me forging a hardy tool for my 7/8'' hardy hole. The tool was forged from 1 1/8'' 4140, forged to finish, no grinding. I learned to be be careful with the hollows, and not to try to bring round to square in such tools. Also added are pictures of the tool, and the bottle openers I made using it.
-
I am just looking to mount the Canadian Blower, I no longer have the other one. I found this picture, is this what you where referring to as the mounting bracket?
-
As the title states, show me you hand crank blowers. I would mostly like to see the stand you have made for them since I am going to have to make a stand for myself soon. Please take careful pics of the stands as well. I have to show a Model 99 CanadianBlower and Forge Co blower, and a Buffalo 98 blower I fixed up and repainted.
-
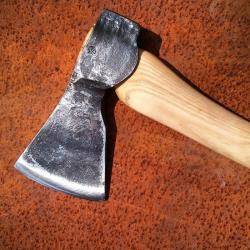
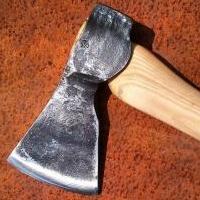
This is a forged birthday gift for my Father. Punched eye, made from 4140. It only weights 10oz. Handle is 10'' made of red oak. It is my first axe. I worked 1 3/8'' solid 4140 to about 1x 1.5 x 4'' for the rough stock. Any questions welcome
-
You can buy a new firepot from several places John Newman of Hamilton Ontario casts them and sells them himself in Canada, he sells in the USA. His firepots are thick at around 1'' thick. Roger Lawrence casts and sells them as well. He is based in the USA, they are much cheaper of you buy directly from him. They are also around 1'' thick as stated above, New England Blacksmiths sell a firepot as well. There's is also 1'' thick. I believe all of the above have roughly the same dimensions, based on the old firepots of a century earlier. Centaurforge sells firepots, they are the cheapest but probably not the best value. The two 'coal' firepots are 3/8'' thick, while their 'heavy duty' coke firepot is 3/4'' thick.
-
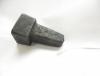
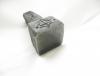
Show me your bick or stake anvils
PaulKrzysz replied to Glenn's topic in Anvils, Swage Blocks, and Mandrels
First one I made myself of mild steel for my anvil. Second one is a old one. I am not too sure about it, perhaps it was a coopers anvil? It weights around 50lbs if I had to guess. -
I found this thread Same Problem '?do=embed' frameborder='0' data-embedContent>>
-
Sorry for the late reply. I fixed the probelm a few weeks ago by removing the former pin from the bracket, and putting in a new 1/4'' bolt. While working yesteday the bolt sheered off again, I believe this is a result of the cold. I had to be -15C yesterday. I do not like this stand at all because the brazing which connected the cast iron wheel to the vertial arms has popped and the entire thing is sloppy, moving in all directions. I will have to weld up a new stand for this it seems. Thomas Powers, would you be able to take a few pictures of the stand you have and upload them for me? The most important part for me is how the stand connects to the cast iron shell. Thank you
-
Nobody has any information regarding the original stands to these blowers?
-
Today when using my blower i noticed a little play between the blower and the stand. After a few more hours of cranking it got real loose, finally something popped and the blower was resting 45 degrees to the rest of the frame. What went loose and broke was a little pin that was seated in the bottom right hand side of the blower. (Second Picture) The blower is made by 'Canadian Blower and forge co', they where the company Buffalo setup in Canada. Does anyone know how to fix this problem? I am not sure whether or not this was the original stand for the thing. The arm which holds the blower up was brazed to a cast iron wheel, and I know that was not original. Can you guys post picture of the stand you made yourselves for your own blowers? Thanks
-
Stock splitting on necking/drawing down thin
PaulKrzysz replied to Greenbeast's topic in Blacksmithing, General Discussion
If the edge of your anvil is too sharp, it will cause stress in the piece, so will working it too cold as another member mentioned. Just do not work it too cold, and use the filed radius of your anvil! -
If you are having a problem with the glasses fogging up, please buy anti-fog safety glasses. $15-20 at home depot up here in Canada. They are well worth it.
-
Advice needed on Three Legged anvil stand
PaulKrzysz replied to Mike Romo's topic in Anvils, Swage Blocks, and Mandrels
Copied from another similar post. "I have built several stands to date. Even the anvil stand and the anvil that Brian Brazeal uses as a a heavy hitting unit. Later I built stands for two of the Youngsmiths. Although I may be not as experienced as some I will now give you some insite on what Brian has shown me: If you are going to use an anvil at maximum performance then the legs should be about 8 degrees off vertical with the back two at 45 degrees off centerline as the third leg under the horn. The pads on the floor section should be about 1/2 in thick and sufficient width and length...with a bolt hole...to be mounted on the concrete. Use at least 1/2 bolts into the concrete (not lead sinkers) called red-heads. If possible use thick walled tubing with three passes of good welding at all positions. The deck for the anvil should fit and a minimum of 3/4 thick. I have used 1/2 inch and now realise it to be way too thin. drill and tap 3/8 pipe threads so that fine sand and oil can be installed down each leg to near the top...tapping on the tubing as the sand is installed. It does not take very much oil to fill. Install 3/8 plugs into the holes...the kind that are hex drive and will be lower than flush to the top. We drill two holes larger than 1/2 diameter at the waist area ...the hollowed out area between the feet of the anvil ....and use heavy duty angle iron bolted into those waist holes. This may sound like a lot of work but it is much easier than working with angle iron material. The whole build takes about 2 hours. The oil and sand really are a necessity and can be easily determined when it is installed. This fixture will ring like a bell until the sand mix is installed. Yep...learned it the hard way. There will be others that will say the angle is too sharp on the legs...Okay by me. But if you really strike on the anvil the near vertical will help reduce the springiness. On some others I built with a wider stance...which are better for twisting and bending from the hardee hole...well give me the near vertical one now and use the vise for twisting. Angle iron with a bolt holding down the edge of the anvil is okay too. It is the simpliest way and is quite speedy. Should you want to remove the anvil two bolts loosened and carry away. A deck with less than 3/4 thickness is too springy too...but 1/2 might be used if you added some ribs under to keep it strong. By the time you do all that then the welding could warp ..so I use 3/4 now. Three legs allow it to fit any floor and you certainly do not want your anvil rocking about...been there done that. Heigth is an argument that makes the Ford vs Chev debate seem insignificant. Some want the anvil top to be at knuckle height. I did too when starting but now have lowered so that I can hold long pieces between my legs as a support while I have two hands to beat out leaves and texture...or forge welding. Measurement...the length of the legs when they are about 8 degrees mean that they are basically the same as deired height. At this sharp angle the long side of a triangle is almost the same as the triangle height. Very little difference until you get past 10 degrees off vertical. On the single leg under the horn...why? Well we tend to lean againgt the horn at times to get a good straight look down the edge of the anvil. With one leg mounted that way there is more foot room. Now that I have rubbed salt into some wounds of others I am ready to hear their input. Maybe they can change my mind...most likely not. I have a junkyard full of learned info about anvil stands. But ...BUT...if I ever get a really large anvil that I may never move... I may re-design the wheel for a new stand. Carry on!" -David Gaddis I will add a note and say make sure the legs are spread out on the bottom of the plate in such a way the anvil's base will not be over any of the legs on the top side. This will not be a very stable design, I recently made this mistake on my own anvil stand. Also, observe the anvil stand in this video. -
Here is my own. I love this thing, it is very handy. Looks almost identical to your own.
-
Thanks, i will get this app
-
I need some good guestimates
PaulKrzysz replied to stuarthesmith's topic in Anvils, Swage Blocks, and Mandrels
I had a 36'' long PW, it weighed 407lbs according to the hundred weight markings. My guess is around 300lbs for that one -
Help in making a Guillotine Tool
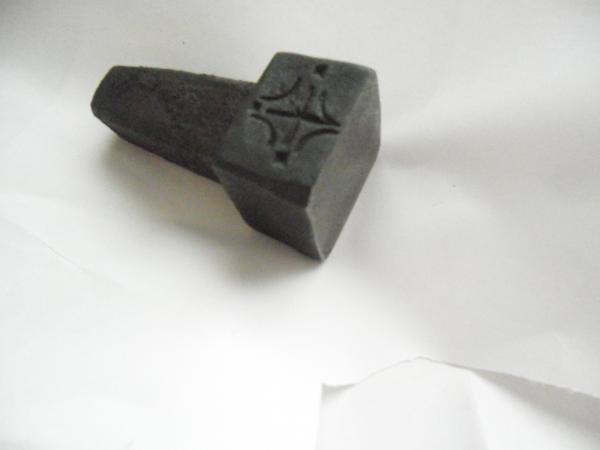
PaulKrzysz replied to PaulKrzysz's topic in Tools, general discussion
Pics are gonna have to be sideways it seams. -
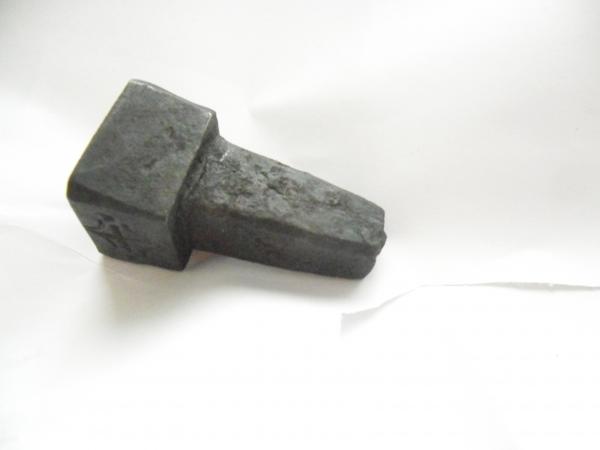
Help in making a Guillotine Tool
PaulKrzysz replied to PaulKrzysz's topic in Tools, general discussion
My progress up to today, it is almost done. I just need to dill a hole for the spring and make the spring. After welding this up this one, I definitely understand why most on the market are drilled and assembled mechanically opposed to welding. This one took allot of fiddling. Had to re-upload the pictures, my phone uploads them sideways. -
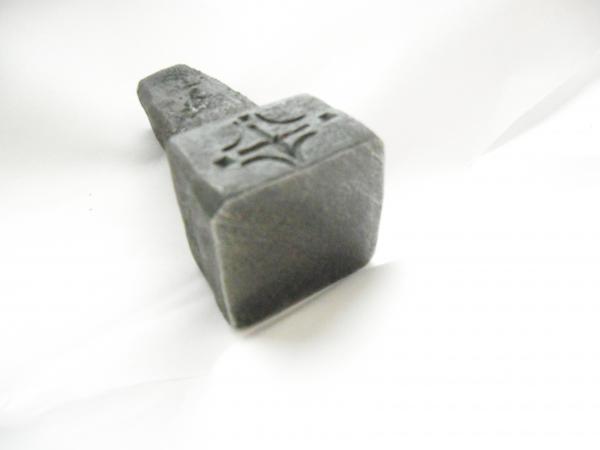
Help in making a Guillotine Tool
PaulKrzysz replied to PaulKrzysz's topic in Tools, general discussion
If the paper does not work, I will try heating and cooling. I will let you guys know how it goes and post some pics tomorrow. Than you all for your help.