Hunterbow Smithy
Members
-
Joined
-
Last visited
Everything posted by Hunterbow Smithy
-
Yep, they are still in business, but there has been a change in ownership.
-
Hello, Just wondering if anyone can confirm that Little Giant Power Hammer is still in business and selling parts? I would hate to think that we've lost another business to the pandemic. Thanks, Chad
-
-
Here's a really simple one I made.
-
Alex, your predicament sure takes me back to when I started smithing. All I can say is that things will get better in time, both your skills and your income situation, just be patient. Also; as Frosty kindly pointed out; you really need to work on the basics as unappealing as that may seem to you. A sword may seem like a relatively easy object to forge, I mean they forge them in the movies all the time right? But as you've discovered, there is much more to it. Why not try to hook up with some smiths or knife makers in your area and see if you can barter some of your labour in exchange for their knowledge / shop time? Best of luck to you.
-
Very cool Art.e.fact. You imparted a real organic look to the tooth; one could almost imagine the beast who's mouth it came from. I am guessing it wasn't as happy as your friend was. LOL
-
Looks fantastic! The elements of traditional joinery that you used gives a very modern piece a feel of old world craftsmanship.
-
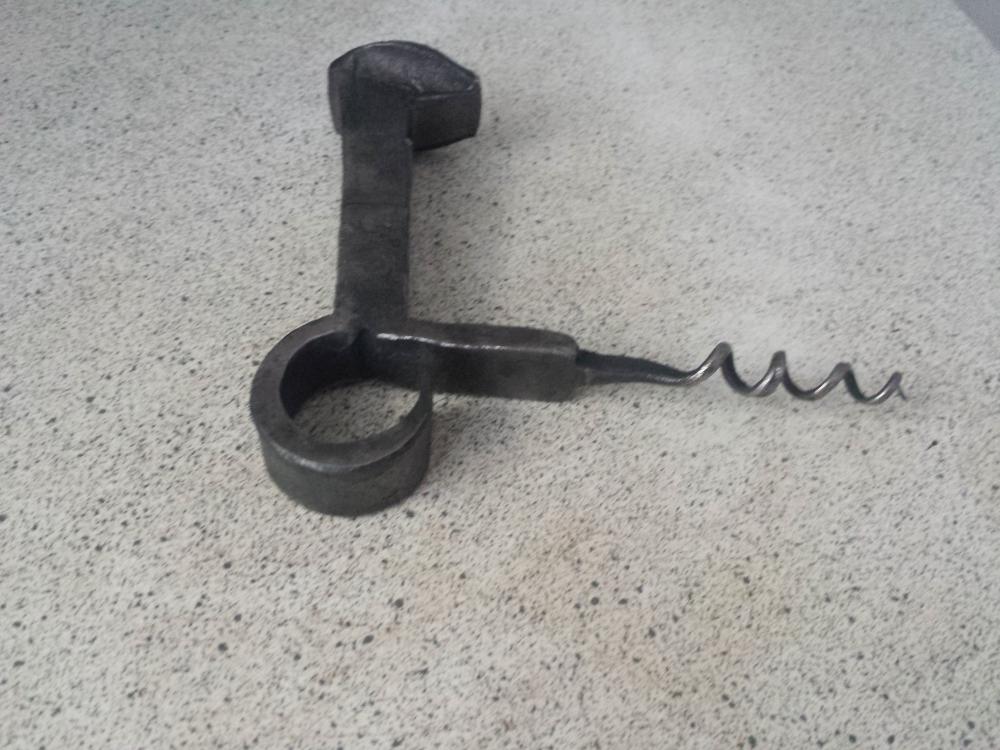
Yes, I did leave a gap. Initially I intended for a person to place their index finger through the ring, but I did not draw the tine out long enough to allow an averaged sized finger to fit, so I introduced a gap to make up the difference. However, due to the geometry of the handle, it is very awkward to slip your finger into the ring anyway and much more comfortable to simply wrap your finger around the whole ring. It really does allow for a very secure grip. I really like your 2 in 1 opener suggestion and will give it a try on future pieces. Happy forging
-
Nice work sir. I can see why they would sell well for you as they are crafted very well.
-
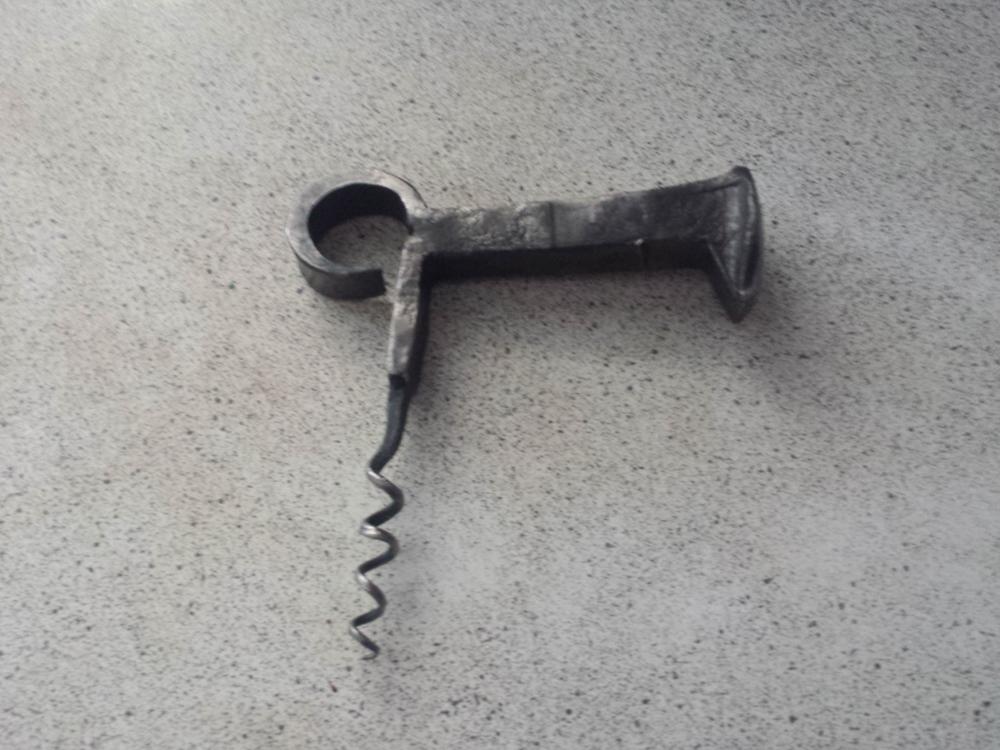
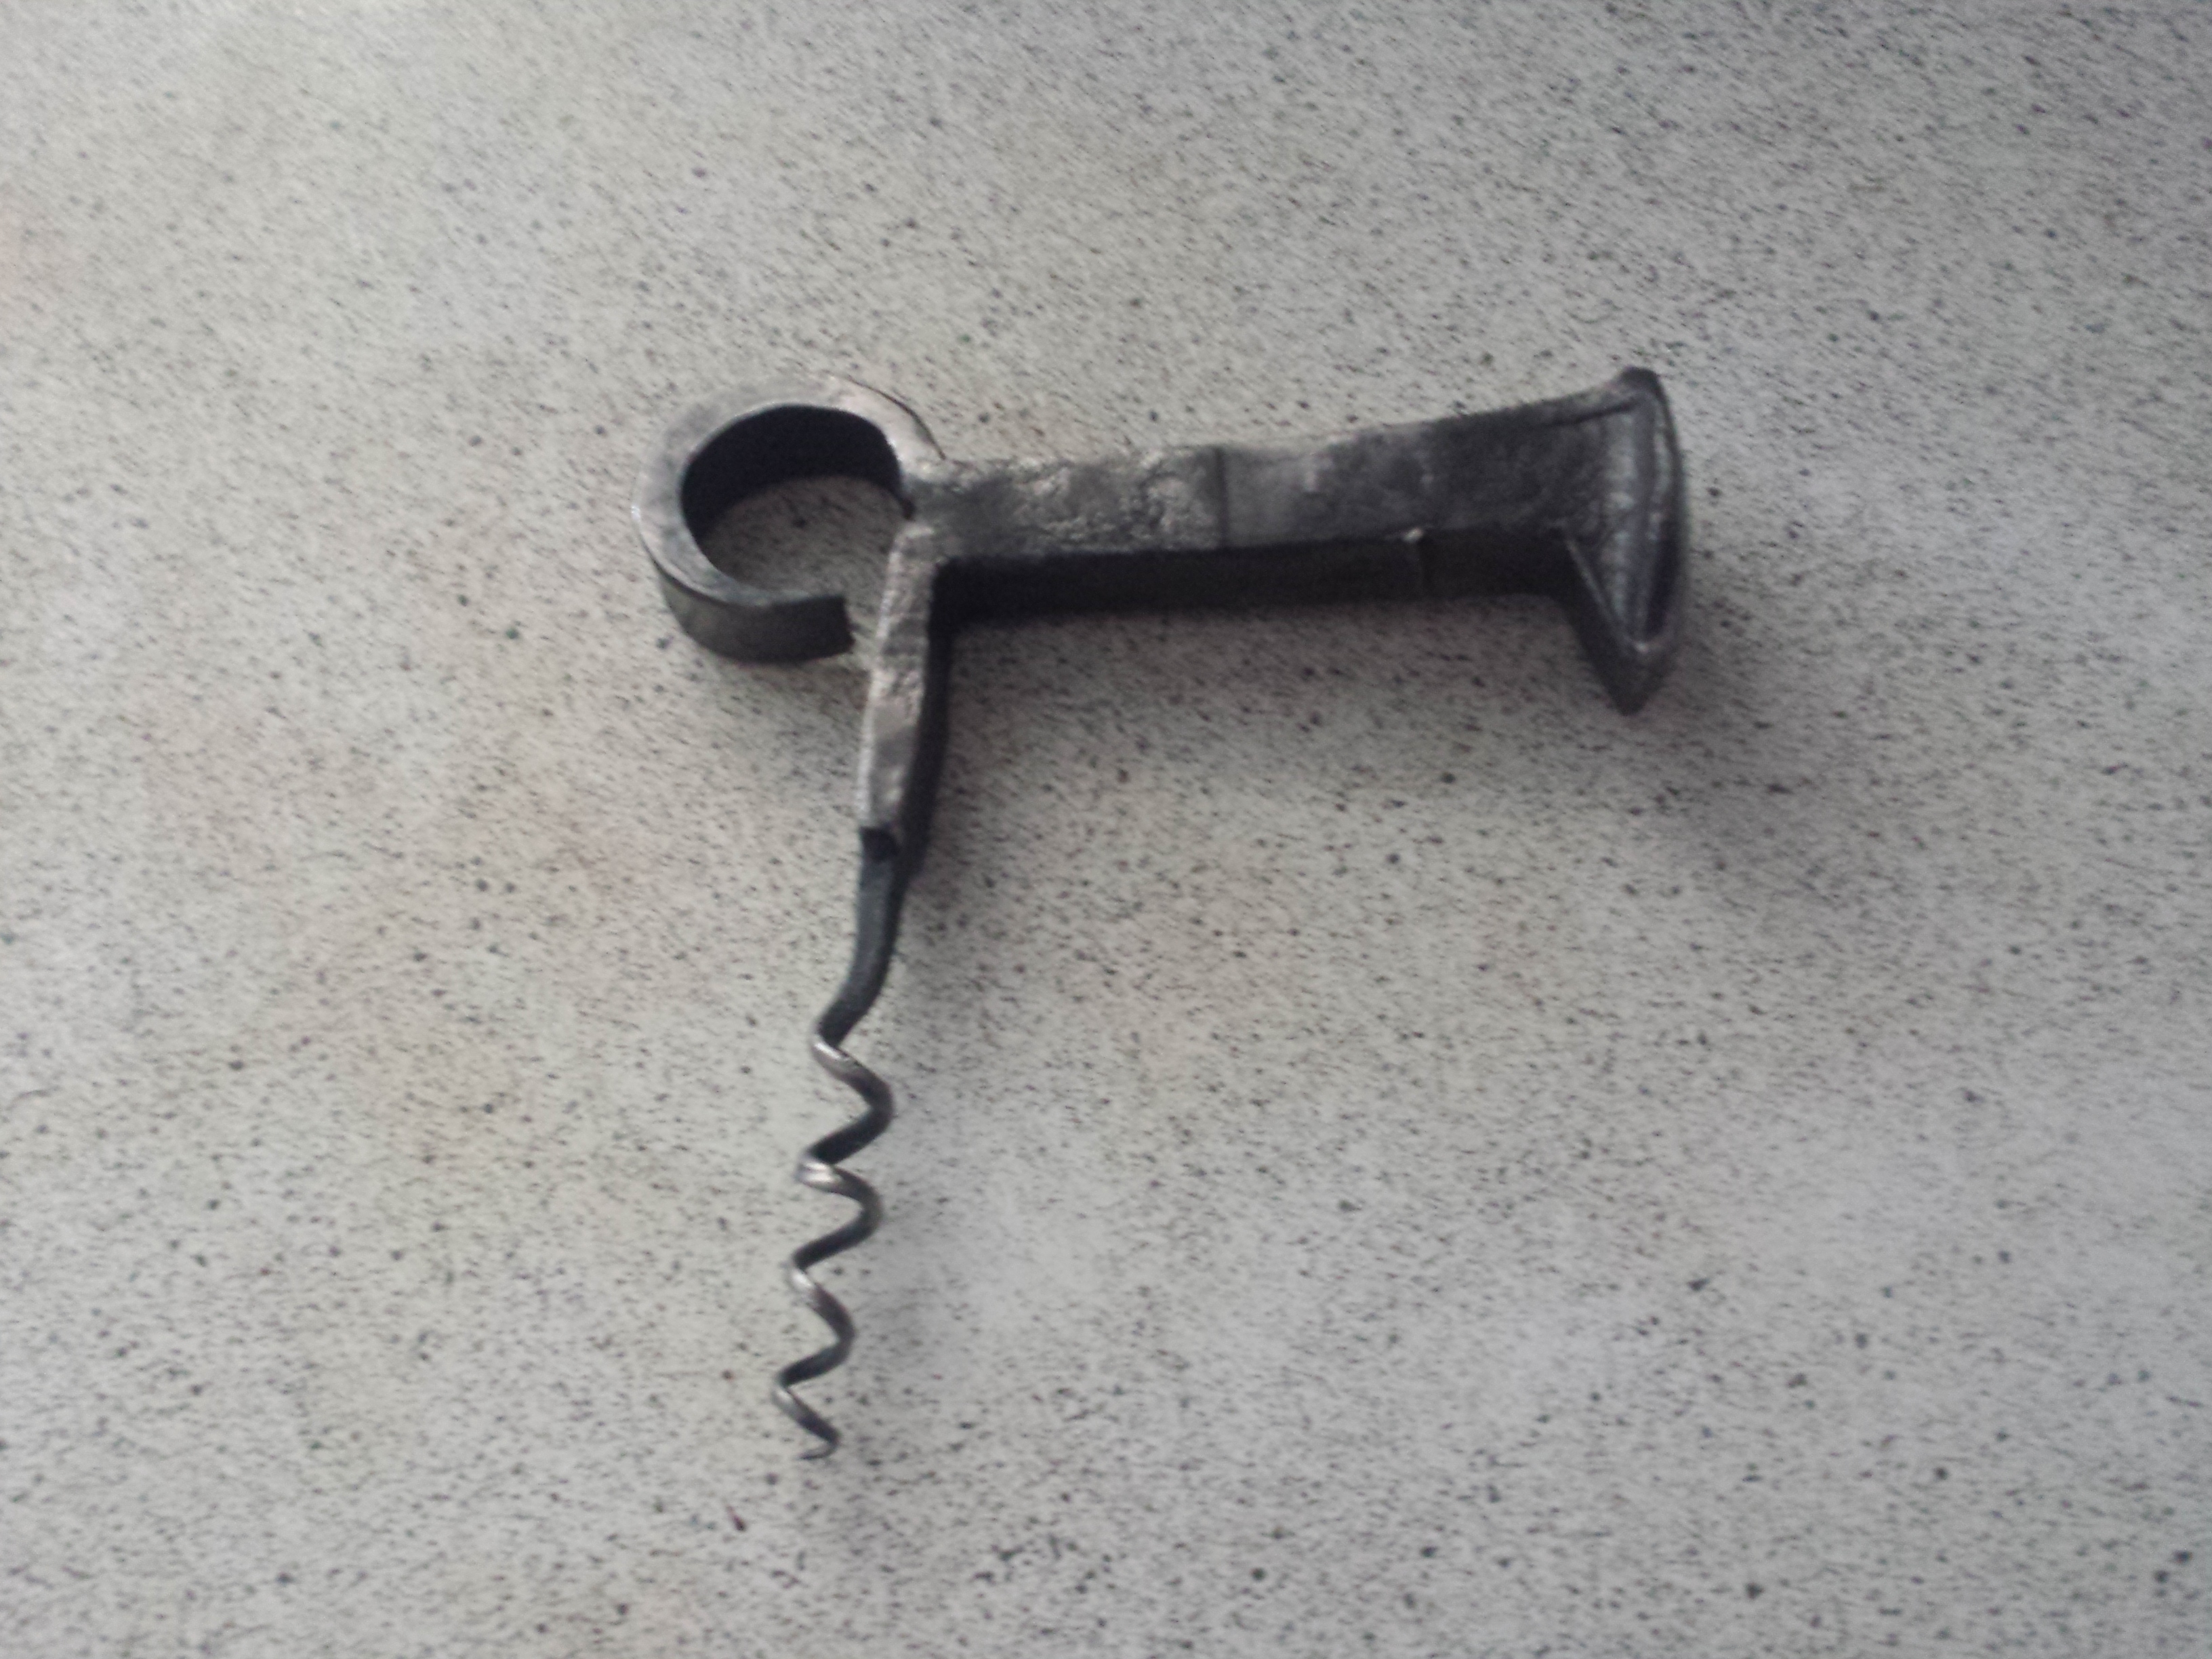
Forged from a railroad spike I had laying around. Initially I had intended a person's finger to go through the ring, however it turned out to be far more comfortable to wrap your finger around the ring for better purchase.
-
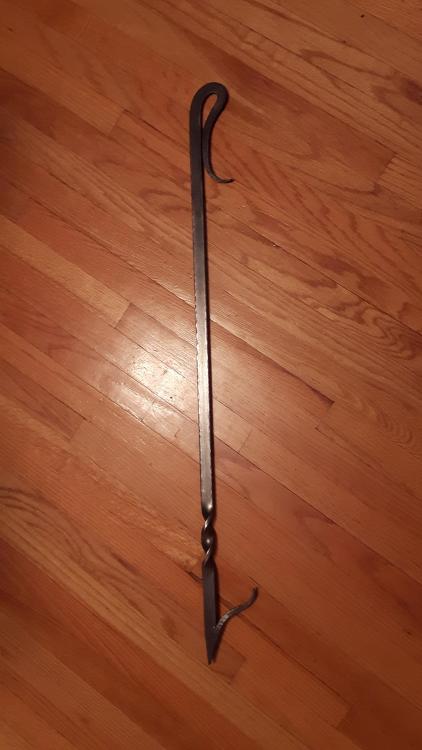
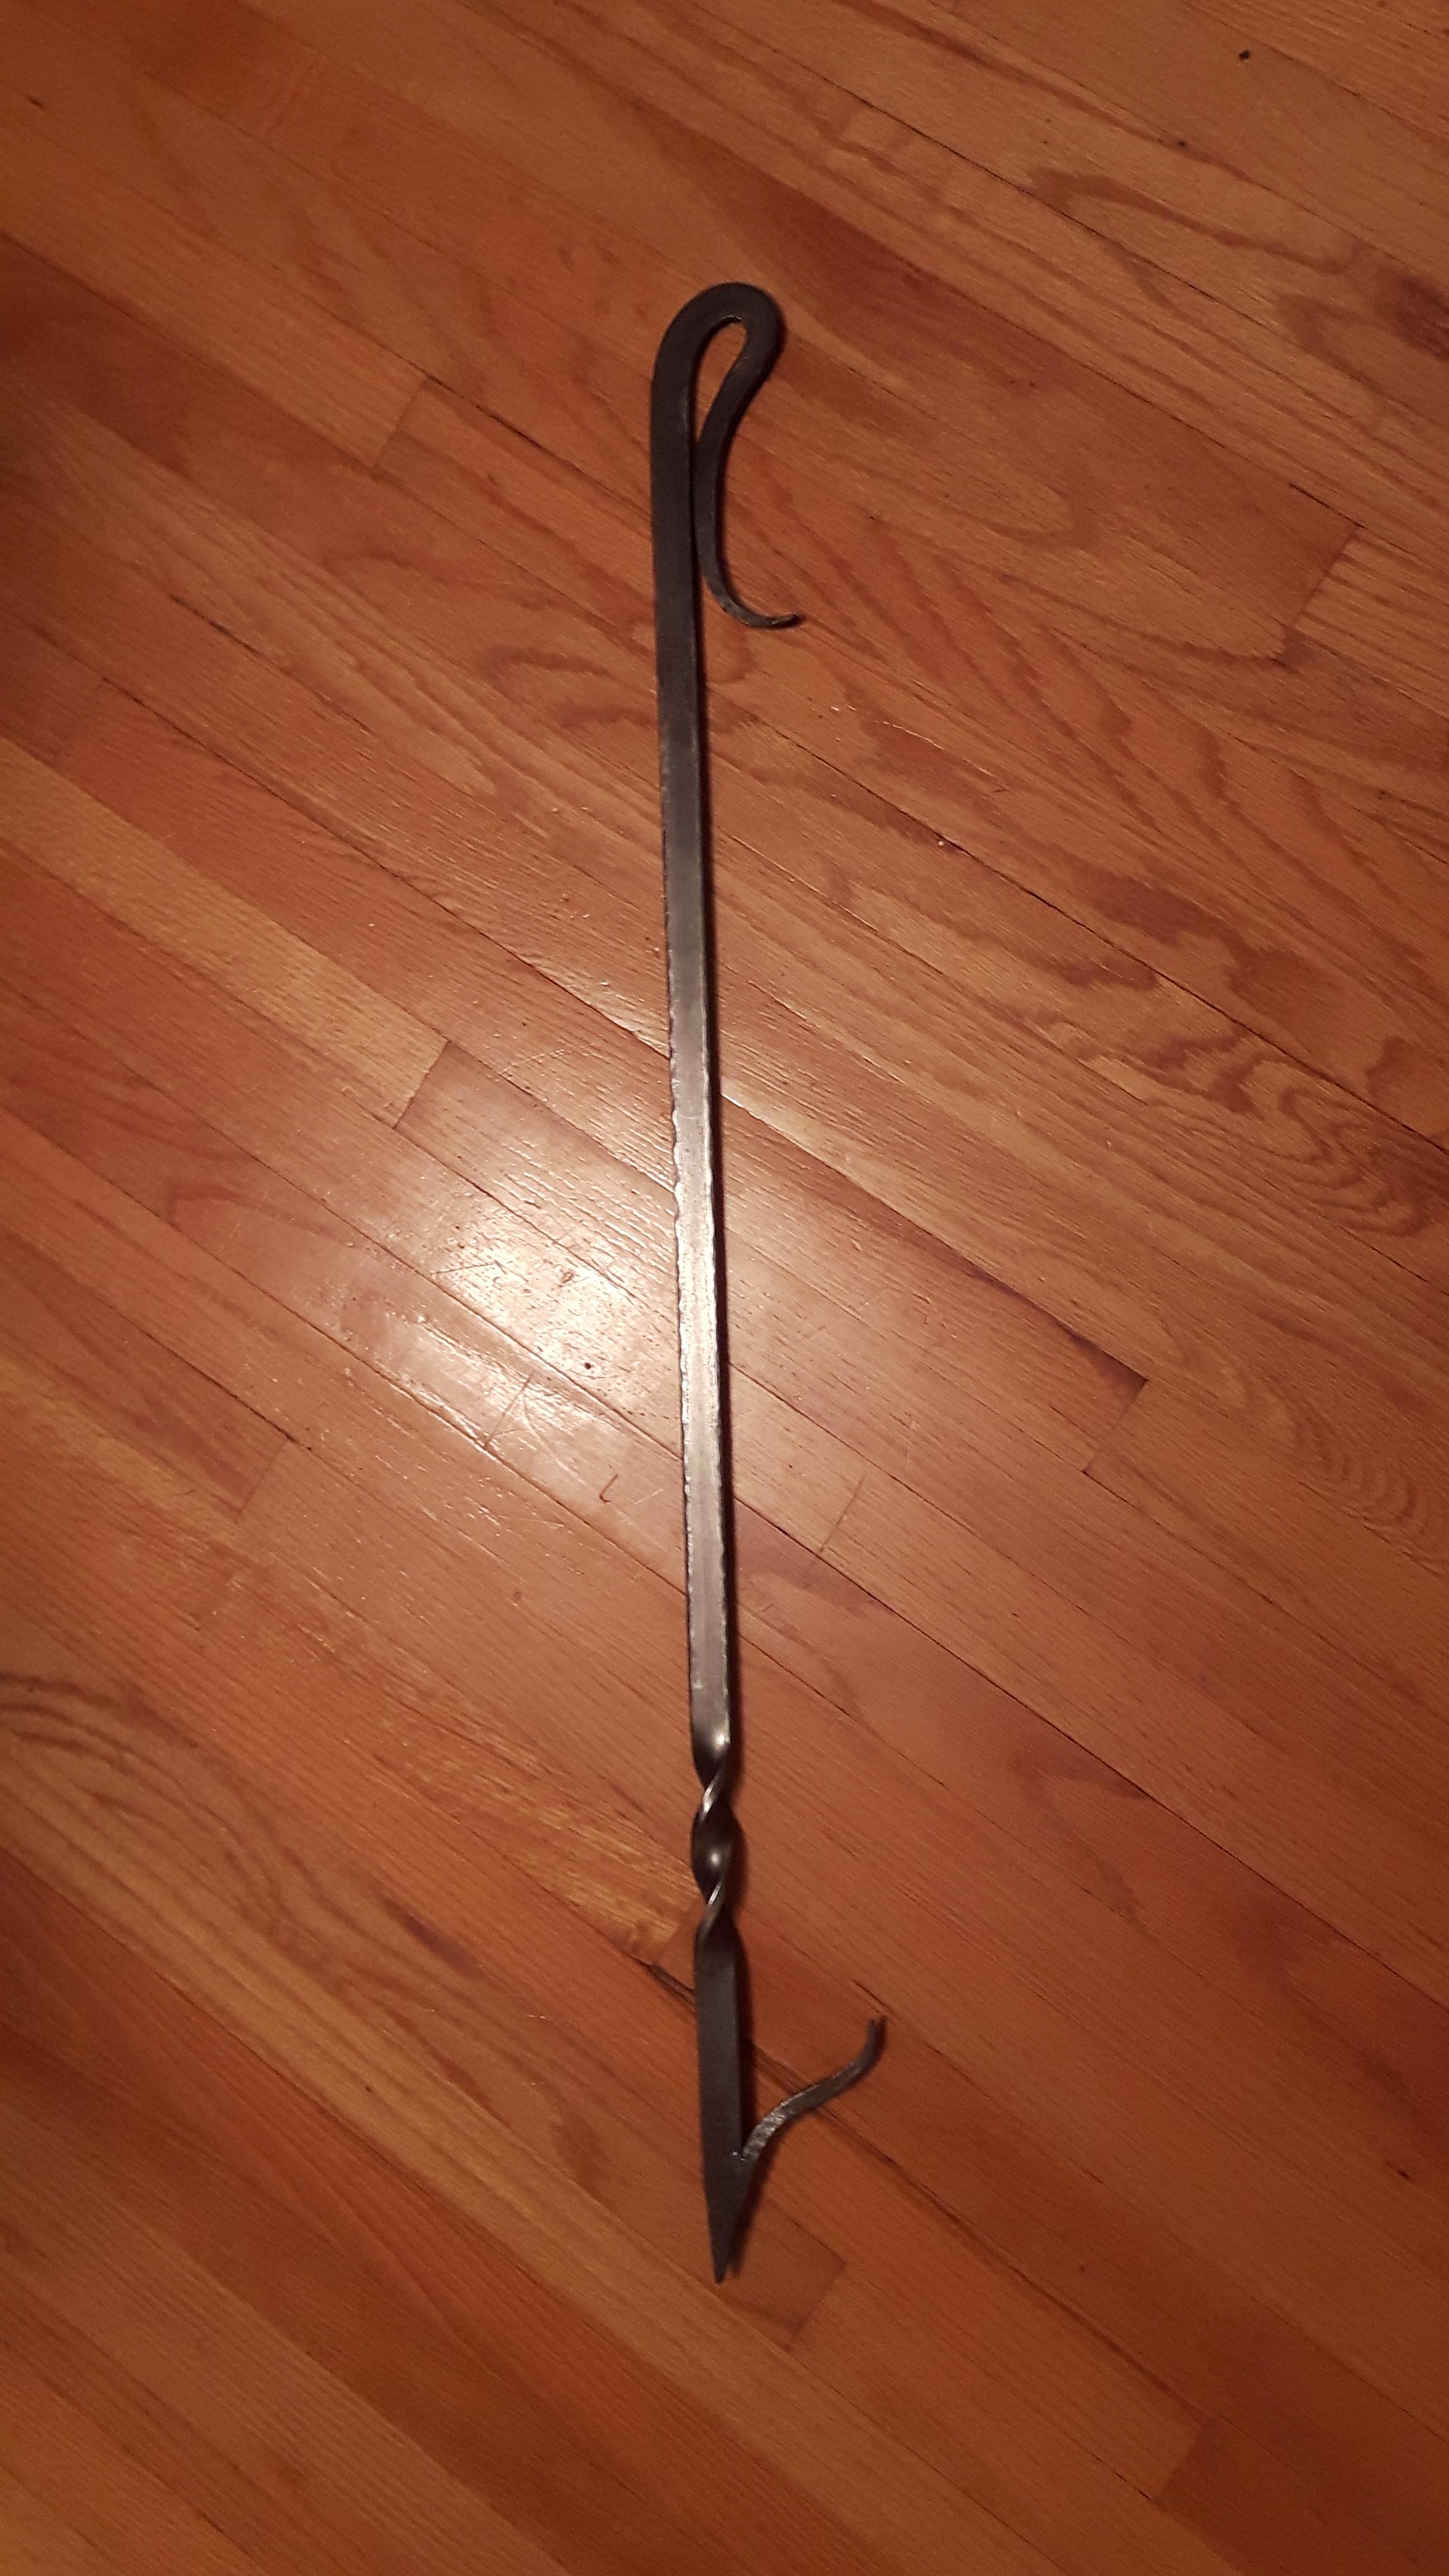
Made from 1/2" x 1/2" x 18" square stock with a white oak handle. The finish is a burnt beeswax / turpentine mixture.
-
My daughter (11) and I made this cork screw from a RR spike we found one day while out walking. It is a preliminary design; forming the worm was a lot more difficult than I thought it would be.
-
Nice work! Great job on the proportions; the tail turned out really well.
-
Hey Shamus, I would imagine that you could use almost anything of a suitable diameter such as a bull pin, truck axle, jack hammer bit, etc. Once you've found a suitable piece of material, then go to Crazy Crow Trading and look at their hawk handles. They give the dimensions of their hawk handle eyes, which will give you a good starting point. The first 3~4" of the drift are not that critical since you are just trying to open the hole you've punched, but pay close attention to the upper 6" to ensure the dimensions and taper are as good as you can make them. I believe that the taper is about 2 ~ 3 degrees, but you may want to research that further. Also, you don't have to forge the drift to "the perfect" tear drop shape and taper, just forge it as close as you can and file it to shape using stations along the length of the drift to guide you and check your work or heck don't even forge it at all, just blue the steel and scribe guide lines and grind the profile with an angle grinder. One final thought is that if you are planning on making your own drift and handle, then don't worry if your drift doesn't match a commercial drift in every aspect since it only needs to match your desired handle size. Good luck with this project, I am sure that with a little caution and a little confidence you will be pleasantly surprised how well your drift will work for you. I will try to post some dimensions of my drift for you to follow. Have a look at this link: http://brentbaileyforge.com/forgenotes/index3.html
-
-
Hi Shamus, As Frosty has stated above, making a drift has it's own set of unique challenges. However, you need not have to manufacture your own tomahawk drift if you only wish to make a small number of hawks. I bought my drift on-line from a blacksmith supply store for about $20.00 USD. The drift that I bought was cast steel and not of the best quality in my opinion, but it did the job and gives me a point of reference if I decide to make my own drift.
-
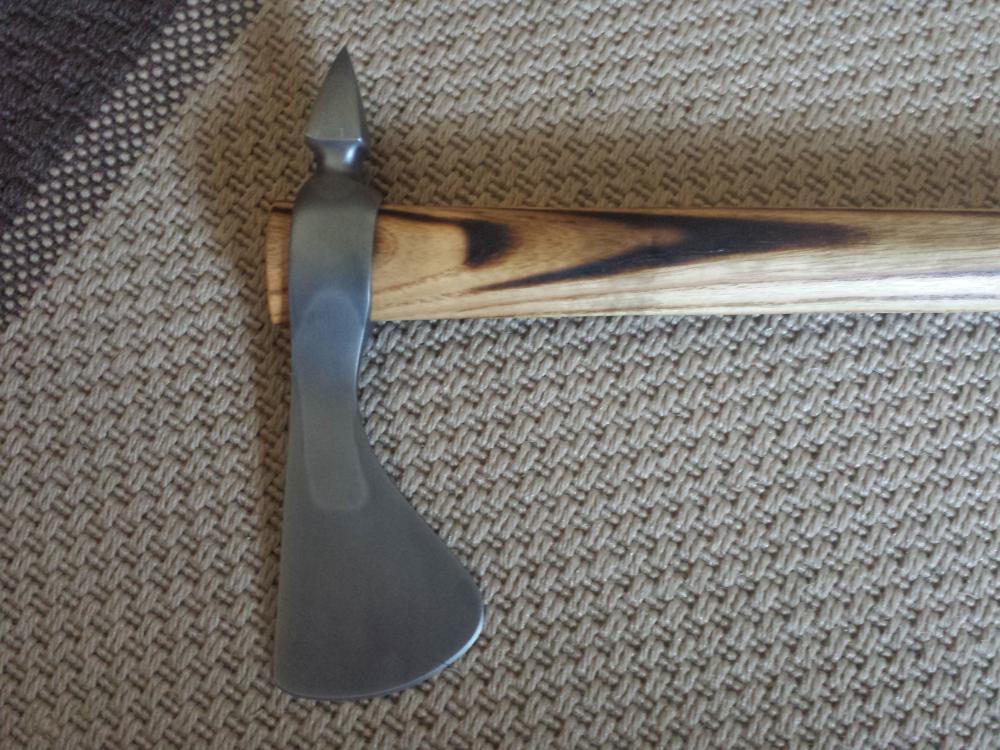
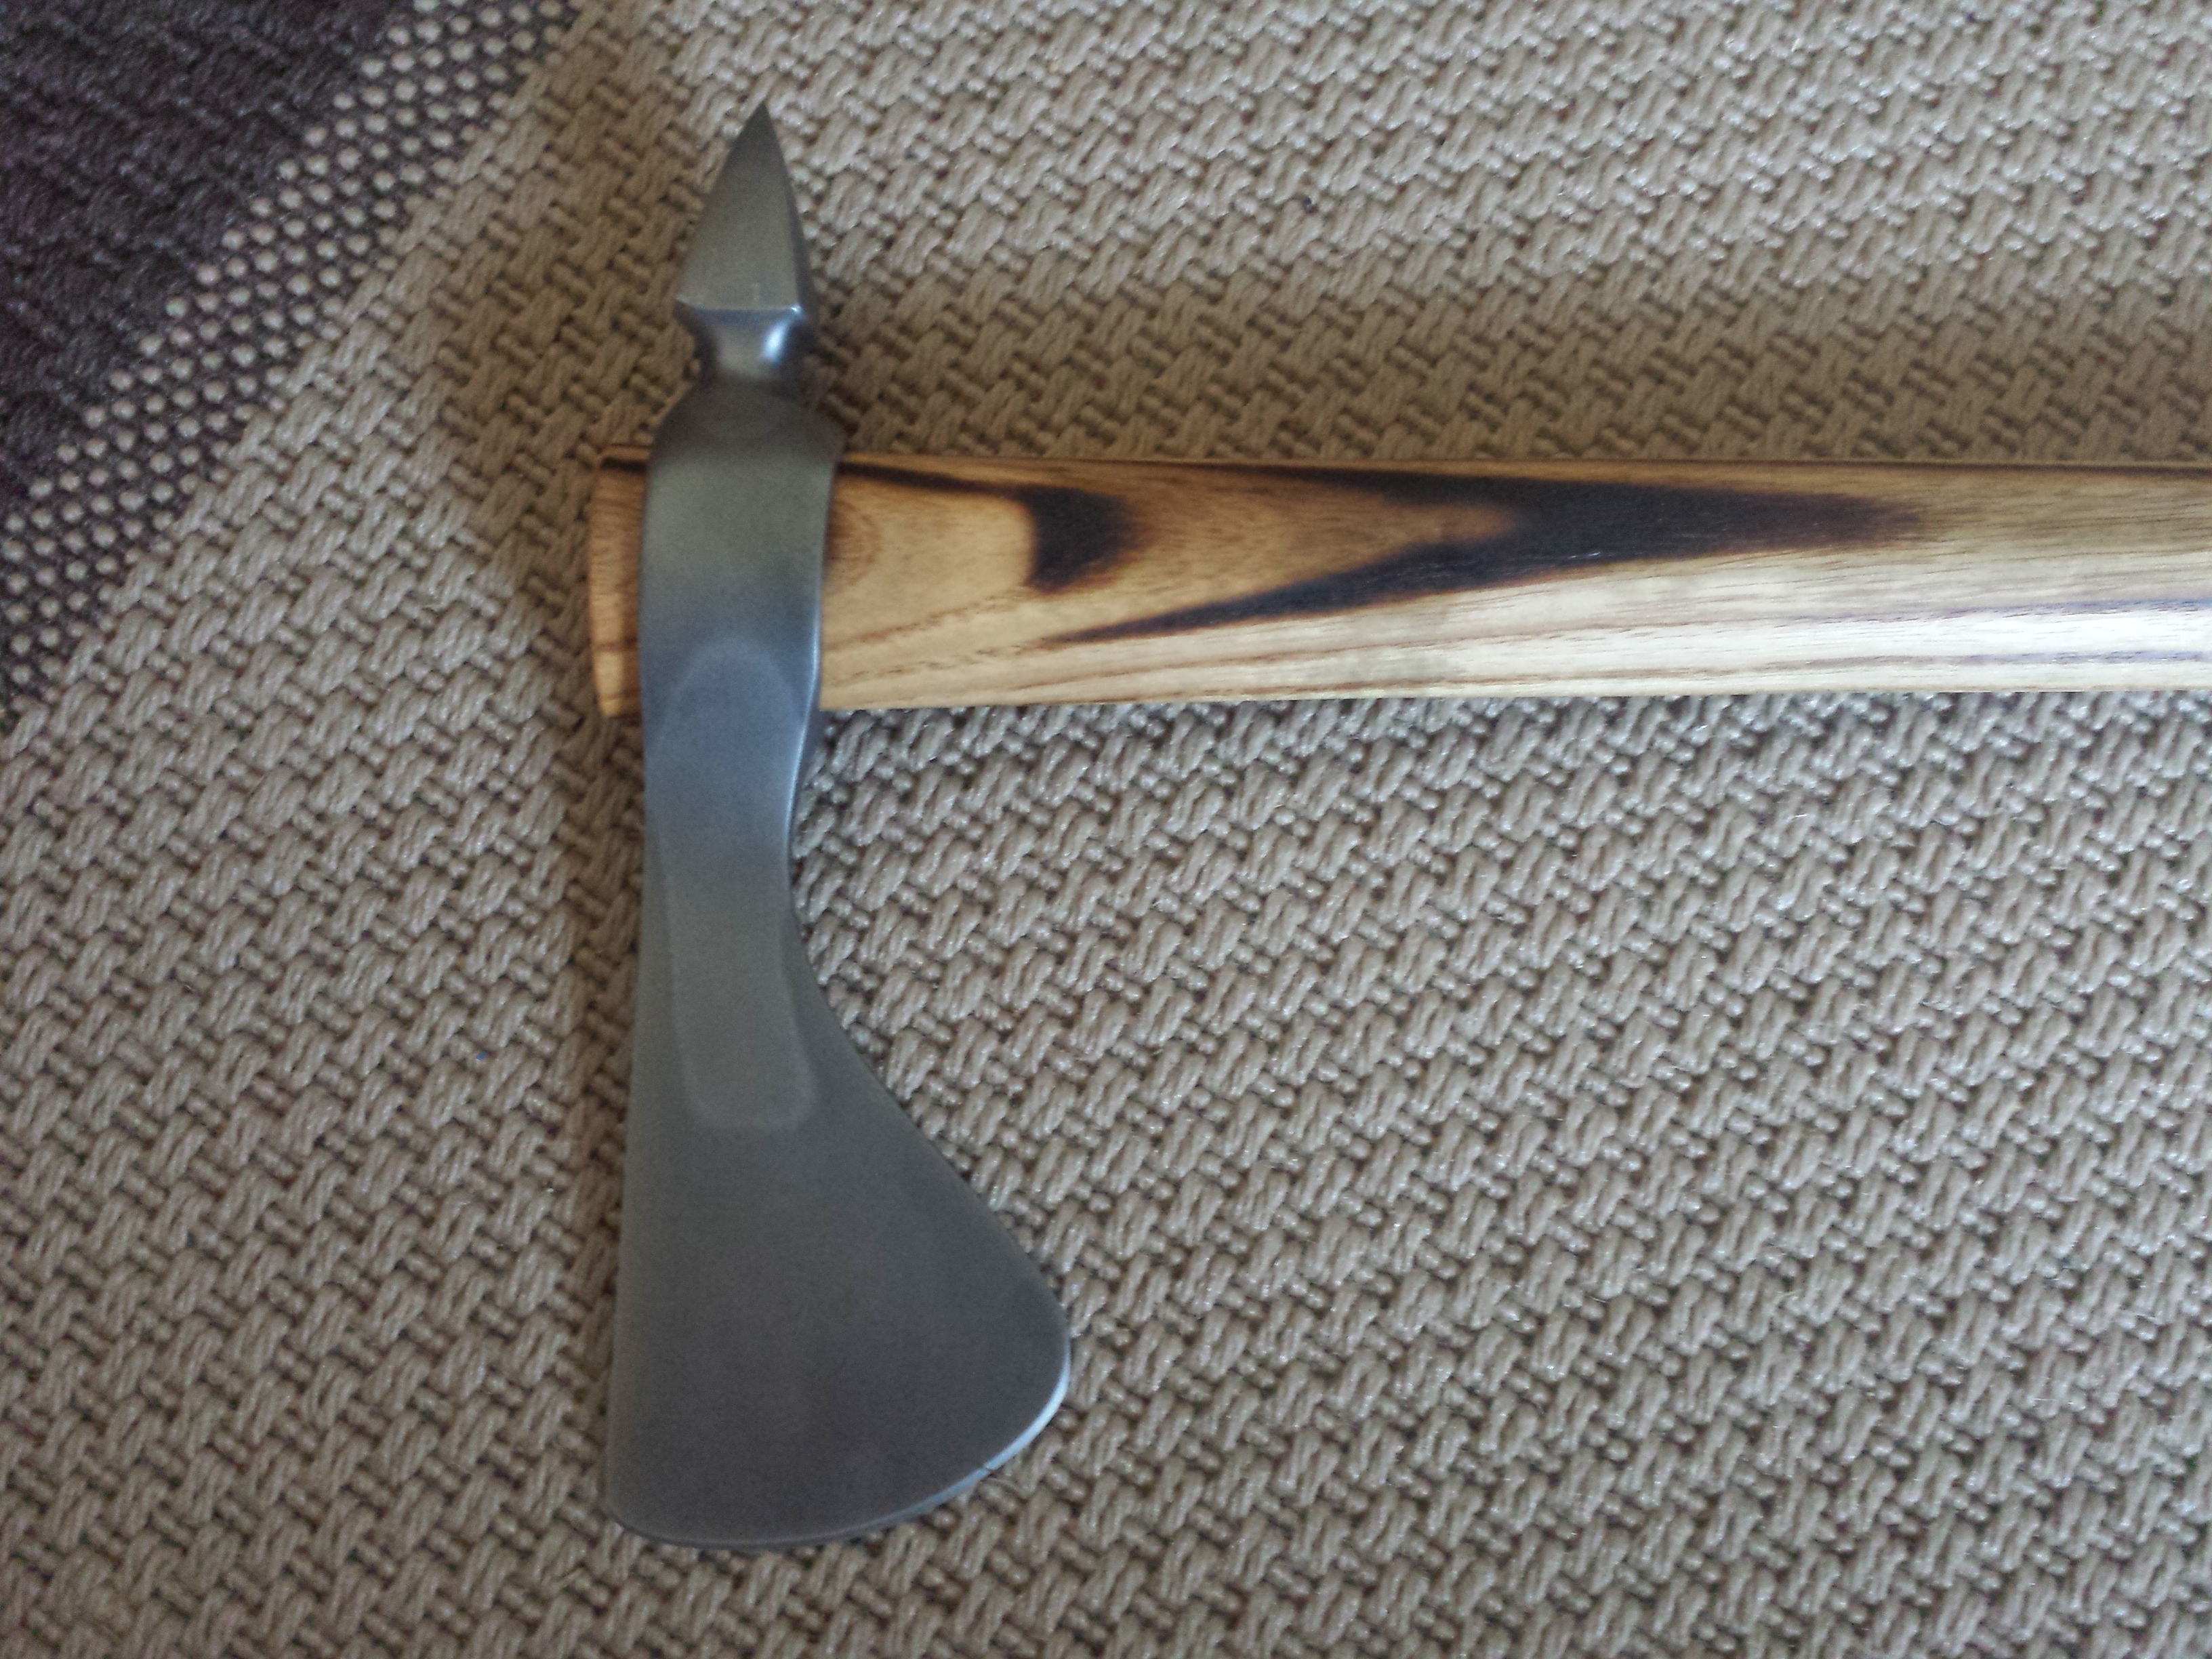
Hi Connor, What Frosty said. In my case, the ferric chloride produced the shiny patch that you see in the middle of the hawk due to the difference in hardness. Additionally, the etching coloured the steel to the gun metal grey as well. You could use vinegar or lemon juice or even a combination of the two if you don't want to mess with the ferric chloride. They will give a slightly different effect though. As for making a tomahawk yourself, I believe that if you take your time and work diligently at it you should be able to produce a hawk to your liking....or anything else that you set your mind to. Honestly, if you start with an old ball peen hammer and get a tomahawk drift it shouldn't be too taxing. My hawk was 63 Rc at maximum hardness and 58 Rc after I tempered it.
-
Nice work sir! I haven't been brave enough to attempt a sword yet, but your fine work emboldens me.
-
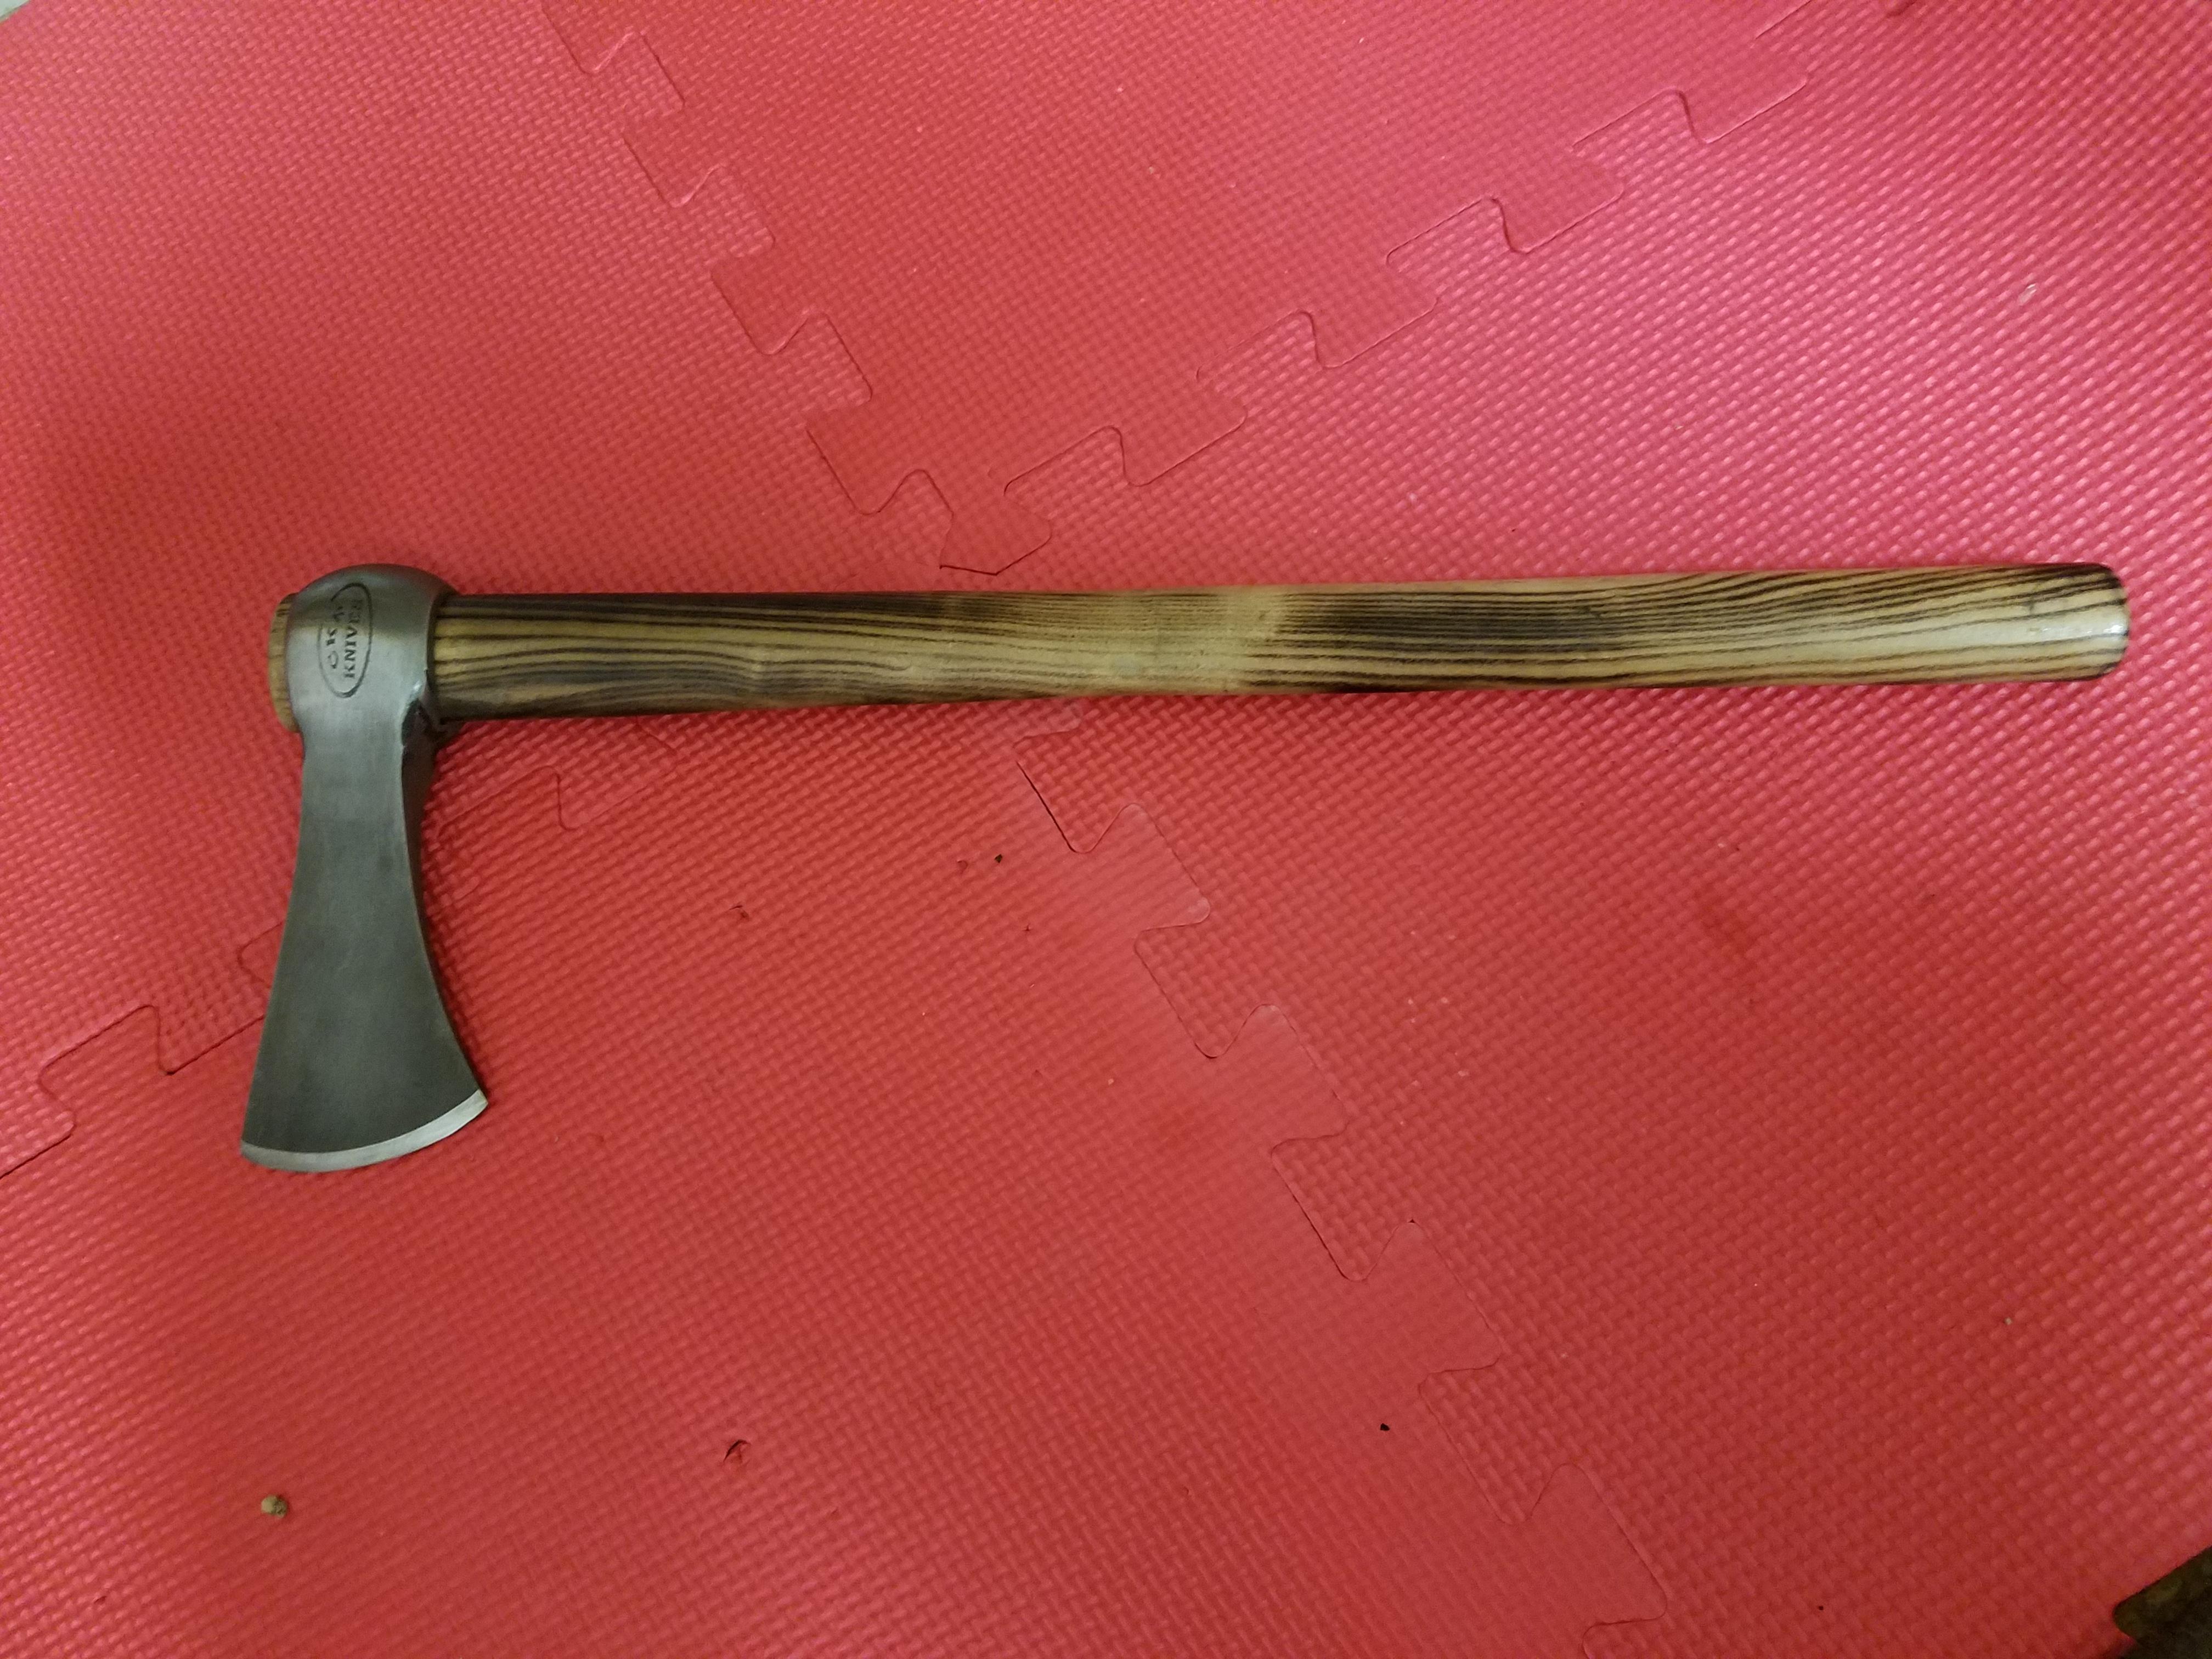
Here is my first completed tomahawk. It was forged from a ball peen hammer, drifted with a tapered punch and then etched in ferric chloride.
.thumb.jpg.98fffda2e6933b4cbcd06e0024d5acb9.jpg)

-
I am wondering if anyone could tell me what the proper angle that a butchering tool should be?
-
Kurgan, If the steel has been over-heated as you suggest; you should be able to thermally cycle the material to refine the grain structure. The steel will need to be brought to a point slightly below the eutectic temperature (ie non-magnetic state) and then allowed to air cool. I would repeat the heating and air cooling proceedure 2 or 3 times. Also, you should try to figure out what type of spring steel you are dealing with....5160 or something else. To visually see what happens and how the grain changes, heat a small portion of a bar of the spring steel to bright orange / yellow colour and then qench the tip in a bucket of water and break a small piece off on the edge of the anvil. The faces of the broken bits of steel should appear very rough and the grains very large. Then if you thermally cycle the very same bar and quench it and break off a piece, the faces of the broken pieces should appear fairly smooth, the grains small, and the face a dull colour. A note of CAUTION, wear eye protection or better yet a face shield when breaking off pieces of the steel as small shards could fly anywhere. Also, try to break the steel off at the quench line. Good luck to you
-
-
Personally I think I would go for the KMG as a first option; I used one last weekend and it was a great machine. Considering all of the "miscellanious" costs and headaches that my current home built has cost me, I could have easily purchased a KMG or at least the chasis.....if they were sold in Canada that is. Honestly, I would rather be making knives than grinders any day. However, if you are determined to go the home built way, you may want to check out the grinder plans offered on the little machine shop web page. http://littlemachineshop.com/products/product_view.php?ProductID=2717&category=-1402768559 It looks like it is pretty straight forward and easy to build. The other suggestion that I would make is to purchase your contact & drive wheels from Sunray Inc as their prices are very reasonble and they can build whatever you need. http://www.sunray-inc.com/ Ask for Sean if you call and he can help you make your selections. Be forewarned though that you need to specify exactly what you want. Best of luck to you.
-
Sorry for the very, very late reply: I have some literature that came with my lathe and other articles that I have collected which I will be happy to share with you. Basically the Granville Senior lathe is almost a direct copy of the Myford Super 7 with a few small exceptions. I have been ordering a lot of replacement parts from RDG Tools in the UK. They have an entire page devoted to tooling for Myfords which will fit your Granville as well. I have ordered gears, chuck adaptors, and a treading dial....all of it fits perfectly. Cheers, Chad
-
Hey, any smiths near Pocatello, ID? There is a scout leader on an archery forum that I frequent who is looking for a smith whom might be interested in helping his troop earn their metal working merit badge. Any takers??? Thanks, Chad


.jpg.7dcac64fcf7c30deccf03c9fbc39b151.jpg)
