Dogsoldat
Members
-
Joined
-
Last visited
Everything posted by Dogsoldat
-
kudos on a beautiful tool, even nicer to to hear that it does a wonderful job
-
Bought a lot and during some landscaping found an odd shaped piece of cast iron. Any ideas what it may be from? Poor pictures. Have a feeling I have seen something like it someplace on the net recently, just not sure. mike
-
Max height signs don't always mean much either. Buddy had just put his nice stereo and complete cassette collection into the timberjack buncher he was running. Was to be bedded out past Castlegar someplace. They lost the top 4" of the cab going under the underpass at Castlegar. Think they measured 3-4 times to make sure they were not over max height. tuens out they were good but Highways had put a 5" lift on the road through there and used the old signage. think buddy found 2 out of a lot of tapes...everthing mounted and stored up top. Faller buncher was a rightoff. And from what I gather they were only doing 80km/h though that stretch of road.
-
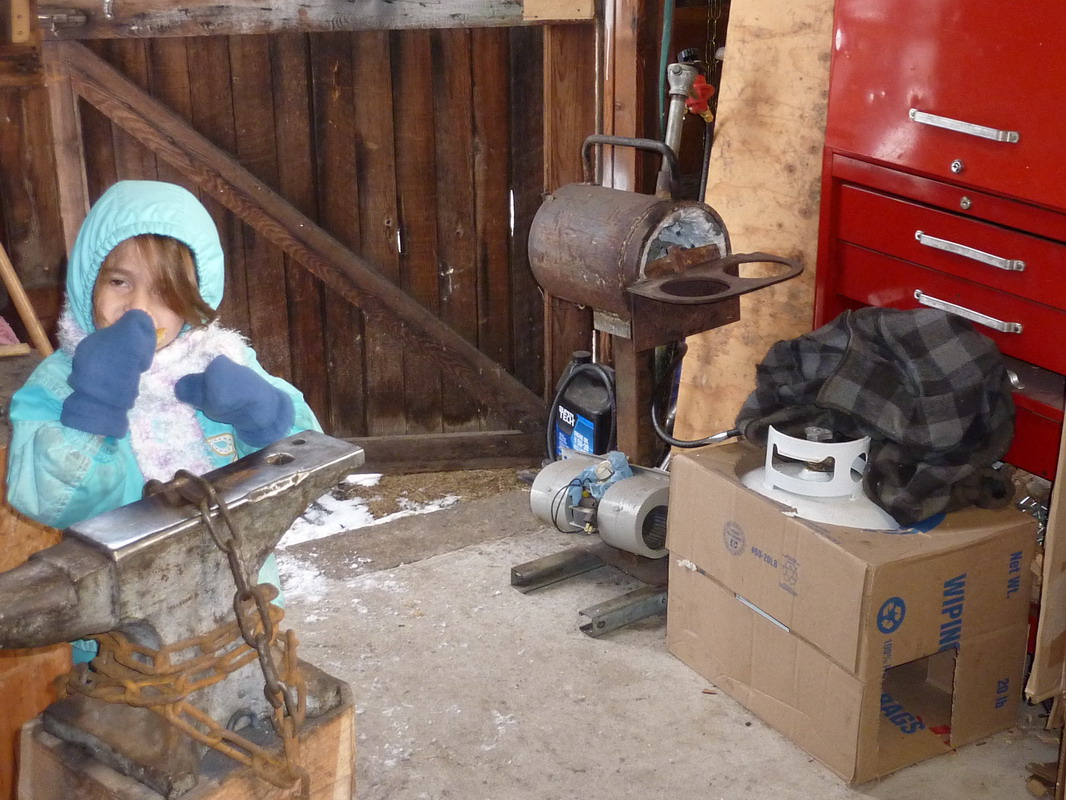
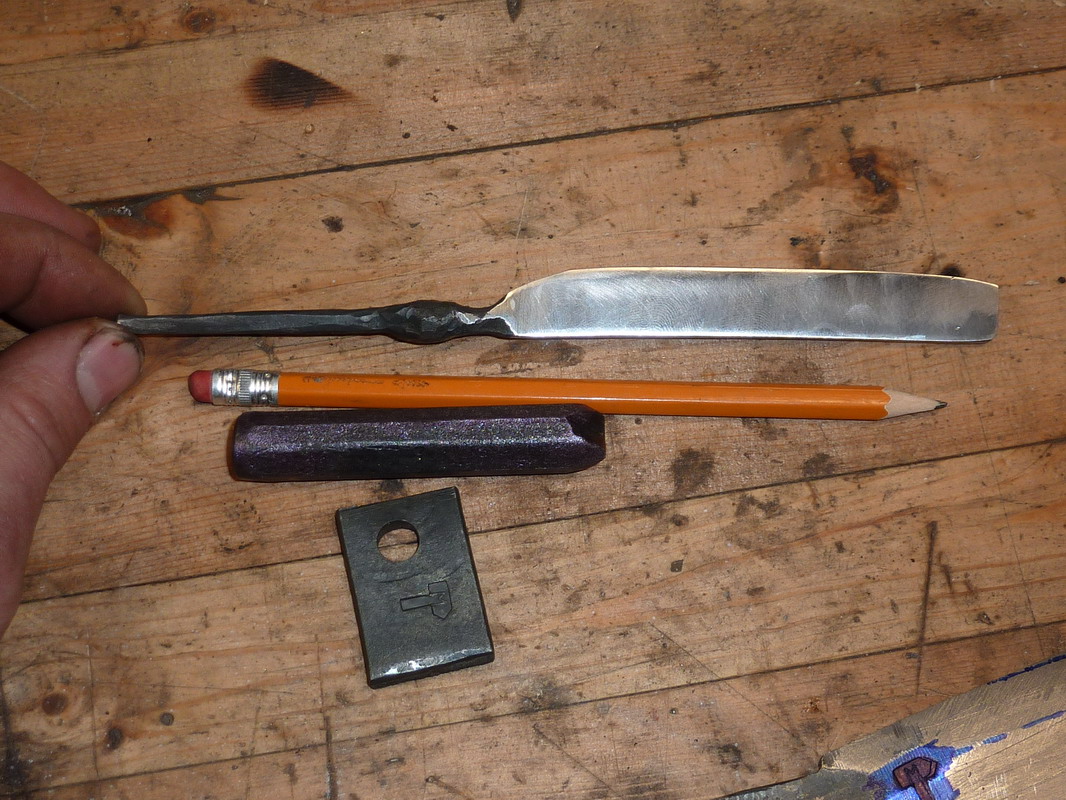
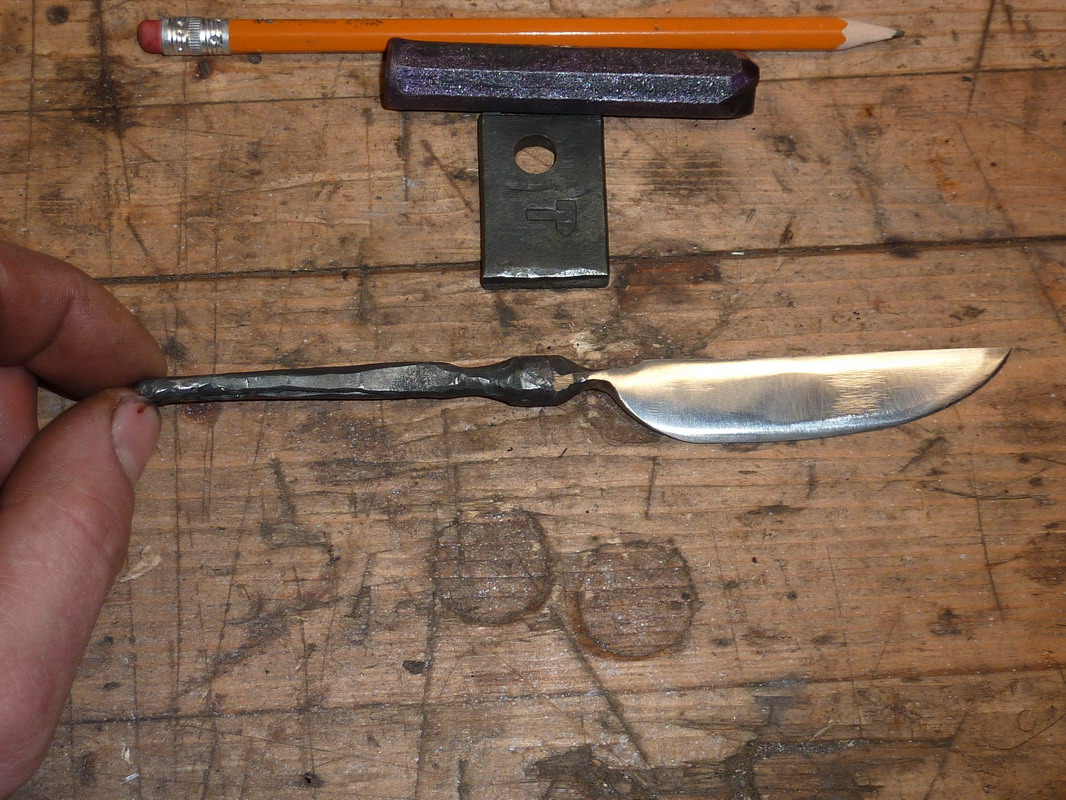
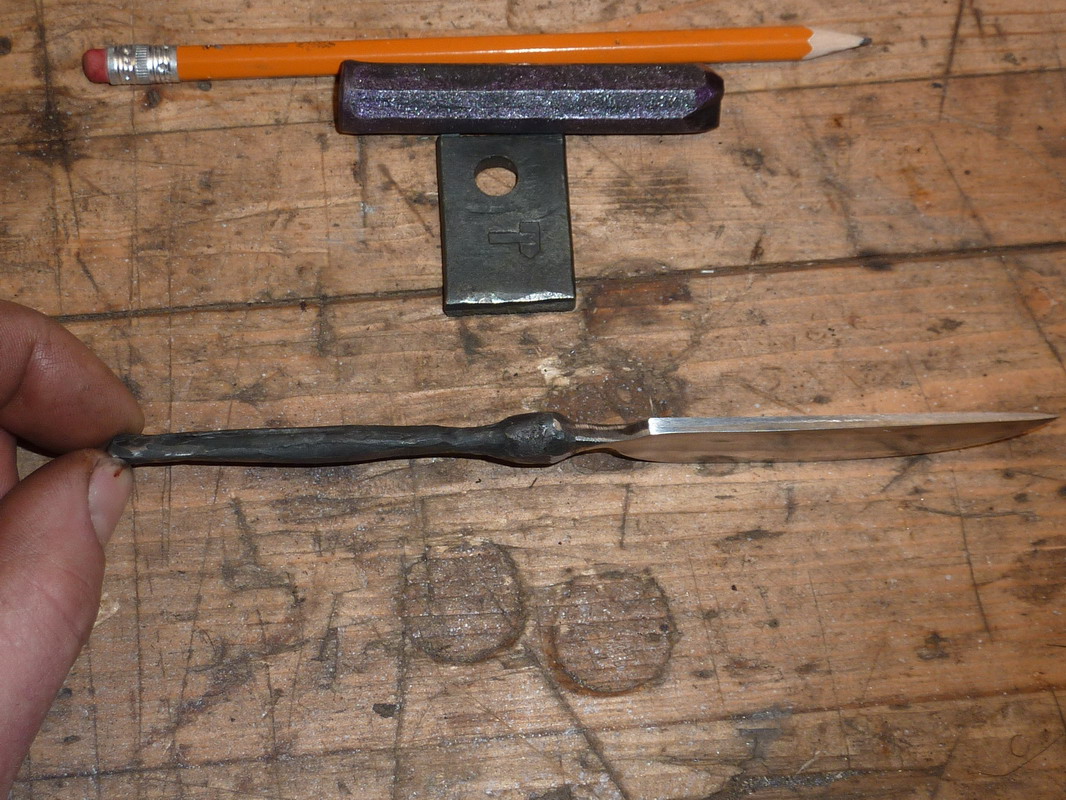
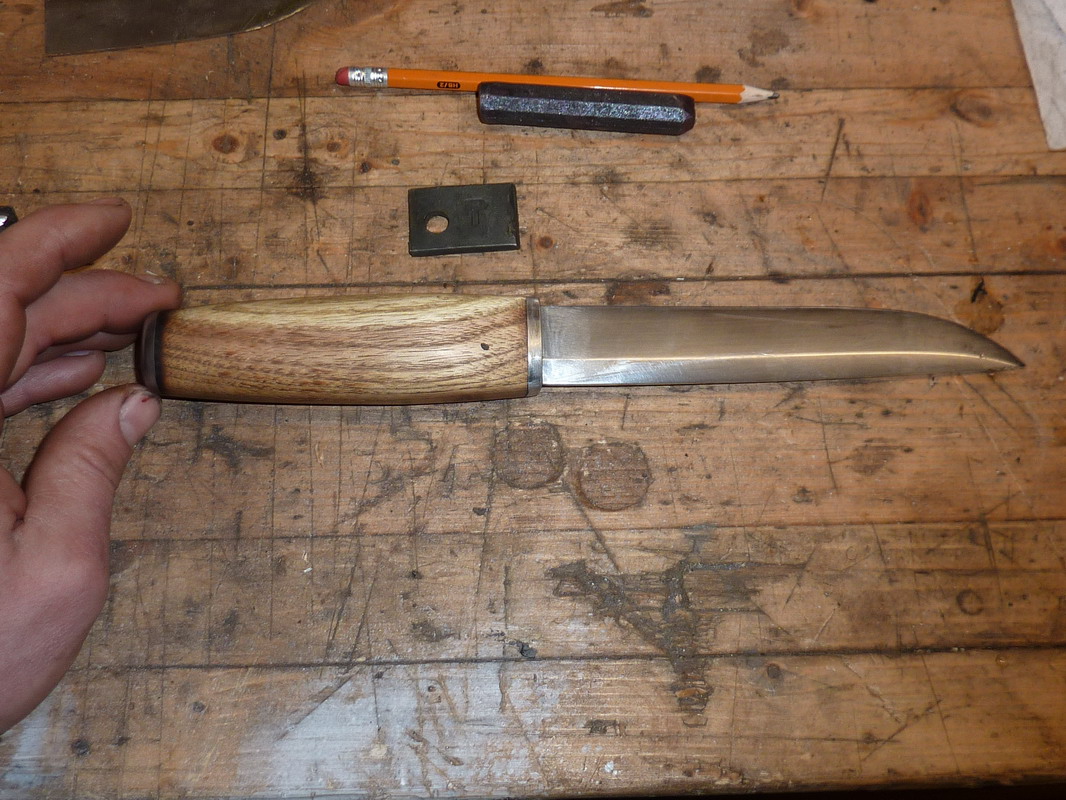
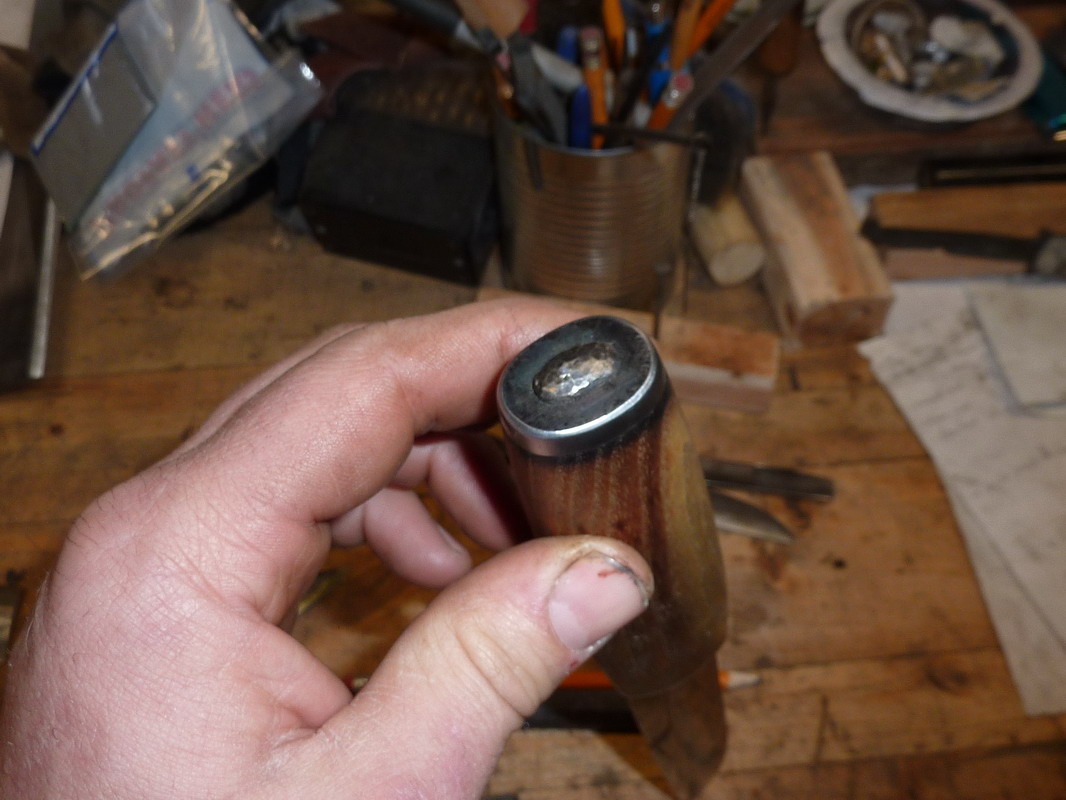
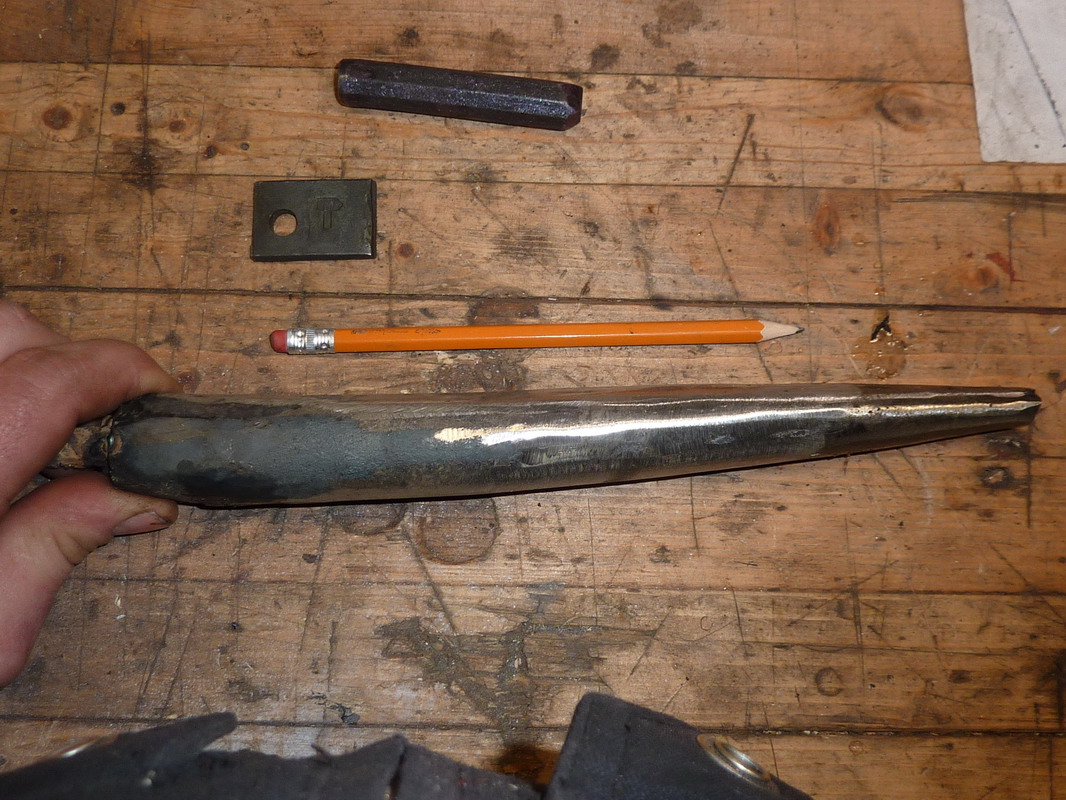
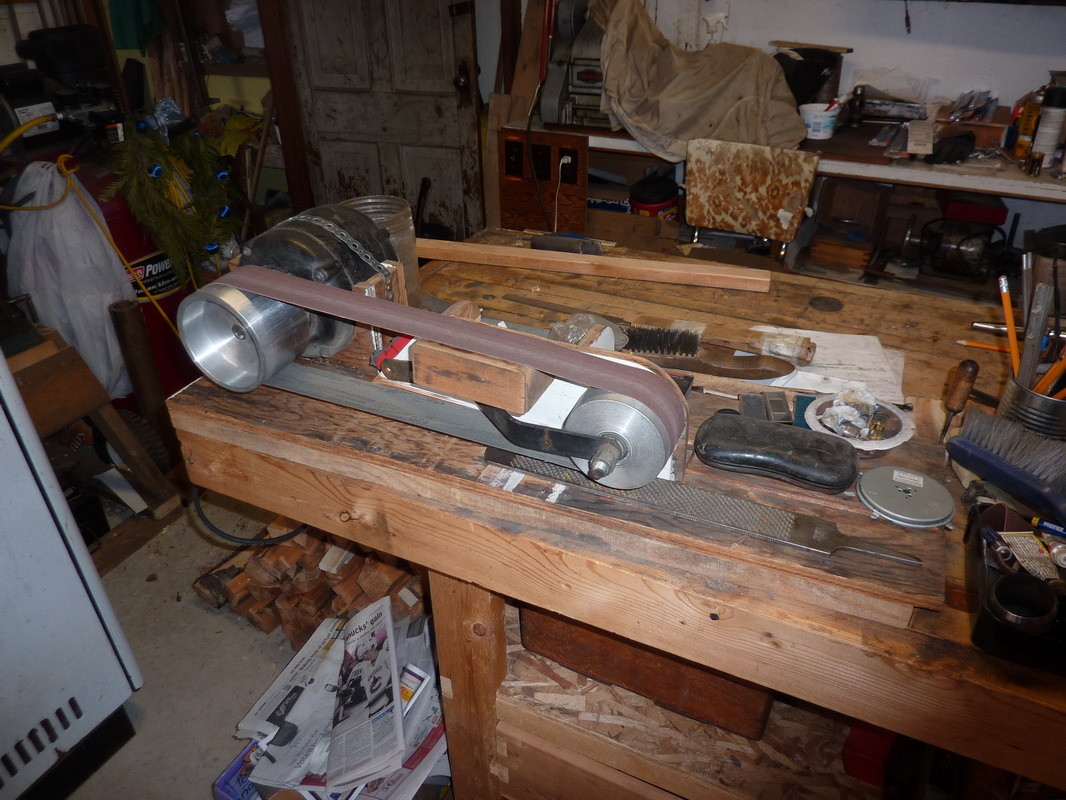
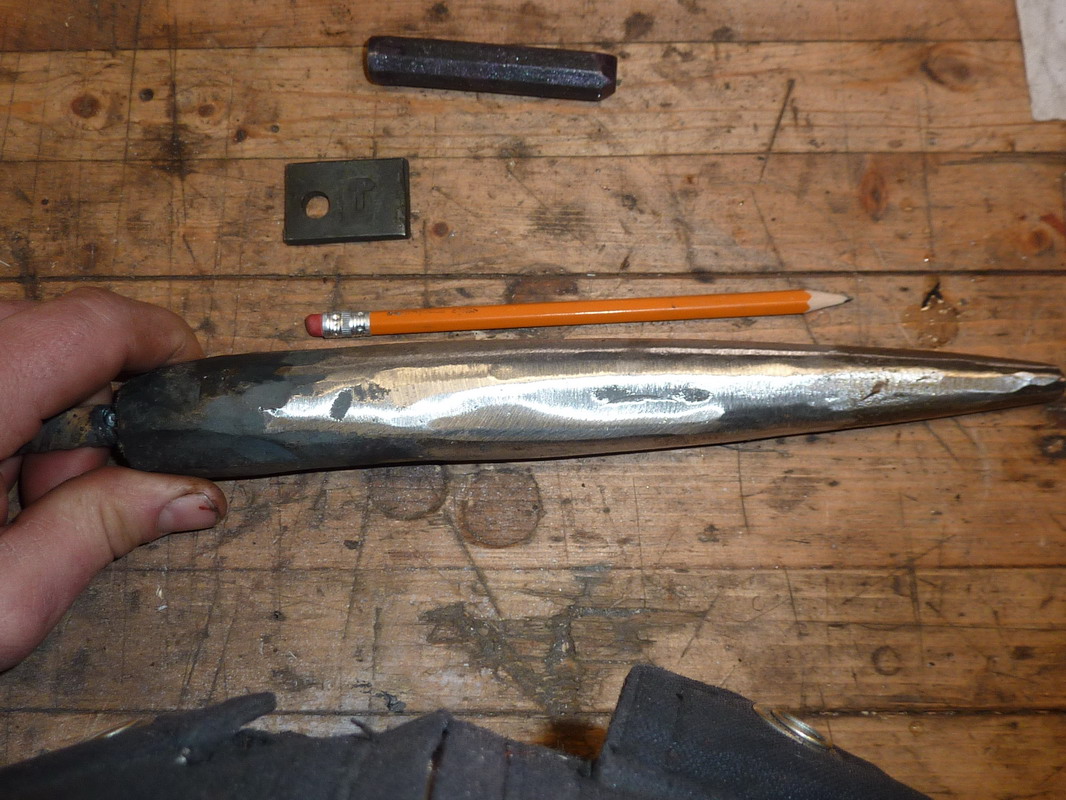
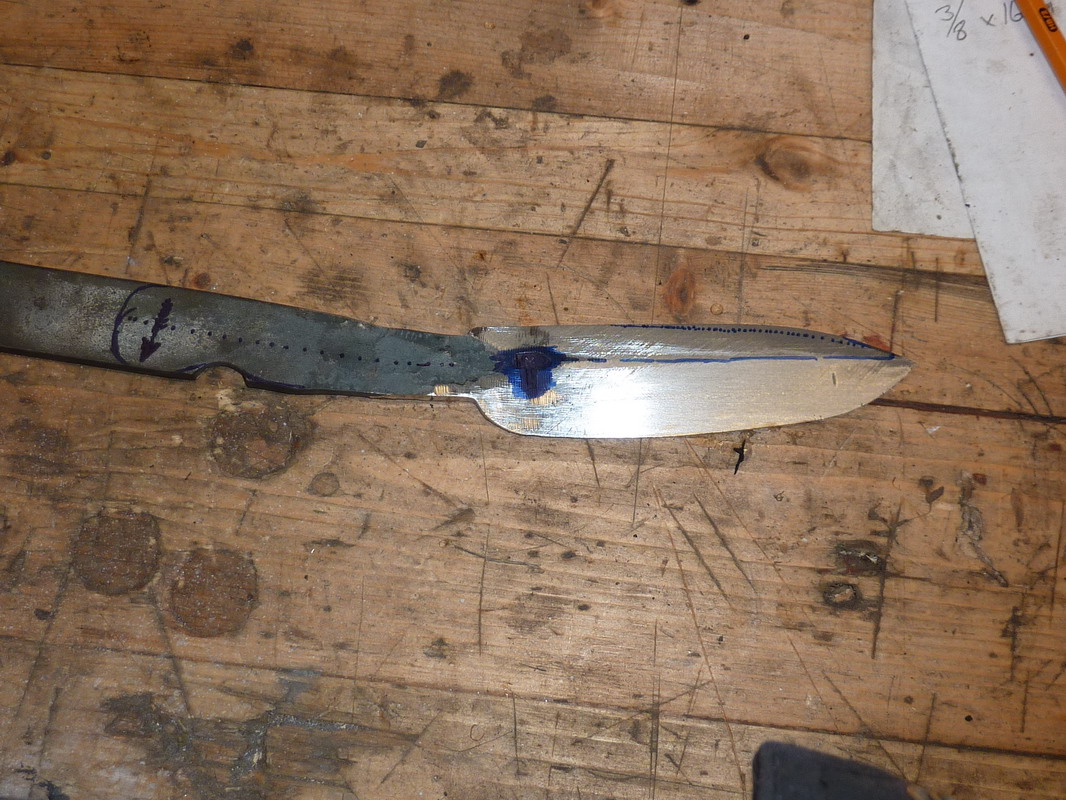
Well, the new forge works great. Tried making a carving knife for the neighbours failed in heat treat. A few big cracks across the blade. Ah well, try that one again. made a few more arrow heads, they are getting faster. and the socket is getting more consistent big plus... Then I took the a piece of 3/8x1 1/2" mild. Ground off scale and folded and fluxed. Darned if I didn't get a decent weld. I then took the mudlflap hanger spring stock that I had straightened out and heated and beated that together. took it up to 20 layers or so. Didn't get a picture of the billet, but twisted and welded it back on itself. hammered out a small knife. It's now soaking in vinegar, just on the off chance that the pattern may show up. Not expecting much as its all the same material welded together. Assuming that the mud flap spring is 5160 any hints or tricks to maybe get the pattern to show? Muriatic acid or ferric chloride would no doubt be the best bet. Will have to look into getting some. I have a 2 large seals from a buncher final drive, (double taper seal) looks to be the same material as a bearing race. Thoughts on contrast with the mudflap spring if I weld it all together. start of a straightened out spring new airtank forge faggot weld in 3/8 mild small blade out of mudflap spring Just stoked thatI have finally got a setup where I can forge weld!
-
Looks handy. Any idea what the gear use to run. Don't know that I have seen anything quite that large.
-
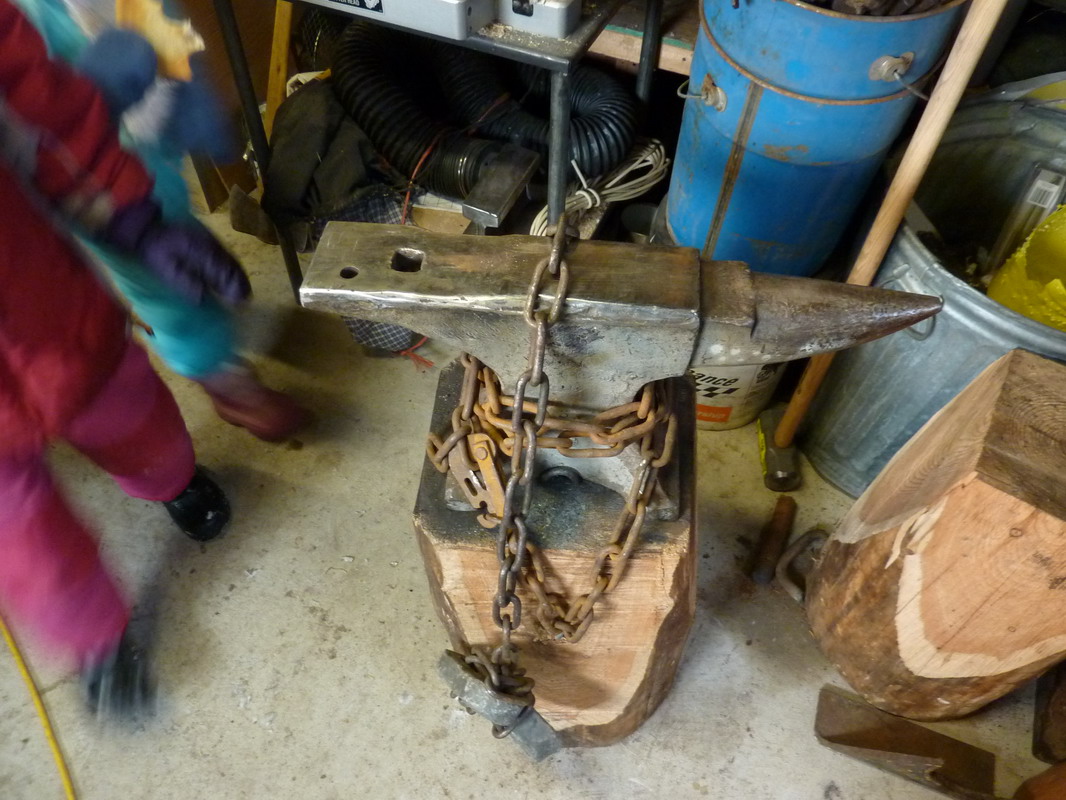
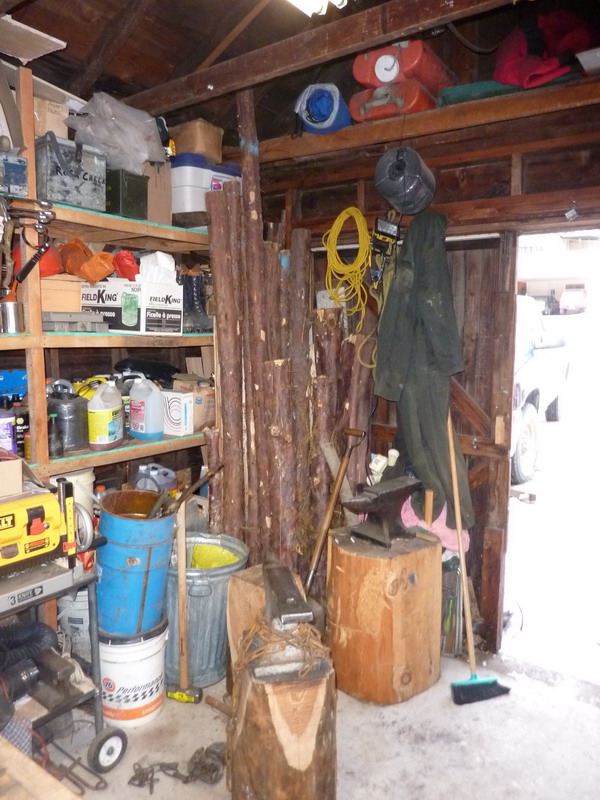
Most excellent idea of using the holes around the cirumference to hang tools from. I like, better than having a heeap of stuff in the corner in a5 gal pail.
-
Think Dad wanted it for post and beam type stuff. Was thinking the the larger piece of the stub shaft could sit on a block with a few spikes throught the bolt holes to hold it down. then its portable. The shorter piece if used just take the chainsaw and plunge cut a square hole into the end of a block, of sized right should fit plenty snug, and if not a few wedges might just work to lock it in place. Though it could be welded to the crank pulley I haven't pulled out of the scrap bin yet. It's off a Cat engine from a logging truck that burnt up (lot's of excitement that day!)
-
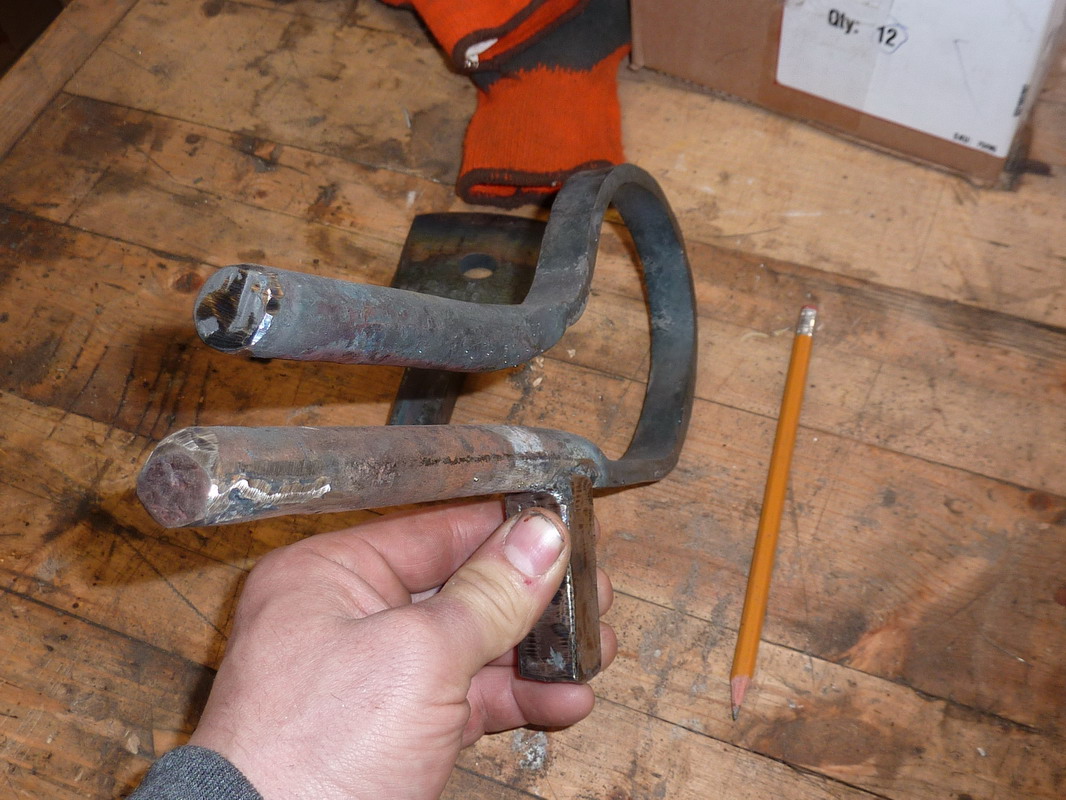
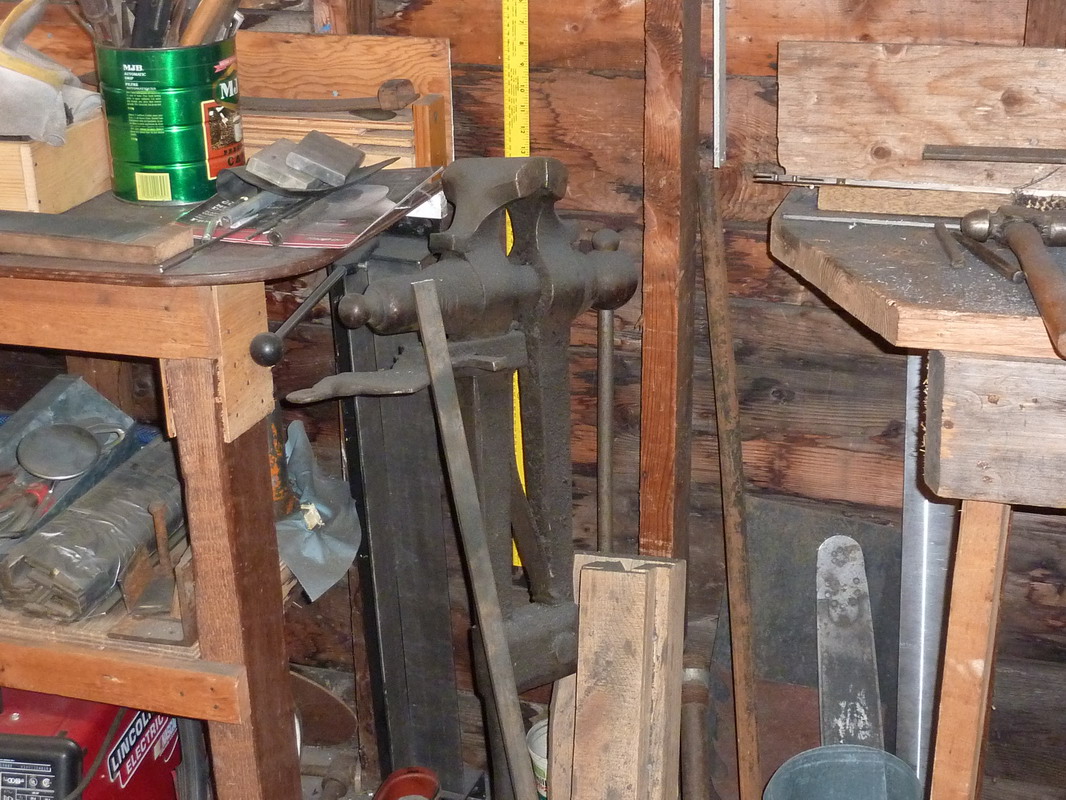
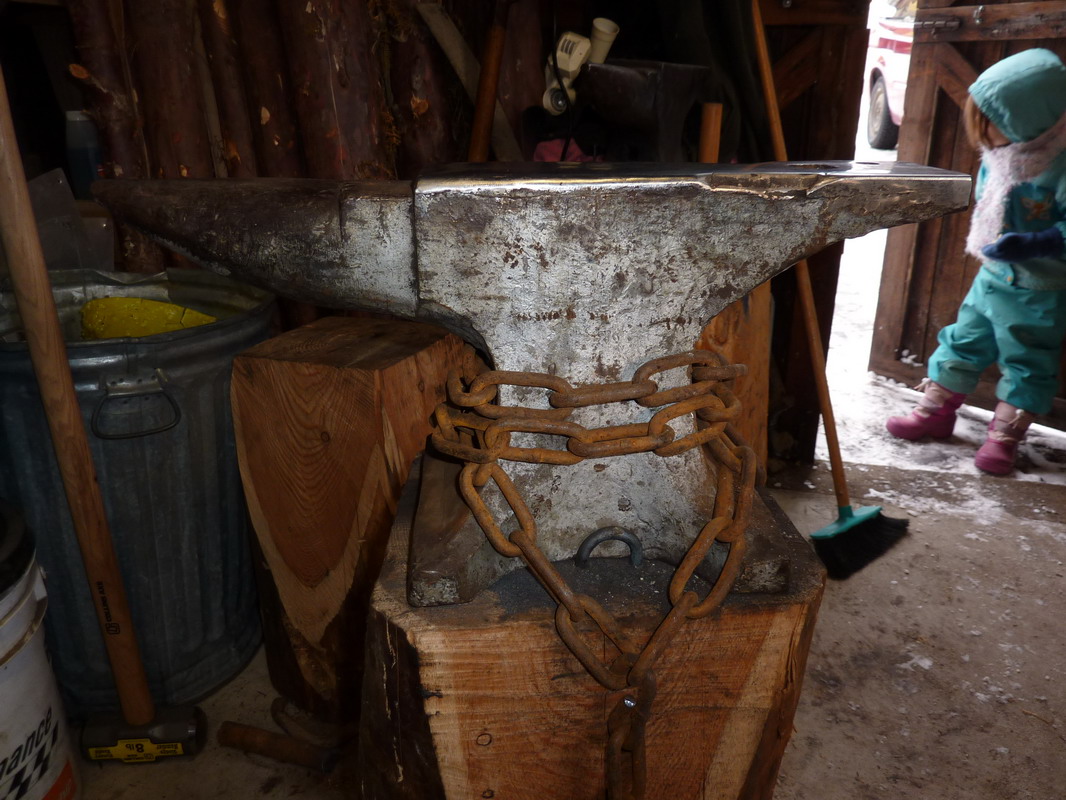
Beat out a Slick for Dad today. makes a pretty good trade for a conveyor for moving dirt out of the basement to be. ***** of a lot of beating to get the socket spread enough to roll it up. Can't wait til the ceramic blanket comes in and I can get another forge set up and the old one relined. One for small stuff and another for larger bits. And an interesting piece of scrap from the casualty at work. Stub shaft that holds the the track frame on the 527 Skid Cat broke. Was thinking maybe a base for my post vise, but not quite heavy enough. Might make a nice blade anvil if the face has two parrallel sides. Weighs 108lb when complete by the shipping slip for the new one. Maybe back to arrow heads on sunday. all depends...
-
Surprising how dificult it is to get everything just right on a small arrow head. Have to try making a slick for dad as he requested one and have a feeling the socket for that will be real simple in comparison. What style of hammer/s were used classically to make them. I have watched Hector Coles video over and over. the button in the hardy or pritchel looks to be rather advantageous. Guess I have two more projects, a button for flattening the flare, and a smaller crosspeen, rest of my hammers are too big or too small.
-
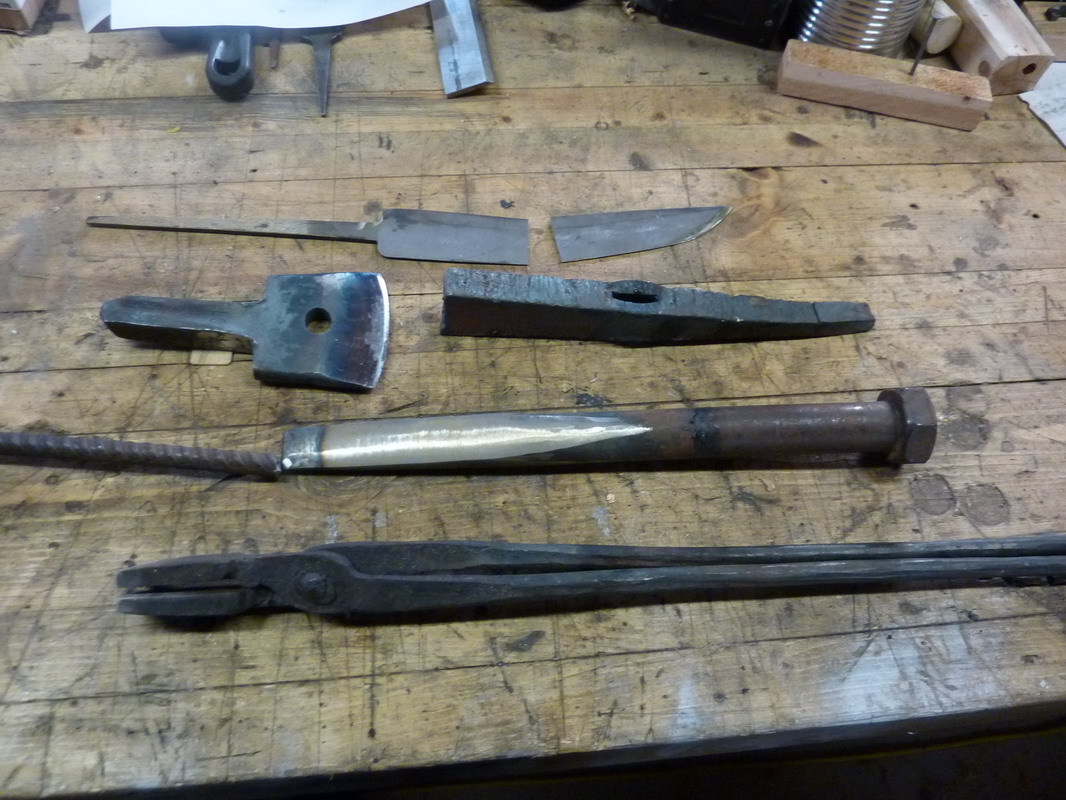
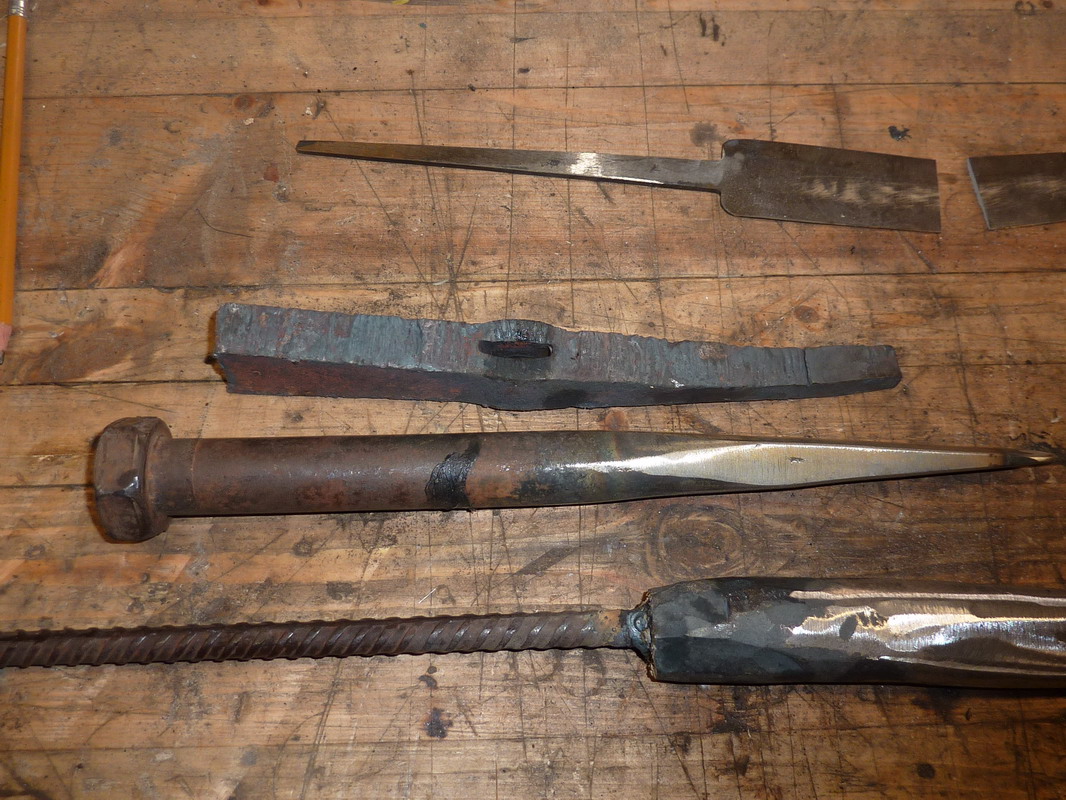
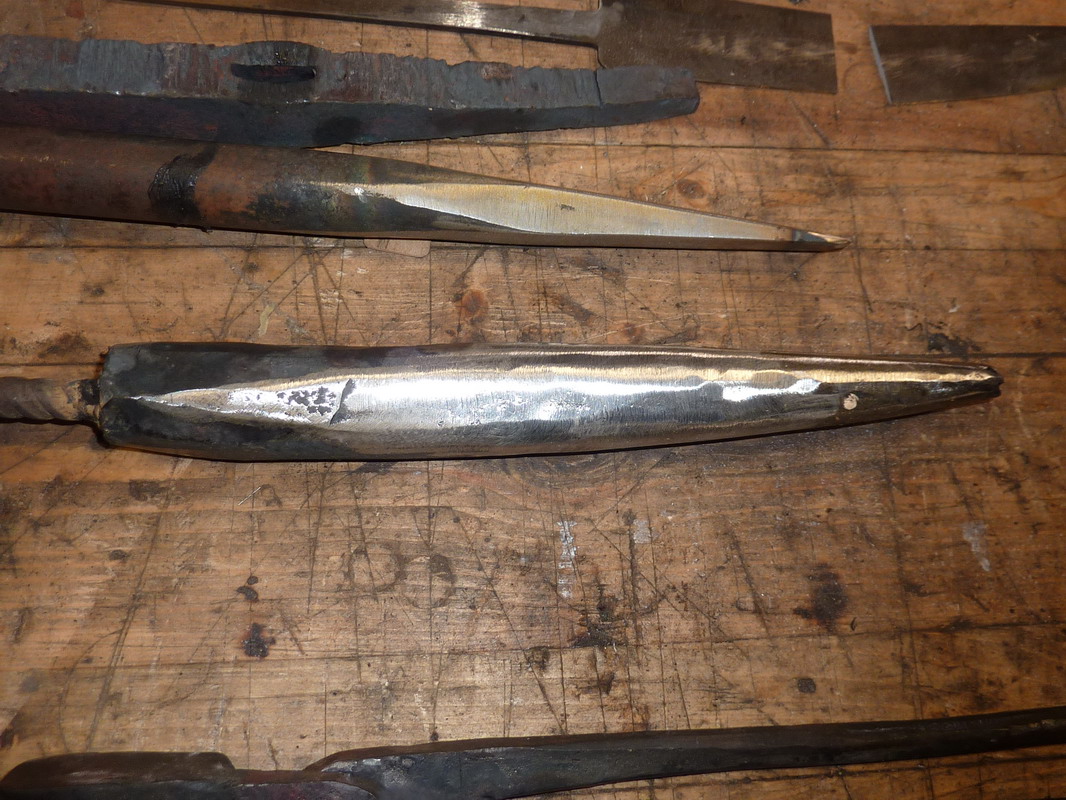
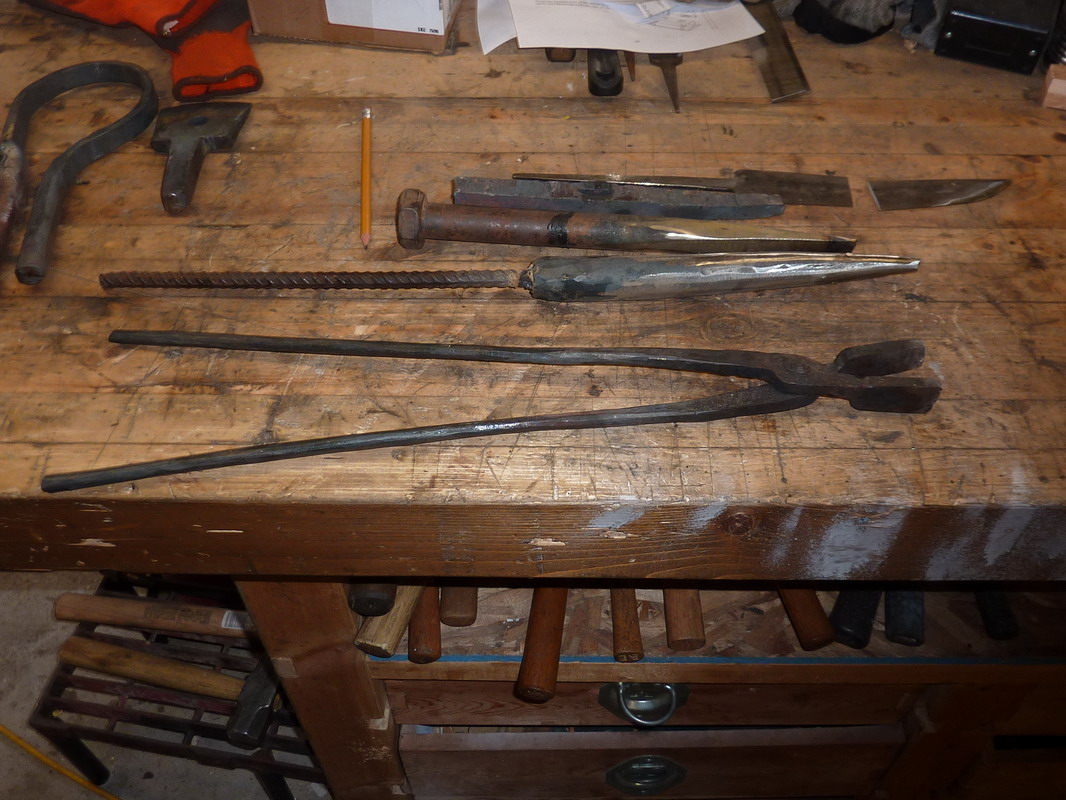
Big ugly chisel for dad, promised to fix one of his long ago. A bic, socket tongs, first attemp at rolling sockets for arrowheads. and a reshaped knife from a broken blade, just needs finishing. and what you don't see is the two failed attempts at sockets on the shop floor. Going to take a whole lot of practice to get nice neat uniform arrow heads made up. At least the material is cheap, mudflap and bunk springs from our logging trucks. Hardest part is getting the socket wall thin and uniform enough.
-
I must be a man out of time...everything but the last and I'm still a young bugger
-
stainless rod and build it up til you can get a hold of it. is it drilled on an angle? almost looks like ot would have to be to drilled and tapped in the first place. if so a long drill bit maybe? dunno maybe other better ideas from someone with better experience
-
thanks, guess I'll start collecting when the scrap bins get sorted to be shipped
-
Any idea what the alloy is used in a track pin. And what are you using for a heat treat on them? I can get a lot of them from work, big ones from our D-8K to fairly small ones on the Volvo processor, it goes thru links on the rails steady.
-
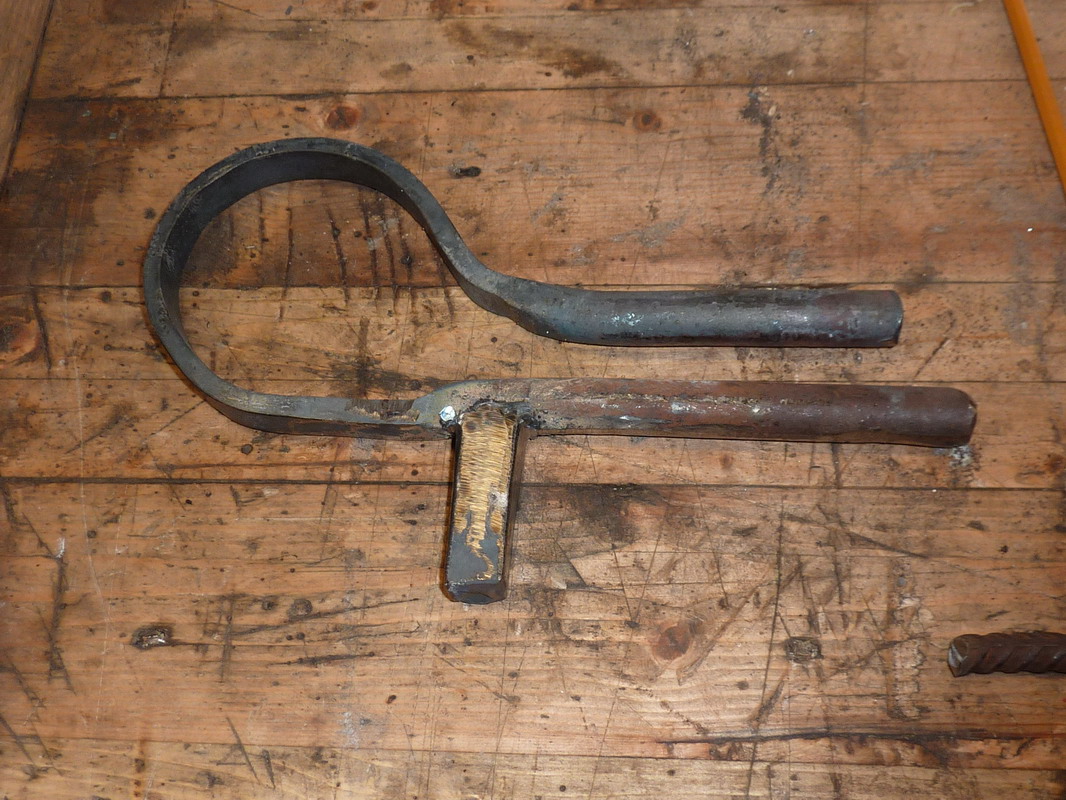
It was a thicker piece of spring. Maybe from a log truck to far back to remember now. pretty sure I torched it out roughly to shape and ground it all down to where I wanted it. It's wedged in the seat of the truck but pretty sure it's about 3/8" thick on the hammer end. The cutting edge is a fairly steep convex grind, does a passable job at splitting wood for a campfire. Just heavy enough you can beat on something fairly good with the hammer end. Not pleased with the drifted eye in that it's not nice and even,nor a uniform taper to it. Not to concerned with size,just not a nice uniform oval from the top like I had wanted. Might take the die grinder at work and dress it up a little on the inside yet. Depends on just how far behind we end up with all the equipment...services due and whatever else the bush crew can thrash
-
I'd like to say it was all in one weekend. Been the last several since X-mas or so. As much time as can be pried away from other things... Lucky to get one good day in a weekend.
-
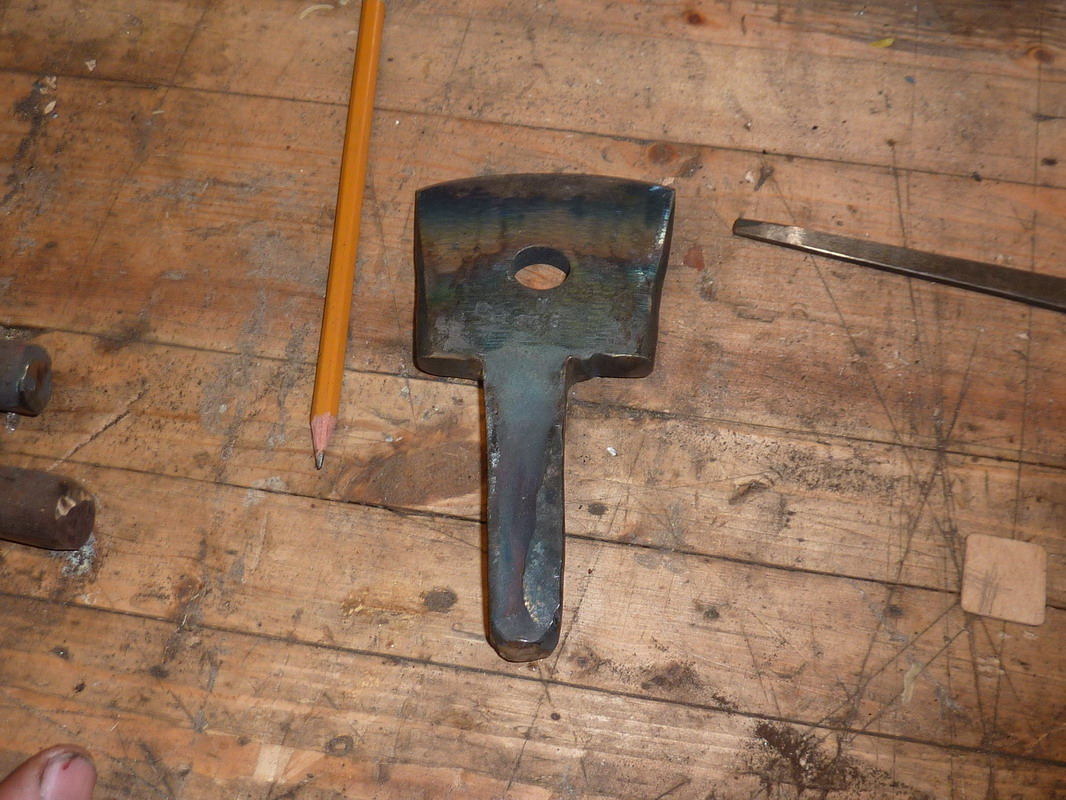
My first forged axe head. Not all that pleased with how the eye turned out. Will have to make a drift more suited to the job. Steel was a strip of 3/4" plate little over an 1" wide from the scrap bin at work. Seemed to harden up about right so that was a bonus. Slitting chisel worked good. New axe posing next to 2 old ones from leaf spring and 1/2" galvanized pipe flattened and welded on. The polled one travels everywhere in my pickup. Has served well. The other has a really thin blade and get used for roughing out the odd bit of woodworking in my shop.
-
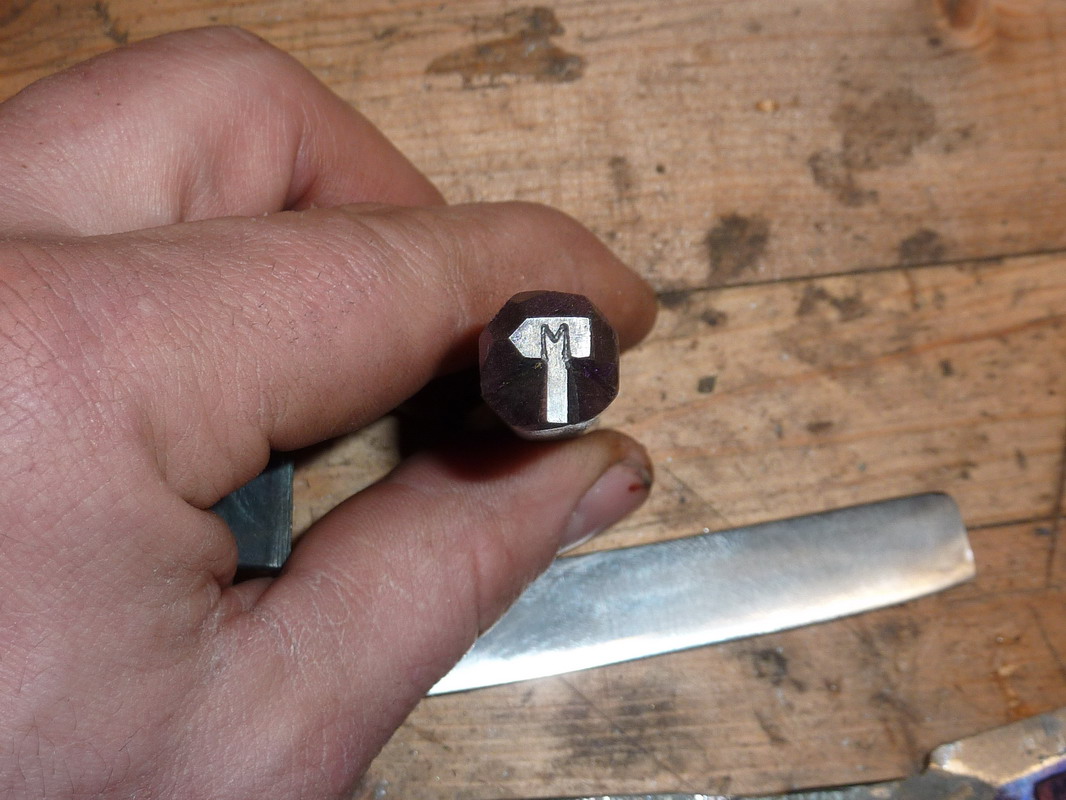
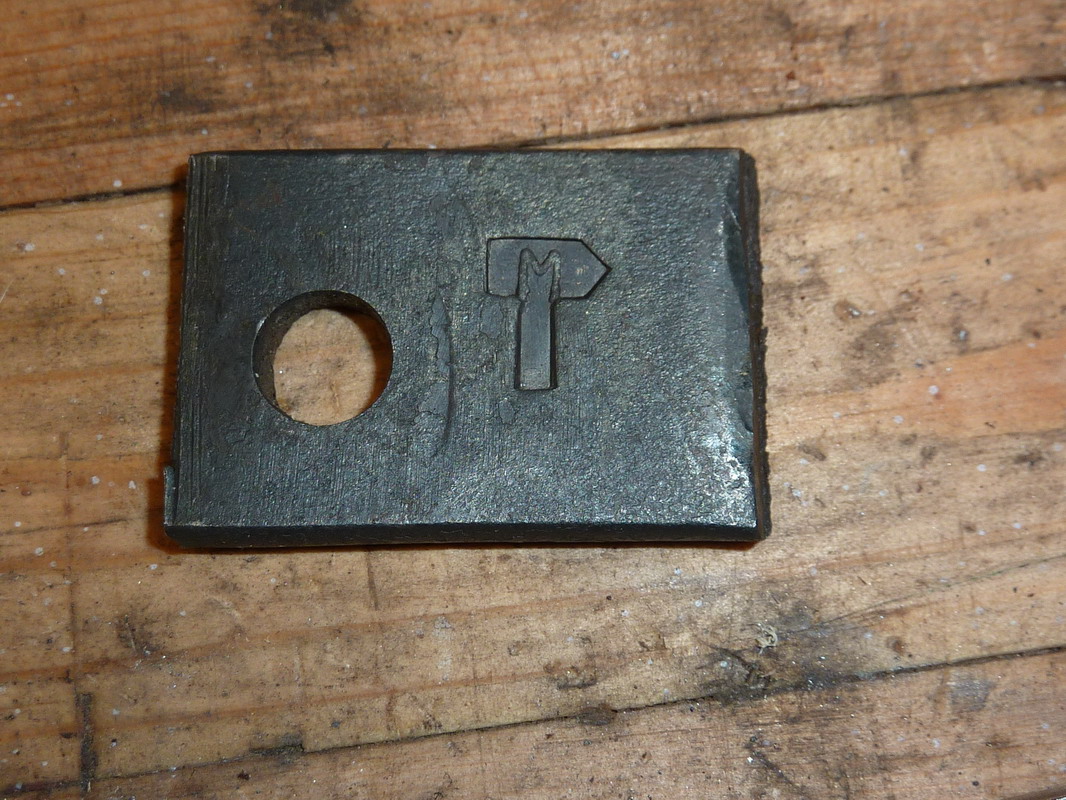
I'd have to dig, but there was a book of recipes at the school library years ago, it had a recipe for making a resin compound of some sort to build up the soft spots til the rest of the wheel wore down even. uhmmm...was something like 2000 recipes from the late 1800's early 1900's. I had photo copied sections, not really sure where it all got to. That recipe stuck out a little for Gr. Grandpas pedal powered wheel. His blower was home made, a converted milk separator, with a tin cage and fins.Old alphabets, symbols, etc from nearly every ancient language out there. Bound to be something for somebody. http://www.ancientscripts.com/ws_types.html Thread got me thinking about touchmarks...next project on the list....Well the deal with the s-cams is the S portion that spreads the drums gets worn and the brakes don't actuate fully or the two spots where nylon bushings ride get badly worn from operator neglect (failure to grease). Neither pesent much in the way of cyclic fatigue. But yes, that is duly noted. And I see a lot less in the way of lawyers here in Canada than what people have down to the south of us...thanks for the link and infoI'll have to keep the carrot in mind if I ever find another as roadkill. The s-cams are the shaft that goes between the brakes shoes and the air pots. Most are 24" in length and around 1 1/2" dia, and expect to be fairly good stuff for the amount of torsion on them.Does anybody know what the s-cams out of a log truck might be for steel? Have a few we've swapped out at work, thinking hammers or drifts if I get ambitous. Have a broken axle and understand it's 4120 or 4320. Still collecting odds an ends getting things setup. thanks for your time...