Melw45
-
Posts
173 -
Joined
-
Last visited
Content Type
Profiles
Forums
Articles
Gallery
Downloads
Events
Everything posted by Melw45
-
No need to apologize. I used my machinist square on the tube and it is pretty flat. Held the straight edge on the bottem of the pillow blocks and they are not flat. The pice of metal i have been testing them on is 3/8" thick. I do not pu much pressure on them before the shaft gets tight. I bought these bearings from a eBay seller. Very cheep. Mel
-
Sorry no pic today. Did not work on it. I did try clamping down the pillow blocks. Same problem. I guess I will jus have to brake down and get some better ones. Mel
-
What did you do in the shop today?
Melw45 replied to Mark Ling's topic in Blacksmithing, General Discussion
Started packing it up. I used a engine hoist to get it off the stand and on to the cart. Mel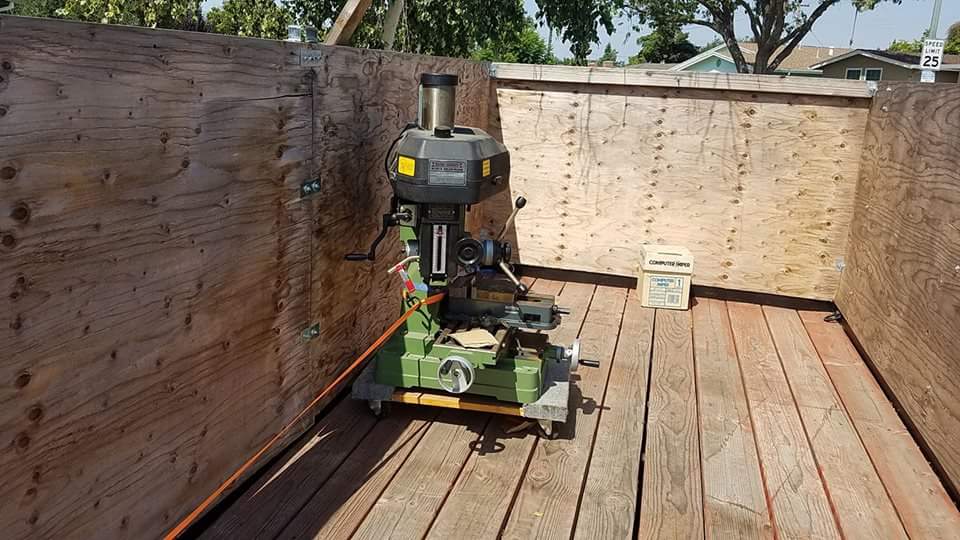
-
Me? No I have been concentrating on my grinder build. No much forging lately. Mel
-
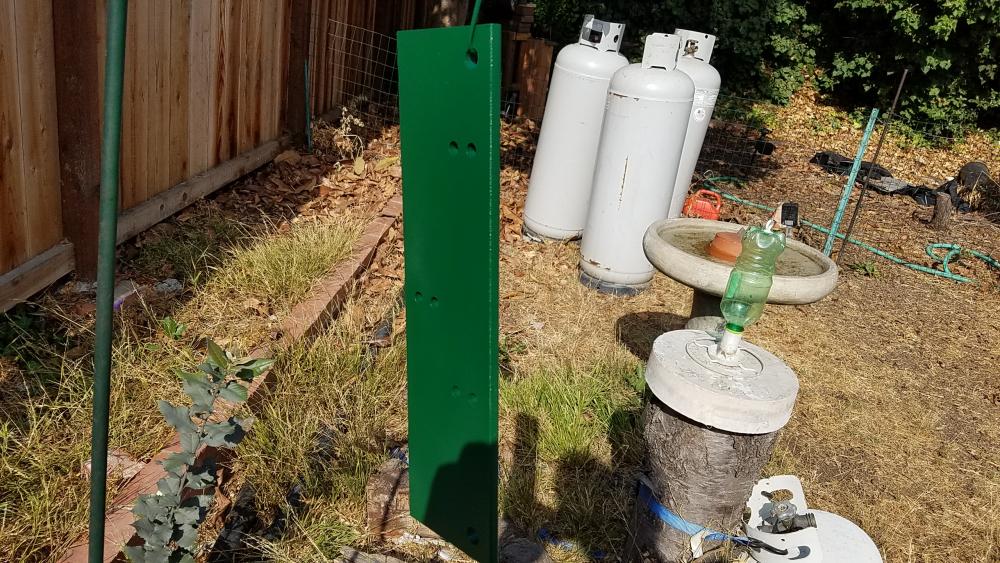
Frosty Yes they are. I have similar ones on mine. Came with the truck. Guess they are for tailgating. Works better then trying to set a cup or soda bottle on the ribbed part. Mel
-
What did you do in the shop today?
Melw45 replied to Mark Ling's topic in Blacksmithing, General Discussion
Thanks for the info. That is a intresting grinder. Not a bad price. Mel -
Ok i put a square across the pillow block that is out. I found a gap on the inside of the feet. So with nothing to lose i put some wax paper on a flat aluminum pate. Cleaned the paint off the bottom and mixed up some JB weld. Put it on the feet of the offending pillow block set it on the wax paper and set a weight on top. Just got done triming off the exess JB weld. Dang that stufff sticks to wax paper. When it is hard i will try to mount them on the grinder again. Will post the results then. Mel
-
What did you do in the shop today?
Melw45 replied to Mark Ling's topic in Blacksmithing, General Discussion
Littleblacksmith Tell me more about you grinder? Oh do be careful with your back. Mel -
Well that tears it. I clamped the pillow blocks to a piece of flat stock and one looks to be out. When it is clamped lots of drag on the shaft. Unclamp and it turns free. Clamp the other one and the shaft turns ok. If only I clamp just the one free turning. Clamped separate they are ok but togther jam city. Oh well I have to shop for more pillow blocks. Darn. That brings me to a stop for now. Mel
-
I did not think you were criticizing. Just brain storming. Good points too. The walls on the 4" tube are 1/8". That is what the plans called for. As for the datum not really. the plans have the holes on almost all the parts measured from a squared end of the tube. Worked ok when I did my part. Most of the holes that needed to match up did. The ones that did not match I can say were because I missed when center punching or one other time i let the tap go in at a angle. That was on the tracking adjust bolt. I had to make the hole on the other side larger to let it pass through. First thing is to clamp the bearings to a known flat to see if they are ok. I will go on from there. Thanks! Mel
-
Good point. I will look at that too. The plans did not call for any. I did not crank down on the up rights mounting bolts just enough to flatten the lock washers. Still good idea to check. The pillow blocks may be the problem as well thay are some cheap ones I got off eBay. Thanks for the idea's. Mel
-
Scrambler82 The bolts just go through the top of the big tube. I think it is arched as when I squeezed the top of the pillow blocks together the shaft would free up some. I am thinking of adding a plate under the pillow blocks. I will check that today by clamping the pillow blocks to a piece of flat stock i have left over from the tool arm you saw in the unpainted photos. If that works i will have to think of a mounting that won't deflect. Well let the board know how it turns out. Mel
-
I spent this aftrenoon trying to get the pillow blocks mounted. When I tightened the bolts the drive shaft would lock up. First I found the top of the mounting point did not have flats on them bottem was ok. I used my little sander to remove the step. It helped some but the drive shaft is still to tight. I think the base tube is not flat on top i will look at it some more tomorrow. May have to make a mounting plate to hold the pillow blocks. Thanks for looking! Mel
-
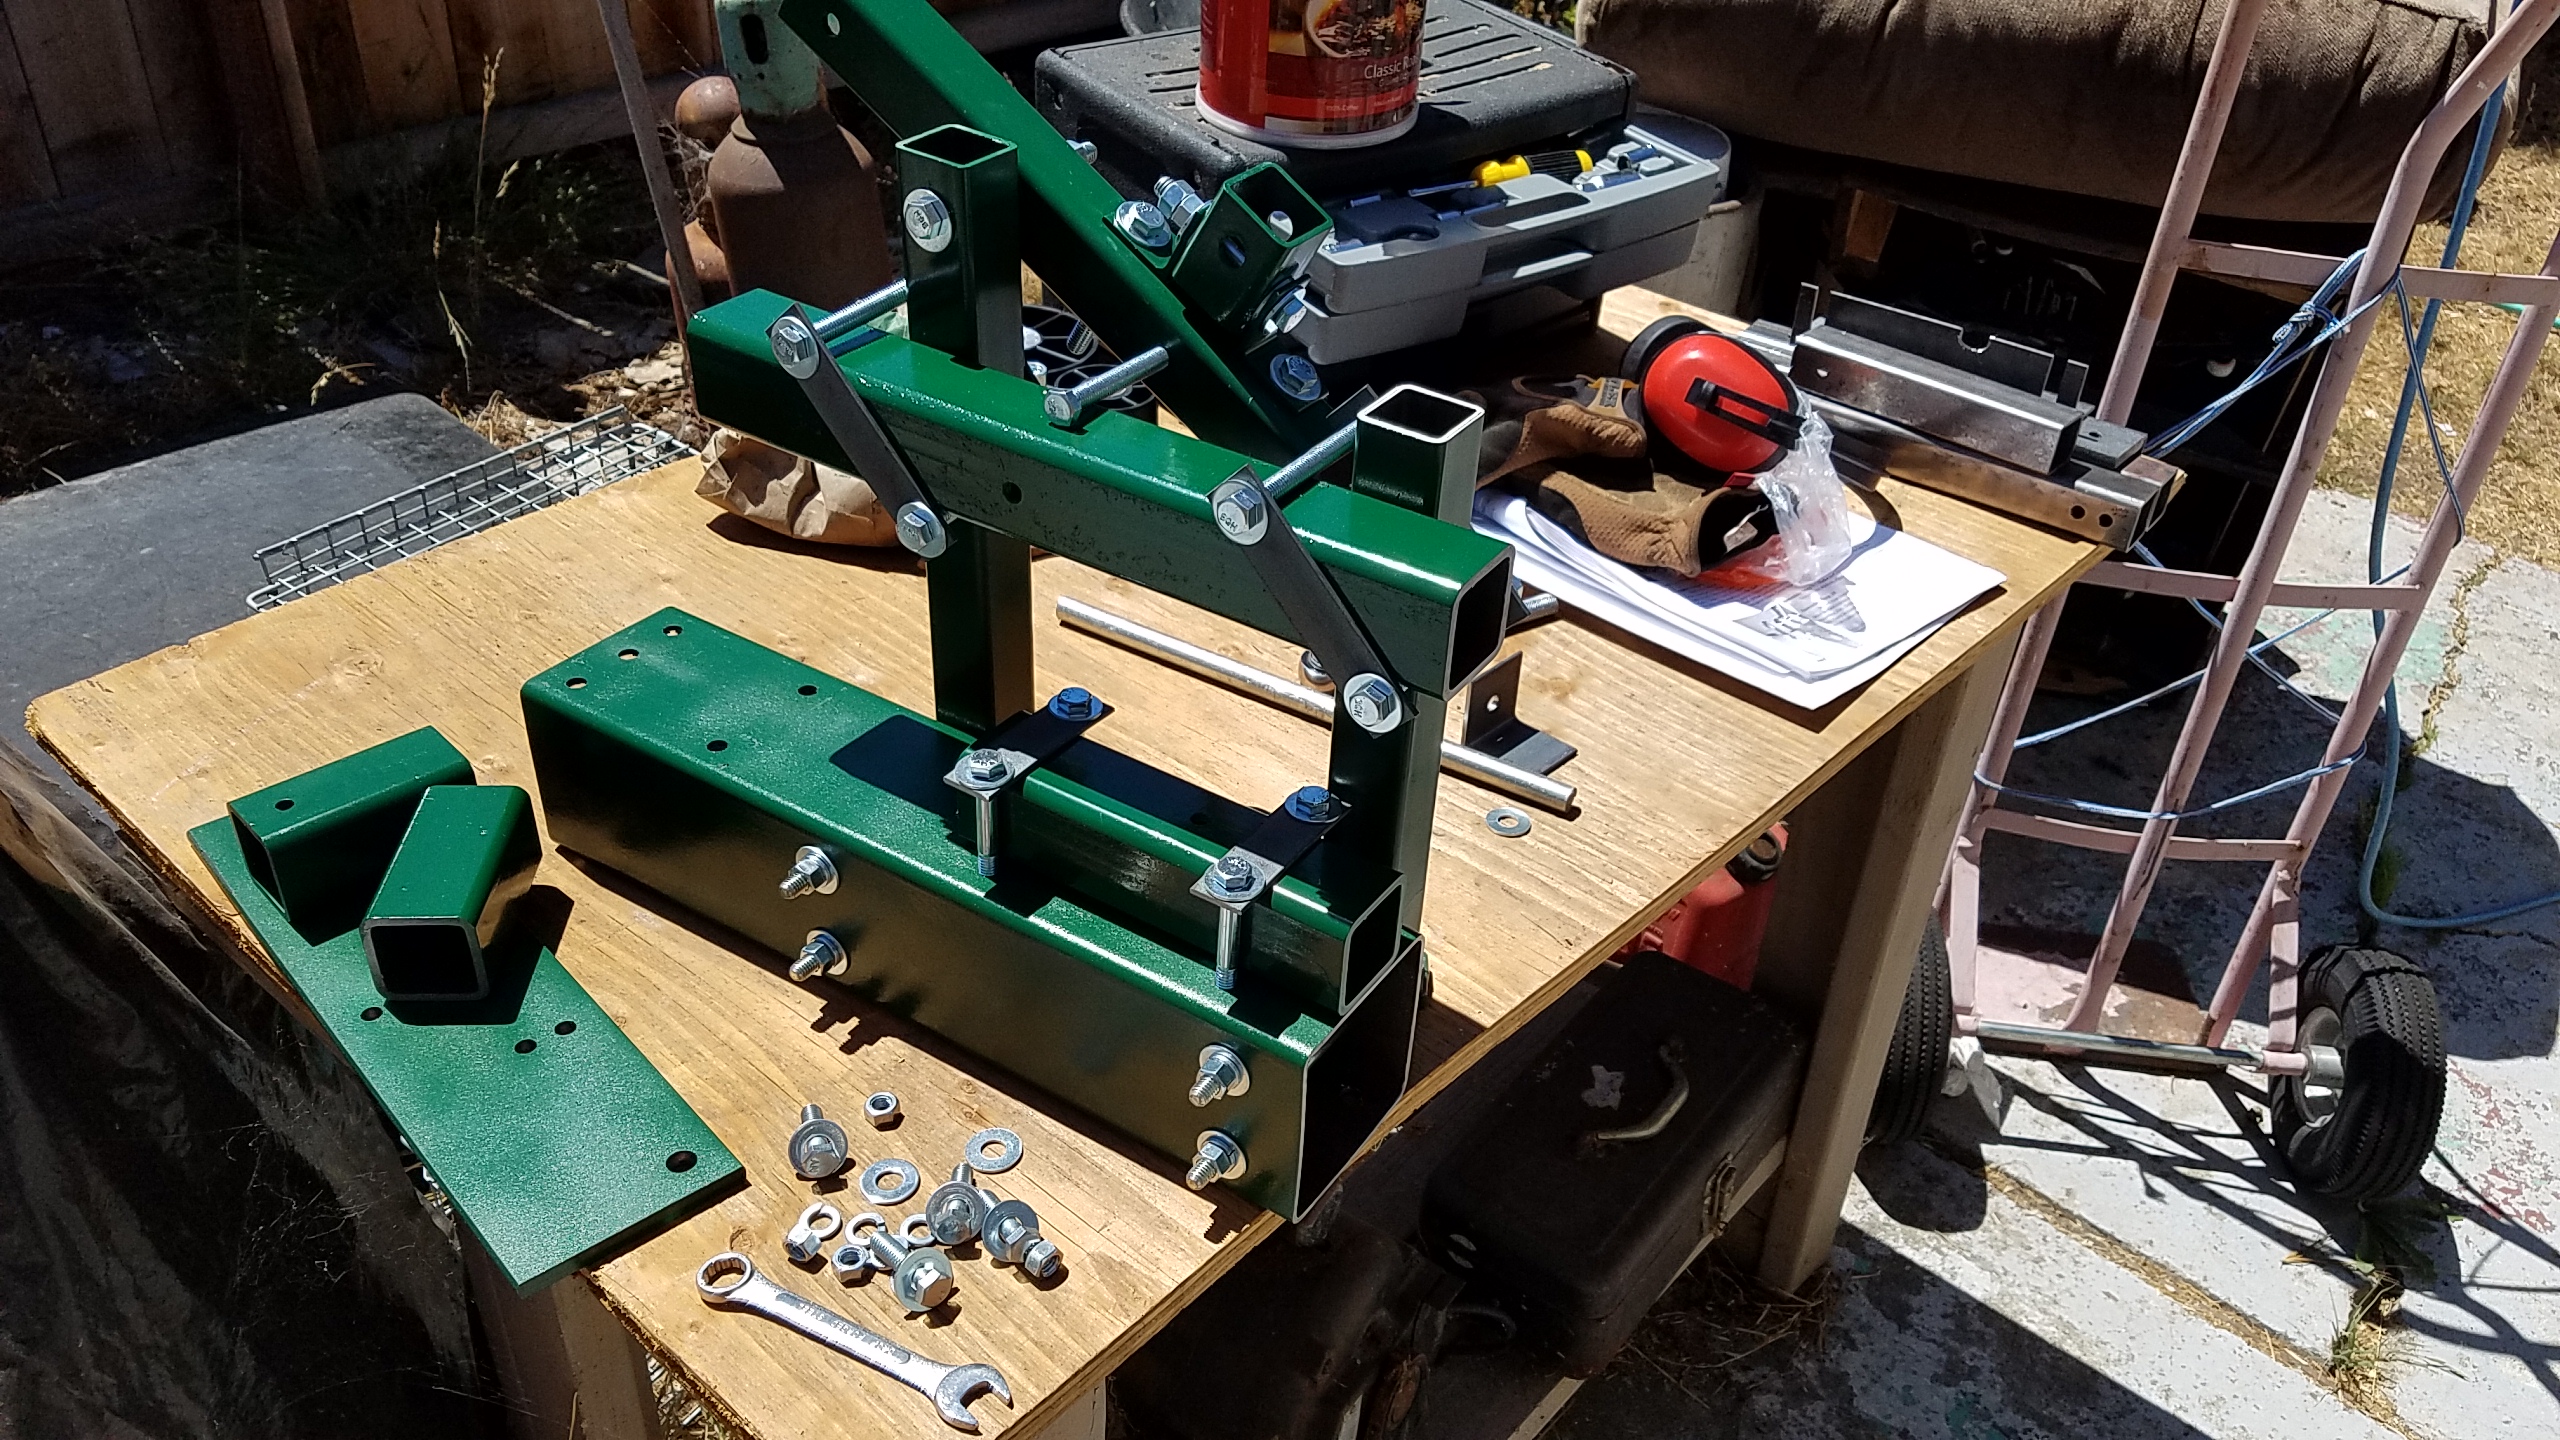
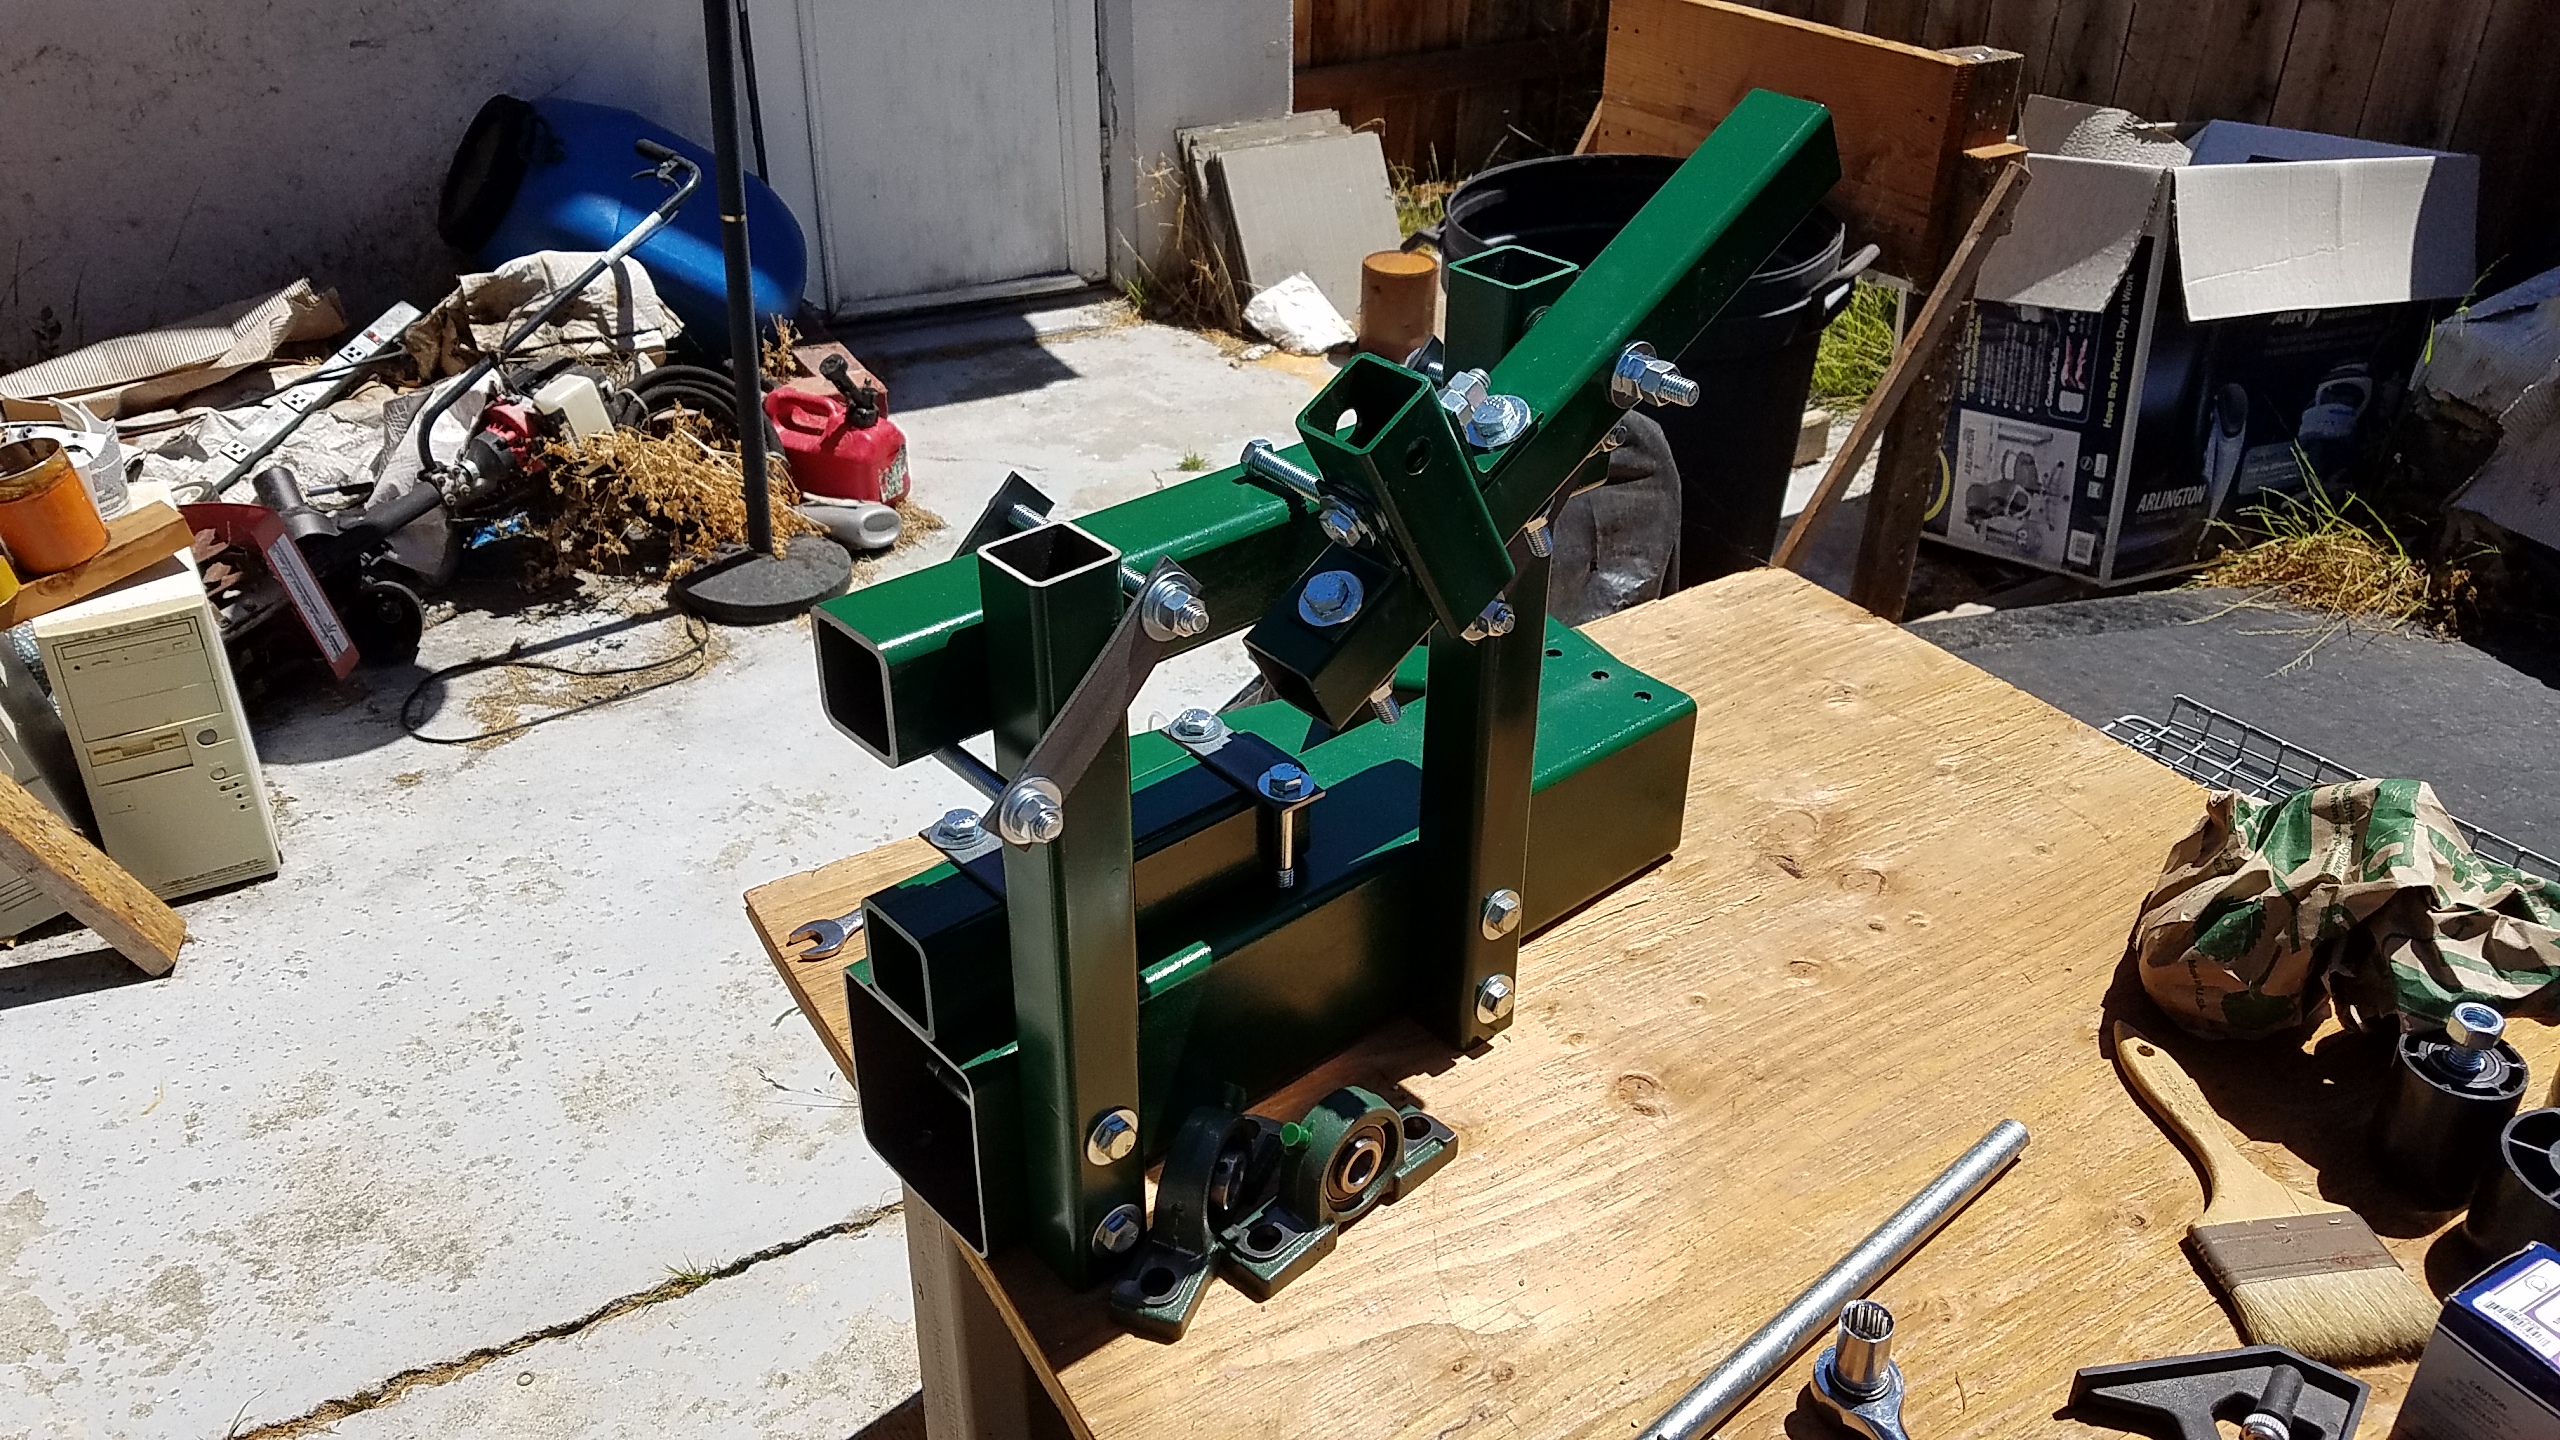
Started to do the final assambley. Here are some photos. Mel


-
So you think YOUR anvil's broken. ...
Melw45 replied to D.C.'s topic in Anvils, Swage Blocks, and Mandrels
Ok look forward to seeing the fix. Mel -
So you think YOUR anvil's broken. ...
Melw45 replied to D.C.'s topic in Anvils, Swage Blocks, and Mandrels
Just curious if you have decided how you are going to fix it. Mel -
Nope never did that even as a teenager. Mel
-
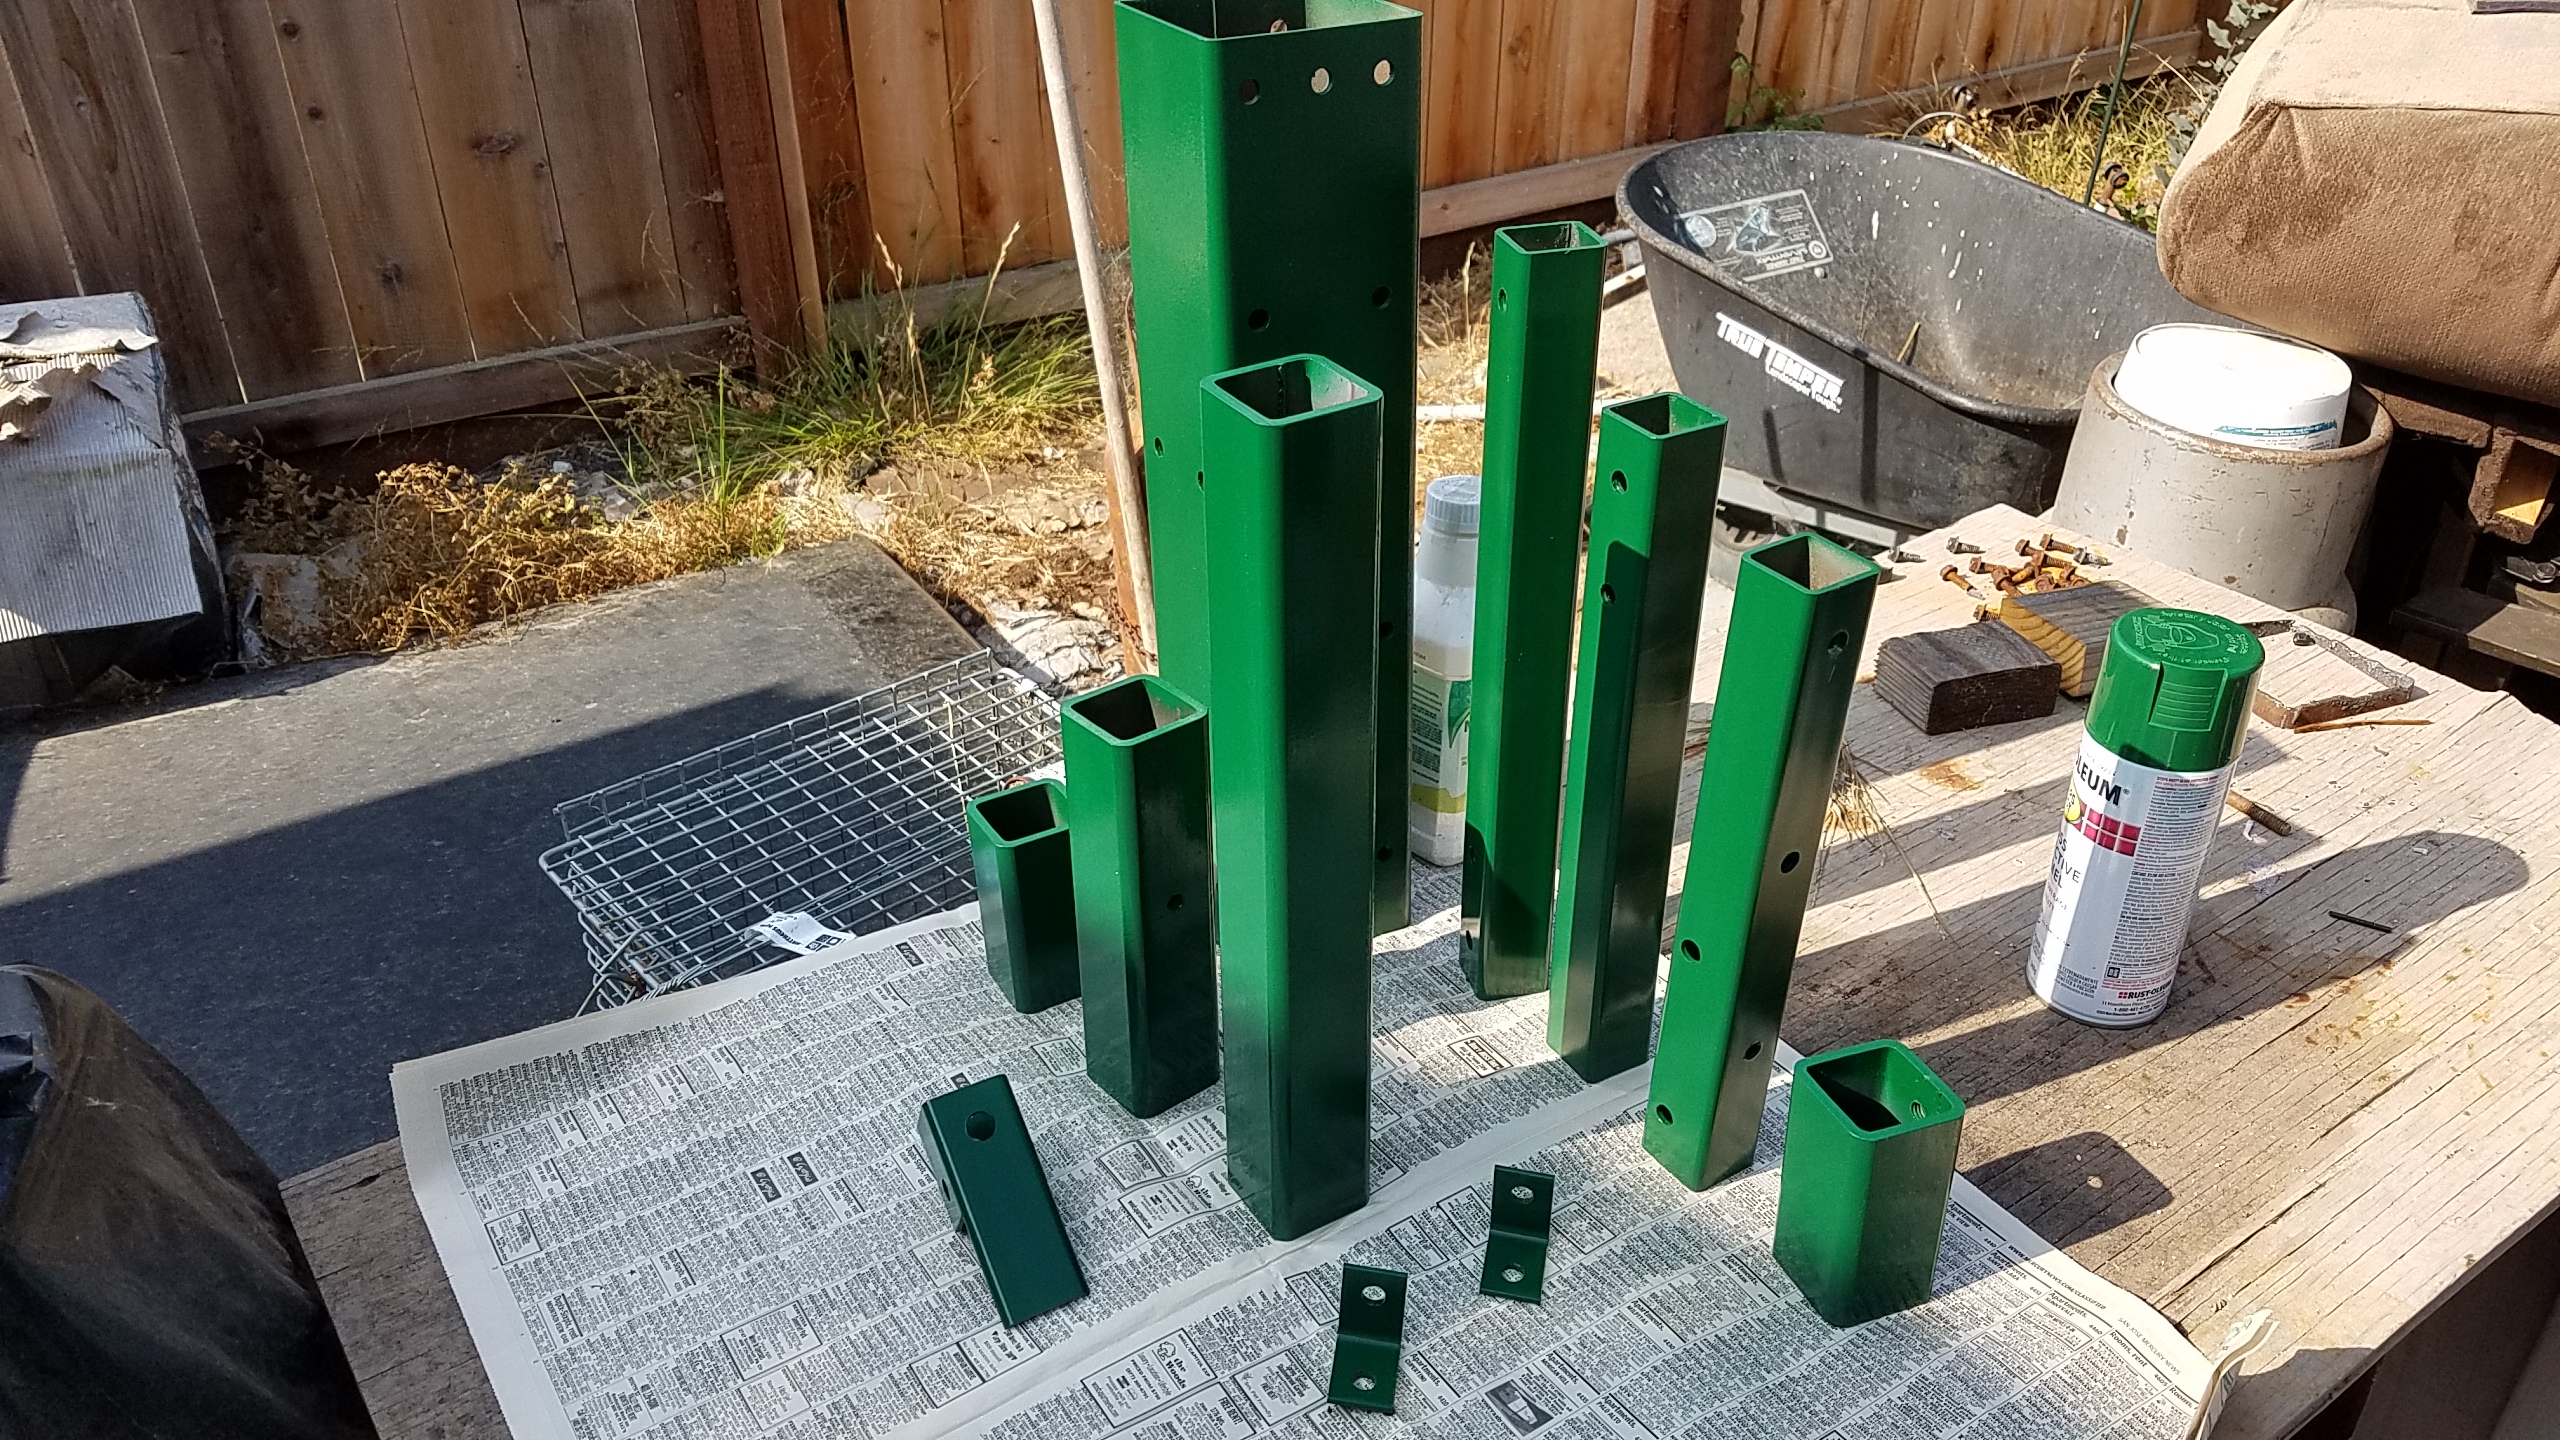
Painted the grinder parts today. My wife likes the color. Thanks for looking. Mel

-
That is very nice! Now to do the spoon and knife. Oh and 3 more settings,. Good work! Mel
-
That looks promising. Thanks Mel
-
Thanks for the replys. I have been looking around and found a battery powered dust mask from rockler. It is marketed to woodworkers. At $74.99 it is the lowest priced powered filter I have found. There are some around the same price point on eBay. They use air form a shop air compressor. It has what looks like both a water and oil trap and a carbon filter. May have to try the Vaseline trick. Mel
-
I went to get a respirator and the one I was looking at said not to use with beards. I cant be the only guy with a beard that needs one. So what are you other bearded guys useing. Thanks Mel
-
The wire wheel cleaned mmost of the rust off the parts. Today I finished priming the parts that I will be painting. Guess i will need to start thinking about some belts. Thanks for looking. Mel
-
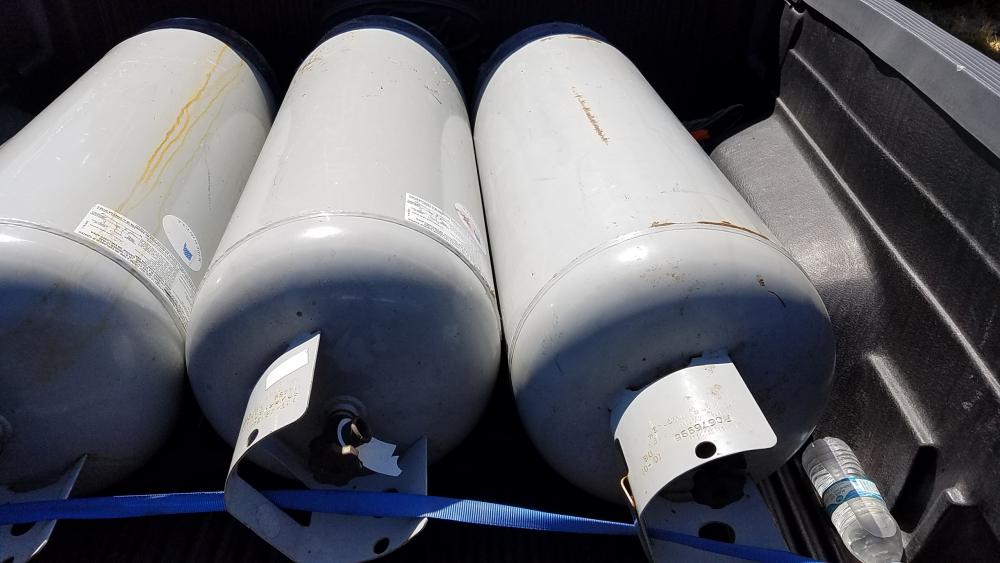
Found them on cragslist. Guy wanted $50.00 ea. I was just going to get one. He said make me a offer on the second one. I told him 60 for two. He said his wife wanted them gone. So two still in date for $60.00. He tossed in the third one that needs recertified. So all three for $60.00. Yes there are empty. Now to find somewhere close to get one filled. Thanks for looking. Mel
-
Glenn Good point. Mel