Melw45
-
Posts
173 -
Joined
-
Last visited
Content Type
Profiles
Forums
Articles
Gallery
Downloads
Events
Everything posted by Melw45
-
I will do something like that when I finish moving out of California. We keep having spate the air days. With large fines for any solid fuel fires. Thus the propane forge I am building seen in my other thread. I read the thread about the box of dirt forge and it sounds interesting. Mel
-
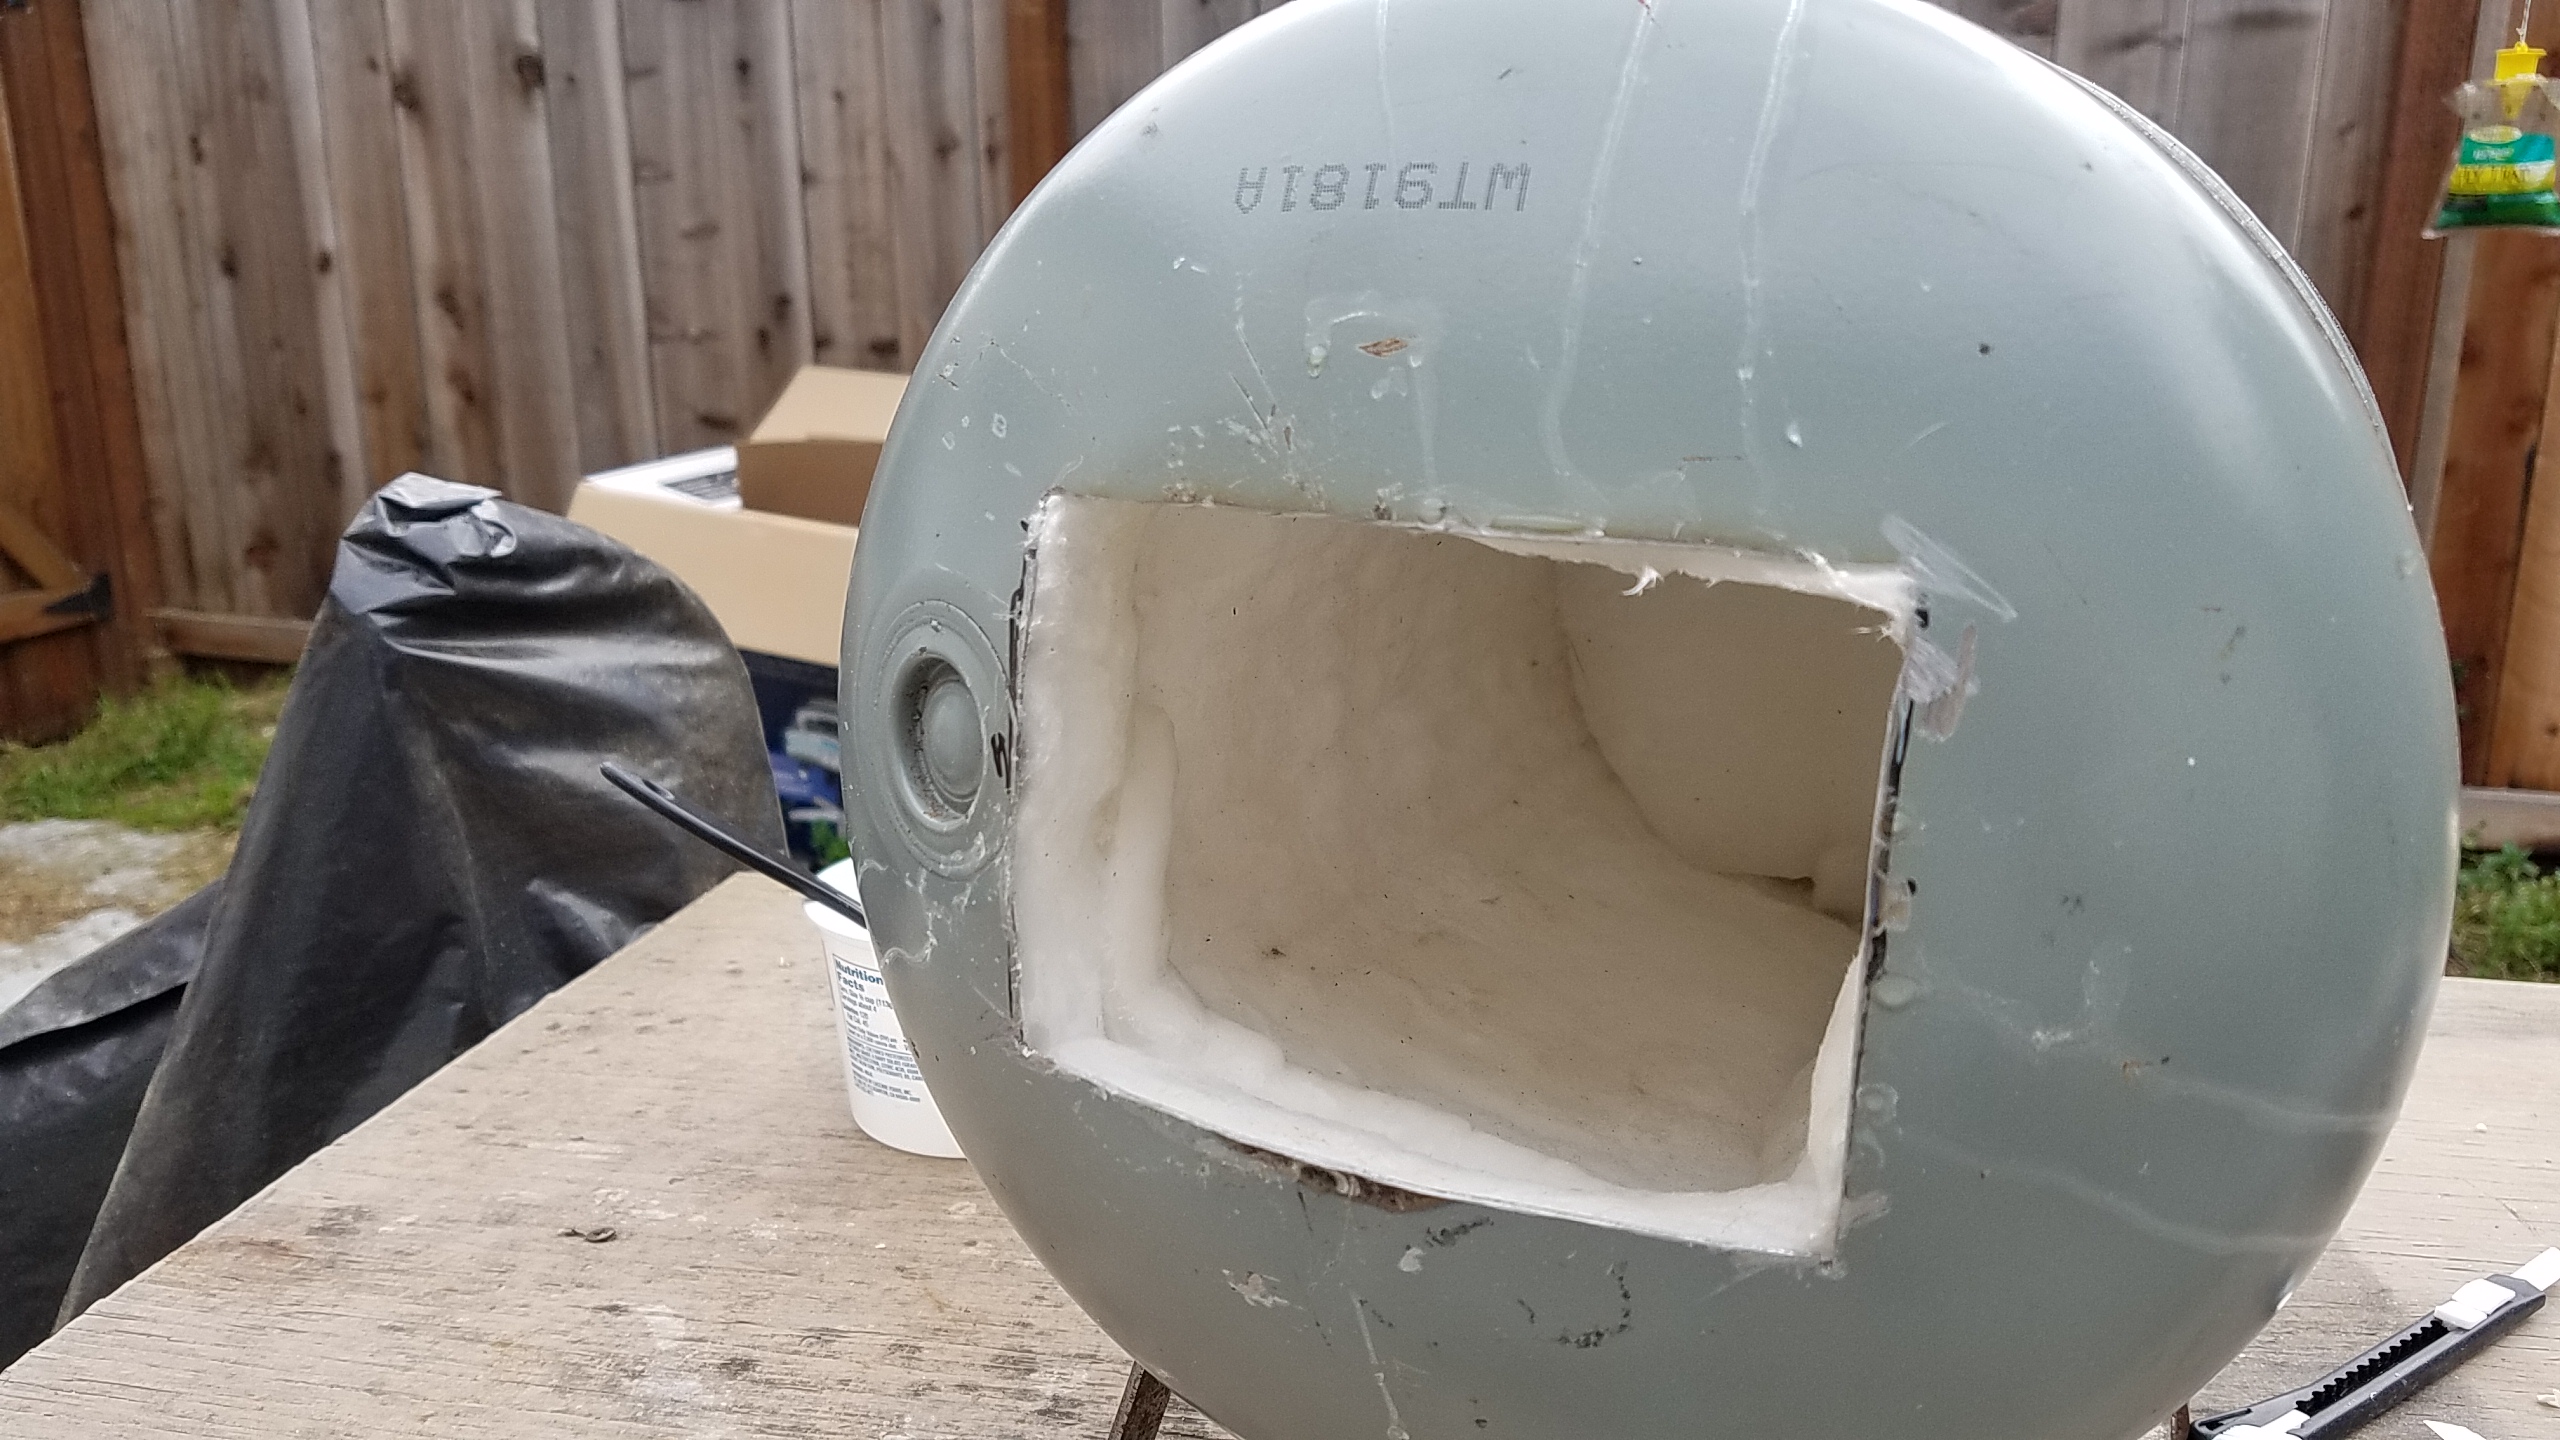
Dang getting the Inswool in there was kind of a pain. Waiting for the Rigidizer to dry. Tomorrow will be completing the burner. Thanks for looking. Mel

-
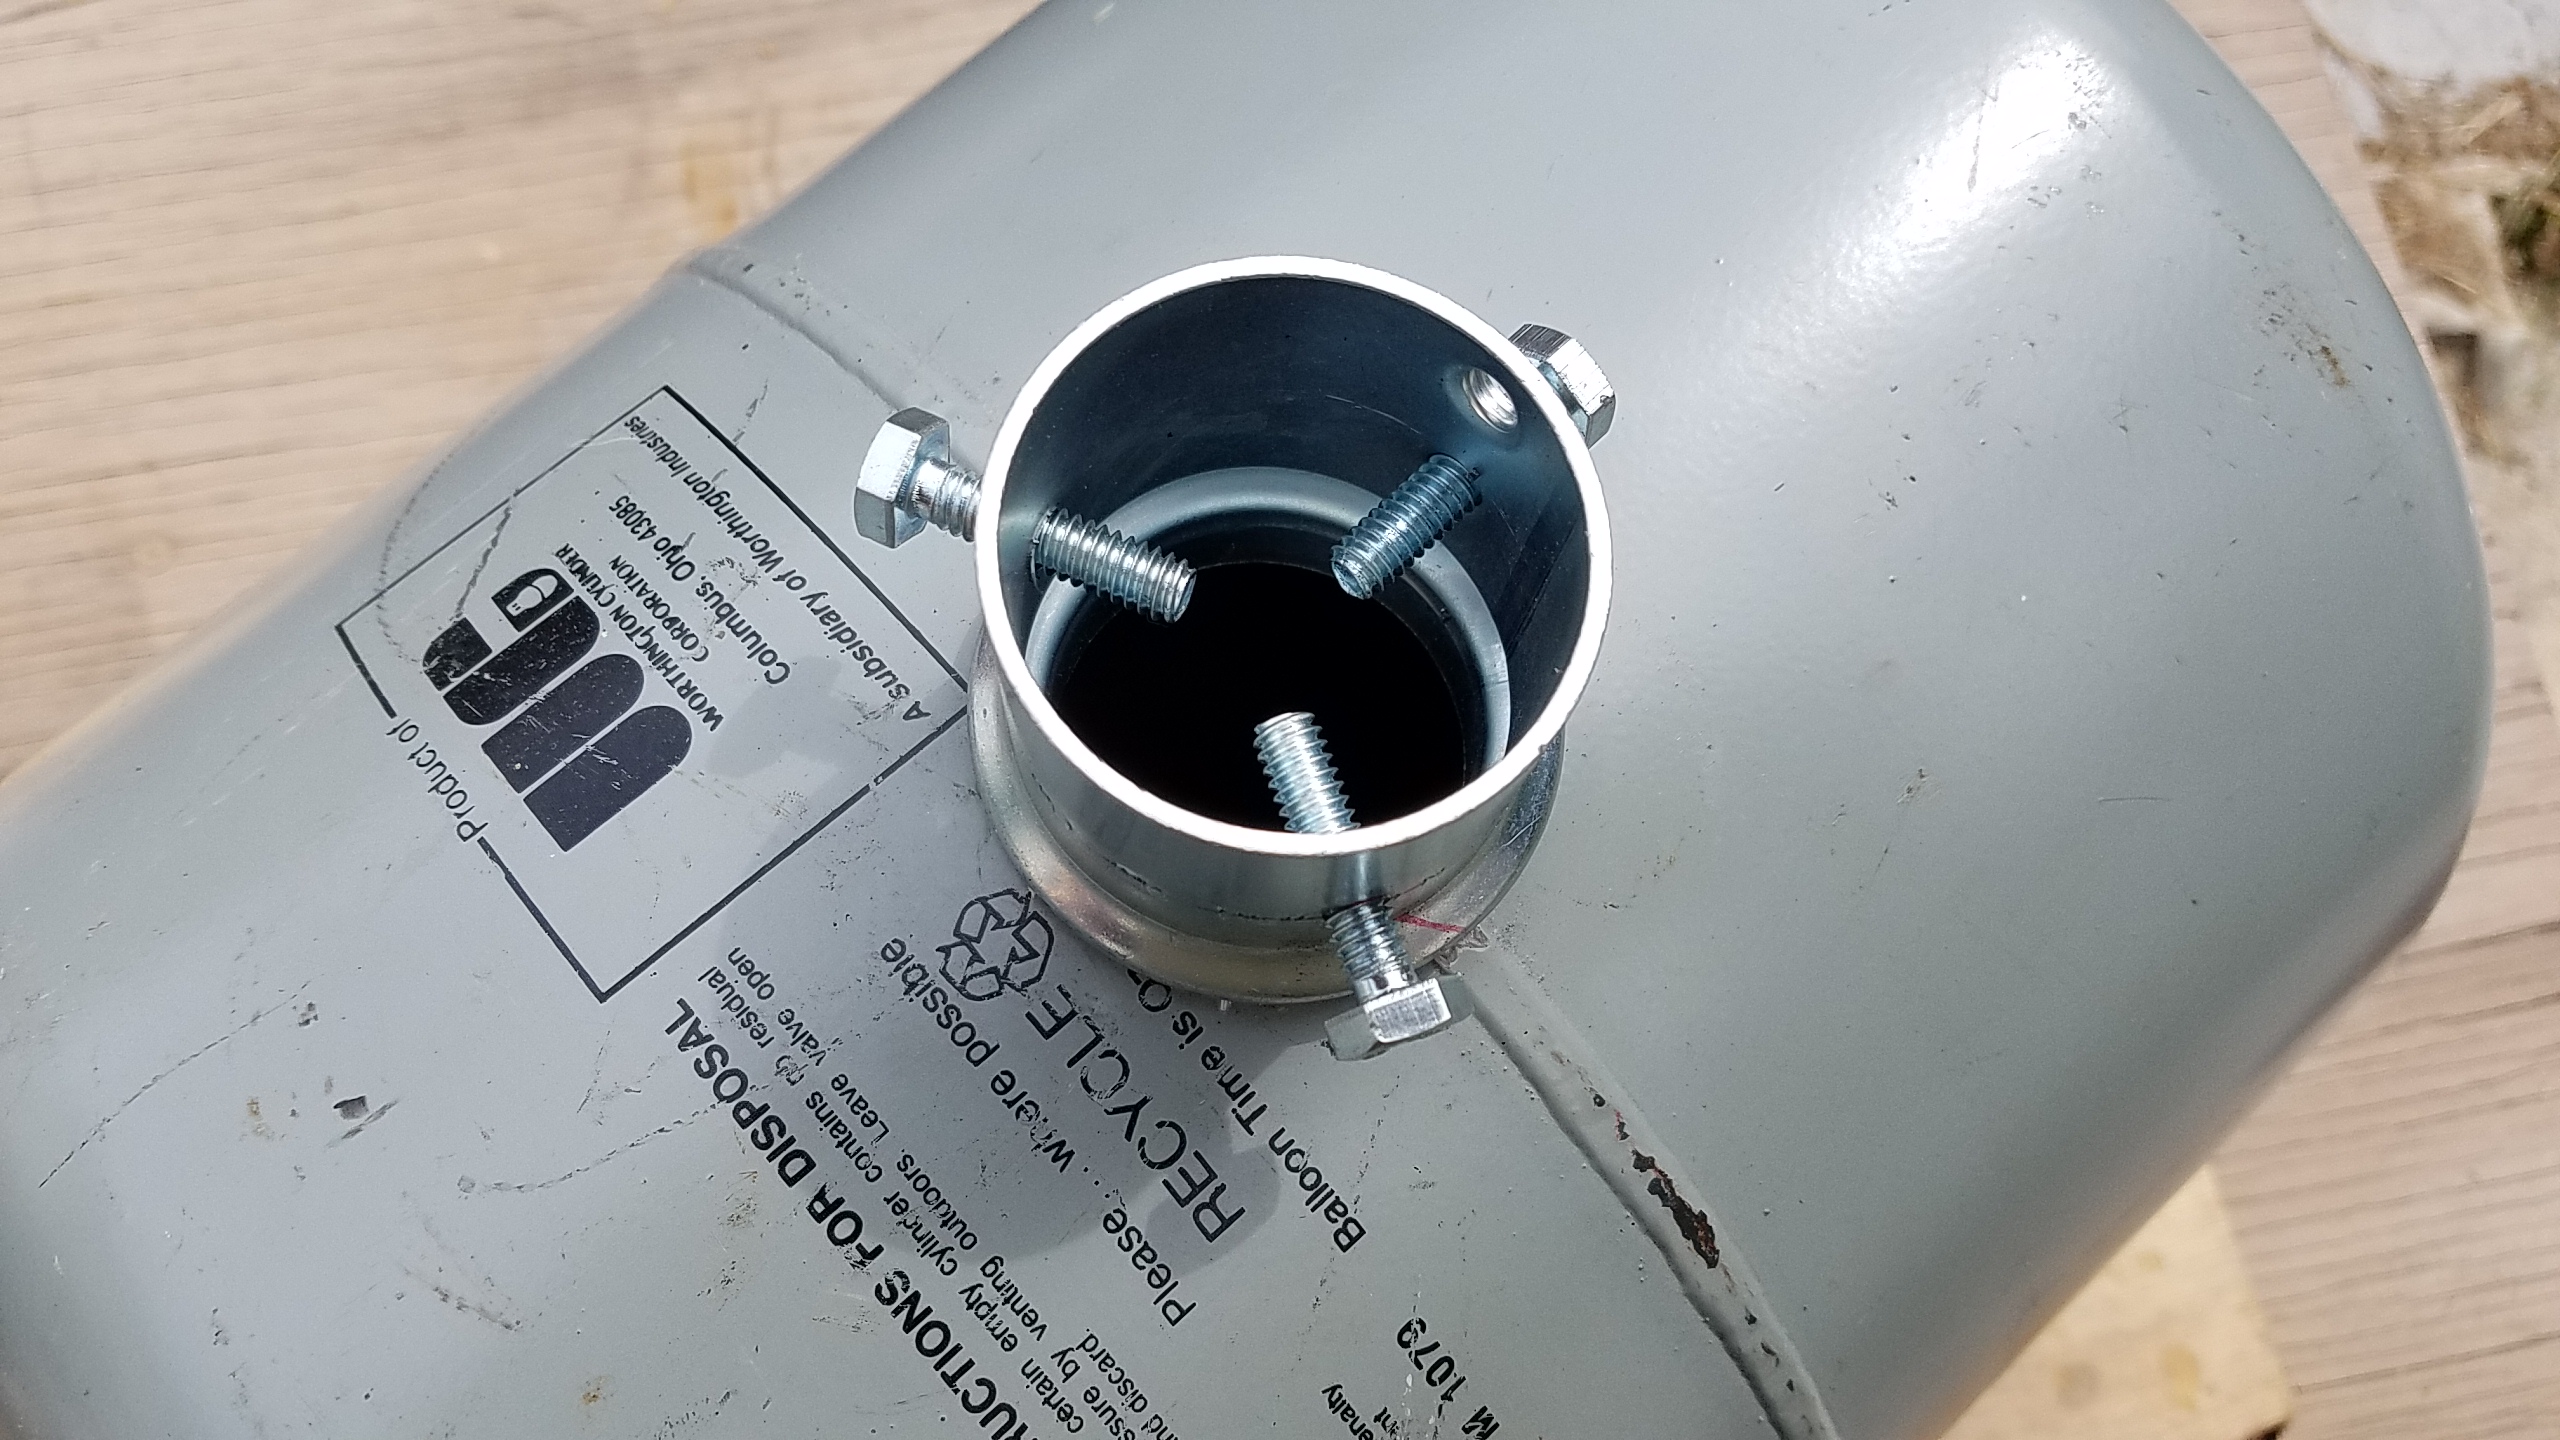
Made some progress on this today. Mounted the feet and burner holder. Firs I had to make the burner holder. Made it from a conduit coupler. Had to drill and tap it for the bolts. The burner hole was cut with a hole saw. The problem I had was of all the saws I had none were the correct size. Used the closest that was not too big and Dremeld the rest of the way. See the photos. Thanks for looking! Mel


-
Arkie Thanks for the pointers. Mel W.
-
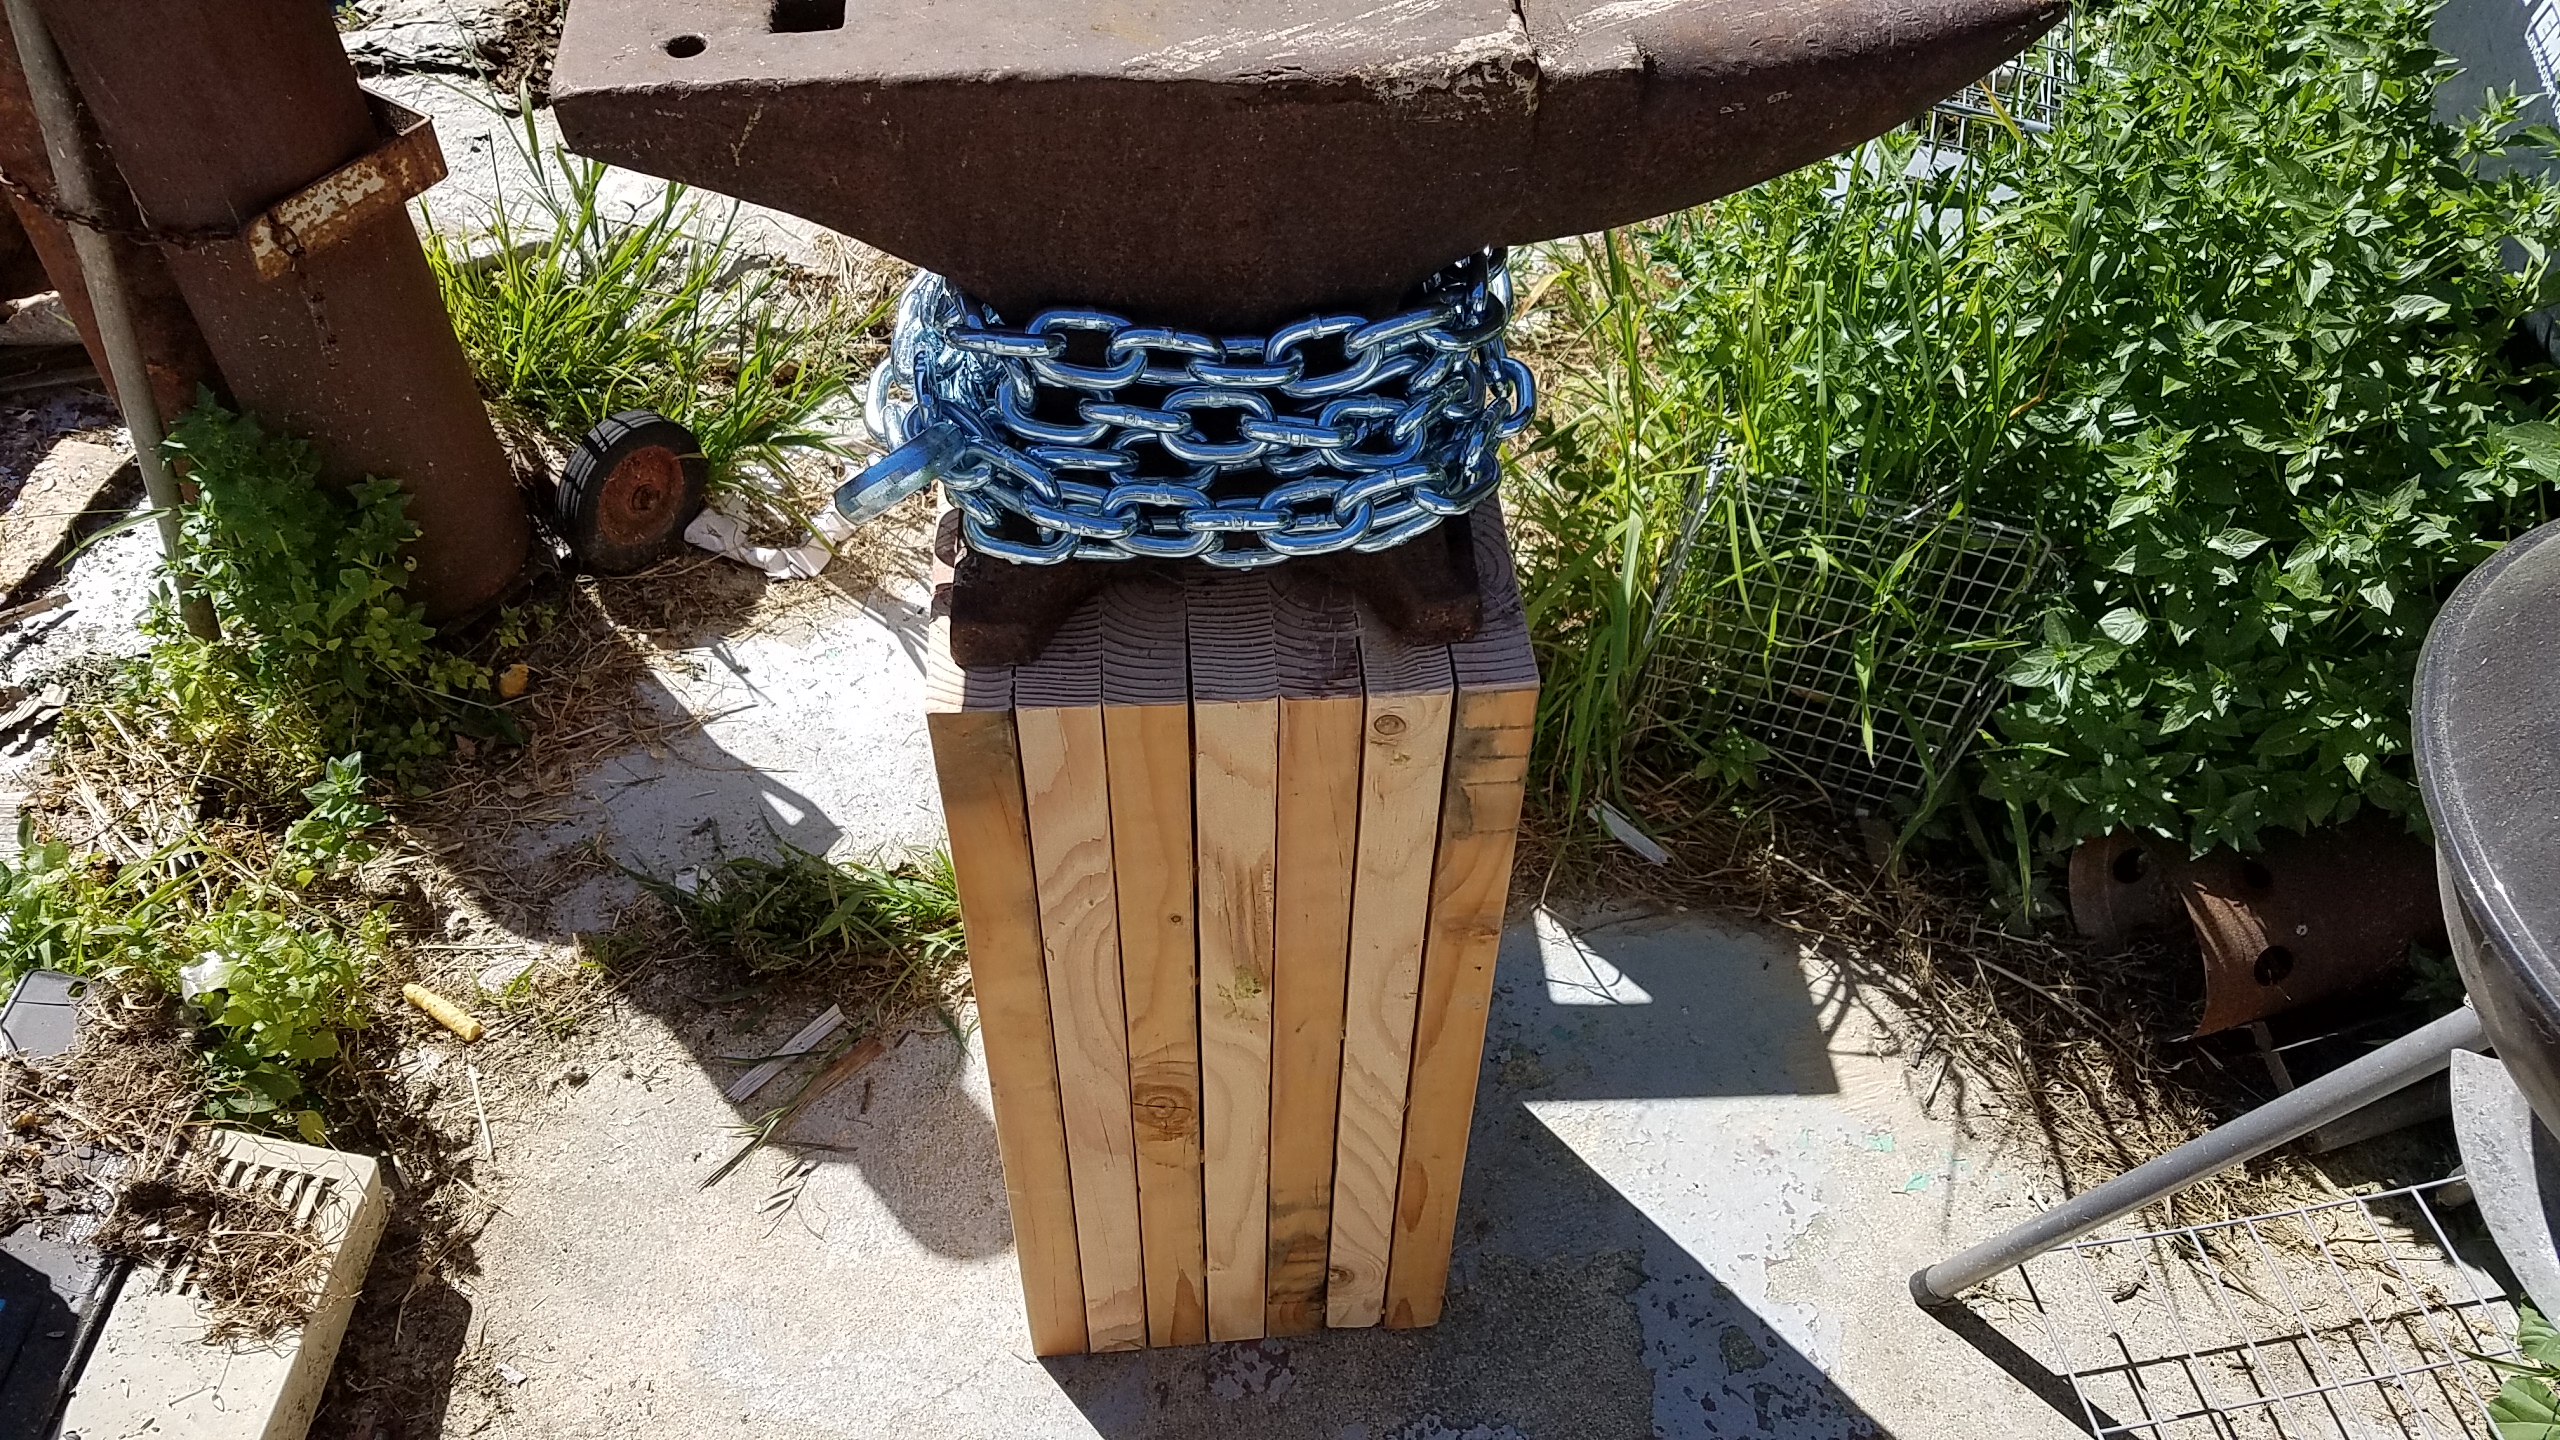
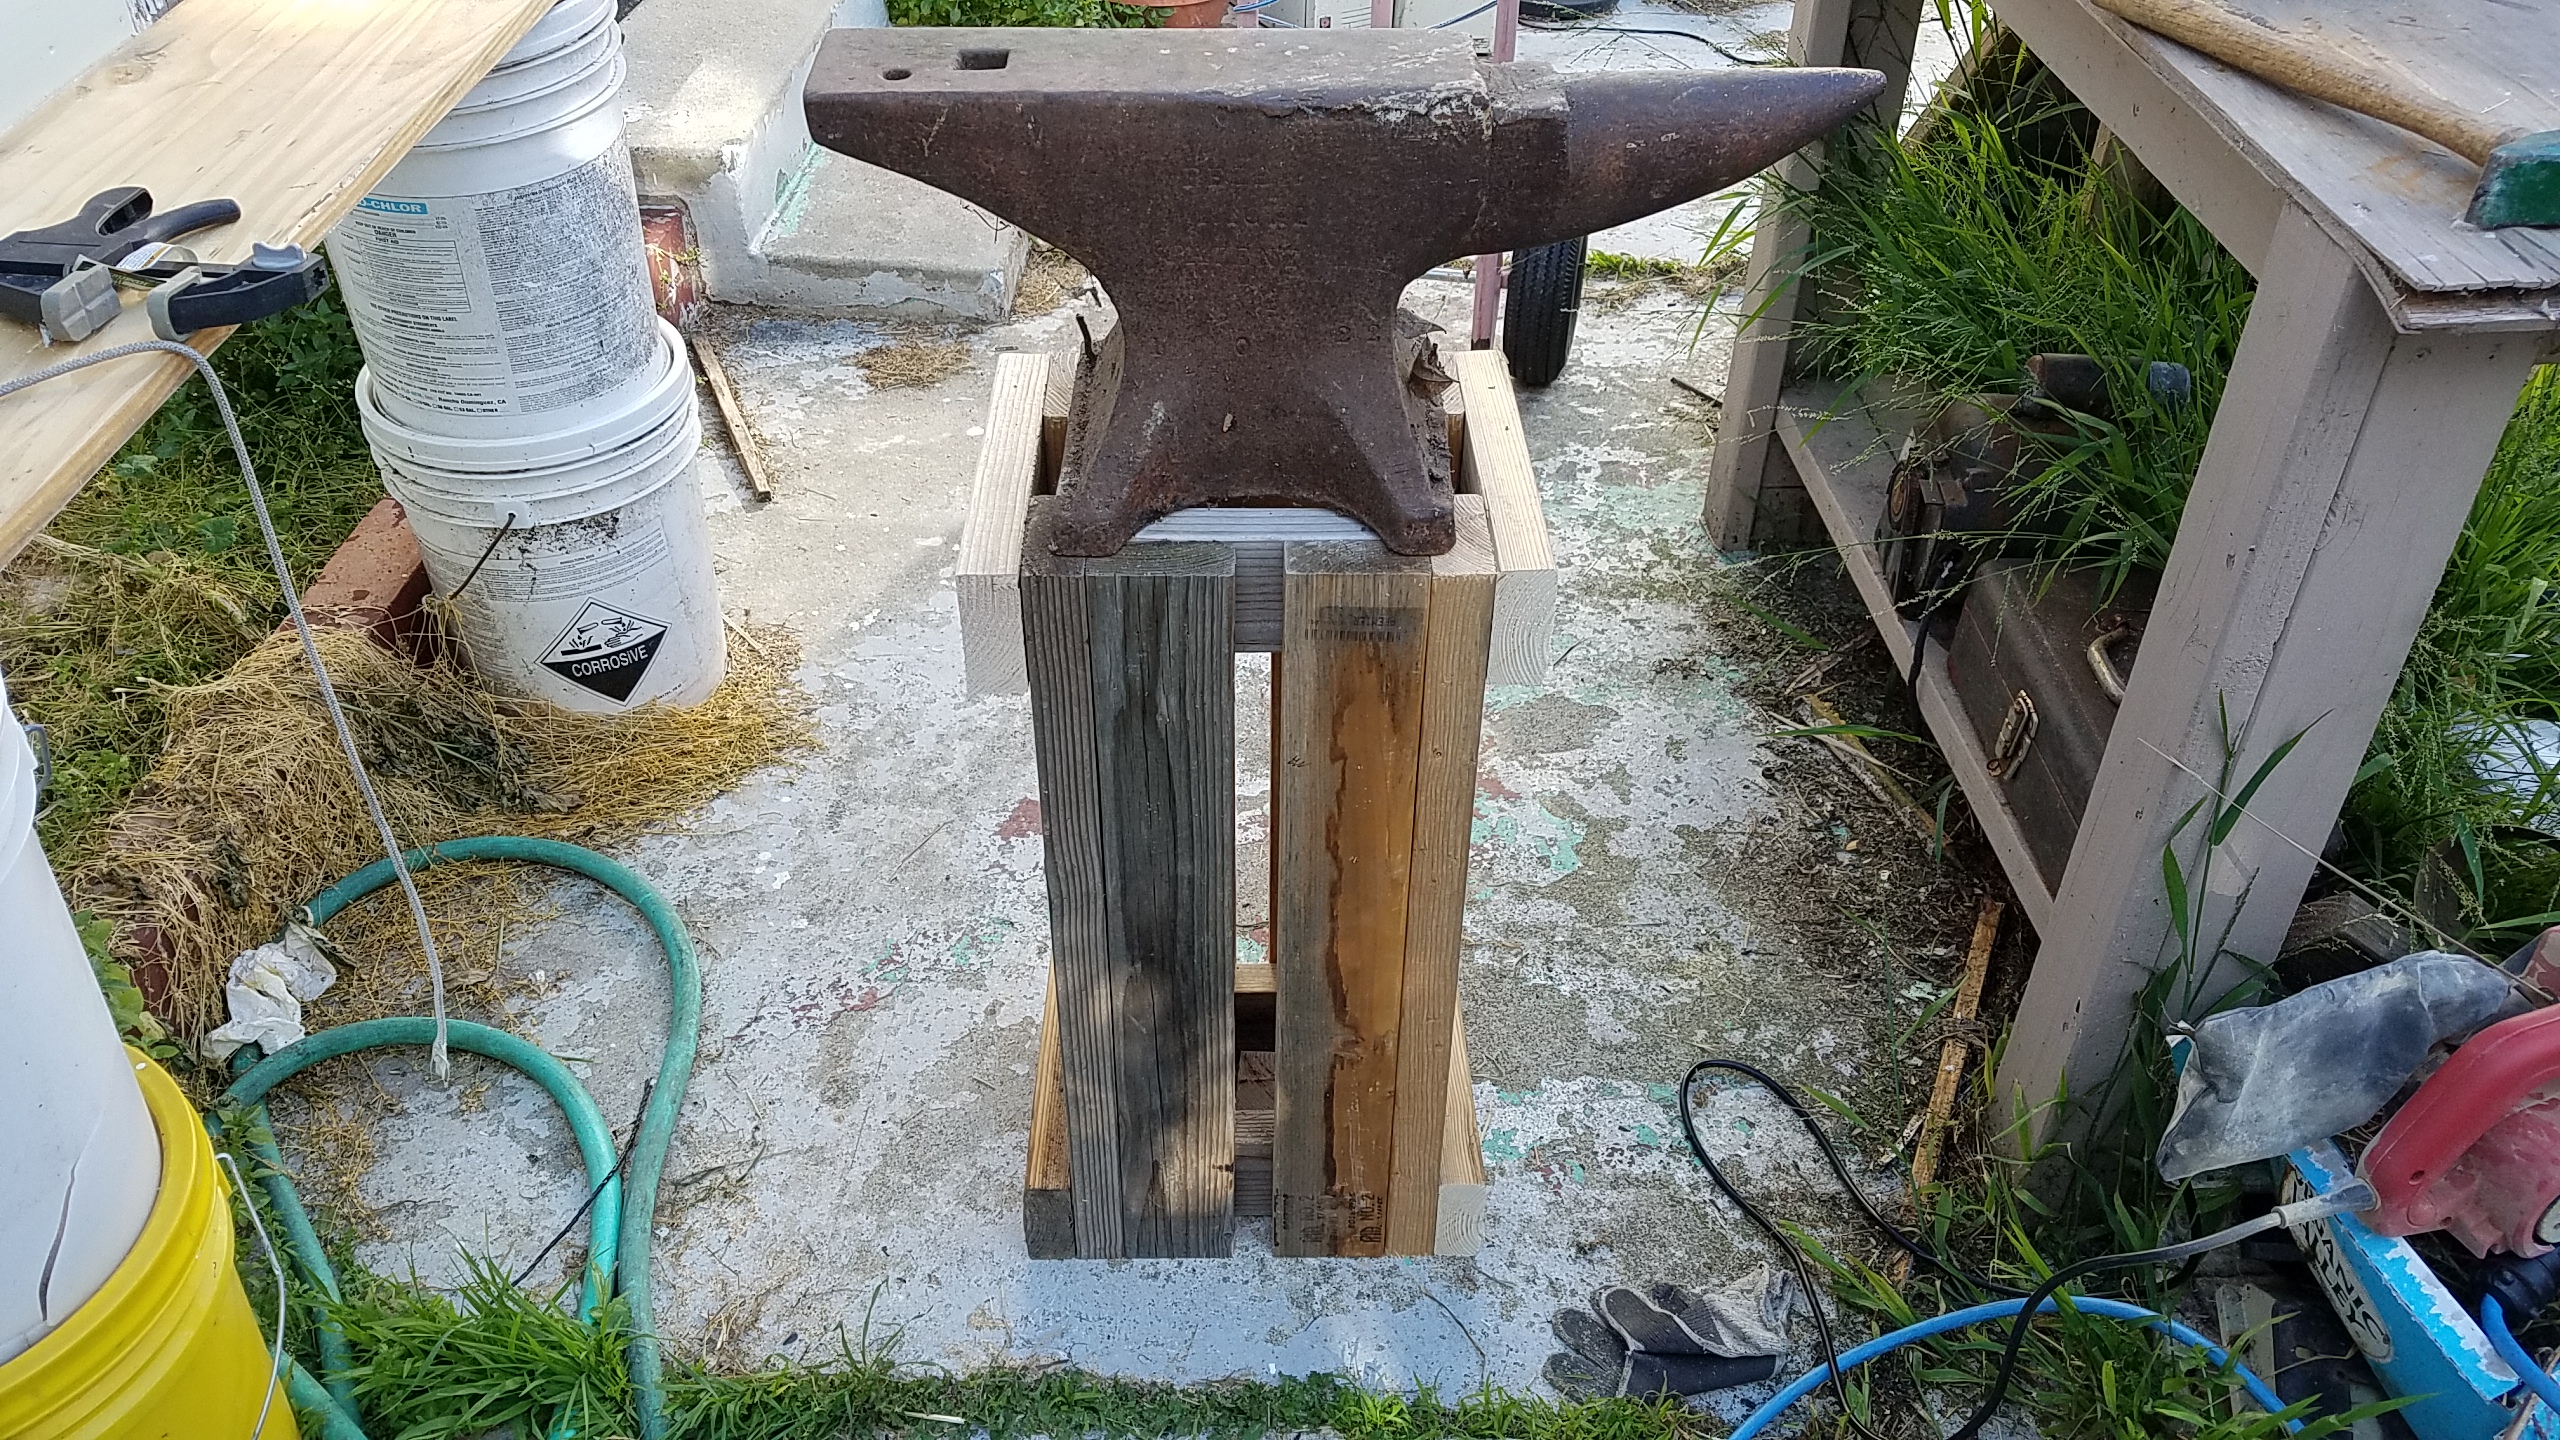
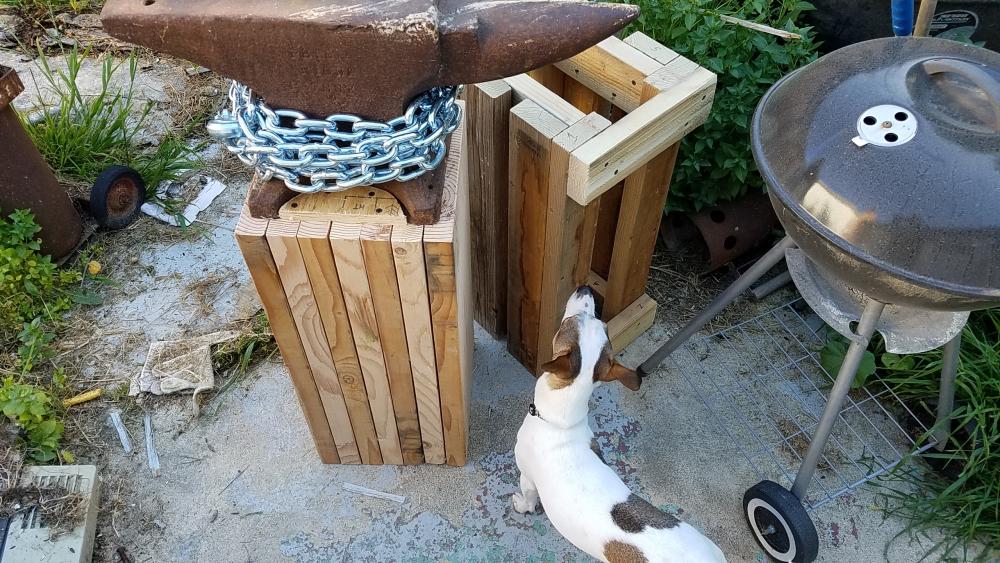
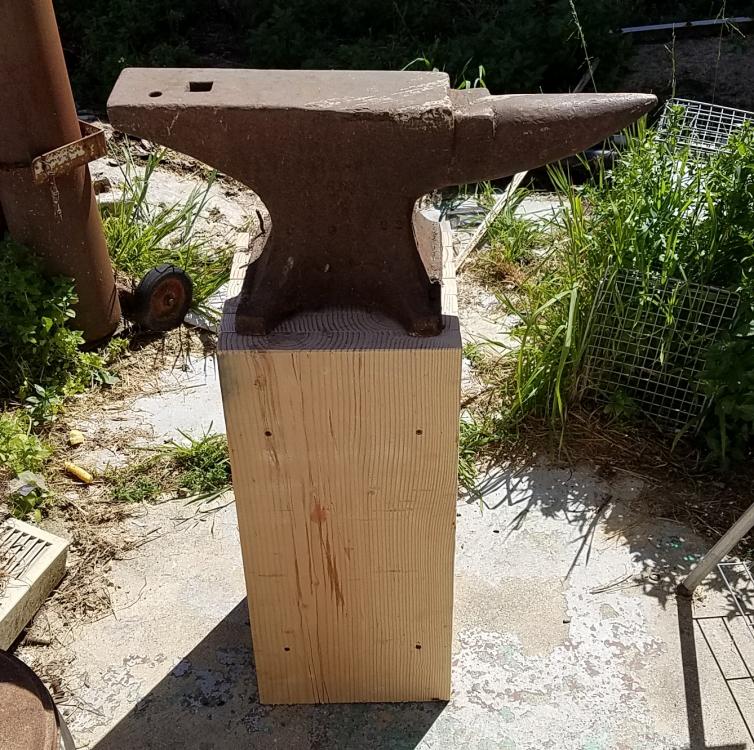
I am calling this done. For now. The old stand and the new and improved with the anvil mounted. You can see the supervisor checking to see if i did a good job. I am thinking of putting some legs on the old stand and converting it to hold My yet to be built forge. Thanks for looking! Mel
-
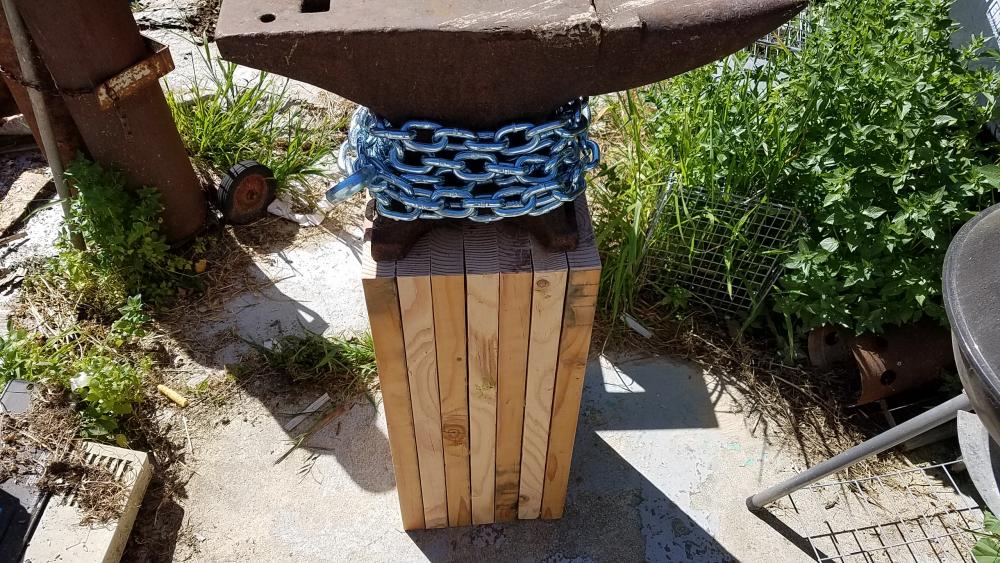
Frosty He is a good author. I found him years ago on a forum where he was posting his work as a serial before he got picked up by Baen books. That story became Dead Six. I do like his Monster Hunter series. To provide a update. I did some more sanding to the stand top and bottom. I appears that my anvil has some wear on the feet it rocks some. I read that some have been using silicon to mount there anvil. How has that worked out? As you can see from the photo I wrapped the chain around the anvil. Wow that worked a treat. The ring is bearable. Not painful now. Thanks for looking. Mel
-
Not much done today. Did get 14 feet of chain. I will use some to mount the anvil and wrap the rest around the anvil to dampen the ring. The best part was it was on sale at Harbor Fright for $19.99. I was at the hardware store later and the same 3/8" chain was $3.99 a foot. Without the hooks on the end. Mel
-
Well my math sucks! Thanks!
-
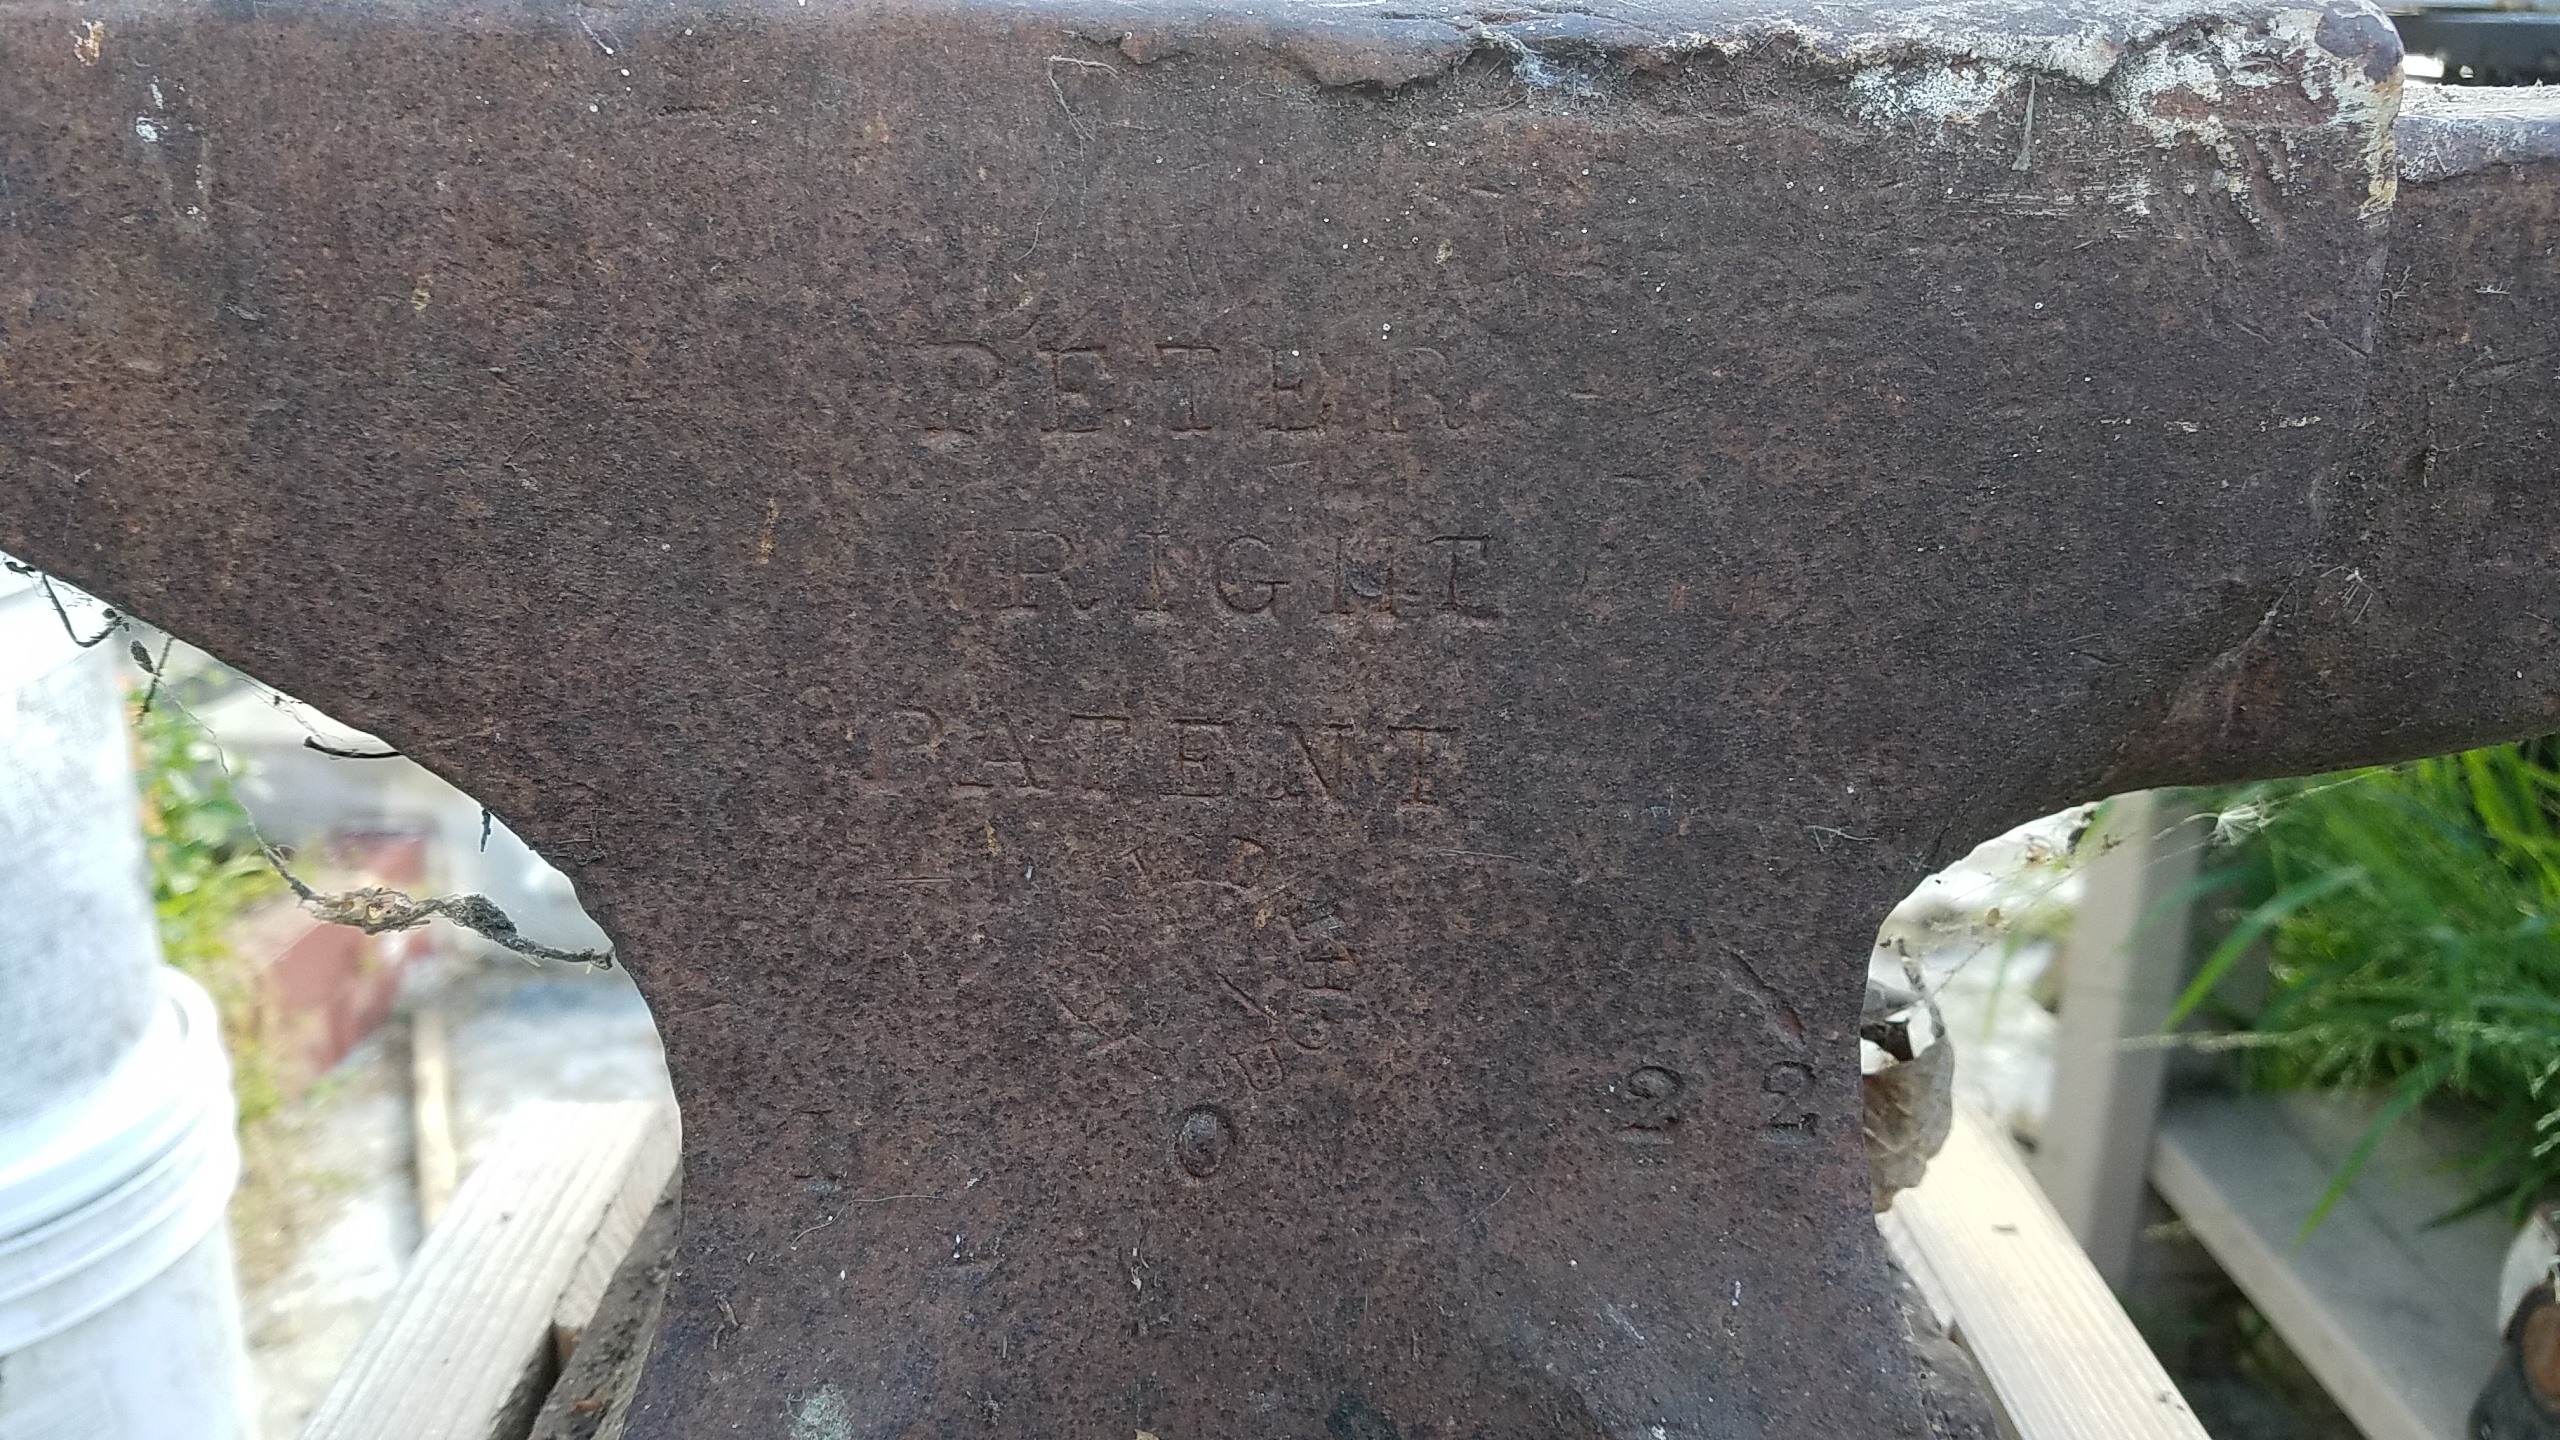
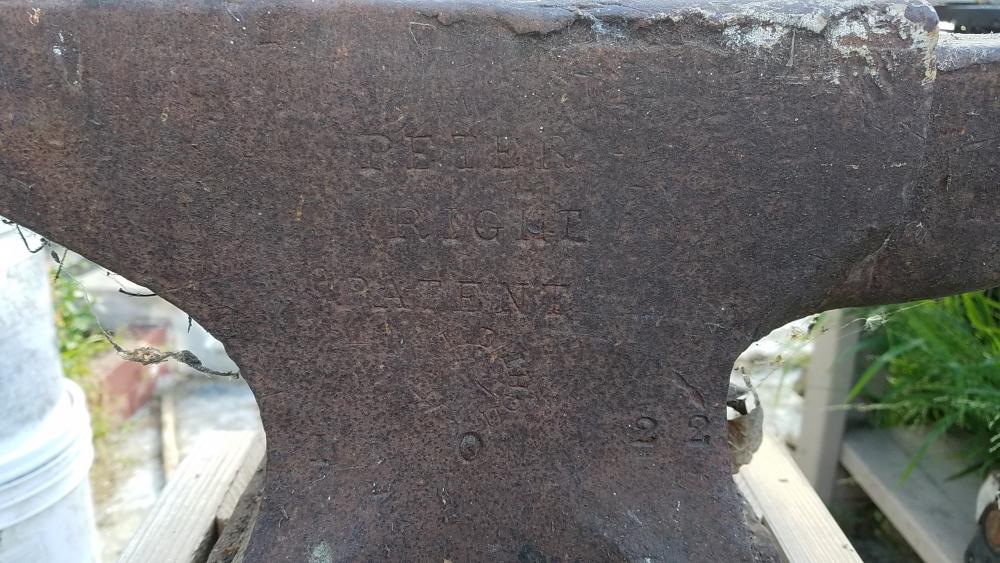
Thomas Thanks for the info. My anvil is marked 10 22 that would make it 122Lbs. Seem about right. I lifted it a couple of times today and am glad to have stopped. Mel
-
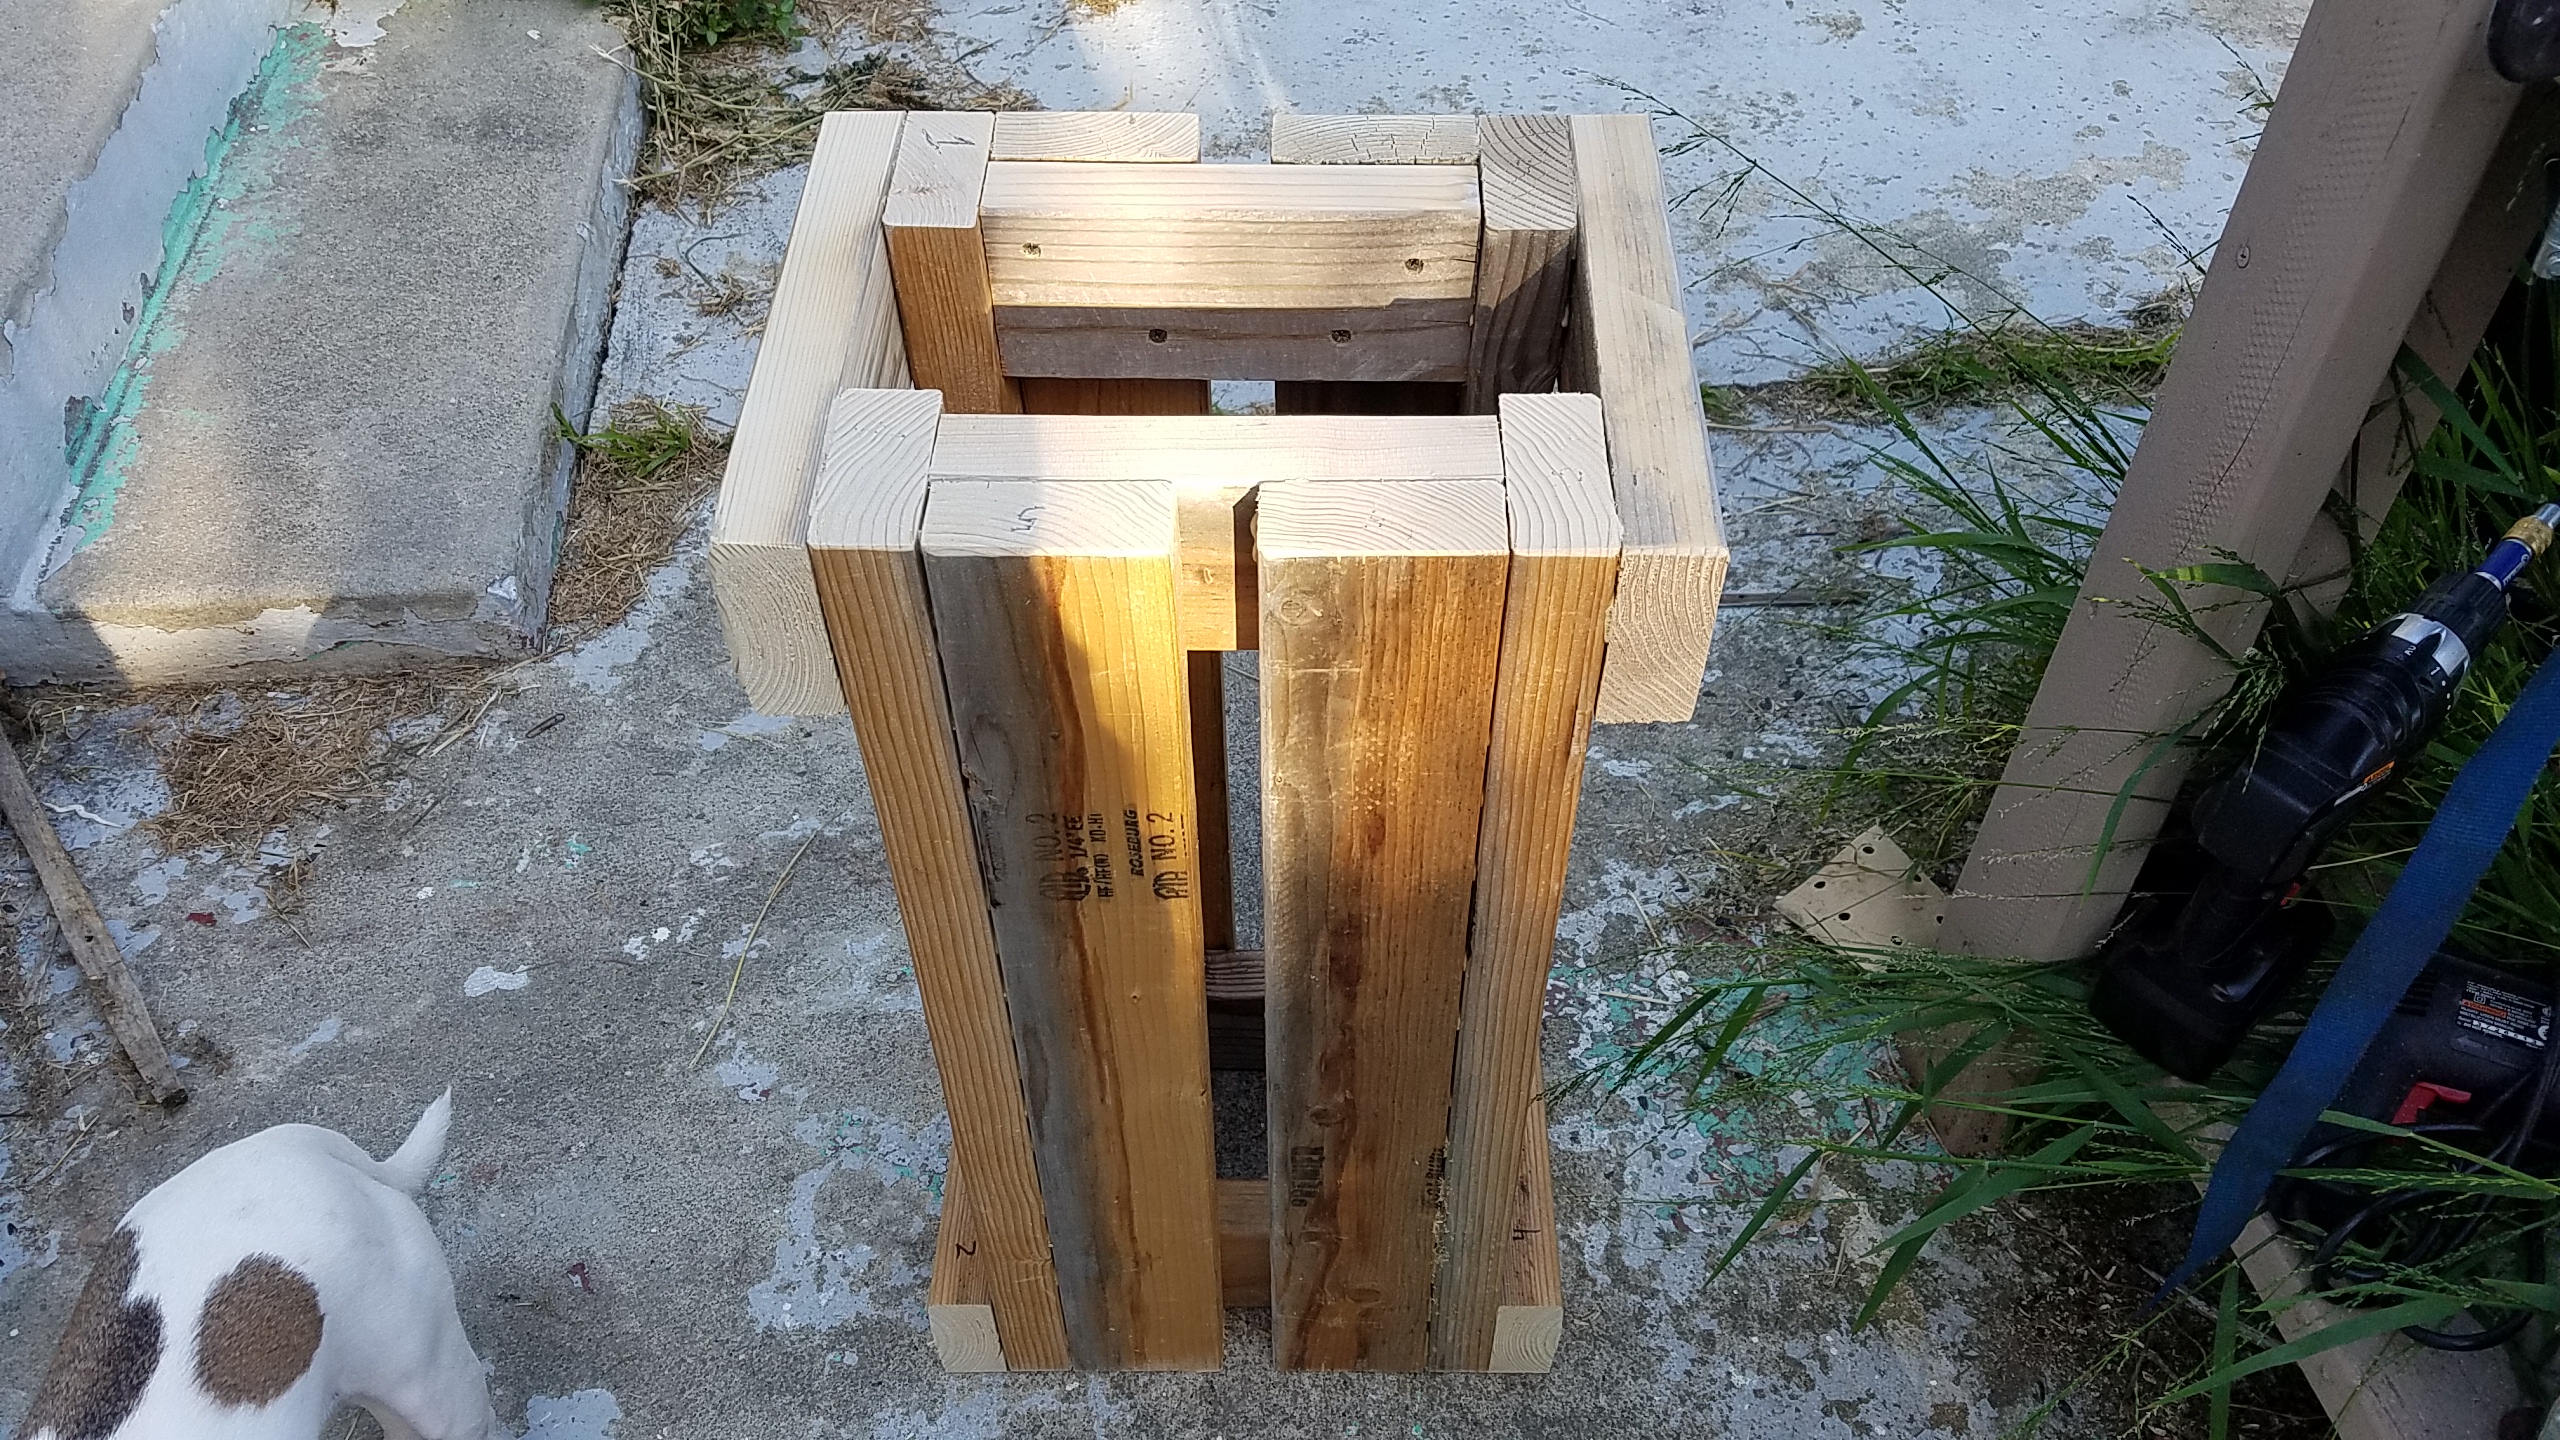
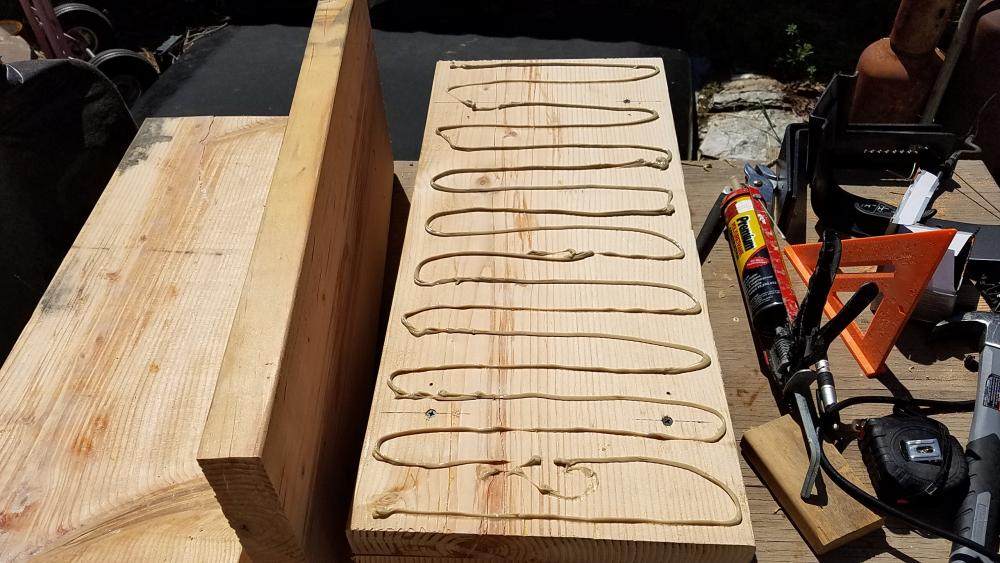
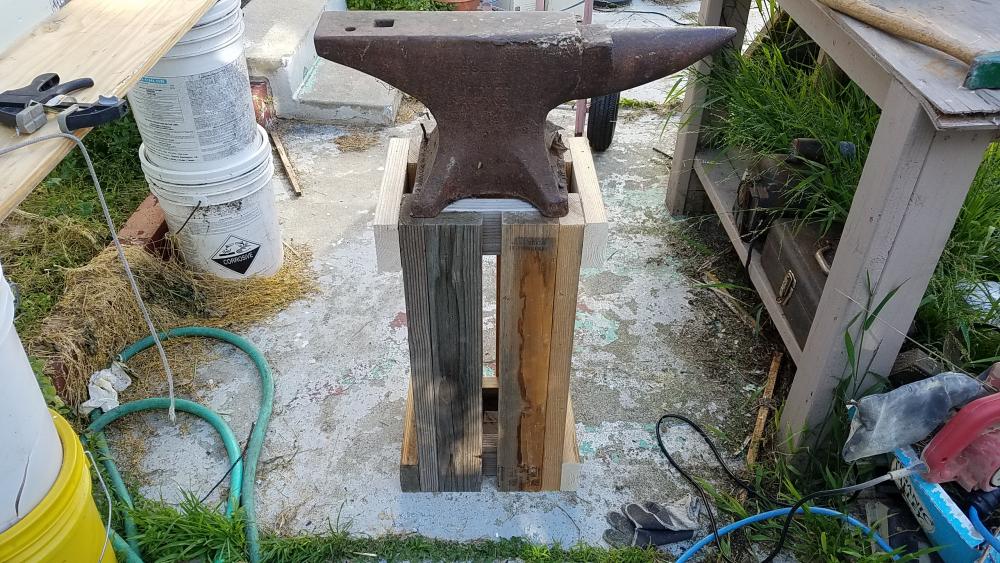
Made some progress today. First pic is of the glue up. the next one is the test fit of the anvil. The top of the anvil is just below my wrist joint. Just need to find some chain to tie it down to the stand. Is there some where I can find out what the numbers on the side of the anvil means? Thanks for looking. Mel
-
Well more like good looking clamps that will stay on the stand. Mel
-
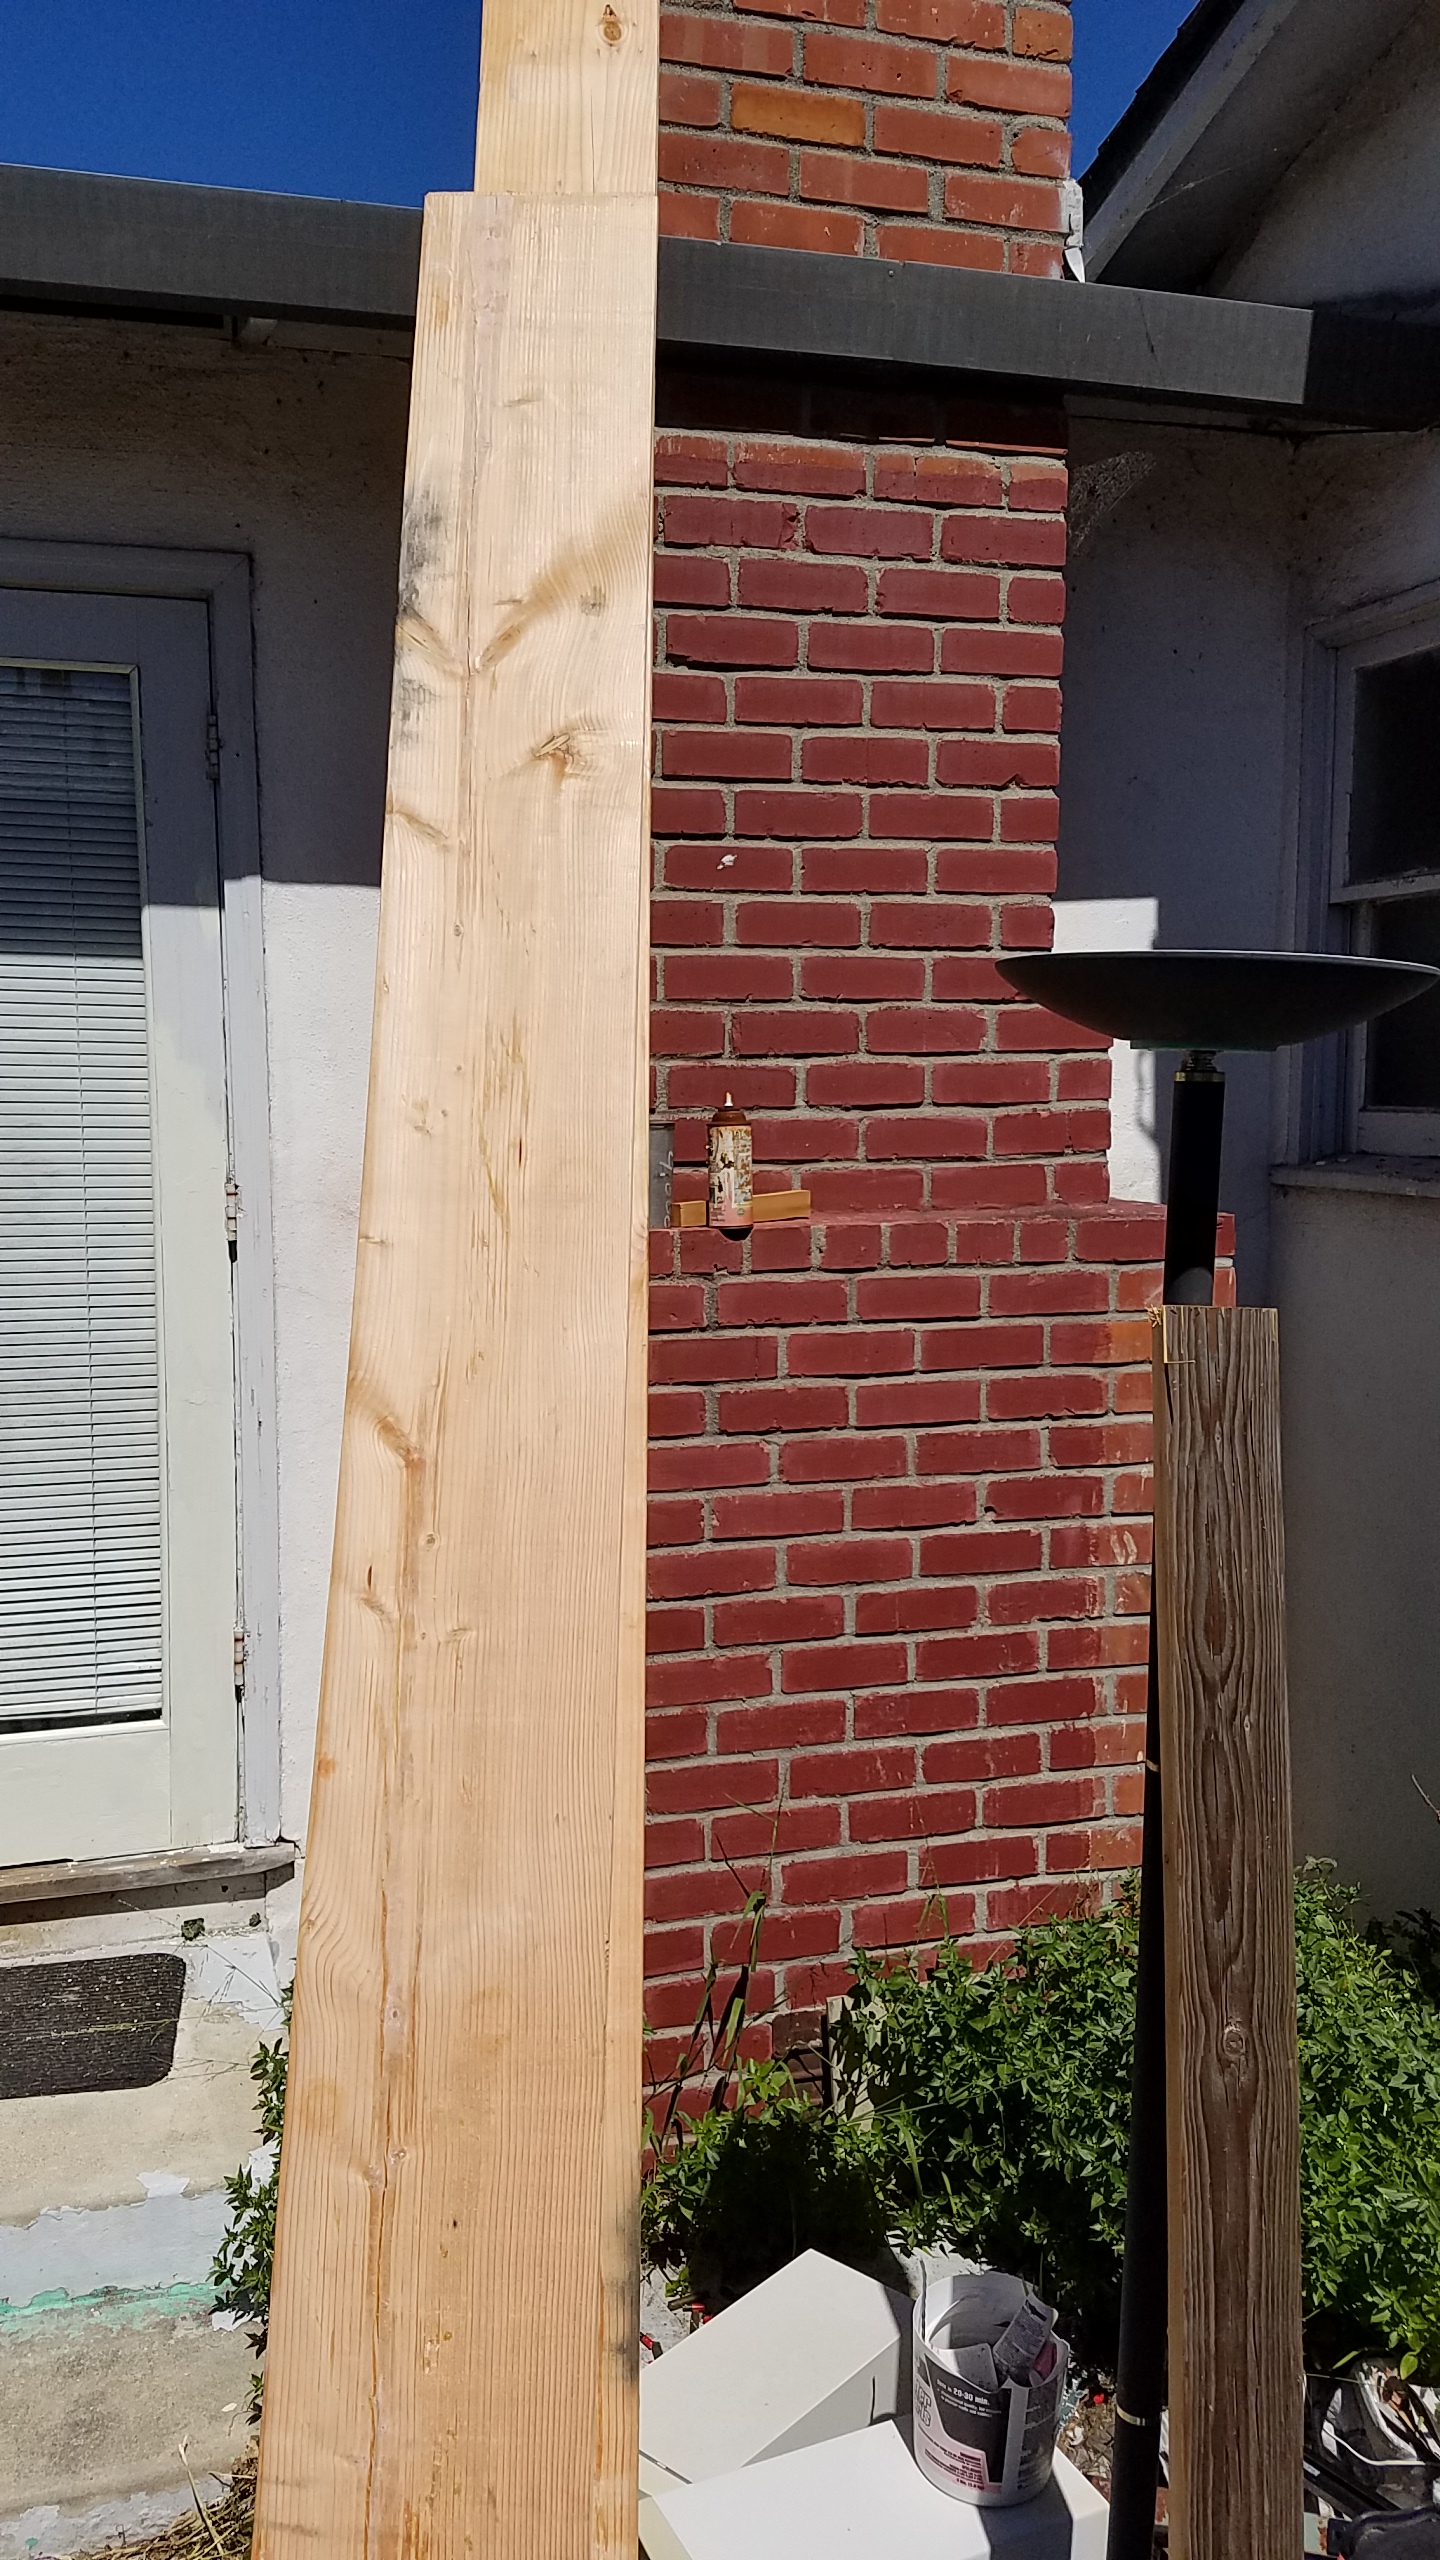
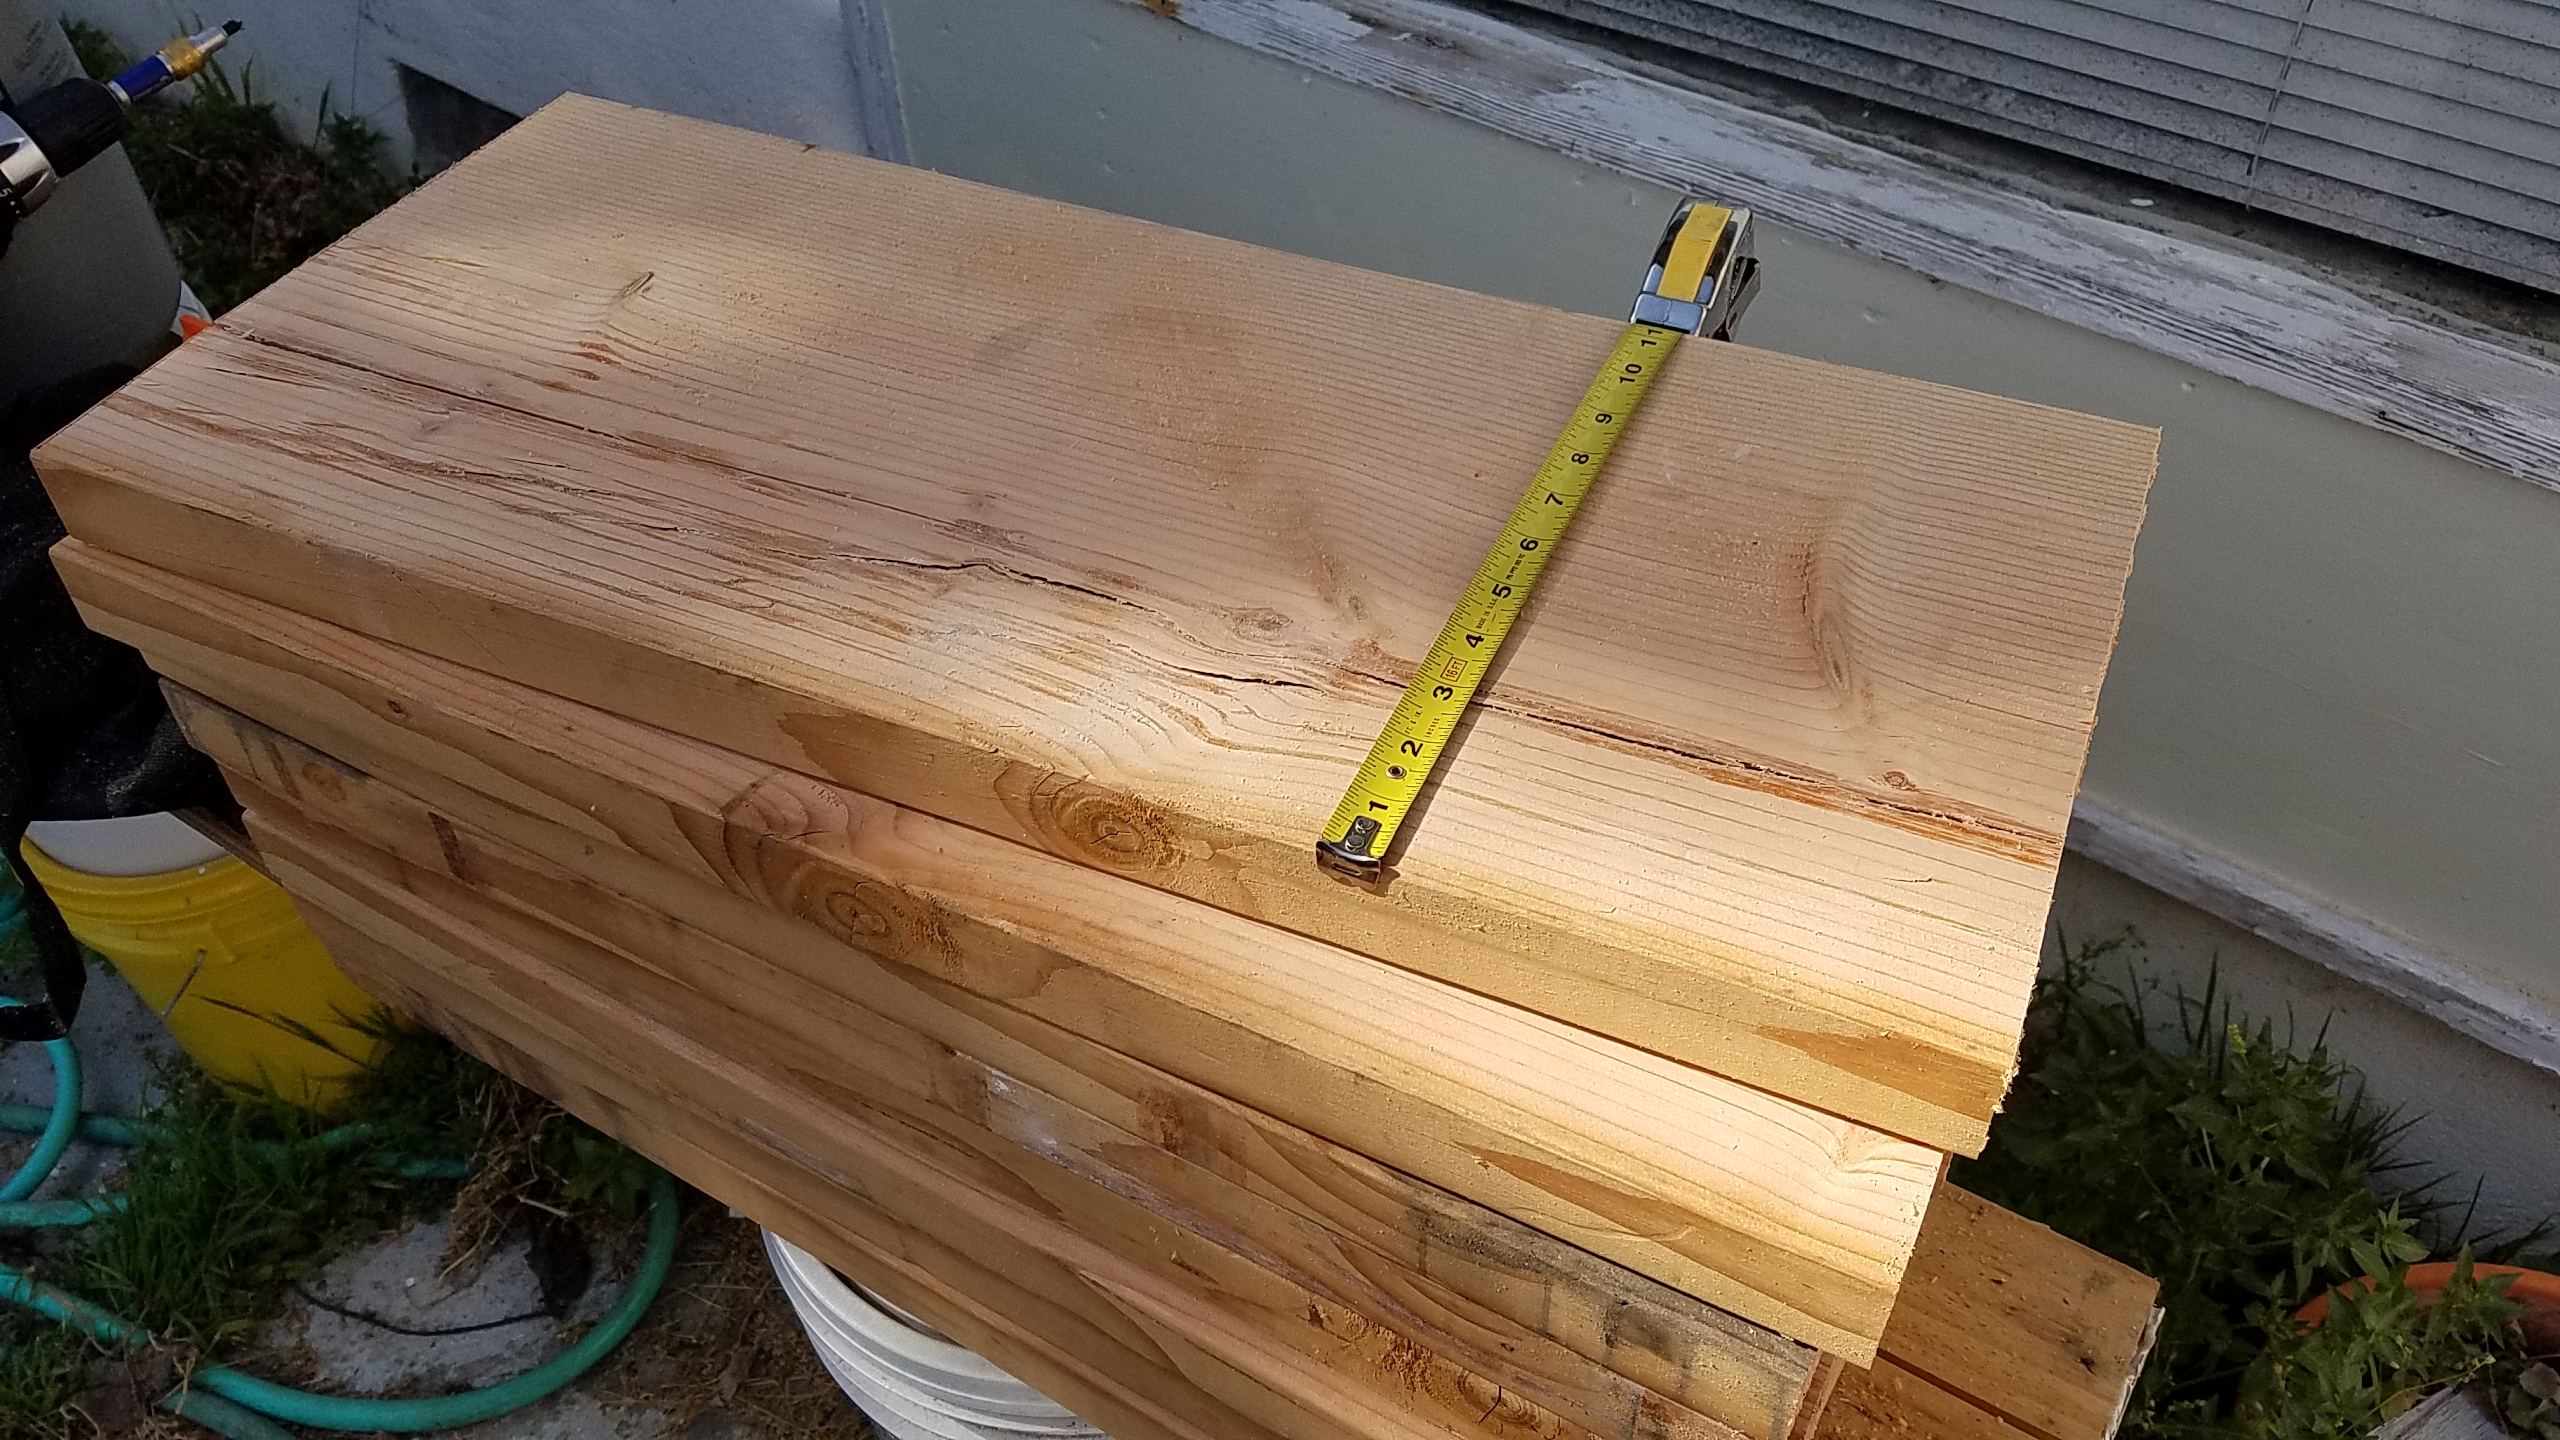
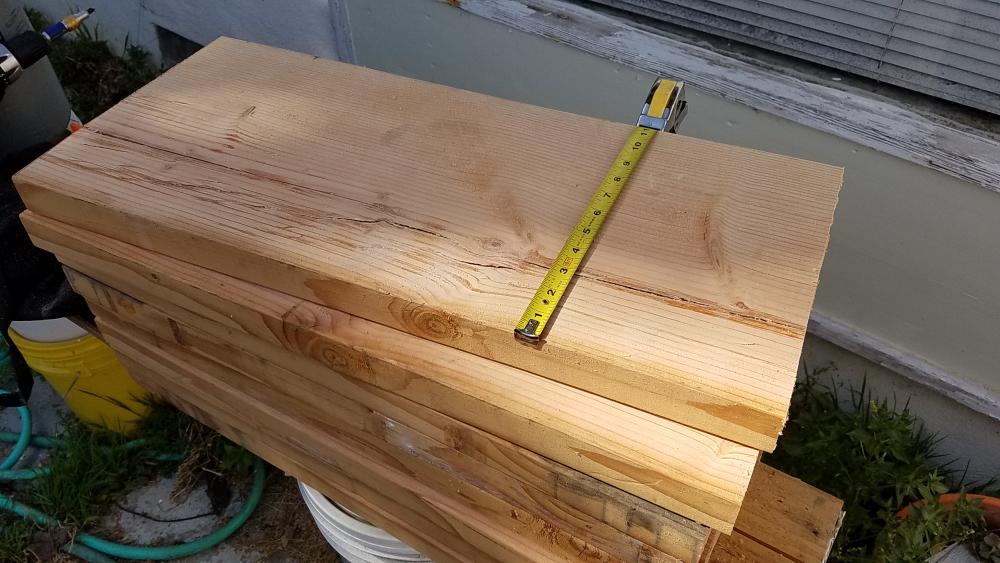
I was out of good 2x4s. So quick trip to Home Depot. To see if they had any cheep ones. What I found in the Cull pile was in the first pic. What is there is a 20 foot 2x12 cut in half and a 8 foot 2x11. The second pic is the 2x12 cut to the 26" height I need. I was able to get 8 lengths out of the 2x12. May have to abandon one for a large crack. That should not be a problem as the anvil is on a 11x11 footprint. The cull wood came to $9.87 for both pieces. So I have changed the stand completely. Next is to score some all thread and flat steel to reinforce the block. Thanks for looking! Mel

-
Thanks Frosty The bottom of the anvil seems to be arched and would not contact the center of the stand. Do you mean have the stand higher in the middle to touch the center of the anvil? As it is the feet set on the 90% join of the legs. I have thought of filling in the gaps between the legs front back and sides like tom has said. Maybe get some ply and box it to make it stronger. Thanks Mel
-
I have been working on some projects. This one is a quick stand for my anvil. I did not have any large lumber to build from. I did have a few 2 x 4s left over from a different project. So i used them to build the stand below. The pic with the anvil is the test fit. After that pic I dissembled the stand and put it back together with construction adhesive. The top and bottom have been sanded to remove any high spots. It is very rigid. I need it to be moveable for now. If it proves to be to light I have thought about filling it with sand. Any feedback is welcome. Thanks for looking. Mel

-
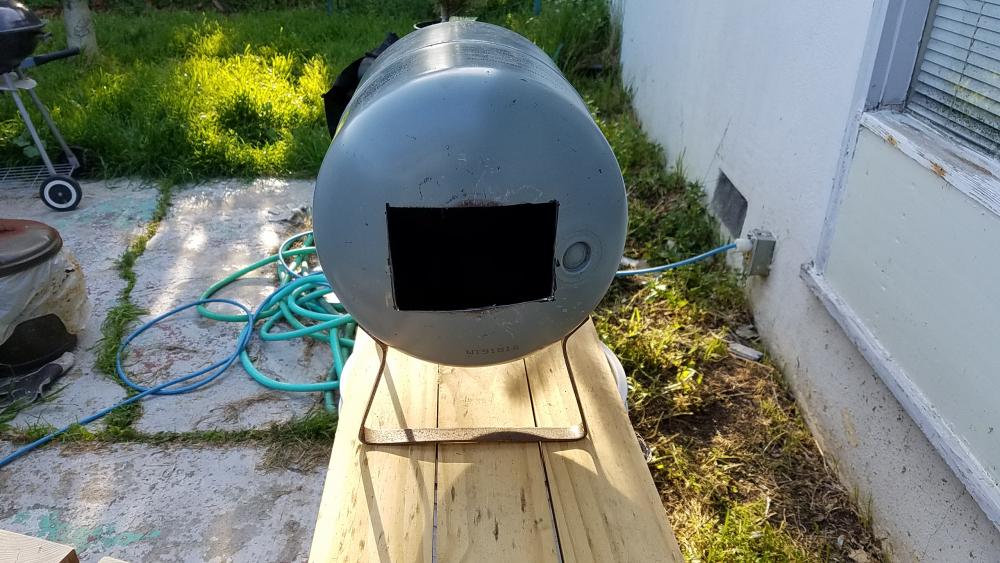
I have made some progress over the last few days. I went to the local ceramic suppler and bought the inswool, rigidizer and split firebrick. No refractory cement out of stock. Now for the pics. Here you can see the forge body set on the legs I bent up. They will be bolted to the body. I don't have a welder here. I still need to come up with a work shelf of some type. I also built a anvil stand I will show in the appropriate sub forum. Thanks for looking. Mel
-
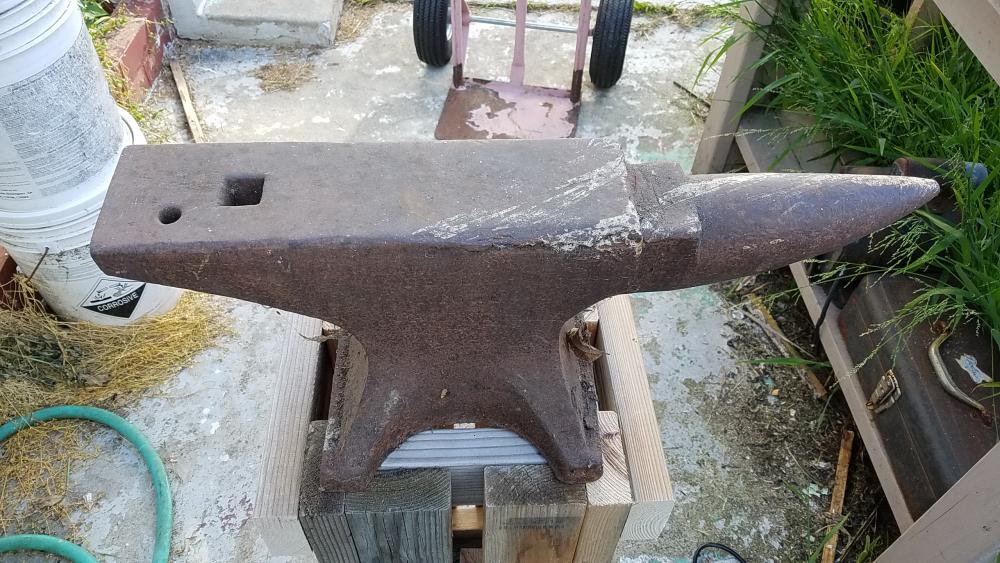
Some photos of the anvil I inherited from my aunt and uncle. Looks like a peter wright. Thanks for looking. Mel
-
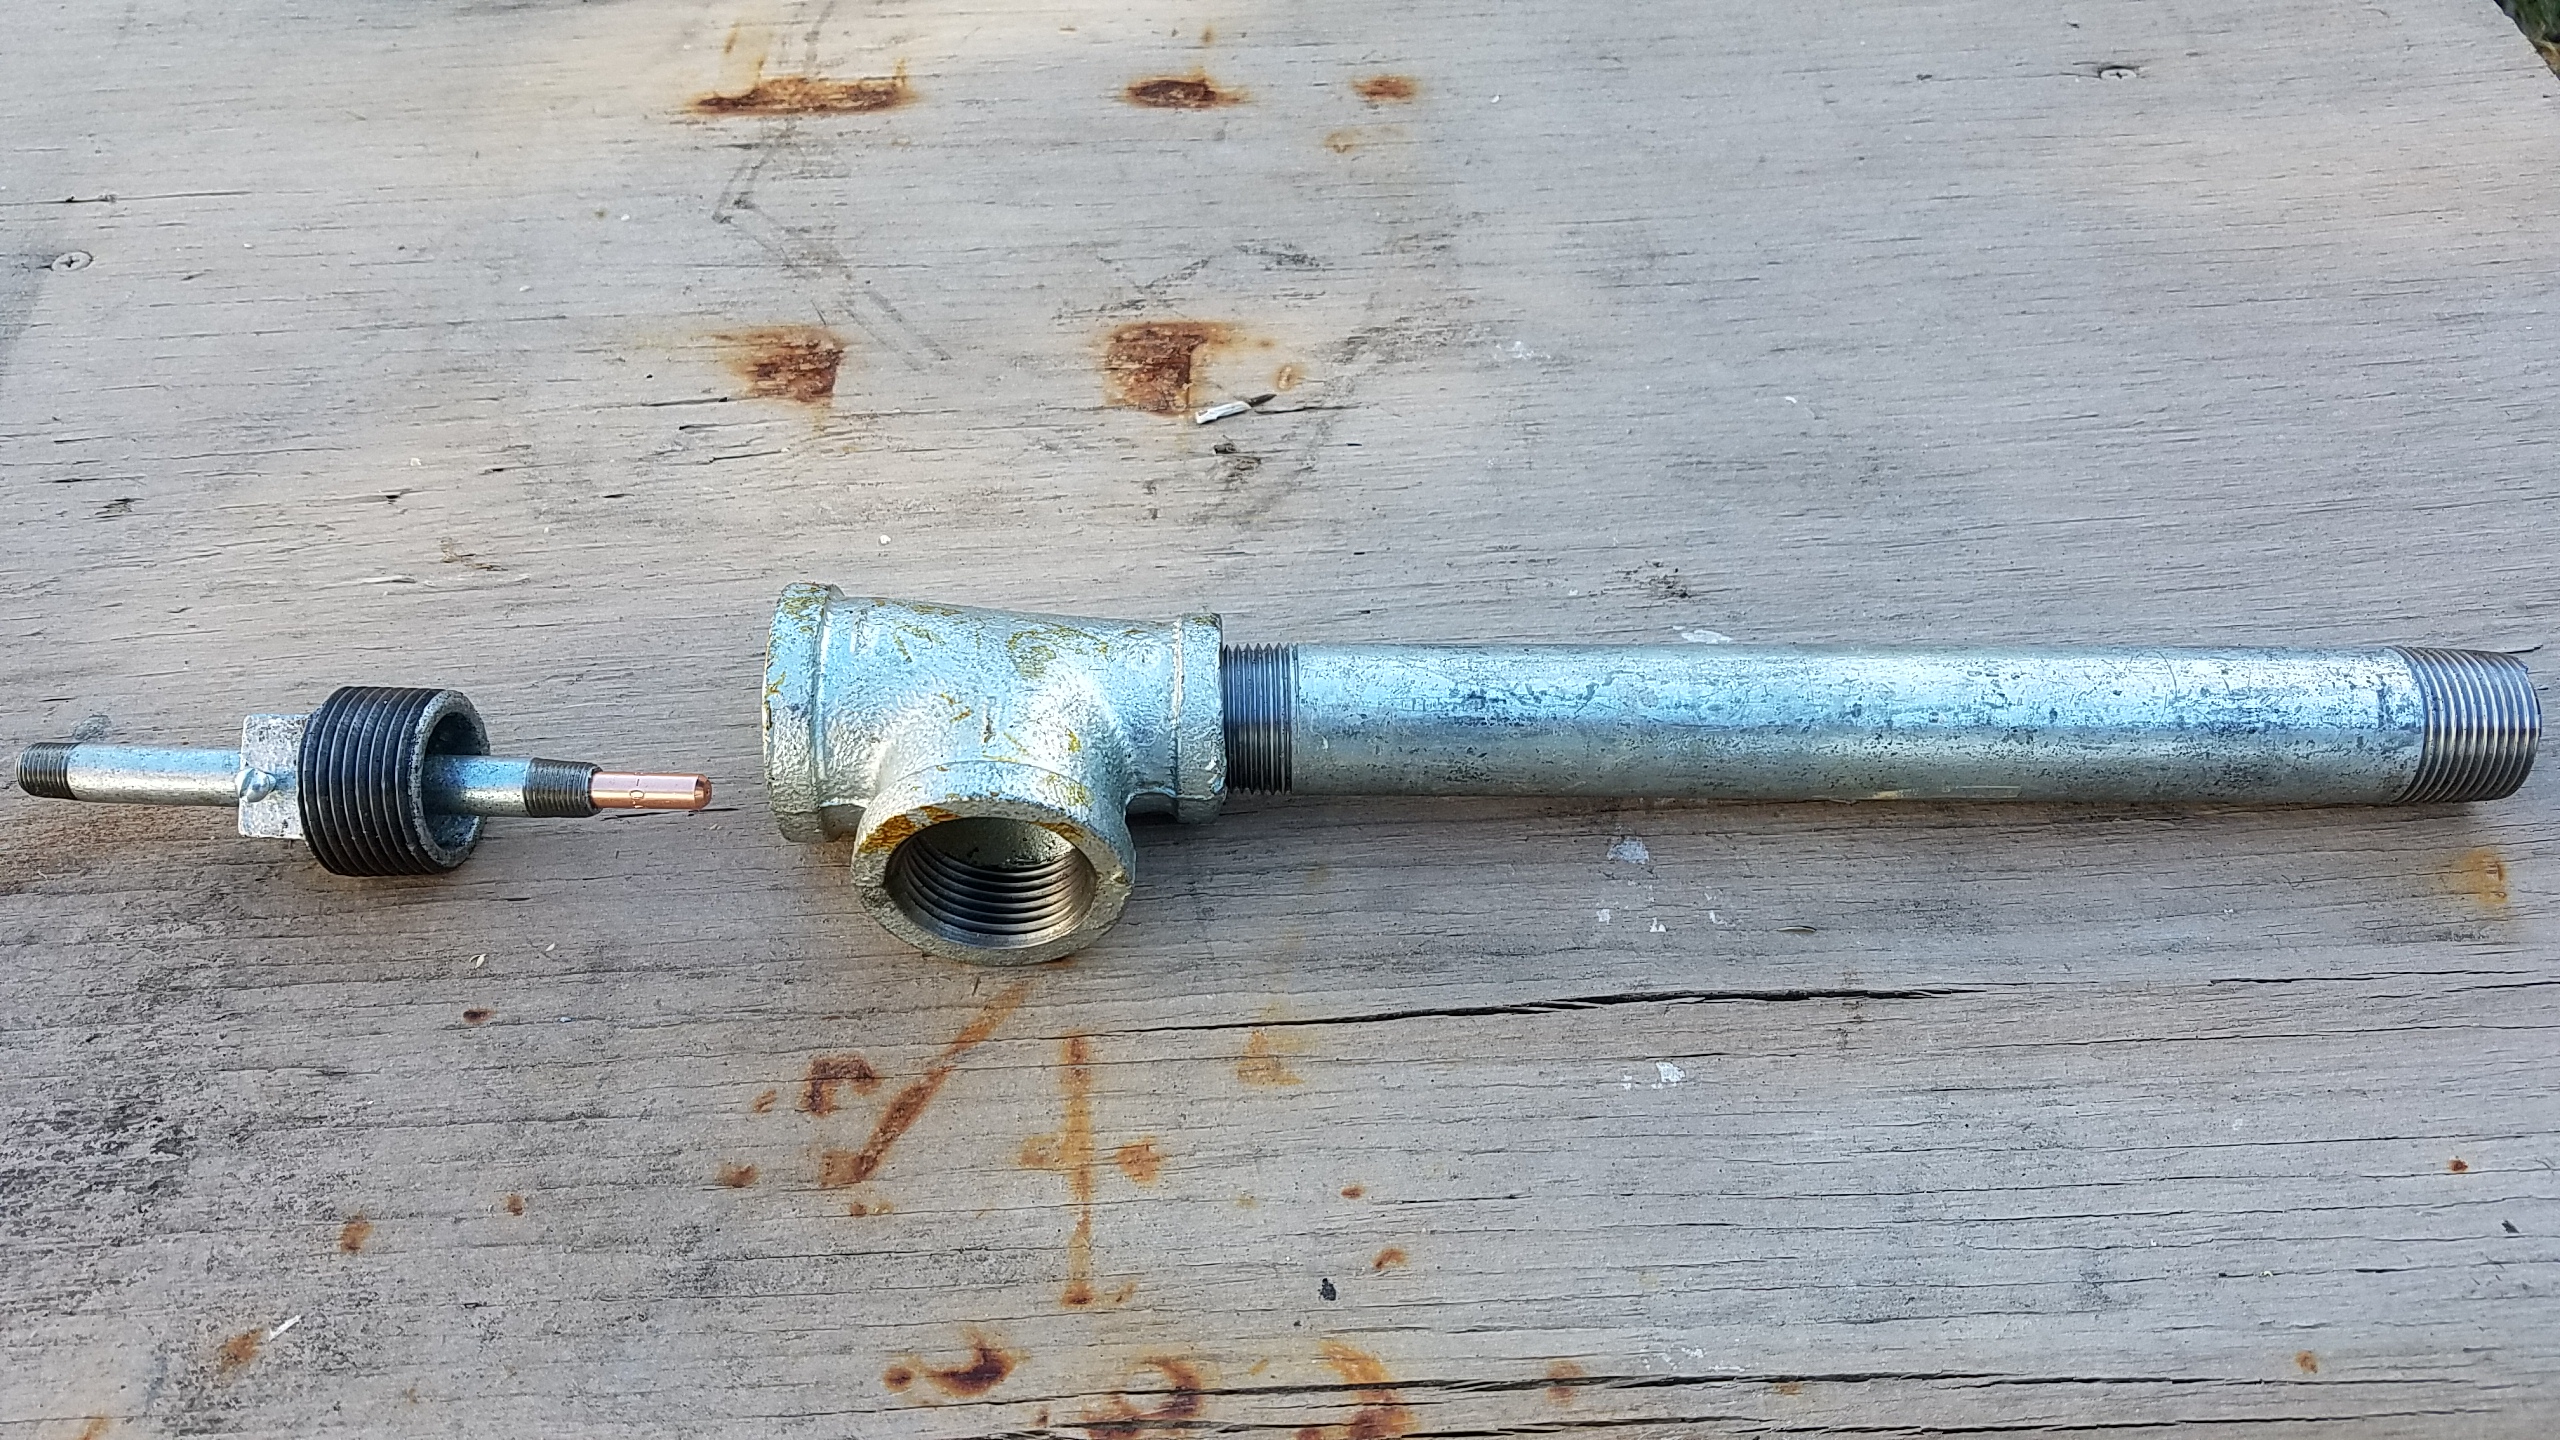
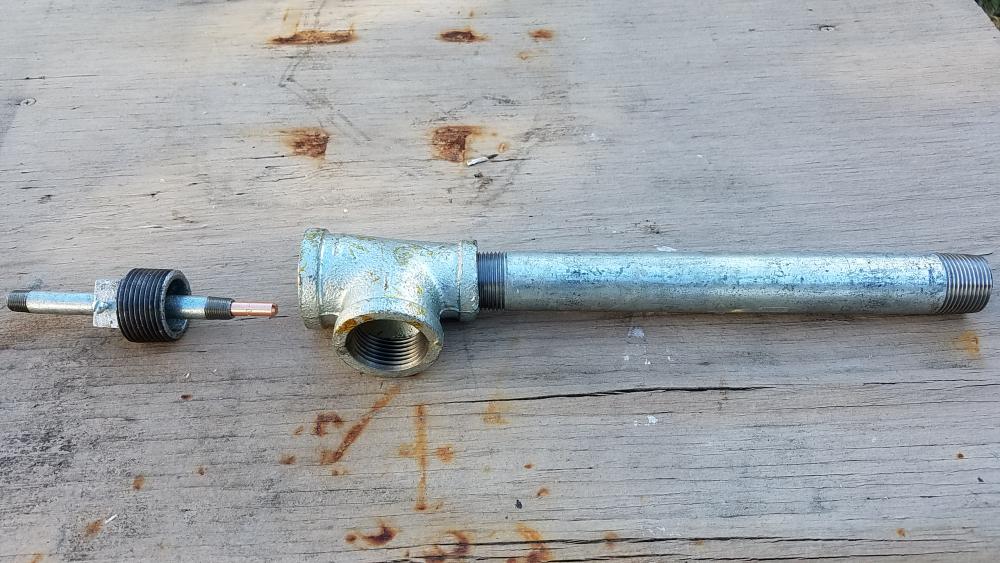
In light of the informative posts from Mikey98118 and Frosty I have put together this see photo. I followed the plans from Zoeller Forge. I have not put a flare on it as yet. I don't have one. May have to try making one. I was forced to use a 1 inch T as the 1 1/4 inch are not available at the hardware stores around here. I did not want to have to wait for mail order. Monday I will head to a suppler close to me that sells Inswool Ceramic Fiber Blanket by the foot. They also sell High fire refractory cement by the pint. I am thinking that a coating of the cement will help make the inswool hold up better. Any thoughts on the refractory cement coating? Thanks Mel
-
Mikey What would changing to a MIG tip gain me over the tiny drilled hole I have been using? JHCC I have read the thread you linked to. Did you post any pics of you completed forge? Mel
-
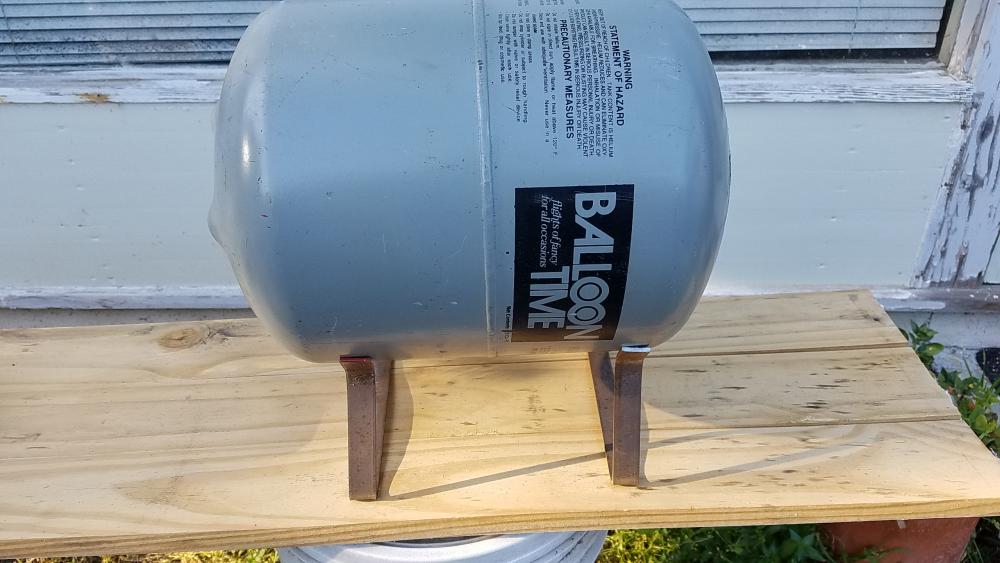
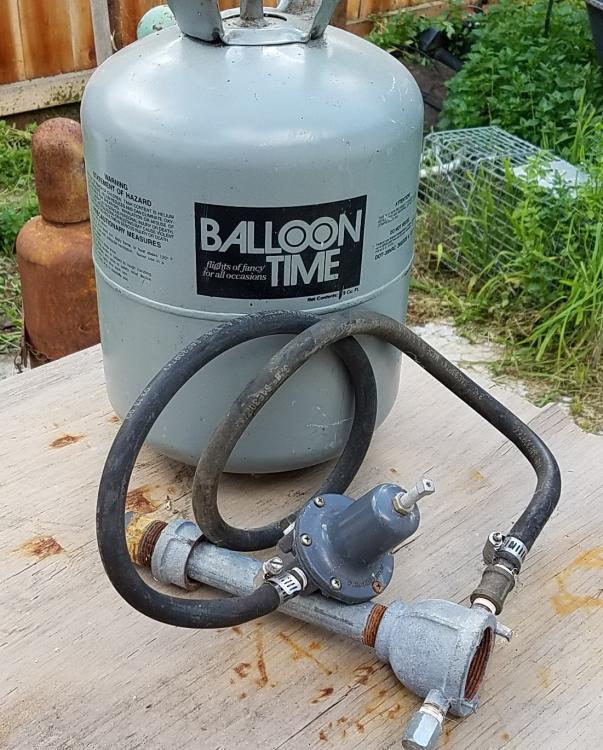
I want to build a forge. I do have some parts to start with. The attached photo is of where I am starting. Some years ago I made the burner for a aluminum foundry. It is a Reil's EZ-Burner. Found here, http://ronreil.abana.org/ezburner.shtml It worked well for me then. My first thought was to use the DIY cast-able refractory that I used for the aluminum foundry. It was from a recipe from John Wasser. I found from reading here and elsewhere that the Perlite will brake down at forging temperature. So after making some measurements and looking for local suppliers I have decided to use, Inswool Ceramic Fiber Blanket, faced with rigidizer, and for the floor, split hard brick I would also like a gauge for the regulator but have not found one yet. So any pointers for that would help. Fell free to point out any problems. Thanks! Mel Edited
-
Joined to find out more about blacksmithing. I have been spending the last few days reading about forges and looking at anvil stands. I will be posting in the gas forge with my plans soon. Thanks for looking. Mel