-
Posts
5,776 -
Joined
-
Last visited
Content Type
Profiles
Forums
Articles
Gallery
Downloads
Events
Everything posted by jlpservicesinc
-
JLP Blacksmith Teaching Center.
jlpservicesinc replied to jlpservicesinc's topic in Building, Designing a Shop
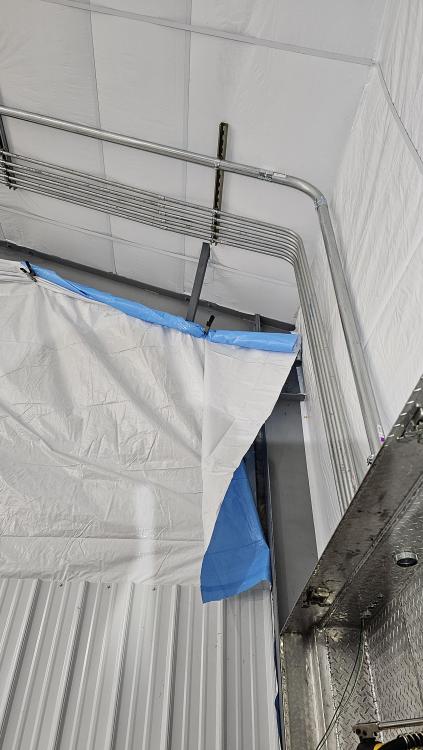
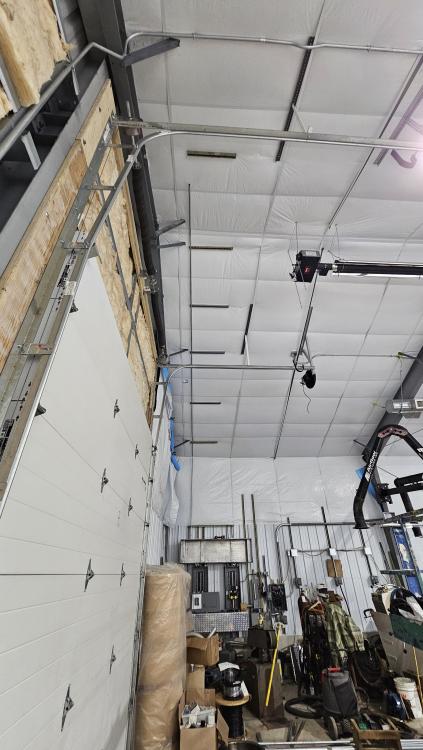
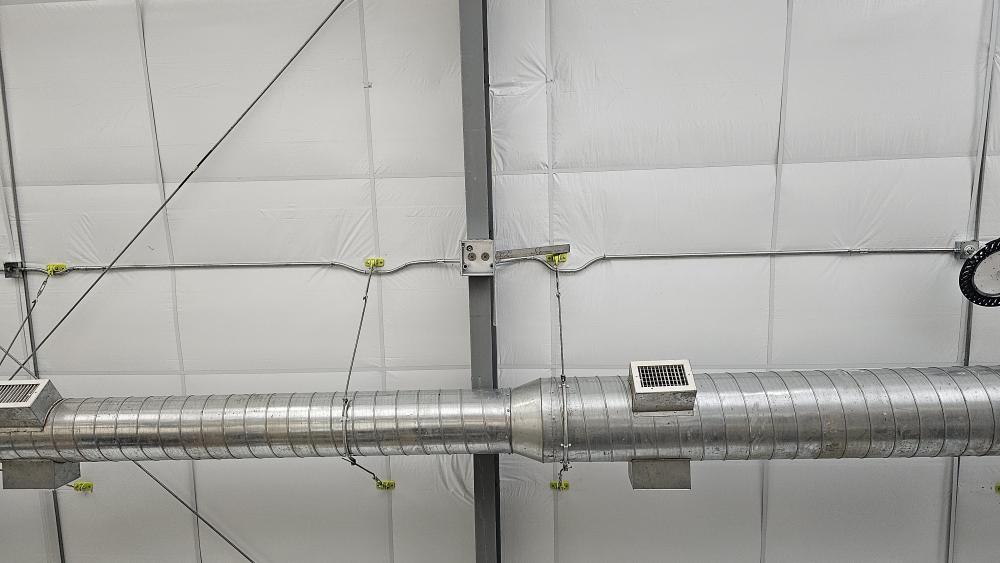
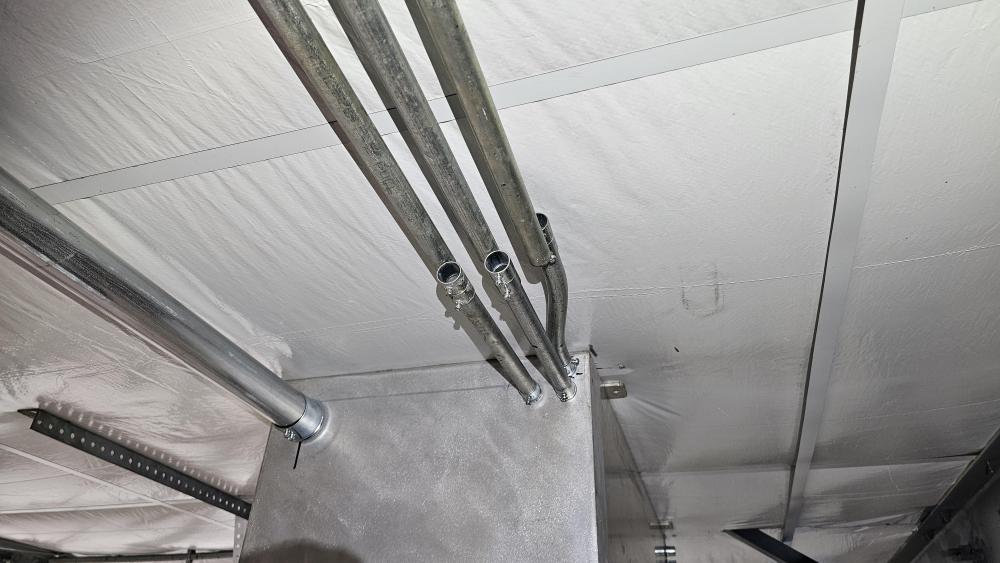
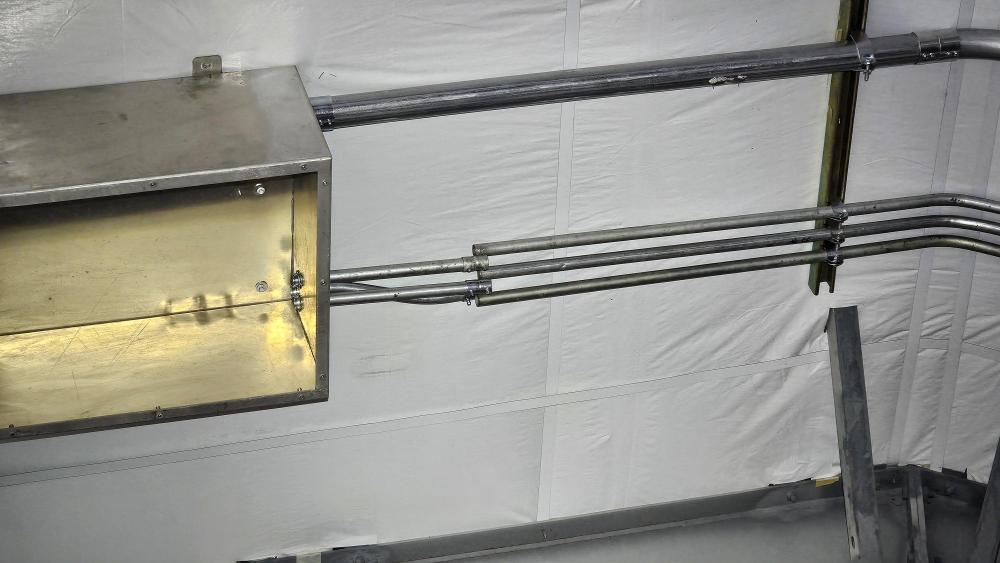
JHCC I'm deathly afraid of heights.. always have been.. Driving over a bridge can be a painful experience.. Steve, I just had to undo all the strut clips and feed it in from the other end.. I was able to turn the Bend to the side some and get the flex needed.. I was just hoping there was an "easy" way.. I knew I'd have to redo the work I already had done and was not wanting to do it again.. I marked everything before I took it apart so made going back together a little faster.. I am going to add another 2 runs of conduit from the main wireway.. I need a box for the left side lights .. George.. I feel you.. I can't even watch a movie where they look over the edge.. I jump back in my seat.. I don't do well watching things.. I do alright doing them.. In other words I have to do the thing to trigger the part of my brain that allows focus and then can do.. On the couch or in the car I can't tap into that area of the brain.. And yes, age is a lot of fun.. the alternative well.. I have no photos of today work.. but every step is a step forwards. I still have about 40 pieces of 3/4"X10' EMT.. So plenty to finish what I started.. -

JLP Blacksmith Teaching Center.
jlpservicesinc replied to jlpservicesinc's topic in Building, Designing a Shop
Youch.. Wow, are they expensive.. -

JLP Blacksmith Teaching Center.
jlpservicesinc replied to jlpservicesinc's topic in Building, Designing a Shop
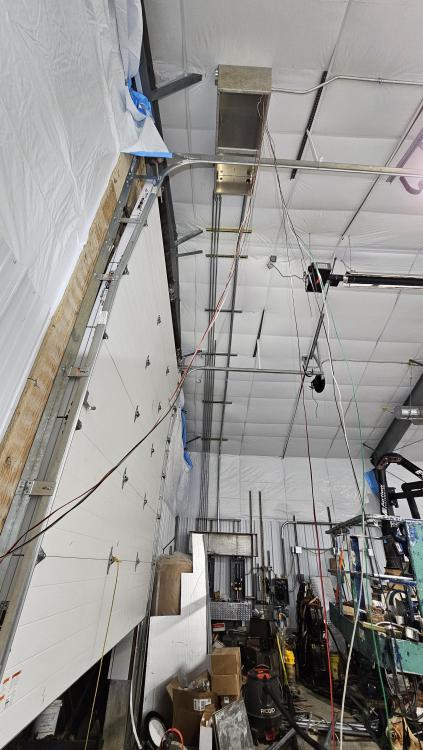
Larry, It's amazing how many people claim to not be afraid of heights (AKA OK) and after being in the "women" lift 20min they are clinging to the side.. It's a different experience for sure because it's not solid, and even people who are OK on a ladder will have a change of heart in the Lift.. There is no sense of solidness.. The nice thing about this lift is the 66ft extension can be straight out vs a modern machine that will get tippy.. At 66ft though it's a lot like a diving board, trampoline or air bouncy house.. If you move quickly the basket will also move away from the pressure. Steve, so basically it just comes to hanging down the wireway and feeding them in just like I've been dong right along.. I've found that on straight runs of conduit, there is oftentimes enough sag that the conduit can be pressured more to bend to make up that 1" or so distance needed (shrink) to insert.. Where I find there is a problem is when in an area like this with the 34.5 degree bend at the ridge completely has the easy bend going away or towards the top vs the bottom.. if I had 2ft above the bend it would slide right in. Anyhow I was hoping there was a trade secret that was known and shared with other professionals that was kept from the public at large. -

JLP Blacksmith Teaching Center.
jlpservicesinc replied to jlpservicesinc's topic in Building, Designing a Shop
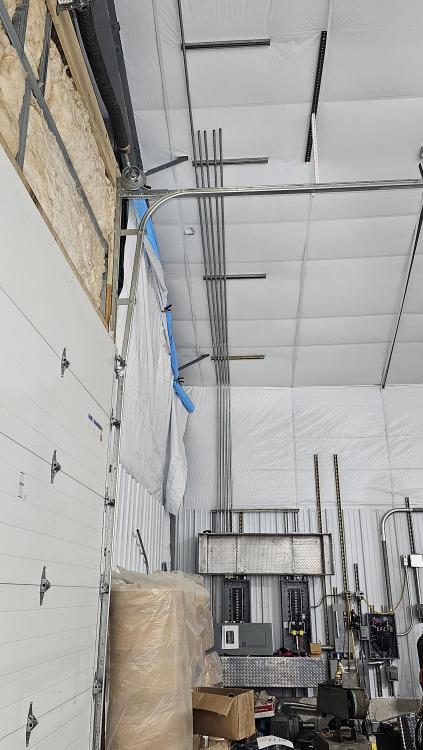
Gewoon Ik, you are very welcome.. Great seeing you at the forge.. I was able to get a little more conduit up.. I am not sure if there is such a thing.. A slip coupler/connector for EMT? I keep getting to the end of the run with a box with no way of installing the conduit into the fitting unless I undo the box? @Steve Sells any ideas? On fitting the very last piece of conduit before a box? Working by myself and feeding in conduit is not much fun. This is where I stopped before undoing all the conduit strut clamps or the wireway.. -

JLP Blacksmith Teaching Center.
jlpservicesinc replied to jlpservicesinc's topic in Building, Designing a Shop
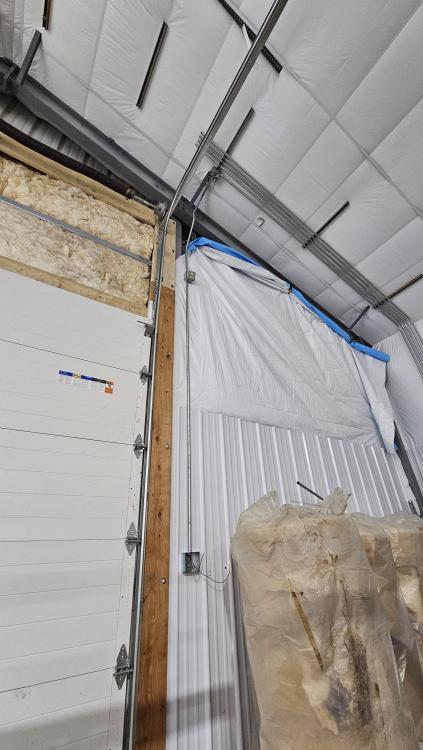
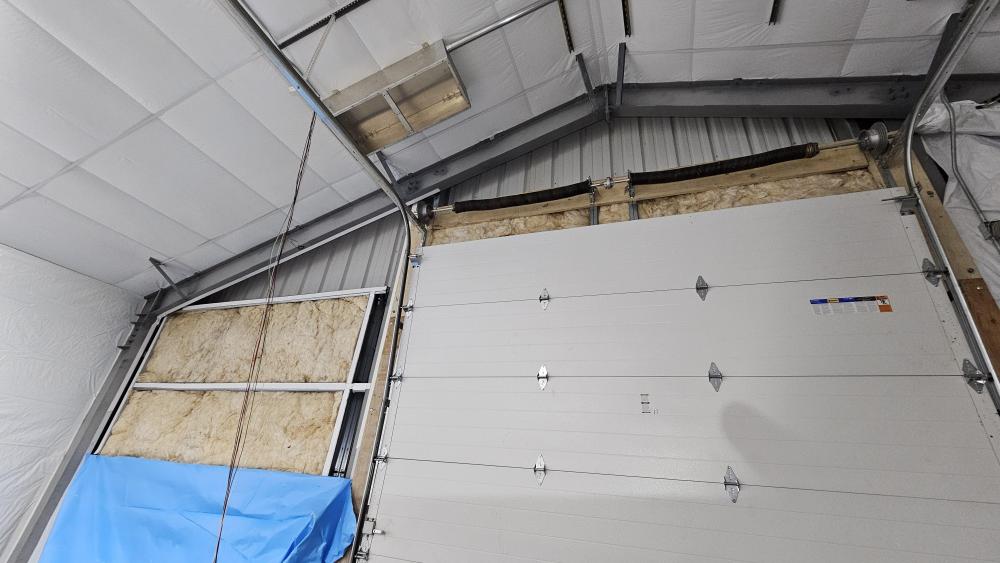
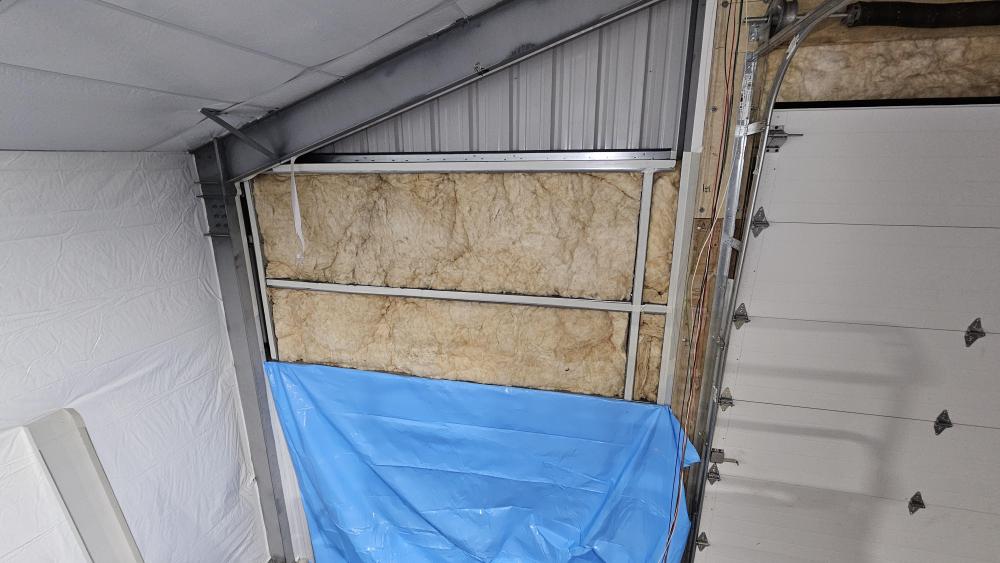
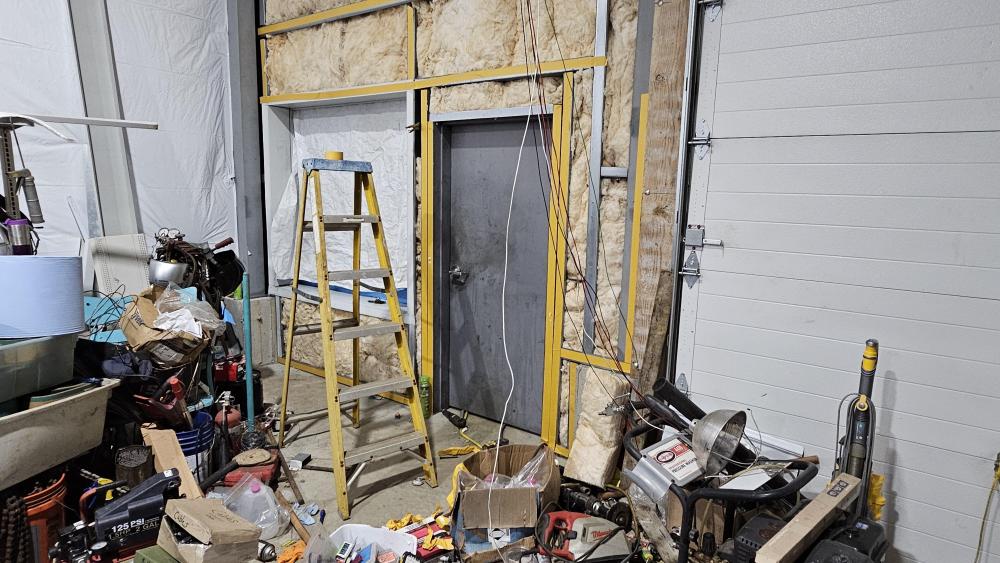
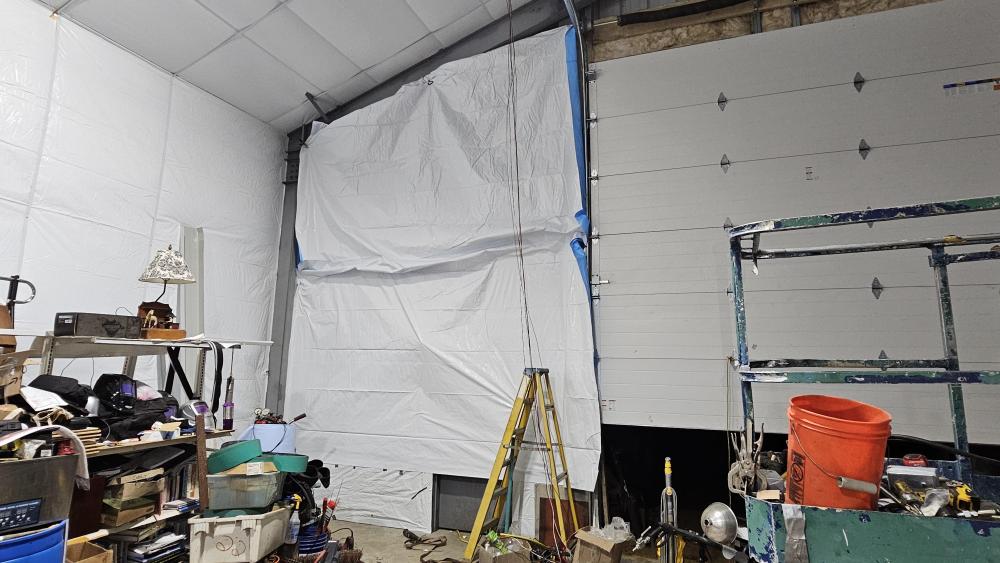
The tape I ordered worked a treat.. Will see how it does in the long term.. on installation it actually clung to the grey irons very nicely.. The stuff from Bayliner did not stick great.. I was also able to get the huge wireway installed with the 2" conduit so now can do the light switch run of conduit. Gewood Ik, the space that is open at the top of the end wall is insulated above and sealed from the outside. The white membrane is attached at every possible point so is very well sealed.. Now that I have moved this far along I will also find some time to finish those very top sections.. problem is there are supposed to be insulation hangers to keep the insulation from sagging down in the wall.. On this end wall there is no place to put the hangers.. The hangers should have been installed when the outside siding was being installed.. Another point that was never mentioned.. So I have to figure out a way to mount the hangers.. I was thinking of mounting the hangers on some of the screws that come thru and putting a piece of foam on it and some gorilla tape to hold it against the wall.. -

JLP Blacksmith Teaching Center.
jlpservicesinc replied to jlpservicesinc's topic in Building, Designing a Shop
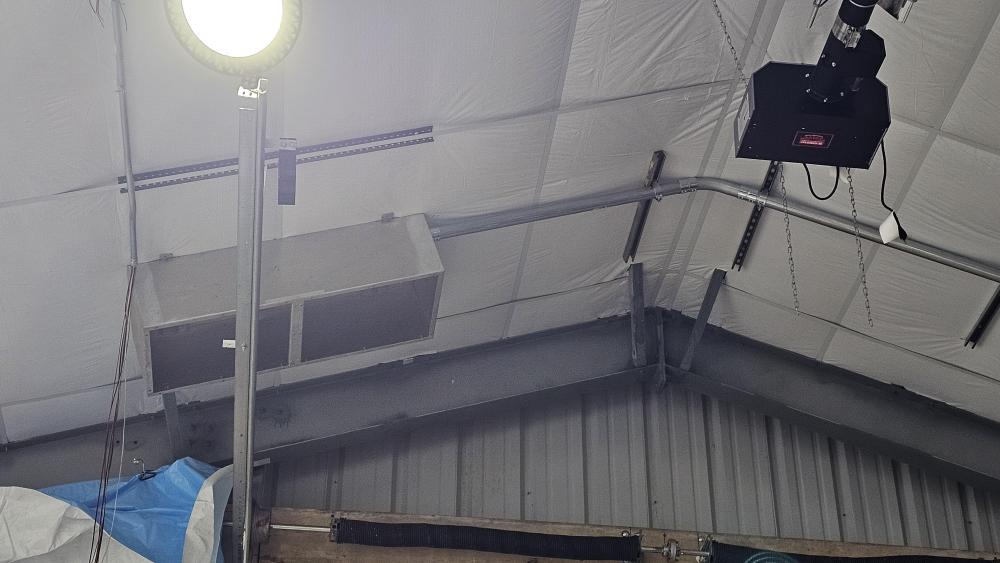
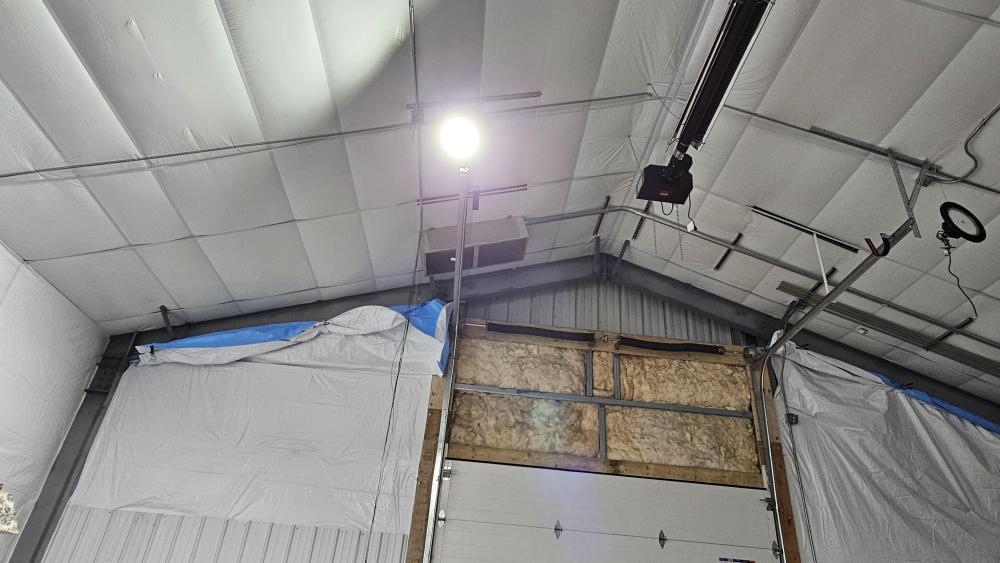
I like your thinking but can't do it.. The propane infrared heater. Not enough room above.. And can't have anything below.. The air handlers are only like 24X24X by 36" or so.. Plenty of room and can be speed adjustable and contain air cleaning filters.. The window will be back.. I have to order a new one.. So I need to reach out to a few window MFG's to get a price.. Last time I priced, one place was 4400 installed the other 2600 installed. I don't want tempered glass.. When dealing with tempered glass that just right impact (barely anything) takes out the whole window. But if I use plate glass it needs to be coated or protected. Also many companies say.. Lifetime warranty and what they are really saying is the lifetime of the first window.. Once broken your on your own. I want a triple pane 60X65" IIRC.. On the metal side of things I'm by myself so holding the sheets up for fitting is tough and measuring for layout and cutting is slow.. With the sheets in and screwed down in a stable place I'll mark out the cuts and pull those sheets that need cutting off, cut and replace.. As it stands now.. Having the area blocked off from wind/rain/snow.. does keep it a tad warmer. -

JLP Blacksmith Teaching Center.
jlpservicesinc replied to jlpservicesinc's topic in Building, Designing a Shop
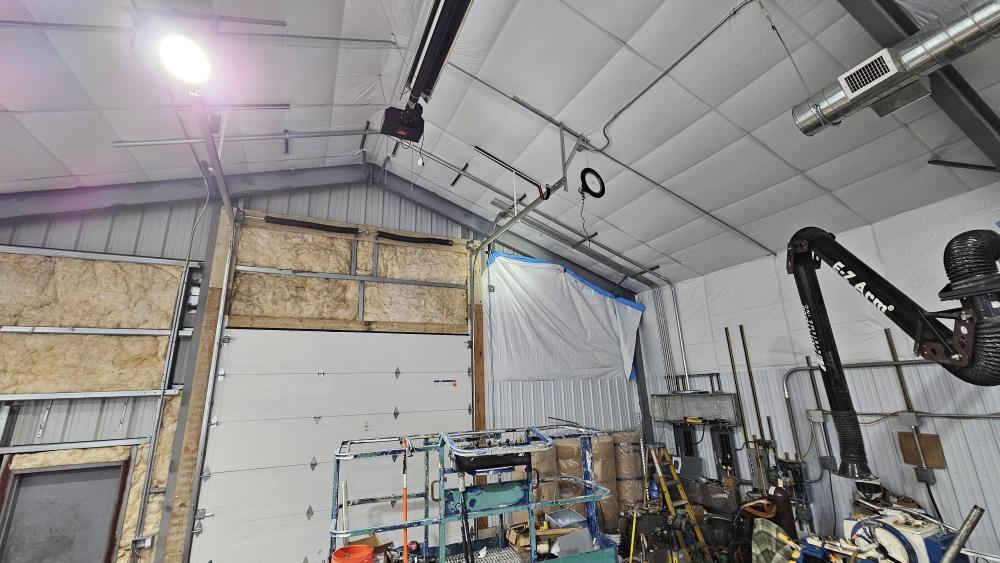
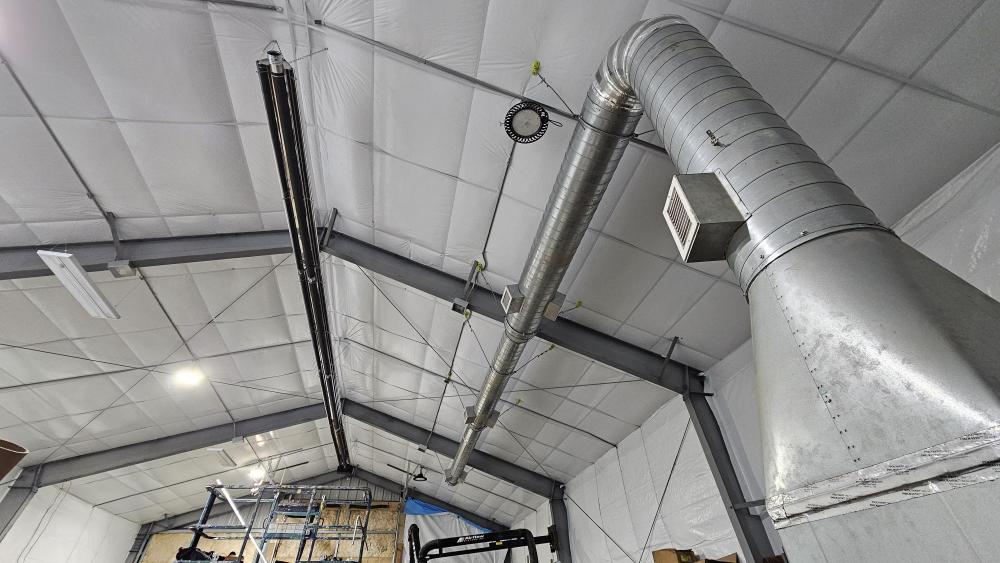
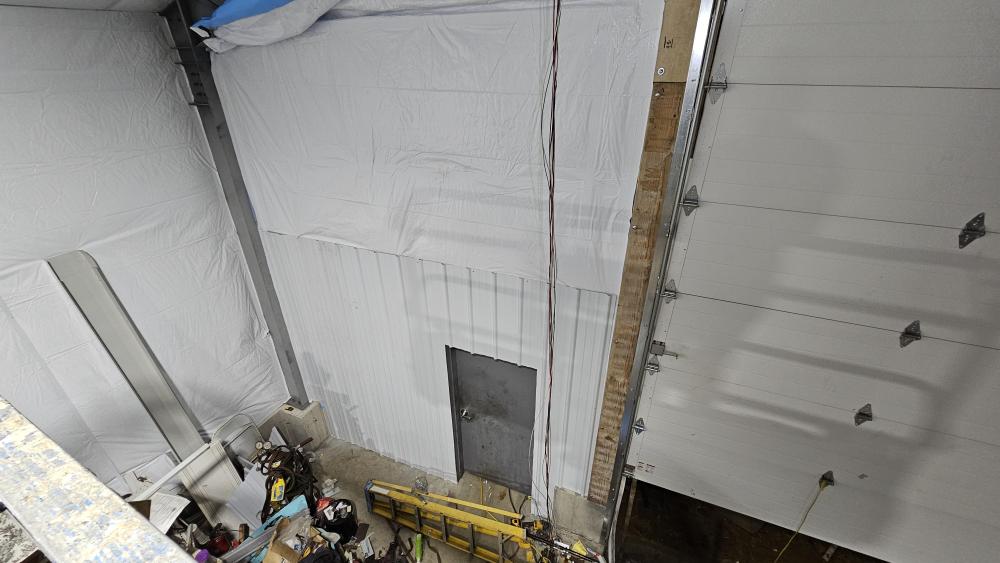
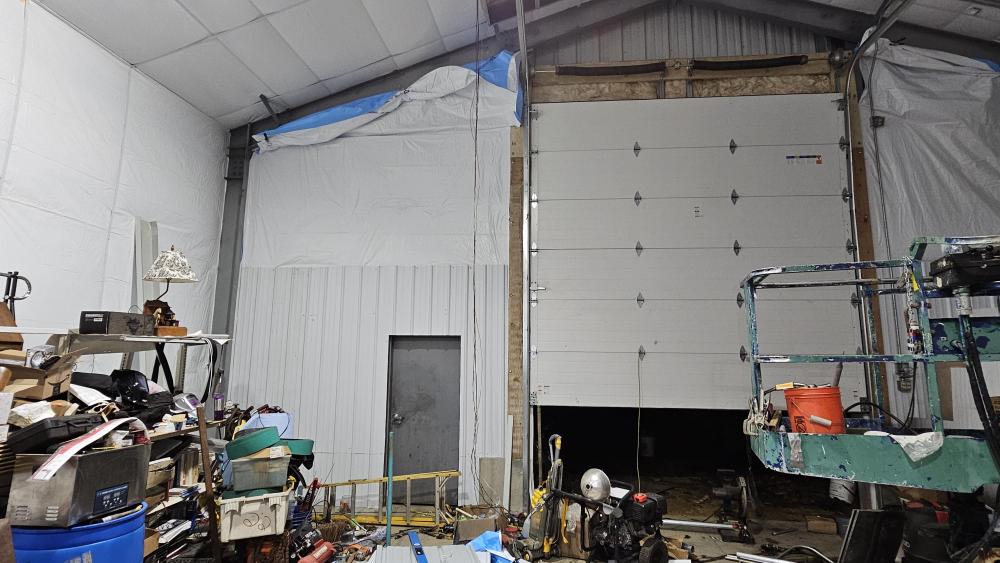
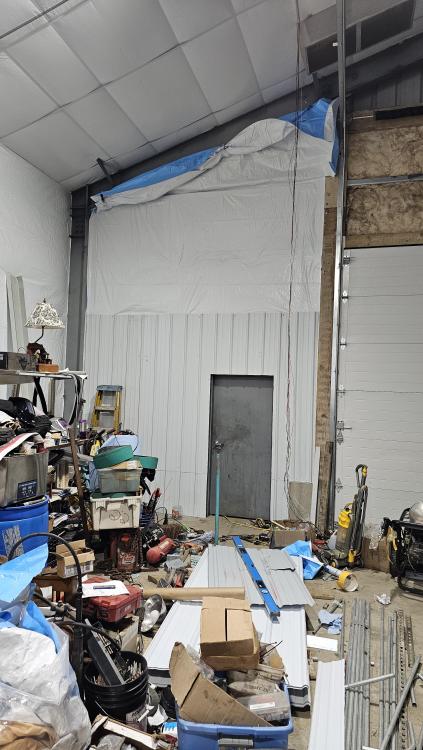
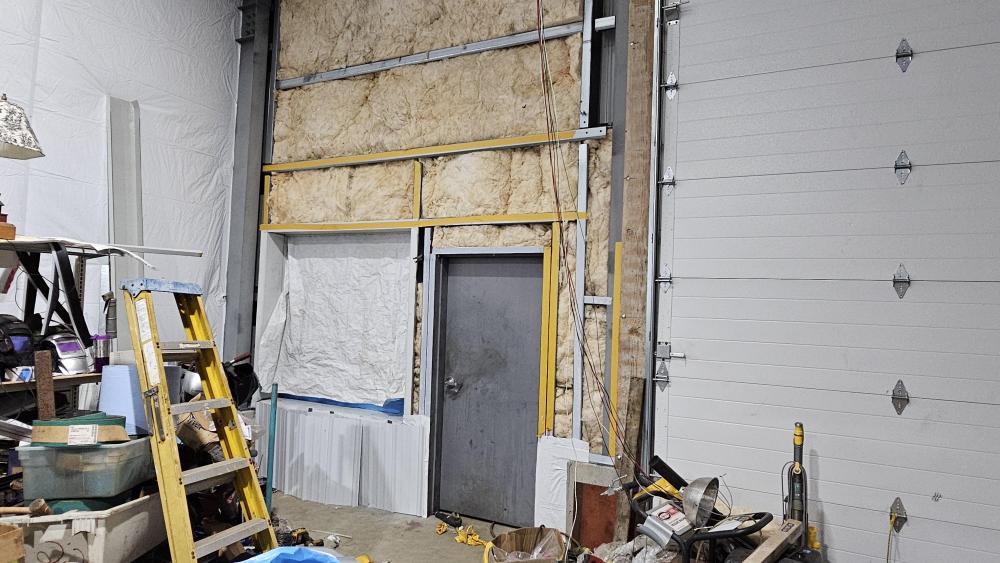
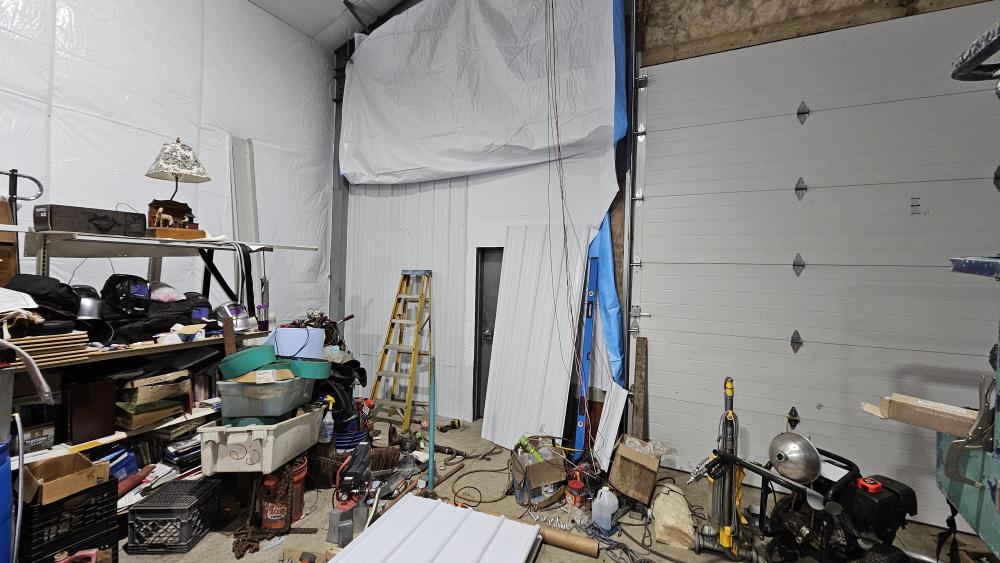
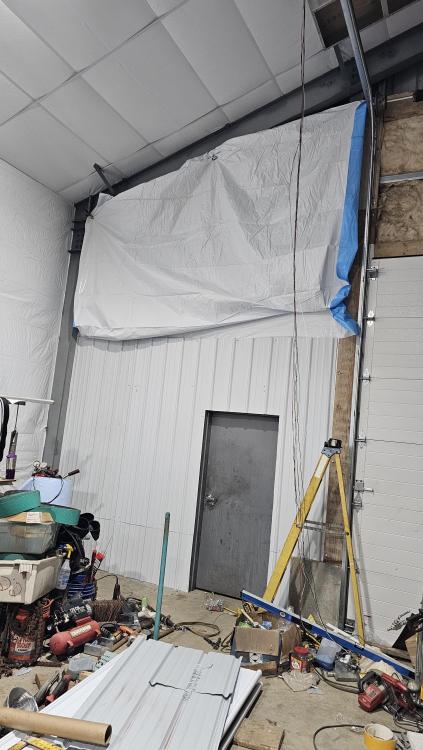
Not much.. Just the top 3 sections of the east side of the building.. No great way to do them and no instructions.. With this, Even with the little bit of non-insulated areas up at the front eves of the building.. The school is super warm.. R38 roof and R29walls.. The membrane eliminates any drafts.. I keep it between 60 and 65F.. Good working temperature.. The furnace is a multi-fuel unit.. I burn "used oil".. 1/2gallon per hour.. When I'm going to be having the big door open for work inside the building while running the manlift I'll put some wood in the furnace a few hours ahead of time and then burn wood as it's a more consistent heat.. Even with the garage door open 4ft at the bottom the 65F is easy with it 35F outside. What the shop could use is an air handler.. This would be great to blow the heat down off the ceiling. I have plans for a few filter units with the outlets aimed at the floor.. But that's in the future. Before I installed the furnace duct work.. I just had an elbow with a flap of cardboard on it and this was not very good at all.. It would be 45f at the floor and 105F at the ceiling.. I thought the heater duct would help and it does.. Quite a bit.. but.. The air flow out of the duct work is not forceful enough.. Enought velocity.. Its very subtle.. The whole shop is 65F at the human level.. So thinking of installing a larger blower.. This will circulate the heat up top better and make the whole system more efficient. I know there is a balance between too much air and the temperature rise of the furnace. -

JLP Blacksmith Teaching Center.
jlpservicesinc replied to jlpservicesinc's topic in Building, Designing a Shop
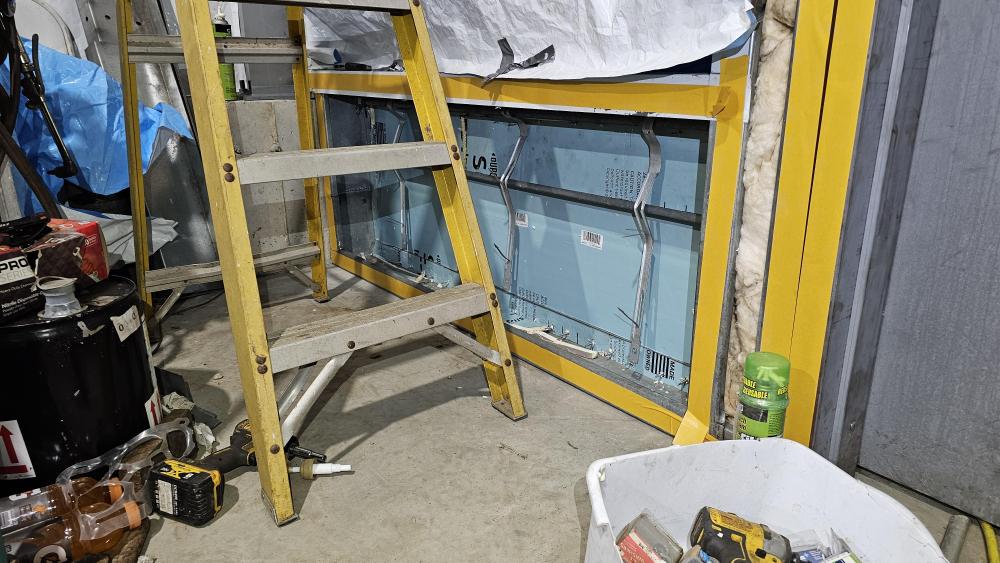
Hey, Thanks Larry.. The long 1ph runs are so much easier.. I don't like to make scrap.. And laying out the 3ph stuff kinda used some of the scrap pieces.. Meaning cutoffs .. That and not having a working knowledge or what is considered standards of practice.. (aka short cuts) My budget flew south.. Been putting in the mega time so a little tired.. Big push on the siding and insulation front.. Having to get the siding up to continue the electrical.. First was to remove the old window.. This window was forced into the opening so distorted it some.. Taking the window out will allow for pressure to be taken off the steelwork and now things can be screwed together in their correct positions. I removed the 1/4" tapcon screws from the bottom frame and redrilled the holes for 5/16" and put in 6 new screws.. The 5/16" screws have way better mass vs the 1/4".. I then put up the silver faced 1/2" foam insulation into the bottom cubby and put the insulation hangers in. Then put the fiberglass in. Taped it up and installed the membrane. I then installed as much of the double sided tape as I had which was just enough to get to the height of the white metal siding. I then installed the siding.. I decided that doing this job by myself is one of the more torturous jobs there is.. Luckily the panels are only 7.5ft long.. But holding and screwing them into position and cutting them is a problem.. Lucky for me this area is the last tough one with many cuts and cut outs. I ordered several different kinds of tape to put up the rest of the membrane.. From the Insulation company they are 125.00 per roll and 1 roll doesn't quite do 1 bay.. I ordered 2 extra last time thinking it would be enough and NOPE.. I ordered some stuff off Amazon.. will see if it works.. The insulation company now has a NEW England rep and he reached out after sending a message.. I'll know today if the Amazon ordered tape will work.. It's 1/3rd the cost.. -

What did you do in the shop today?
jlpservicesinc replied to Mark Ling's topic in Blacksmithing, General Discussion
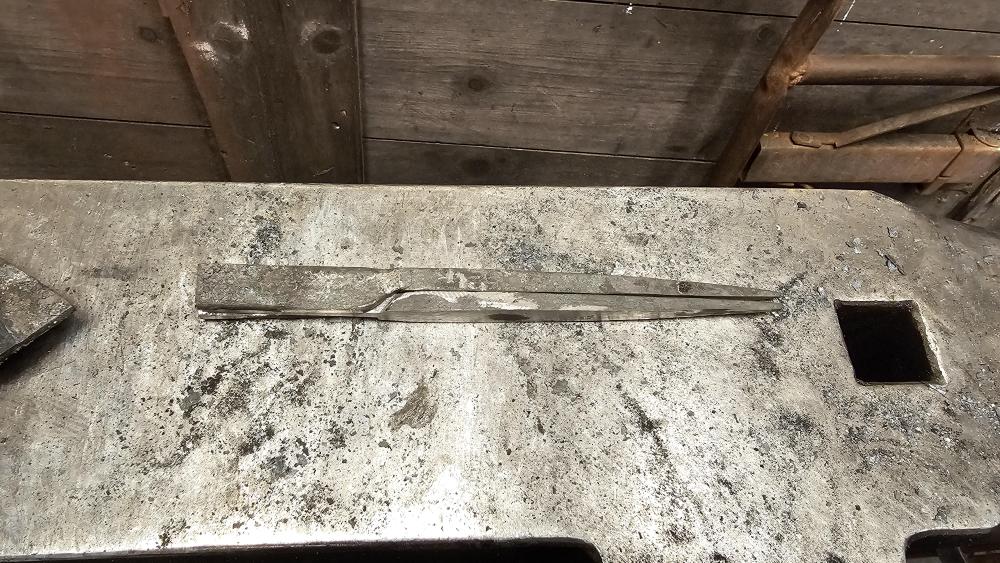
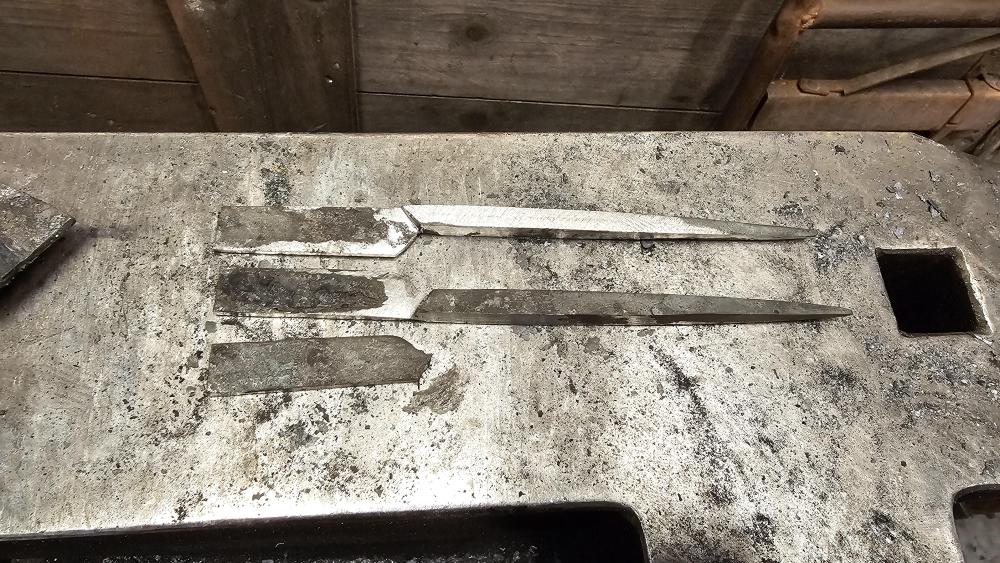
Alexandr fantastic work as always.. It's great seeing your consistency.. Great work day in and day out.. Today was the first time at the forge in a while. I had a broken strap hinge come in for repair. Also attempted a pair of wing dividers out of wrought iron.. This is some really nice wrought iron but it has a tendency to fracture across the grain. First attempt ever at making this style.. Happy with the process overall.. The wrought iron really makes me push my forging prowess.. I have a video film session on the 9th so I have to dial it in by then. If I can't get the wrought iron to not fracture I'll just make them from mild steel. The tips are tool steel.. I'll make a set and etch them.. should be cool. The dividers were forged to size.. There was no allowance for material to be removed in finishing more than just a clean up. This means all the angles were forged in.. I might have pushed the level of prescision past the point.. With closed dies it's easy.. But open anvil forging.. Well. -

JLP Blacksmith Teaching Center.
jlpservicesinc replied to jlpservicesinc's topic in Building, Designing a Shop
It is an interesting point about spending a bunch of time and no one really seeing the results.. I suppose that's where the "luck" of doing it all comes in.. What gets me, is how long something can take.. From inception or design (figuring out something since there are no directions) and then doing it.. Then having to take it apart because something that should have been there first (no directions) has to be put in before you did that next step.. Rinse and repeat. Many, many times.. You think you get finished with something.. NOPE..,. Some of the most simple of things in a wood framed or brick/block framed building is a major undertaking in this steel building.. Because of frame spacing, etc, etc.. anyhow, every step is a step.. Spent all day in the manlift yesterday so last night I felt like a druken sailor.. For those that know what I'm talking about hats off.. -

JLP Blacksmith Teaching Center.
jlpservicesinc replied to jlpservicesinc's topic in Building, Designing a Shop
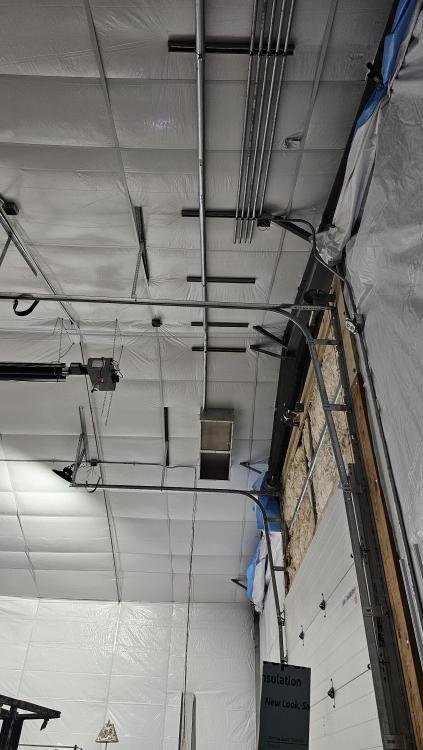
Want to, have to.. Those lines get very cloudy.. $$$$$$ If one has $$$$$$ then anything is possible.. If I had to pay someone to do the work on this shop/school build I would not be able to afford it.. Want to.. When I started this idea some 35 years ago it was a want.. 15yrs ago when I put this school build into motion it was a want.. about 1/2way thru for a lot of it, it became a "have to".. Not only because of the money I have tied up in the place, but also because if it's not finished it's a space that would be useless except for storage.. This would not work well because then I'd just sell all the blacksmithing equipment so then would not need storage. LOL.. $$$$$$ is really the dictating facet for all of it. I am making progress on the electrical for sure.. It's hard to believe the school is nearly complete as a building. There is something about doing "good work" that to me is very satisfying. Good quality work. Running that 2" conduit took a while.. The bends are neither 45's nor 90's.. Going to be stunning when I'm finished. -

JLP Blacksmith Teaching Center.
jlpservicesinc replied to jlpservicesinc's topic in Building, Designing a Shop
I wanted to run a trough.. My Master Electritrian friend told me adamantly to avoid it. And here is what I found: Sadly here in the USA code and such have limits on what can to be used. and even go as far as mentioning it has to be UL approved and stamped or coded as such. Its expensive if you buy UL listed cable tray from what I looked at or found. I was going to make my own out of old walk way.. which would have worked a treat.. If the cable tray is installed then you got lucky.. I am not a builder, heating/plumbing person, nor electrician. So all of it is my first time.. as is learning about all the codes involved. AKA no real guidance.. Just told at ever turn " you can't do that". The largest percentage of "Hold up" is figuring out why, where and how things should or should not be/go. What this project has taught me is this. People will tell me " You can't do that". nearing 100%. But percentage-wise around 0% are willing to help or even offer real suggestions on how to do something.. In today's world with all the information on the internet, there are certain professions that keep things under such tight wraps (so secretive).. Often times I think it's steeped in money and the worry that the job really is very simple and they are worried if people really found out, everyone would just do it themselves.. As for the conduit, and runs.. Once the first piece is made, it's just copying the rest of the needed pieces to the first. So 6 runs.. Just copy the first run.. If you make 90's remember to add 2 inches on each other piece running from inside to outside.. Or removed 2 inches in length if ran from outside in.. Which means if I have a bend on the side conduit and the measurement is 50 inches to the bend.. ON the next bend to match the corner and have space I need to make the next bend at 52" on the next run at that original spot. I'm terrible with the bender as I'm not used to seeing things backwards.. I have to force myself to turn the bar the opposite way of what I think is right.. Even with such little use I know my conventional thinking is wrong so just work at not fighting it.. As long as I do this, the bends come out very nicely. -

JLP Blacksmith Teaching Center.
jlpservicesinc replied to jlpservicesinc's topic in Building, Designing a Shop
-

JLP Blacksmith Teaching Center.
jlpservicesinc replied to jlpservicesinc's topic in Building, Designing a Shop
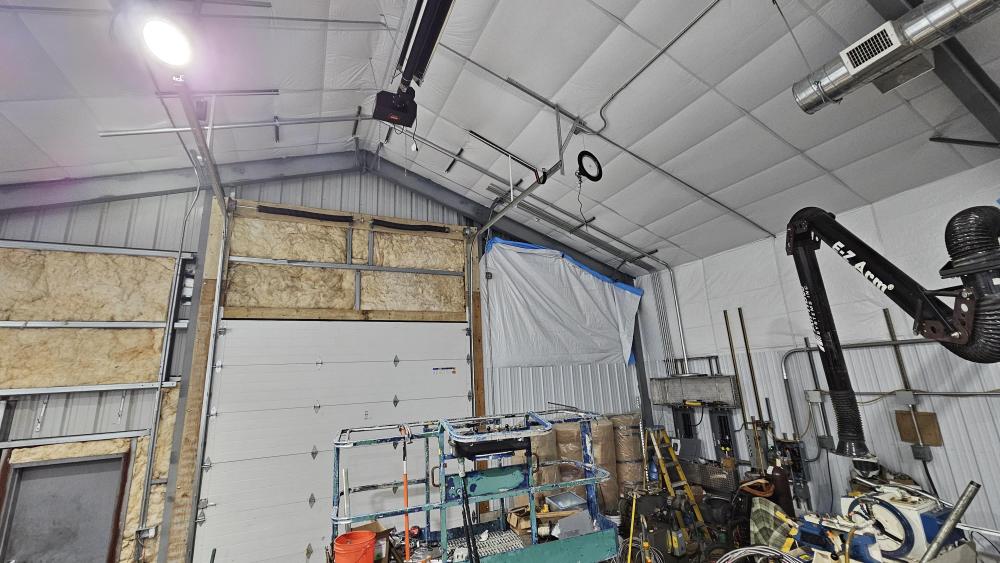
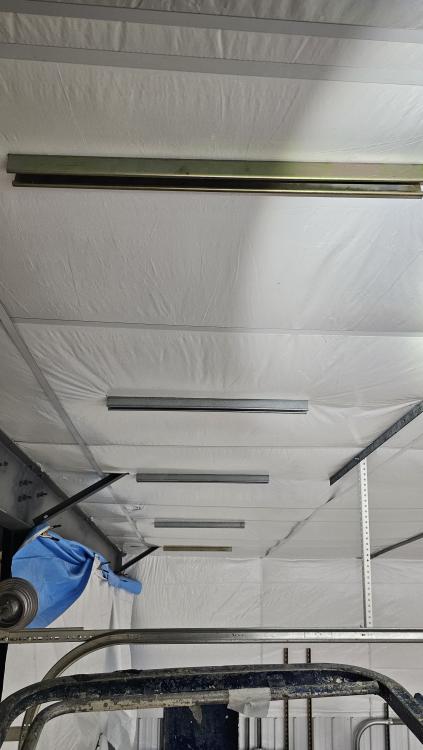
Today was putting up strut to run the conduit from the left side breaker panel. This will supply 240 100amp to the sub panel on the far wall as well as be the side that is used for the lights and for the power on the sides of the forges and workstations. The right side panel is powering the 3ph items and the 240volt 1ph stuff like machinery. It is interesting how long it takes to finally make a decision where things should go. Never having done this before and then reading the codes with exceptions.. it's daunting. Hard to believe this is nearing completion. Got the first run of conduit up that will feed the 4 gangs of lights. Ordered the 4 gang light boxes too. I should have just enough strut if I plan well.. If not I'll have to buy another couple of pieces. It's going to be very close. I need to order 3 more 12x12x6" enclosures.. That will complete the junction of the wiring going over the grey irons or upright frames. -

What did you do in the shop today?
jlpservicesinc replied to Mark Ling's topic in Blacksmithing, General Discussion
Shaina, Looks like something is a little to tight on your forge drive.. The flywheel should keep spinning even with that little bit of lever crank.. Looks like there is some resistance someplace. -

JLP Blacksmith Teaching Center.
jlpservicesinc replied to jlpservicesinc's topic in Building, Designing a Shop
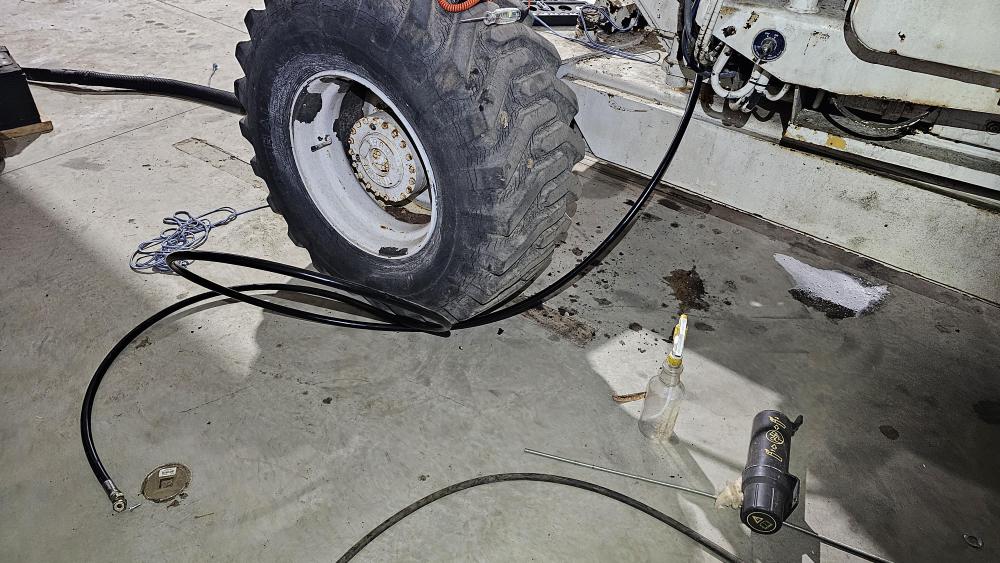
Well, after some varying this and that situations I was able to get back onto running EMT for the lights. The Manlift was giving some fitz and quirks and needed to be gone thru.. The manlift has 4x4 brakes that automatically engage and disengage when the joy stick reaches a certain position. The joystick is designed to creep the PWM on the solenoids to vary the speed.. Last summer the unit worked as it should but this fall, It was going from brakes on, to brakes off and full speed instantly.. 5mph is not that fast on a bike, but in a 27,000lbs manlift with 35ft out, its super fast when you need only to move a few inches. first time nearly threw me out of the basket. So cleaned all the connections, checked all the wiring with no results and then decided it was time to check the all ready adjusted Joystick.. And low and behold.. The adjustment at the joystick did it. Few weeks back I ended up with a flat tire that somehow holds air perfectly and now the joystick that is out of adjustment.. Gremlins.. thought I was punked on the tire... Whos to say. Getting better at my emt Saddle bends.. The last one I did even looked respectable. By the time I get good at them, I won't be doing them again. -

JLP Blacksmith Teaching Center.
jlpservicesinc replied to jlpservicesinc's topic in Building, Designing a Shop
Hey, I was waiting for you to share your experiences.. There are no mystical or magical aspects to making hydraulic hoses.. It's not an archaic science either.. If you use Kurt products you go and look up what the crimp specs are and crimp to those specs.. Every MFG has look up tables for their products.. Some of the crimp machines that are made by certain MFGs have simplified the process but using color coated items.. Use this crimp ring with these fittings and this hose. Like anything one needs to do the research and gain the knowledge to use any type of item safely.. Watching videos of people test cutting with Katanas is always hair-raising.. Scary to say the least. And yes, there are many, many dangers with hydraulics especially when ill-trained.. 2 people.. Go start the unit and push the lever until it bottoms out.. I'll then run my hand down the line to see exactly where it's leaking.. Not smart.. But accidents happen everyday.. -

JLP Blacksmith Teaching Center.
jlpservicesinc replied to jlpservicesinc's topic in Building, Designing a Shop
that's really handy.. Do they have a service call fee? What i mean is.. Do they expect to do the whole job or just make the hose? -

JLP Blacksmith Teaching Center.
jlpservicesinc replied to jlpservicesinc's topic in Building, Designing a Shop
Yes it is.. Especiallly if you go to larger diameter hoses.. My machine will go up to -20 but I won't carry the fittings over -8.. It's an investment in Convenience.. For regular larger rubber hoses I just go to the local hose guy.. Here most hose shops are just that.. Stationery store type shops.. There are a few guys who do road service but even they don't make hydraulic hoses on the spot. -

JLP Blacksmith Teaching Center.
jlpservicesinc replied to jlpservicesinc's topic in Building, Designing a Shop
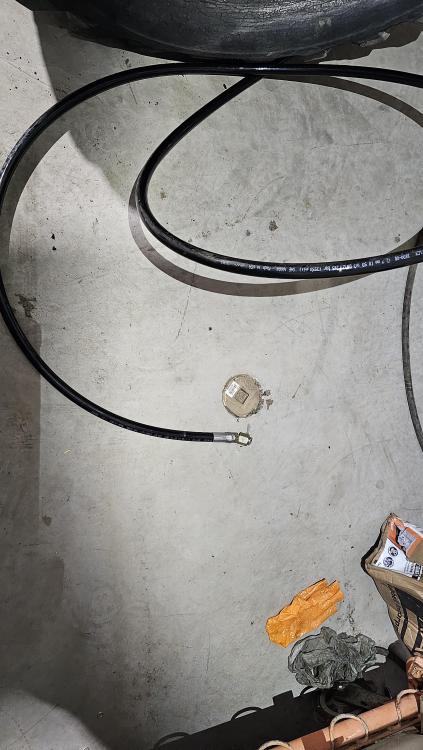
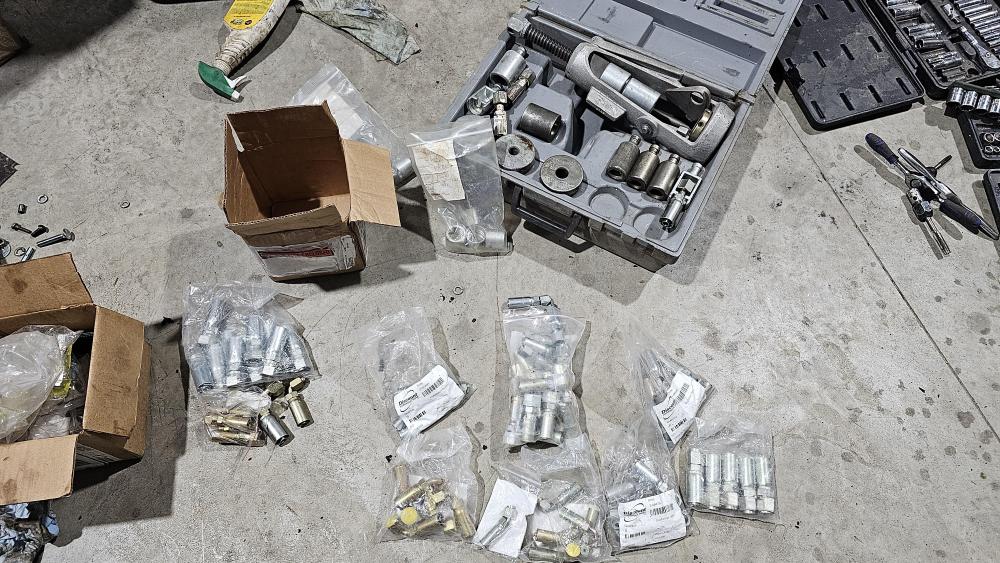
Well the fittings came in for the hydraulic hose.. So last night I made the new Thermoplastic (Eaton synflex) hose with the correct ends.. 100R8 -08 or 1/2". Hoses in hydraulics use the -# system which is based on 1/16" So -4 is 1/4", -5 is 5/16, -6 is 3/8" and -8 is 1/2". The codes for each MFG are different for each fitting and hose series.. If you use Kurt hoses and fittings they, the MFG doesn't really like to mix and match so they spec the hose with a certain fitting.. All the MFG's do the same thing with matching products. What this means is: For every MFG and for the different hoses they make, there is a fitting type that is recommended for that hose and that hose only. There are many hose MFG's.. Kurt, Gates, Parker, Eaton, Weatherhead, Danfoss, Aeroquip, these last 4 are the same parent company. Then there are also "MFG's" that are Not main stream that also produce their own lines of hoses and fittings. Rubber hoses are the most popular and come in different series of construction.. They use a rubber hose and some are 1 wire, 2 wire and 4 or 6 wire, non skived vs skived.. The higher the wire count the stronger the hose is supposed to be, but also the less flexible it becomes. For most MFG's they have recommended fittings for each type or wired hose.. You would not use a 1wire hose fitting on a 4 or 6 wire hose. Nor the other way around. Nearly all heavy equipment that has hydraulics use the rubber hoses.. (backhoes, trucks, tractors, etc) Except.. items that have to have hoses that are light and have to flex a lot.. forklifts, manlifts, etc.. These use Thermoplastic hoses which are much, much lighter with greater flexibility in all temperatures with the same or higher work pressures vs rubber hoses.. Many rubber hose MFG's like Kurt offer higher flexibility rubber hoses which are also smaller to help cross over to the other markets.. Sadly they are still rubber and there are trade offs. For hydraulic rubber hoses they are crimped in special machines that cost A LOT.. The machine i have retails now for 12,000 with no dies.. And guess what.. You need dies for each size of hose. these die sets can be 600.00 each. I have an Eaton FT1380.. Took me about 5 years to find a machine I could afford.. It came with all the dies and I chose this machine because it can crimp any hose up to a -16 and from any MFG. It also has the ability to swage thermoplastic hoses with a couple of adapters.. YES, you read correctly SWAGED.. The 3903 model fittings as well as any of the older thermoplastic hoses are swaged on vs crimped.. What this means is one can build hoses in the field instead of having to go to a specialty hose shop. With this said.. Good luck finding fittings or hose.. I've found both but the hydraulic hose industry keeps tight raps on all of it. Finding any information unless you go thru a distributor is a very, very long road.. When I first started looking there were very few resources for hose or fittings but over the last 5 years there are a few companies now that supply the end user.. Too bad about not sharing businesses unless a direct supporter of the website.. took me a while to find these companies and saved a lot of money.. You would think that Ebay might be a source for fittings.. Not really. Very few of the fittings used in hydraulics are NPT.. JIC is even few on high-pressure hydraulics on newer machines.. ORB(Oring boss), FSO (Face seal Oring) and flange are the winners. If anybody is looking for more information PM me.. The photo with the grey box is the swaging machine for thermoplastic hoses and you can see a few of the fittings I have acquired over a few years.. I got involved with hydraulics because of the Manlift and the miles of hoses it has.. A hose blowing off hours is not only a huge inconvenience but a huge time drain.. So now I keep -4,-6 and -8 hose in stock with the fittings.. I've learned to order the fittings ahead of time.. Since when they are out of stock.. They are out of stock everywhere.. Some of the -8 fitting for FSO are 25.00 each or more if I run to the hydraulic place.. 1/2 that if I order them from the retailers.. -

What did you do in the shop today?
jlpservicesinc replied to Mark Ling's topic in Blacksmithing, General Discussion
Ive taken 10 of these apart and put back together and they work great sometimes working better depending on how bad the internal gears and bearings are rusted.. On certain models they have a very wide pinion gear but only use 1/2 of it.. So this can be moved around to get better teeth. Once you understand how the gears are aligned and the thought behind making them that way. They can be adjusted just fine but they can be fiddly. It seems the later ones had less adjustments and were set up at the factory and that is that. If they have offset bushing you can paint mark the location or if you are replacing the worn bushings and there is no adjustment which is often the case then it might come back into spec with the new bushings or not.. Either way you are adding life back to the blower.. It just becomes the noise level. I own a metal lathe so can make the bushings offset if need be. One can do this in the drill press as well.. Often times people just want a usable product so won't go the extra steps.. And that's ok too. -

What did you do in the shop today?
jlpservicesinc replied to Mark Ling's topic in Blacksmithing, General Discussion
Beautiful work John. -

Forge Welding resist
jlpservicesinc replied to Latticino's topic in Blacksmithing, General Discussion
Welding socketed tools is a lot easier than most people think. Where most people run into problems is at the junction between whatever the tool is and then the fold over and then not having adequate scarfing or too much scarfing for the weld. That answers a lot of questions but you're also going into one of the easiest types of welds. Everything is held in place for you while you're welding The biggest thing you have to remember is that you have to undersize the socket for whatever your finished socket size is. Also with modern grinders today belt grinders once your sockets welded you can just clean it up on the belt grinder with a slack belt. Forge to finish is what I prefer if possible. You shouldn't have a problem at all. You'll have a great time for sure. -

Forge Welding resist
jlpservicesinc replied to Latticino's topic in Blacksmithing, General Discussion
Hi Dan can you be more specific as to the tube or socket that you're actually trying to weld? Hi Tomahawk sockets are very easy to do because of the size of wrought iron. Depending on the wall thickness will determine what method is best utilized. 1/4-in wall thicknessing up is super easy. 1/8-in size and down is kind of tough. The heat reserves just aren't there for the smaller sizes. If using smaller sizes really the mandrel does need to be heated with the item when welding or else you really have to be fast to get it on the mandrel and be sure to preheat your mandrel. By the way it's nice that you're thinking about these things before the class or before the activity. More than likely the instructor will have a method that they want to use. -

What did you do in the shop today?
jlpservicesinc replied to Mark Ling's topic in Blacksmithing, General Discussion
Gewoon ik.. Desire.. Ah desire.. Here in lies the thing.. for any of it.. Action, learning, etc, etc.. A person has to have a desire.. As children we are forced to go to school to learn.. some have desire and some do not.. Once we are on our own for nearly everything we do.. It takes a desire.. A want or longing.. Your statement reiterates the main stream sentiment.. "Knowledge" can and will give you the best product.. Sure.. If you are in academia.. or a scientific environment. 20 years ago very few people owned Heat treatment ovens.. somehow for over 4000 years items were produced day in and day out that was even by today's standards superior in one way or the other.. Does it mean they are superior to what technology dictates as superior.. it all depends.. This is the aspect that befundles most people.. "It all depends".. This list of "depends" is based on opinion, testing standards, etc, etc.. WE hand forge metals.. The metals themselves have built in faults.. No matter how cleanly they are made they have inclusions and other ingredients that influence the materials.. " There is a best practice".. And I feel this " best practice" is about as good as it gets.. One can not enforce the information into a person.. Even when shown there is a better way. people will still for the most part choose a 50/50 pattern or some percentage there of.. If knowledge is what someone is after then whether it can be applied successfully or not really becomes the ticket. And your are right..

-frameat0m19s.thumb.jpg.c4190d8fc9845a3f144e9d202f309015.jpg)
.mp400_00_1520231127-66727073_6375.thumb.png.e1d2b360eeef2345691e3b20db077014.png)
