

MonkeyForge
-
Posts
142 -
Joined
-
Last visited
Content Type
Profiles
Forums
Articles
Gallery
Downloads
Events
Posts posted by MonkeyForge
-
-
Personally I like layers:
Gas forges: Burners--> blown -- ribbon
--> NA -- T , mikey , ribbon
just an example, but I was wondering how you guys browse and what makes sense to you. And yes Wayne please enlighten us.
Frosty , Mike, Wayne, Thank you for your guidance so far.
-
Nothing wrong with the plain old T. Easy t make easy-ish to tune. I look forward to the next iteration of the design though
") for what you want the current T will work.
for what you want the current T will work.
-
In my experience (with a small forge) and with zirconium silicate/kaolin clay mixed with rigidizer and water, it took 2 firings to have that mixture completely set. That was on top of rigidized ceramic wool Without the castable. In my small chamber, the coating sped up the time to heat and also the heat retention while cooling. I am sure you will notice a difference when you apply the coating but I am sure some one else will be a better source for the specific combination of materials you are using. Seems to me though that besides a big volume you are on the right track
-
My ceramics supplier cuts tiles to size, they have leftovers for cheap. Might be the same for you. For me thinner is better, but I run a 90 cubic inch forge. Thinner also means replacing it more often, especially if you accidentally melt something
-
How you aim the burner can make big difference in how evenly you heat the forge liner. Somebody else will be more qualified to tell you how your burner would be best aimed. It is dependant on the eventual shape of your forge, which seems to be a tube.
-
If it matters that much to him, why be so anti? Seriously , I have nothing to add. My T-burner works fine but I have not tried anything else.
-
Fros-T burner would make google happier, guess what typing Frosty T yields as a first suggestion

-
I score it with the diamond wheel on my dremel, then a short tap with cold chisel will break it at the score line.
-
Hi Gert, your name sounds Dutch/Belgian (could be ancestry :)) where are you at? I'm based in the Netherlands and very much a beginner. I know only few people bladesmithing here so just curious.
Edit: just read your other posts. South Africa has tons of people with Dutch/German surnames
.
-
What BlackMetalViking said. If for whatever reason you cannot find the parts but think you can replace them with something similar, ask before you buy (include pictures if you can). There are some dirty workarounds (not many) And again, printing the parts list and taking that to the hardware store will is a grand plan
-
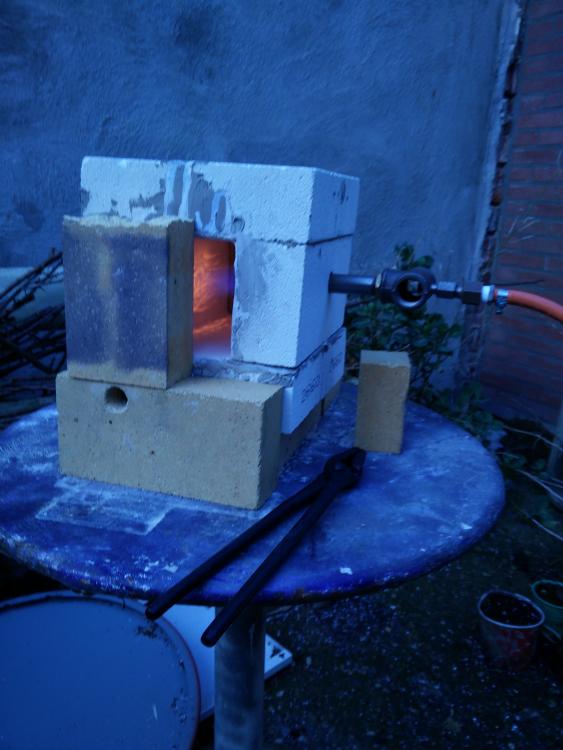
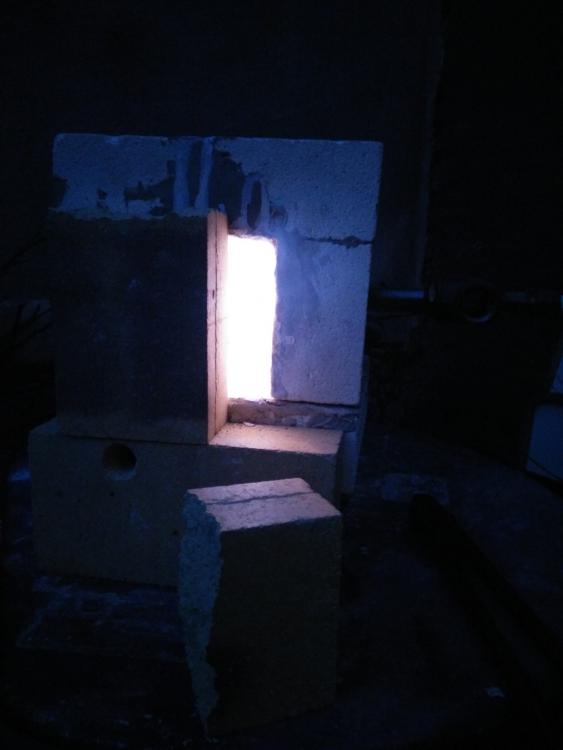
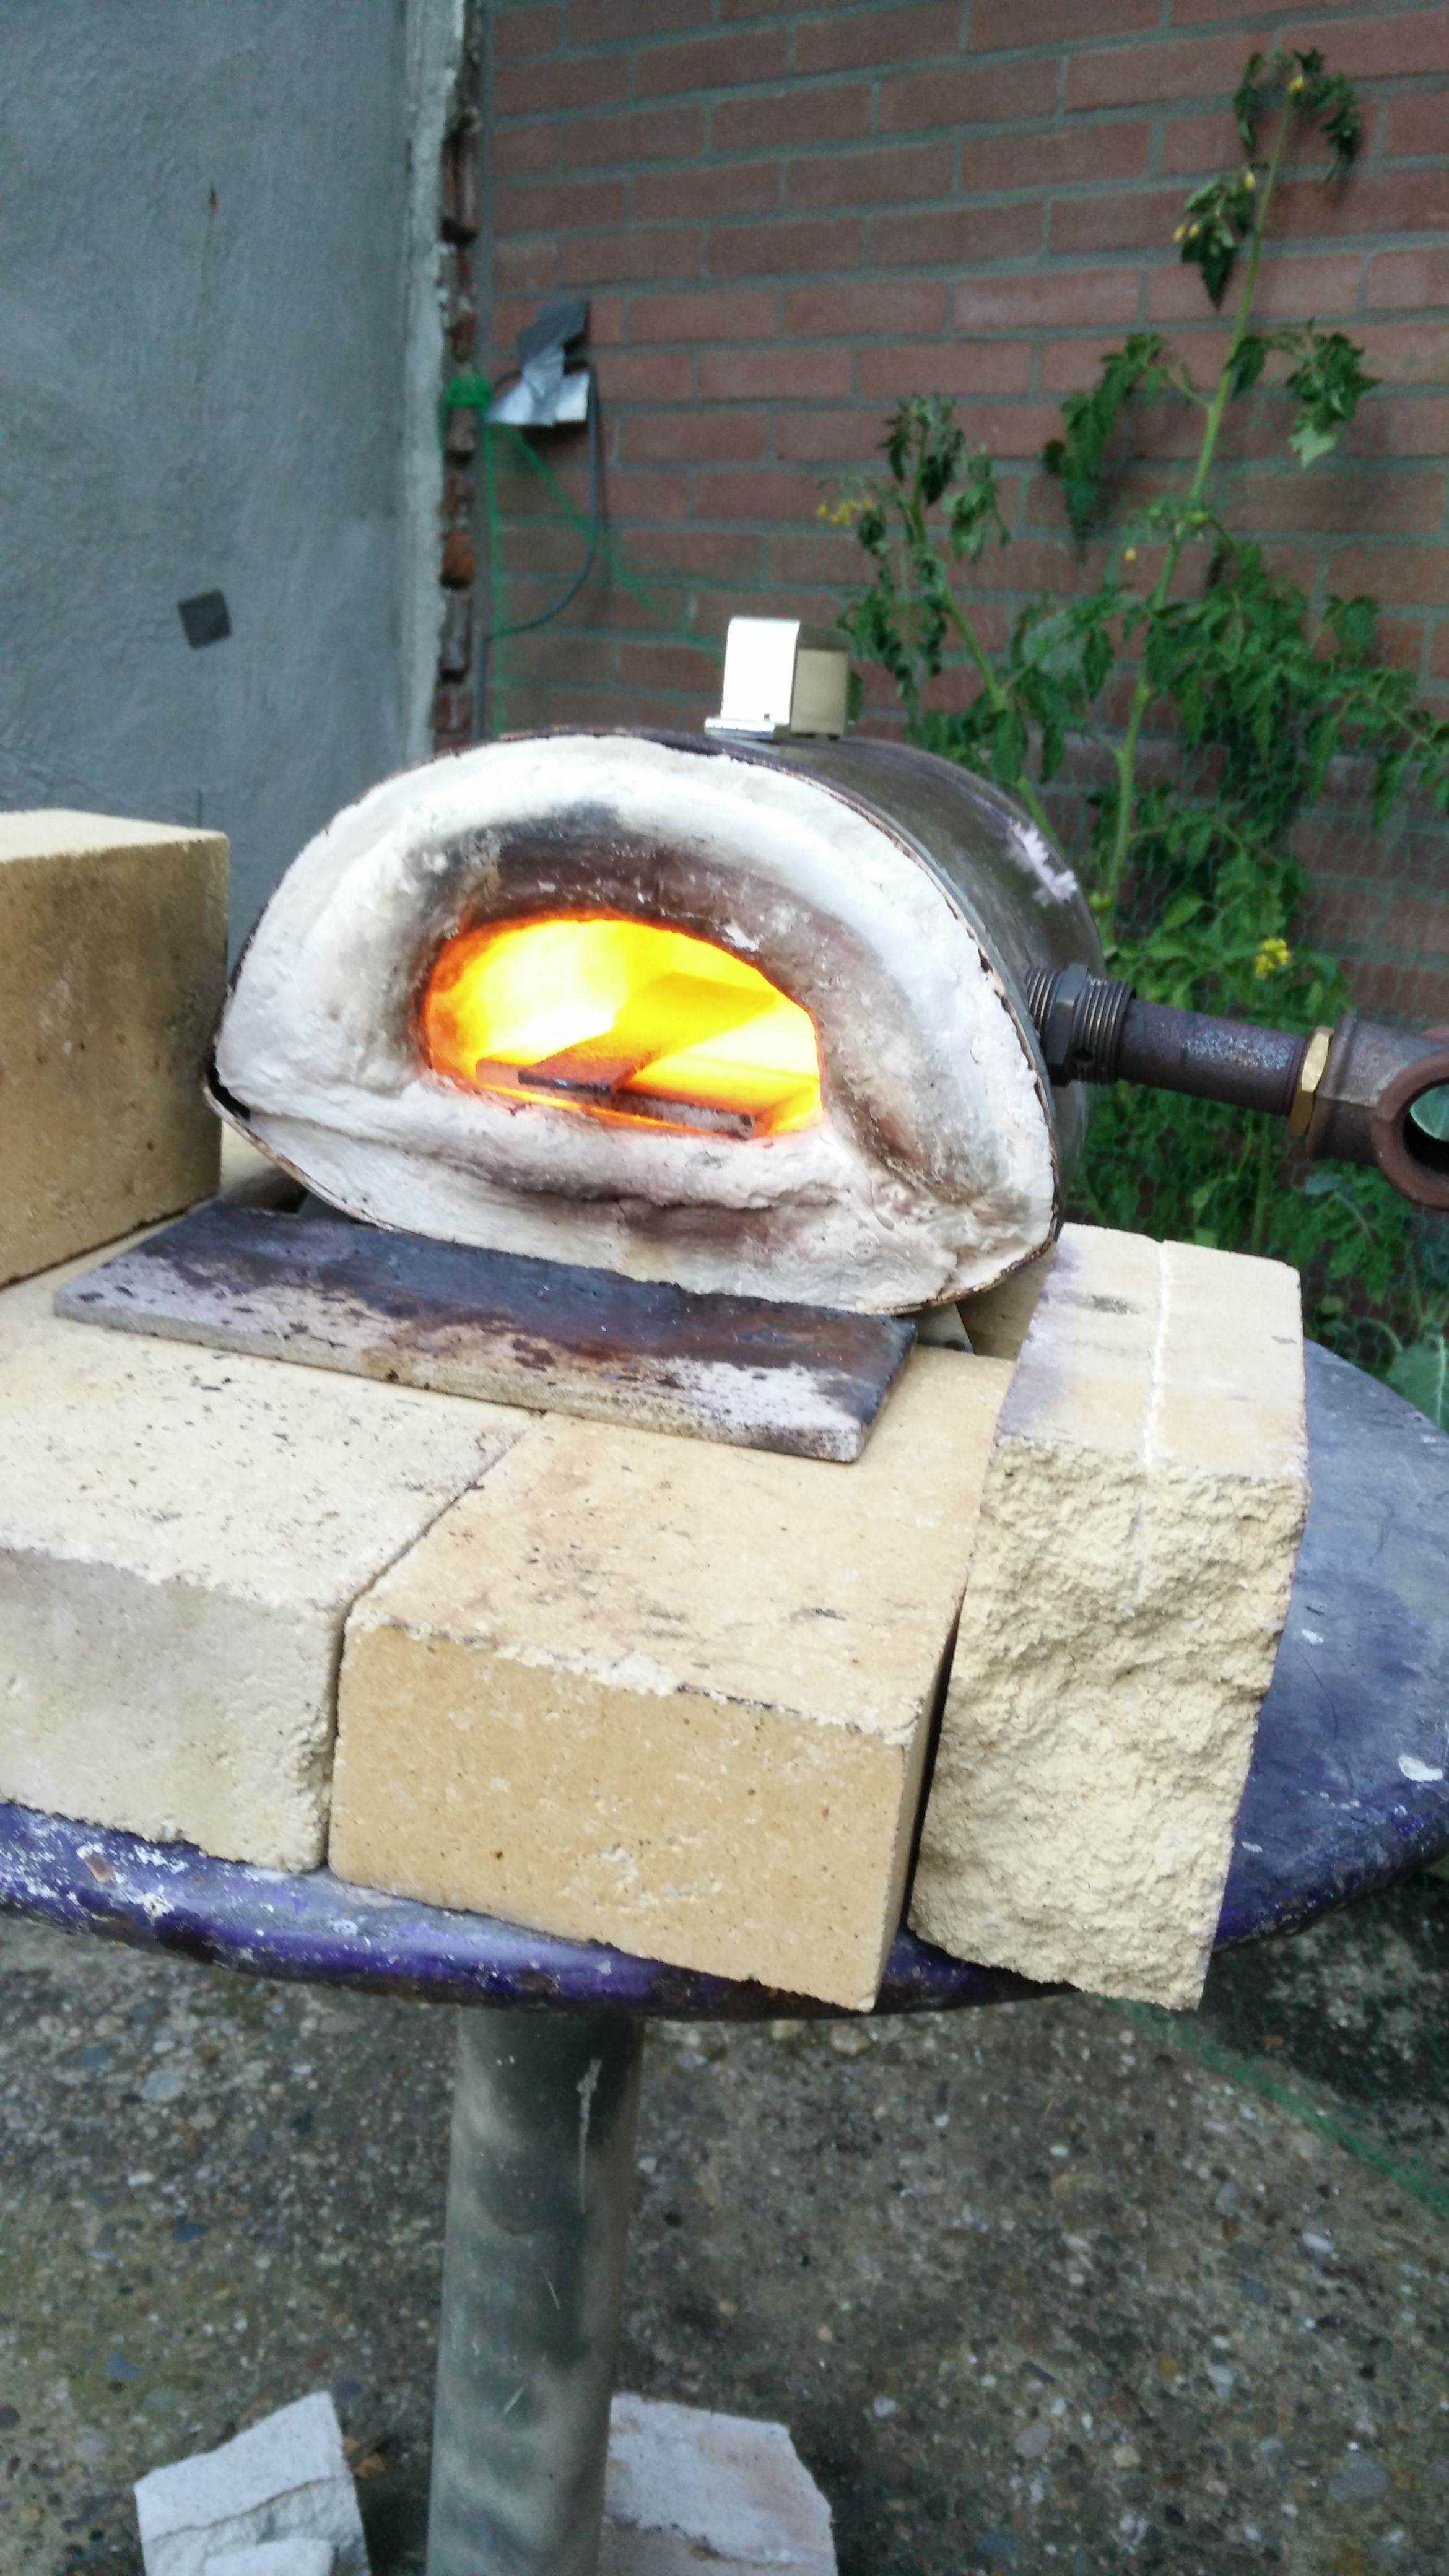
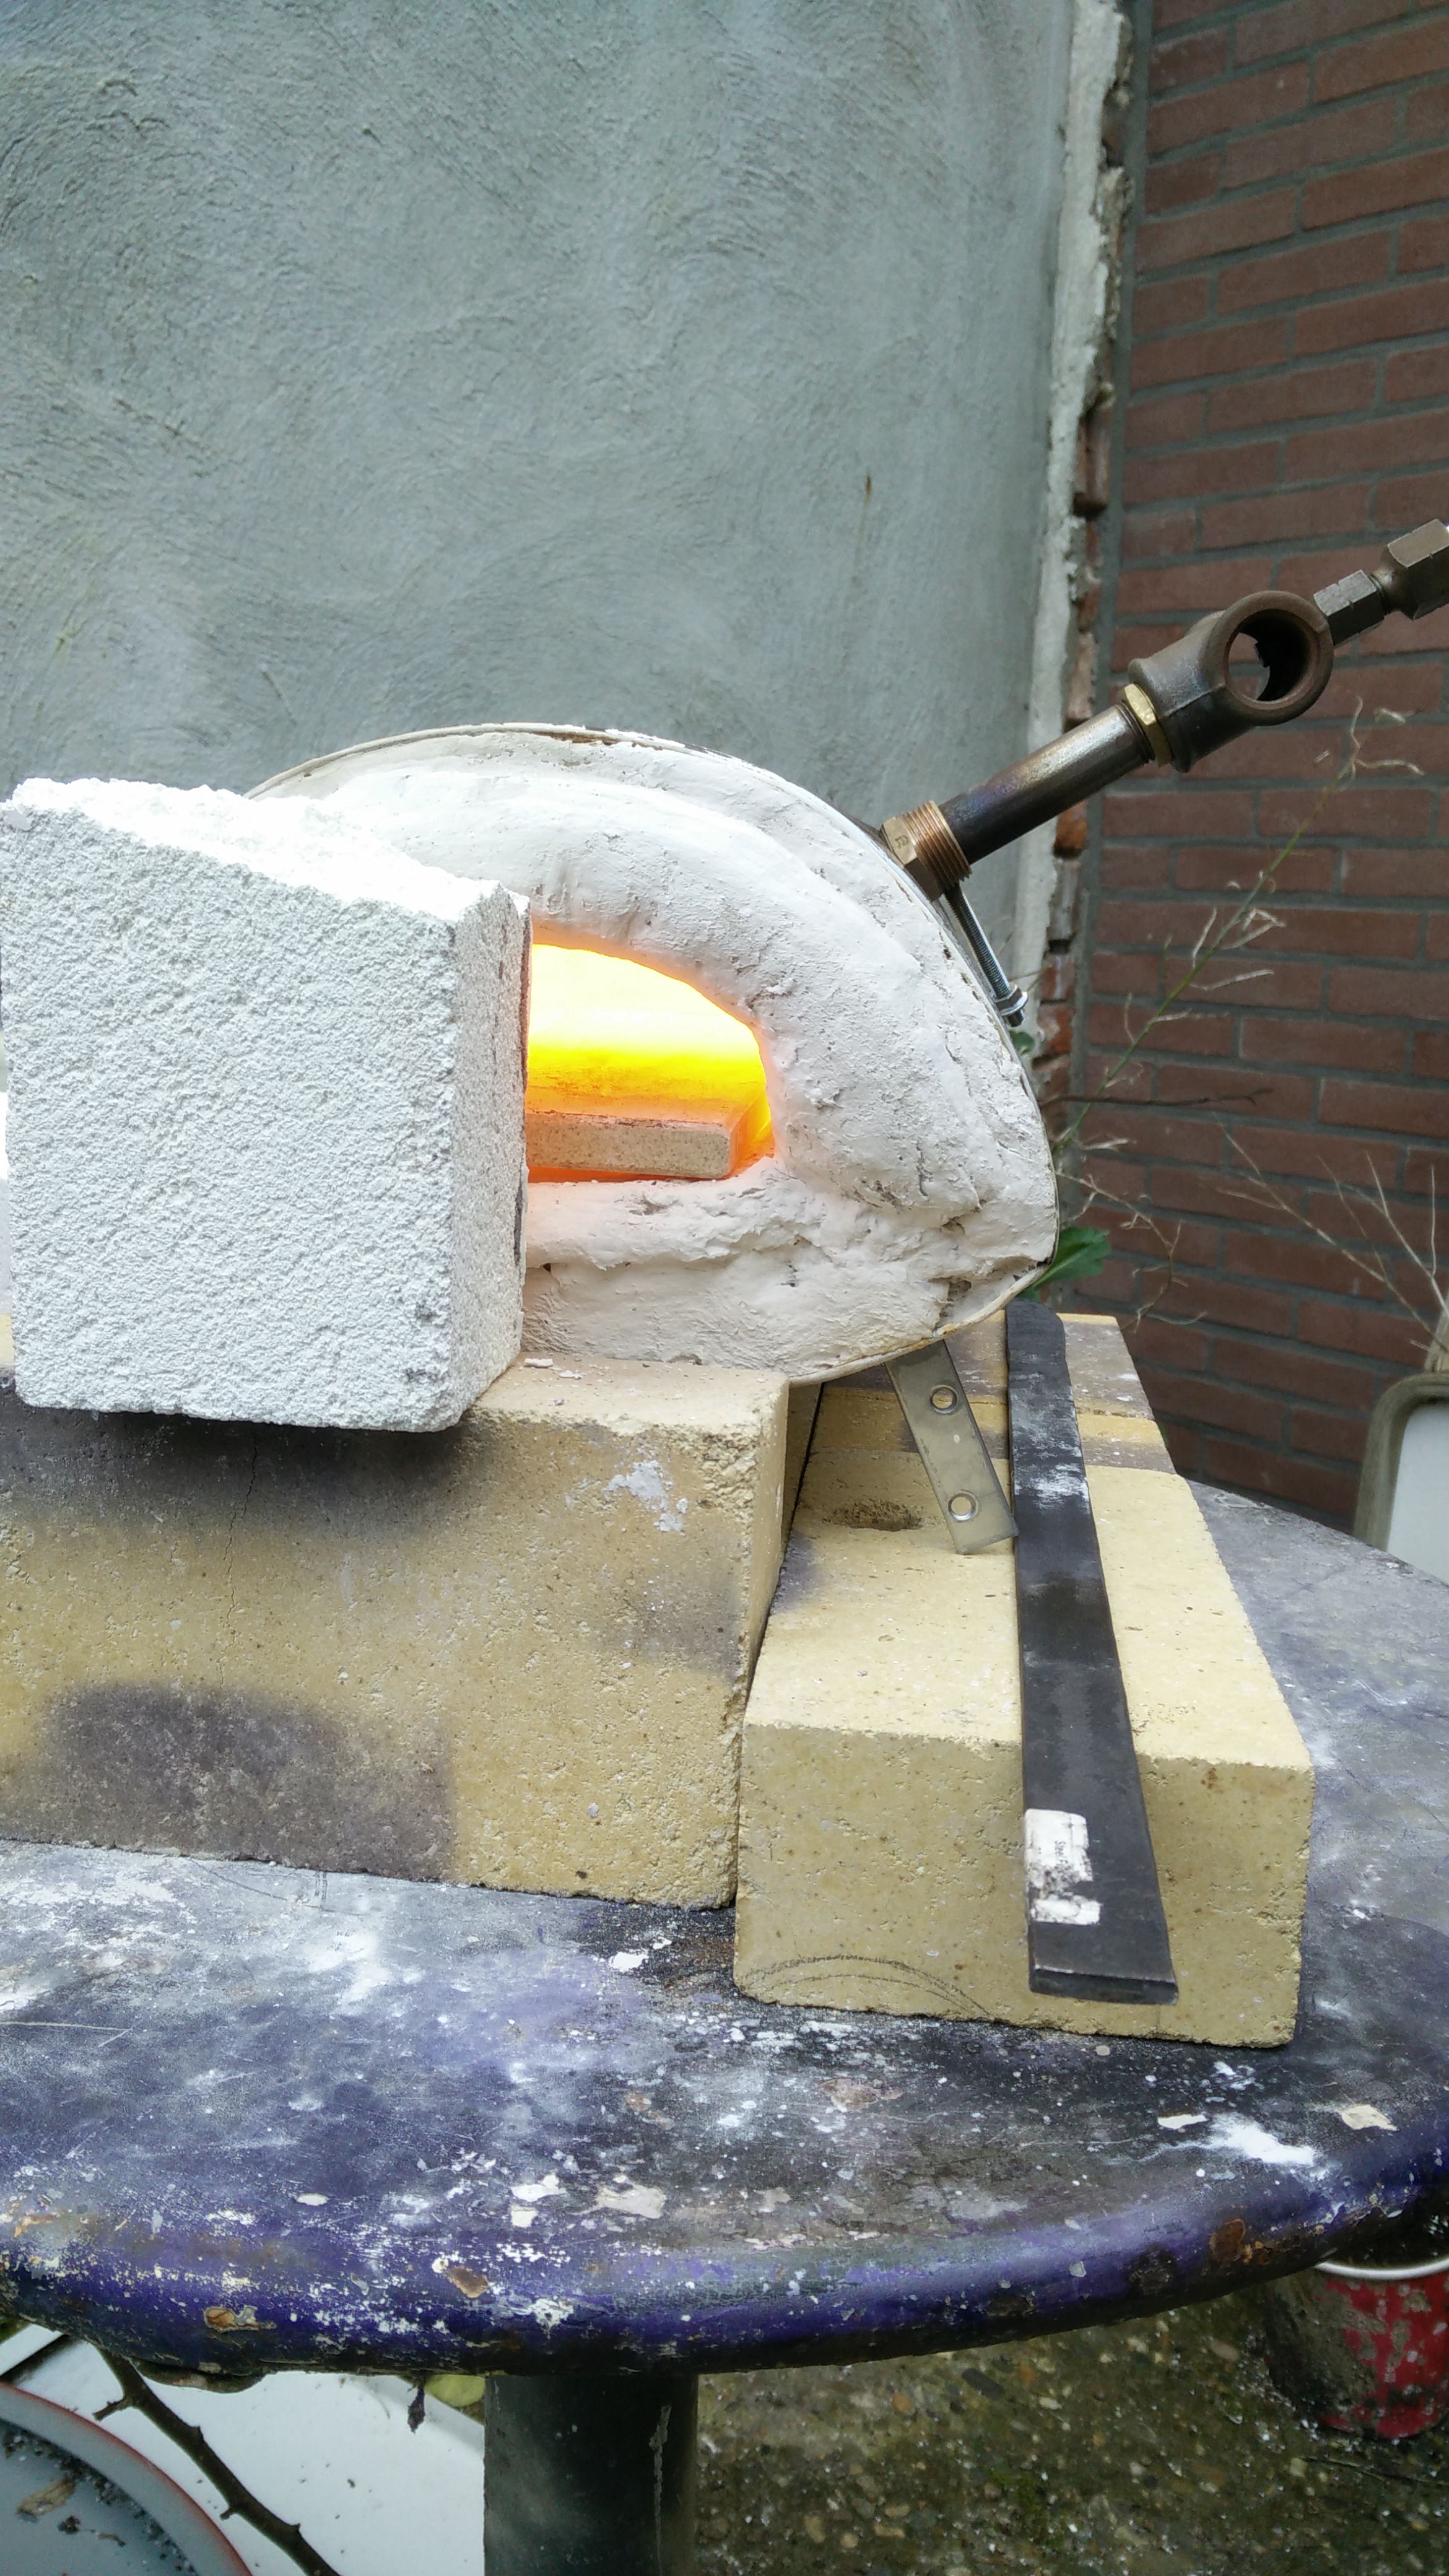
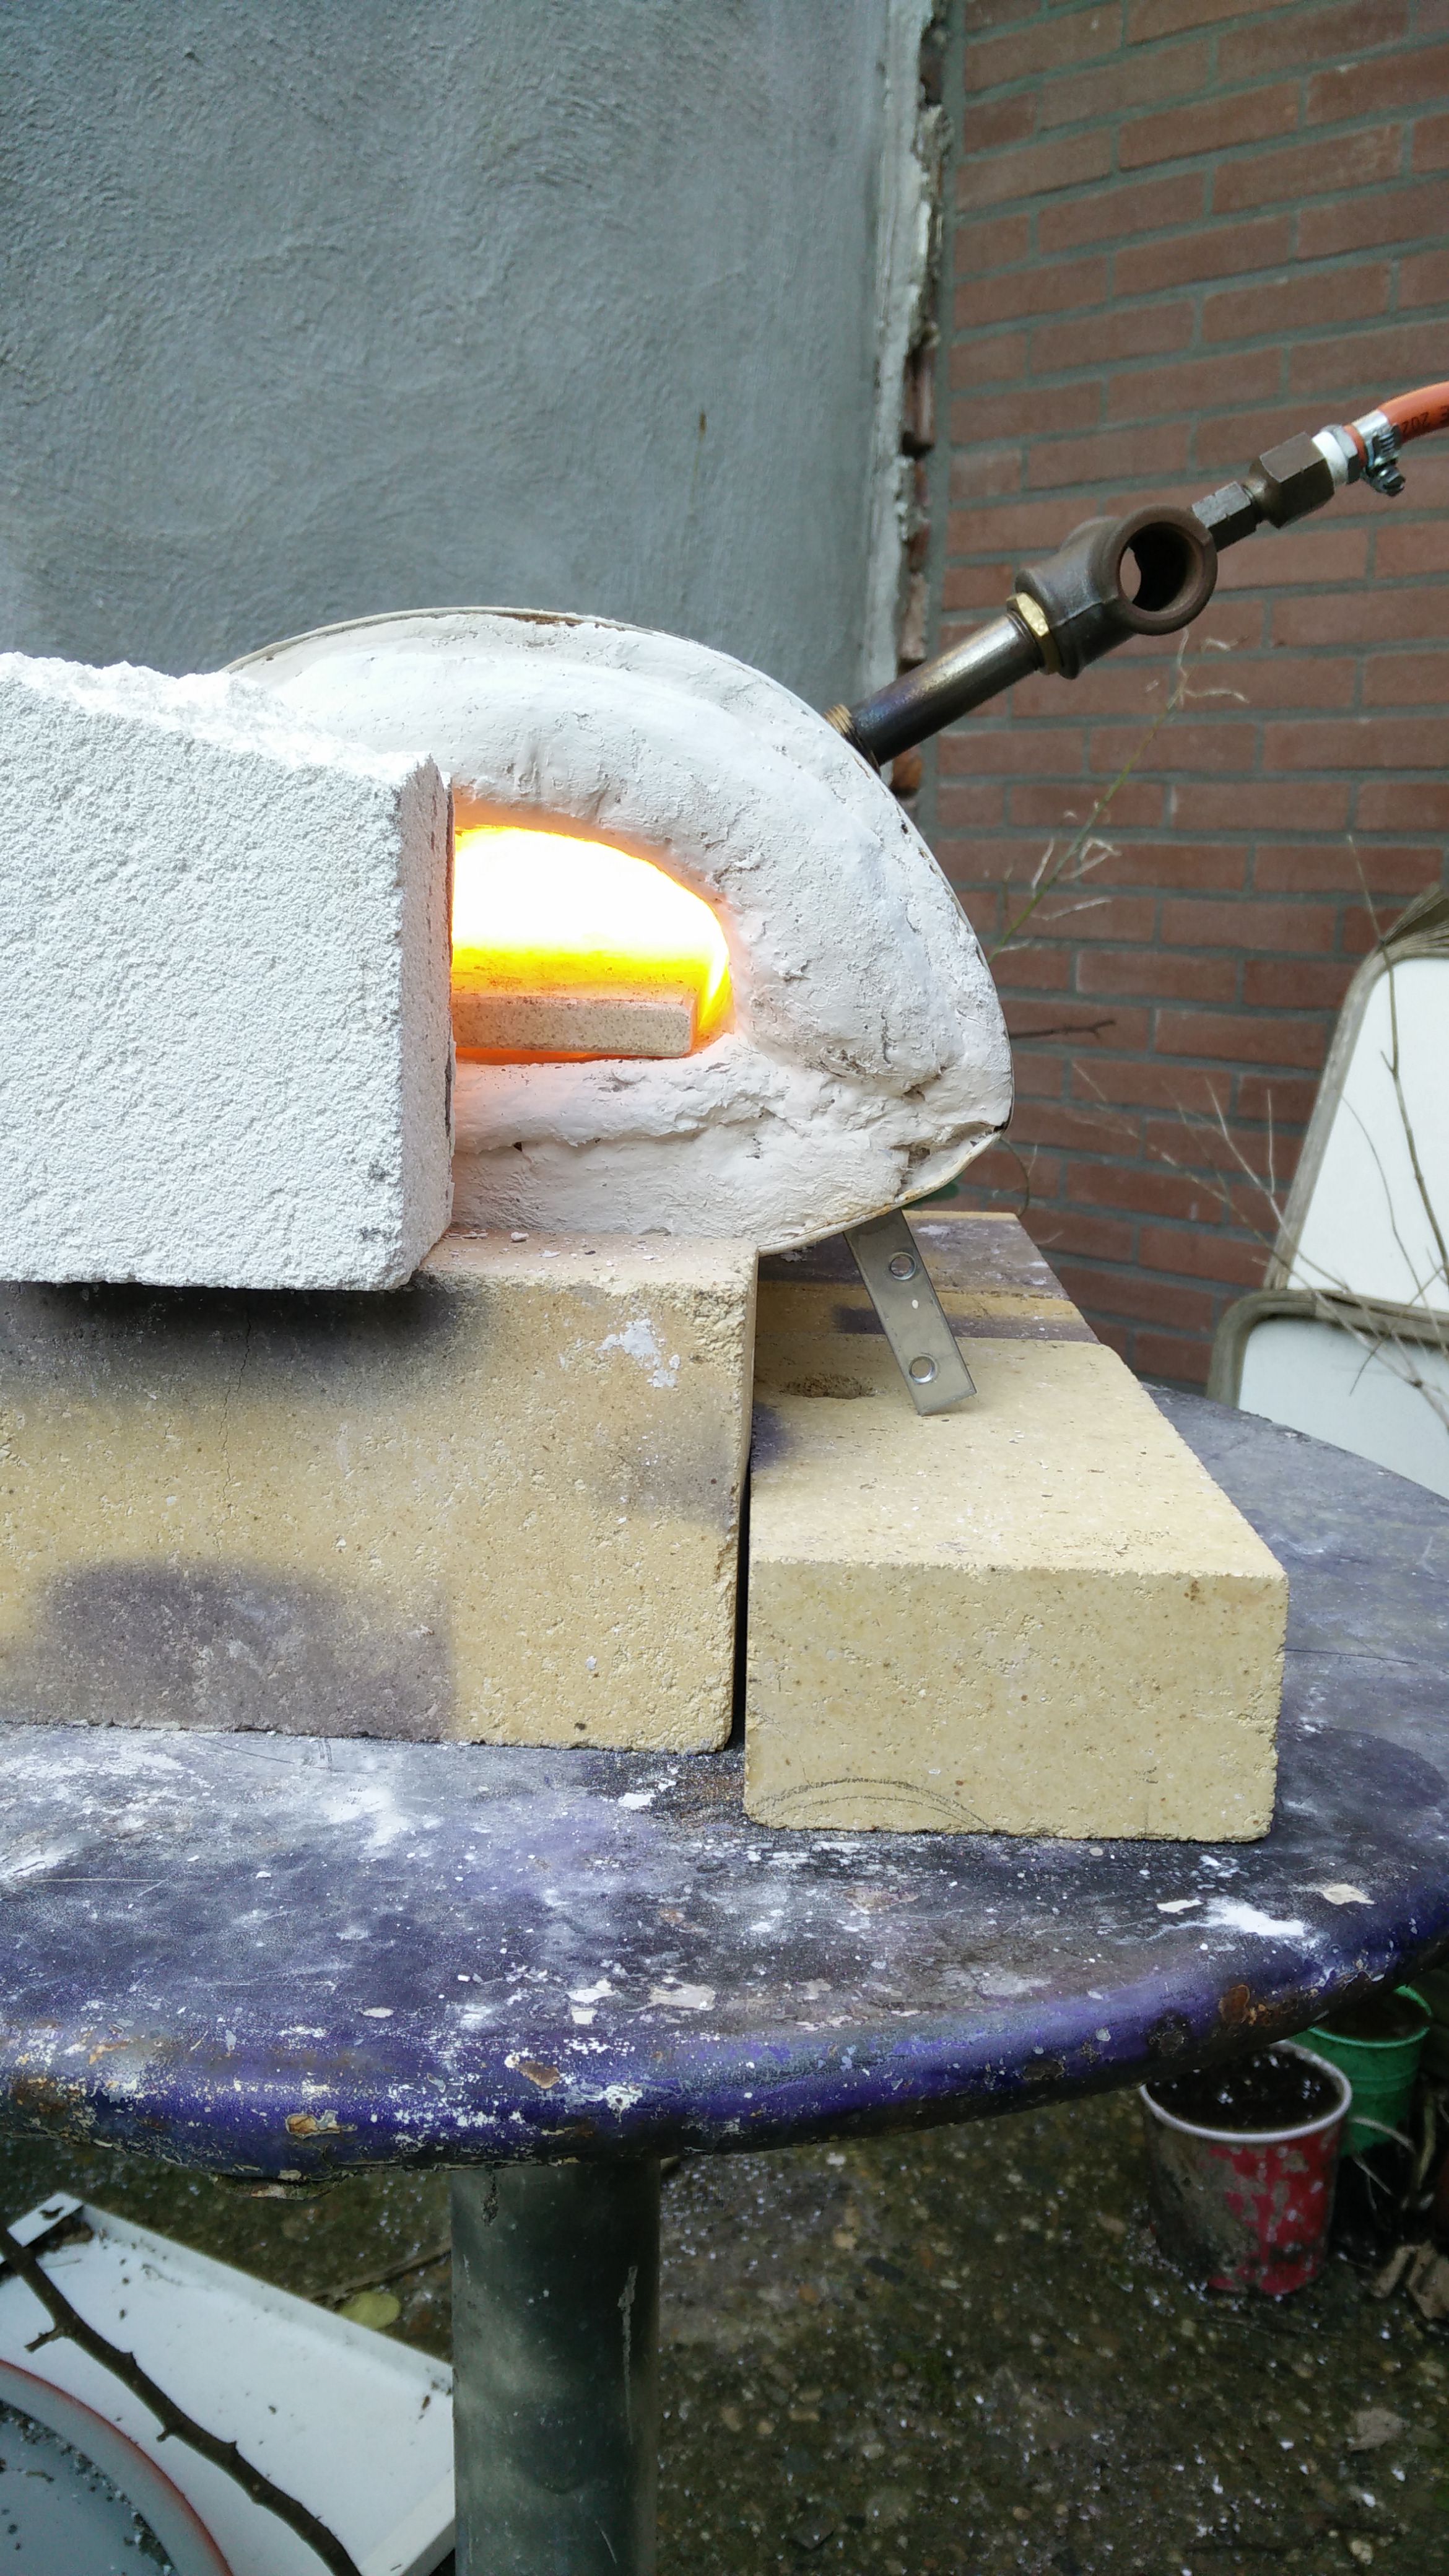
I got my kiln shelf and also the zirconium silicate and kaolin clay for kiln wash at a pottery supply. earlier experiments with brick and that coating where semi successful. I did not have a frame to hold them together. I imagine they might last longer if something holds them. Pictures below are experiments. Don't build them, This is just me testing the burner and coating.
-
No apology needed
. I am thinking to use high temperature paint on the next build. The one I have now is a bit like the knives I make: It needs to work, then I can refine as my skill grows. Curious to see your future forgings. Oh and it will be noon here in half an hour ")
-
When I had my burner pointed downward into my forge it would usually remain cool while running but act as a chimney when I switched the gas off, it would then get hot quickly.I have heard of this chimney effect occurring during operation as well, feeding combustion gasses back into the burner. Others might heve more experience with the straight down configuration you use. Al in al that is a pretty little thing you built.
-
Thanks for the responses guys, really appreciate it. A lot of people around me like knifes but nobody knows how to make them so I am happy with your feedback.
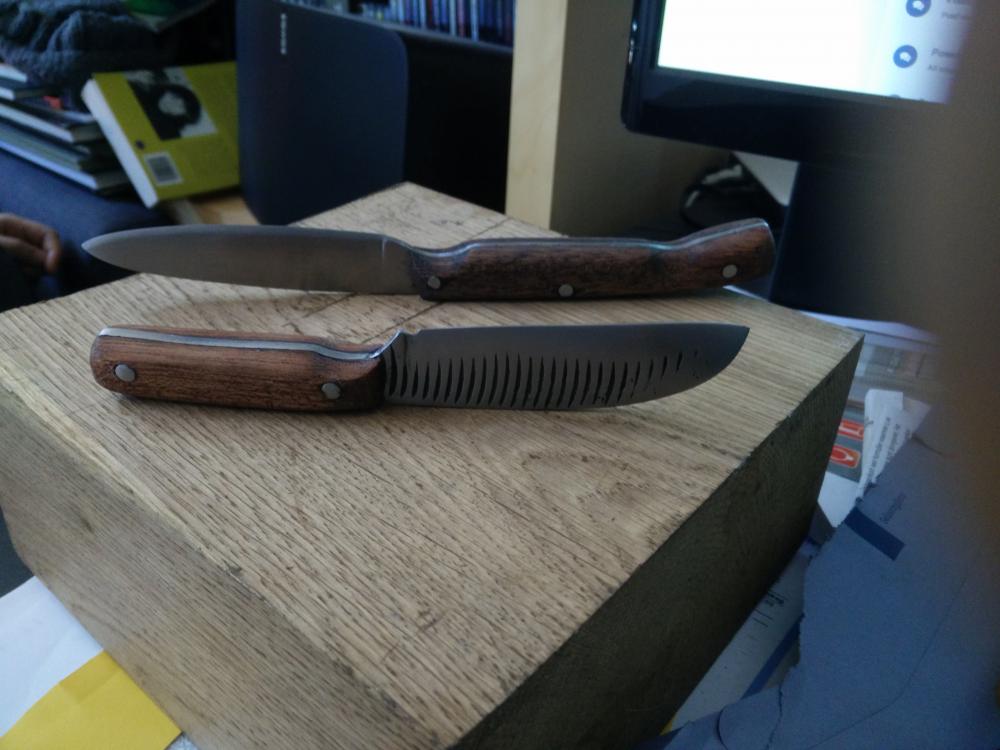
@BIGGUNDOCTOR Good point about the stress risers. I read about them before but the knife was already almost done. I see no cracking on this one. Both are for my own use/testing since they are the first.
-
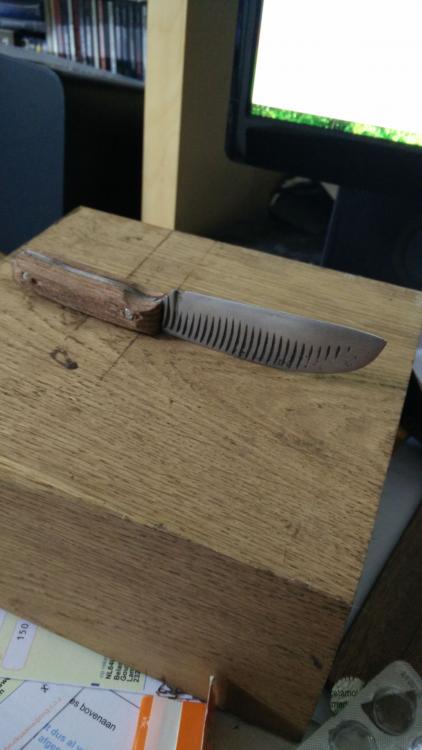
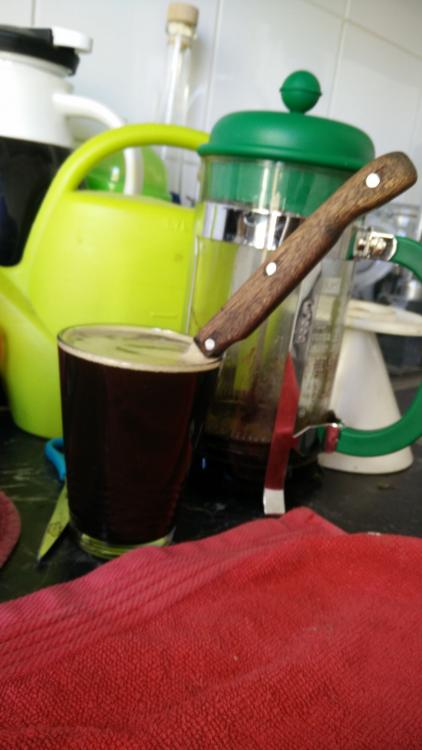
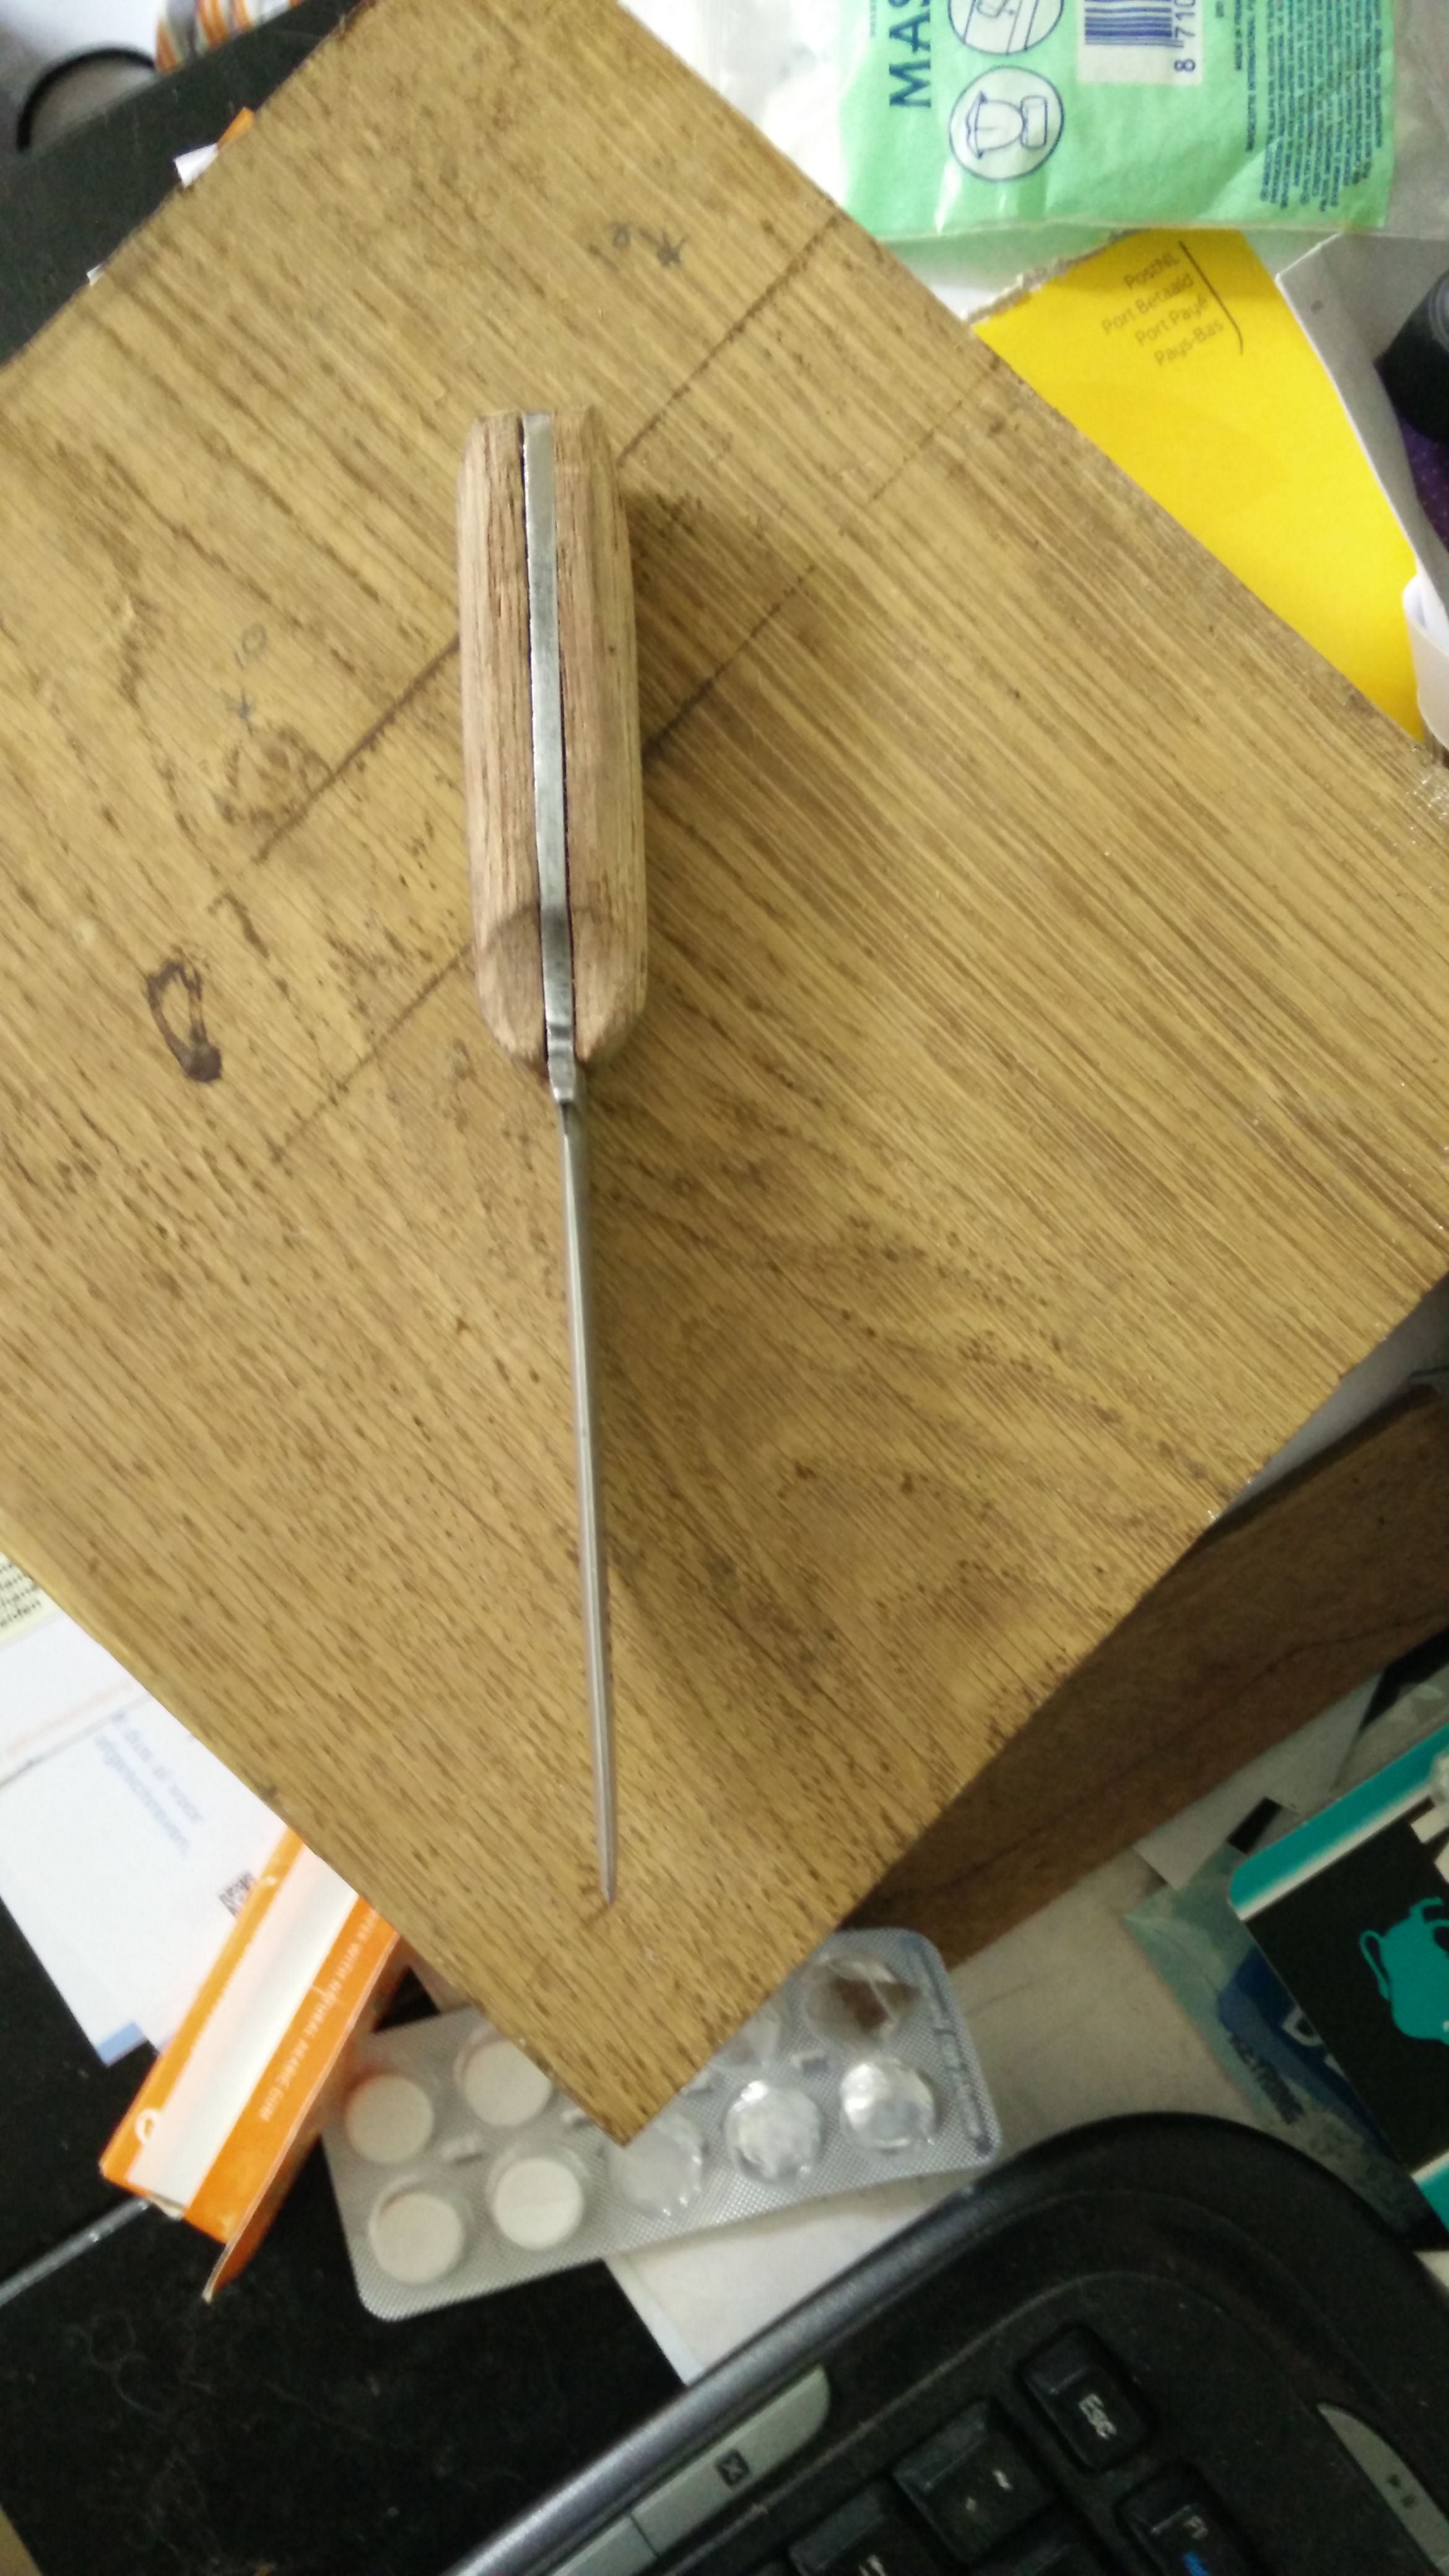
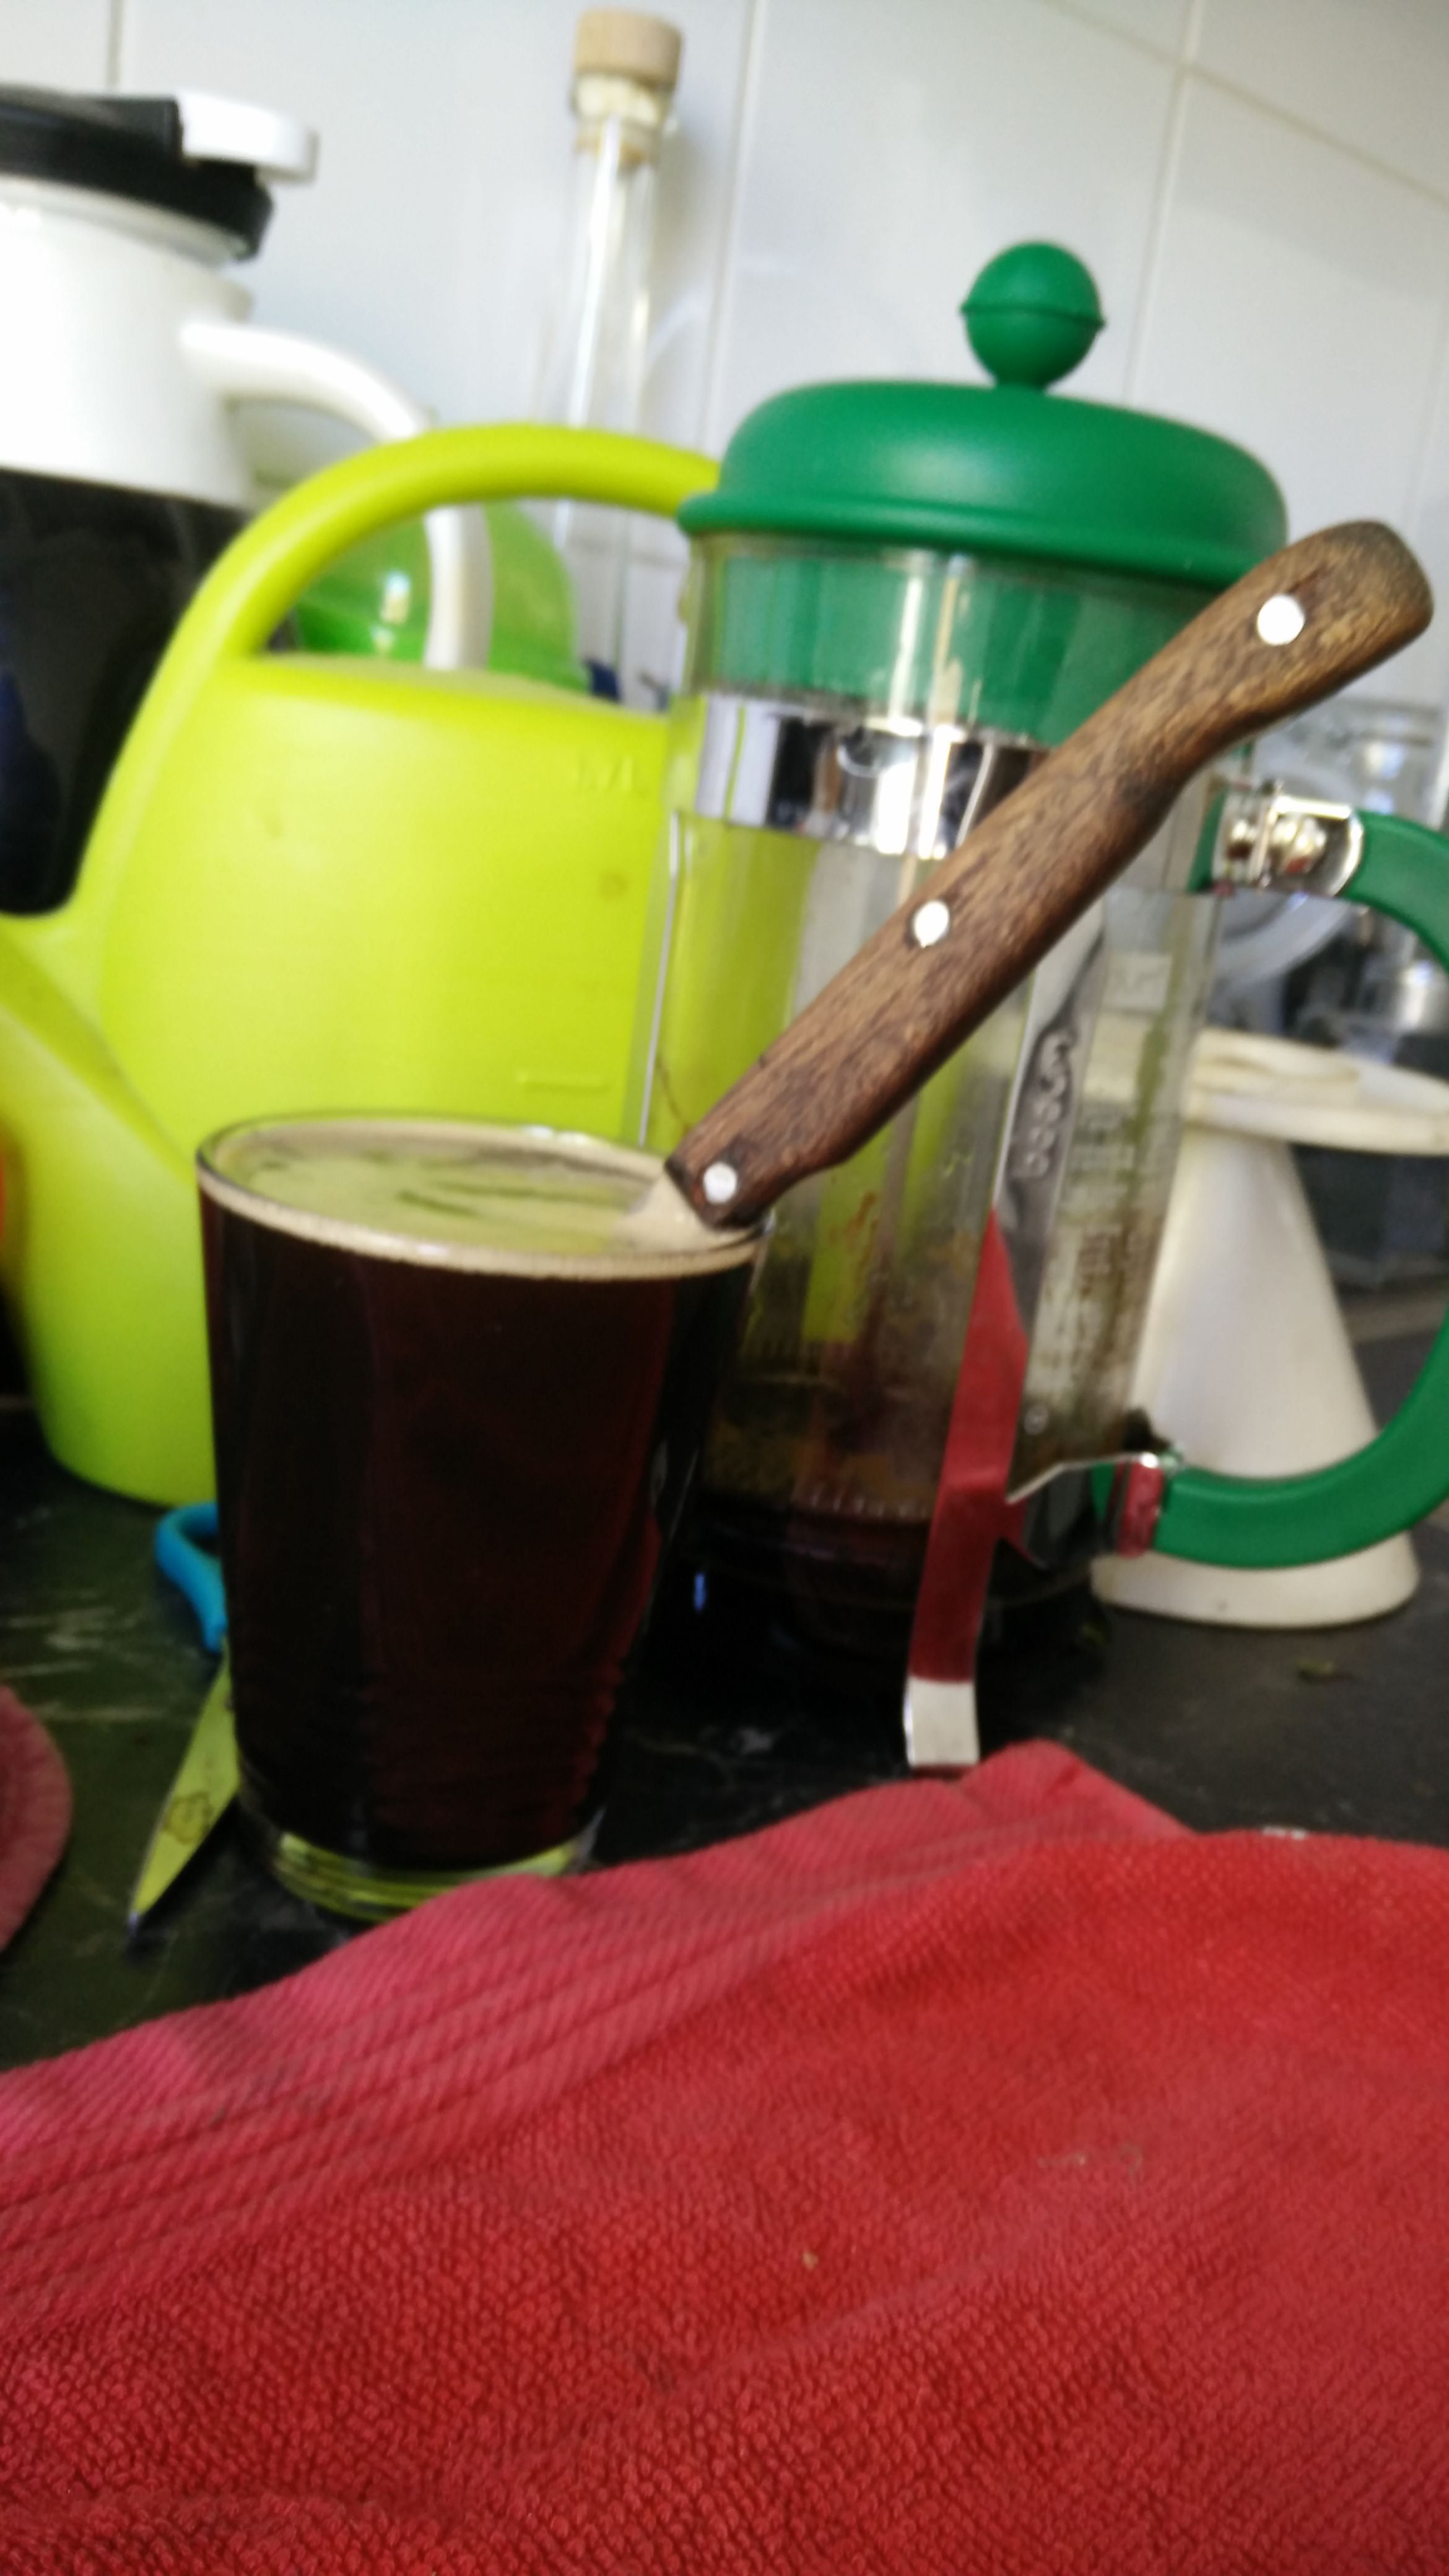
The Handle scales are meranti (Shorea bracteolata). It reacts to an oil finish really well. (the darker lines in the last picture are some crud getting in but I decided I liked it. Meranti is a red wood and I used some pledge which is what I had but it brought out the color nicely.
Thank you! Both blades are tool steel (O1 on the skinny blade, rasp used on aluminium on the chubby one, steel unknown but hardens in water)
@JHCC Have not had a foggy day since finishing them, cut through the coffee cleanly though
-
I forged these two after some practice runs with mild/mystery steel. There is a million things wrong with them but I am pretty happy with how they tuned out. The short one used to be a rasp (for aluminium) and hardened in water. the longer one is o2 tool steel which I hardened in peanut oil, both tempered at 250 degrees Celsius for two 1 hour cycles. Wood is meranti pins are stainless steel rod . I still need to sharpen the short one properly but the long one cut well, although the glass cutting board at my friend dulled it. I used strong cold coffee to force the patina on the long one as I happened to have some strong cold coffee after forgetting to drink it. Even though I can see a ton of flaws/ room for improvement I’m curious what you guys think.

.thumb.jpg.569220b54fc02beca35ff7bf61a9f142.jpg)


-
Thanks for you input guys. Seems we think along the same line. If it works it works. And I like cake occasionally.
It is my inexperience that sometimes makes me unsure. Frosty: the burner is inserted less than an inch into the lining, because it is angled toward the back the picture shows the "short" side, if that makes sense. I had to reapply some if the kaolin/zirconium coating where I cut the new burner port. That should be cured tonight so I can get a better picture.
-
So, I modified my current forge by moving the burner from the back to the front, I also placed it at a tangent across the arched ceiling and slightly toward the back. You can see it running in the picture below. I got a nice even heat. I ran it with the original burner port open which seemed to 'pull' the flame to the back (the back is closed). Plugging the burner port in the back also works but the cool spot will be larger. I have to run it a bit longer to be sure what the difference is. I guess I am just wondering about the advantages/disadvantages of having a small exhaust in a long narrow forge like mine. (chamber is 12 cm wide 6 cm high about 25 deep). I imagine there will be a marginal heat loss.

-
Not mystified anymore, built the forge, made mistakes. I only meant to illustrate that a steel bucket will make a fine forge body. The paint can forge on Ron Reil's site the best starting point I can imagine. Better than my experimental pizza oven
-
Usually sodium silicate of something similar. It is used to coat the ceramic blanket and does 2 things:
1) Rigidize/harden the blanket so it is a bit more resistant to flame an to some degree poking,
2) inhibit the ceramic fibers that the blanket releases. (a silicate dust which is hazardous to breathe in)
-
I used a bucket:
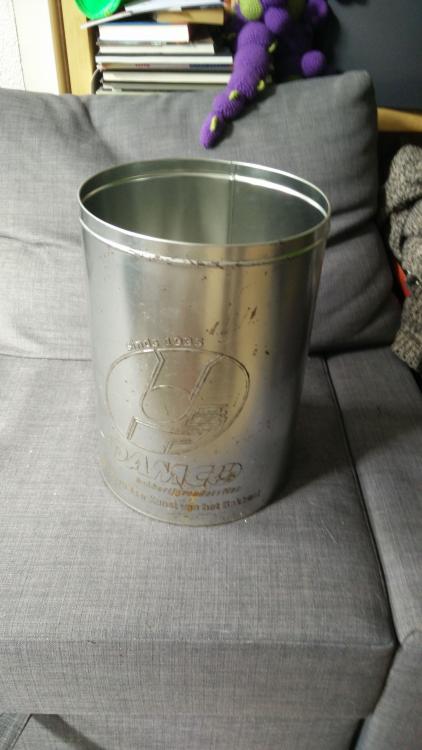

I will leave the advice on burner placement to the experts since I am not happy with how mine turned out (It works OK but it could be better had I aimed it correctly or moved it more to the middle instead of the back.) The steel in your extinguisher will be thicker and the shape is long and narrow, take this into account when putting in the insulation since this will decrease the interior volume.
-
For a cylinder you should not need the sodium silicate. Is there a specific plan you are following?
-
My blanket was dense enough to be held up by compression alone. I only rigidized (e.g. the inside of the chamber and the but sticking out up front) the exposed parts, no glueing needed. I Just rolled up the blanket tight enough to slide in the cylinder and then unrolled it. Repeated that for the second layer.
Out of curiosity: What density blanket are you using? Will your forge be open on both sides? If the end will be closed cut out 2 layers for the back first and place them before inserting the rolled up blanket.
-
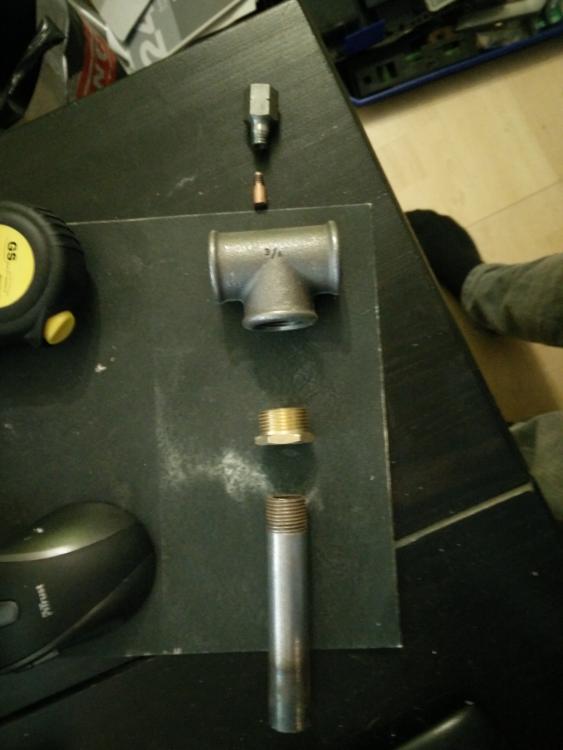
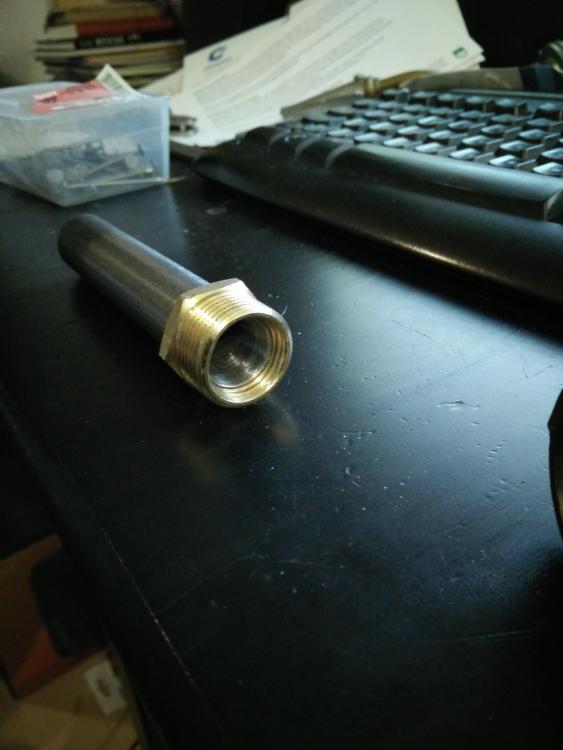
This is my 1/2" T burner in Parts in the first picture, running in the third.The forge is around 90 cubic inches. @teenylittlemetalguy Do you have pictures of your T and did you use a reducing T? (I needed a reducing fitting from 3/4 to 1/.2, I flared the transition between the mixing tube and the fitting) It is not exactly a build along but more details can be found in the following thread where everybody has been a great help.Thread.


.jpg.a40a25ae6ba875b635417b3412188aab.jpg)


Aspirated Burner
in Gas Forges
Posted
I Used a 1/2 T in a 2 brick forge and needed to turn it down and also modify it. It was a good start though. I you have more bricks you should not have an issue, you can change the configuration to enlarge the chamber. So yes I second Latticino.
For my entire array of mistakes and learning, please see below. I had a lot of valuable input and got a 2 brick forge to work with a 1/2 T. I was able to use said mistakes and valuable input to make a better next forge")